Helping Out with Donation Quilts

Group Donation Quilt

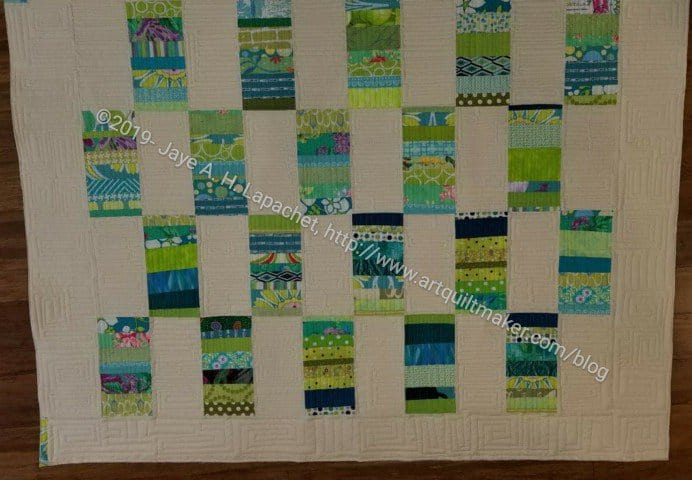
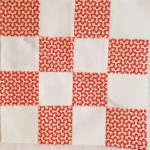
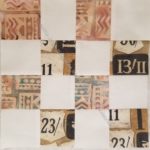
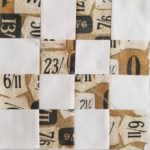
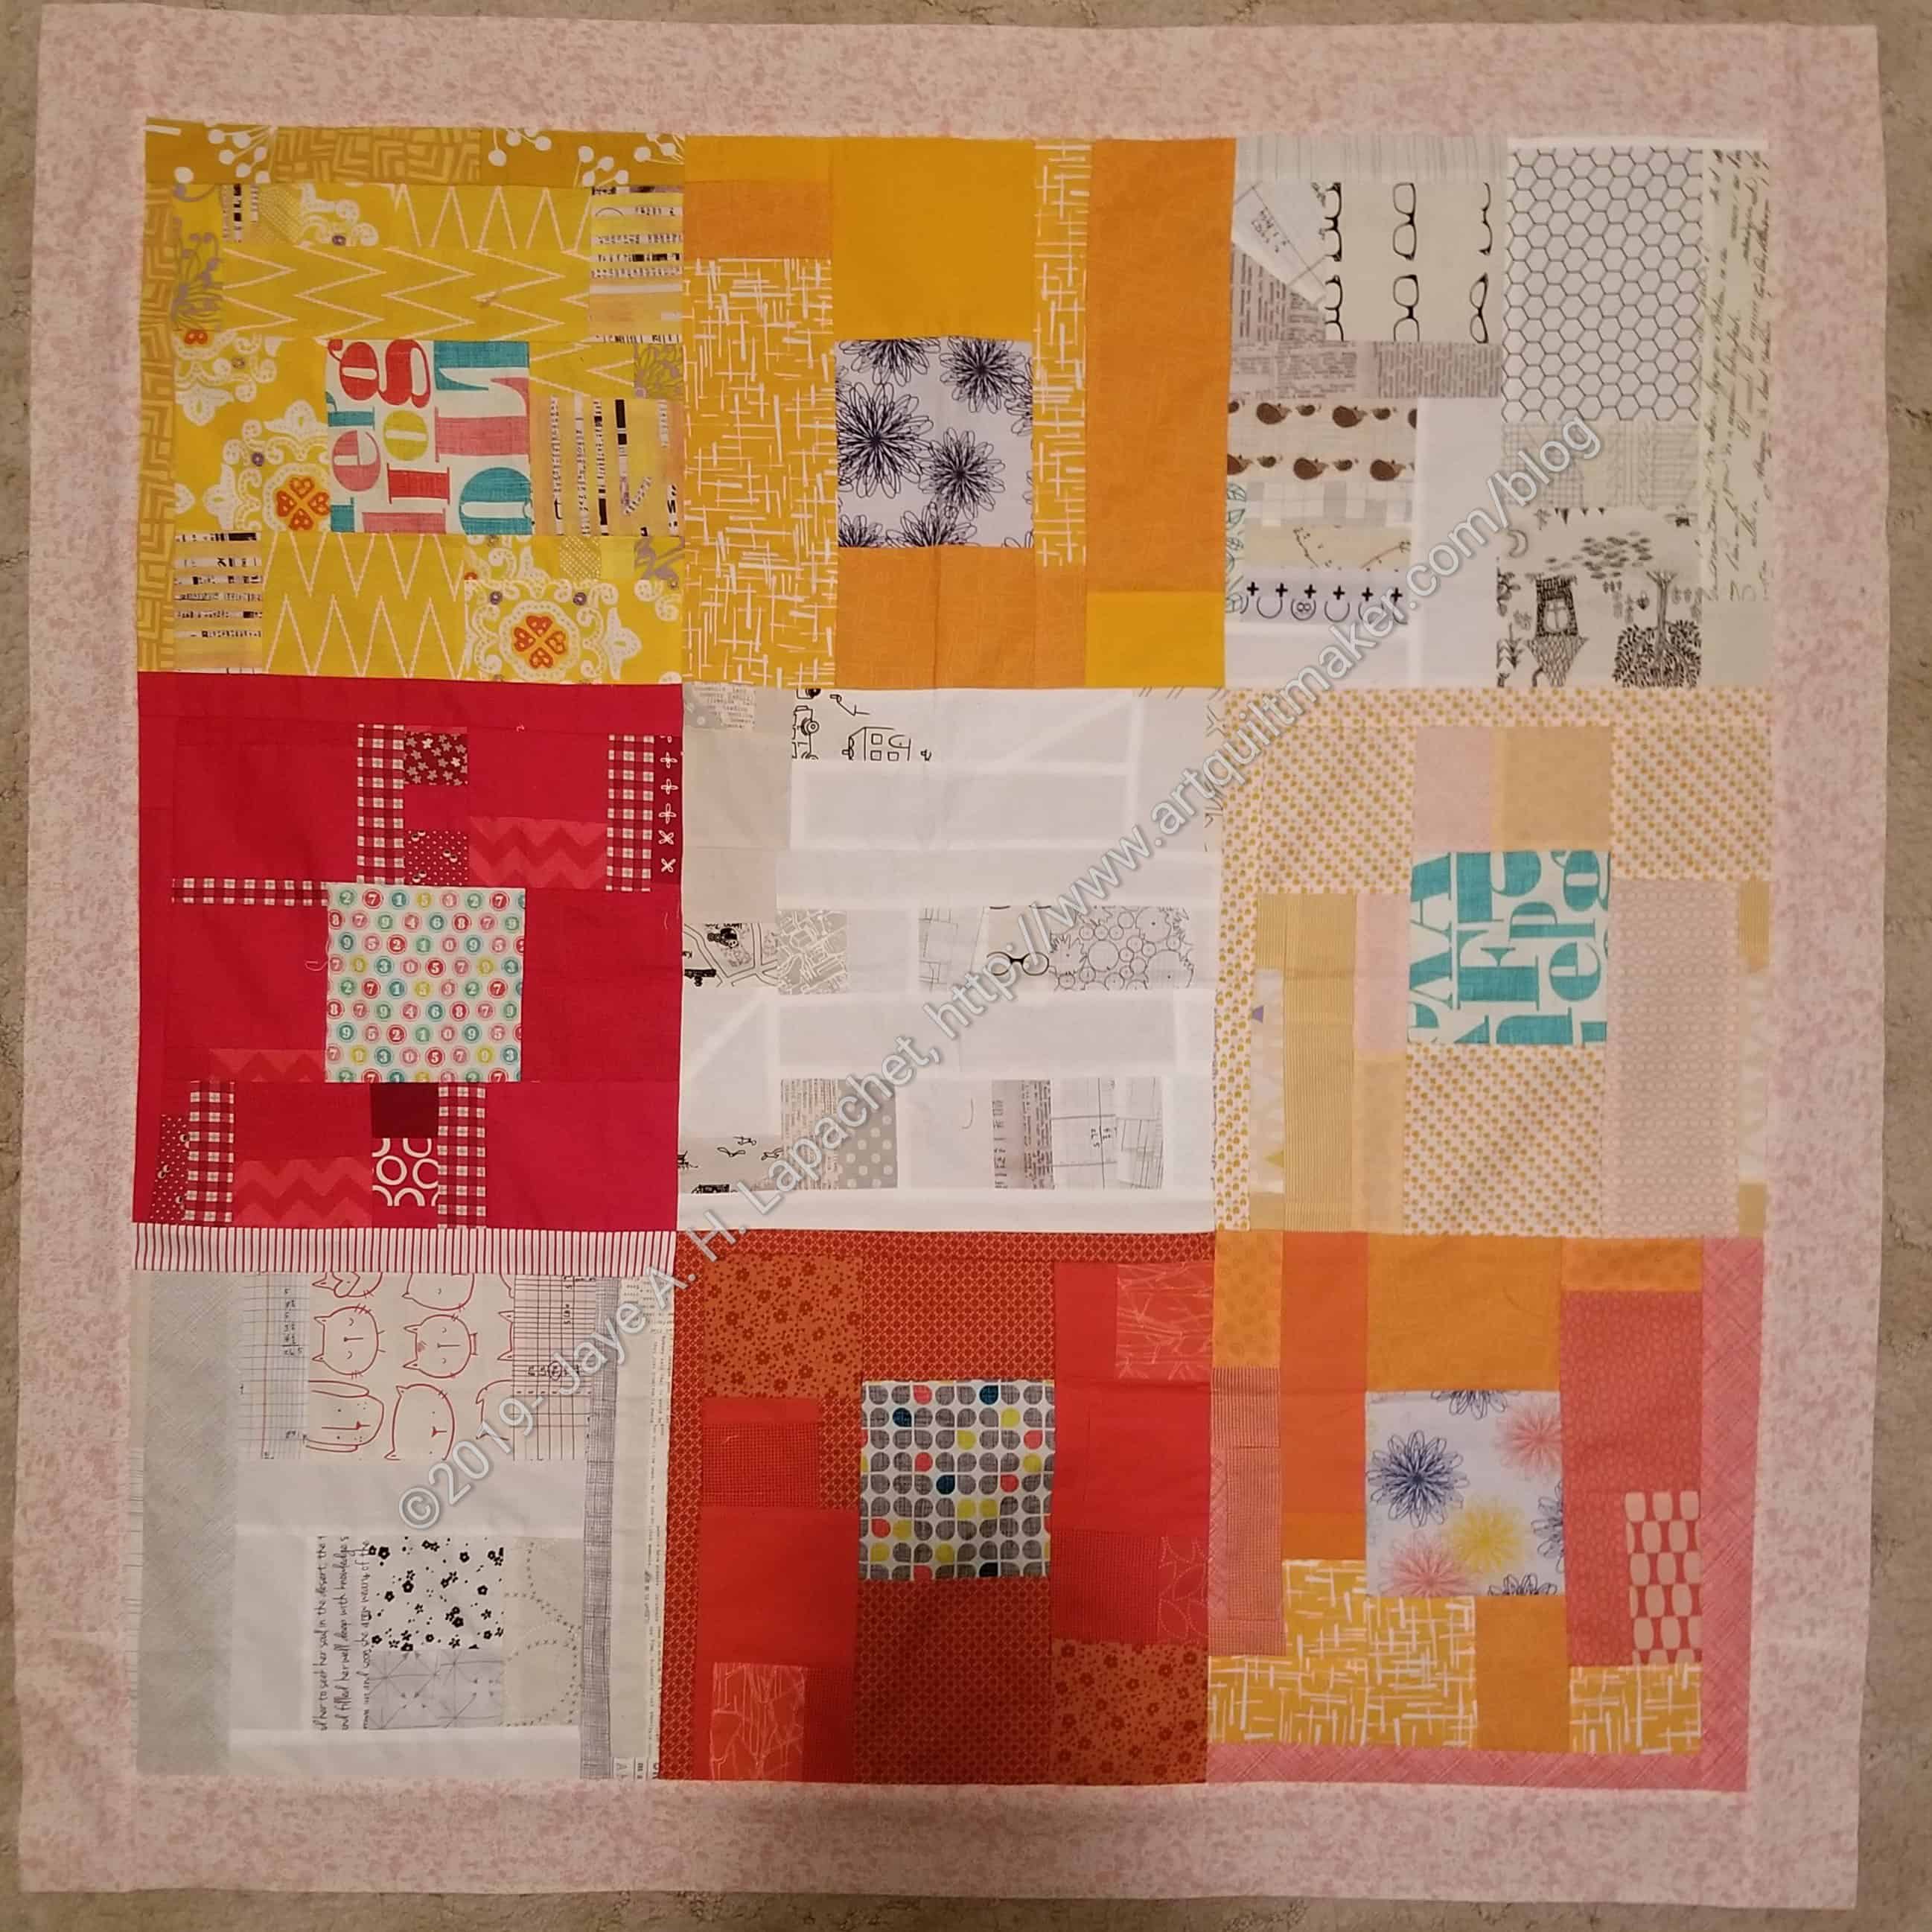
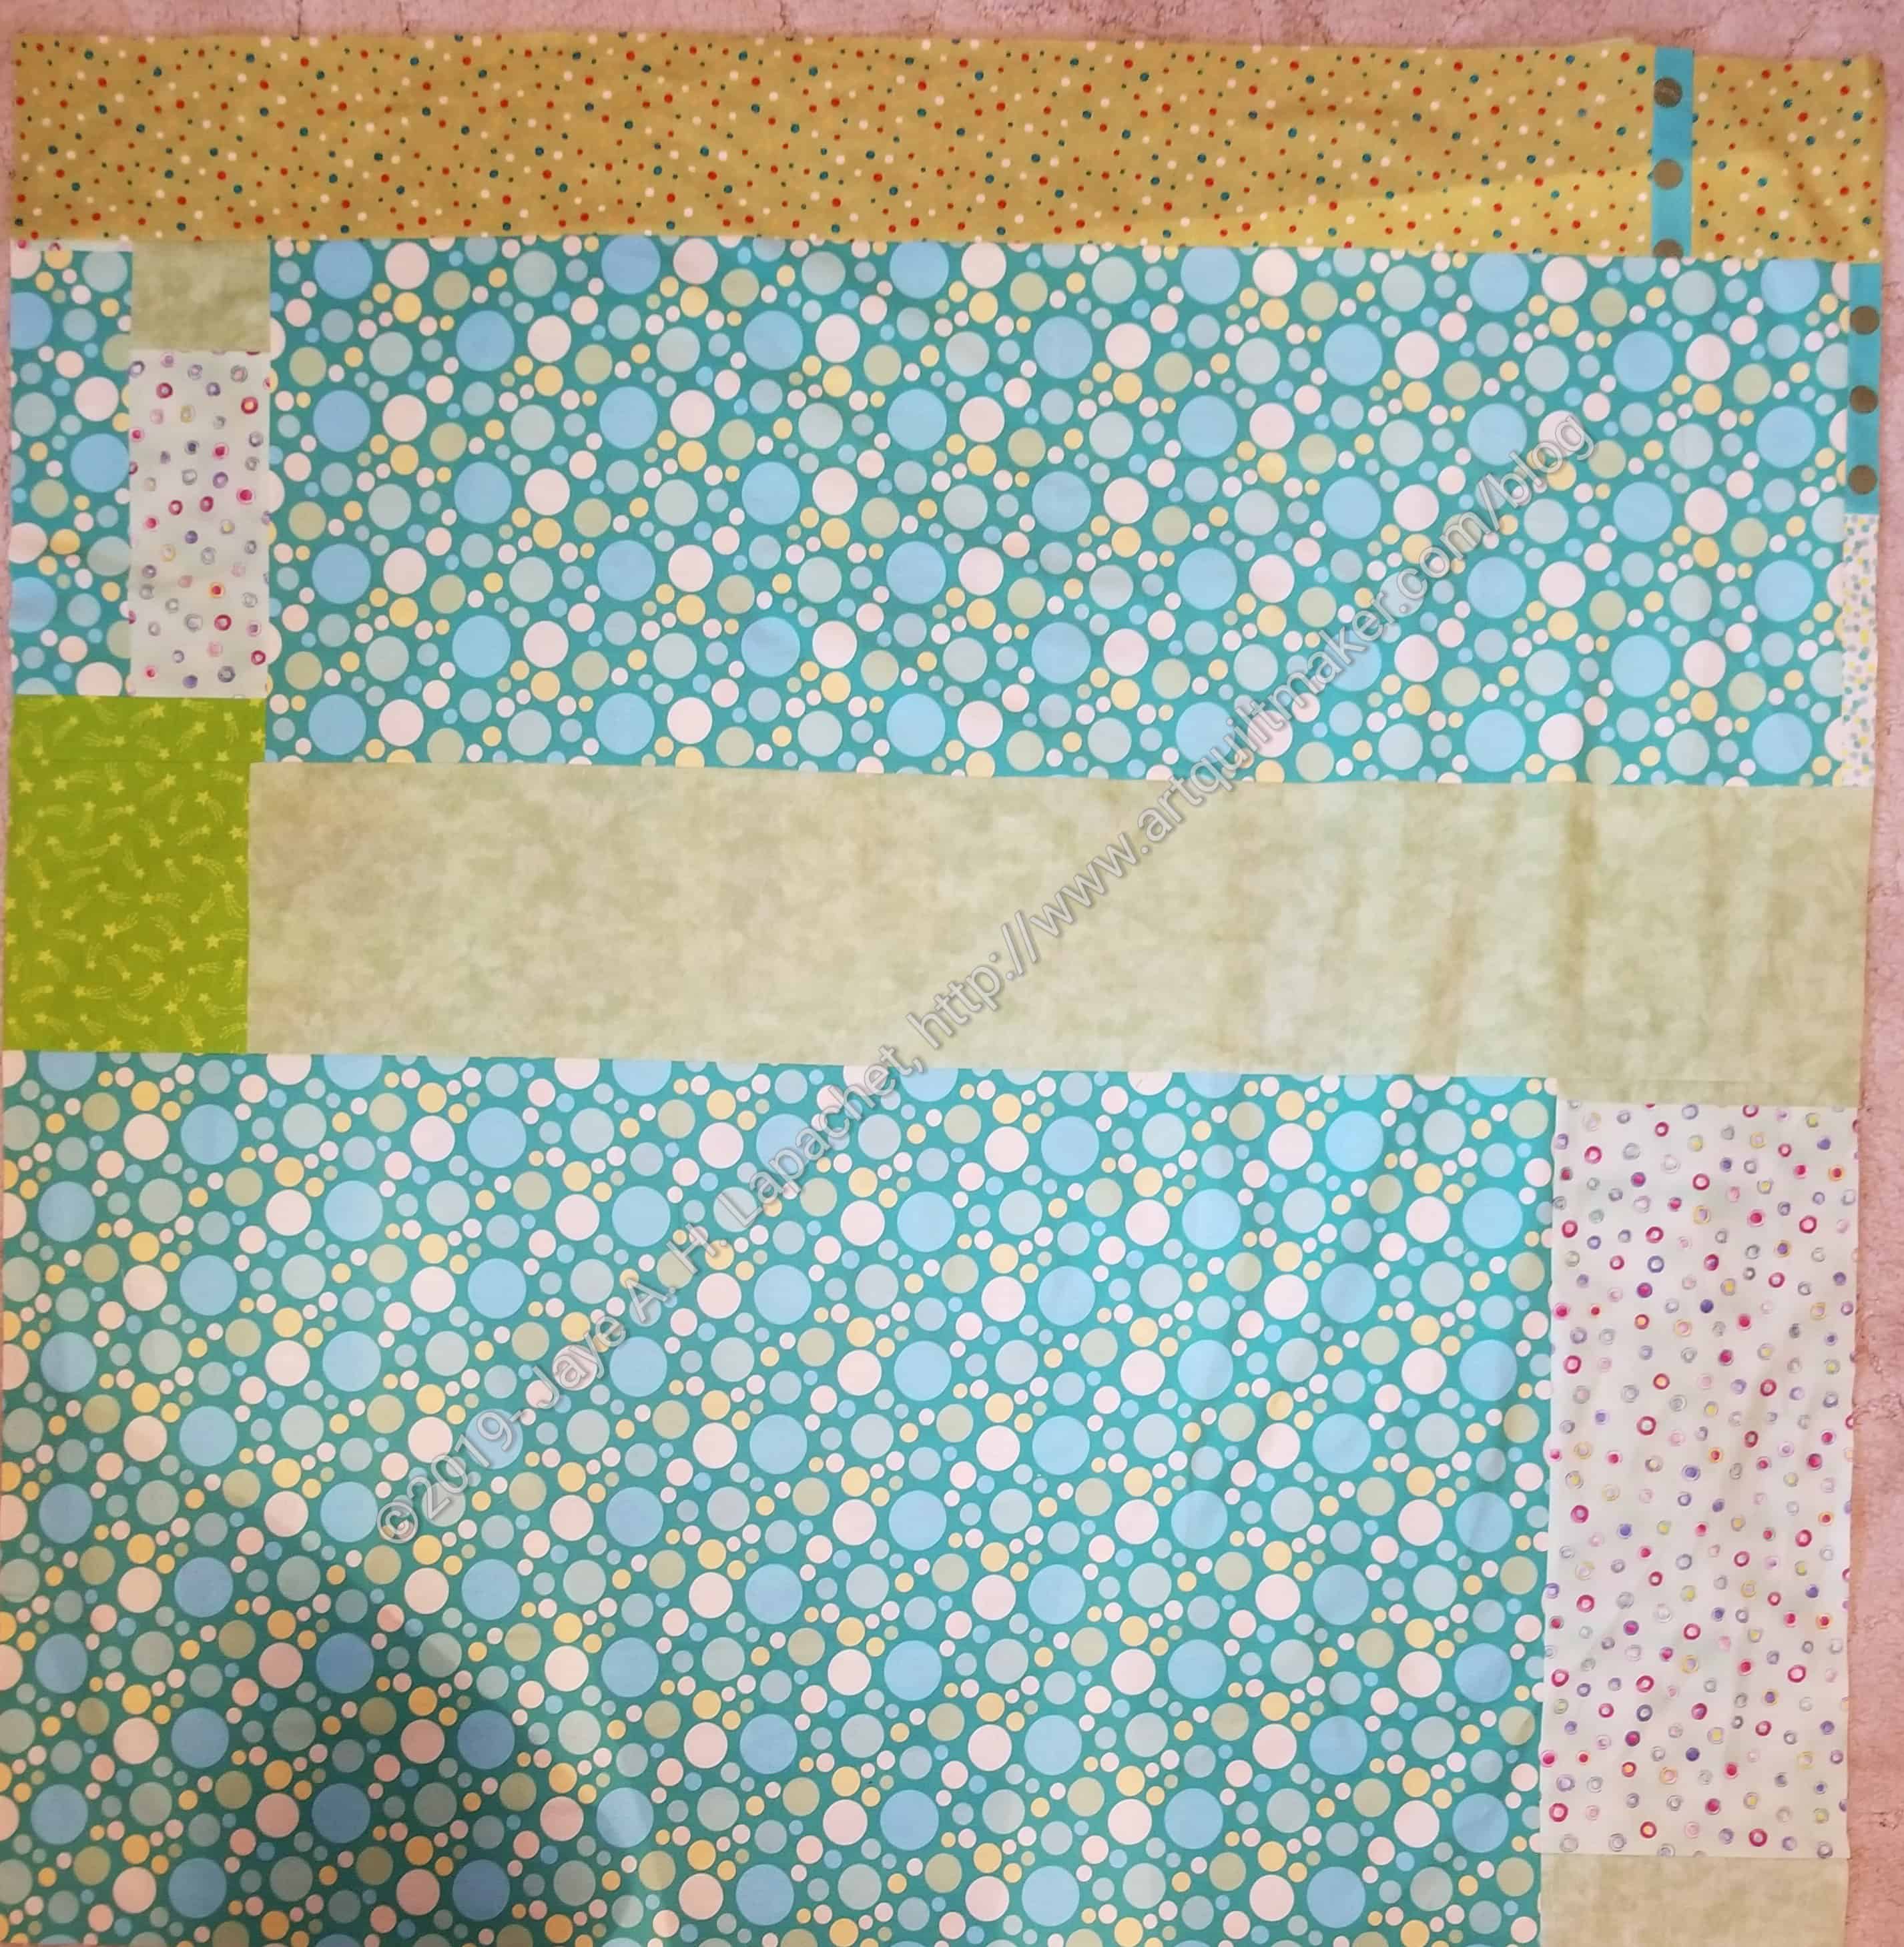
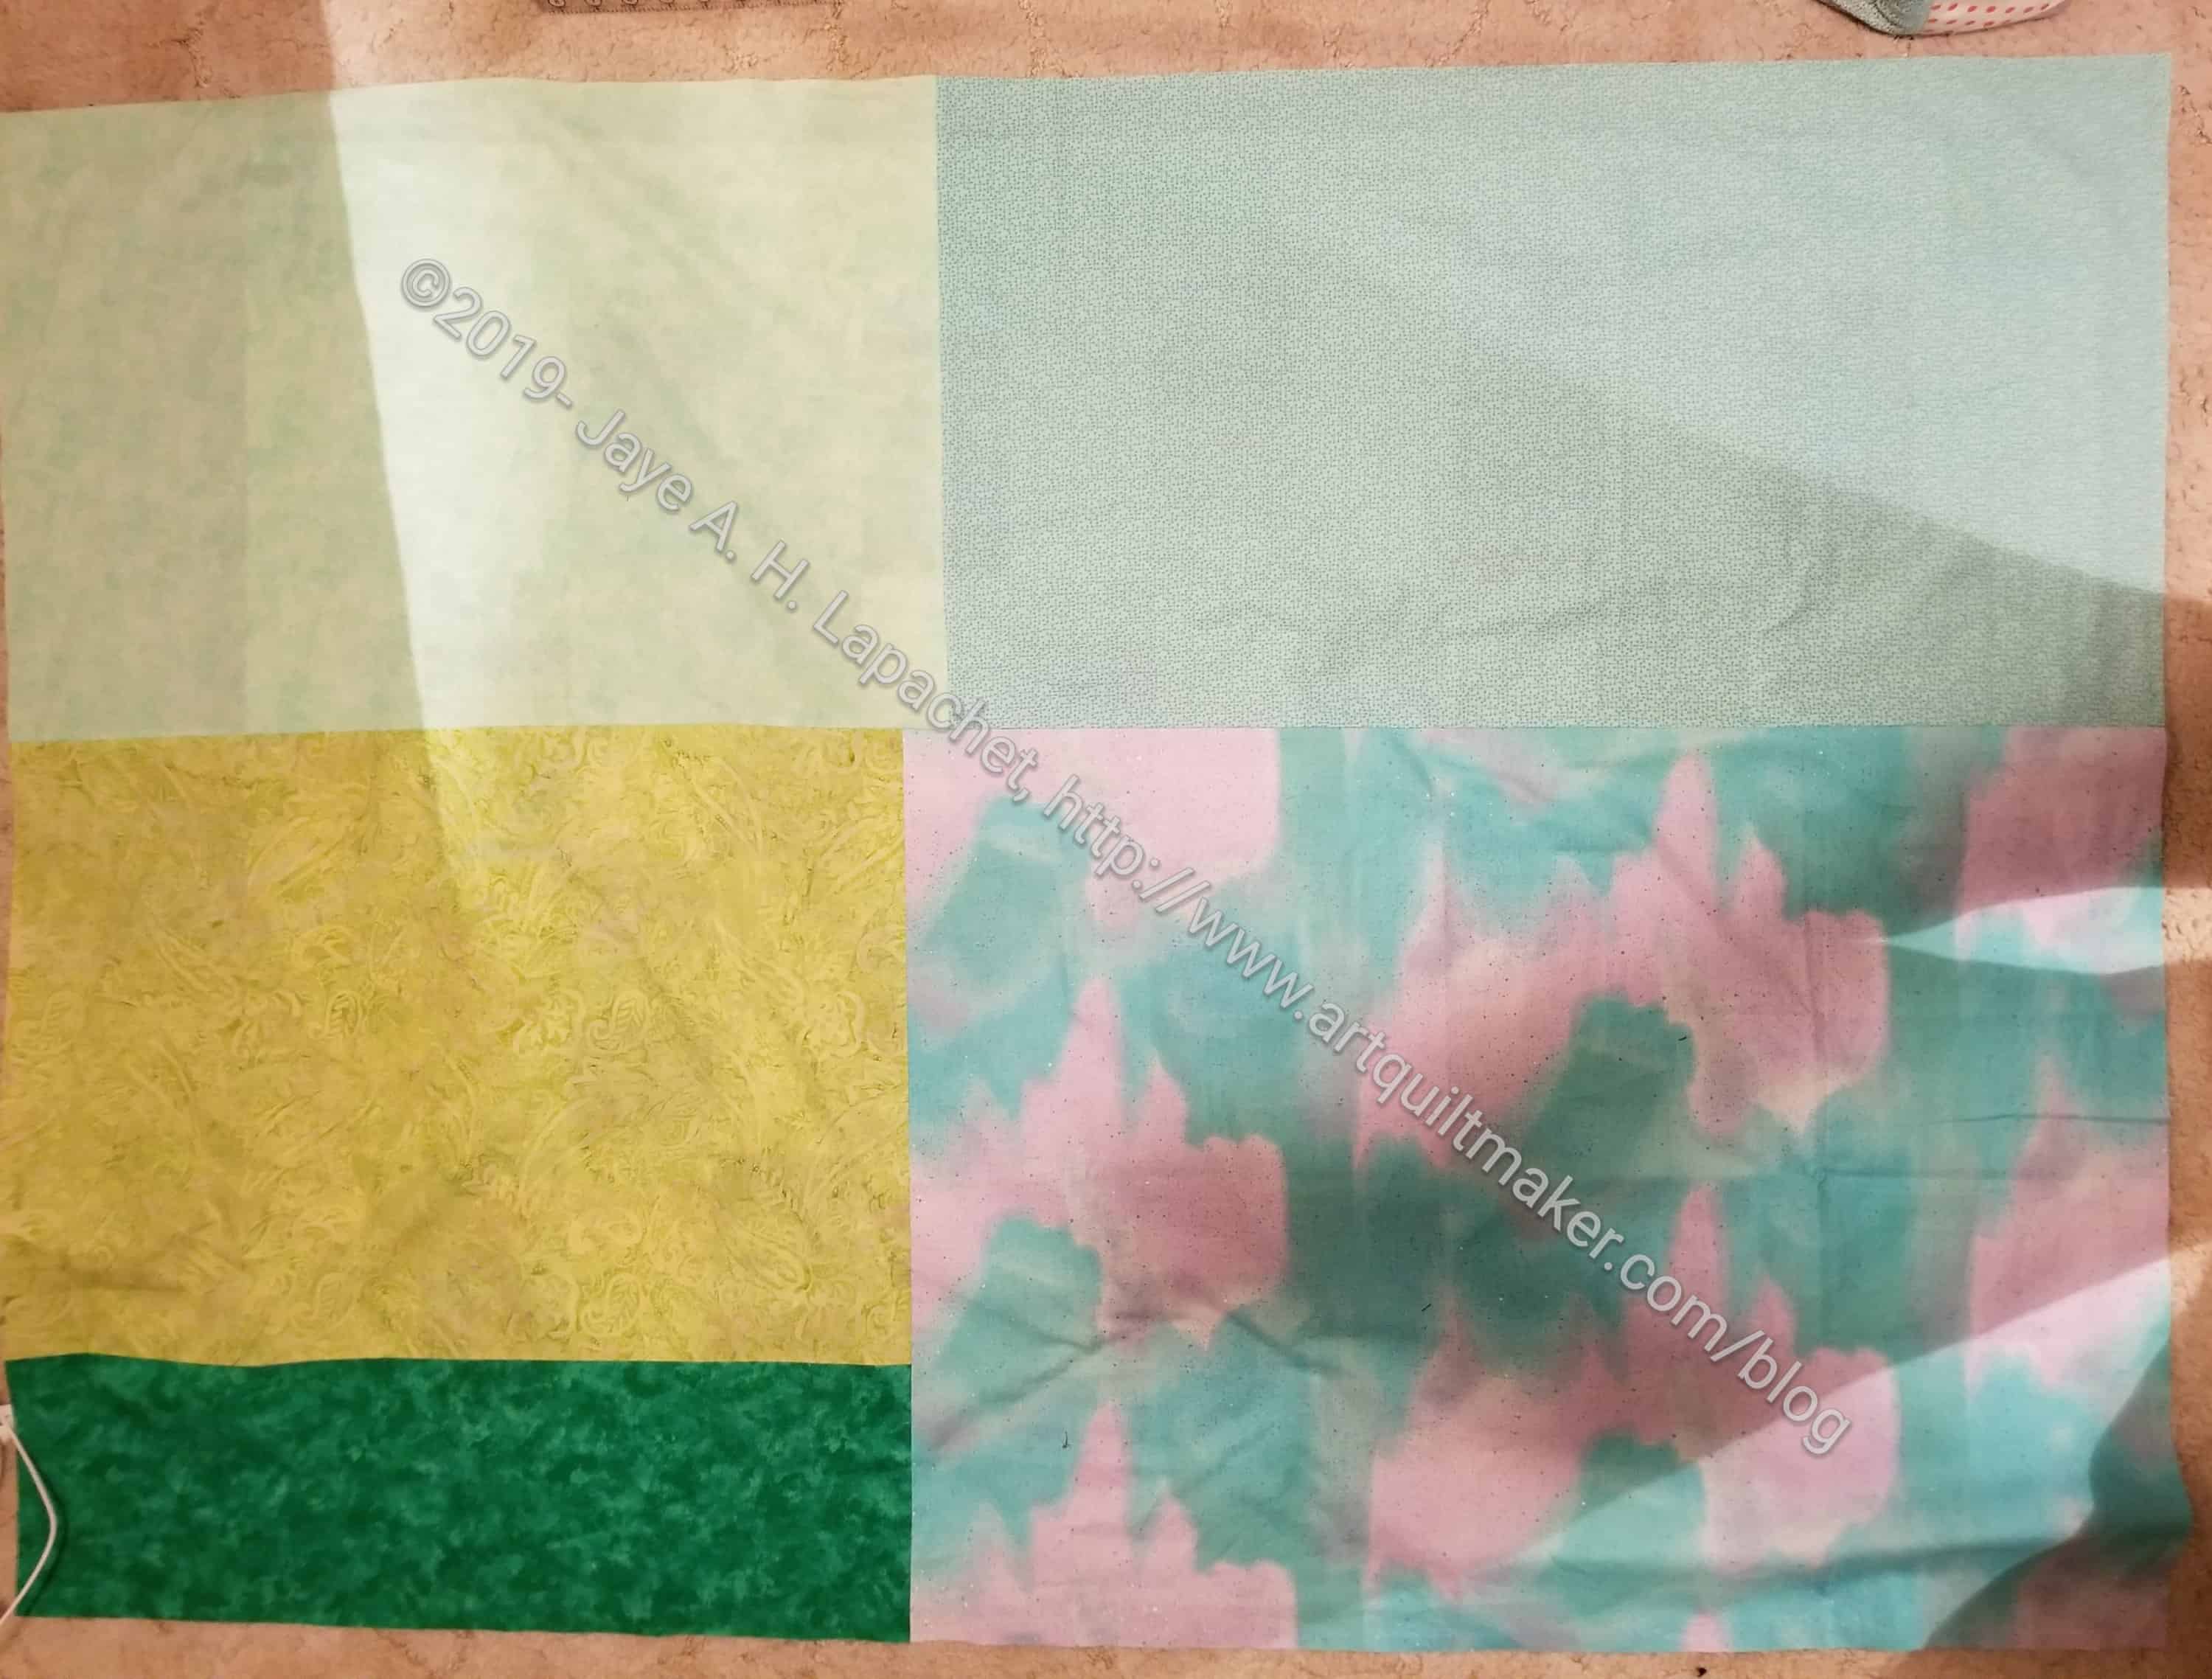
I took Ends n.7 and the Green Strips Donation quilts over to Tim’s house the other day so he could quilt them. He has a bunch of quilts to quilt and said that a number of them need backs and batting.

This irritates me because I know that Tim does a lot of quilting for the guild. The least that people can do is get the quilt ready for quilting.  Still, the top is done and who knows what happened? Someone could have just managed to get the top done before s/he had to deal with some tragedy. Also, it gives me the opportunity to participate in a group project.

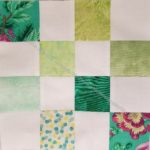
This is a fun and cheerful quilt. I brought it home in order to make a back so that Tim can quilt it. I kind of think it needs a border. The texture of the blocks, however, makes me want to do some piecing rather than just sew a plain border on to it. I have a number of other donation projects in process, so I have to decide if I want to add to the list with more piecing or just get this one done.


Green Thing Continues

Green Thing Donation Top or Block

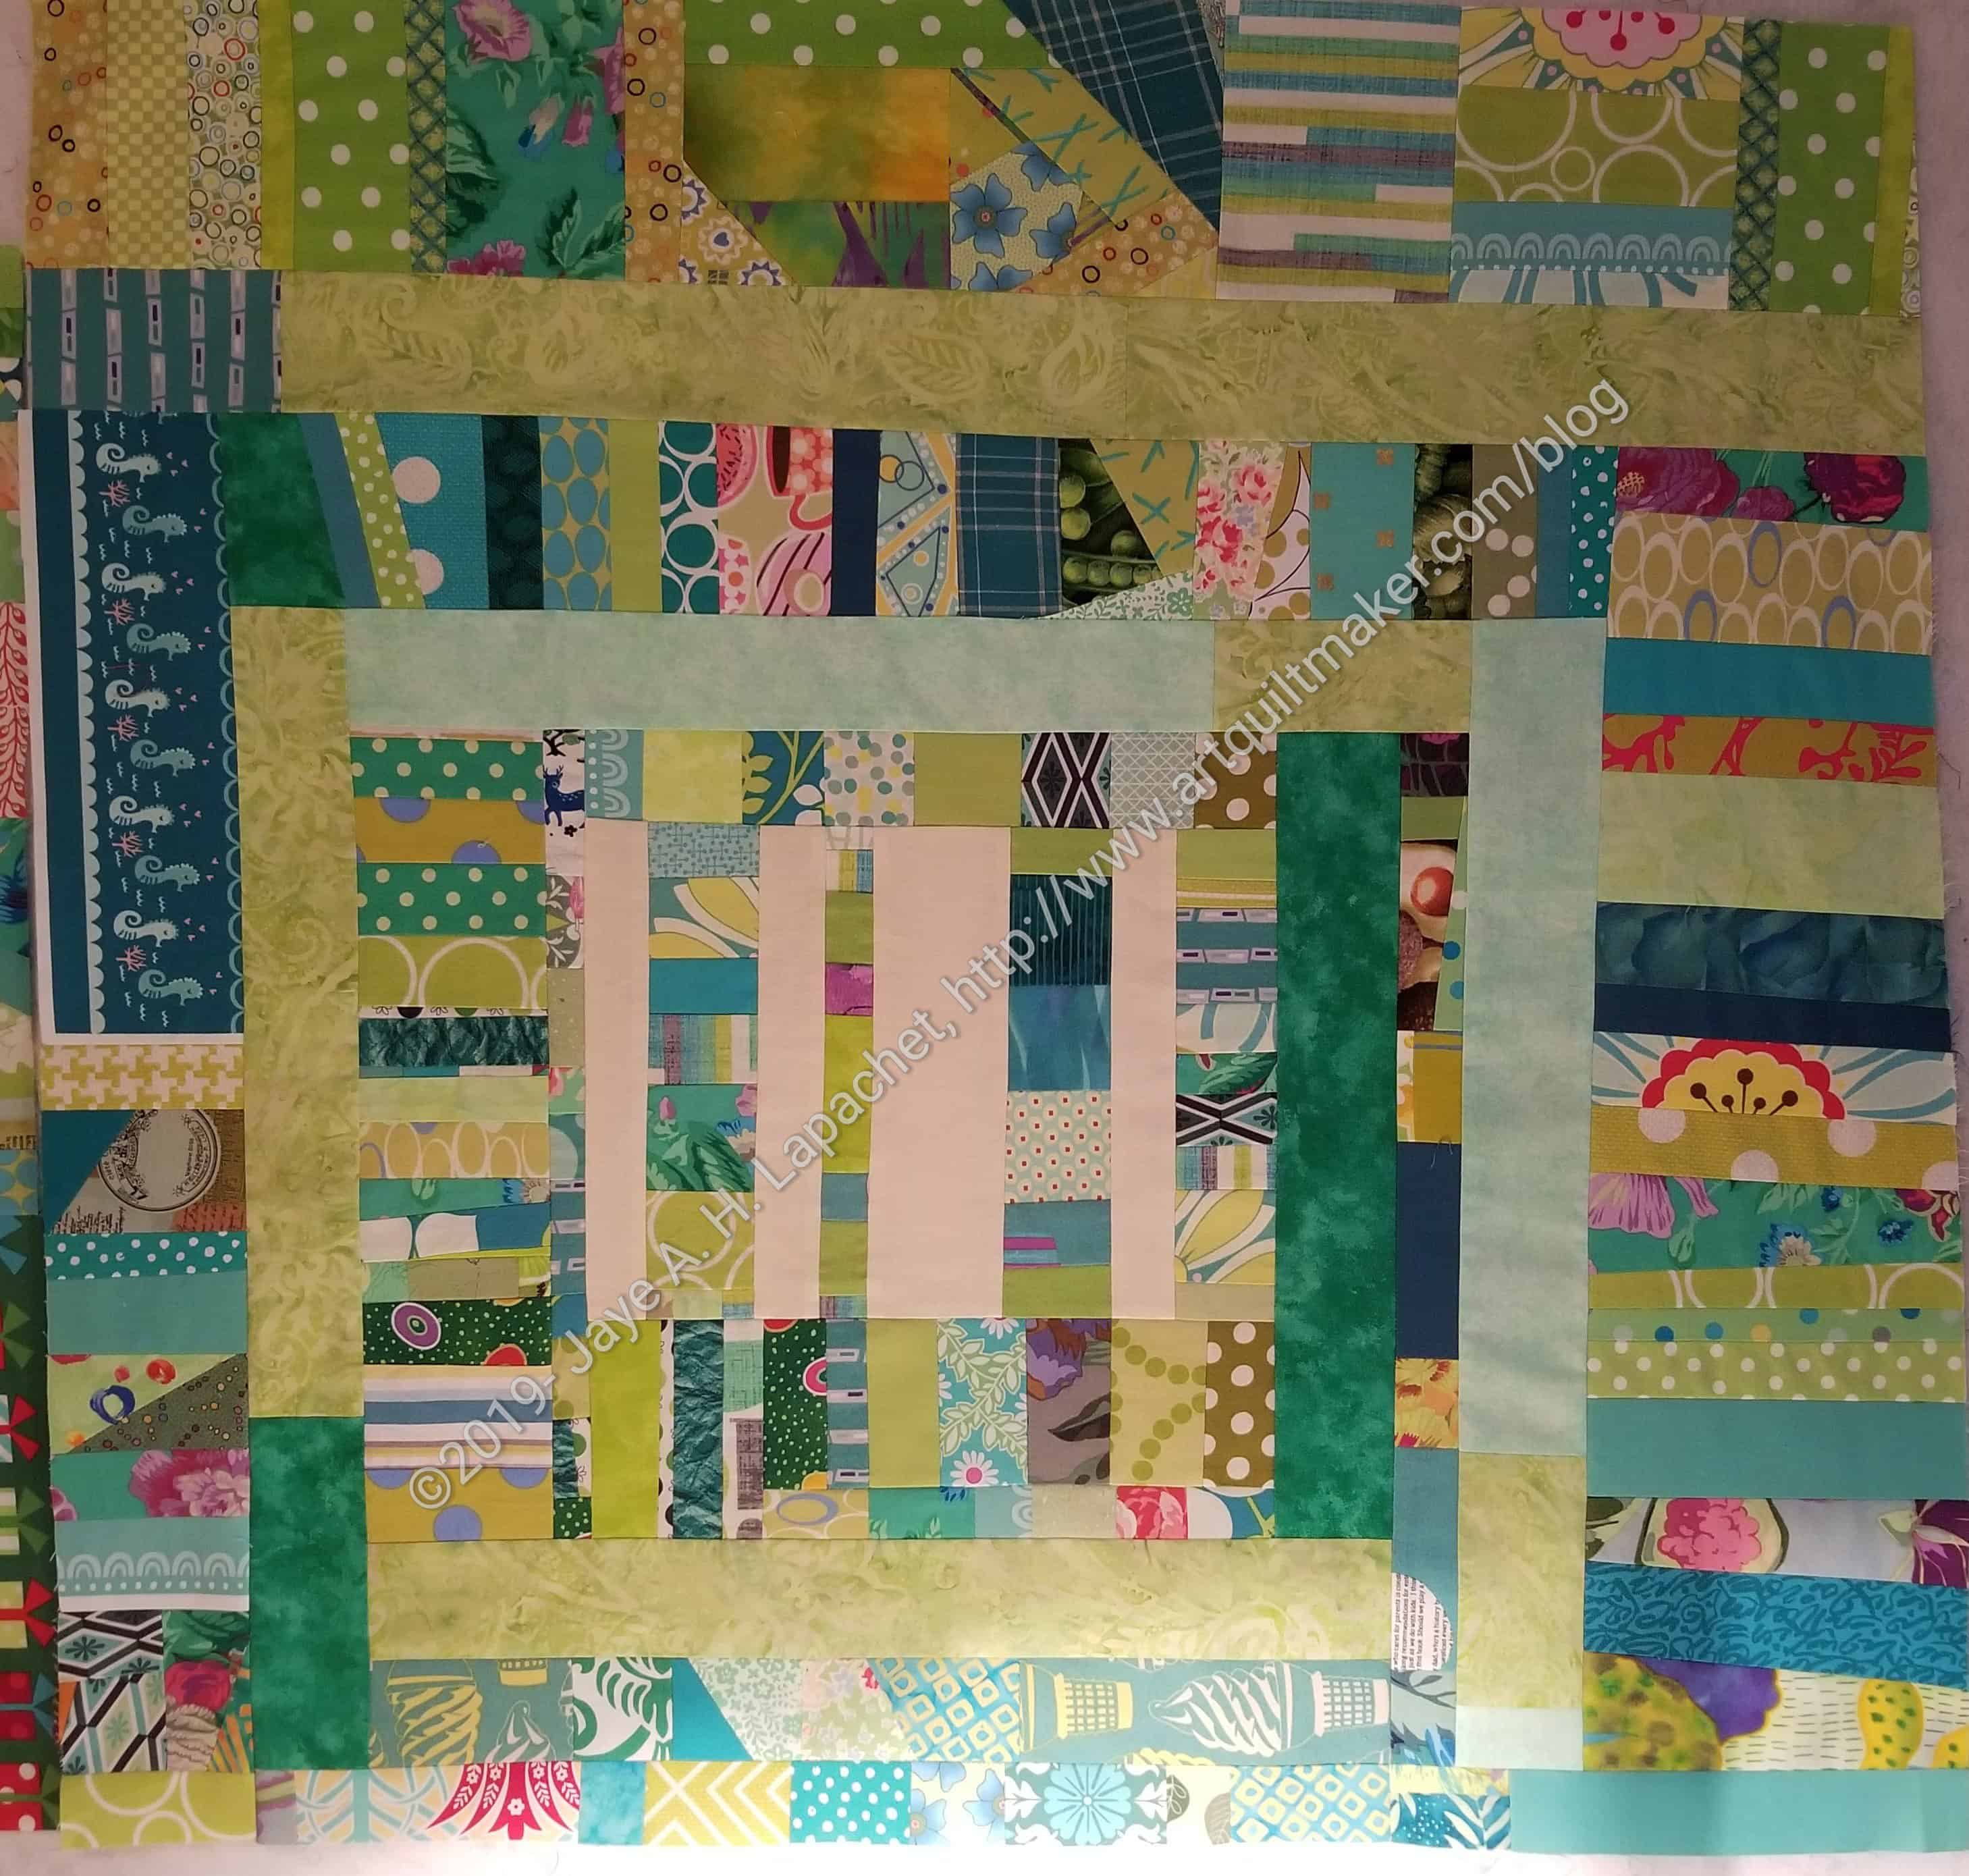
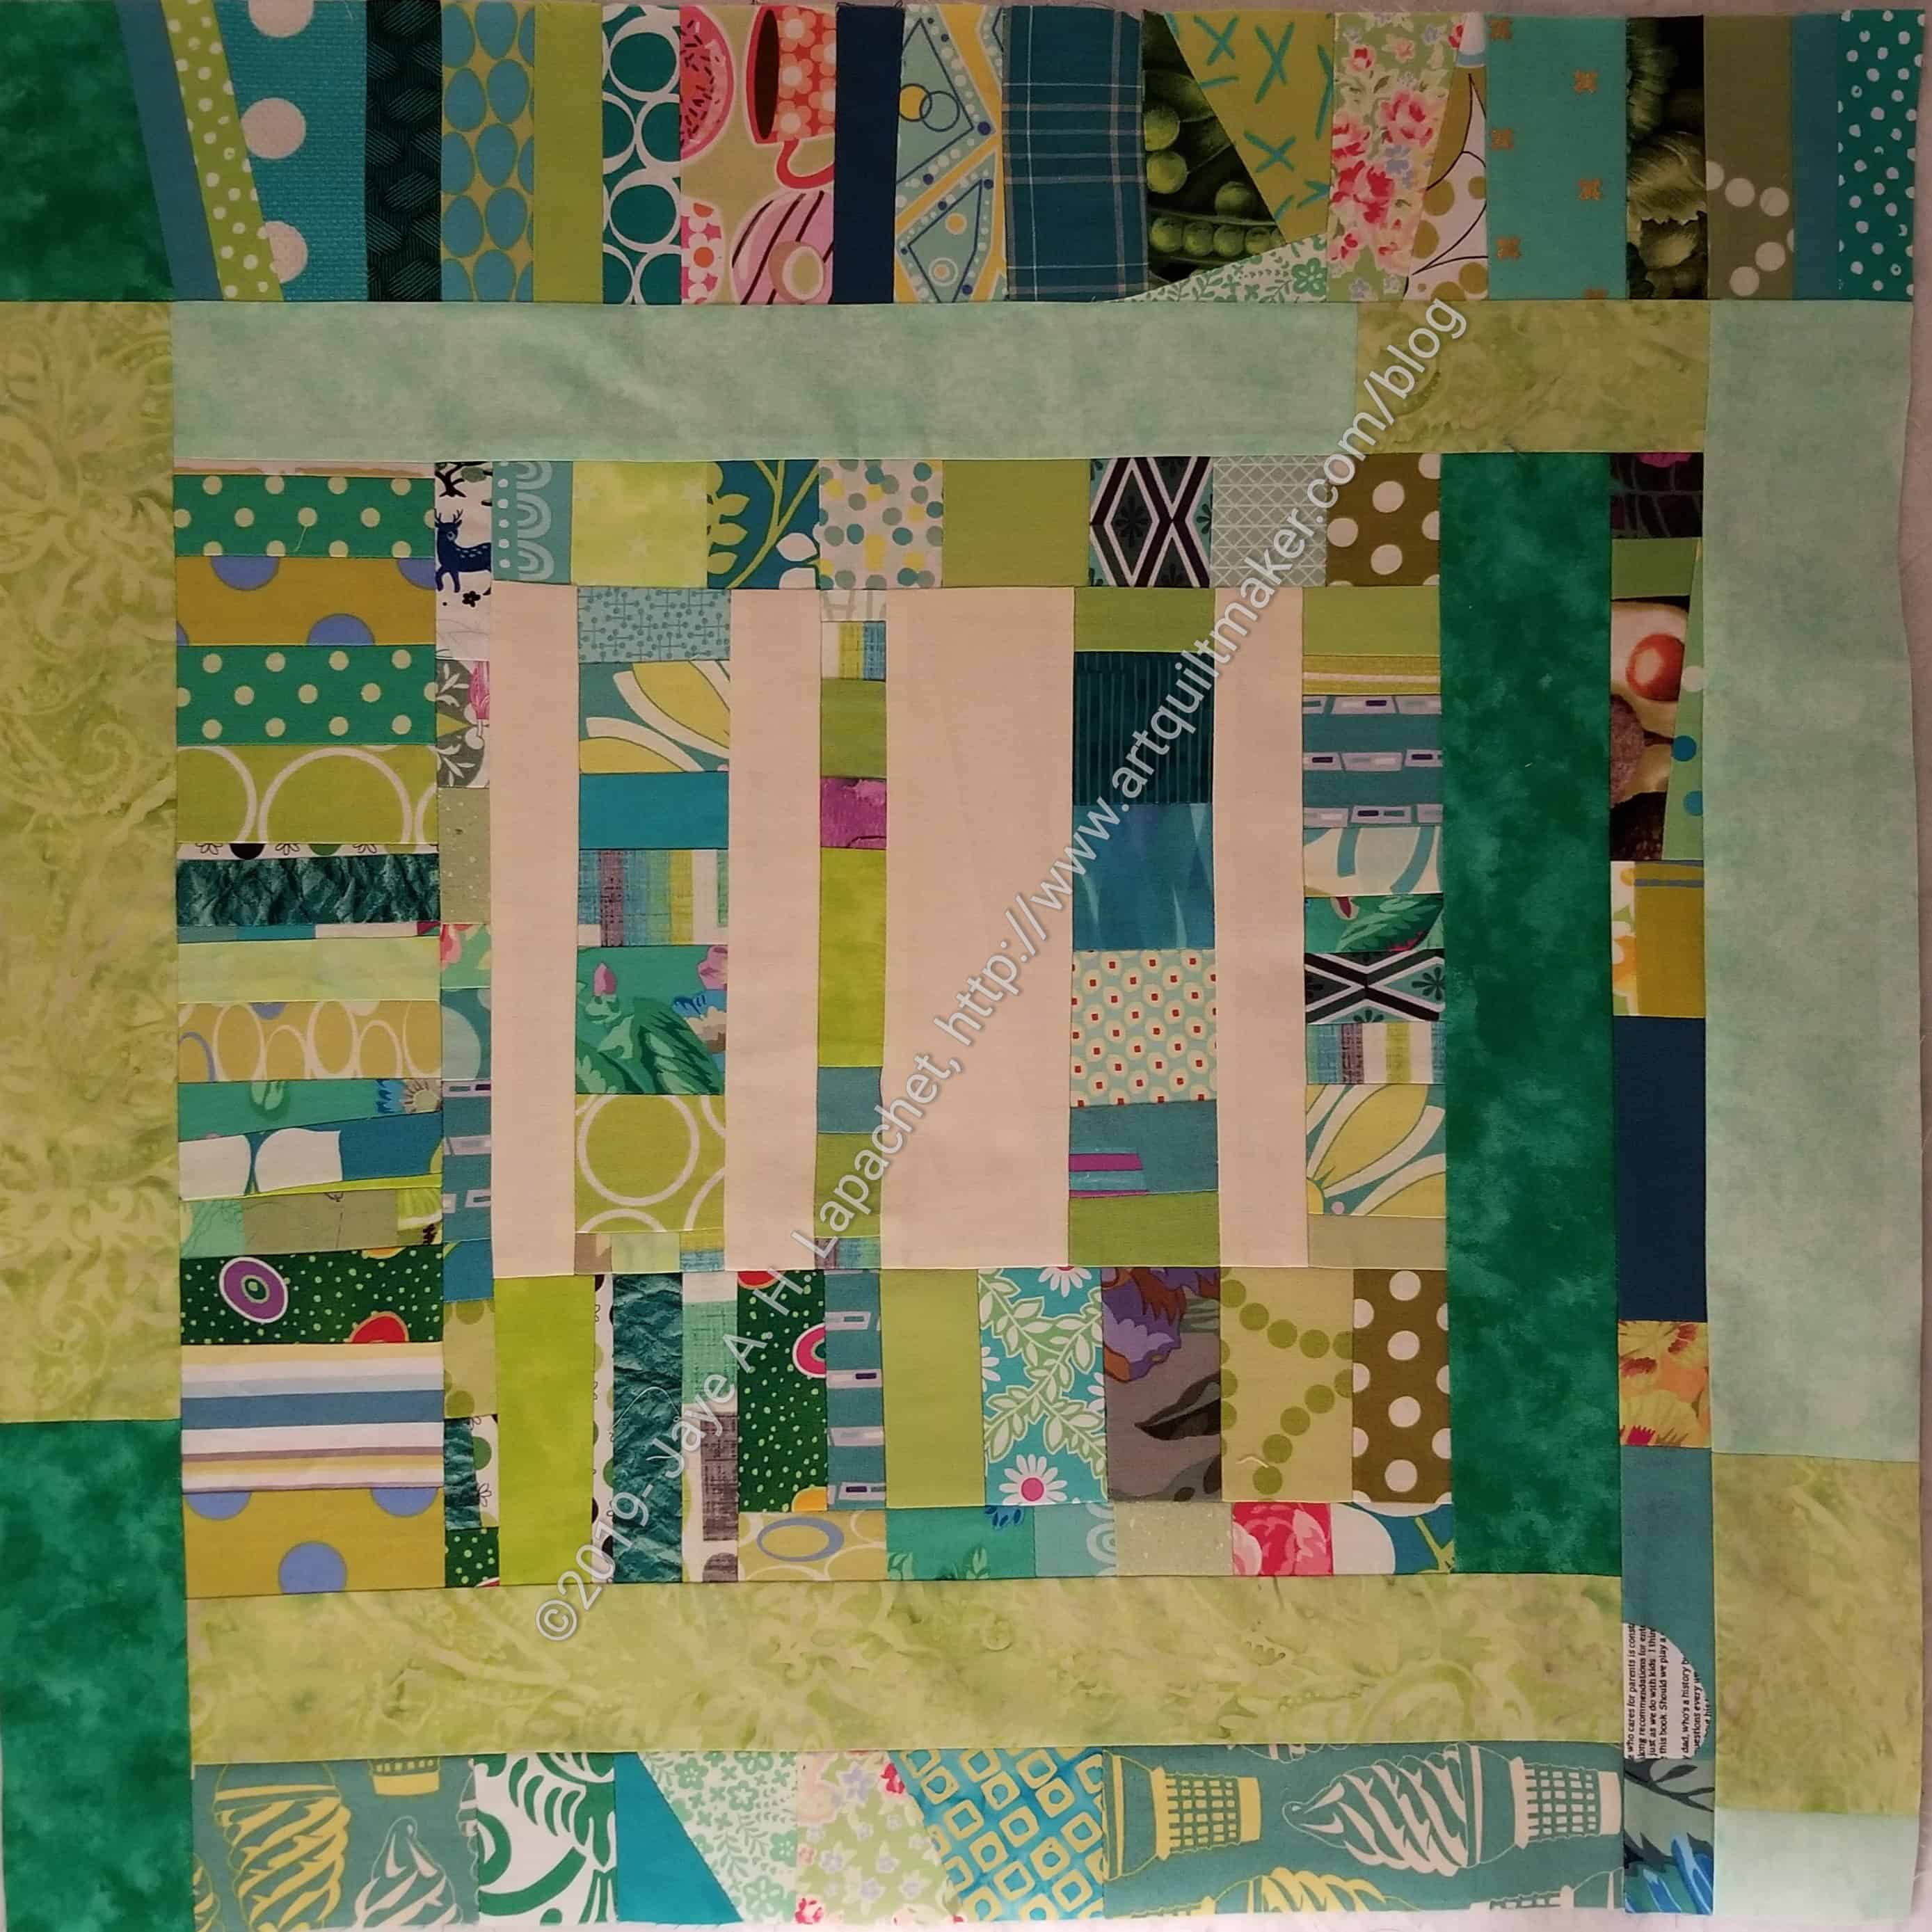
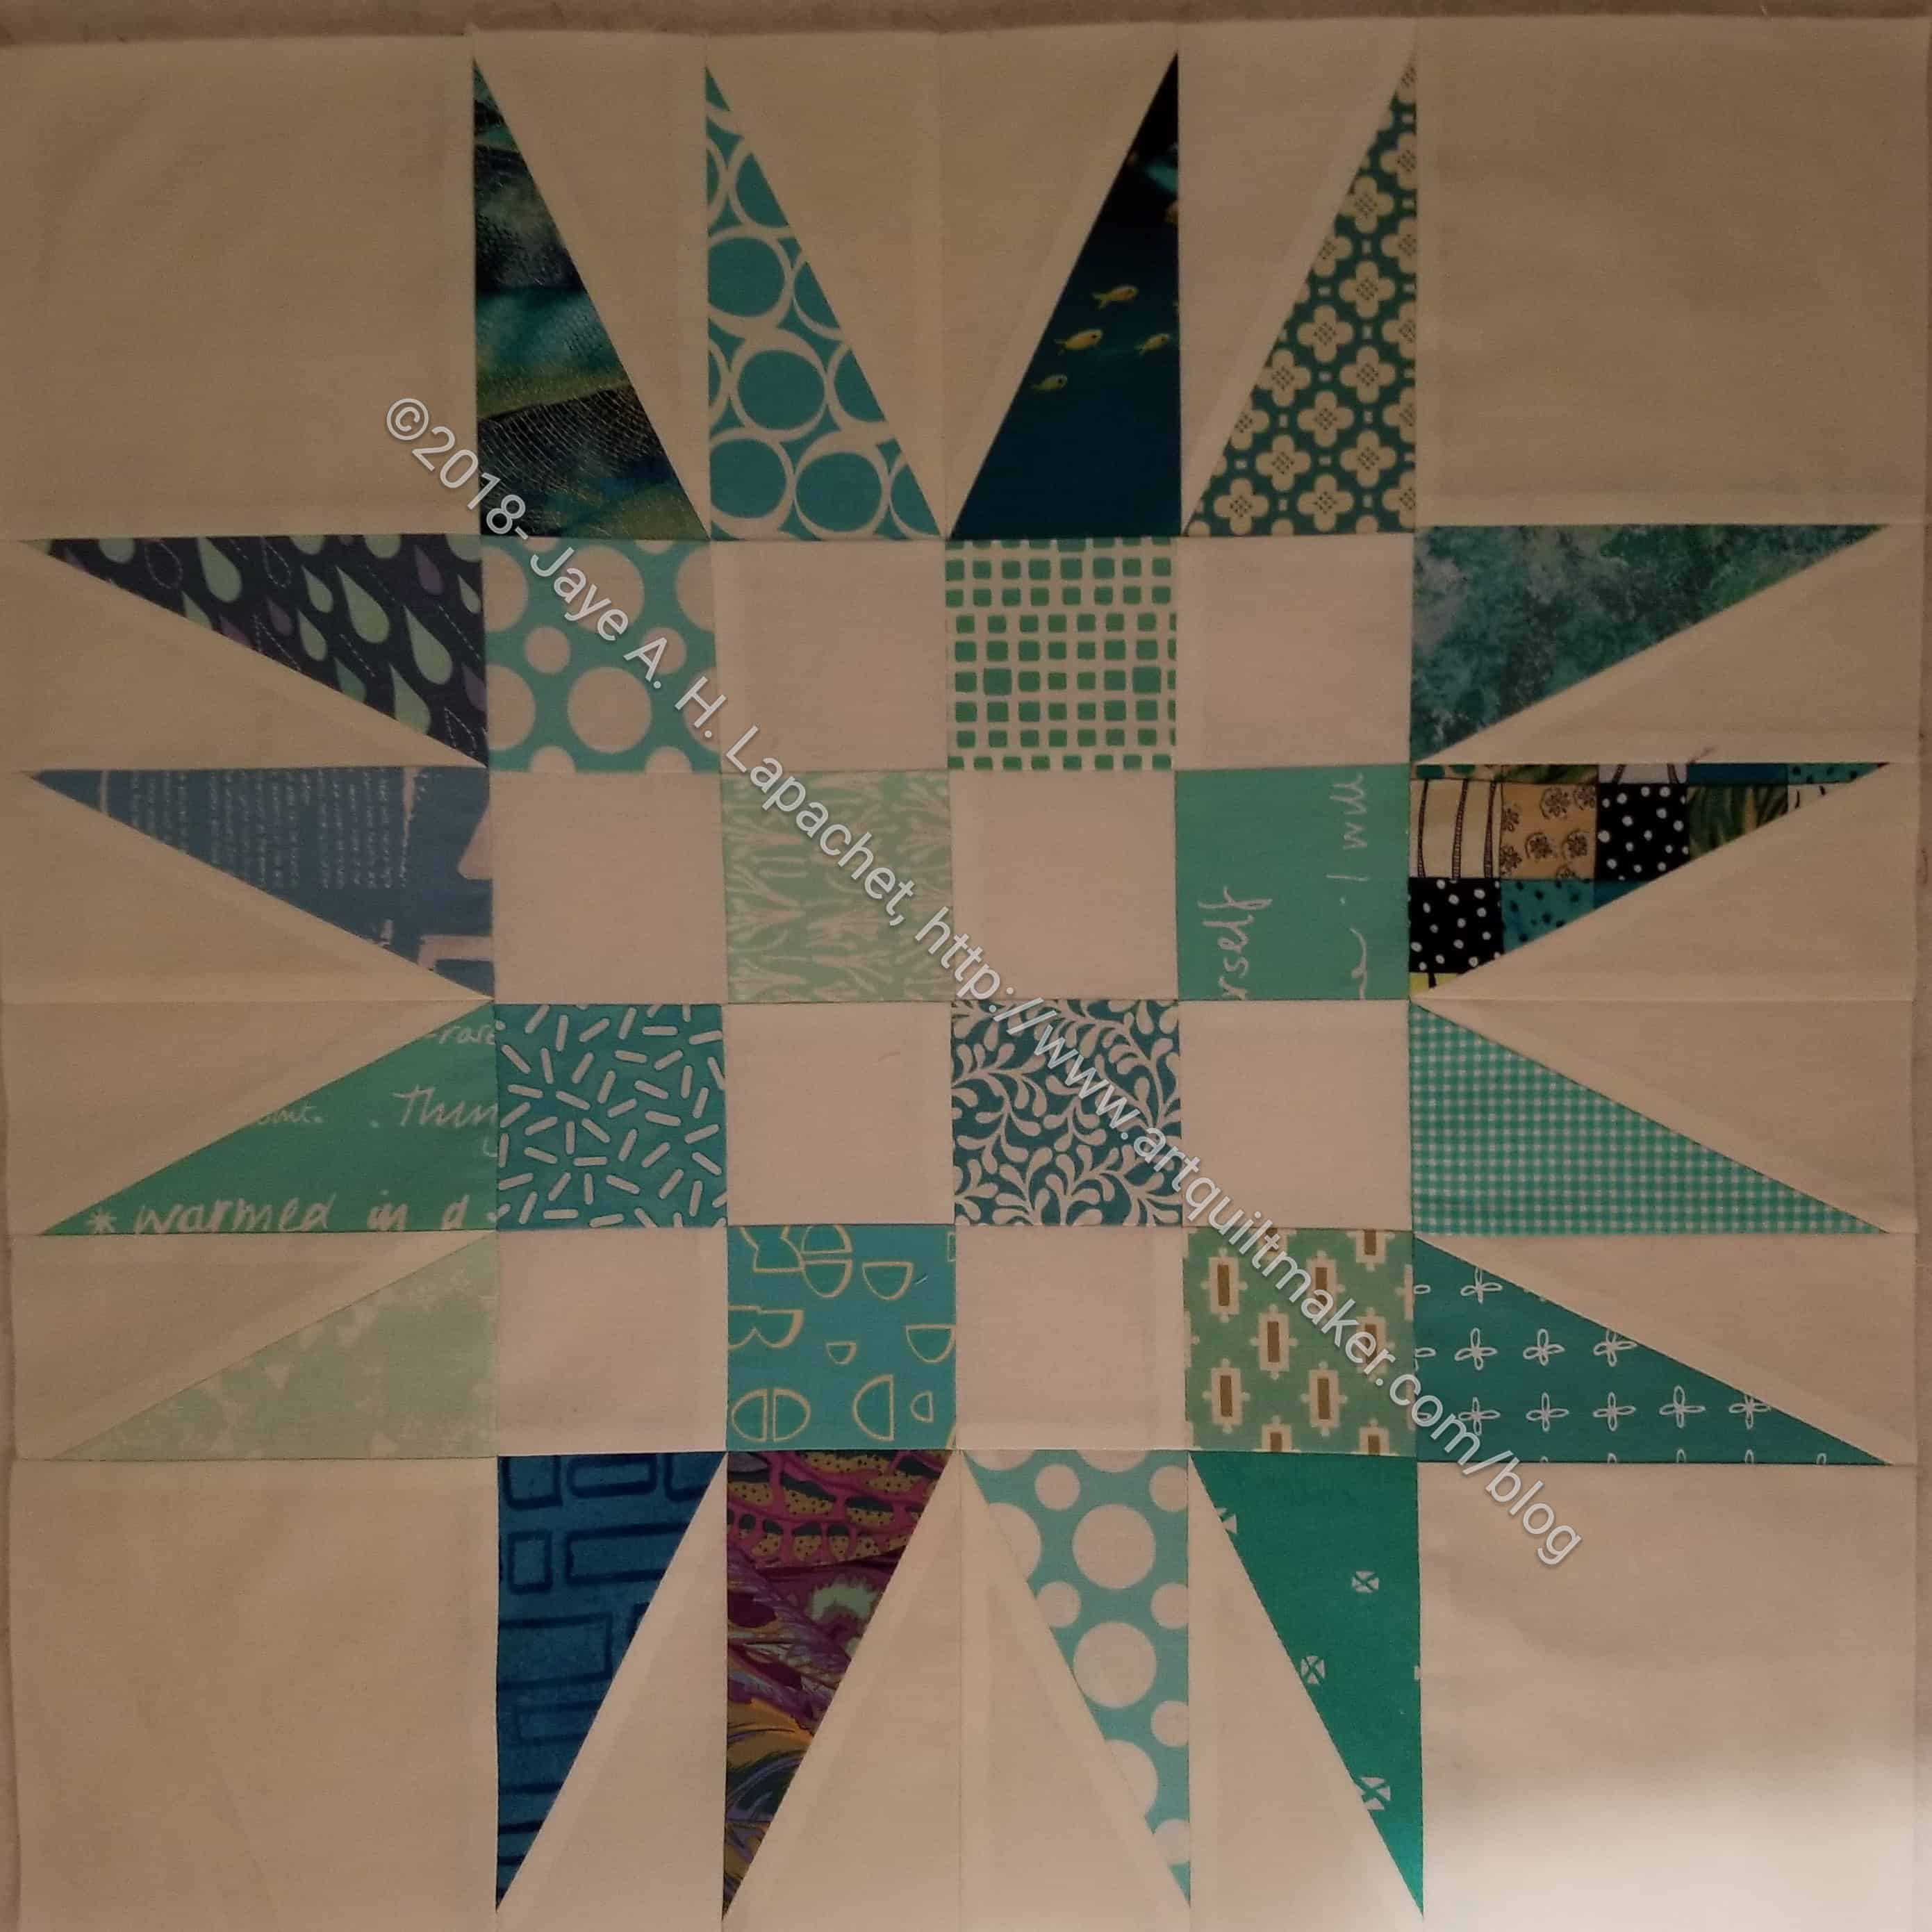
I don’t know what this will be – block or quilt. I started it because I had some leftovers from the Green Strip donation quilt.

I thought I would just make a block, hand it over to Peggy and see what she could do with it. Somehow, it is has grown into this. It is about 22 x 22 inches now and I might as well just keep on using those green scraps to make it into a top. Another 10 inches on each side will not be difficult. I might even have enough scraps.

I am almost done with another row of small strips for the right side, which will add about 4 inches to it. I grab strips or pieces out of the green bin, sew them together into some kind of strip and attach it when it is long enough. I had some plainer strips leftover from the back of the Green Strip donation quilt and have been adding those as well.

There are a lot of small pieces so I am worried about the quilting (which I won’t be doing!) I am trying to reduce bulk by pressing all the seams open, which is a big pain.

If nothing else, this is a great way to get rid of scraps. It isn’t doing anything for my collection of donation blocks, however. Tim saw the photo I posted and said that it was much more interesting than the regular postage stamp blocks the guild normally makes. Perhaps I am just branching out and using some different inspiration to create beauty for others in need? I haven’t examined my inspiration much beyond wanting to use up scraps.

Green Strips Donation Top

Green Strips donation top

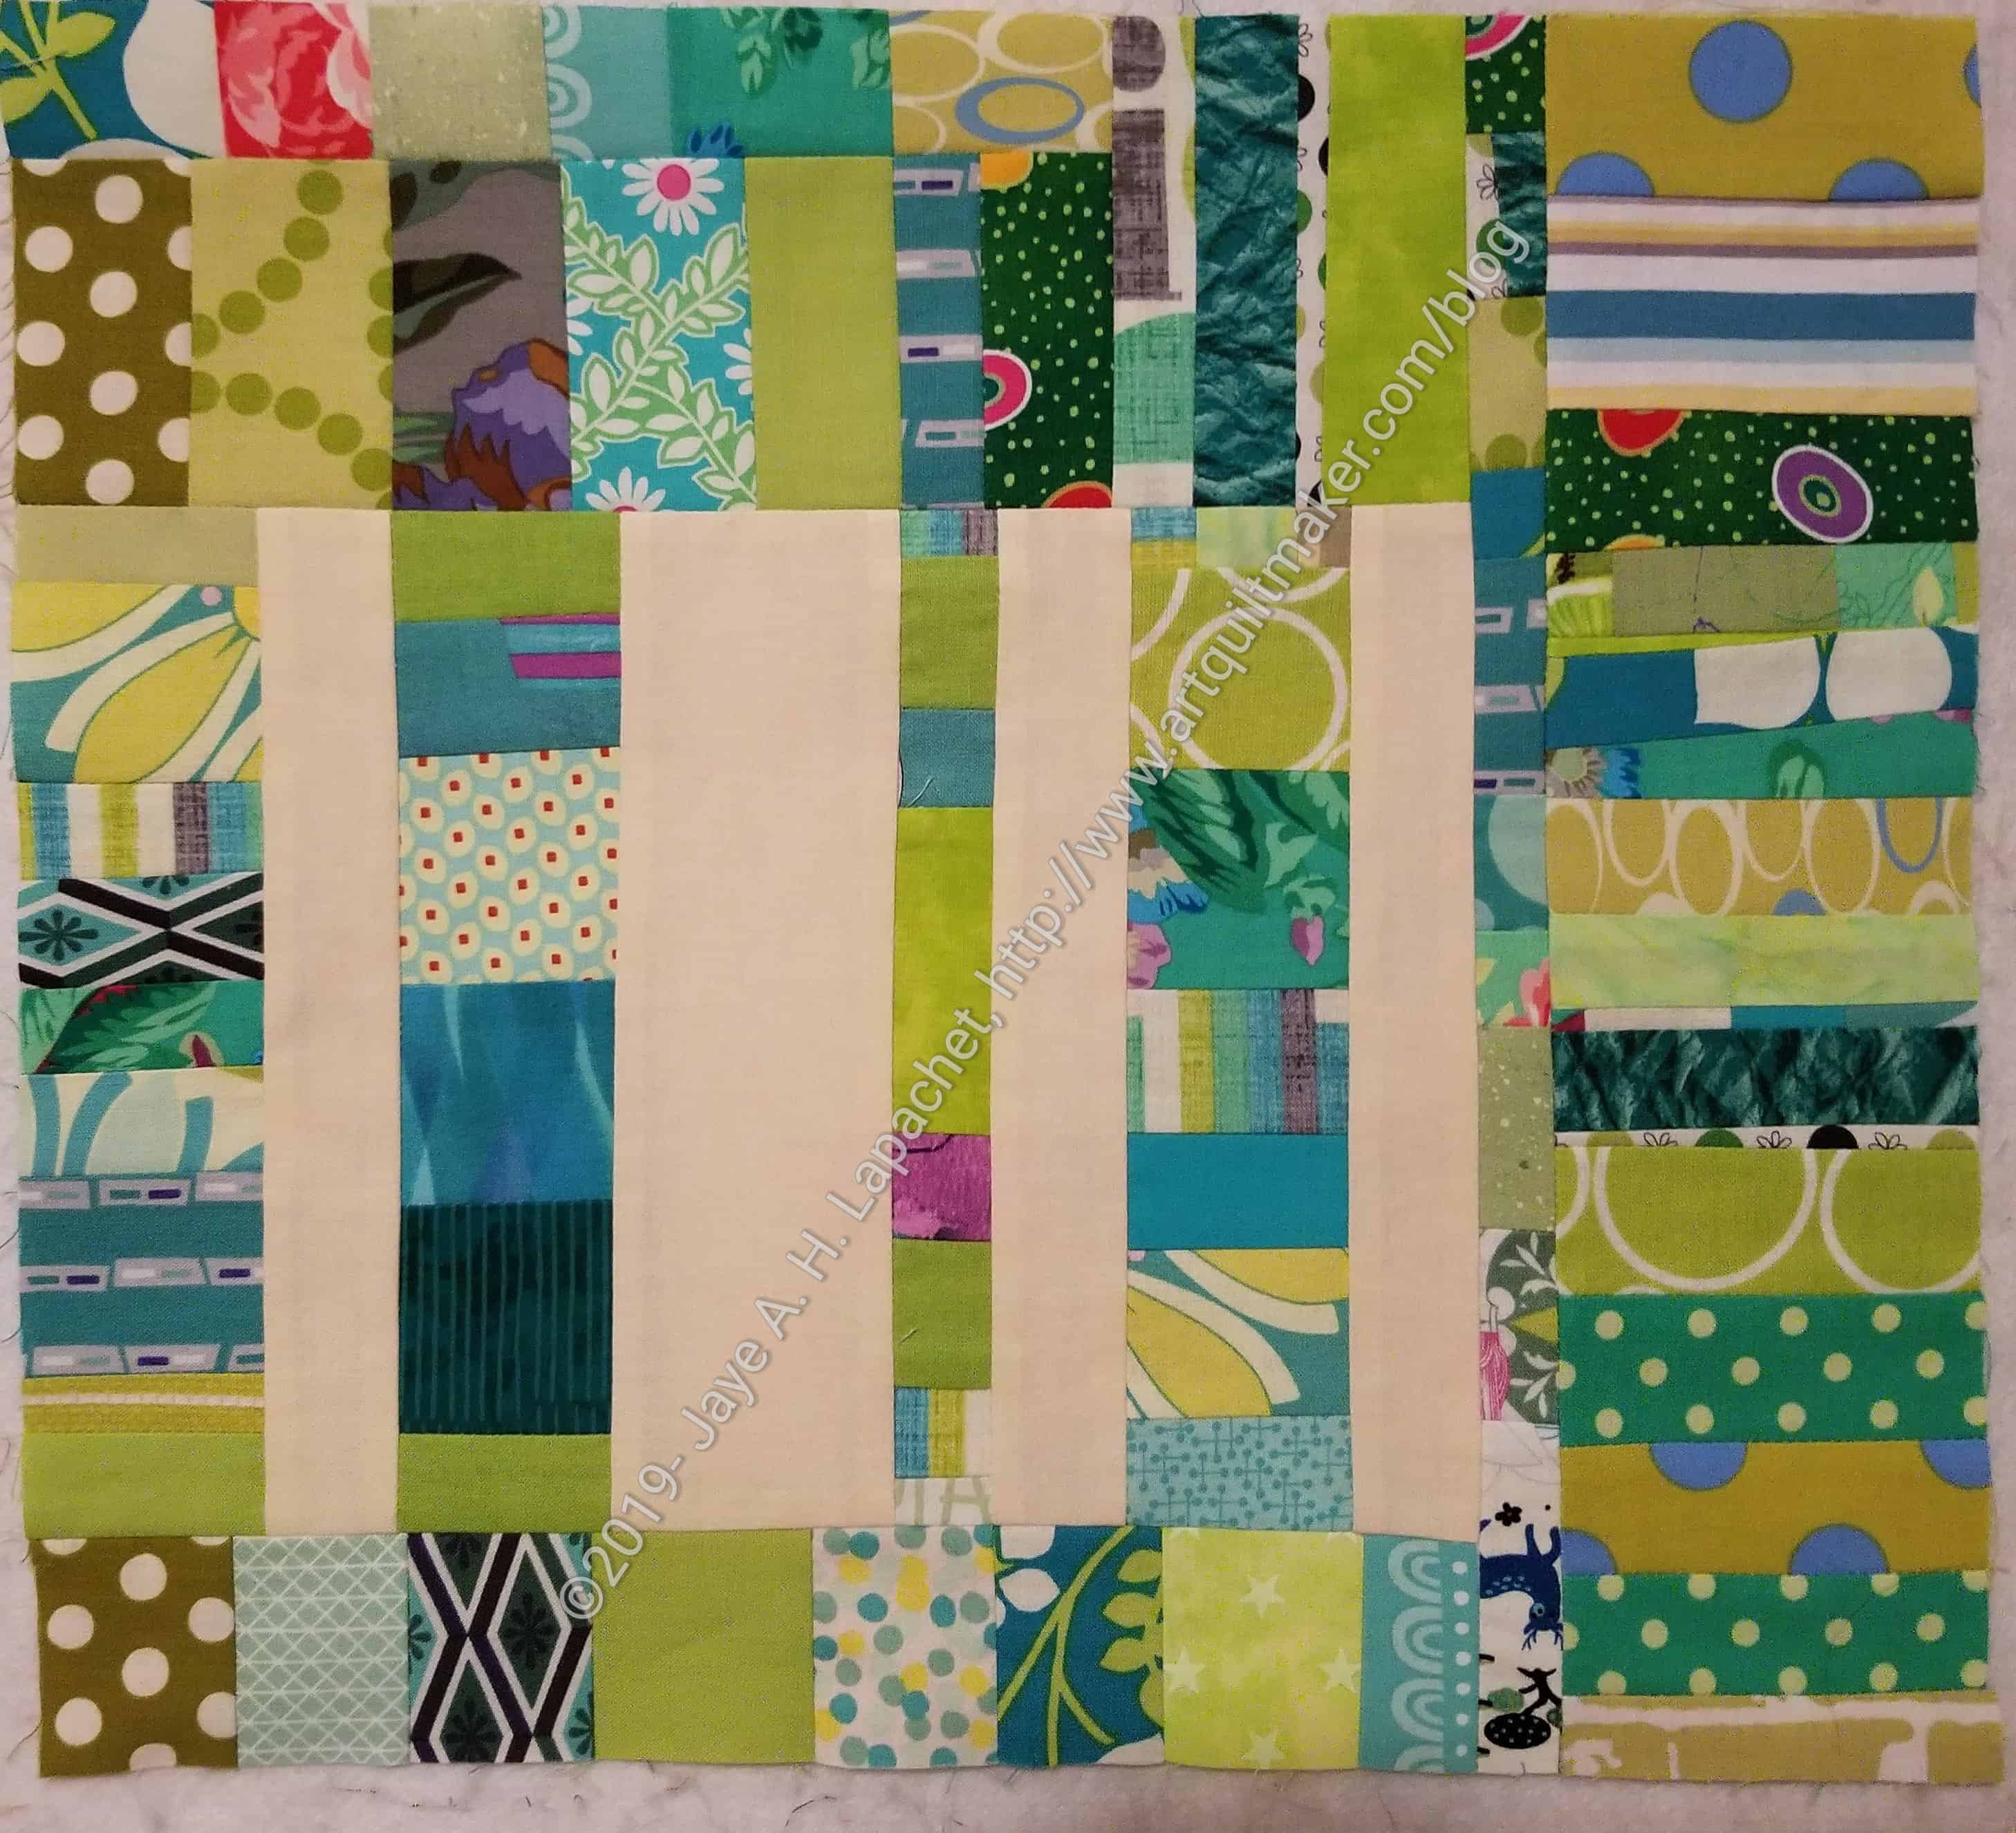
The Green Strips donation top and back is finally finished and ready to take to BAM.

I made it from green scraps and a yard of Kona Cream that Amanda gave me. The scrap bin is right next to my sewing machine, so I can reach in an rummage without even getting up! It would be a bad thing except I have to get up to iron and cut, so I still get steps in.

The block was inspired by Alison, as I think I have mentioned, though she does hers on a foundation. That is probably a good idea, though I didn’t have a lot of problems with bias.

Green Strips donation back

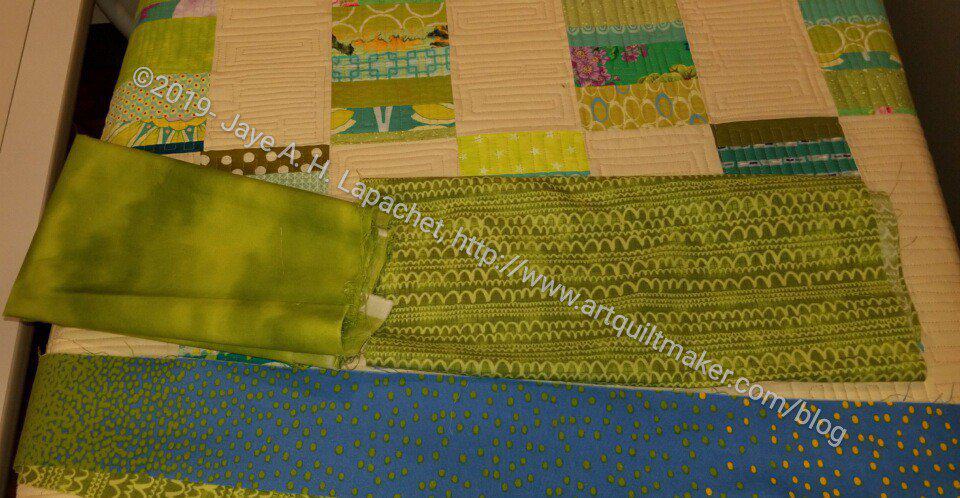
I dragged down the green bin and pulled out some yardage I didn’t think I would use for the back.

Ends n.7 Donation Quilt

Ends n.7 Donation Quilt

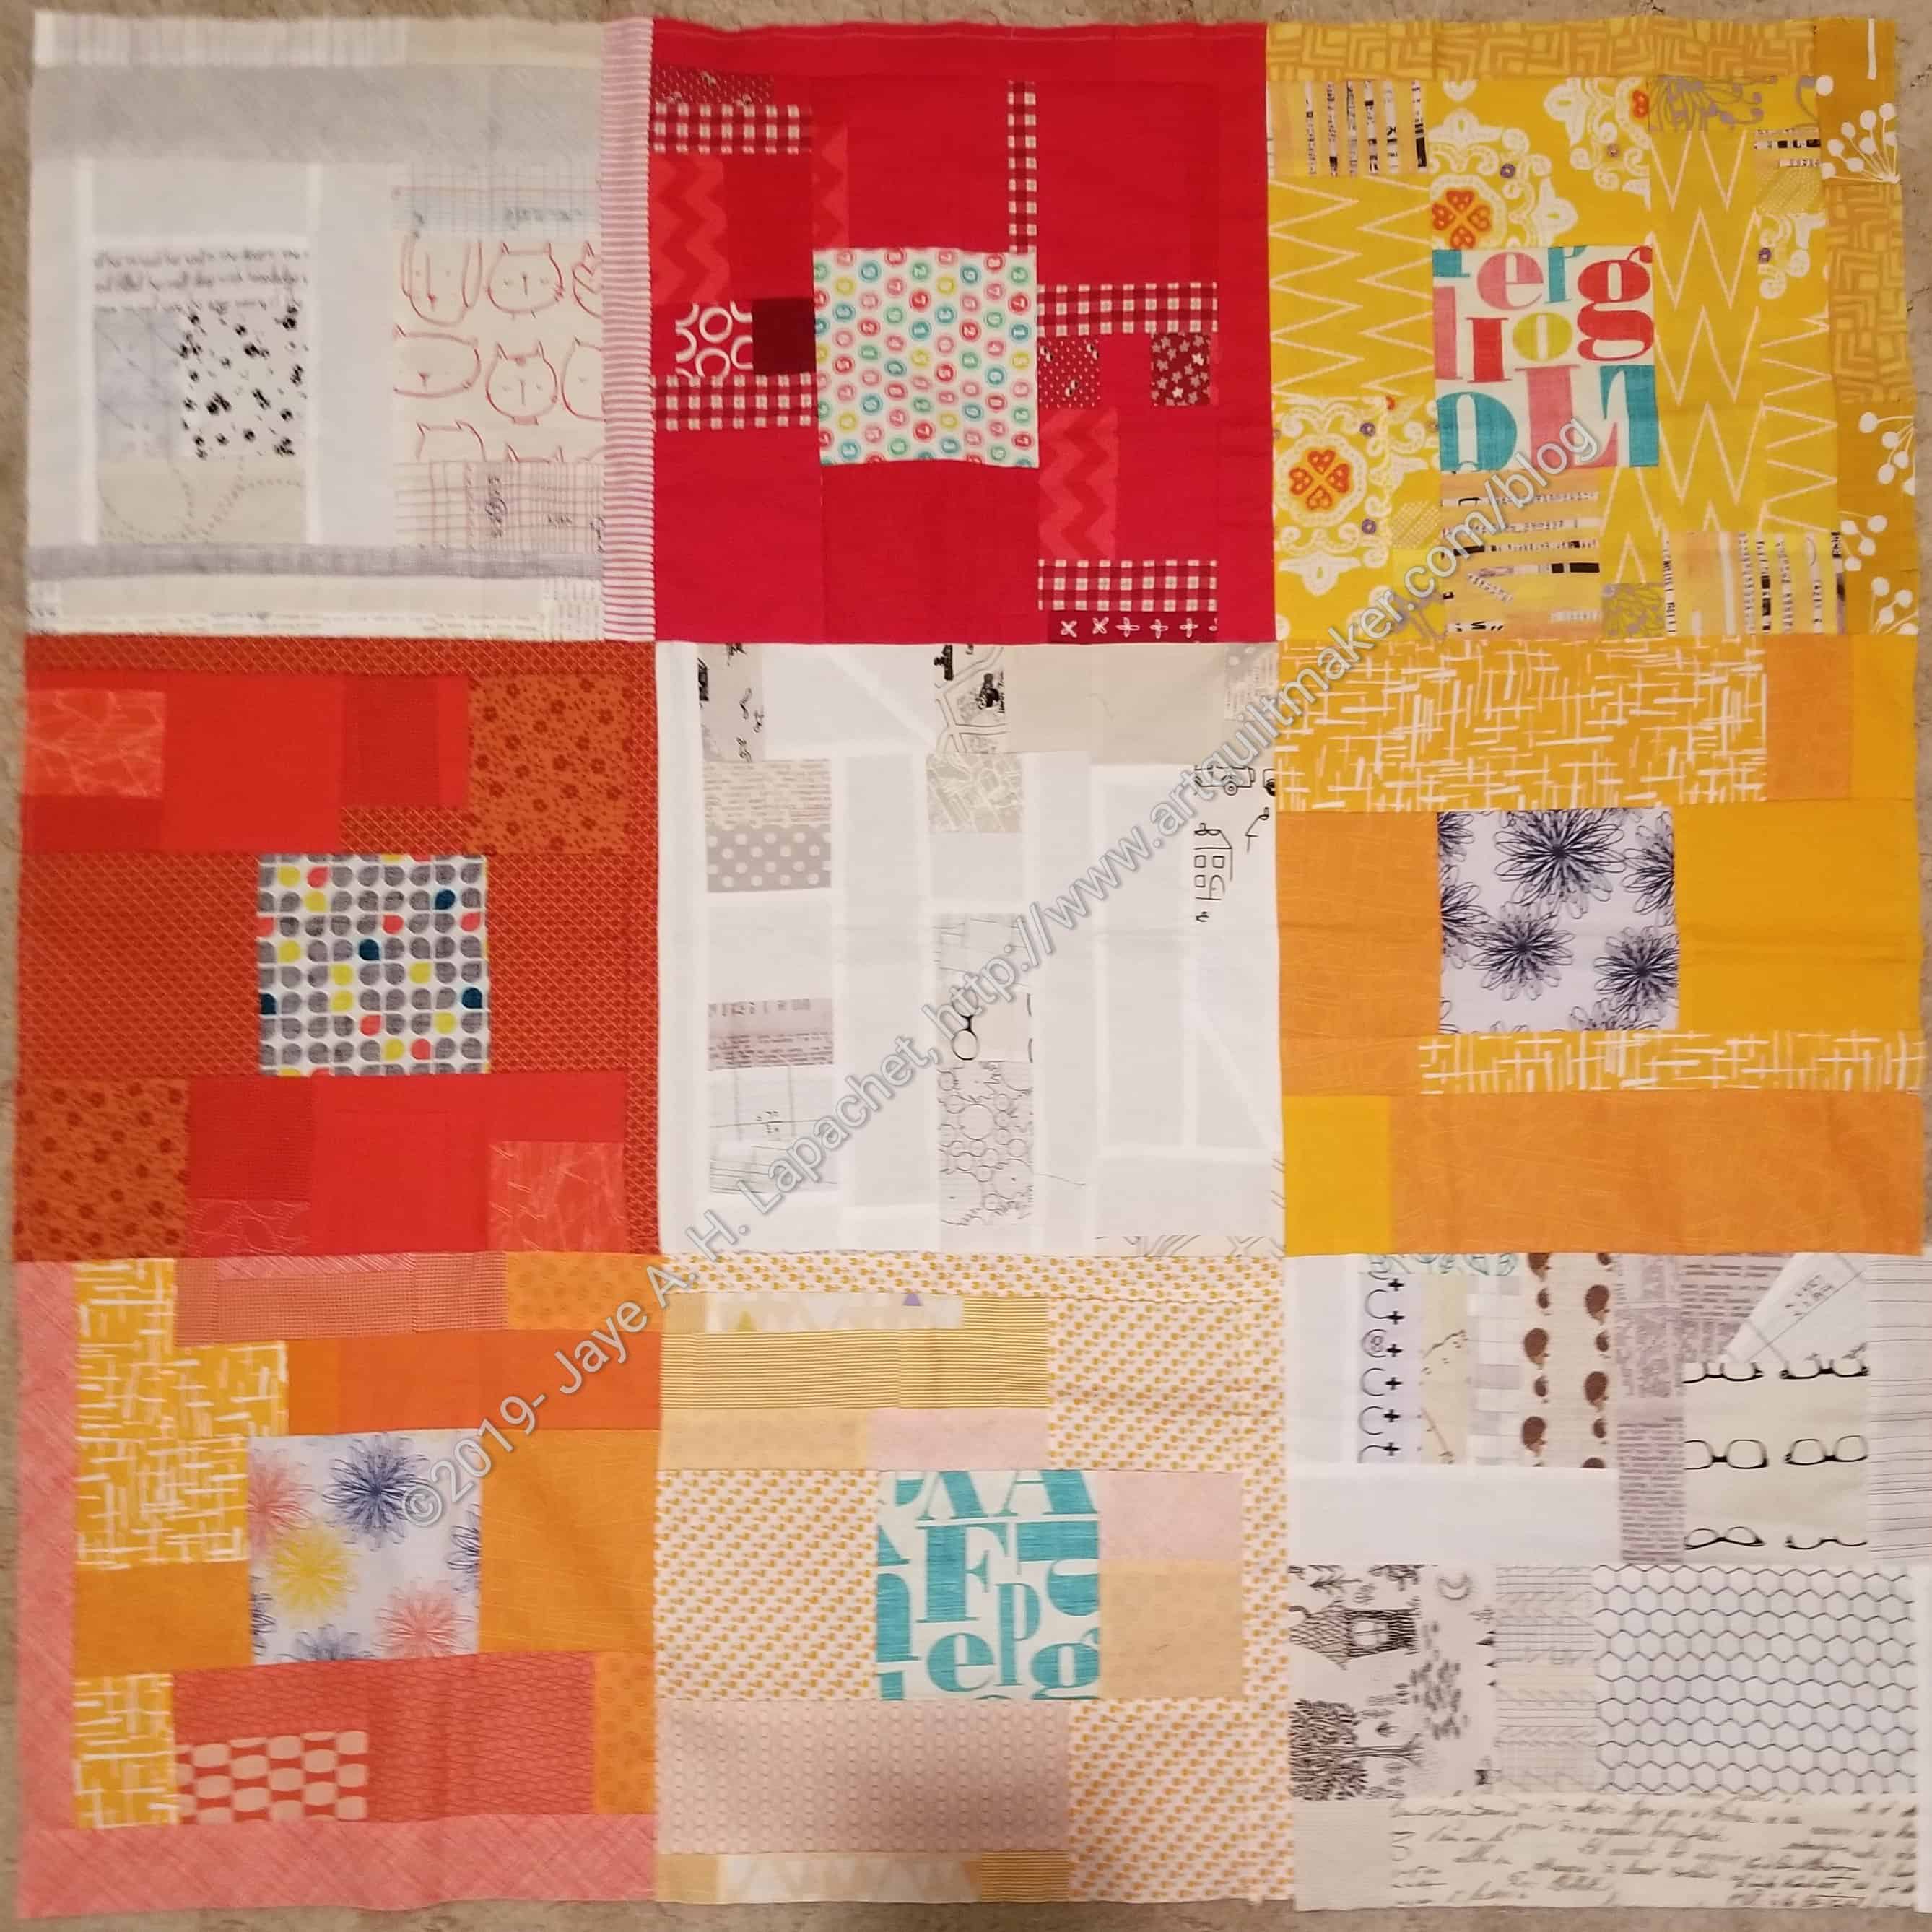
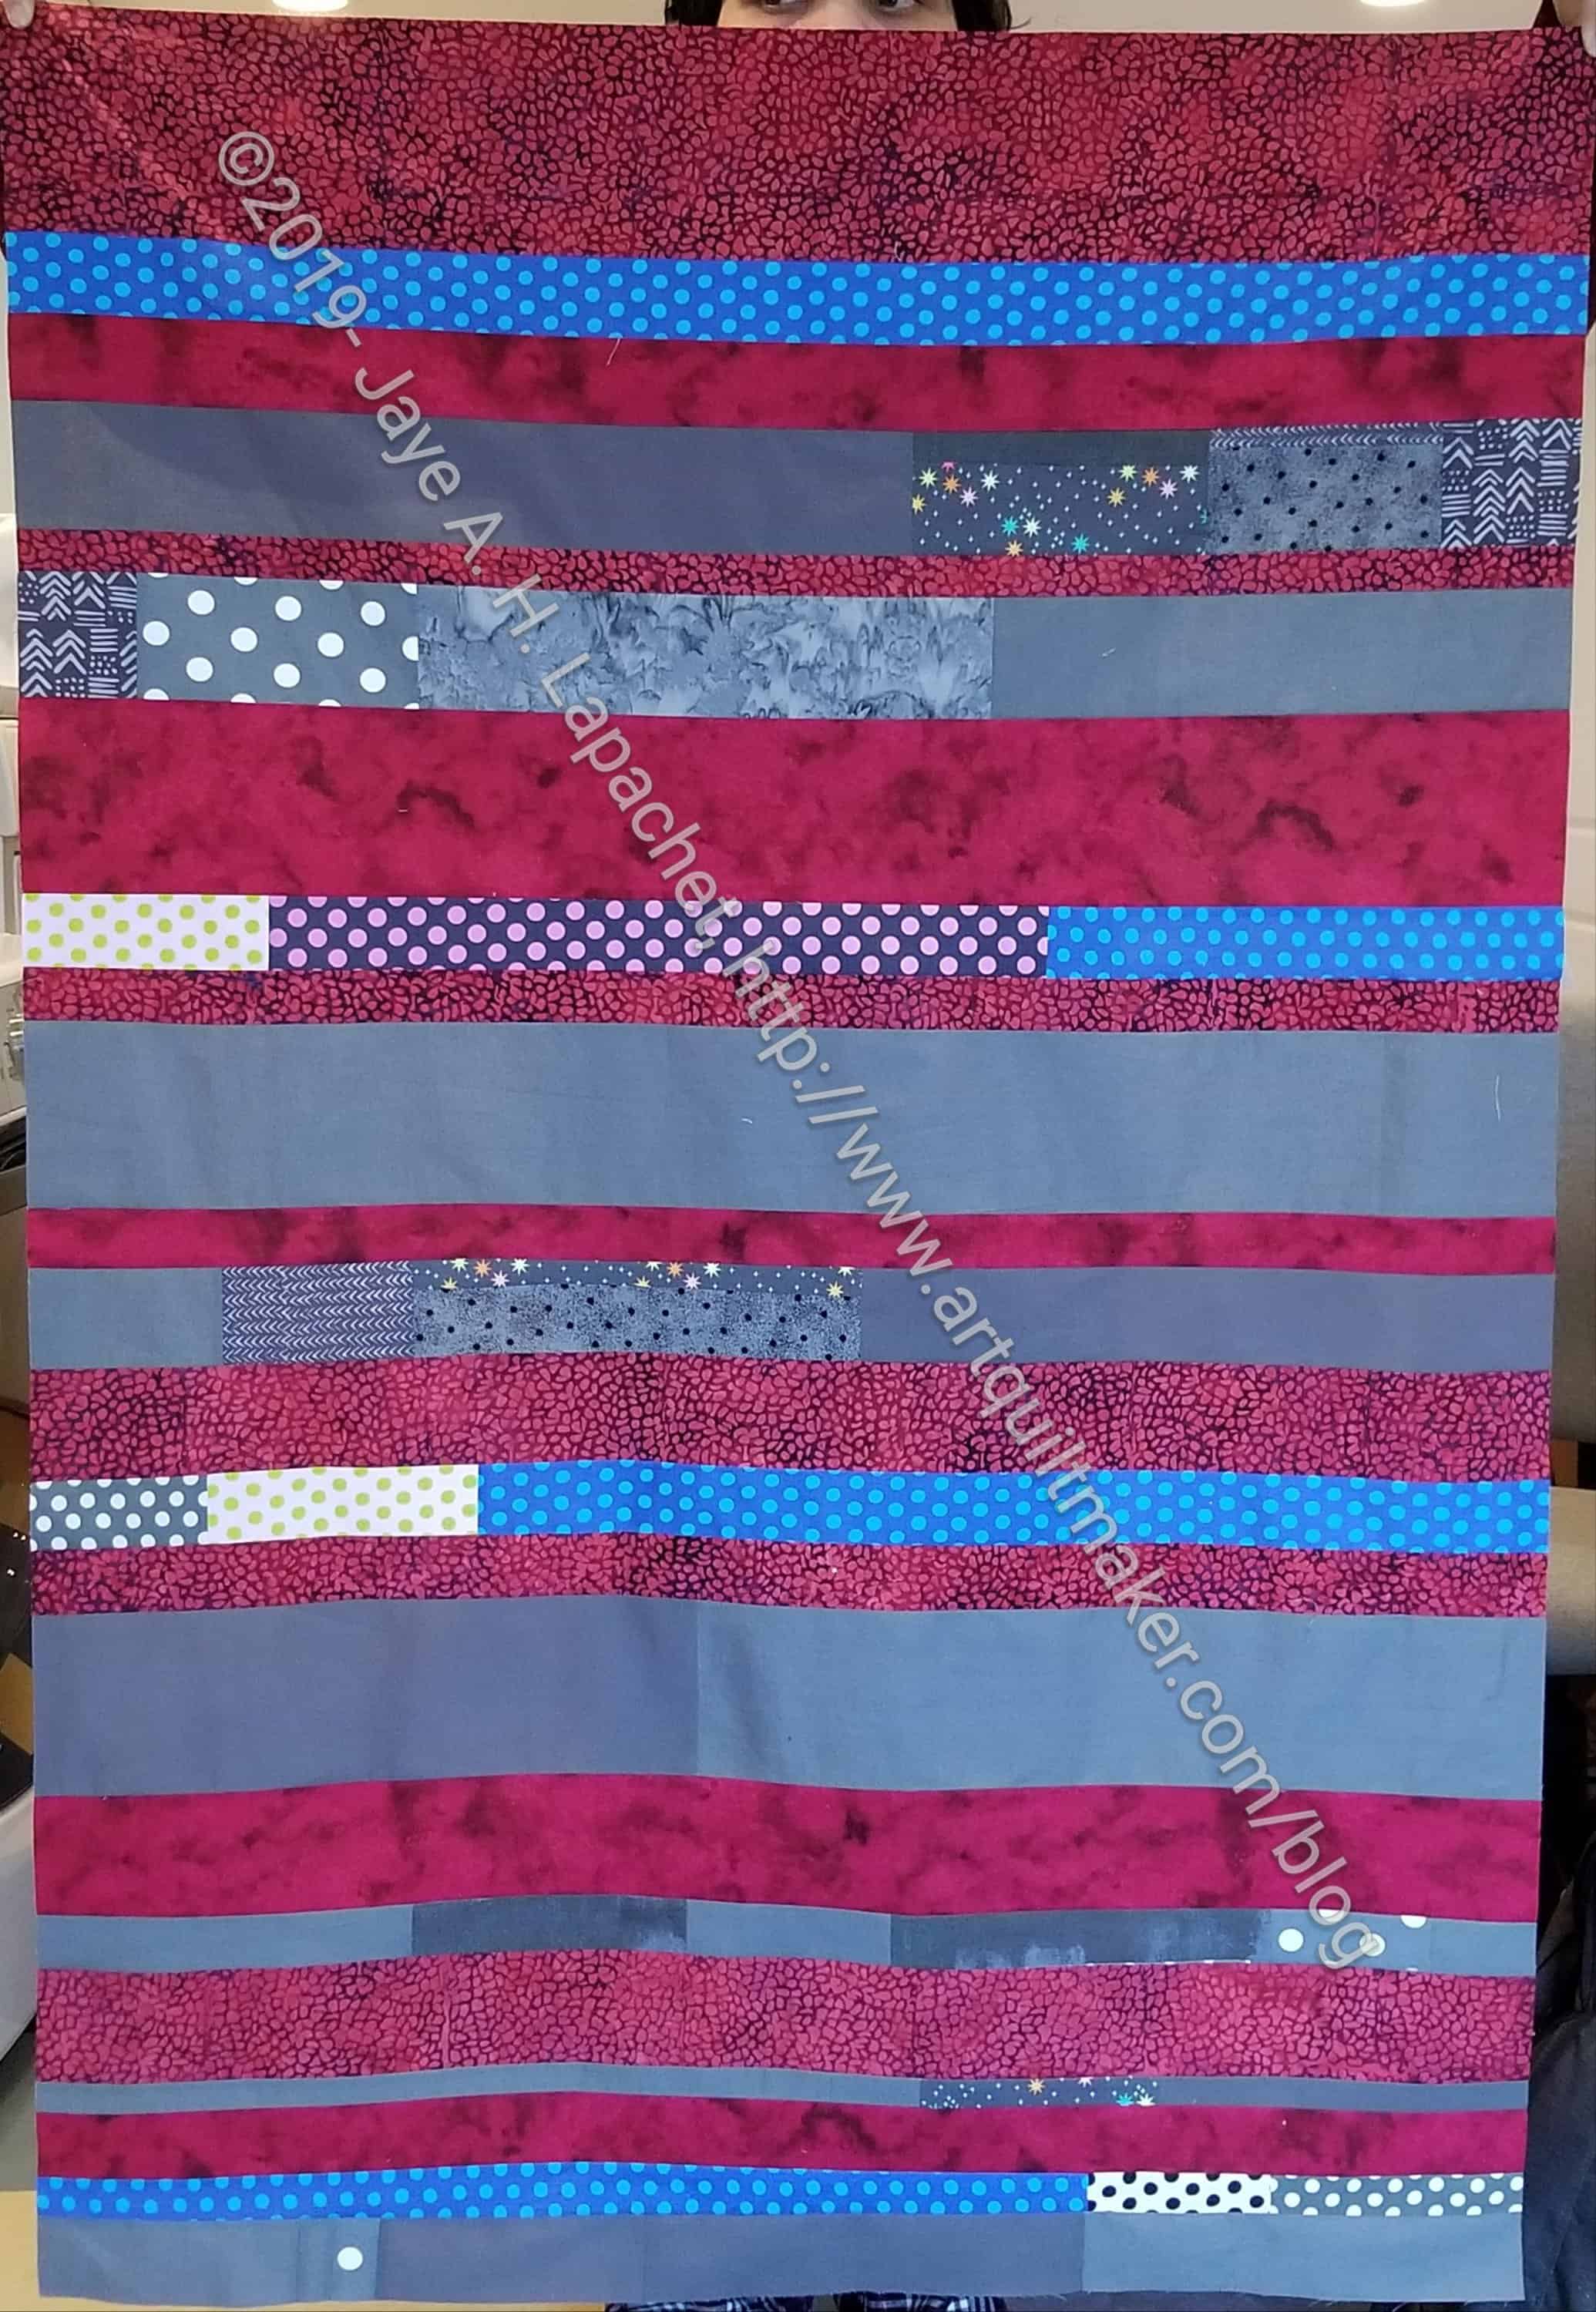
I finally have a chance to post about this first donation top of the year. I used the edges Colleen cut off of the Triple Star quilt and a couple of half yards of burgundy, but on the pinkish side for the background.

The two burgundy half yards were old and I had never cut into either. I think they look well in this quilt, but I am not sure I would use them in something now.

I can’t believe I have made 7 of these quilts! quite a series without really trying. I have another to make from the edges of the Stepping Stones n.2

Green Strips Donation Blocks

Green Strips Donation Quilt

I am making good progress on the quilt from the scrap strips.

I finished the blocks as I worked on the All Rolled Up Tote and was able to start setting them together. It turned out that I came up two blocks short. Fortunately, I had partial blocks made of strips, so I just finished them up and everything was fine.

I decided to use some Kona Cream for the background. After cutting it up, I thought some green would have been better, but I am sticking with my plan. I don’t want a bunch of rectangles laying around. Even with the Cream, which has a distinct yellow cast to it, I think the quilt will be suitable for a boy or a girl.

More New Donation Blocks

A few days ago, I wrote about some new strip donation blocks I was working on. I have made a few more as I have worked on other projects. I think they are looking good.

Mrs. K was interested and pointed out some challenges with my previous post. I know she didn’t do it intentionally, but I was glad to be reminded that I am not one of those people who hides information so I can sell a kit.

Strip donation blocks

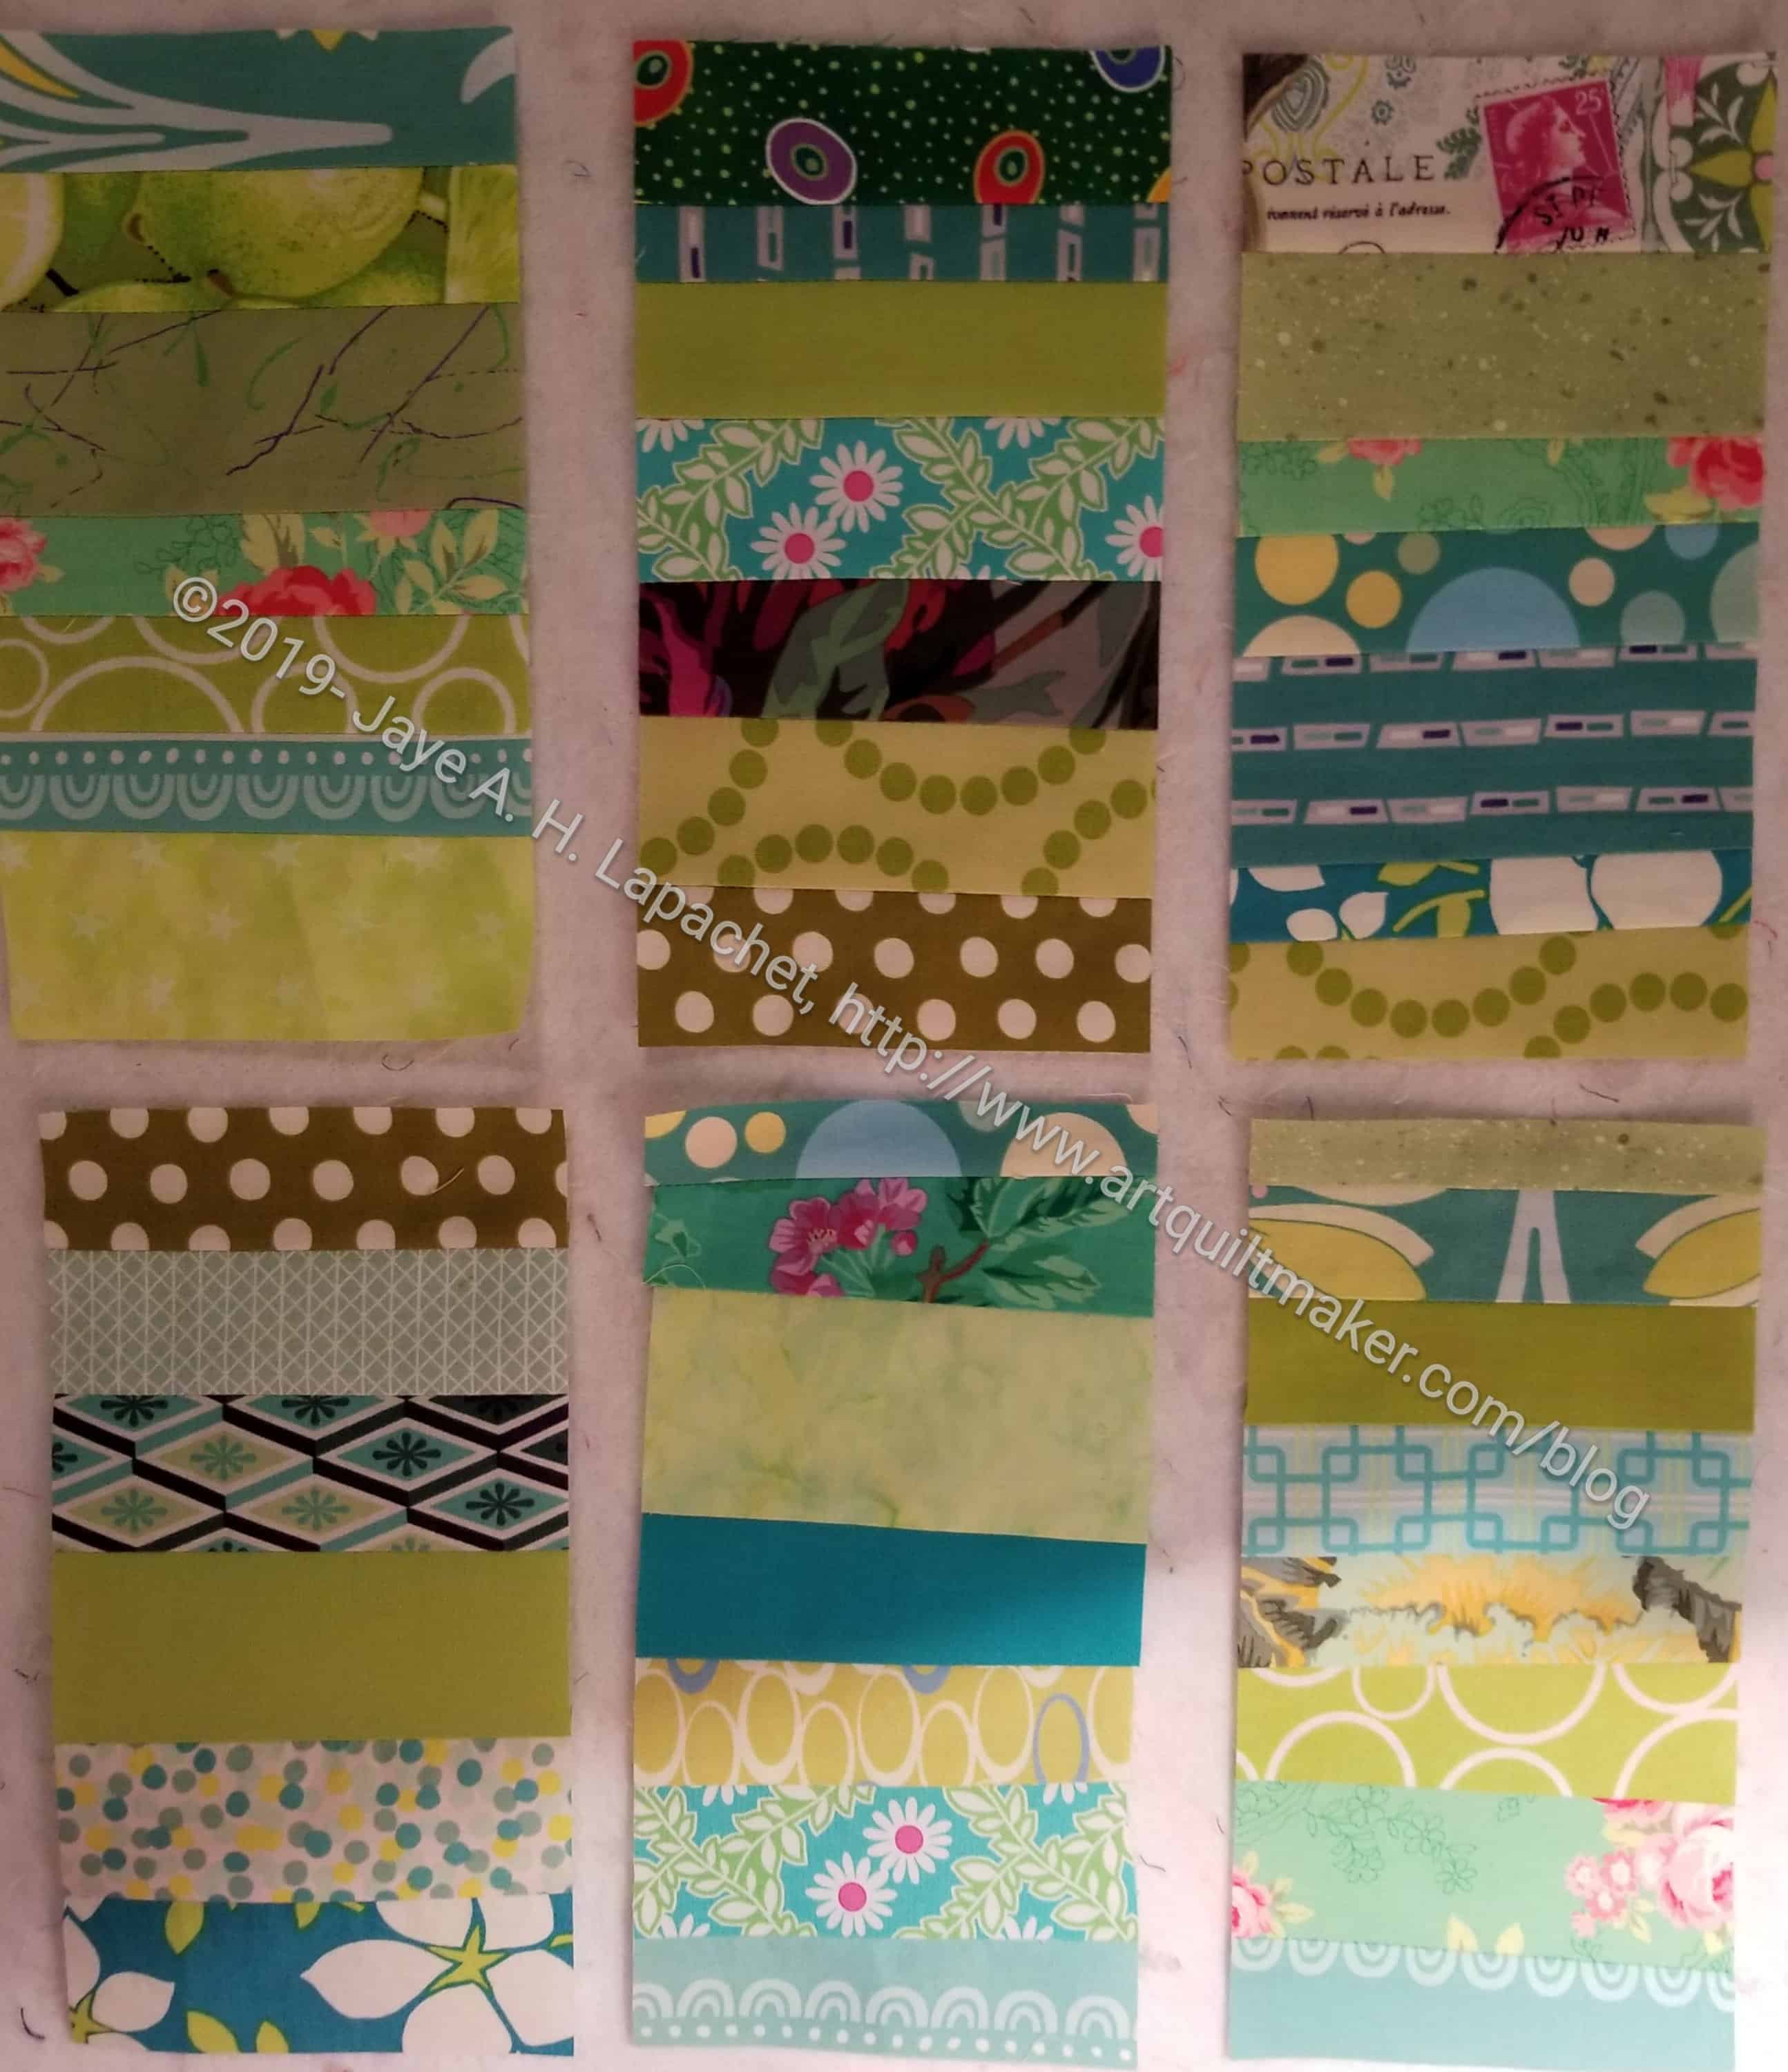
Each block is 4.5″ x 8.5″ unfinished. I sew them  with whatever strips I have, trying to keep the bias straight since I am not using  a foundation. Once I have a large enough piece, I trim it with my Creative Grids 4.5 x 8.5″ ruler. This is a ruler I use all the time. I keep it on my cutting table for quick cuts, because it fits my hand really well, but is also useful for cutting 2.5″ squares and other sizes I am Hunting and Gathering.

My plan is to alternate them with plain blocks. I will make enough for 5 rows of five blocks, which I think is a total of 20 blocks. I’ll have to actually draw a picture to be sure.

This is an exercise in scrap clearance and workings towards my goal of using 100 yards of fabric (net).


Bonnie Hunter has a pattern using the same technique, but with foundations and set a different way. Having a real plan might be better for some of you than my random way of working.

New Year New Donation Blocks

Strip blocks
Strip blocks

I am not sure what exactly made me think of it, but part of it was contemplating my scrap pile. After cutting a bunch of squares with the Accuquilt, I still had a lot of strips. Also, as I have said, a block Alison showed me  and our discussion inspired me. Instead of making the regular 16 patches, I have been making these strip blocks. I want to use up scraps and I have a lot of strips left.

I decided to start with my green scrap drawer. It is closest to my sewing machine.

So far I have three blocks done. I’d like to make the blocks for the entire quilt green, but I don’t know if I will have enough strips/scraps to do that. I’ll see and will be flexible.

Pet Bed Testing

Pet Bed Testing
Pet Bed Testing

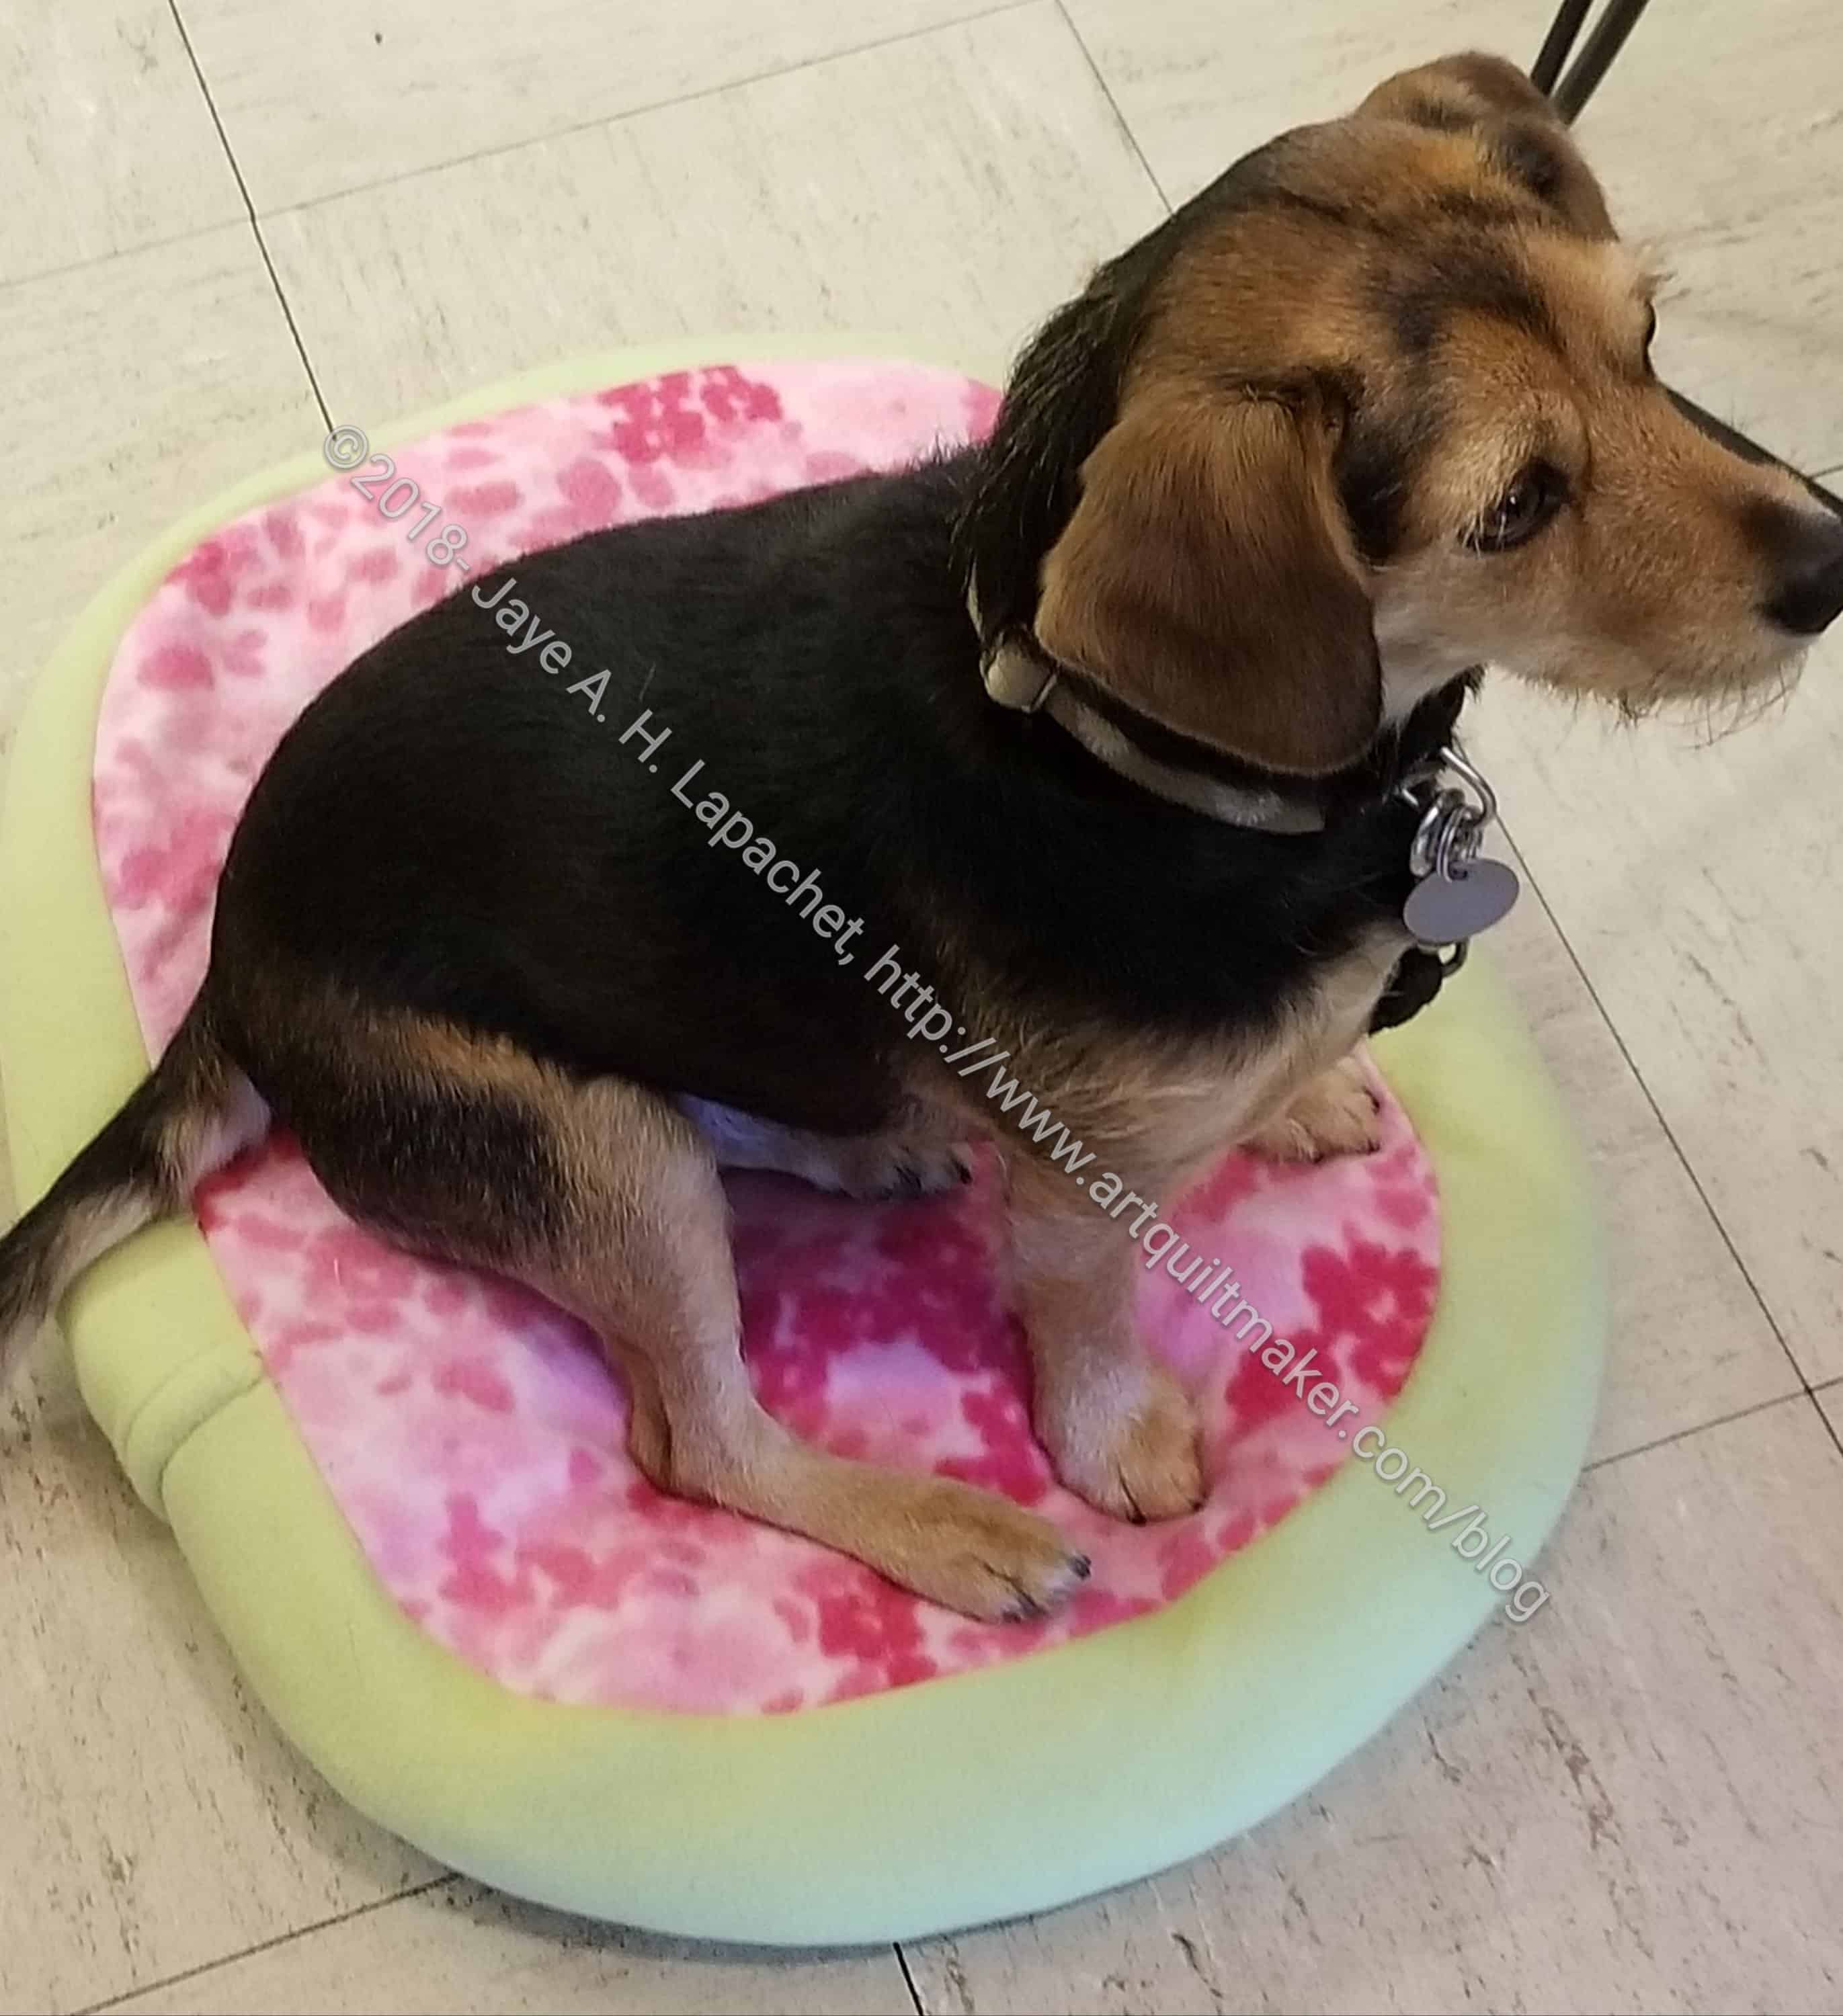
I have never seen a pet bed in actual use. I was thrilled to see BAM mascot (in my mind anyway), Cricket, trying one out the other day.

As you can see, they fit a smallish, but not tiny, dog very well. I think Cricket is on the small side, but could be considered a small-medium dog.

Check out the pattern and make some pet beds for your local shelter.

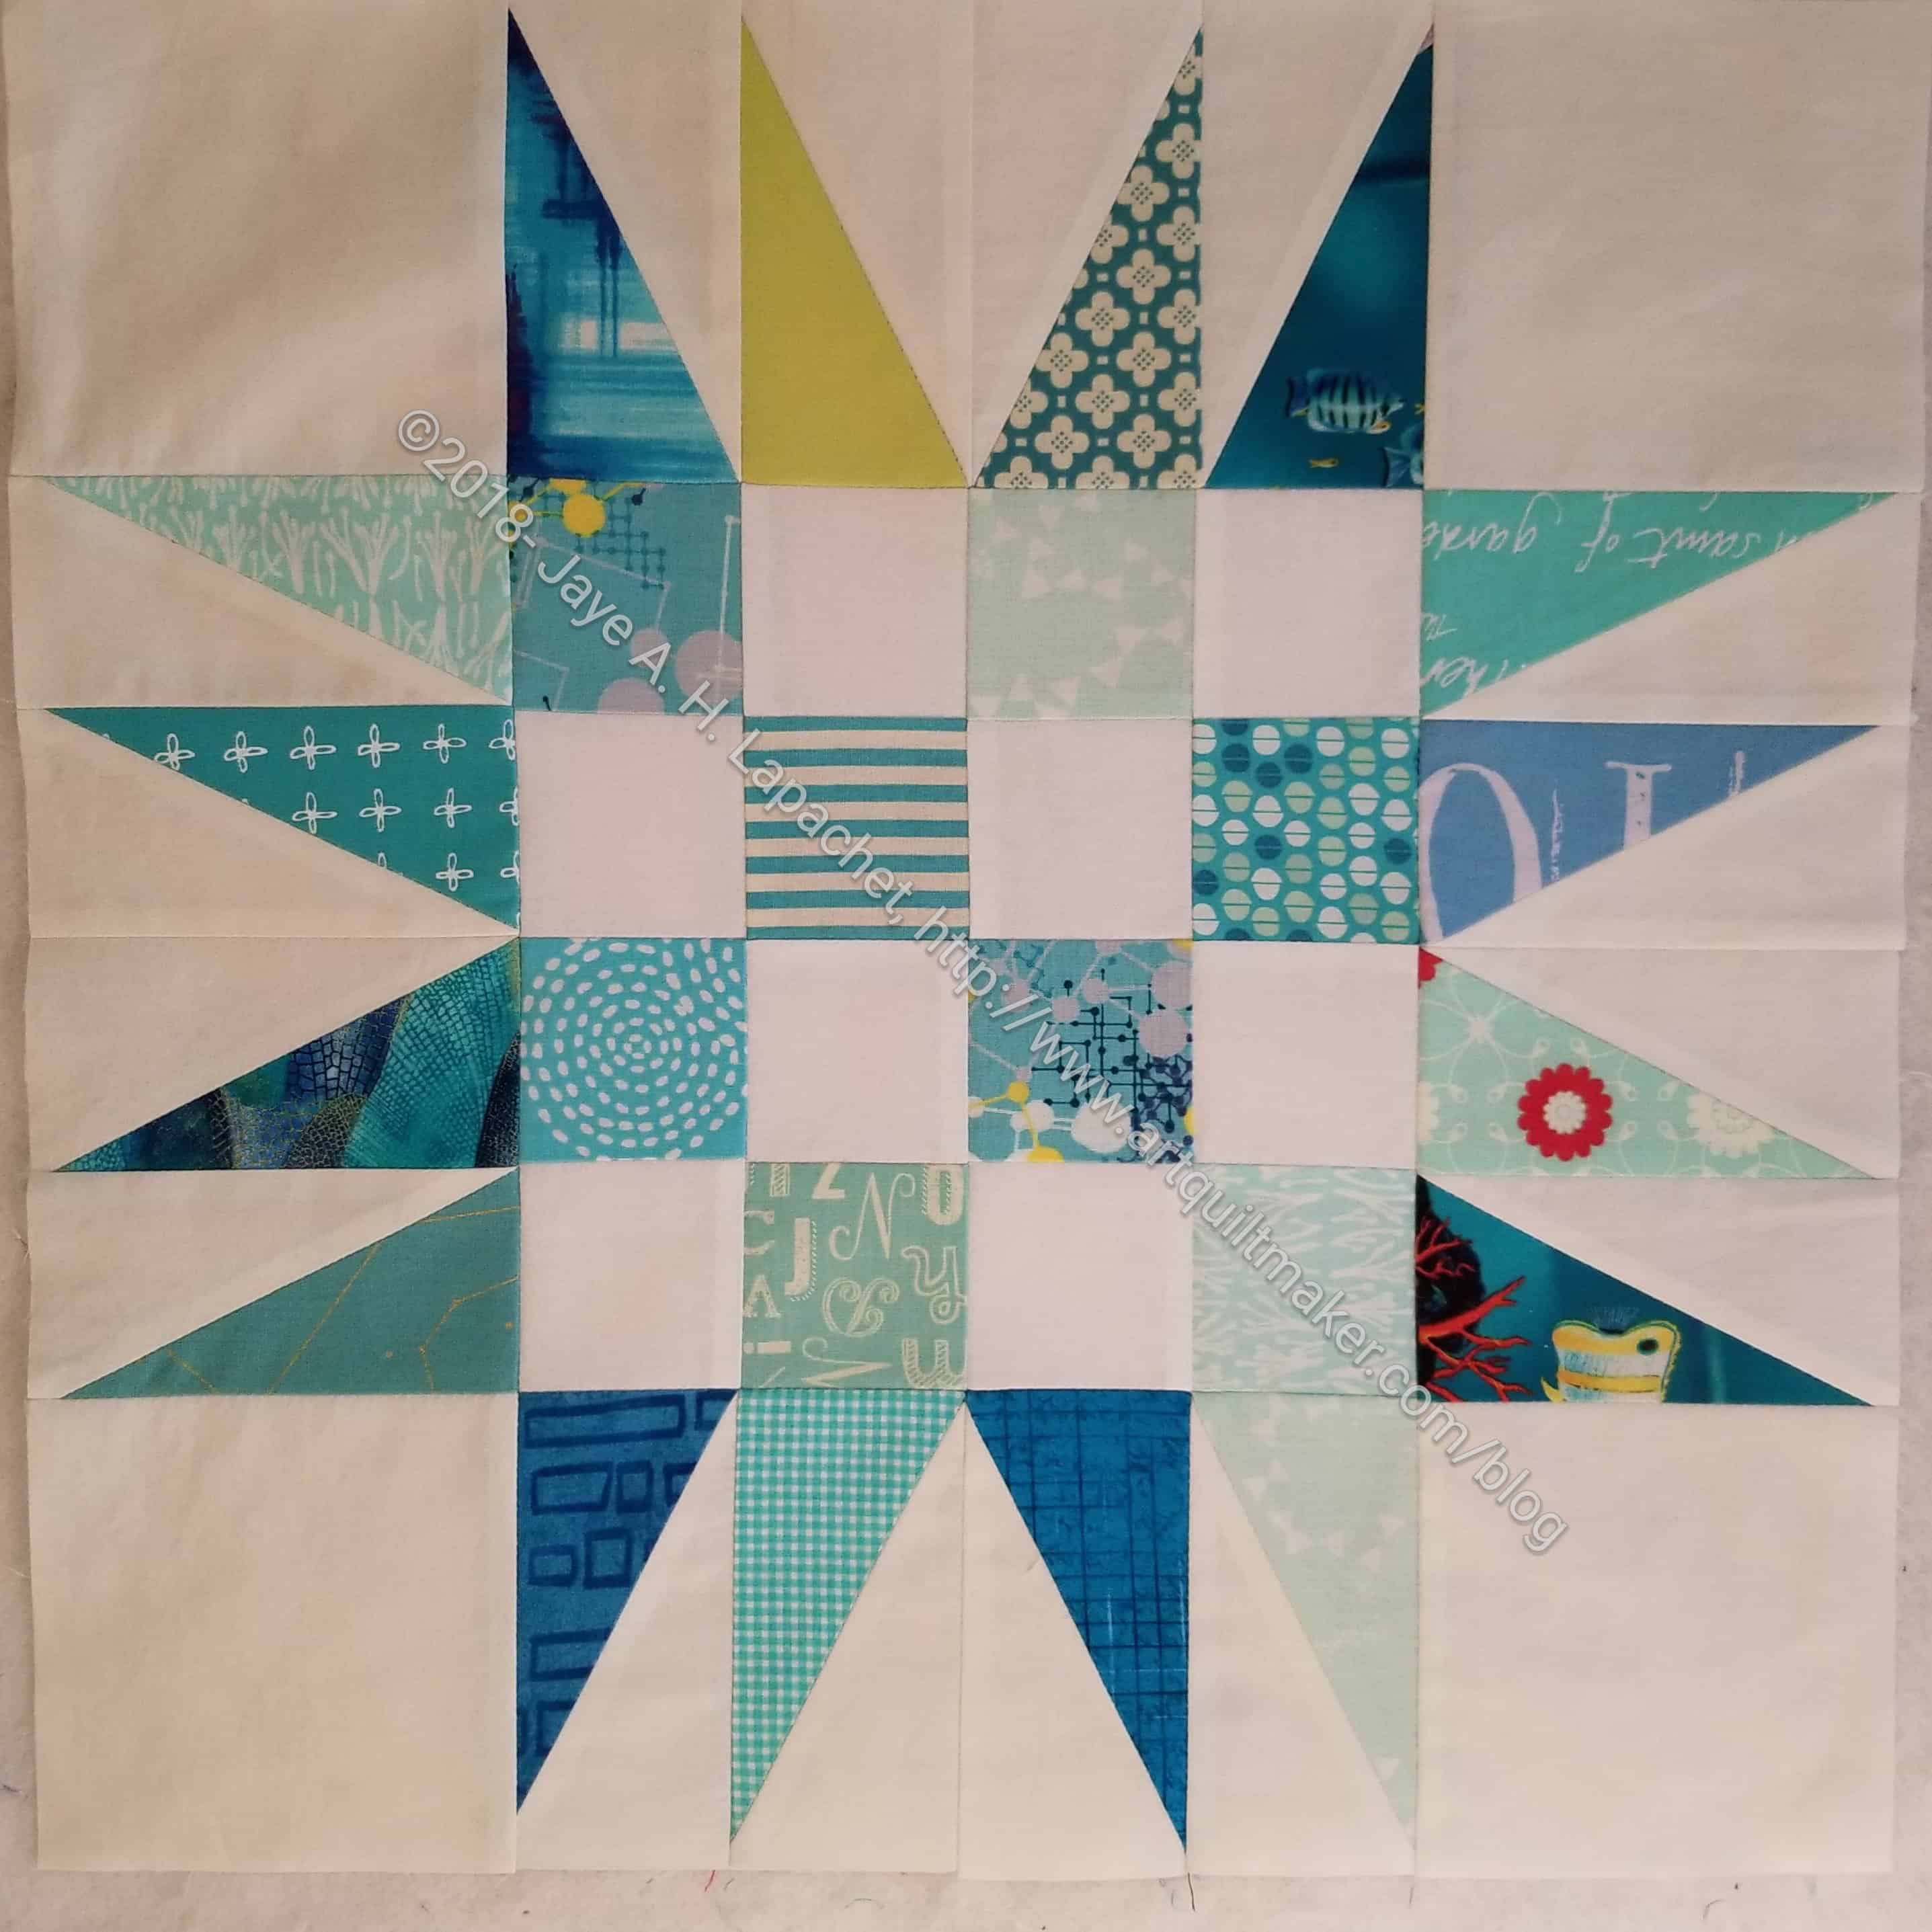
Spiky 16 Patch n.4

Spiky 16 Patch n.4 (quilt n.3)

I didn’t have any time to sew at the end of the week and was kind of busy as well. I did manage to finish another Spiky 16 patch donation block.

I might be getting a little tired of these blocks in this color scheme. I know! Crazy, right? I’d kind of like to see a version with more colors. That means making a stash of HRTs in different colors as well.

Spiky 16 Patch n.3

Spiky 16 Patch n.3 for quilt n.3

I finished another Spiky 16 patch over the weekend, so my collection is growing. I need to start thinking about how I will set these blocks. I could do another quilt like either n.1 or n.2. I am trying to think of something different. Something different might be a small addition like Mrs. K added to her corners.

On point settings are kind of a hassle, but so effective. I have two more blocks to make before I have to decide.

Resources:

November Donation Blocks

I made a few more donation blocks in November. Between working on the Spiky 16 Patches and traveling a bit, I didn’t get as many done as I would have liked. However, I am taking the positive route and thinking that every little bit helps.

Even though I try, I still seem to end up with a majority of blue donation blocks. I’ll have to see about changing that. Or not. 😉

Spiky 16 Patch, quilt 3, block 2

Spiky 16 Patch block 2, quilt 3

I have been working a little at a time on these blocks. Thanksgiving took up a lot of time last week and I didn’t get much time to sew until Friday.

As mentioned the other day, I had to make some right facing HRTs. I made a few so I could finish this block.

I want these blocks to, at least, have the appearance of being scrappy, so I can’t make many of the individual units without getting too much duplication. I am pleased with this one.

Resources:

Spiky 16 Patch…Again

Spiky 16 Patch block 1, quilt 3

I am getting started again on a third Spiky 16 Patch donation quilt.

It is easy just to keep making 16 patches. They are pretty rote, but I have a lot of the prep done for more spiky 16 patches and the units don’t help anyone laying around the workroom. I made the first block with no problems. The first block is always the hurdle. Now I feel like I can zoom through the process.

The stack of the 16 patches and the half rectangle triangles made a good start.

As you can see the rectangles point in different directions I am a bit short of the ones that point to the right (on the bottom row). I had to make a few to finish this block. I will need to make more to finish the rest of the quilt as well. It is a little confusing to know which way to cut the fabric to get the triangles to point in the right direction. I think it is with the print fabric on top. I want to dig out the Split Recs ruler directions to see if that particular piece of information is clearly noted. If it is clear, then I won’t have to try and remember. Small details like that disappear when there is space between projects.

Resources: