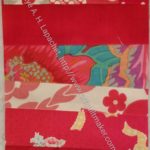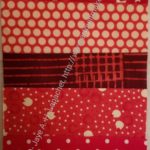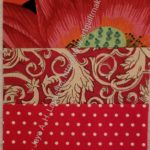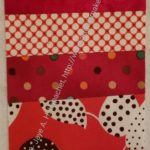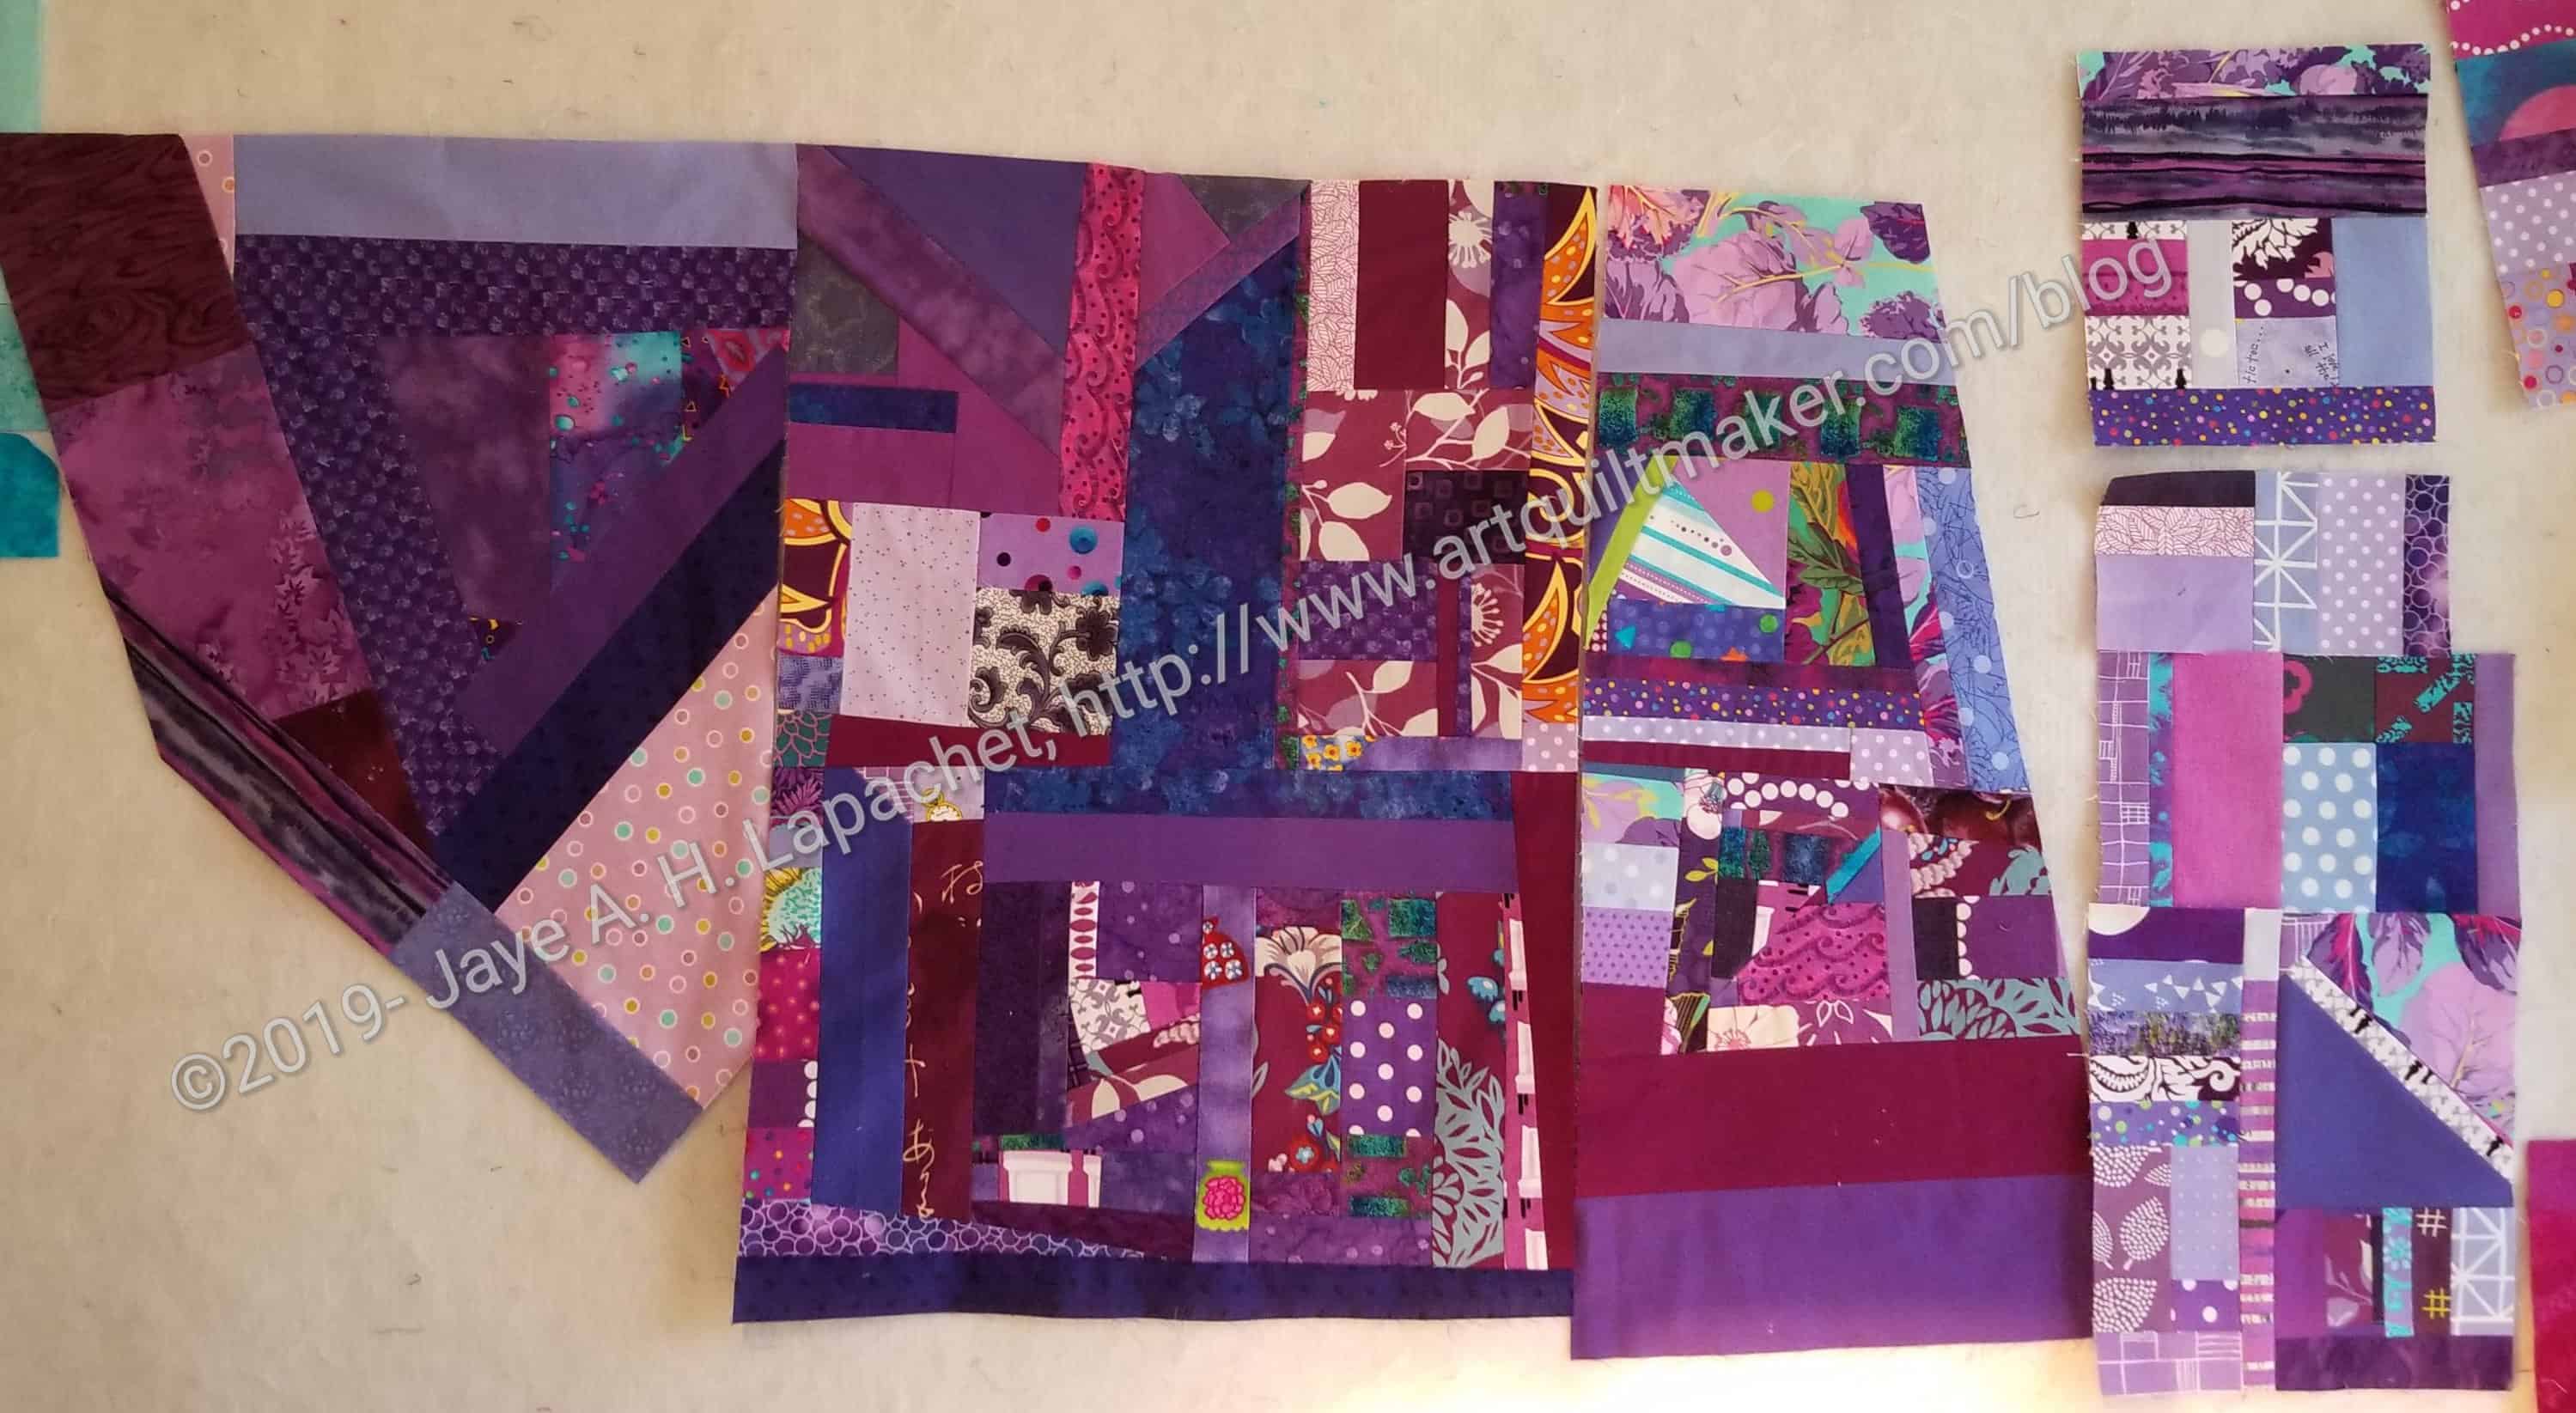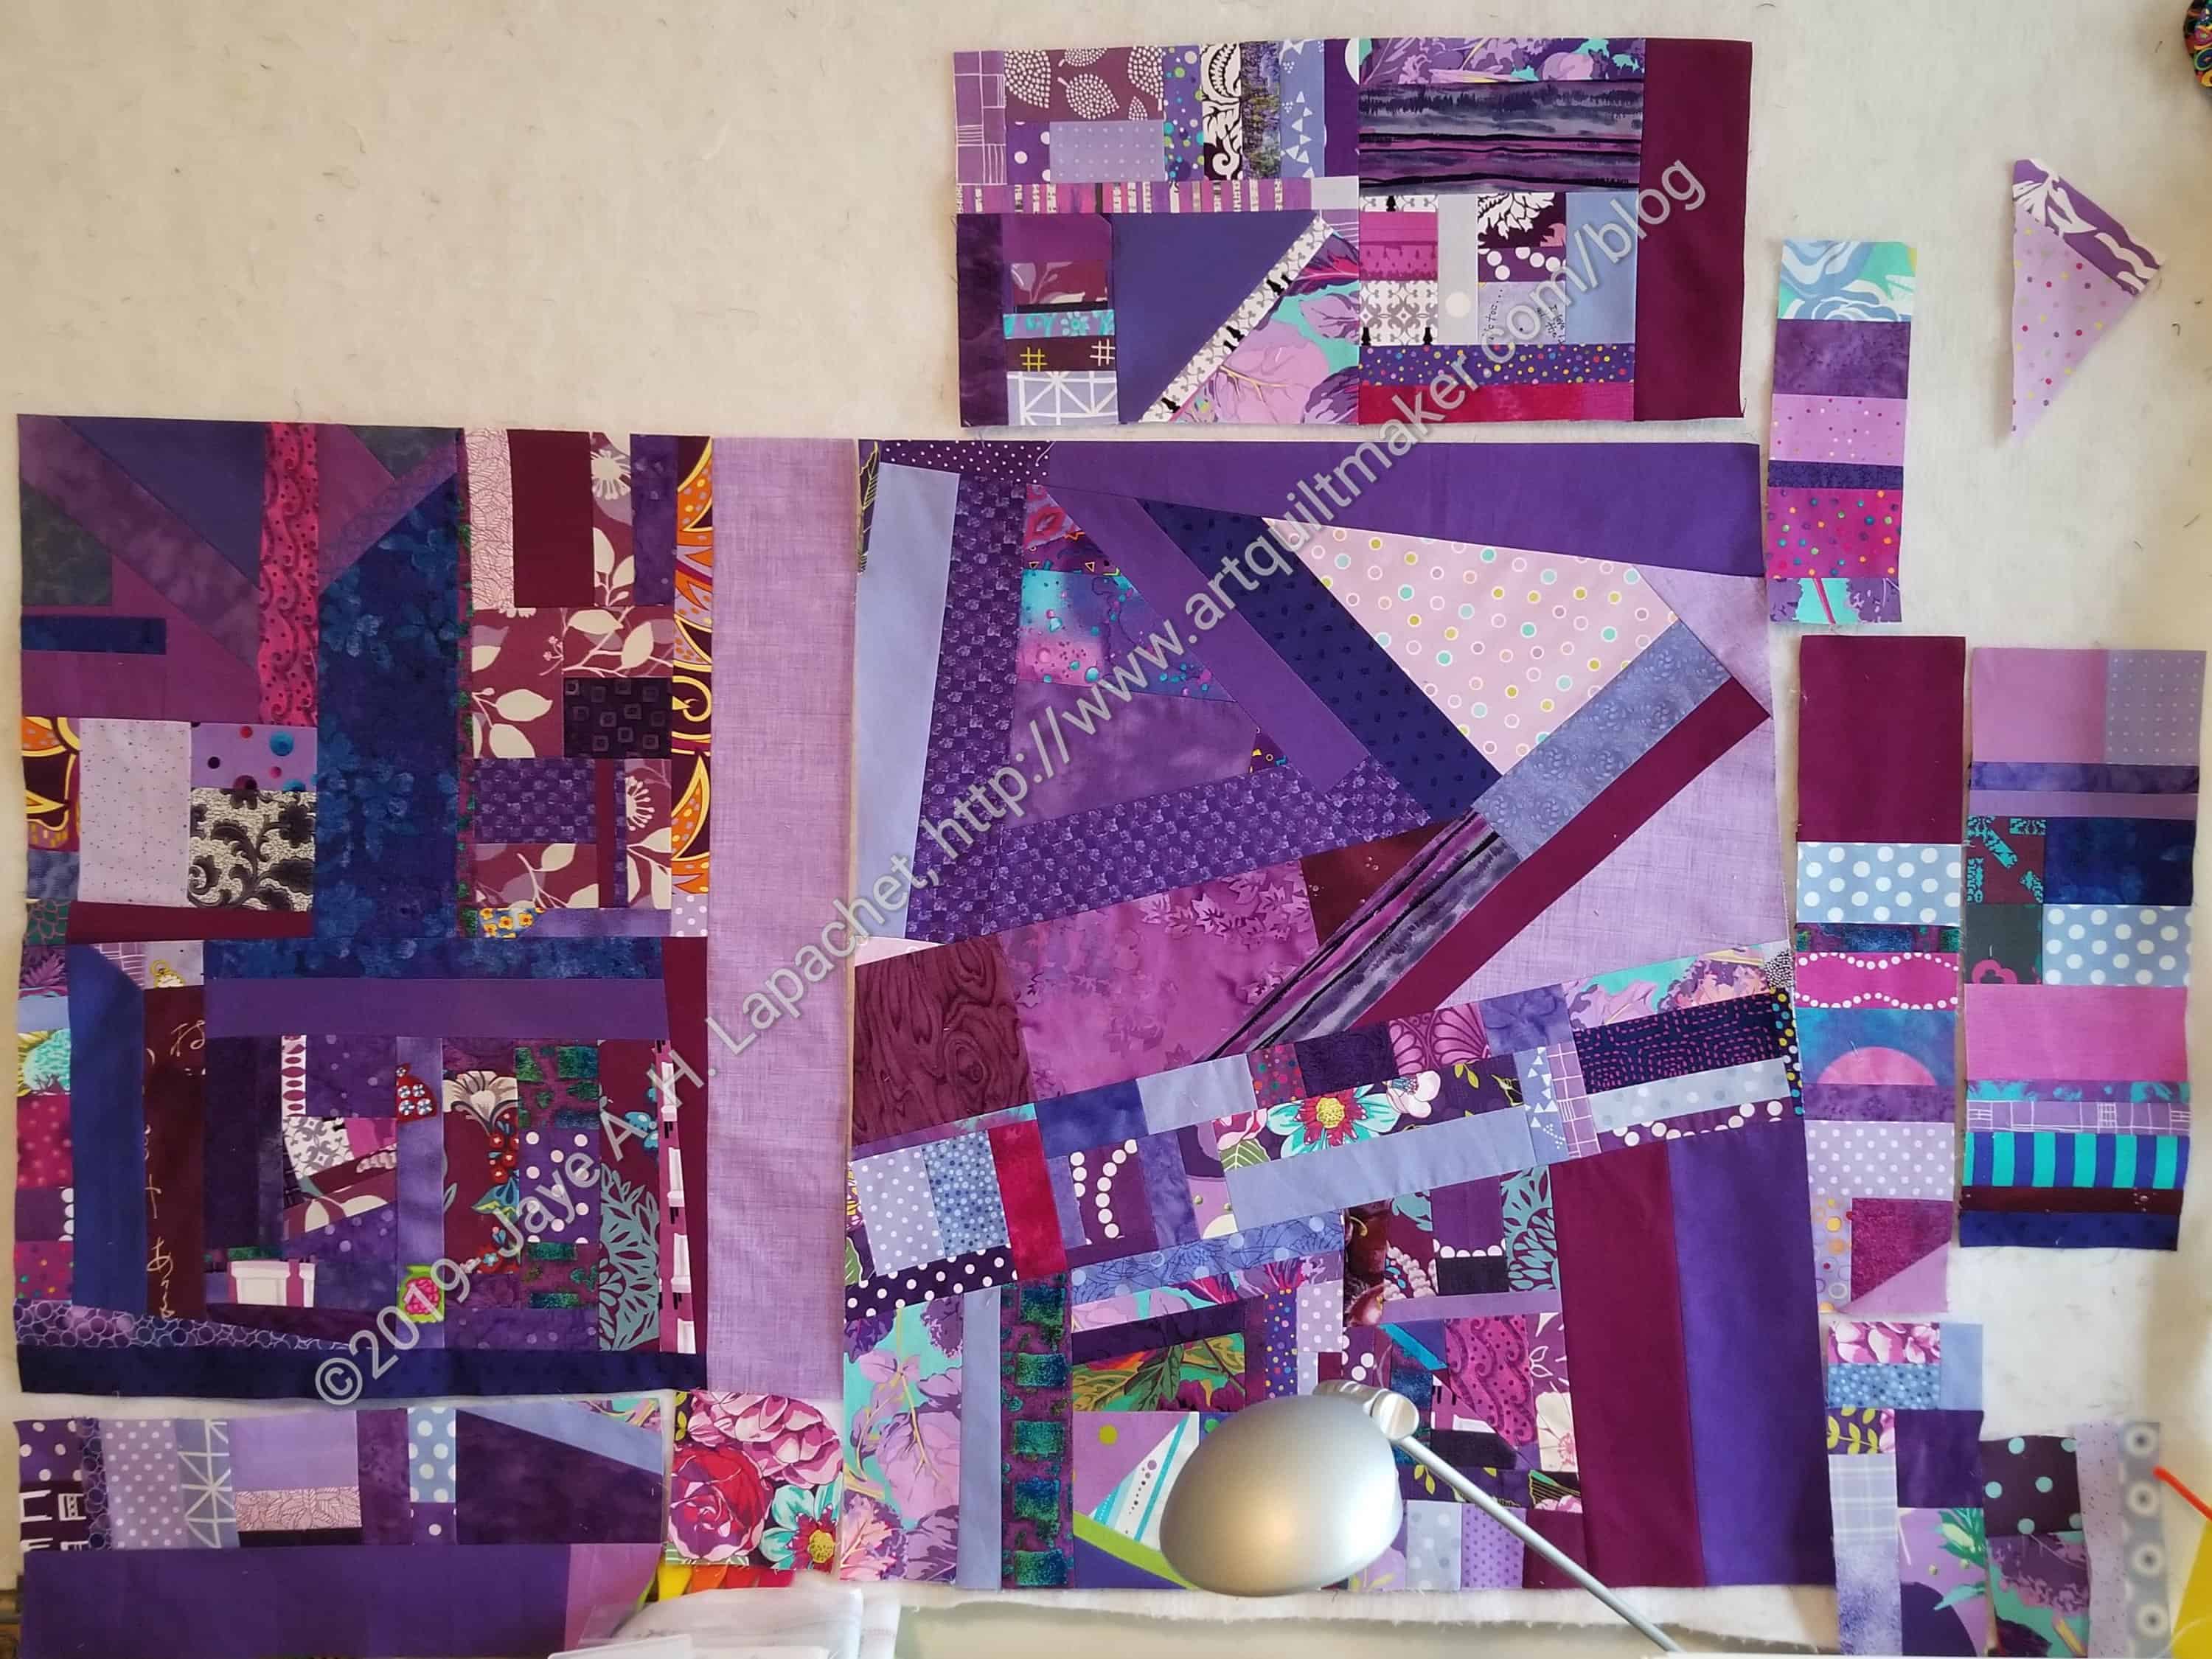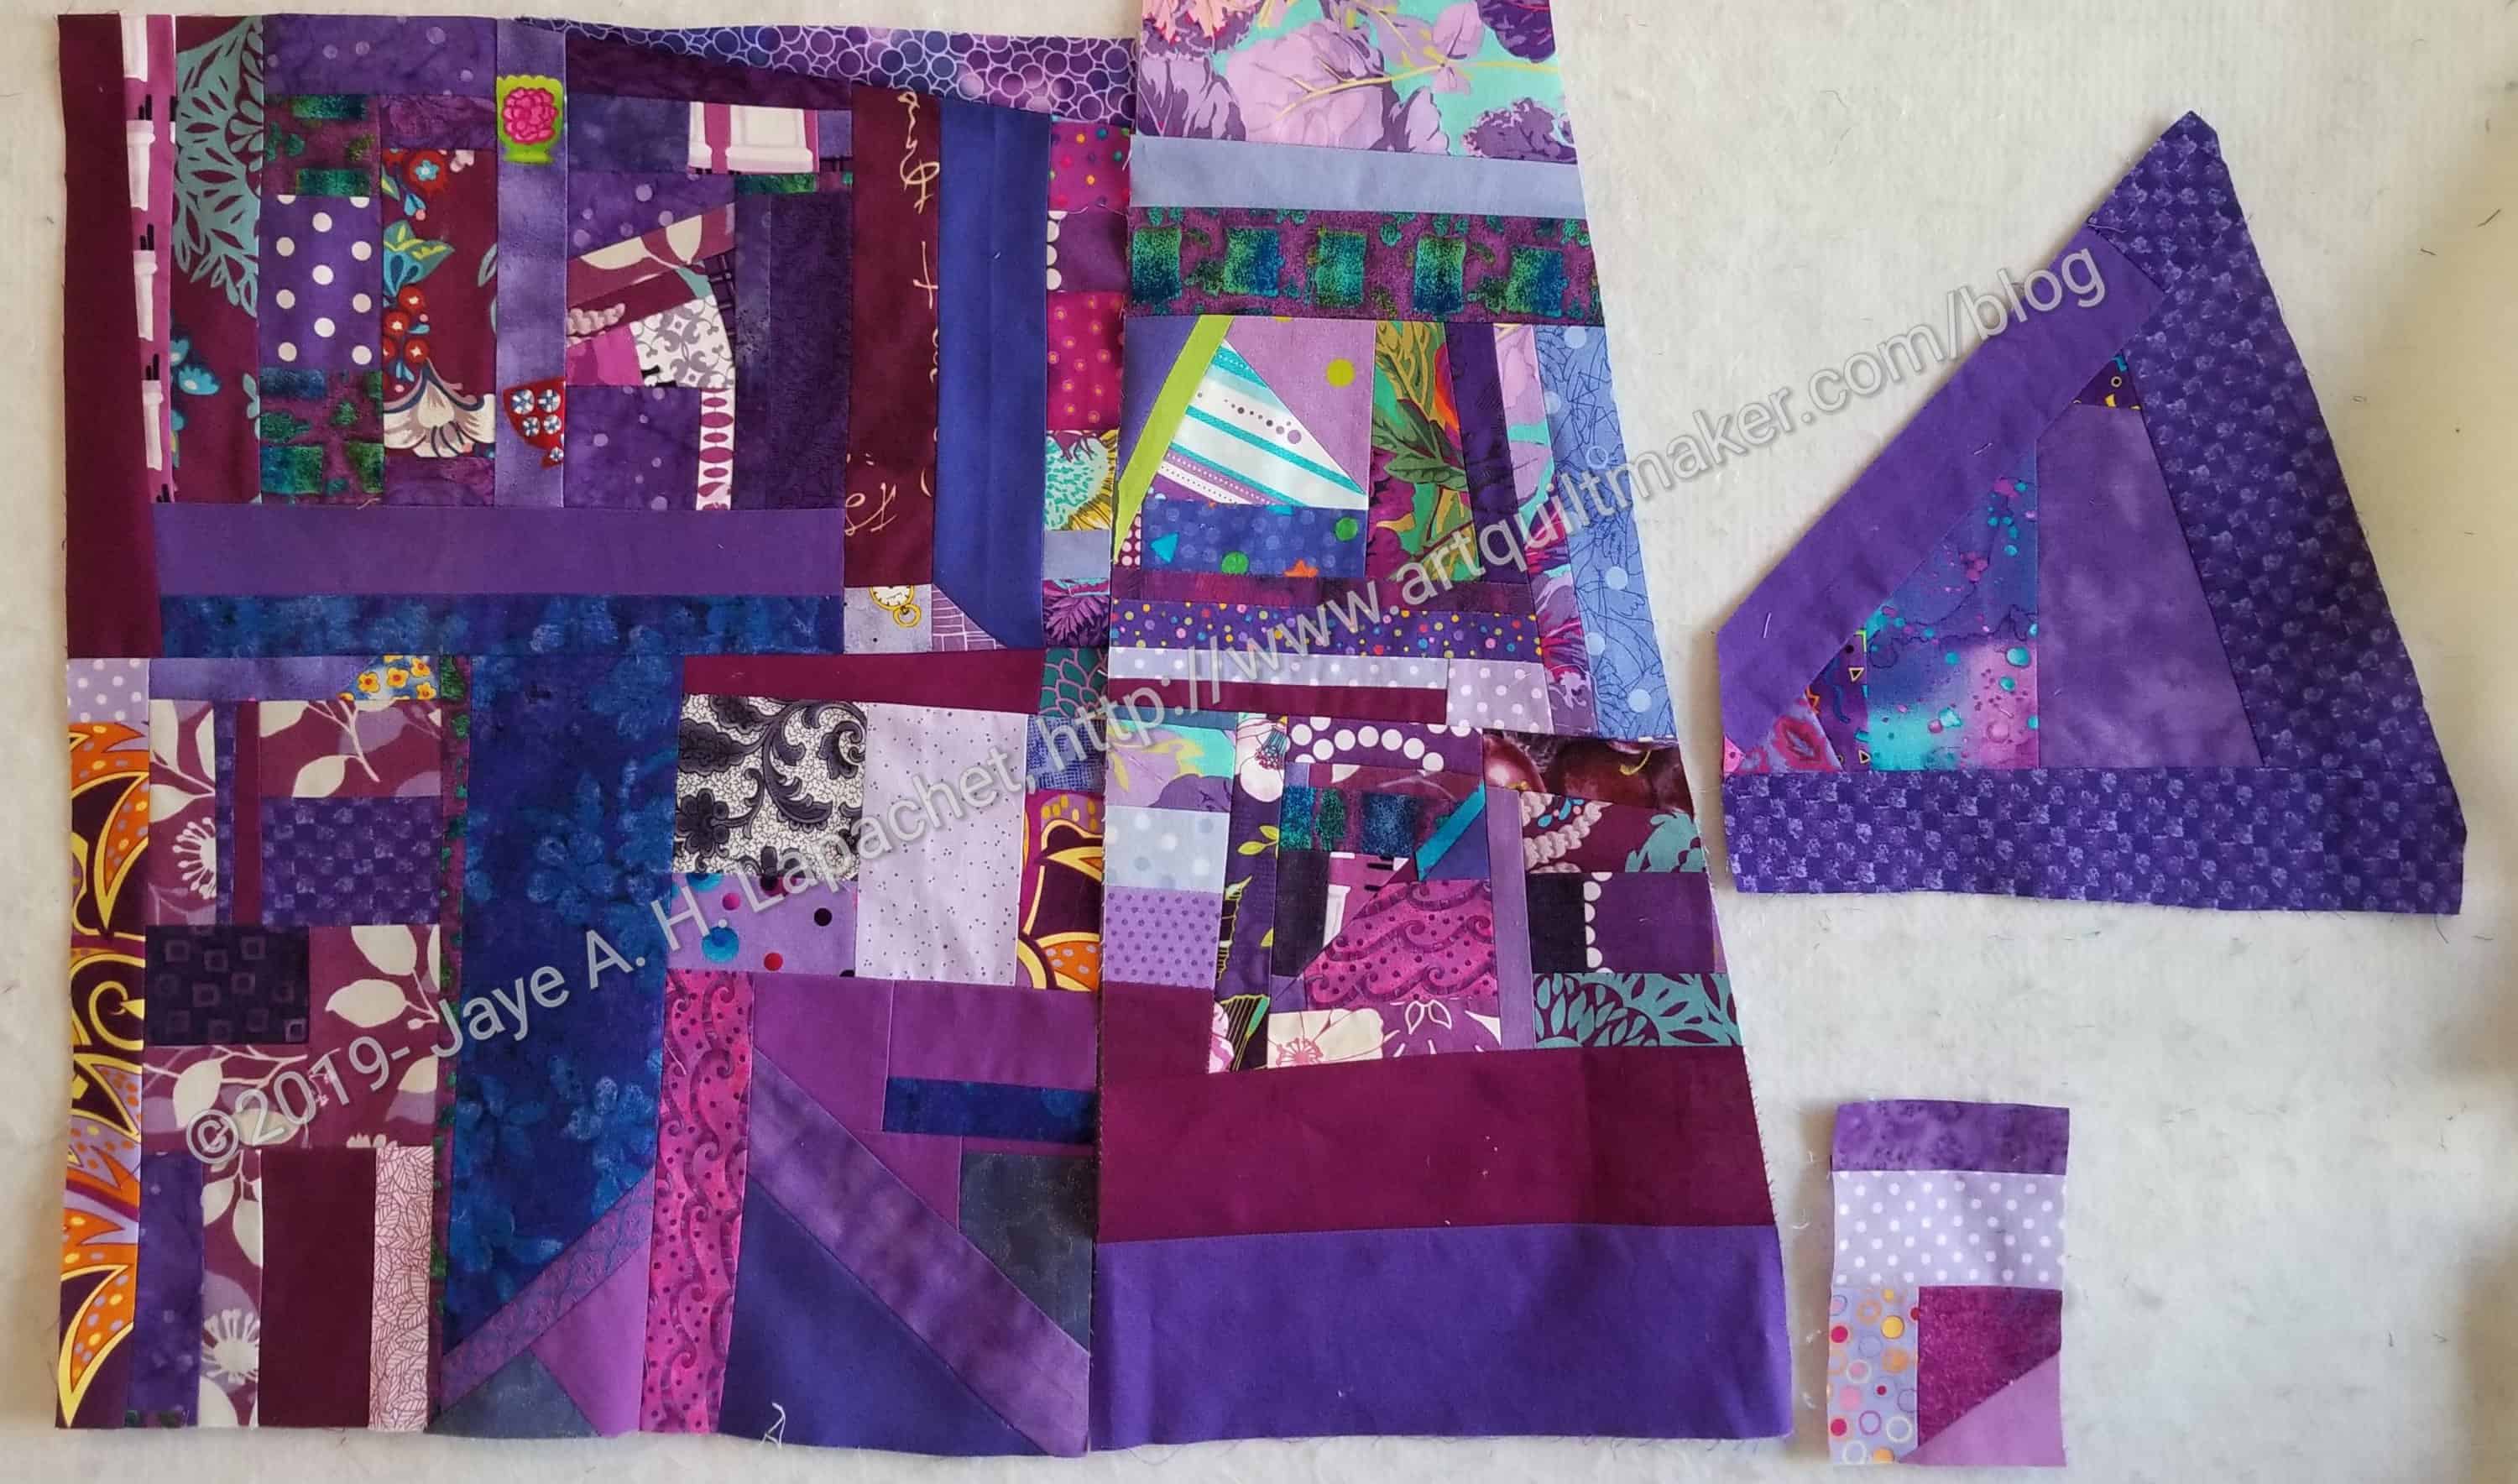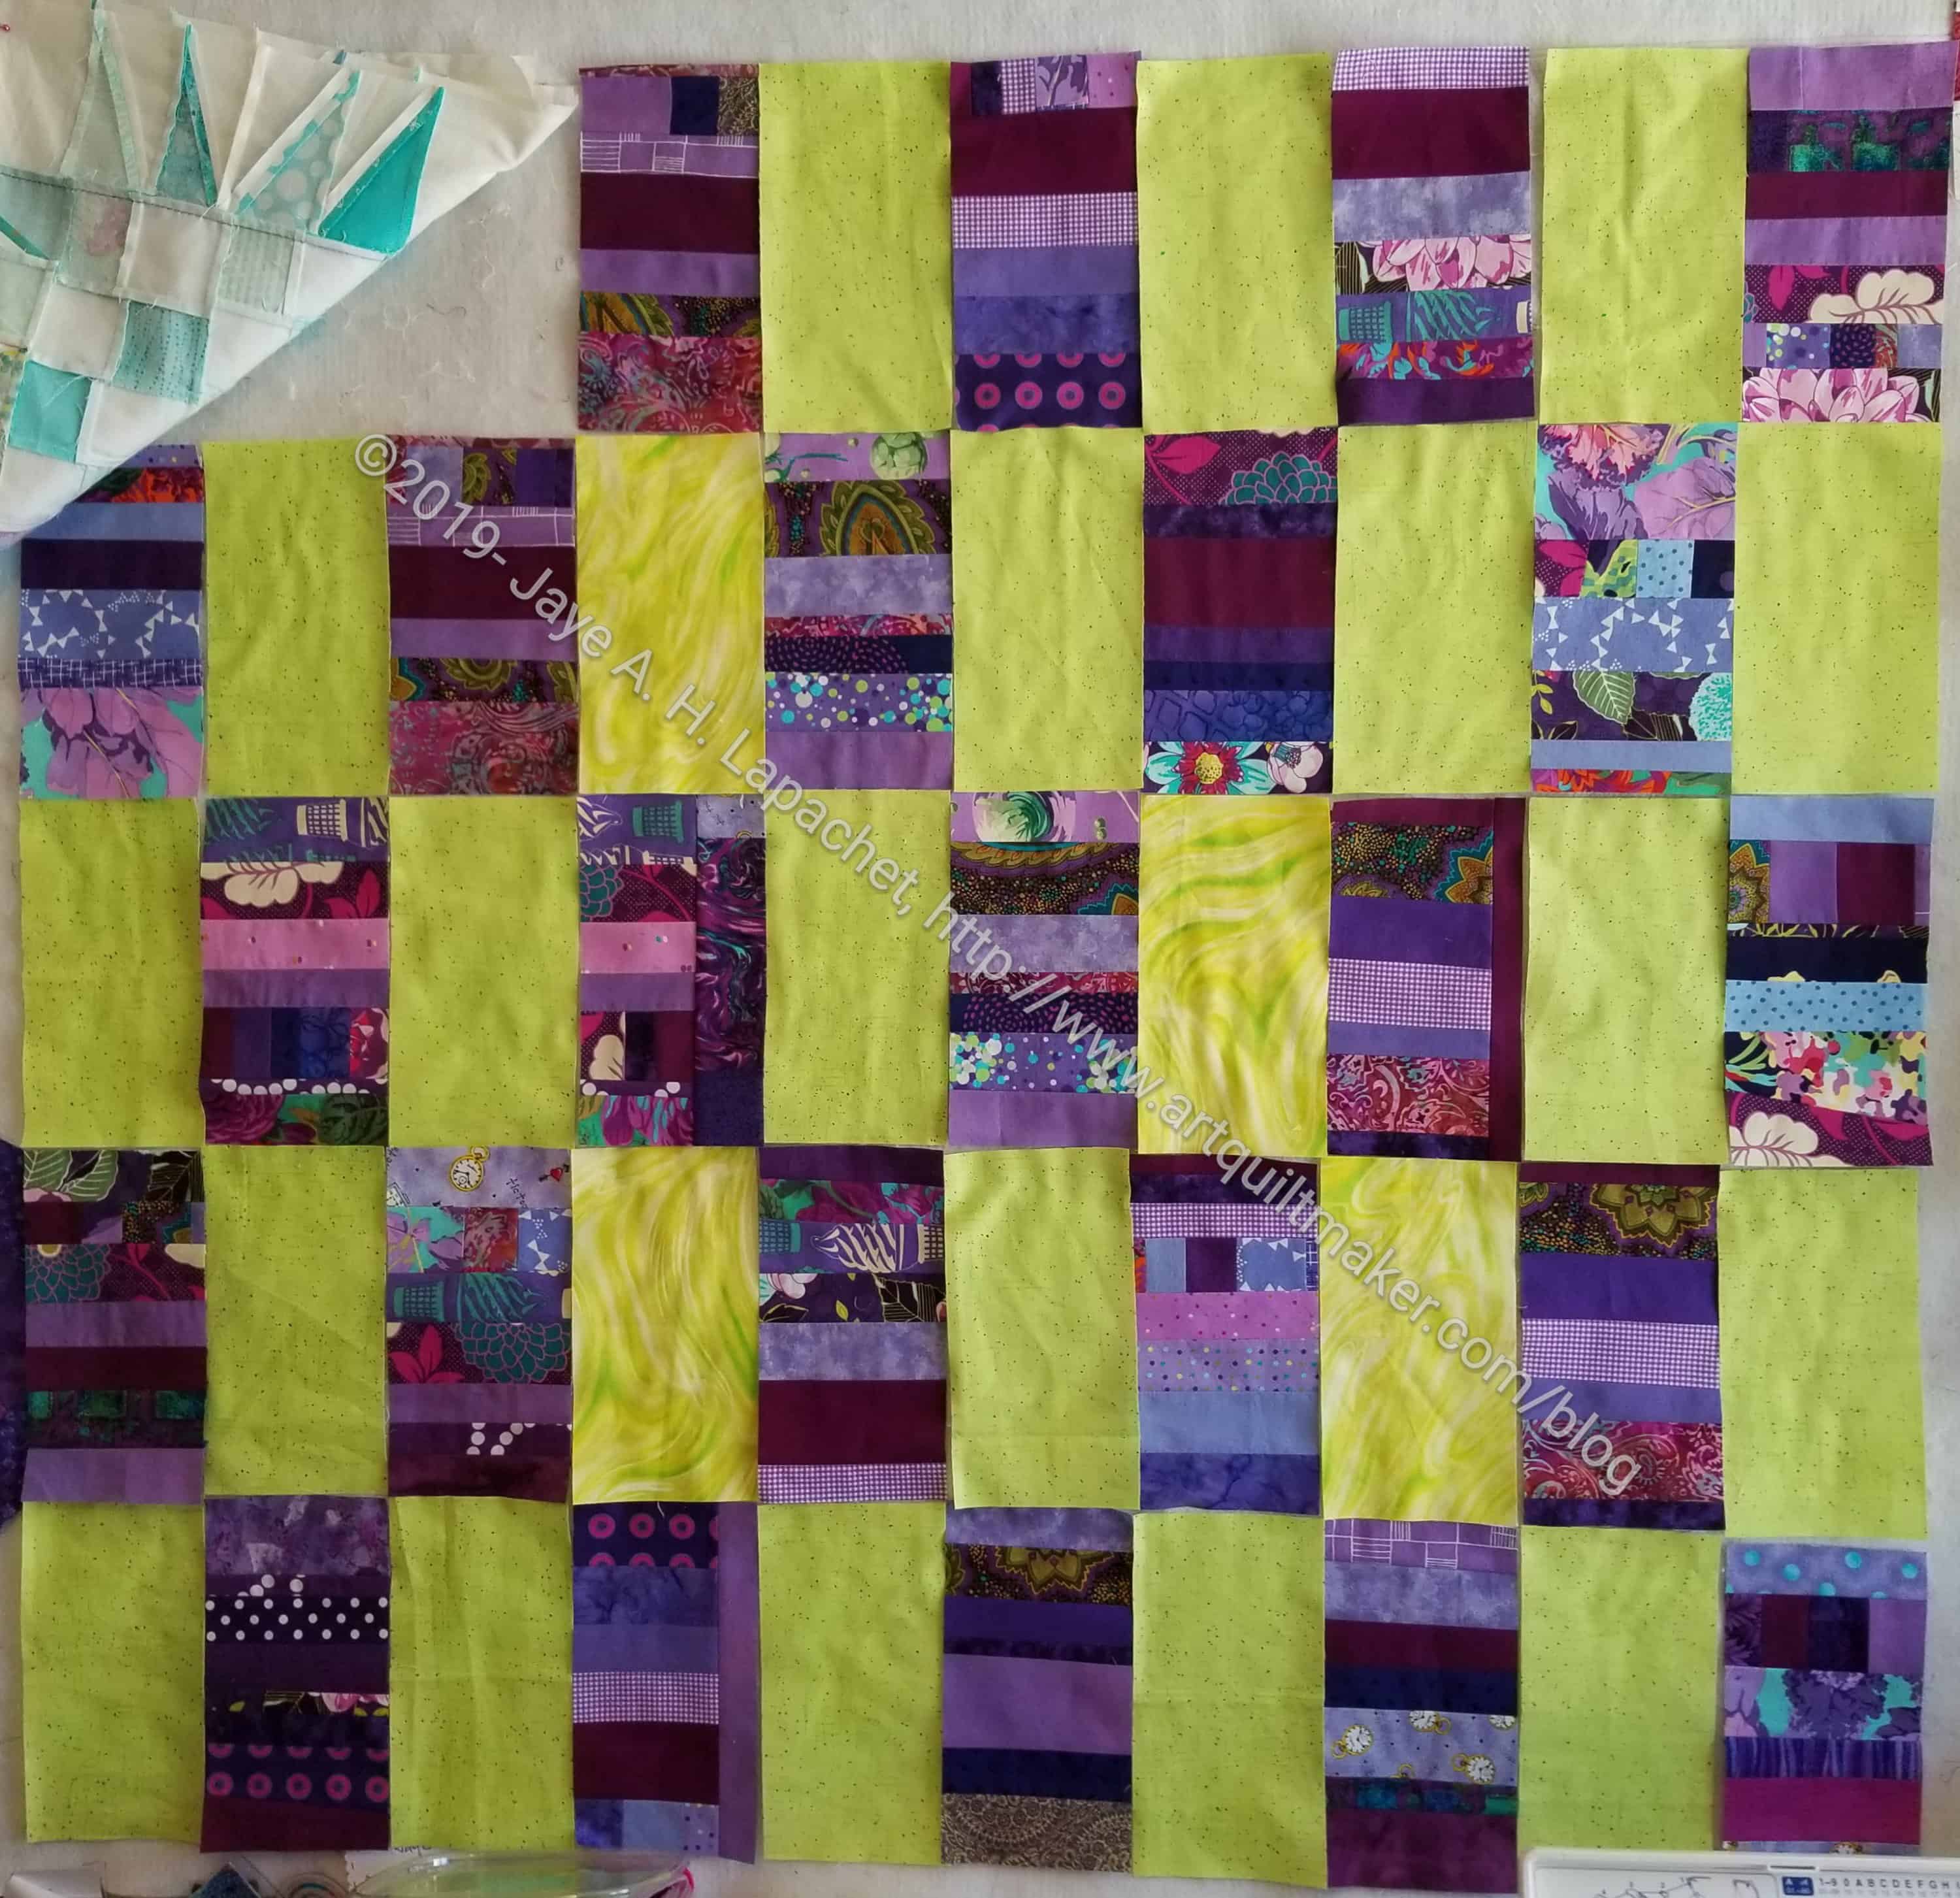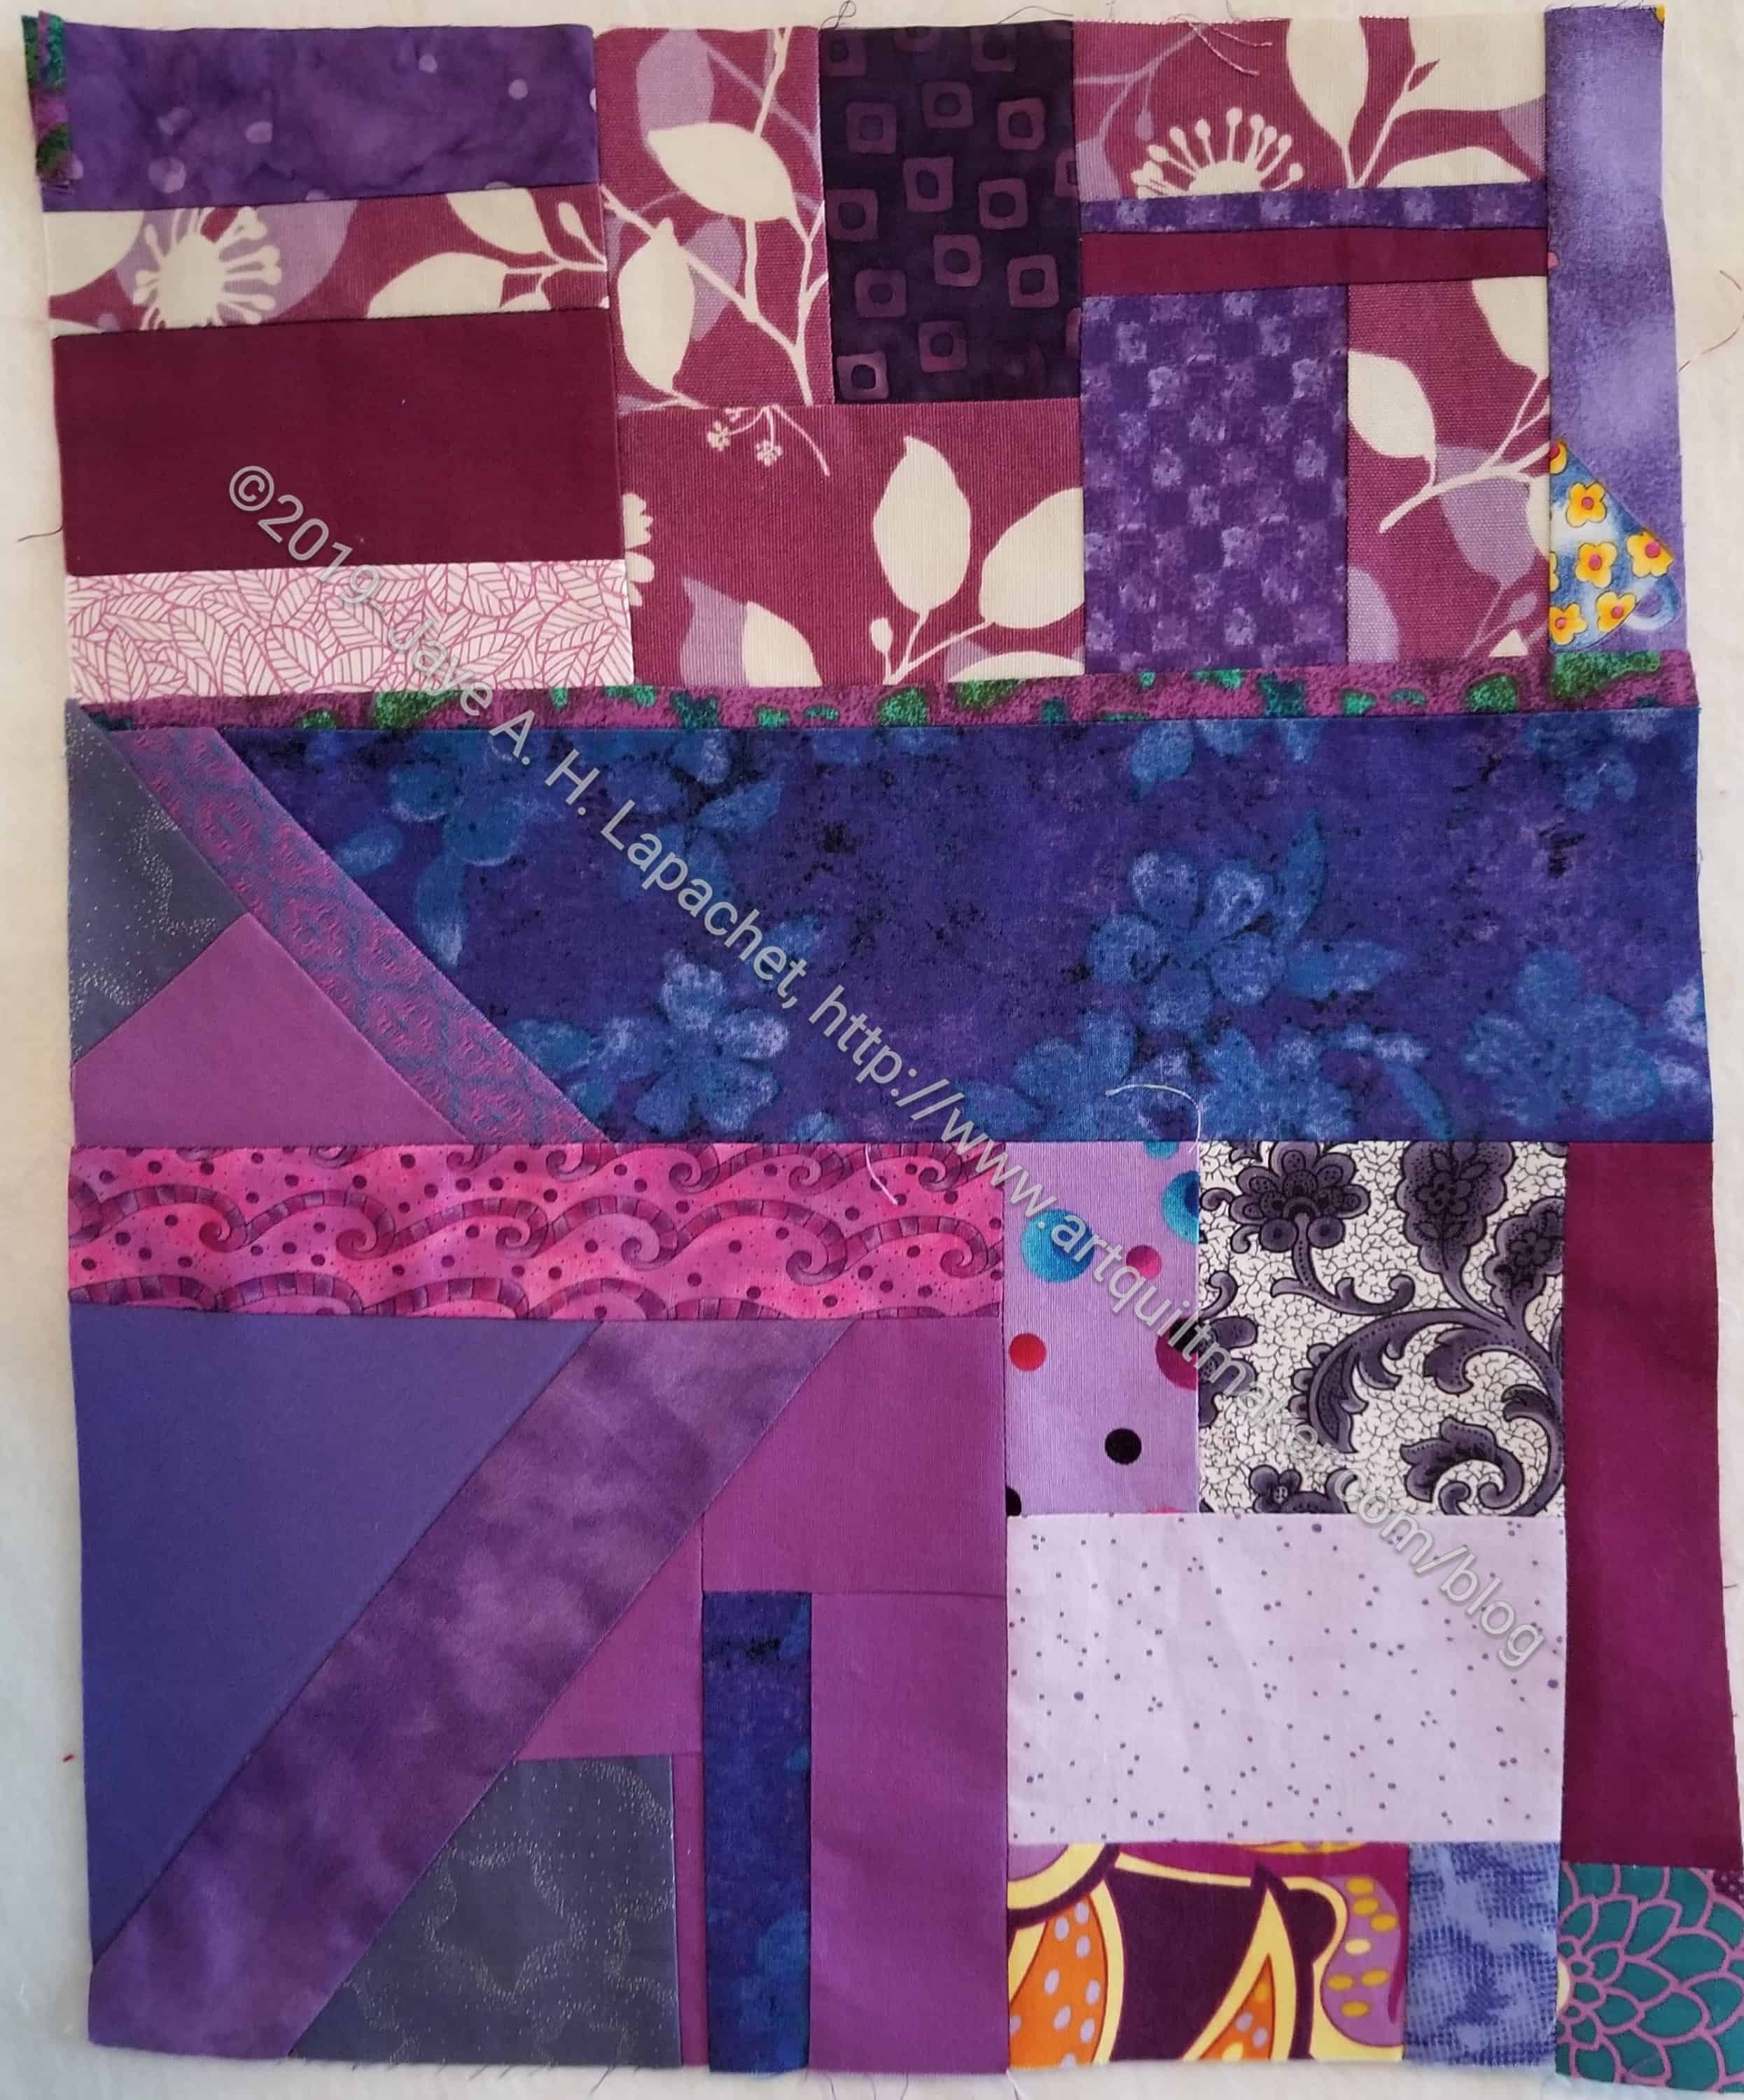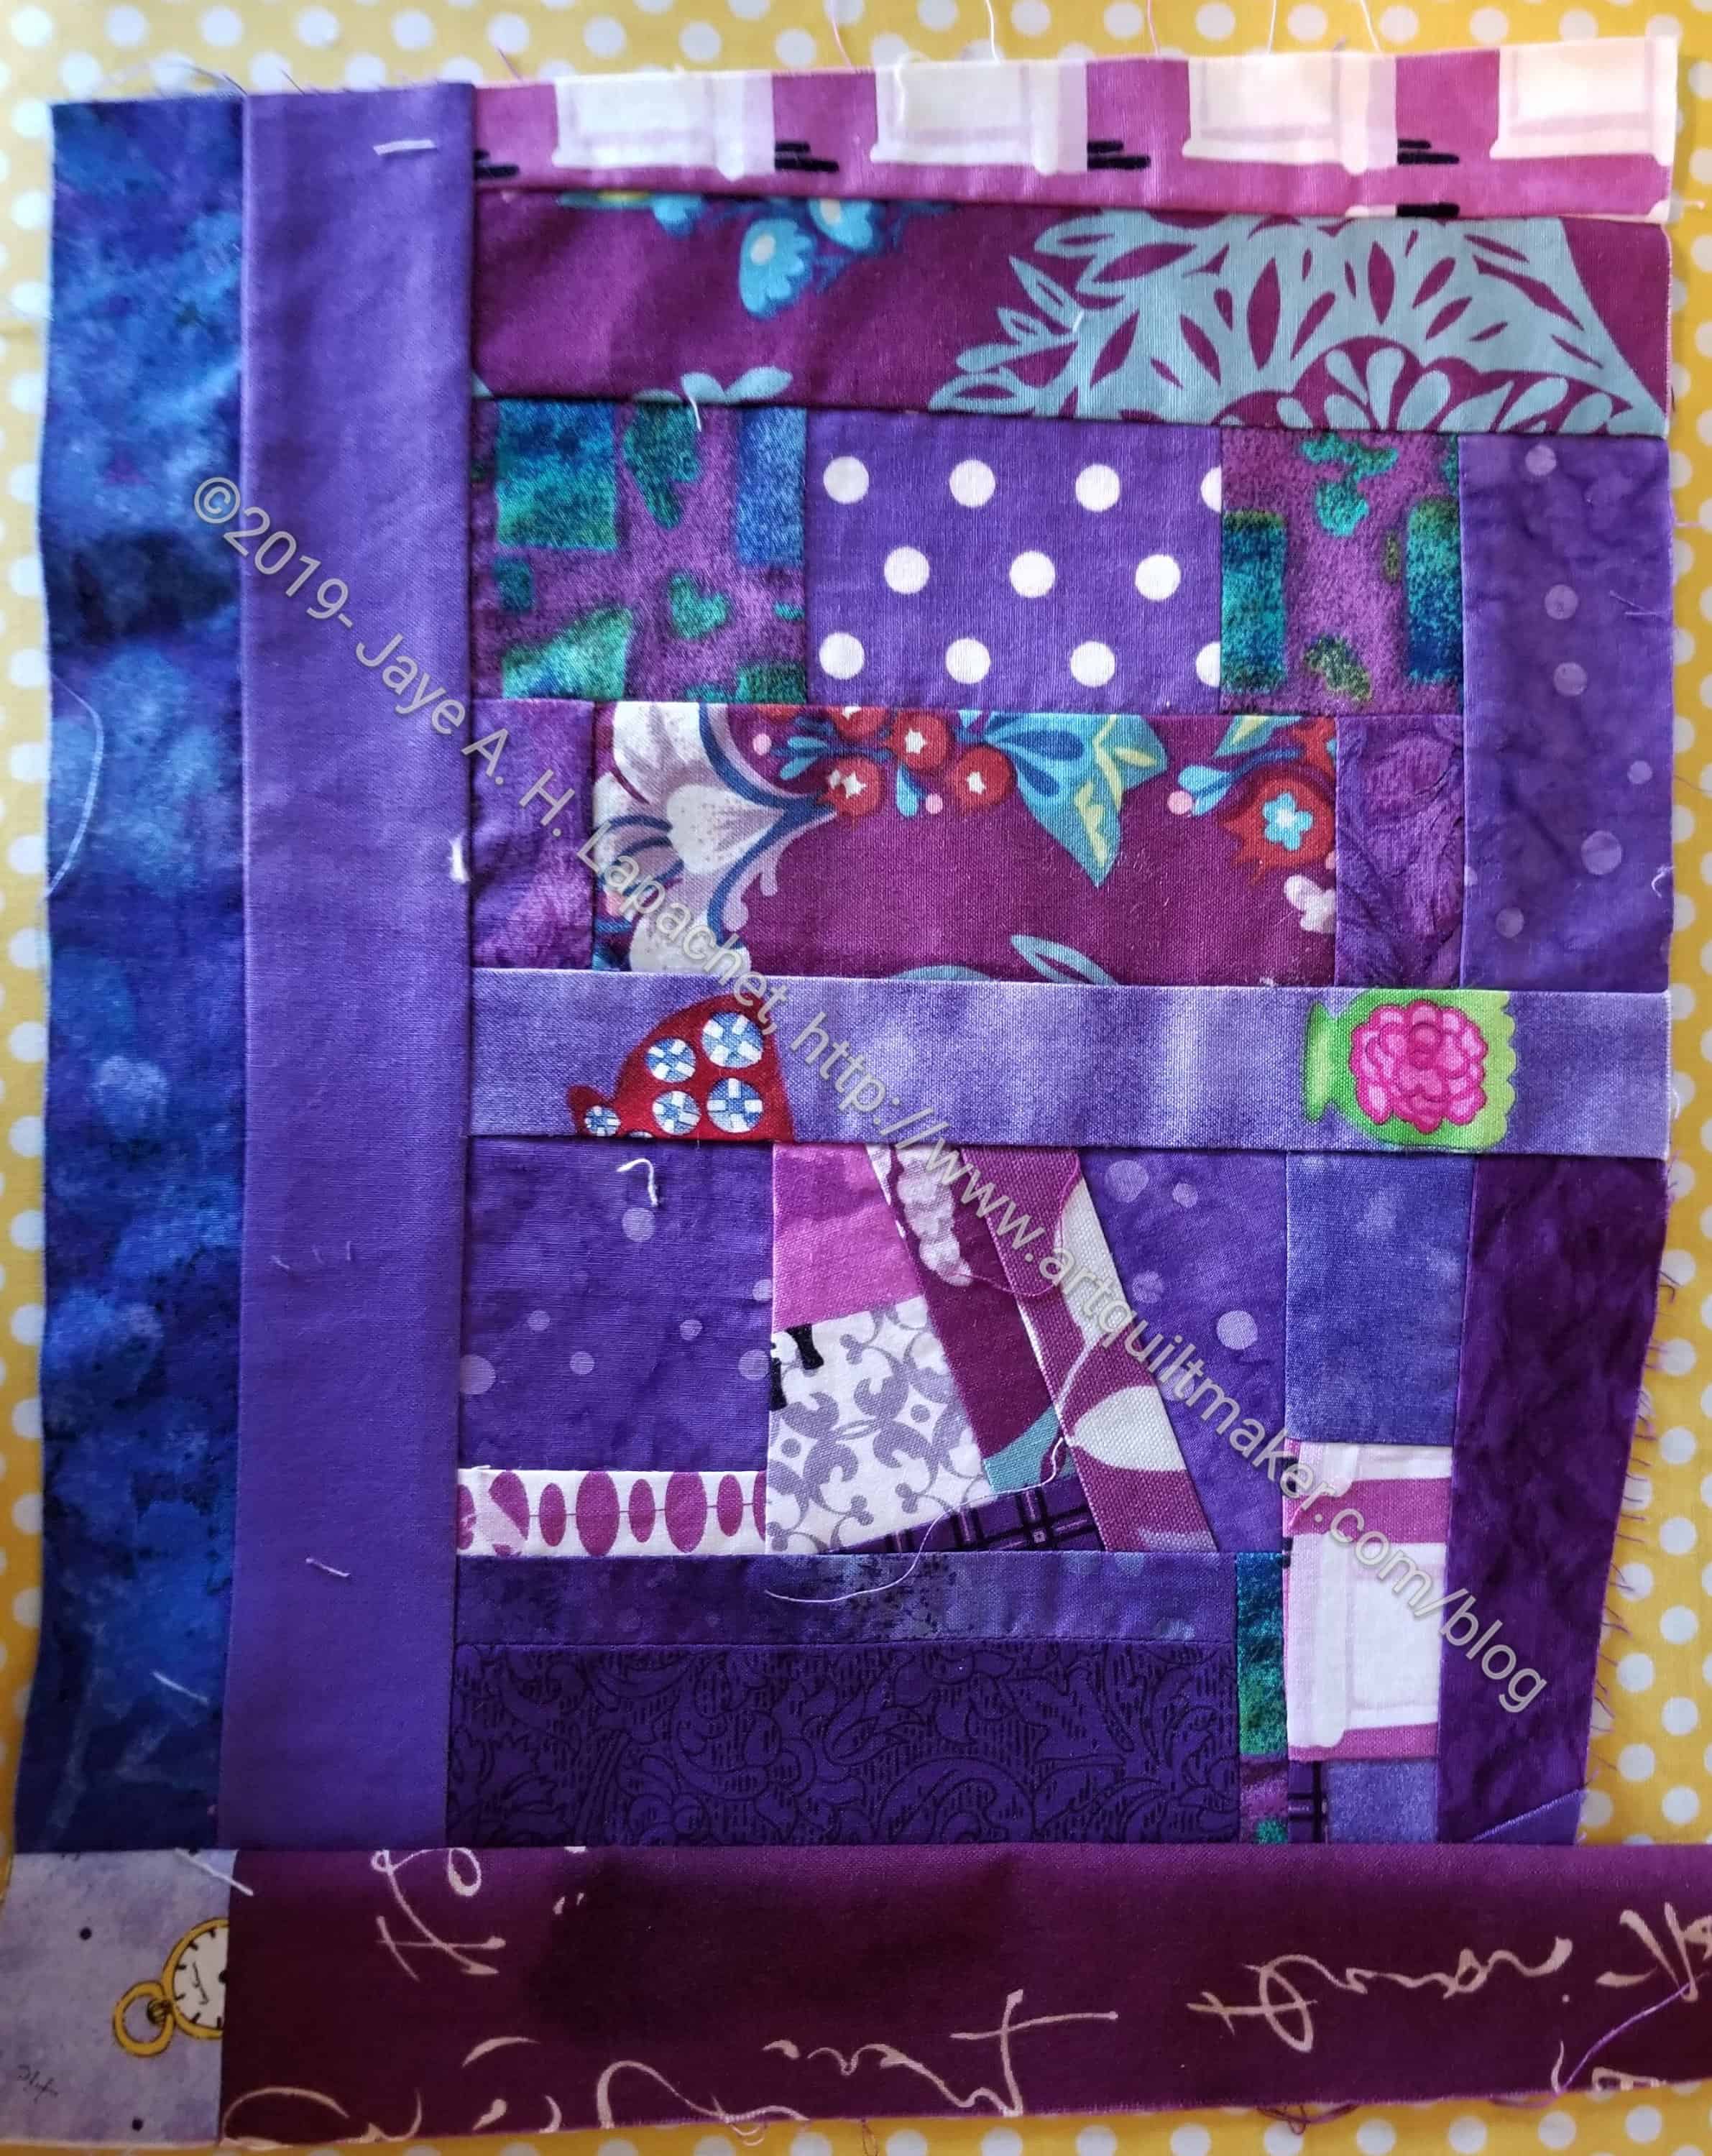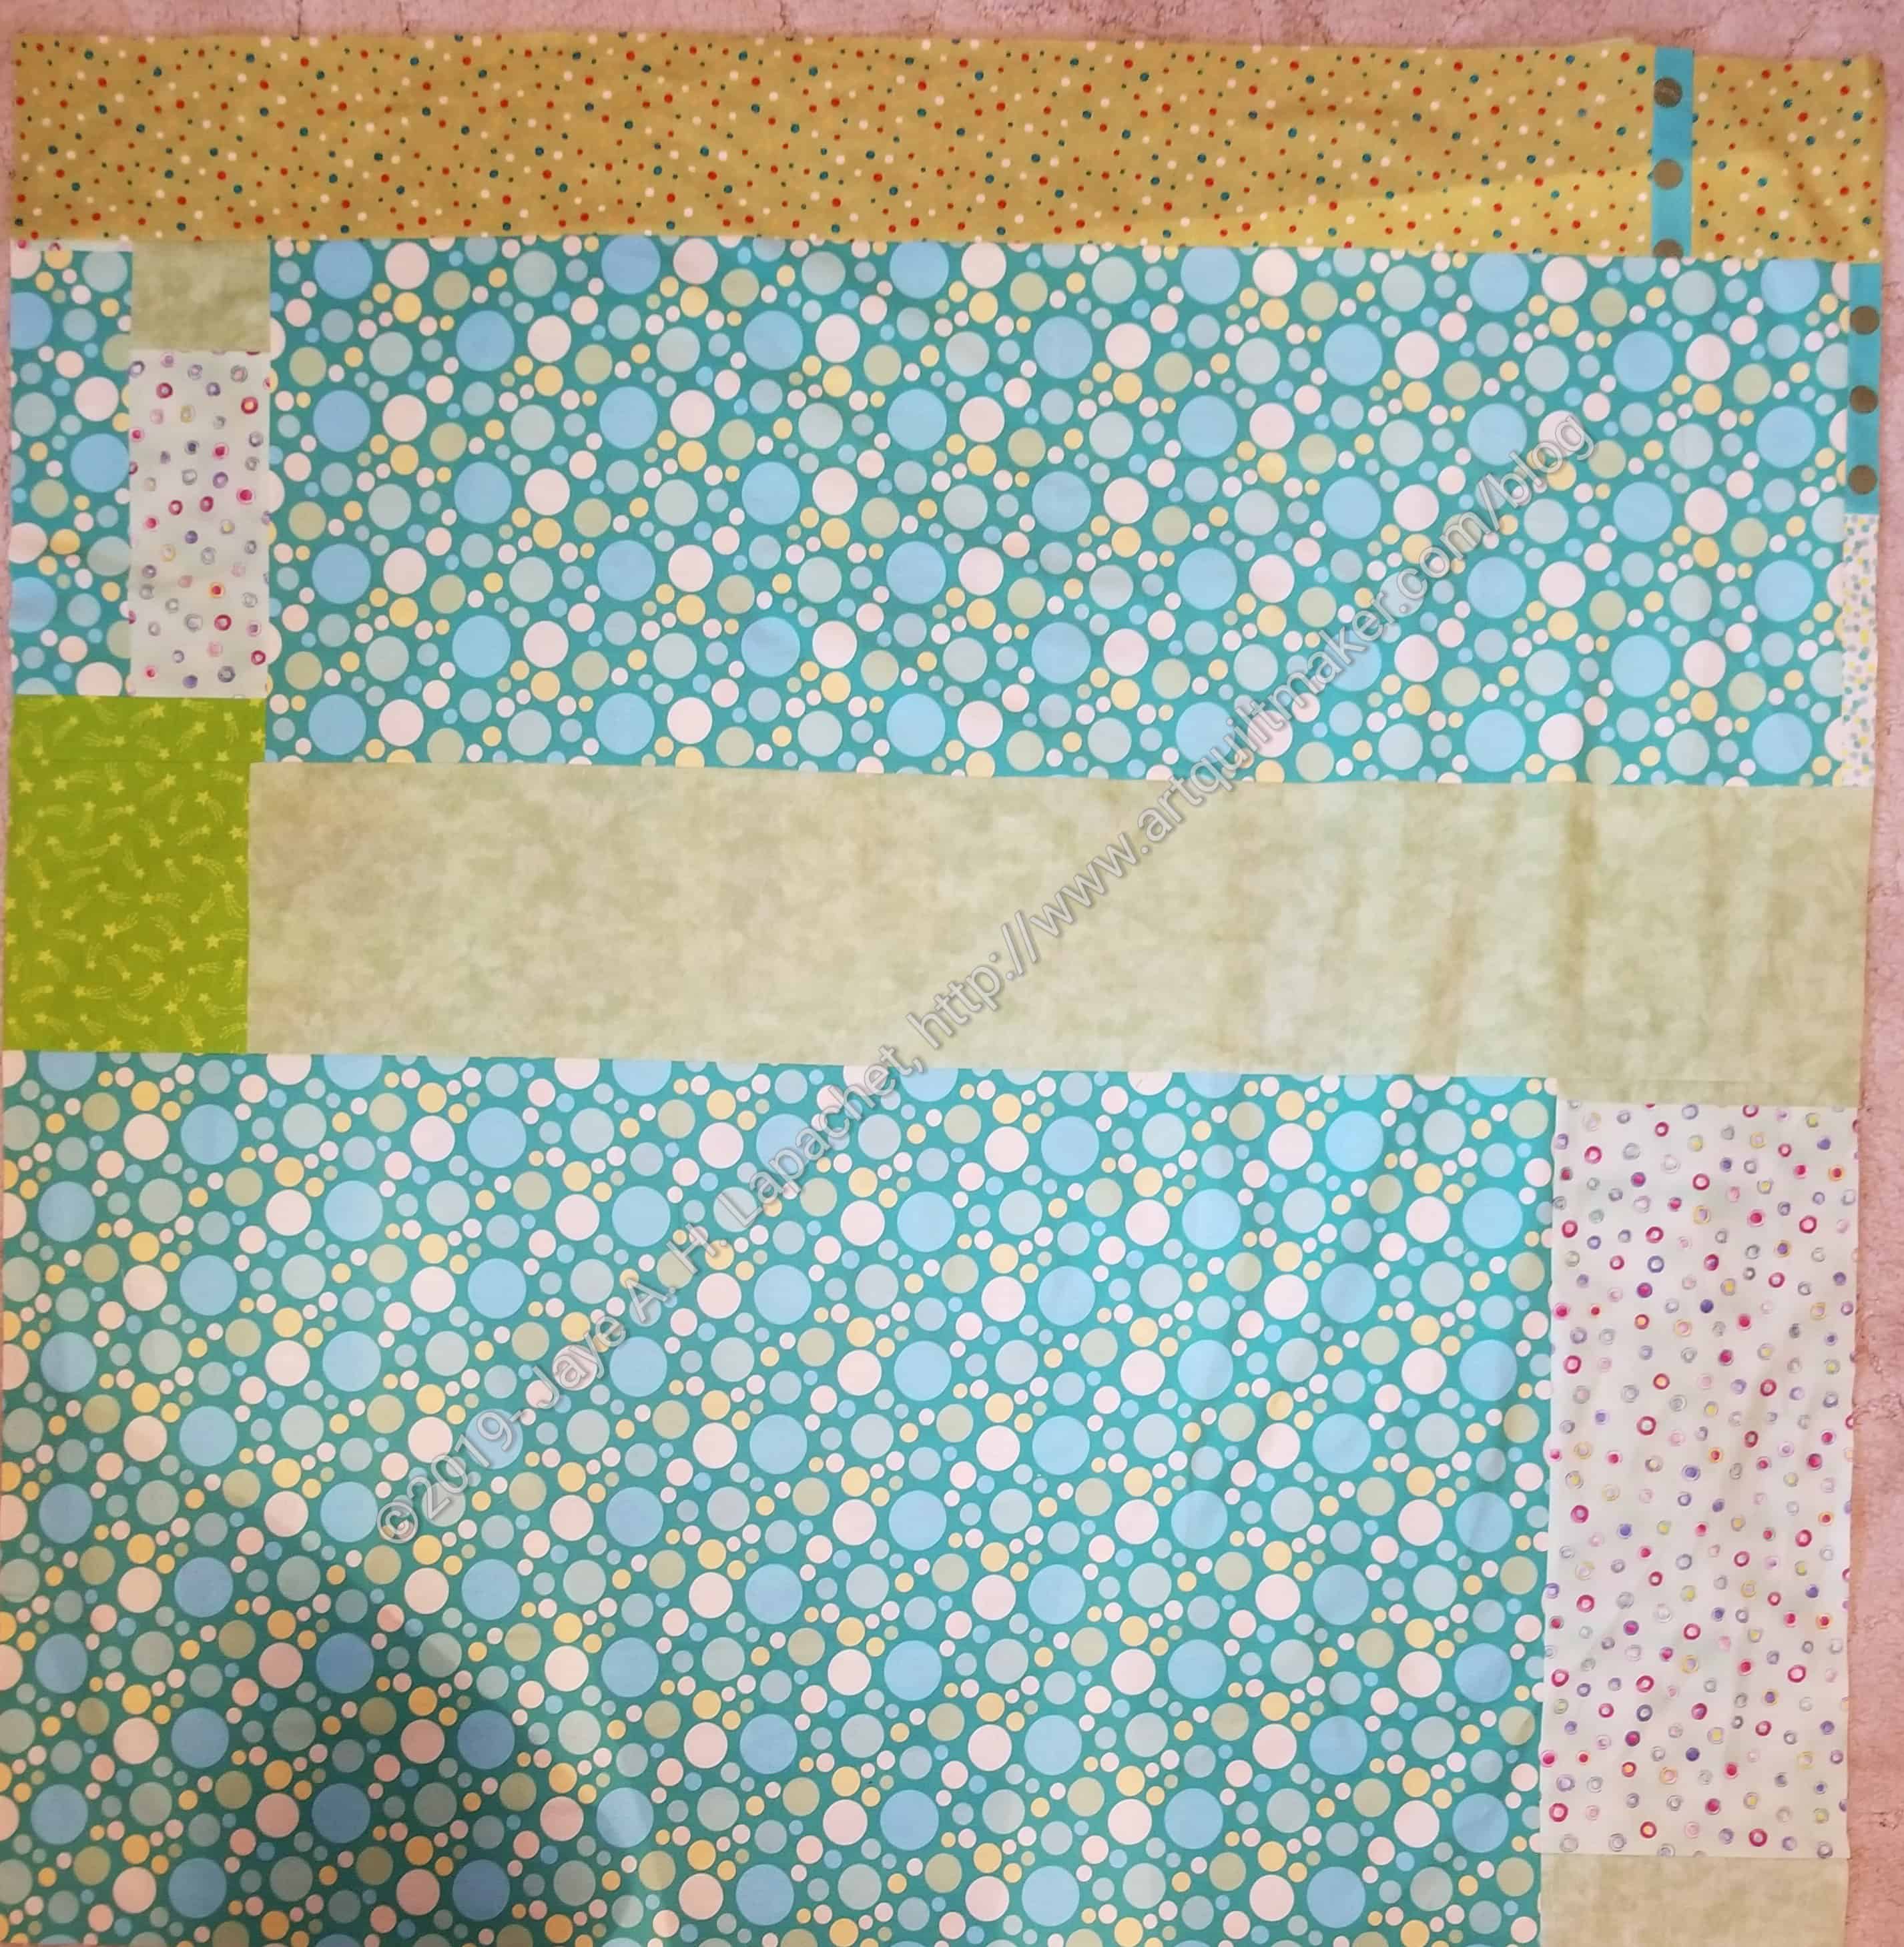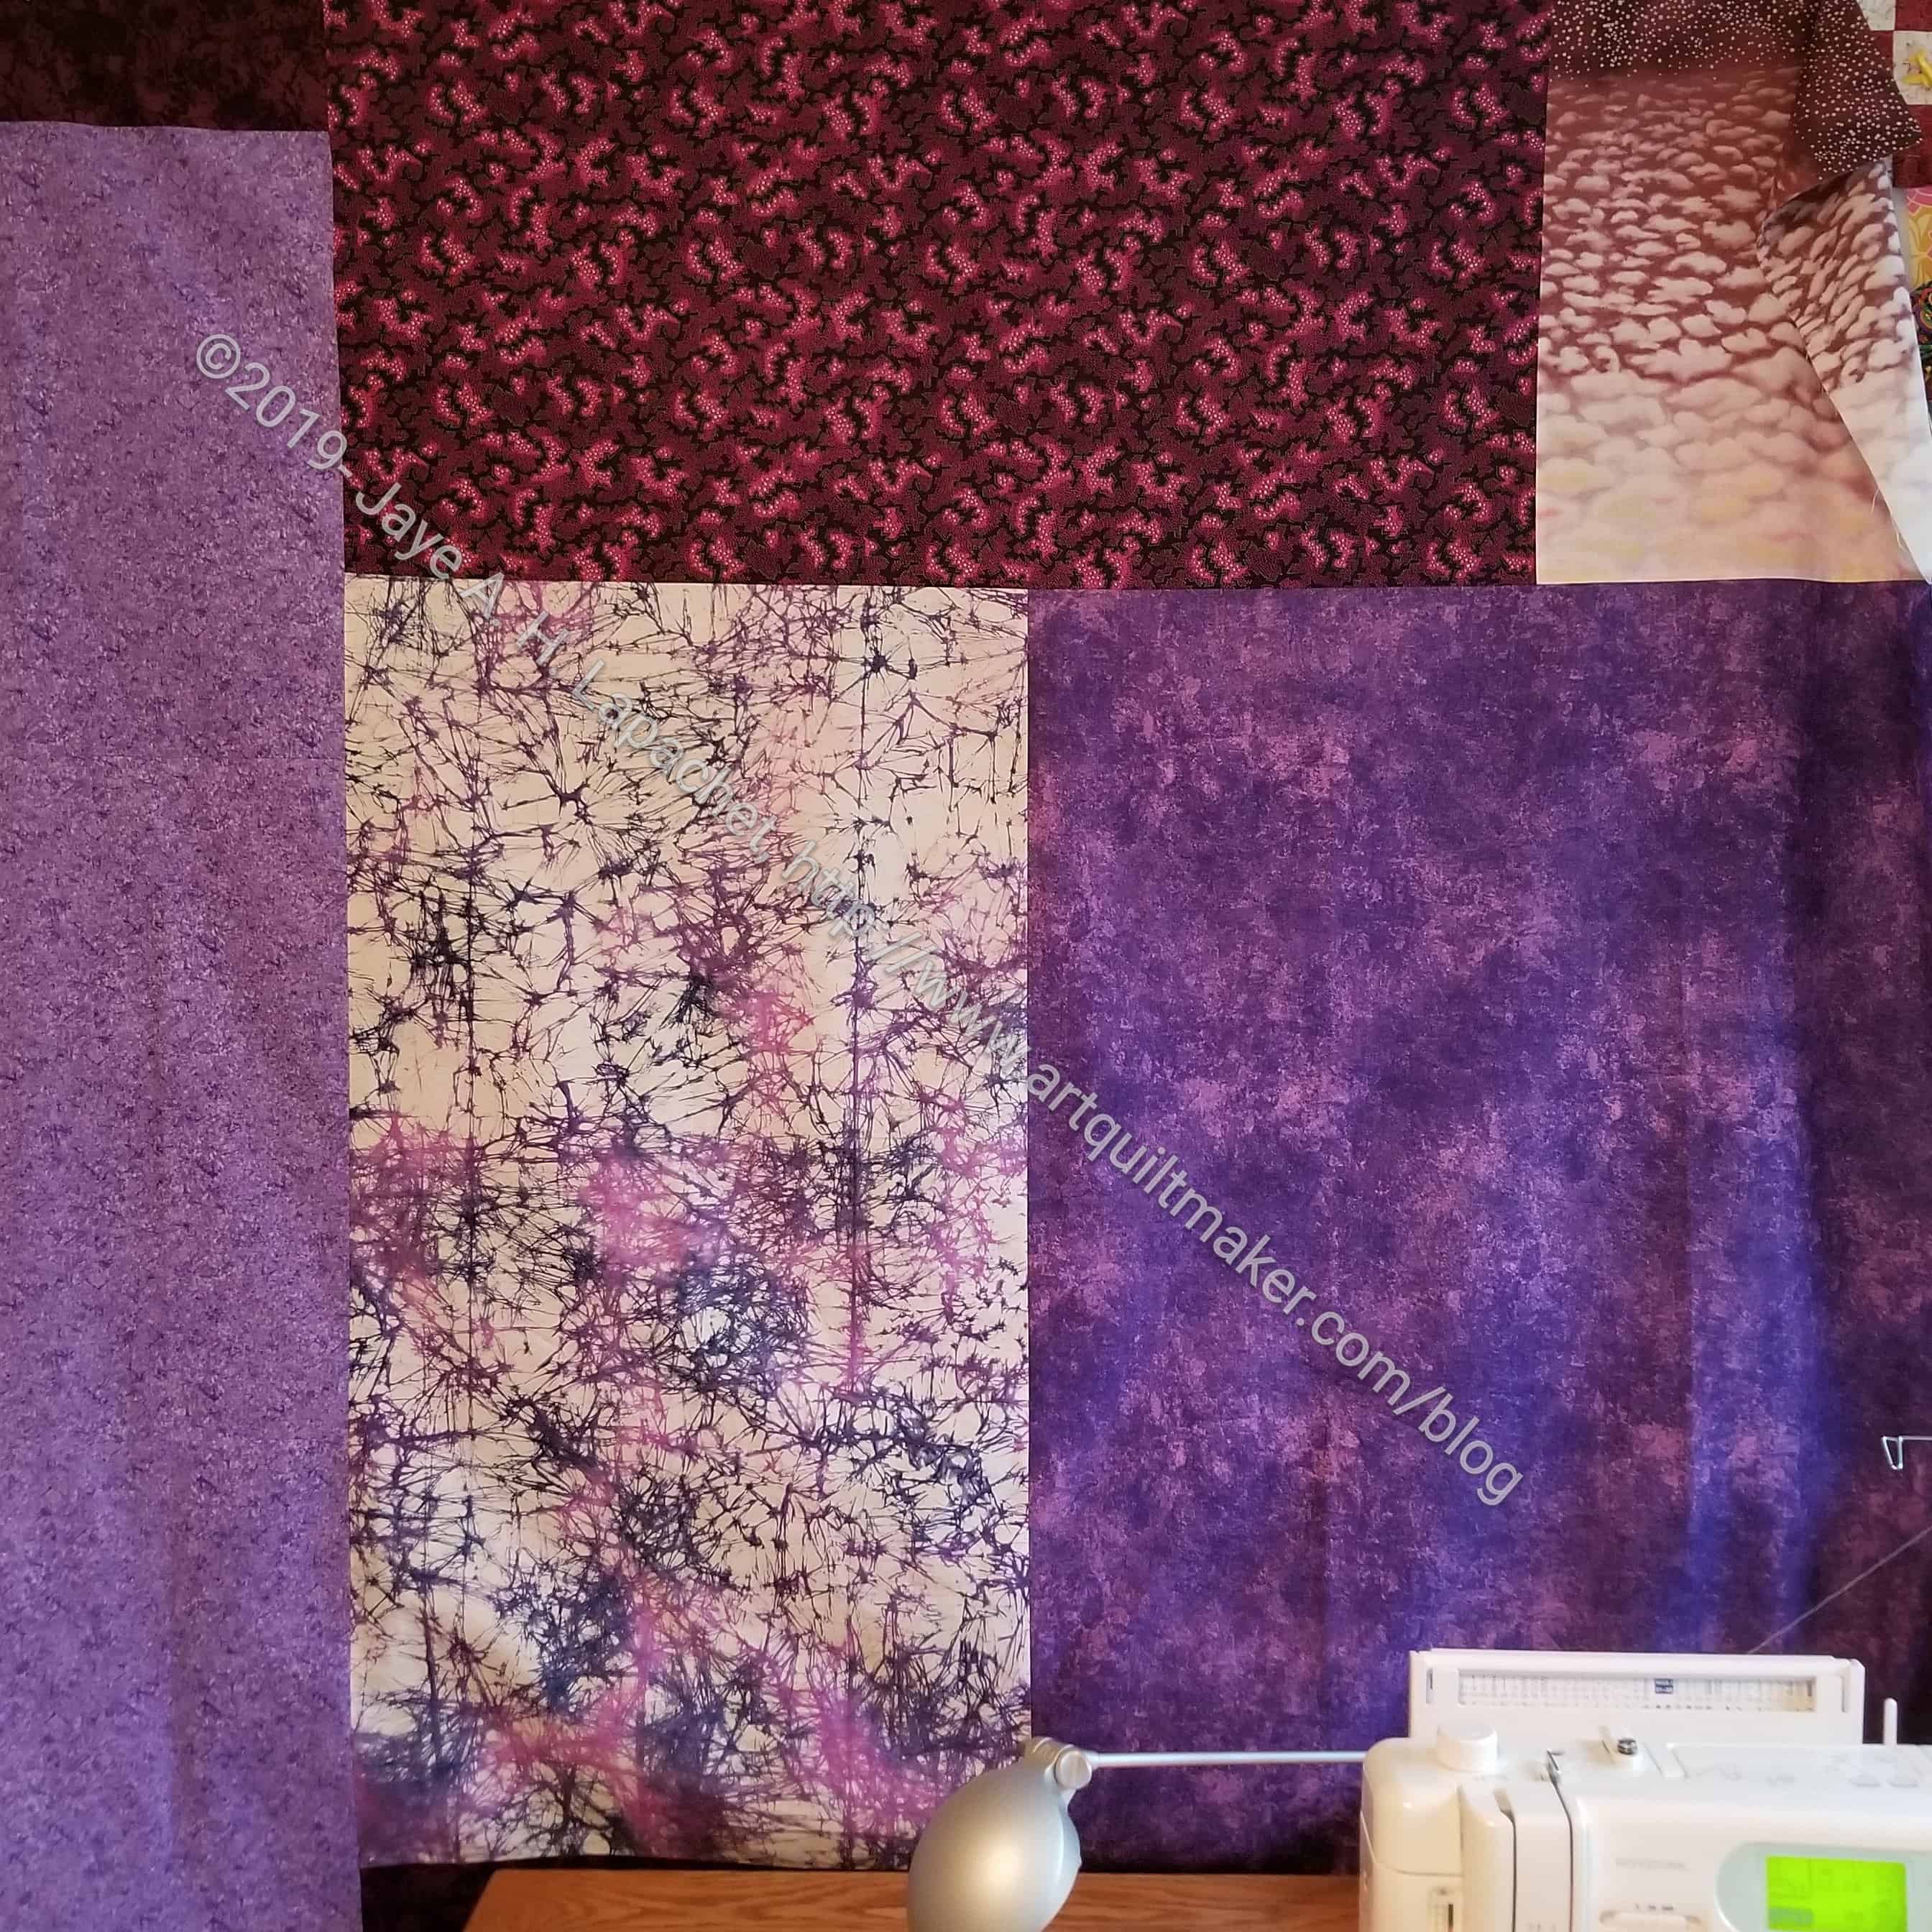
It took me awhile to get the back for the Purple Improv donation quilt finished. It is now done and I, unexpectedly gave it to Tim at Sew Day yesterday.
Making the back was slightly delayed, because I couldn’t get my purple fabric bins. I don’t use purple that often, so they are slightly buried.
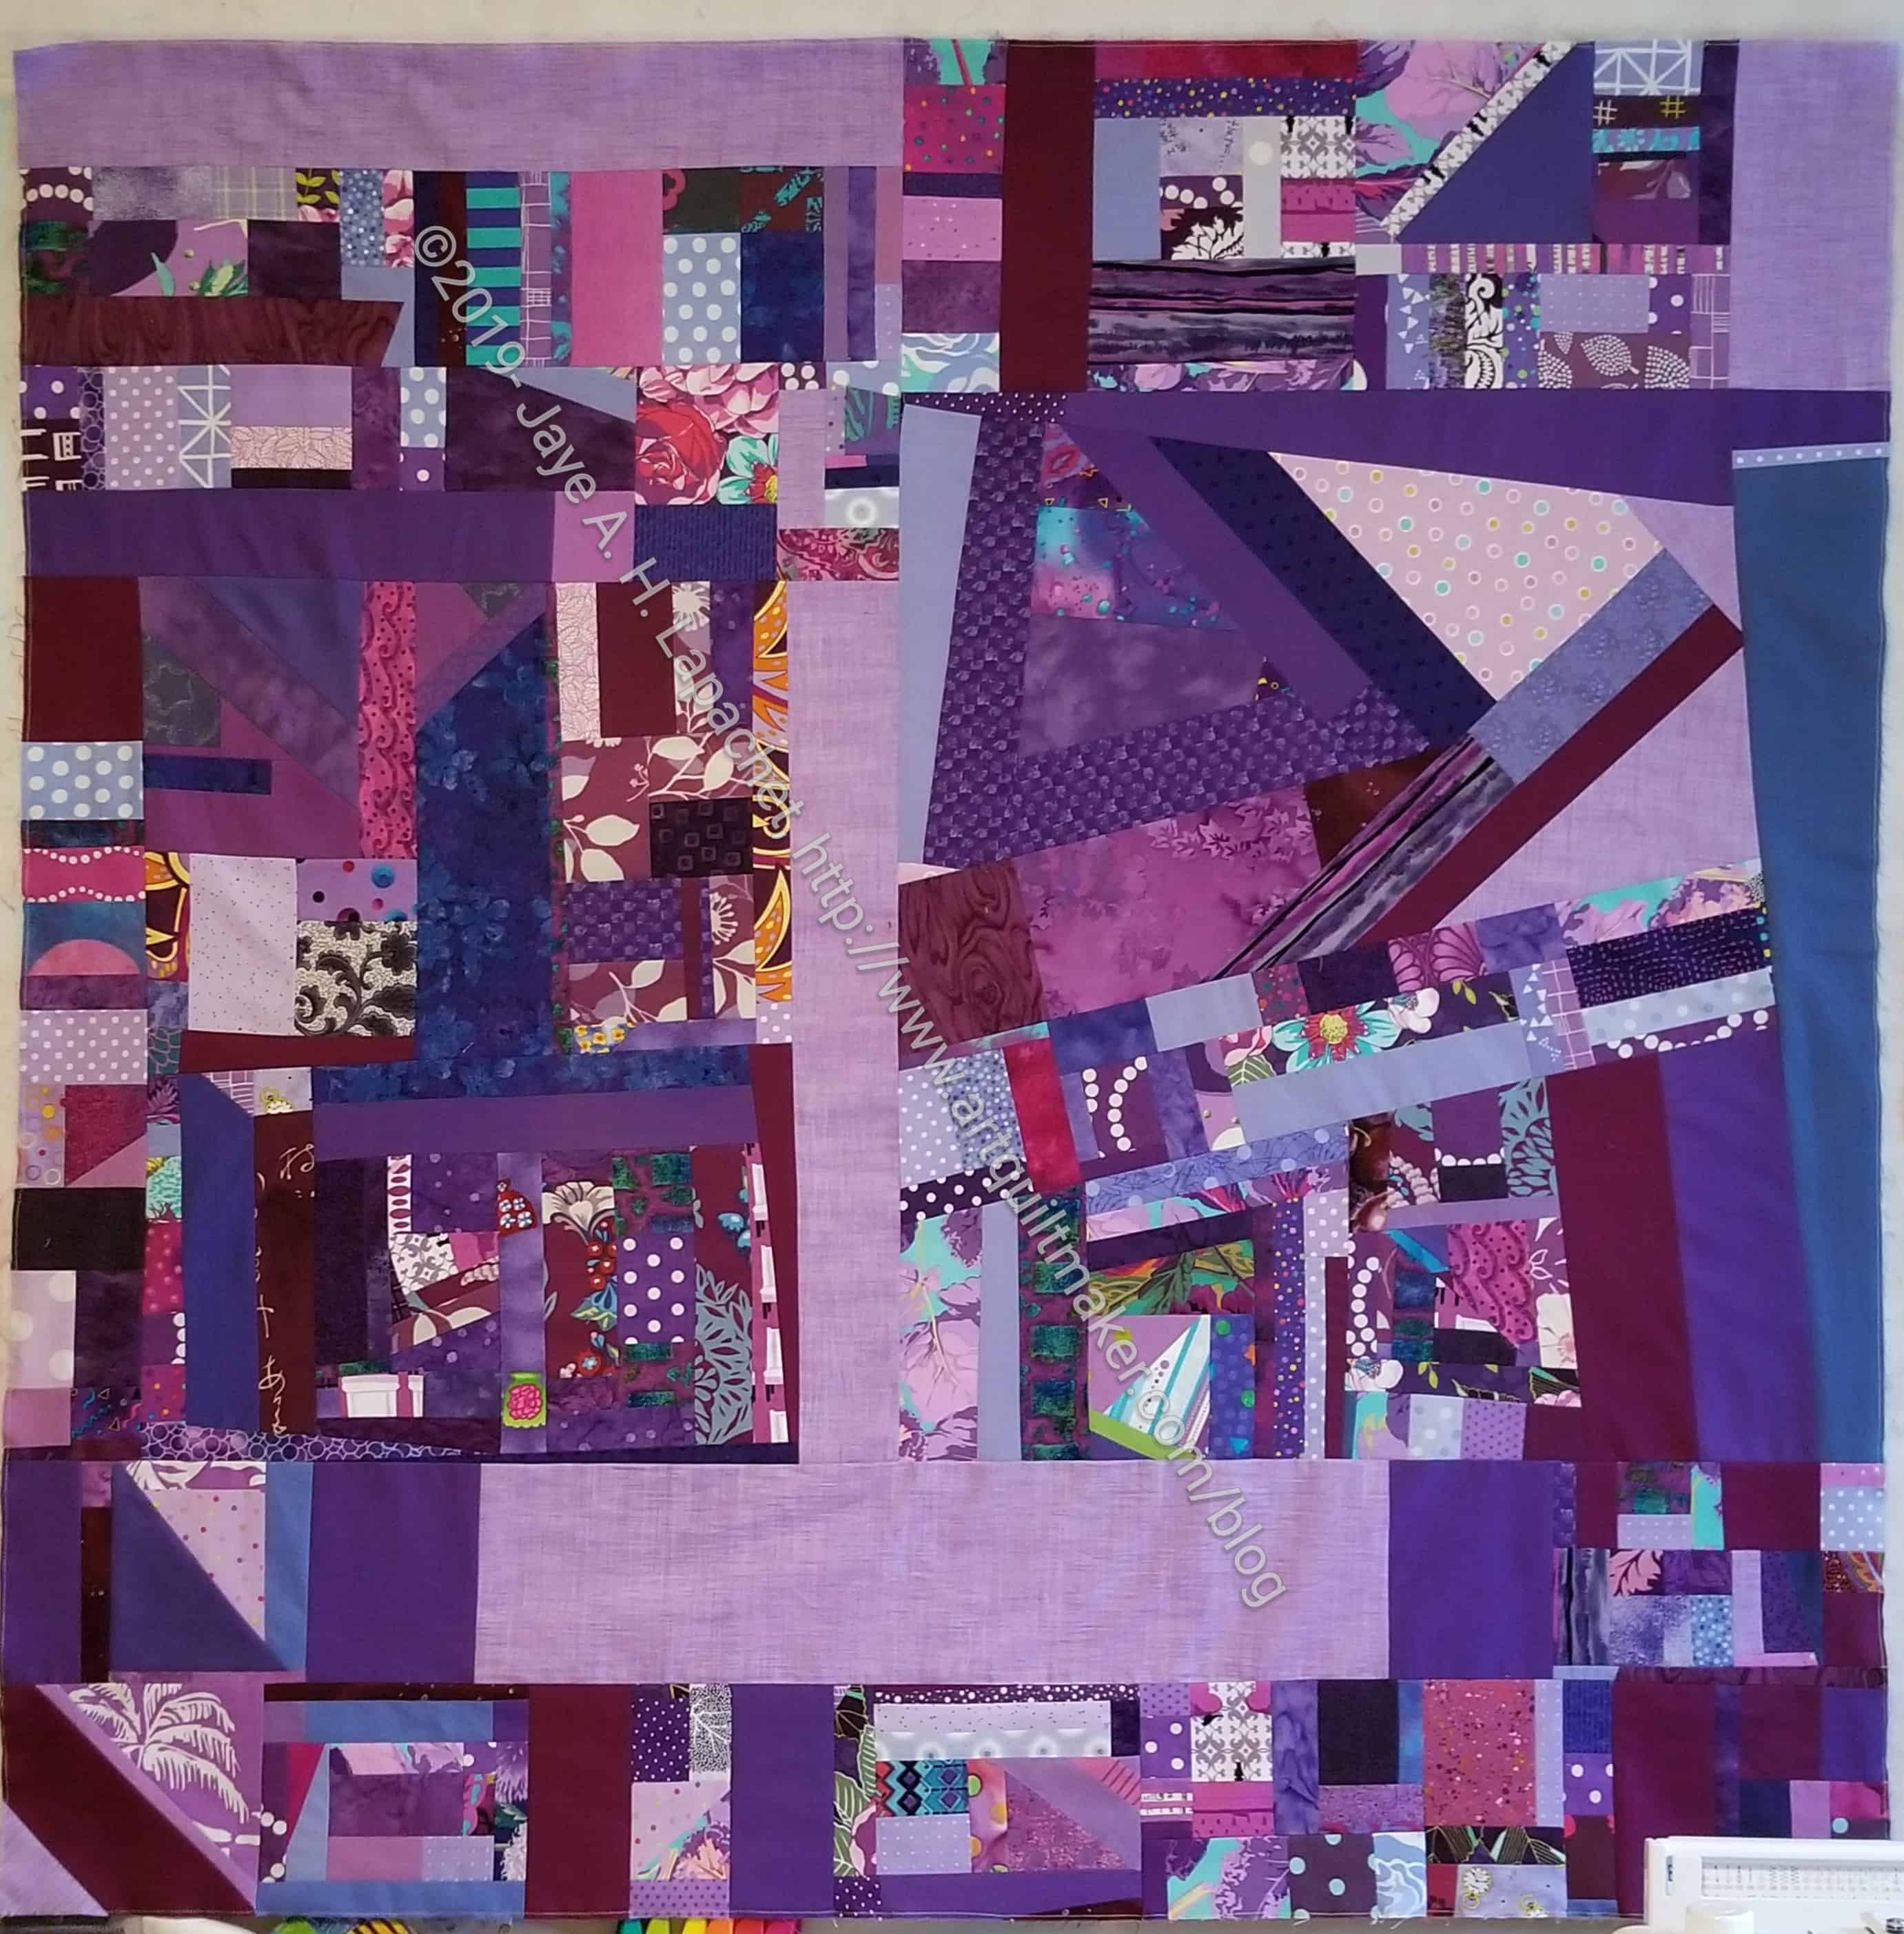
I did it a little differently this time. The top was on the design wall. Instead of pulling it off and using the design floor, I pinned fabrics from my stash to the design wall in the place I wanted to use them. This worked pretty well as I could see where I still needed coverage.
I didn’t think he would want to quilt the Purple Improv quilt, but he took both the Purple Strip quilt and this one to quilt. He is such a rock star.