Nota bene: TFQ: if you have not opened all of your gifts, stop reading now!!! Go open them and come back.
Yes, my good friend TFQ is 39 again today…with some years experience. 😉
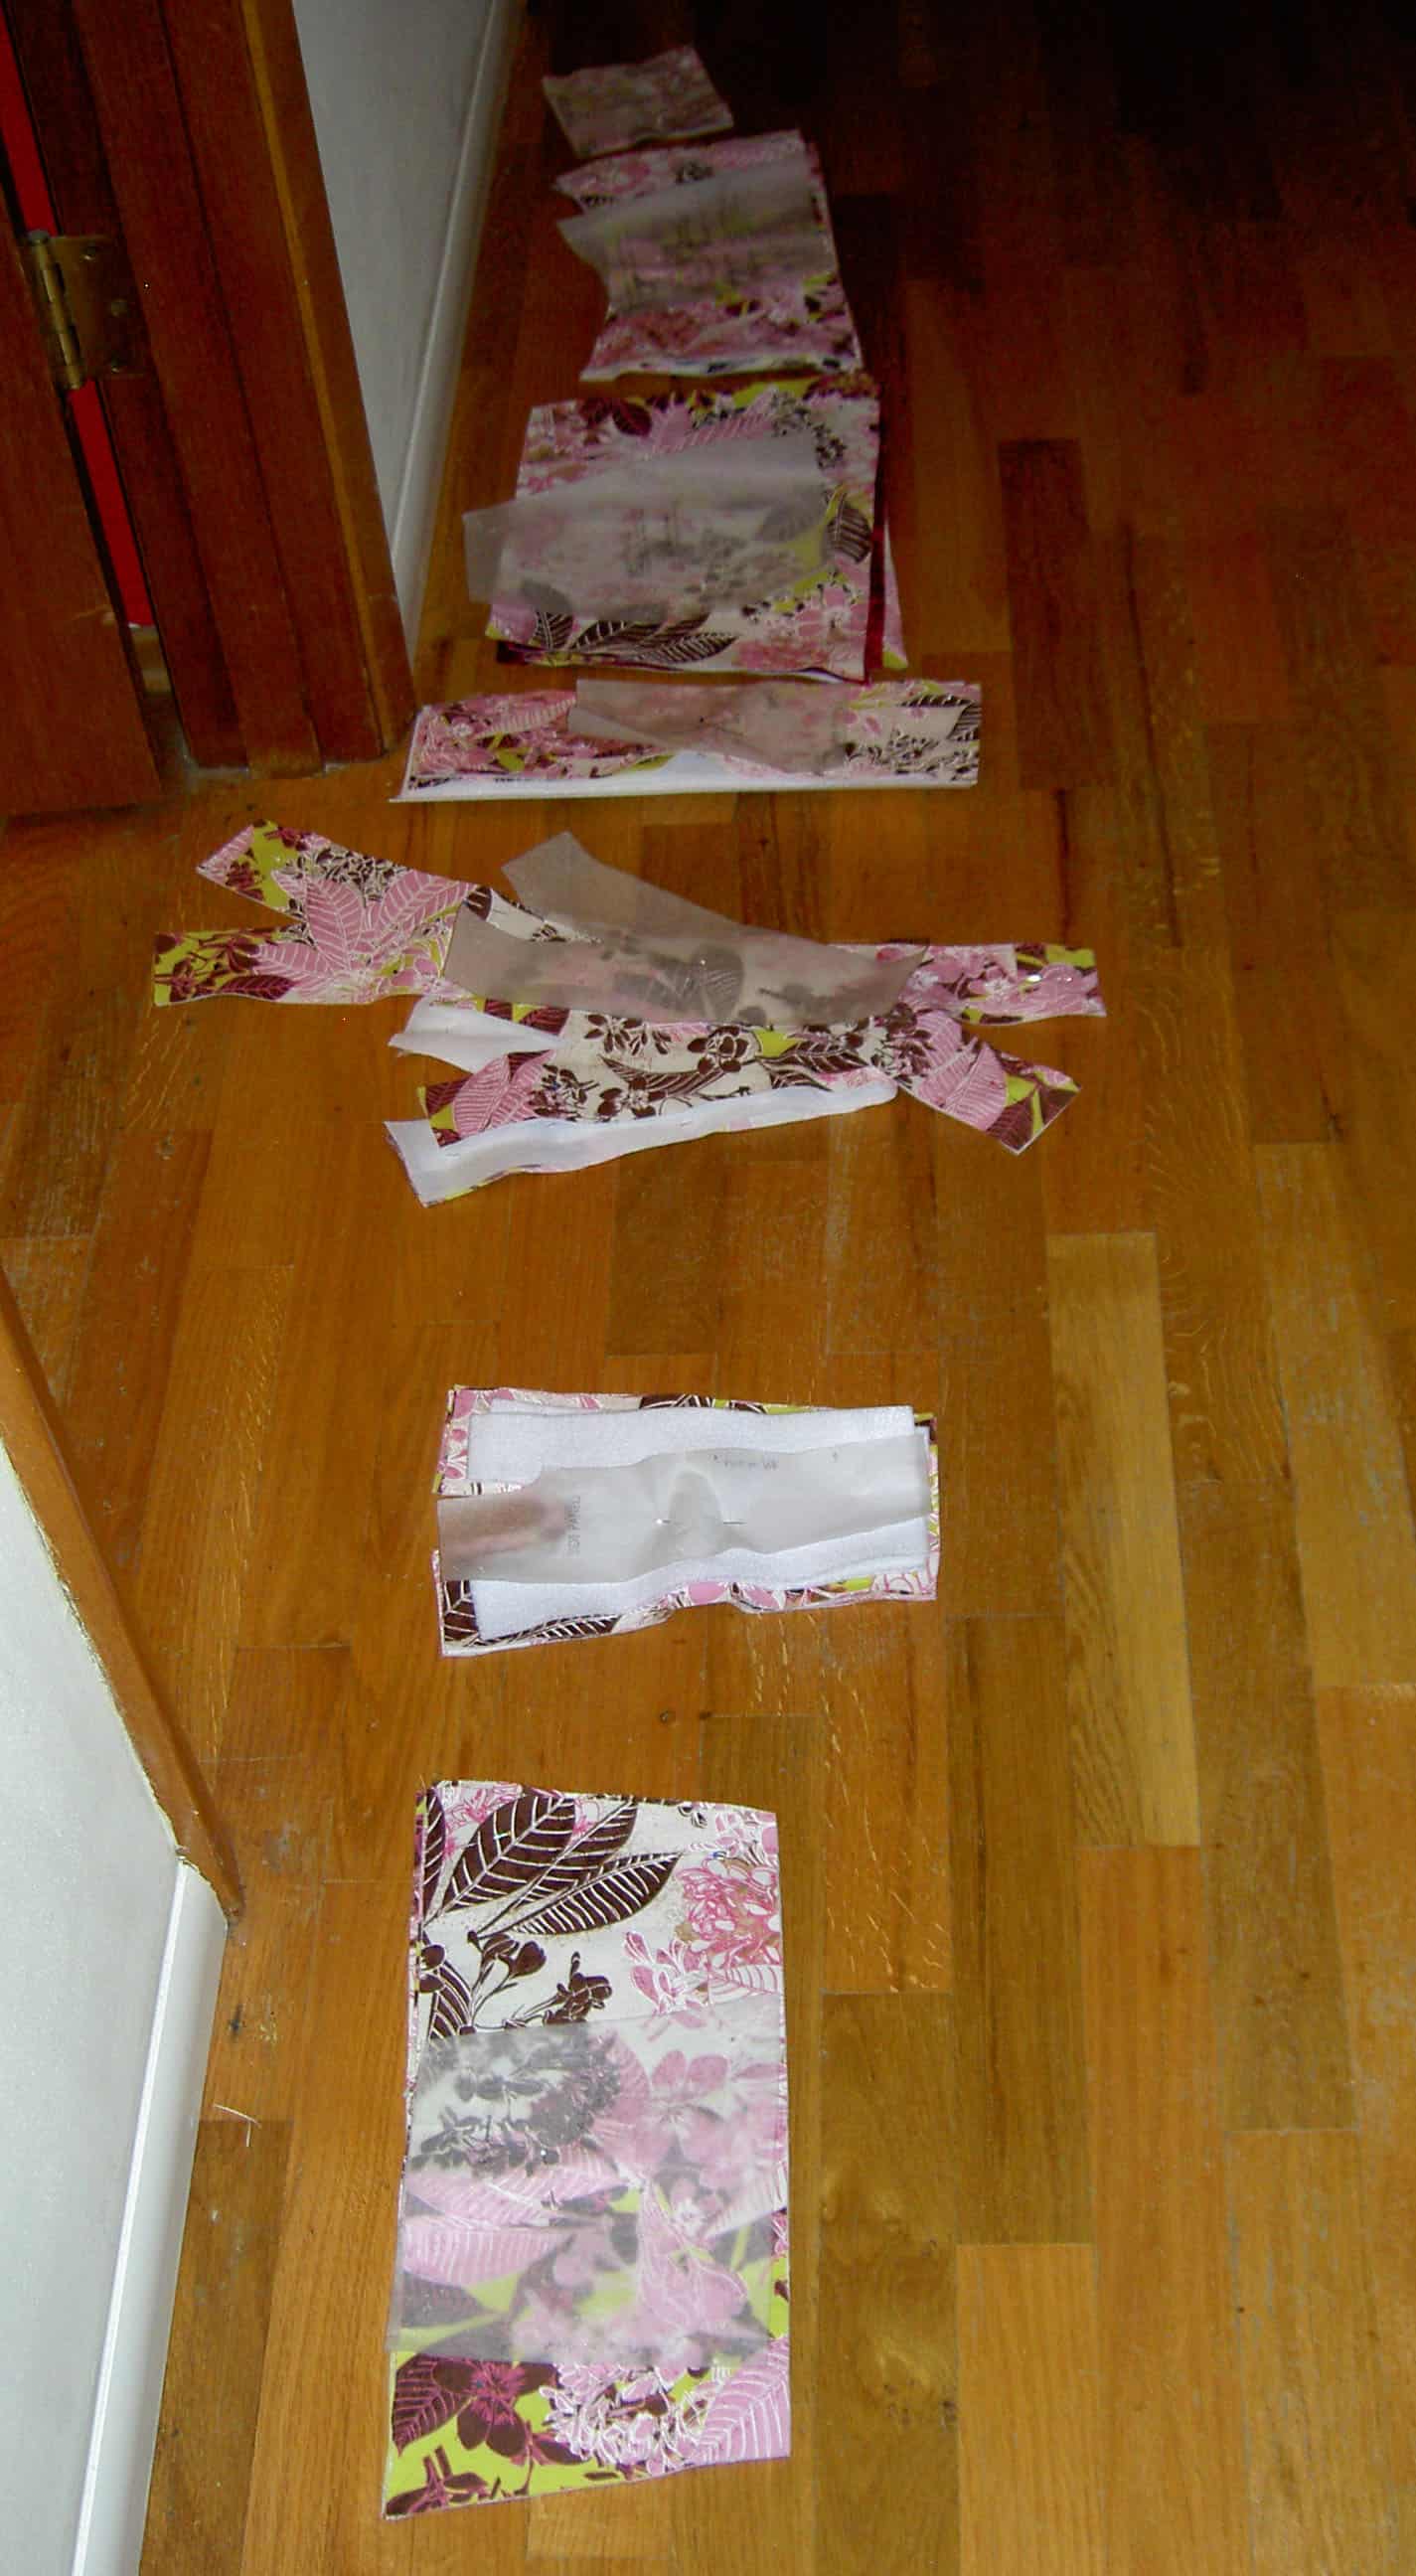
In addition to the gifts I have been collecting for her, I also made her a couple of things. Did you guess journal cover and pencil roll? I am so predictable, I know.
Journal Cover
The black and white fabrics, from Lonni Rossi‘s Paint Box collection, are the fabrics I used to make Marilyn’s Multi-tasker while I was visiting TFQ in November. She admired those fabrics and that stuck in my mind.
TFQ is an excellent colorist. She can put fabrics together in the most amazing ways. I strive to be like her, which requires cultivating more patience and determination in my quiltmaking process. If I want to make something for her, I feel like I need to really do an excellent job of picking colors, thus the clue that she liked these fabrics gave me confidence.
Using only those black and white fabrics together was too depressing, especially in winter. I had to add the dots. They cheered it up quite a bit.
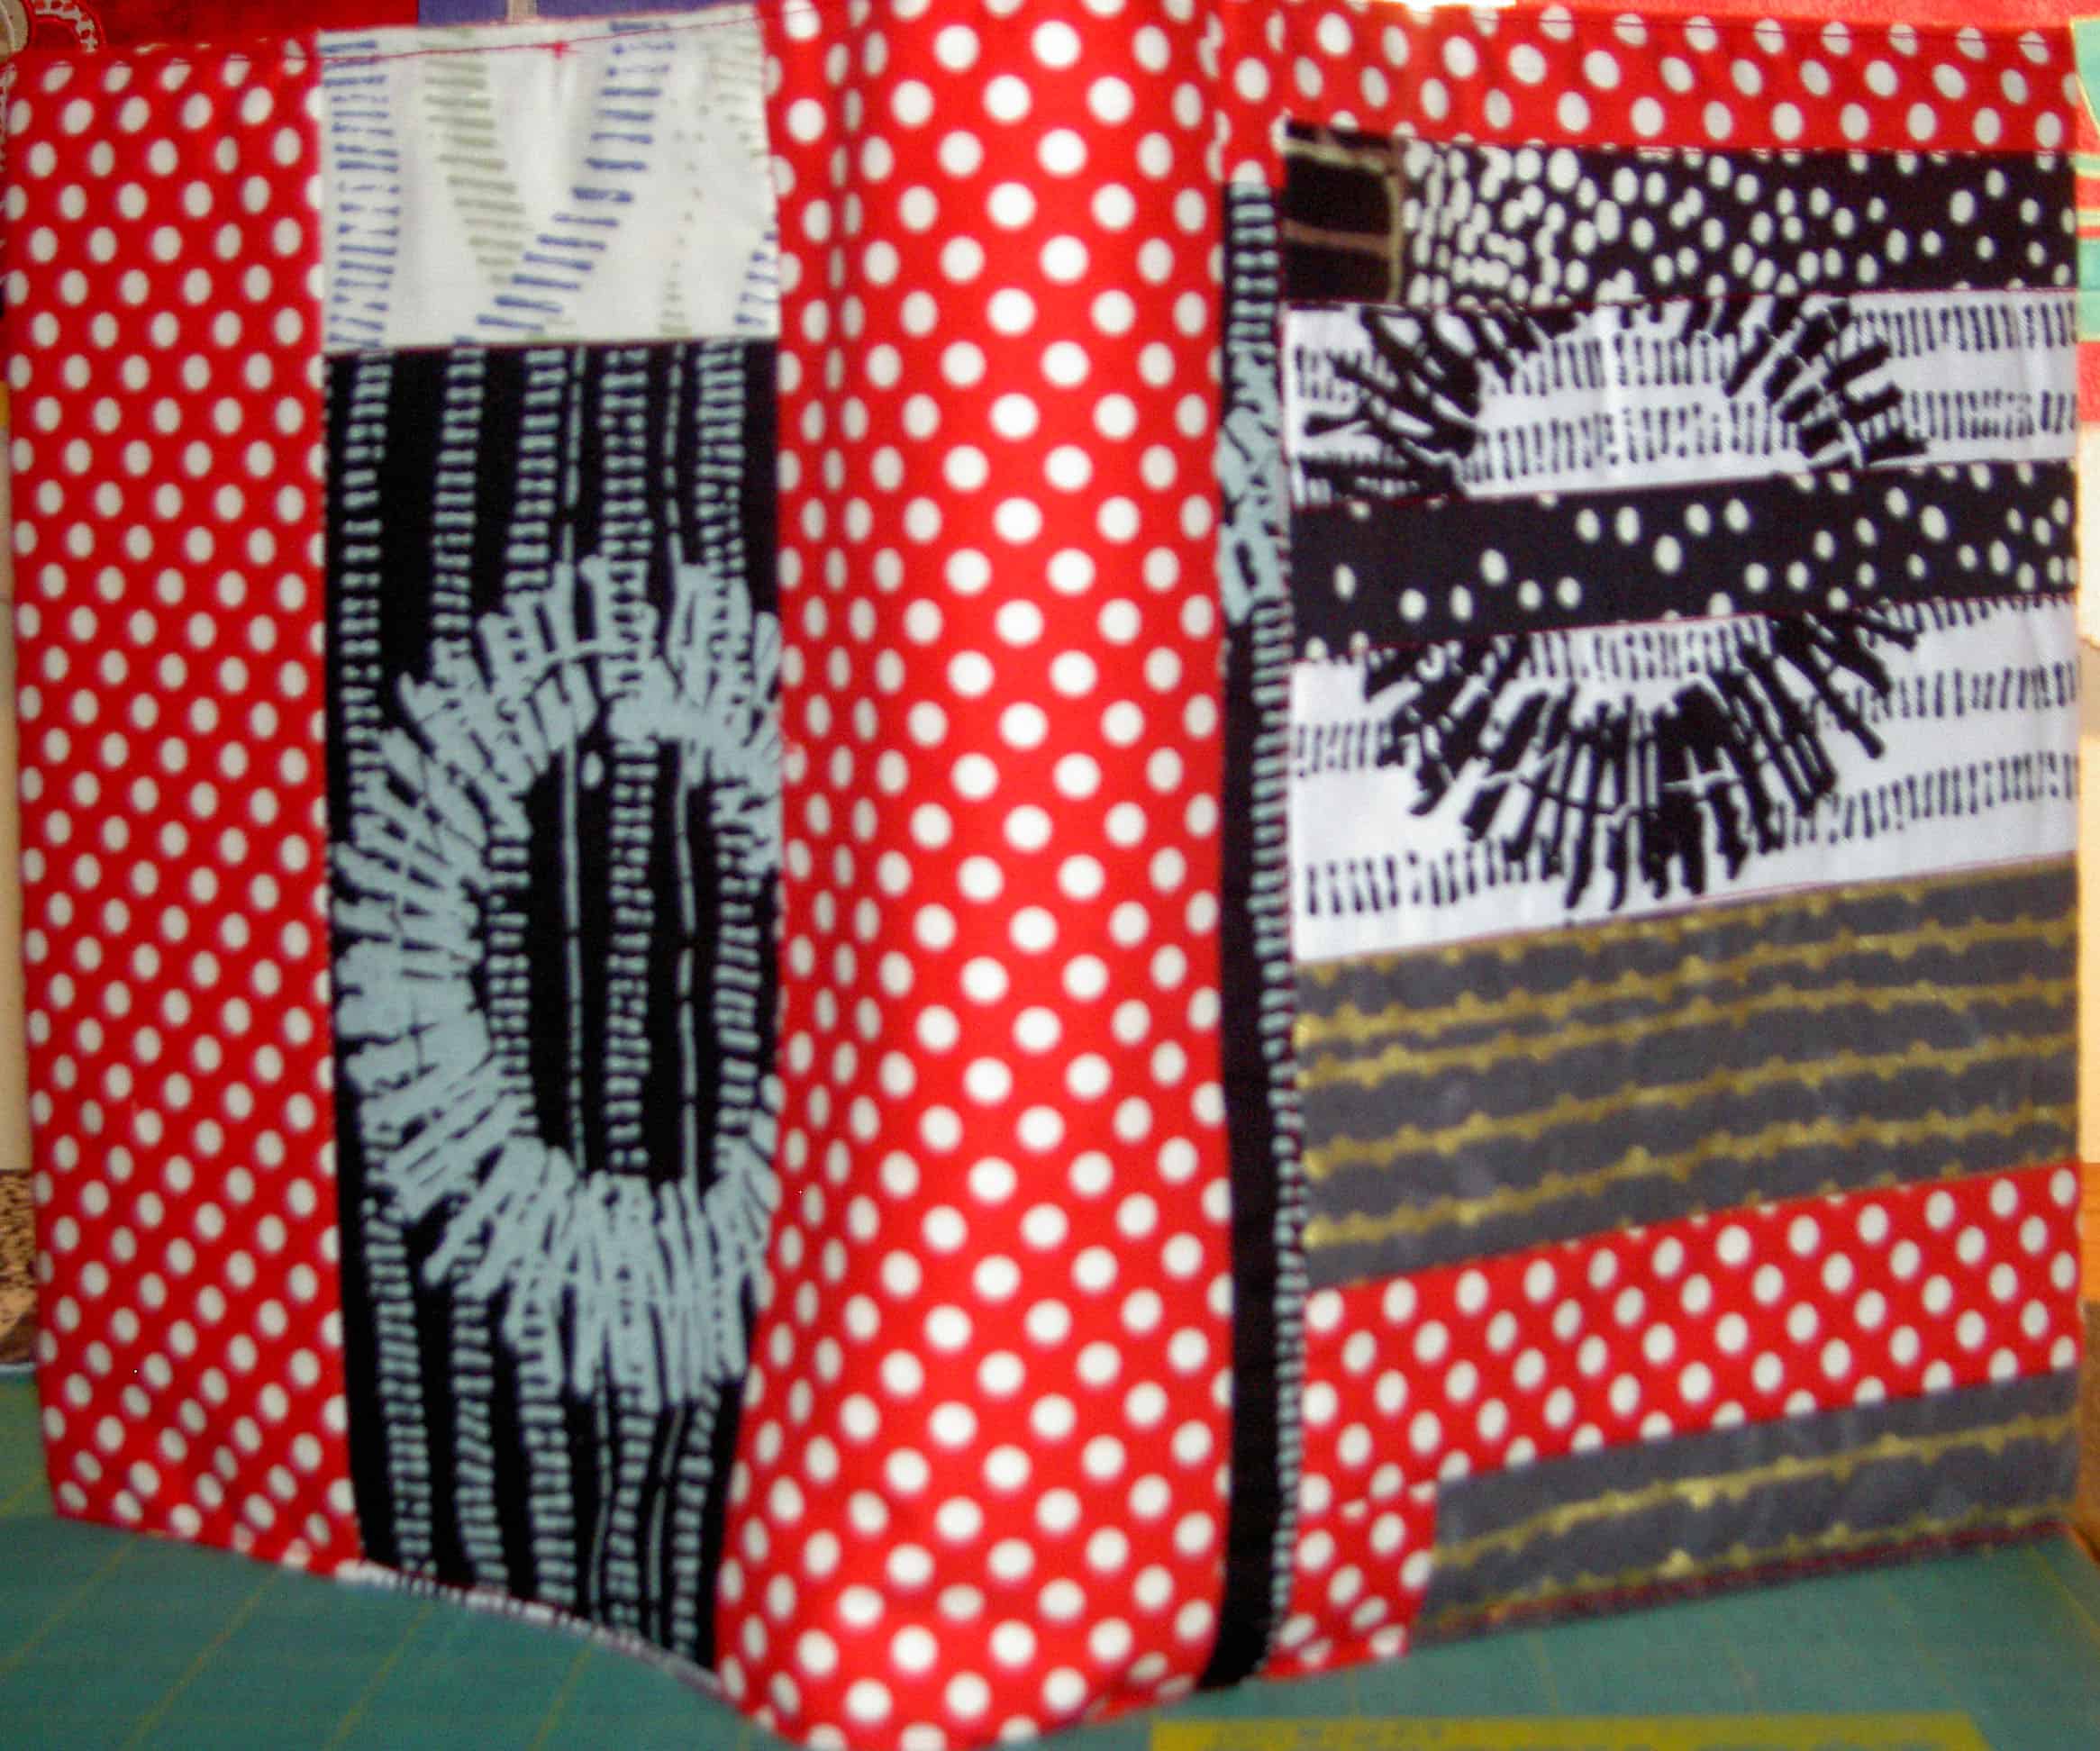
Journal Cover- front
One of the things I like about some of the prints in the this [relatively] new Lonni Rossi line is the screen printed look. Note the black circle on the white fabric. It really looks like a screen print when you see it up close. It doesn’t have that icky, plasticy sticker feel, though, you find with some screen printed-like fabric.
Journal Cover - back
The small rows of lines under the circle also have that screen printed look. It is much more subtle in the white/grey on black colorway.
I didn’t want a repeat of the size problem I had with my mom’s journal cover, so I ripped out the bottom stitching three times until I was satisfied with the fit. I don’t know if I got it to fit perfectly, but I didn’t have to cut the journal’s plastic cover to get the journal cover on it, so I was satisfied.
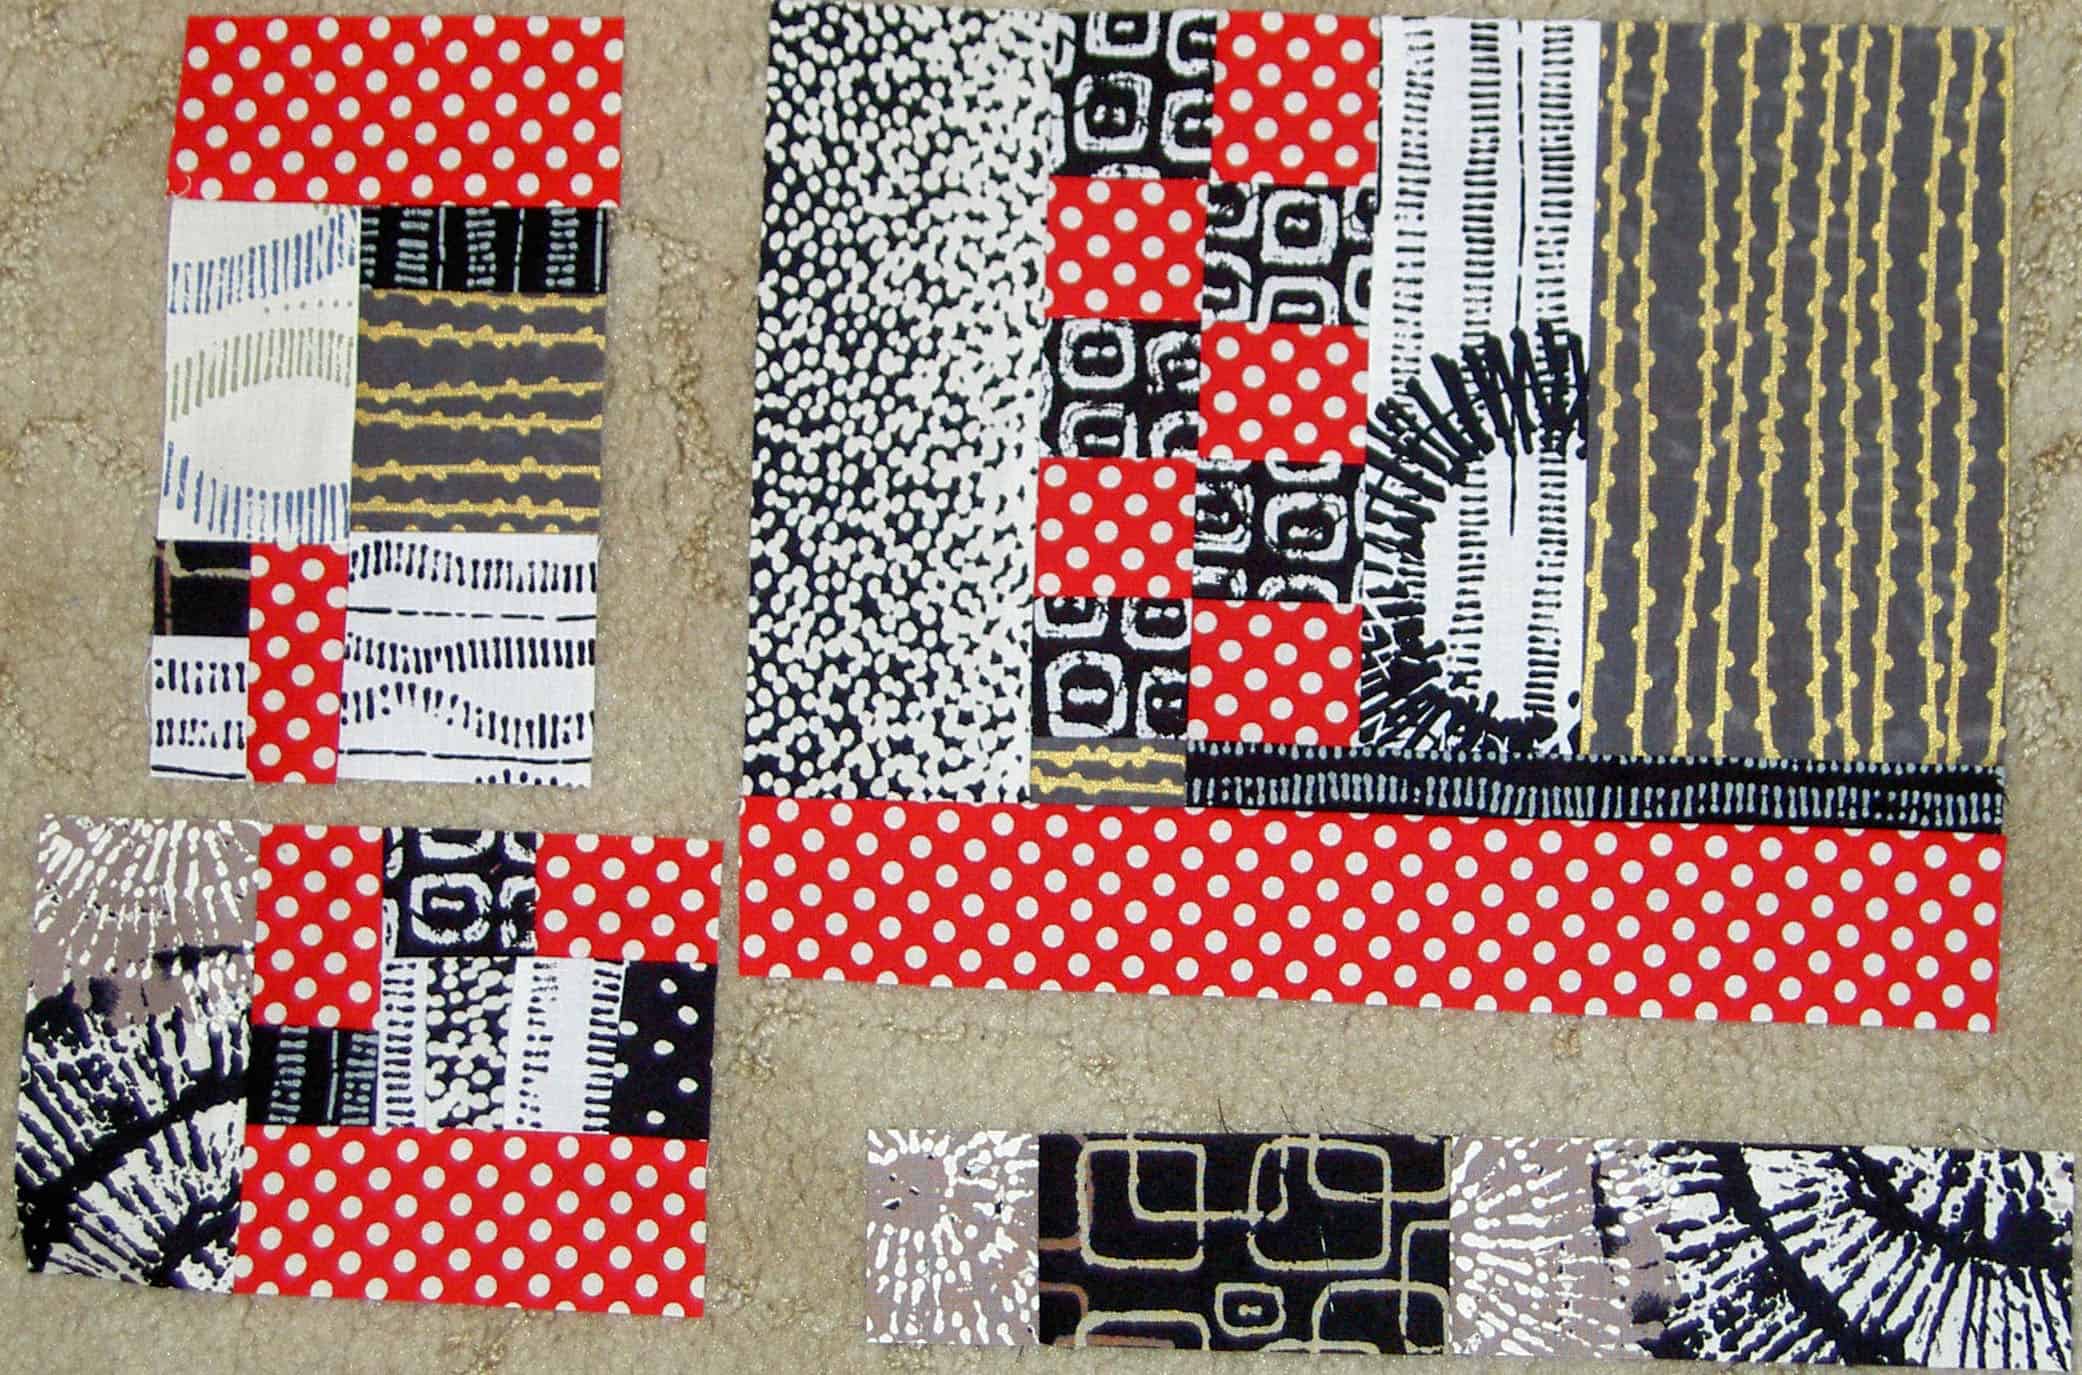
Journal Cover - piecing
Lately, when I have started a journal cover I just start piecing until I get a piece big enough for the outside. I use this type of piecing for a warm-up or when I only have a few minutes to sew or when I need a little bit of thinking time. Usually I want to achieve a certain look. With my blue journal cover, I wanted to use a variety of blue fabrics because I liked them and wanted to see them all the time. I also wanted a calming effect.
In this case, I only had scraps of the Lonni Rossi fabrics left and needed to make the best use of them. I wanted it to have a somewhat cohesive design and, finally, but most importantly I wanted it to appeal to TFQ.
Pencil roll - closed
I have started to think of pencil rolls and journal covers as sets. I also love this pencil roll pattern so much that I am looking for excuses to make it. Of course, time is the issue on that front.
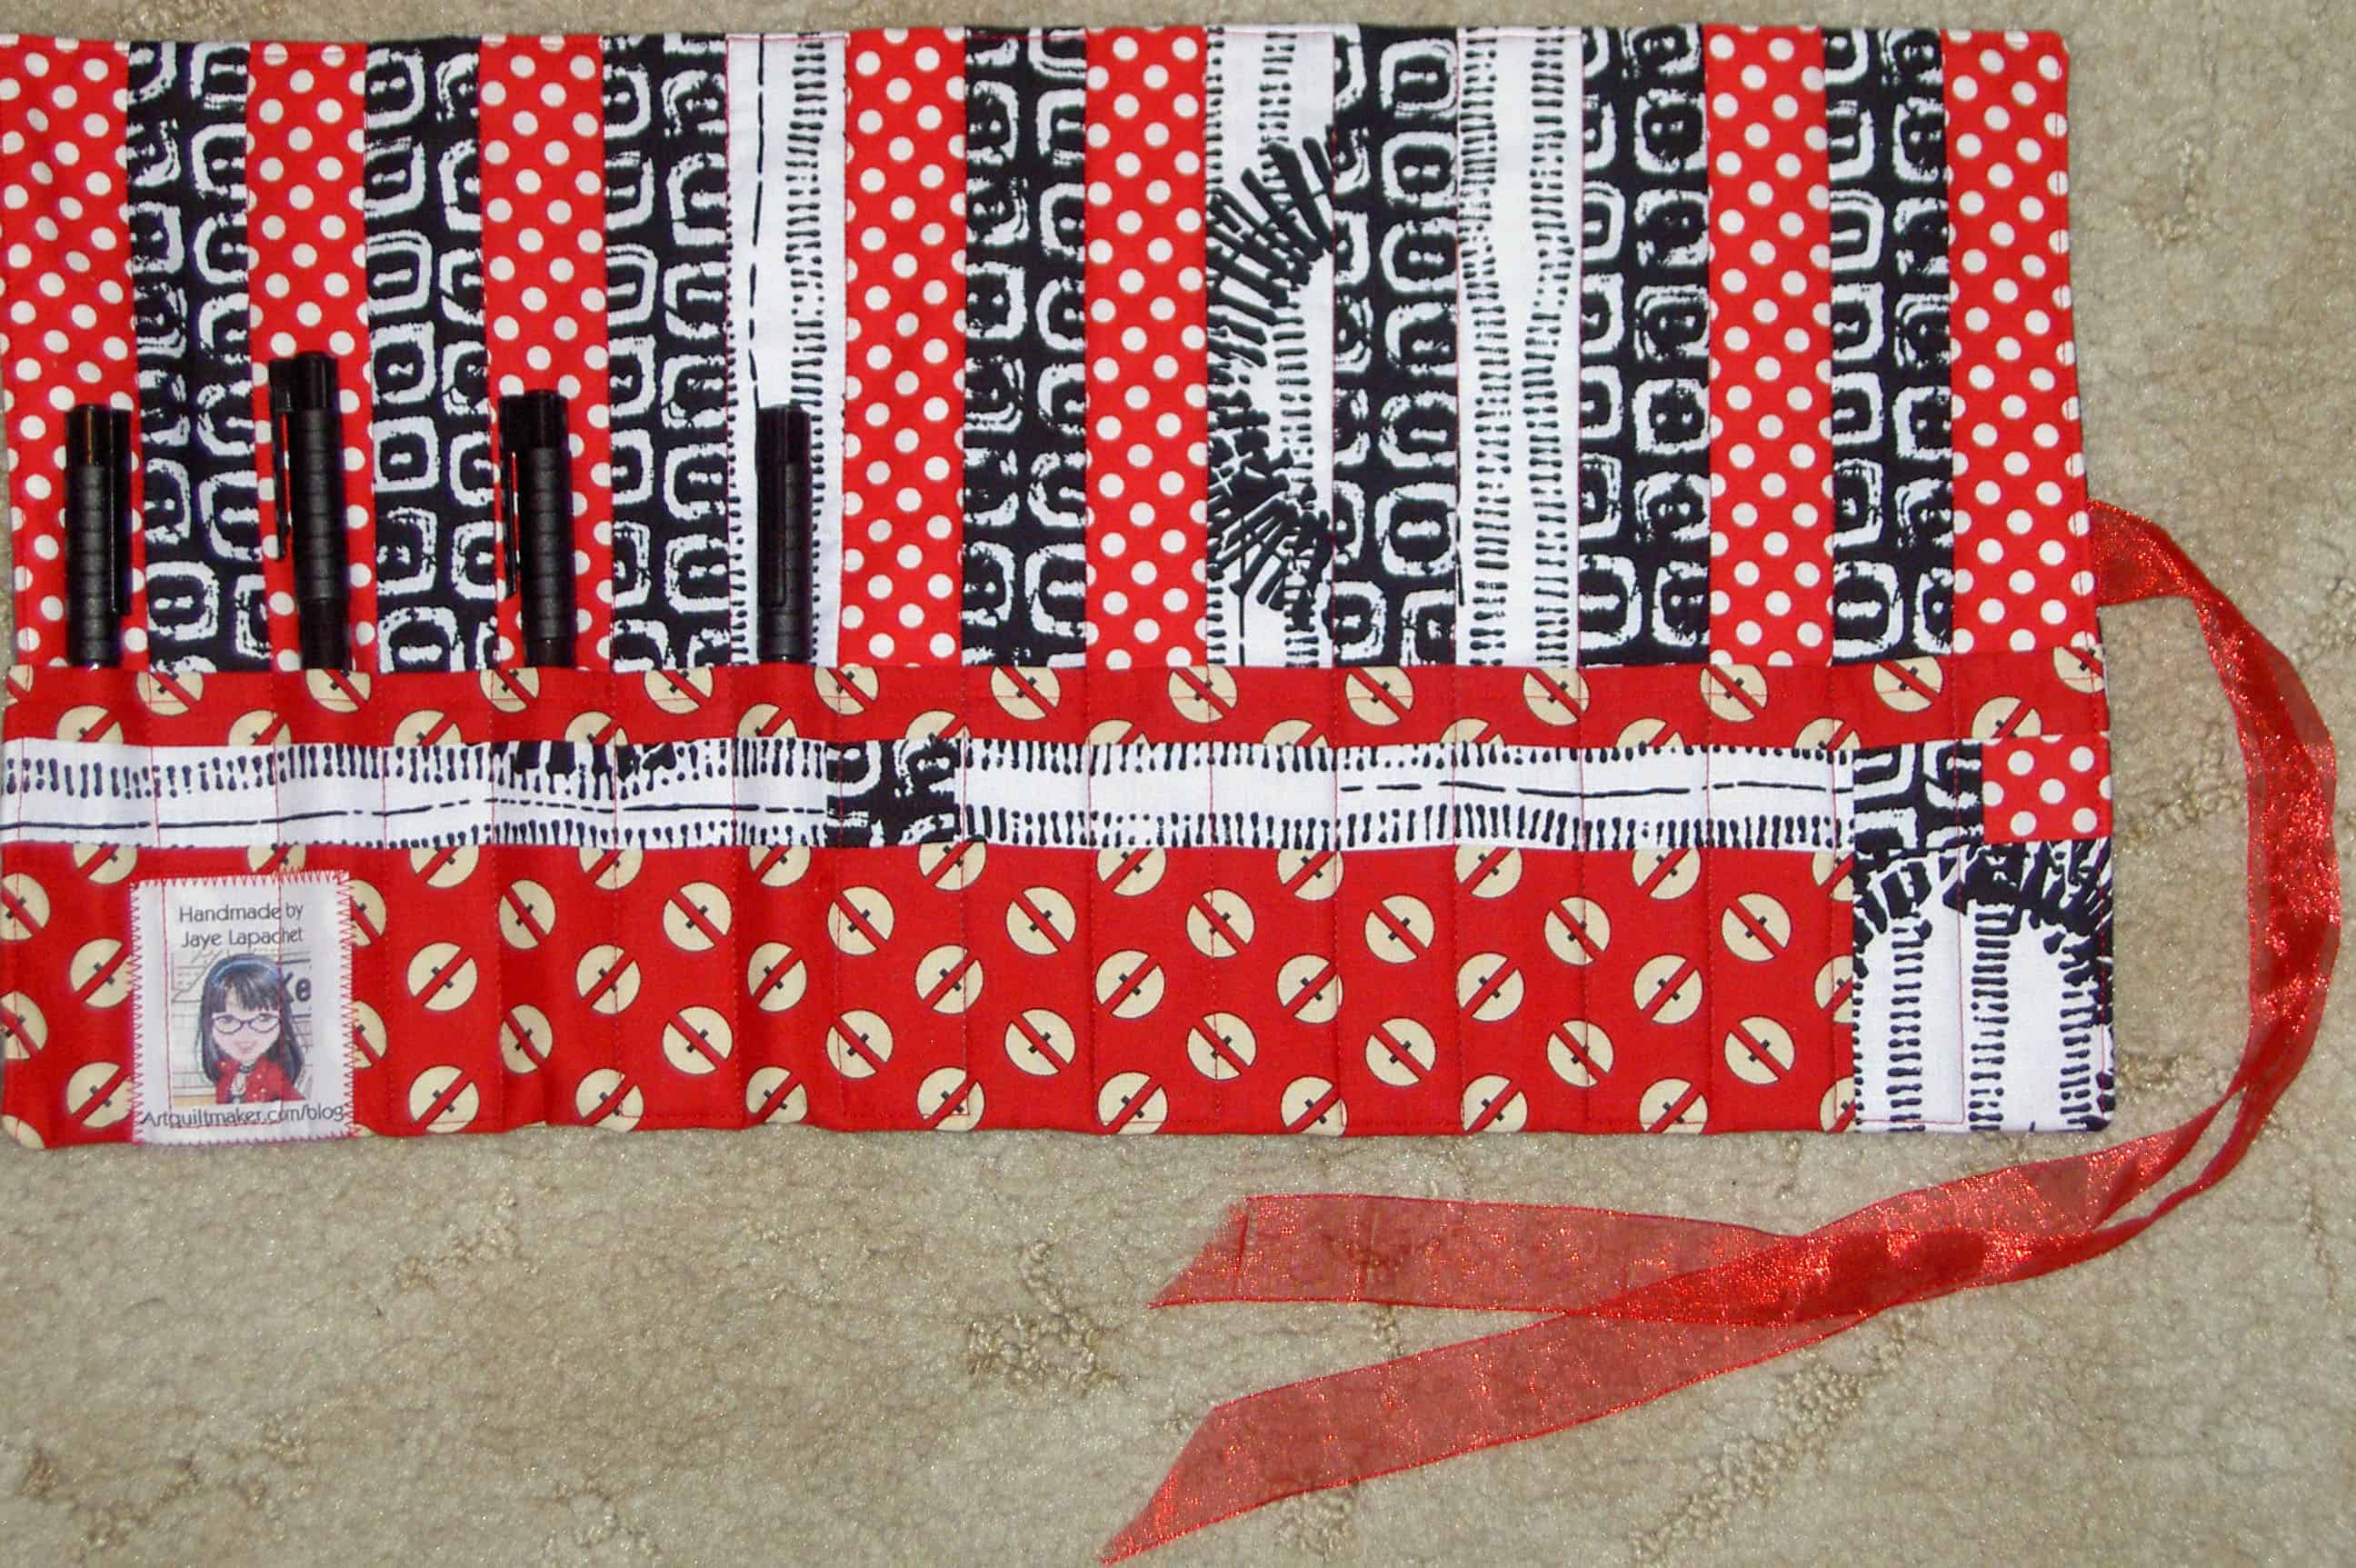
Pencil roll - open
This is a rather large pencil roll – 18 slots, I think. When I use my pencil roll, I prefer to put pens in every other slot rather than each slot. I find it easier to get the pens out.
For the moment, this is the last gift to which I have committed to make. When I say committed I mean to myself. There is one I am thinking about making, but I need to finish the FOTY 2009 blocks first. Look for a post on that project later this week.
I have to admit that this week has been a challenge and I am pretty exhausted. I felt this way on Wednesday and just had to power through the rest of the week. It was tough! Boys are gone and I am supposed to go to a party. I am tempted to blow it off, but I have gotten a lot of emails asking me if I will be there. I also really like the people who are giving it. We’ll see.
I’d like to get some sewing done as my brain is starting to wonder what that is. I feel like it has been an eternity since I have been at the machine.
I went to the Timberlake Quilters Guild Blog, which is called Fiber Whimsy and saw some lovely photos from their string piecing workshop. One of the photos was a Spiderweb! They seem to be popping up all over. I guess this is message to get back to mine. I think it is one of the projects I want to work on in 2010. Stay tuned to see. Love the red background on the one pictured in the photo.
Tagging this Blog
As a librarian, you’d think I would have all the answers about tagging, but I don’t. I have been thinking about whether or not I should add a tag for the name of each project so you (and I!) can click on the name of a project and see all the posts about that project. I am not sure I could back and tag all the old posts unless I was laid up in bed for a period of time, but I could do it going forward. Let me know if you think that would help you. I would also like to k now what you do in your blog, if you have one.
I helped my mom download iTunes and subscribe to some podcasts. We listened to a little of the Cast-on podcast and she loved it. I can’t wait to hear whether the whole premise works for her or not. She has really gotten into Cat Bordhi, a knitter, lately so I downloaded some interviews to which she could listen as well.
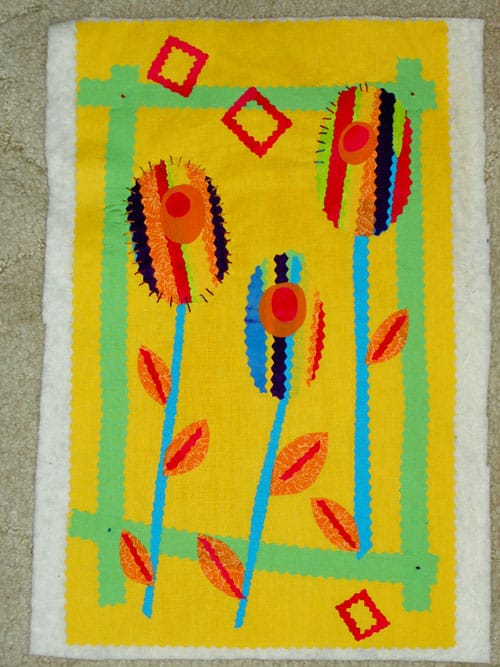
Laura Wasilowski class "Flower Garden"
Laura Wasilowski left a comment encouraging me to finish the piece that I started in her class. I took a look at it again and realized that the handstitching makes the piece look really spiky and unfriendly. I think I need to add some petals to the flowers and see if that makes it look more friendly.
You can see a watercolor painting that usually hangs in my dining room. I love this painting. It makes me feel calm. I just generally love beach and water scenes. That thought makes me wonder if that is why I like turquoise so much? After the painting project, the art is not back up yet. We may rearrange the art. However, as I seem to never be home, we haven’t discussed it yet.
Elizabeth of Oh, Fransson! blog has a laptop sleeve tutorial on Sew, Mama Sew! While I am not fond of beige, I do like the swirly motifs on the fabric. This would make a nice gift. Yes, I am thinking ahead! I would probably add a strap or a handle, however. I have to admit that I find it hard to navigate that site, but sometimes the effort pays off and here is a list of a year’s worth of Elizabeth’s projects just for you.
Oregon Fabric
My sister received Lakers v. Trailblazer tickets for Christmas from her boyfriend. Our dad lives near Portland, so I think they went together. While she was there she took the opportunity to raid and scan our childhood photos. In the course of that project she went to a craft warehouse to get supplies. While she was there, she found some fabric that she said was for me. YAY! I haven’t received it yet, but presume I will soon.
She has sent me some scans of my 5 year old self, which are not new, but still entertaining.
I saw a post on Twitter to a Detroit artist who is doing interesting things with blue. Steven Magsig has a blog called Postcards from Detroit where he posts paintings of little areas of the city and buildings in the city
I seem to remember mentioning that I spent an hour and half last Saturday talking to the CQFAers about developing a creative habit. I got lots of good feedback. Here are some tips from my talk:
Use what you have at hand
Use materials you feel comfortable using
Tools (KISS)
paper
pen
Start small
Acknowledge your distractions
Be process oriented not goal oriented. The goal will be achieved if you engage in the process
Develop a daily practice that works for you
Surround yourself with inspiration
I am thinking about something bigger with more detail on this subject, so am just giving you an overview.
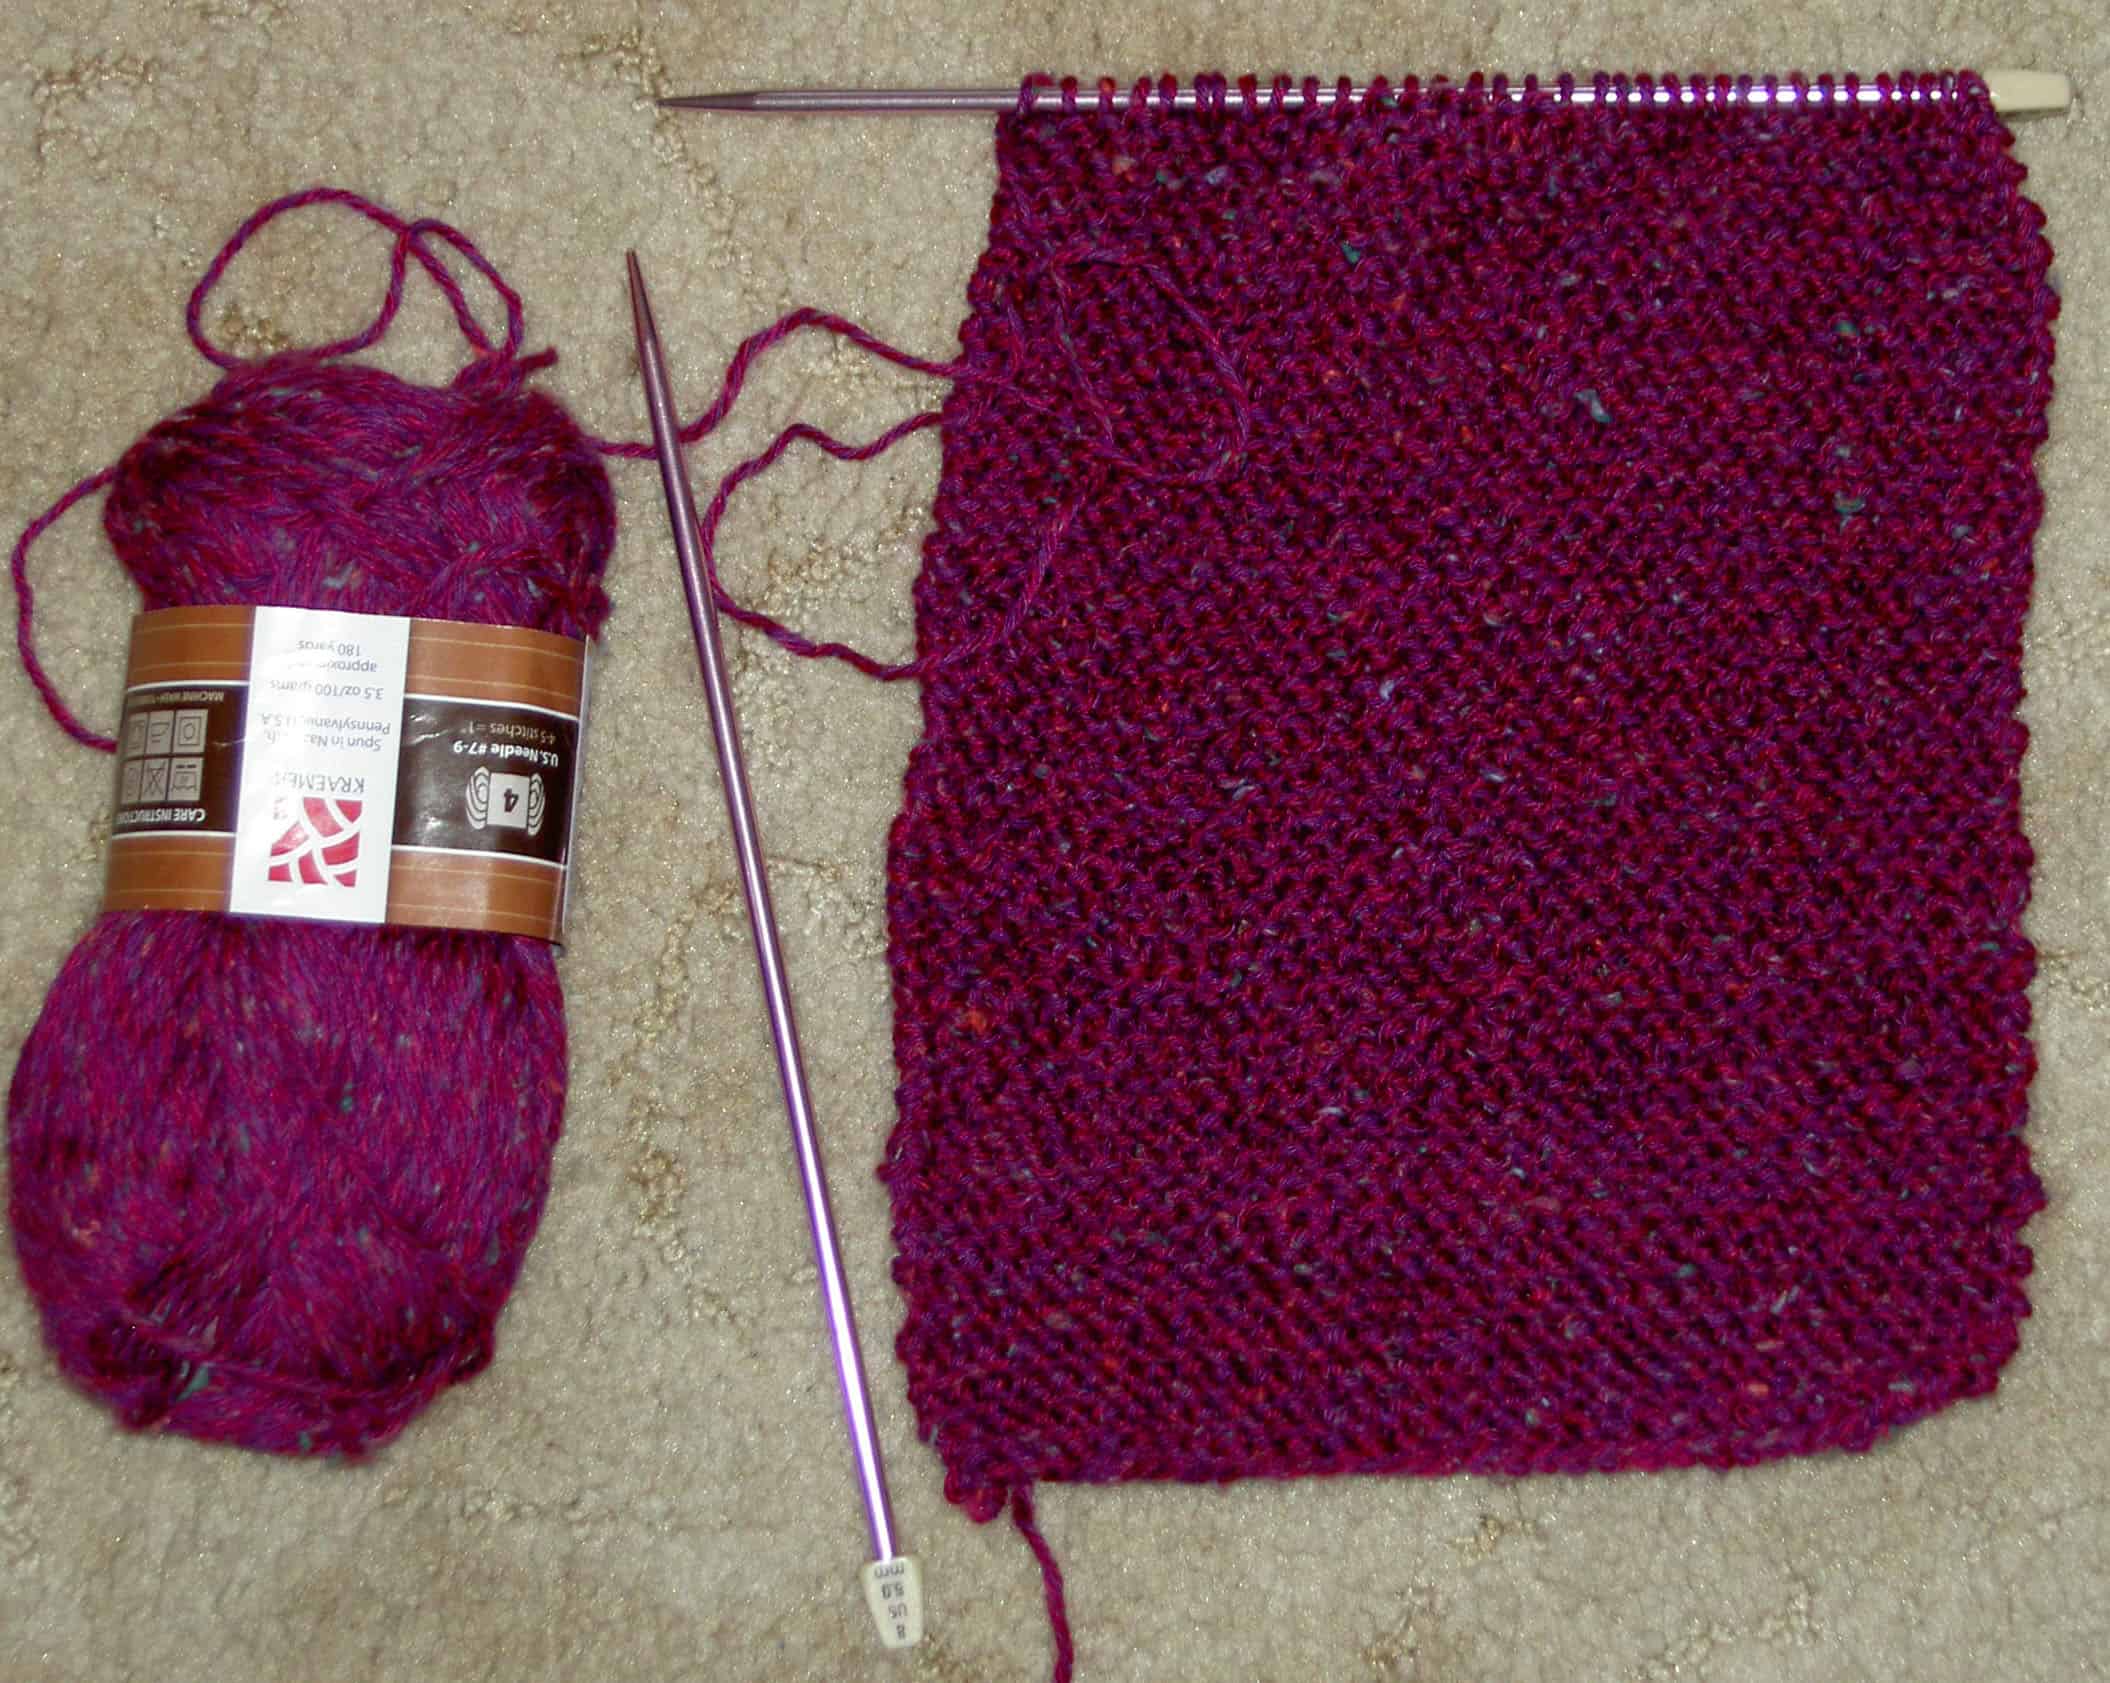
Just to be clear I do not consider myself to be a knitter. I know how to knit, as long as someone can help me. I have knit a hat, a vest, a sweater and am now working on a scarf, but I do not knit often or well. I do not have a knit stash.
I started a knitting project last year and it has been sitting in a drawer. A confluence of things came together to get me to pull it out.
First, I have been listening to the CastOn podcast lately, which I spoke about in a previous post. Second, all of my quilt projects which require hand work are in transition.
Kissy Fish needs more machine quilting and then I have to prepare the facing before I can hand sew it. I am happy with the beading I have done on it.
Beach Town is essentially done in terms of beading and hand embroidery. I steamed the living daylights out of it last weekend and now need to trim it and prepare the facing.
Moon and Stars is a project I started a looooong time ago and don’t believe I have ever discussed here. I have to get it out and photo graph it and see what it really wants and needs.
Flowering Snowball/Cross Blocks is embarrassing. OK, the project itself is not embarrassing. I am embarrassed to tell you what my problem is with it.
Laura Wasilowski Garden piece need some petals. I think it is too spiky for me. She recently commented on my blog and got me to look at that piece again. I am going to put it up on my design wall and see what I see. Any comments you have would be appreciated.
As a result of all of the above, I had no handwork to bring over to my SIL’s house on Saturday for dinner and hanging out. Since I am physically incapable of just sitting and watching TV, I dragged out the knitting. My SIL got me back in the groove and I was off and running. I was really pleased with how much I got done.
Knitted scarf - detail
Sorry the above photo is dark. I was trying to get the detail for you. I am doing the same stitch over and over. I don’t remember if it is knit or purl. I just know how to do it. 😉
Part of the reason I got this project out was hearing about Orphan.org on CastOn. They collect various things for care packages for foster kids who are at college. I have wanted to do something fiber related for charity and this might be the thing. I’ll see how this scarf goes and then decide.
This is the journal cover I made for my mom for Christmas. It goes with the pencil roll and bag I also made. She really liked it, which is nice.
I might make it a little bigger for her, because the journal didn’t quite fit. I have to ask her about that. I don’t know if she will use up the journal the way I do, so it may not be necessary.
I am working on another journal now and I ripped it out twice to make sure it fit properly.
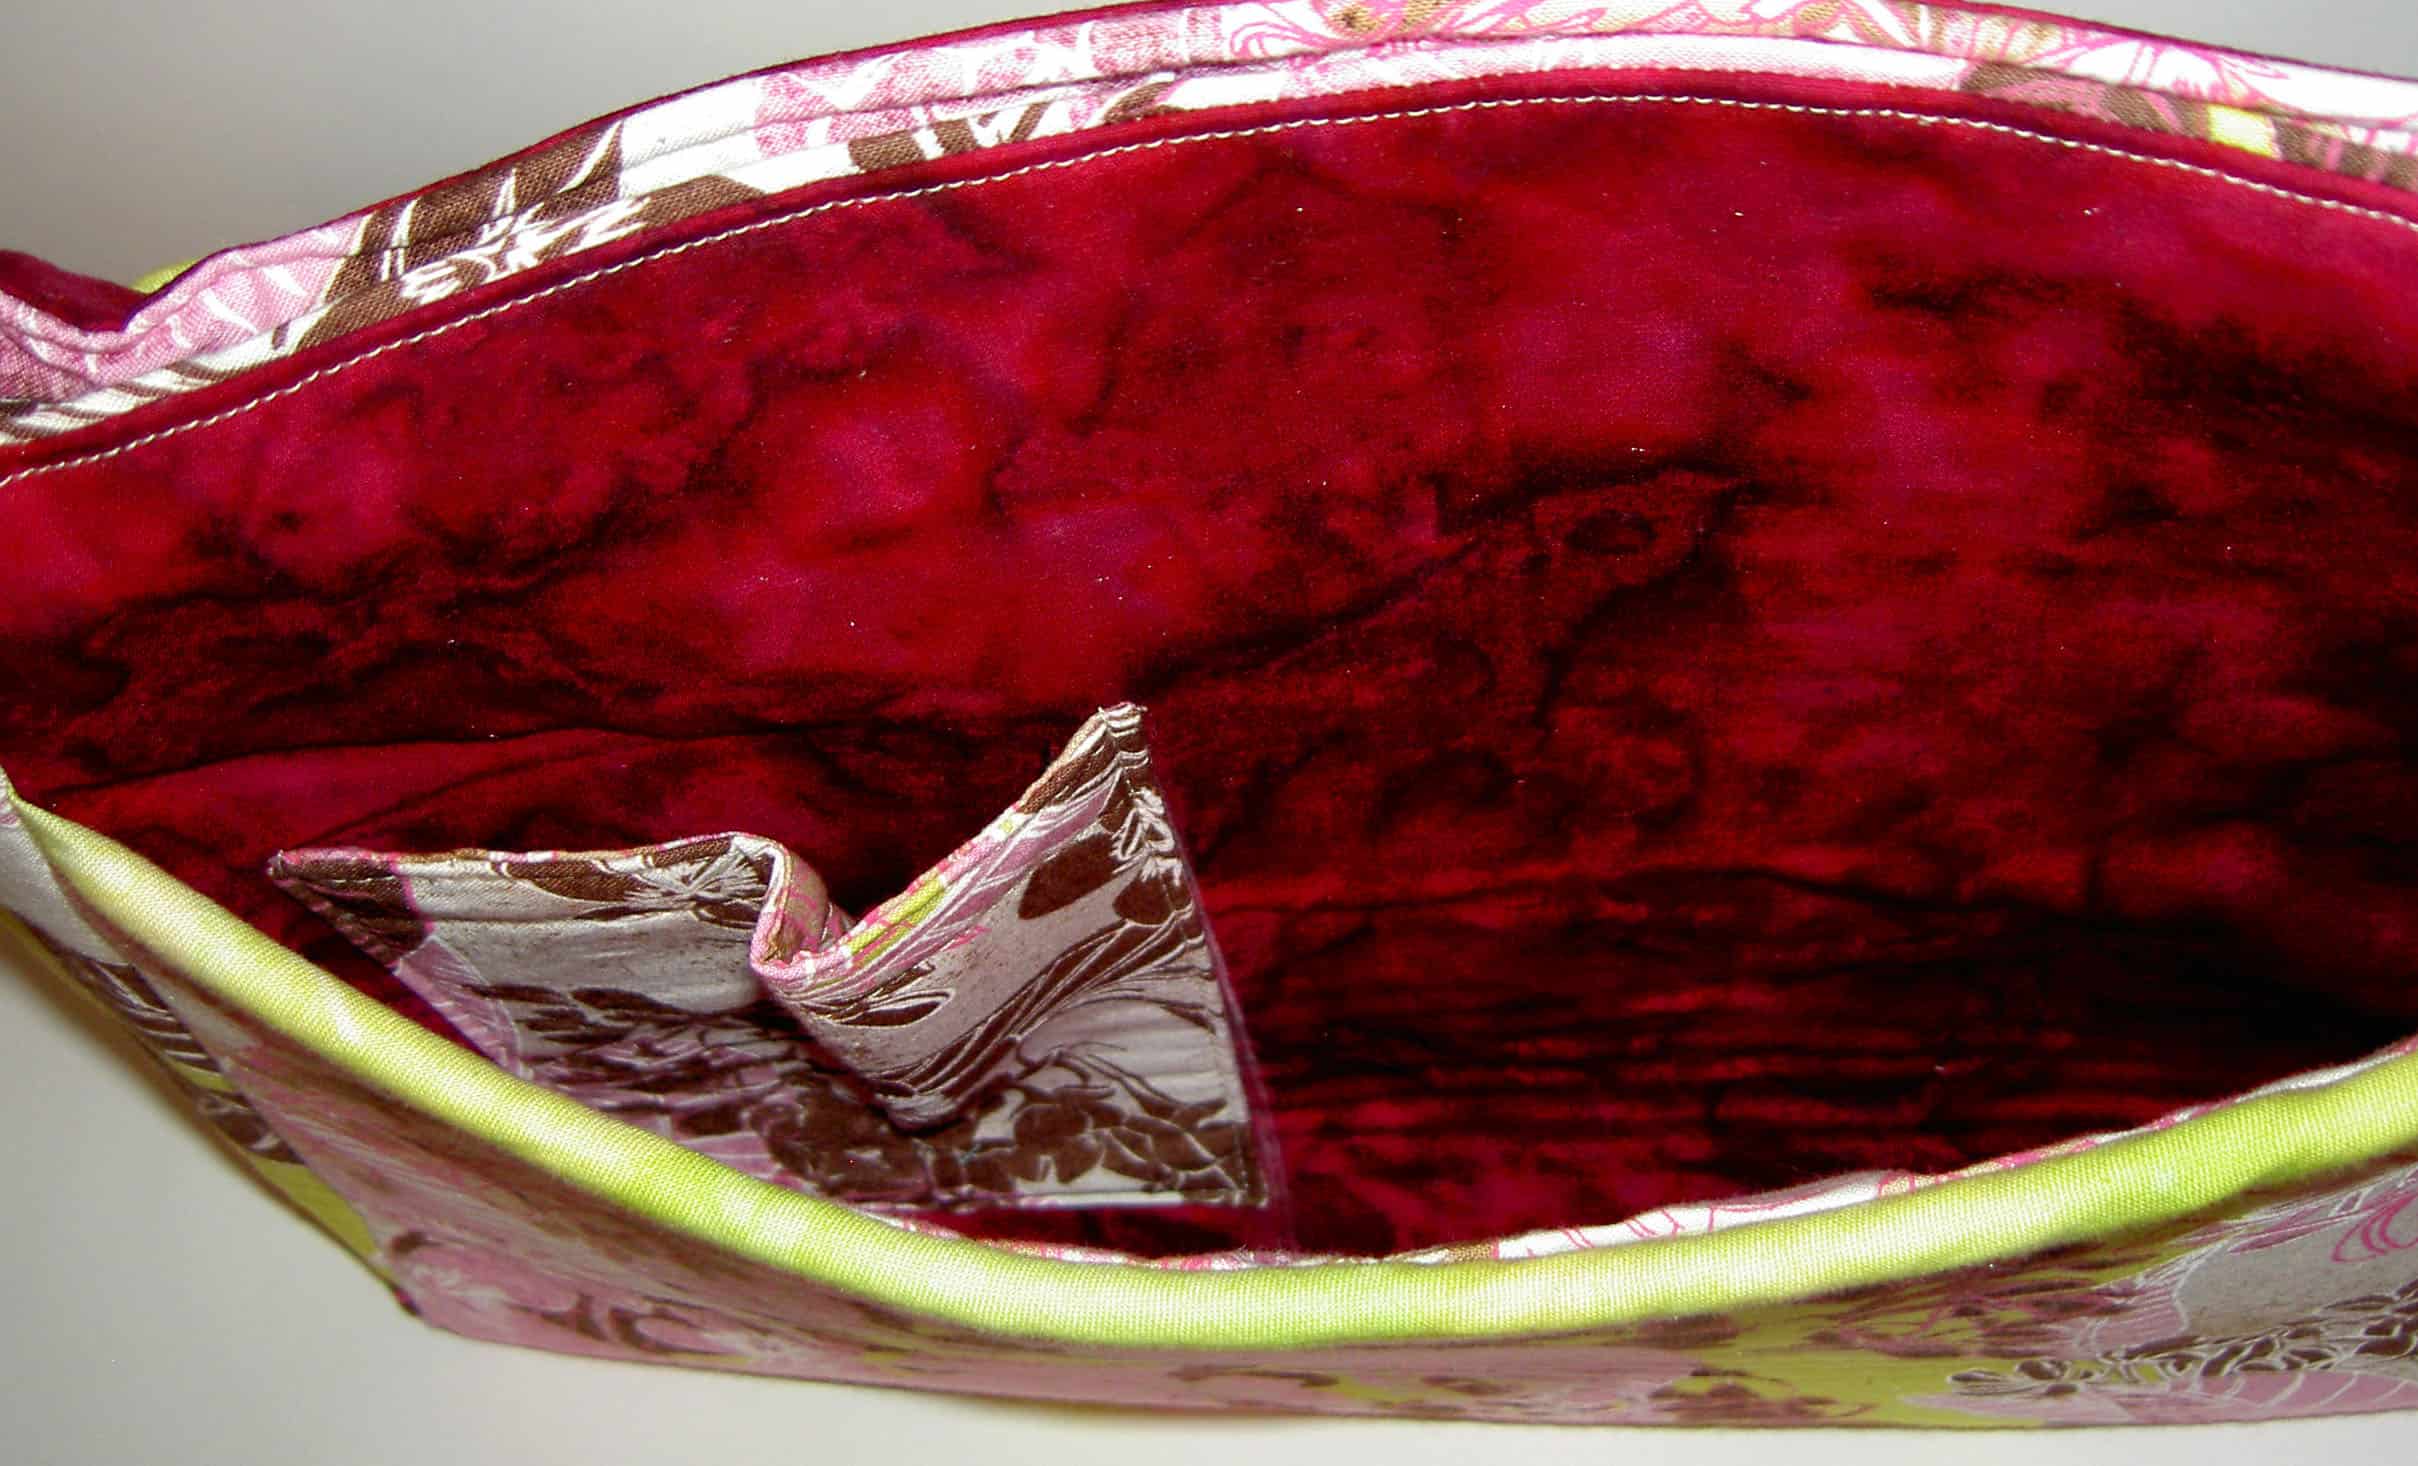
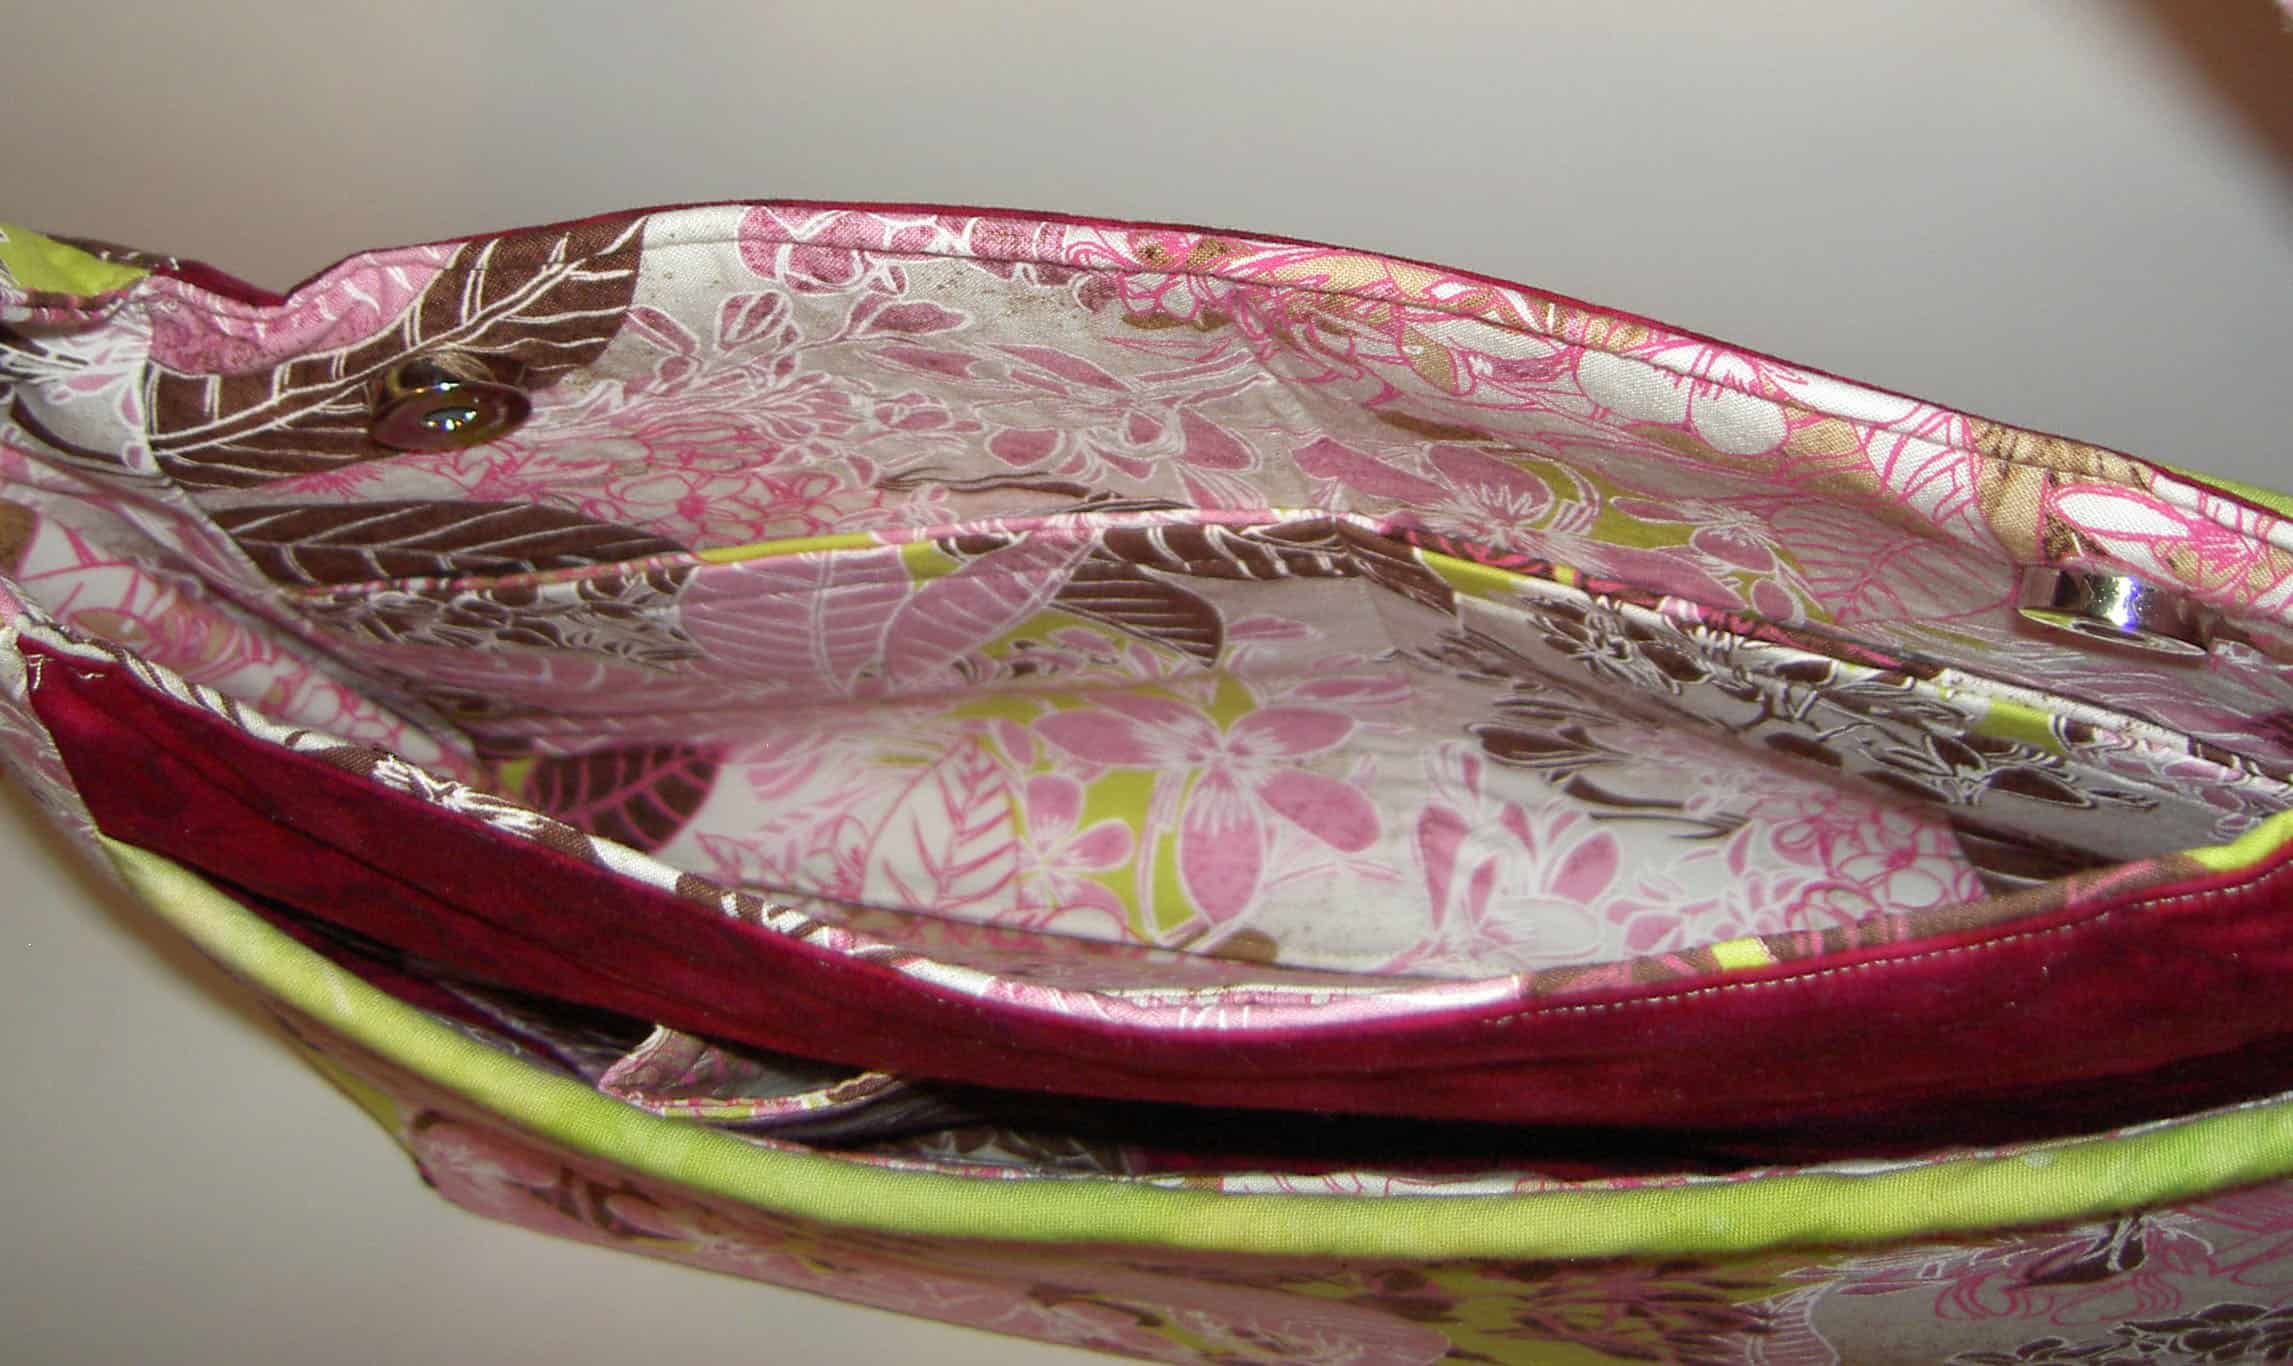
I am pleased [with myself] to say that 2010 started out with a sewing bang. I finished the bag for my aunt (she never reads this blog as far as I know, so I don’t feel bad about posting it even though I haven’t sent it off yet).
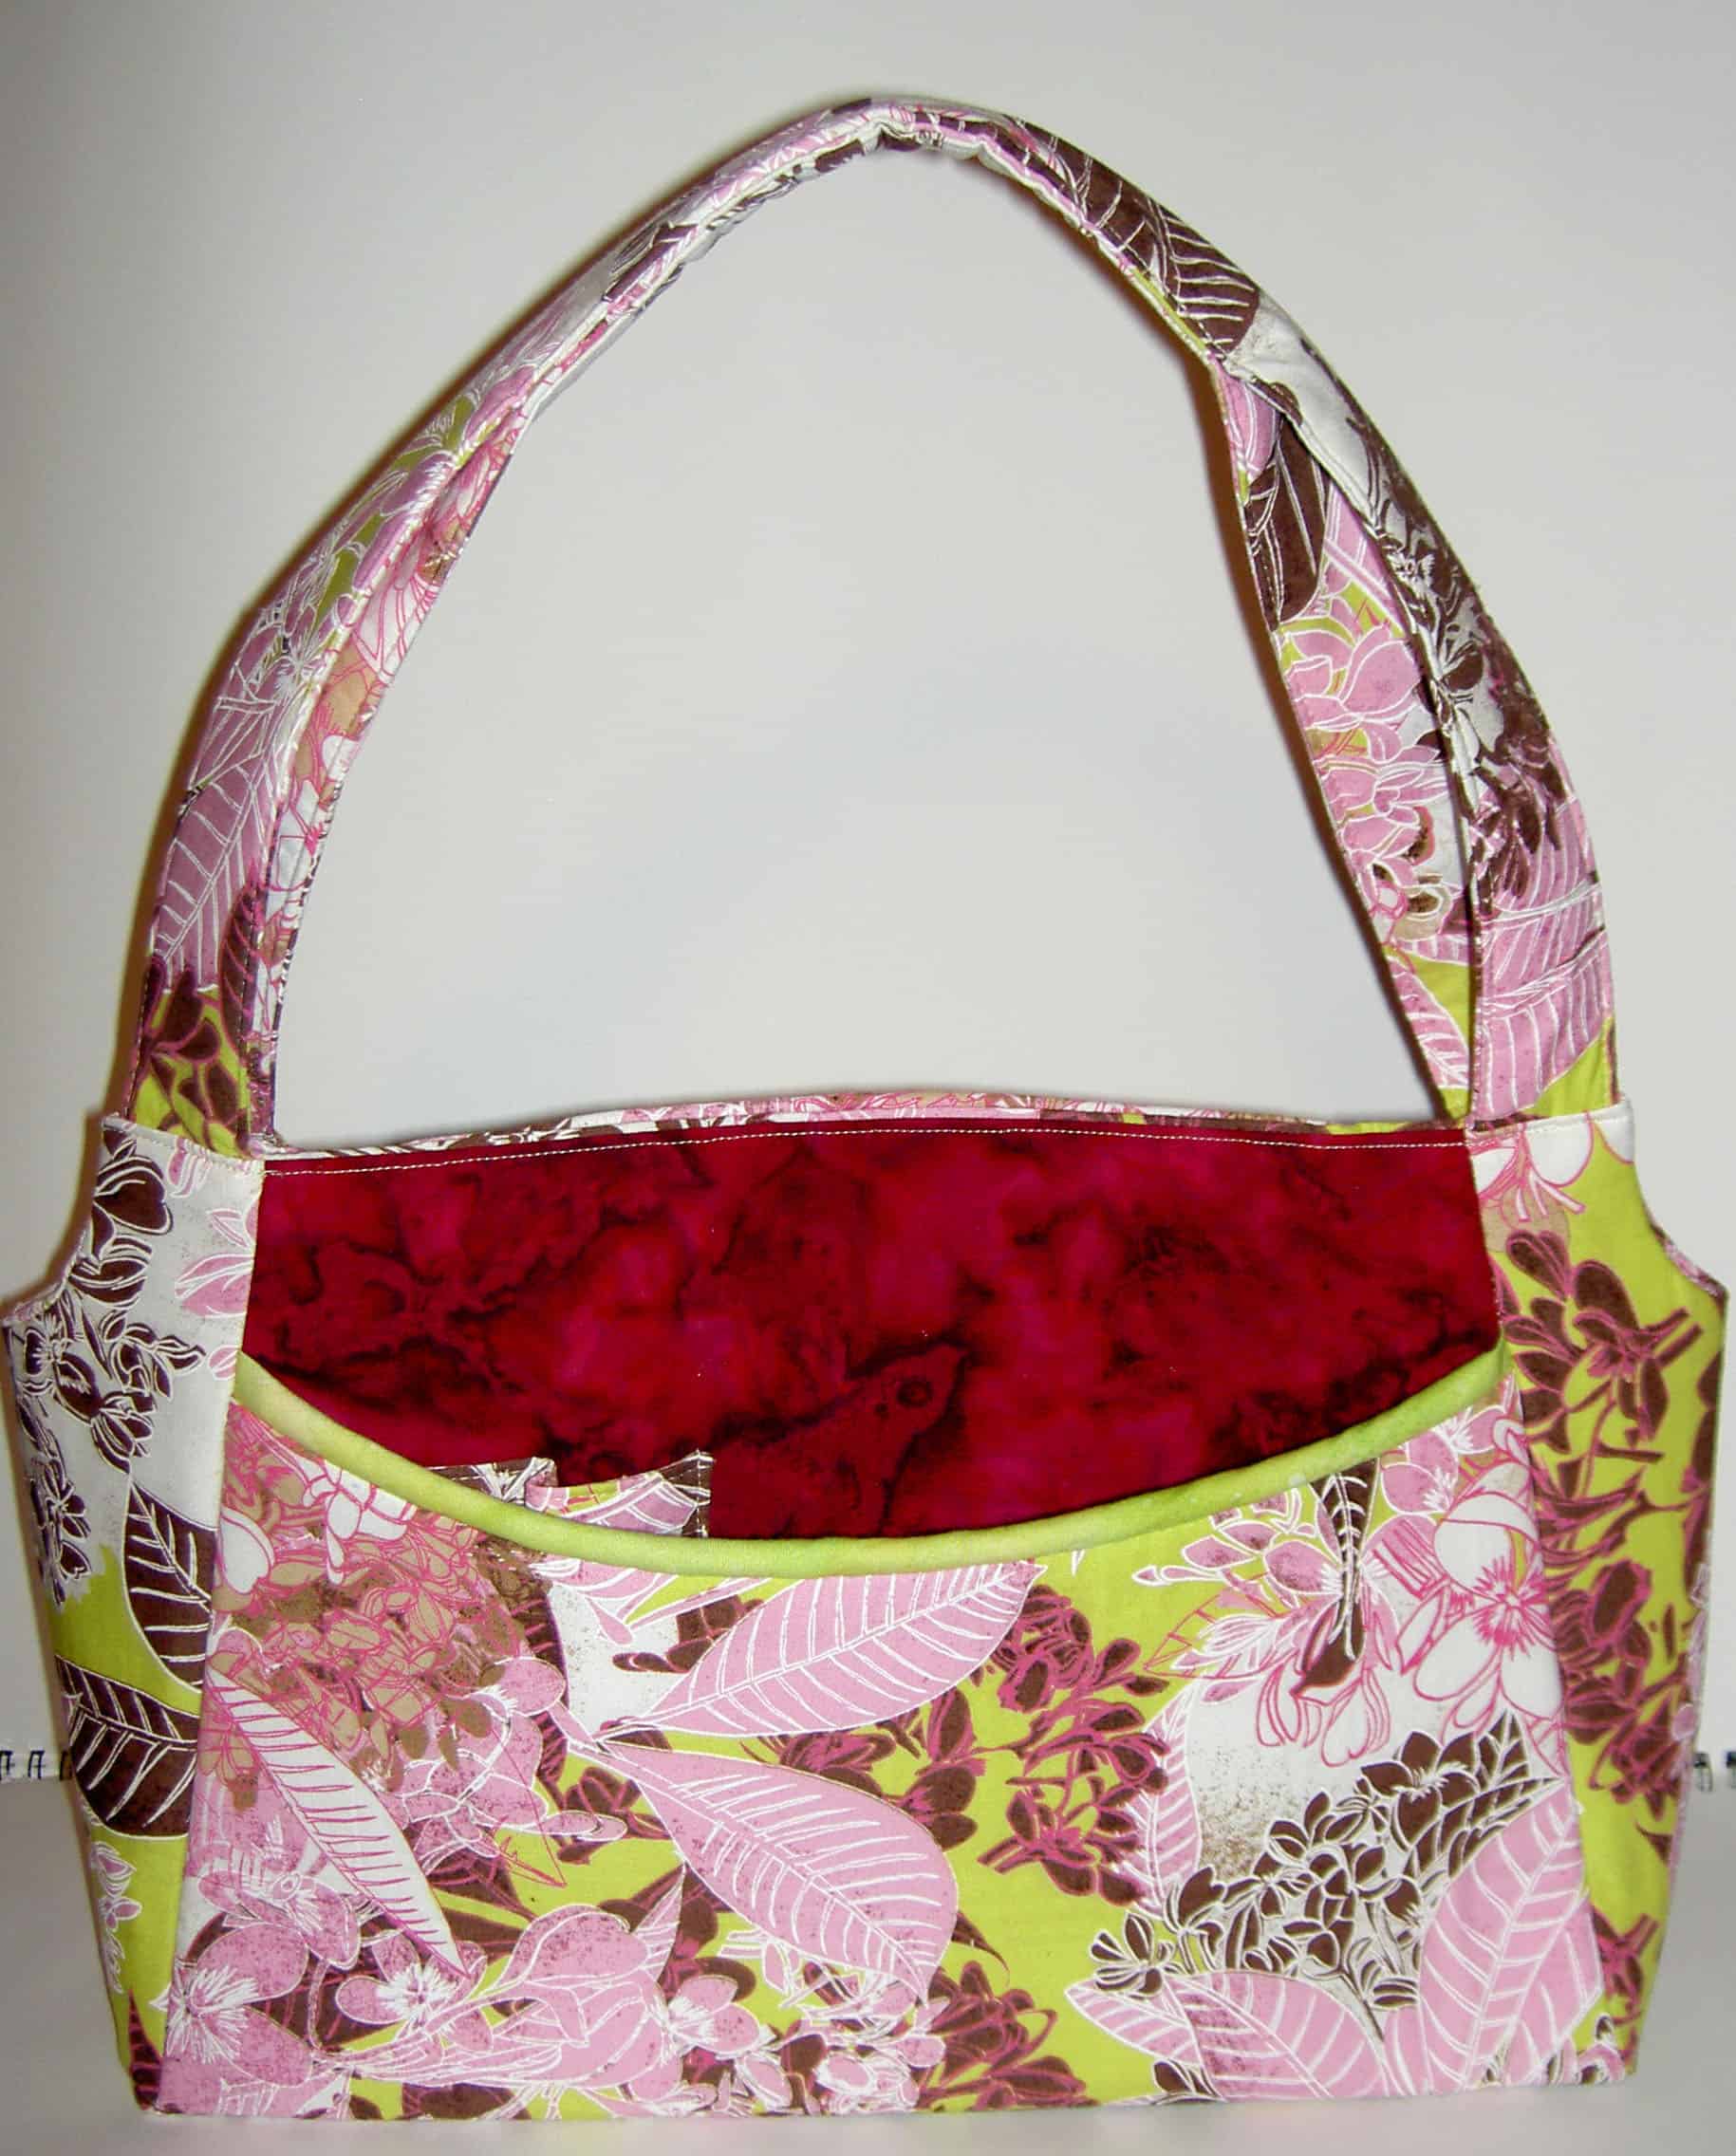
Jeri’s Bag
I started this bag way back in December 2009, but with one thing and another wasn’t able to finish it until Friday. I feel bad, because it was intended to be a Christmas gift. My aunt really loves purple, so I made this bag in purple for her. In terms of fabric selection I had a couple of things I wanted to accomplish and some limitations to deal with. First, I was limited in my fabric choices because of the size of the pieces of fabrics I had available. For a long time I have purchased half yards and FQs. These are fine for quilting, but I am finding that they are barely adequate for bag making. I intend to try the Mini-Multi (AMH’s pattern for the Multi-tasker tote that I resized)This limitation directed me to more plummy colored purples.
Also, I wanted to try a bag where I didn’t use fabrics with a ton of contrast. I think Marilyn’s Multi-tasker was pretty successful. That one wasn’t boring to make. Thus, I wanted to try another interesting combination of fabrics that were also not wacky looking and my aunt wouldn’t feel bad about carrying around.
I am pretty happy with the way this bag turned out. It looks nice and does not look wacky. I made the pockets and straps at the beginning of the process even though AMH says to make the straps at the end of the process, right before I am supposed to attach them. I think my process worked better for me, because once I got past the tedious, fiddly parts, I was able to put the bag together relatively quickly. I like to get all the fiddly parts done, so I can move through the process quickly as I tend to get bored if I have to keep going back to the fiddly bits periodically throughout the process.
Jeri’s Bag – detail 1
I think the combination of fabrics is a good one. The colors work well together and there is some interest in the combination. They are all older fabrics, so an added bonus is that I delved into the fabric closet and used some stuff that has been hanging around. I think Auntie would have preferred less plummy and more purply colors, but the bag is what it is.
Jeri’s Bag – detail 2
AMH does not make her pockets fully lined. Another change that I have made is that I make them fully lined [by cutting a piece of fabric, folding it in half (right sides together), sewing around, turning] before sewing them on to the bag. I think this method makes a nicer finished product and doesn’t take much longer. I want to remember next time to add a label to the pocket. It seems like a good place to include a label.
Jeri’s Bag – detail 3
I am still liking the cell phone pocket, which I learned to make from the Sweet Harmony bag, so I added one to this bag as well.
Cloth Napkins
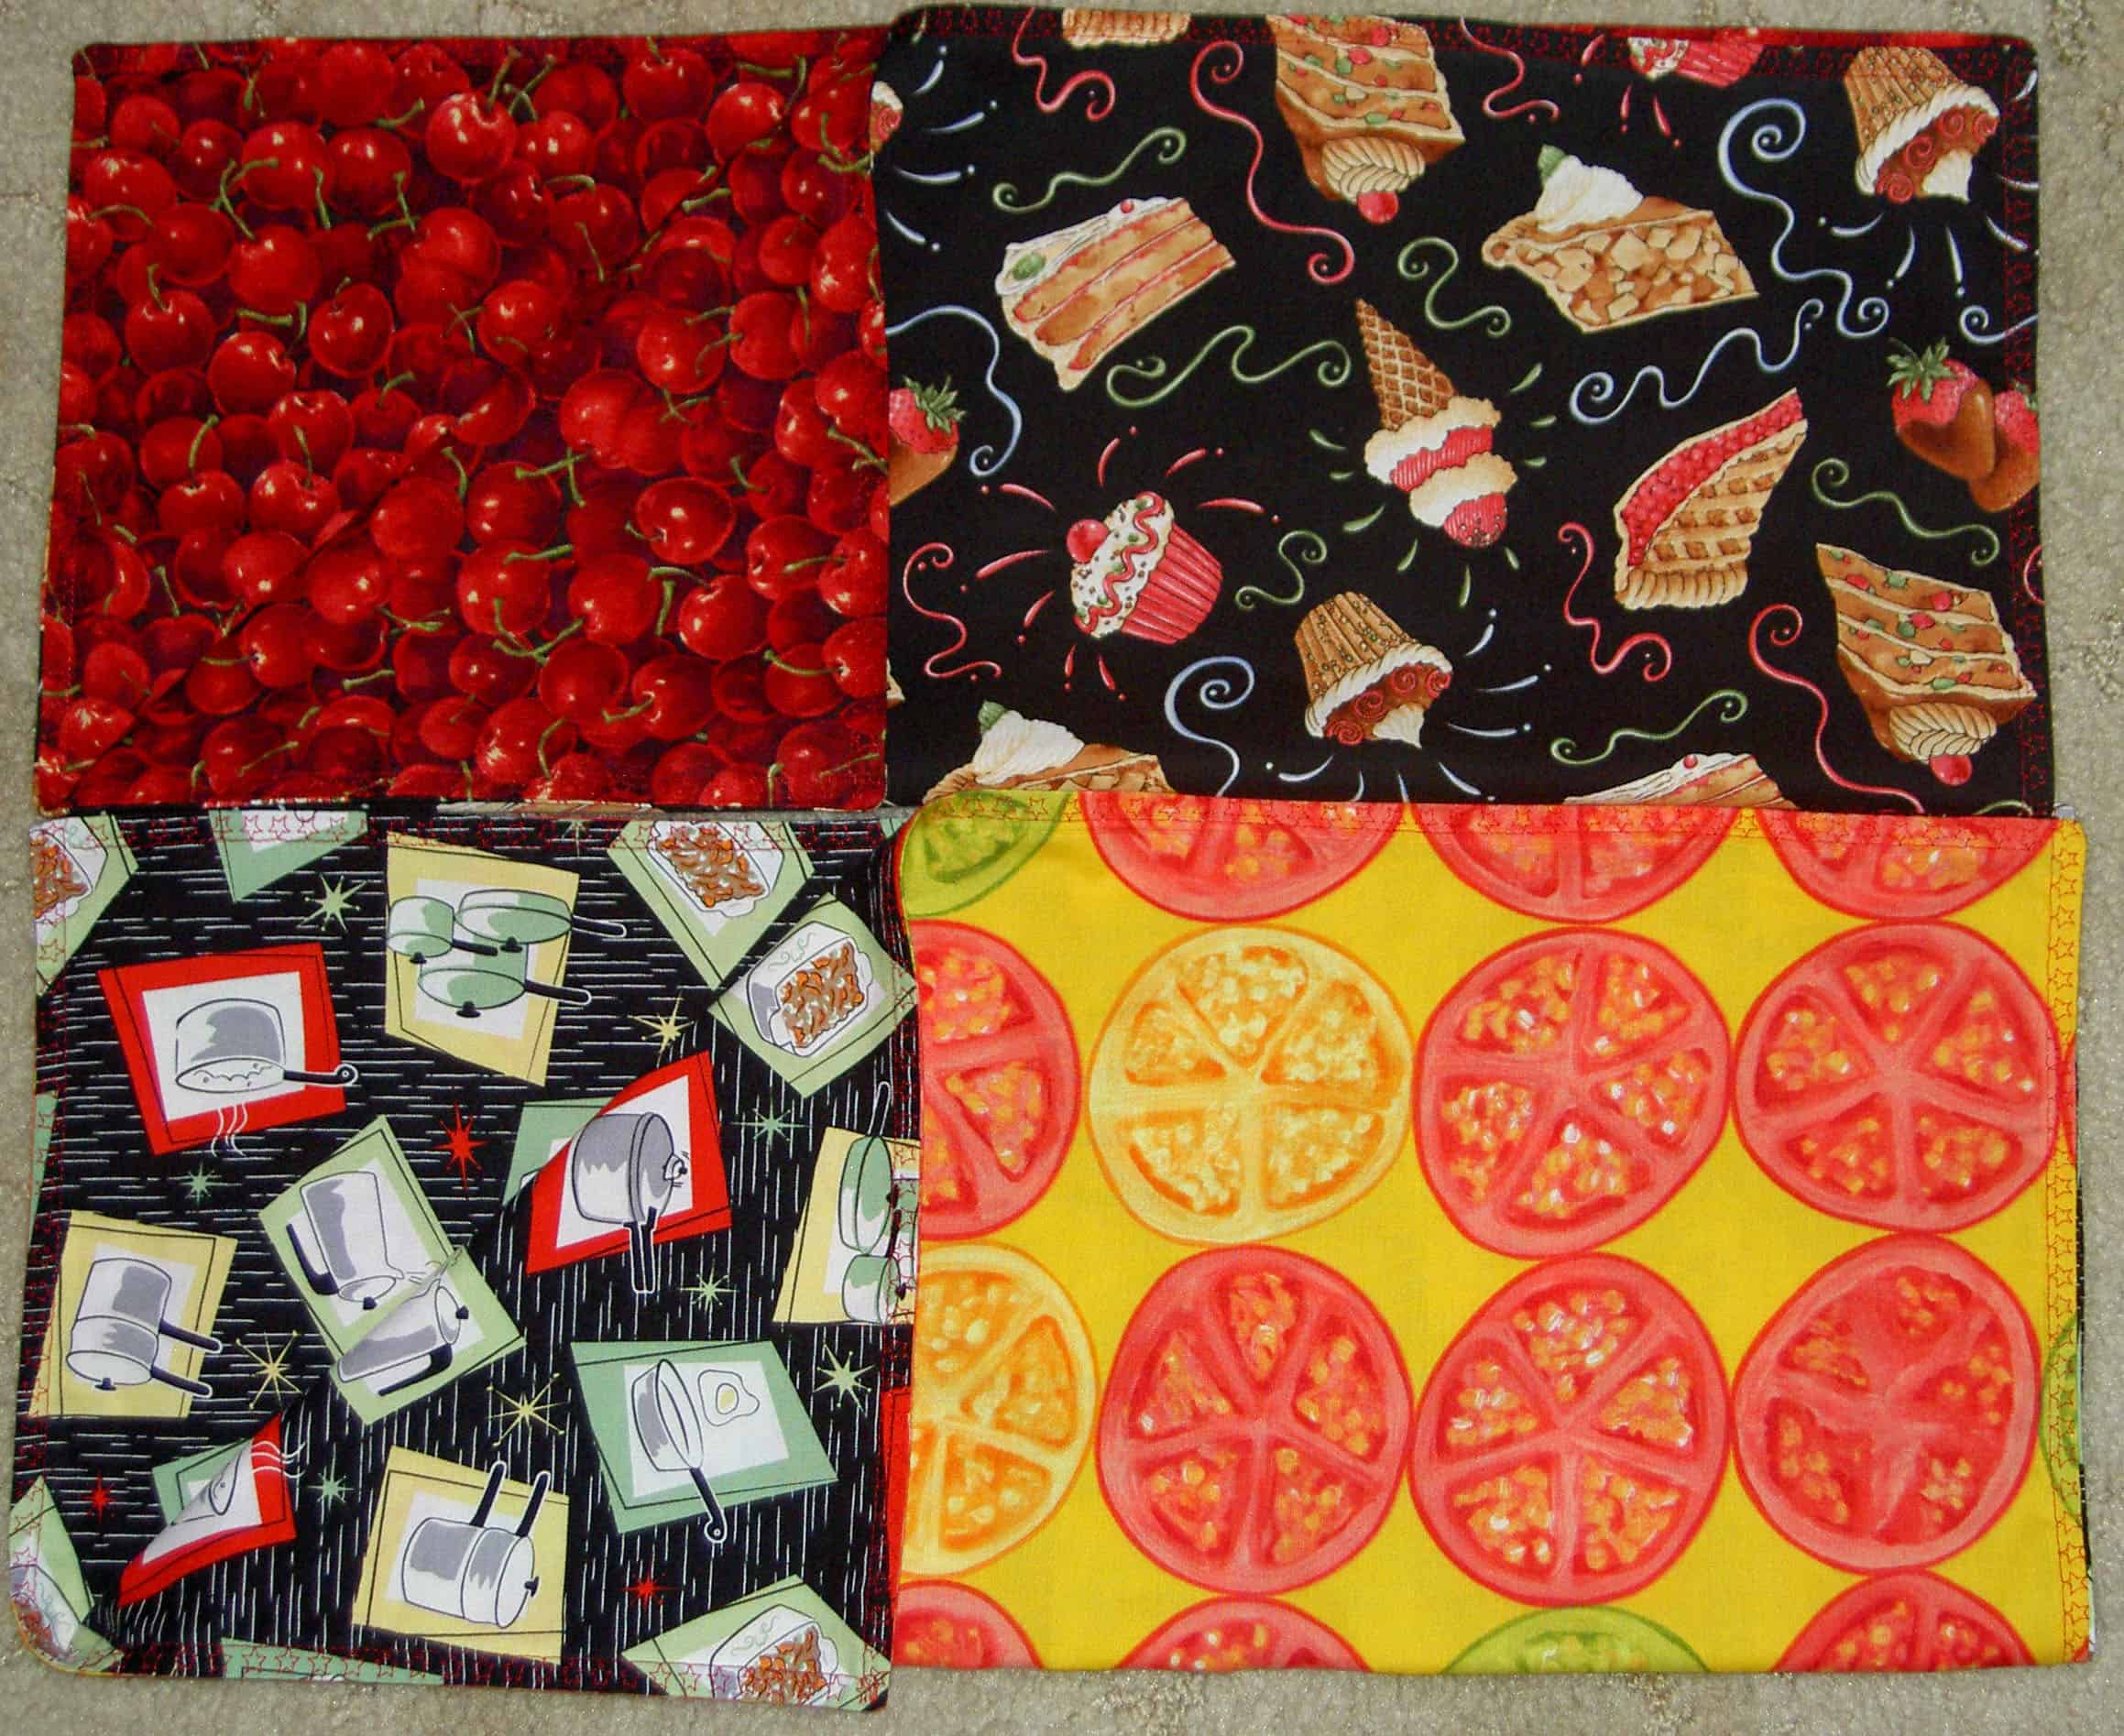
I have bought some of the fruit and vegetable fabrics, that seem to be popular, recently. I had a joint project with my mom in mind, but decided I liked certain ones too much to give away, thus I made napkins. Perhaps I am making a series after taking a look at the raspberry napkin I made in 2009? The cake fabric and the pots and pans fabric is from my collection of fabric for backs. Those pieces are large, so I can make FQ napkins with no problem and no piecing. In general, I don’t really like making napkins. Turning the pieces and getting the seam crisp are really frustrating and I am generally not successful at it. I tried a couple of different methods this time and am progressing. I do enjoy using the new napkins! I also enjoy looking at the cake fabric. My sister wants a set, but I don’t know if I have it in me to make a SET. Perhaps I can make one a month for her, then give her a set of 12 for Christmas? We’ll see.
In a way I wanted to set a trend for 2010 of major league sewing. In 2010 I want to make major progress in the sewing-quiltmaking-bag making department. I think I did well last year. Still, I want to do better. Not necessarily in terms of numbers of projects completed, but improvement in my processes. Oh, and I would like to see major improvement in my organizational systems. I am not committing to anything on that front, but would like to see it. We’ll see about that.
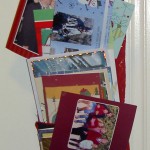
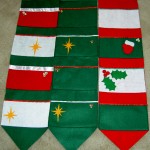
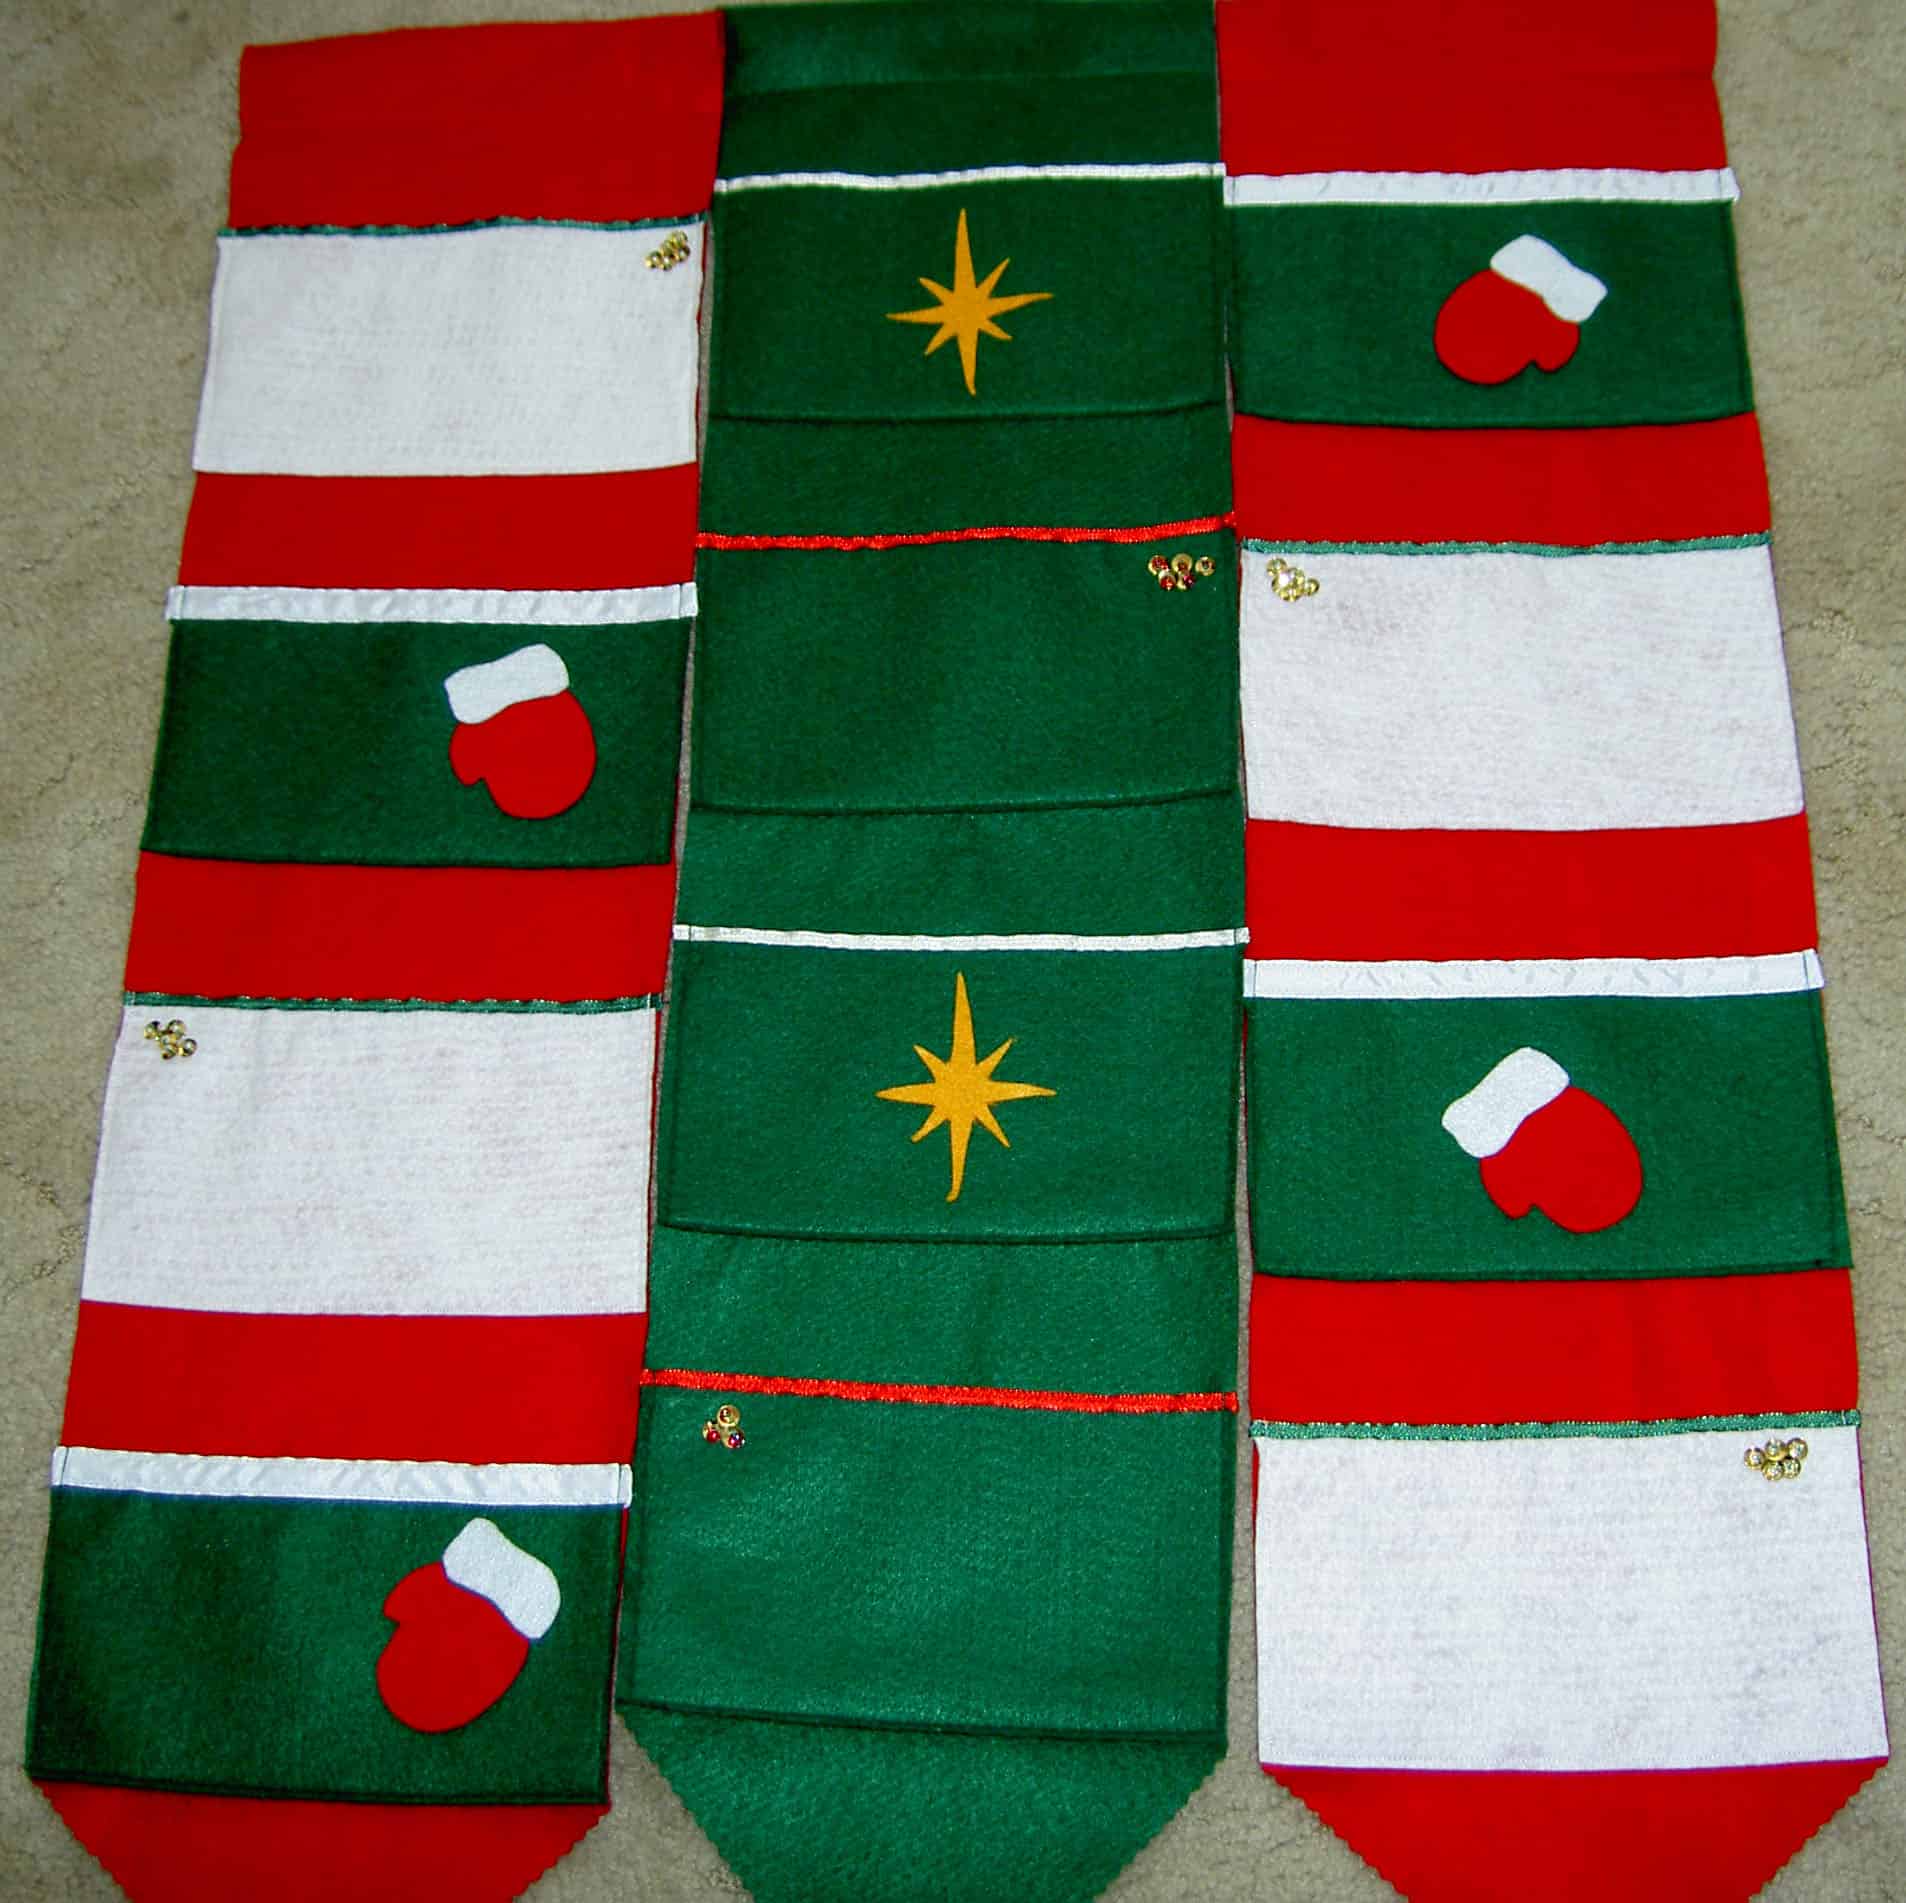
We give small and/or handmade family gifts to DH’s siblings (5 of them) and his cousins (5 on one side, 1 on the other side) plus small gifts to a few hangers-on who attend our Christmas Eve celebration. This year DH and I made cardholders. Just so you don’t have to do the math, I made about 14 cardholders.
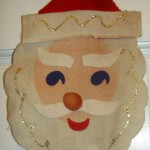
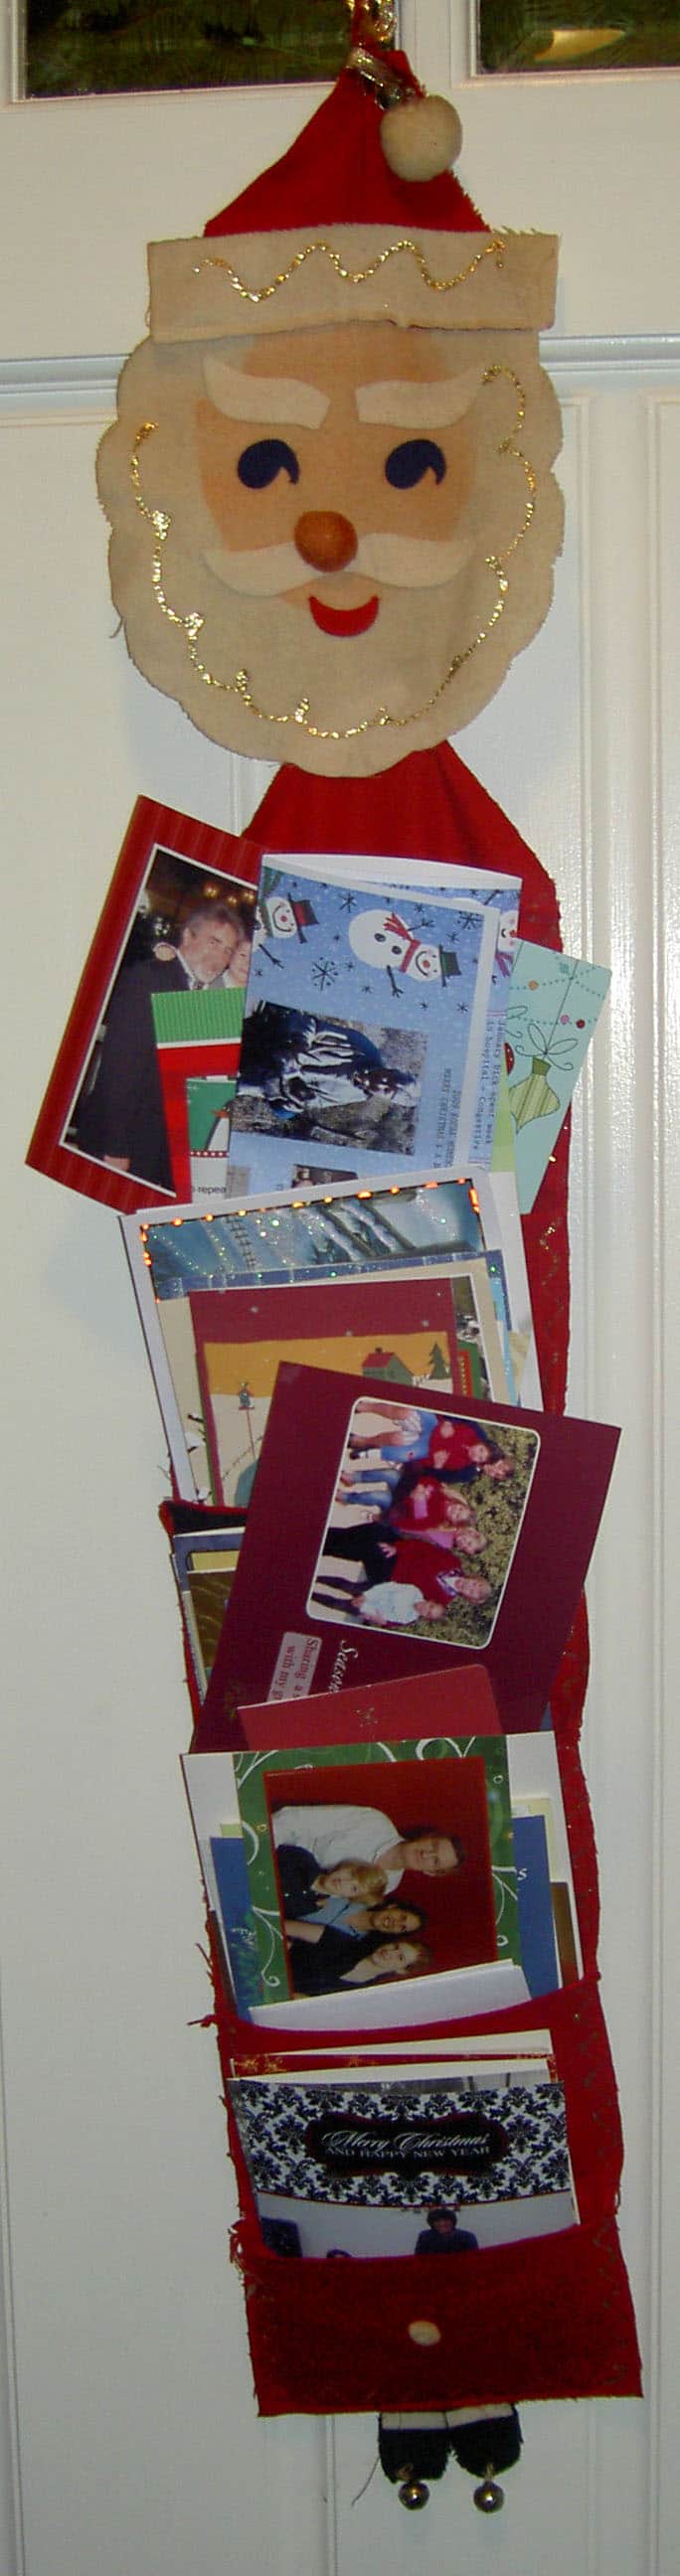
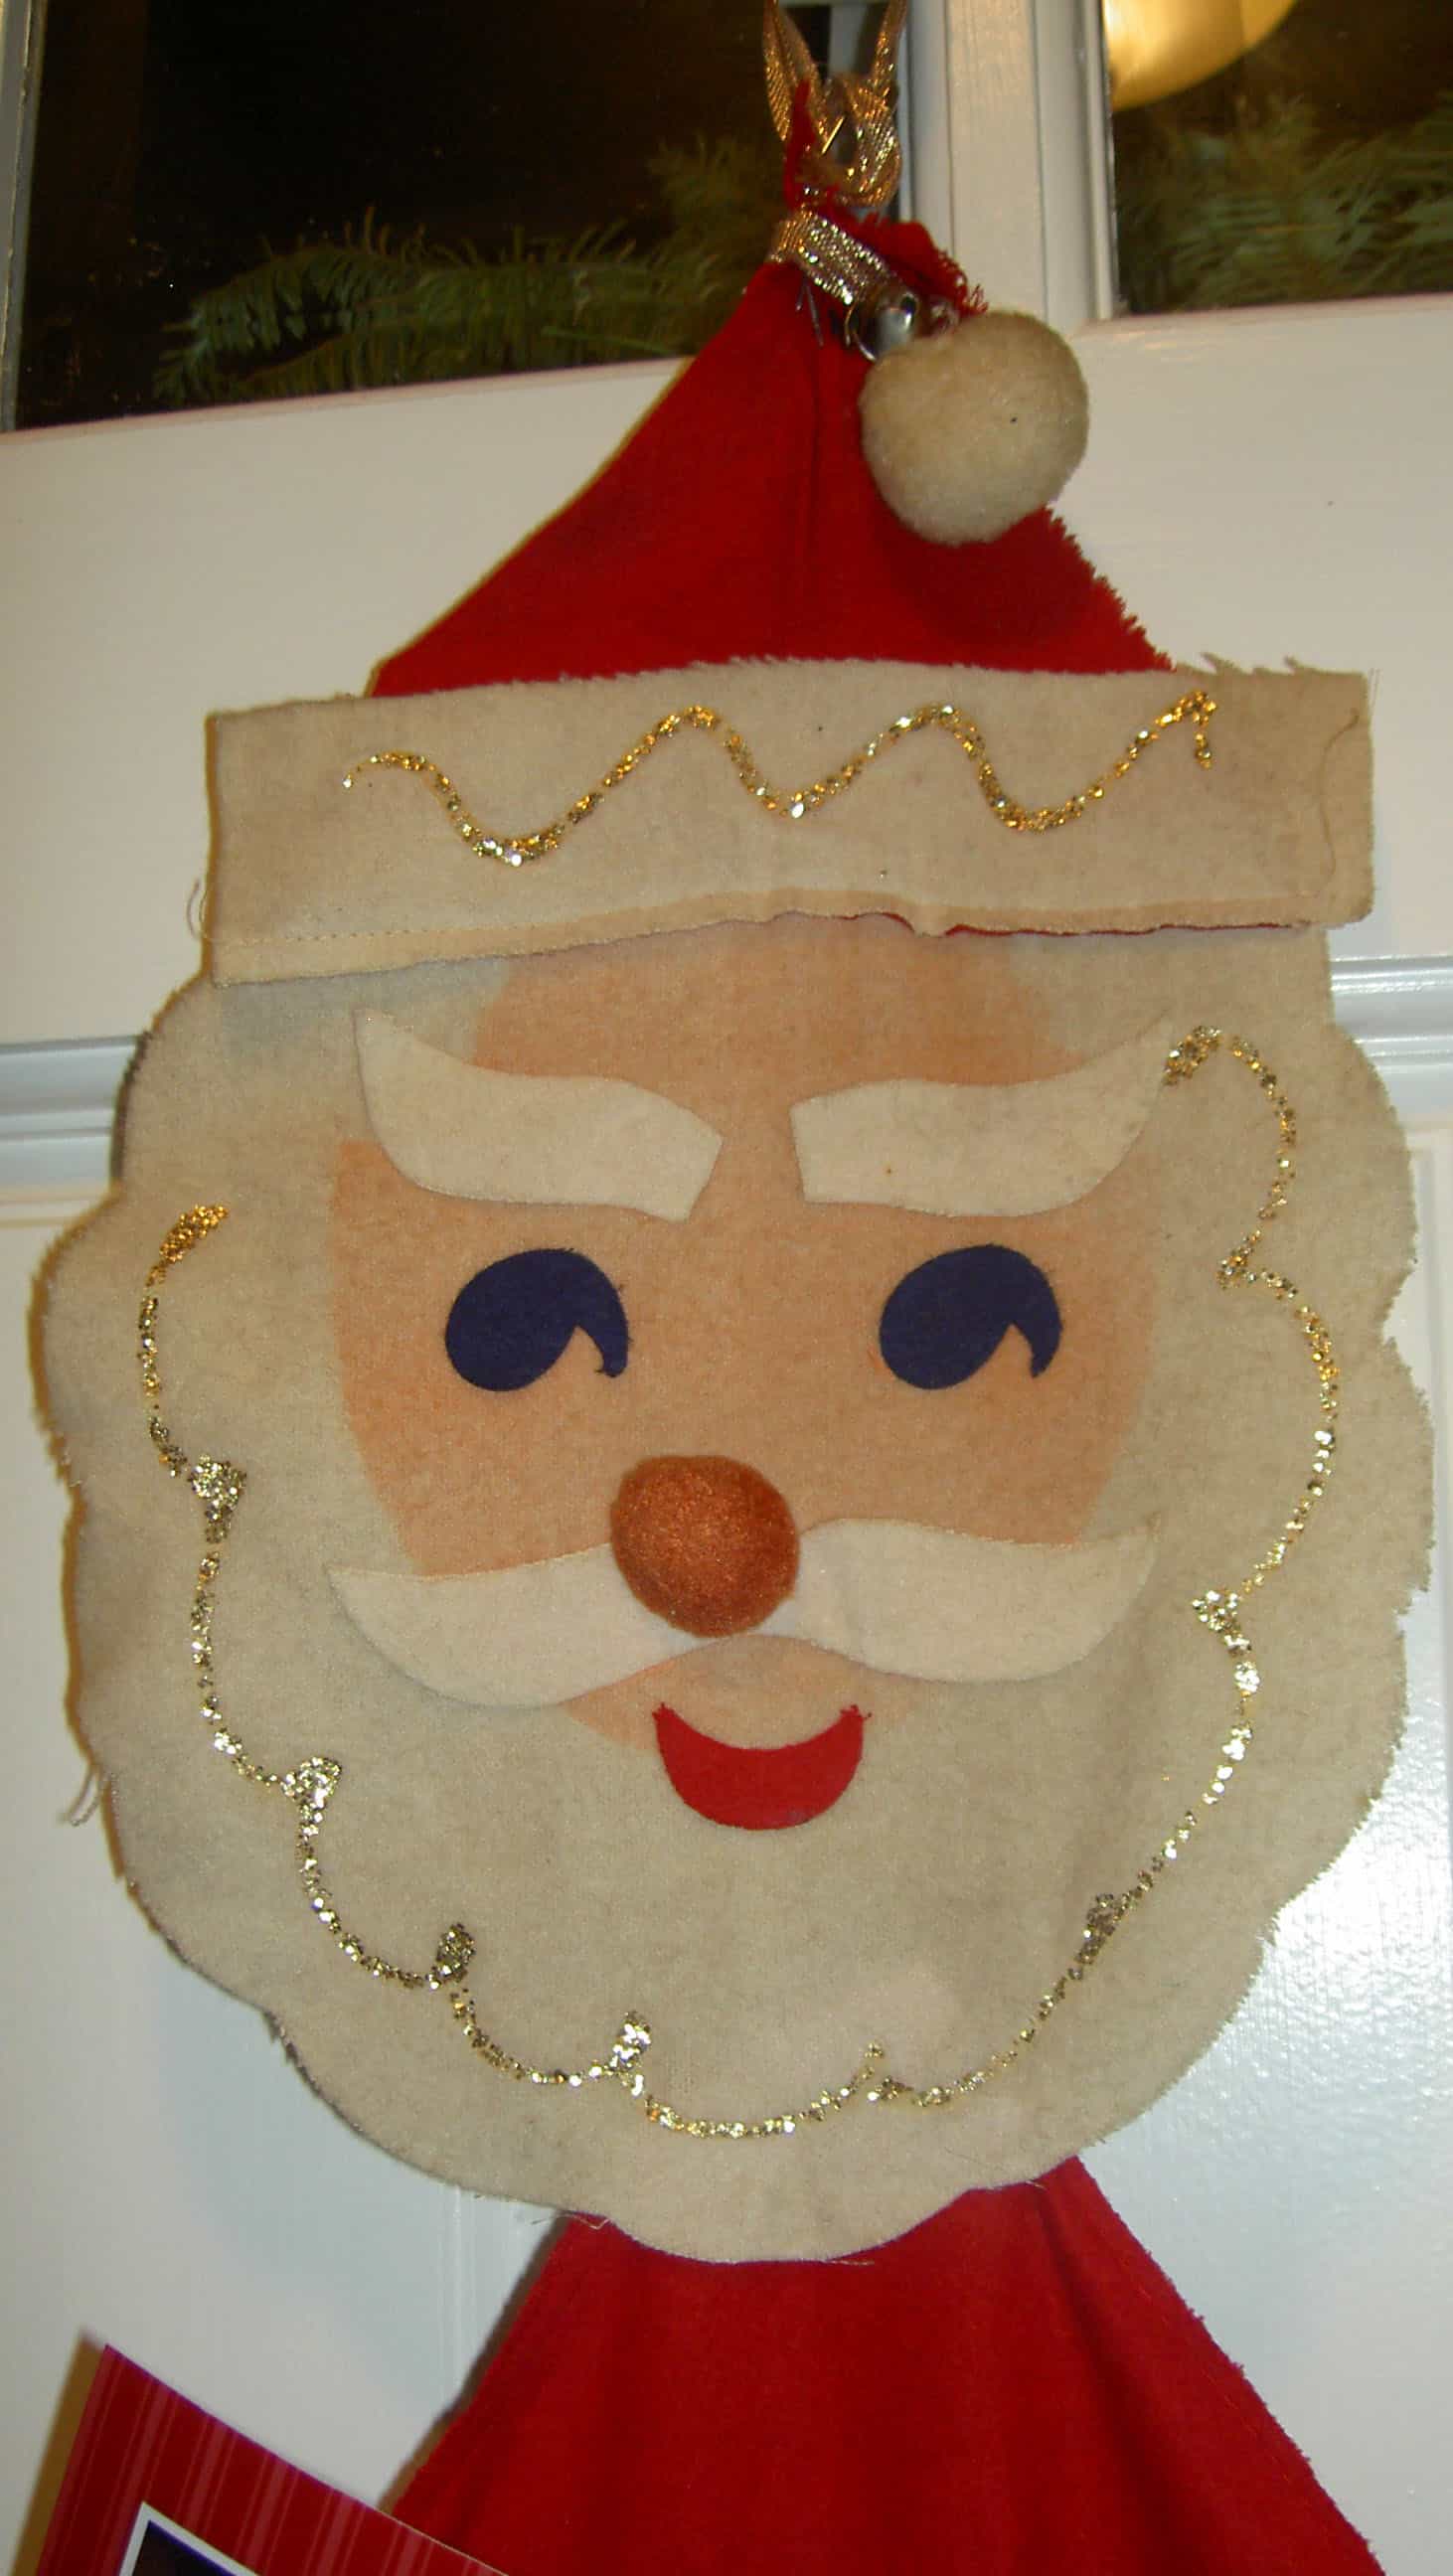
Original Card Holder
DH’s mom has a cardholder in the shape of a Santa (oddly shaped, but Santa nonetheless) that I have long admired. She bought it from a door to door salesman in the 1950s or 1960s. She may have told me the name of the company, but I don’t remember. I have wanted to replicate it for a long time and decided that this year would be the year of the cardholders. I also quickly decided that I was not going to make the cardholders in the shape of a Santa.
Original Card Holder - detail
I searched the web to get some ideas and found very few ideas online. Apparently, this is not a popular gift. I did find a few, but no free patterns that I liked.
What I find were ideas for shapes. I decided that a long rectangle with a pointy bottom would be easiest to sew and look the best.
DH and I sat down with the measurements of felt (72″ wide) and an idea of what I could sew in a reasonable amount of time. He did most of the heavy math lifting while I stuck to the practicalities of sewing.
Once we had the dimensions down I set about cutting and figuring out the sewing process as I wanted to do as much assembly line sewing as I could.
Testing Ribbon Trims
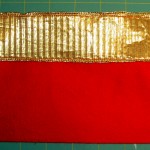
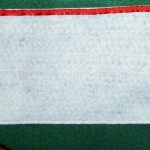
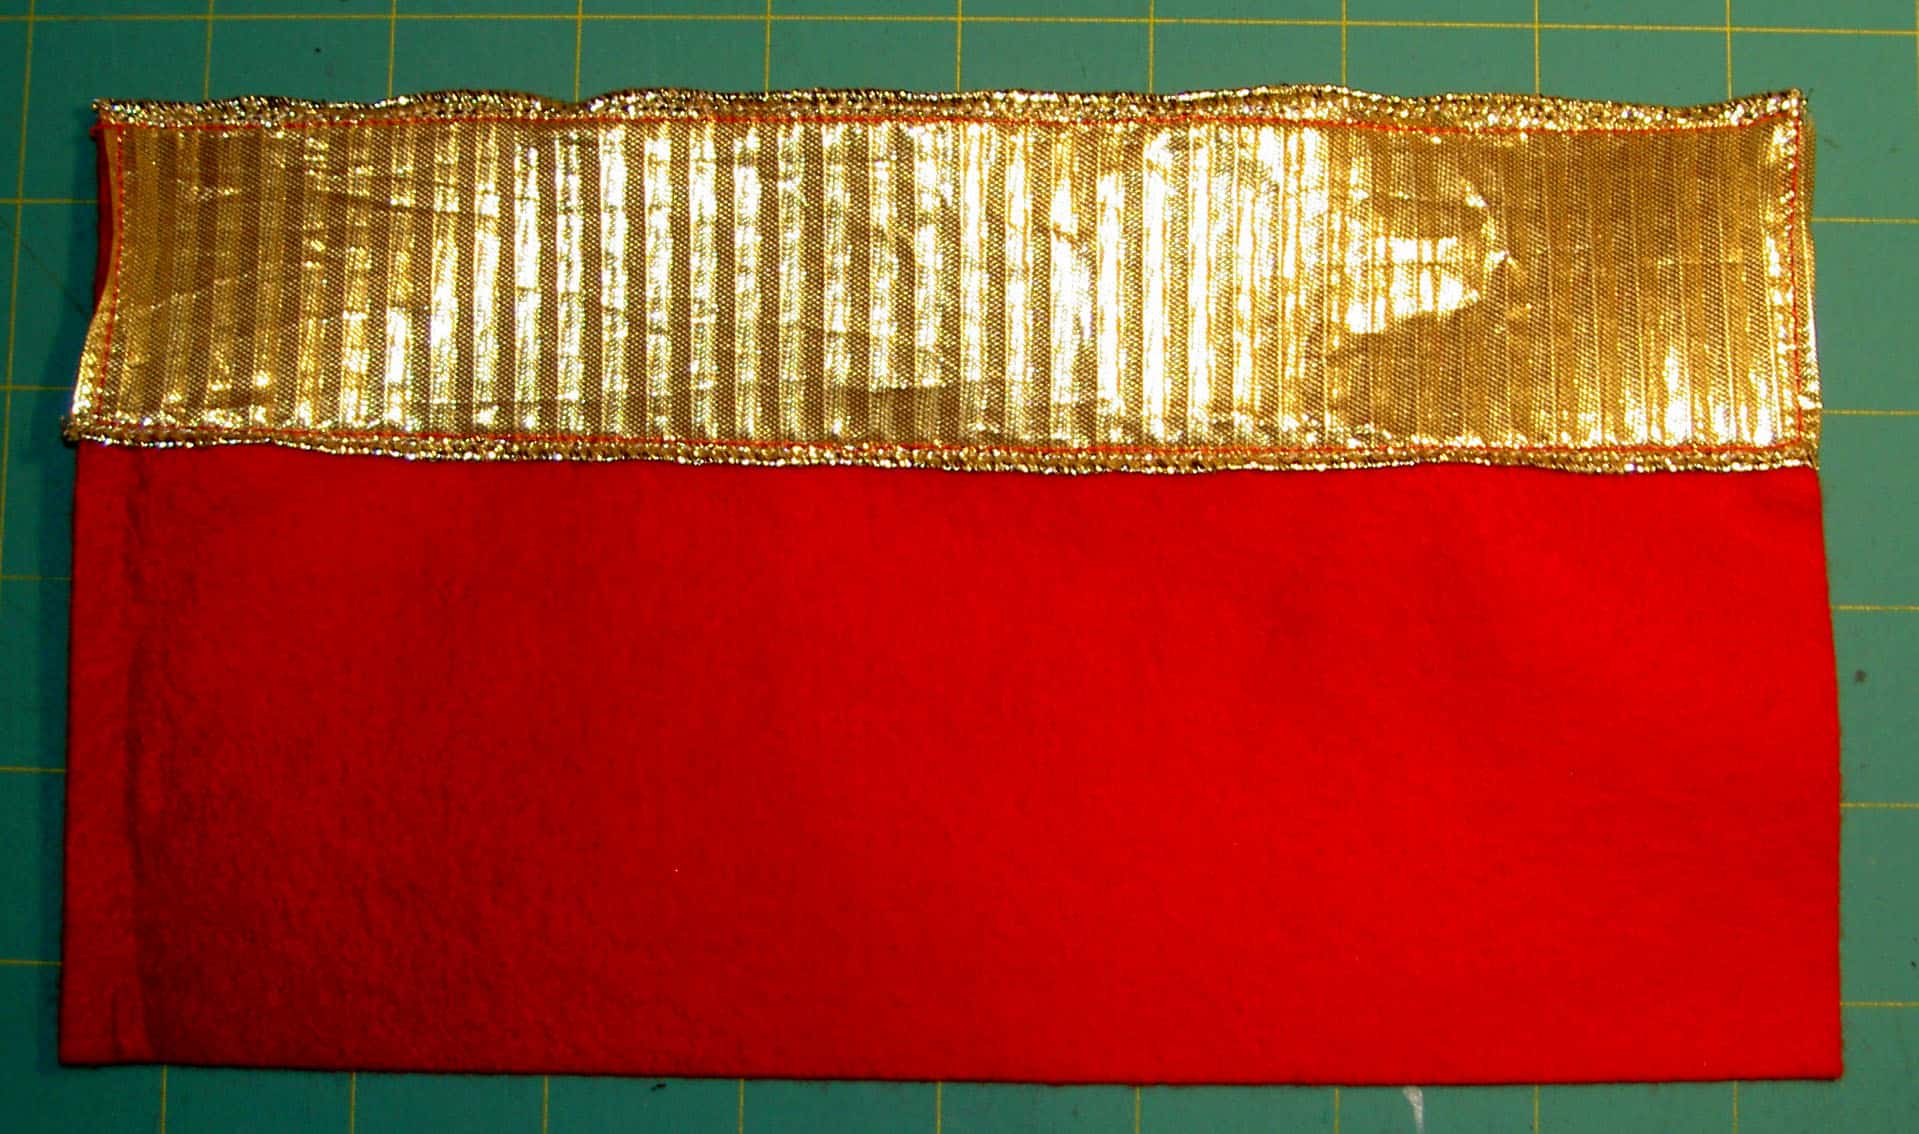
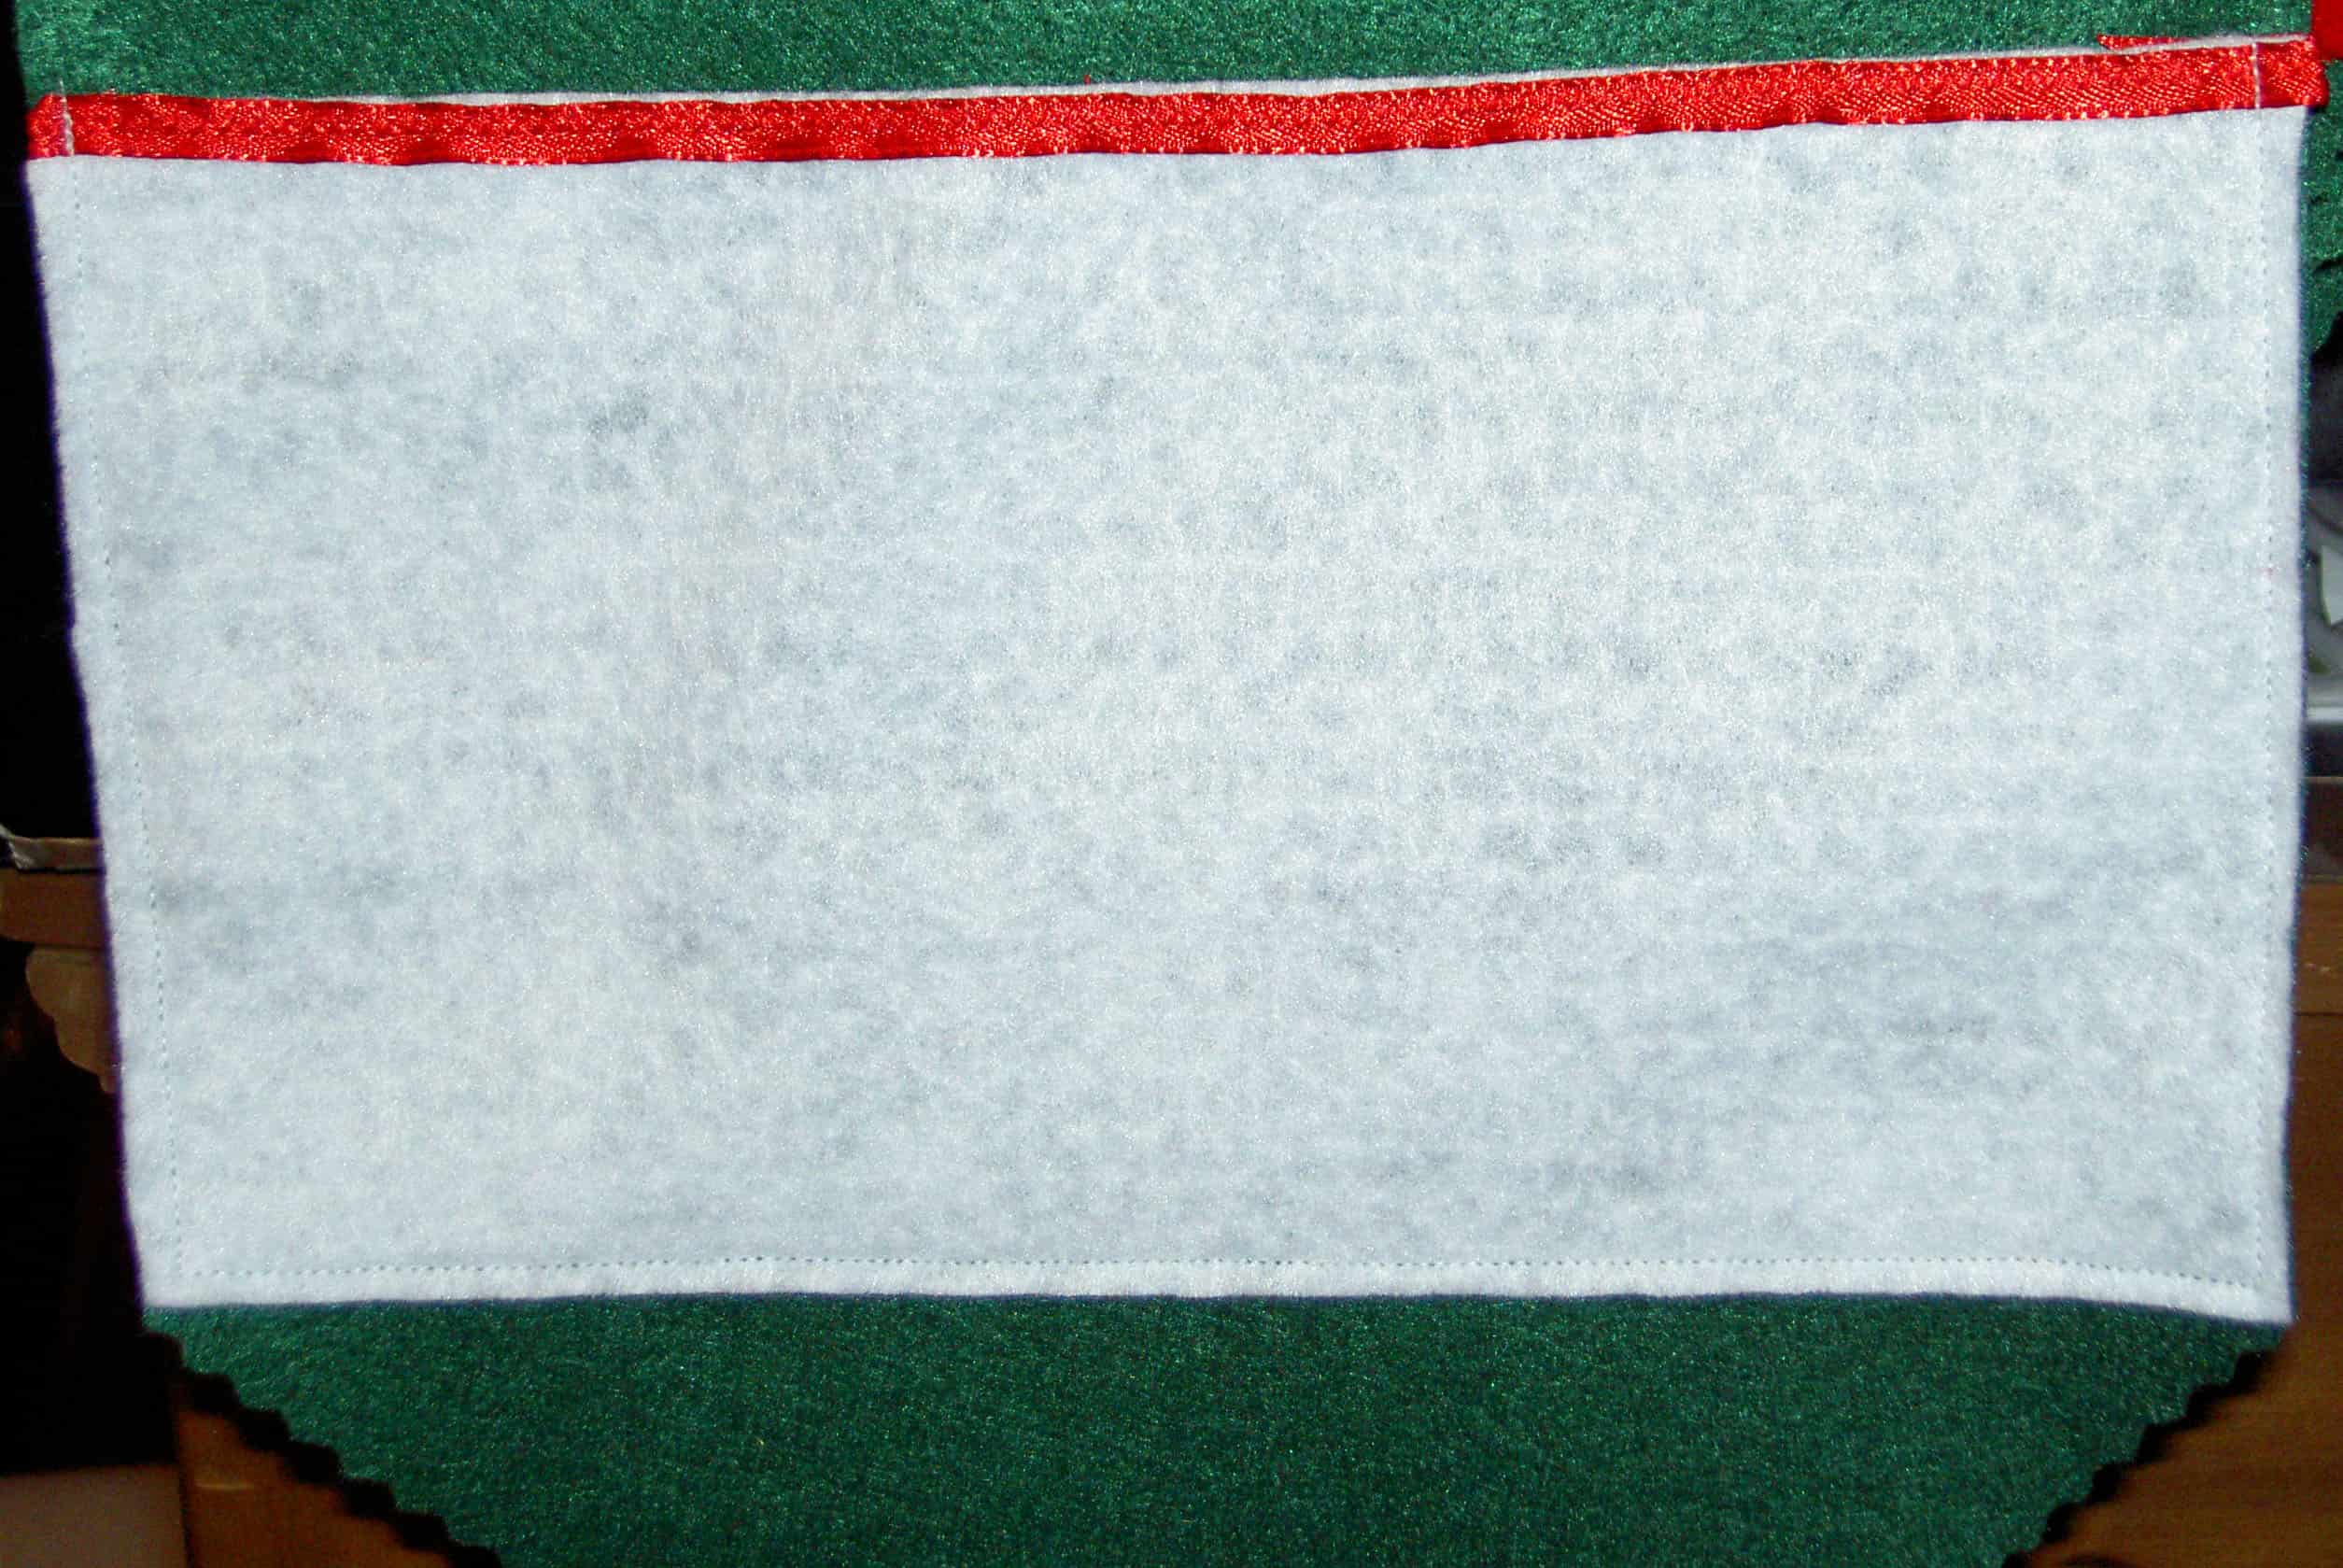
I have a can full of various odds and ends of ribbon. I use that ribbon when I make gift bags. Some of the saved ribbon is too short for gift bags so I got it out to test trimming the pockets. Above is some really interesting French gold ribbon that I sewed on to a pocket. I liked it, but thought it was a bit wide.
I have several rolls of 1/4″ ribbon in red and green that I got when I cleaned out my Aunt’s craft room after she died. Since I have a lot of it, I used quite a bit to trim various pockets, even though I thought it was a bit thin. The best size turned out to be 7/8″ ribbon, which DH got when I sent him to the store to get some silver ribbon.
Assembly Line Pocket Trimming
I got the assembly line figured out eventually. Above it looks like I am just putting a bunch of pockets on a line of ribbon and sewing. Actually, I cut the pieces of ribbon, wrapped them around the pockets. This enabled me to sew through two layers of ribbon and one layer of felt to anchor the ribbon and keep it from fraying a bit. As soon as I was done sewing one, I would put the next pocket very close to the one exiting the presser foot and keep sewing.
Figuring out color schemes
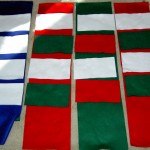
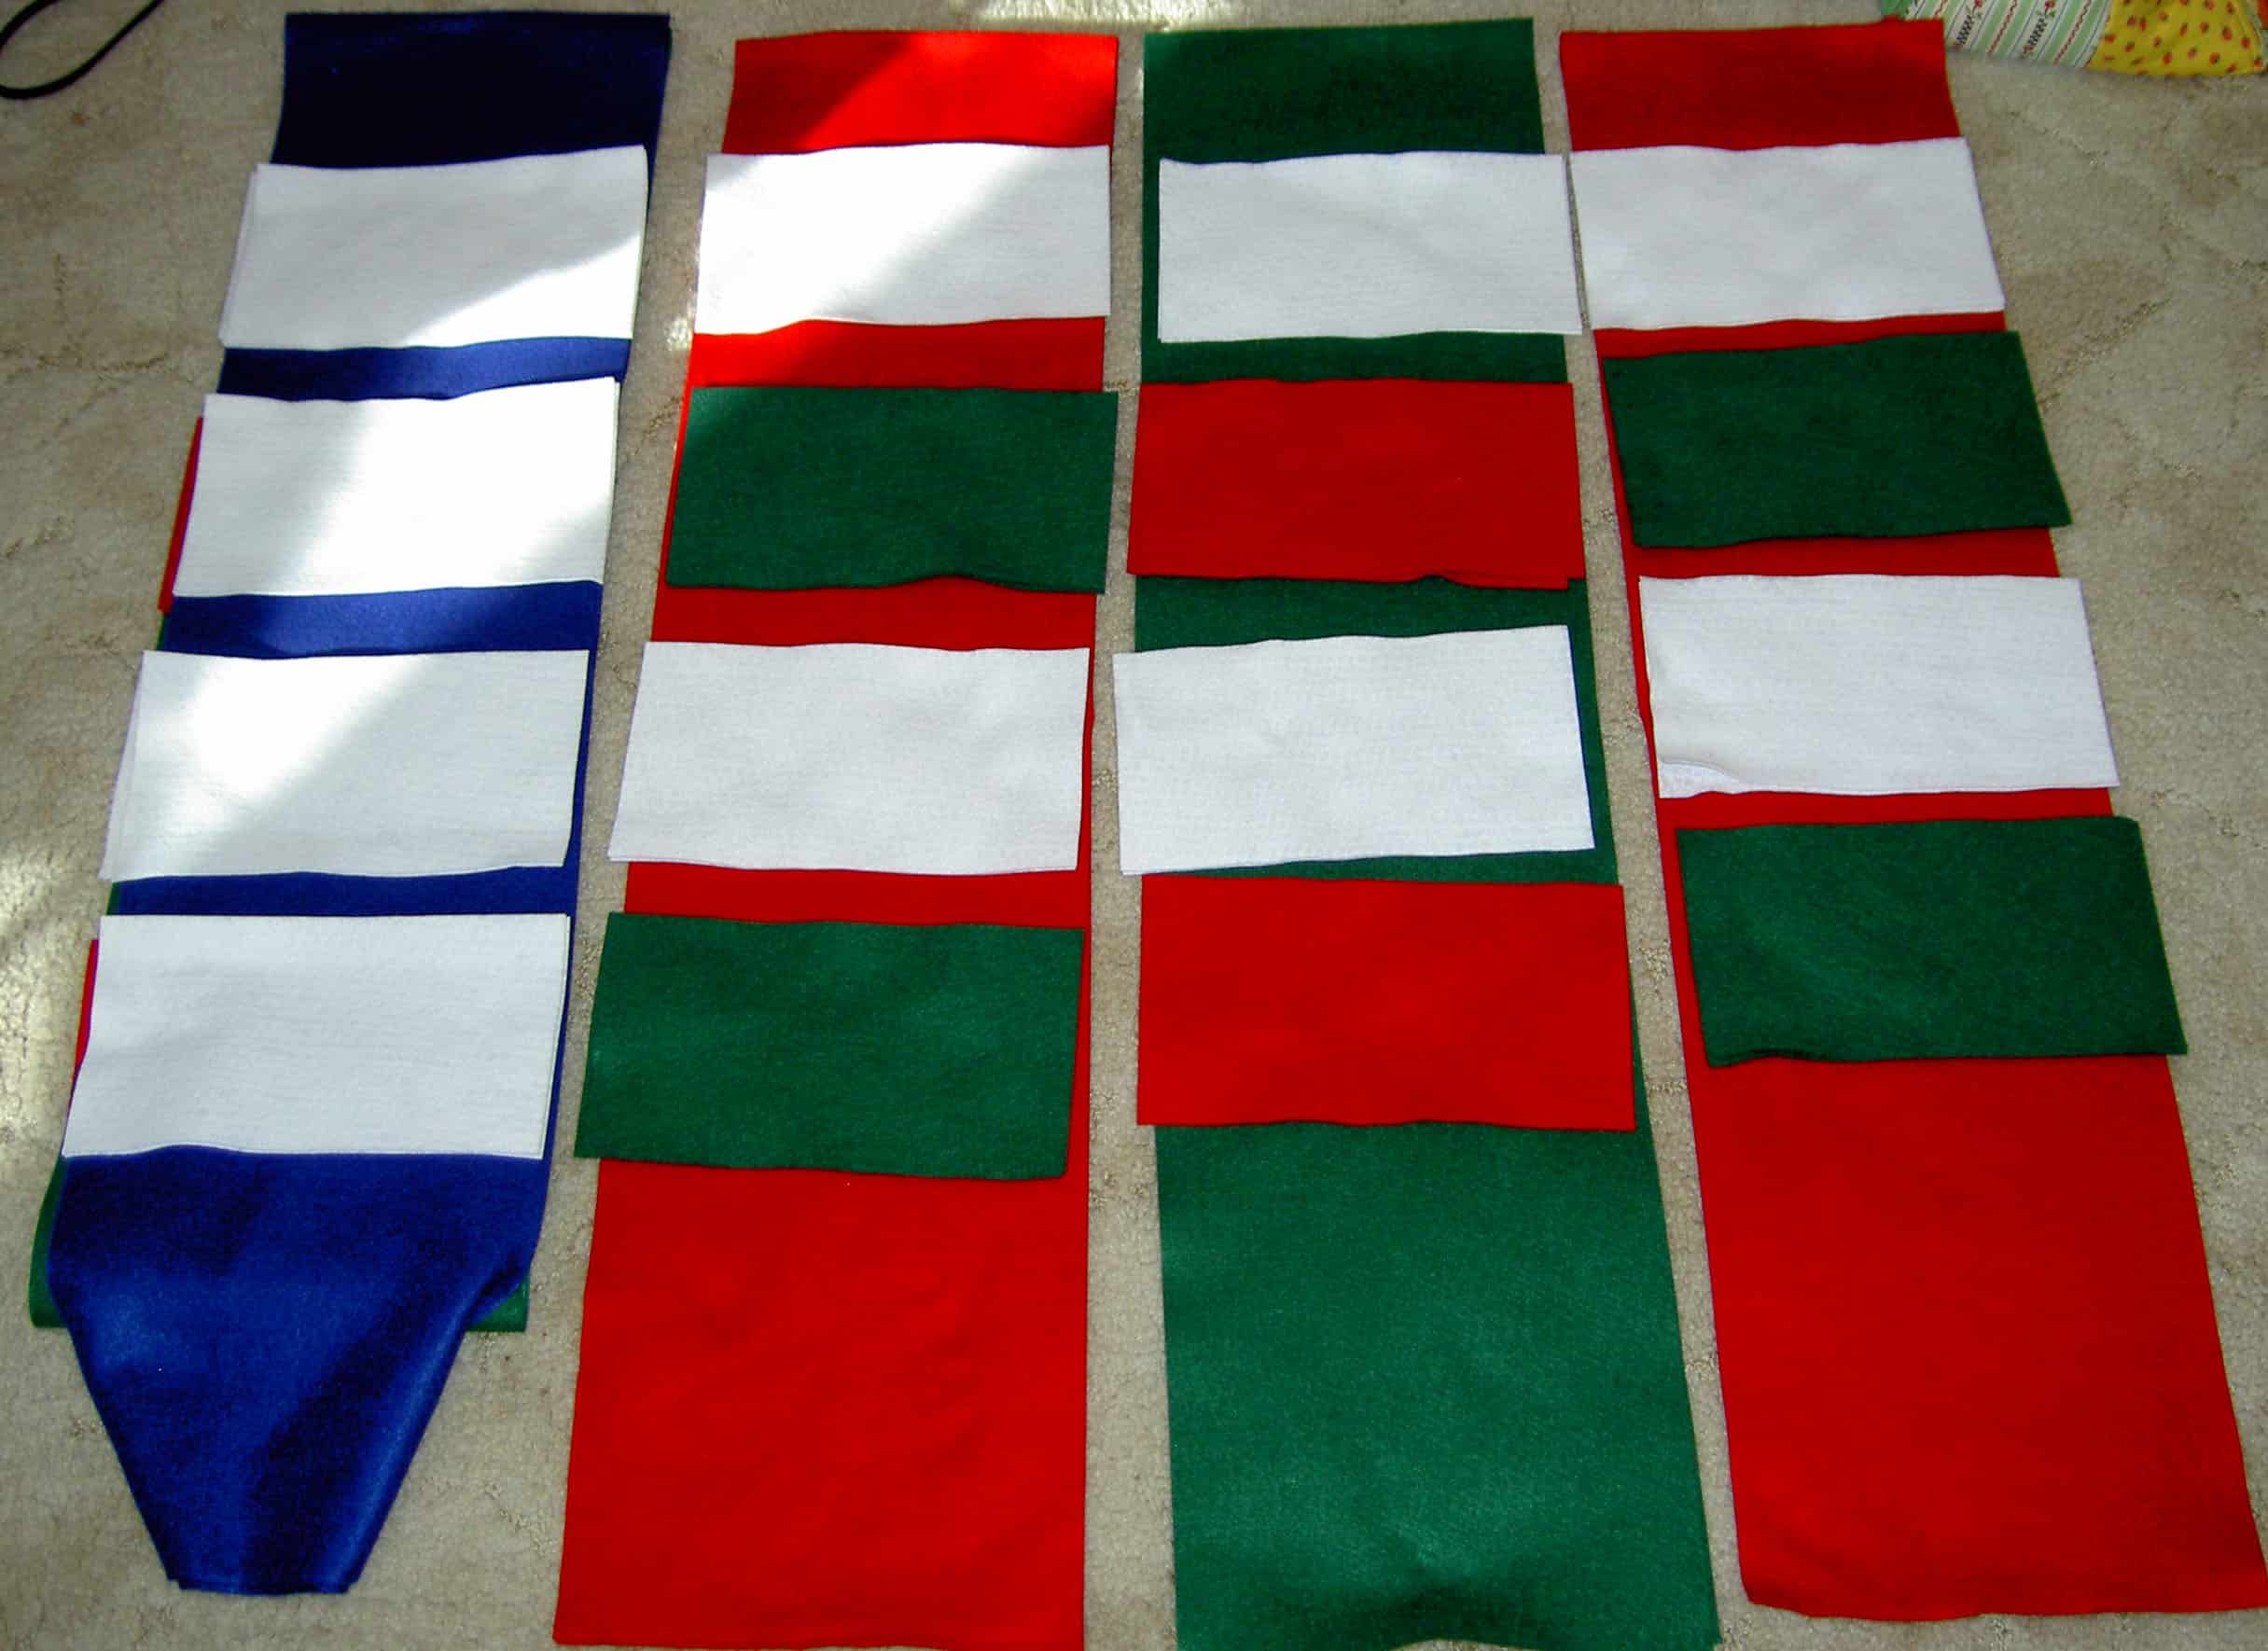
You know my rule is to “make visual decisions visually”, so we laid out all the cut pieces and rearranged them until we were happy with the color combinations. After this step, I got down to being serious about trimming the pockets.
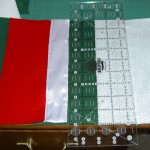
Measuring pockets
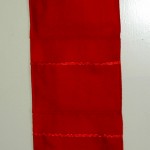
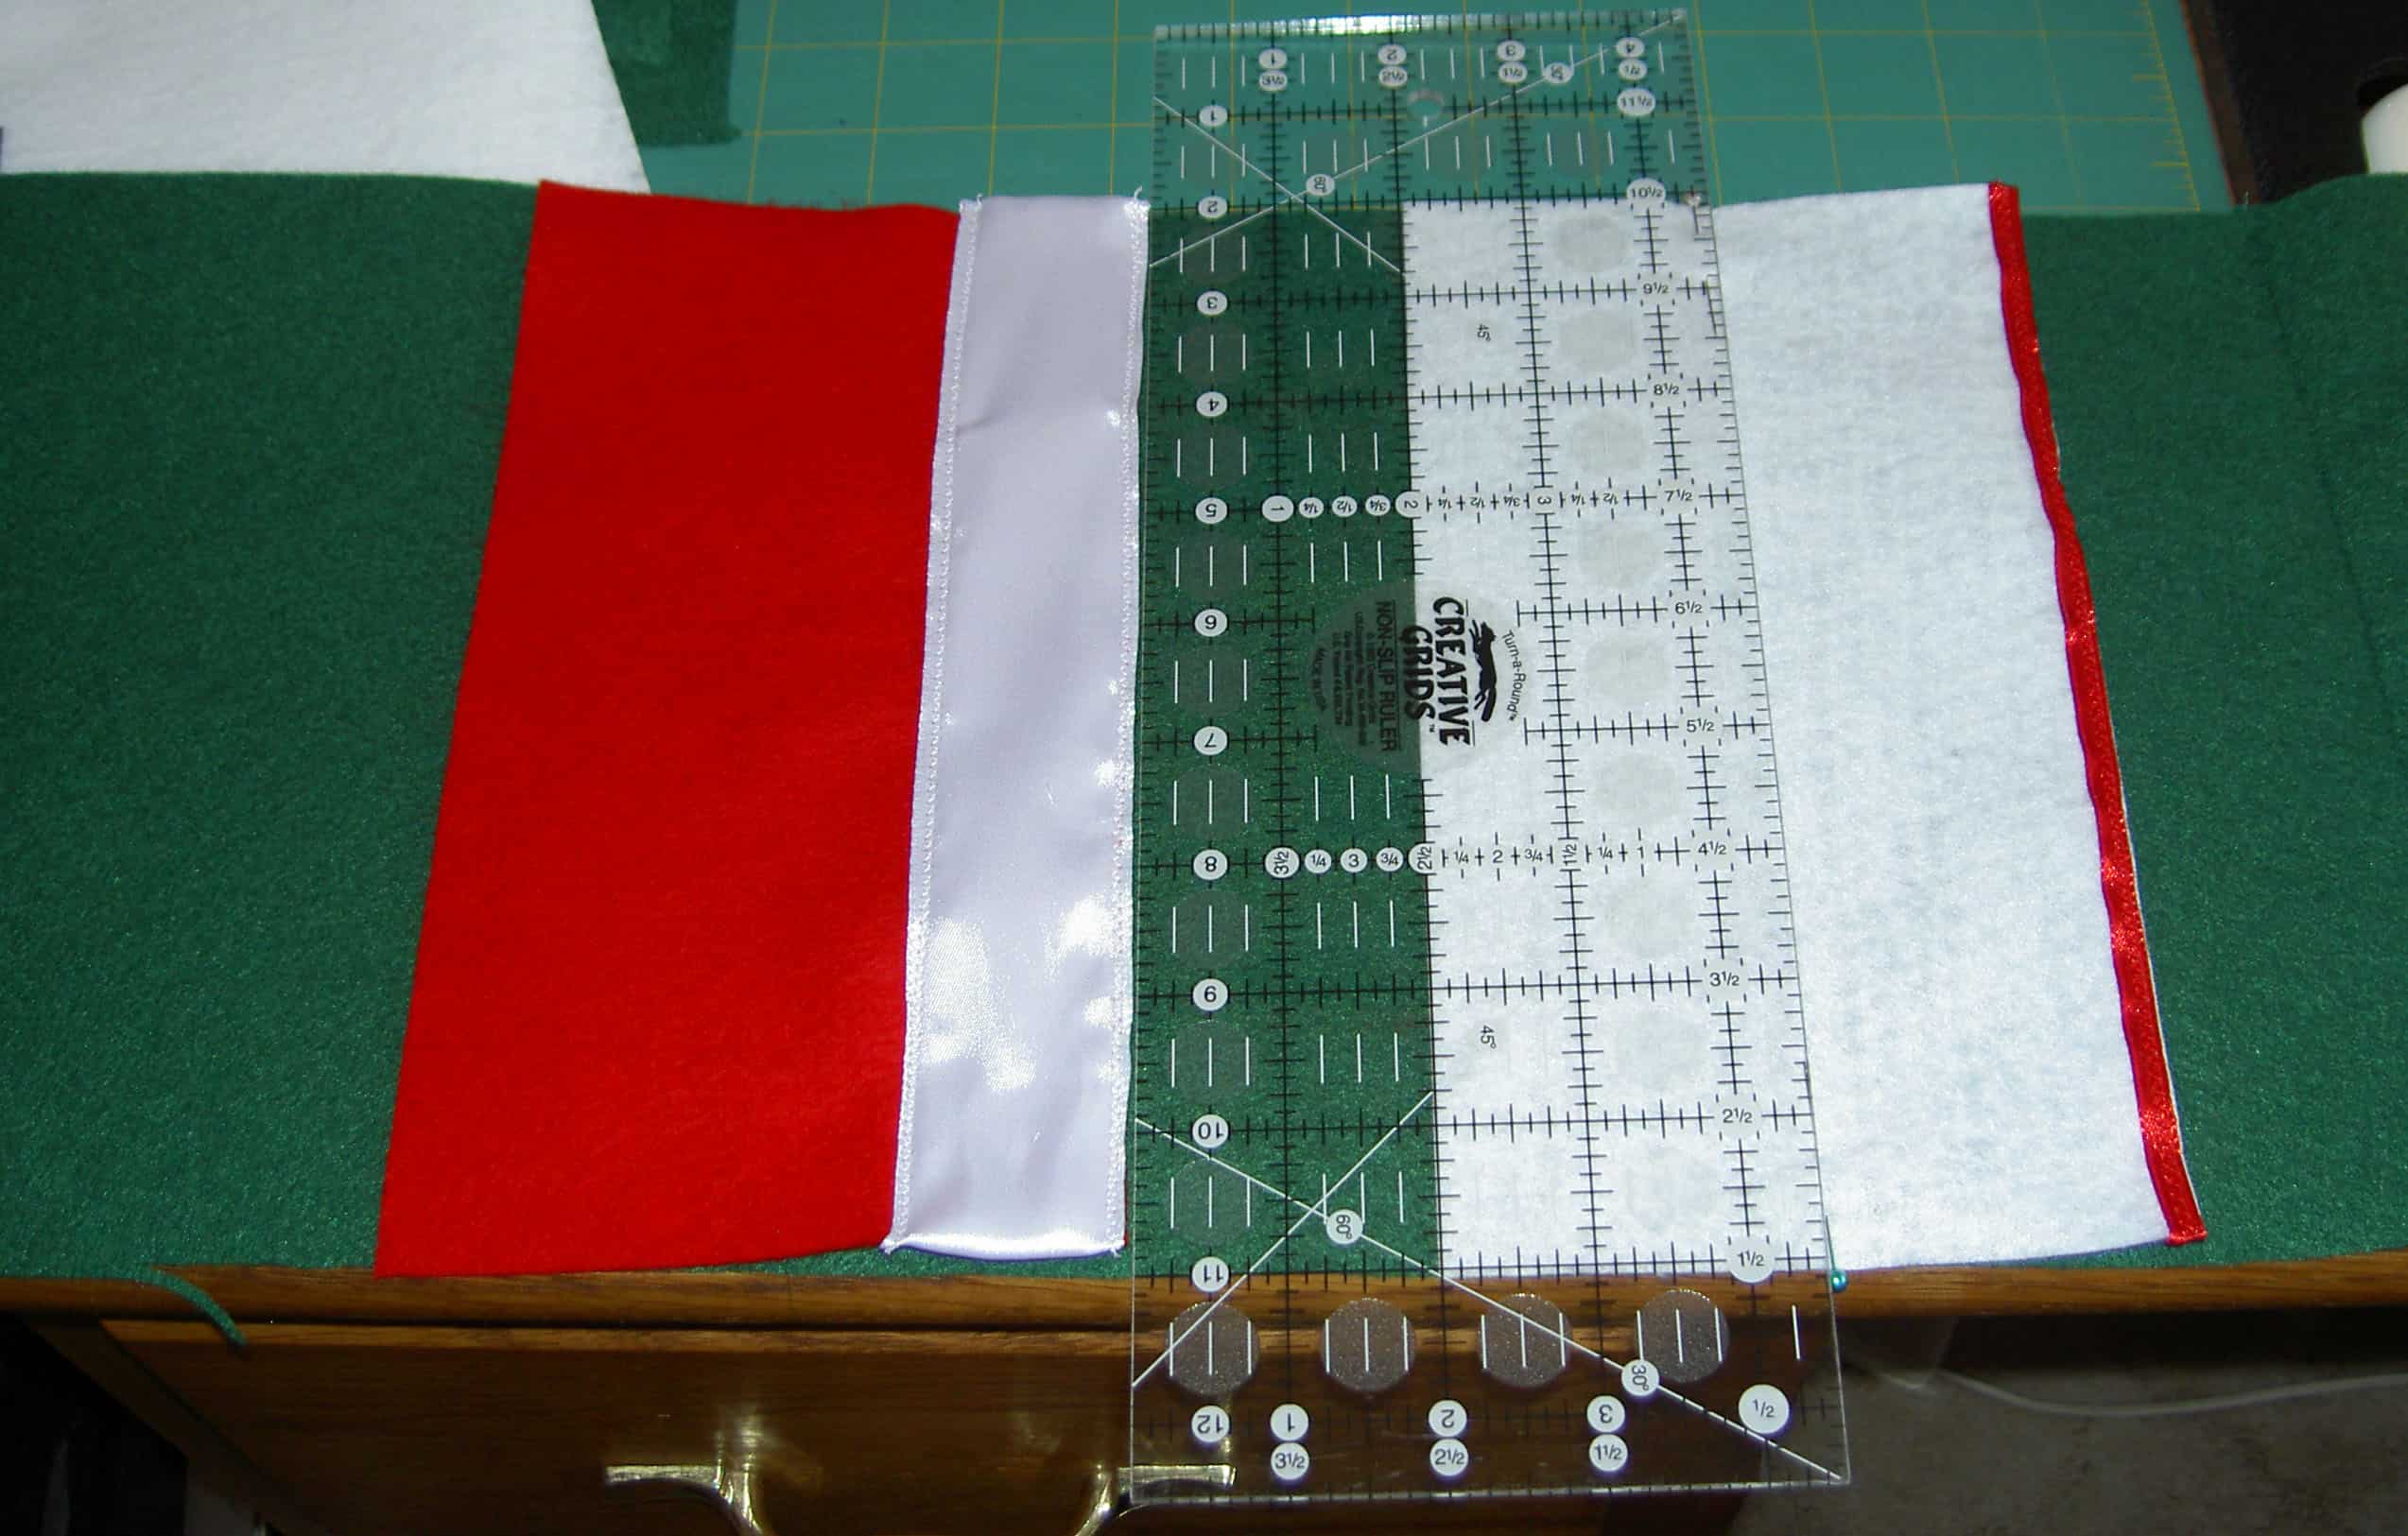
Once all of the pockets were trimmed, I sewed the sleeve and then pinned them to the back, measuring down from the sleeve’s seam line (above).
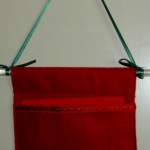
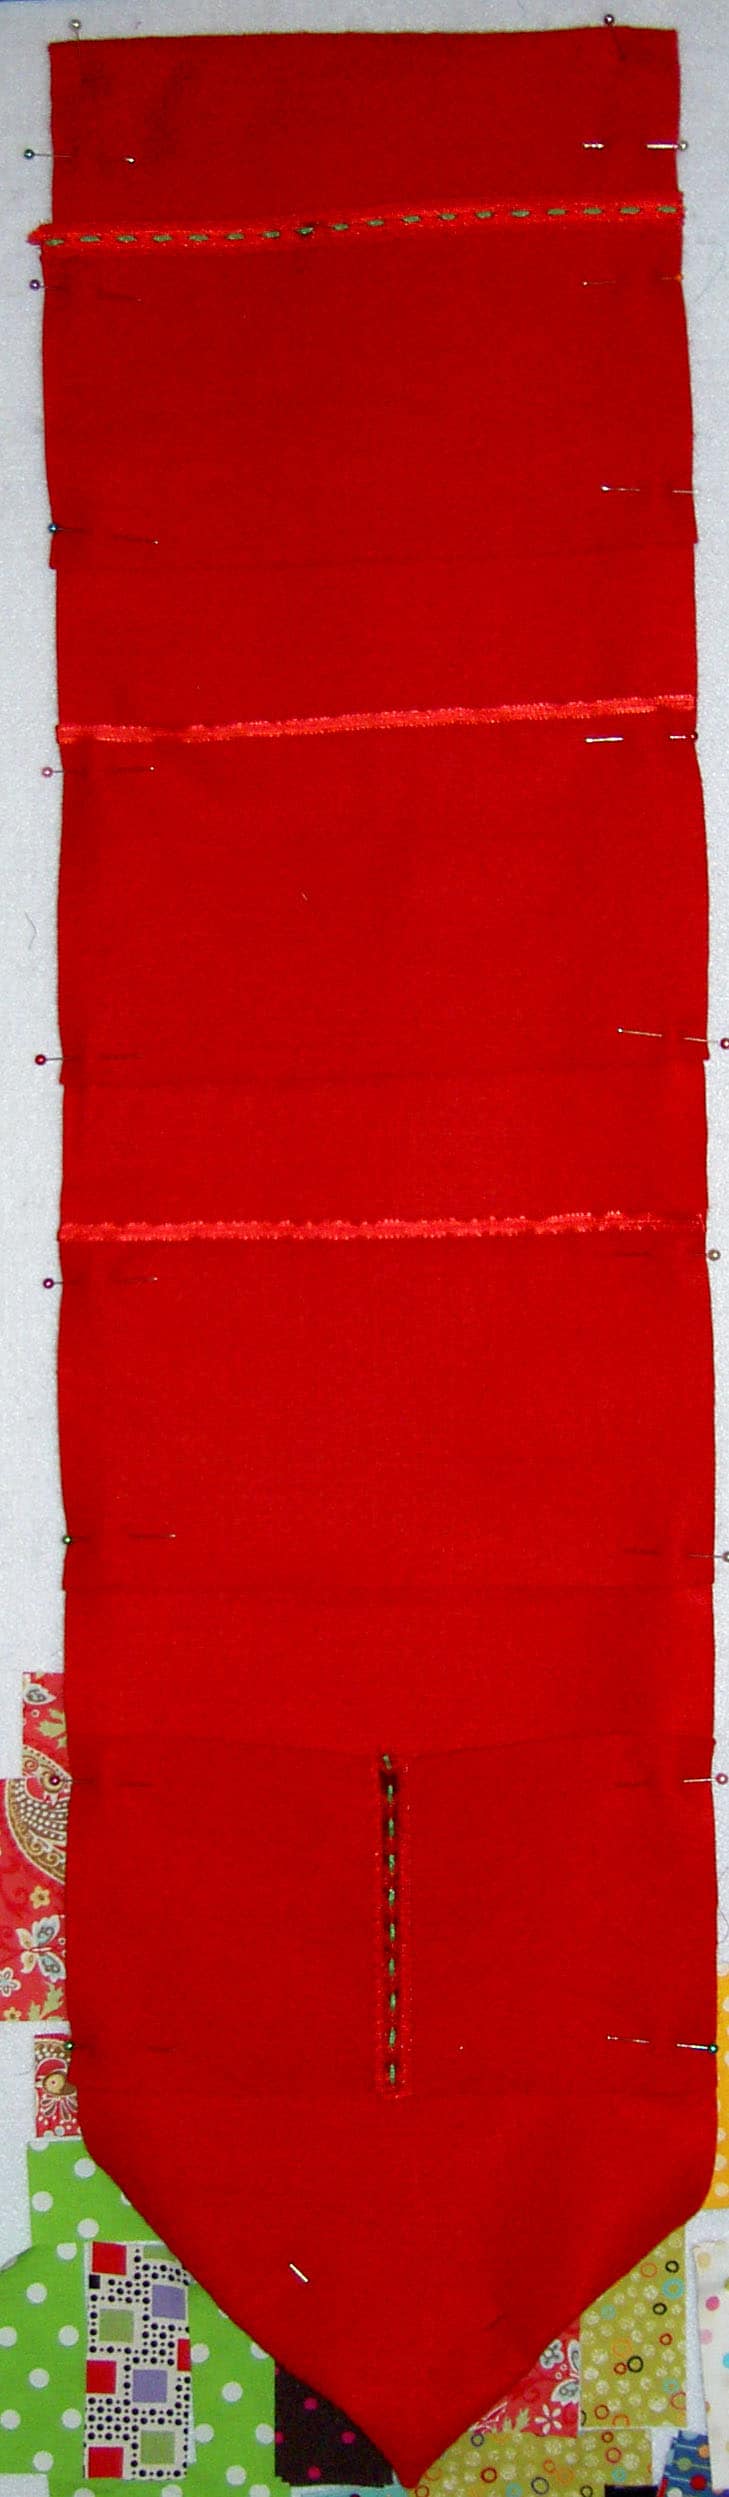
Cardholder: pinned & ready to sew
The pockets required more thinking to sew on. I ended up pinning as many as I had cut and trimmed and then sewing like colors on. First I sewed all the red pockets. That left some cardholders with white and green pockets only trimmed and pinned. Once I completed all the red pockets, I changed thread and worked on green, then white. This method prevented me from having to change thread (to match a pocket color) every 5 minutes.
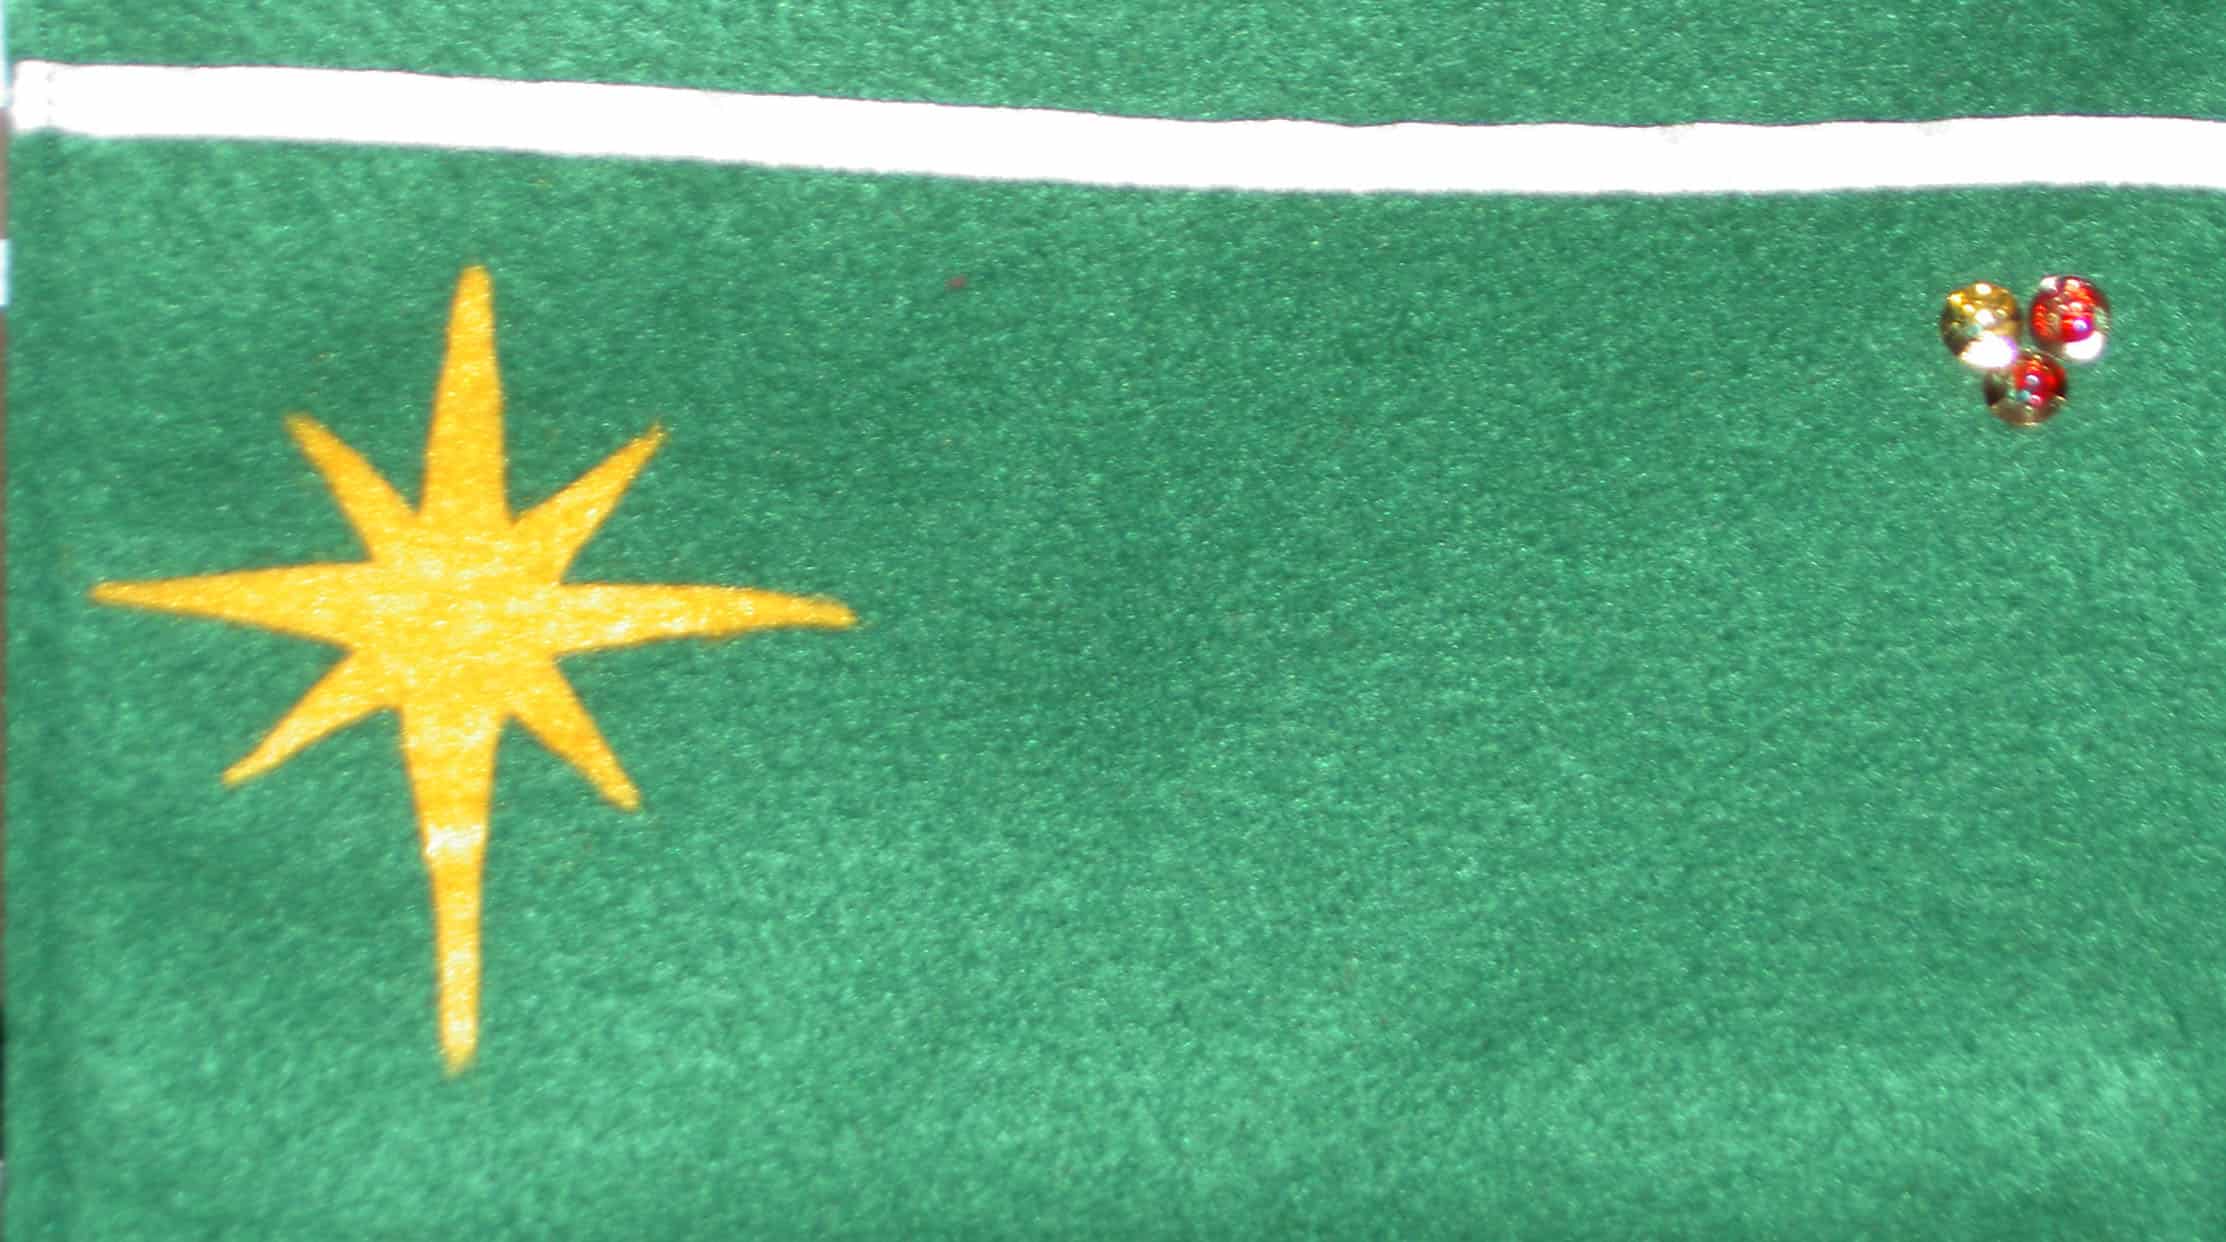
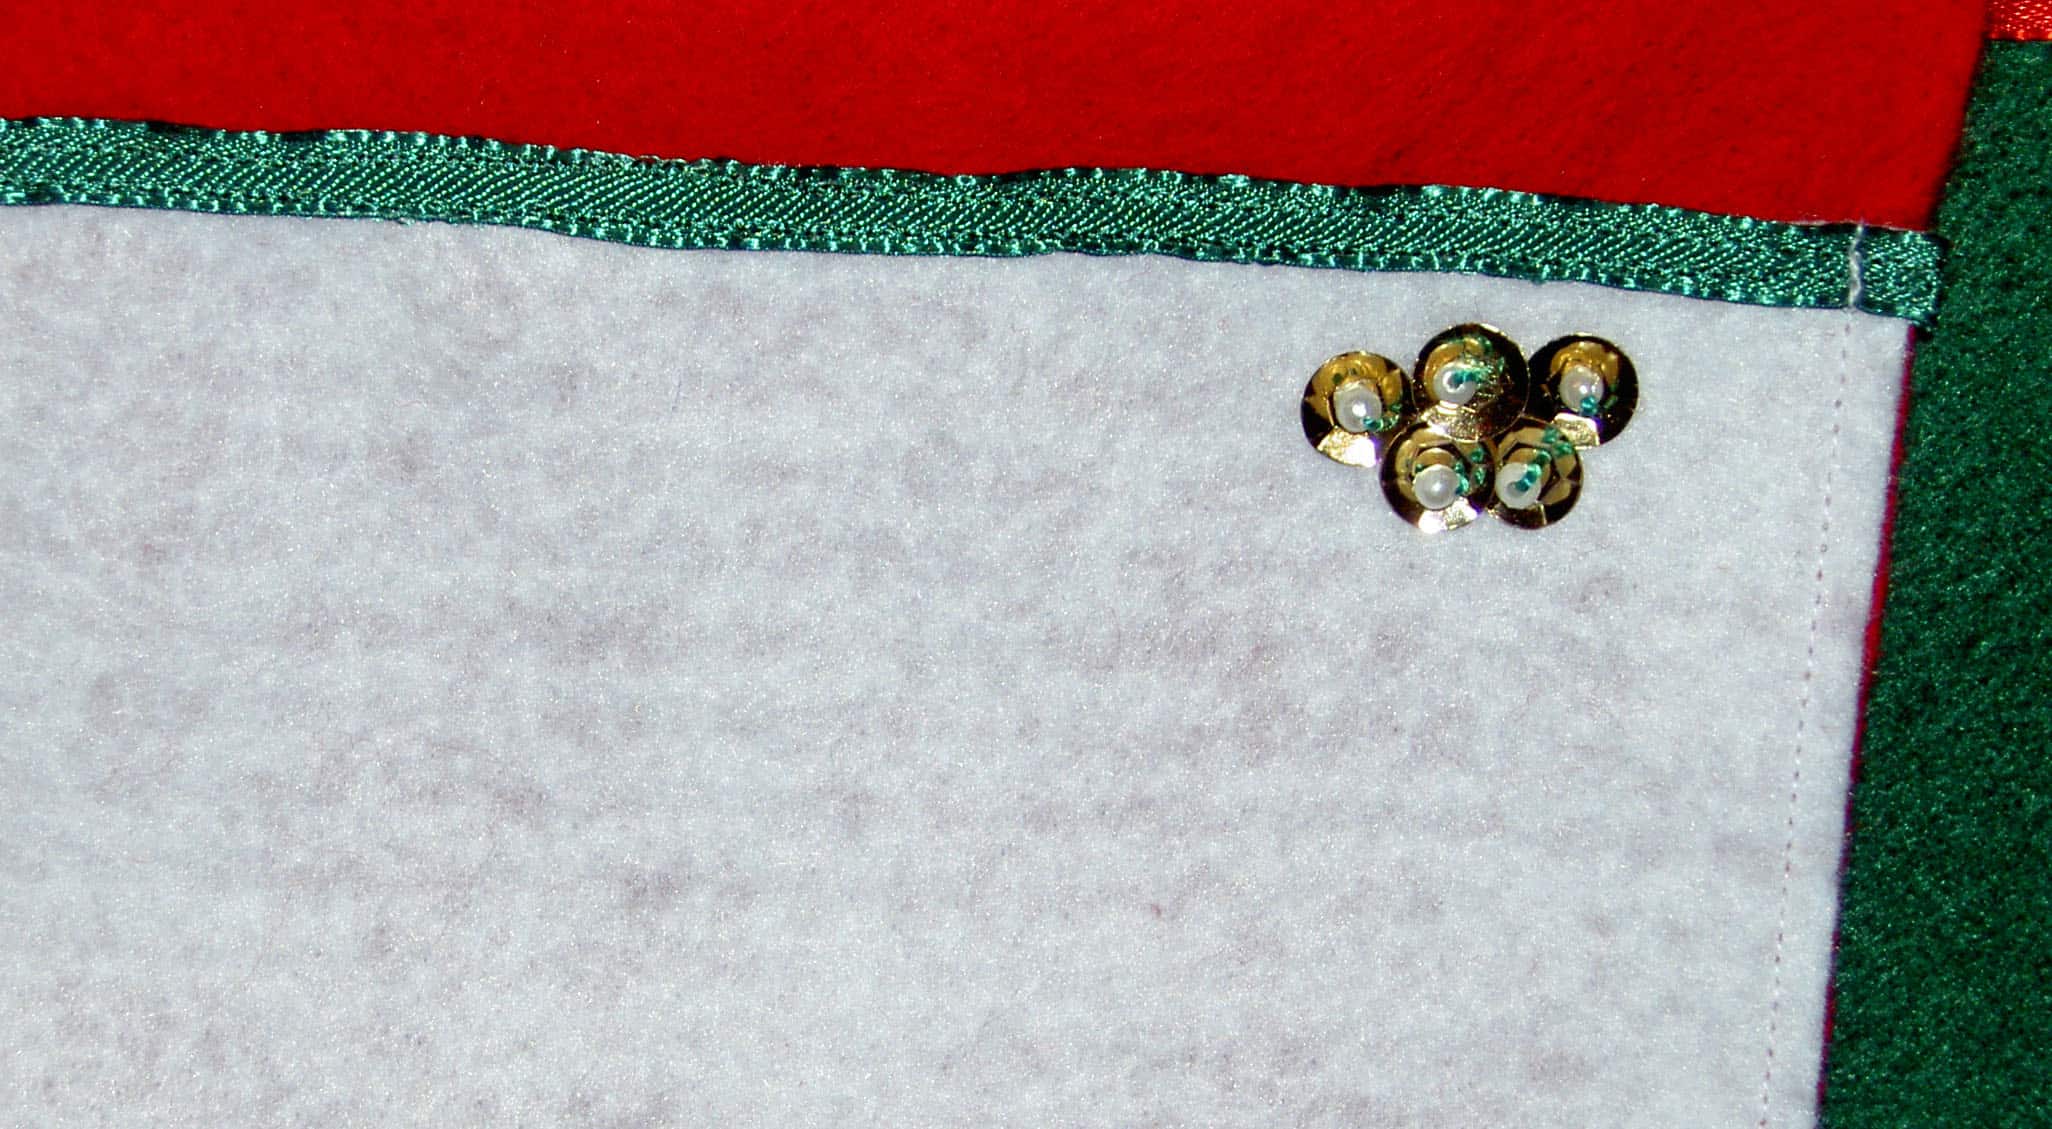
One evening I was home alone, so I took all the cardholders down to the TV and embellished them with buttons, sequins and beads. It was nice to do a little handwork and get away from the machine for a couple of hours. I also think it gave them a bit of a one-of-a-kind look.
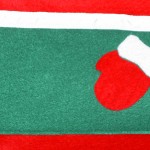
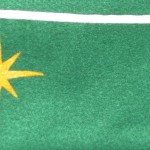
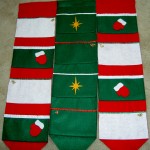
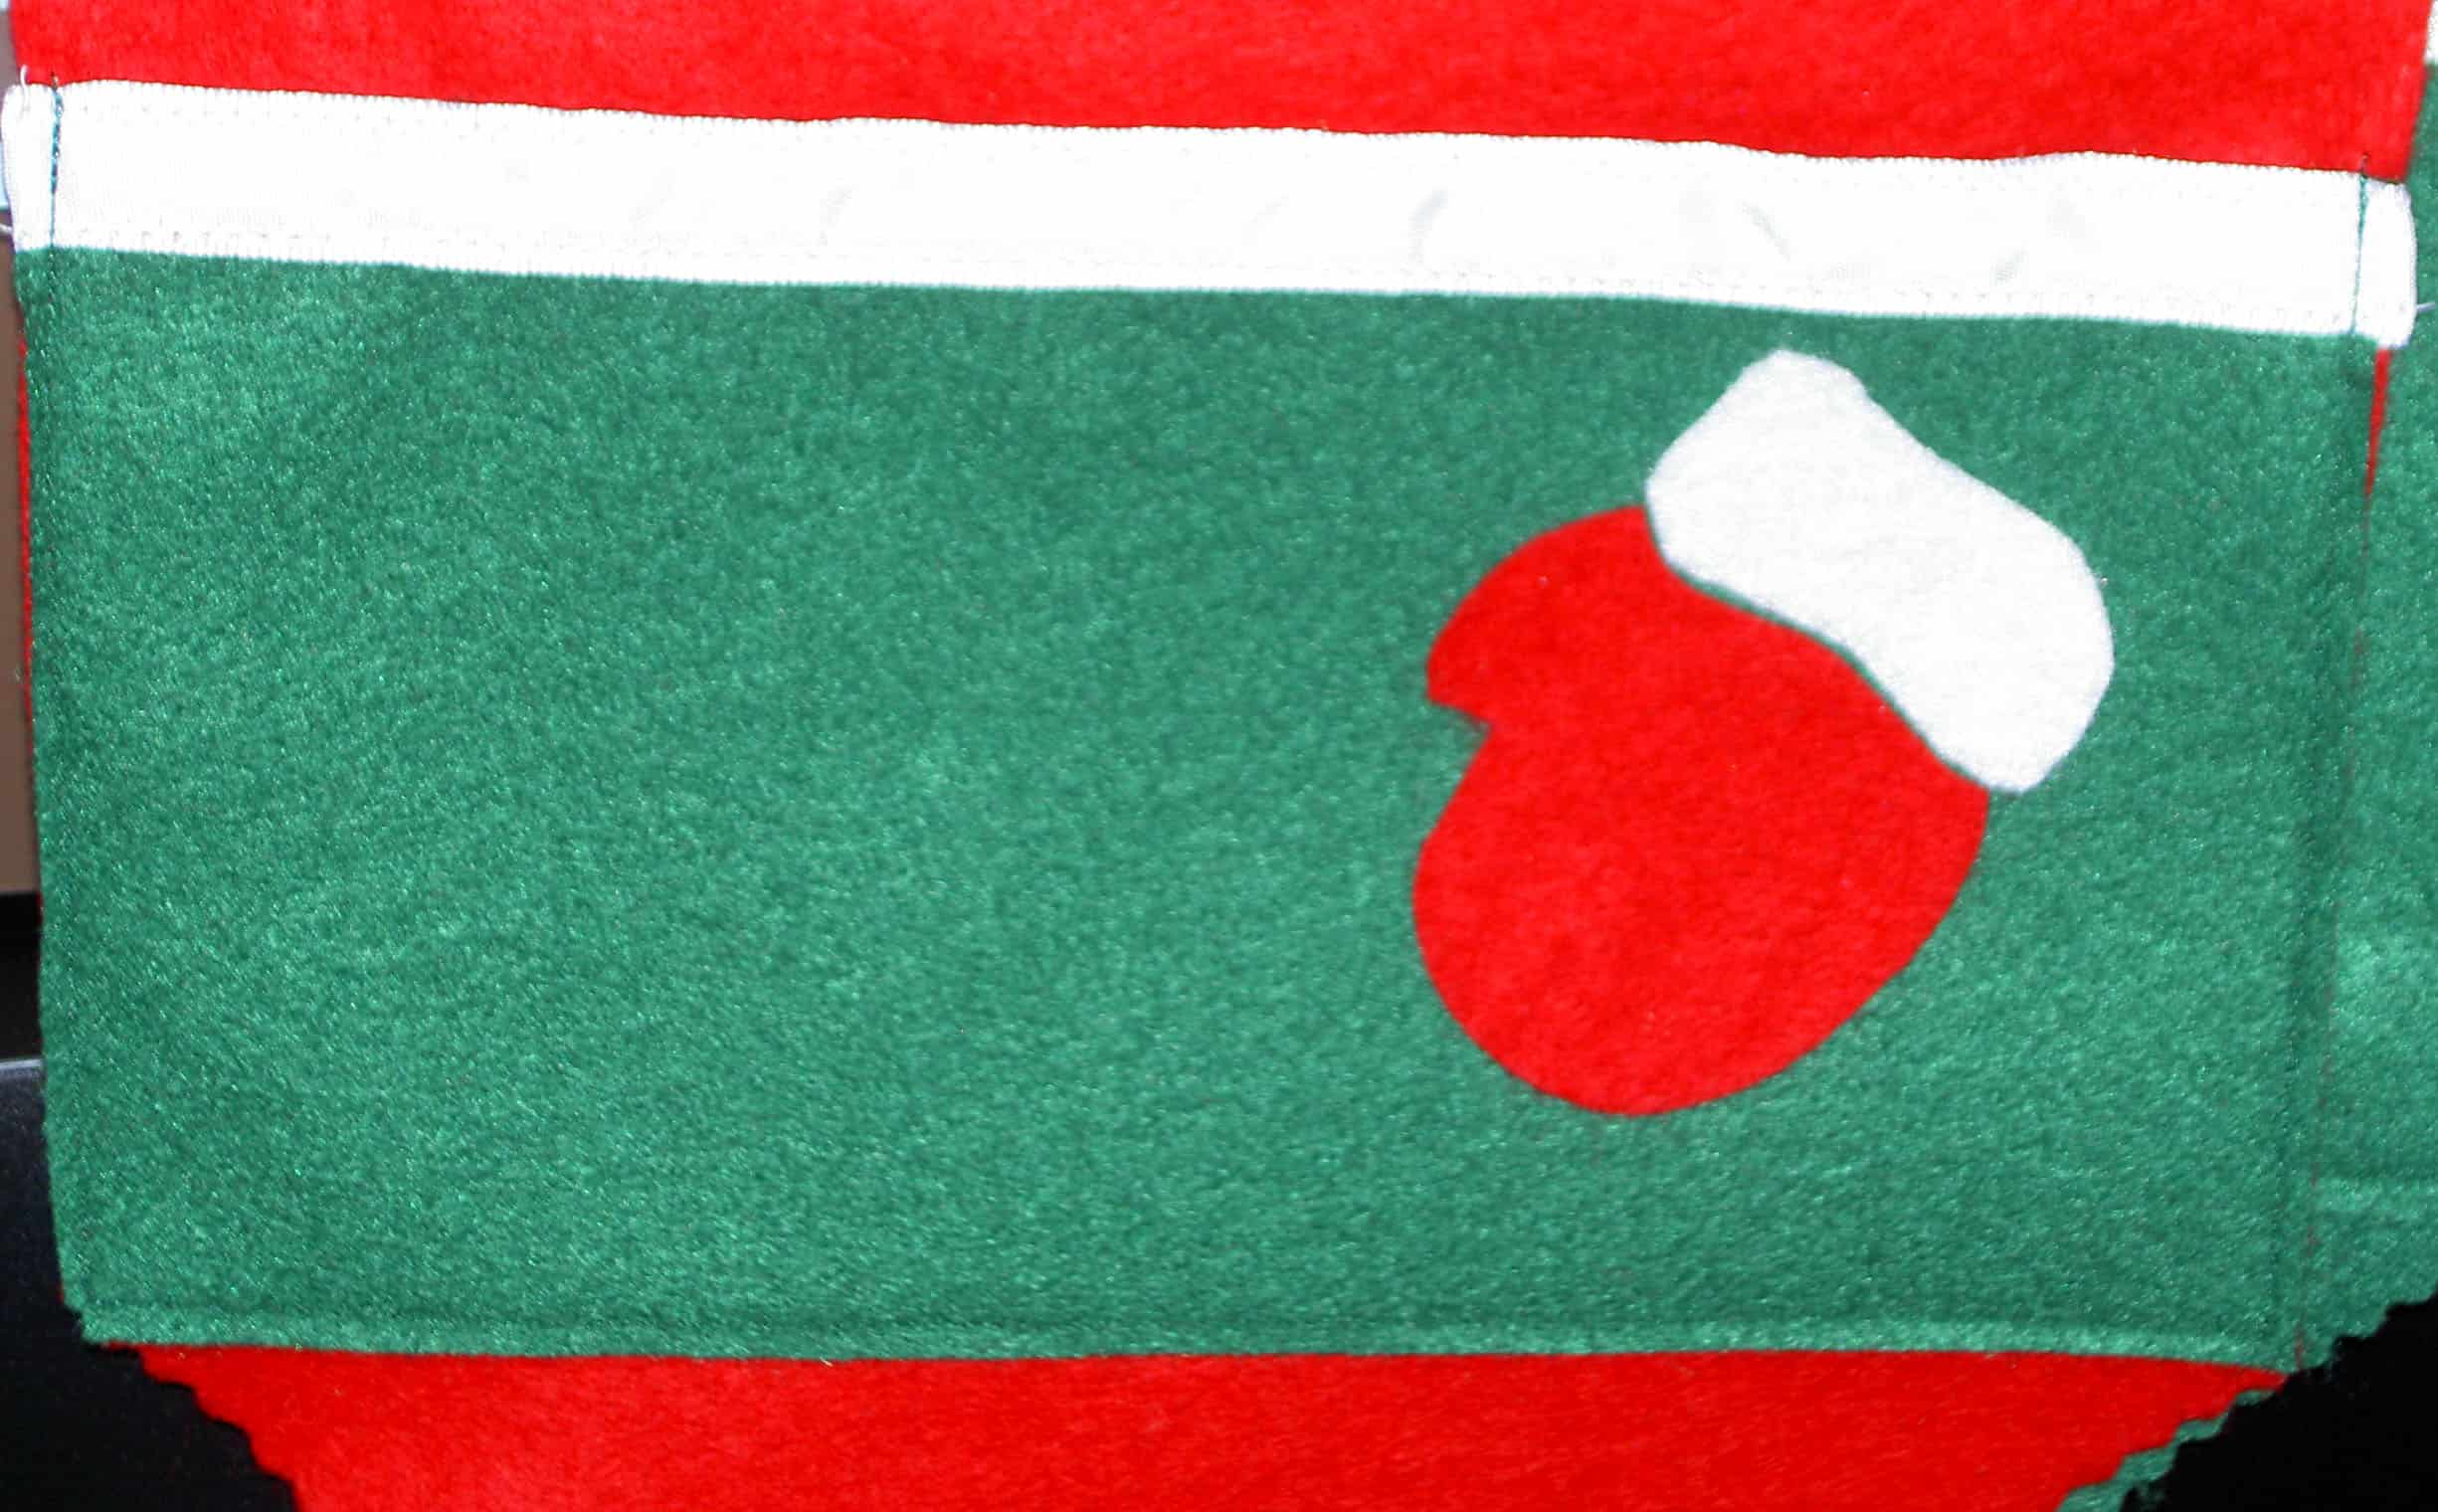
Little did I know that DH was surfing the web and had embellishment ideas of his own! He found patterns/templates for some stars, ornaments, mittens and holly. Again, I hauled all of the cardholders downstairs and we figured out what would go where.
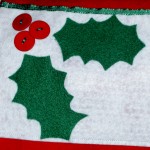
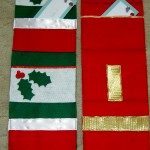
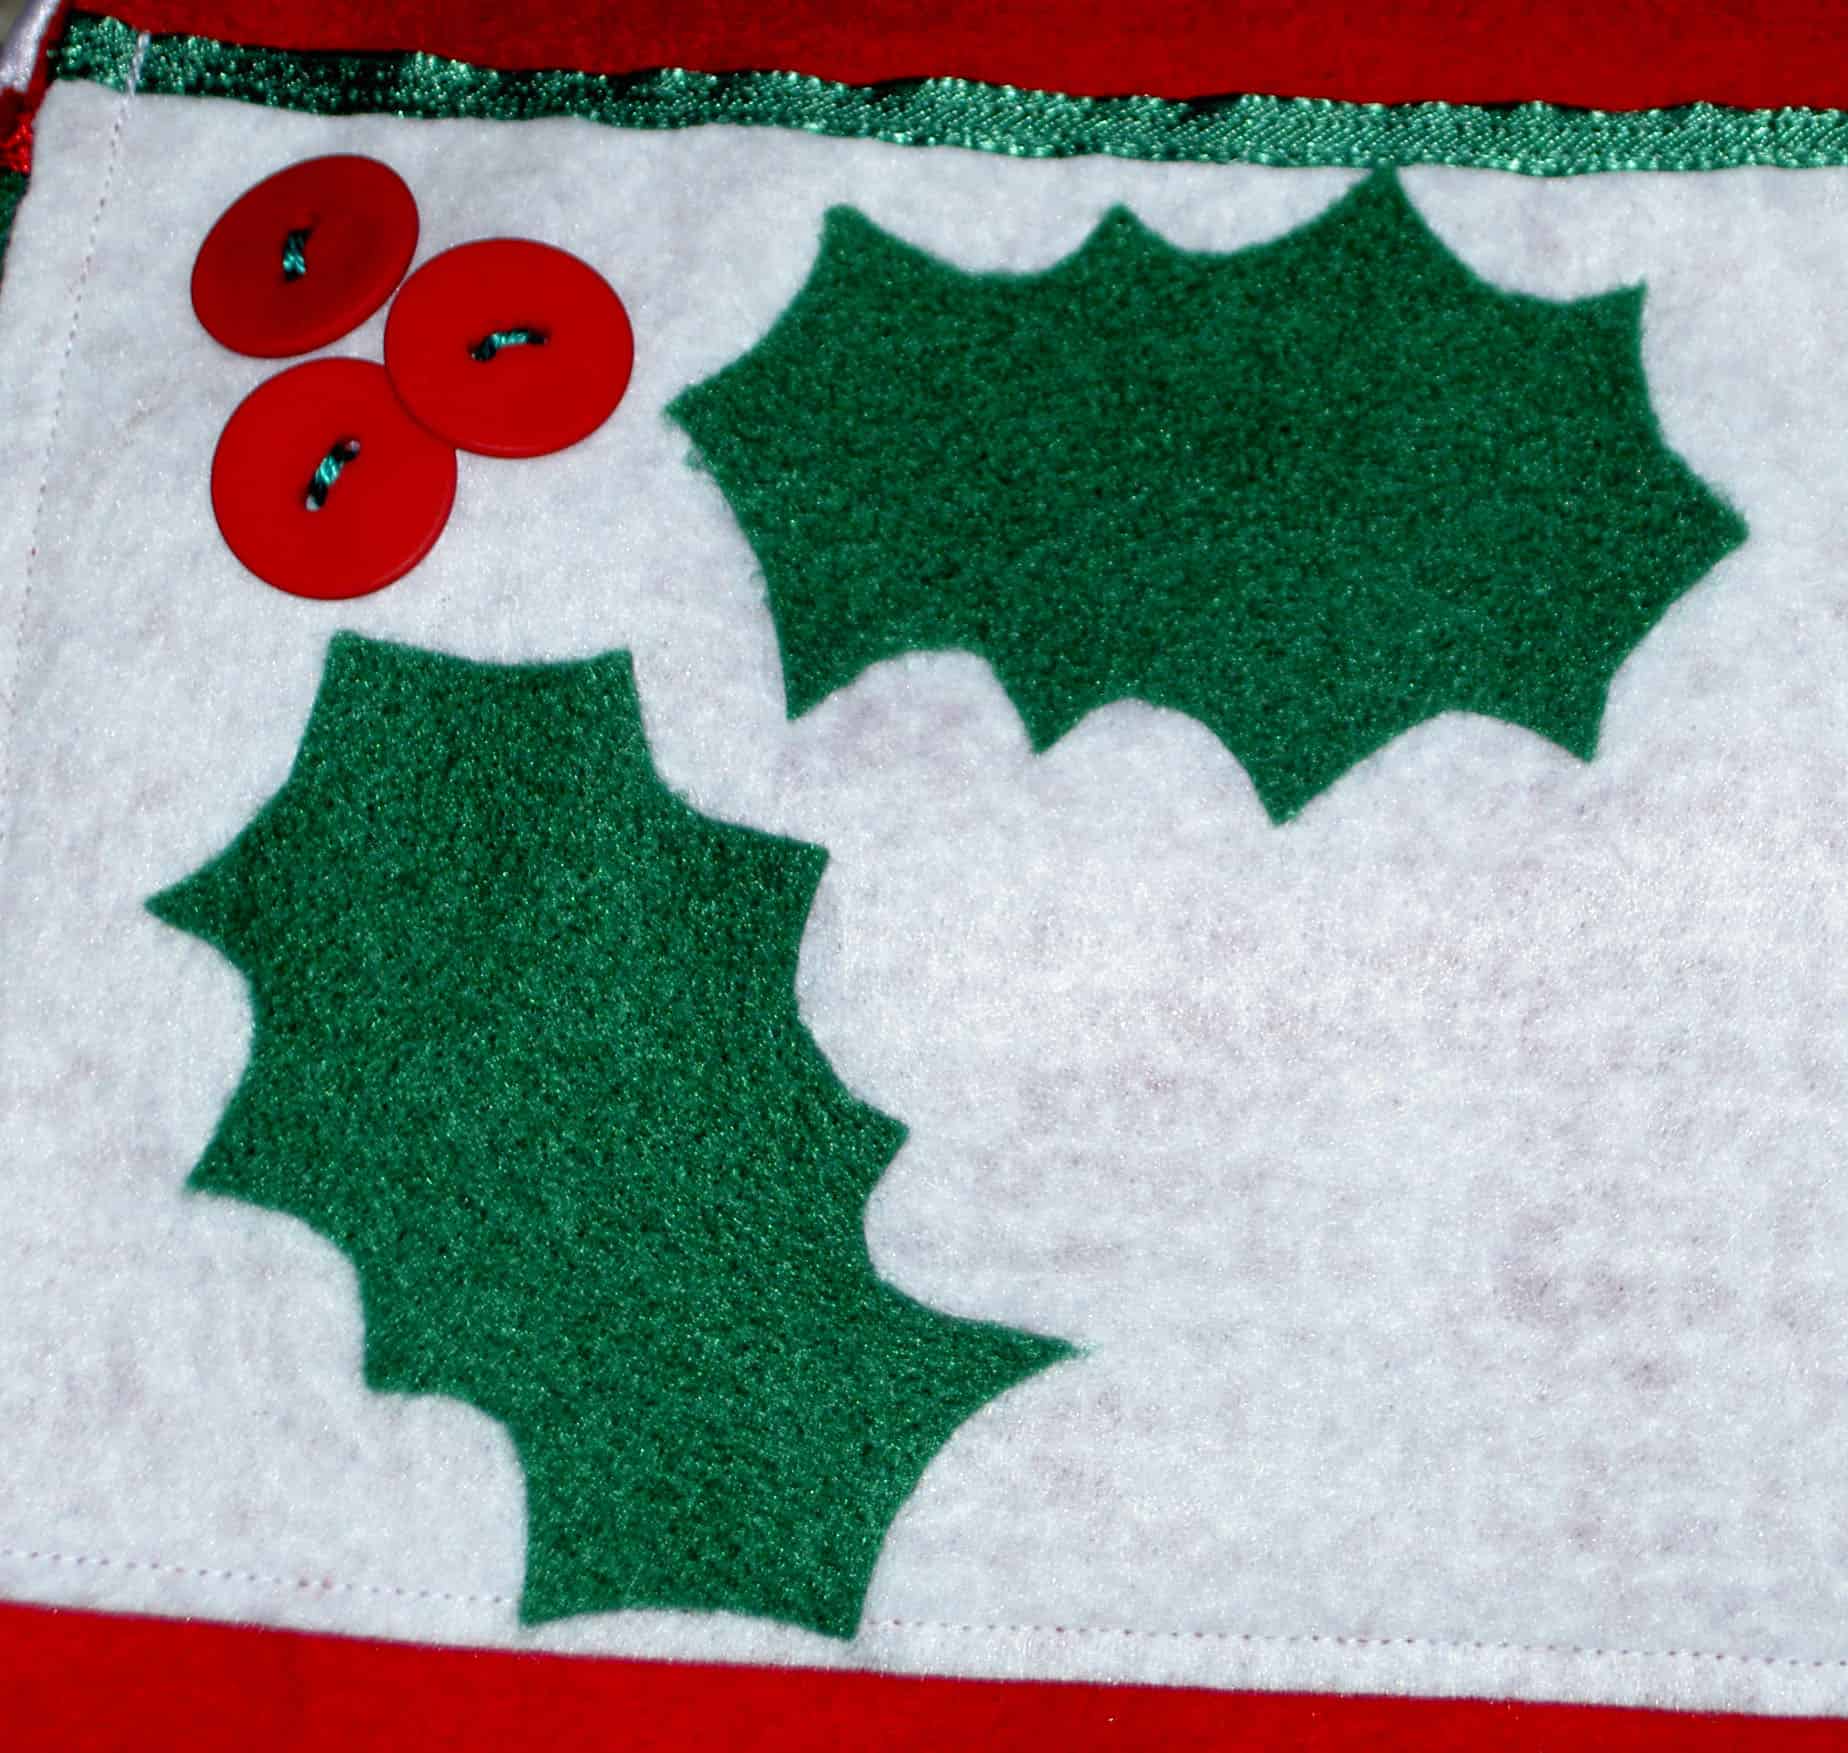
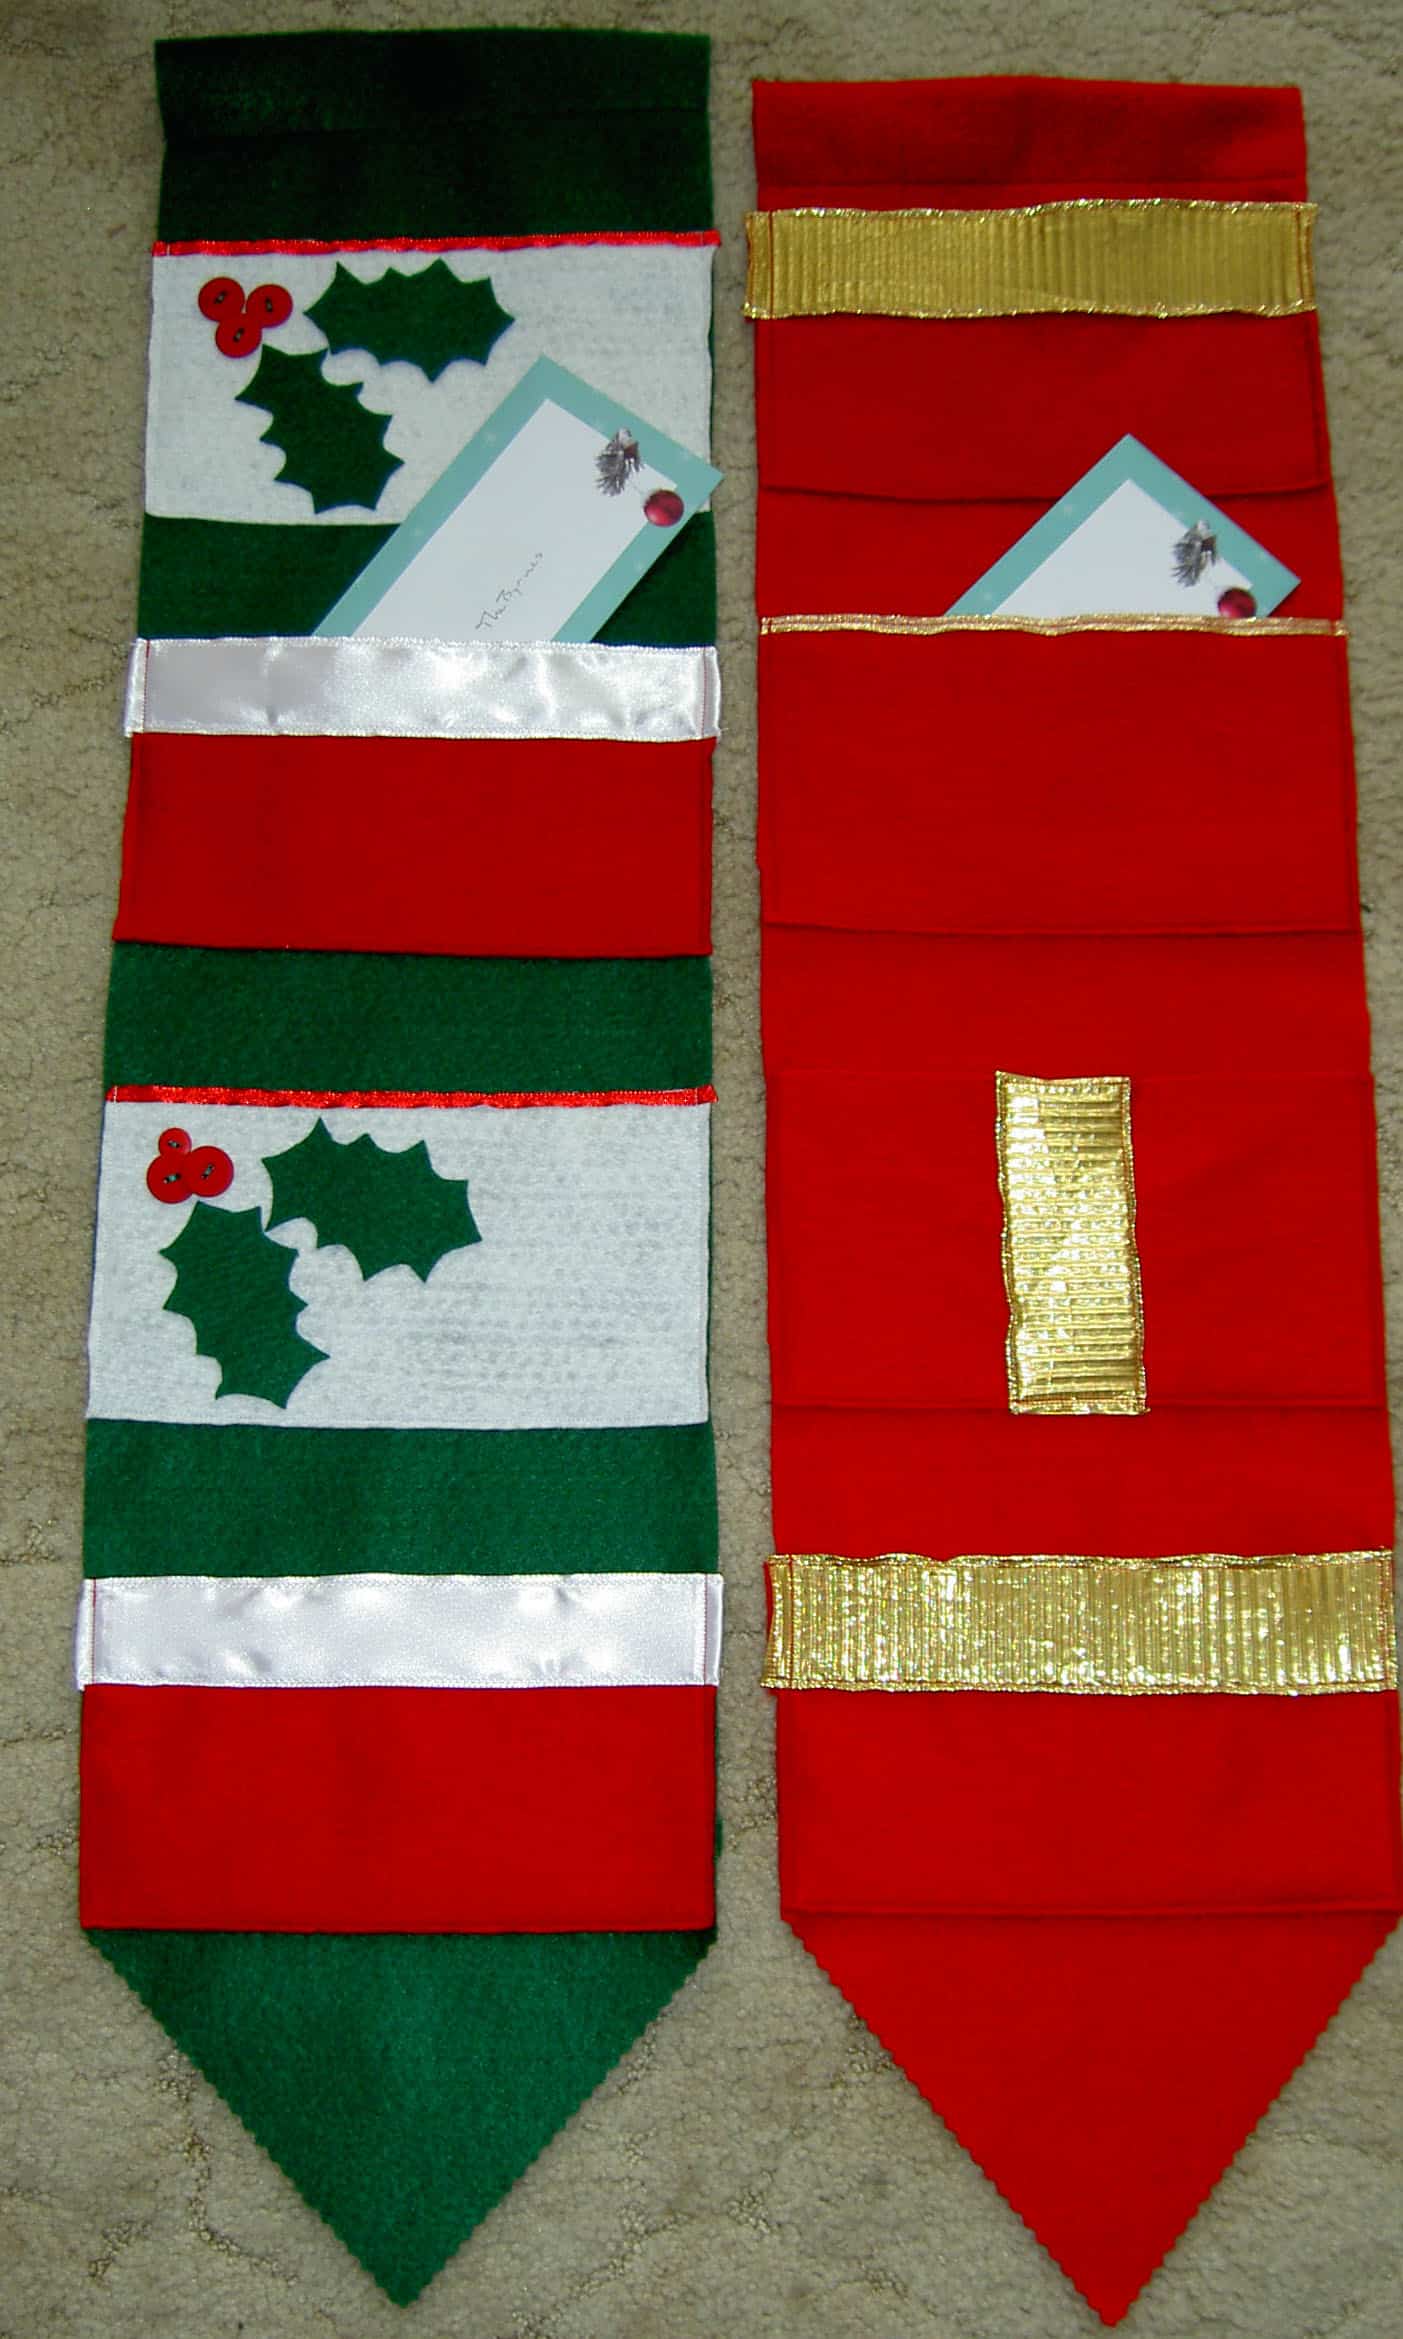
Holly Embellishment
It was very clear that the red buttons I sewed on a whim would make excellent holly berries. I would have liked to put some kind of spine or shading on the holly leaves, but ran out of time to figure that element out. These are some of the cardholders we made.
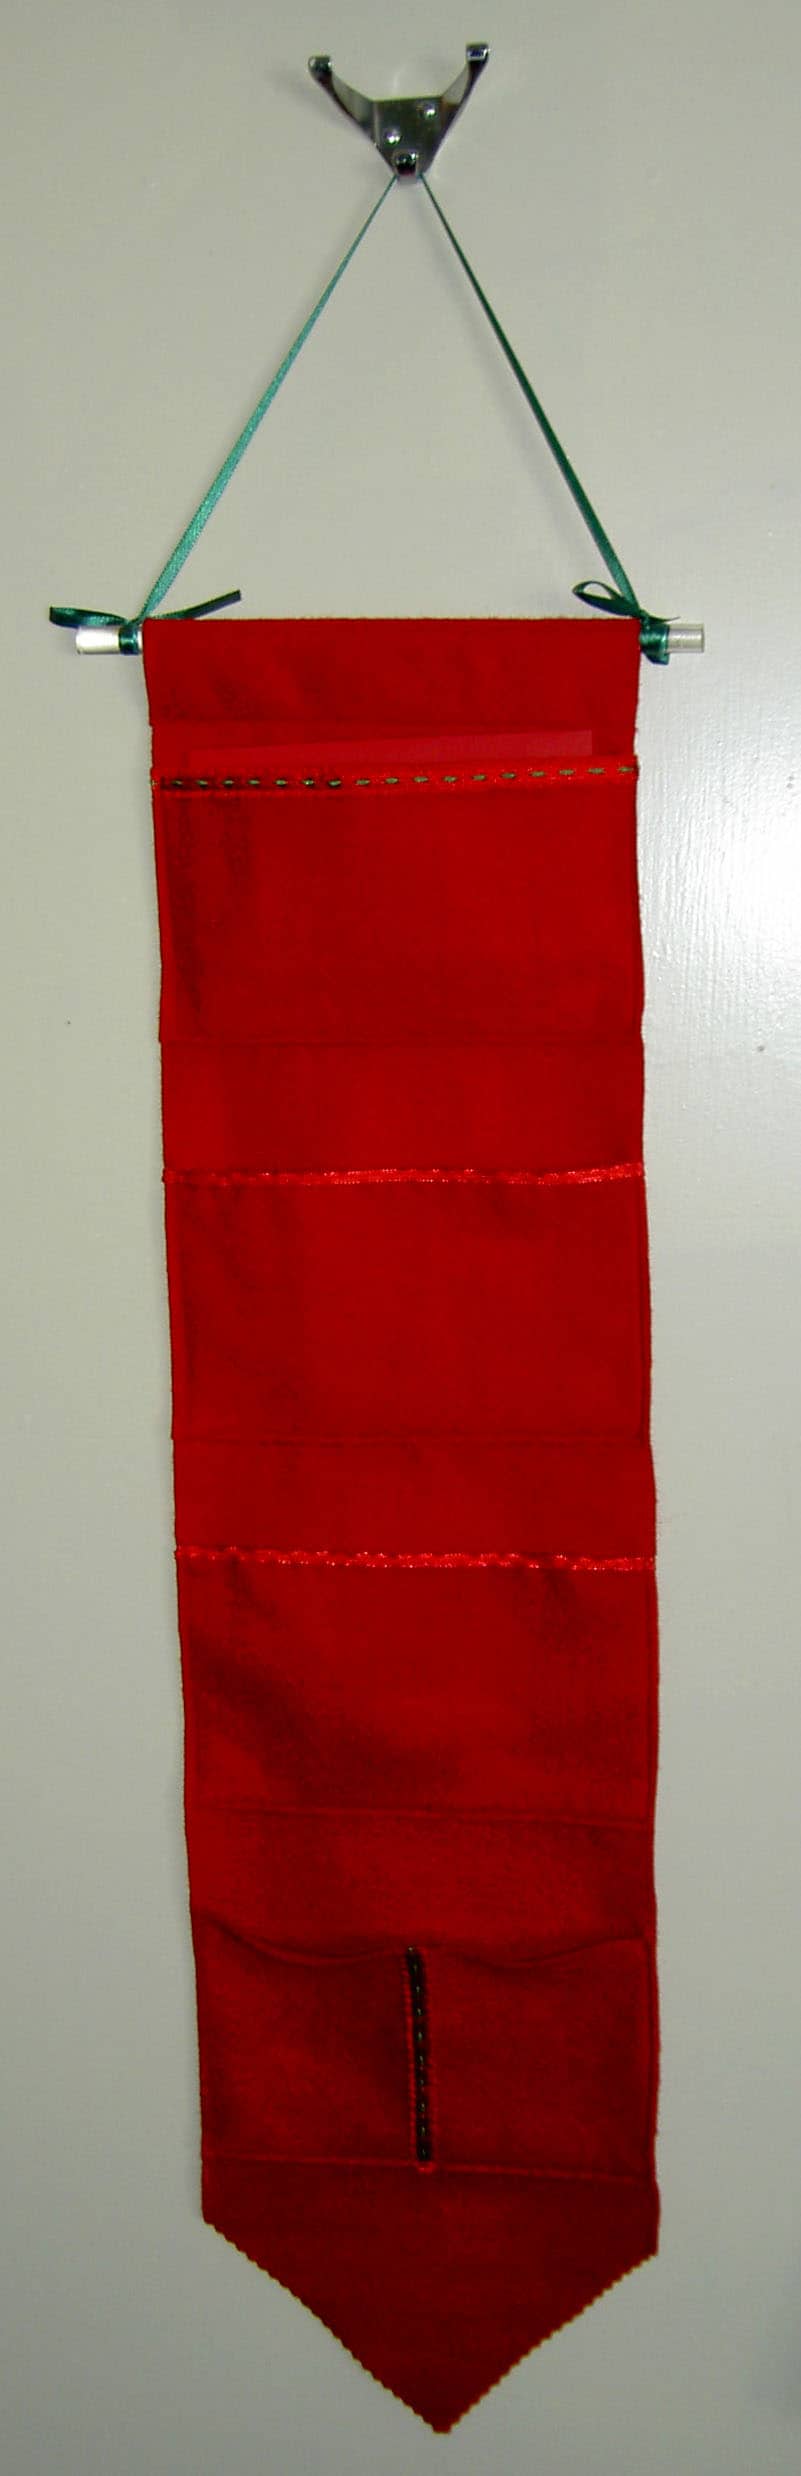
First Completed Cardholder
This is the first completed cardholder. We gave it to our friends, Eric and Yar, when we went to their Christmas party at the beginning of the month. They also invite us over for dinner every year and we have yet to reciprocate. Now that the dining room is painted, I think the time has come.
This was is more plain than the later versions. I should call it subdued!
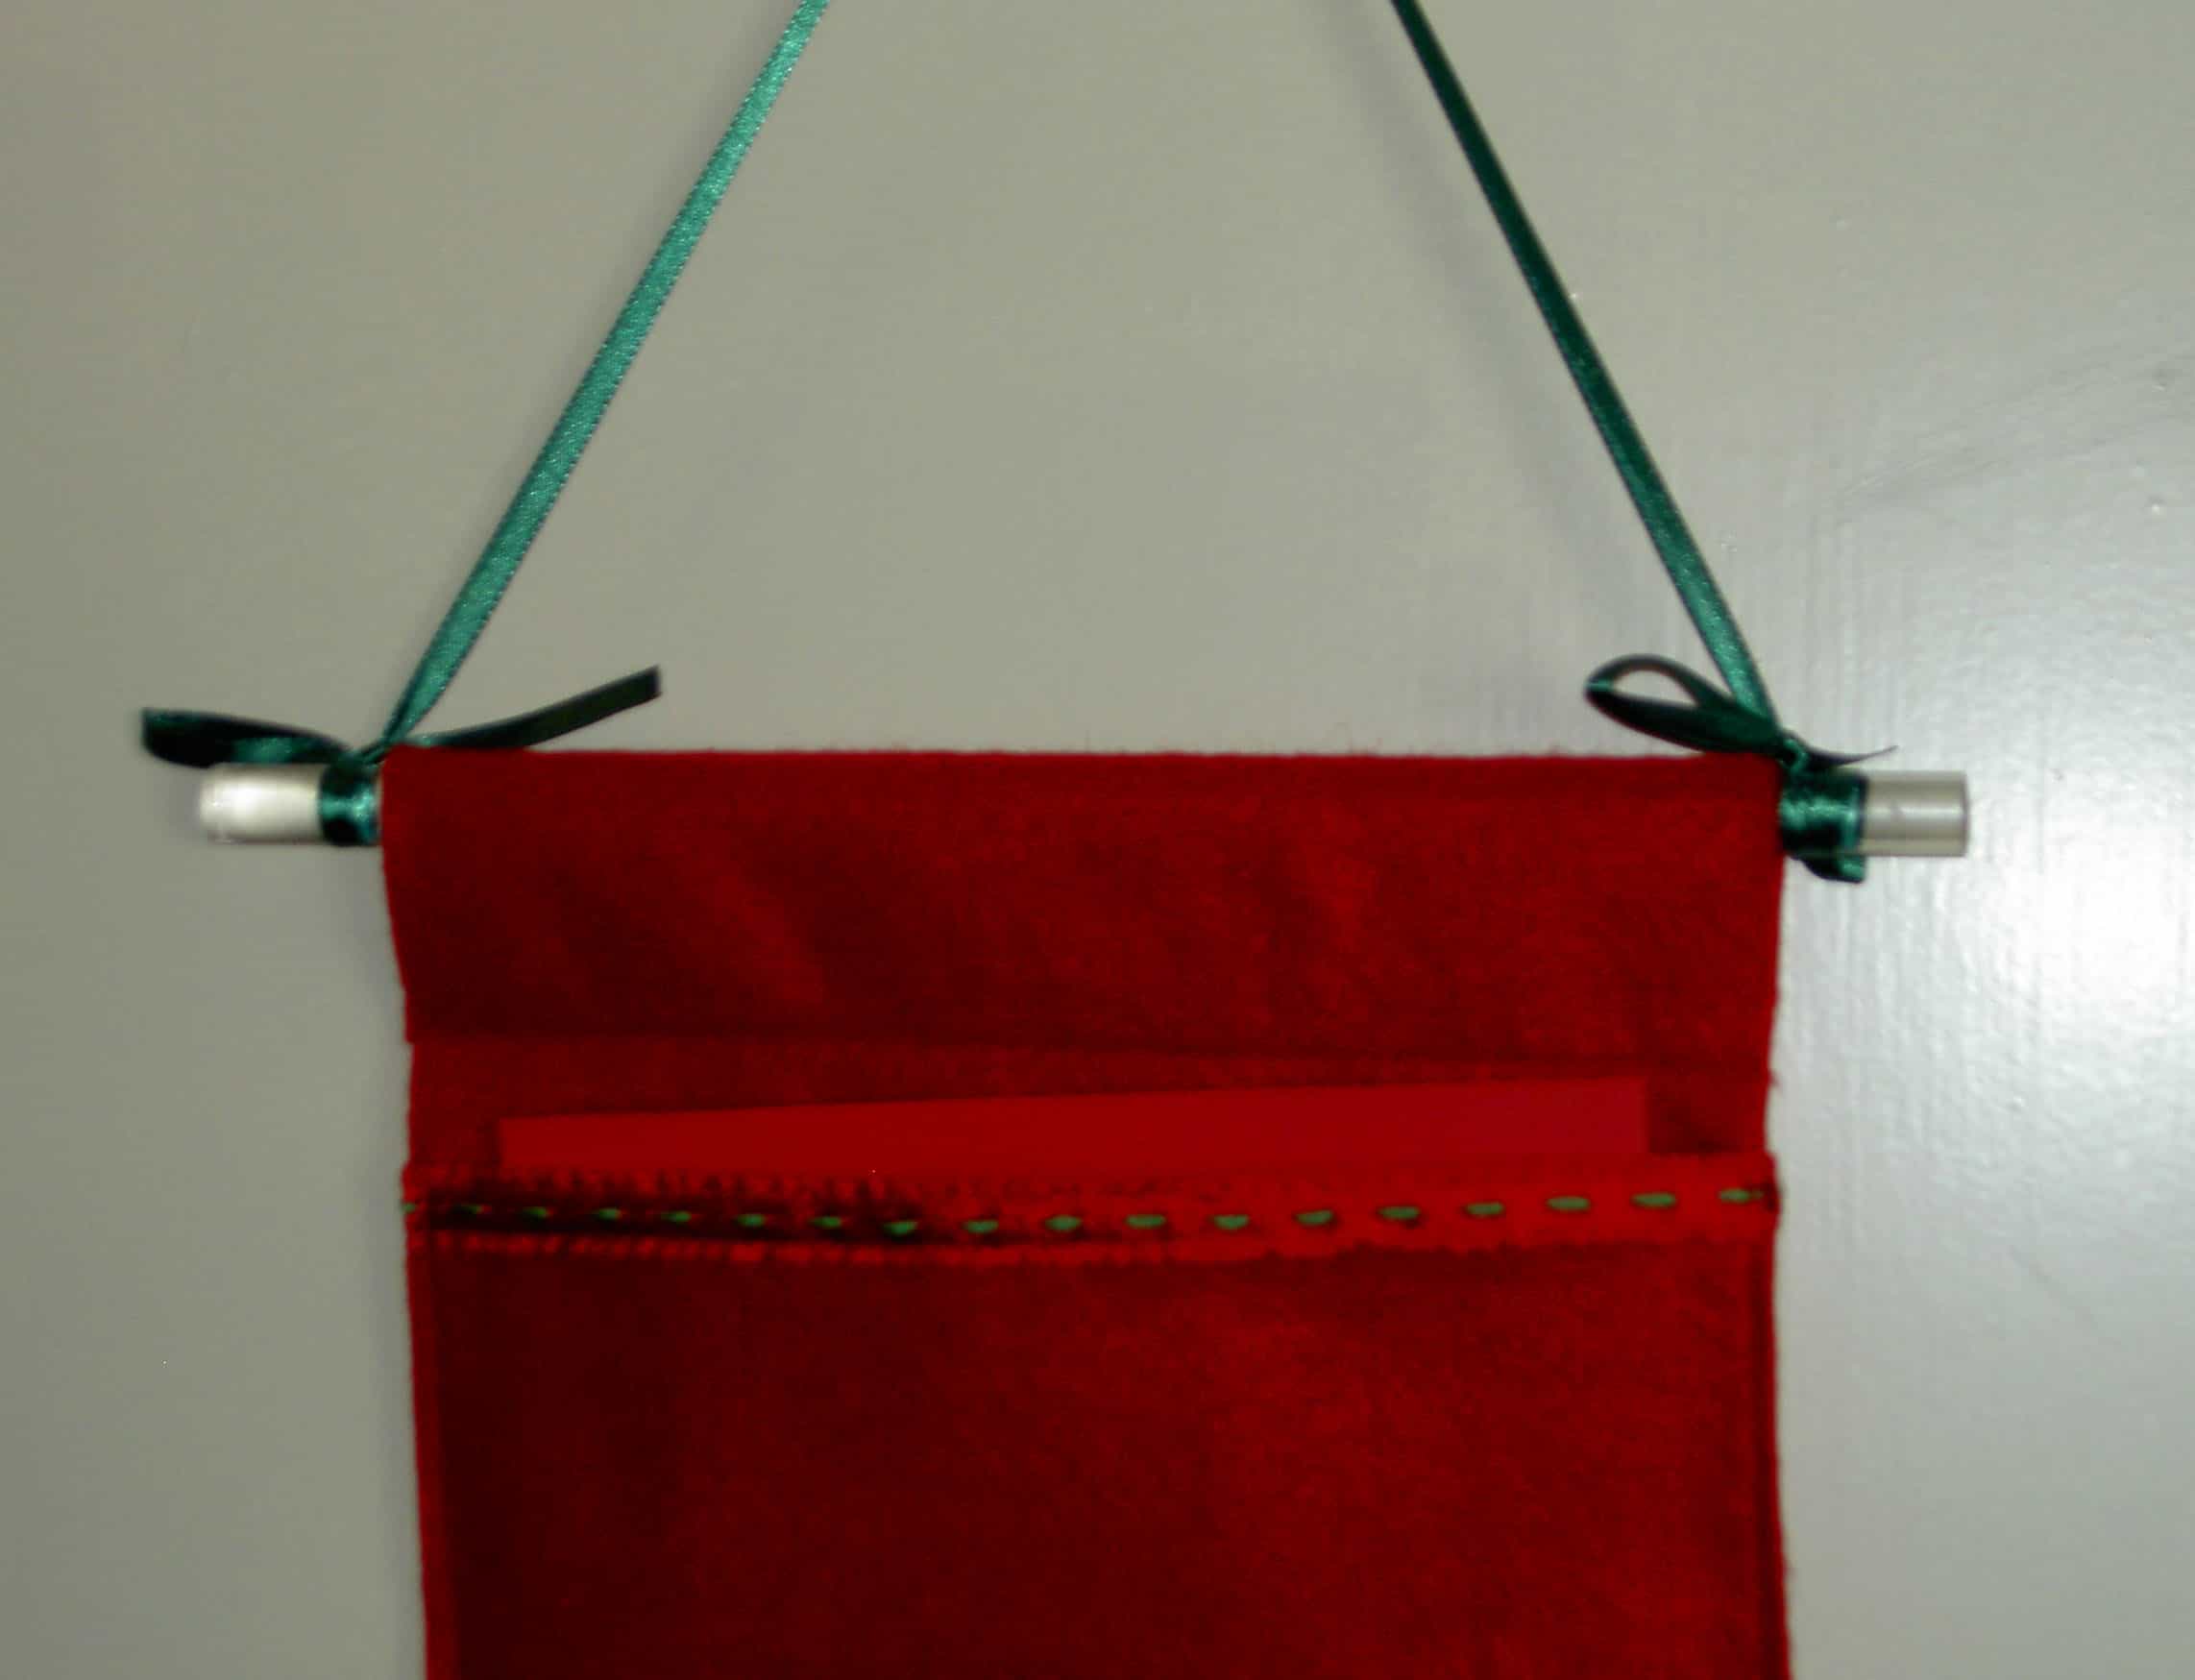
Hanger detail
We are using some Lucite rods, that didn’t work as quilt hangers, to hang the cardholders. They look nice, were easy to cut, did not need finishing other than a bit of sanding and work very well.
2 Mittens & a Star2 Stars, Mittens & Holly
I had to pay attention to what color embellishments went on which color of pocket or background. If I didn’t, the embellishments wouldn’t show up. This war particularly tricky for the mittens, because of the white cuff. I tried some other colors, but they didn’t look right. This is why the embellishments ended up on the two middle pockets on the card holder on the right, above.
Holly & Gold Ribbon
The gold ribbon in the card holder on the right, above, had a papery feeling. I didn’t like the feel of it after I put it on. I had to chalk it up to experience, though, as those were some of the first pockets I embellished and was still in the learning process.
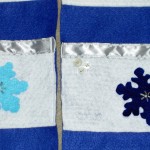
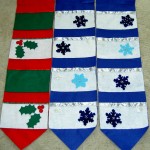
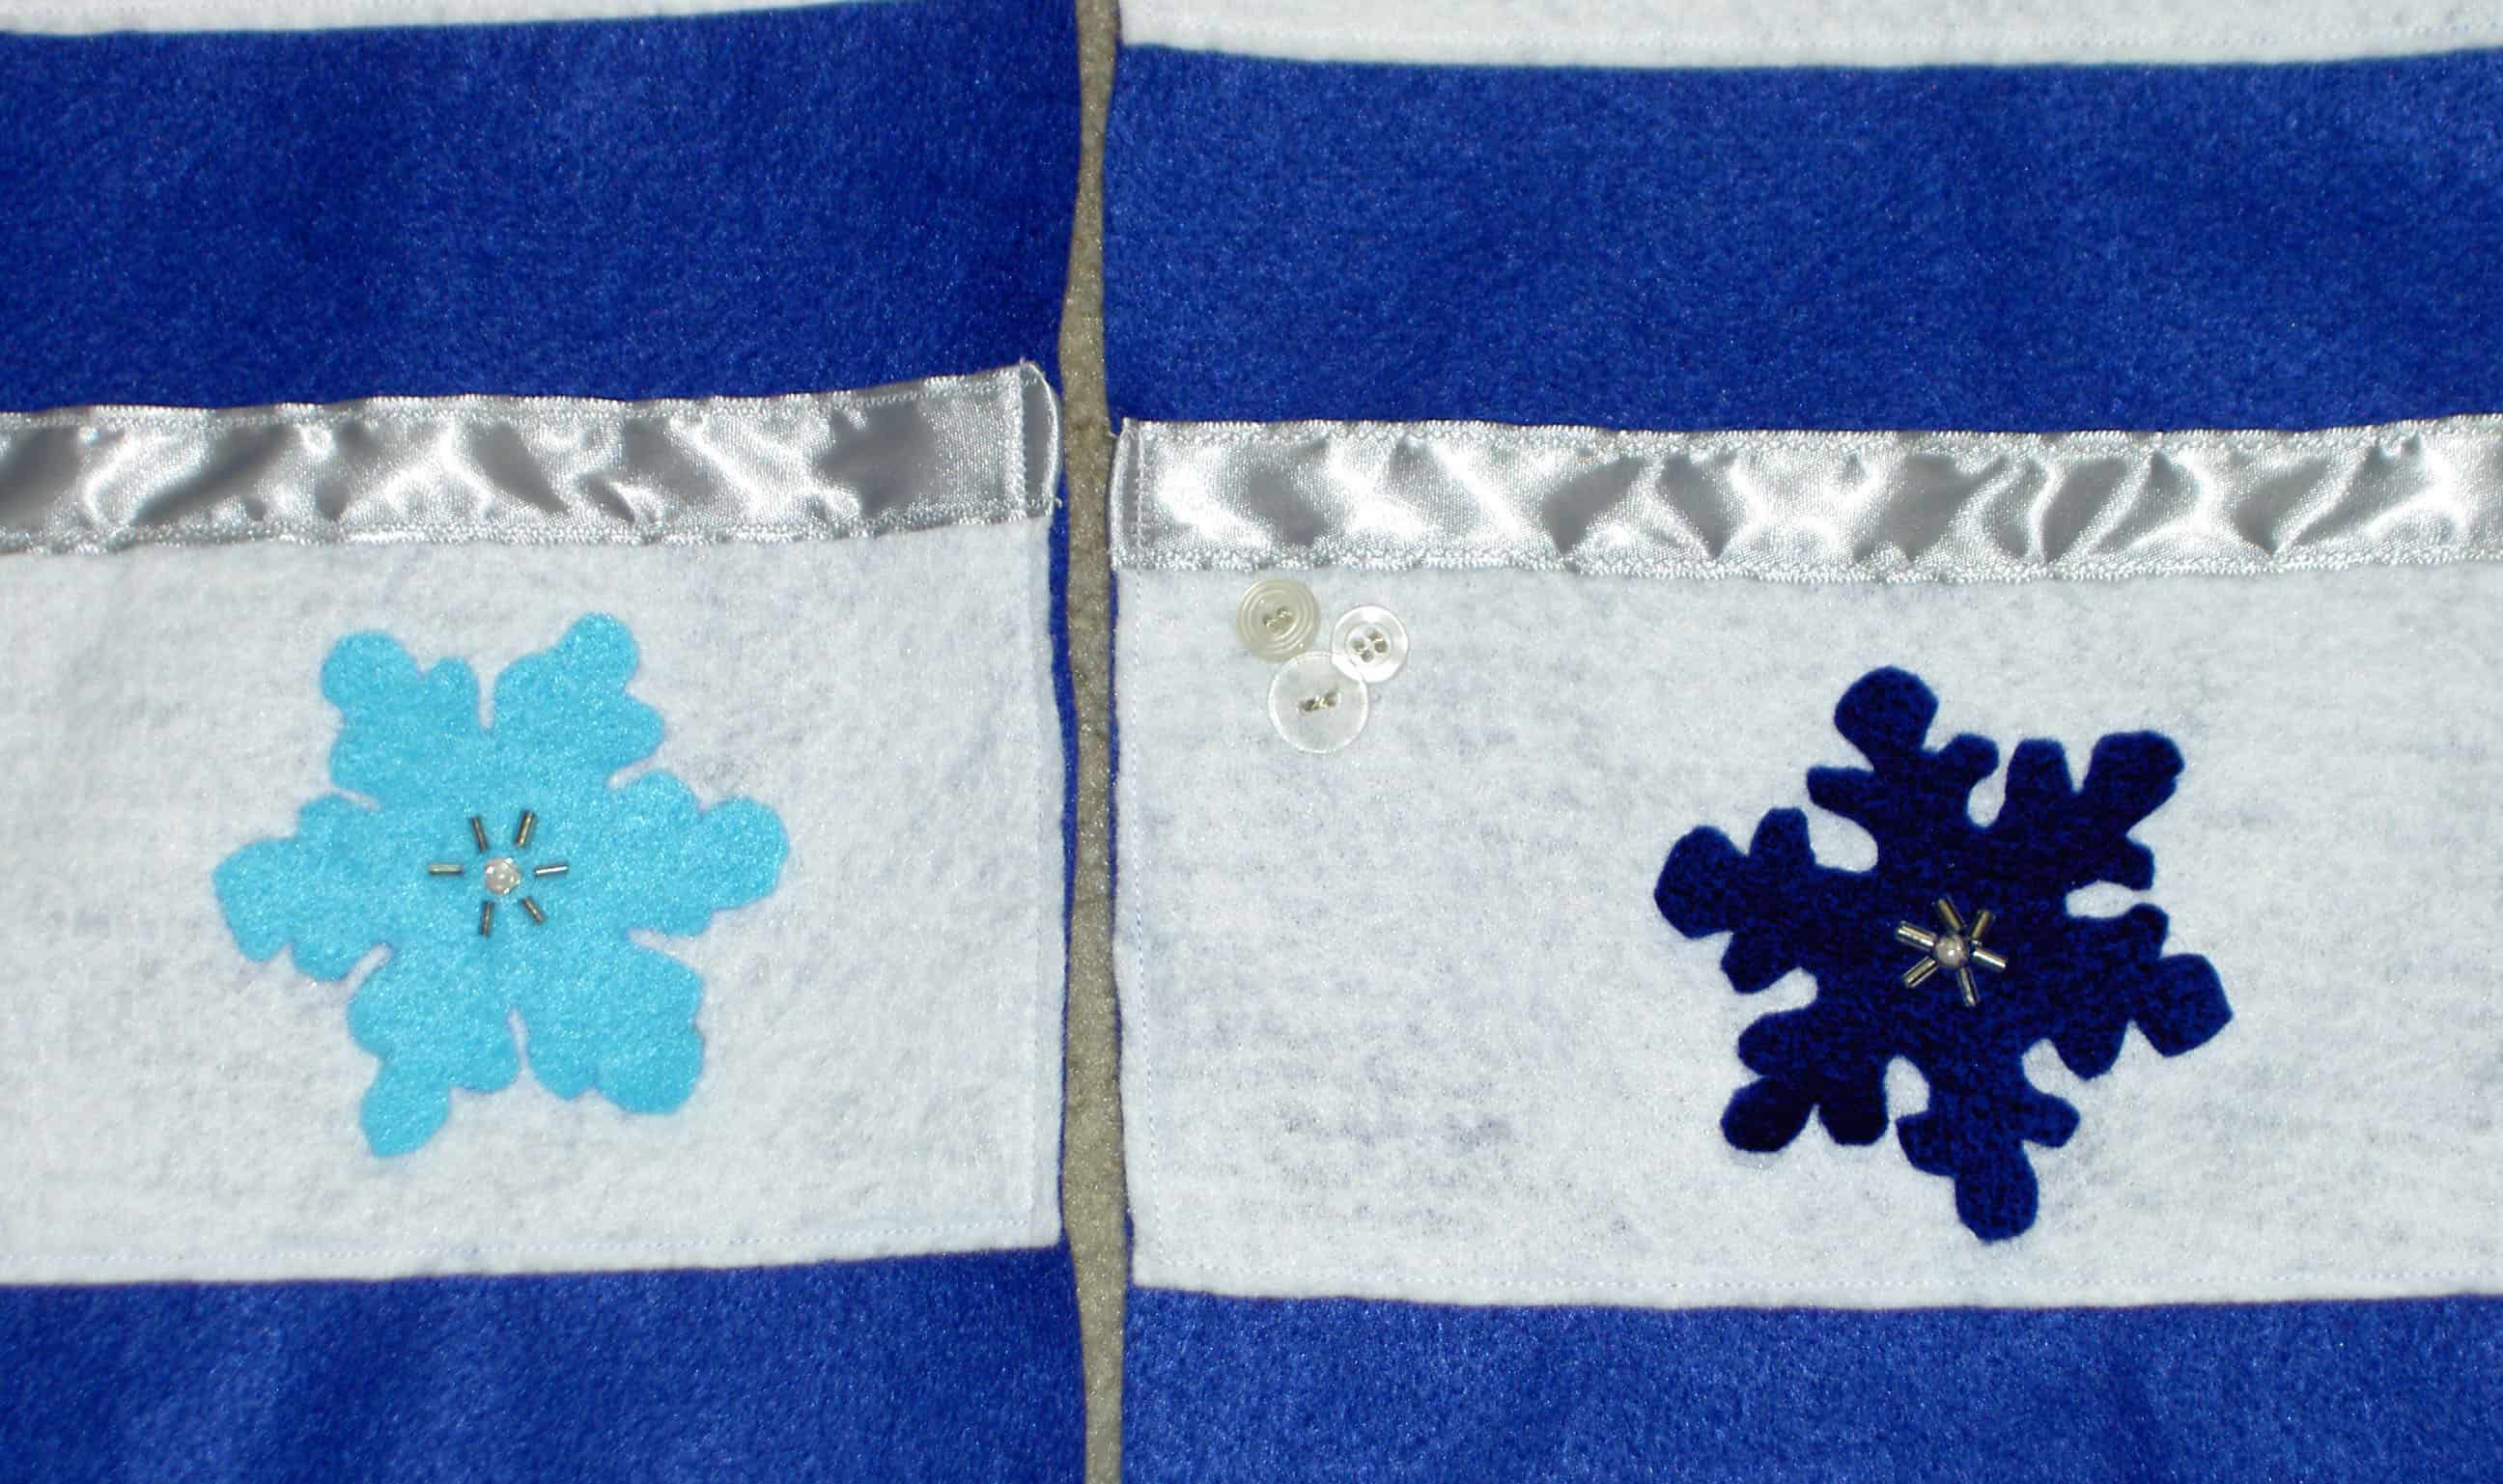
I also made one with a winter theme, rather than red and green, for a family that celebrates both Christmas and Hannukah.
Winter theme with Holly
Here are the two winter themed card holders I made with one of the holly versions. I had fun embellishing the blue and white with silver beads, sequins and pearls.
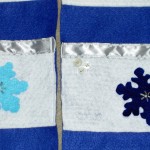
Winter beading - large detail
The beading does help keep the embellishments on as well.
Winter theme - detail, small
I thought the turquoise snowflake added a bit of shading or interest to the Winter card holders.
One of the good things about making many of a project is that you know how to make it well. I would say that I am a master card holder maker now, if there is such a thing!
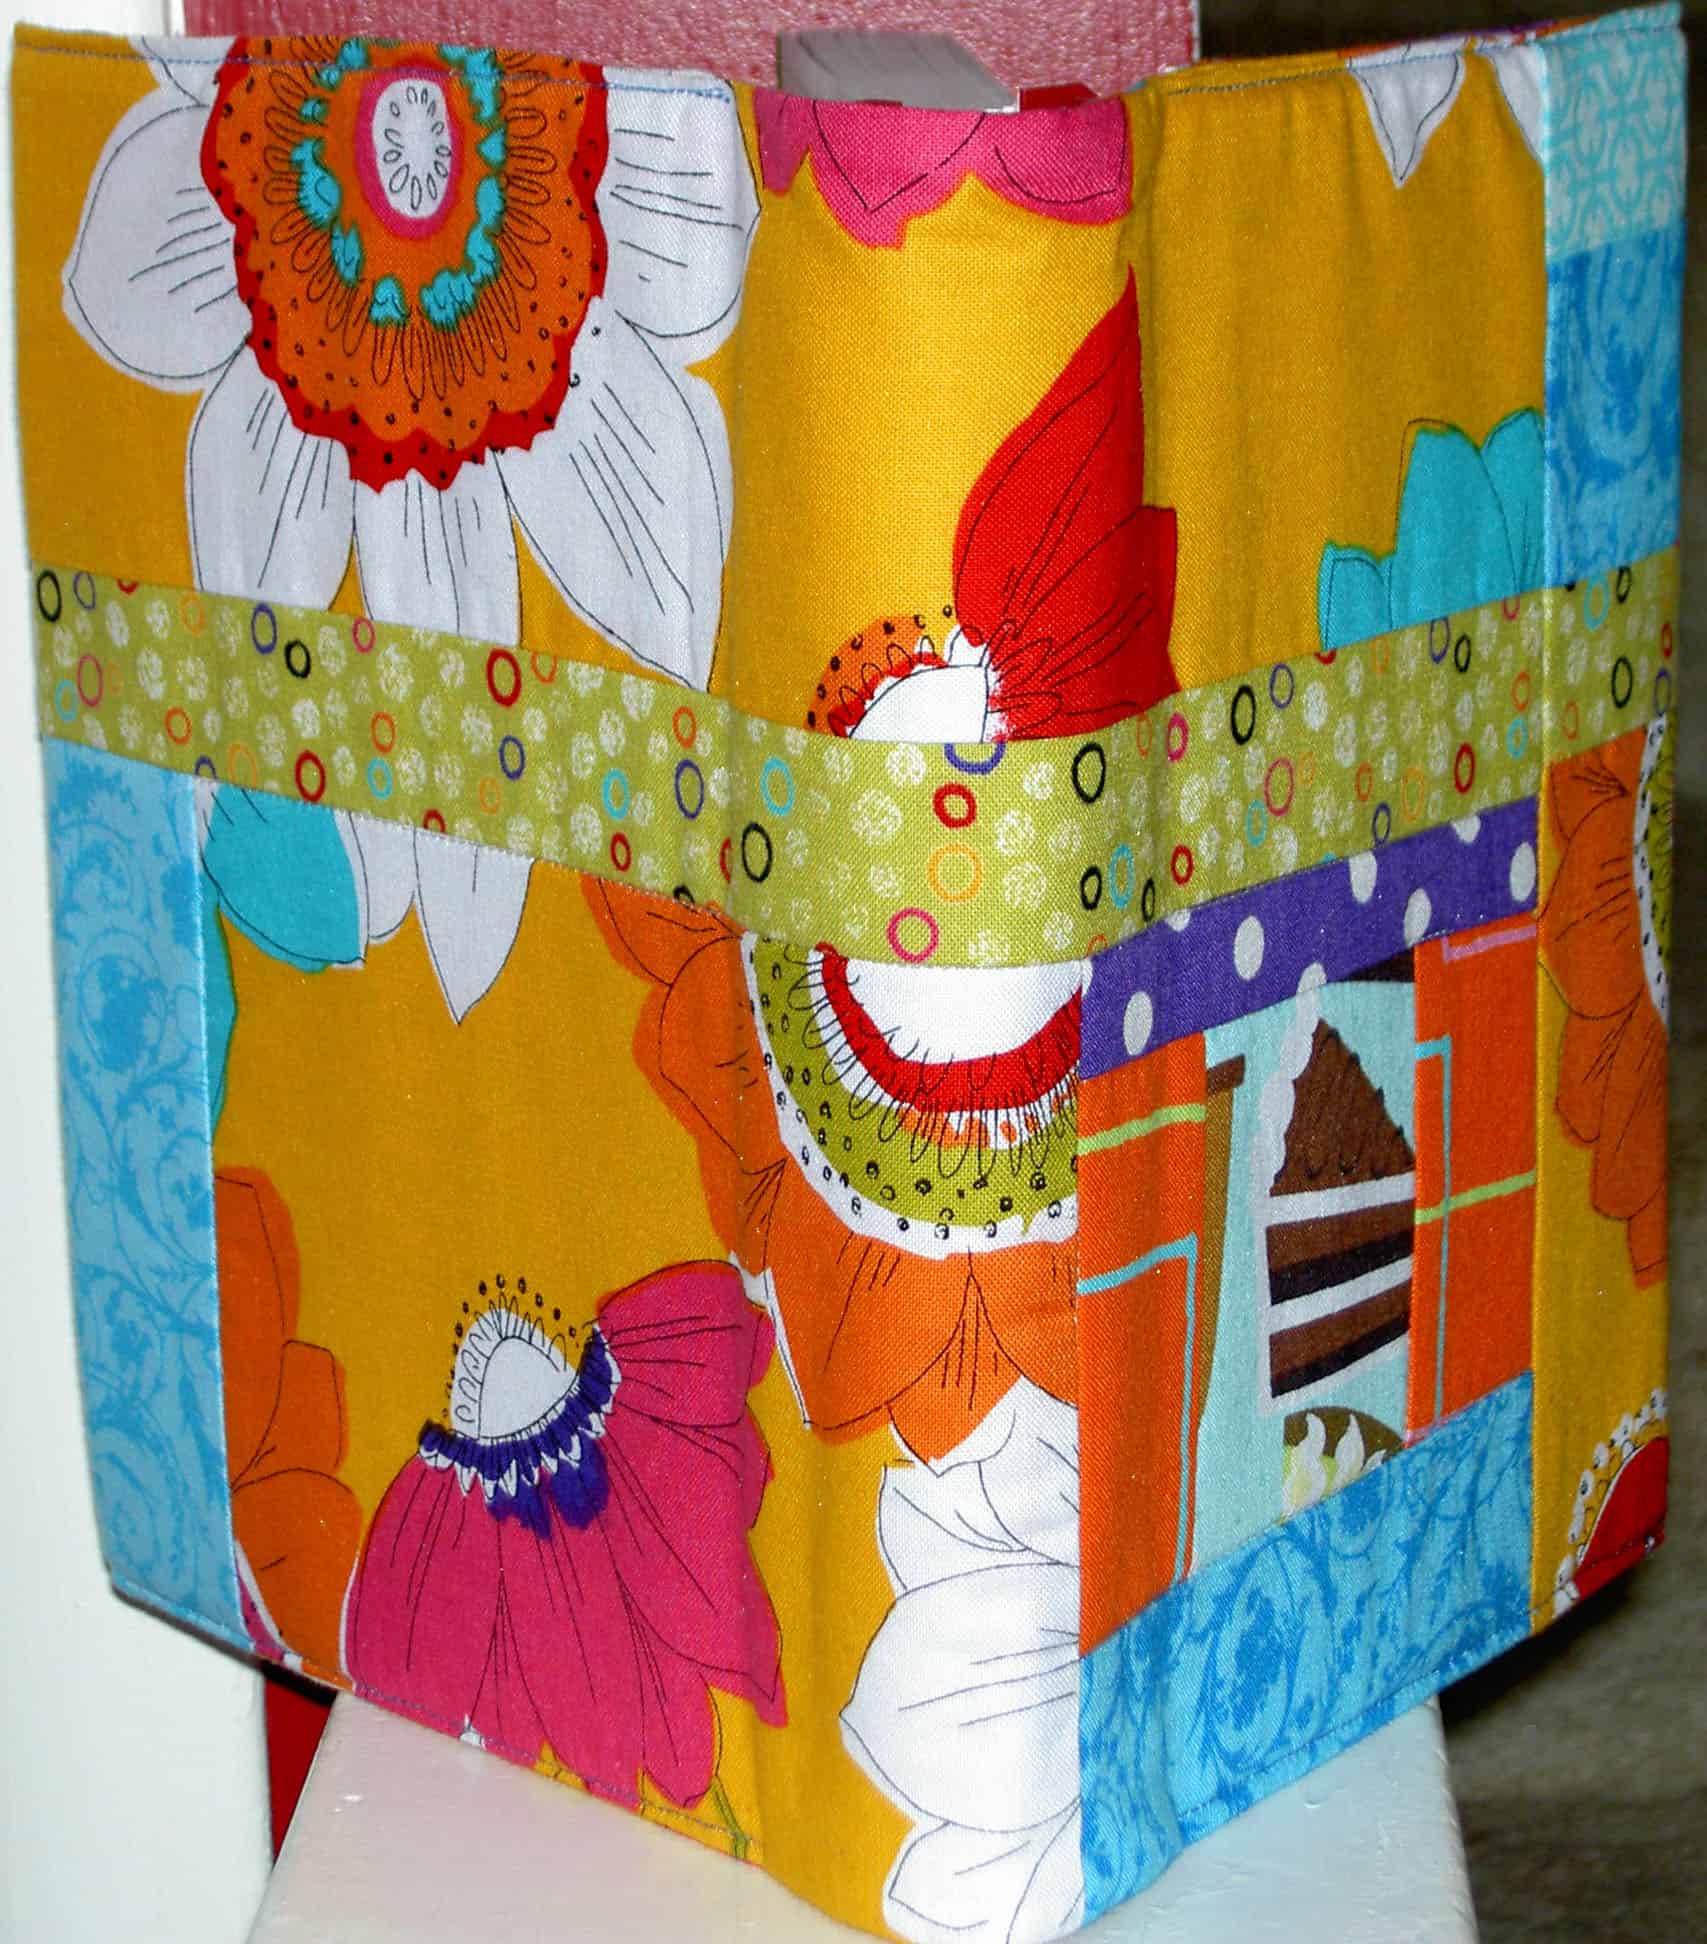
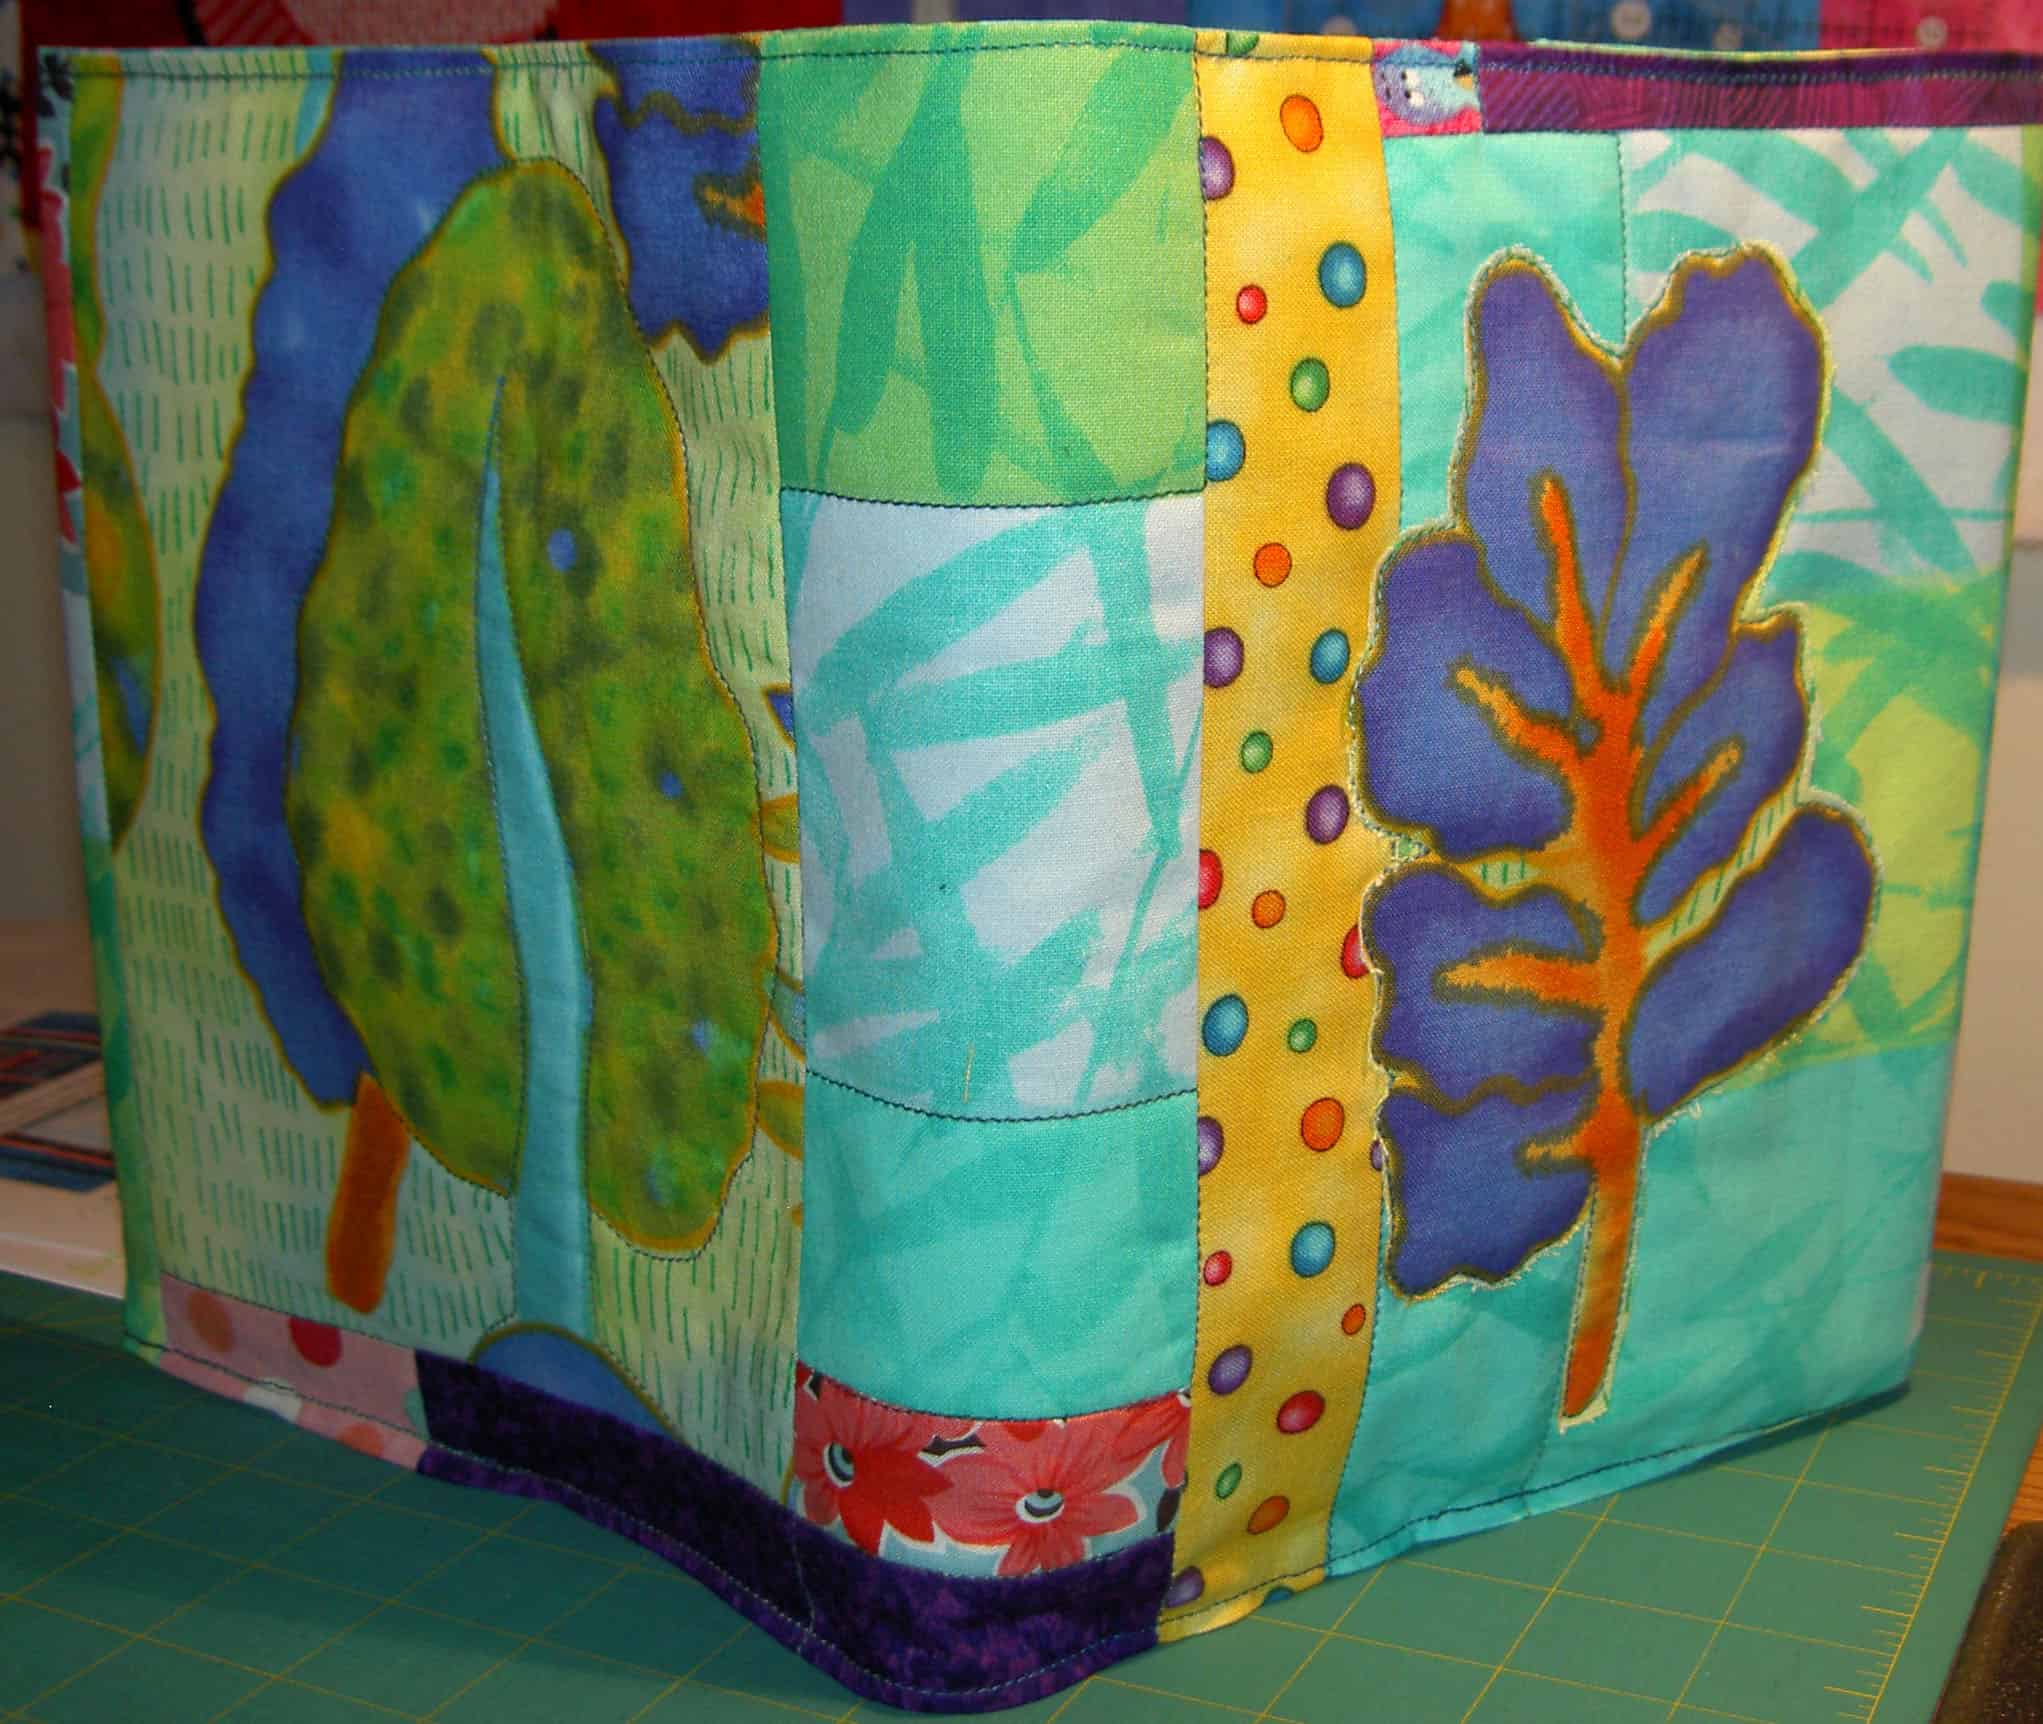
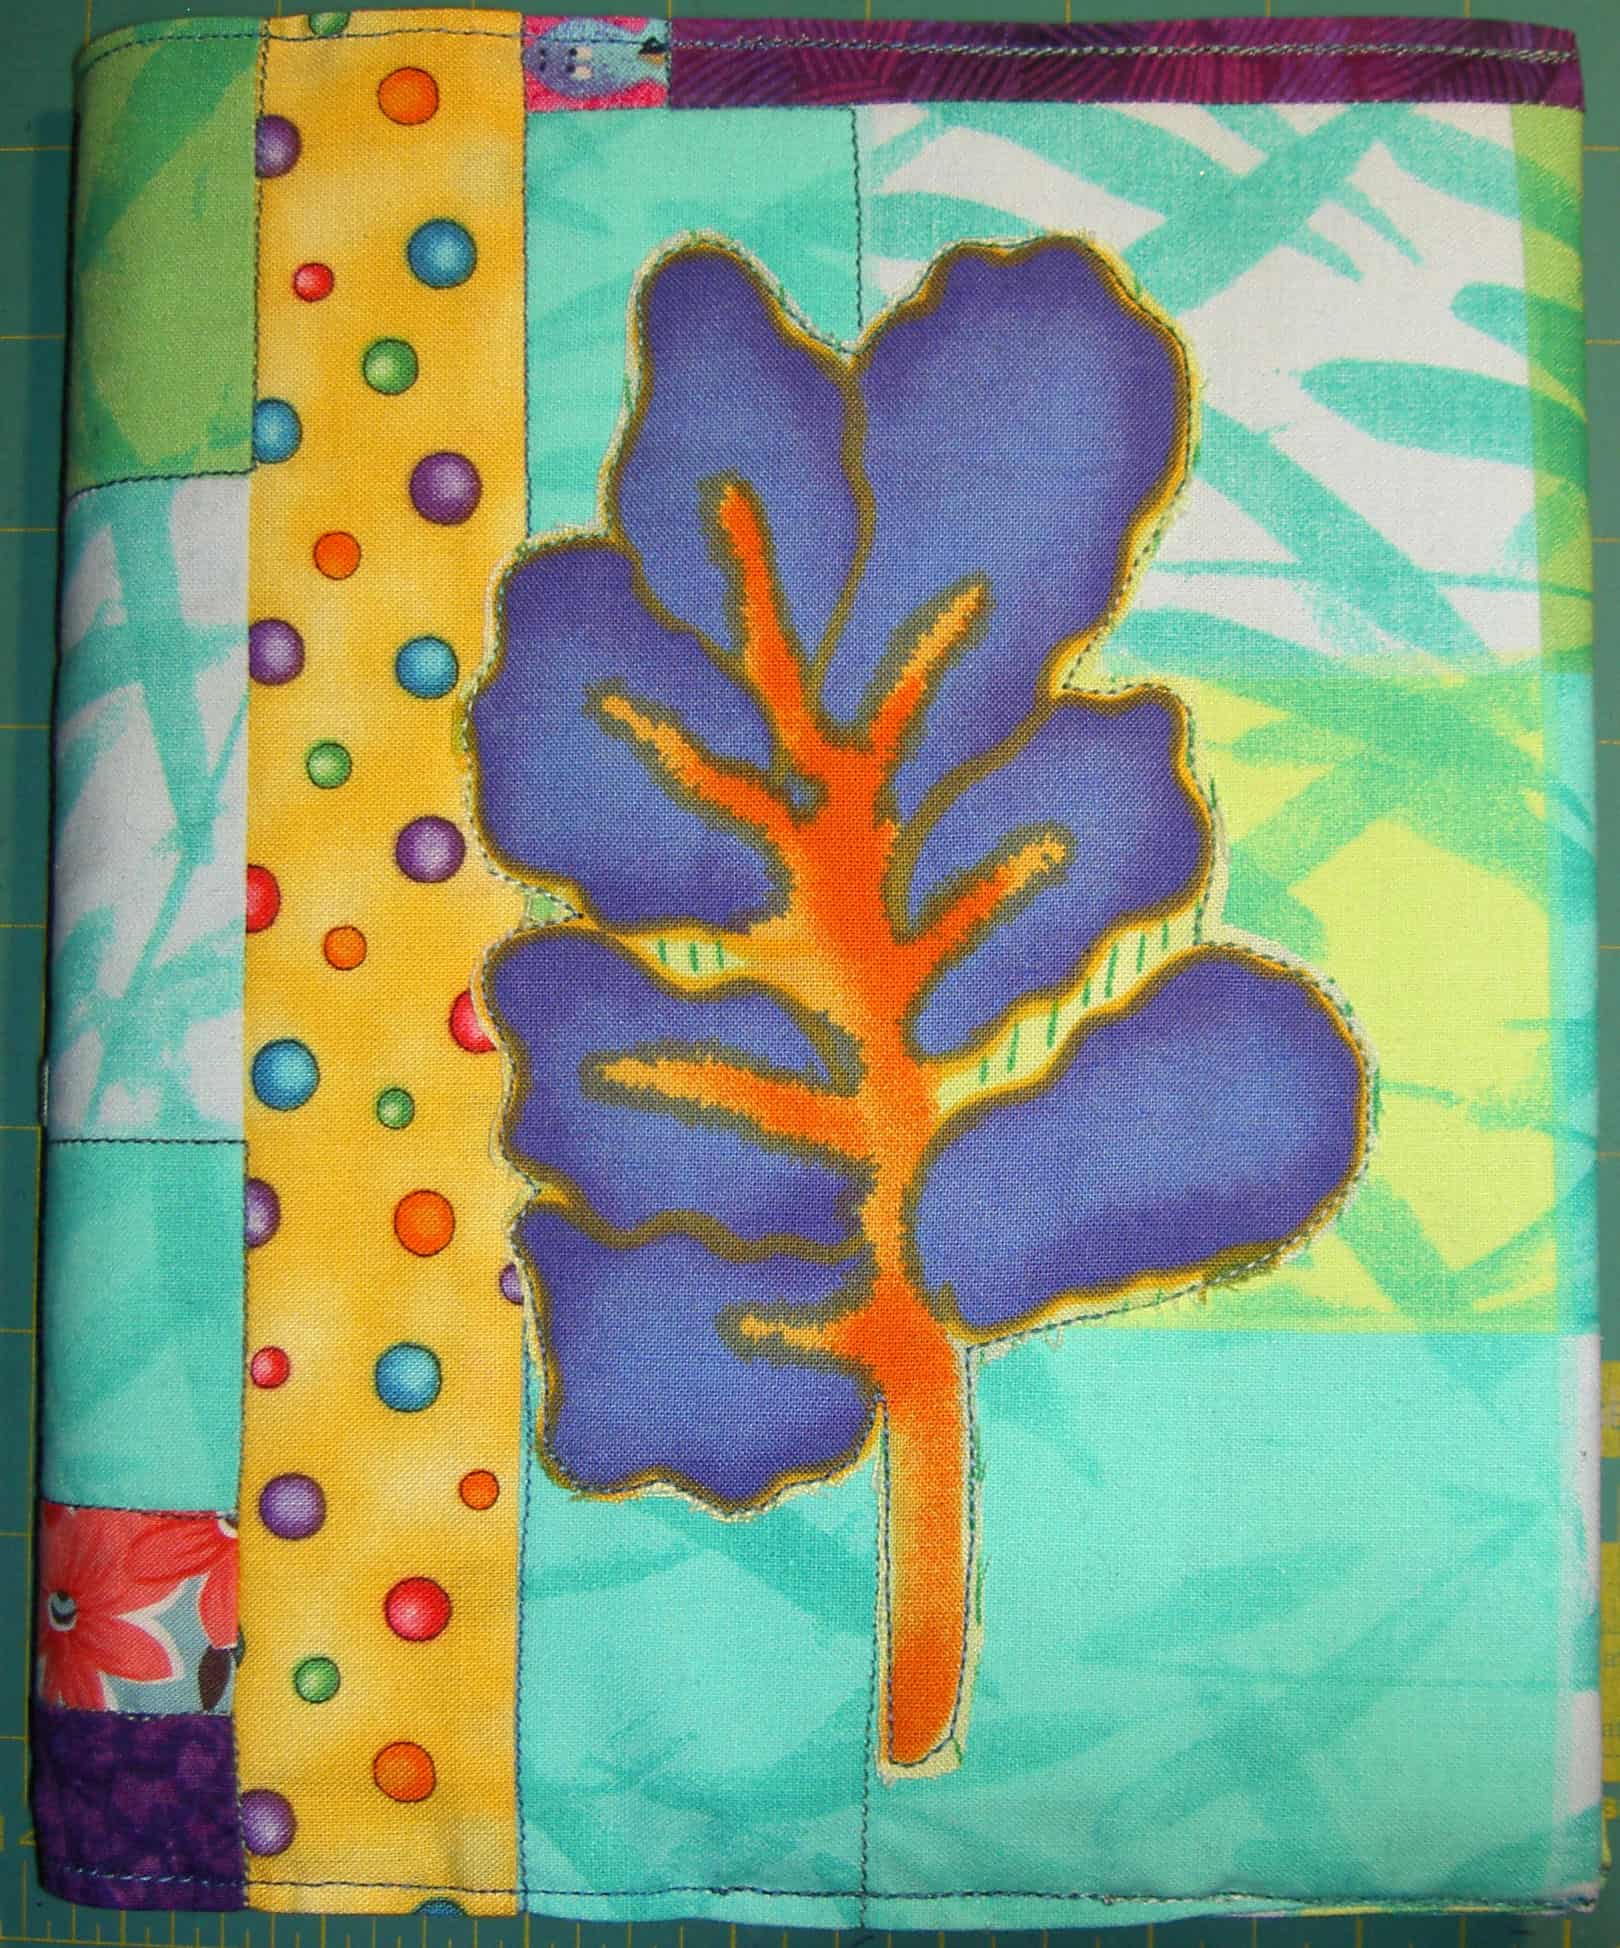
Here is the journal cover I made for Julie. It is a companion to the pencil roll I made for her birthday. This is actually the third journal cover I have made and this one went together the fastest and looks the best. My only problem was putting it together backwards, so the tree I wanted on the front ended up on the back.
Julie's Journal Cover - front
No matter. I tried to think of it as a design challenge after my initial disappointment. I fussy cut a tree out of the small piece of fabric I had and raw edge appliqued it to the front. I thought that Julie could handle the raw edge stitching.
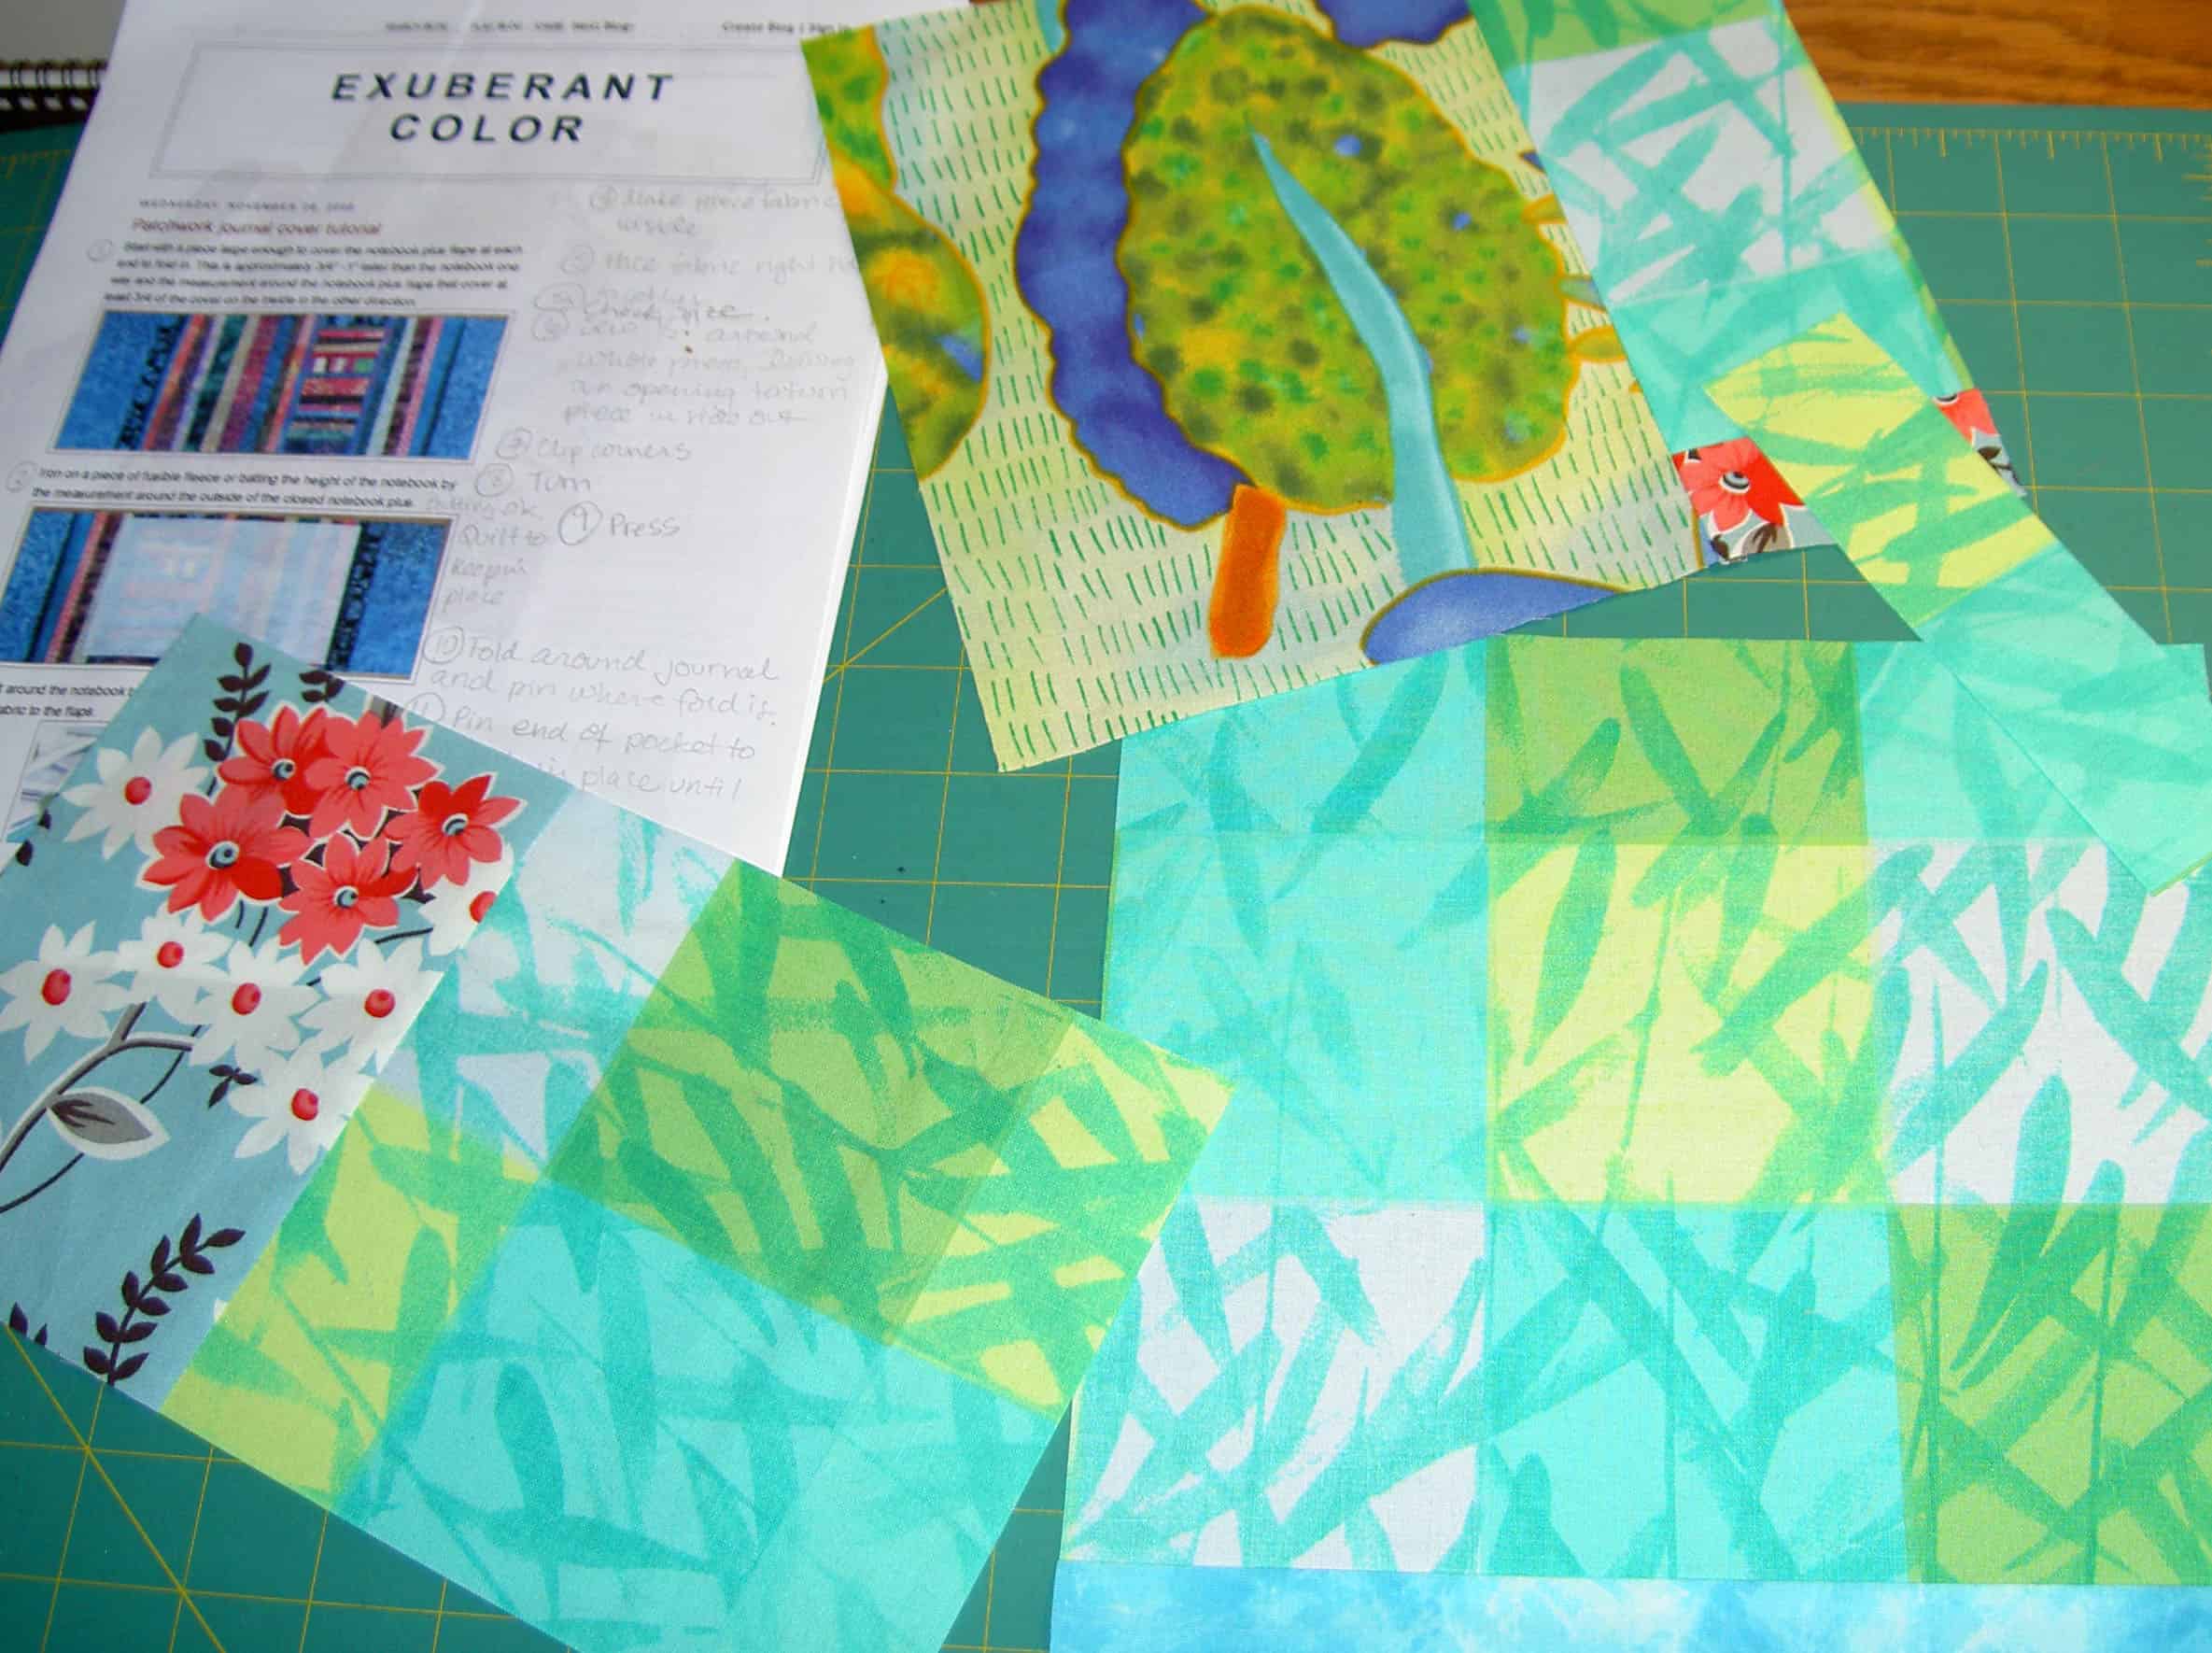
Julie's Journal Cover - in process
The main green fabric is an old Marrimeko print, as I may have mentioned. The directions I used are a combination of the pattern from Allpeoplequilt.com, the directions on the Exuberent color site (they don’t print well) and my own trial and error and notes from previous journal covers. I use the Miquelrius journals, so those are the journals I bought and for which I made covers. Hope all of the recipients like them!
In the middle of the craziness last week, I just had to make myself a new napkin. We use cloth napkins in my house. Why not? There is a boatload of great conversatonal fabric and plenty of it is in my fabric closet. I don’t use many conversationals in my own work, but I seem to buy them anyway.
During the great Iron-Off that is ongoing I came across two conversationals that would go really well together, so I made a new napkin. Not four, not a set, just one.
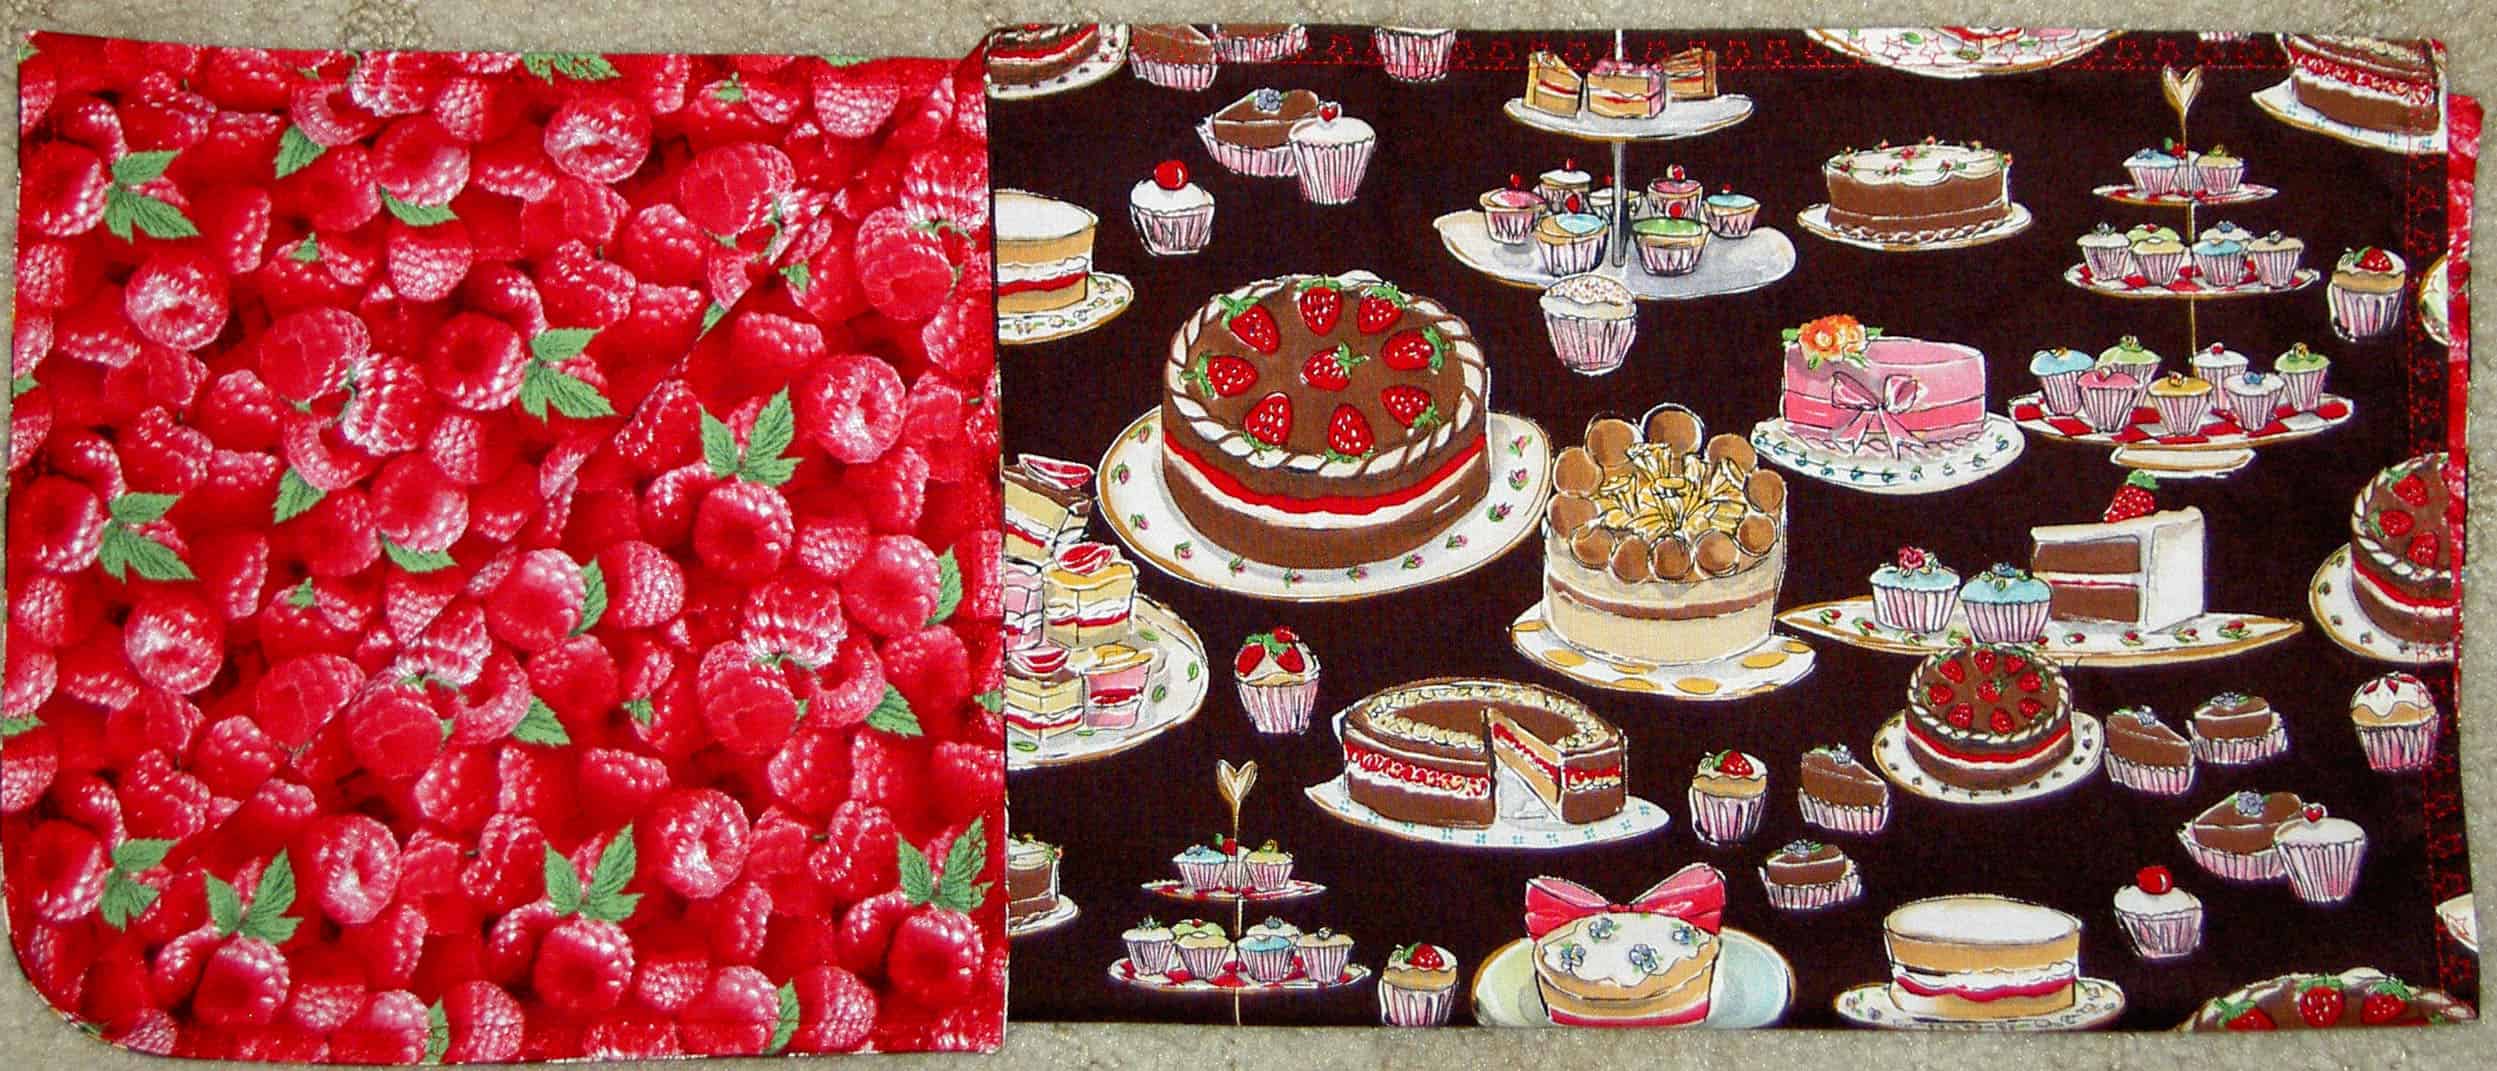
Raspberry Cake Napkin
On the back is a luscious raspberry print. The motif is so good that the raspberries look good enough to eat.
The front has that funky cake print. There is a lot of pink, aqua and turquoise.
I use a full FQ for my napkins. I do not try to make them perfectly square and I like having my entire lap covered when I eat.
The bad part about this little project is that neither of these prints will end up in FOTY 2009. Oh well.
I love my sister dearly, but she is hard to shop for. She buys what she wants, so I always have to think early and creatively. I found this Basic Grey fabric and just knew I had to use it for a gift for sissy. She is an invertate scrapbooker and LOVES Basic Grey paper. It started the whole thought process, actually.
Sweet Harmony - Full
On my week away, TFQ tempted me with doing a joint Sweet Harmony Bag by Amy Butler. My idea was that we would each make one at the same time. However, it turned out that we worked together on one bag.
This is probably the last time I will make an Amy Butler pattern. I purposefully did not write the review right away, because I wanted to give the shock time to wear off and give the piece a fair hearing.
While the finished product turned out really well, the directions were overly complicated and the pattern promoted extreme wastefulness.
Here are some tips and things to be aware of when making this pattern:
Trace the pattern pieces on tracing paper and keep the originals all together on the pattern sheets.
Trace the pattern pieces again, but smaller (approximately 3/4″ will work) for the fusible fleece and interfacing pieces. If you don’t do this, the pattern will tell you to cut them full size and then trim them down. Thus, this direction promoted a lot of waste in the interfacing, Peltex and fusible fleece.
Make a separate pattern piece for the inside pocket as well. This is a combined piece and it is just too confusing not to have a separate pattern piece.
Make a chart (Excel or the Google Docs Spreadsheet feature would work) of the pattern pattern pieces you will need and which fibers you need to cut them out of. I didn’t know to do this and ended up laying all the cut pieces out and reading the list over and over while counting pieces.
The designers seem to have a problem with naming pattern pieces consistently. In Step 4G, they ask you to do something to a Lining Panel. This was the first time I had ever heard of this piece.
This pattern and the directions don’t always make it clear which layer (fleece & interfacing or interfacing only) the designer wants you to work with.
Sweet Harmony Org System
Directions should have included a rotary kit (cutter, mat, ruler). The instructions do not include these tools, but they make the process much easier. I understand that the pattern isn’t necessarily targeted at quiltmakers, however I think many sewists now have rotary cutting kits as part of their tool arsenal. If you only sew garments and accessories (e.g. no quilts) and do not have a rotary cutting kit, I think you should go and buy one. What do you think?
Use tailor tacks to mark dots.
Handbag pattern includes a 20″ zipper in the list of supplies needed. Then the designer wants you to modify this zipper to make it about 8″ shorter. I don’t know about you, but I don’t know how to modify a zipper. I also did not want to modify a zipper. I barely know how to put in a zipper. TFQ who has LOTS of garment sewing experience and she didn’t know how to modify a zipper with confidence either. This is another bit of waste. I ended up omitting the zipper (it’s for a an inside pocket), but I would recommend buying a 12″ zipper and not modifying anything. The pattern also gives the pattern pieces for a tote bag, which I did not make, and I believe that the 20″ zipper would work with the tote bag. I think they were trying to save space on the pattern by not listing two supplies.
The marks for the magnetic snaps are below and to the left of where they actually should go.
Sewing piping to outside pocket
The pattern asks you to make much more piping than you actually need. You will really only need about 25″.
Finally, there are not enough pictures, despite the price of the pattern, so I would recommend giving yourself plenty of time and using nice fabric. You may never make it again, so you want to like it!
I think that making all the tote bags I have made really helped in understanding the pattern and how to follow the directions. The final product is really nice and looks very professional. I als learned how to make a pocket that has a little tuck so larger things will fit and you can actually pull it out.
Sadly, no child close to me is really very interested in learning to make quilts or about any fabric related opportunities at all. I am hopeful that Kathy‘s Jessie may take an interest, or one of the nieces will come around eventually.
You can imagine how thrilled I was when George X (11YO) came over and was interested in making a small stuffed animal. One reason he was interested was that The Child was not home and George X had nothing really to do. I explained the basic process to him and we got started.
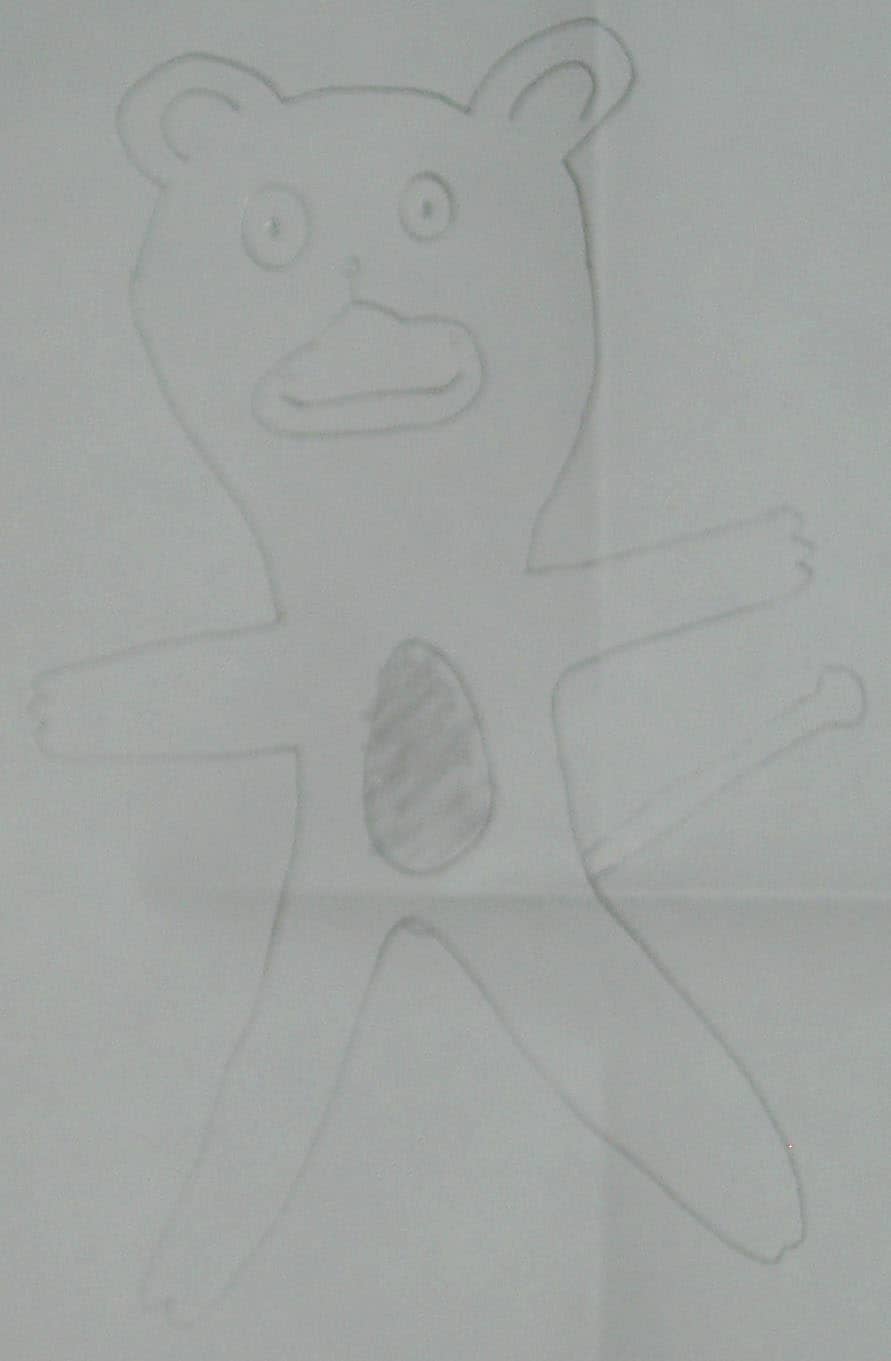
I gave him a large sheet of paper folded in half. On one half, he drew the detailed version – his ideal. On the other side, we drew the pattern together. He drew and I told him how to do it.
Detailed picture
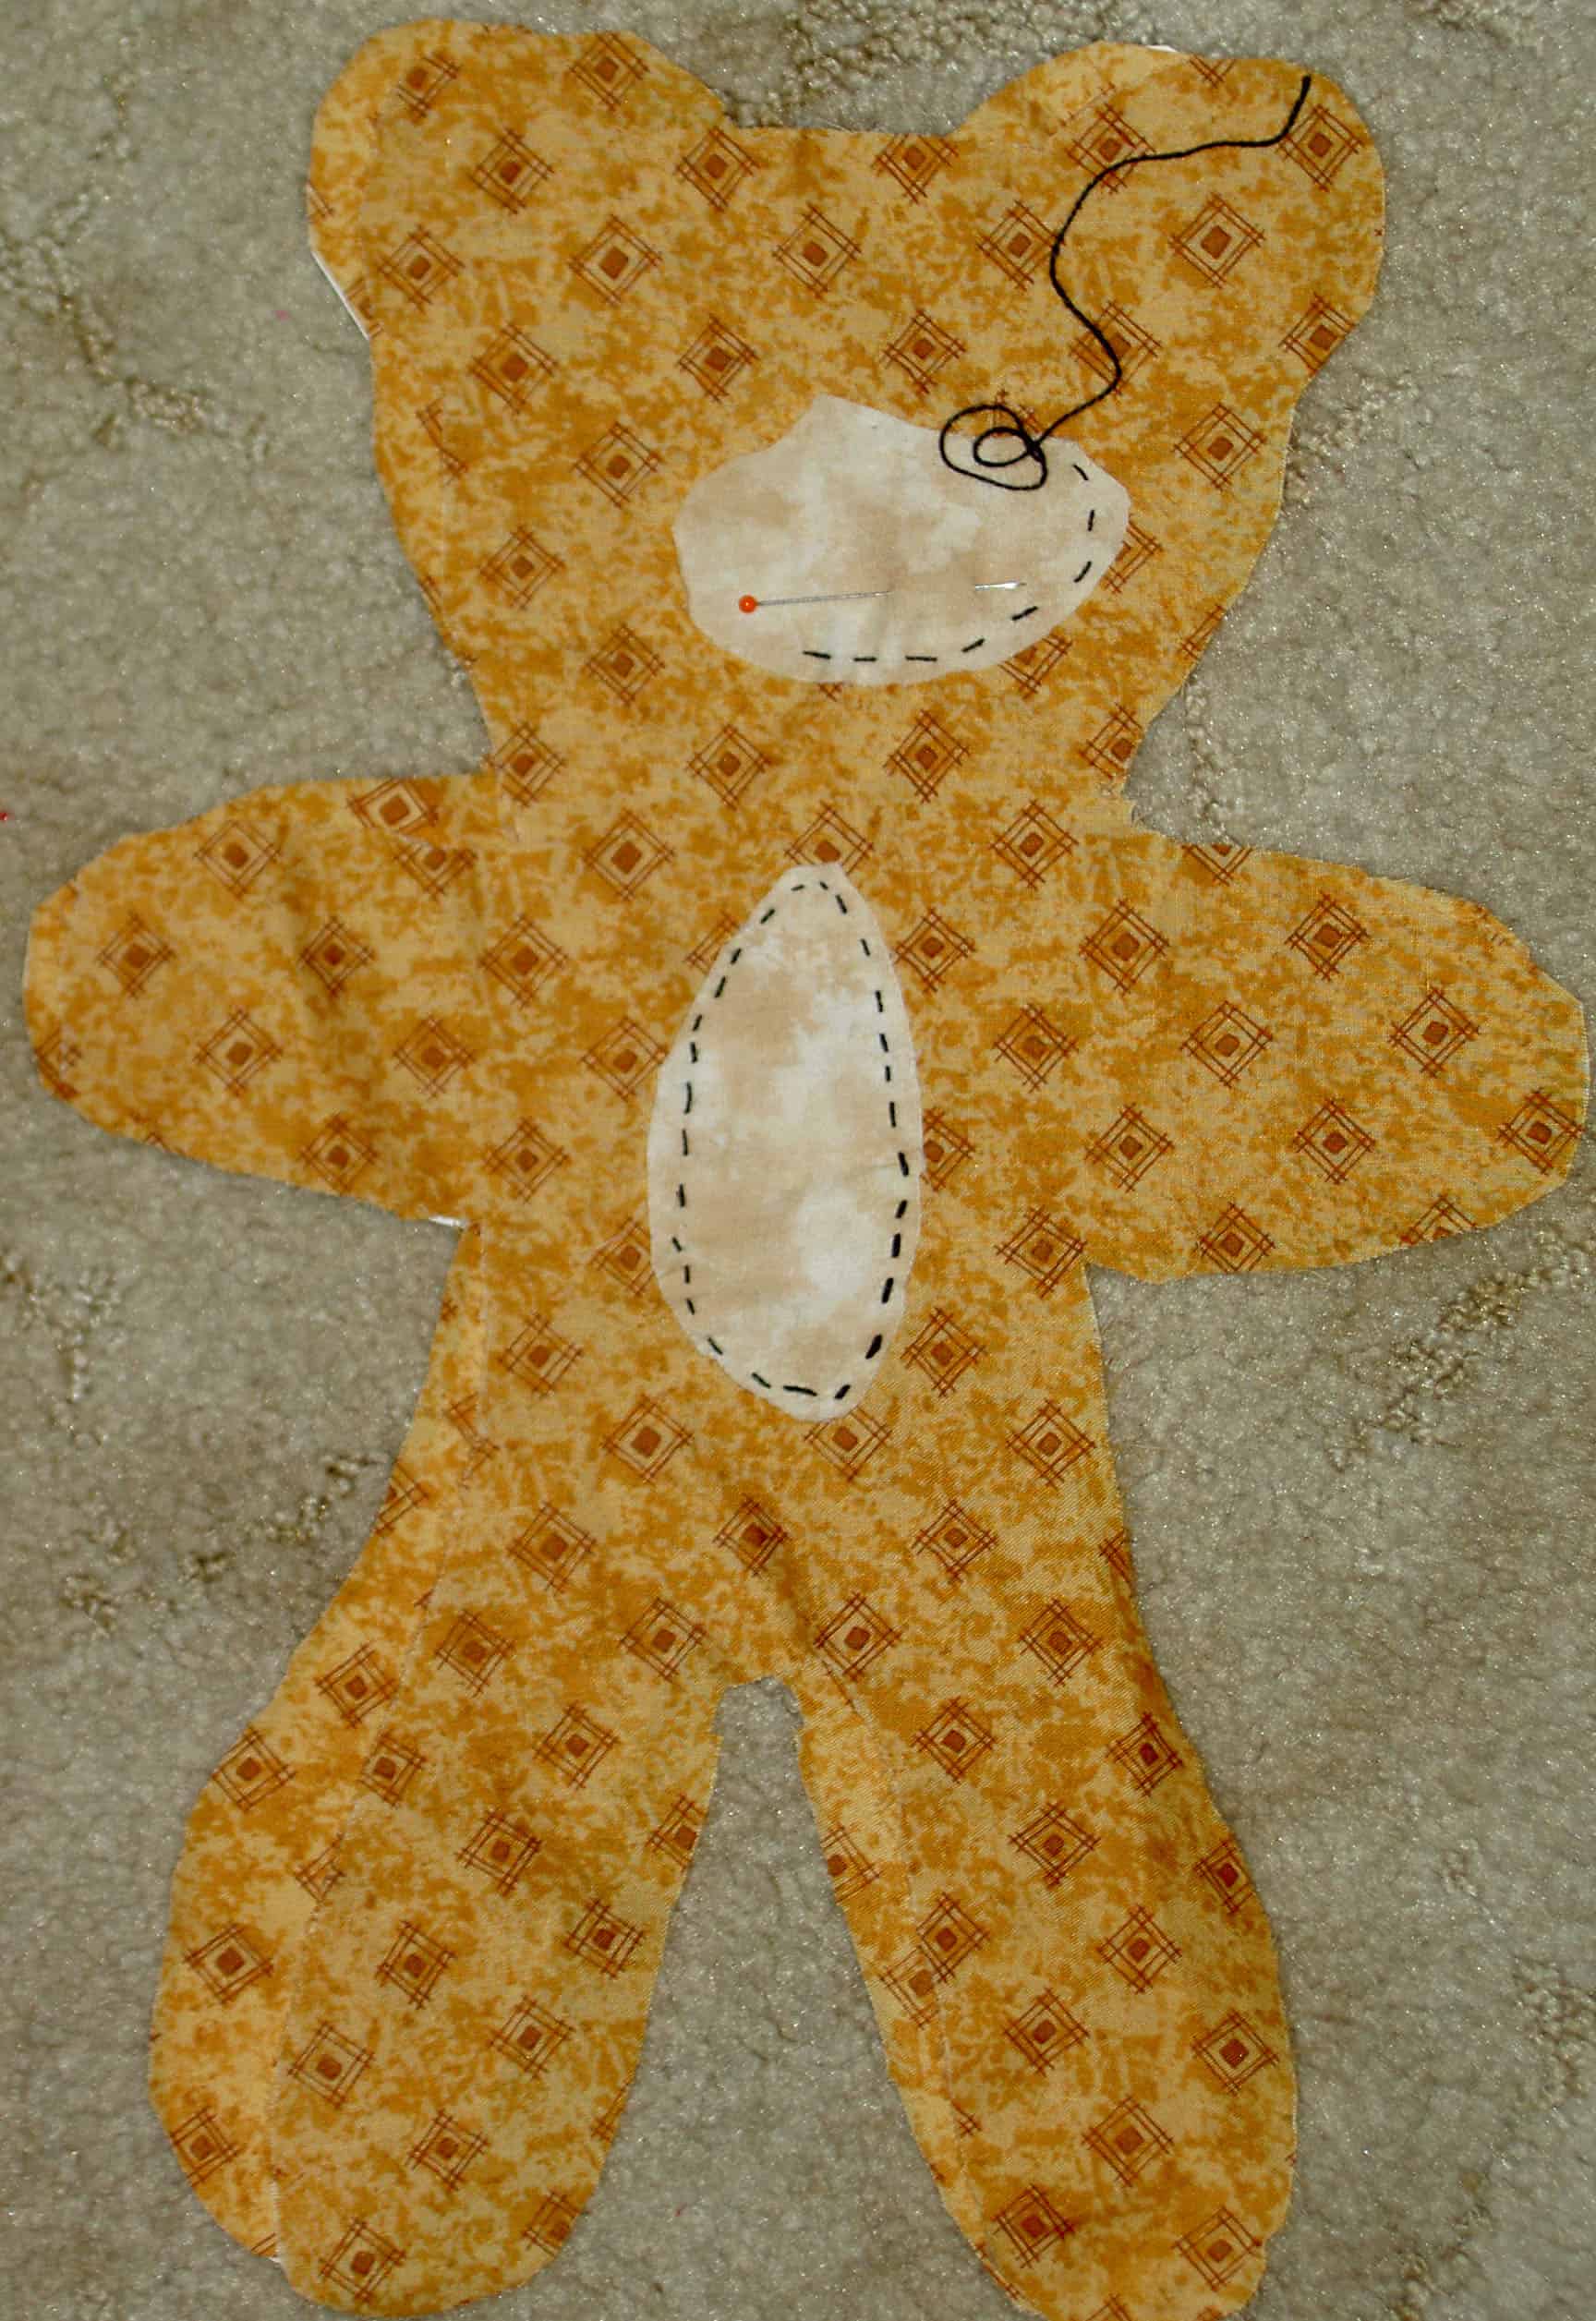
I knew I needed to get him to stitching pretty quickly, so I tried to keep the process simple. After he cut out the pattern, we picked fabric, pressed fabric, cut out the fabric and he began stitching. I tried to show him what to do, inspire confidence and supervise. I tried really hard not to hover. It was easier since I had a project I was working on as well.
Monkey Project
I wanted him to do as much handwork as possible for two reasons. First, I wanted him to get the feel of the piece. Second, I was using the machine.
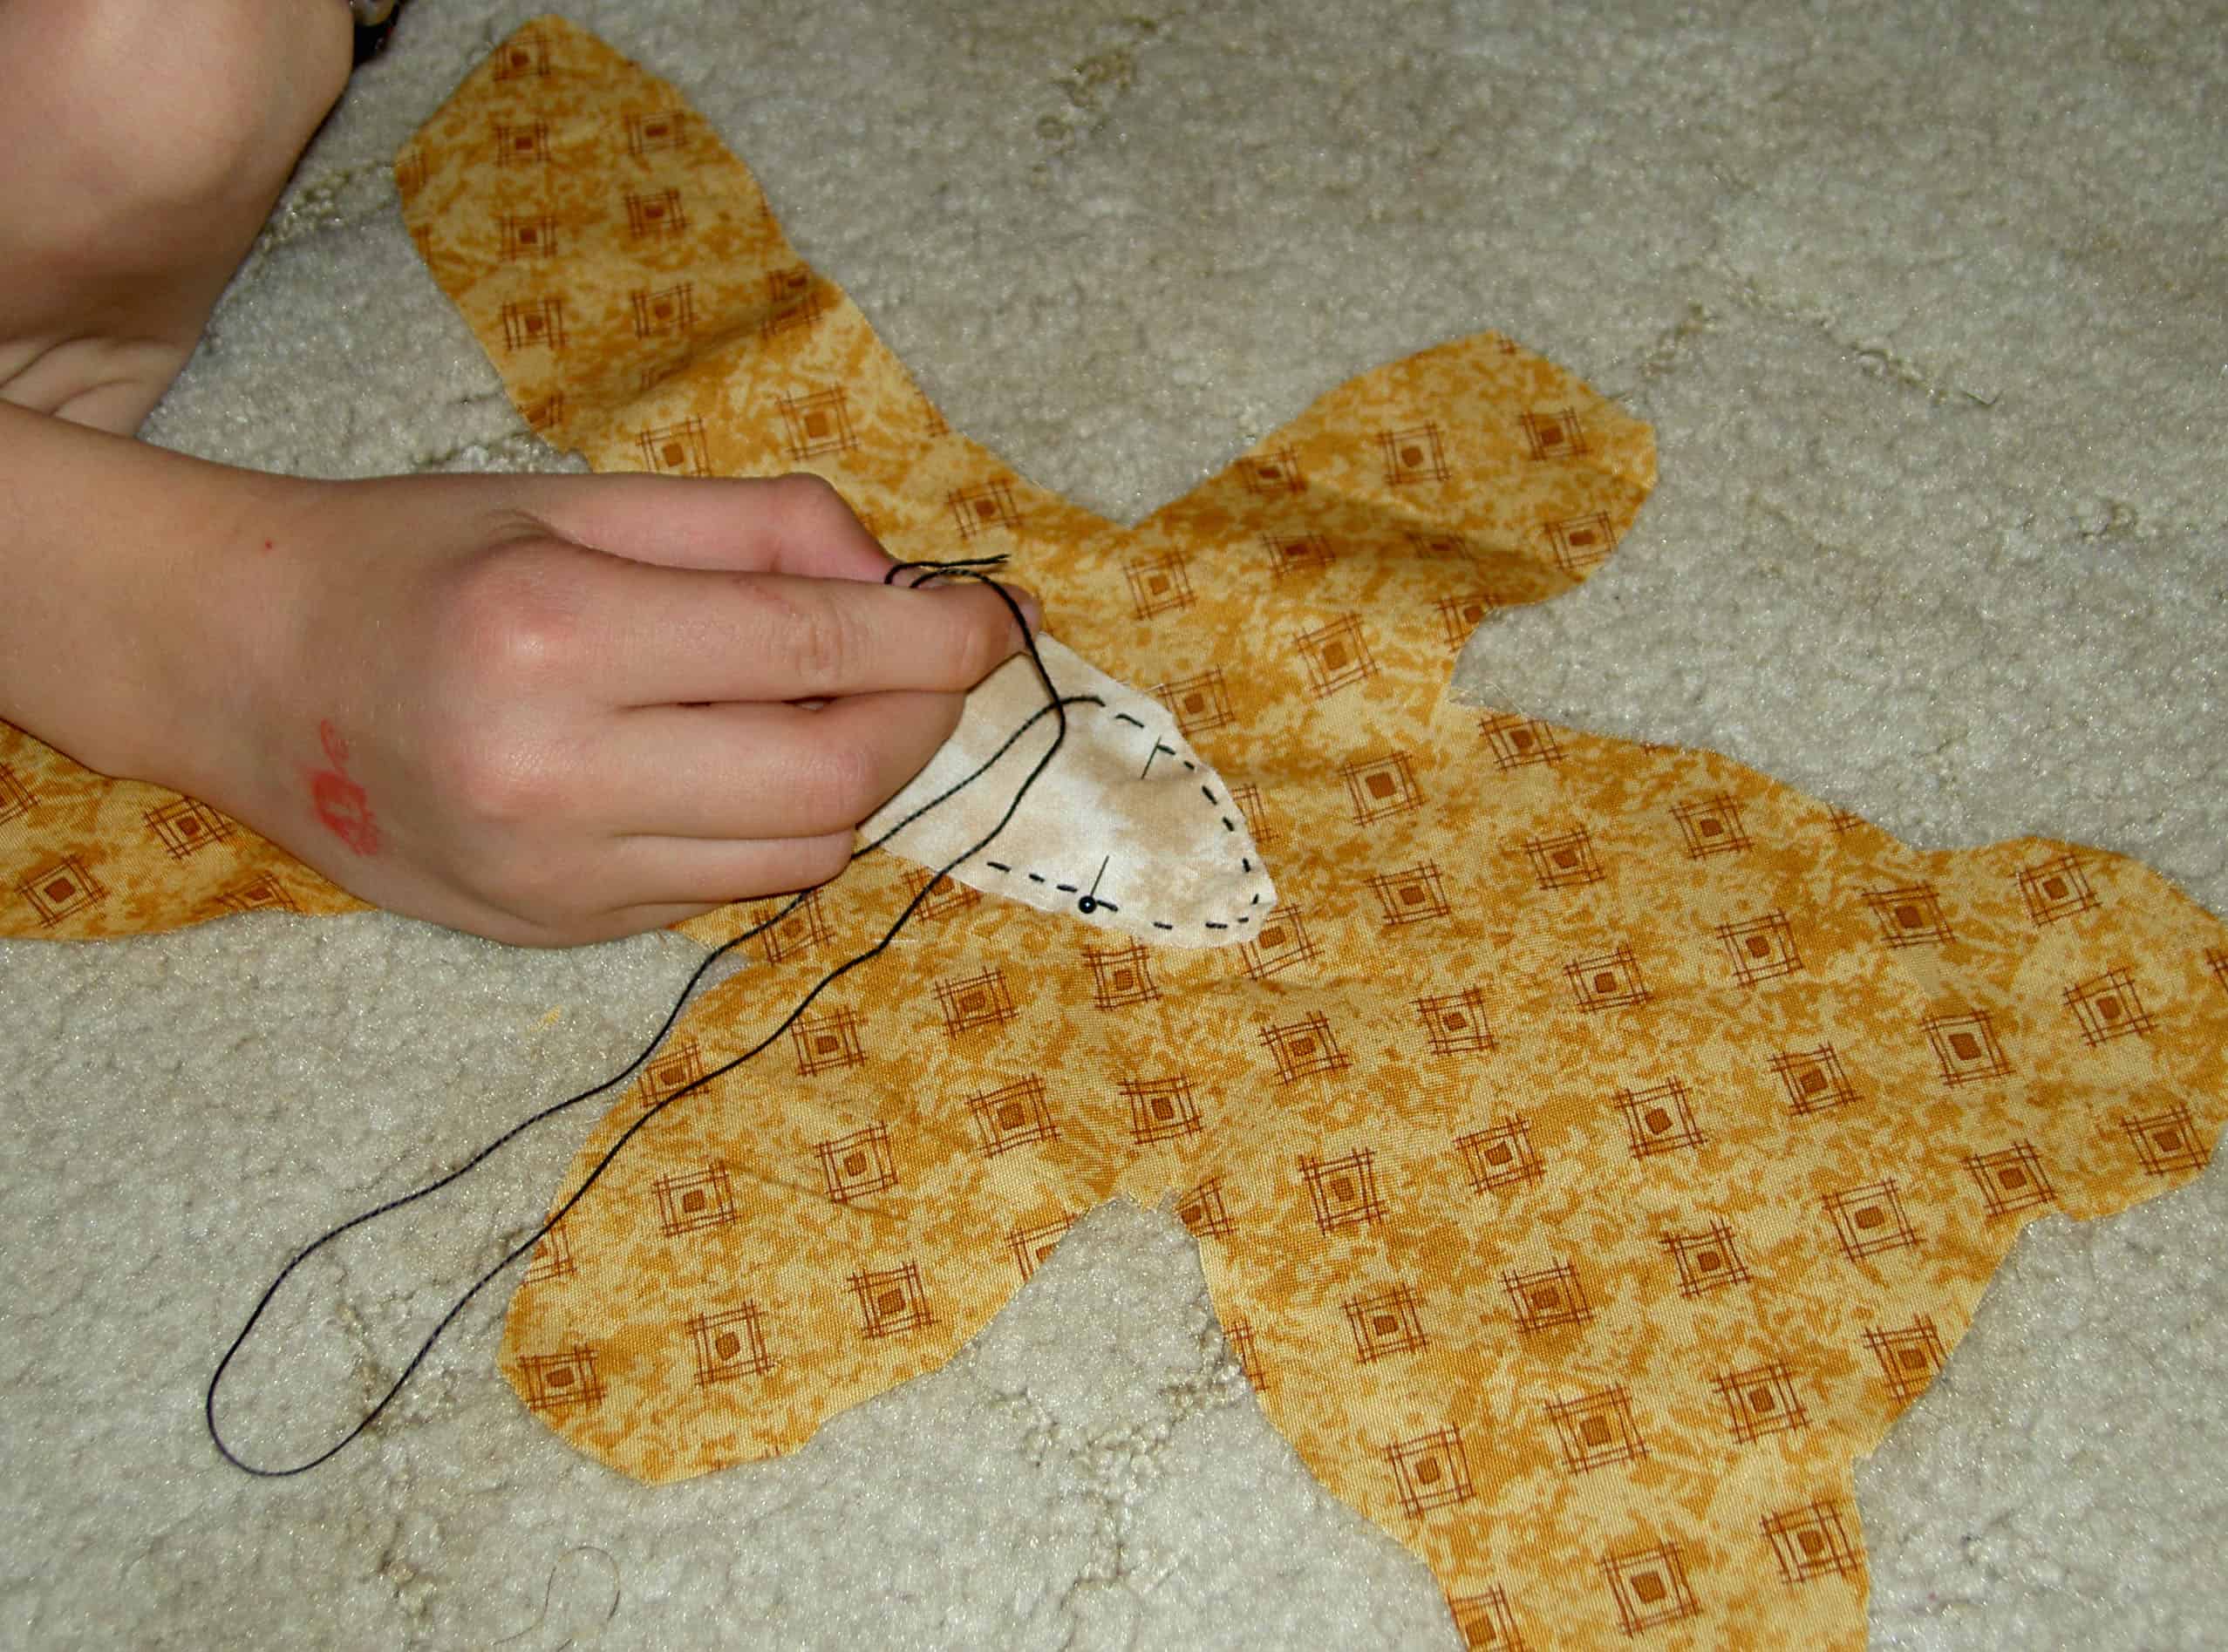
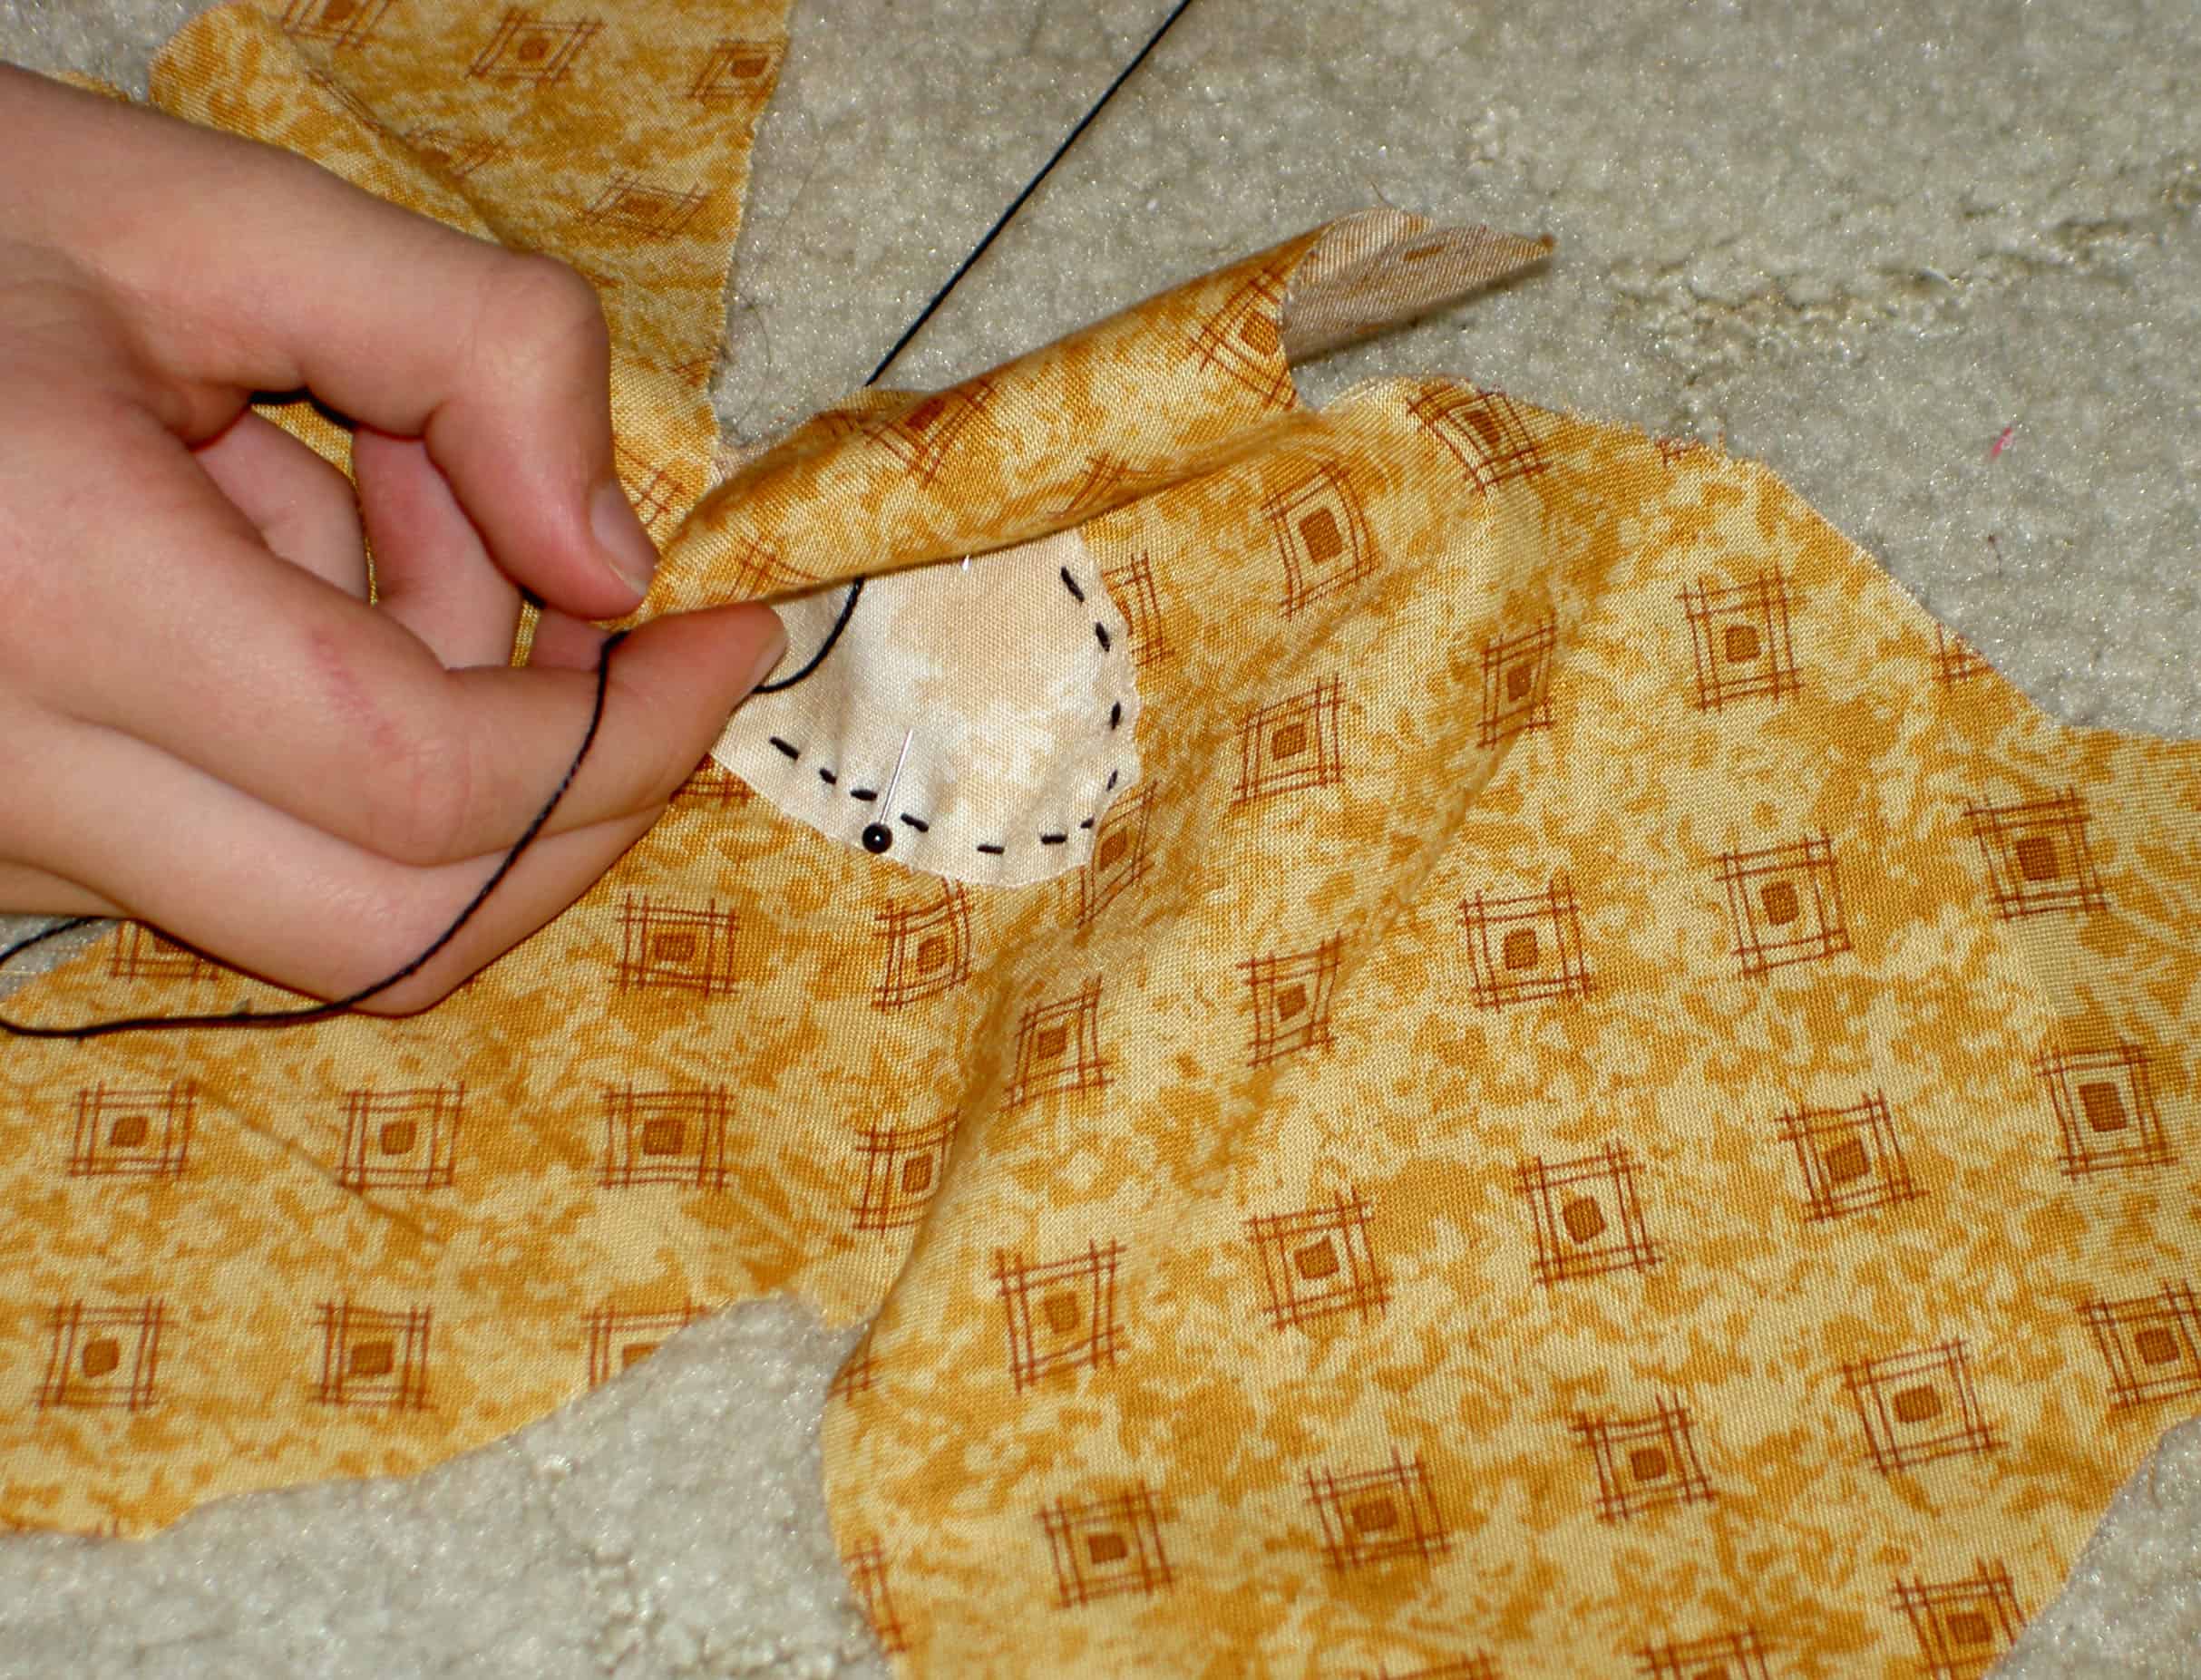
Learning to Stitch
I had him sew the tummy on with a running stitch. Yes, it is raw edge applique’. I know that the tummy will ravel, but I will help him fix any problems.
George IX came home and George X lost interest in fabric. Video games were just too tempting. I put the piece away – with all the parts – for the next time.
I was pleased when George X excitedly wanted to show his parents what he had done. I look forward to working on the monkey with him again.
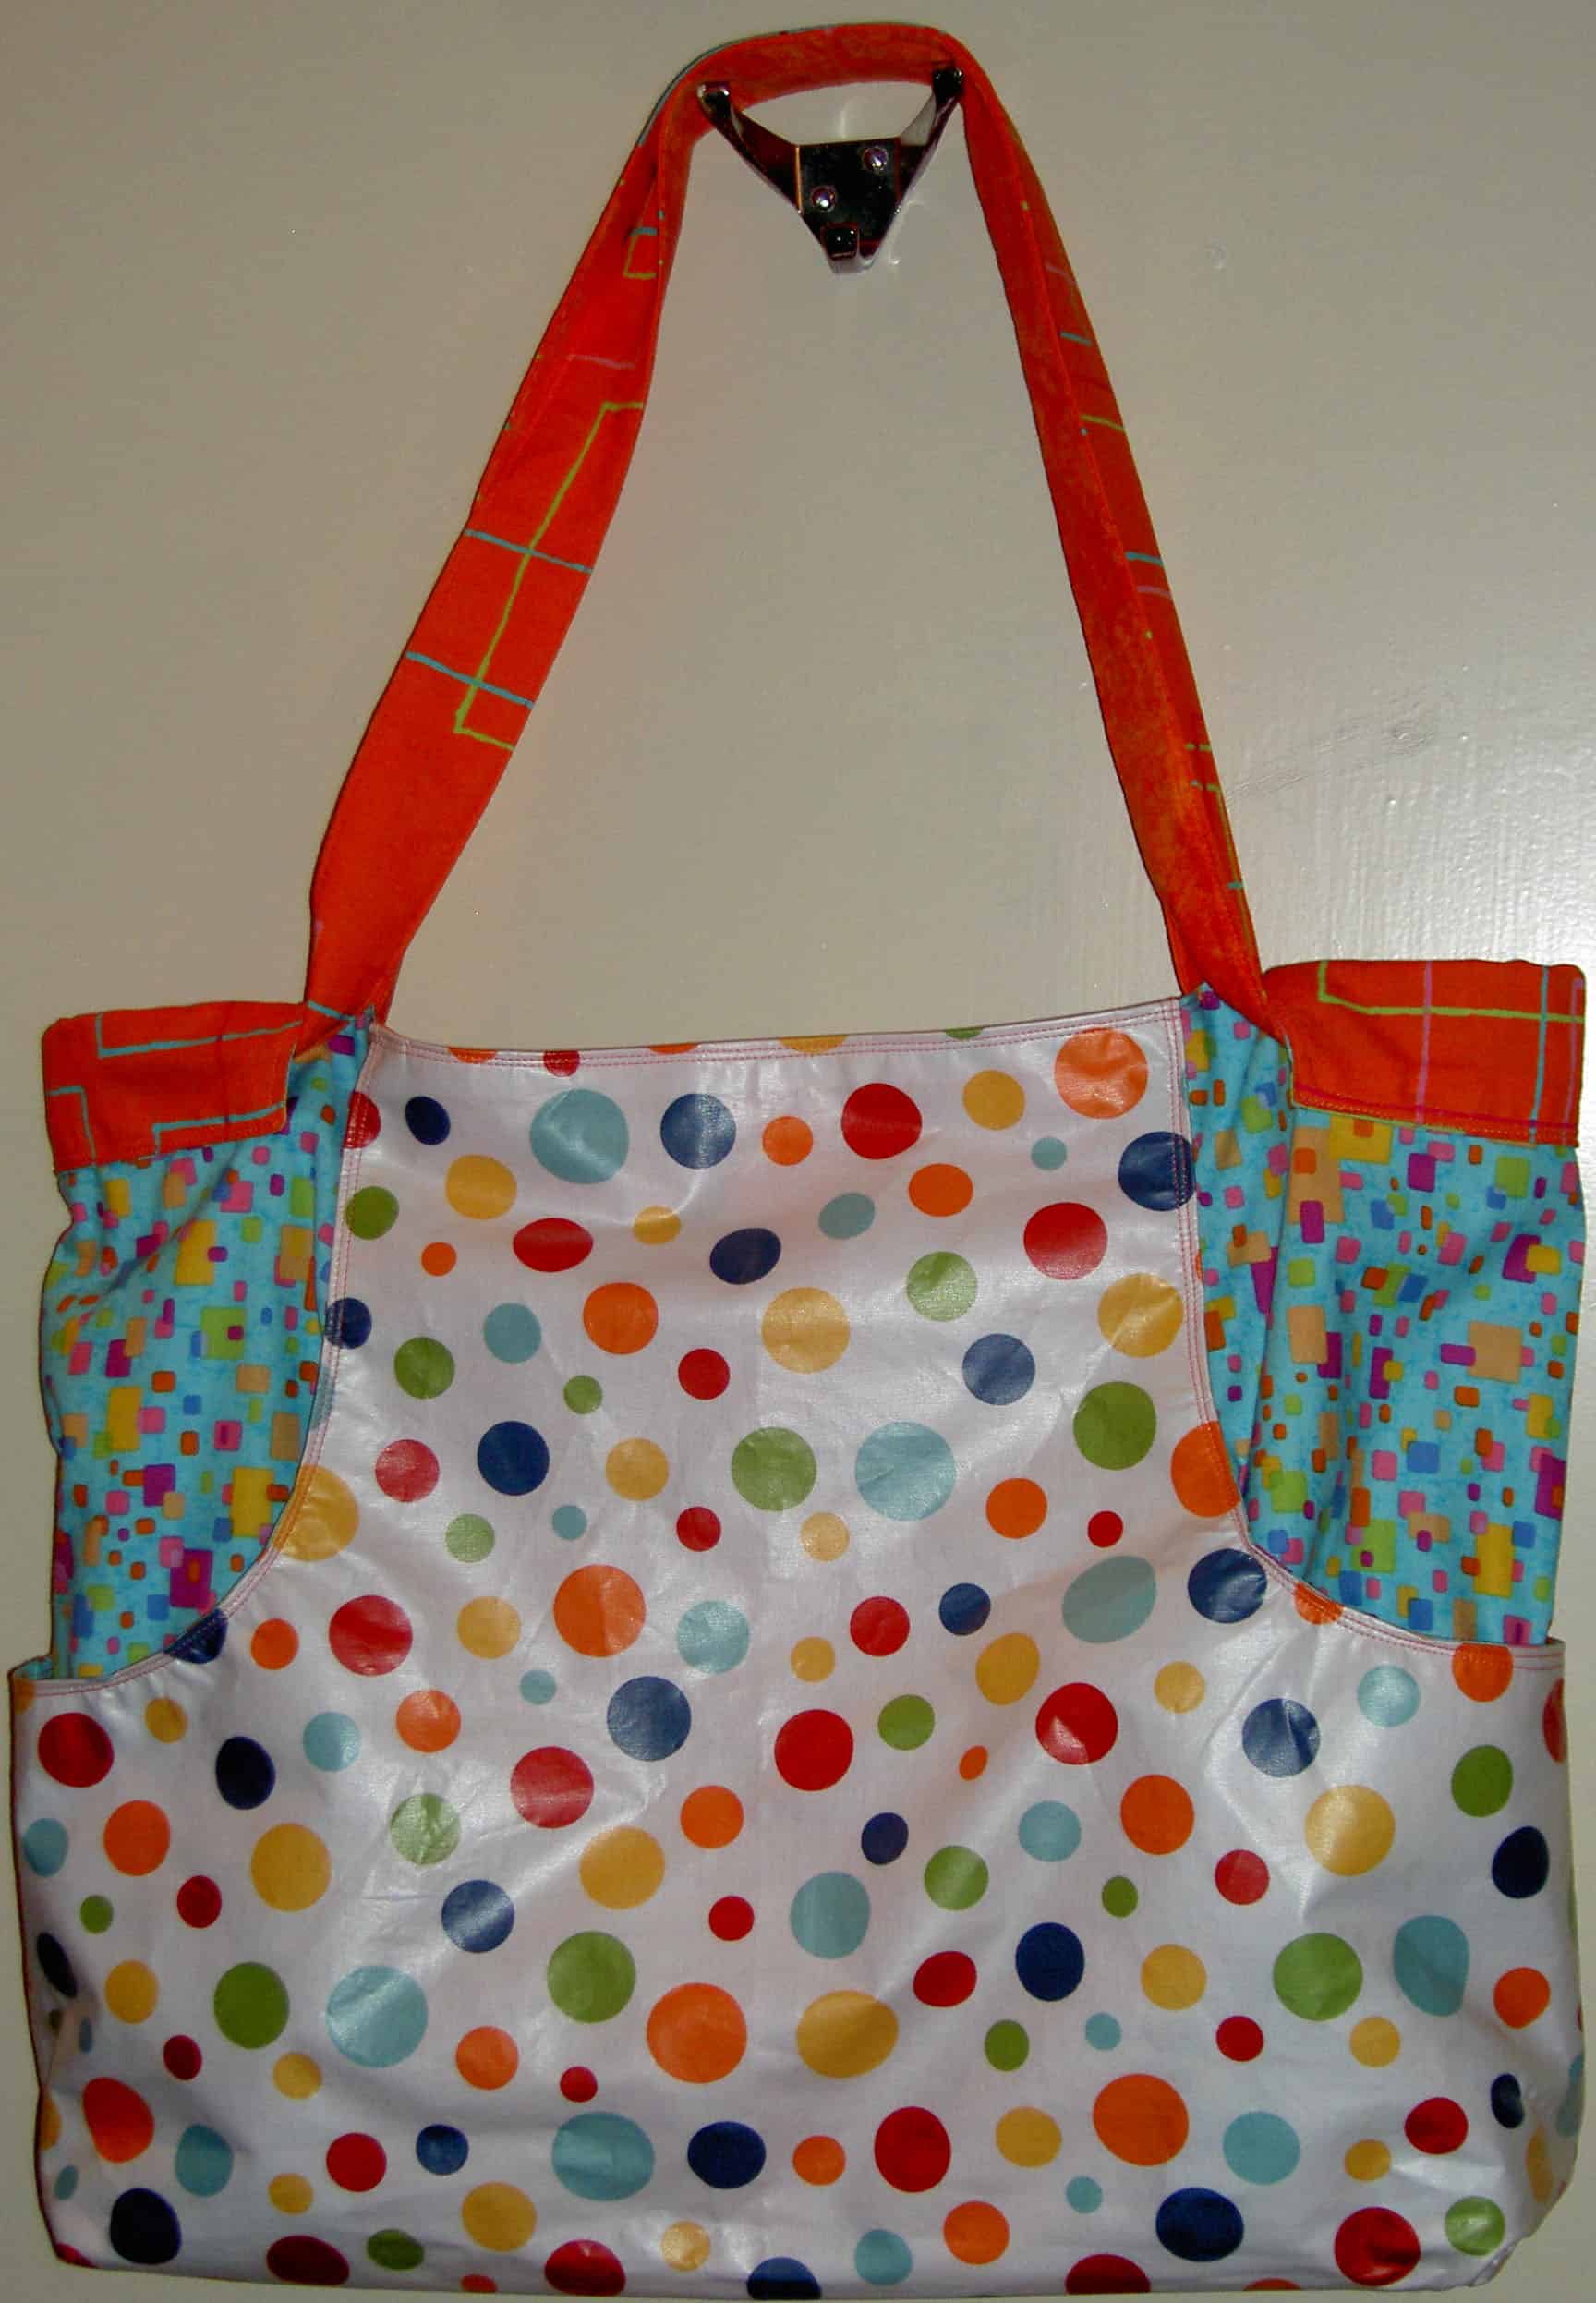
Here is my latest Multi-tasker tote. As usual, I made it from the Anna Maria Horner pattern. The more MTTs I make, the easier this pattern gets. Will this be my new tote bag pattern of choice?
I bought the laminated cotton (oilcloth) at the Quilting Loft in Seattle on my week away. As I mentioned, it poured rain part of the time I was there and the regular cotton Julie MTT got wet. When I saw the dotted laminated cotton, I thought it would be a great winter bag. I made it big, even though I still need to make the Mini Multi to see if it is a better size for my height and shape and the amount of space I usually have on public transport. I had a lot of stuff I was hauling around from cafe’ to cafe’ that week.
Dotty MTT, inside detail
Aside from the laminated cotton, the inside is an old, but still fun and fresh and bright Marimekko print, and the pocket panels are some random turquoise that I had. I am not happy with the outcome of this bag. I am not happy with the pocket panel fabric I chose (the turquoise). It goes well with the other fabrics, theoretically. Made up it just looks wrong. I wish I had used a stripe. I may make another one and use this one for a gift or something else. I have more of the dotted fabric.
One great thing about this project was that I was able to utilize a skill I learned during my week away to add a cell phone pocket to the inside. Apparently, cell phone pockets have a little pleat in them (do they all??). While I don’t know if I would put my cell phone in this bag, I might if my jacket pockets are full of other things. The pocket might also be useful for a Nano, or other small electronic devices. It is definitely a pocket I will use in other bags, mostly because it is cool to make and I feel proud of myself for learning to do it.
After I made this bag and looked at the seven (yes, SEVEN) hanging on my workroom door, I started to wonder if I was giving up quilts and moving on to other accessories? I don’t think so, but the speed with which I can churn out a bag is very attractive and very fulfilling. I will have to put some block making on my agenda for the rest of this long weekend.
Babies and wedding some in waves and I am in a baby wave right now. I am not having my own baby, just to be very clear. Friends are in baby producing mode, however. I have made a few quilts for friends, but am, frankly, too lazy for the most part.
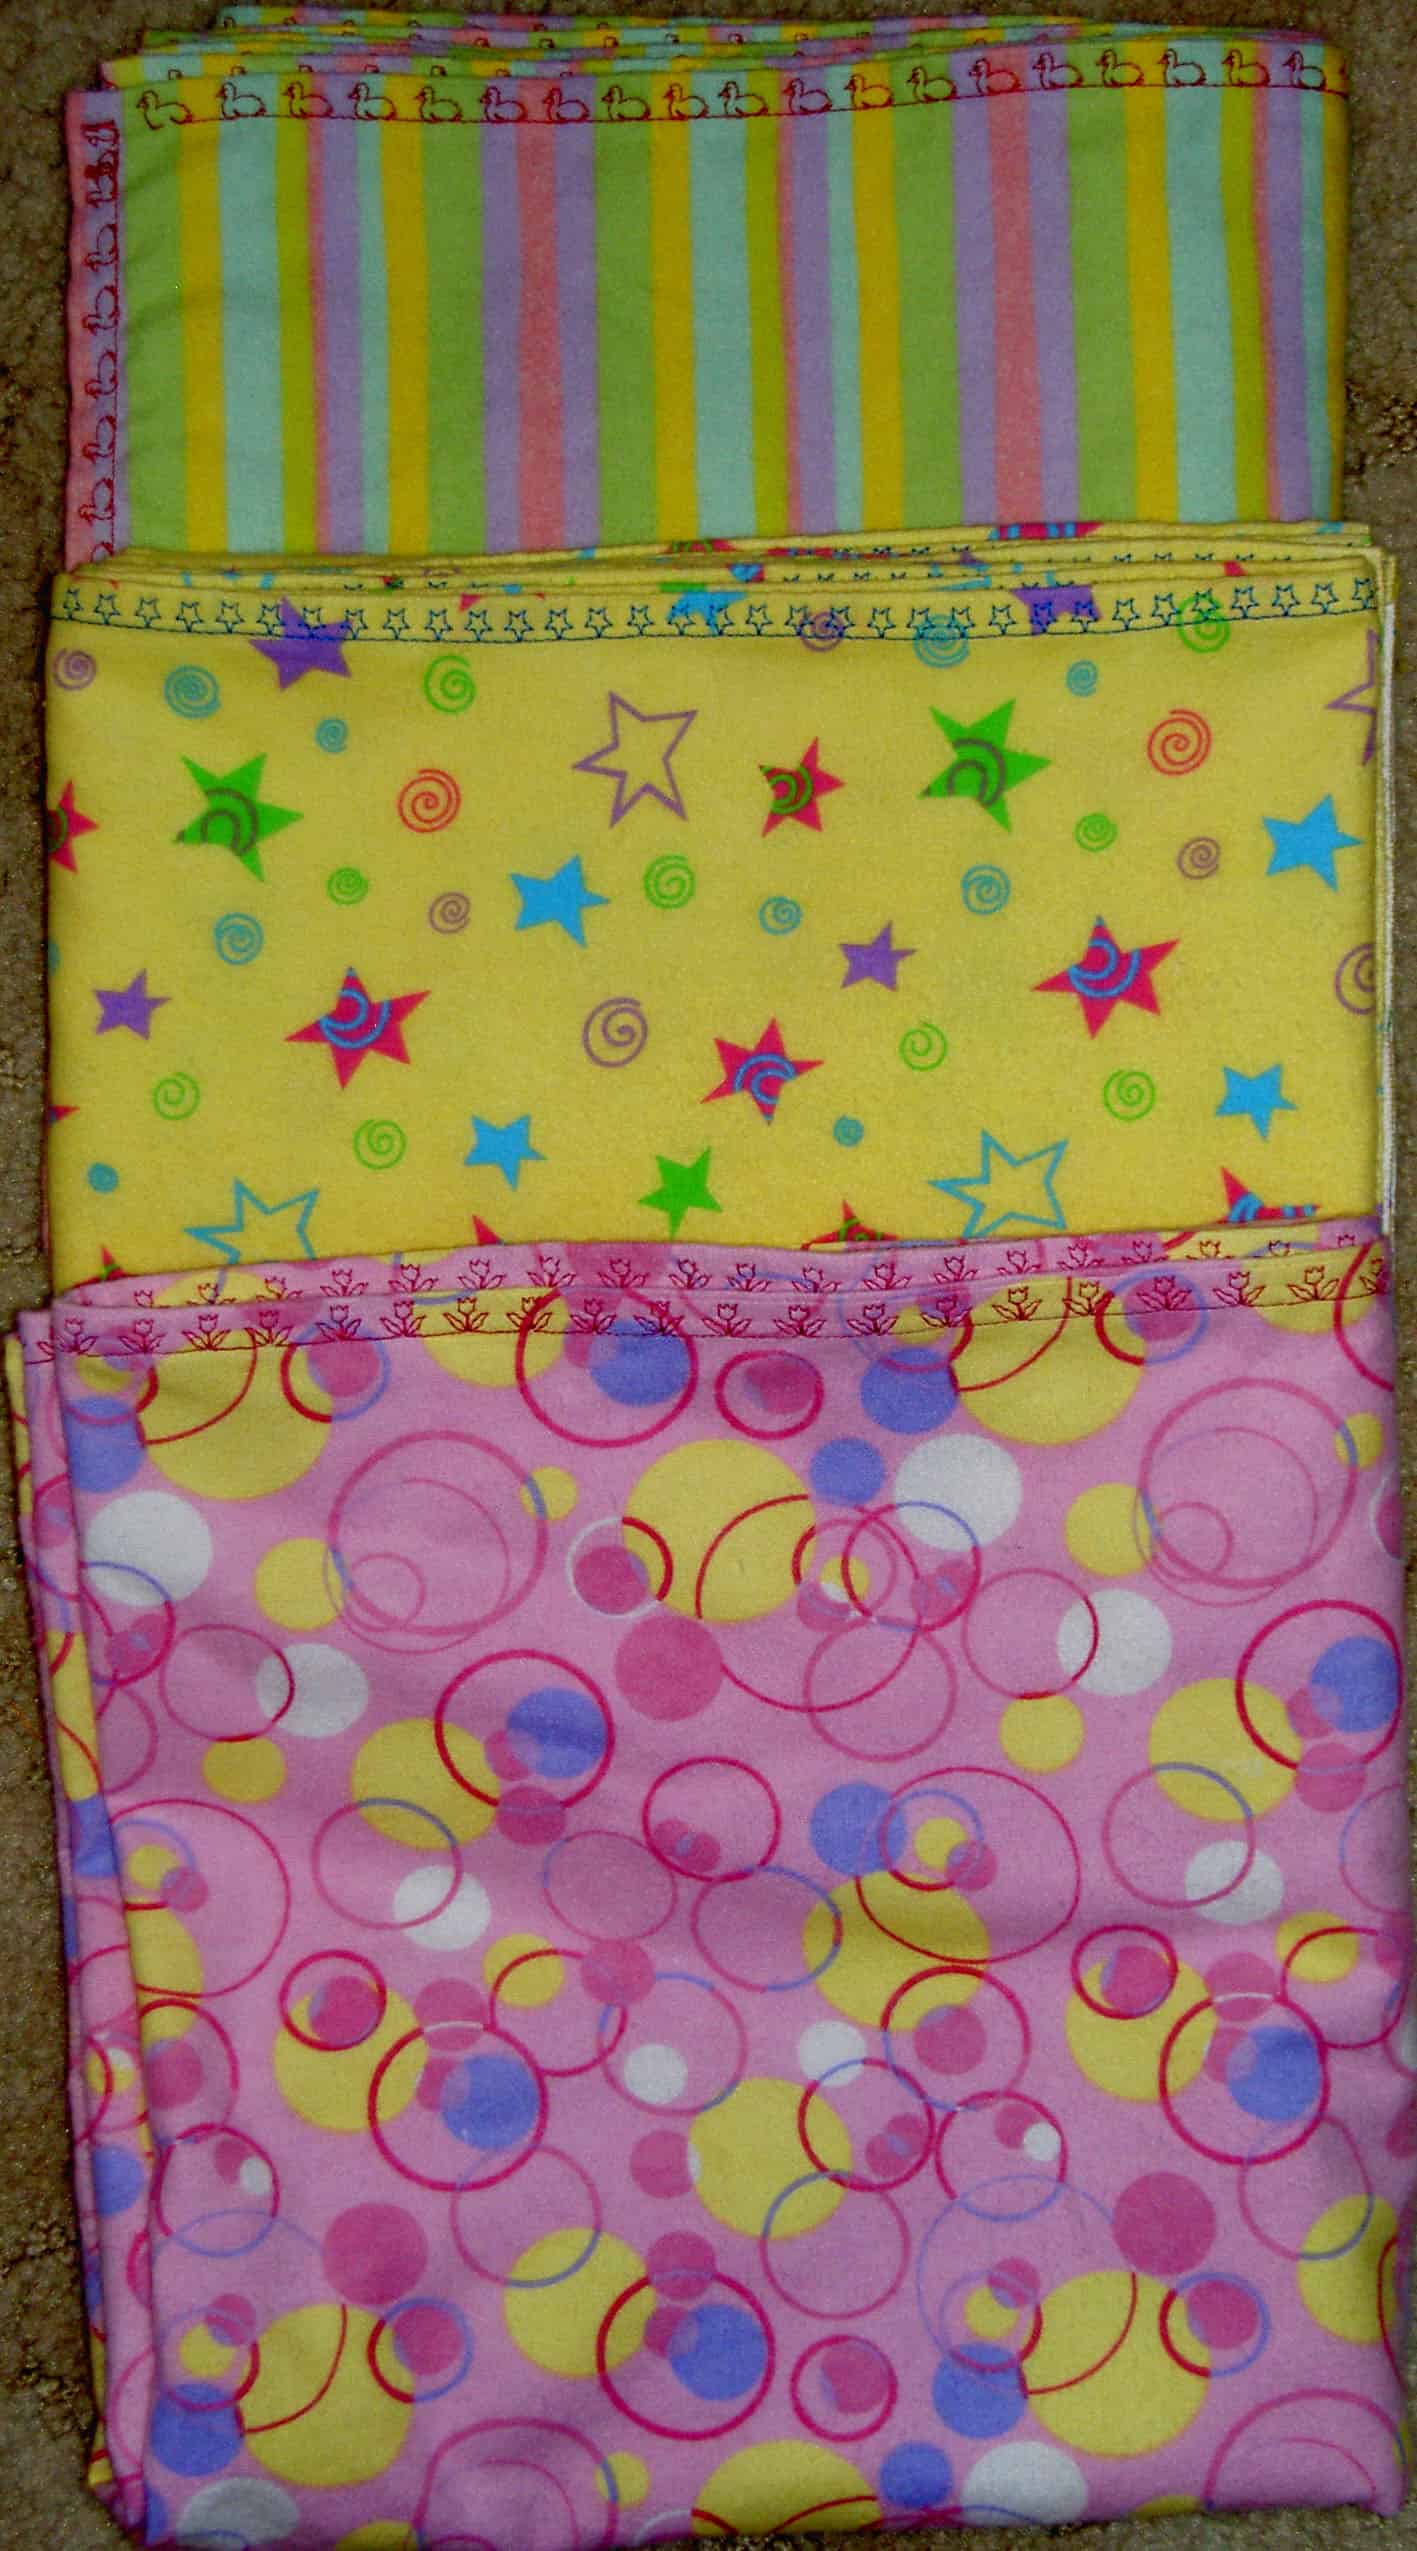
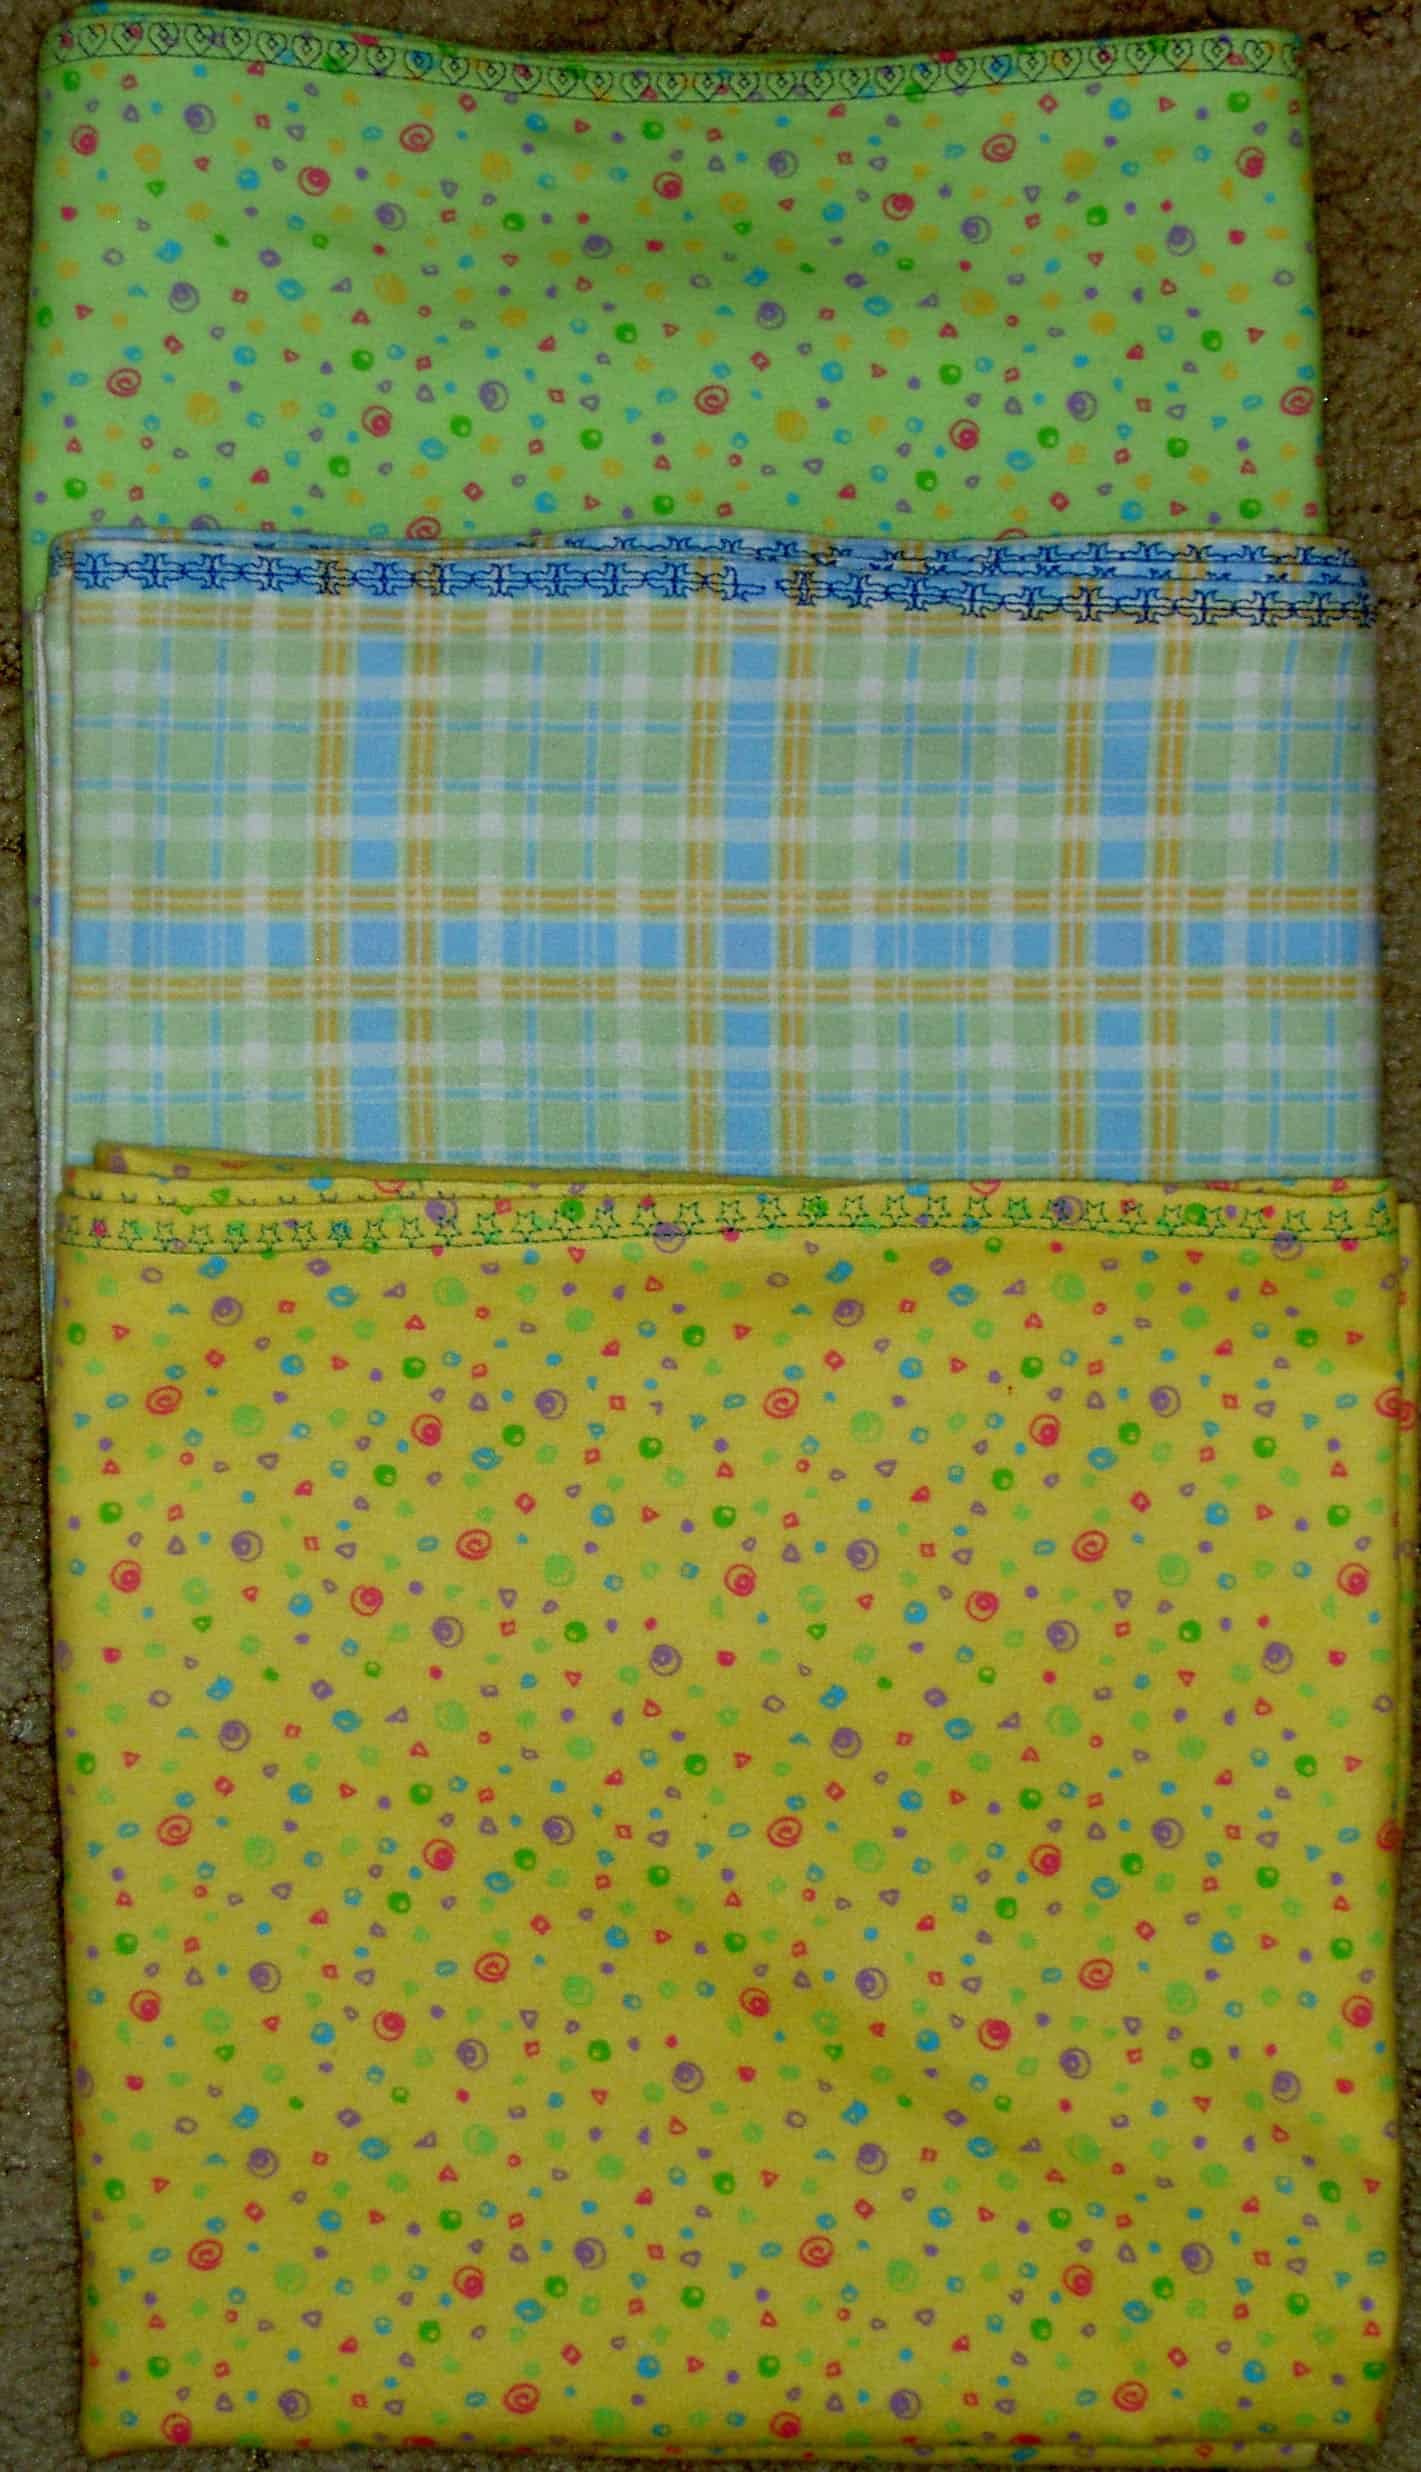
I do make receiving blankets quite frequently. They are much more useful than quilts and people seem less reluctant to use them or save them for a special day. I thought I had written about them before, but I guess not. I searched and only saw mentions
Lily Blankets
Mostly I made receiving blankets, which can be used for all sorts of useful baby things such as:
Superman (or girl) cape
sunshade
nursing cover
layer for warmth
tent
playmat
wings
changing pad
burp cover
etc
Ayden Blankets
I fold over a double hem and stitch with fun thread and a decorative stitch. Often I will leave the selvedge on so as not to have to hem yet another side. The decorative stitch takes awhile, so it is better for me to do as little hemming as possible. If these were going to another sewist or quiltmaker, I might rethink that strategy, but mostly they go to people who are not crafty.
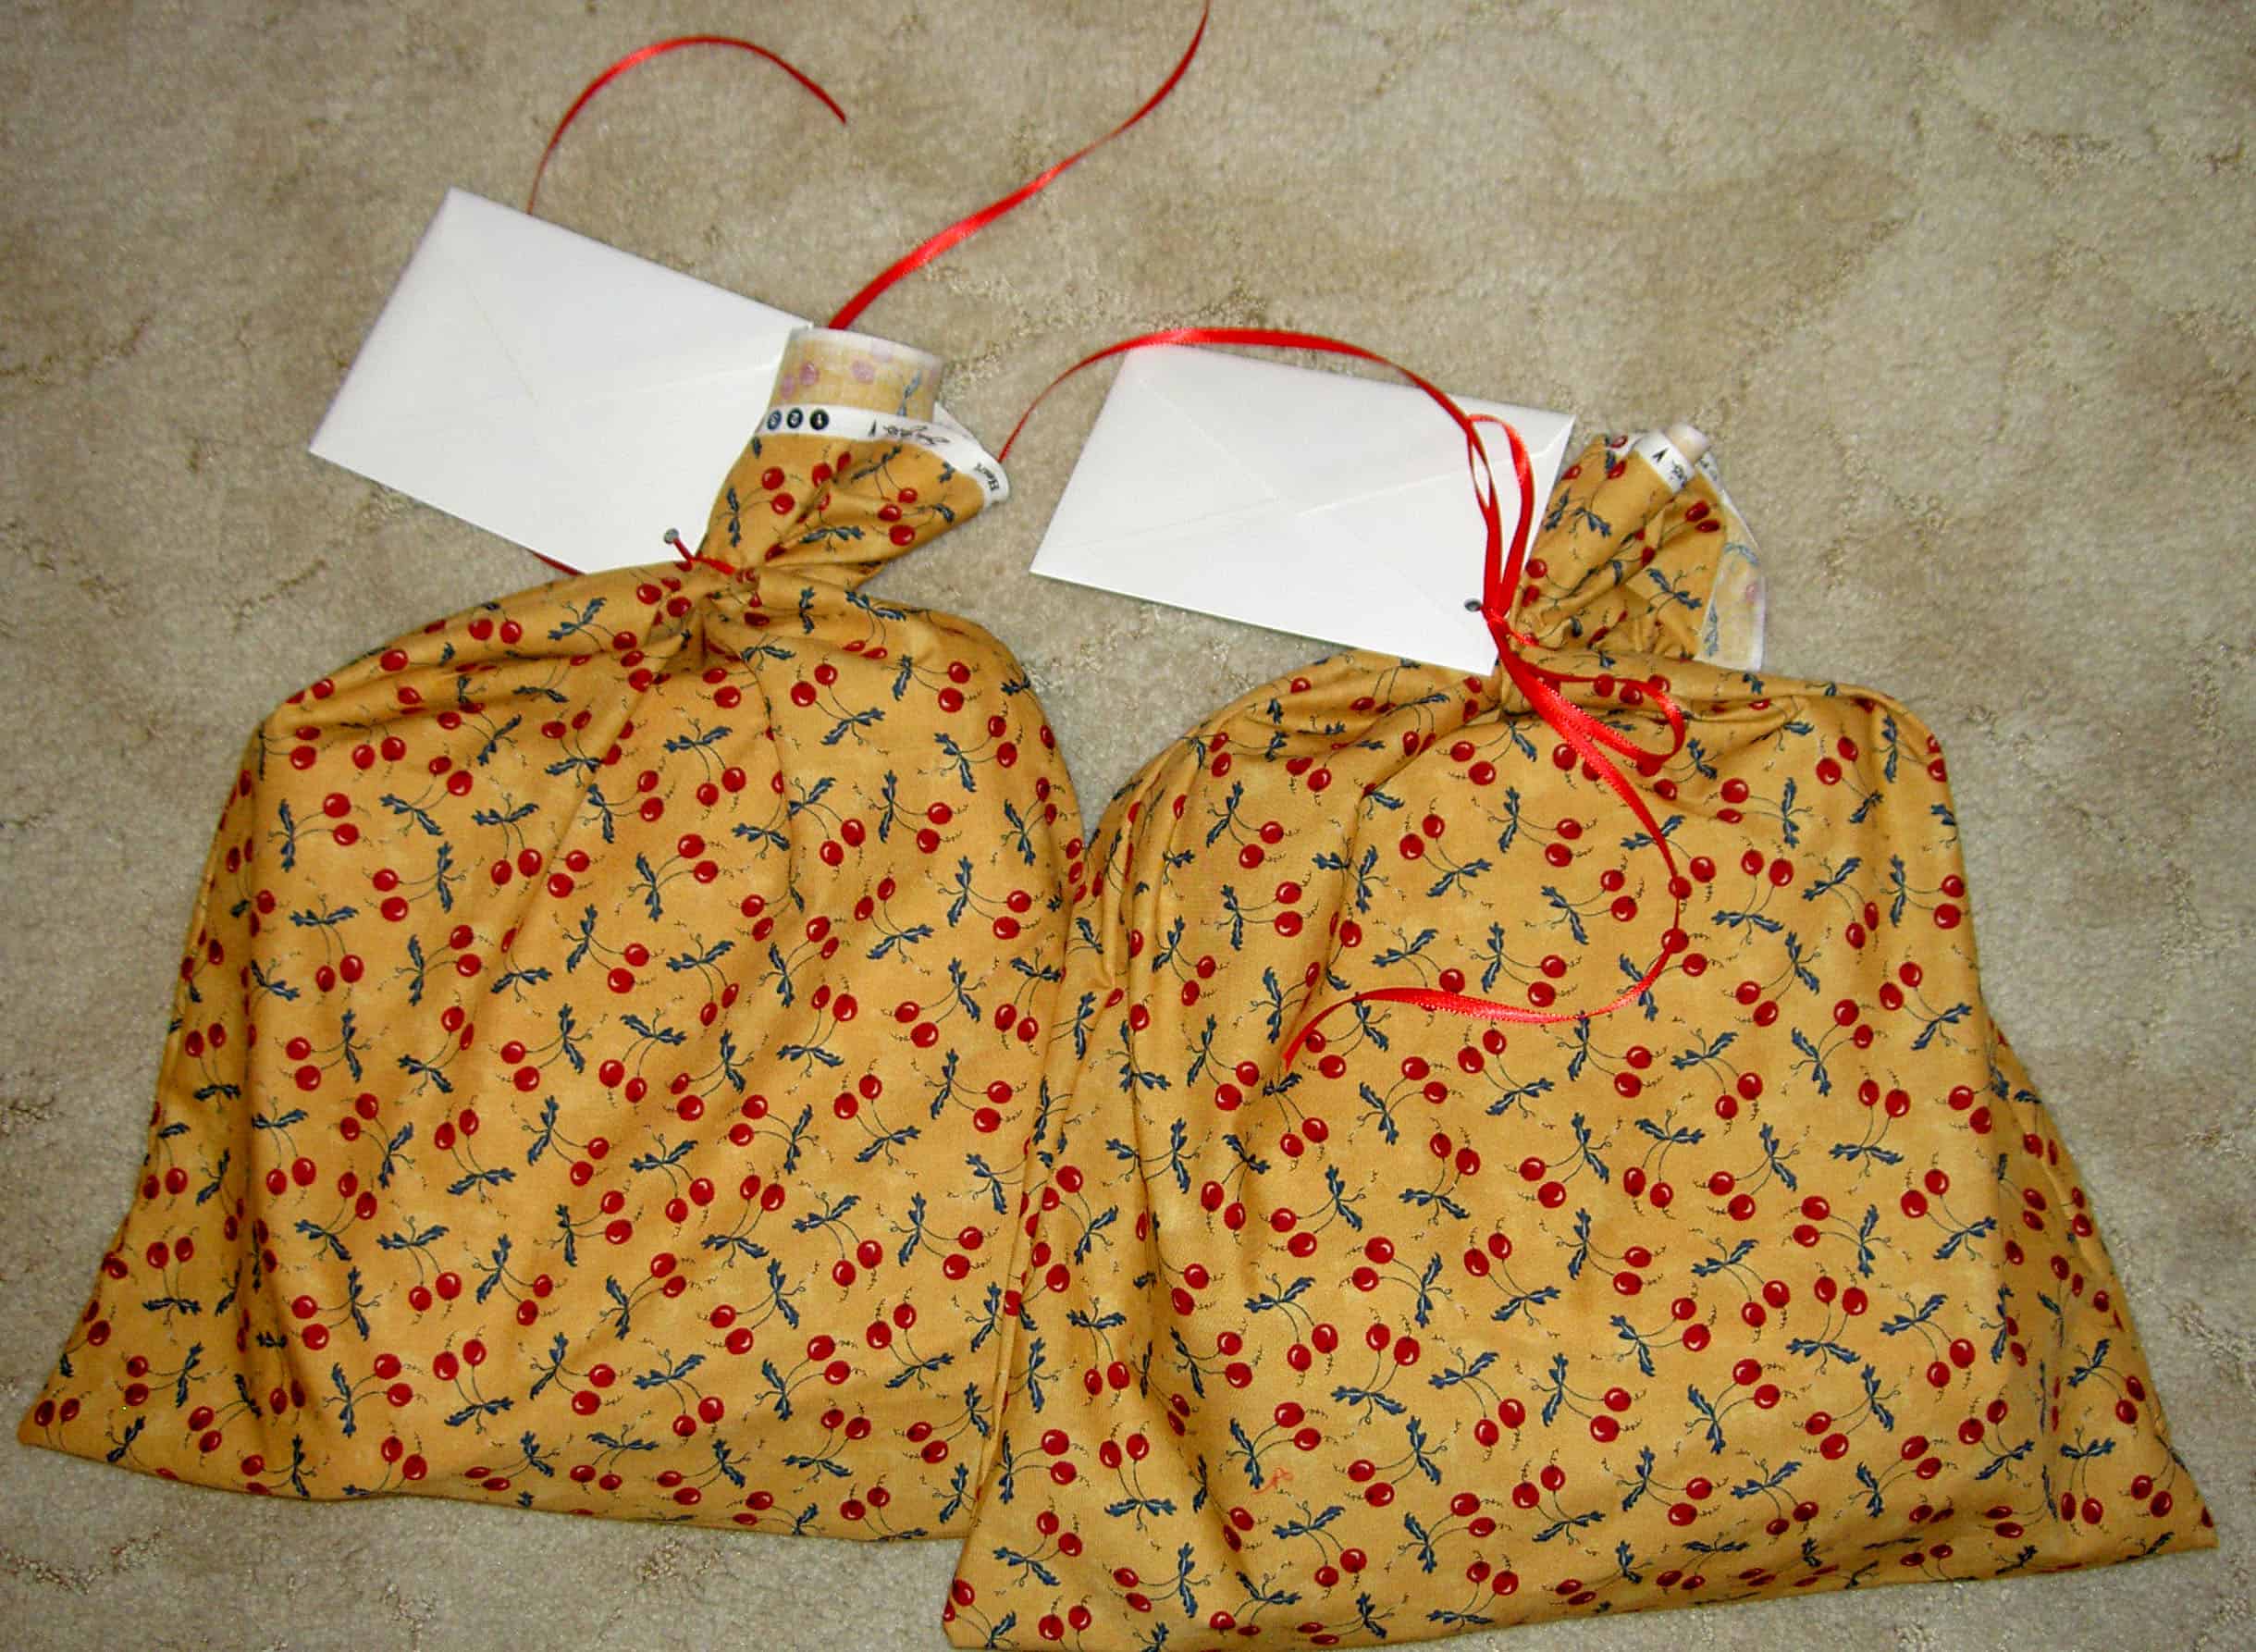
Baby Gift Bags
Finally, I don’t usually give gift bags to people who don’t give them back or re-use them. This time, I really didn’t feel like dealing with any paper or tape or anything. I sincerely dislike wrapping gifts with paper, so I pulled some fabric off the ‘back art’ shelf and made two bags. I don’t really like the background color of the fabric. Don’t ask me why I bought it – the cherries, probably. I like the bags, though and perhaps it will encourage more people to make fabric gift bags they can re-use.
This is a cool garland that my sister made.I thought I wrote about it before, but apparently not.
If you want to buy it, go to her Etsy shop. I love it and hope she will just make one for me and I don’t have to buy it. I can imagine it draped artistically aroung my bannister. She is a tough business woman, though, so we will see. 😉
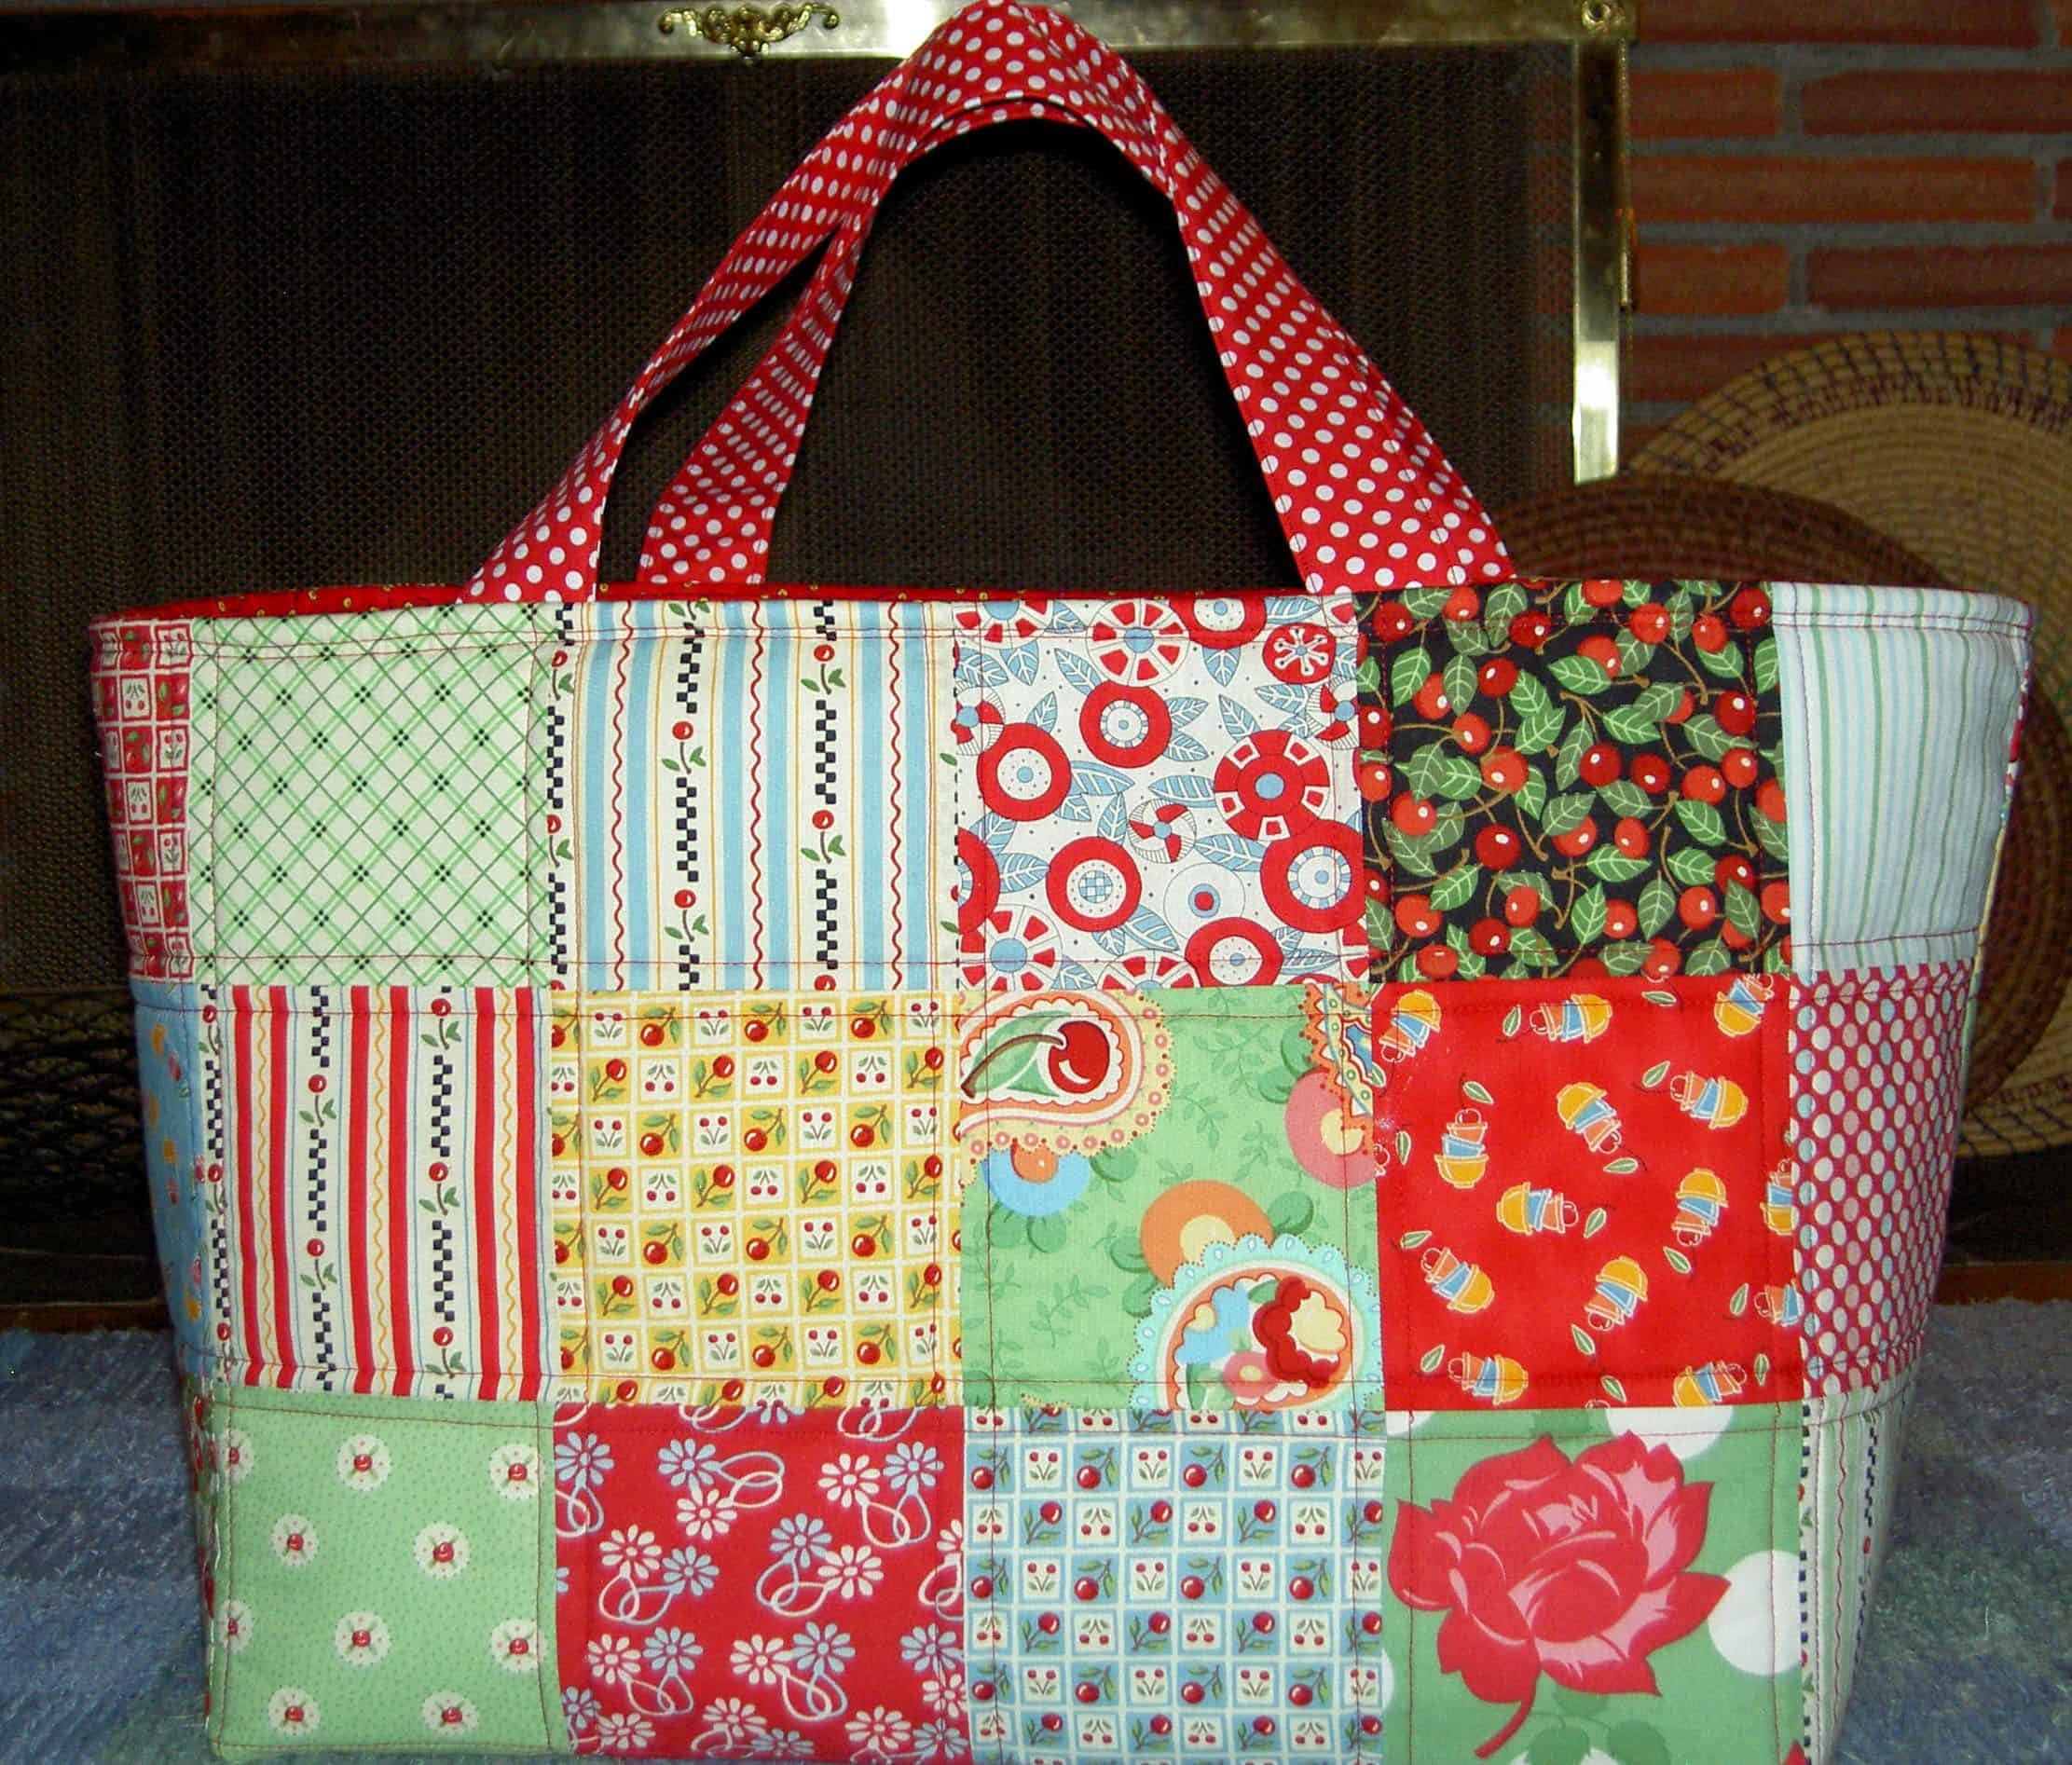
This is the Chubby Charmer. Two of my friends, Maureen and Terri both had bags made from this pattern and I admired their shape and size. On my week away, I made one.
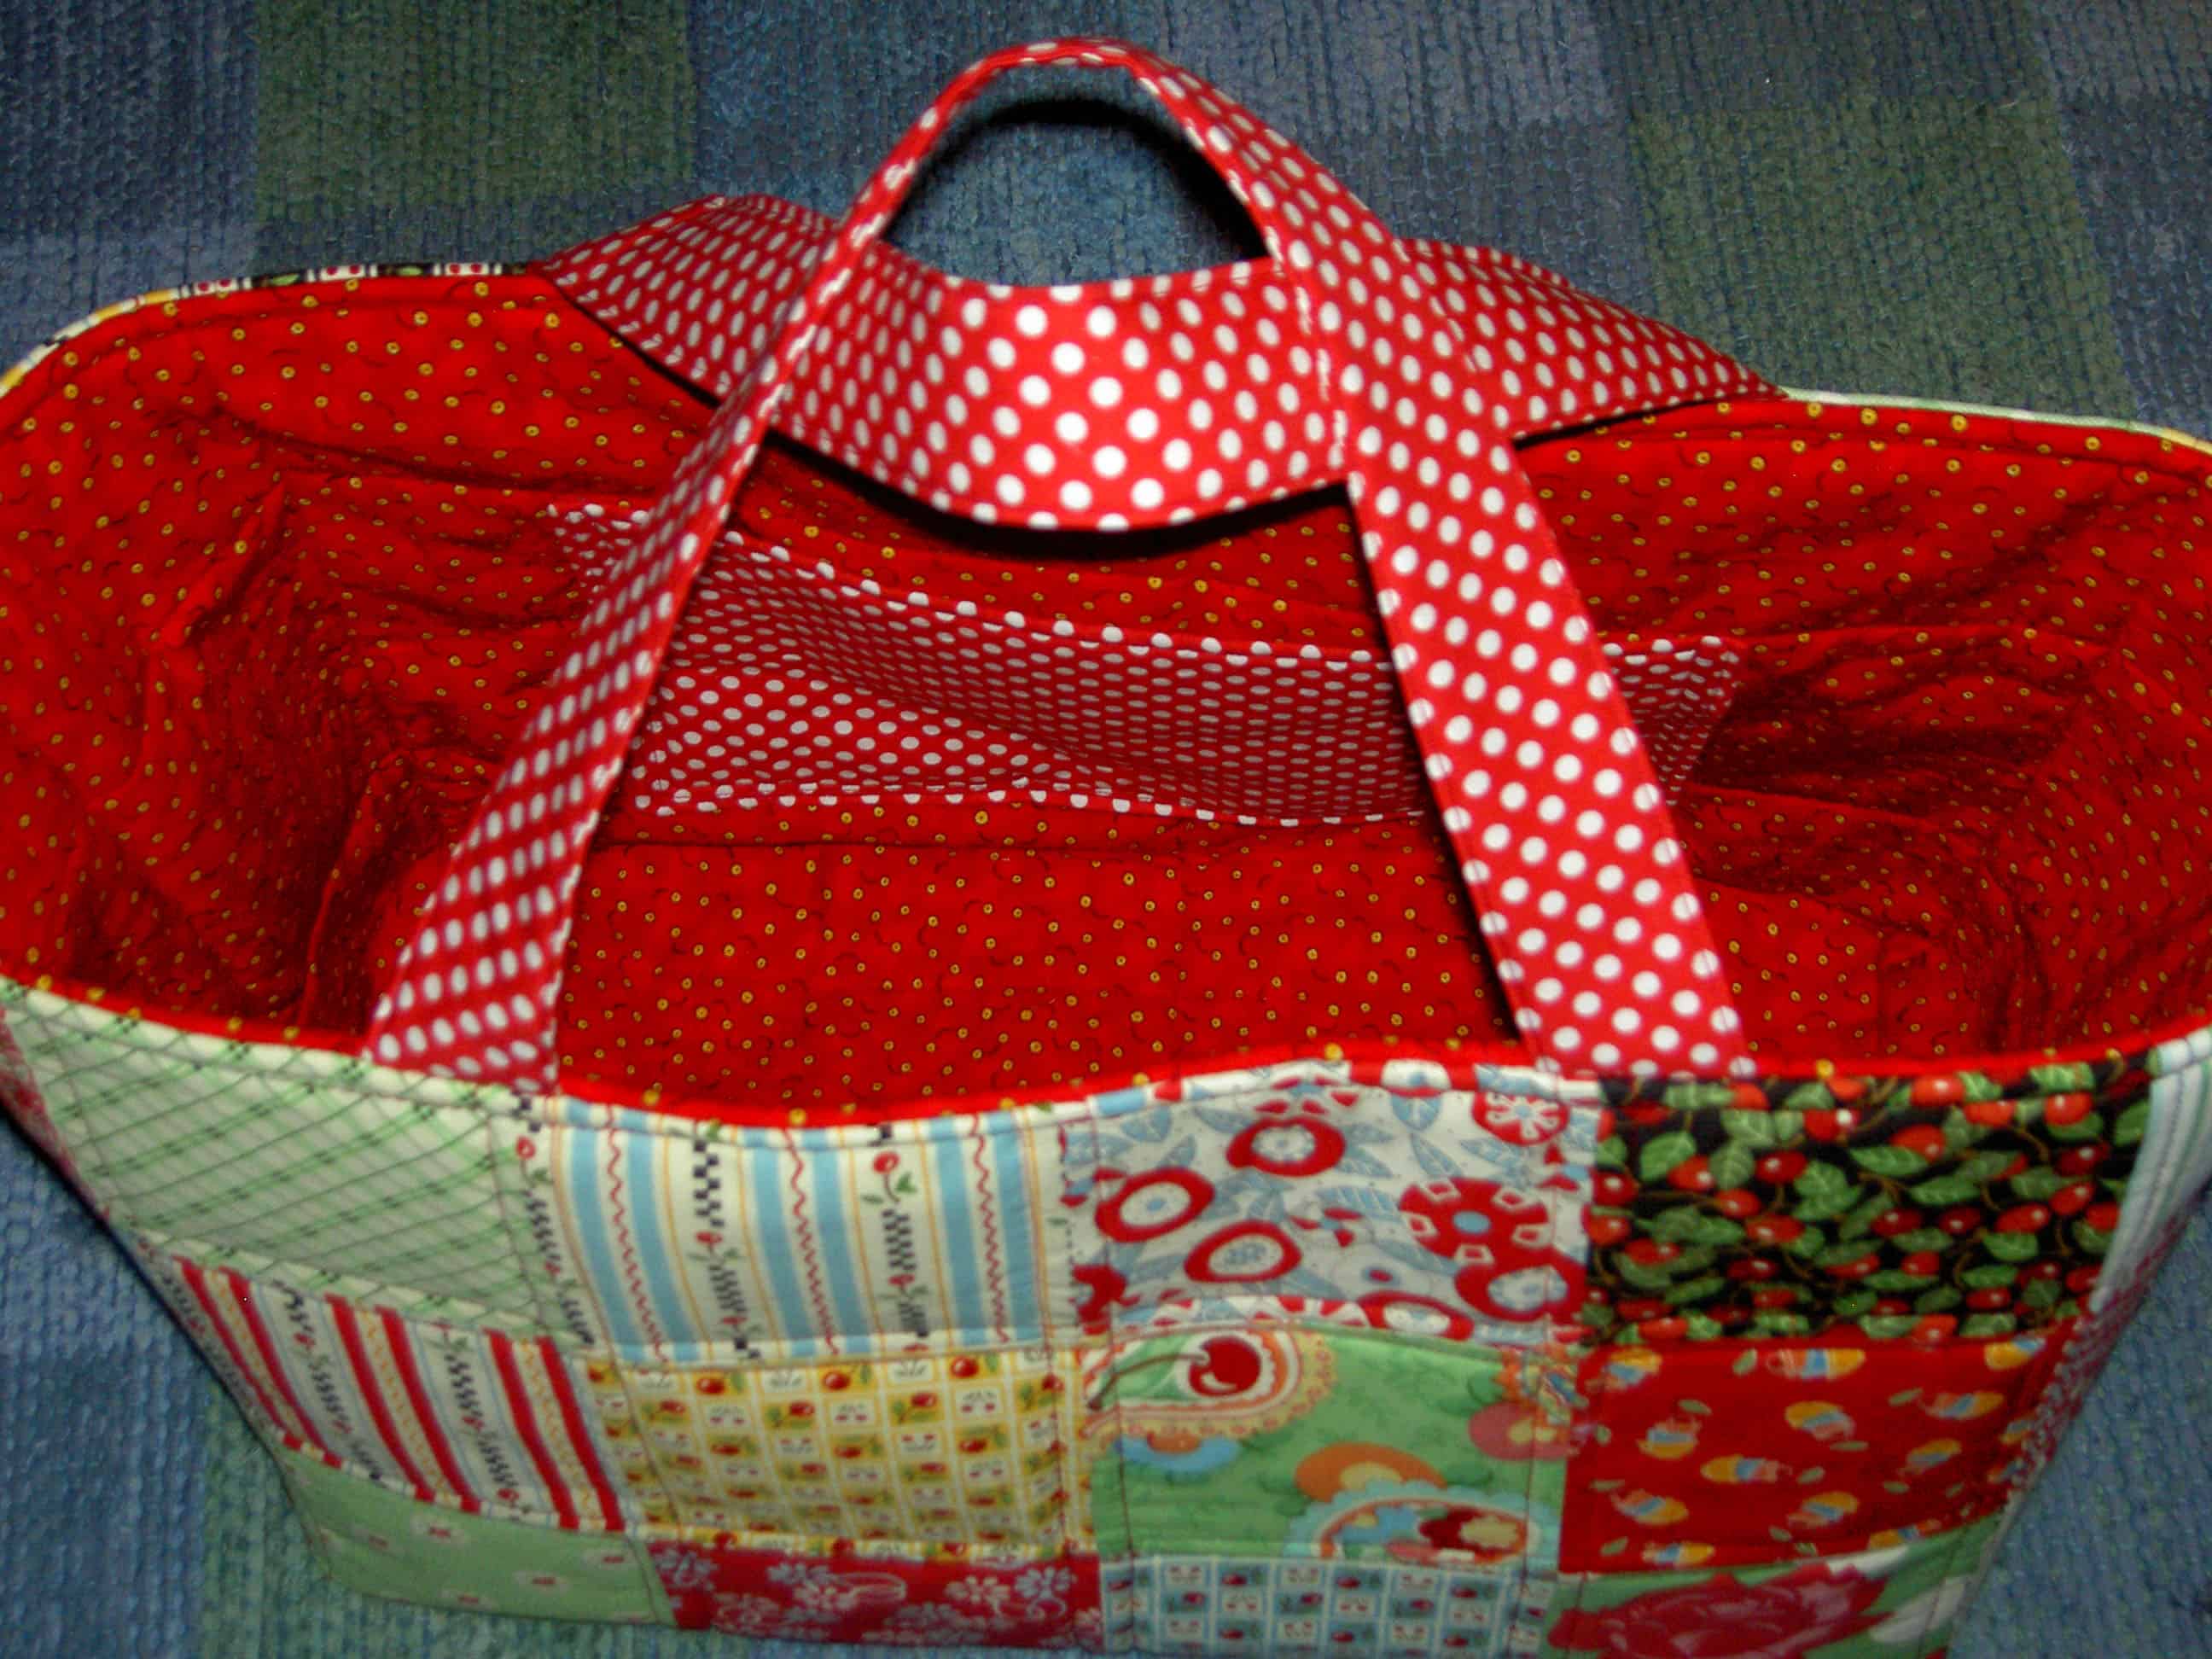
This is a BIG bag. I could fit my 3YO nephew in this bag! I didn’t realize the size in relation to my size until it was finished. I like it and will probably use it to carry stuff up and down the stairs in the house, or perhaps out to the car. I can imagine it would be useful for carrying packages out to the car to take to the post office.
I don’t think it will be great for carrying around on a general basis, because it might get really dirty and I am not sure about the washability. I also think that I could easily fill it up with 30 pounds of stuff. I’ll have to make an effort not to fill it with 30 pounds of stuff.
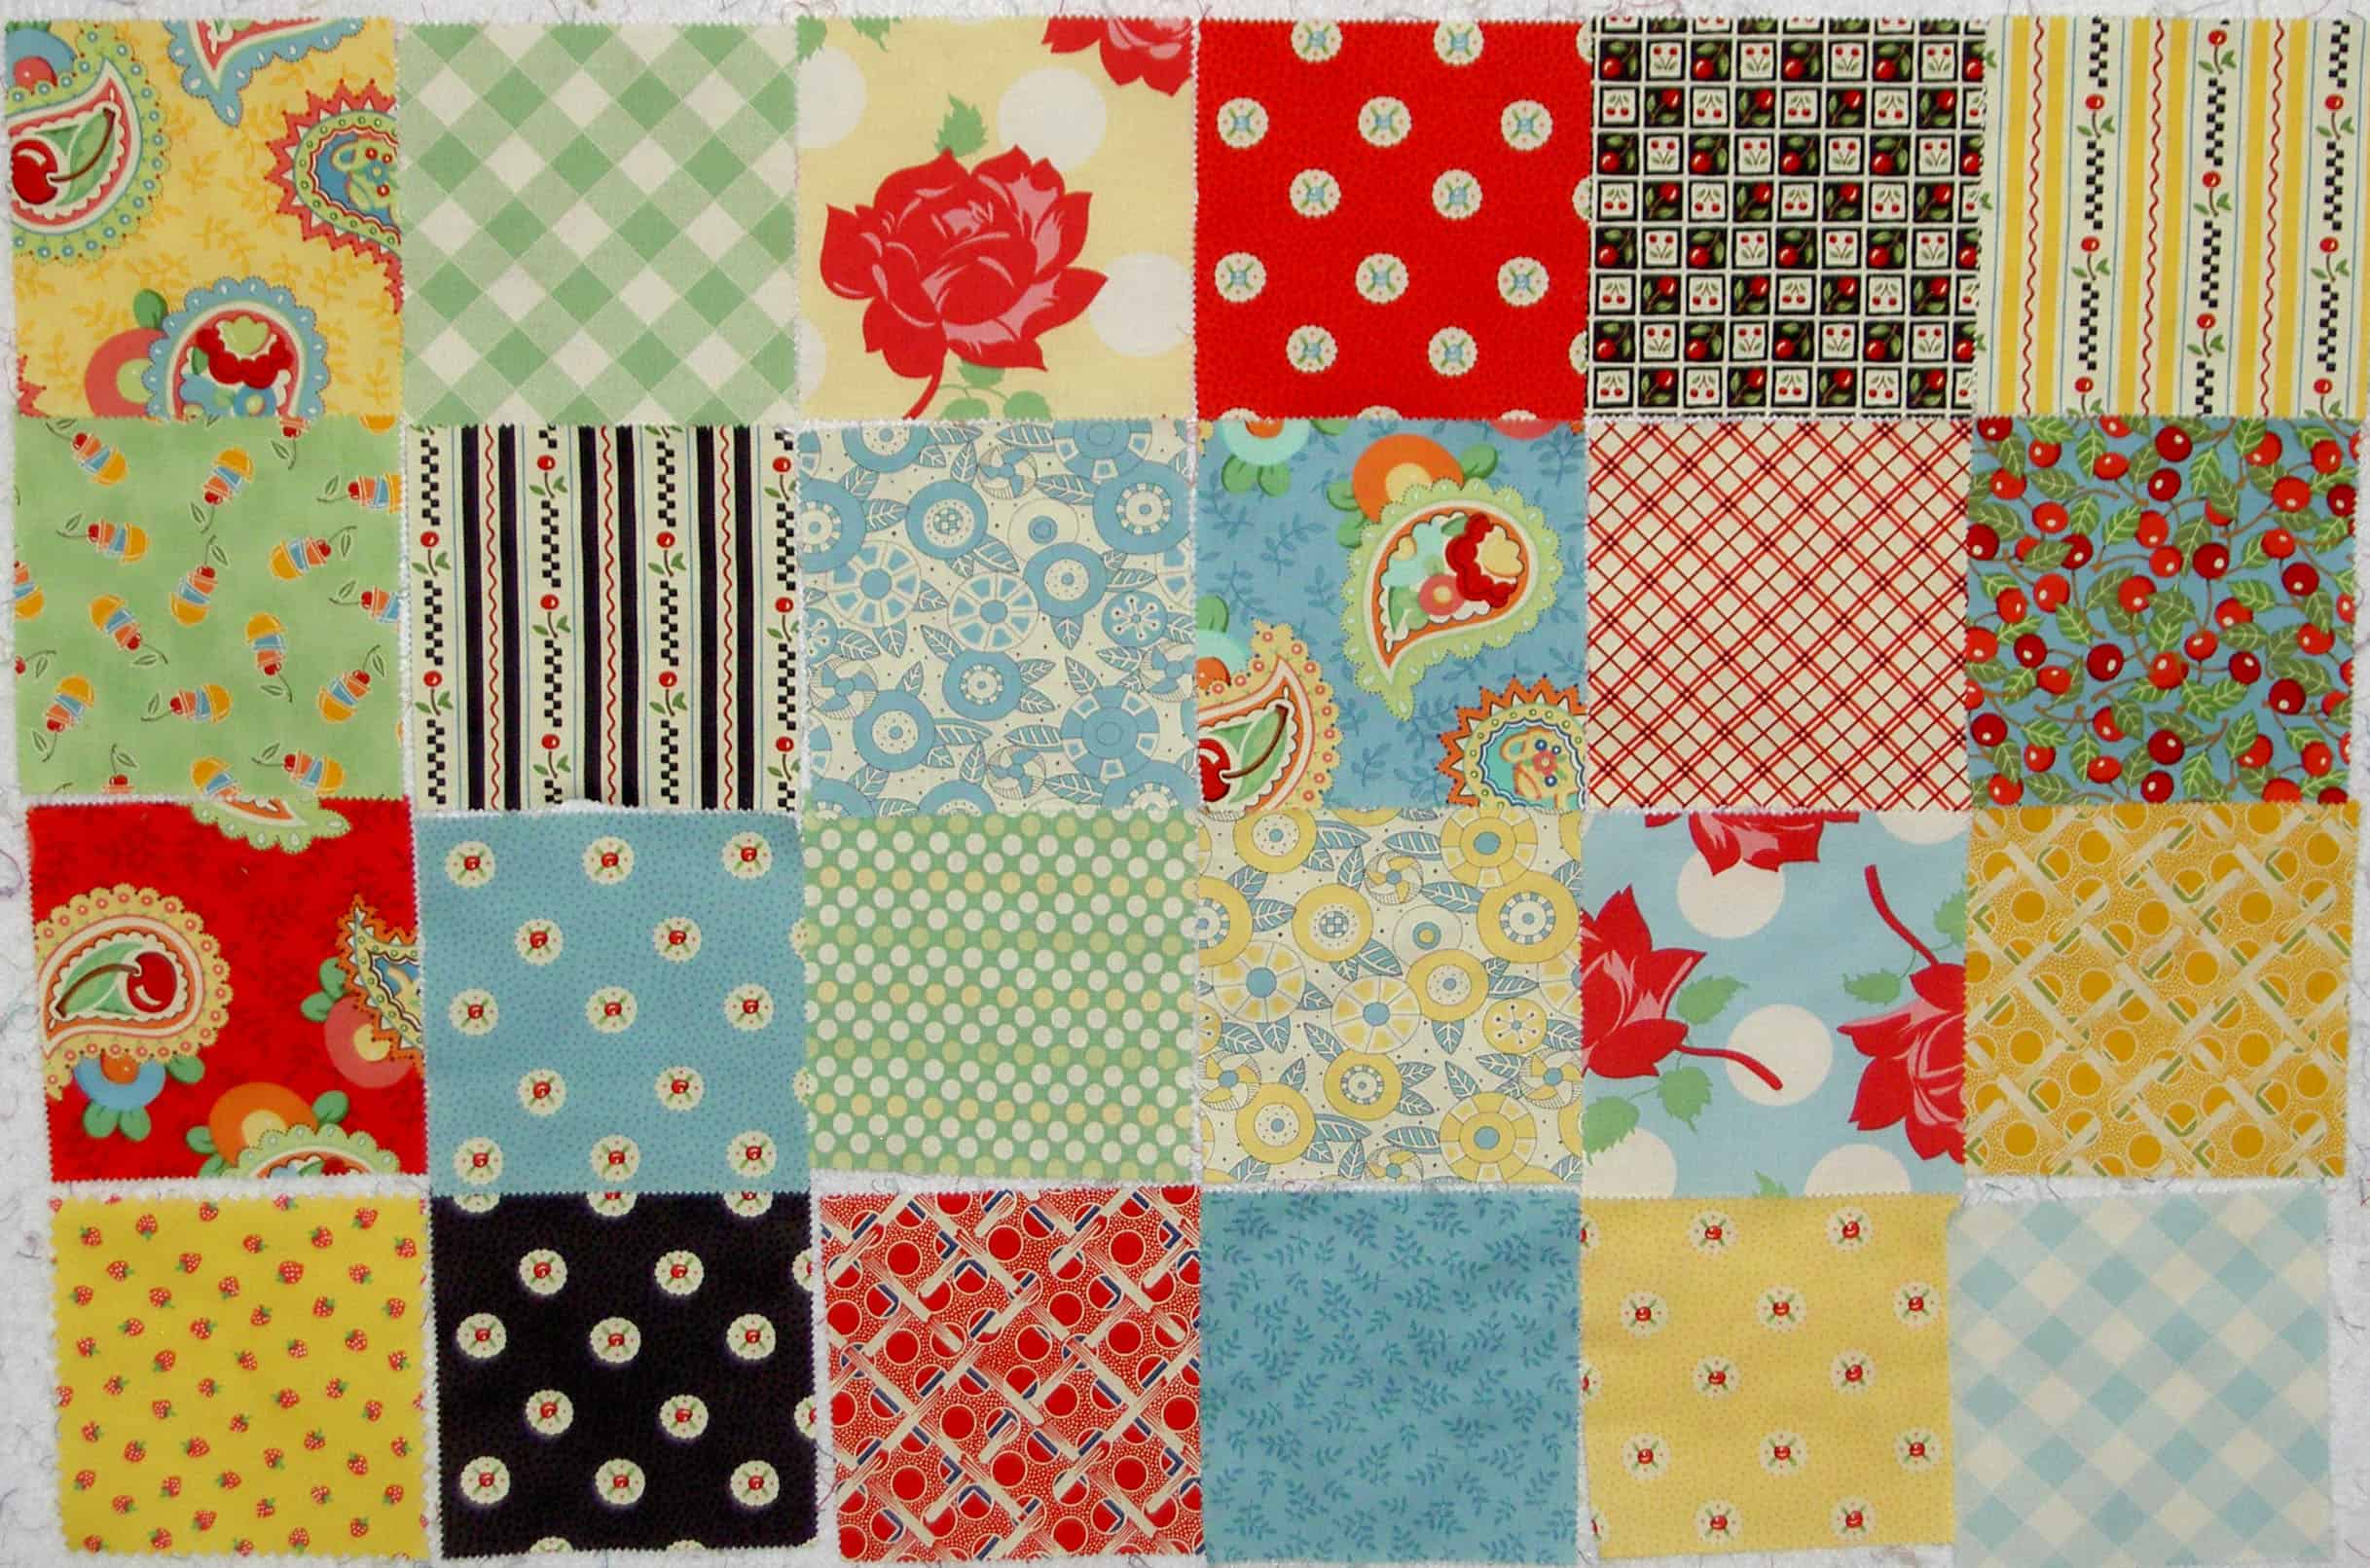
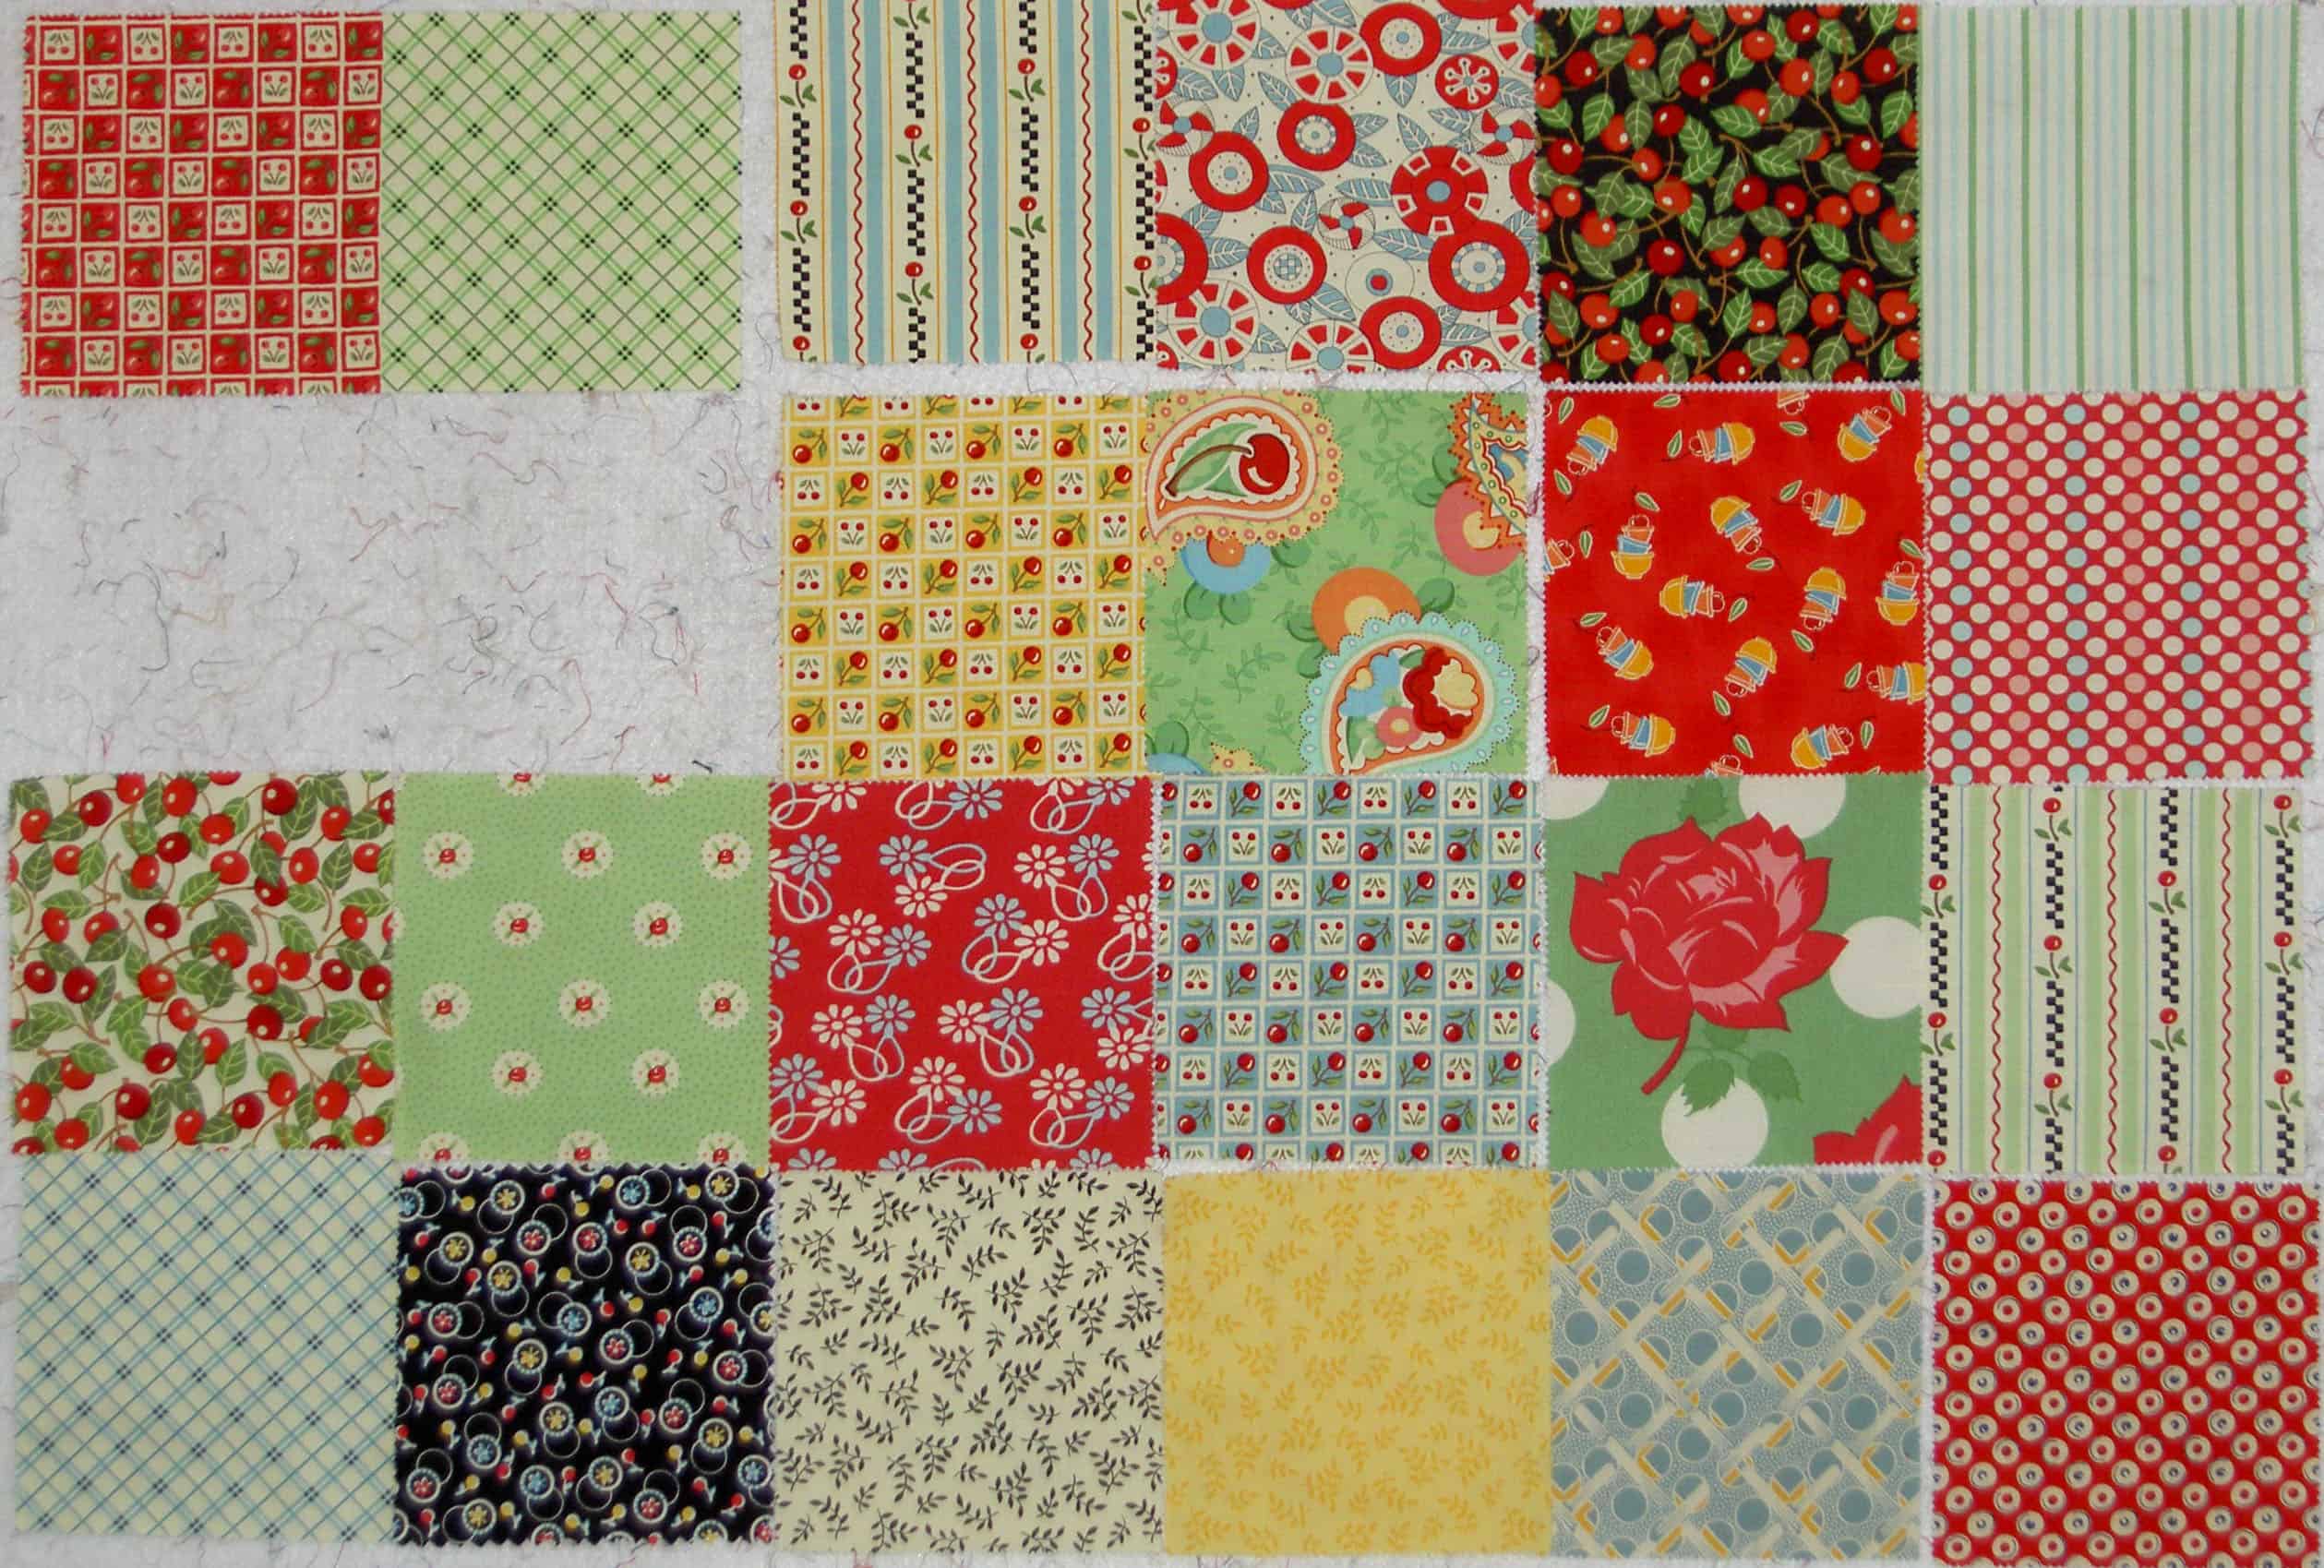
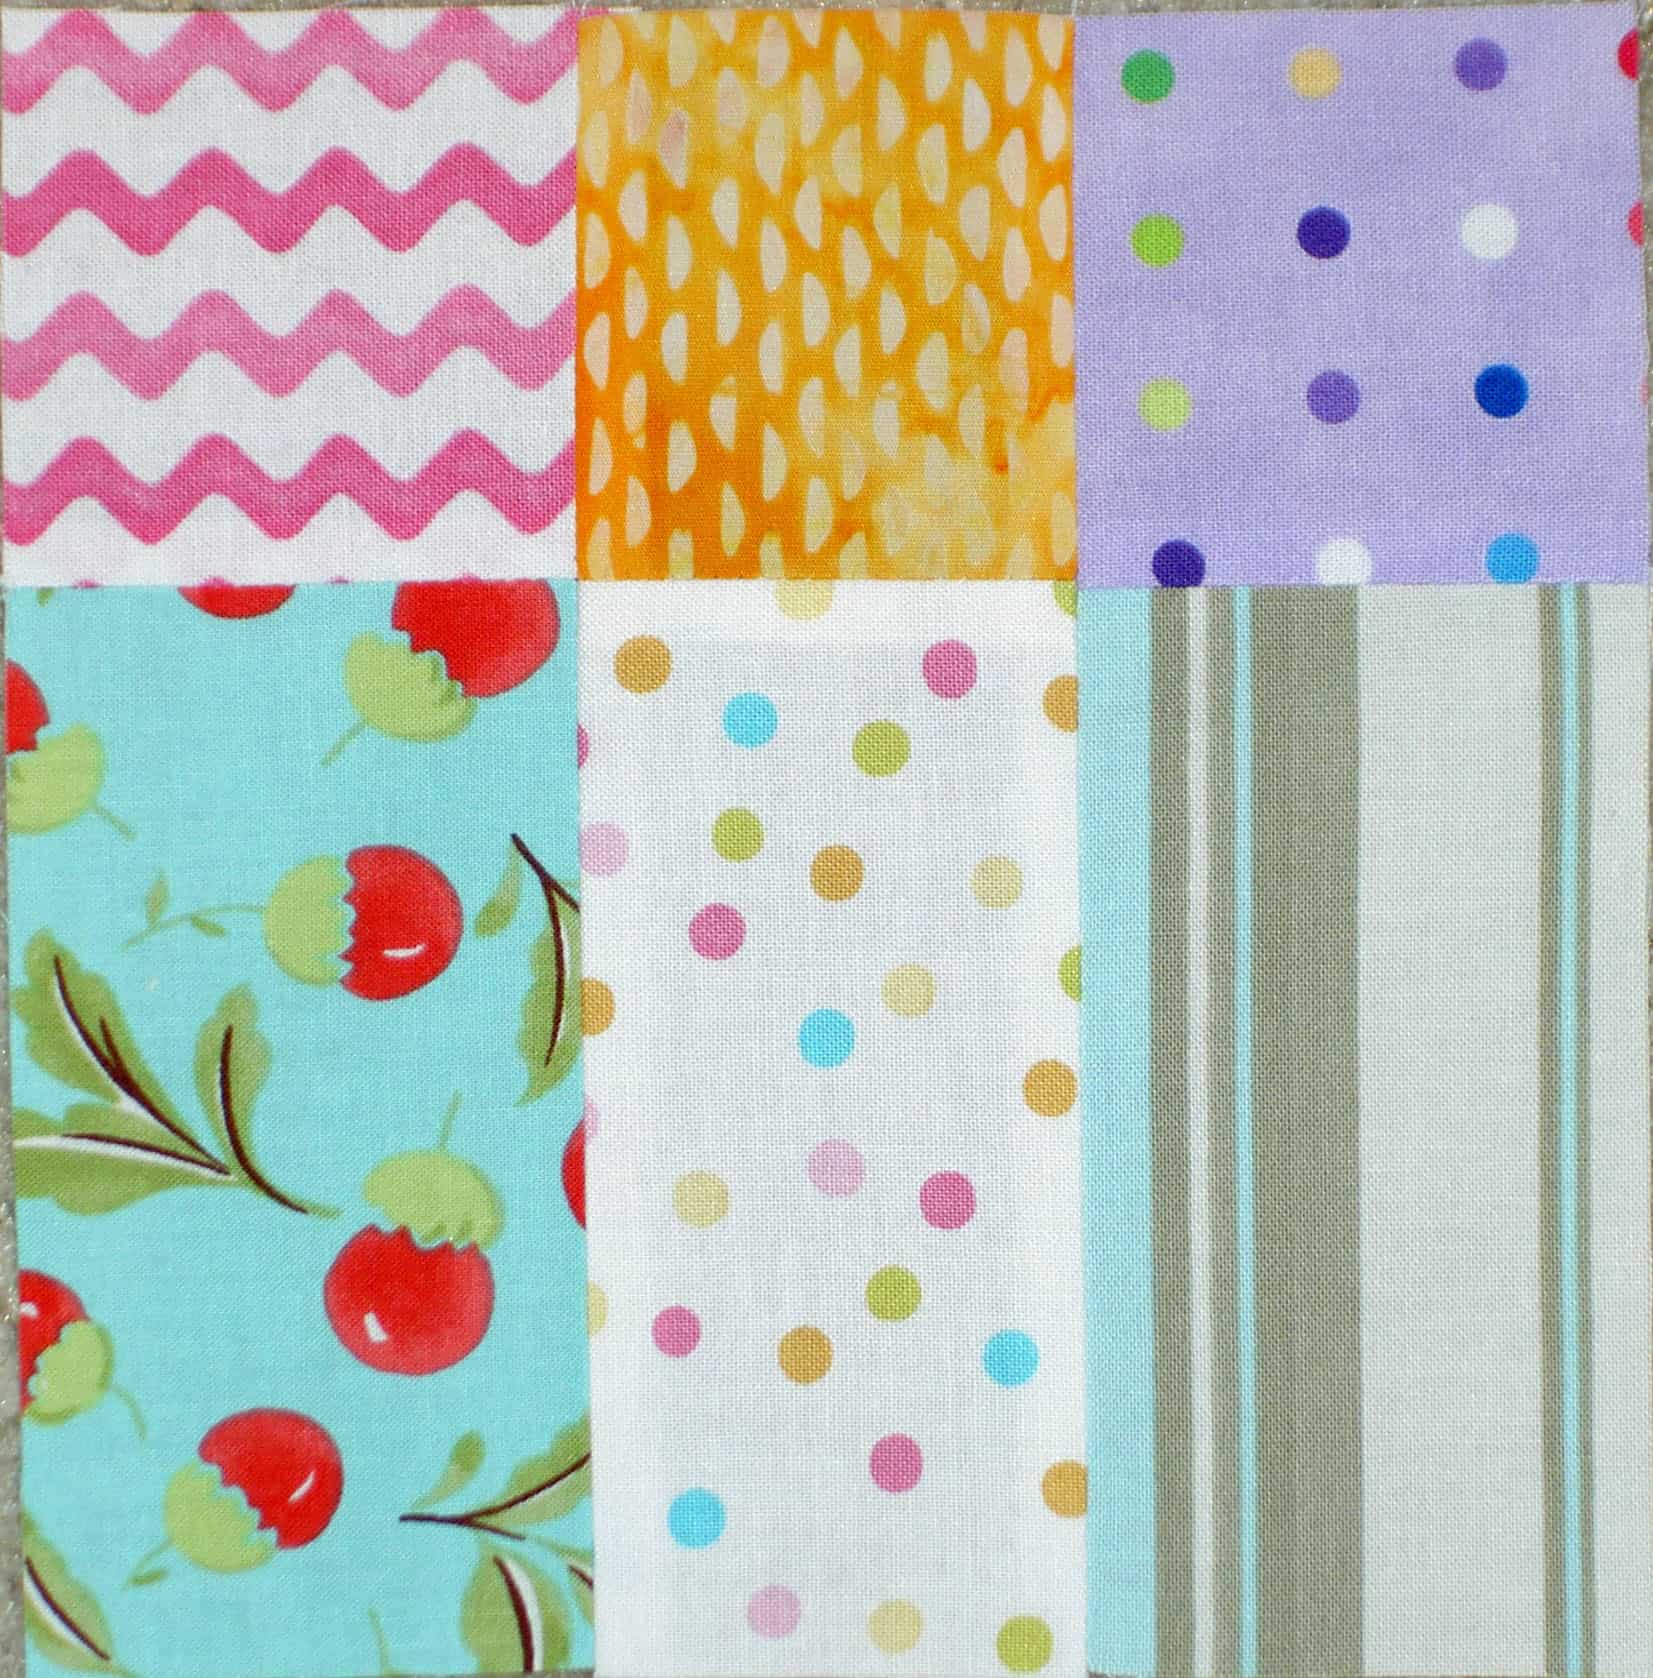
I used a Moda pack of charm squares from approximately 2007 called Recipe for Friendship by Mary Engelbreit to make the outside of the bag. There weren’t quite enough so TFQ threw in a few from the more recent Snippets collection. We agonized a bit, but not too much and then I began sewing them together.
Side oneSide two
One of the things I liked about this pattern is that it is specifically designed for the Moda Charm Packs. I don’t know if other companies make 5″ charm packs. I assume some do. It is very easy to cut your own 5″ squares out of your favorite fabrics. If I were going to use my own fabrics, I think I would collect 5″ squares as I cut fabrics for other projects.
I was putting away some other charm packs I have (Figgy Pudding and Pumpkins Gone Wild), I was thinking about what else I could make from these charm packs. I don’t need to have a specific charm pack pattern; I could just sew the squares together and then cut a pattern out of that new fabric.
I also used the red and white dotted fabric (by Susie Osborne, Emmalyne’s Day of the Week line) for the handles and TFQ gave me the red fabric (Mary Lou Weideman for In the Beginning Fabrics) for the inside.
I bought a pack of fusible fleece at the same time I bought the pattern at PIQF. I found, though, that that pack didn’t have enough of the fusible fleece and I had to get more. Both the inside walls and outside walls take two layers of fusible fleece. I didn’t find that it stuck together very well afer pressing. As a result I think I would just use my leftover batting if I made this pattern again.
The pattern designer has a really cool trick for making the box bottom. The maker traces a square template (provided in pattern) on to each bottom corner. After some sewing gymnastics, which are well explained in the pattern, you end up with a line to sew across that makes the box bottom. Very easy and no box bottom guessing. TFQ came across a similar trick in the Jane Market tote by Posie Gets Cosy. We tried to find the ratios of squares to front panels so we could try it ourselves on our own designs, but haven’t yet been successful.
I decided that I would write one big long post to catch up, because I seem to have bunches of photos yet to post. I don’t want to say “oh 3 weeks ago, I made this and that.”
Another view of the Tarts
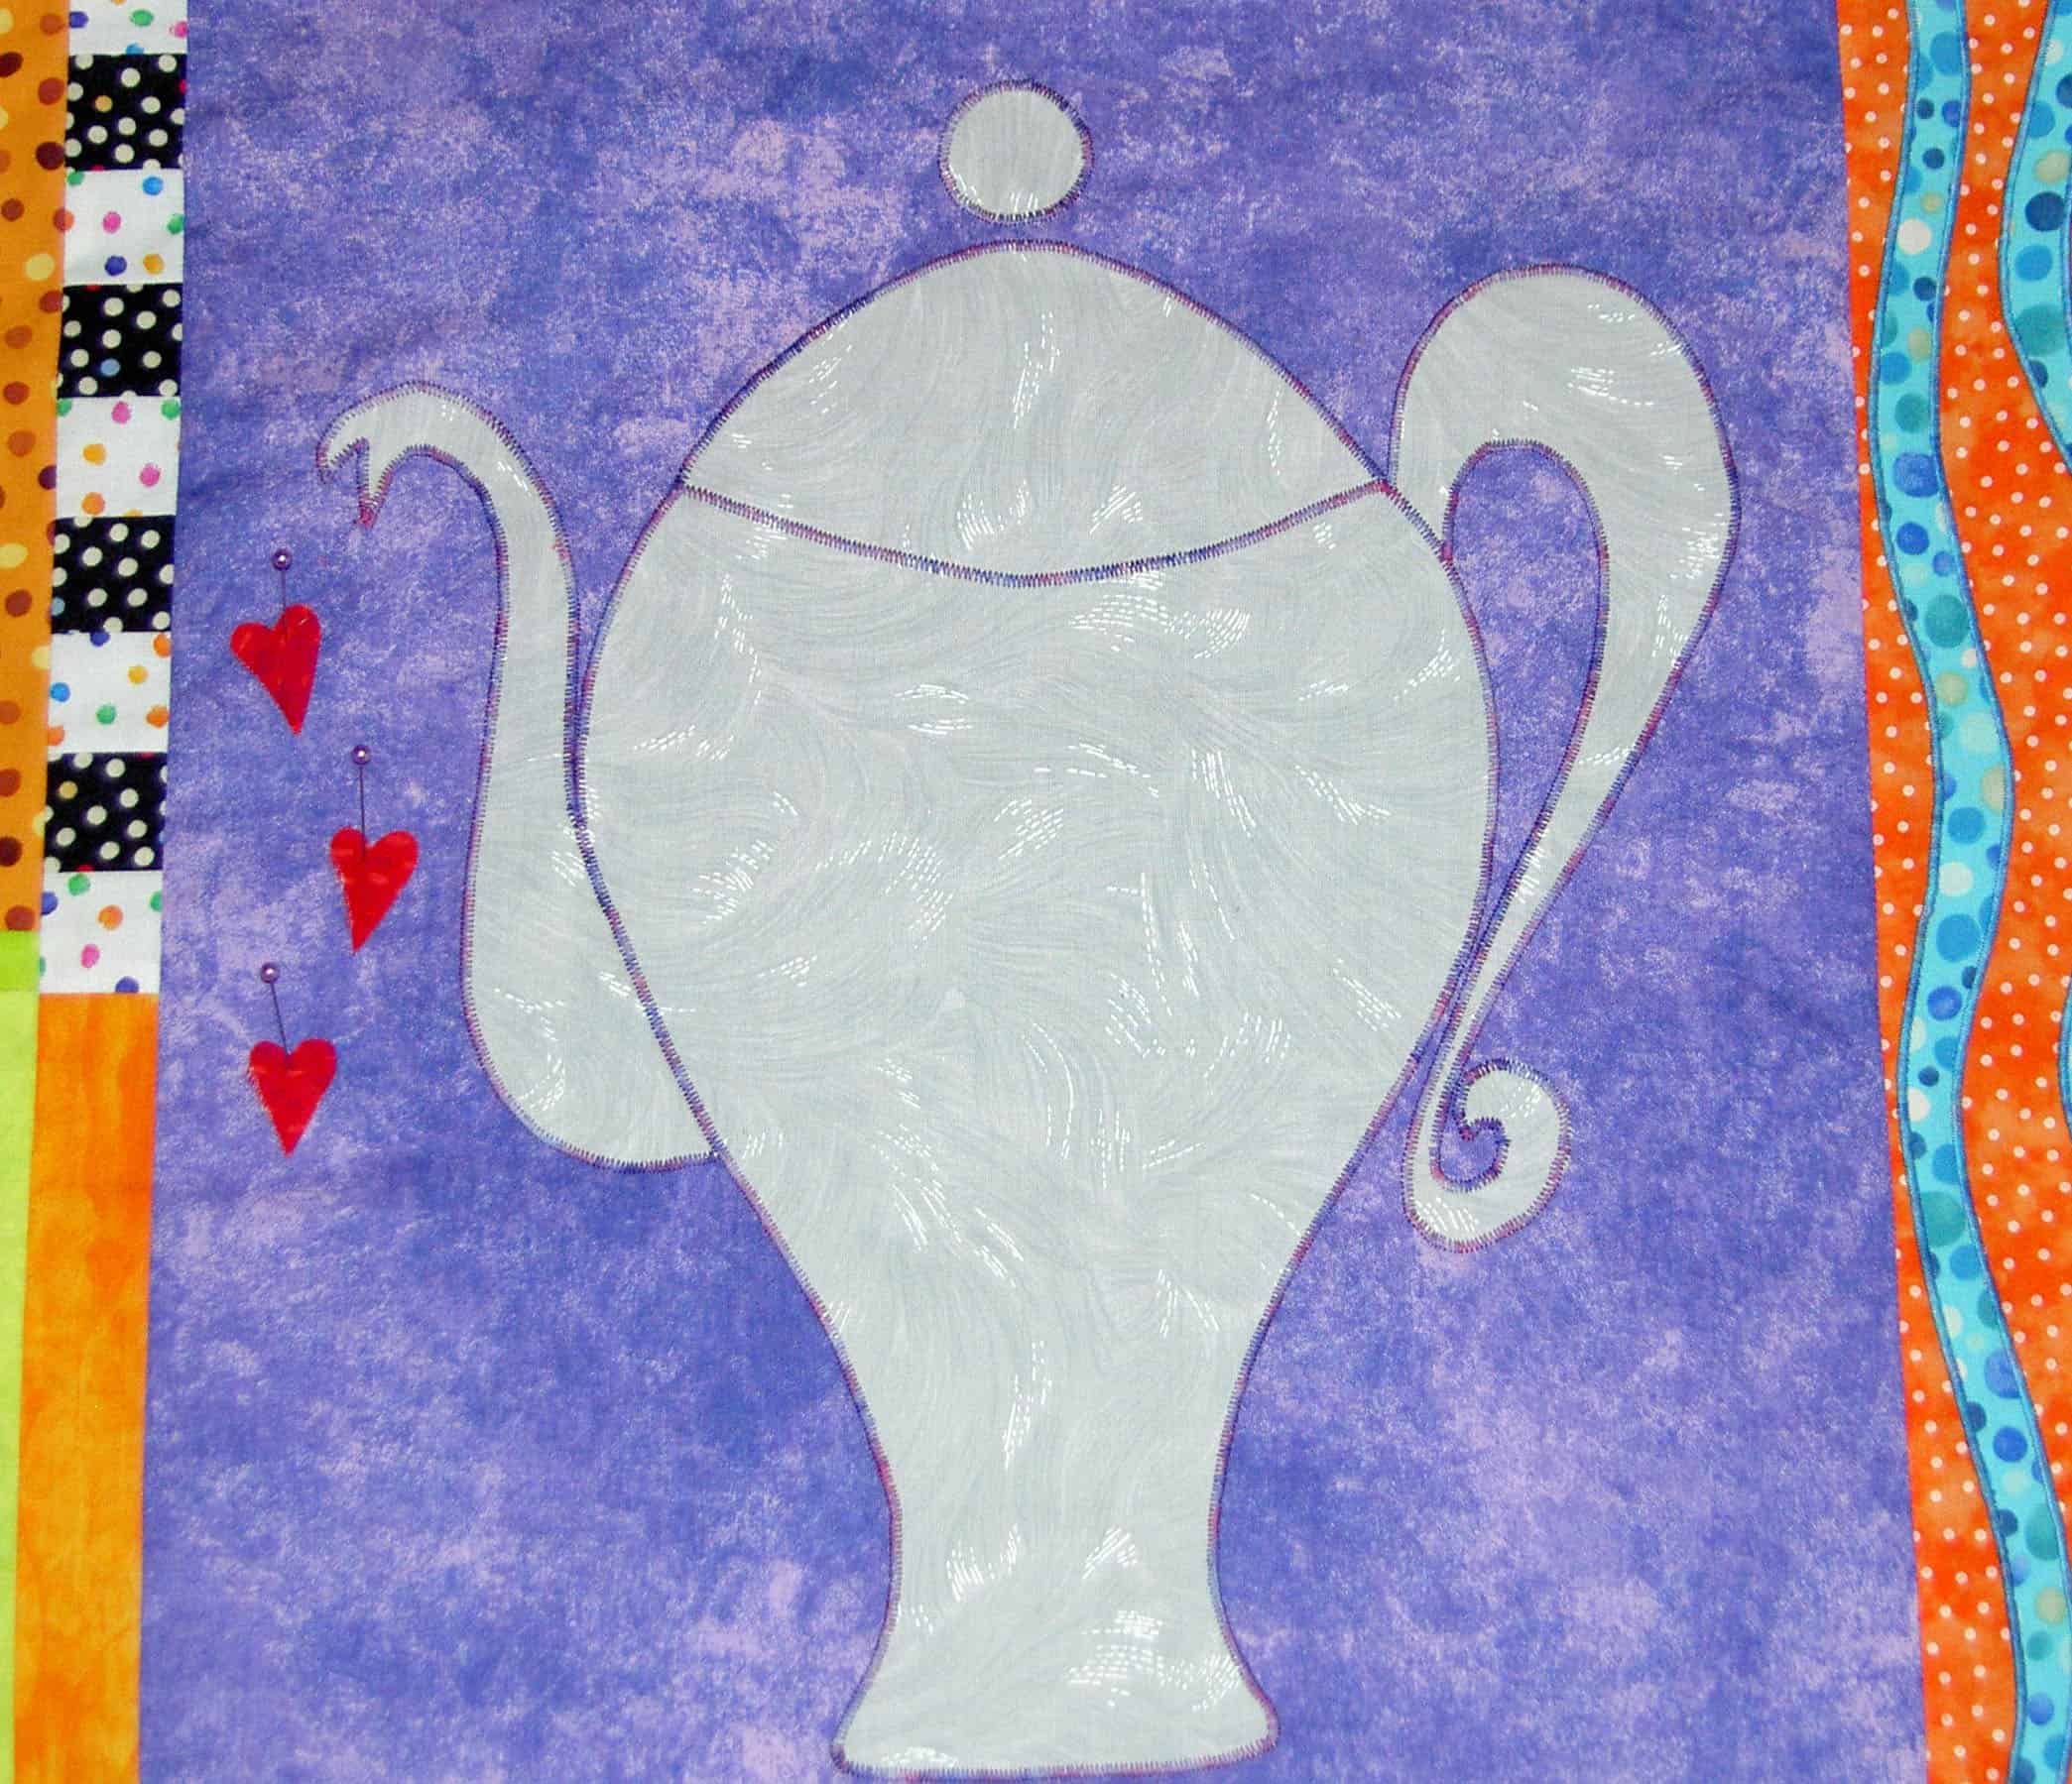
Another idea for the curvy coffee pot embellishment. My mom told me that steam goes down first and I should put the hearts below the exit to the spout. I tried it, took a picture and above is the result. I prefer the other view, Fluttering Hearts, regardless of whether or not steamreally goes up or down. I think I am really getting sick of this obsessing about the Tarts. I got home from my week away, saw the Tarts on my design wall and just sighed. I thought to myself “oh brother, just make a decision about the &*(^%$ hearts and move on already!” Perhaps it is time to just applique’ the hearts on the curvy coffee pot and move on. Perhaps I will start on the back and that will give me renewed energy around this project?
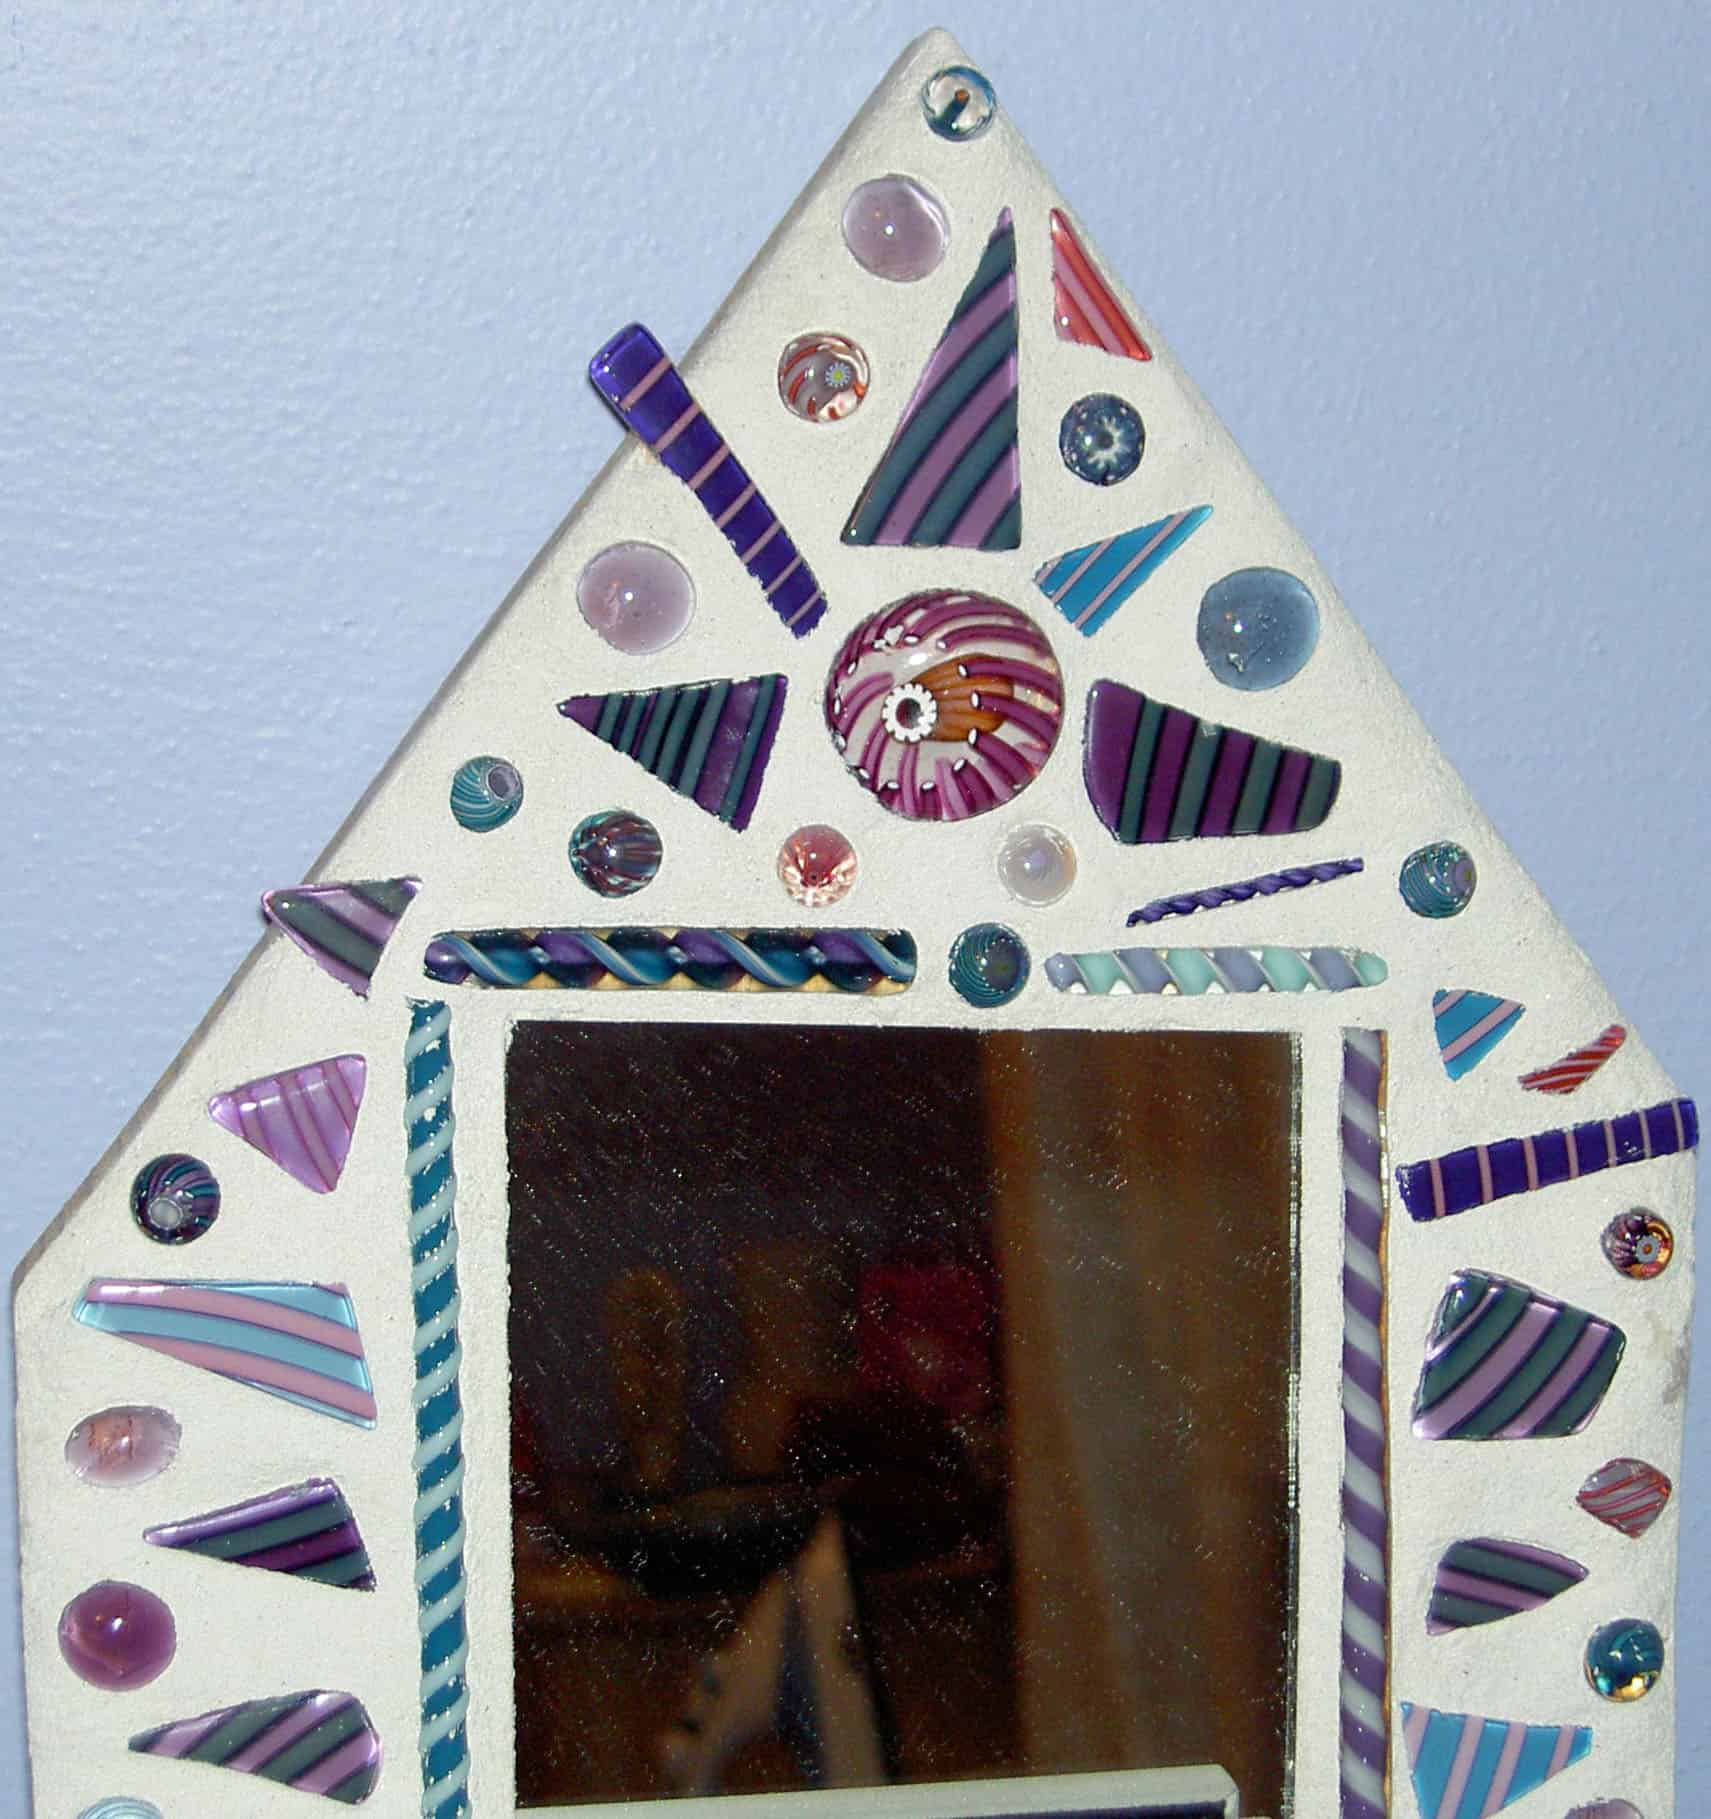
Mosaic Mirror #1
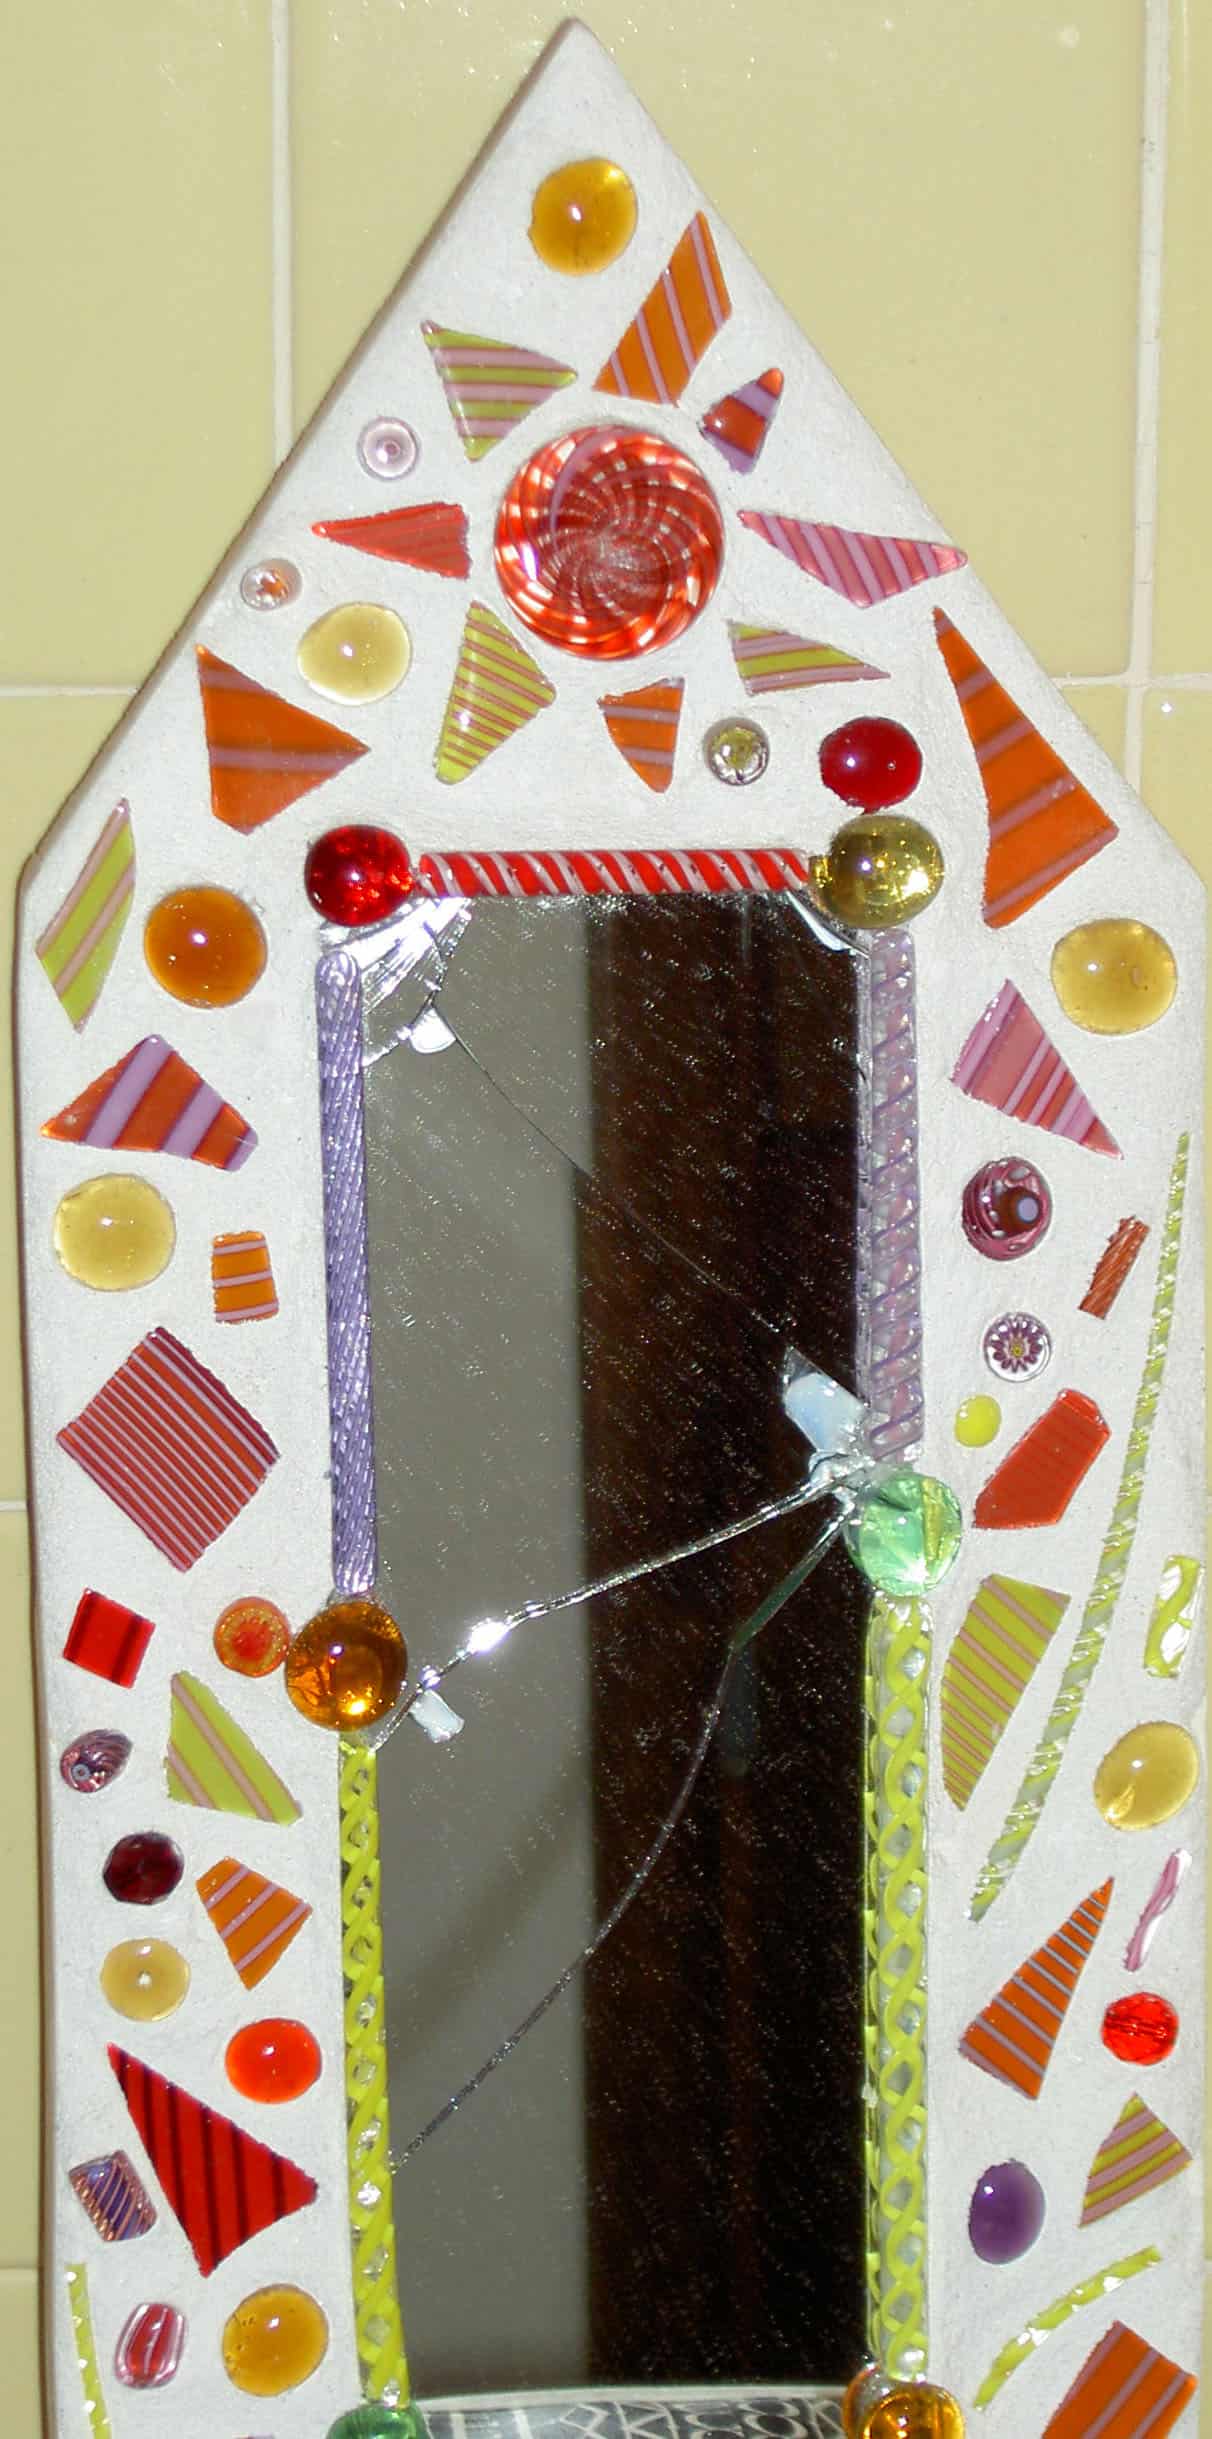
TFQ has these wonderful mirrors at her house. They are made by an artist named Kathe. I love the glass beads and blobs and shards she uses to create her designs.
Mosaic Mirror #2
I like the sun at the top of the one above. Notice the two different color schemes?
FOTY 2009 Blocks, Nov. 2009
Above are the most recent FOTY blocks. I made them before I left on my travels. I have a month and a half to wash, press and cut pieces from my new fabrics. As I have mentioned, I want to be ready to make the FOTY 2009 at the CQFA retreat in January. I had better not buy anymore fabric. 😉
3 Columns, Nov. 2009
Here is another Sorbet block. I made it in between trips. I call it 3 Columns, for obvious reasons. It may have another name. I don’t think it is really that easy to make up new blocks, but I also haven’t looked it up in Barbara Brackman’s block book. I will sometime. Let me know if you know the real name. I still have not looked at the fabrics again to see what other colors I need to add. I am limping along with this project.
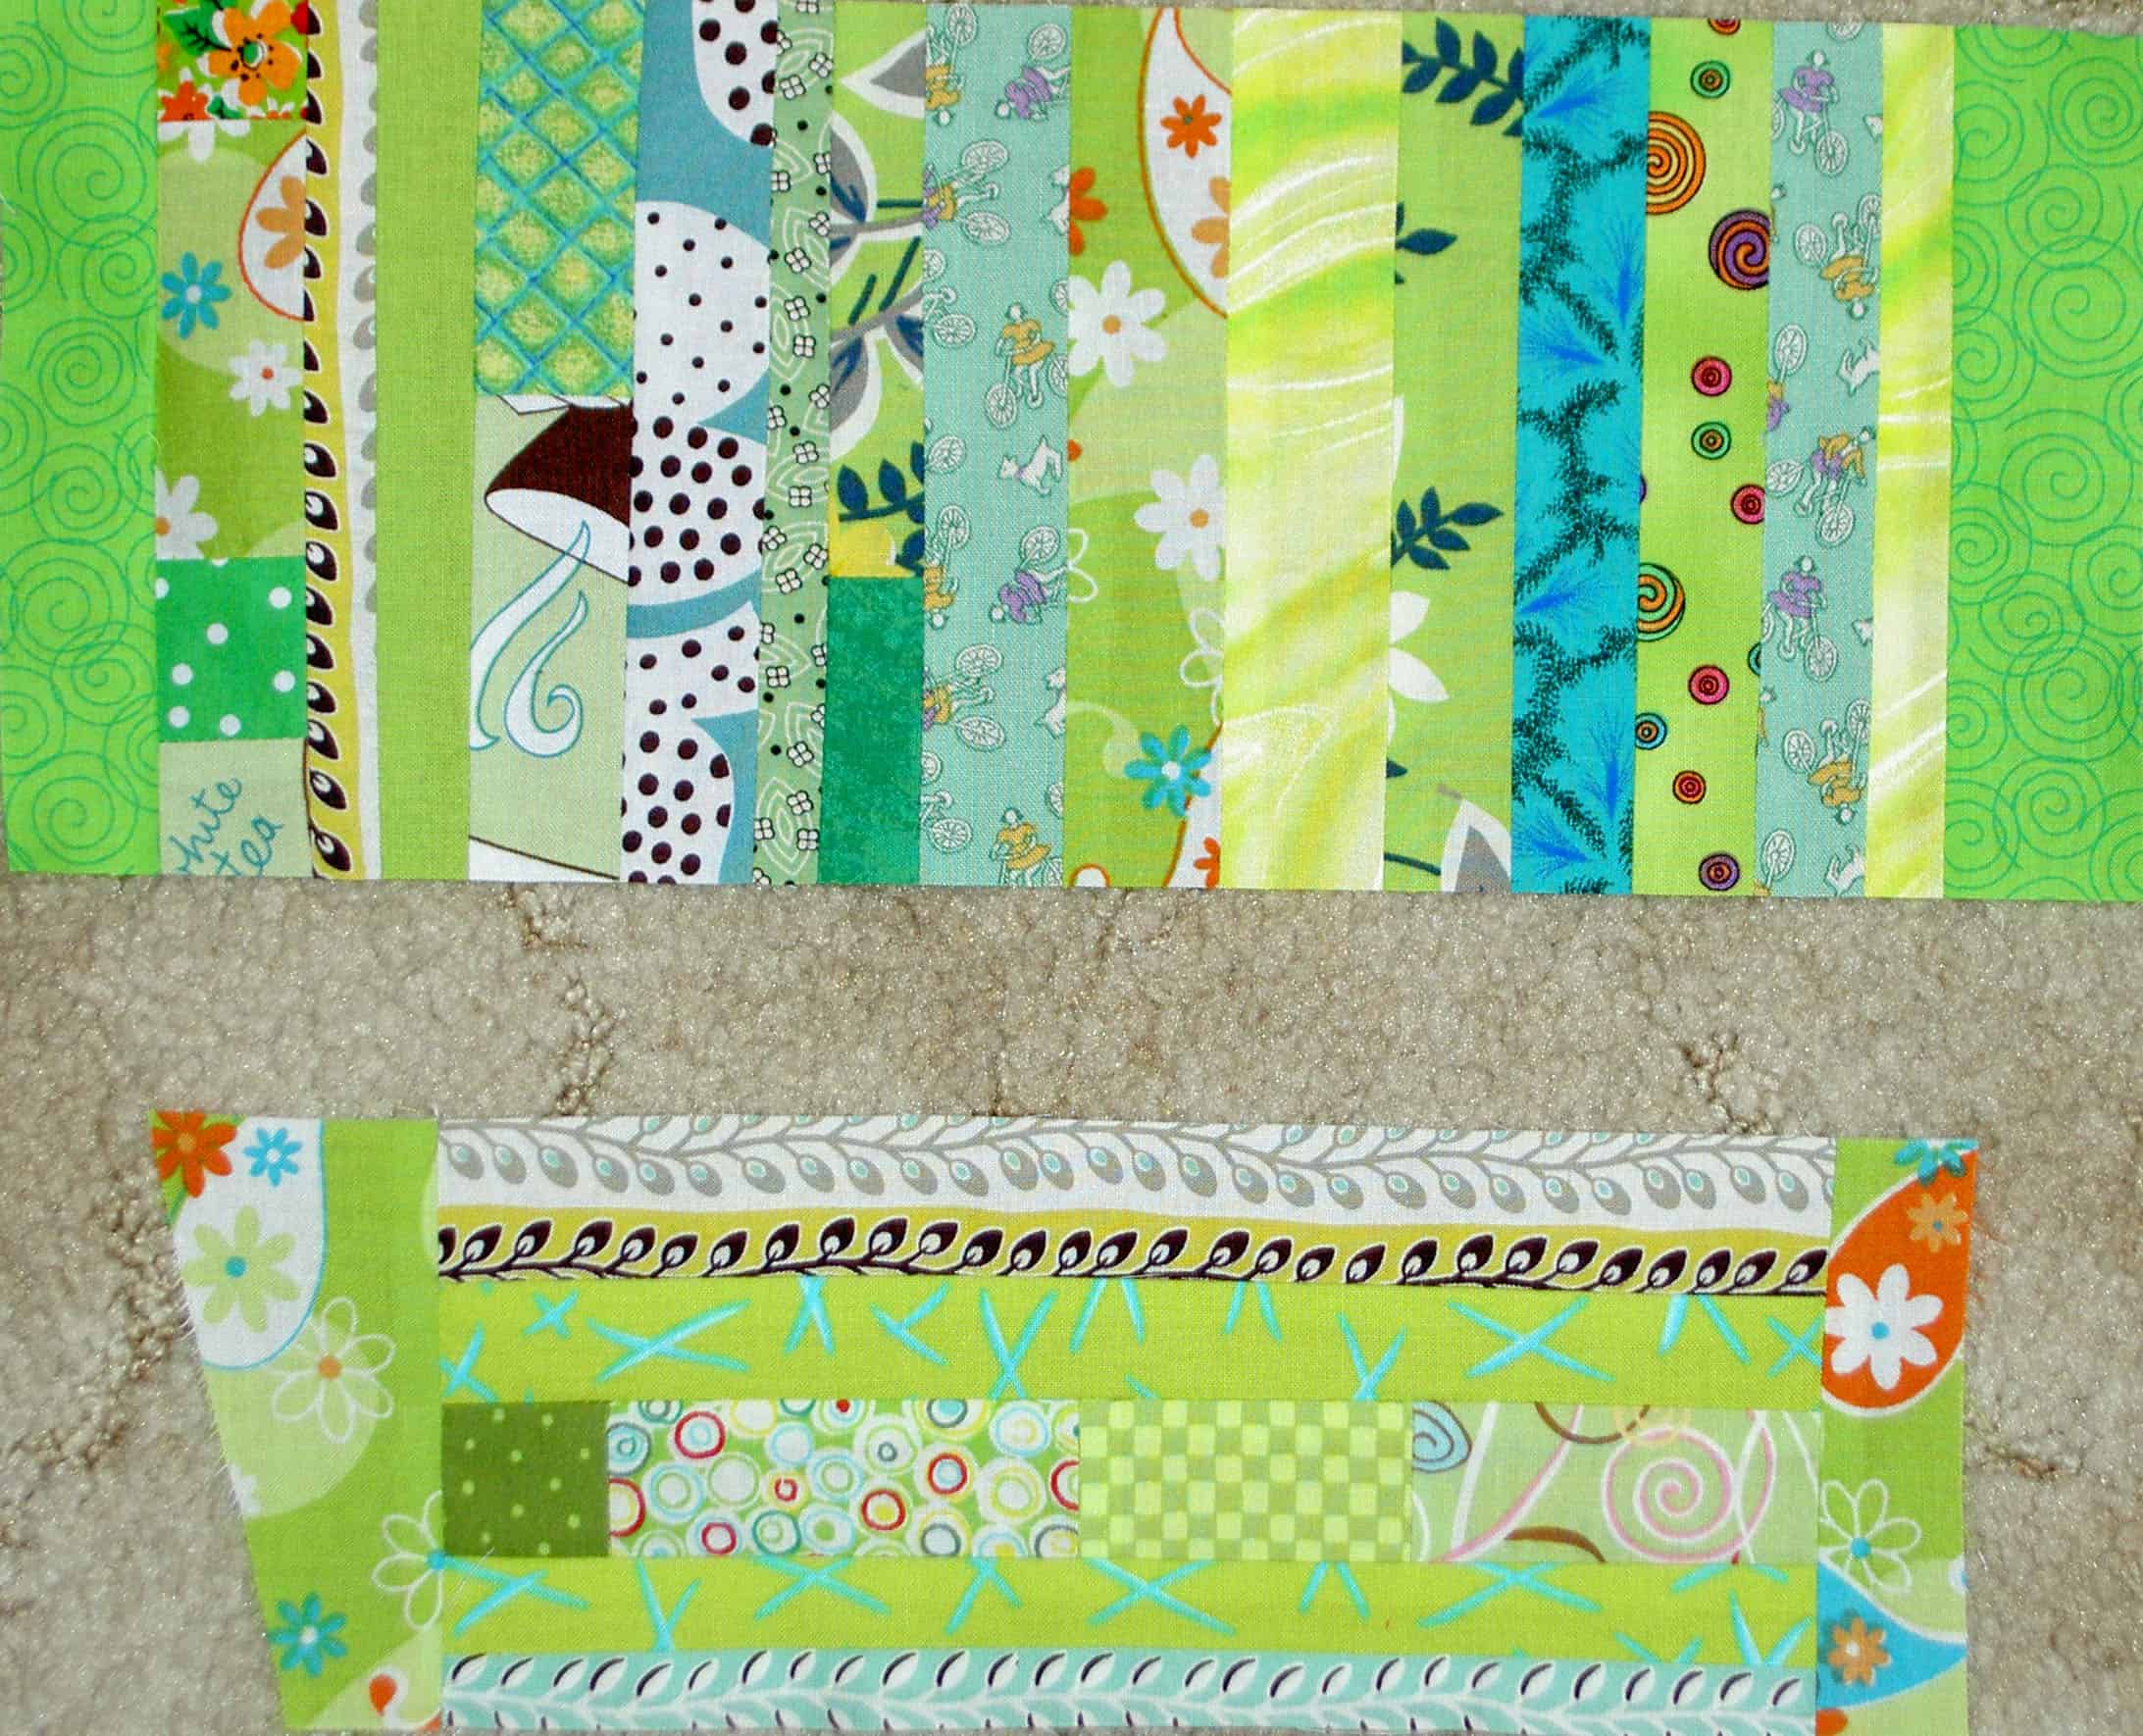
Green for Ornaments
I have been cutting green strips since about July as I press fabric. I have also been saving shards in order to make ornaments. I usually make a few every year, but don’t seem to have taken any photos to show you. I’ll have to put that on my list of things to do.