I realized that one of the reasons I like making the same tote bag pattern over and over is that I am trying to understand it. I want to understand it so I can change the pattern to suit my needs and also incorporate the techniques into my own design bag of tricks.
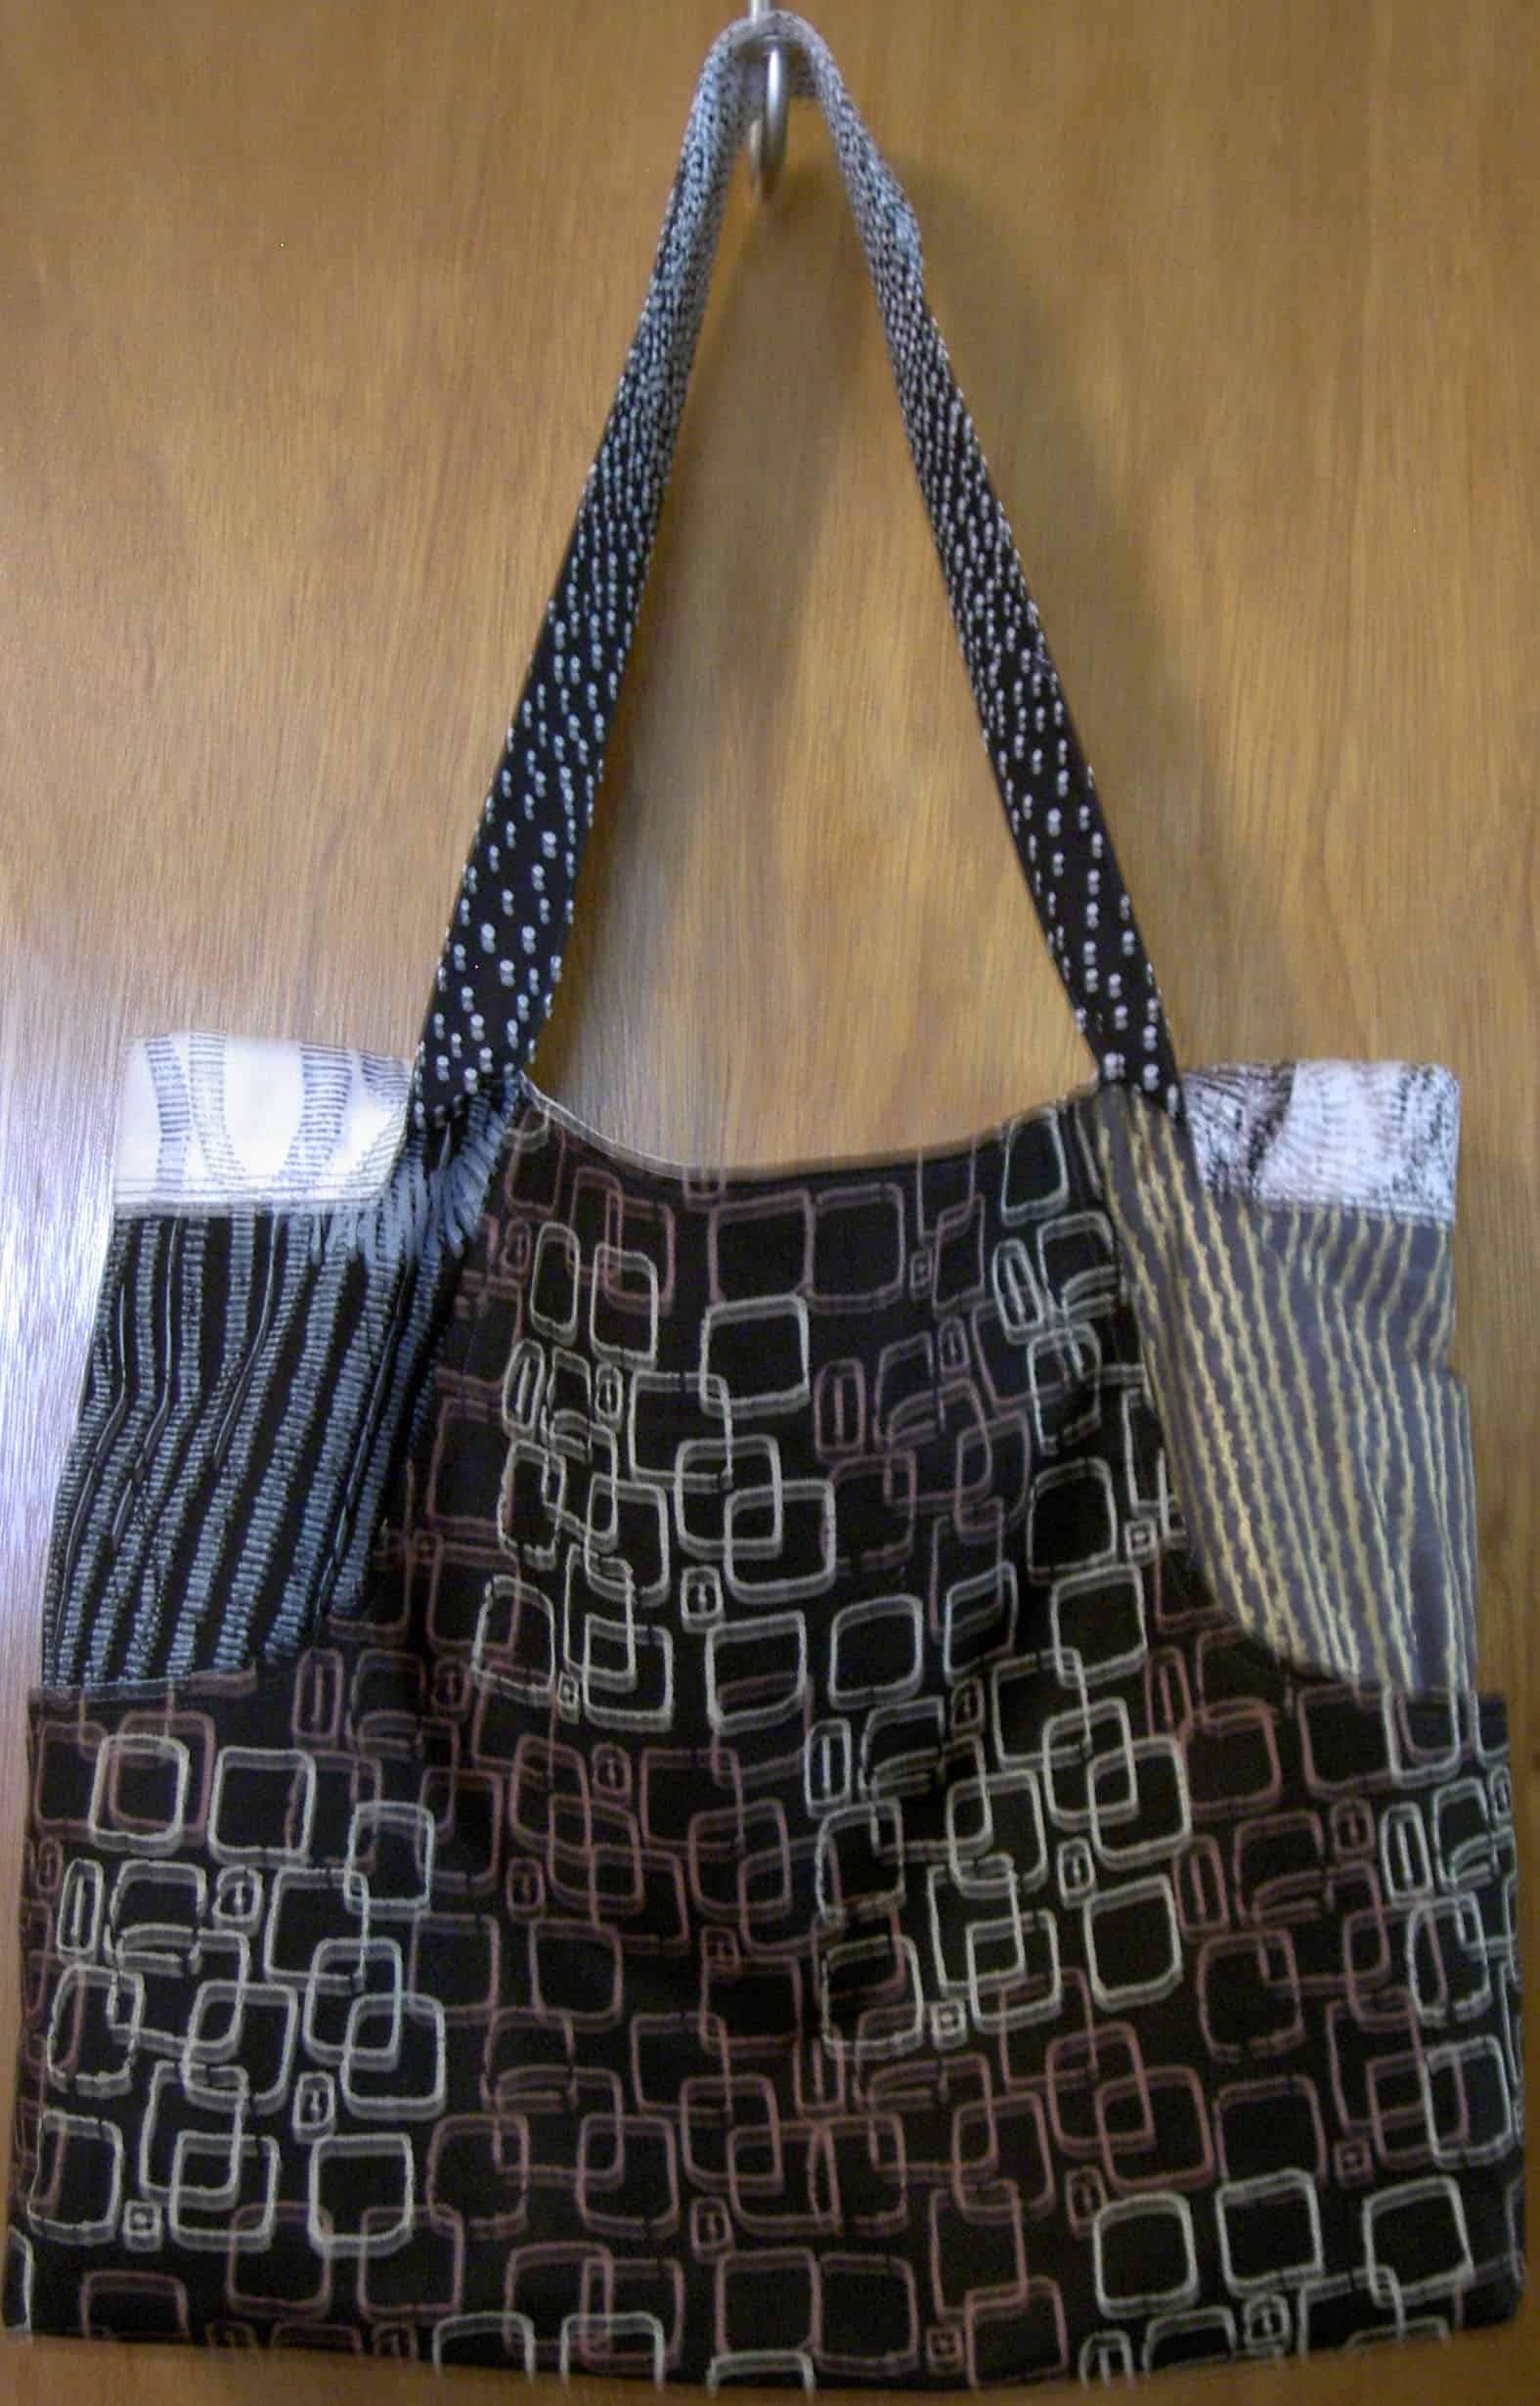
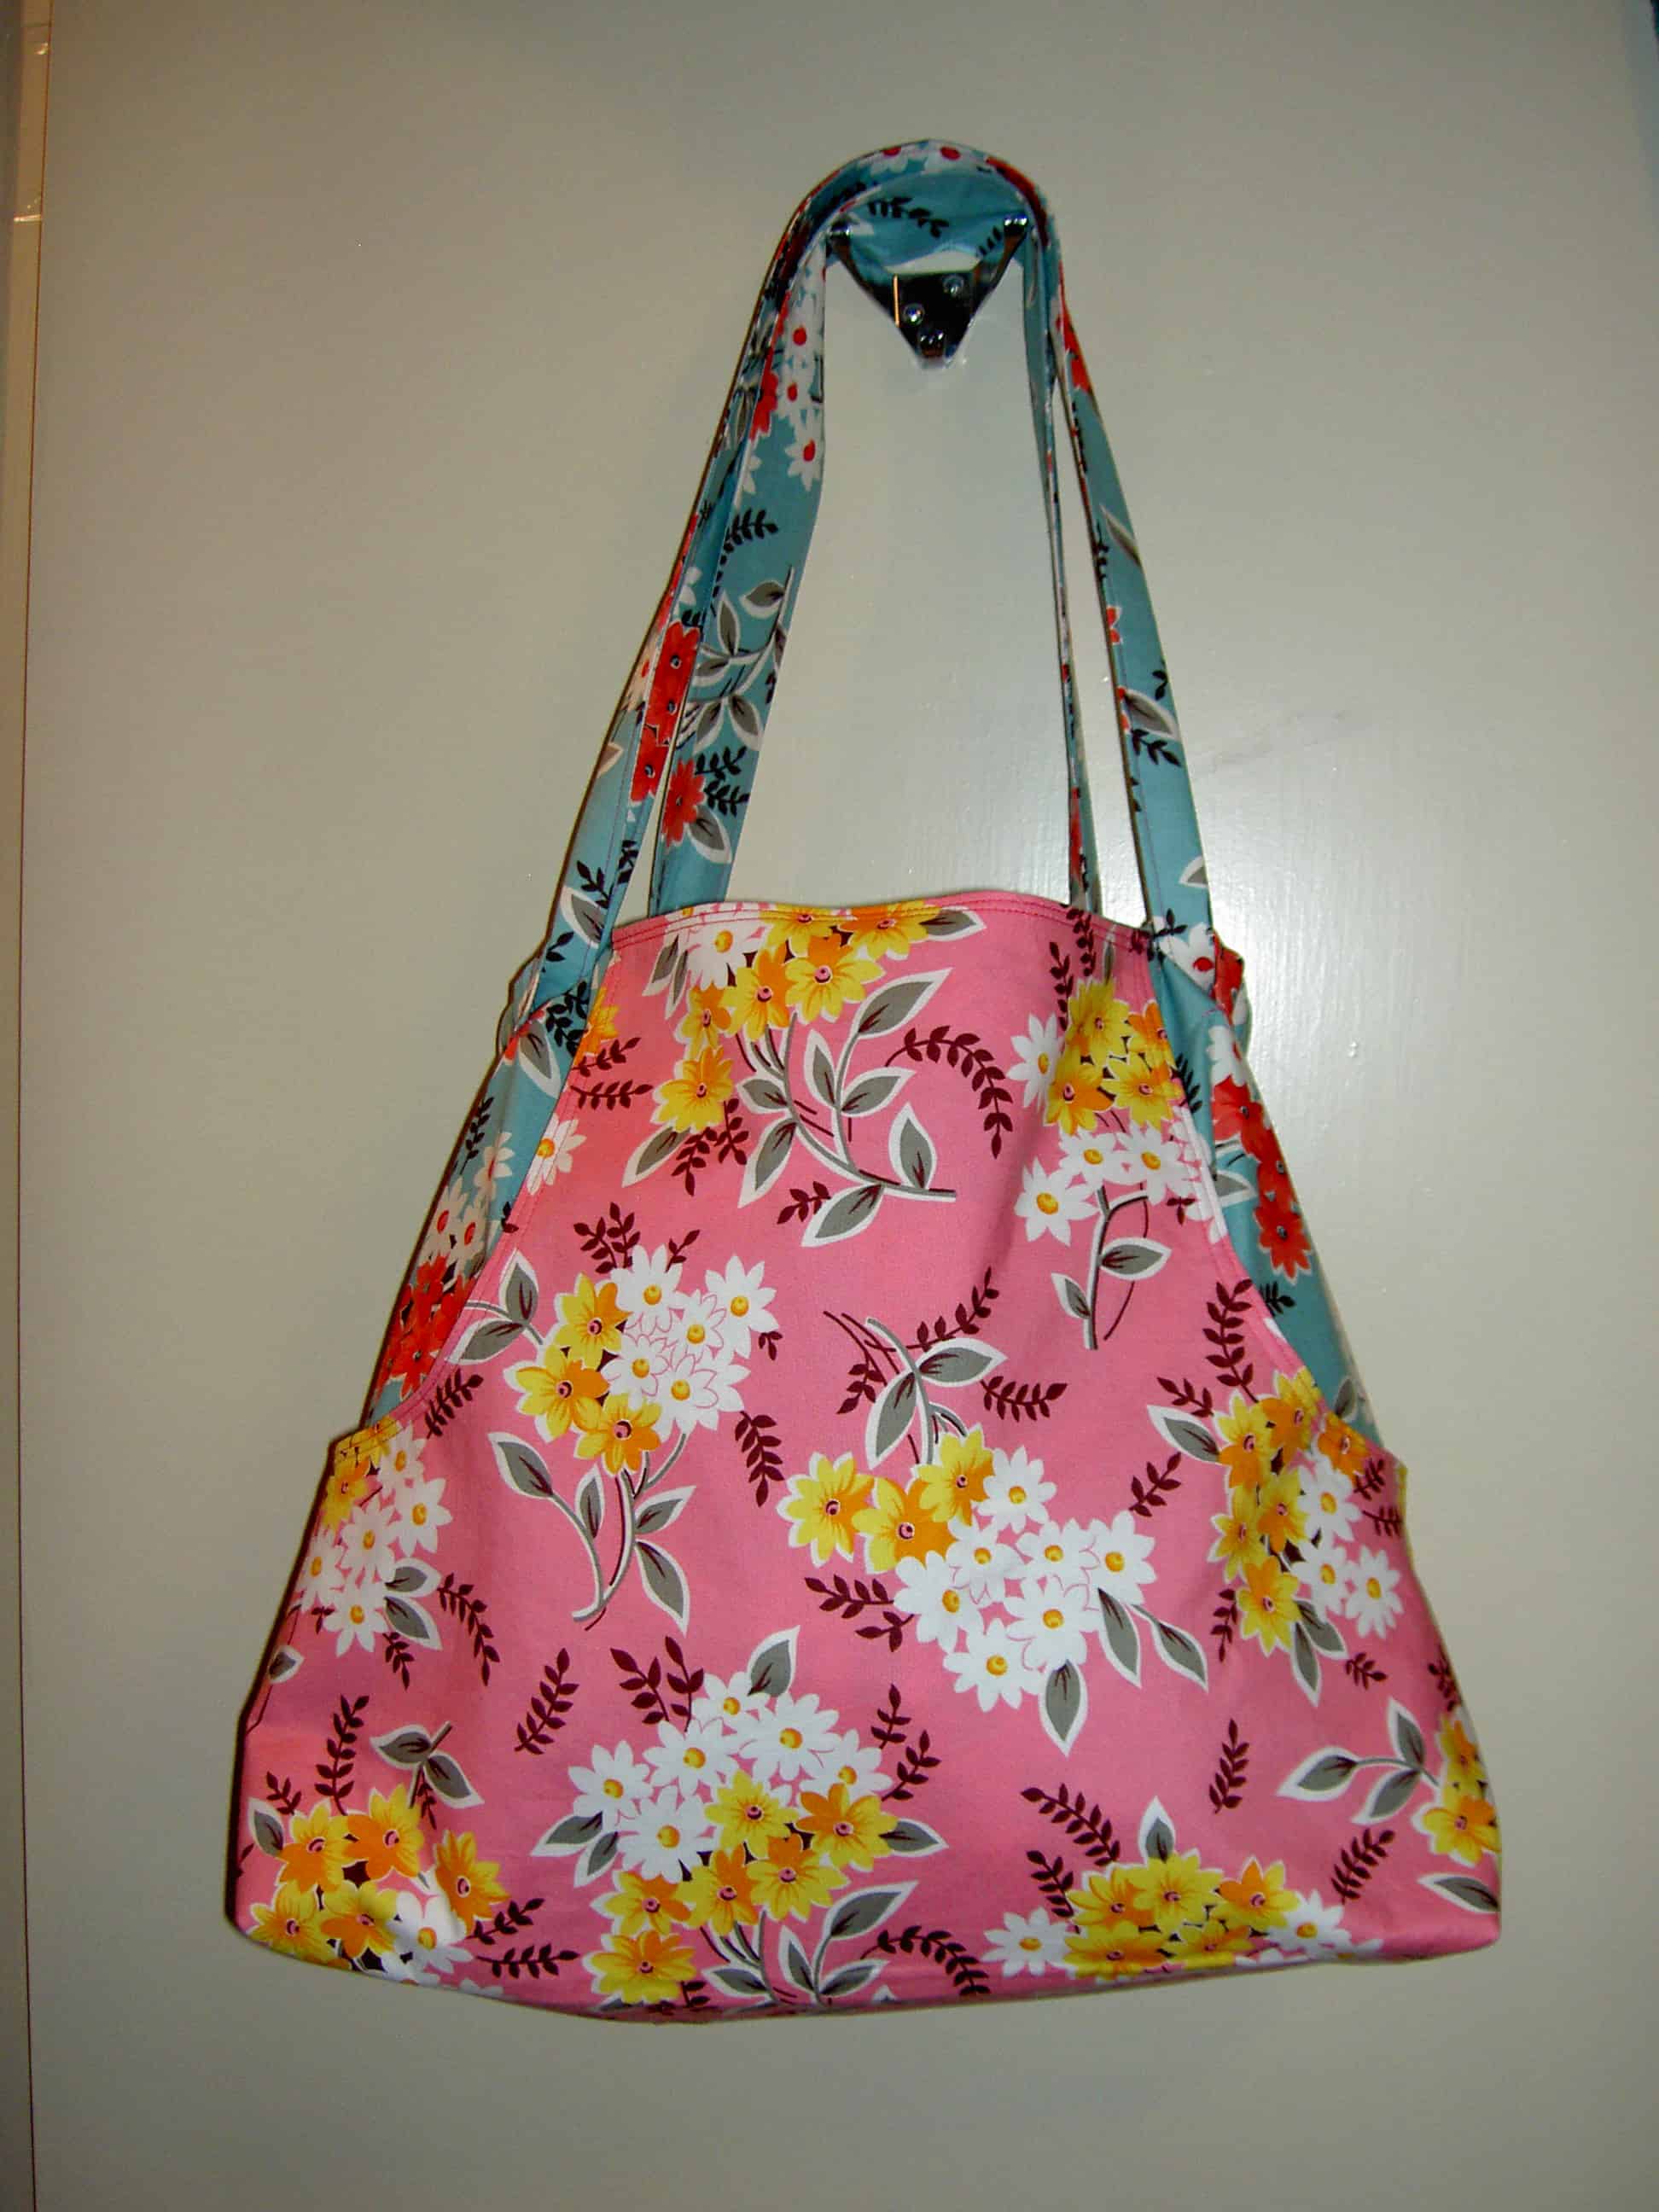
Completed Bag, Nov. 2009
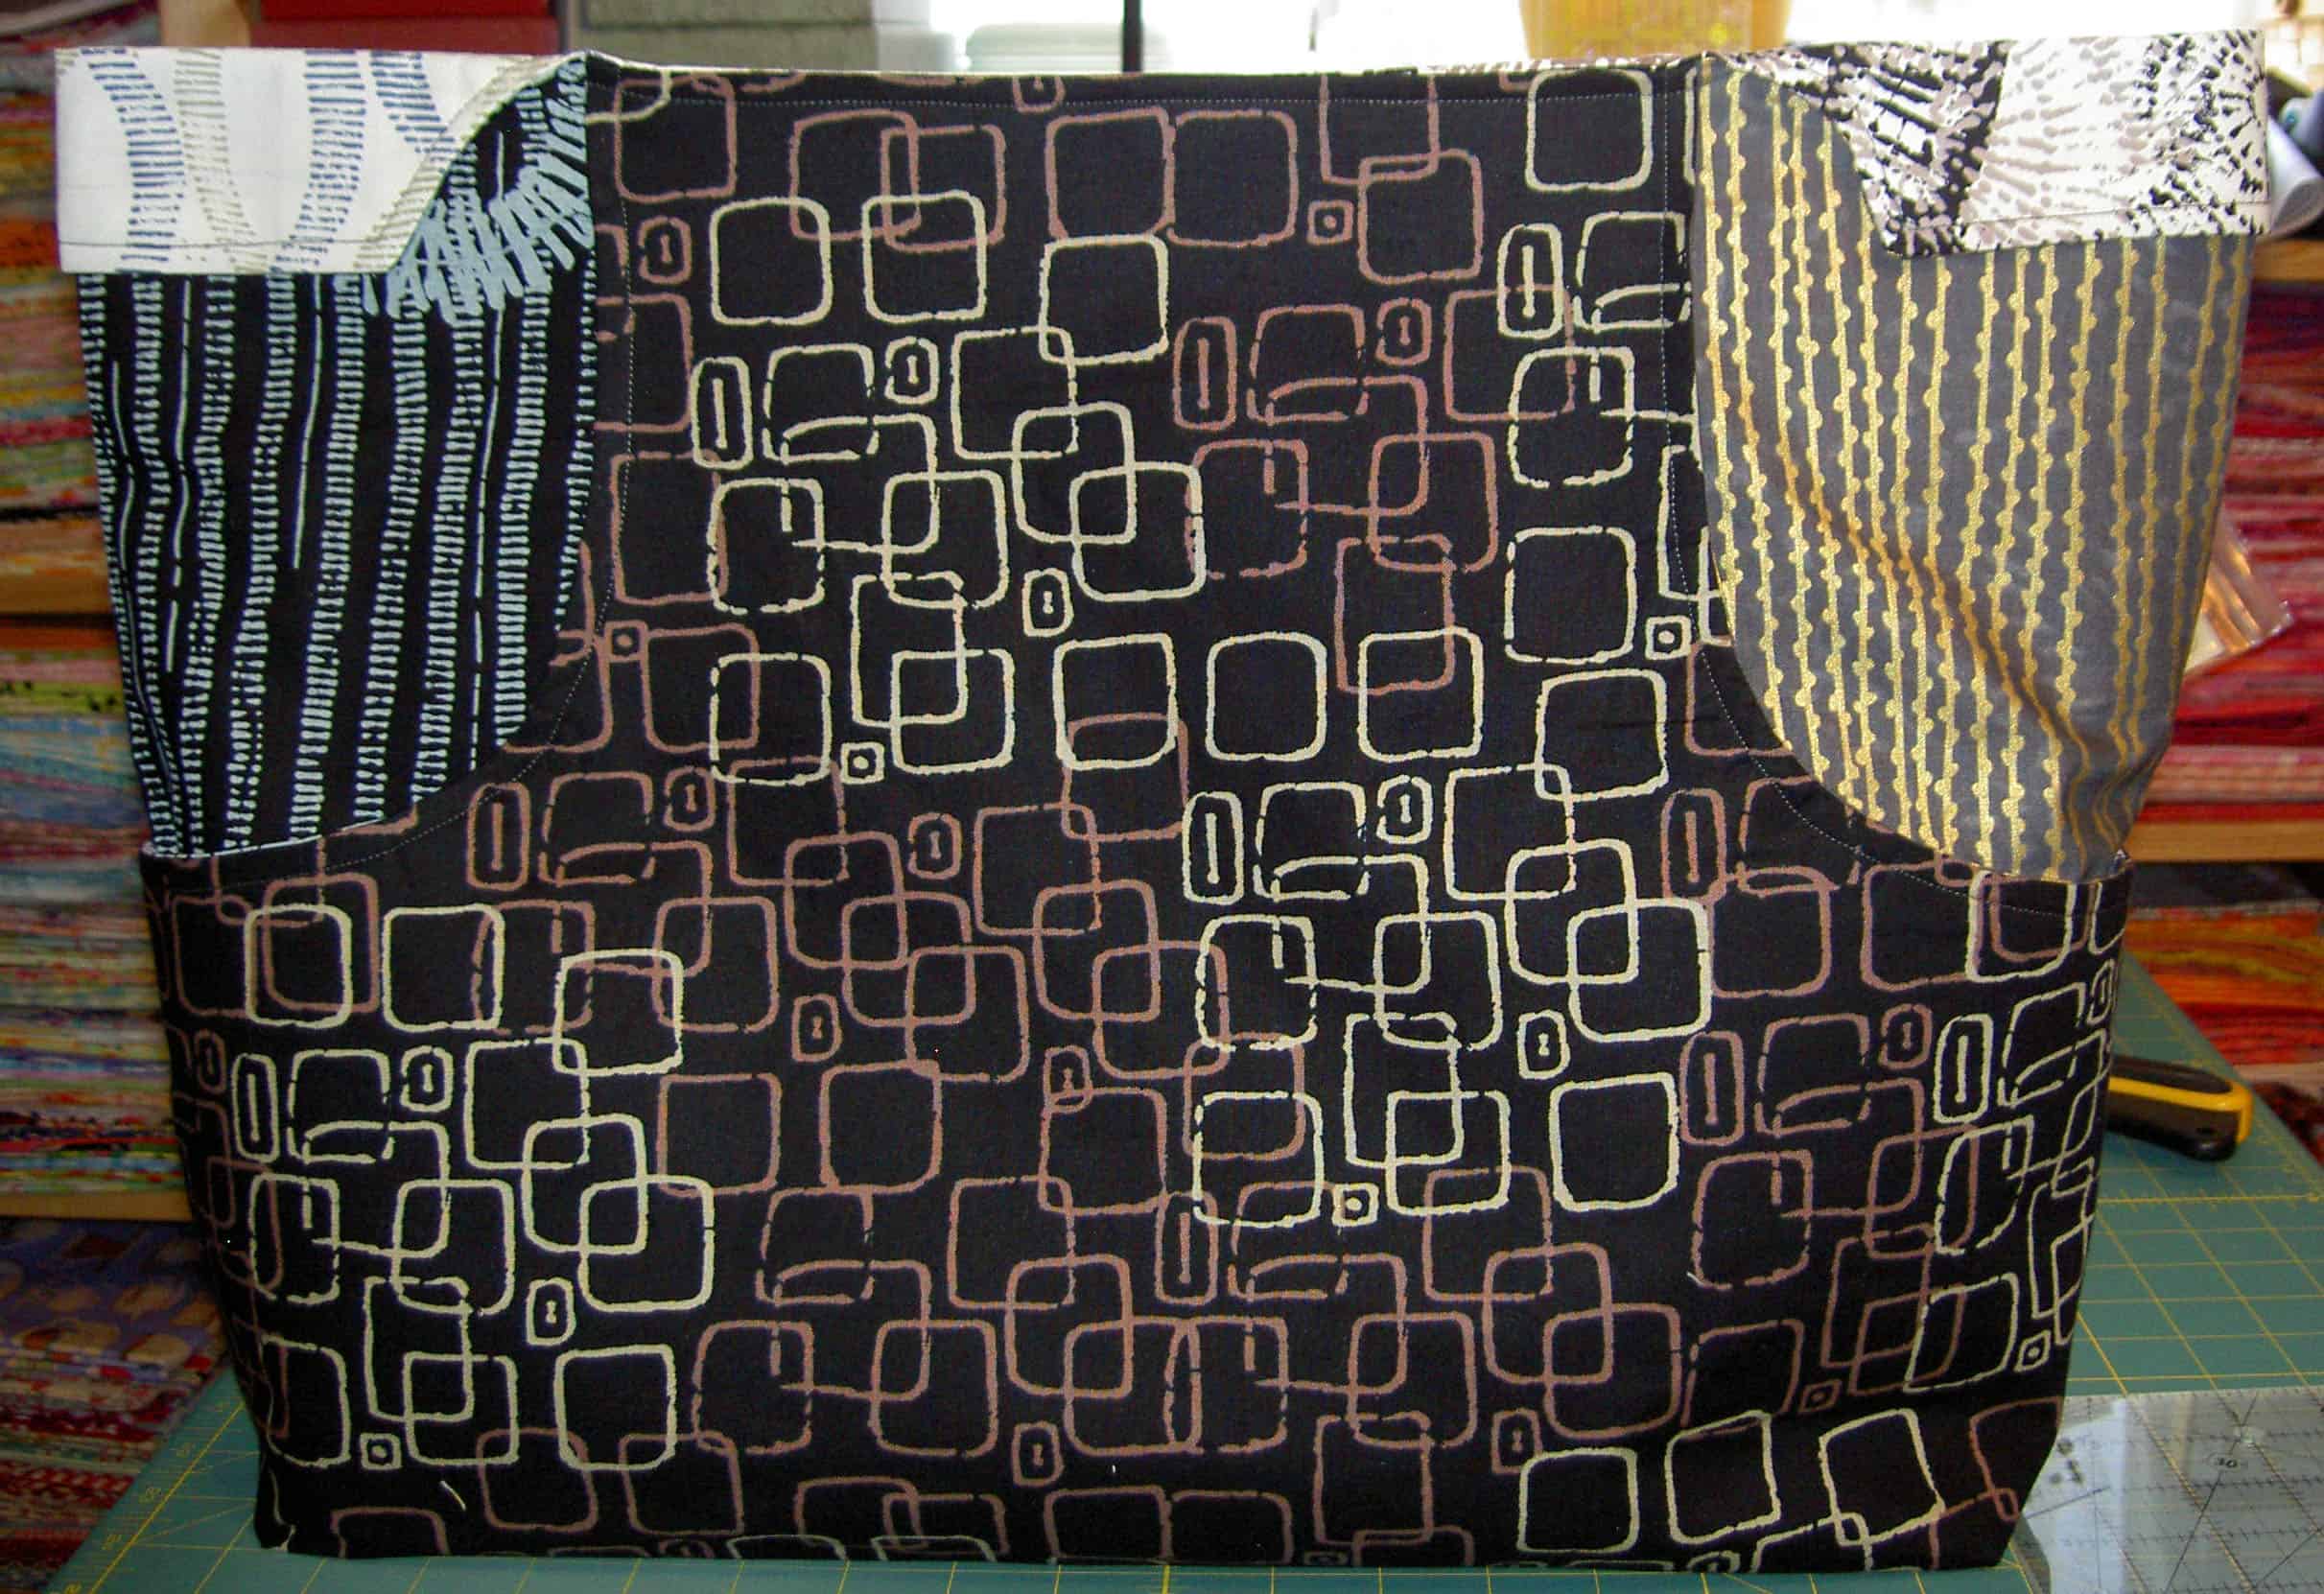
The Anna Maria Horner Multi-tasker tote is no exception. As I mentioned in a previous post, I love the way this tote goes together. Above is my completed Multi-tasker tote #2. This will be a gift for a friend of mine. I used Lonni Rossi’s new fabric line in the black and white colorway. You can buy them at Back Porch if you want some.
I used a FQ pack and had to piece some of the fabrics together to make them large enough to fit the pattern pieces. The pattern calls for more yardage than an FQ pack, however I only had a FQ pack of the fabrics and am always up for a challenge.
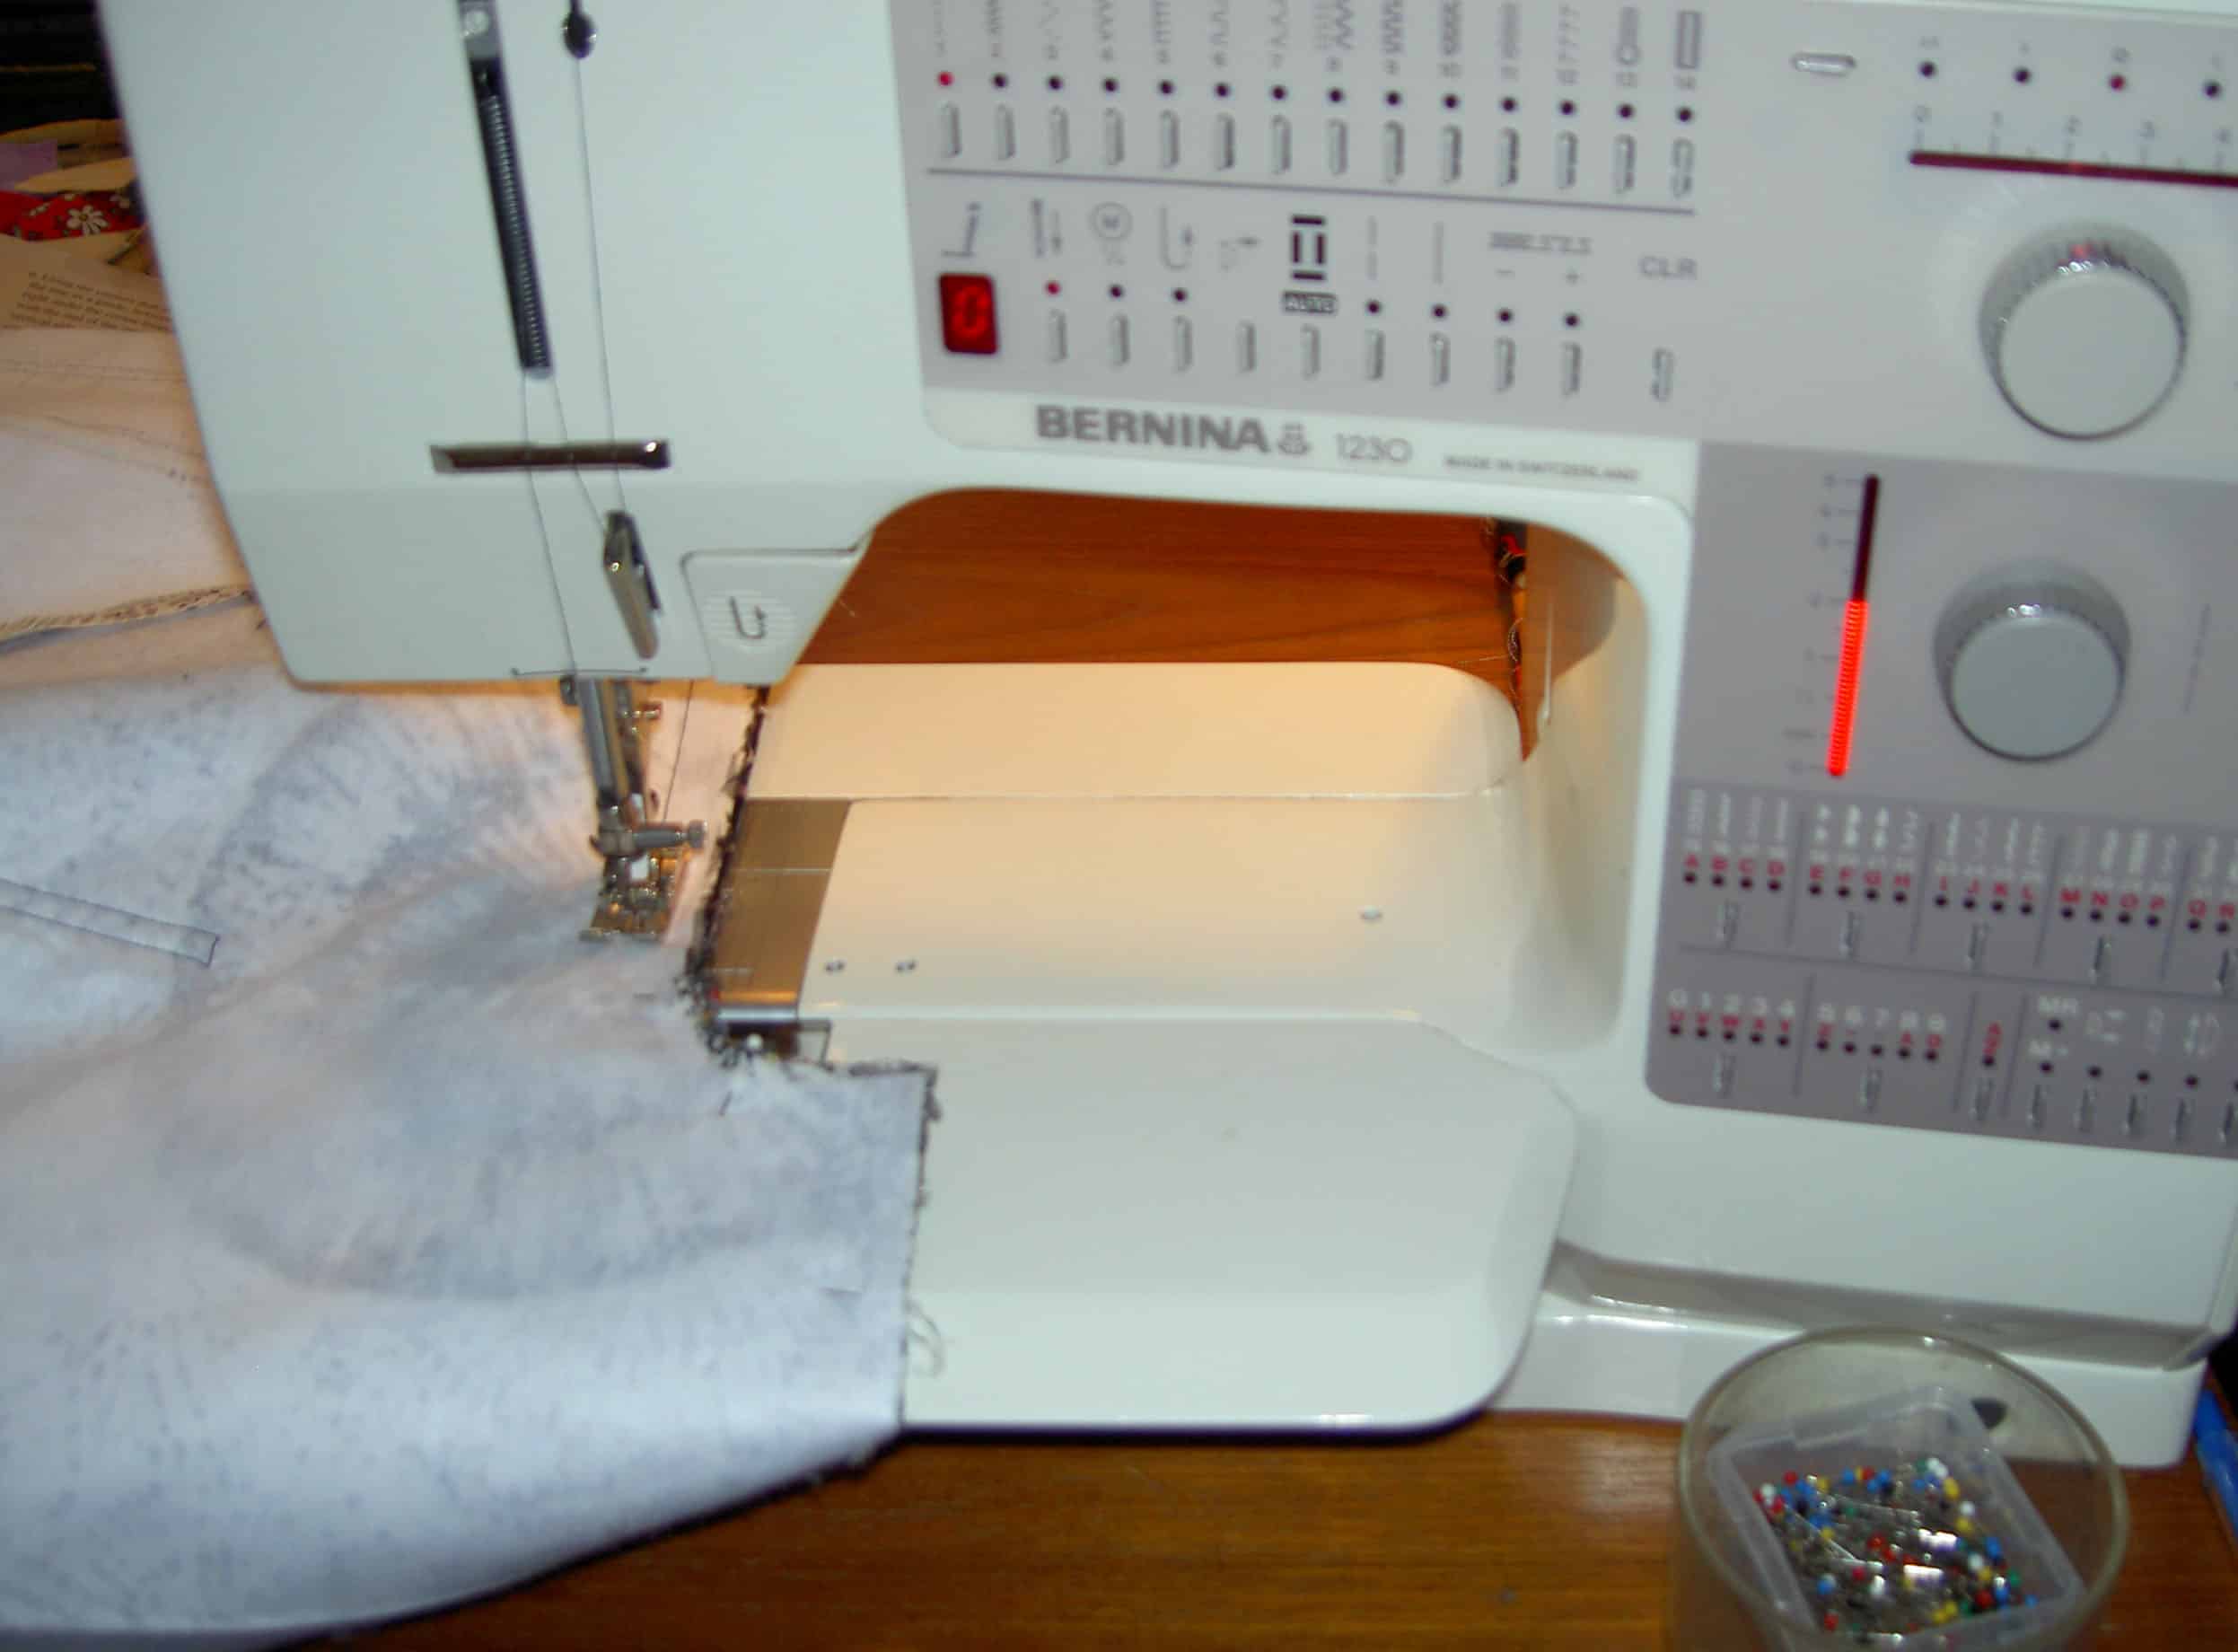
Nov. AMMTT in progressBernina Bliss
I always enjoy using TFQ’s Bernina 1230. It is a tough little machine that has never really given me any problems. Now I know how to wind the bobbin and rethread. TFQ better watch out or I’ll just take it over! 😉
It doesn’t have the bells and whistles that mine does (I miss the auto needle up button!), but it does bags very well. I also like the button holer.
I always have a tough time maneuvering the fabric through the sewing machine as the layers increase. Towards the end of the process I was sewing through about 8 layers of fabric or seams or interfacing. I found that TFQ’s machine was powered right through with no grunts, groans or complaints.
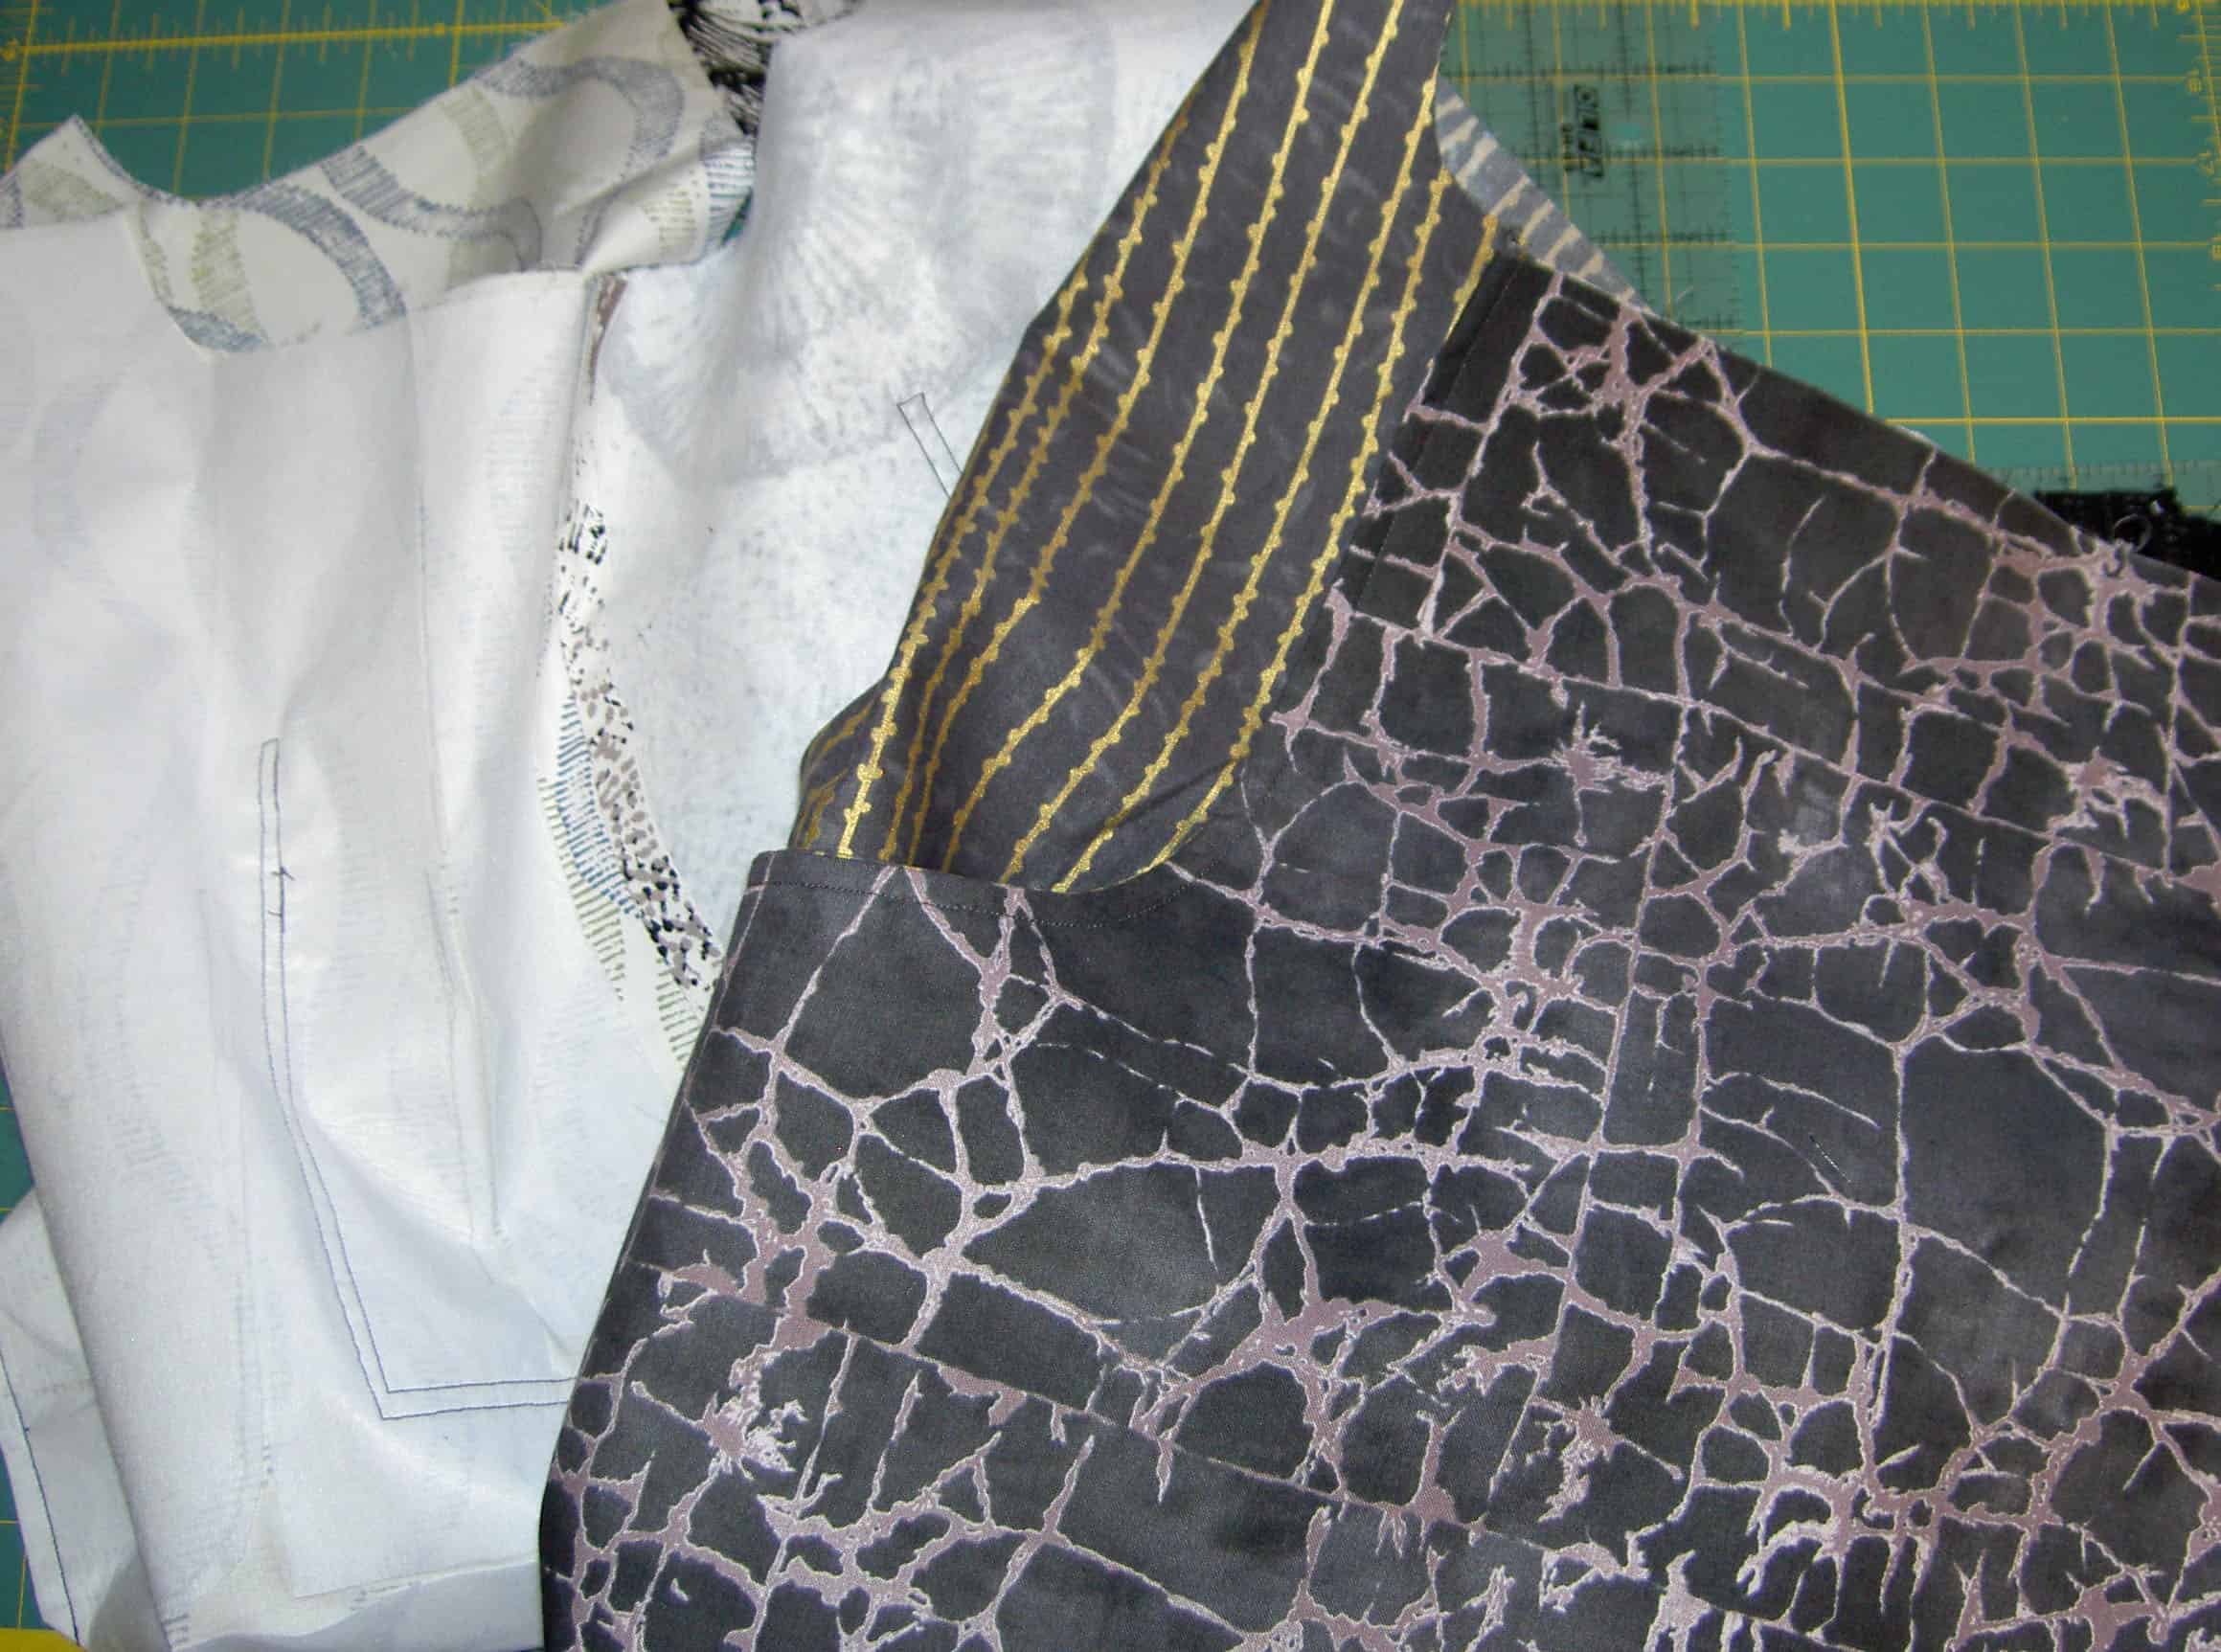
Nov. Tote, detail
The pattern doesn’t call for as much interfacing as I put in, but I like my bags to have some body, so I put interfacing on the exterior and lining pieces. I omitted it from the pocket panels.
I am pretty pleased with how it came out and hope my friend is as well. I am going to size this pattern down so it fits me better. If it doesn’t work, then I probably won’t make anymore of these totes, despite the great way they go together.
Lydia Hirt, of Penguin Group, asked me to read this book and write about it on my blog. I was really flattered even if I am one of the legions offering free labor to write about this book, released today.
My rating: 4 of 5 stars Lydia Hirt, of Penguin Group, asked me to read this book and write about it on my blog, Artquiltmaker.com. I was really flattered even if I am one of the legions offering free labor to write about this book, released today.
Kate Jacobs picks up the story of the Friday Night Knitting Club after James and Dakota have worked out some of their messy family issues, such as Dakota switching colleges. Dakota is older and more adult and that makes for a more interesting story line. One line in the book conveys one of the underlying themes of the book quite well, “Convincing everyone she was all grown up led to a hard-won realization: She had to act like an adult. She had to handle new responsibilities.”
The author focuses on Dakota and does a good job showing her trying to juggle school, her business, her dreams for changing and expanding her business, her family and all the things that adults have to do.
I think Jacobs has found her stride with this book. I found Knit Two hard to read, because so much was going on. I think Ms. Jacobs was trying to do get through too much of the story in that book. In Knit the Season, she has relaxed. I also have to thank her for not rehashing the entire previous two books in this book. This book stands on its own and Jacobs had the confidence to write it as such.
I also thought this book didn’t try to give all the characters equal time. Again, Jacobs shows confidence in her writing of this book. She doesn’t exclude Darwin and Lucy, but they receded into the background a bit to give space for Dakota, Gran, Bess and others. I think this was a good choice. Too many storylines can be confusing.
The backstory is also being developed. Jacobs employs a flashback technique to provide context and give Georgia a voice. Flashback writing can be dangerous in the wrong hands, but Kate Jacobs does a GREAT job. She uses restraint and the flashbacks she offers provide insight into the club, into Dakota and the other characters. Learning about the characters’ pasts as well as interactions between the different characters gave added dimension to the book. I also liked the flashbacks, because they gave voice to Georgia again. Georgia was a strong and important character in the Friday Night Knitting Club and she now has a new opportunity to say more.
Jacobs does use sentence fragments in some cases, which I really don’t think worked well. While they got the message across, I would have liked to have seen them punctuated differently. That being said, I was reading an uncorrected proof and those tidbits may have been changed in the version you have in your hands now.
This book has a lot of dialog. I think that it could have used a bit more description. One of the sections I thought needed some extra description was the part where Dakota brought groceries over to Peri’s apartment so she could cook Thanksgiving dinner for Peri. Peri has nothing, NOTHING, in her cupboards, and only root beer and nail polish in her fridge. I would have liked to know more about this phenomenon. Don’t New Yorkers want coffee or tea when they get up in the morning? It didn’t impact the story and I learned to love descriptions reading Rosamunde Pilcher‘s novels, so I may have a skewed view of the writing world in terms of descriptions.
I like books with take-aways. Take-aways are often quotes I can write in my quote book and read later. In one of the flashbacks, Georgia is giving advice to a much younger Dakota, “Don’t give up something you love jut because there’s an obstacle. Find a way to work around it. Be open to something unexpected. Make changes.” This is a great line and I hope it made it into the final version. I think it is one of those quotes that I could put on my wall and be inspired by forever.
Ms. Jacobs tidied up the ends of the story in such a way that if she decides to write another installment, there are enough interesting storylines for her to pick up and weave them in. If she moves on to something else, this book ends in a satisfying manner so the reader, at least this reader, doesn’t feel cheated.
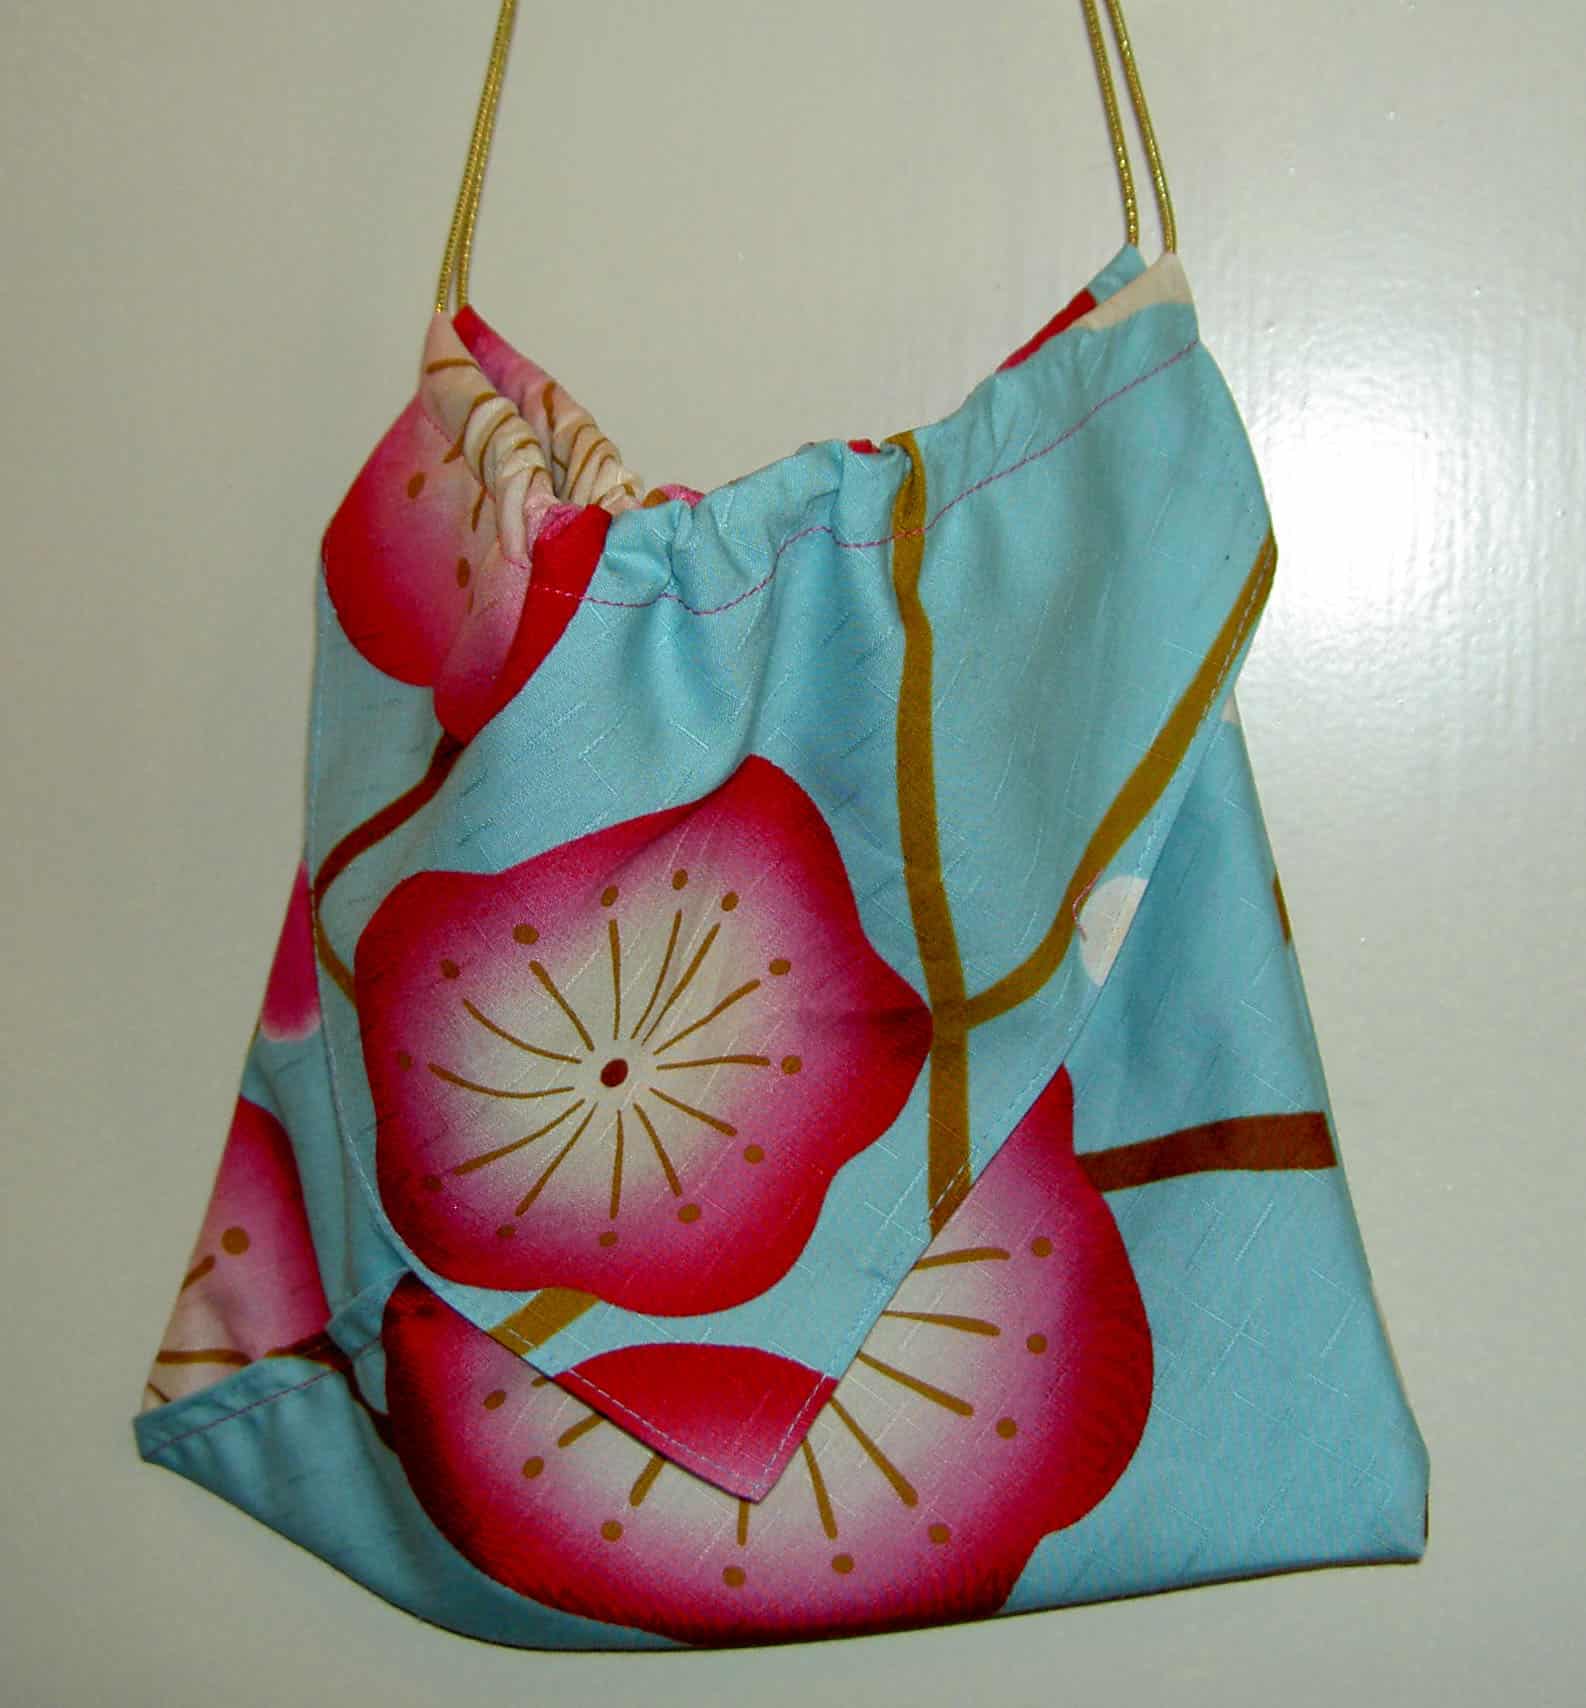
I got the directions for making this little bag, just with folding an sewing from Maeda Trading Company at PIQF 2009.
They sold squares of fabric so you could make this little bag right away. Of course, a person could also use their own fabric with no problem.
Mine looks a little weird, because I didn’t have enough of the right ribbon to make this work. I thought about using these types of bags as another kind fo gift bag.
Friday was a busy day, of which the crowning glory was a trip to buy wine as a gift. I bought the wine and laid the bags (small paper wine bags inside a doubled plastic grocery bag) in the trunk for the trip home. I don’t know why I didn’t bring my own bags into the store, especially since two of which were right there in the trunk. If I had, we may not be having this conversation right now.
Just before I closed the trunk I thought what a hideous wrapping that collection of bags was. Please note that I do not wrap gifts with paper. I avoid it at all costs. Once in a blue moon, if there is some good reason why I must, I will struggle through the process. Imagine a small person who has rumpled gift wrap all over the room, tape covering her hands, face and legs, a sore back and who is fuming with rage. That is me. I sincerely dislike wrapping gifts with paper. I remembered a pattern I had copied from the Bag Bazaar: 25 Stylish Bags to Sew in an Afternoon by Megan Avery for a wine bag and thought I would make a couple for the bottles.
I dutifully read through the directions, which made no sense, as per usual. I started in on following the directions. I find that if I go slowly, I will get through the pattern. Except for this one. There were two directions that were on pages that I had not made notes from. The first one was for the handle, which said ‘make handle according to directions on page 18.” I didn’t have notes from page 18 so I made the handle like I would for the Eco-Market Tote.
After I got to the instruction for the main body of the bag, which said, something like, trace pattern from next page on cardstock or a manila folder. Since I didn’t have that page either, I went online and found a pattern for gift and wine bags so I could just get the measurement. This was an okay tactic and I used some of the directions from the online pattern. I ended up, however, essentially taking my own measurements – 12″x15″ for the outside and 11.5″x14.5″ for the lining, if you are interested. I read and sort of followed the basic overall directions in both patterns, dealing with the details myself.
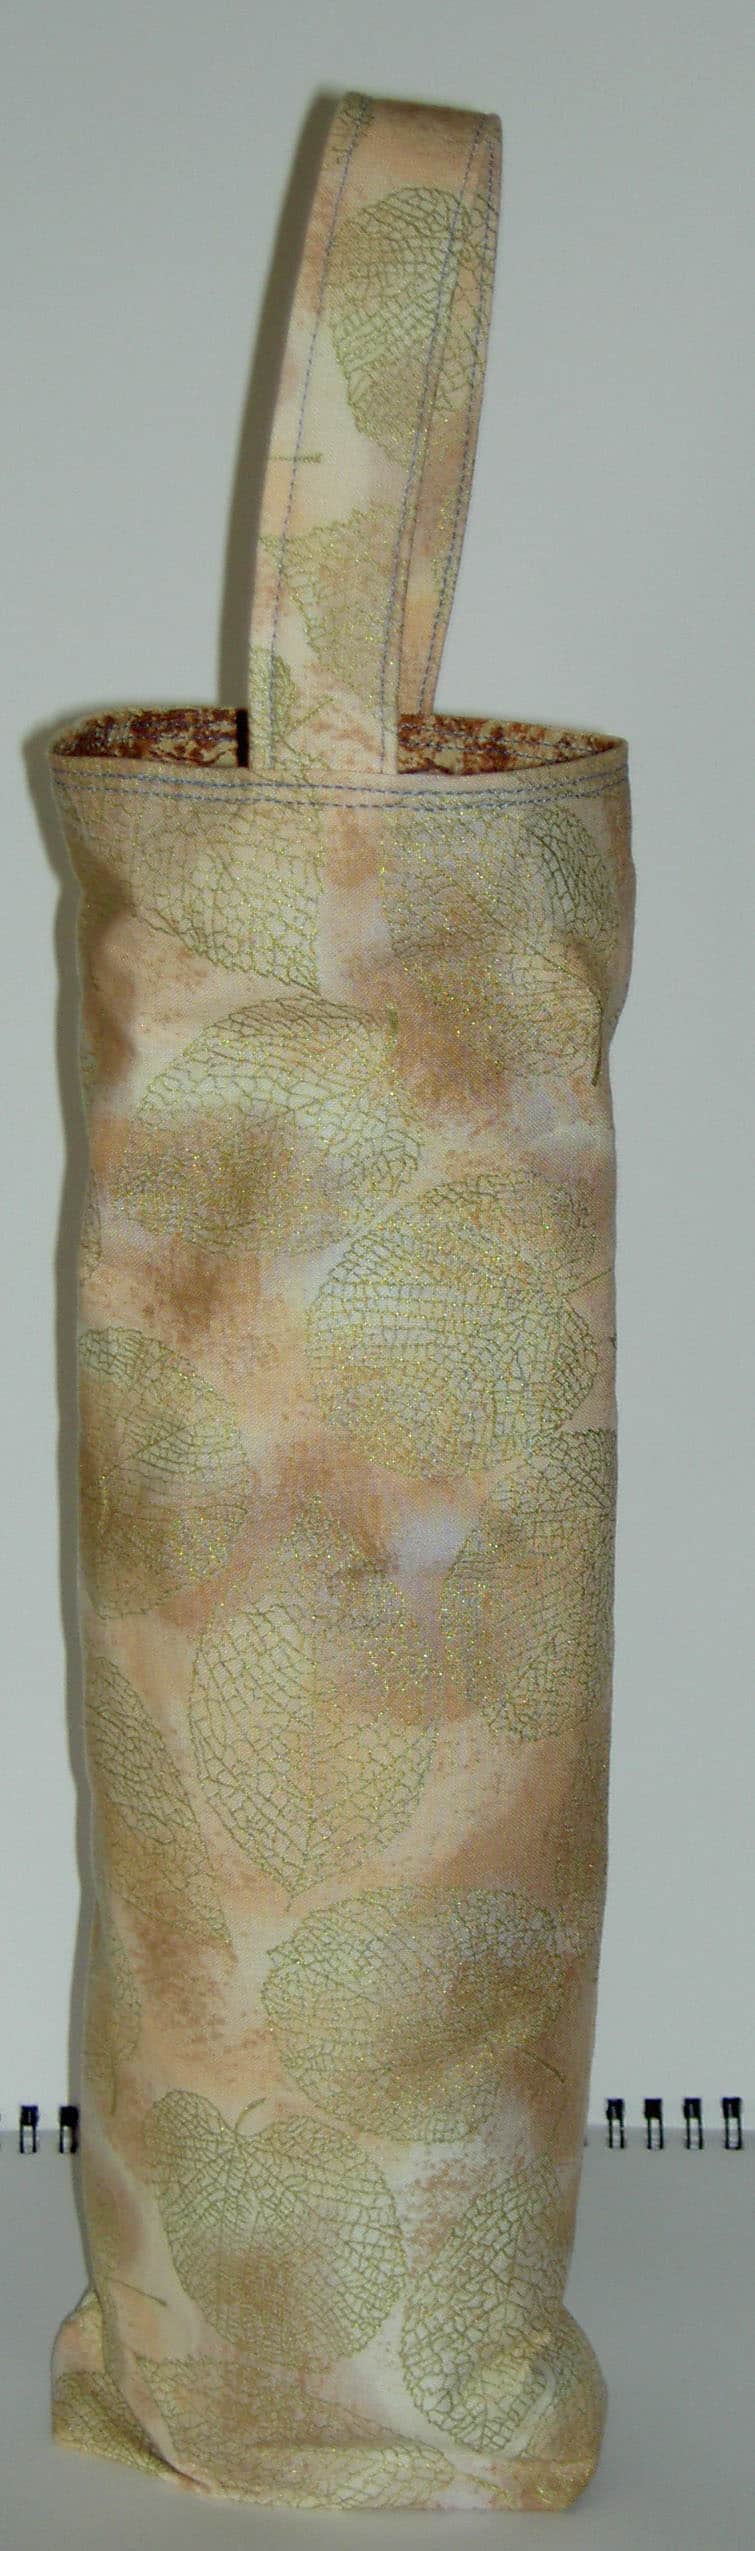
Wine Bag, test mode
One of the first issues was fabric. I have no shortage of fabric, but I wanted to use something that wouldn’t kill me with boredom and would fit the decor of my friends. They have a gorgeous house that uses lots of earth tones with some forest and tree kind of accents. I have been trying to think of ways to use my beiges and this seemed like a perfect opportunity. Still, I didn’t want to hate the project.
I found a great mottled pinky-beige with gold leaves, tastefully, screenprinted over the background. Perfect! I also had a lot of it. I picked out a marbled beige and brown for the lining.
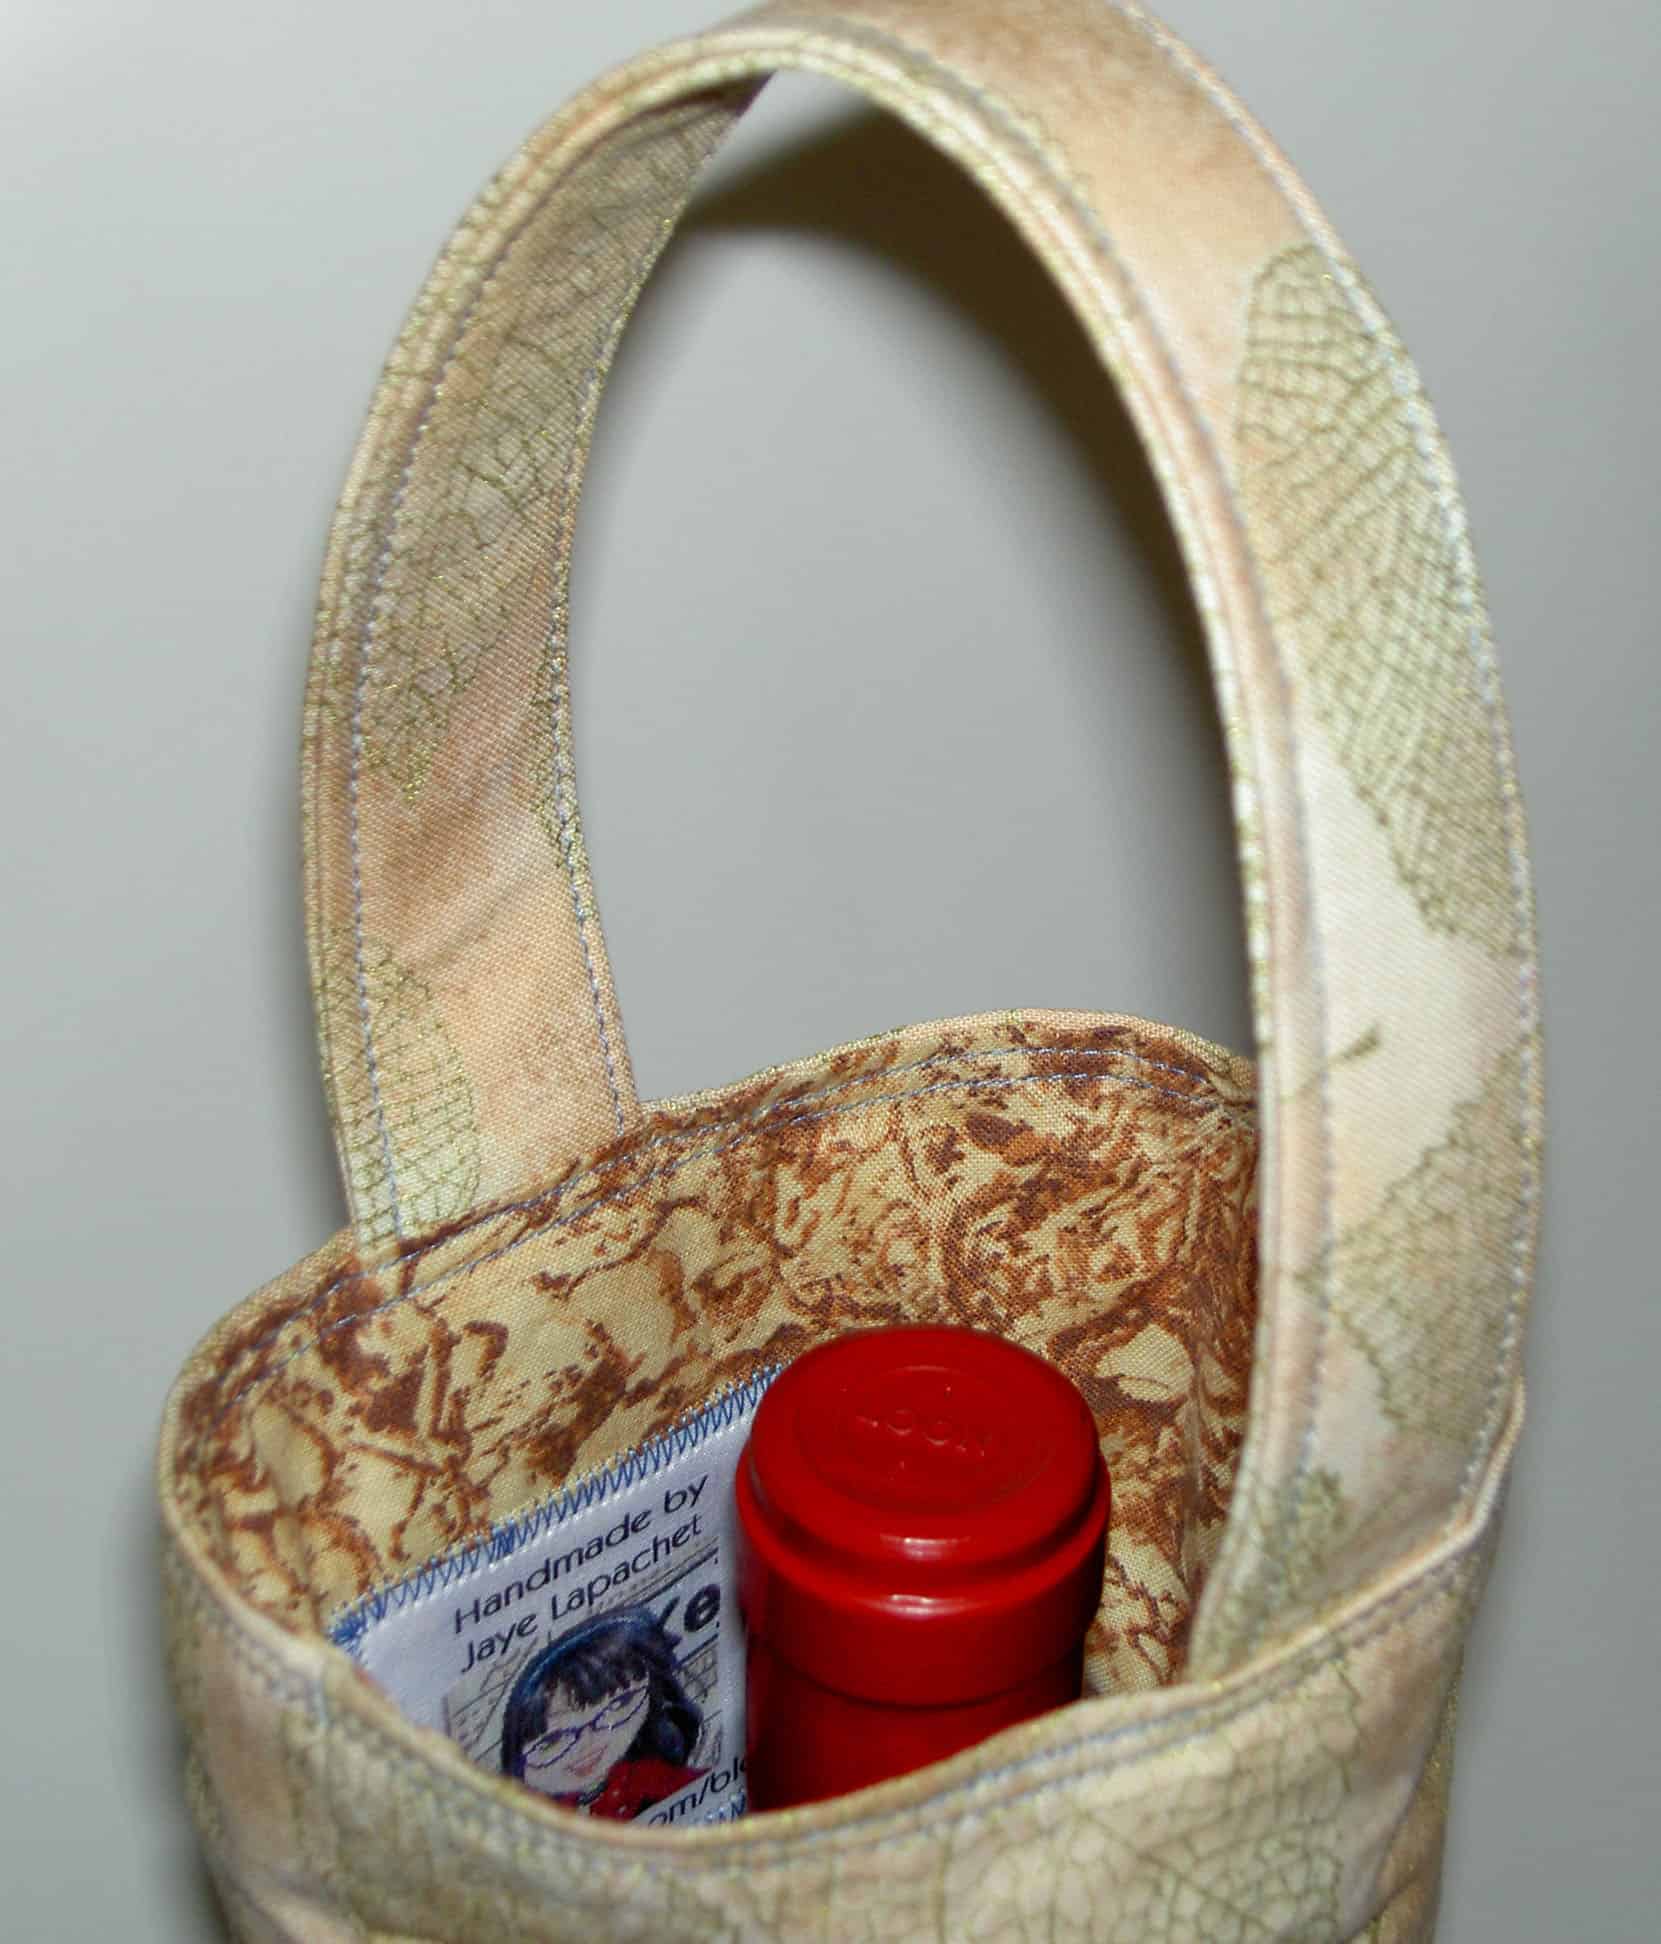
Wine Bag, detail
The directions above say to cut a piece 6″x34″. These measurements did not make sense to me. I knew that wine bottles were neither 6″ around nor 34″ tall, thus there was no way I was cutting a piece with those measurements. I got the measurements, in the end, by measuring a bottle of wine.
NOTE to designers: please give some explanation up front when you want someone to cut a piece that seems way bigger, or more oddly shaped, than needed. I am sure you have a good reason, so please let me know.
The red wine in the bag above was my test bottle. Yes, people will be mad at me for messing up their sediment process. Oh well. I was surprised to find that a wine bottle is about 11″ inches around.
I could have used the leave-a-hole-and-turn-the-bag-and-lining-right-side-out, but I didn’t feel like figuring out where the handles were supposed to go in that process. I put the whole thing together and folded the top hem down, inserted the straps and top-stitched around. It was a tight fit in my machine, but worked in the end.
I also neatly sank my knots and threads. 😉
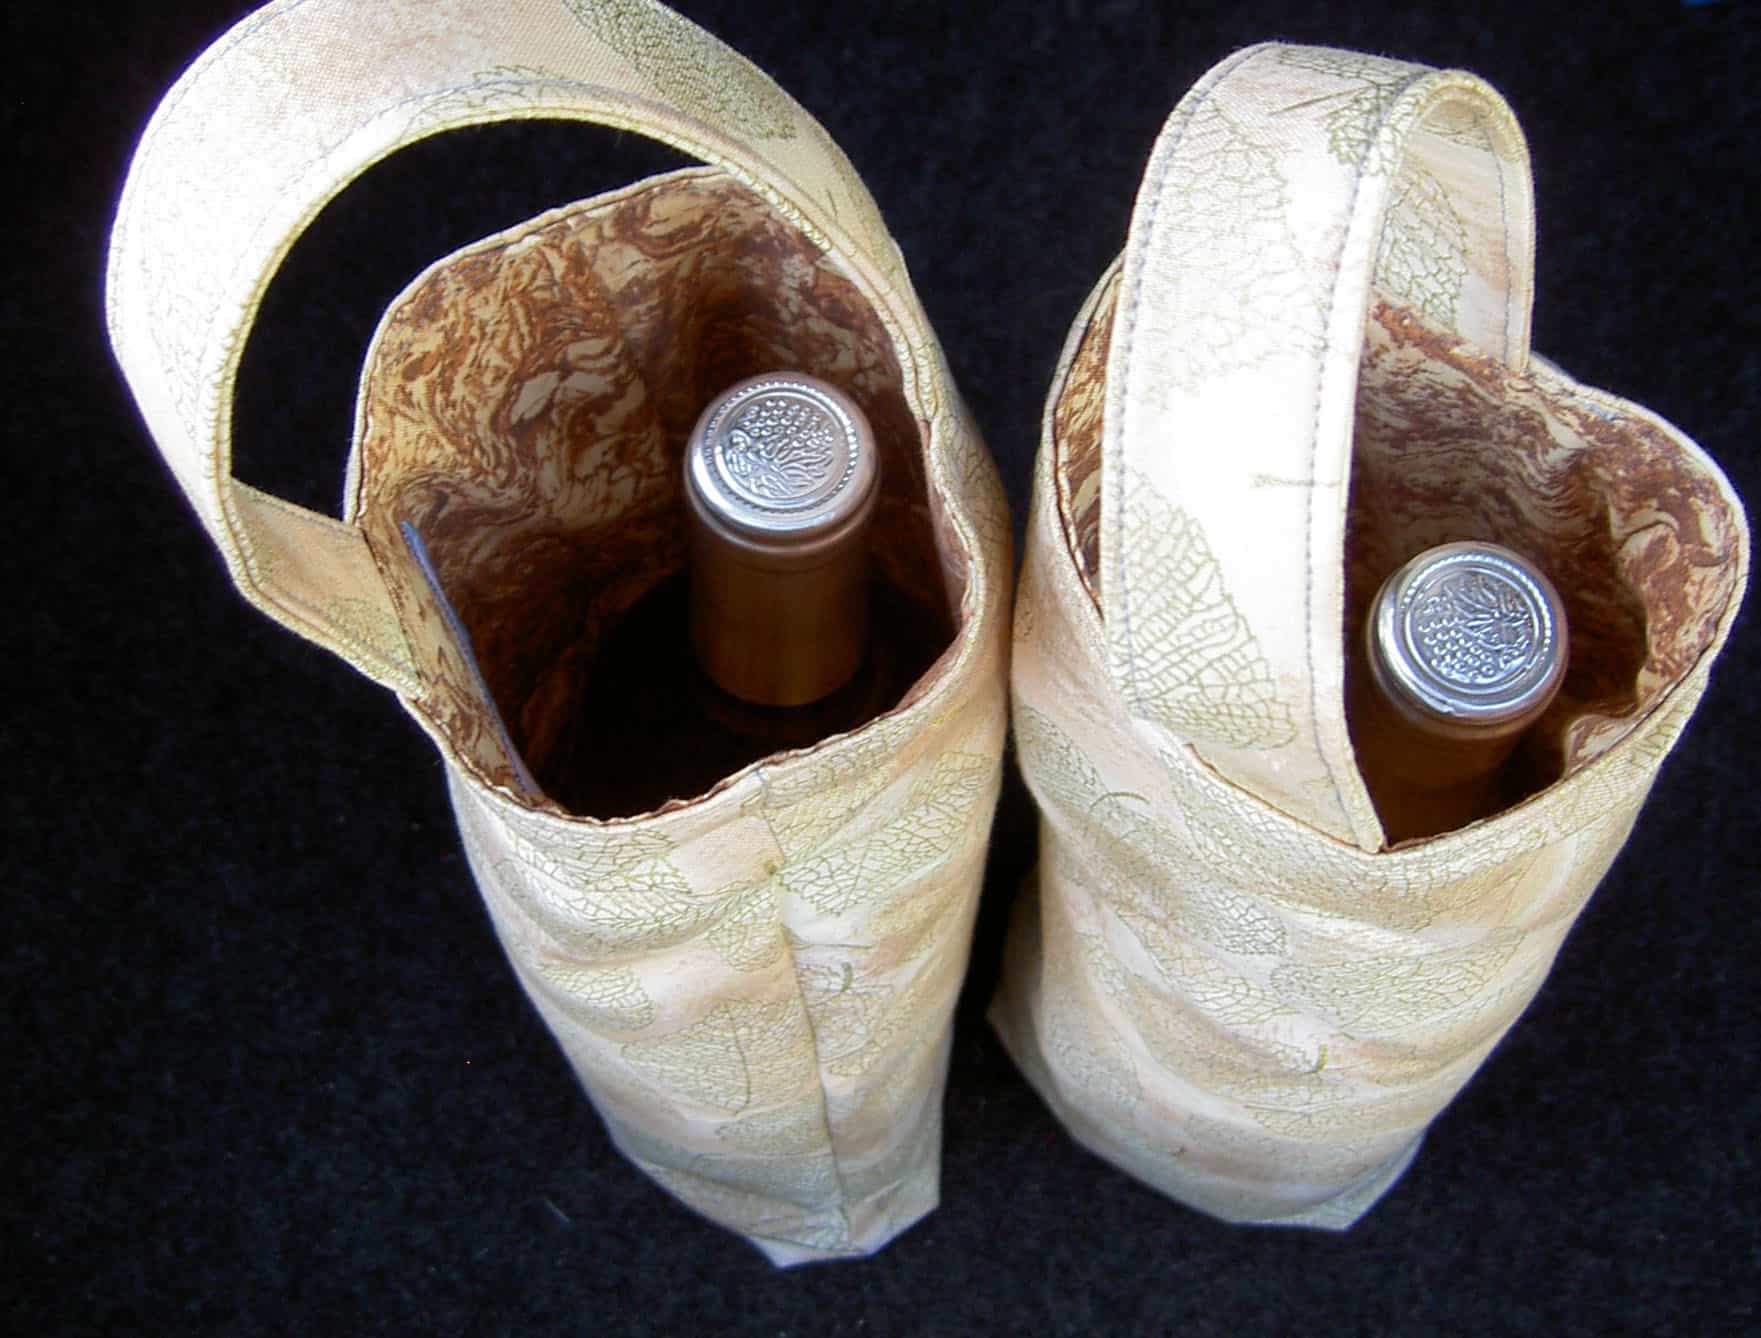
Wine, wrapped and ready
Above are my wine bags with the actual gift wines in them and ready to go. I have to admit that I thought about the height a bit. I wondered if I should make the bag shorter so the neck of the bottle was slightly visible. In the end, I decided the gift would be more of a surprise if the height covered the entire bottle. There would also be no interference between the neck and the handle.
I realize that some of you don’t drink wine. This pattern could be easily adapted to another gift drink such as Martinelli’s Sparkling Cider, or even a bottle of soda. It might be a nice way to wrap a gift bottle during the upcoming holidays.
Yesterday, I clipped some pictures from the A Work of Heart blog just to wet your whistle. I went to their studio on a CQFA outing Sunday. Because I got lost, I arrived there late, but was able to catch up quickly. I had a great time. Great doesn’t even being to describe it; I had such a fantastic time that I can’t wait to go back. In fact, I’d like to go today. 😉
Studio Outside
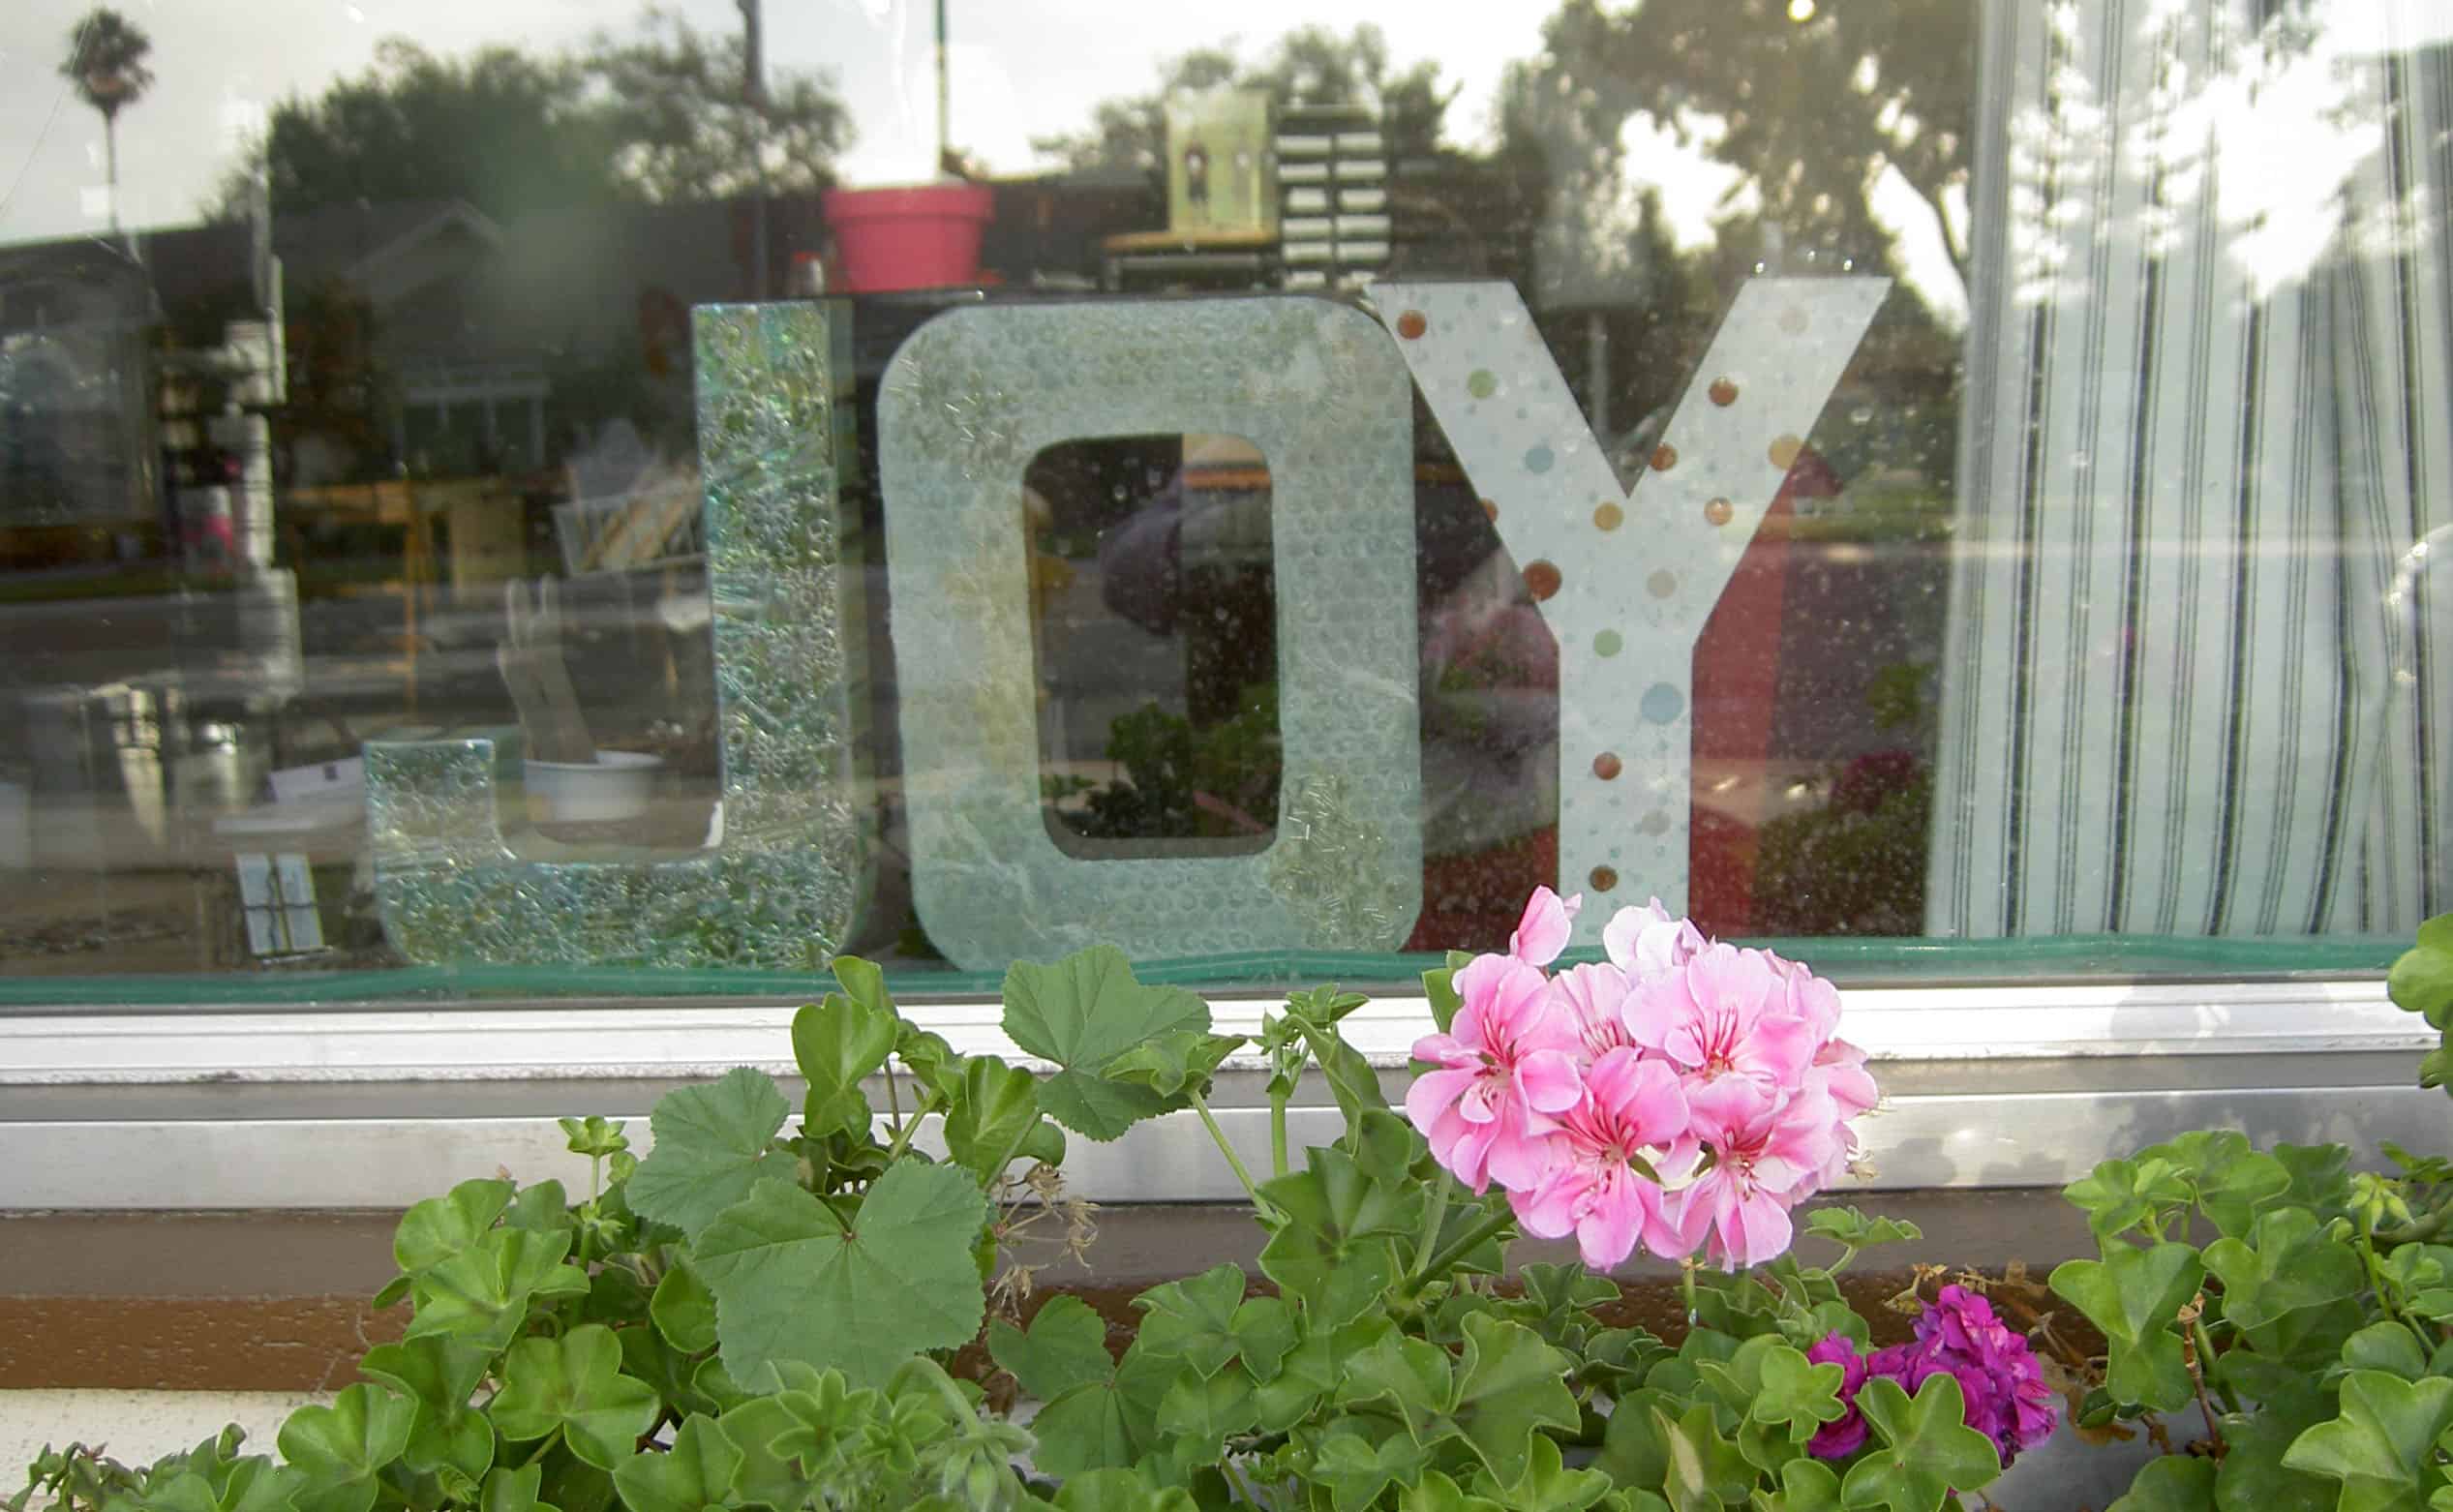
This unassuming strip mall storefront does not even begin to give a hint as to the creativity oozing throughout the inside. The little touches (pink door, geraniums, glimpses of the magic inside) trying to escape underneath the doors to the outside.
Inside Possibilities
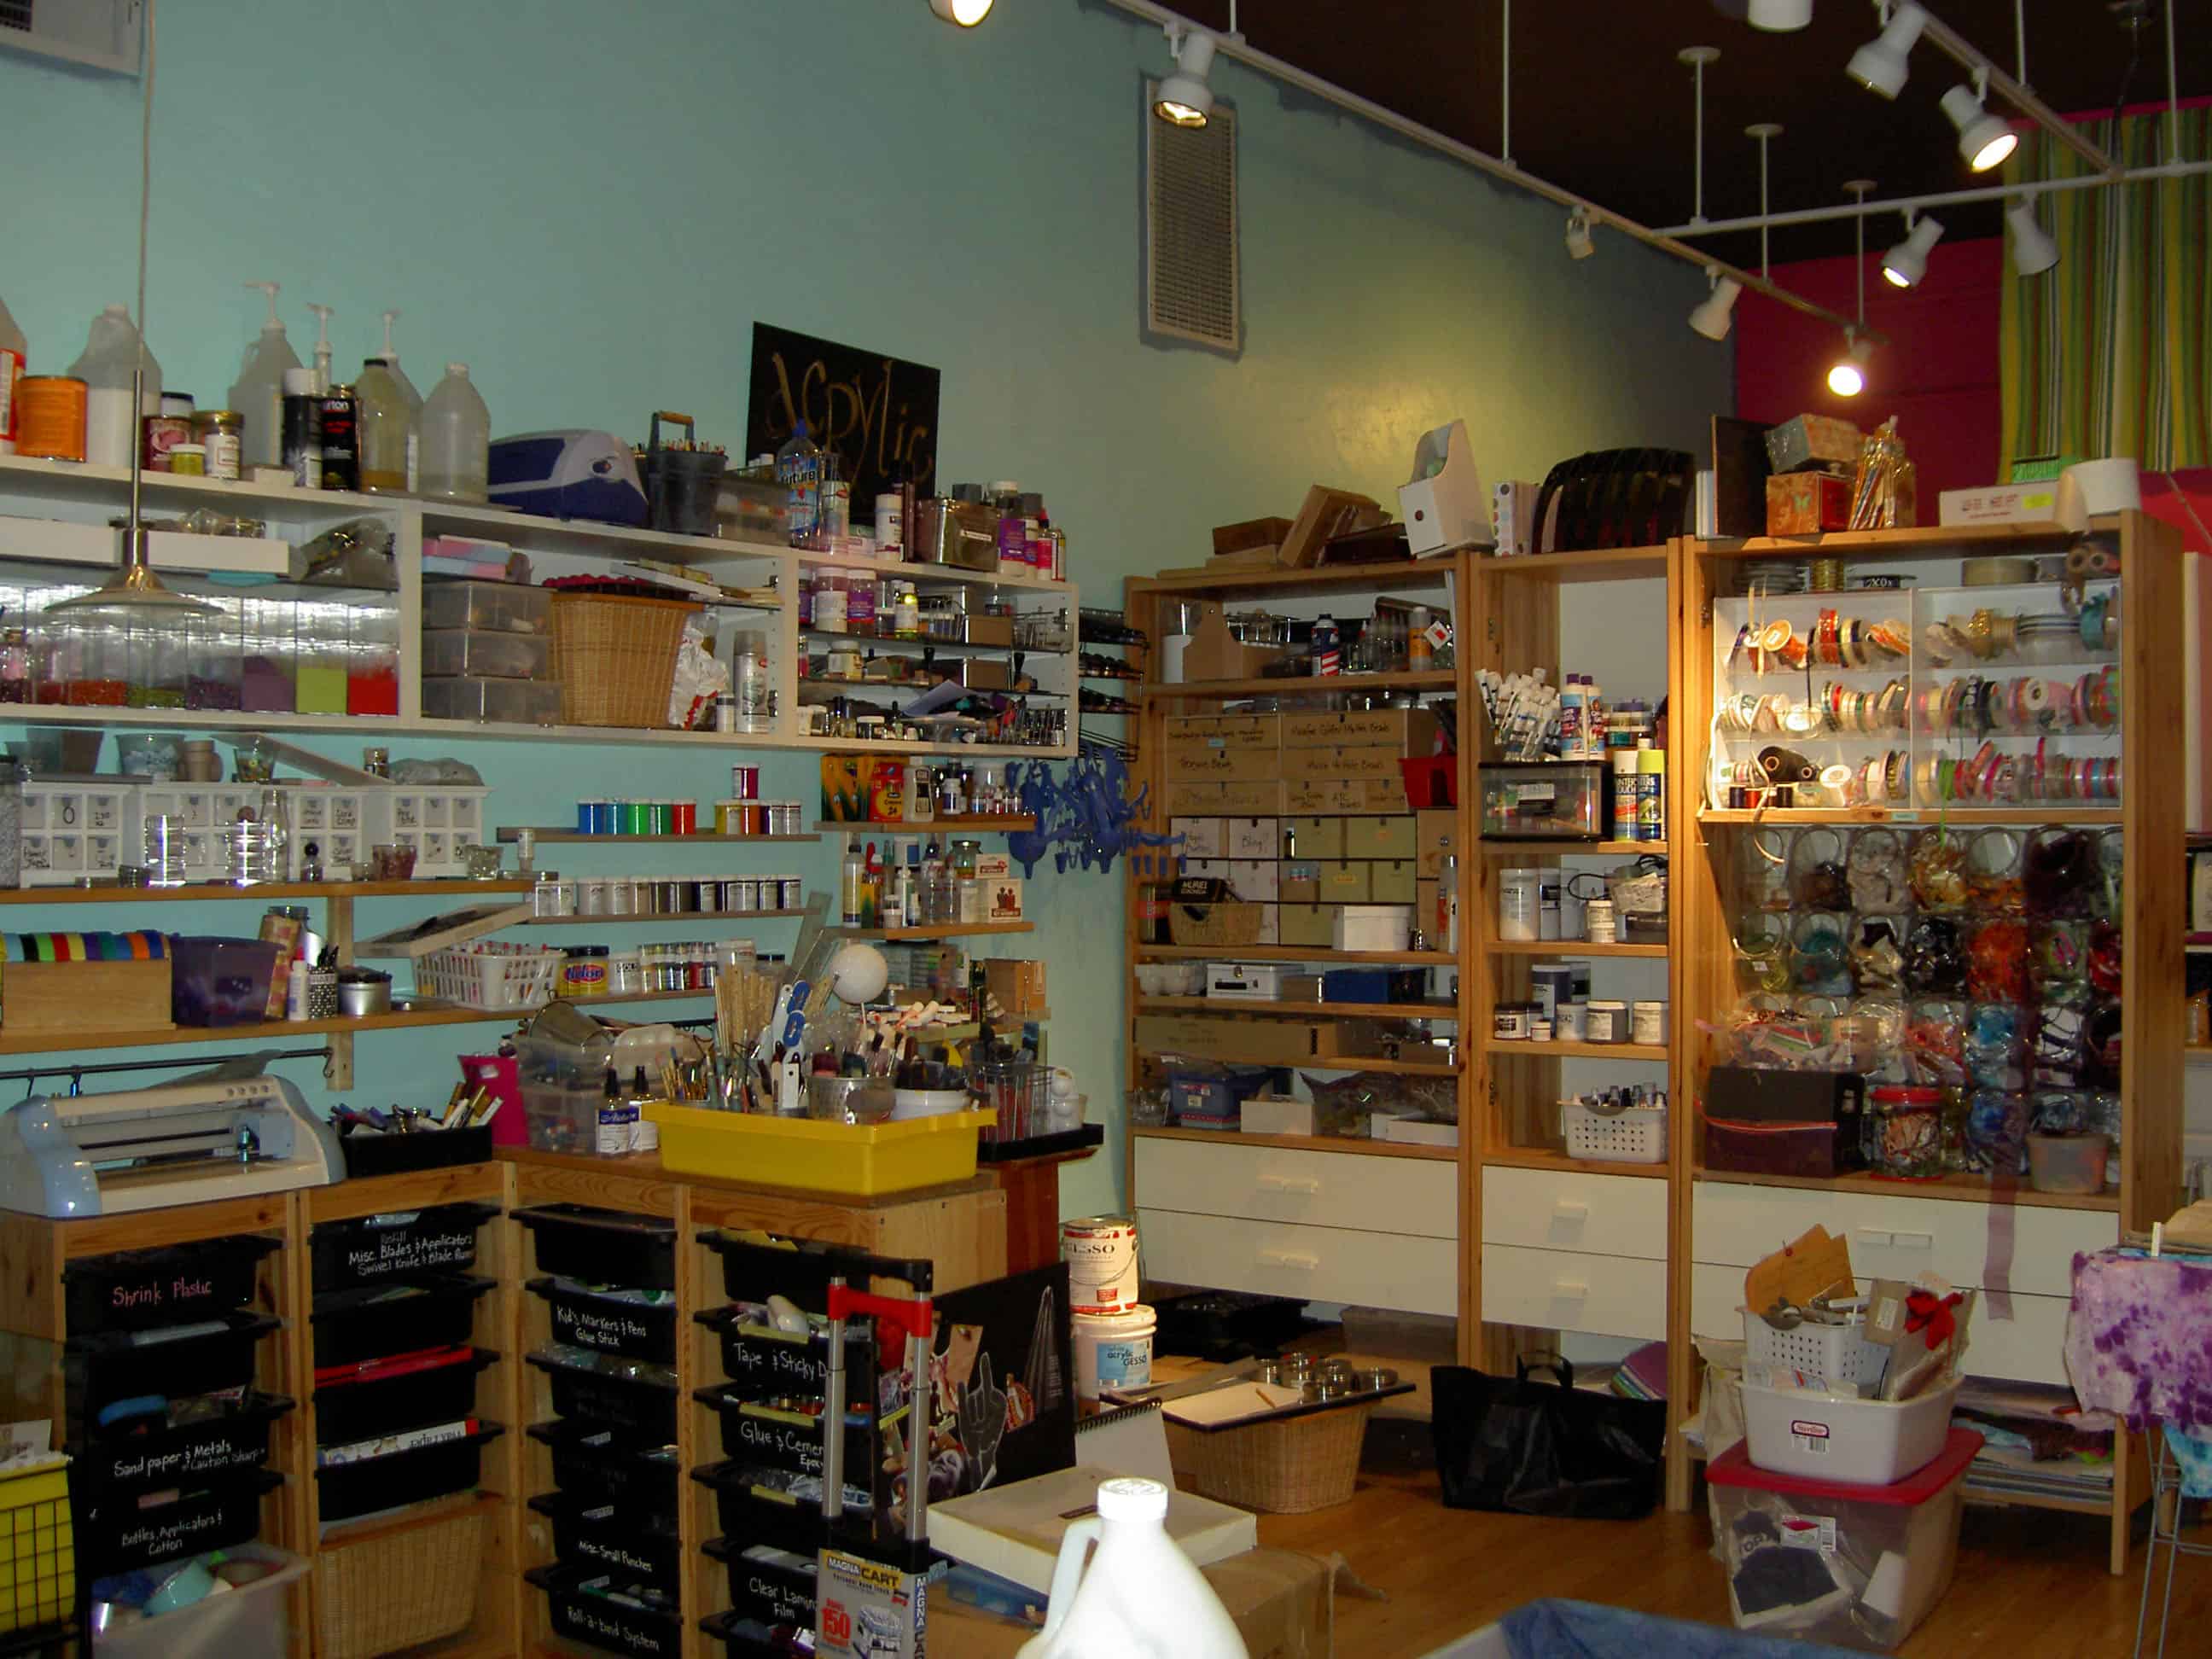
The above picture represents the supplies from which I could choose. Andrea, the owner, teacher, and calm goddess of creativity was so generous about allows us to use anything we wanted. How many times have you heard “Use whatever you want” ? Not often enough. While I didn’t partake of her generosity to excess, I liked having the possibility. A lot of my creativity swirls around, and intersects with possibility.
Workspace, End of the Day
As you may have read, I have been struggling with the concept of art journaling on and off for awhile. My past idesa surrounding art journaling/visual journaling was to explore a different technique that might bring new life and additional inspiration to my quiltmaking. No amount of self motivation could help me overcome the mess and move forward with my desire to make some art journals on my own. CQFA did one field trip and when Terri proposed this one, I thought it sounded great. The great thing about going somewhere to do something new is:
Someone else provides all the supplies
Someone else teaches you to use the supplies and helps you to be successful
You can leave when you are finished
You don’t have to learn the tips and tricks the hard way.
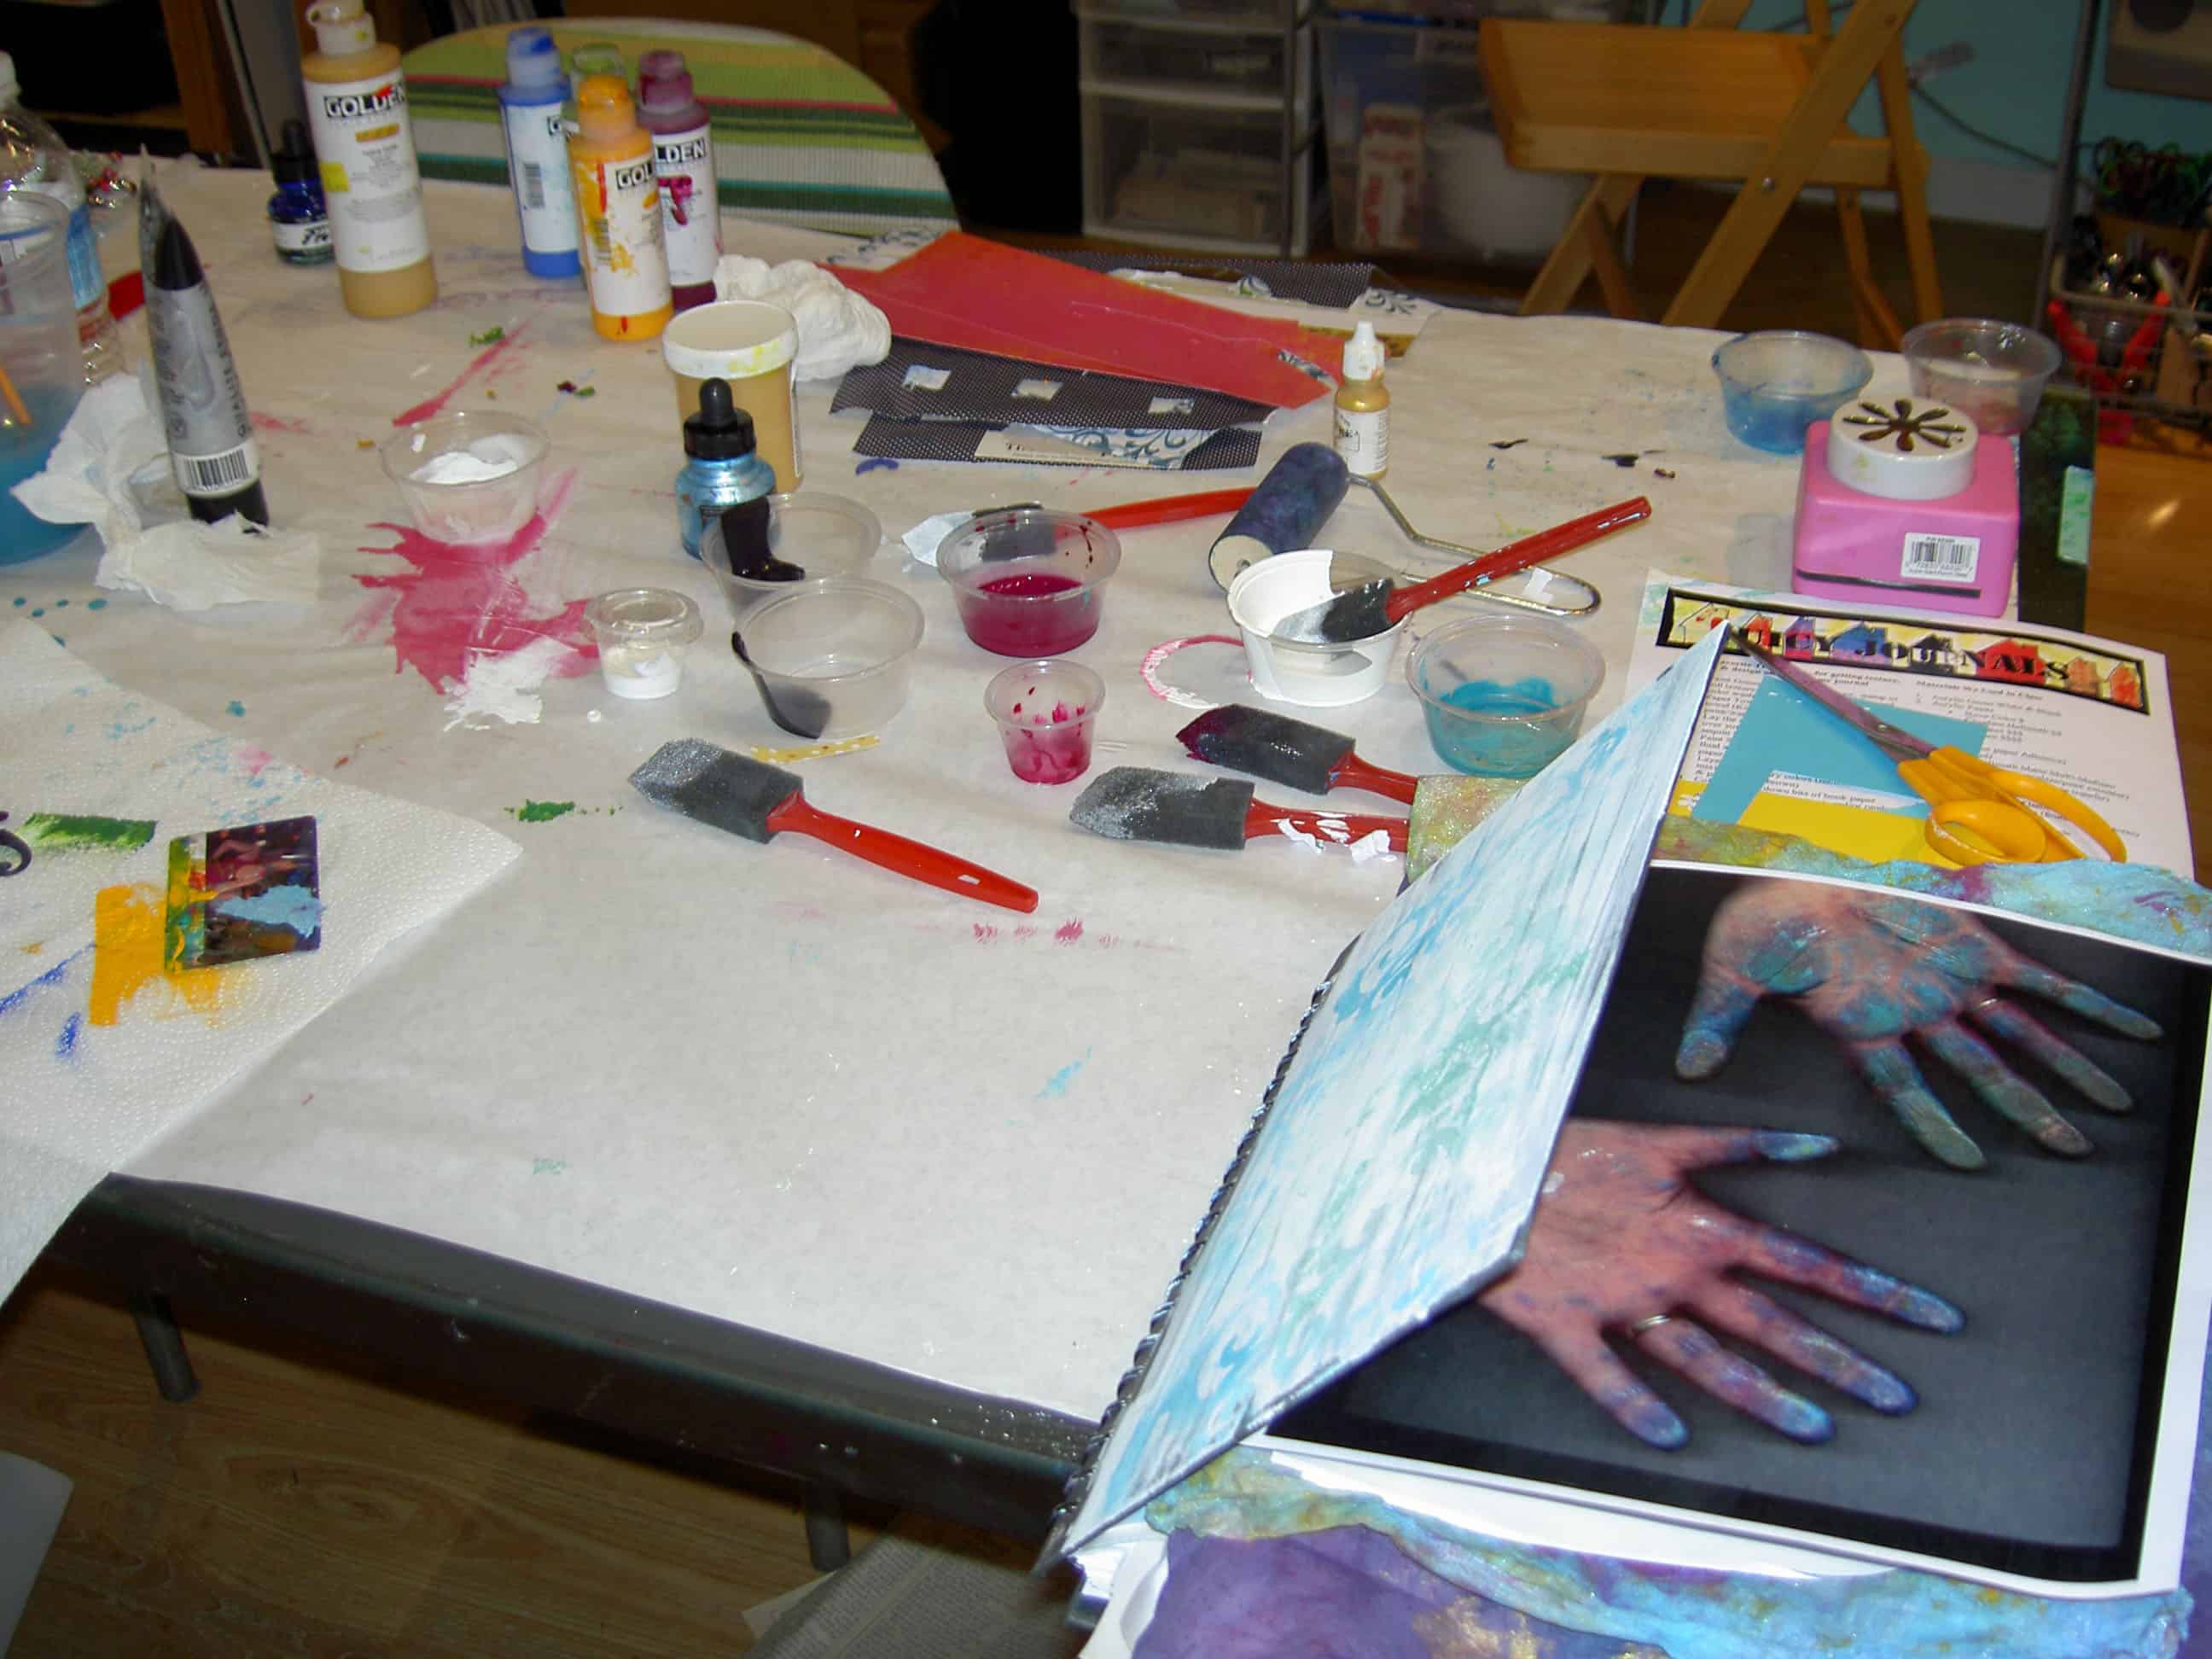
For me, this was a great opportunity. I decided to try to make some backgrounds in a journal (70lb+ watercolor paper or above, please) rather than making painted pieces of ‘art’. I also thought it would be a good opportunity to explore the layering that has been rumbling around in my head for awhile. There was a lot of paint involved in this activity as well as ink, water, glue, gesso and lots of other supplies that I don’t normally use.
Messy Hands
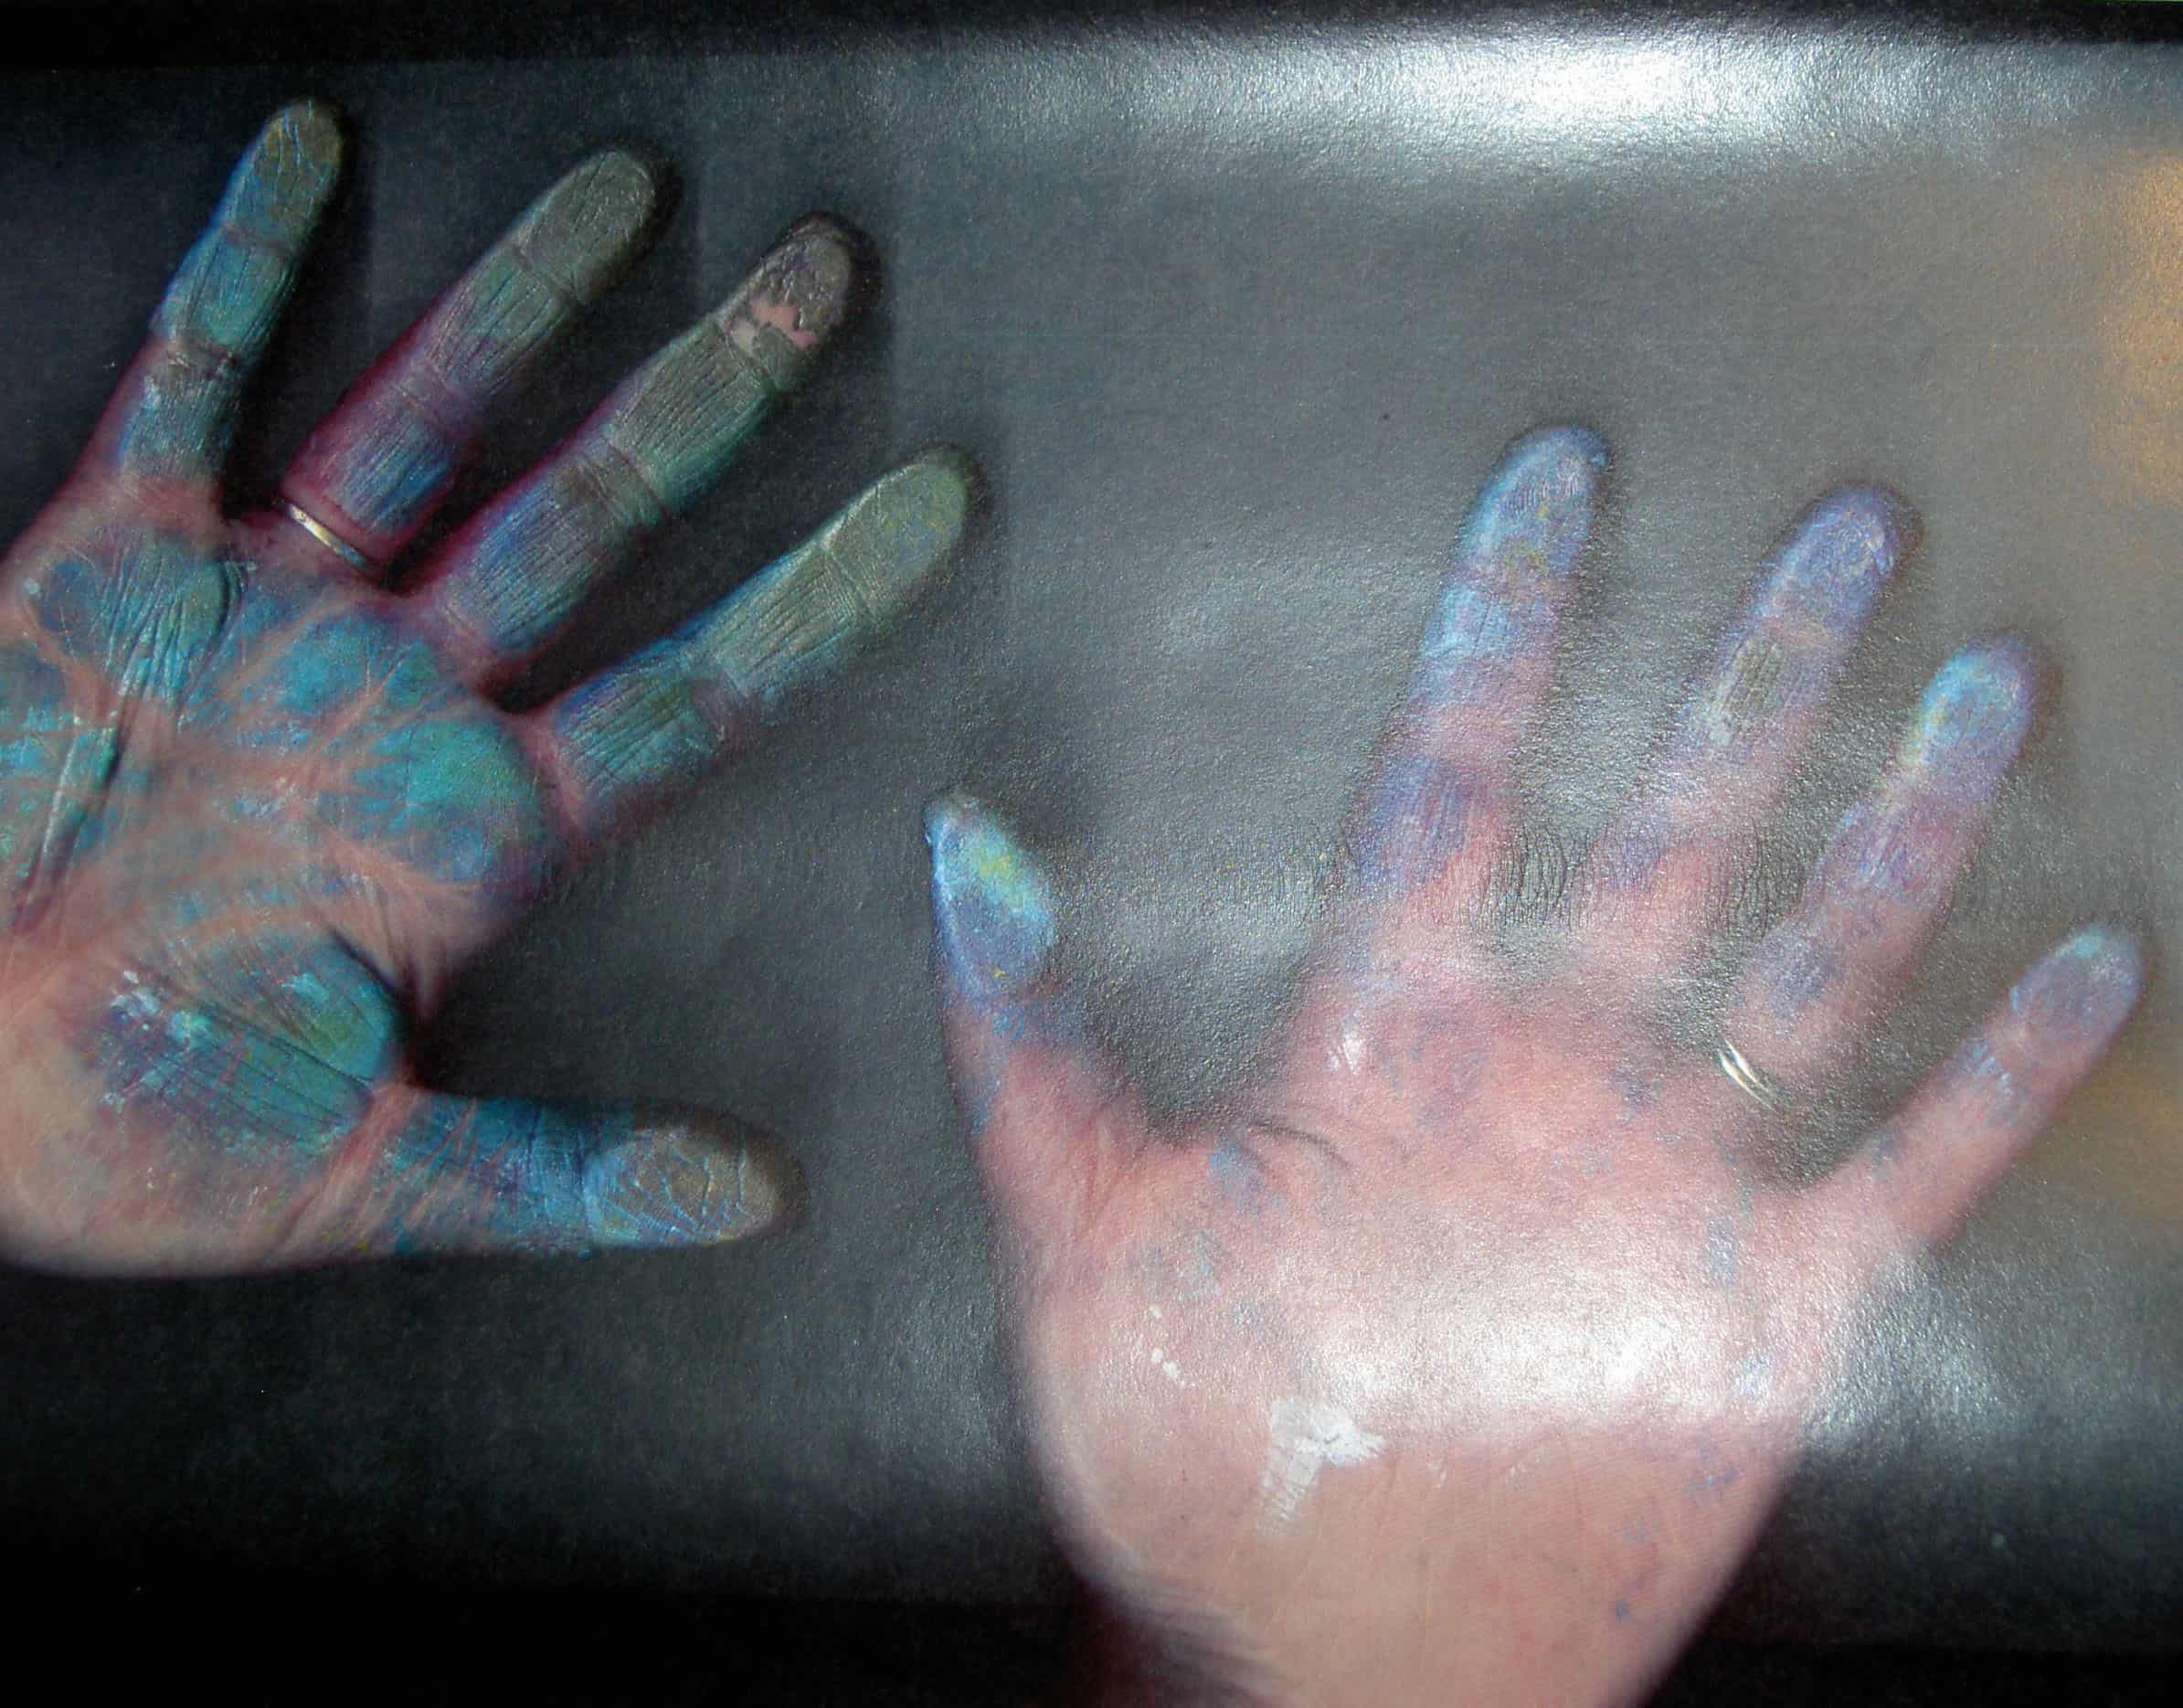
I am not afraid to get messy in someone else’s space as my hands show. I still have some bits of purple paint in my cuticles. TMI??? 😉
One thing I learned is that there is a certain synergy between wet and dry with which I needed to experiment.
Pink Sparkly Pages
Not all of my pages came out well – or my definition of well prior to the class – however, I am trying to learn that there is a certain beauty in the imperfect. I like my points to match and my fabrics to go together, so there is a learning curve.
Blue Pages Stuck and Ripped
Andrea gave us about 5 or 6 techniques to try and those seemed like a good way to get my feet wet. I did them over and over, trying to learn the boundaries. It has been a long time since I painted, and paint has very different qualities than fabric!
Credit Card Plaid
The above page came out really well. I put drops of Golden (brand) paint on the page and then swiped a credit card over it. Not all of my credit card pages were that successful. This was a very wet technique and a number of them stuck together and were “ruined,” or need more layers added.
Stencil Page
As the day wore on, I found my sea legs and began pushing the boundaries a little bit. The above photo shows a page I created using a stencil on a gessoed page. Later I put more paint (or ink, maybe) lightly over it. I didn’t realize that the stencil would make such a nice effect. the inks I used had a bit of sparkle to them, an effect I liked. It was a pleasant surprise.
Stamped Page
The Os on this page are one of the stamps that I made with some foam that was part of our kit. Below is the cover I made for my journal, which I did by gessoing the cover, letting it dry and then rubbing my painted paper towel over a stencil.
Journal Cover
There were so many possibilities that I didn’t try, which is why I need to go back. One of my thoughts now that the journal pages are dry and I can leaf through them is “what next?” for this journal. Do I write in it, using the decorated pages as wonderful backgrounds for my regular journal work? Should I designate it as a creativity journal where I just paste or draw my ideas in it? I don’t know yet. Whatever I decide to do, it will be a pleasant journal to use.
A few weeks ago I posted about Exuberant Color’s journal cover directions. This was after I saw directions for a journal cover on the Quilts and More website, Allpeoplequilt.com (you may have to register and login). I began the journal cover last Friday and finally finished on Sunday. In the end, it wasn’t difficult; I just didn’t have much time and struggled a bit with the directions.
As I may have mentioned, I liked the idea of this project, because it is useful. I also liked the idea of having an accessory using some of my fabric with me on a daily basis. Finally, it gave my journal a bit more privacy. The journal cover got its first outing with me on Tuesday.
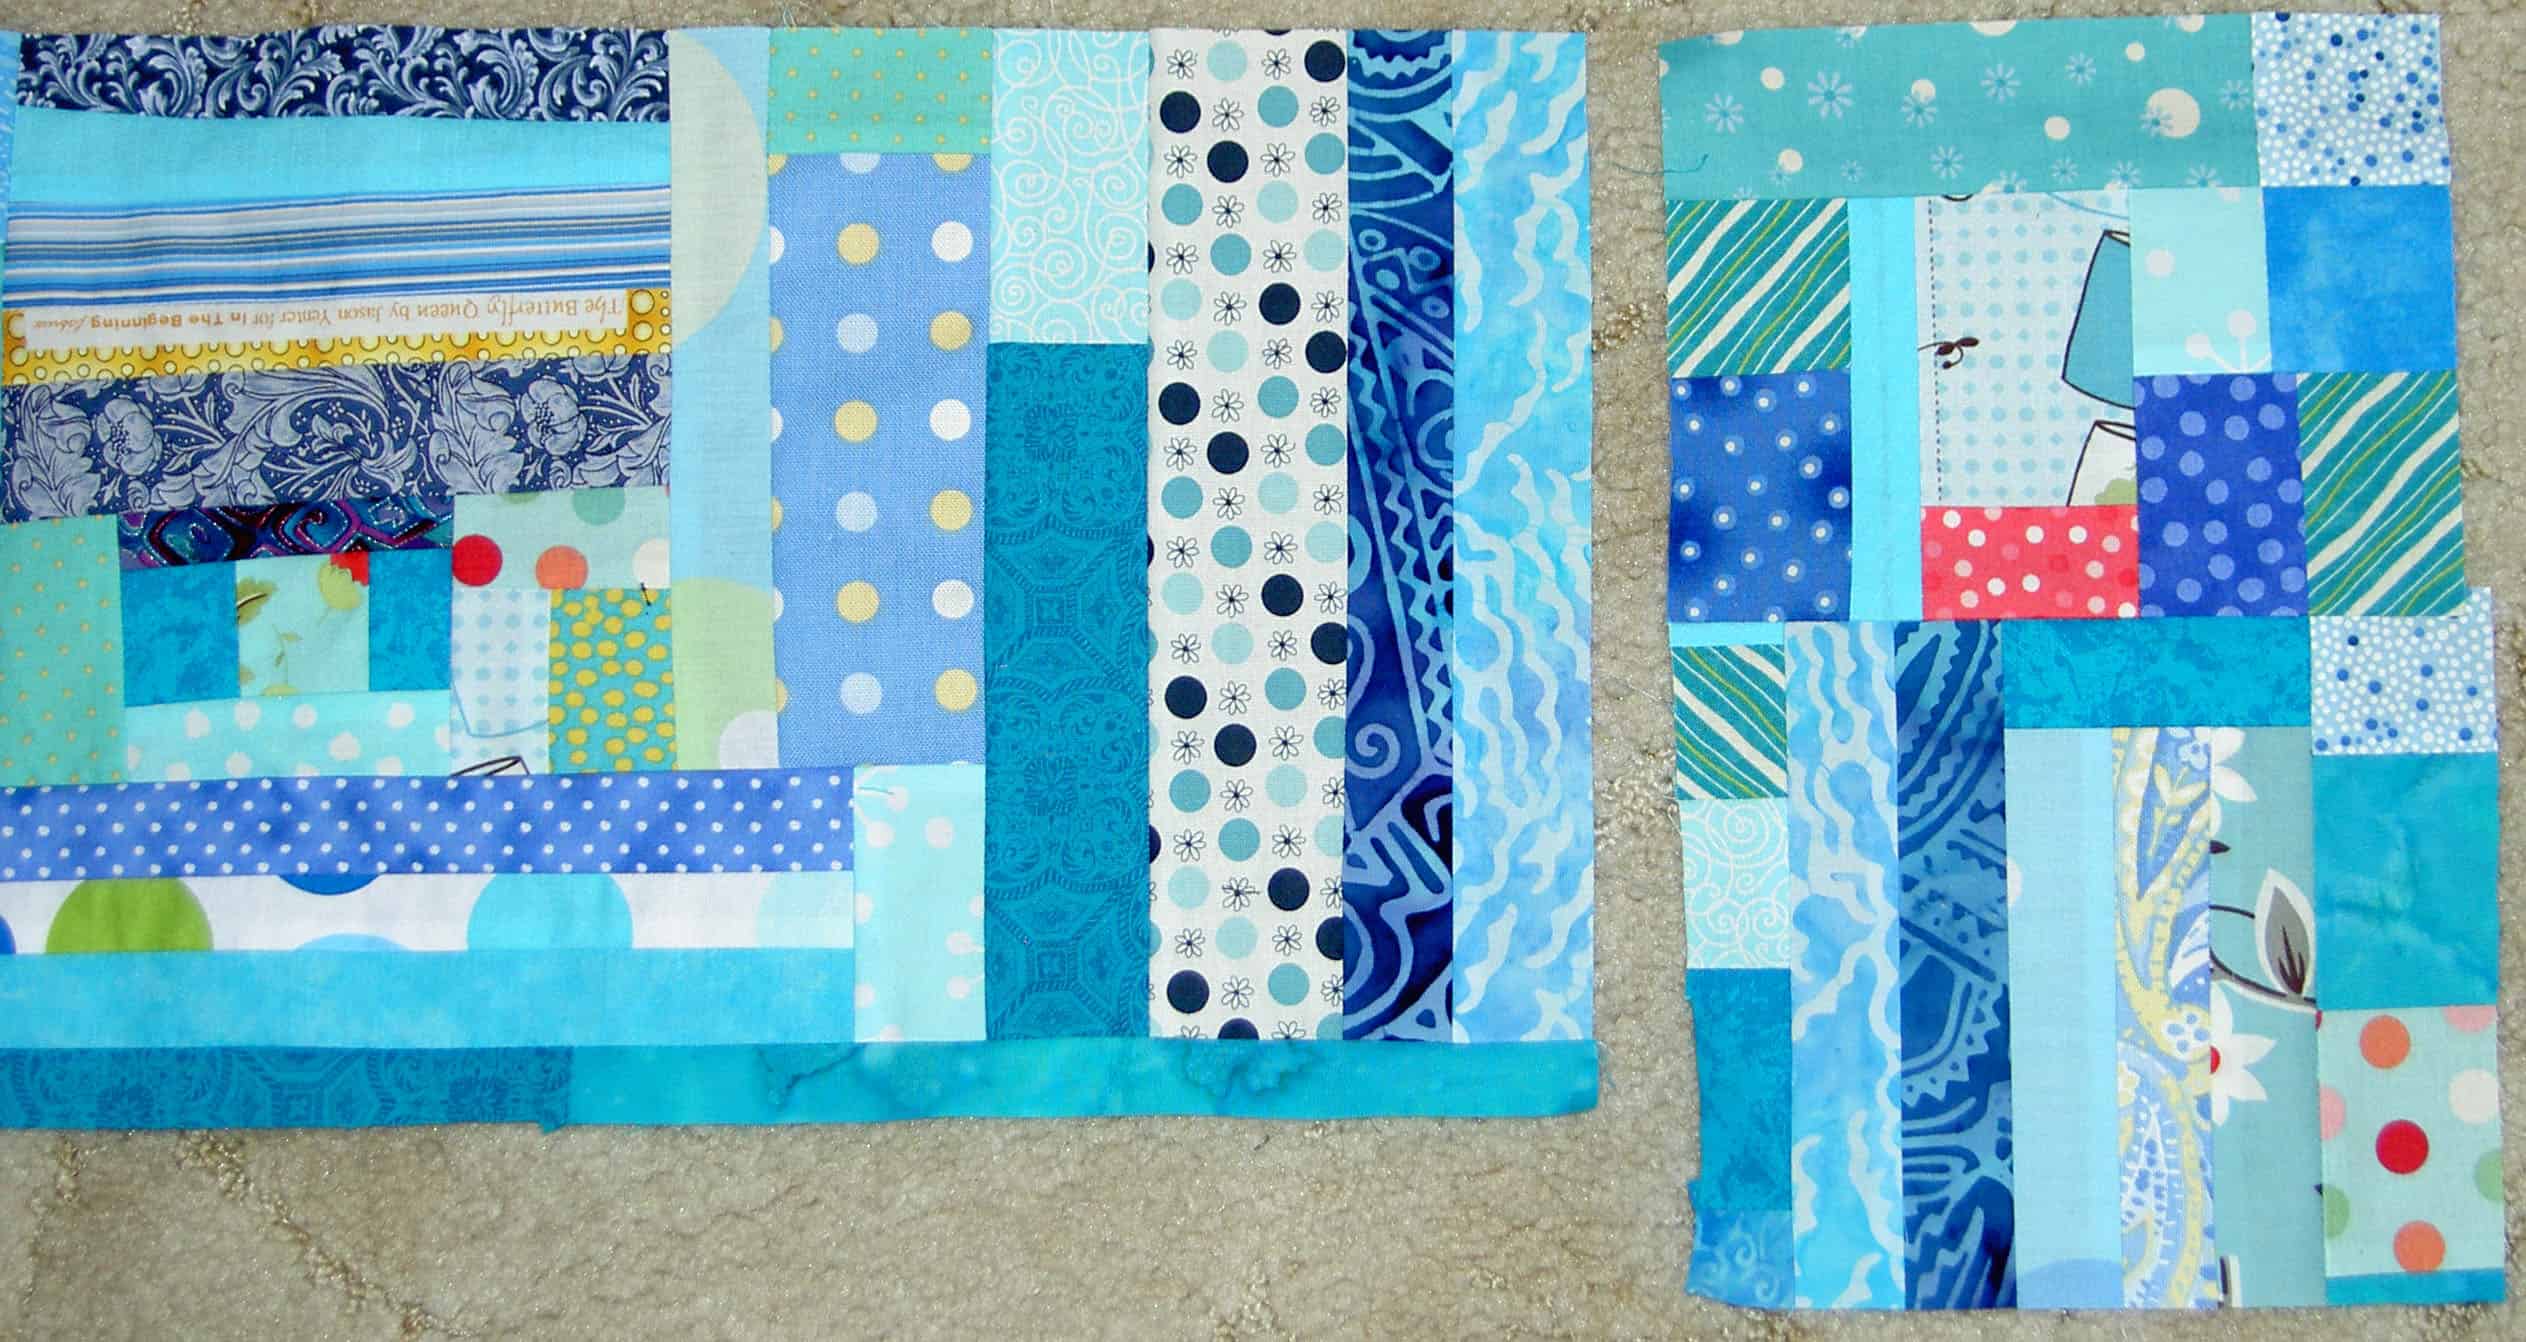
I started madly sewing turquoise scraps together when I was angry and needed to calm down. The repetitive nature of the sewing helps me. Not only do I calm down, but I also make progress, an added bonus. I am loving turquoise more and more lately and, found, as I rummaged through my scrap basket, that there were a lot of really pretty, if small, pieces.
Journal Cover Piecing, Oct 2009
Sewing scraps together is also an exercise I do when I don’t know what else to do. I sew like-colored scraps together to make new fabric. I have quite a large piece of red and have just started creating a pink piece. Other than tests and using them to make ATCs, I don’t really do much else with my scraps, so making new fabrics can create something useful.
The blue piece quickly turned into a journal cover. The technique is inspired, as you may have read before (March 2007 or July 2008), by Shannon Williams’ Mosaic Quilting technique.
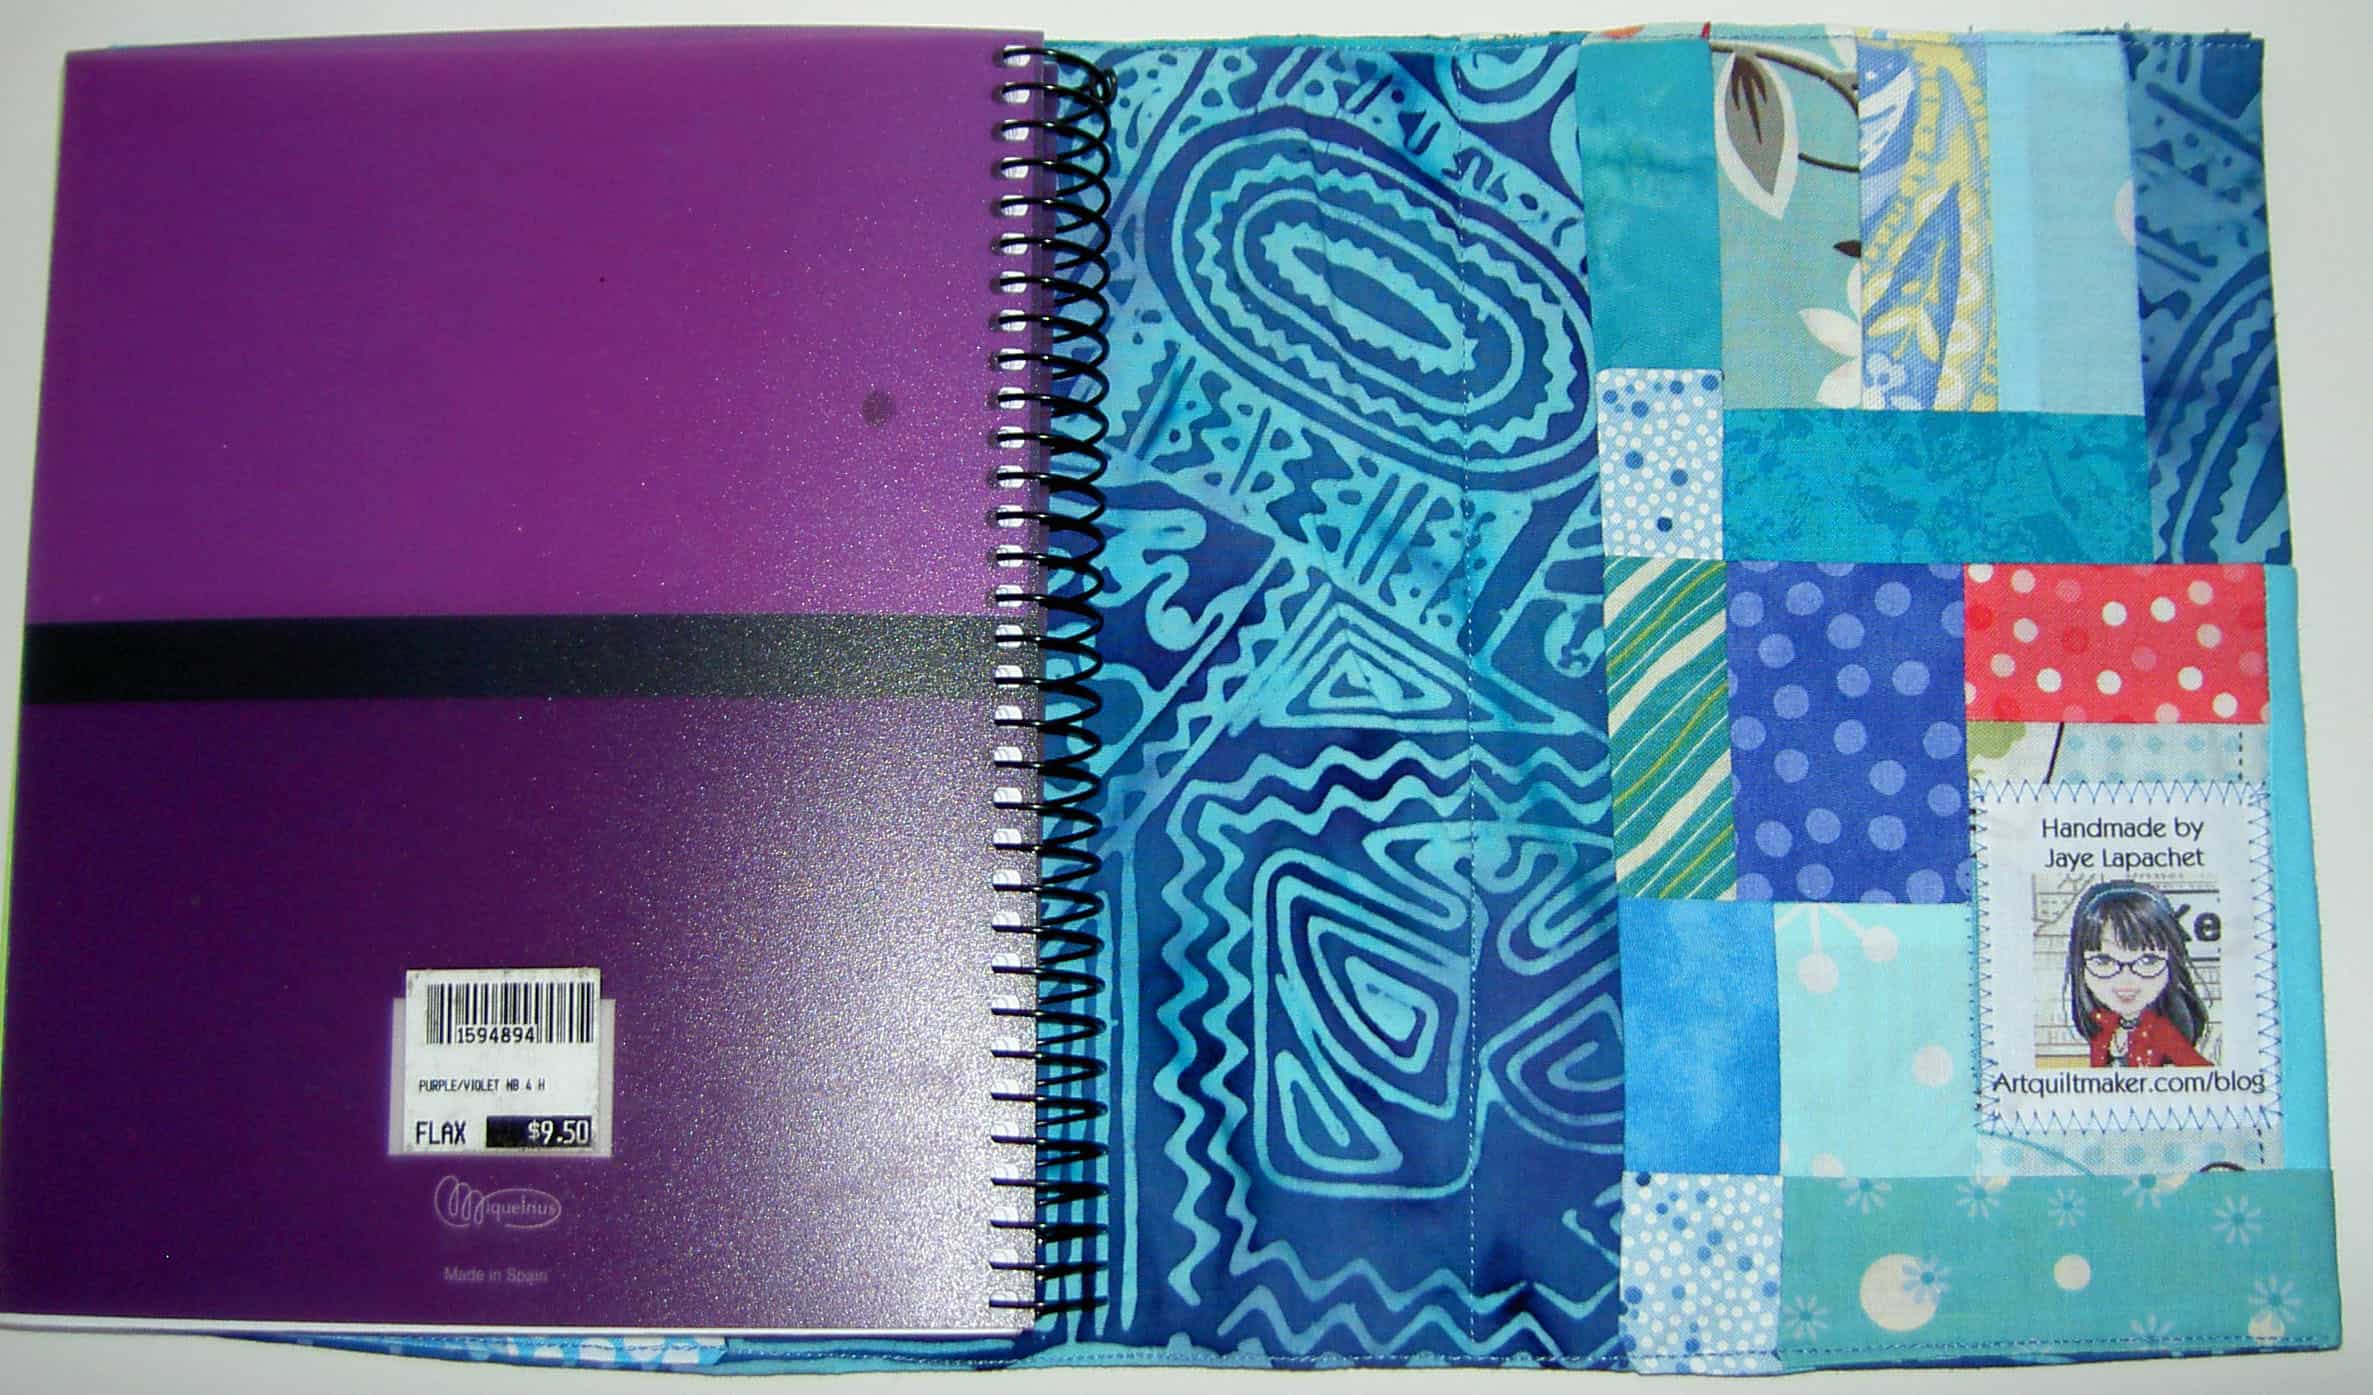
Finished cover, Lining detail
I also used the fabric I wrote about (used as another source of inspiration) as the lining. I thought I would be able to see more of it and enjoy it, but the lining is pretty covered up. I might be a little miffed, but I know it is there and I can look at it whenever I want.
As I was making the fabric for the outside, I had to know how large to make the piece. I found the Quilts & More pattern not to work very well for me. That pattern requires that you buy a specific journal – the black & white composition notebook type, I think – which is a specific size. I did read this when I started the project. What I didn’t read was that they had no instructions for those who wanted to use a journal that had been laying around the house. Wanda at Exuberant Color came to the rescue, giving me an idea of how to measure my own journal so I could use that journal instead of going out and buying a new one.
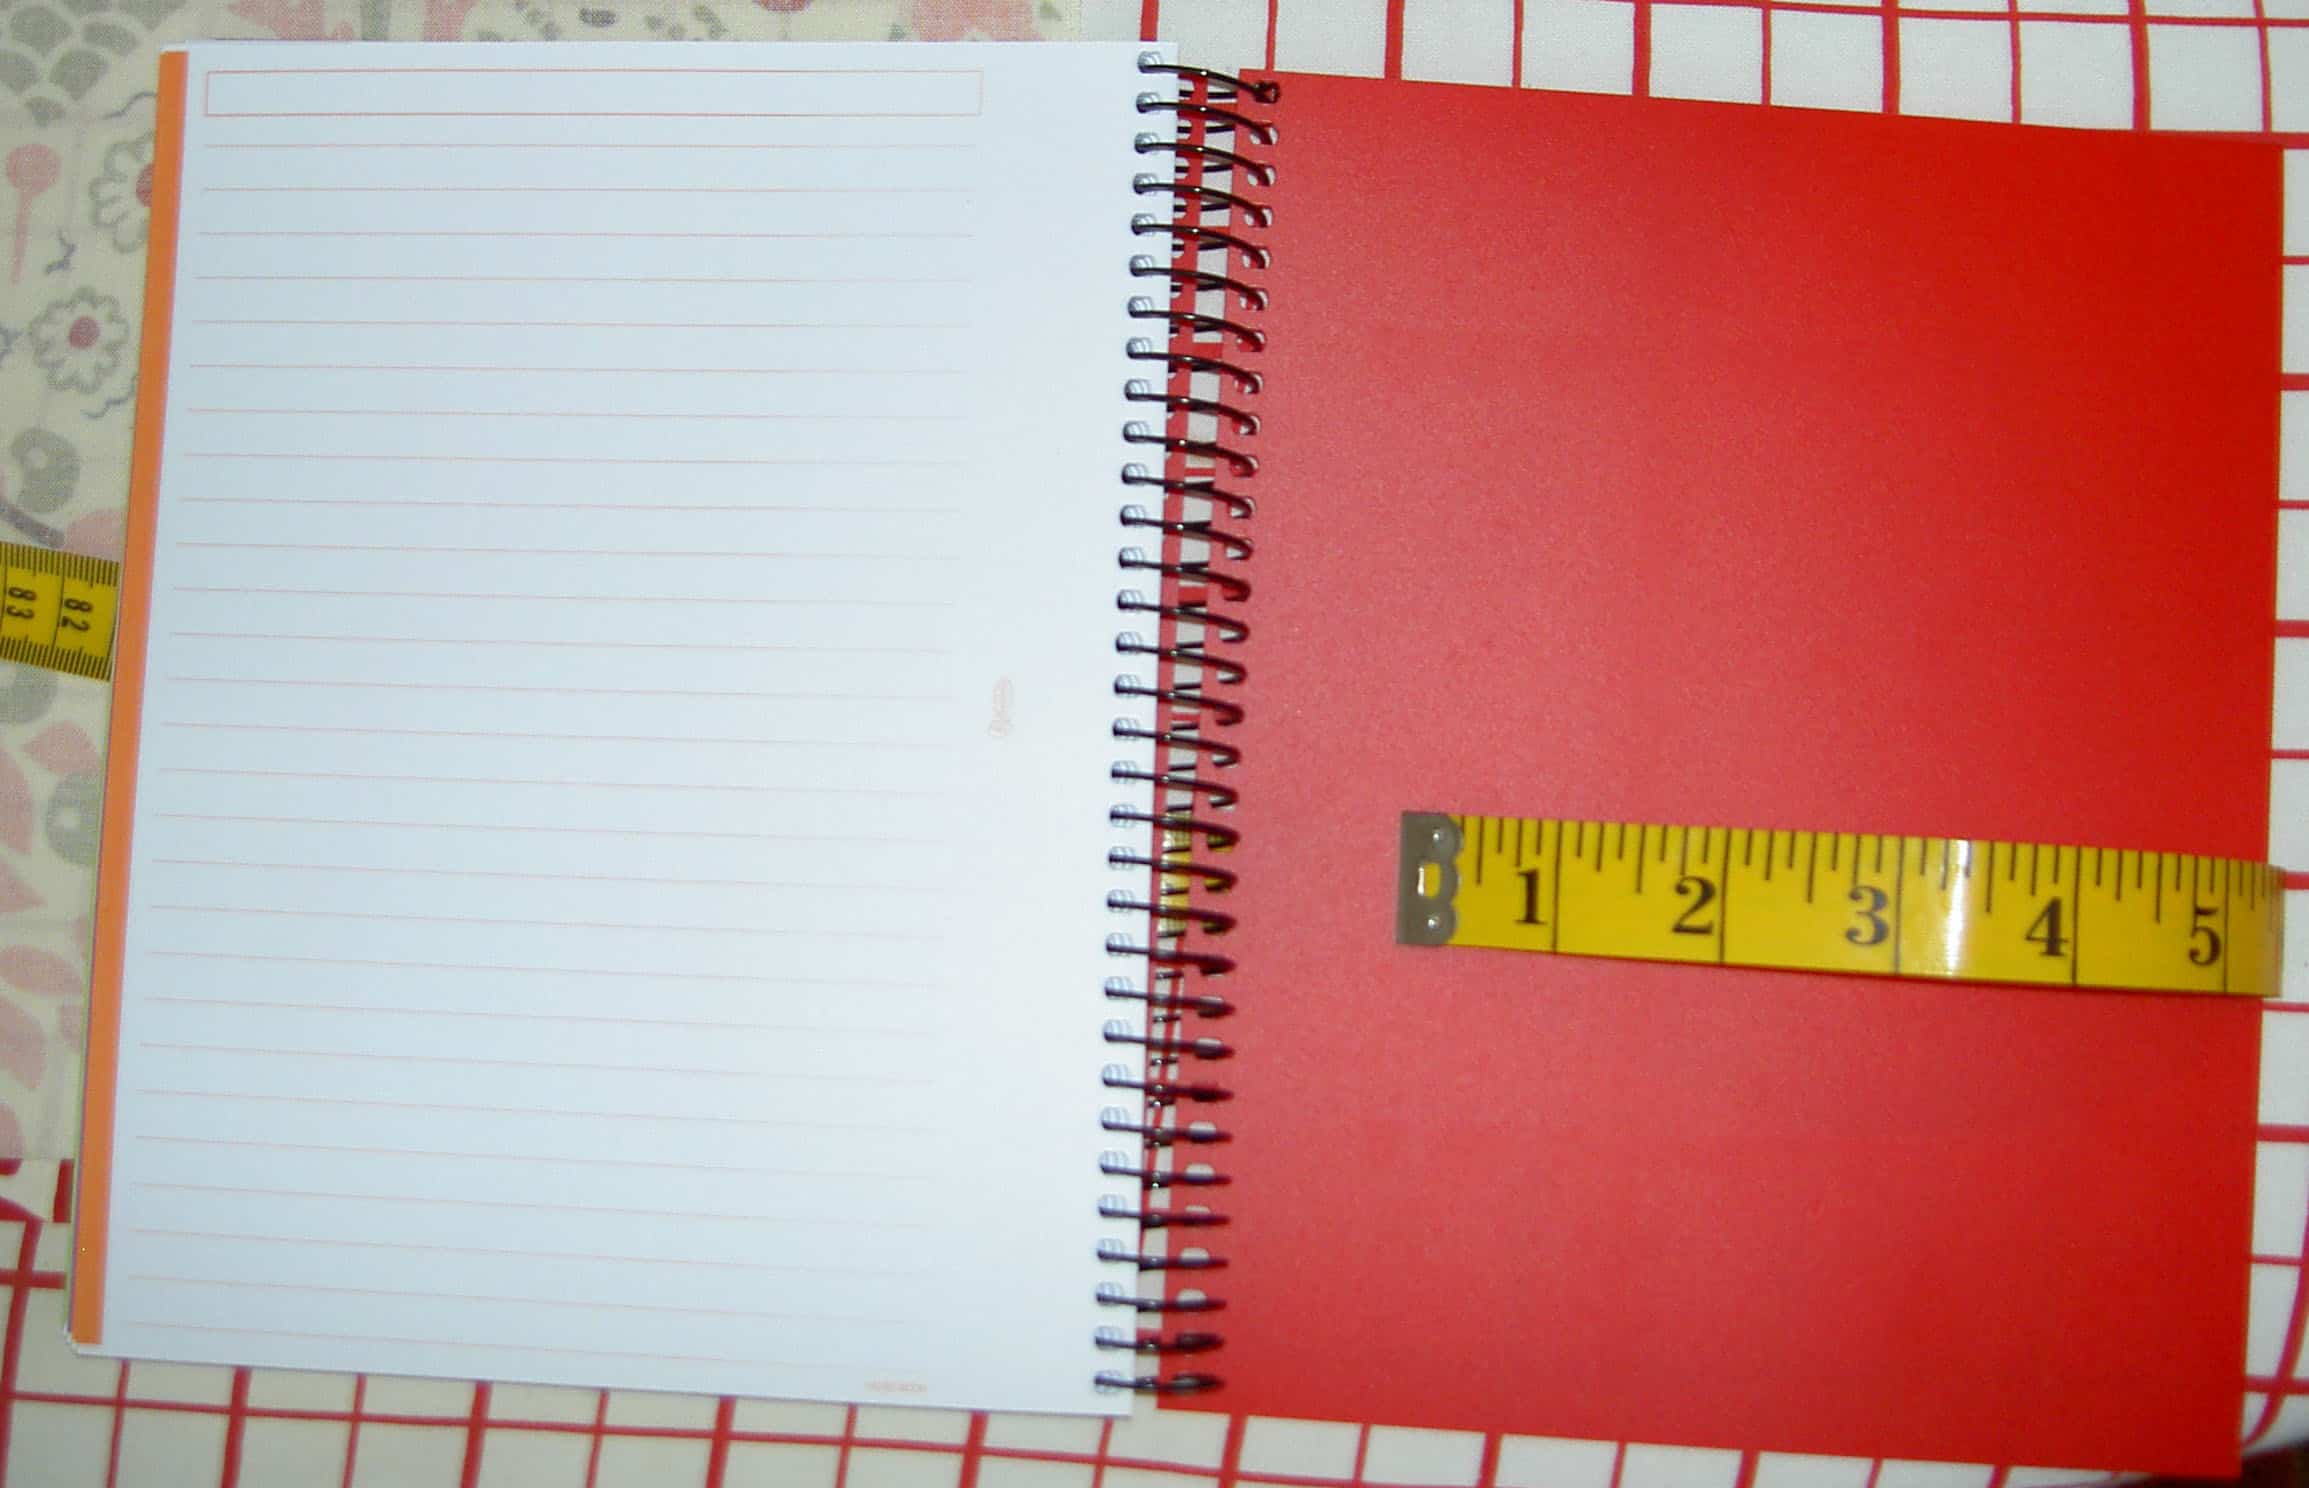
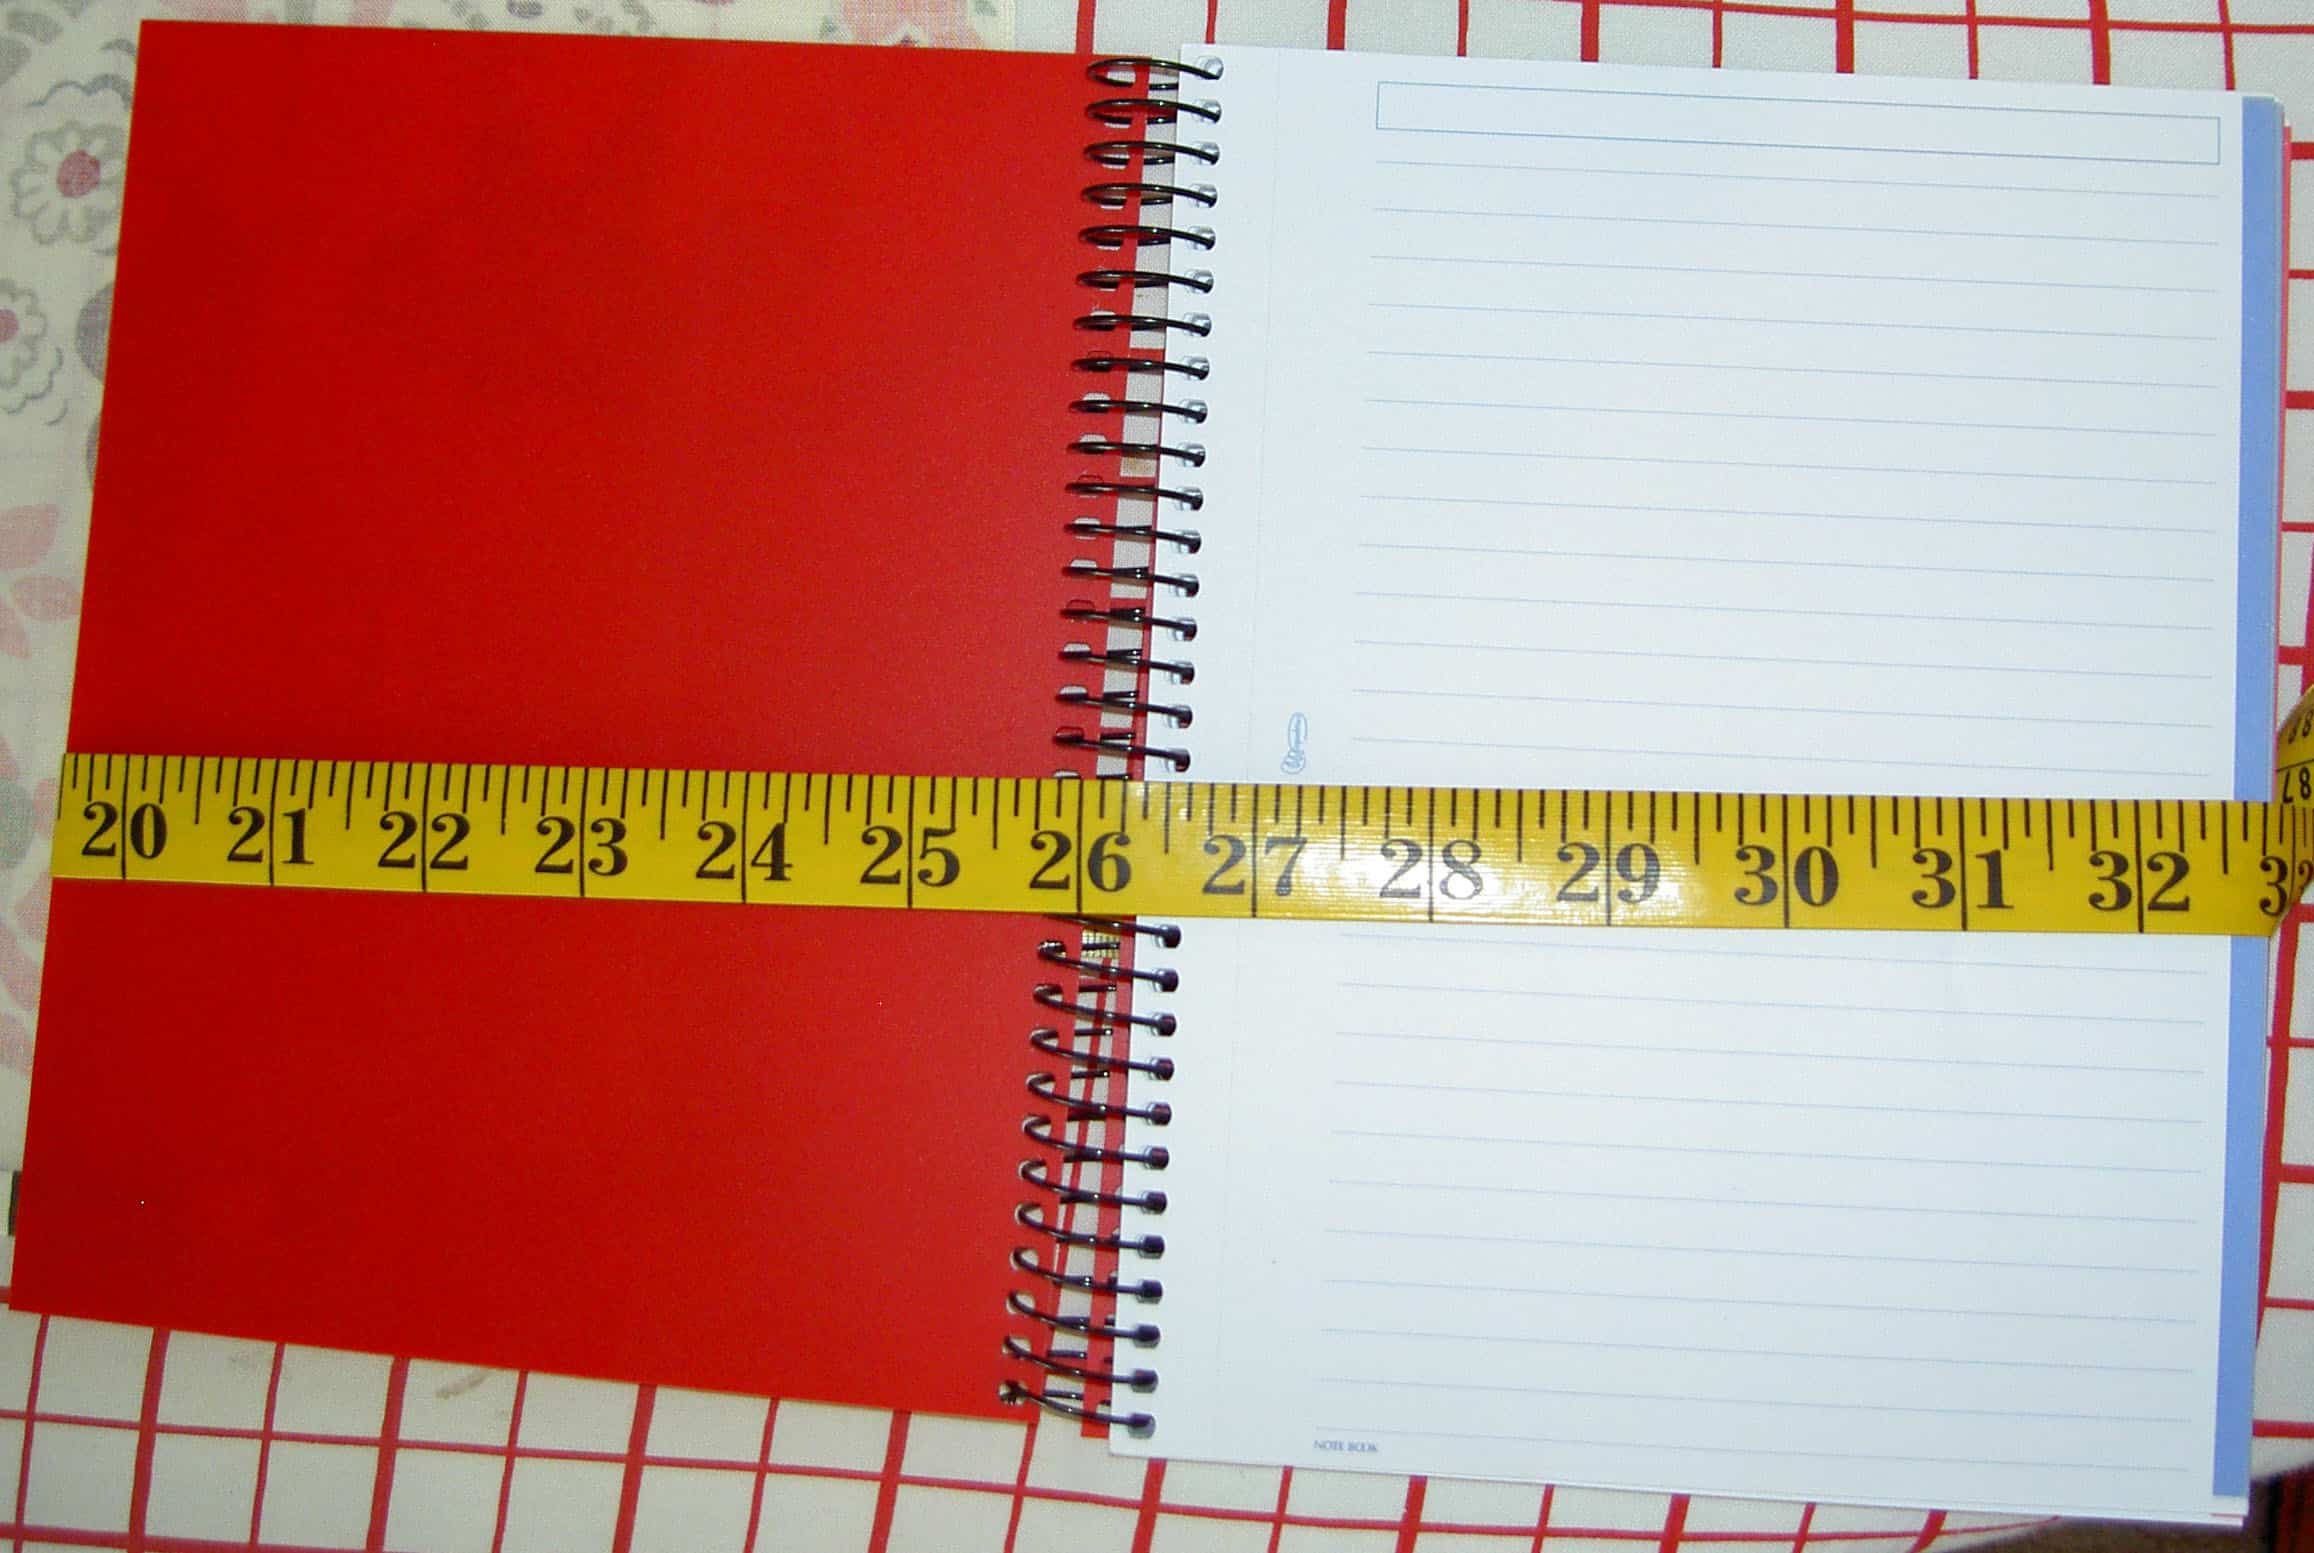
Measuring, pt.1
First, I put the measuring tape down on the back of the journal. You can’t see it because it is in between the ironing board and the journal
Then, I wrapped the measuring tape around the back so that I could see the total width the fabric should be. You do have to close the book to make sure that you have enough. I found that if I put the beginning metal bit of the measuring tape right up against the binding, then there was plenty of fabric, even with the book closed and seam allowances.
I was a little confused by the direction on Exuberant Color about the amount of fabric for a seam allowance on the top. I eventually used about an inch larger than the book and that seemed to work.
I ended up with a total of 26″x 9 1/4″ for this sized Miquelrius journal cover. You can either cut two pieces of fabric this size or piece fabric scraps together in the appropriate size. Then cut another piece (not pieced) the same size. It reduces bulk not to piece both.
Press fusible interfacing to the inside piece. It is easier to press the fusible to the fabric that has not been pieced. I use scraps of fusible. You can also using batting, which I did in this turquoise pieced journal.
Now is the time to add your label. Use your journal to estimate where your label should go.
Next, place the fabrics right sides together and stitch around the whole piece. Leave an opening large enough to turn the piece. Reinforce the stitching near the opening, so the stitches don’t come out when you are turning the fabric.
Clip the corners.
Turn the piece and press. Press the opening so that it will look neat when caught in the final sewing stitches.
Fold over the edges towards the middle using the journal as your pattern. Make sure you close the journal with the cover around it. You will need a bit more than you think to cover the journal in the closed position.
Pin flaps in place. You will only need a few pins
Sew along the cover flaps as close to the top as you possibly can and stitch catch all four layers.
Place your journal cover on your journal and enjoy!
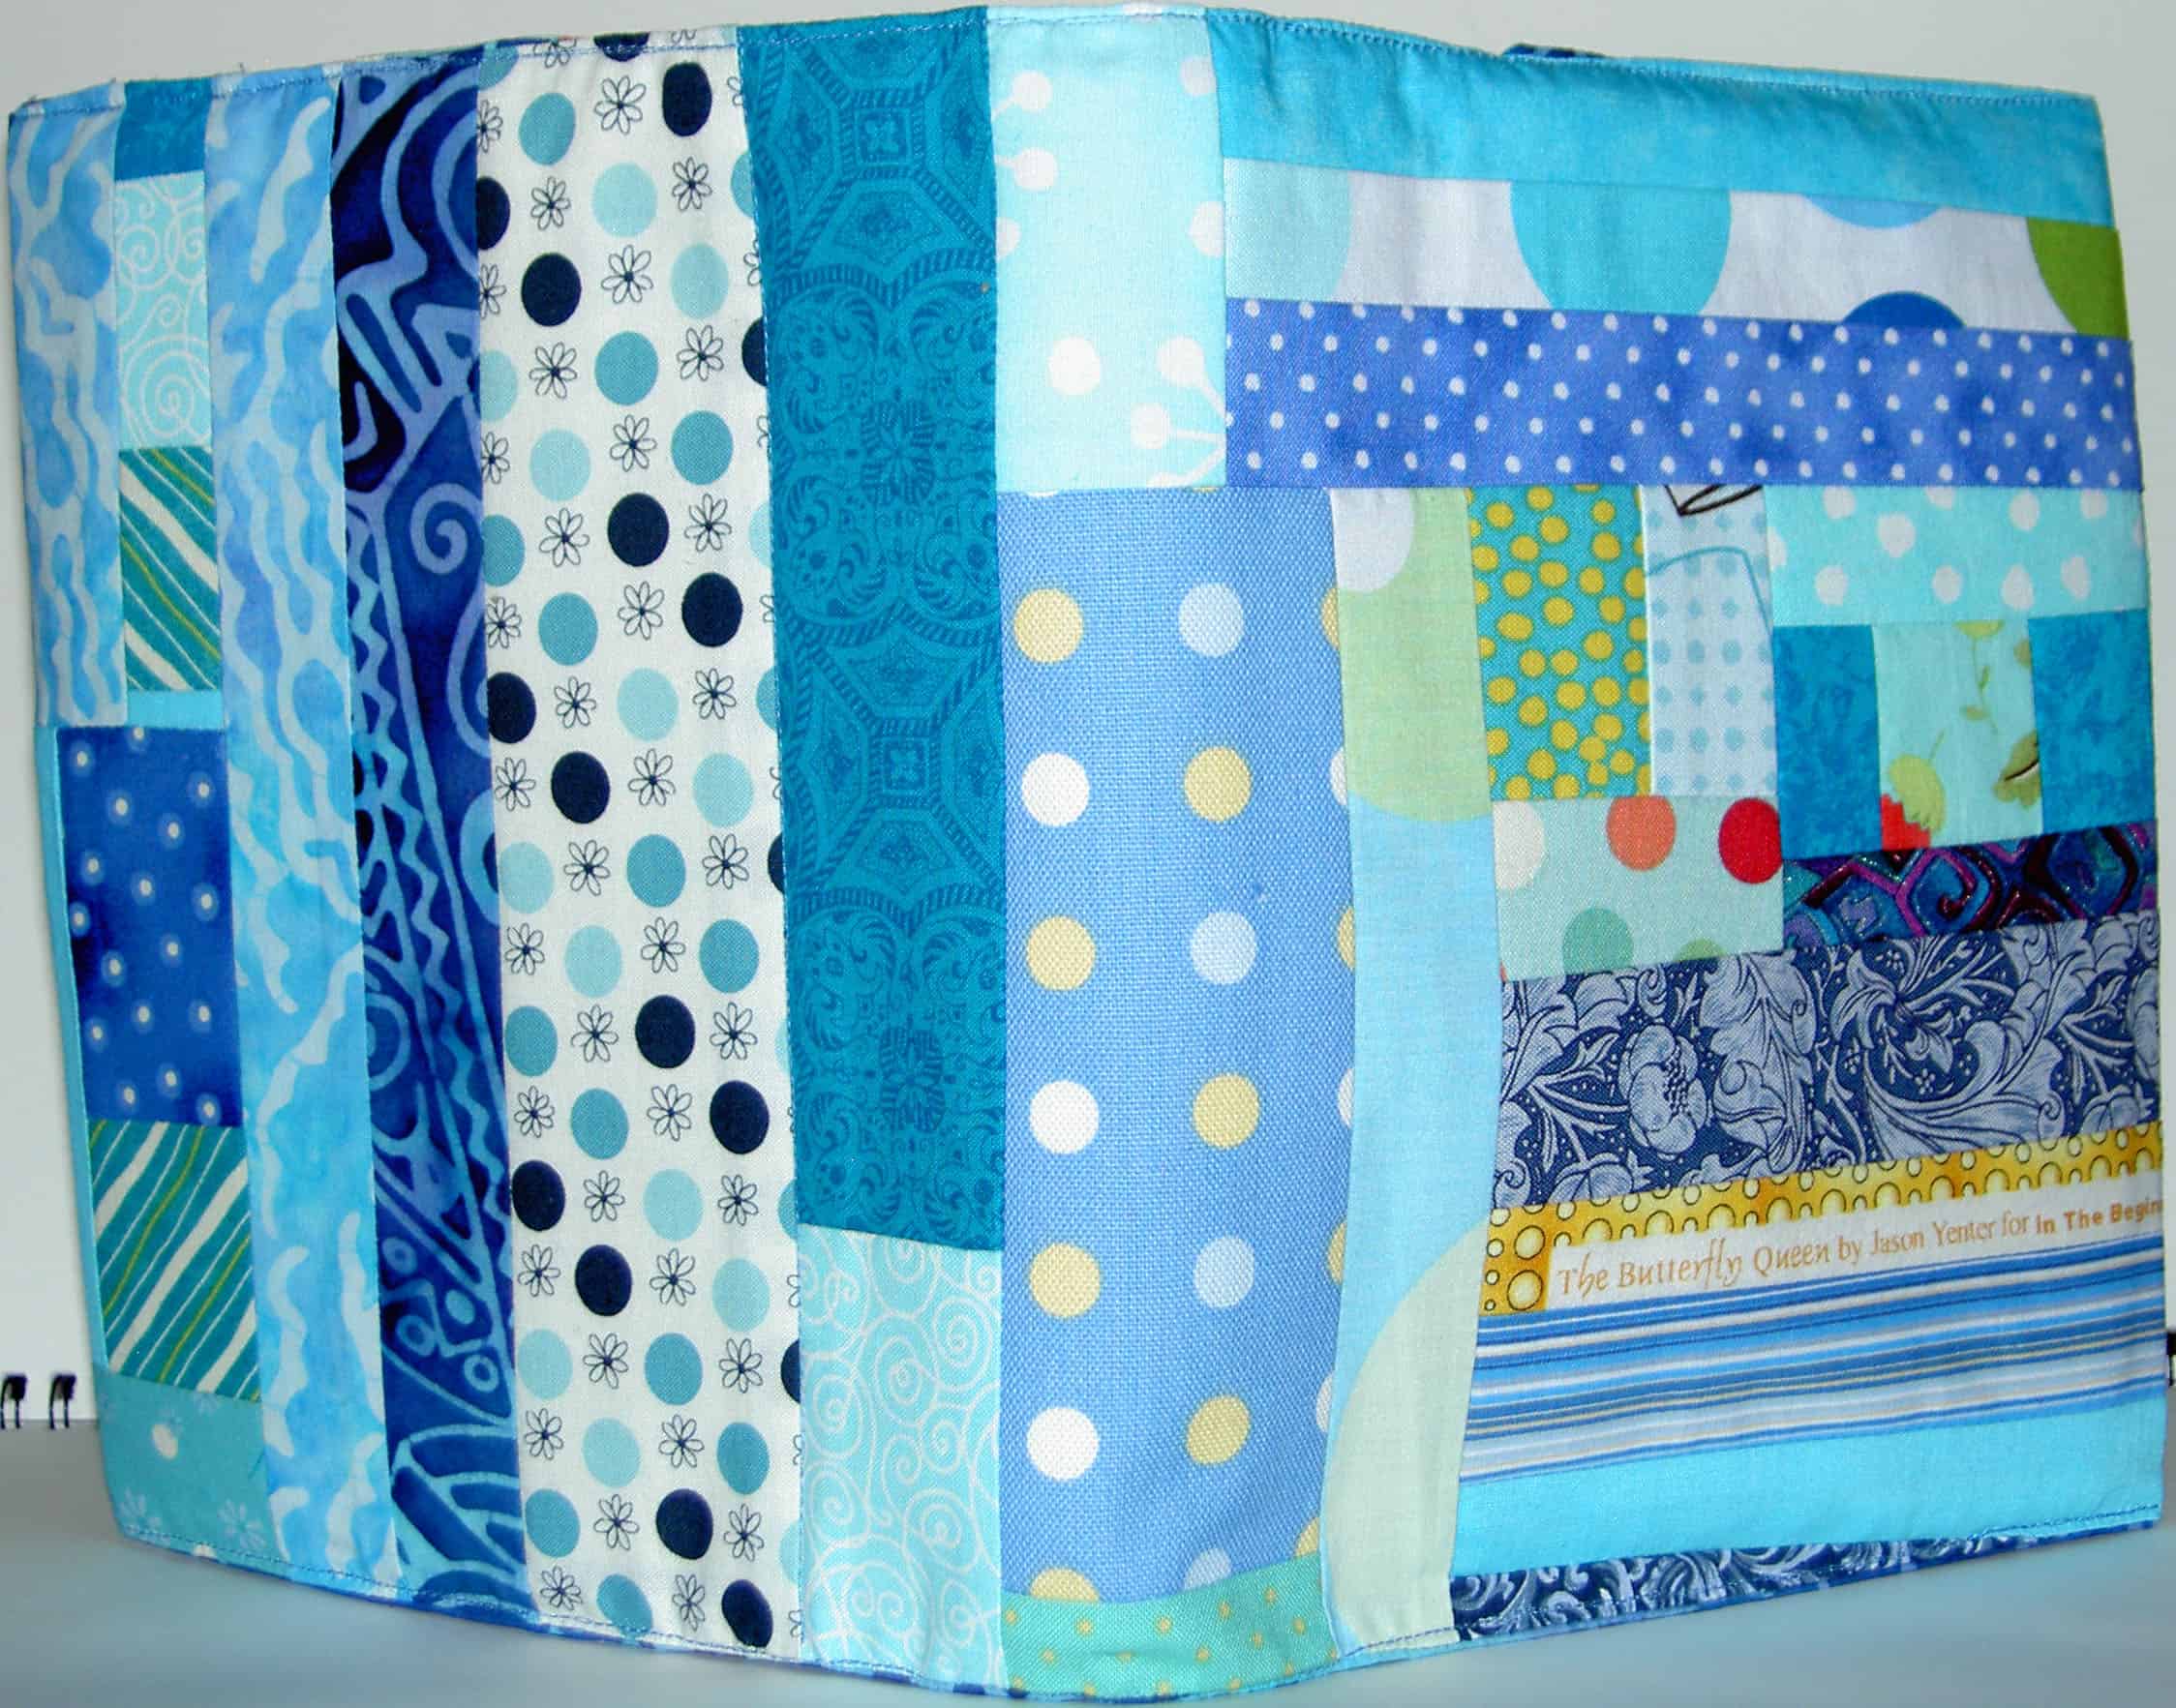
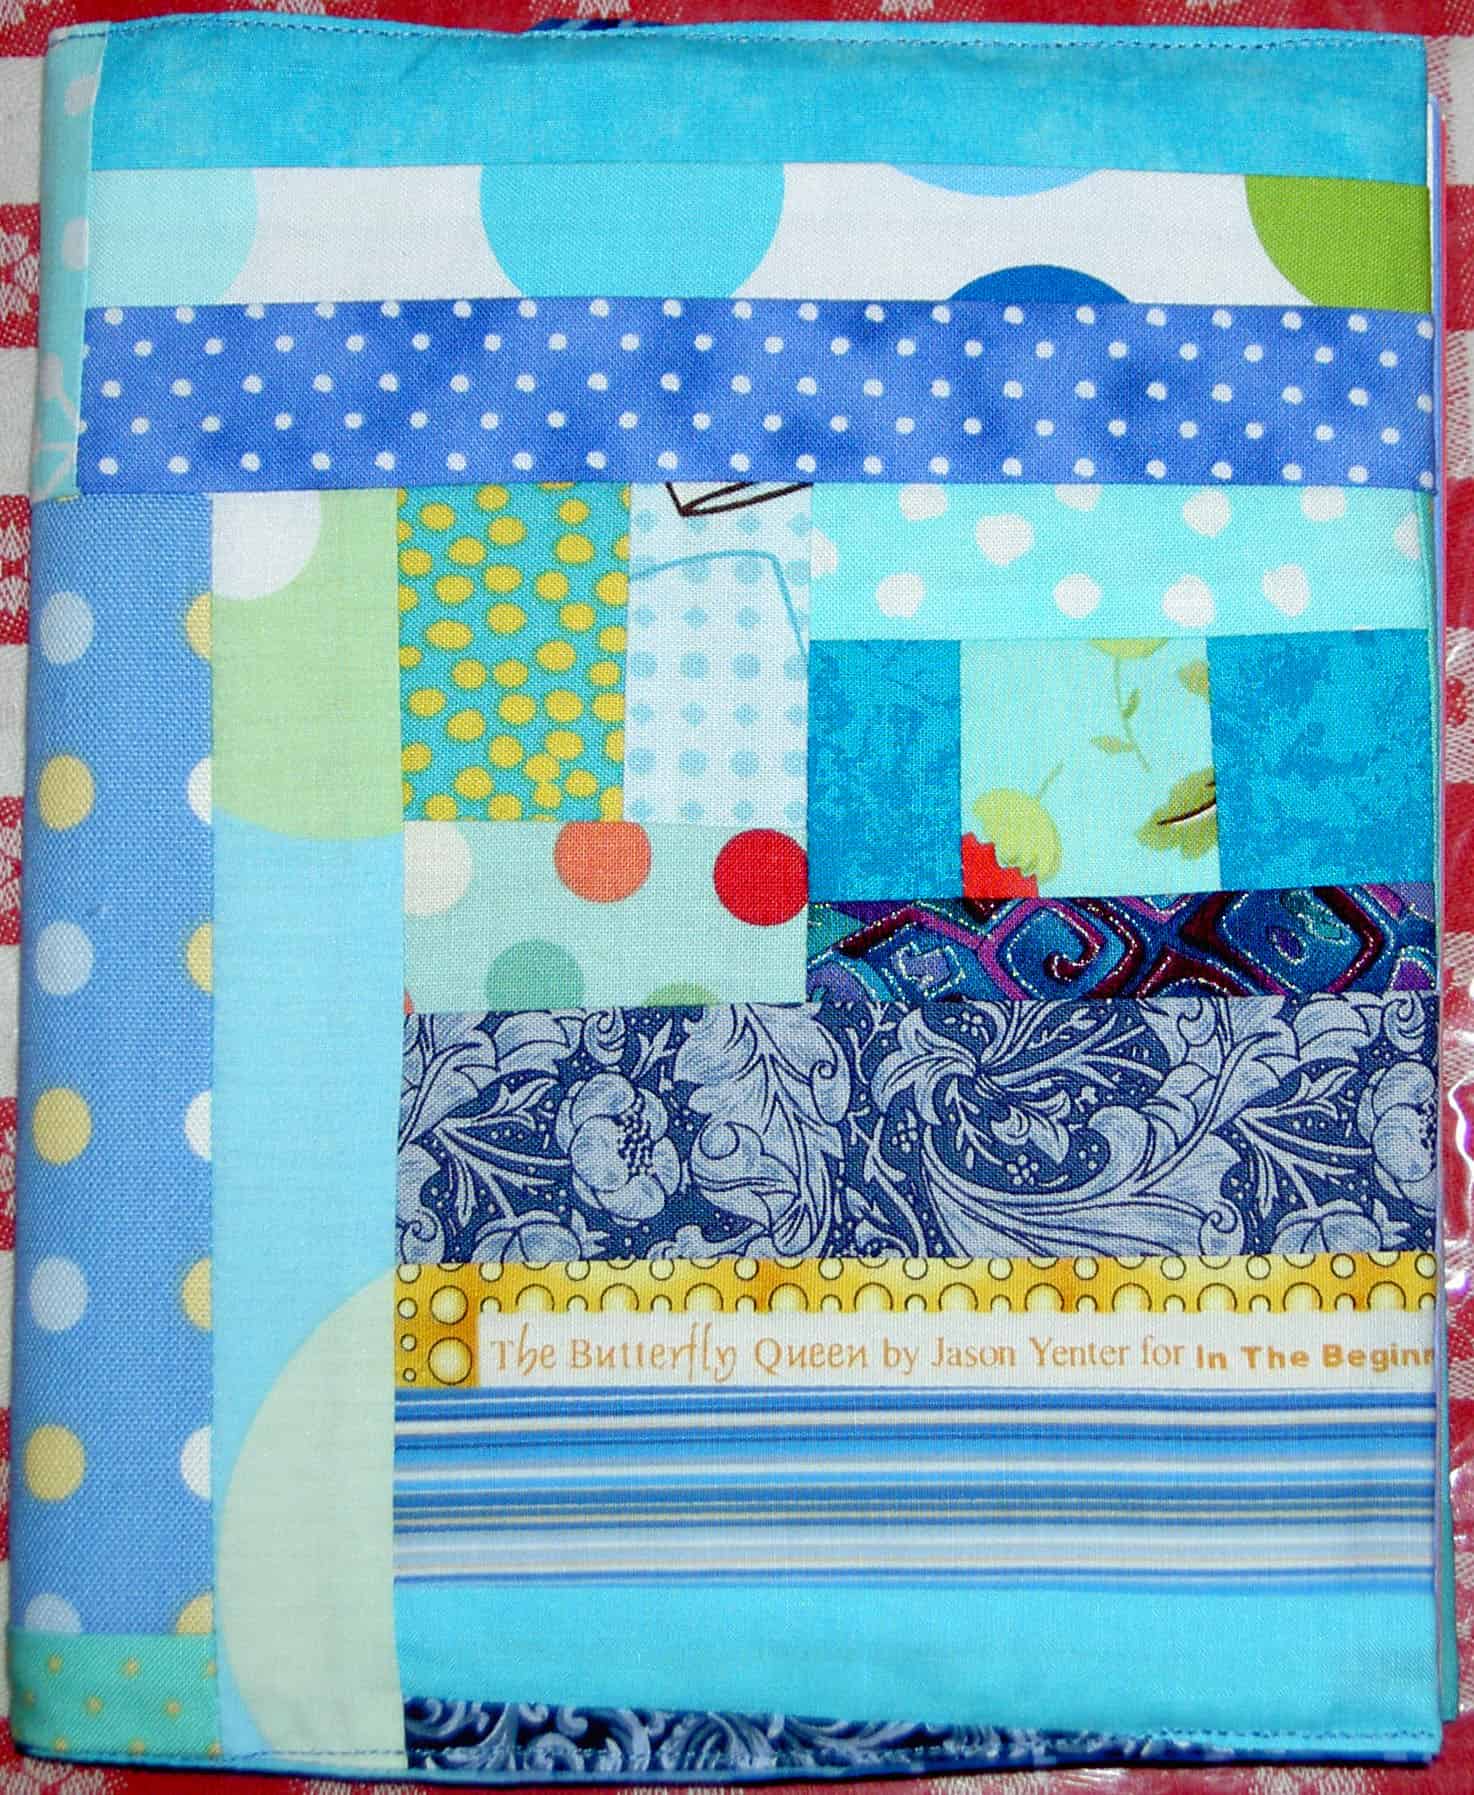
Finished Cover, Oct. 2009
Above is the finished piece. I put a bit of a selvedge on the front cover to add interest. That bit of selvedge had been hanging on my design wall for a long time. I liked the name of the fabric: The Butterfly Queen. I may cover up Jason Yenter’s name with a flower or something, but we will see.
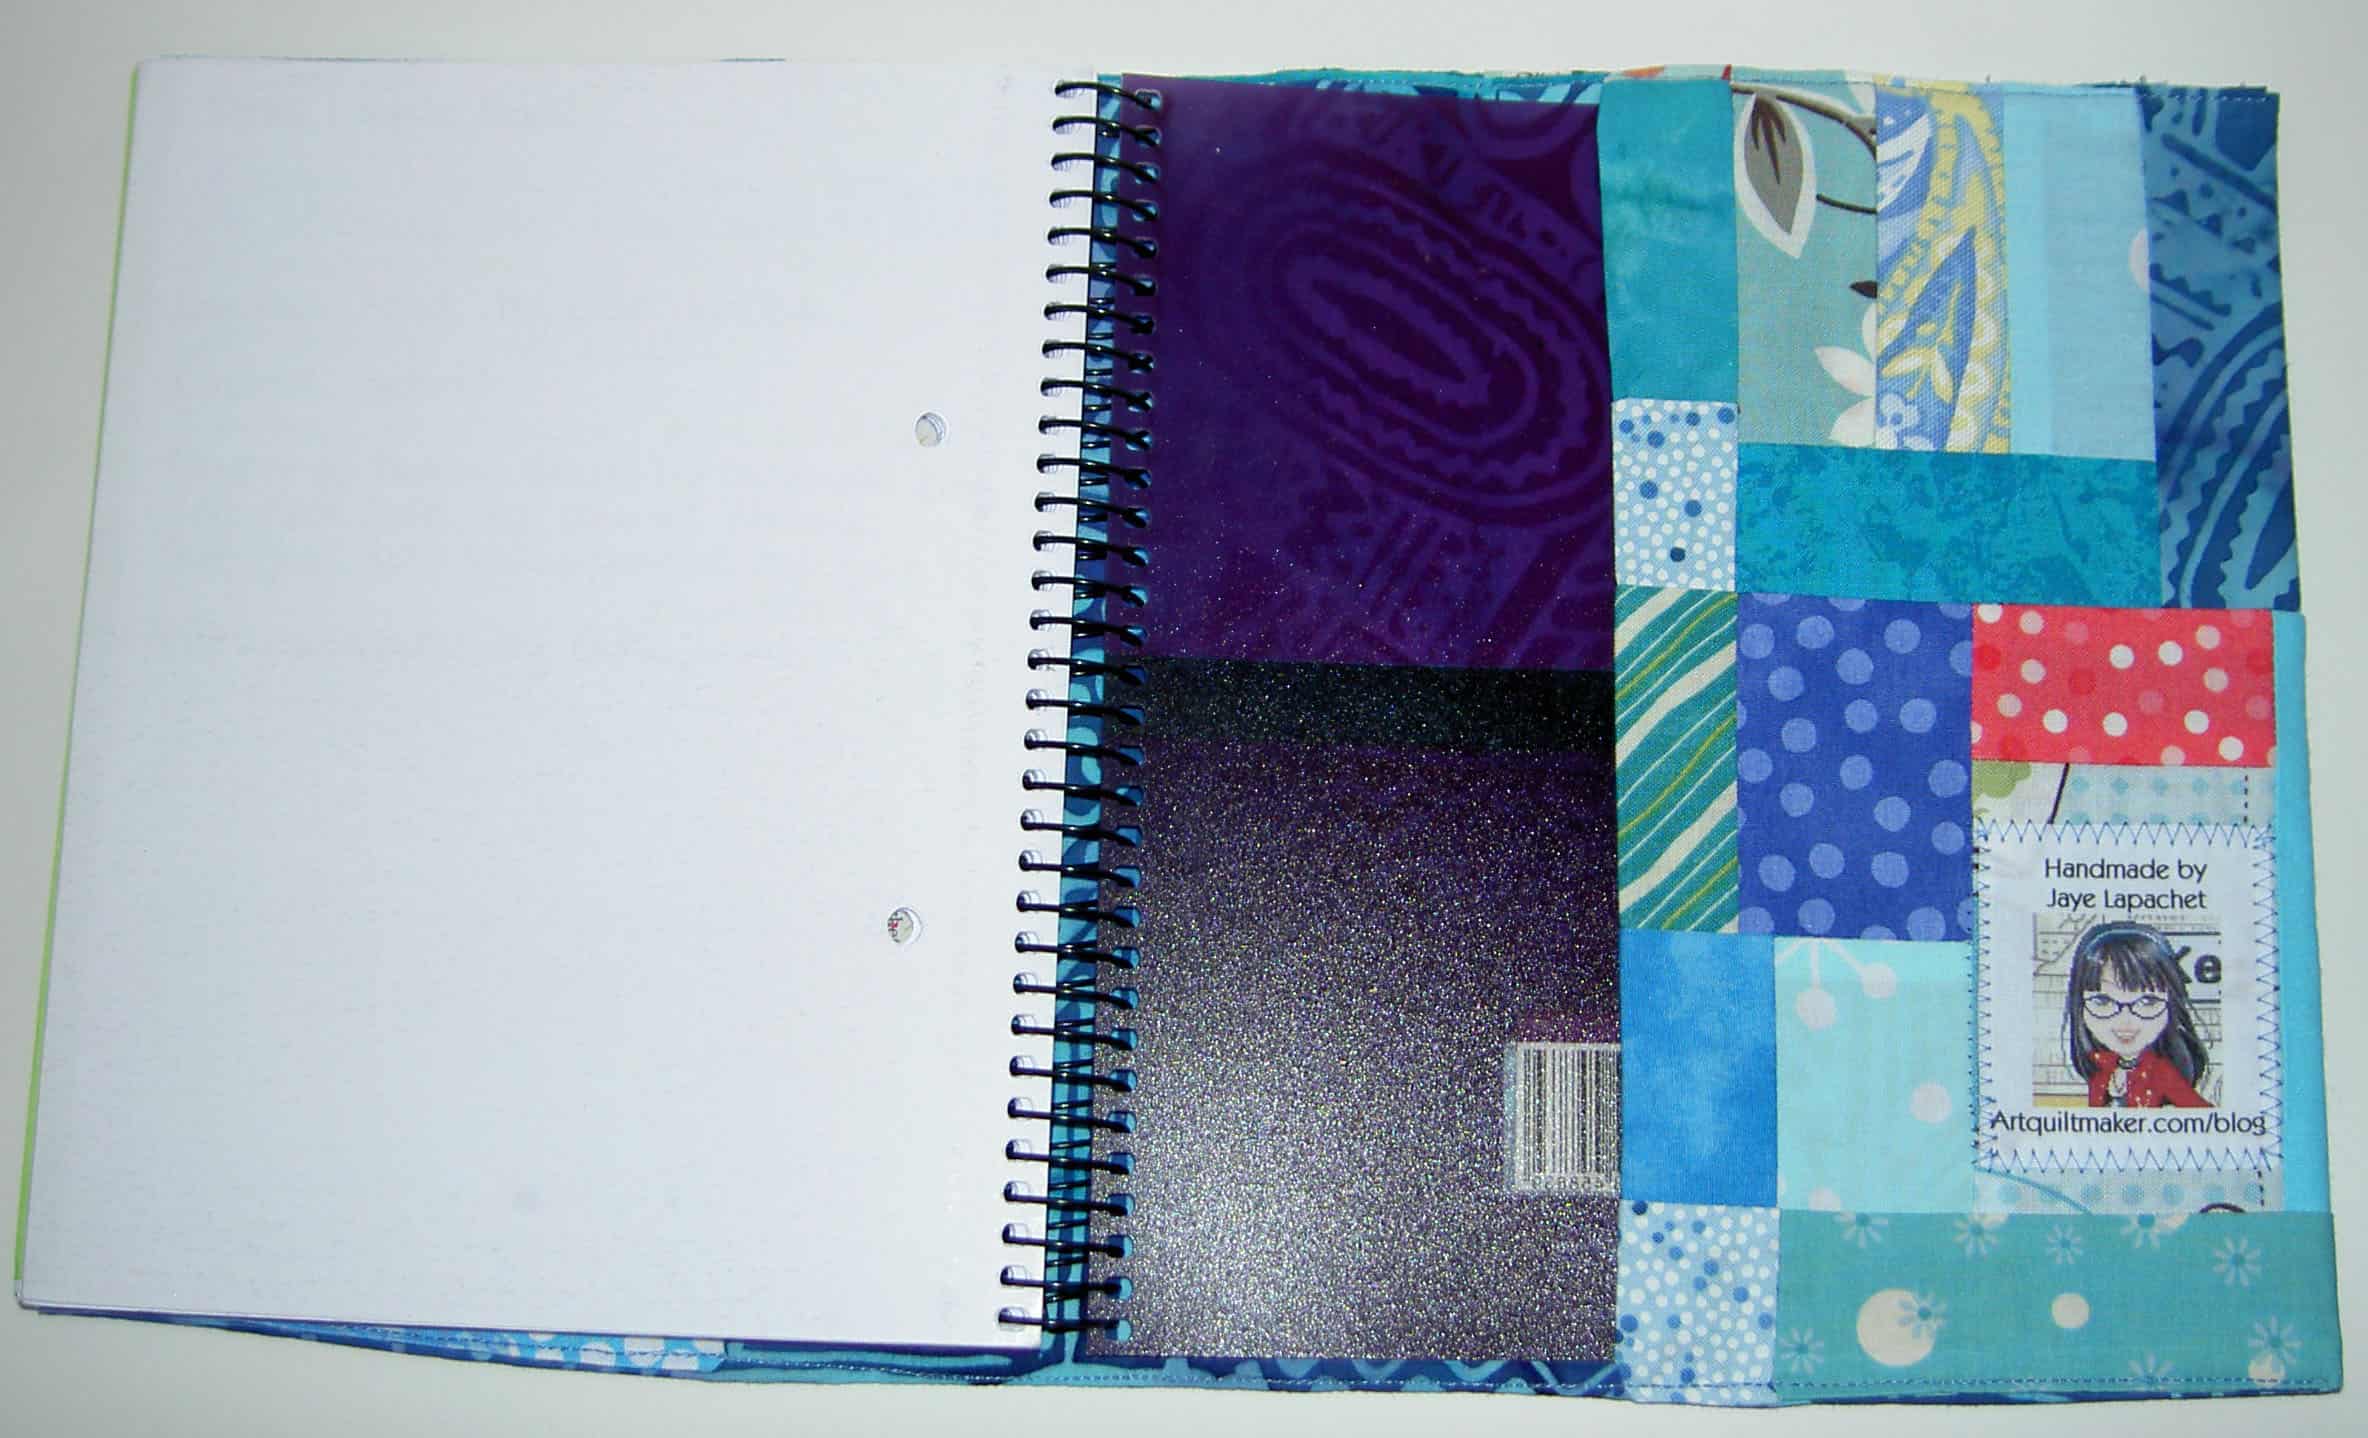
Journal Cover, Back Flap detail
This picture shows the journal open and how much changes from my original measurement of 25″ (see photo above) and this photo (directly above) once the journal cover was completely sewed.
I didn’t have to buy anything to make this journal cover, which was nice. It is a project you can complete with materials around the house. It is one of those projects that works when inspirations strikes late at night and everything is closed. 😉
I want to make another one and possibly a few more as gifts. One thing I want to try is fusible interfacing like one of the thicker Pellon products rather than batting. I find the batting to be too squishy, especially when I fold the journal backwards to write on both pages.
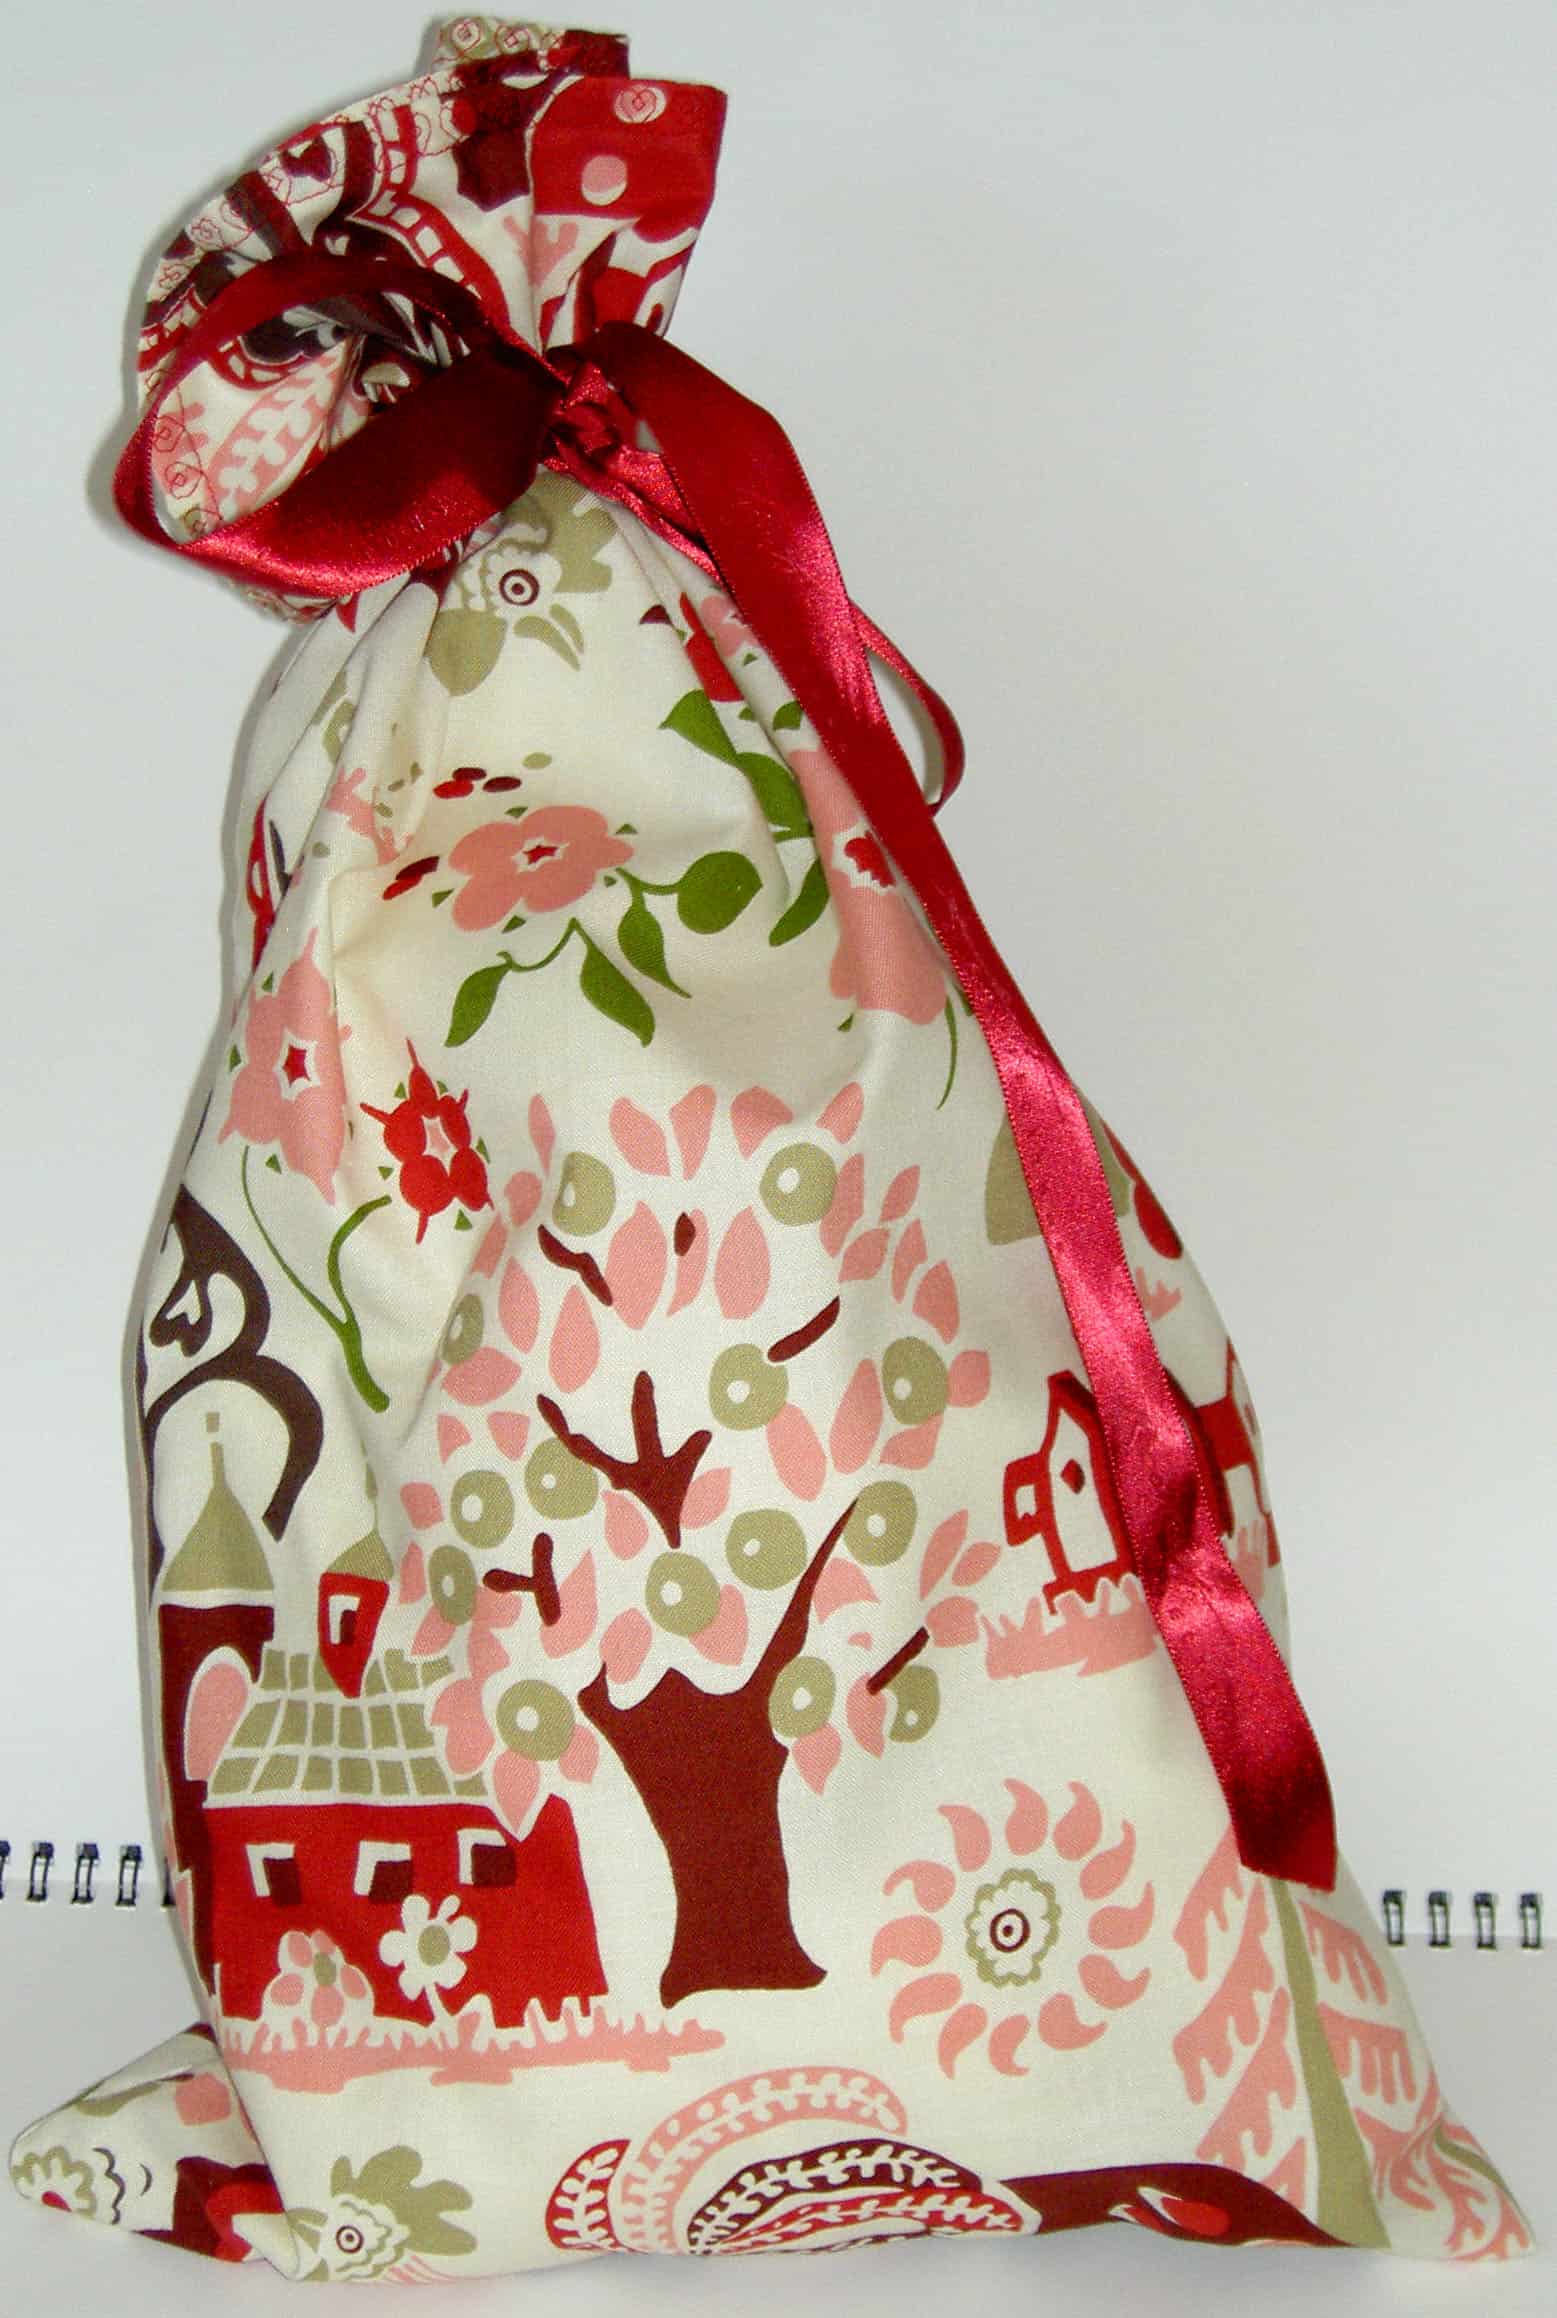
This is one of the fabrics I received from the new Etsy store in April, which I didn’t order. Some of it isn’t really my style, but every style makes a good gift bag, so here is gift bag #2 for Holiday 2009.
To make gift bags:
I press a double hem on one side of a fat quarter and finish it with a decorative stitch. This is a good way to get to know the resources required to use your decorative stitches.
Once done, I fold the piece in half, right sides together, aligning the hem at the top. I put a piece of ribbon, folded in half, inside the piece. The fold of the ribbon will be sticking of the side a little bit and is placed about a quarter of the way down the side.
I sew down the side, starting with the hem. I reinforce the start, the the ribbon and the end by backstitching over it a few times. Then I turn the bag right side out.
I love using gift bags for gifts. Besides the fact that I intensely dislike wrapping gifts with paper, the fabric feels so much nicer in my hands. I also get to see the beautiful holiday fabric each year.
Melanie Falick is a goddess! I love the books she edits, her practicality and her blog.
I stopped by Melanie’s blog and found some great patterns for holiday crafting. “So soon?” you are thinking. Yes, I say. Get moving so you are not up until 3am crafting on Dec. 22. These look fun and very modifiable, only to make them your own, not because anything is wrong with them.
When I saw the printing books (click through to see all the projects), I thought that some of you with wonderful CPP responses could print them and paste to the cover of a journal or print on fabric and make a framed picture.
Of course, if you are not a holiday type, then you could make these for your living room, or for birthday gifts. I am planning a holiday projects post, so if you make any holiday projects, I will link to them in my post. If you use a CPP response in a project, I will put that link on the CPP inspiration page.
I get a Janome email periodically and when I have a chance to look at it, I am usually impressed with something. One thing I like about the photos below is the different colors – not the usual red and green – they use for Christmas. The ideas are still holiday-ish, but very fresh. Even if you are not a Janome owner (or don’t do Christmas), check it out. There are some fun ideas.
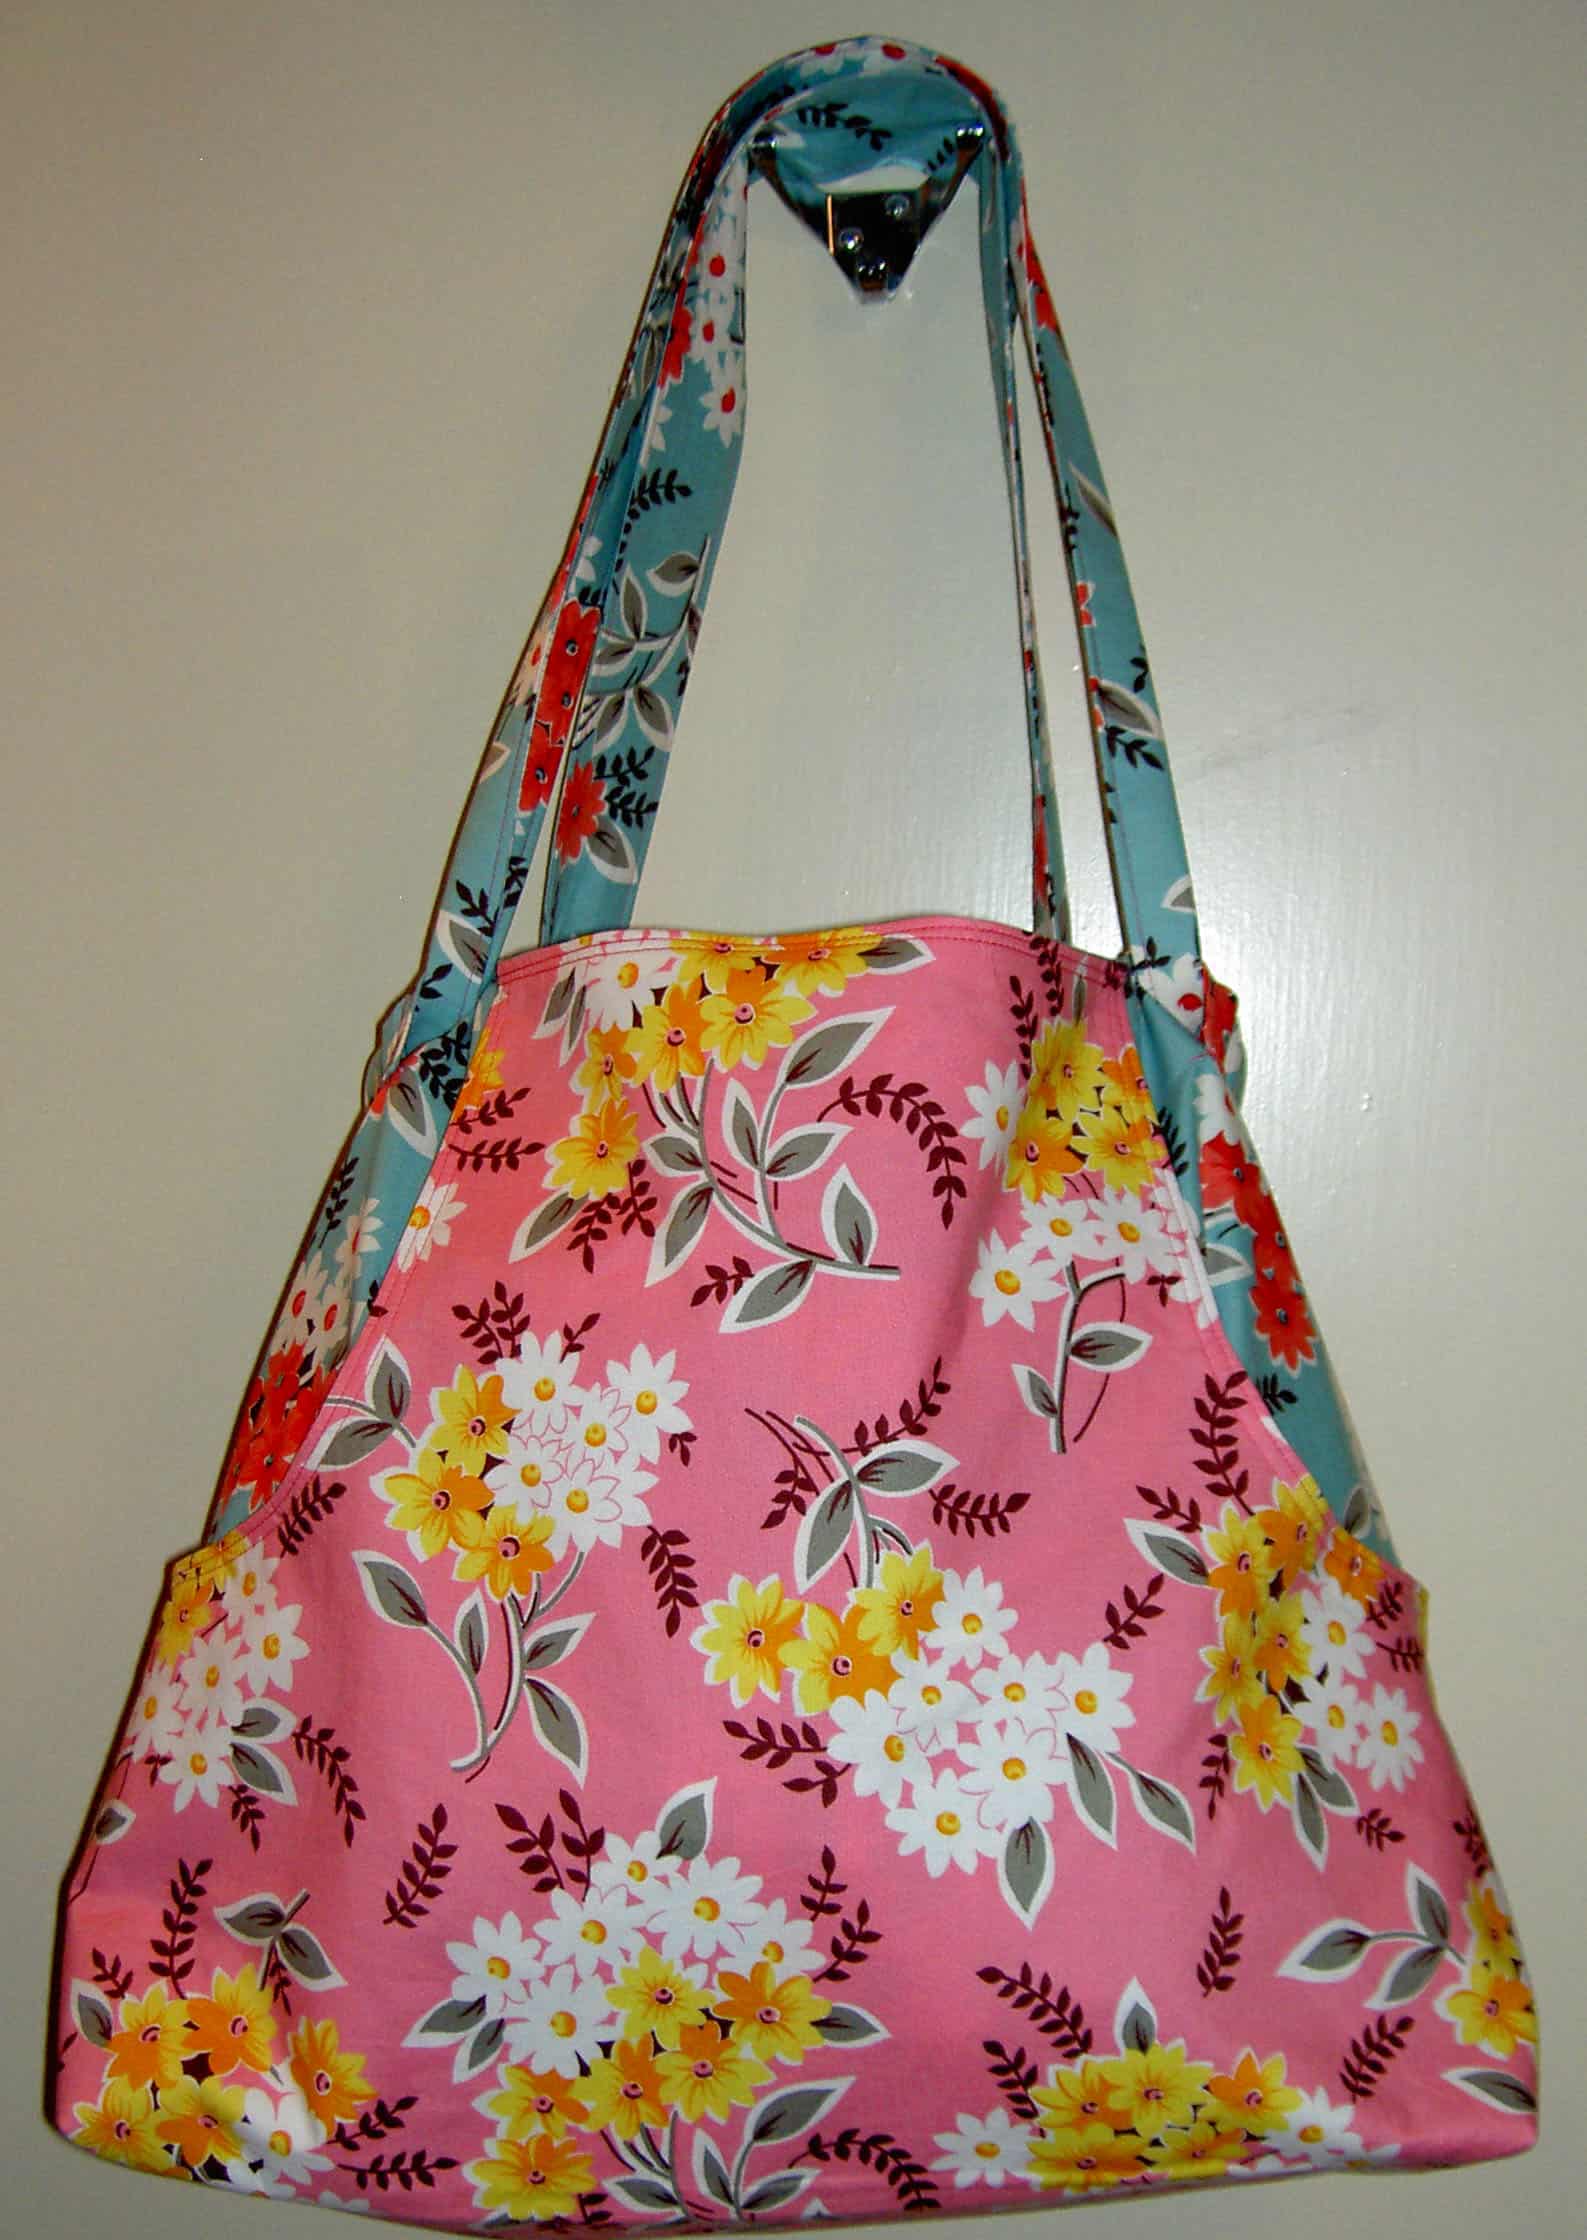
I spent some time sewing yesterday in between soccer and a movie. As a result, I finished the Anna Maria Horner Multi-tasker Tote. I keep thinking of it as the Julie tote, since Julie looked high and low and found the blue Denyse Schmidt fabric for me. She may get a gift. 😉
AMH MTT, finished!
As I mentioned in my review, the construction of this tote is amazingly elegant. Putting the straps on was no exception. There is a part where you fold over the top and that becomes the channel for the straps. I am still completely in awe of AMH and her ability to imagine the construction of this bag.
In the photo below, I tried to show you the channel. Aside from having to turn the straps inside out, which is a big pain in the patootie, I got the straps on and the bag ready to carry stuff in a couple of hours.
AMH MTT, detail
My only concern is that the way the straps are held on means that I won’t be able to carry heavy stuff in it. I don’t plan to use this for groceries, but I routinely carry:
I don’t think the above list is outrageous…. I do have to have my stuff with me.
I plan to make another one now that I know the drill. I have ideas for different ways of combining fabric. I ended up buying some of the Peltex 2 from SewThankful (I think), so I need to do something with it. This Multi-tasker tote bag is a nice change from the Eco Market tote.
One of the things about creation is that you never know how your pieces will come out.
At the beginning of August, I went with a couple of other CQFAers to Create It! Studio in Palo Alto for a glass fusing creation session. I wrote about the whole session at that time. I also showed pictures of all of the pieces pre-firing/fusing.
Diane, one of the CQFAers, was kind enough to pick up my pieces since I live far enough away to make it a pain. I thought I might get down to her house, but, alas, it wasn’t to be. As you know I was chained to my sewing machine for weekends on end. 😉
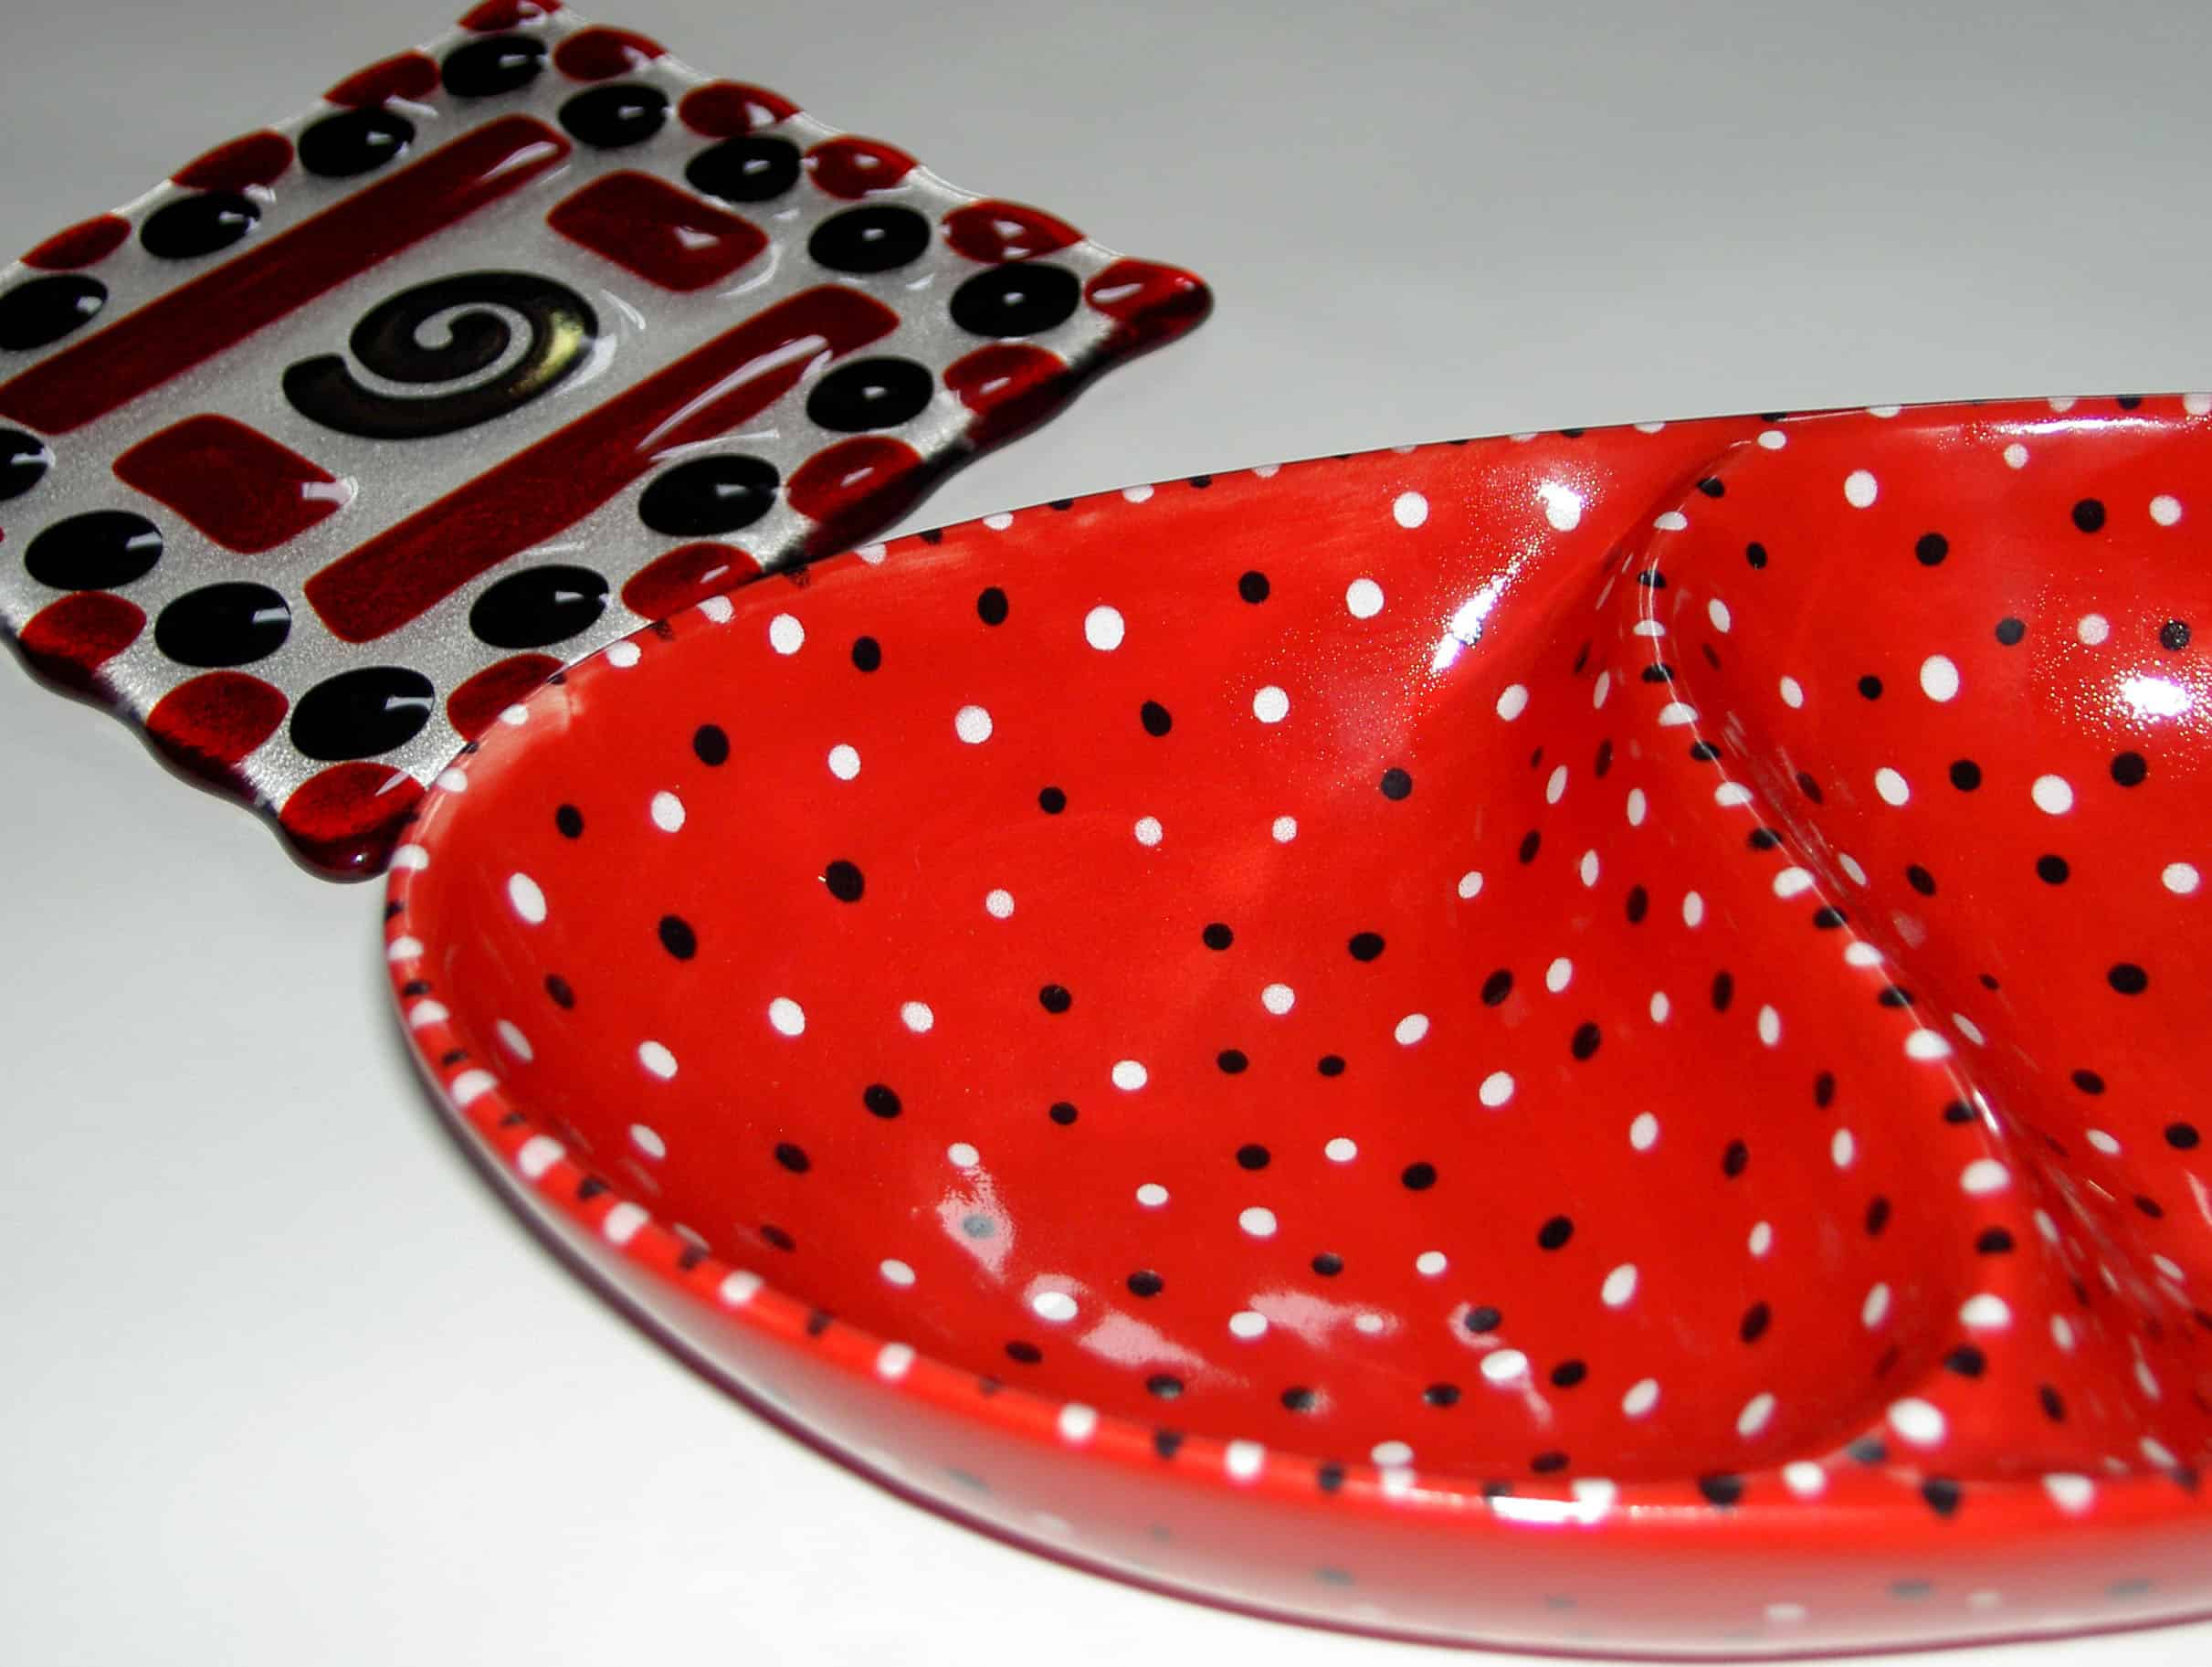
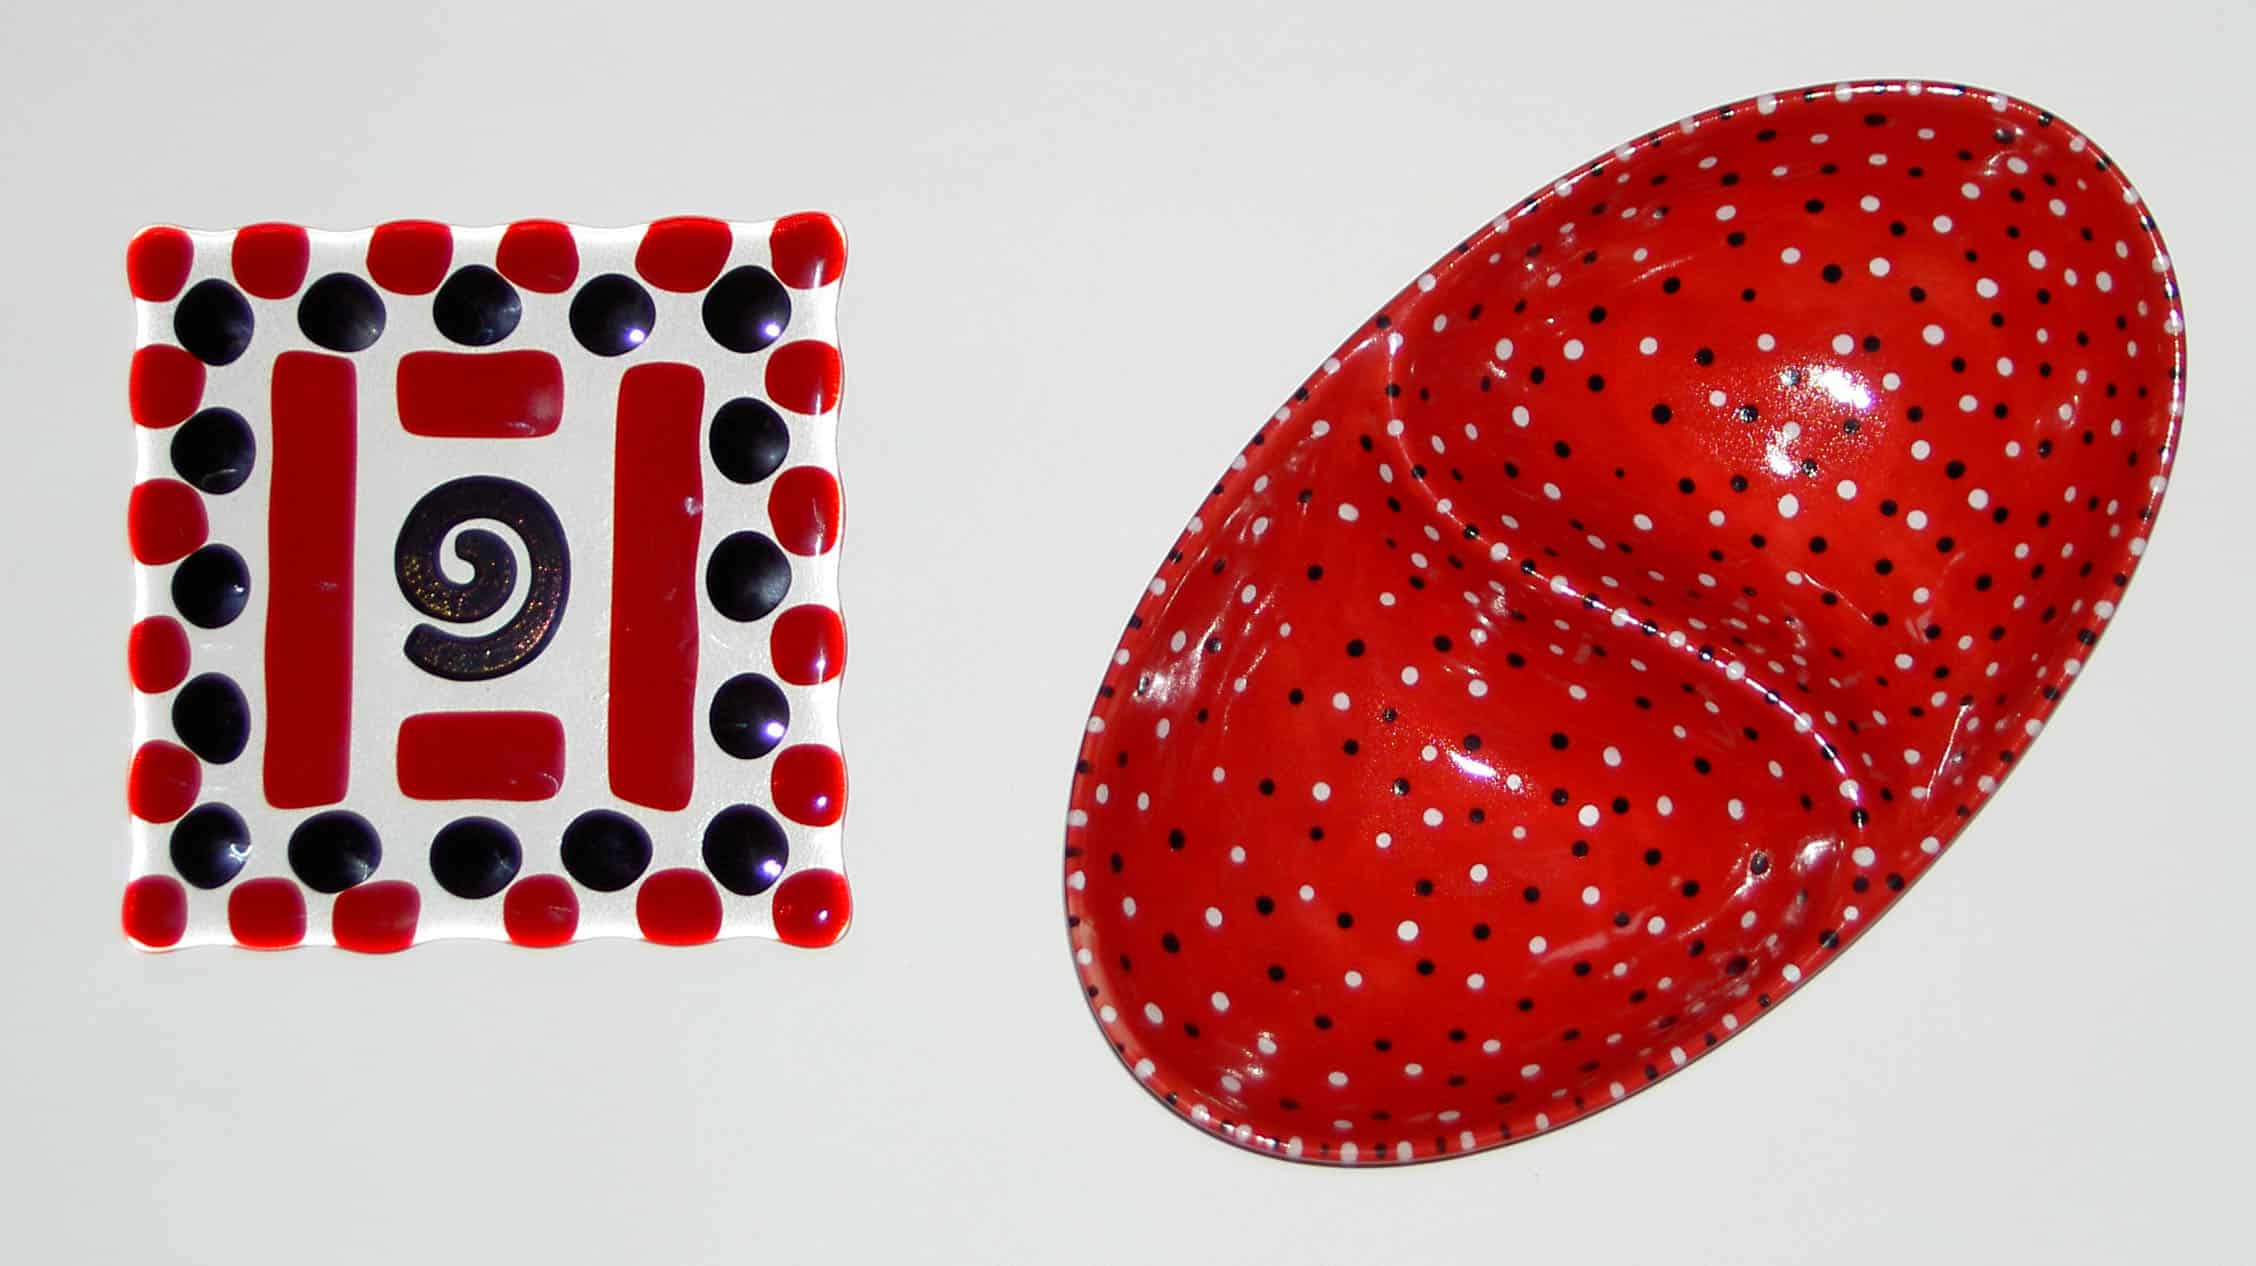
I finally got my pieces back on Saturday and I am really pleased with how they turned out. I am especially pleased with the divided dish, which will be part of the series I started my first time at a painting place. The red of the dish really came out well (4 coats!). There is only one little spot on which I should have put more paint.
Fused and Painted, full
It is fun to do something different; it is as though it doesn’t matter and I can play, because it isn’t my primary work.
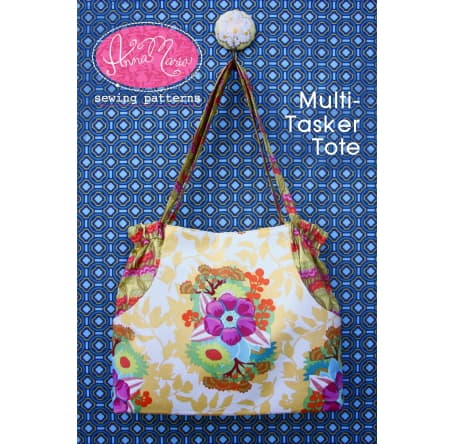
If I didn’t think Anna Maria Horner was a goddess already, I do now. I spent the day on Sunday, minus a short chauffeuring task, with the Multi-tasker Tote (AMH MTT), a recent pattern from Ms. Horner. As I suspected, I did have trouble understanding the directions. It is the way I learn and not completely about the directions. I do think there were a few tiny parts that could have been clarified just a little bit more. I know they have a certain number of pages they can use to create a pattern and have to worry about font, enough photos, etc, so I really am not going to complain too much.
In all fairness, I think making 20 or 30 of the Eco Market Totes gave me a feel for what should be going on in the tote making process. Doing a multitude of those totes and making little changes in the pattern made me understand the bones of tote-making. The AMH MTT is much different than the EMT, but in the end they are totes and their goal is to carry things.
Multi Tasker Tote Pattern
In general, however, this is an amazing pattern. The way it goes together looks completely mysterious one minute and the next minute it is gorgeous and elegant. I was completely blown away, because it made me think about tote bags in a new way. I don’t think it is a beginner pattern, however I would say that any intermediate sewist who has a few tote bags under her belt could use this pattern to make a bag.
AMH MTT in progress, detail
In the above photo, you can see the bit that is folded over to accommodate the straps, including my lovely top stitching. 😉 I haven’t finished the straps yet, so there is another photo of this project to which you can look forward!
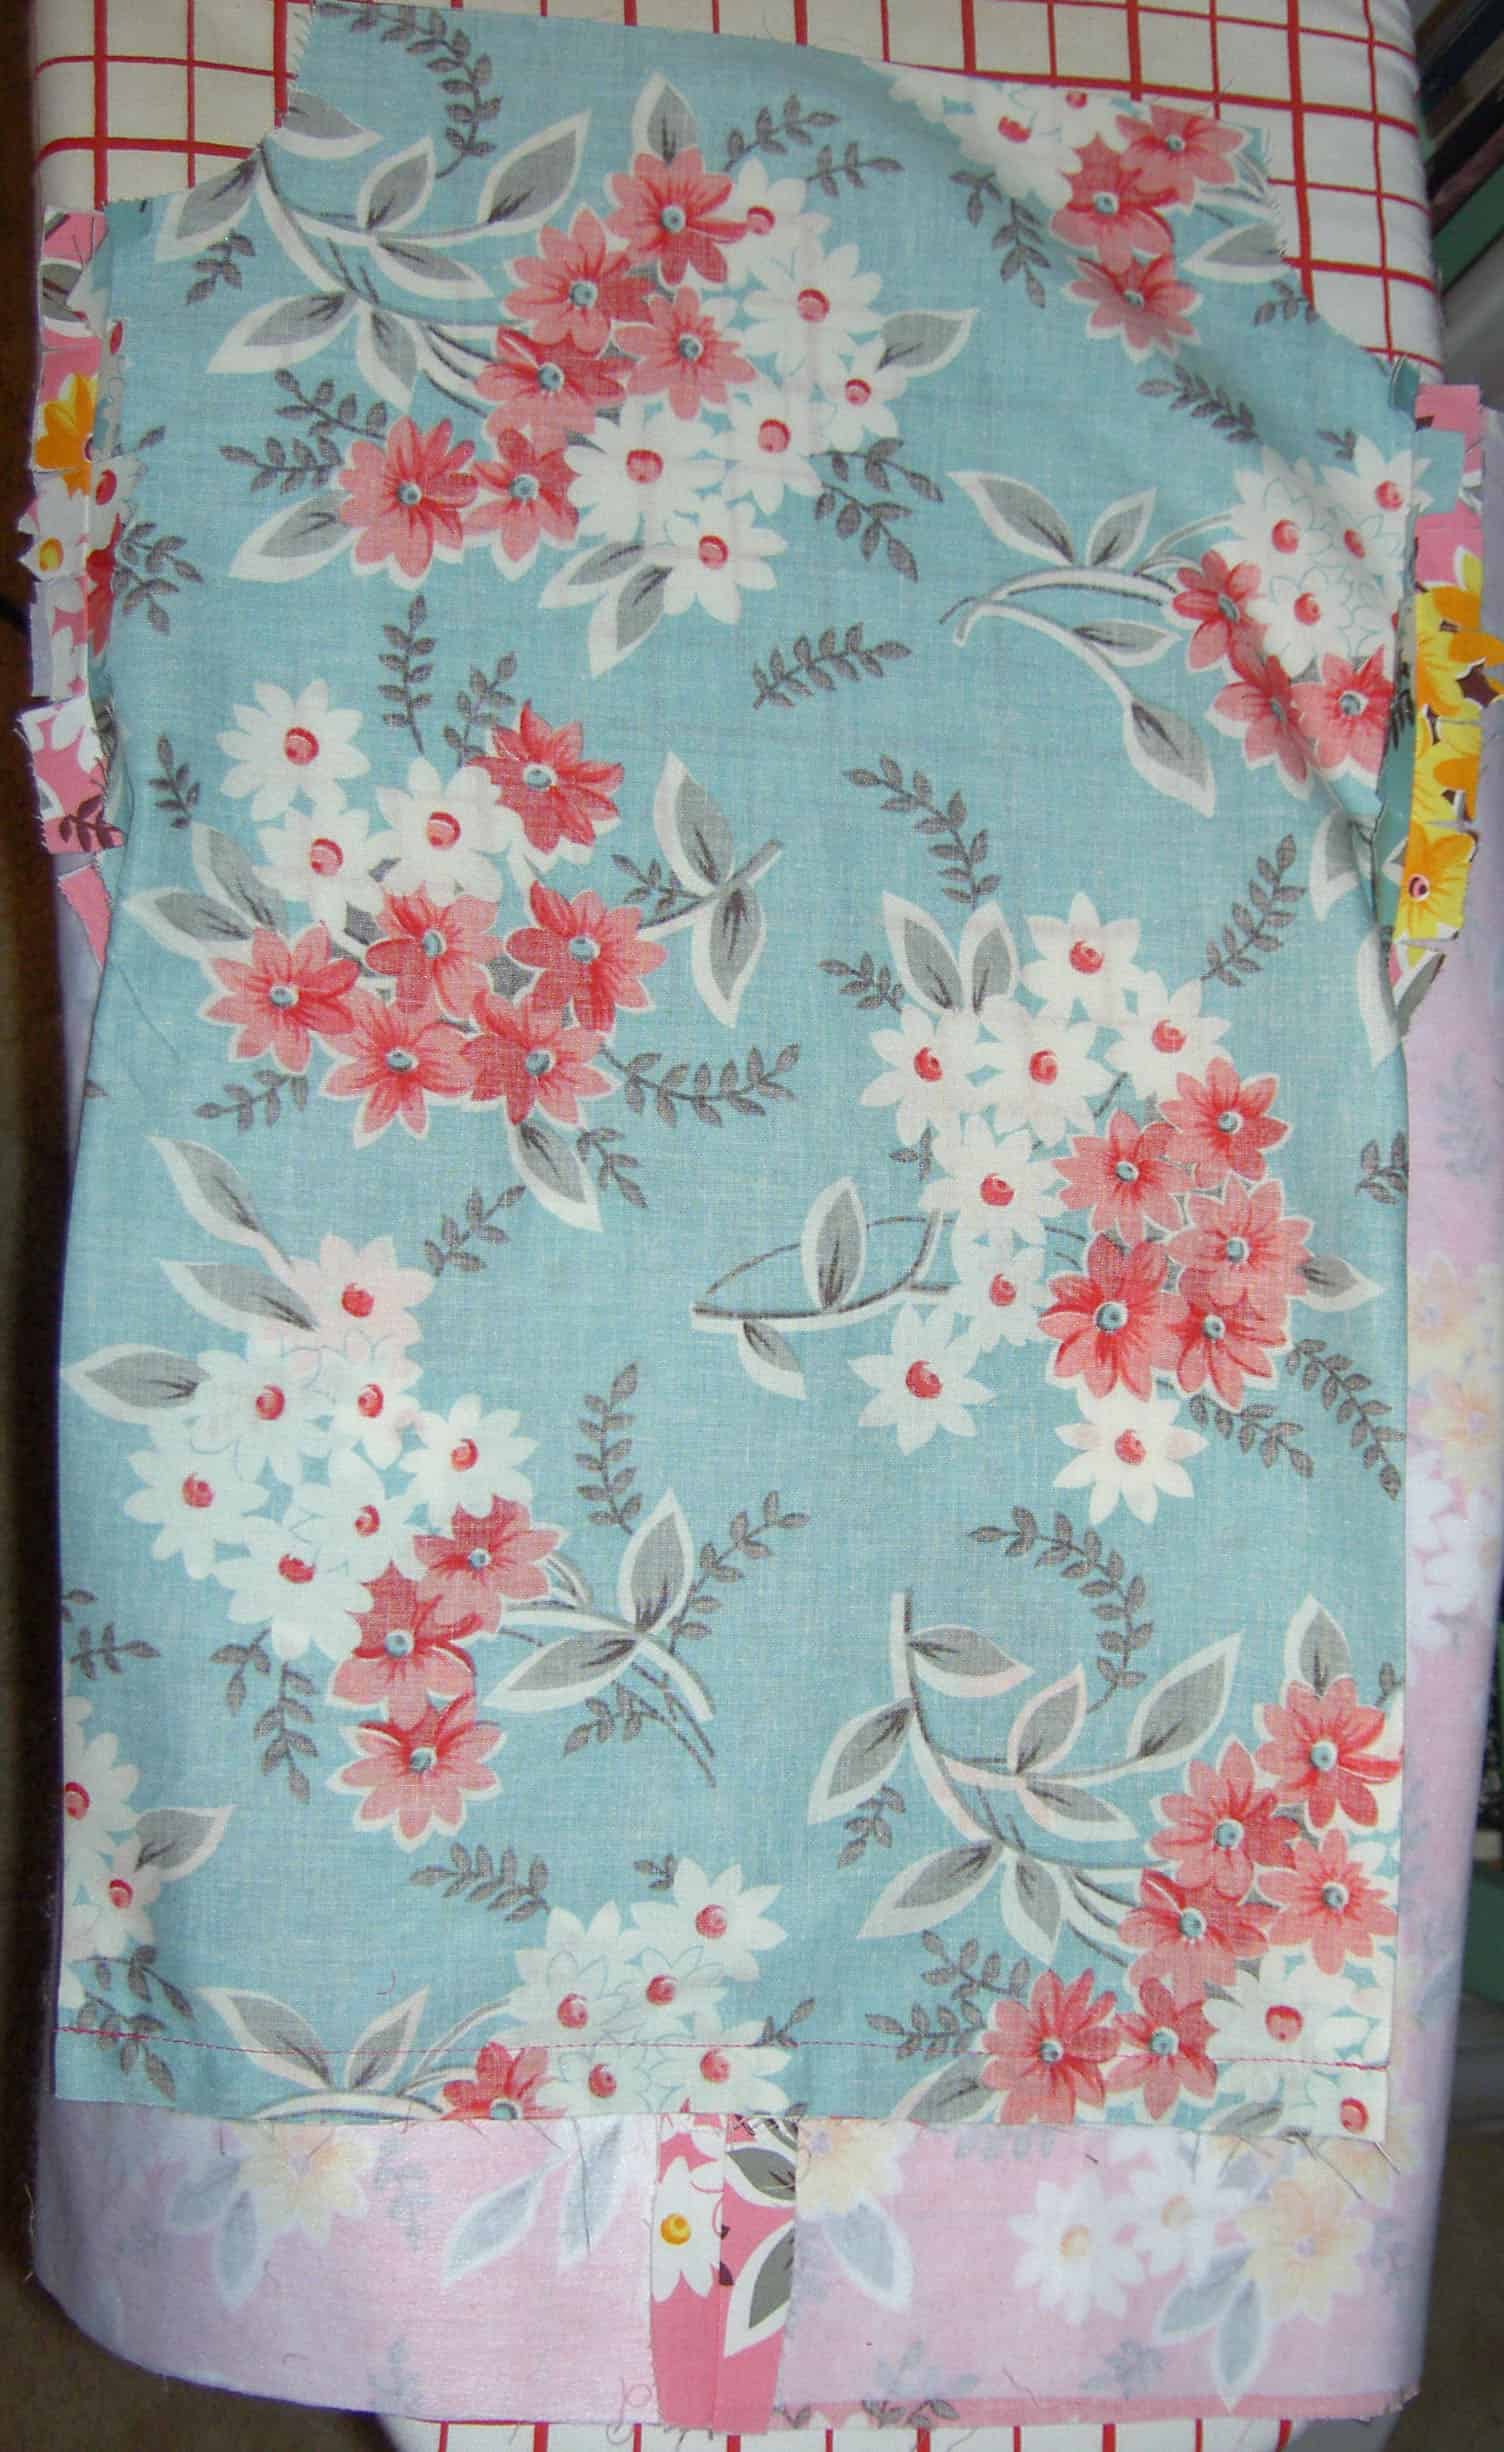
AMH MTT, Step #8
One of the steps I had trouble with was step #8. I really couldn’t figure out what the directions were trying to accomplish. Finally, I realized that she wanted me to sew the bottom of the pocket together! To accomplish that I had to pop the pocket (pattern piece is called pocket panel) out a certain way. When you do orient the section correctly, the whole thing looks like the section above.
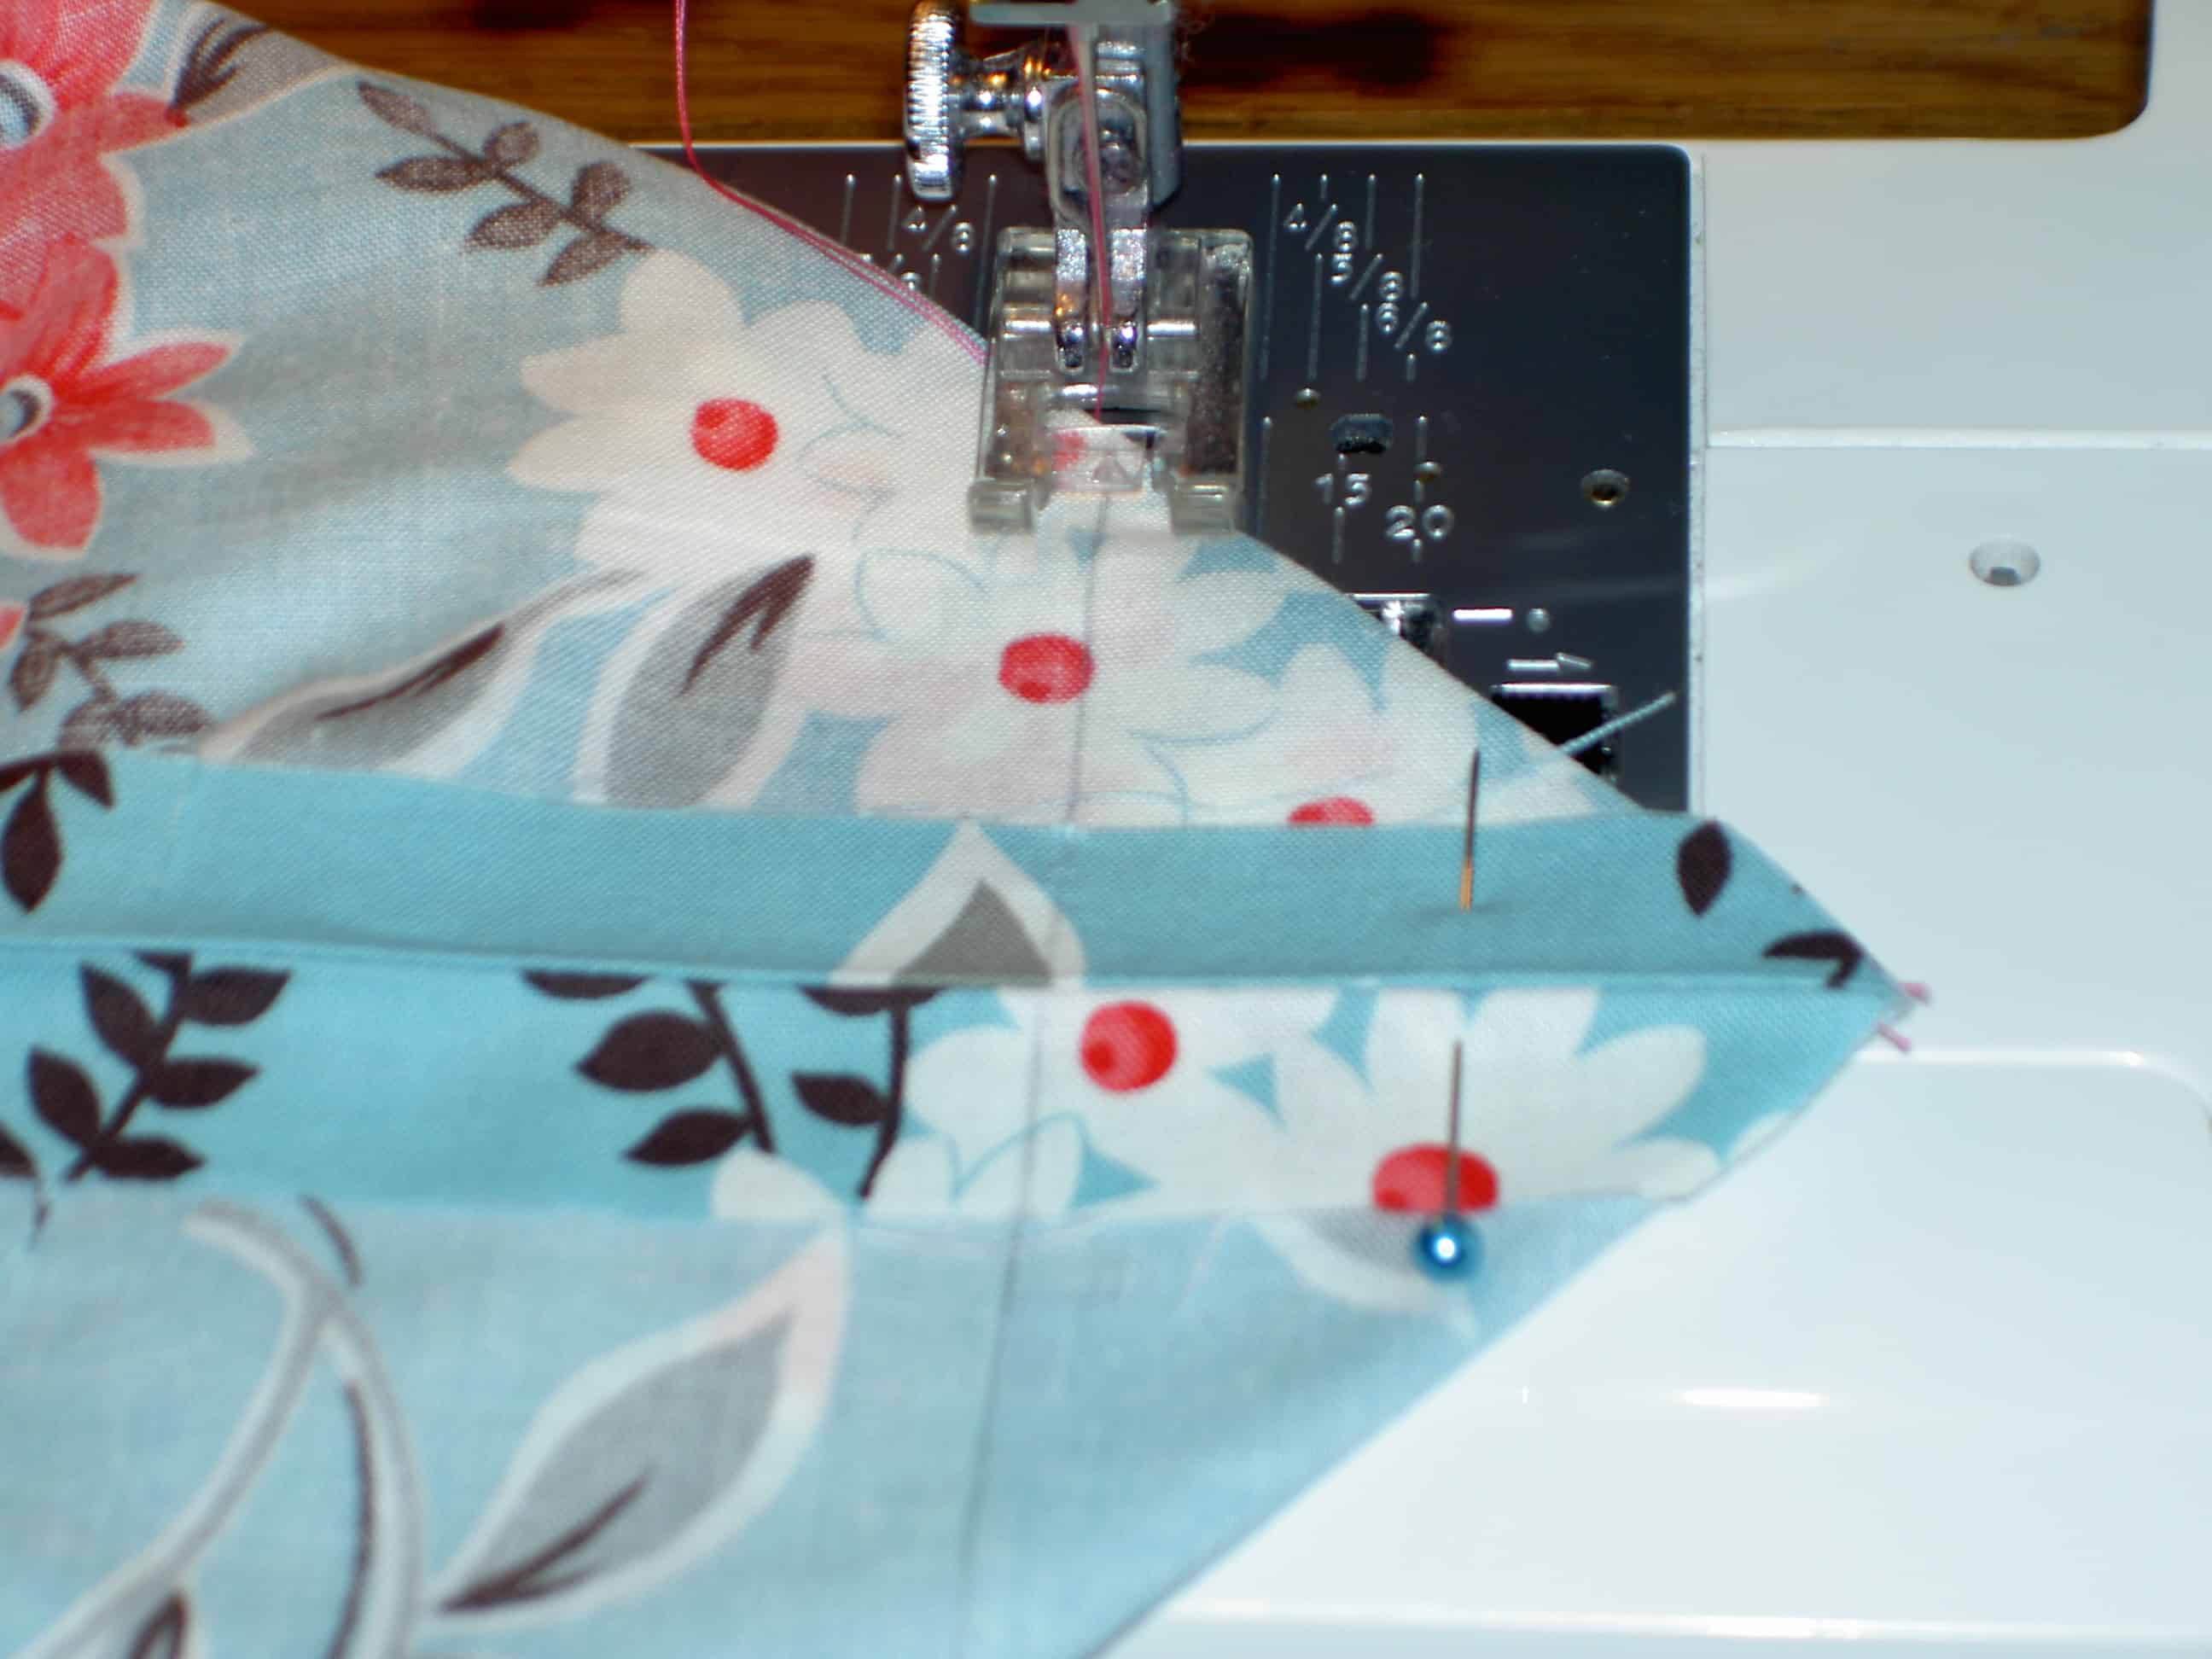
Box corners
Remember I mentioned the gusset tutorial in the Bag Bazaar book? I didn’t have a chance to try it out. I found AMH’s directions to be stellar. You press a crease into the side of your bag, then you line up the bottom seam with that crease and you have a perfect triangle. I drew a line (not part of the directions), because of my A type personality. Perfect box bottom. I did it before I realized what was happening and was amazed at the results.
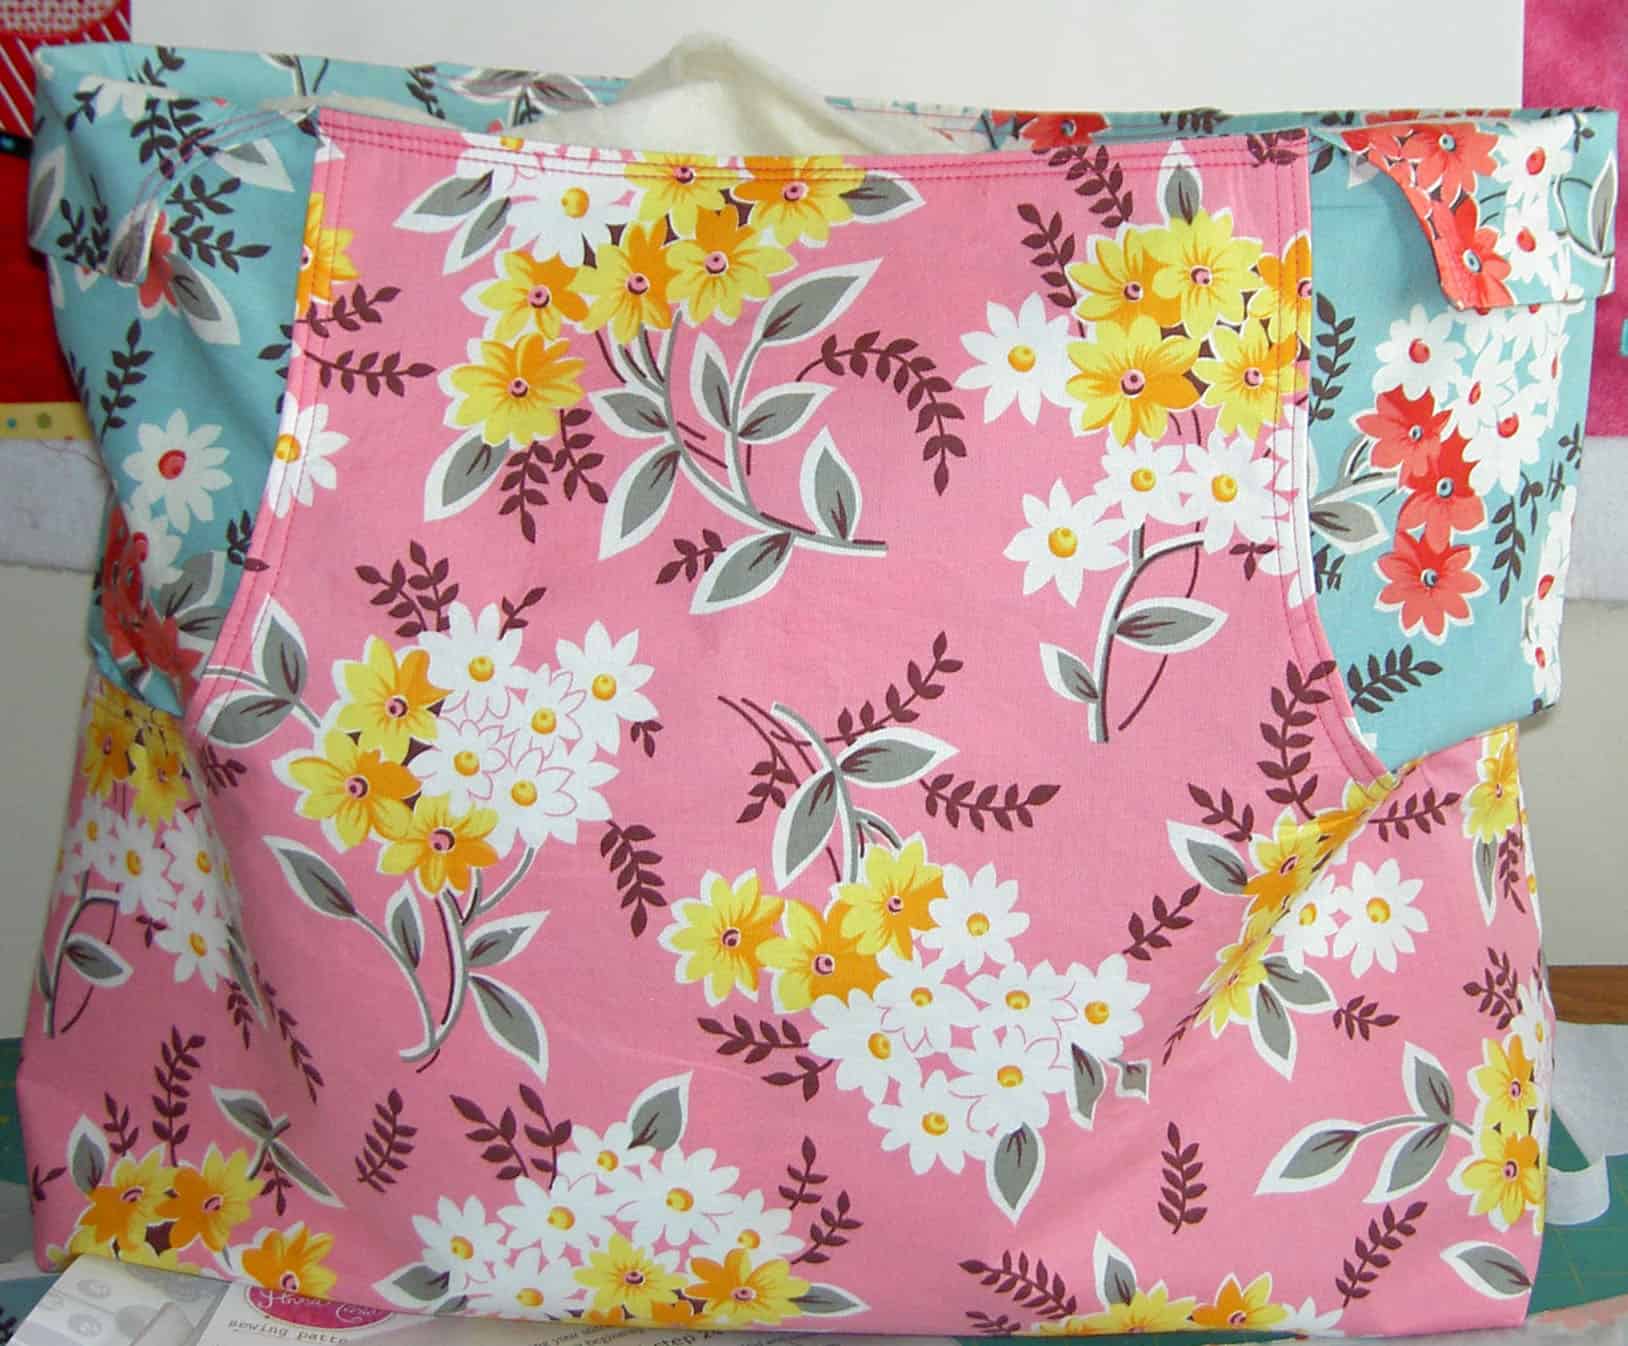
I love the fabrics that I chose for the current tote, individually. I am not happy with the two of them in combination in this project. Too many flowers, I think, which means that none of them stand out. Yes, I will be making another! As I mentioned in a previous post and as you can see from the photos, I used the Denyse Schmidt fabrics as a trial run.
MTT #2 Bag Fabric
My biggest challenge with this project is the requirement of Pellon Peltex Double-Sided Fusible Ultra Firm Stabilizer #72. I didn’t have any in my fabric closet, which didn’t worry me. I sewed and fused two pieces of Timtex together and the put Steam-a-Seam 2 on the outside and fused it to the bag. Having a stiff bottom is GREAT! It makes the thing stand up and much less floopy. Using my jerry-rigged method, I could easily see where something already stiff and fusible would be a lot easier. I searched the web and found it by the yard for $10+. I also found a bolt of it for $99+. Huh! I can’t make another of these using my jerry-rigged method, because I am out of SAS2. I have to decide whether to get a bolt (seems like overkill) or pay, what seems like, and exorbitant price for a yard. Anyone of you have any perspective on the price of Pellon Peltex Double-Sided Fusible Ultra Firm Stabilizer #72?
Kristin LaFlamme reviewed this pattern on her blog as well. It is a very complete review. She mentions a couple of the inconsequential typos I also saw and does some interesting things using recycled materials. Her rendition of the pattern makes me think about adding additional pockets to the outside. Adding a pocket to the outside would be especially successful when I don’t have a focus fabric (as shown on the pattern above) or fabric suitable for broderie perse.
I found my way to the Exuberant Color blog and found this wonderful tutorial for making journal covers. Since I seem to be making small things now, this project appealed to me for a variety of reasons.
I carry a journal with me and a cover would make it more private.
I have friends that use journals, so this would make a great gift.
Finally, it is small and looks like it would be a quick project, which I could use to try new fabric combinations or techniques.
Start with a piece large enough to cover the notebook plus flaps at each end to fold in. This is approximately 3/4″ -1″ taller than the notebook one way and the measurement around the notebook plus flaps that cover at least 3/4 of the cover on the inside in the other direction.
Iron on a piece of fusible fleece or batting the height of the notebook by the measurement around the outside of the closed notebook plus.
We spoke about a Recycled Round Robin at CQFA, where we bring materials from our stashes and put them together using a piece from other quiltmakers as a starting point. I thought this would make a good result for such a project.
My rating: 4 of 5 stars
I was sitting at a cafe’ when I started looking at this book. I glanced through it first and decided that I liked the format and the layout, but wasn’t enamored of the projects. I didn’t see any of the bags that I thought were useful looking.
“Listen to the Mustn’ts child, listen to the Don’ts.
Listen to the Shouldn’ts, the Impossibles, the Won’ts.
Listen to the Never Haves, then listen close to me.
Anything can happen, child, anything can be.”
-Shel Silverstein
That poem is how the text of the book started. It grabbed my attention and changed my idea about the book. I didn’t see it at first, because the color of the text was invisible in the glare of the cafe’ light. I looked through it a little more slowly and found that it is a book with really good bones. There are projects at the end that look useful and I would make, including a messenger bag and a wall organizer with pockets. I think the best part is that the author shows the reader how to think about bag making. The idea is not all about making her bags.
I, first, heard about this book on the Quilted Cupcake podcast. I wrote about in one of my summer catch up posts. I finally got it from the Library using Link+, a better, faster and more convenient way of getting interlibrary loans. It actually works for real people! Thank you, SFPL!!!
“A note on fear: It’s okay to be afraid to start a project. It’s okay to read the book for a while or just look at the pictures until you feel ready to jump in. The trick is that you have to jump in at some point. Like swimming or sky diving or picking up a pencil for the first time – like anything worth doing – you have to start somewhere. Start today. Start now. Don’t worry about getting it right or making the perfect bag. It’s likely that the first thing you make may not be perfect….but you will still treasure it. … the safety net will appear just when you need it. So jump.”
This note cemented my initial idea about the book. I thinkt he safety net comment is a good one to keep in mind. The tone of the book is really friendly and accessible and she has some great overarching ideas about making bags, such as “Build a bag from the inside out.” Another thing Lexie Barnes discusses is the length of the straps. I have been making the Eco Market tote with 54″ straps. 54″ fits me and works with the pattern. They go almost all the way around the bag and are sewn into the bottom of the bag seam. This reminder is good because I may want to make a bag where the straps do not go all the way around the bag. I also like the paragraph on designing pockets (pg.15), because it gives the maker practical ideas about making useful pockets. The section called “Graph, Paper, Scissors” discusses using graph paper (pg.14) to design a completely new bag to scale. I immediately drew a preliminary drawing (not to scale!) a for a saddle type bag.
I am going to spend some more time with this book.
The CQFA met at Always Quilting yesterday. The Always Quilting strip club was also meeting and somehow the space issue got mixed up so we crammed into one of their small rooms to do business, show and tell and swap ATCs. A few of us got in some project work also.
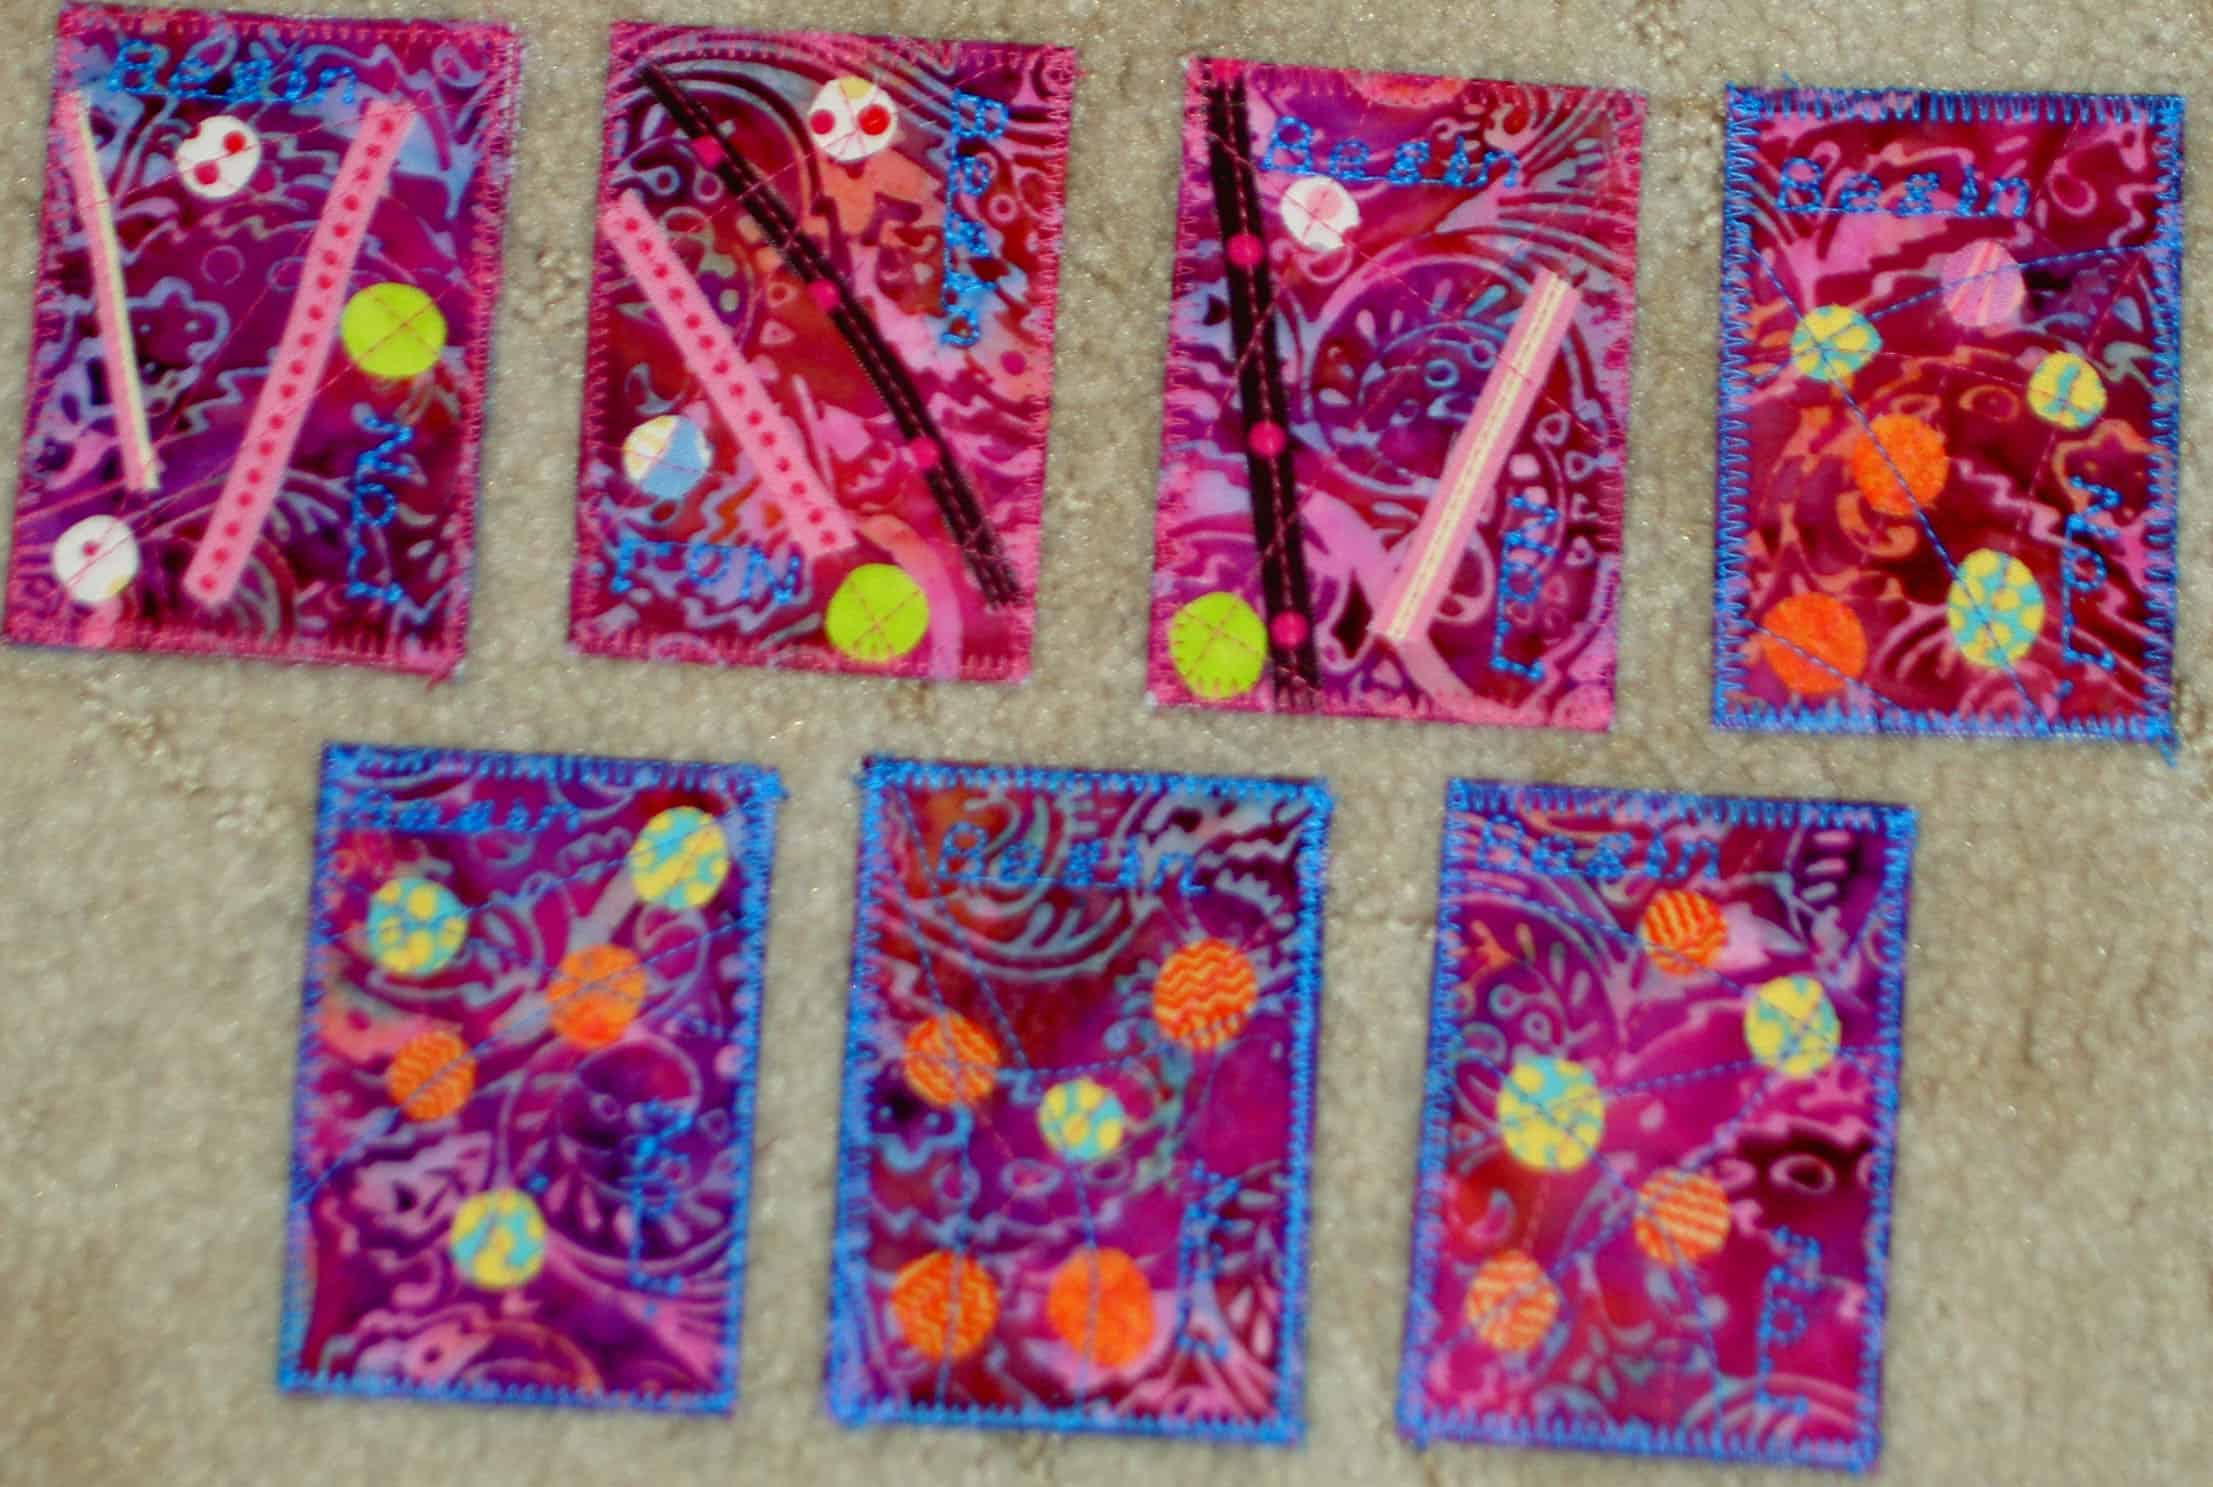
I am working on a deck of creative prompt cards using playing card blanks as the base. I decided that the ATC swap in CQFA would be another way of creating more prompt cards and expanding the Creative Prompt Project. The cards to the left are the ones I created for this month’s swap. They are ok. I did stitch words on them for the prompt and the words don’t stand out very well, which is disappointing. I should have used yellow thread to make the words stand out better. I will try and create more contrast next time.
In some ways this format is too small for me. In other ways, it is a good size, because it allows me to finish something and use up some scraps. I have been using scraps for all of the ATCs I have made so far. I am struggling with creating successful designs give the format and parameters. I am okay with not being as successful as I would have liked with this groupsince I only committed a little time to the project. I want to look at it as a learning experience. I have an ATC book, so I will look in there to get some ideas.
Maureen did a good job organizing the swap. She changed the guidelines a little this time. What I realized, after the change, is that I need to make my two sets of cards using different designs. Some people ended up with two of my cards. Since I used the same design for all they received duplicates. That is disappointing for them. I don’t know if it is better to do multiples of the same or if I should make each one different or somewhere in between? I’ll try something a little different next time.
ATC Back with Label
One of the CQFA members made a little label for her pillows and bags. I saw it when she showed her oilcloth bags and pillows at the last meeting. Something sparked in my mind. I haven’t been putting any labels or anything on my tote bags. I thought this would be a great solution.
Making the labels had been on my mental to do list for awhile, but it was just this week that I was actually able to sit and do it. I used the table function in Word, bu any word processor will do. I inserted the picture, wrote the text, played with the spacing as well as the font size and tested it on a regular sheet of paper before I printed it on a sheet of paper backed fabric. I am pretty pleased with the way it came out.
One of the things that the grid (from the table) did was give me a cutting line. Since the 9K is in the shop again, I had to play around with where the zigzag stitched on the Jem.
The picture is a .jpg of my Avatar. I originally made it on Elouai.com. Their Avatar maker has some fun options as well as the ability to save as a .jpg file.
I think this mini-label will be a good option for bags and pillows and other little items that I seem to be working on at the moment. It might also work for small quilts where I don’t really want to take up half the back with a regular quilt type label a la the Pamela Allen quilts. I’ll have to see.
My new ATCs
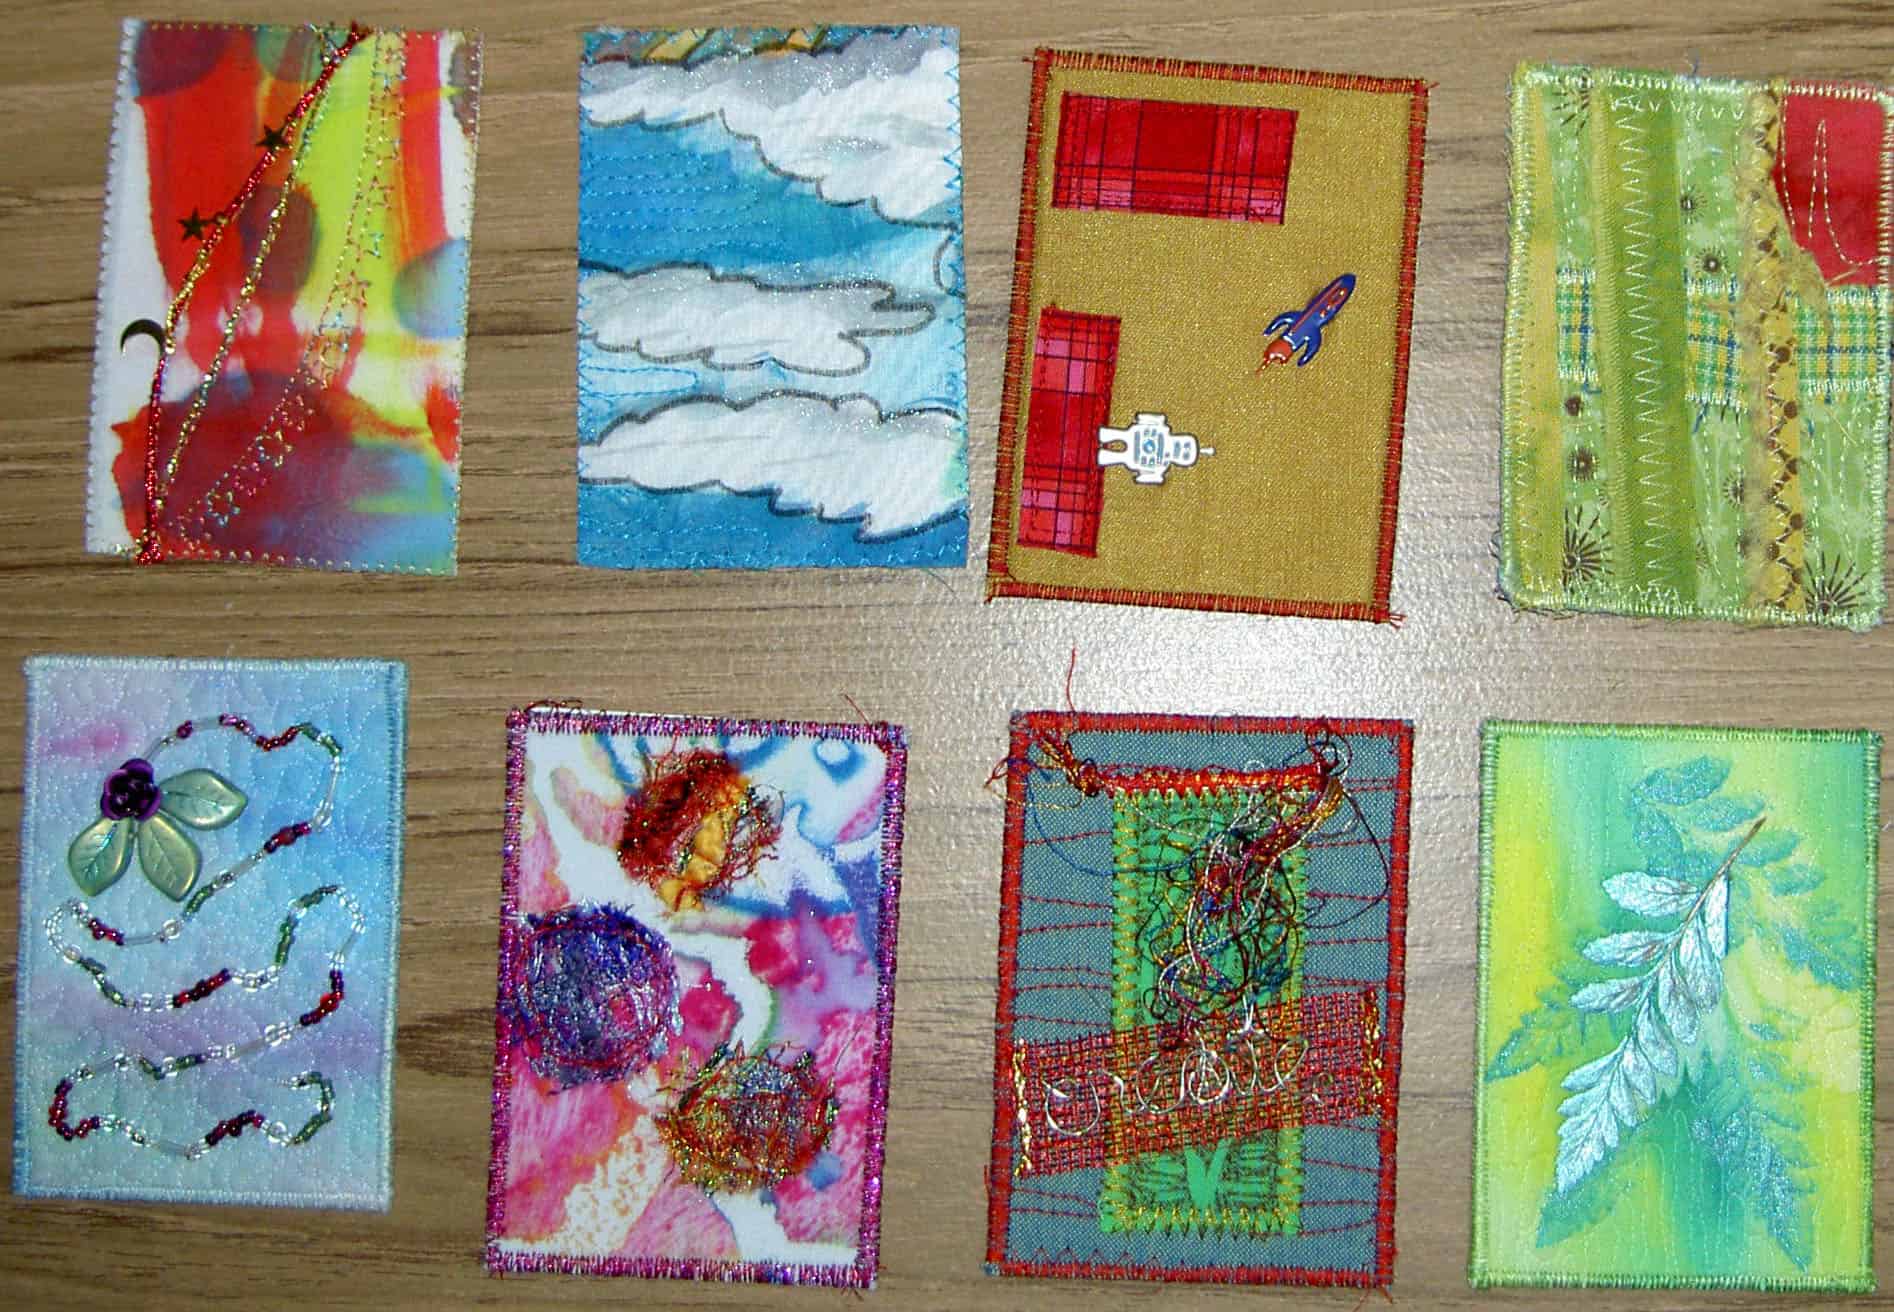
These are my new ATCs. I was really enamoured and inspired by the various techniques that people used. I especially liked the lower right (#3). Maureen made that and there is a wire on top of the red netting that says create! It is another creative prompt! I had to have it and was thrilled that it was available when it was my turn to pick.
CQFAers ATCs Group #1
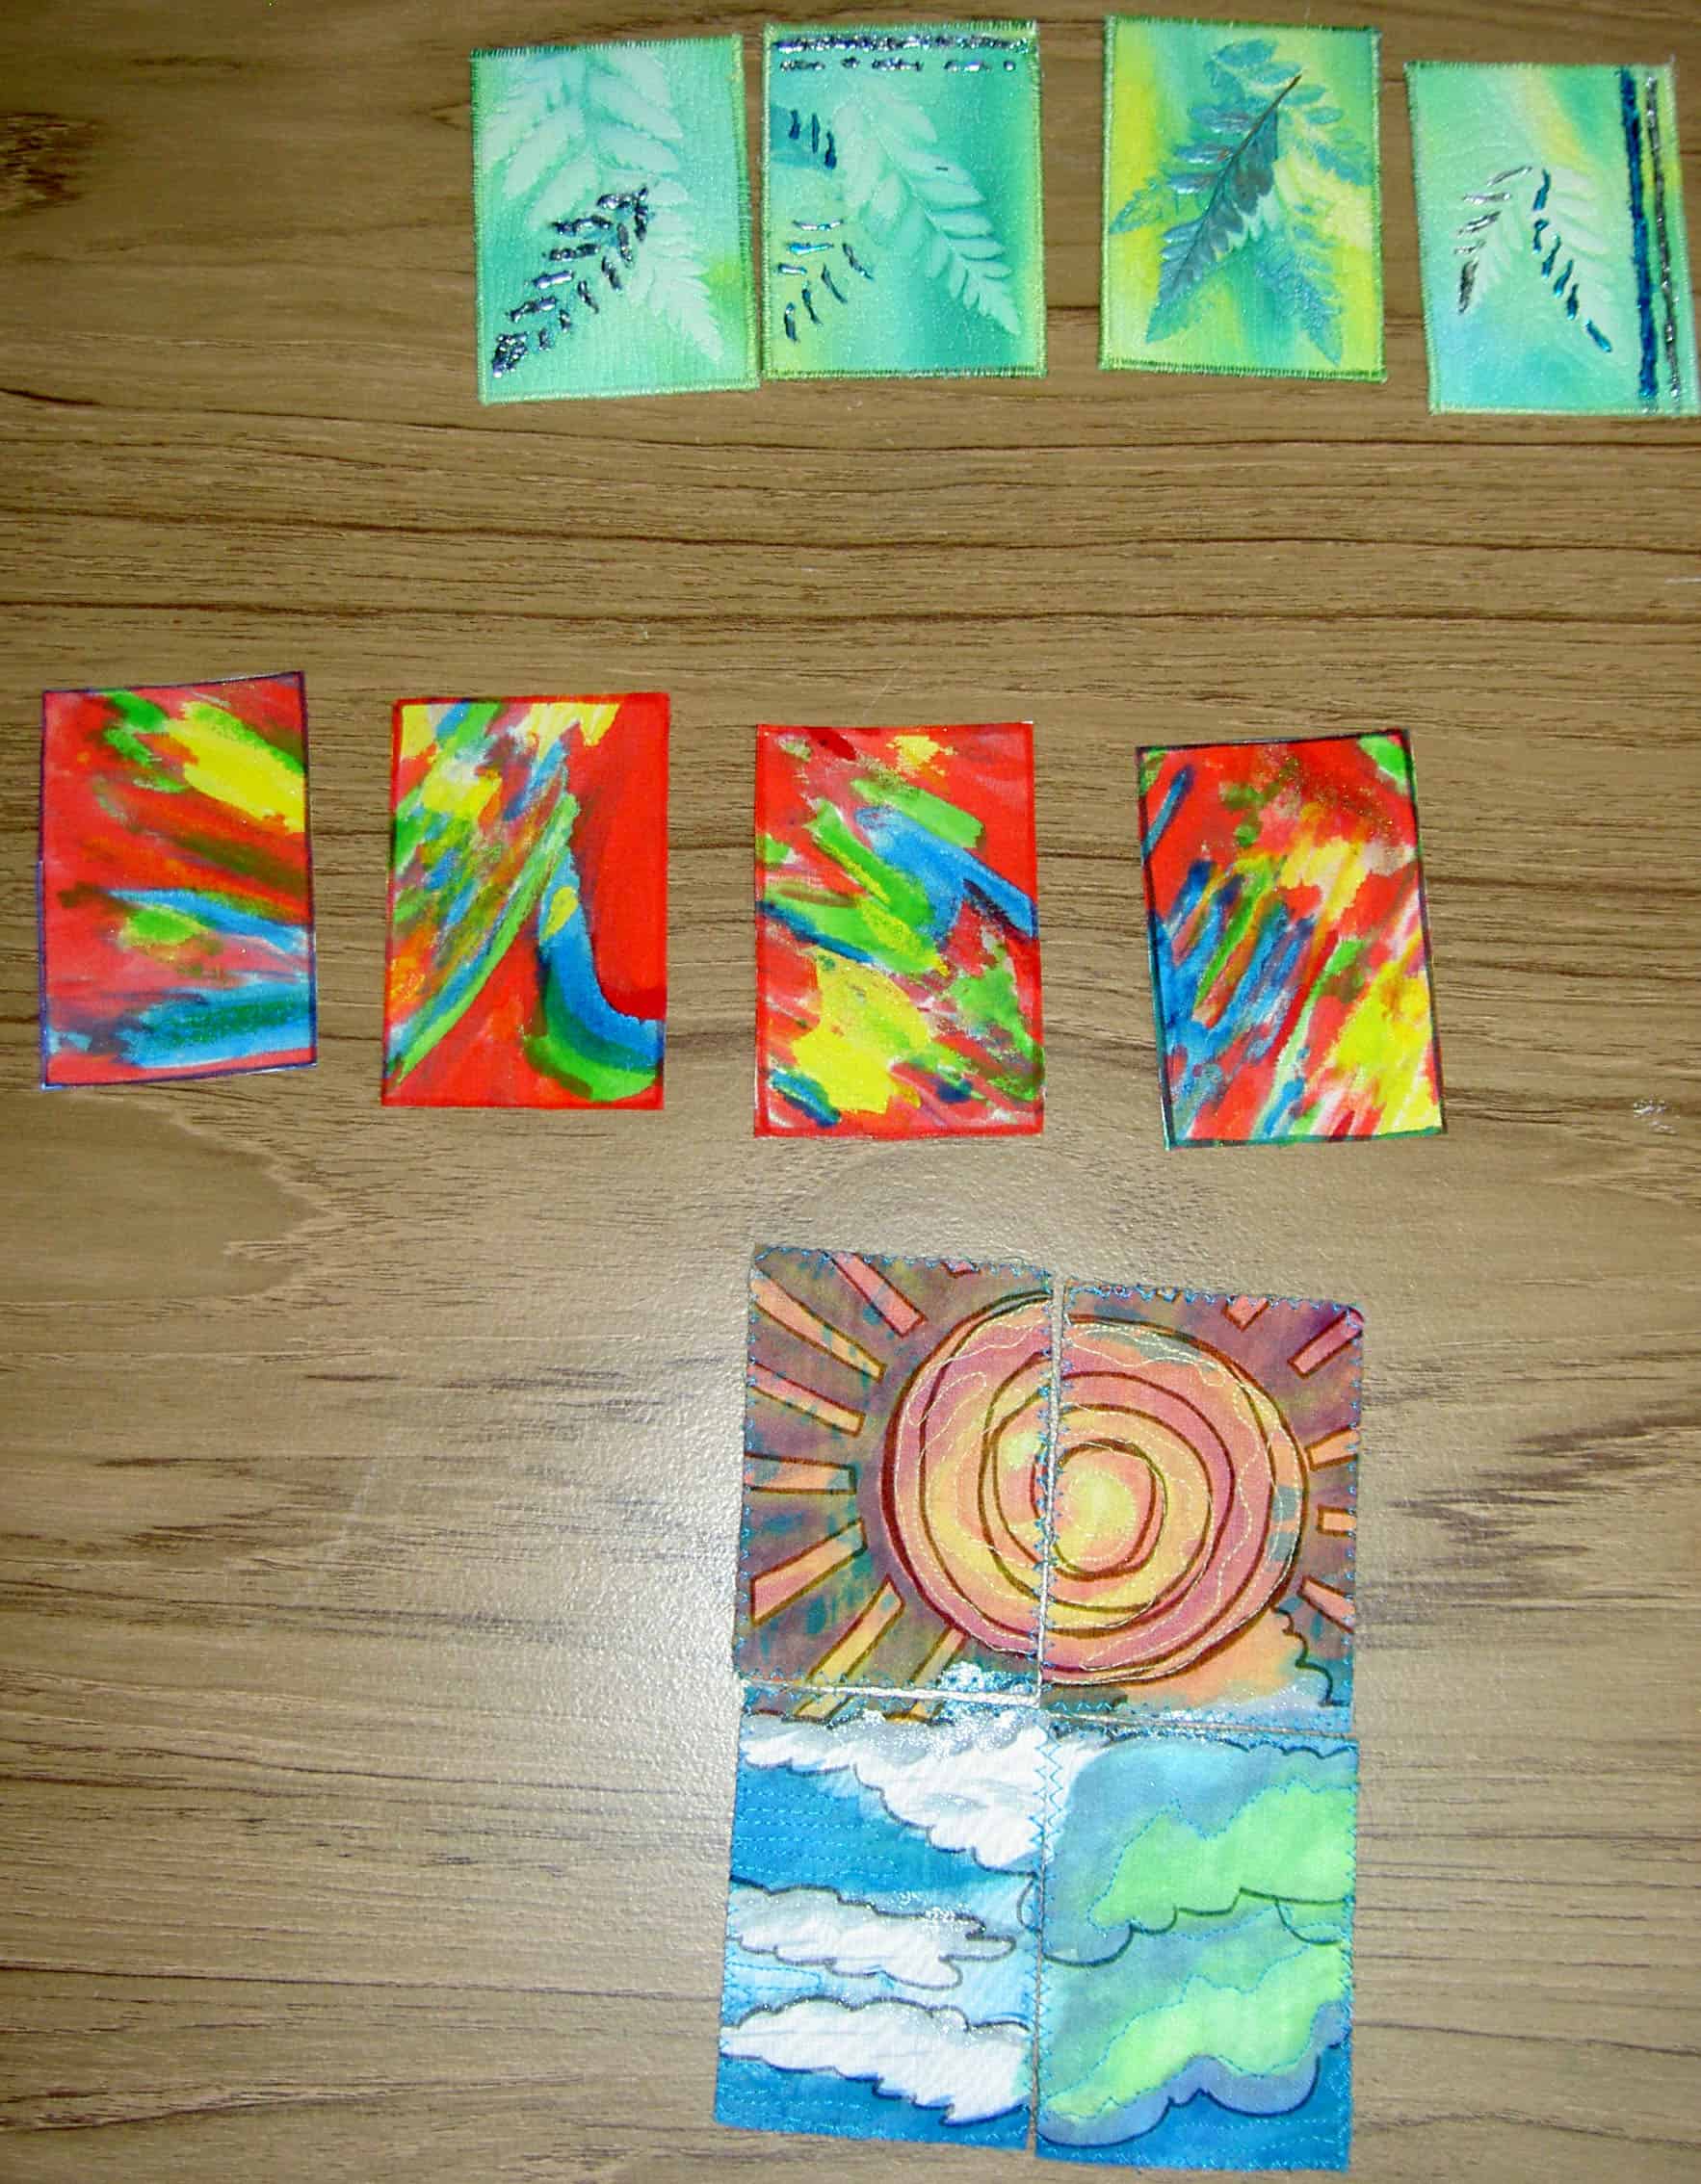
A new person, Sonja, came to the meeting today. Her ATCs were fabulous. She made the ones with the sun and clouds. I really wanted a piece of the sun, but got a piece of the clouds with which I am happy. Dolores’ cards are on the top with the leaves. I’ll have to get one of those baseball card binders to keep all of these ATCs in.
CQFAers ATC Group #2
Maureen’s ATCs are in the above picture underneath mine. I love the one with squares on the left, but it didn’t come home with me.
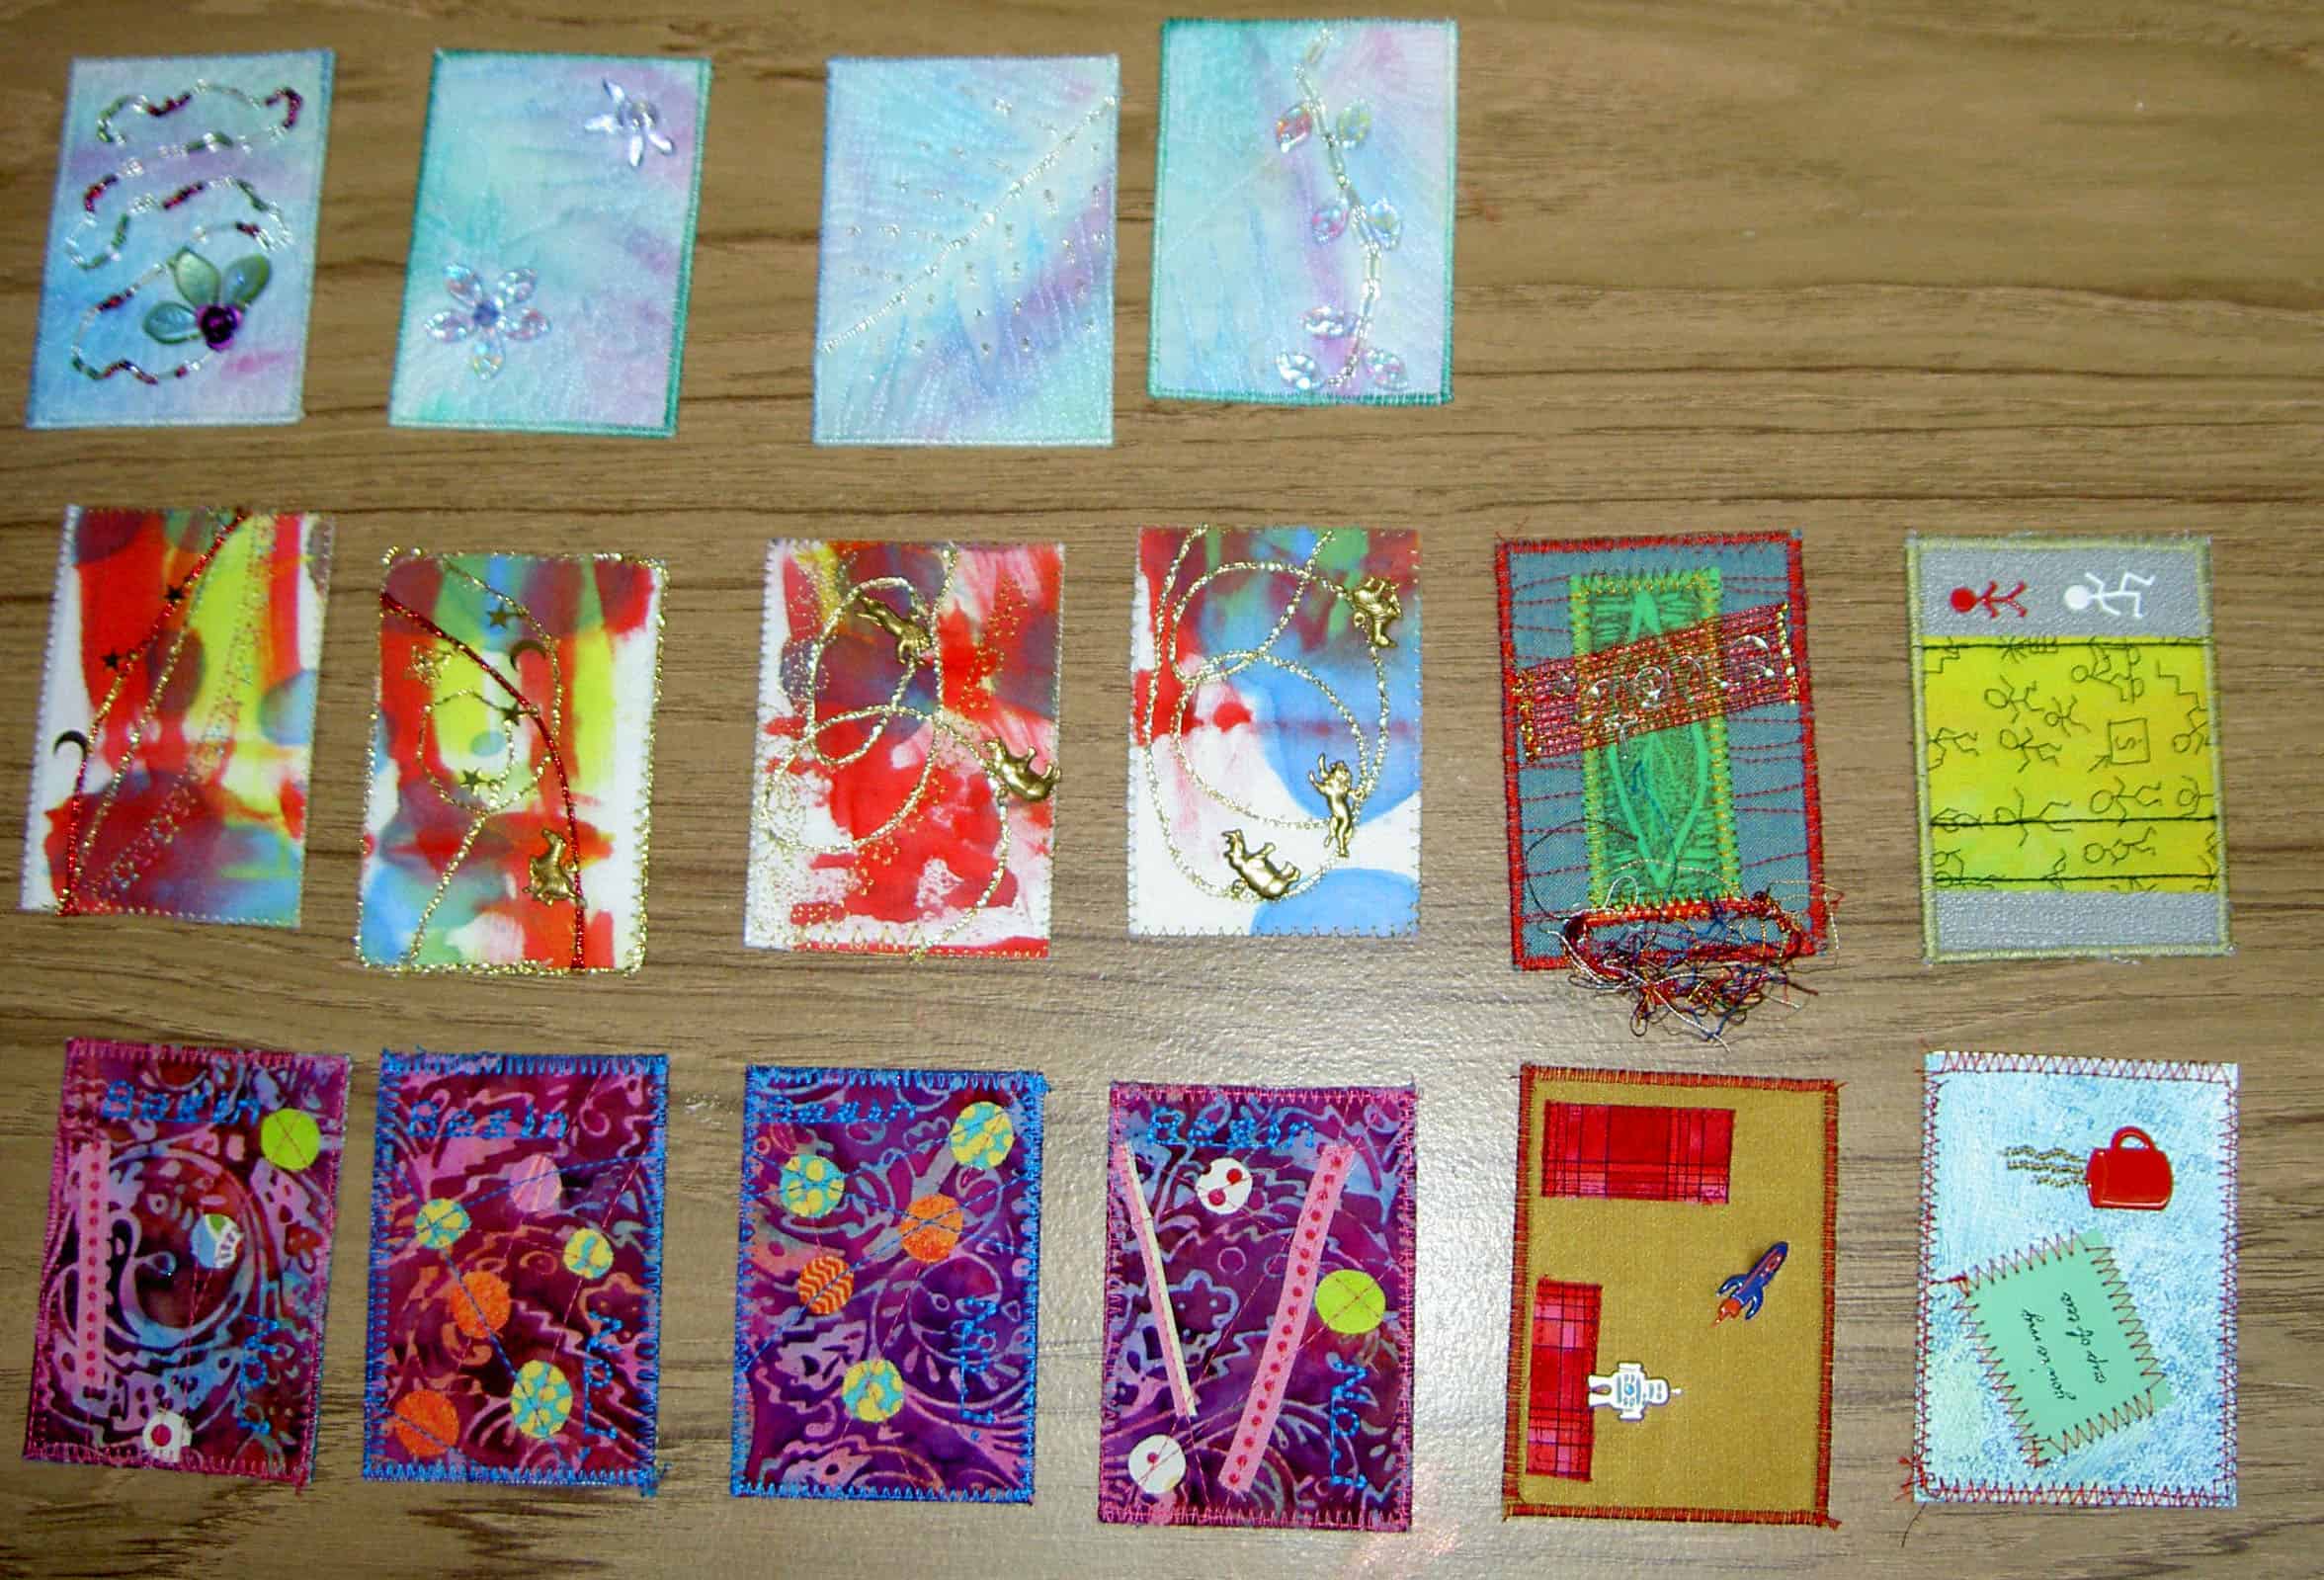
CQFAers ATC Group #3
In the group above are ATCs made my JulieZS (top), Linda (left) and the famous, much loved writer Terri Thayer made some, which are pictured on the bottom right. One thing that I liked about Julie’s and Linda’s ATCs was that they both cut up pieces of projects that weren’t working and made them into successful ATCs. Terri is playing with stamps and embellishments in this group as well as the ones she brought to the last meeting.
CQFA ATCS Round 2
Above is the second group of ATCs for round 2 swapping.
I never wanted to collect ATCs. I am finding that I do enjoy seeing different techniques which people are using.
As an aside, someone directed me to Teesha Moore for art retreats. Her opening page looks like ATCs