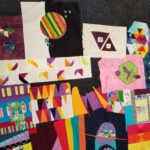
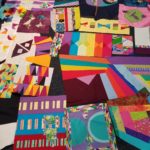
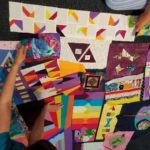
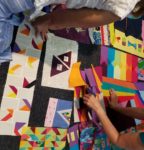
I wondered about whether I would enjoy making this block after finding the ruler and the pattern the other day.
It has a lot of curves, which can be problematic in general. I also had to use a special ruler. Sometime special rulers create great effects and sometimes they are a disaster.
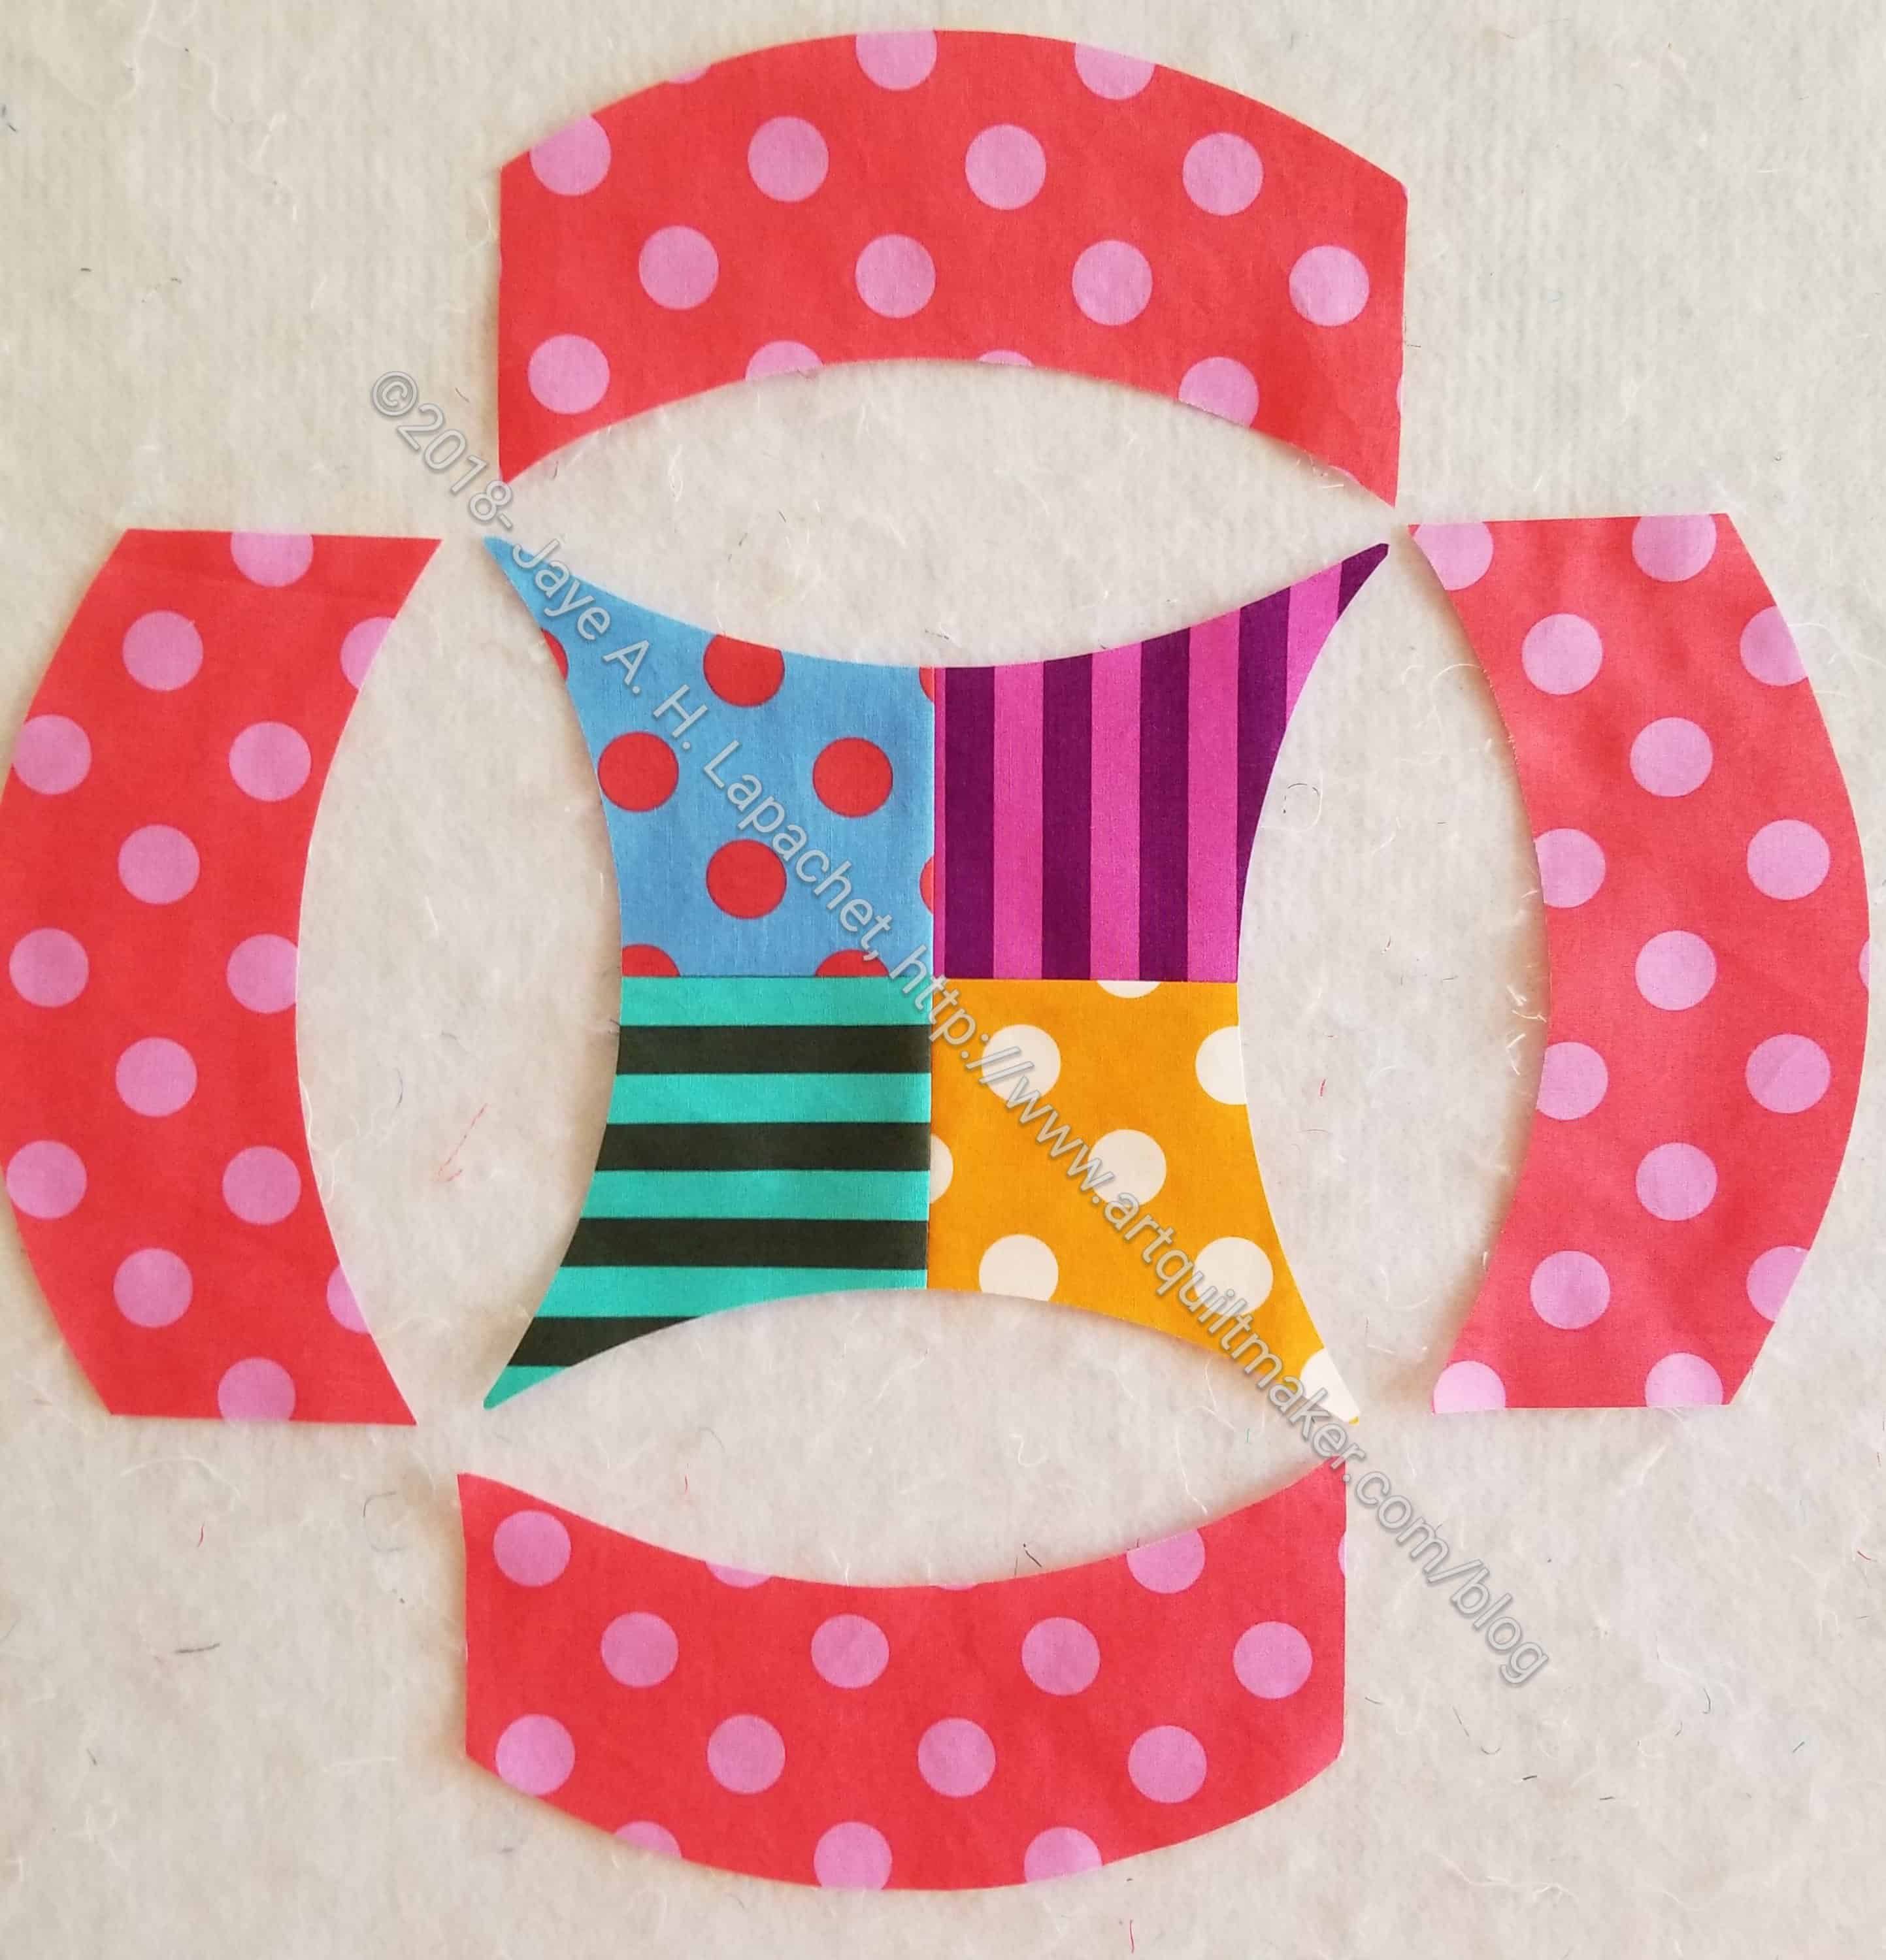
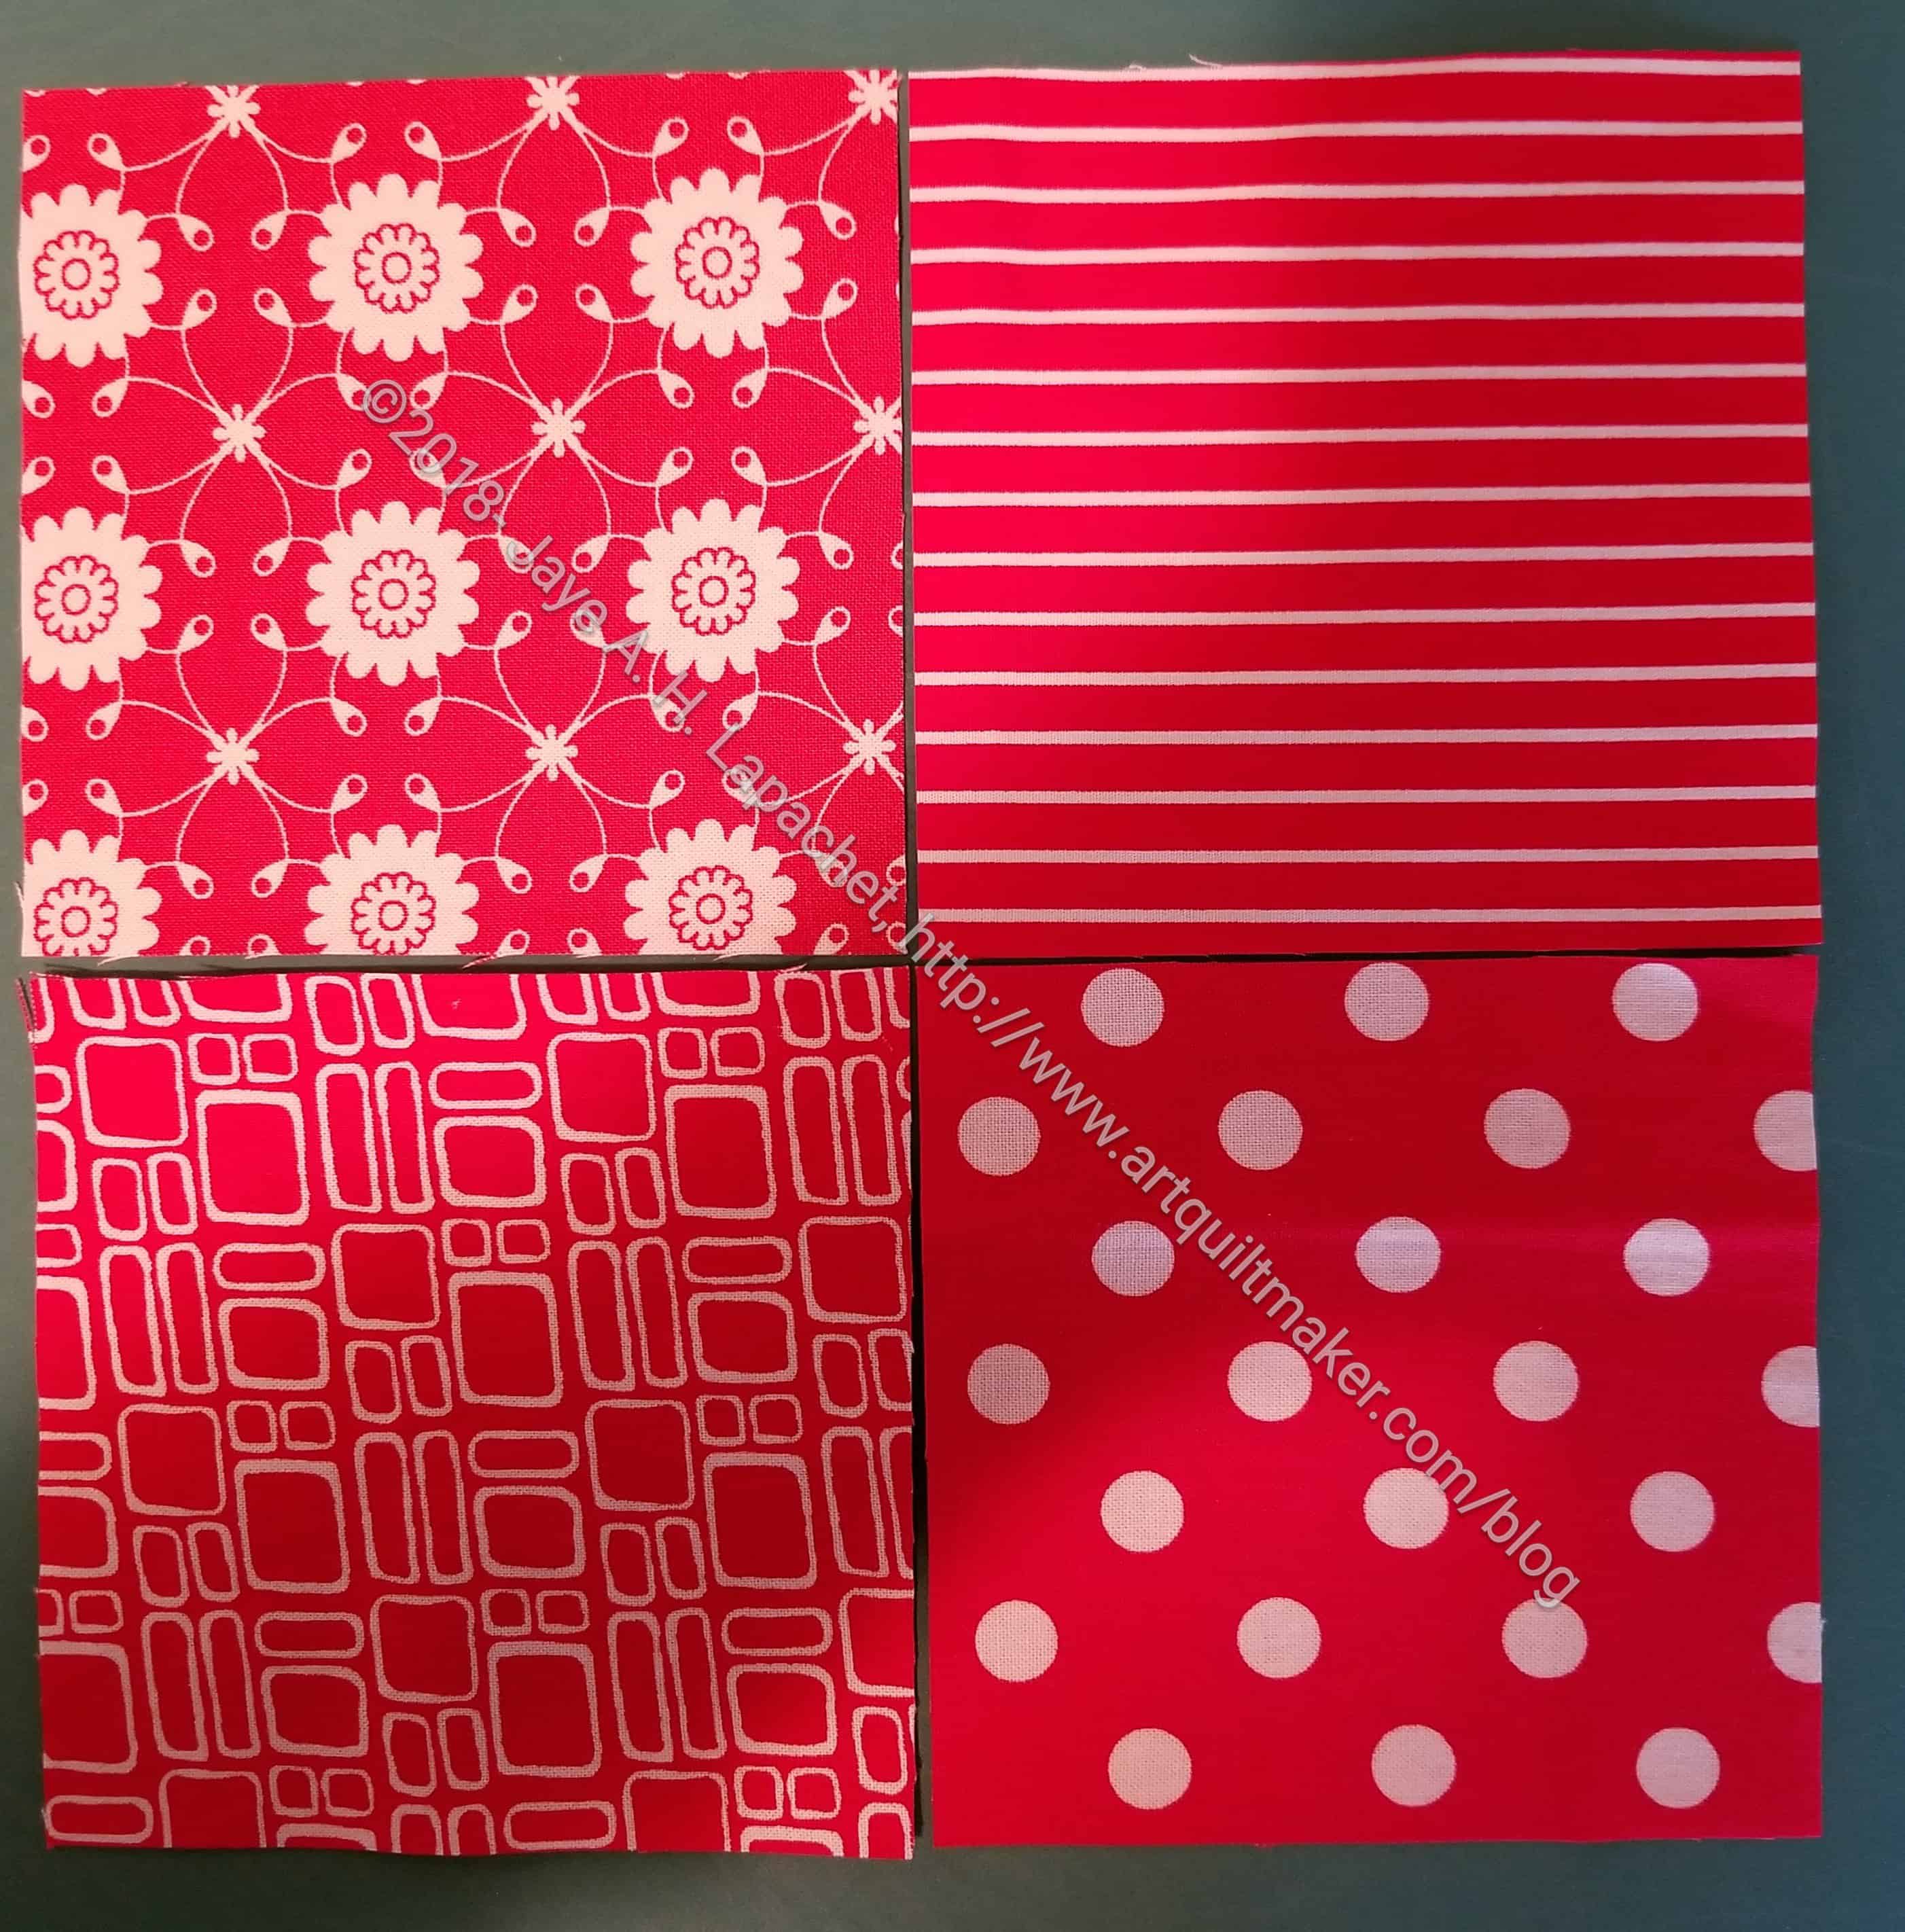
I started out easy with 4 blocks that create the center. All of the center blocks will be dots and stripes. Sewing four squares together was easy.
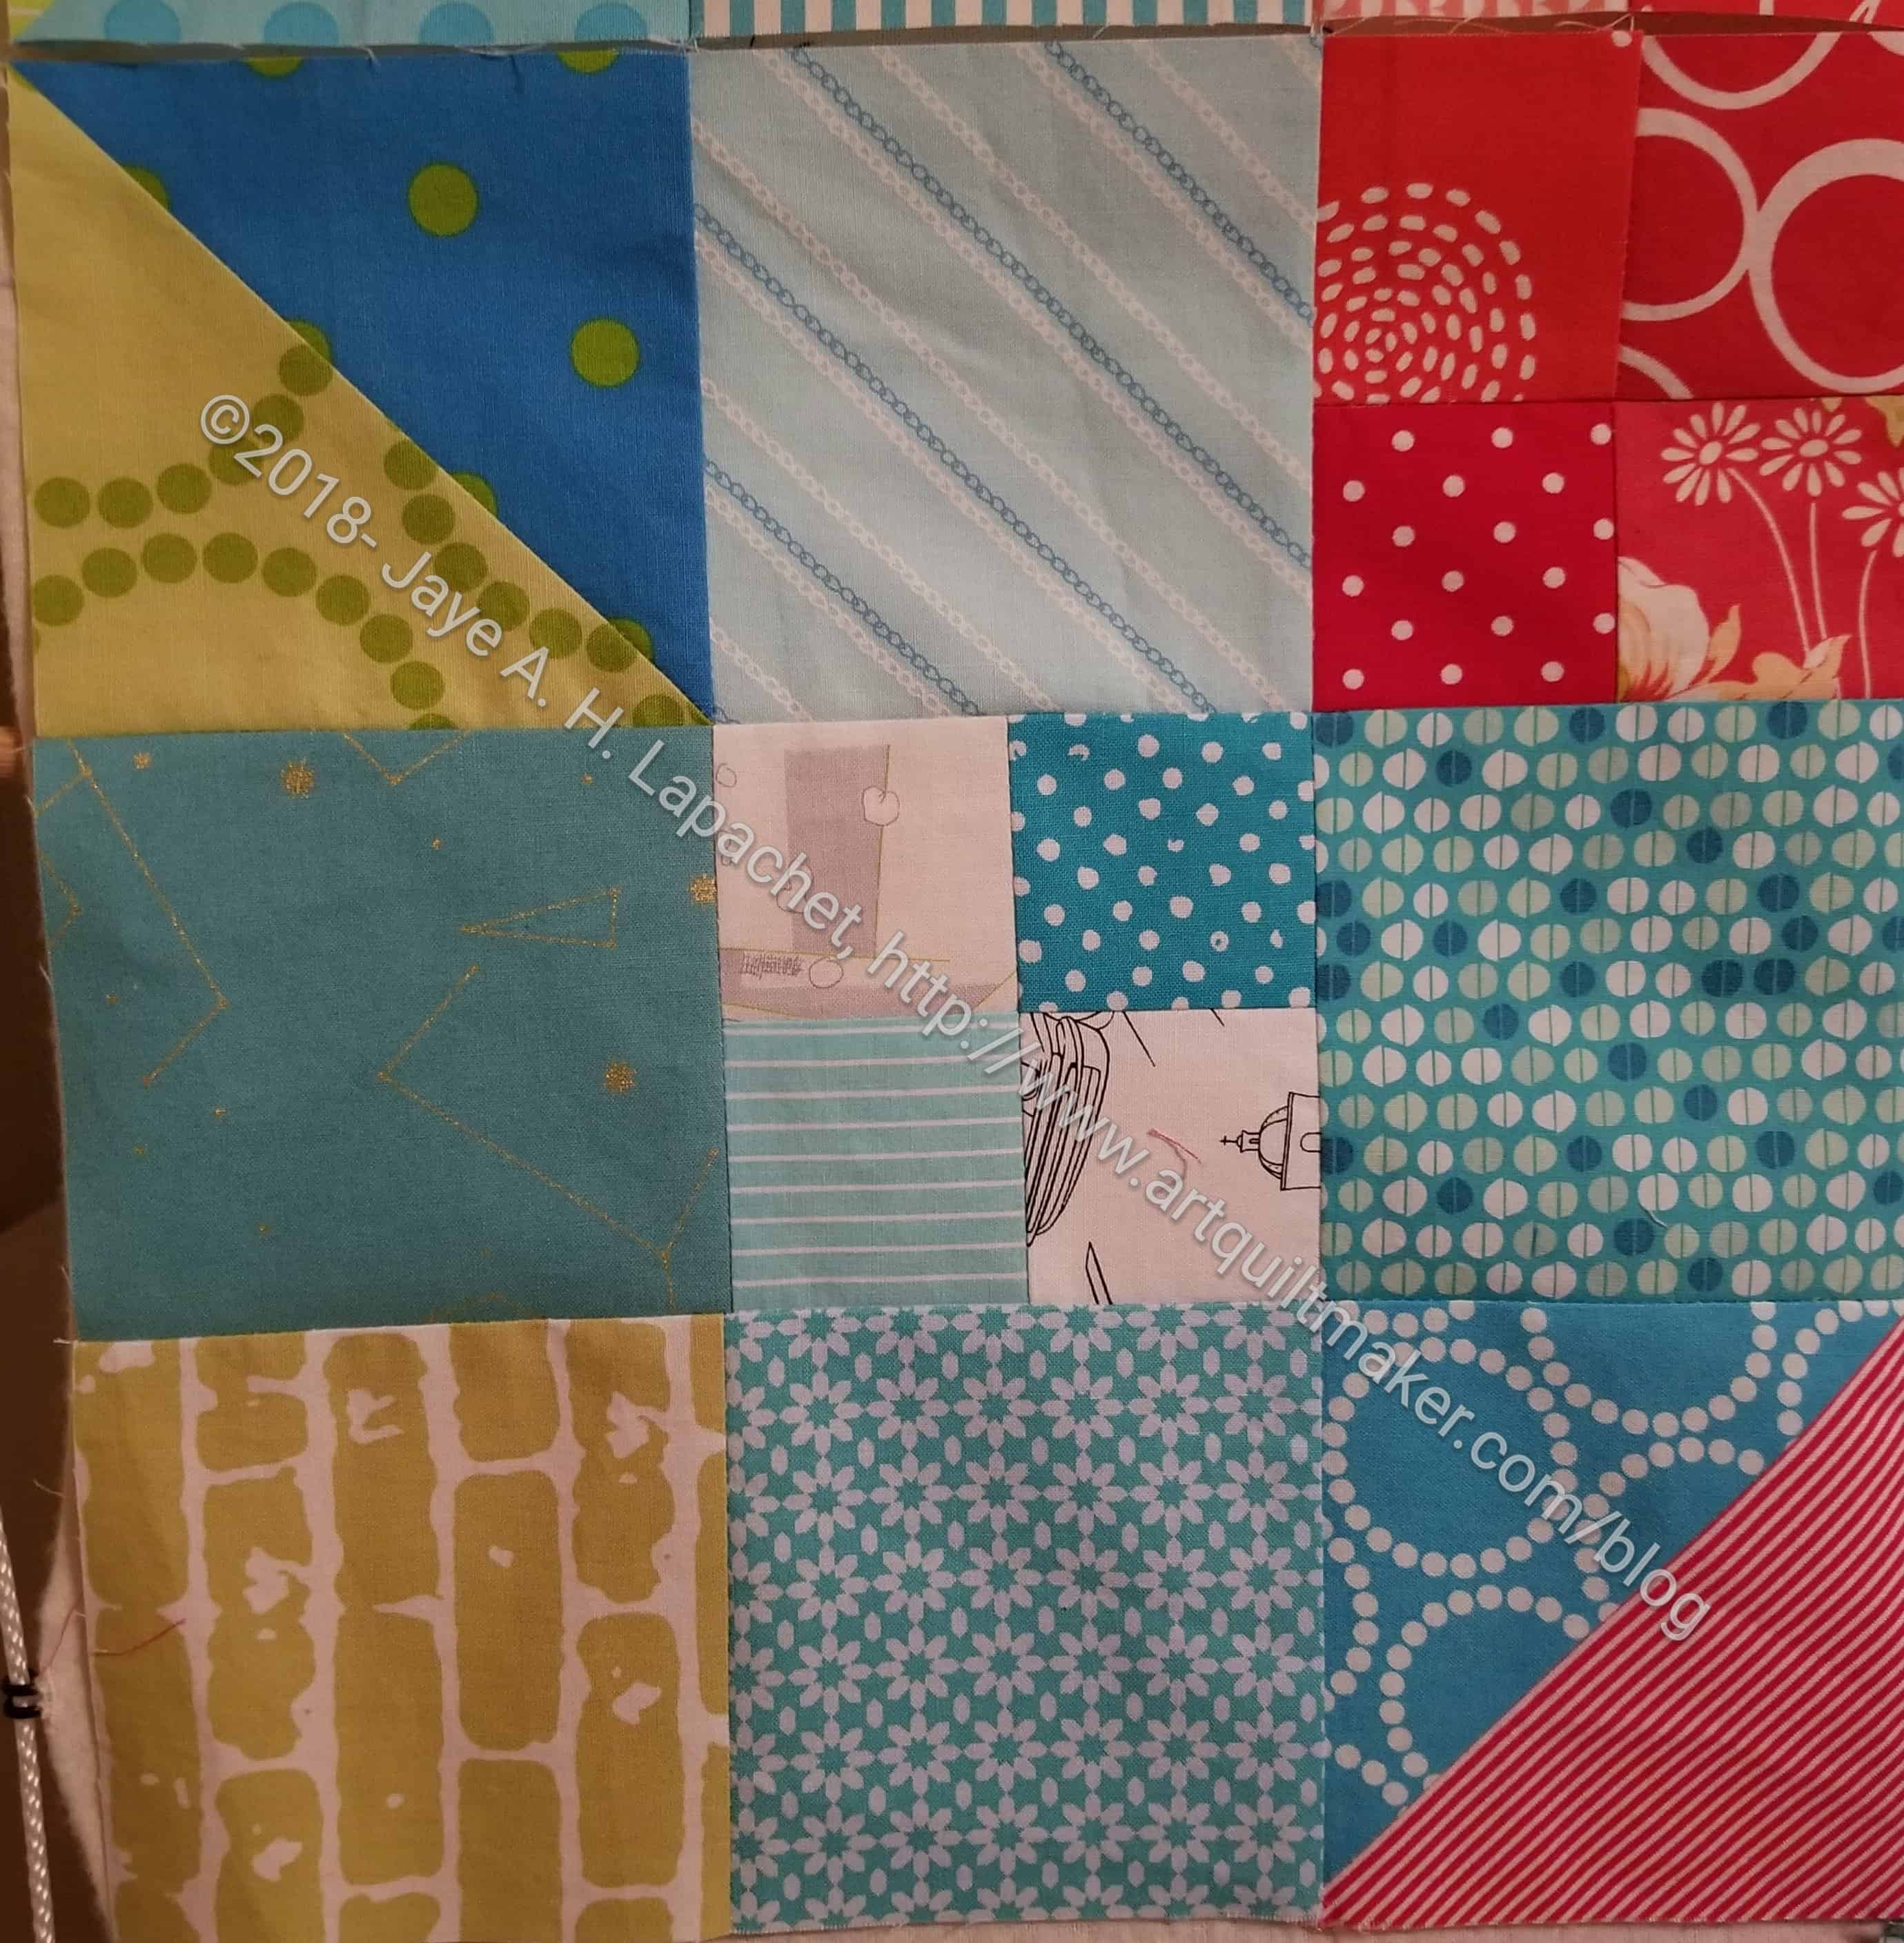
MetroScape curves
I dove in and started cutting curves. I had some issues but it was mostly operator error. Cutting the first block took me a long time as I attempted to navigate the pattern and fabric choices.
I am planning on using dots on the outer part of the block, but I don’t know if I will have enough dots to differentiate the blocks enough. I am scared of trying to line up the stripes, but I might try one block with stripes to see how it looks.
I did realize that the pattern is called MetroSCOPE not MetroScape. Well, I am going with MetroScape regardless. I don’t have a better name and it kind of reminds me of landscape.
I felt like I needed a piecing project. I have finished (or prepared for quilting) quite a few projects this year. I decided I could start something new. The project I started was on my Dream/Future projects list.
I looked at a couple of the projects on my various lists, but the Quick Curve Ruler project floated to the top. I looked at the Goodnight Irene project. This is a project from Missouri Star, though it has been around in other places as well. I have a lot of 2.5 inch squares already cut, so I could have started pretty quickly. There was something about it that didn’t grab me.
I also looked at the Thirty Something project. I have been cutting 1.5 inch squares for the center blocks and have enough to make a start. The problem was that there is a lot of other cutting required. I don’t mind doing some cutting, but I didn’t want to have to spend a whole weekend cutting before I could actually sew. I need to add some different pieces to my cutting list so I can make some progress on this project. I have to say that the 1930s fabrics** used in the project in the magazine are not appealing to me. The fabrics might have been a bit off putting. I don’t know.
I looked in my book and saw the Quick Curve Ruler project. I didn’t have a specific pattern in mind, but wanted to try the ruler. The YM bought it for me a few years ago and it was time to get around to trying it out.
MetroScape pattern by Sew Kind of Wonderful
Even though I don’t use patterns much, I have a few for this ruler and thought it would be a good idea to follow one. I chose MetroScape after looking at the two I could find easily.
Stay tuned for some progress.
**Nota bene: I don’t dislike 1930s fabrics; they just aren’t a favorite and this 30 Something project is overwhelmingly 1930s fabrics. The overall look was too….something.
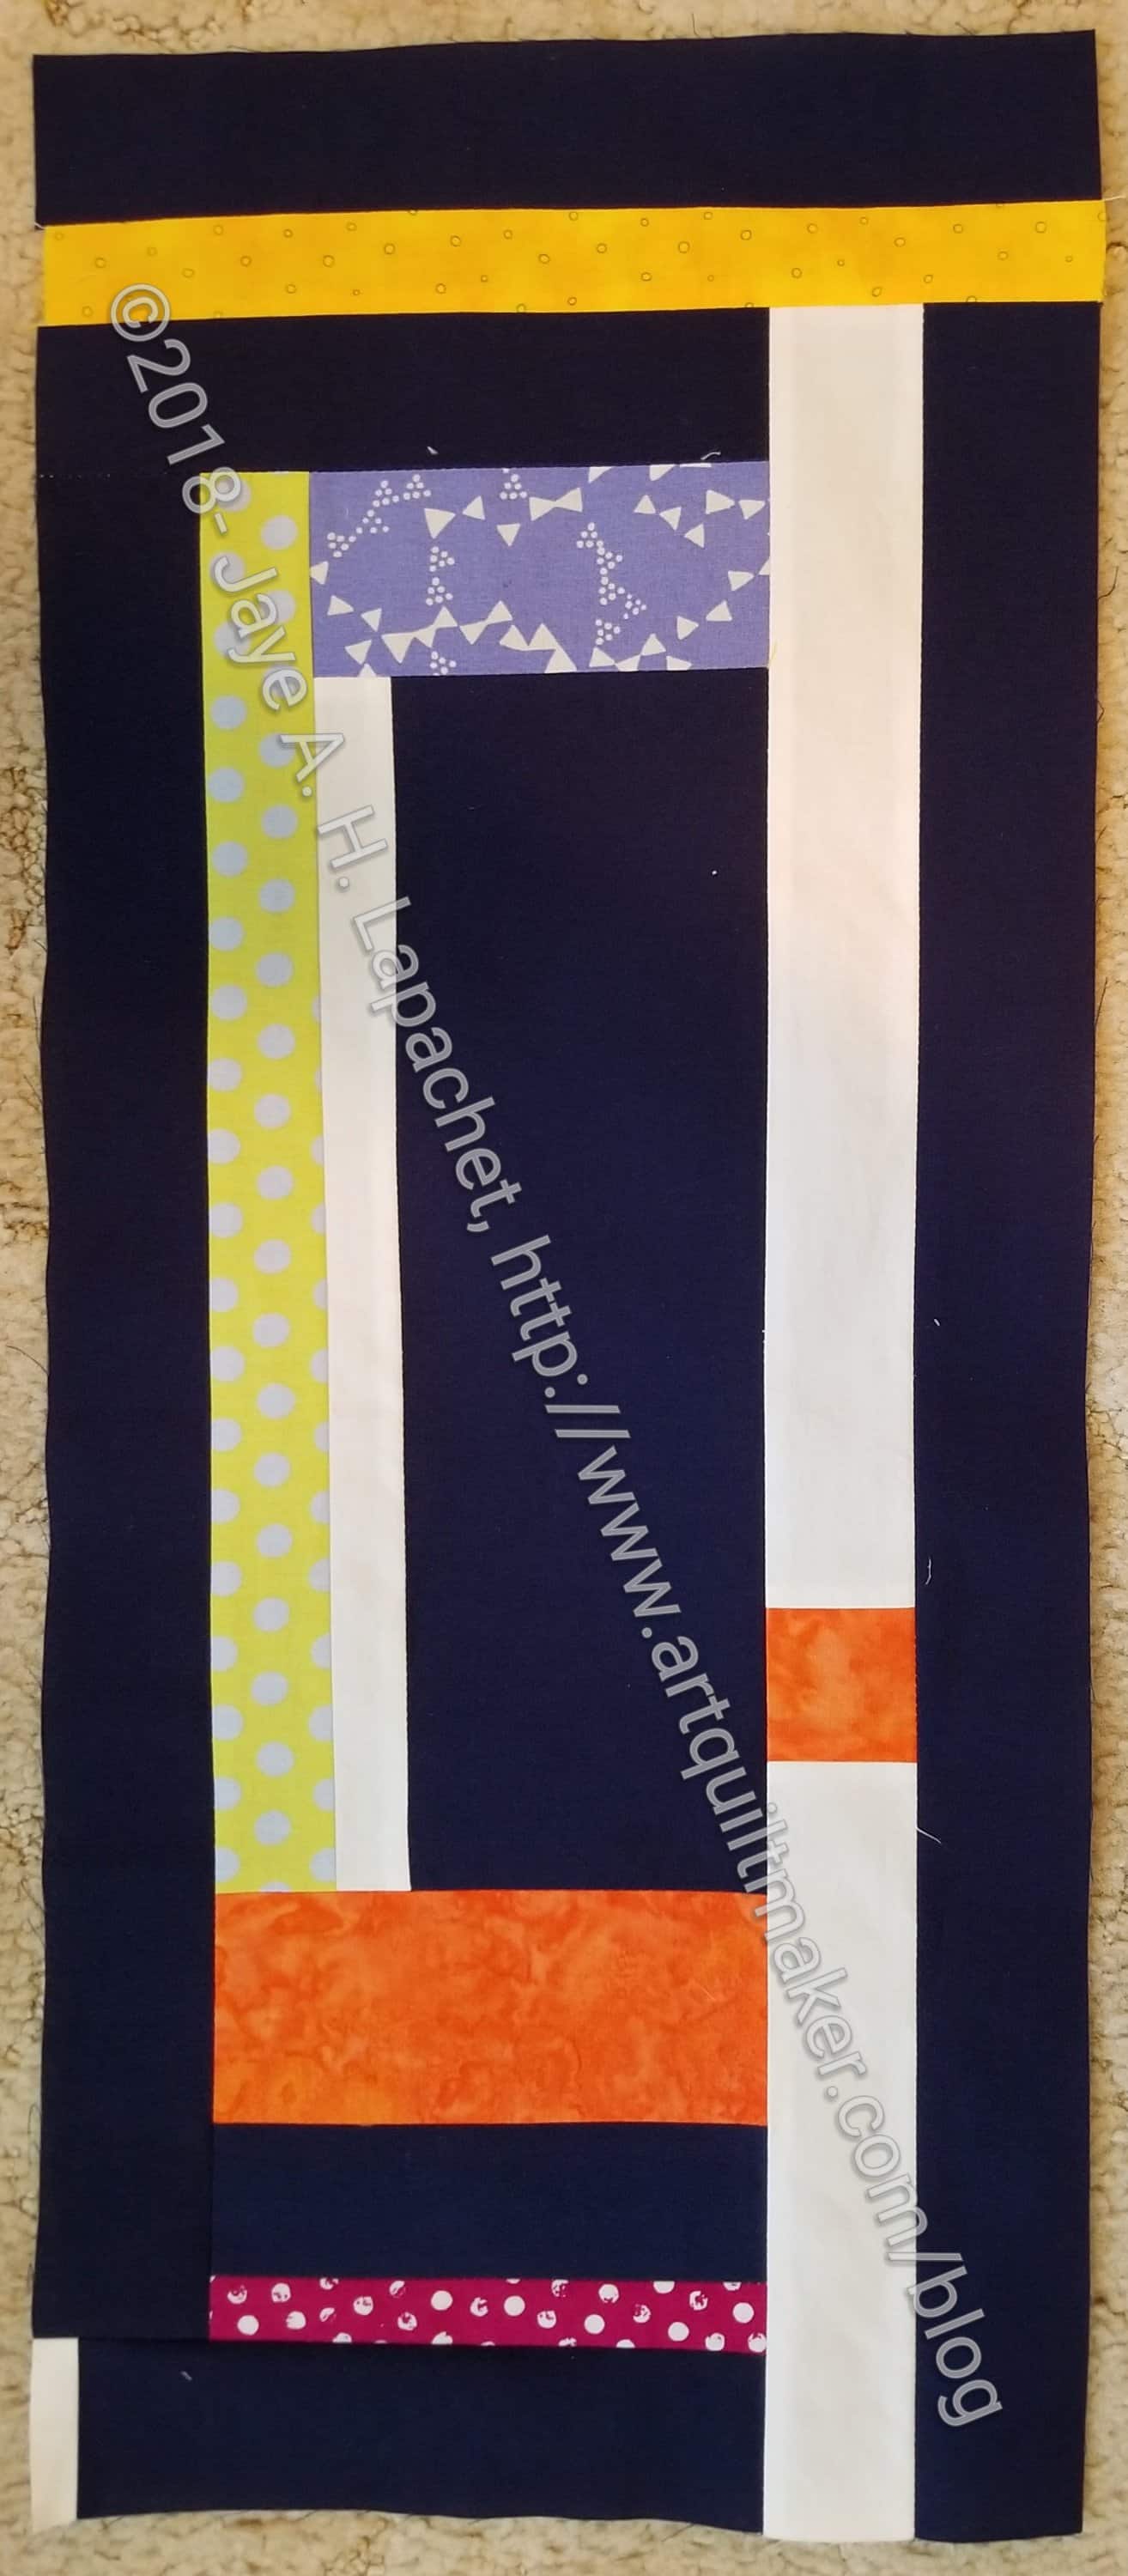
Gerre brought her blocks to the meeting last month and laid them out. I talked about this process earlier in the week (better late than never!). During that process, I realized that my shard was not among the ones she brought. I looked up all the Color My Quilt posts and don’t think I ever made her a piece. I was really sad about that, so I got busy.
This one isn’t as long as I thought it would be and is more buttoned up than the other shards, but I hope she will be able to use it.
Marty tried to torture me this month with her request.
Brown.
Yep. Brown.
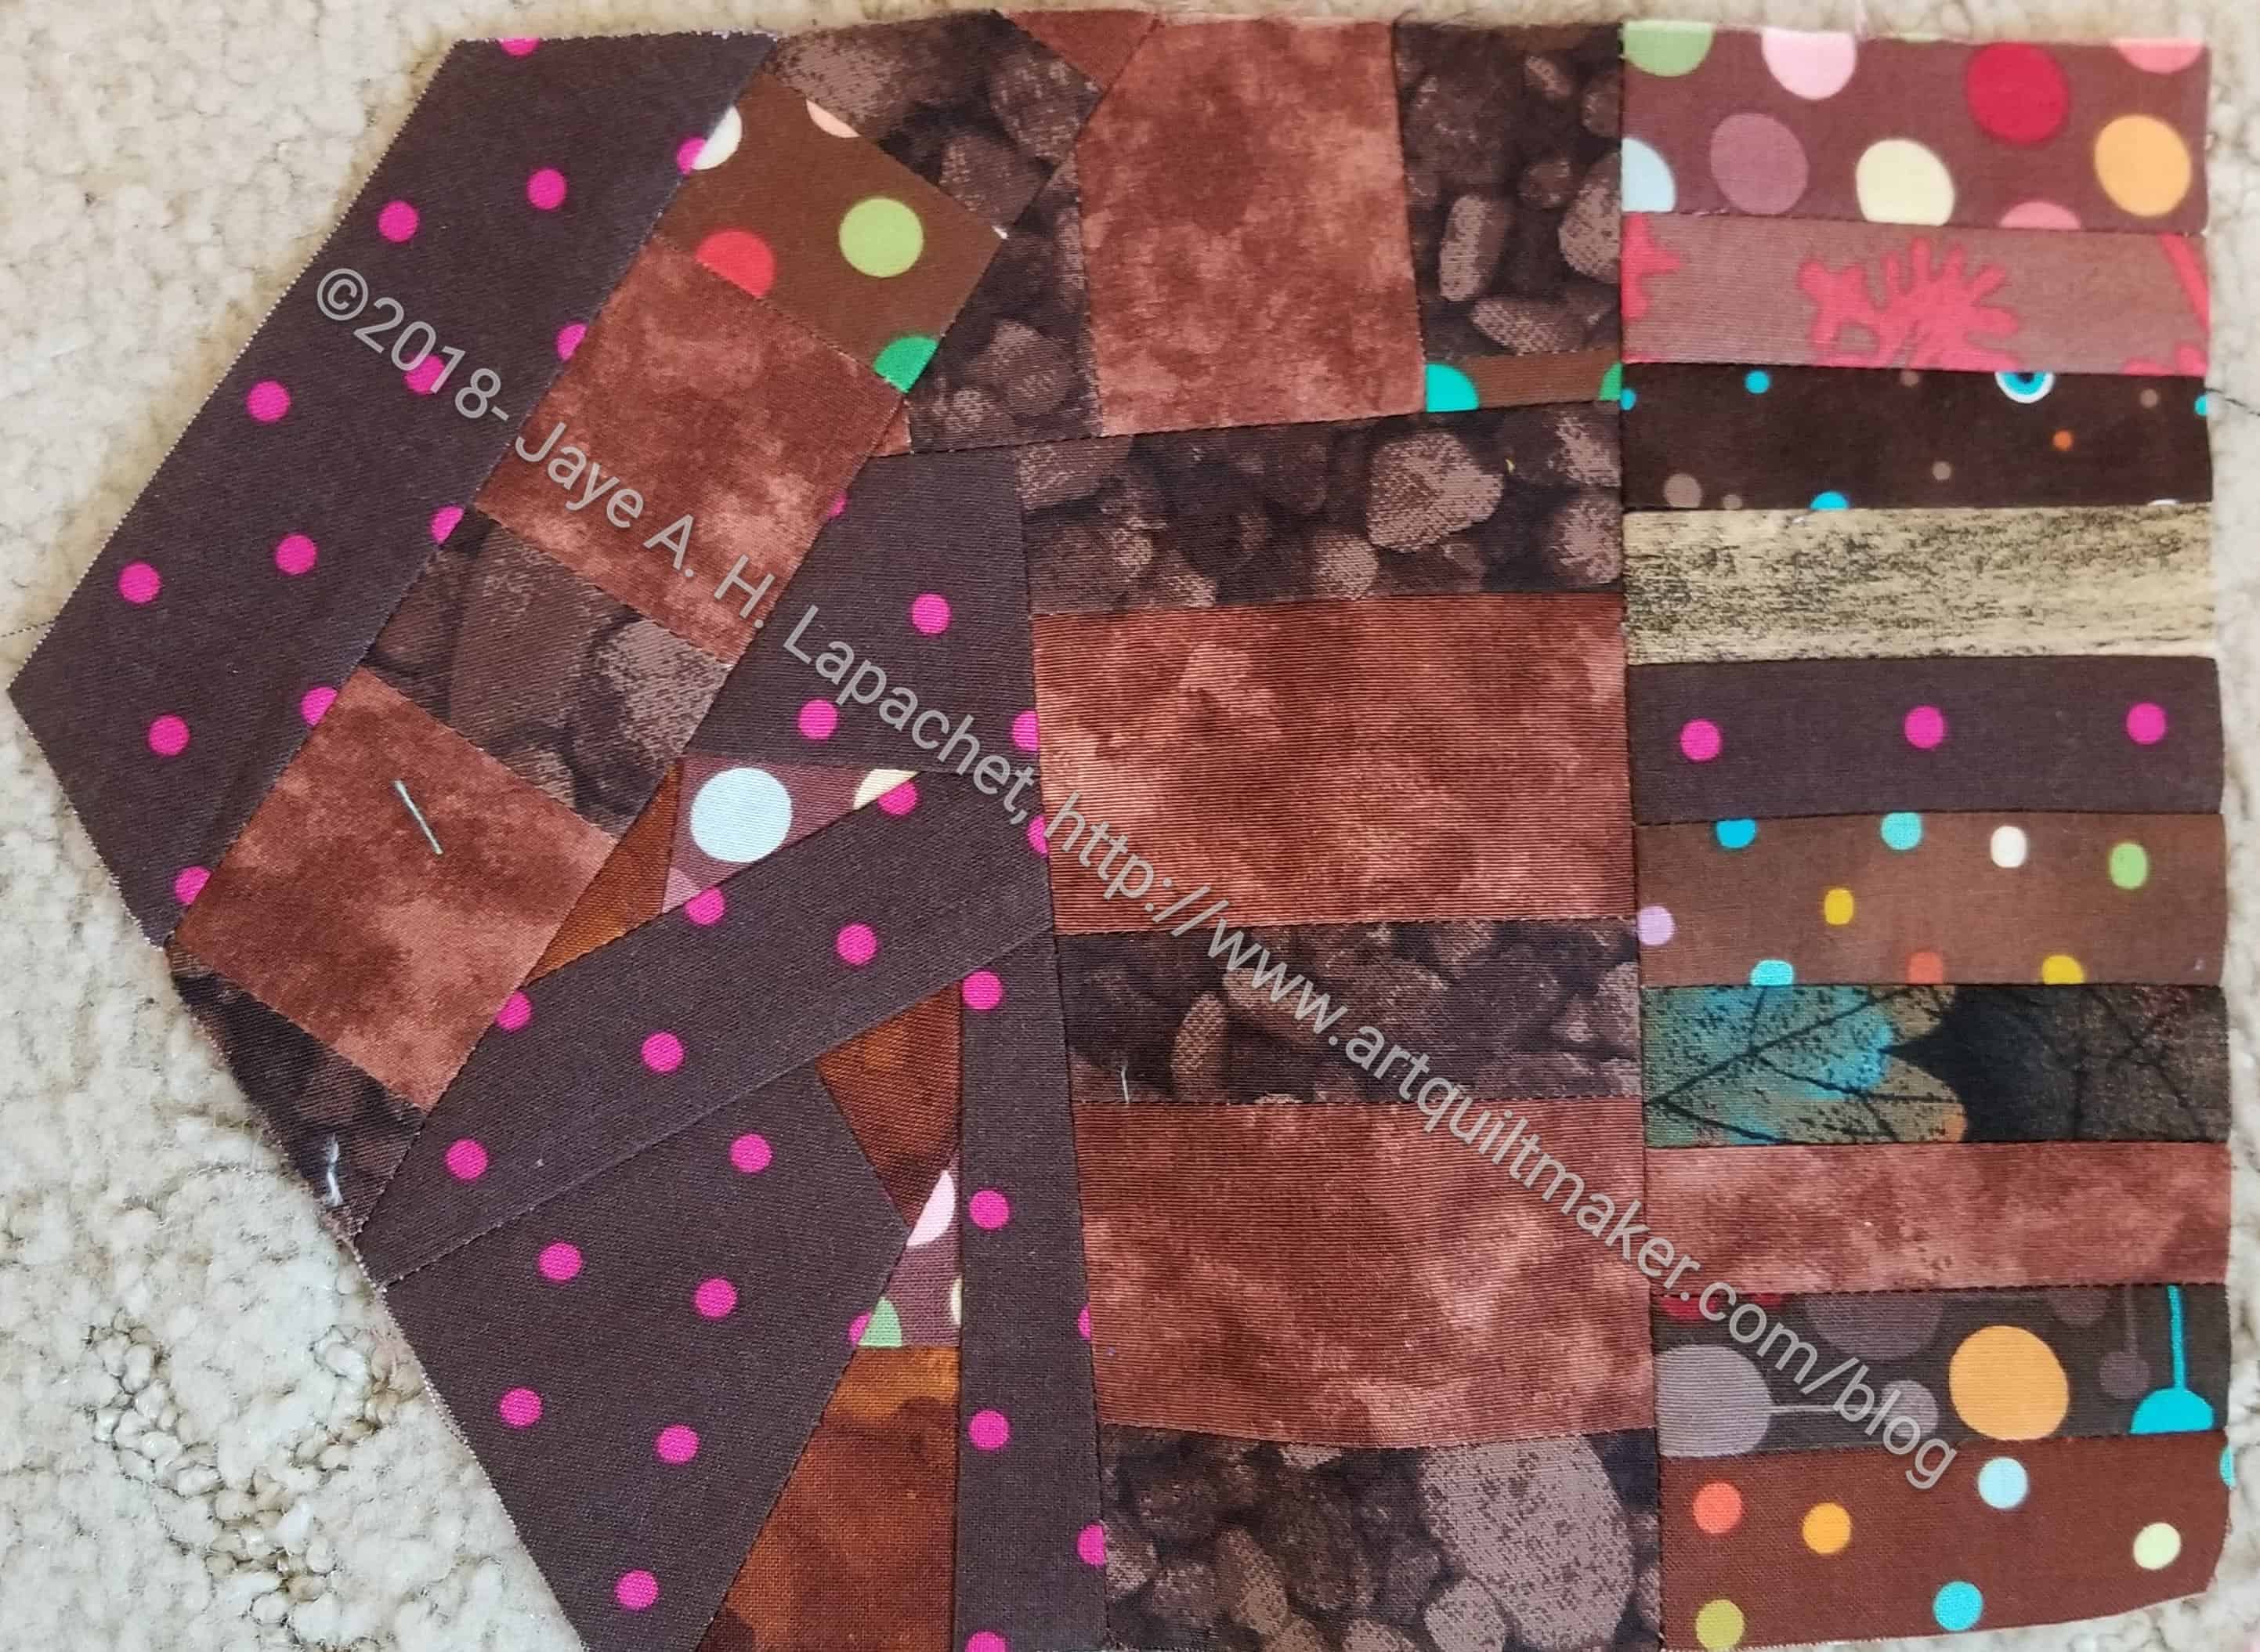
I couldn’t believe it, but it was true. Fortunately, I didn’t have go to the indignity of beige or baby poop brown. I had a chocolate fabric with the most fabulous lime, turquoise and orange dots. Haha!
The shard is a little bit of an odd shape, but that is ok. Marty will just have to deal. I hope she likes it.
Color My Quilt: Marty – Brown made fabric
I had made some fabric using browns sometime ago. I can’t remember for what reason, so I just decided to toss that into the pile for Marty as well. Despite my best intentions, I am not going to make a journal cover from browns. I might have been thinking of making another Henry, but that can wait. I want to make a white one first.
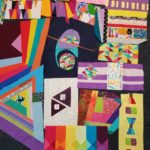
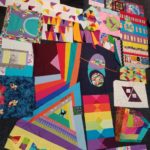
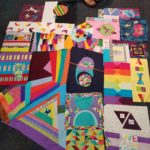
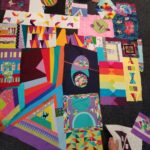
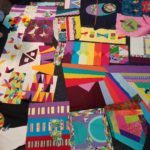
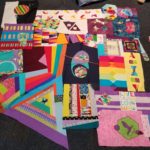
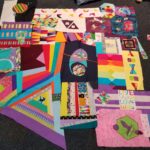
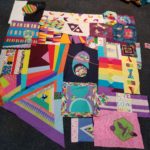
Last month, Gerre brought her shards to we could all look at them. Gerre has left her handbag at home, so didn’t have her phone and couldn’t take photos. I volunteered and texted her photos as I took them. There are a lot of photos!
Gerre’s Shards
Gerre’s Shards detail
Gerre’s Shards
Gerre’s Shards
Gerre’s Shards
Gerre’s Shards
Gerre’s Shards
Gerre’s Shards
Gerre’s Shards
Gerre’s Shards
Gerre’s Shards
Gerre’s Shards
Gerre’s Shards
Being the opinionated ladies that we are, we all had opinions about placement. It was kind of fun to work with other people moving shards around. I think Gerre was kind of excited, too, as it gave her ideas about placement.
I had issues with the plum (see upper part of first photo, left). I thought the plum should be dispersed throughout the quilt.
We also tried to move the white around so it wasn’t all clustered in one place (see bottom two rows).
There was advice about putting the pieces together into chunks and cutting pieces up. I think it got people excited about layout.
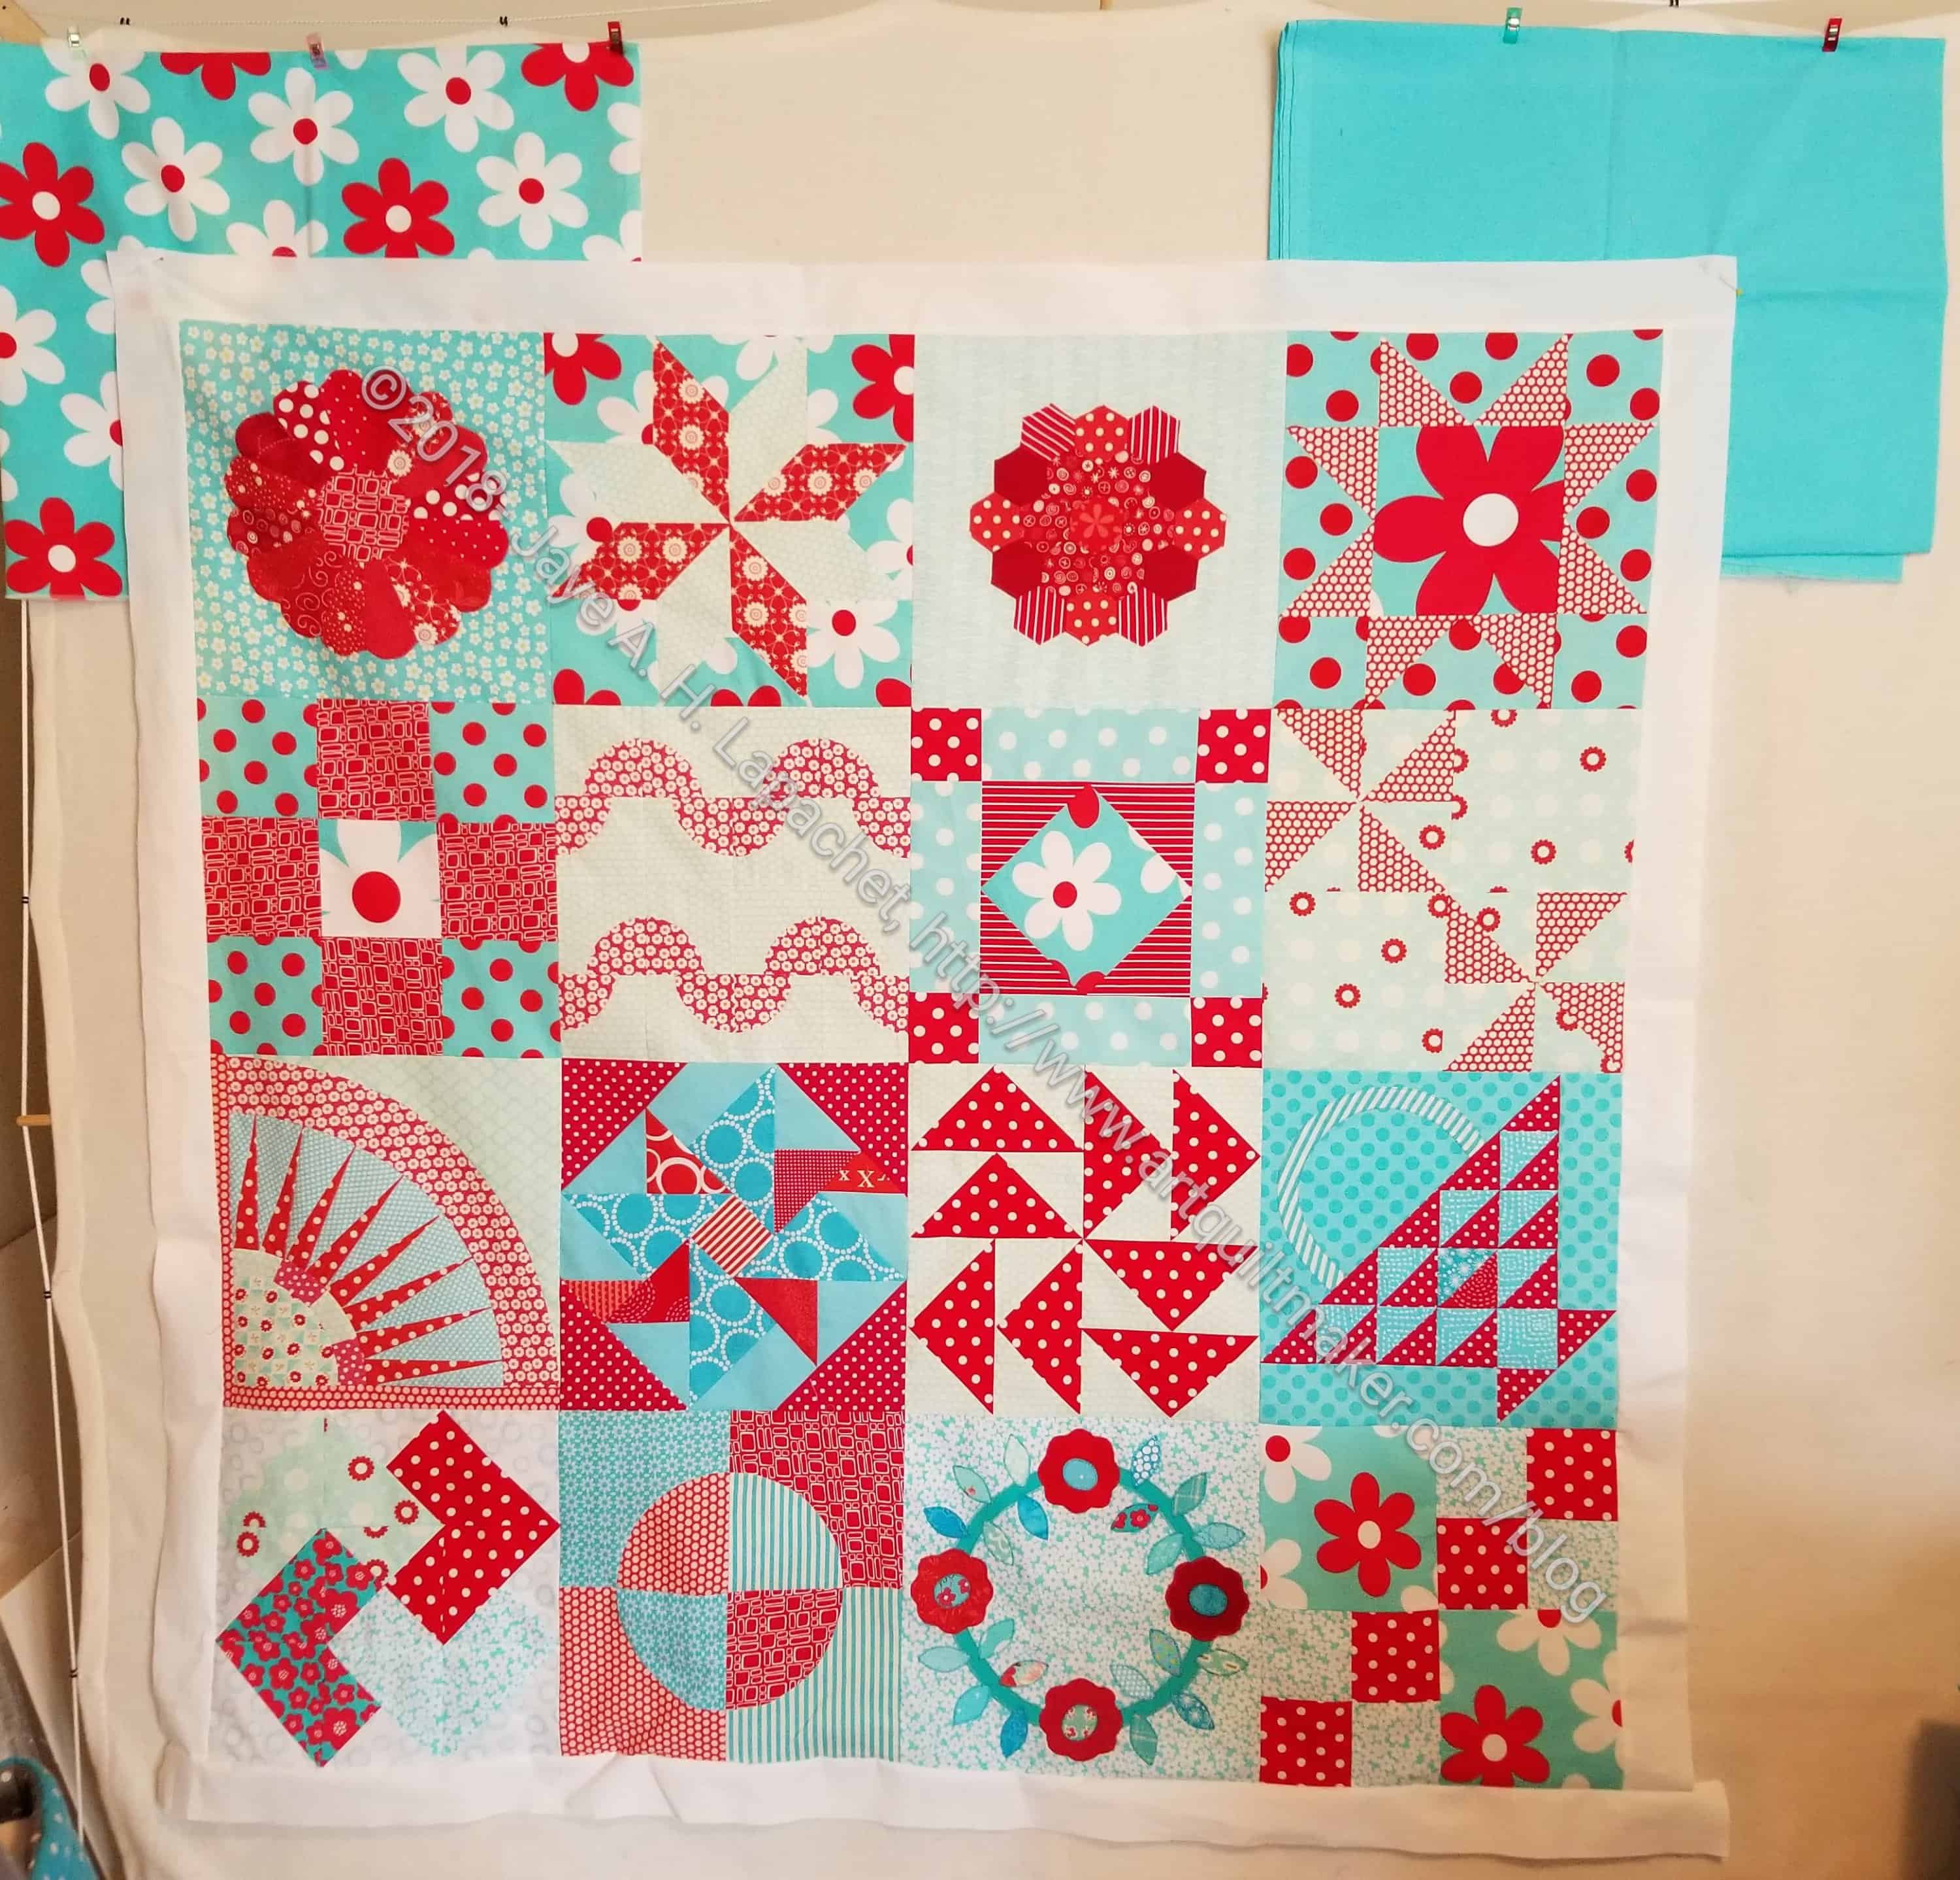
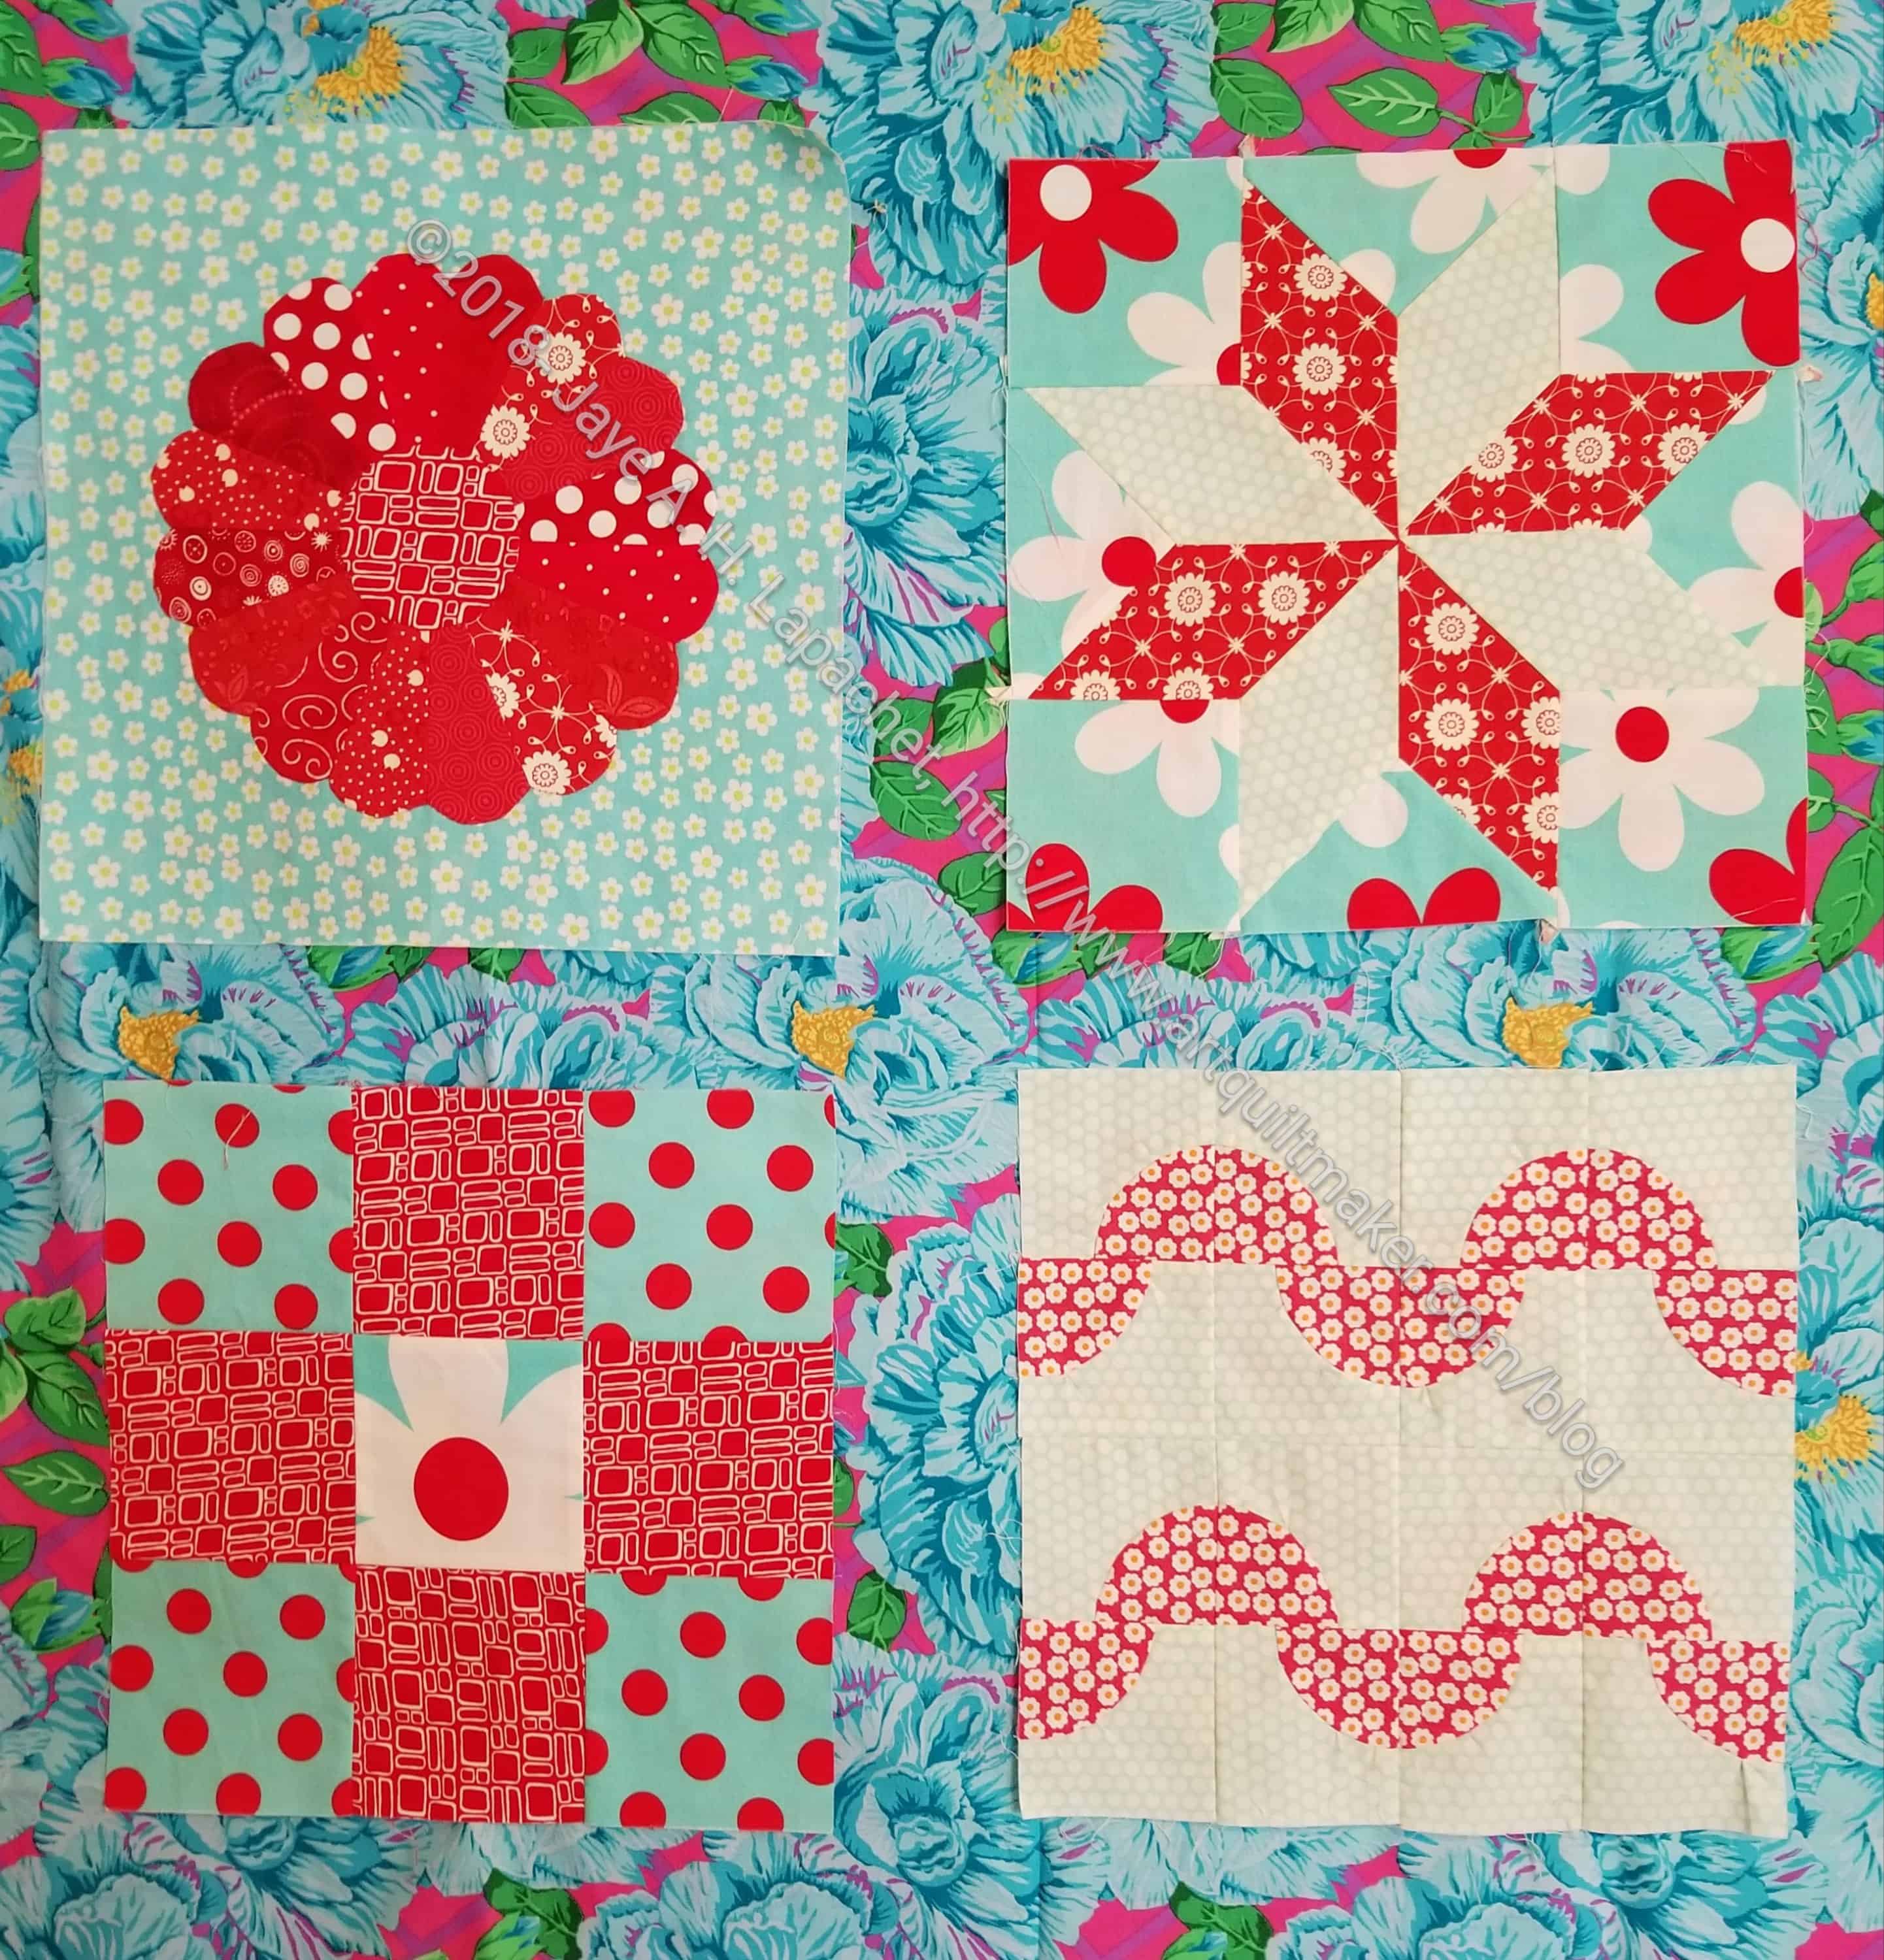
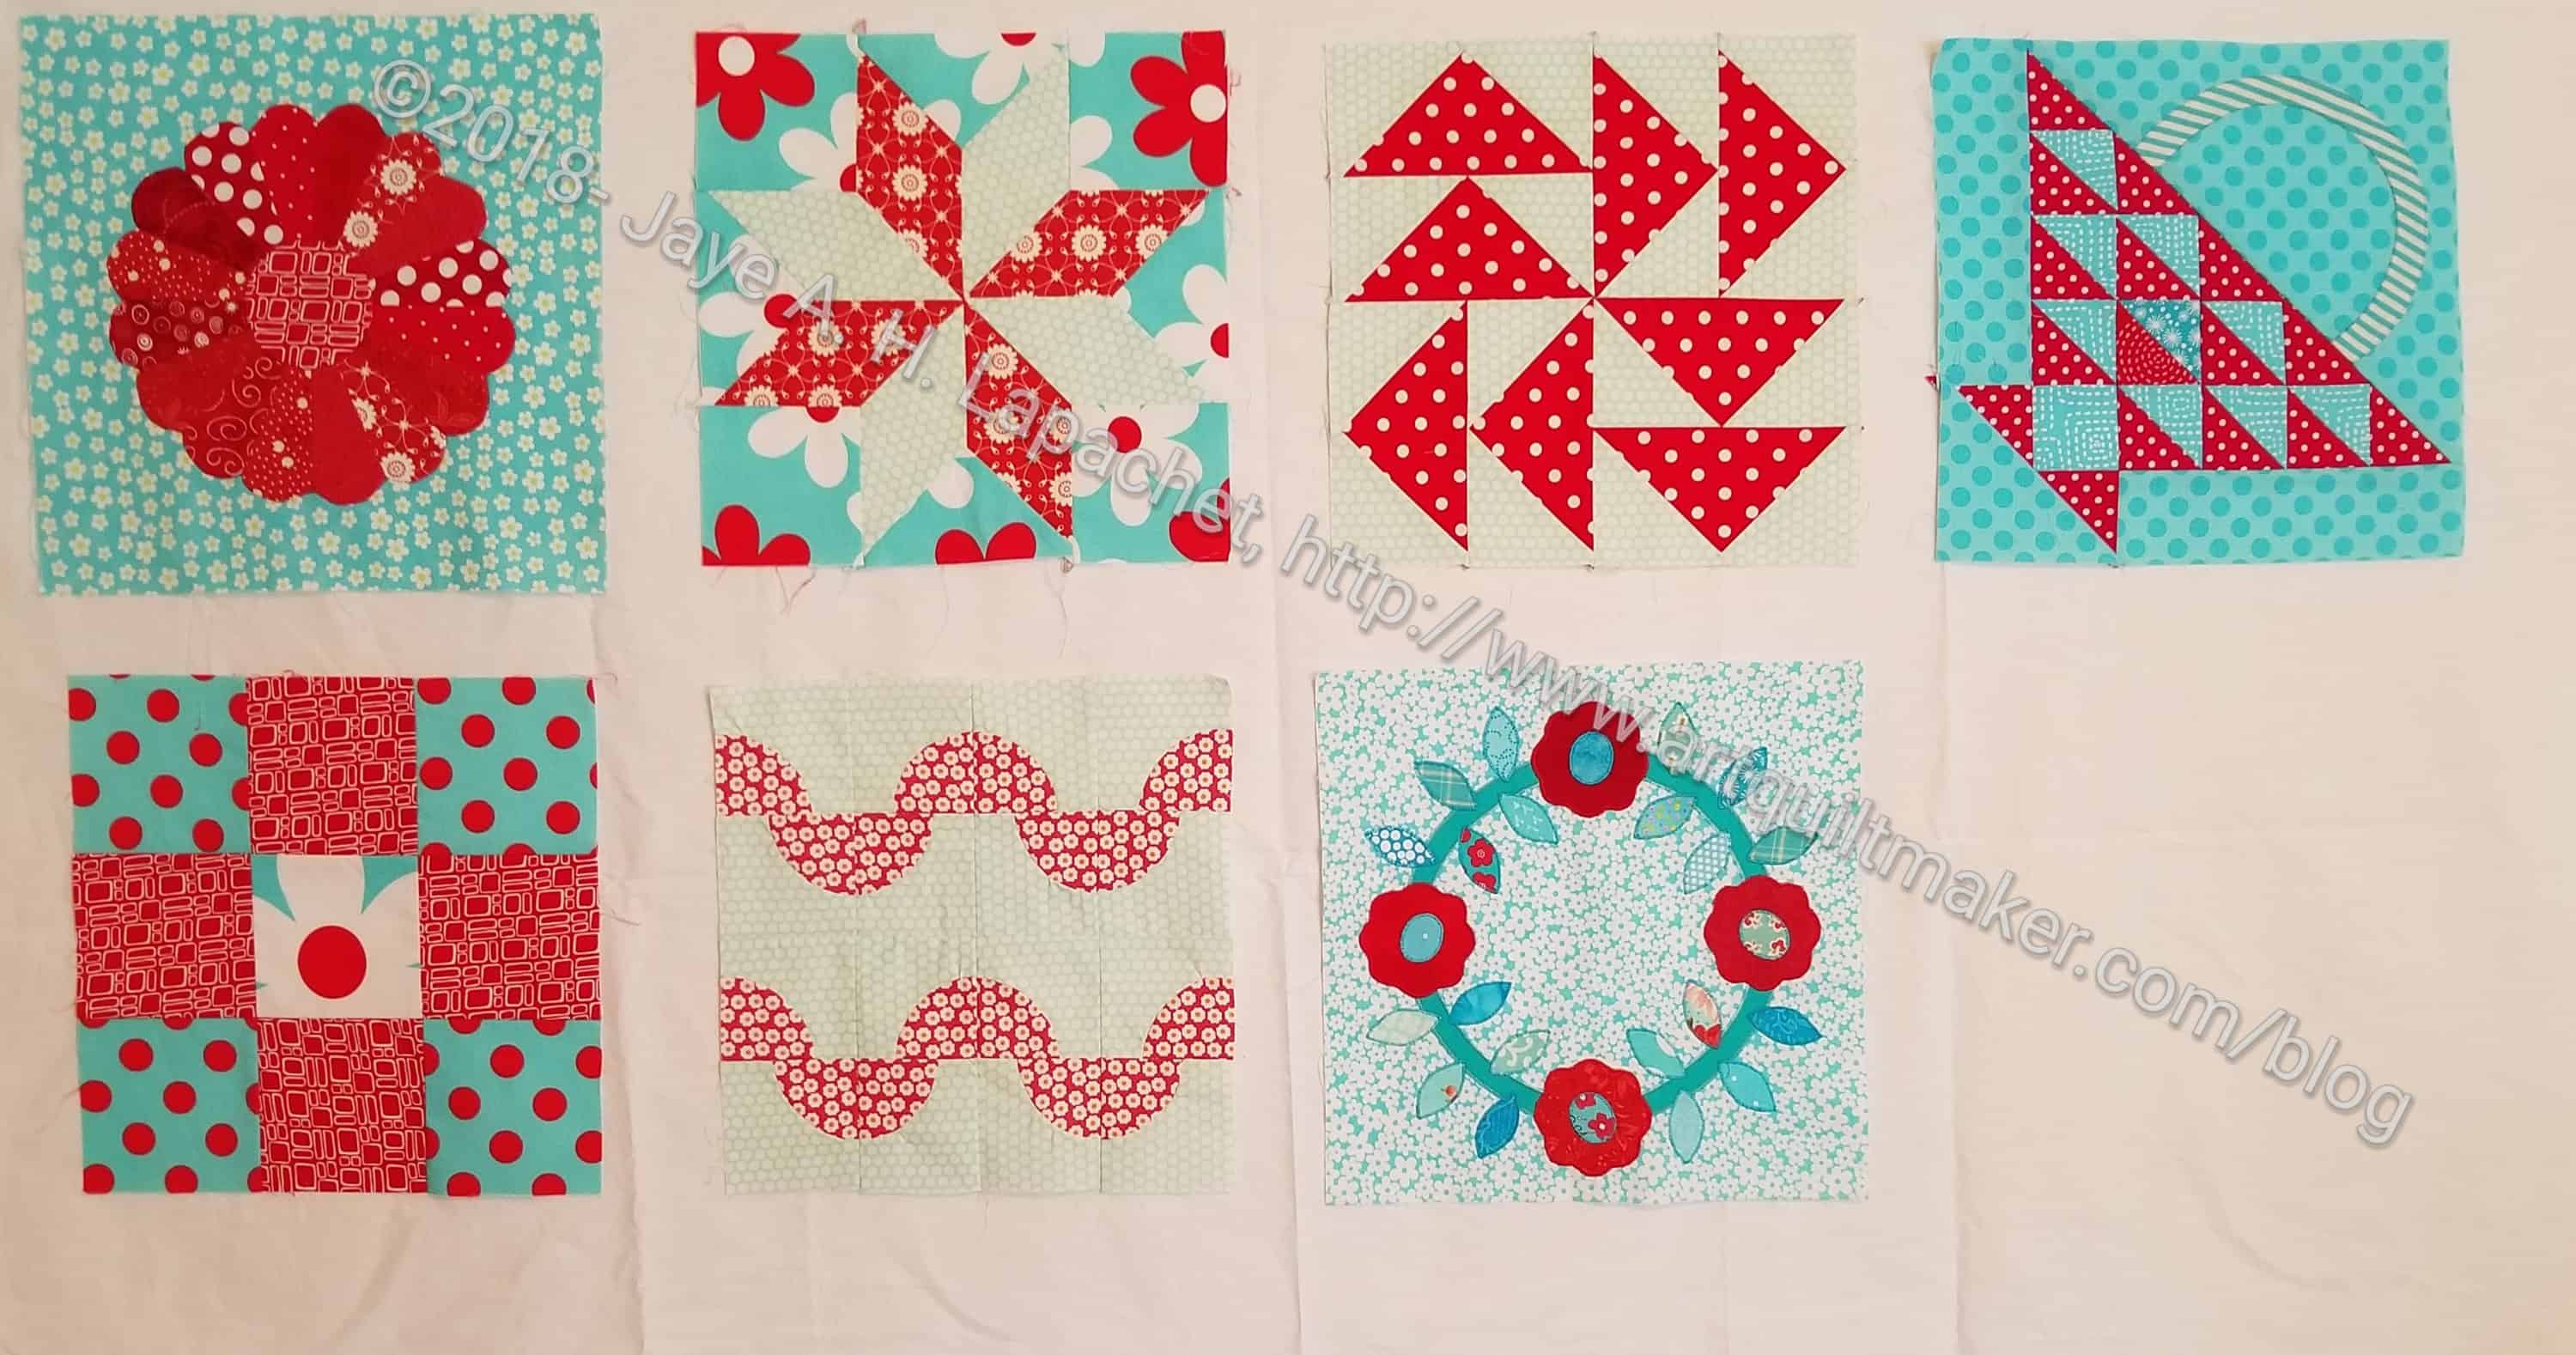
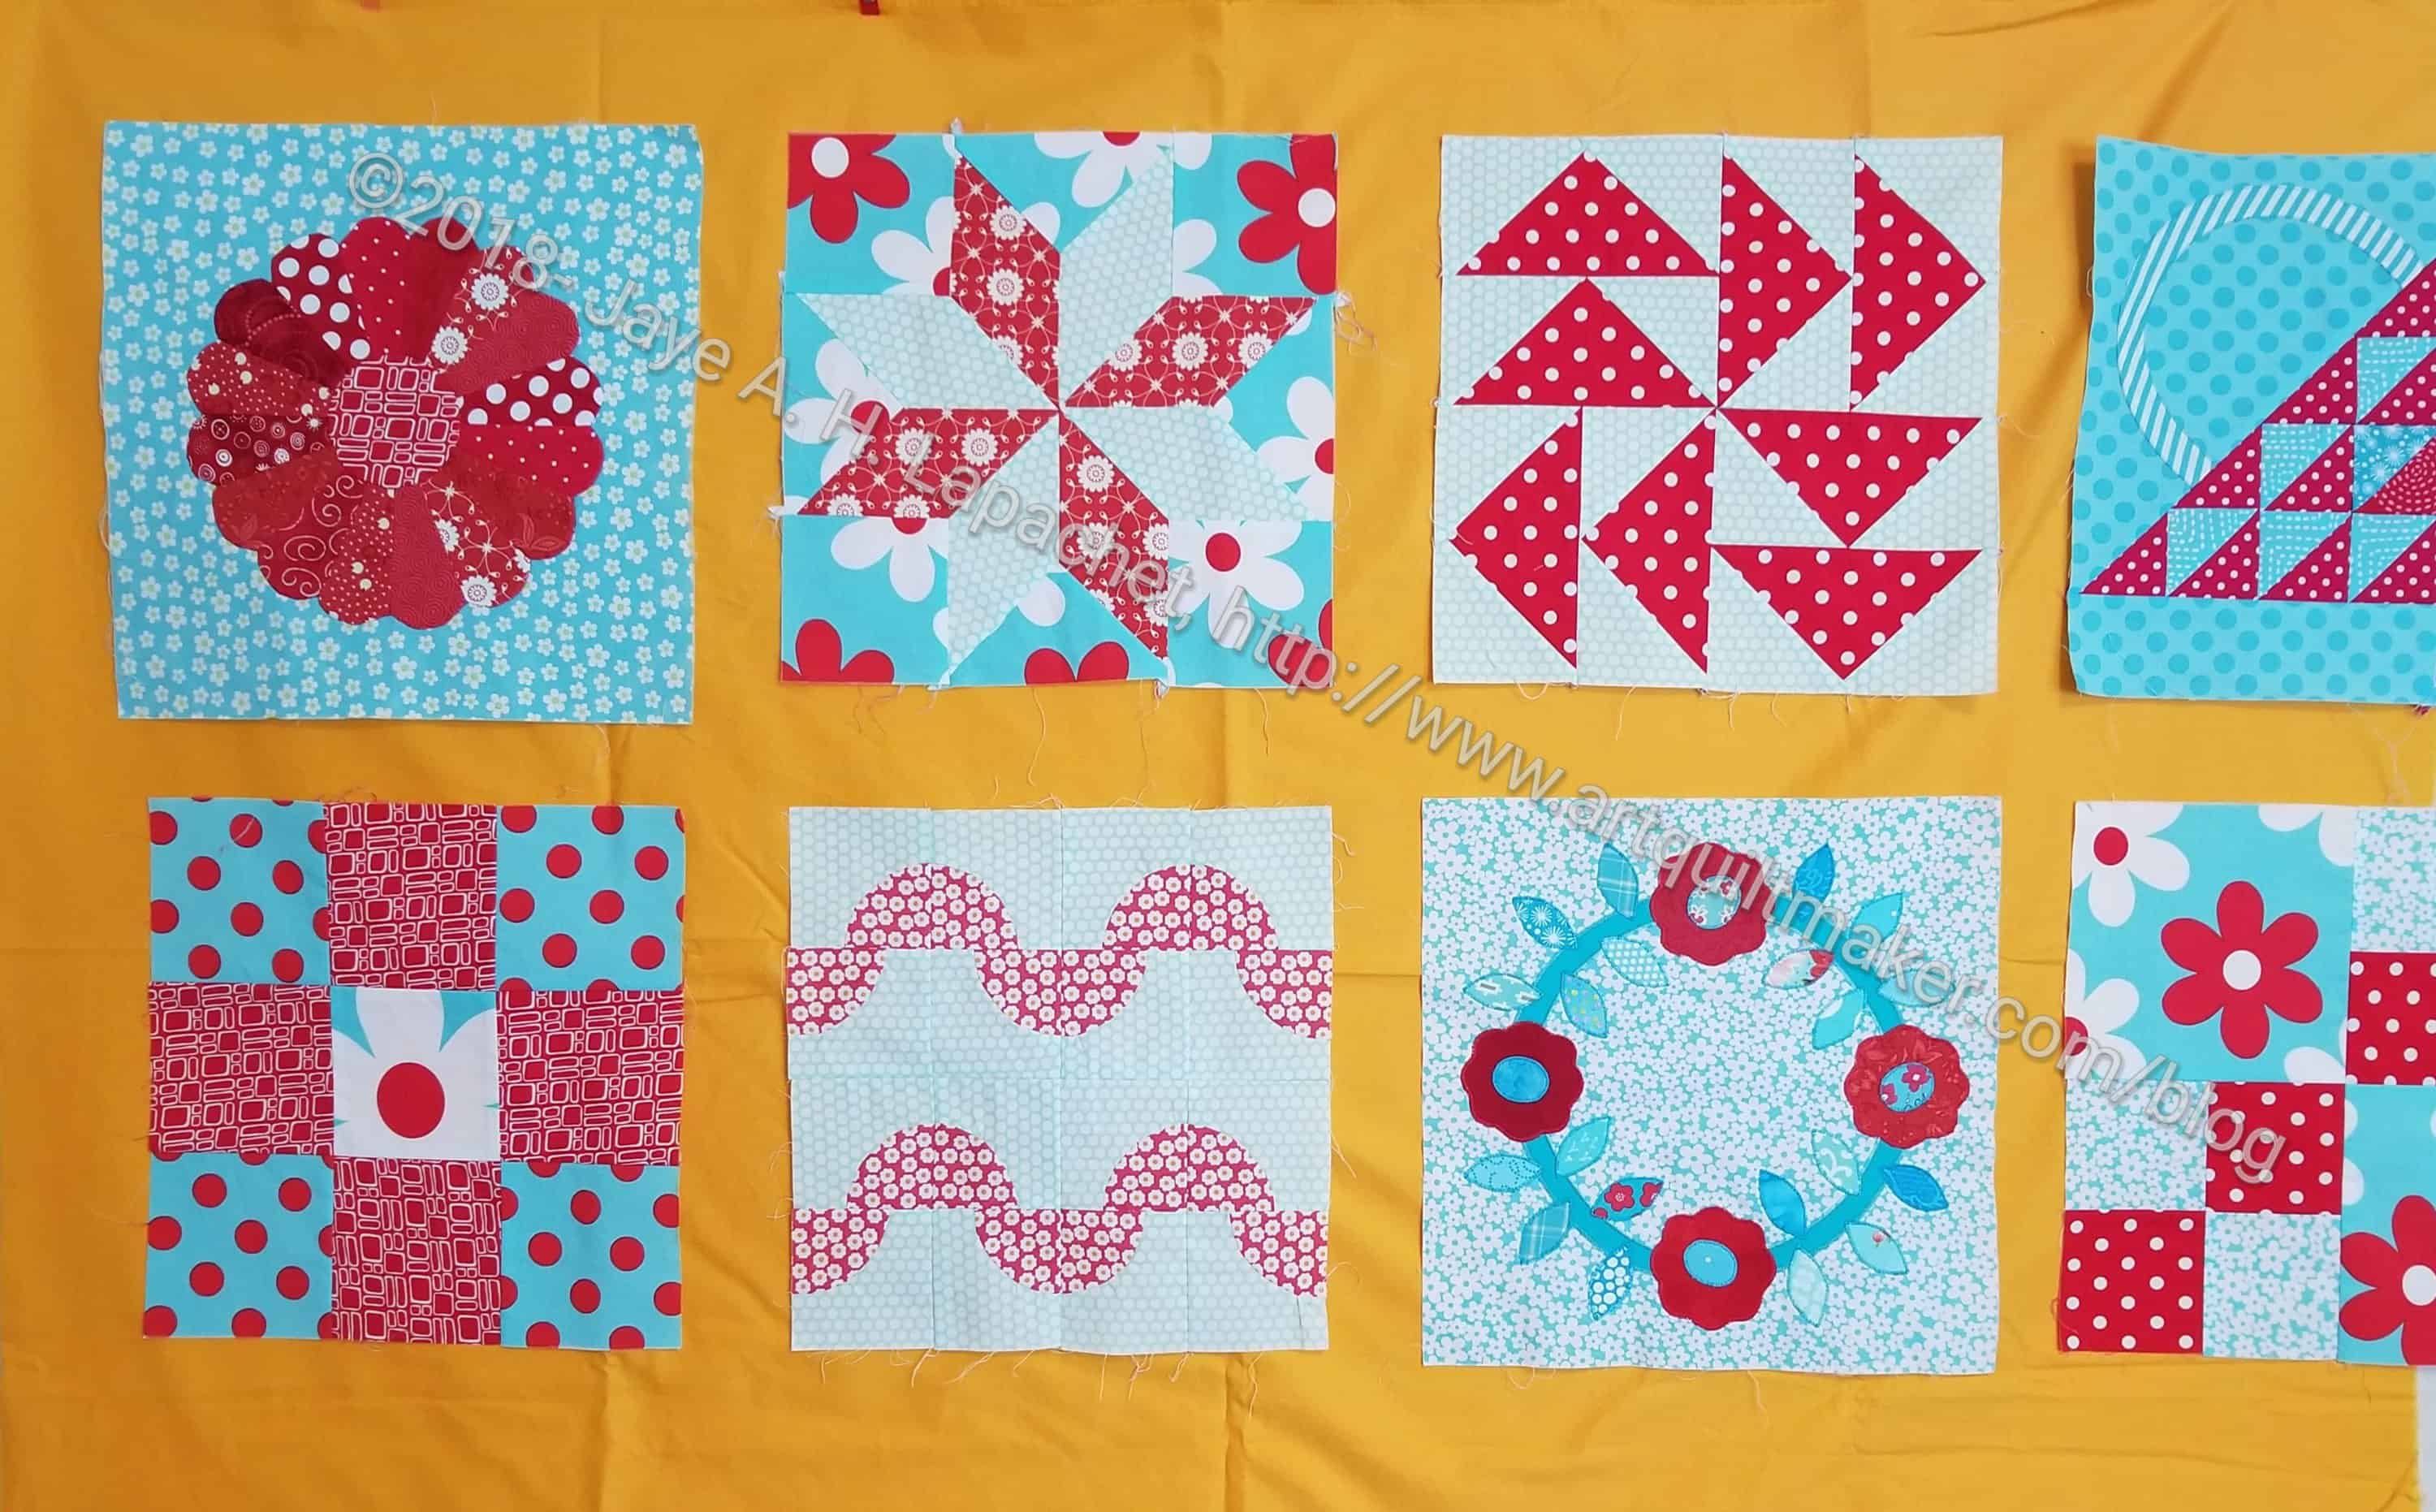
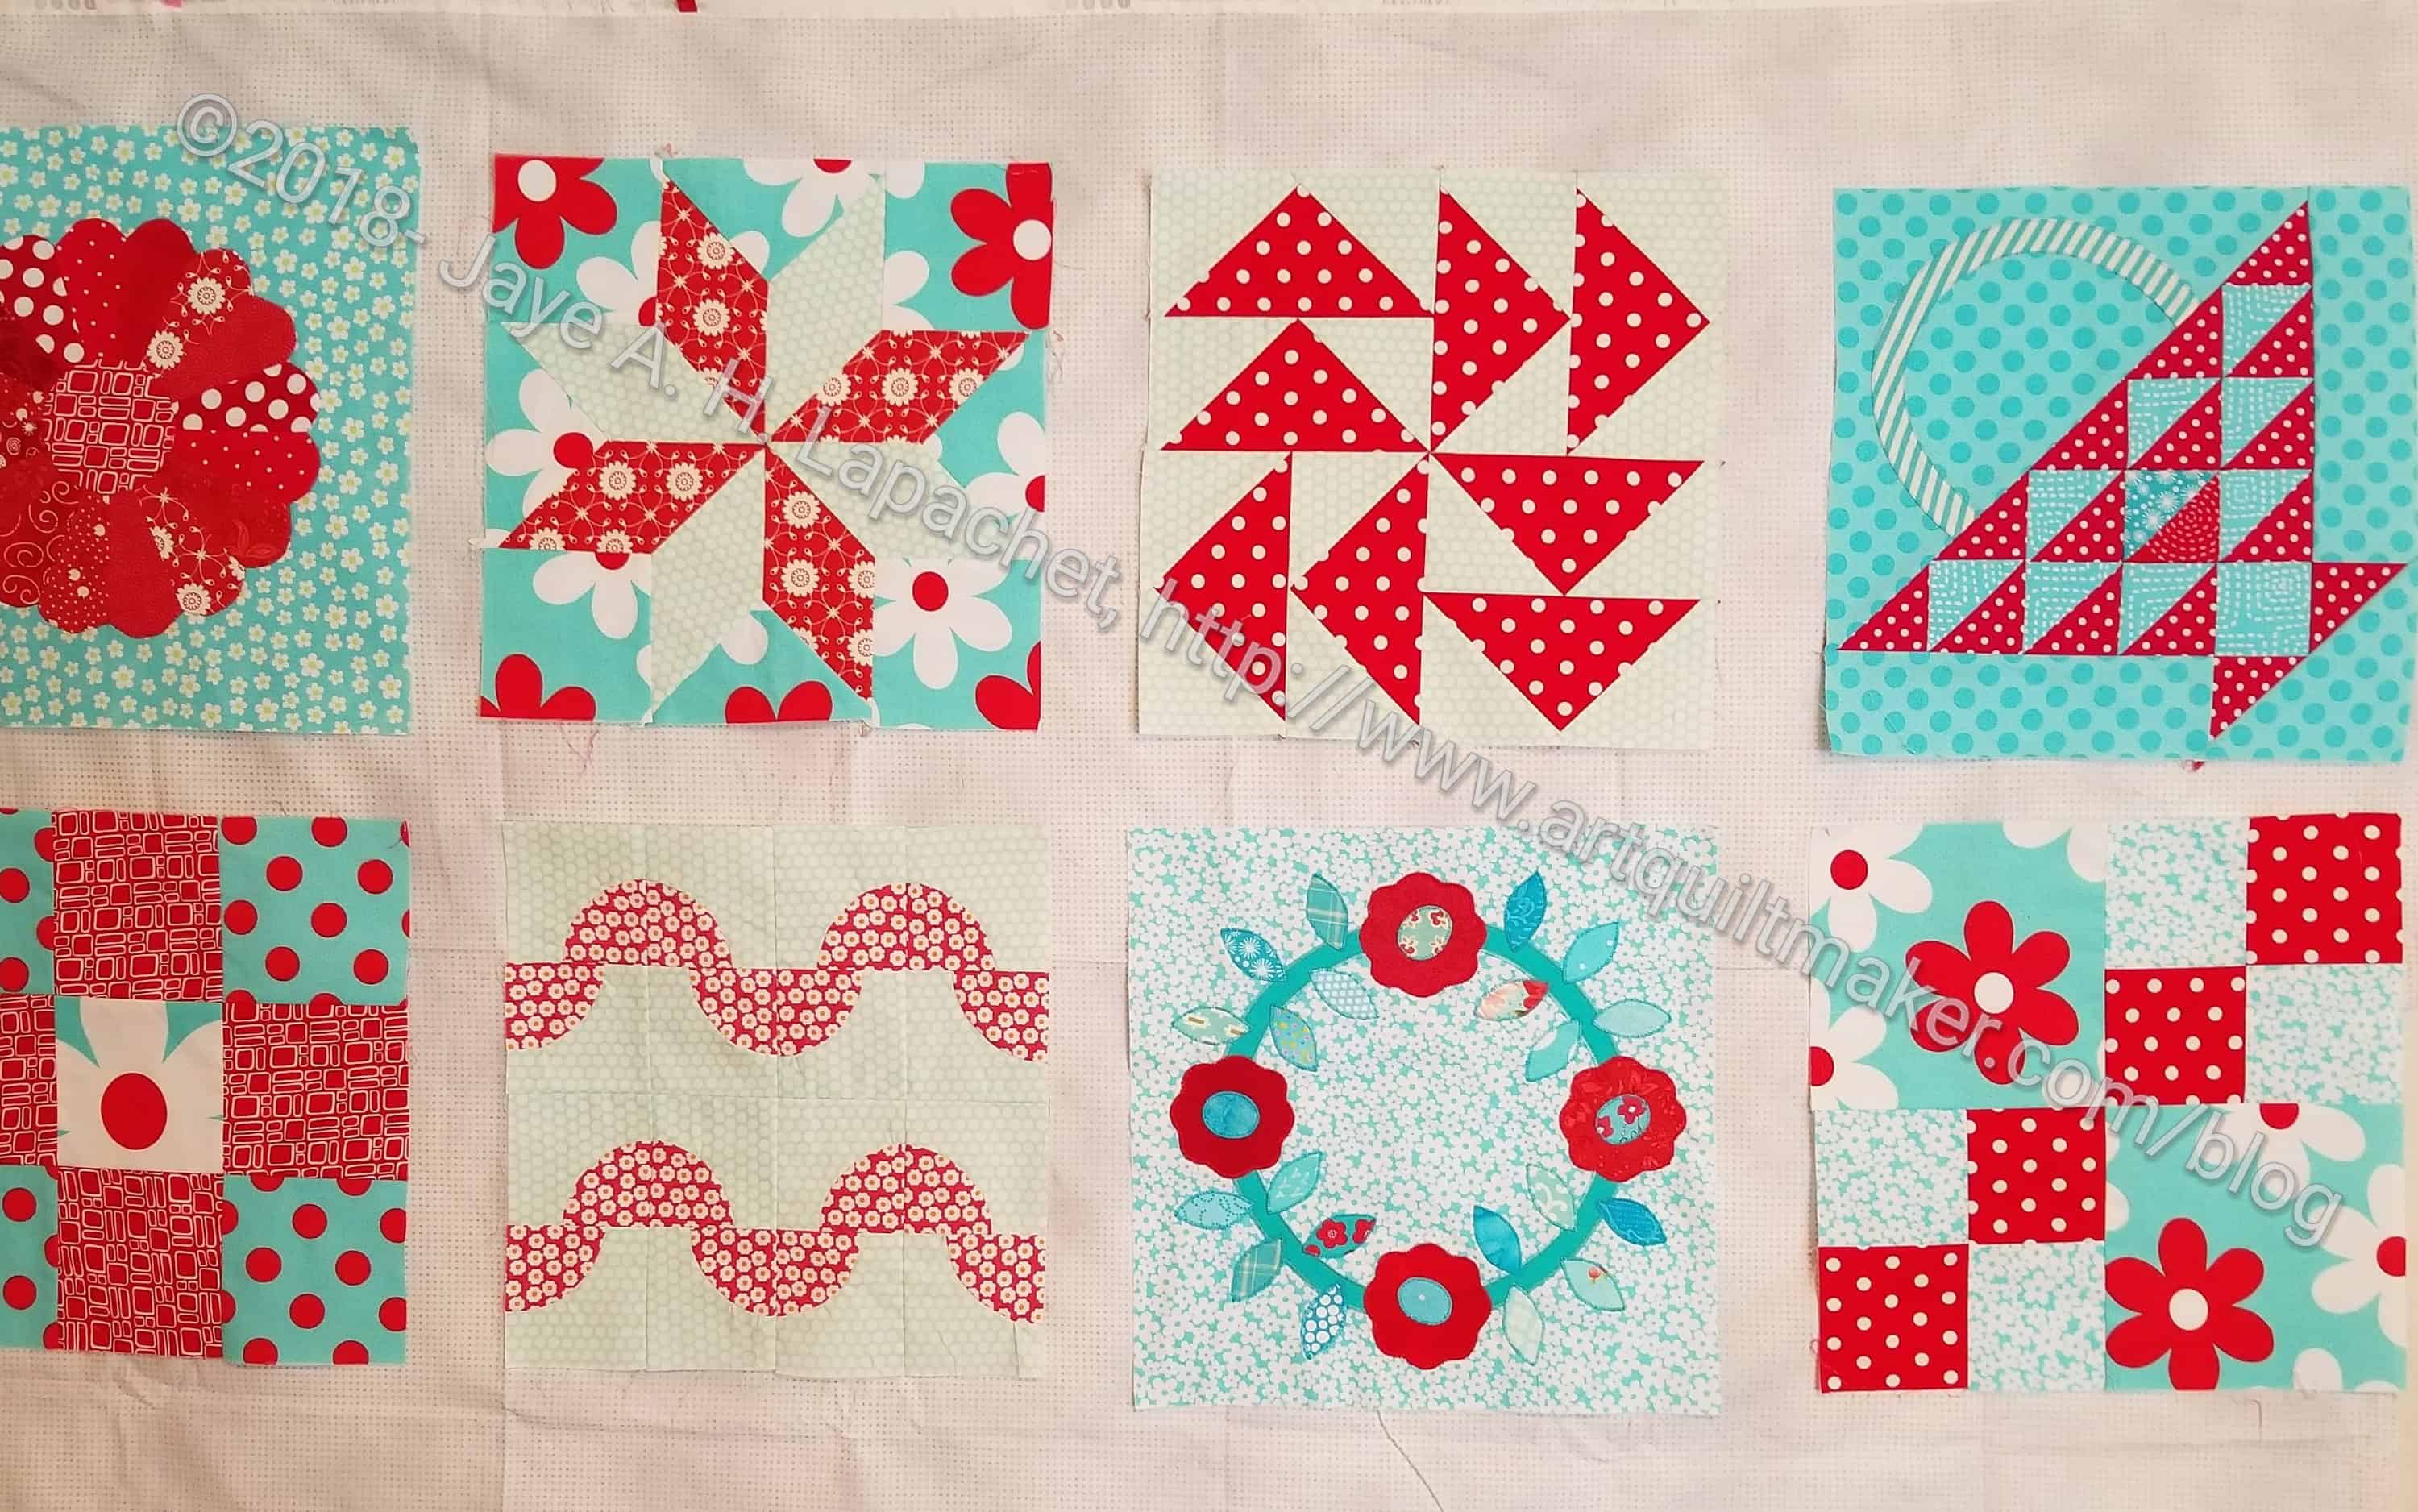
I worked hard last week on the Aqua-Red Sampler and got the top and back finished. WHEW! I didn’t fight with it as much as I had over the past month, but it wasn’t all peaches and roses either.
I probably would have made the white border thinner, if I had it to do other again, but I am not ripping it out. I think it works.
I ended up choosing the solid border, mostly because I didn’t have enough of the daisy fabric and I didn’t want to fiddle and fight to make it fit. I am pleased with it.
I worked hard on the Aqua-Red Sampler quilt over the weekend. It was great to have a nice long weekend. I made a lot of progress and will be glad to get this quilt out of my hair.
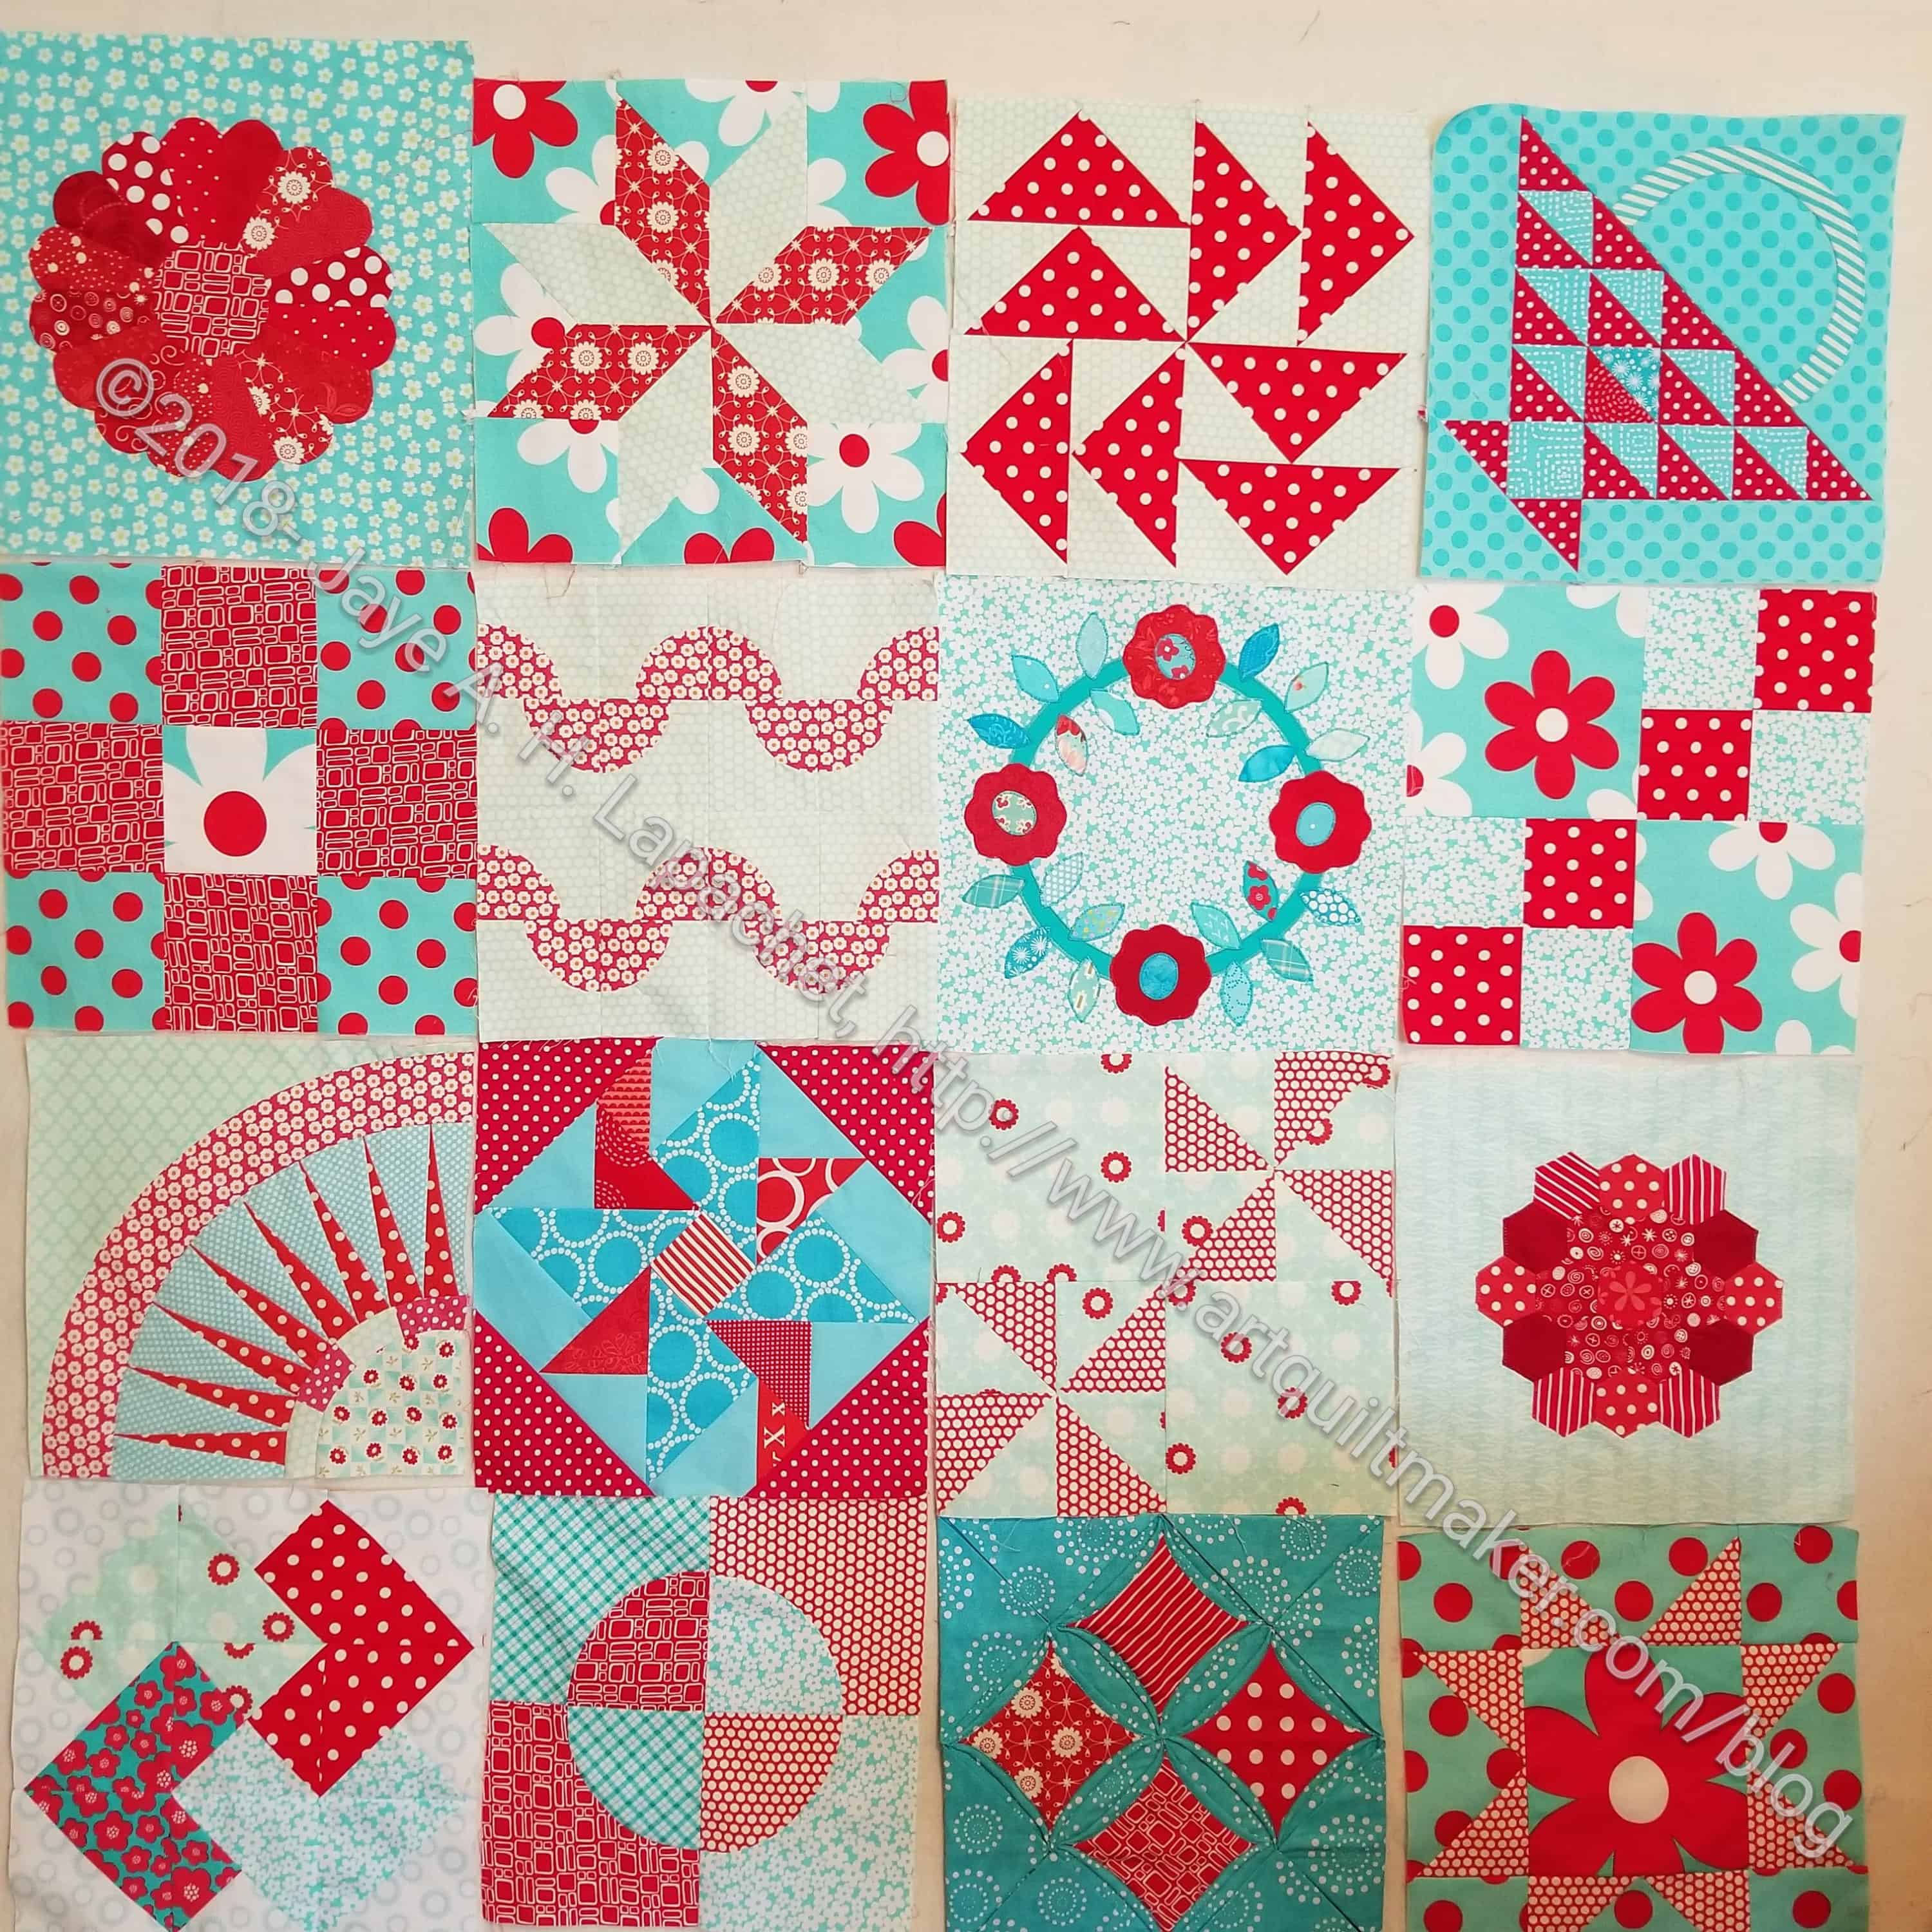
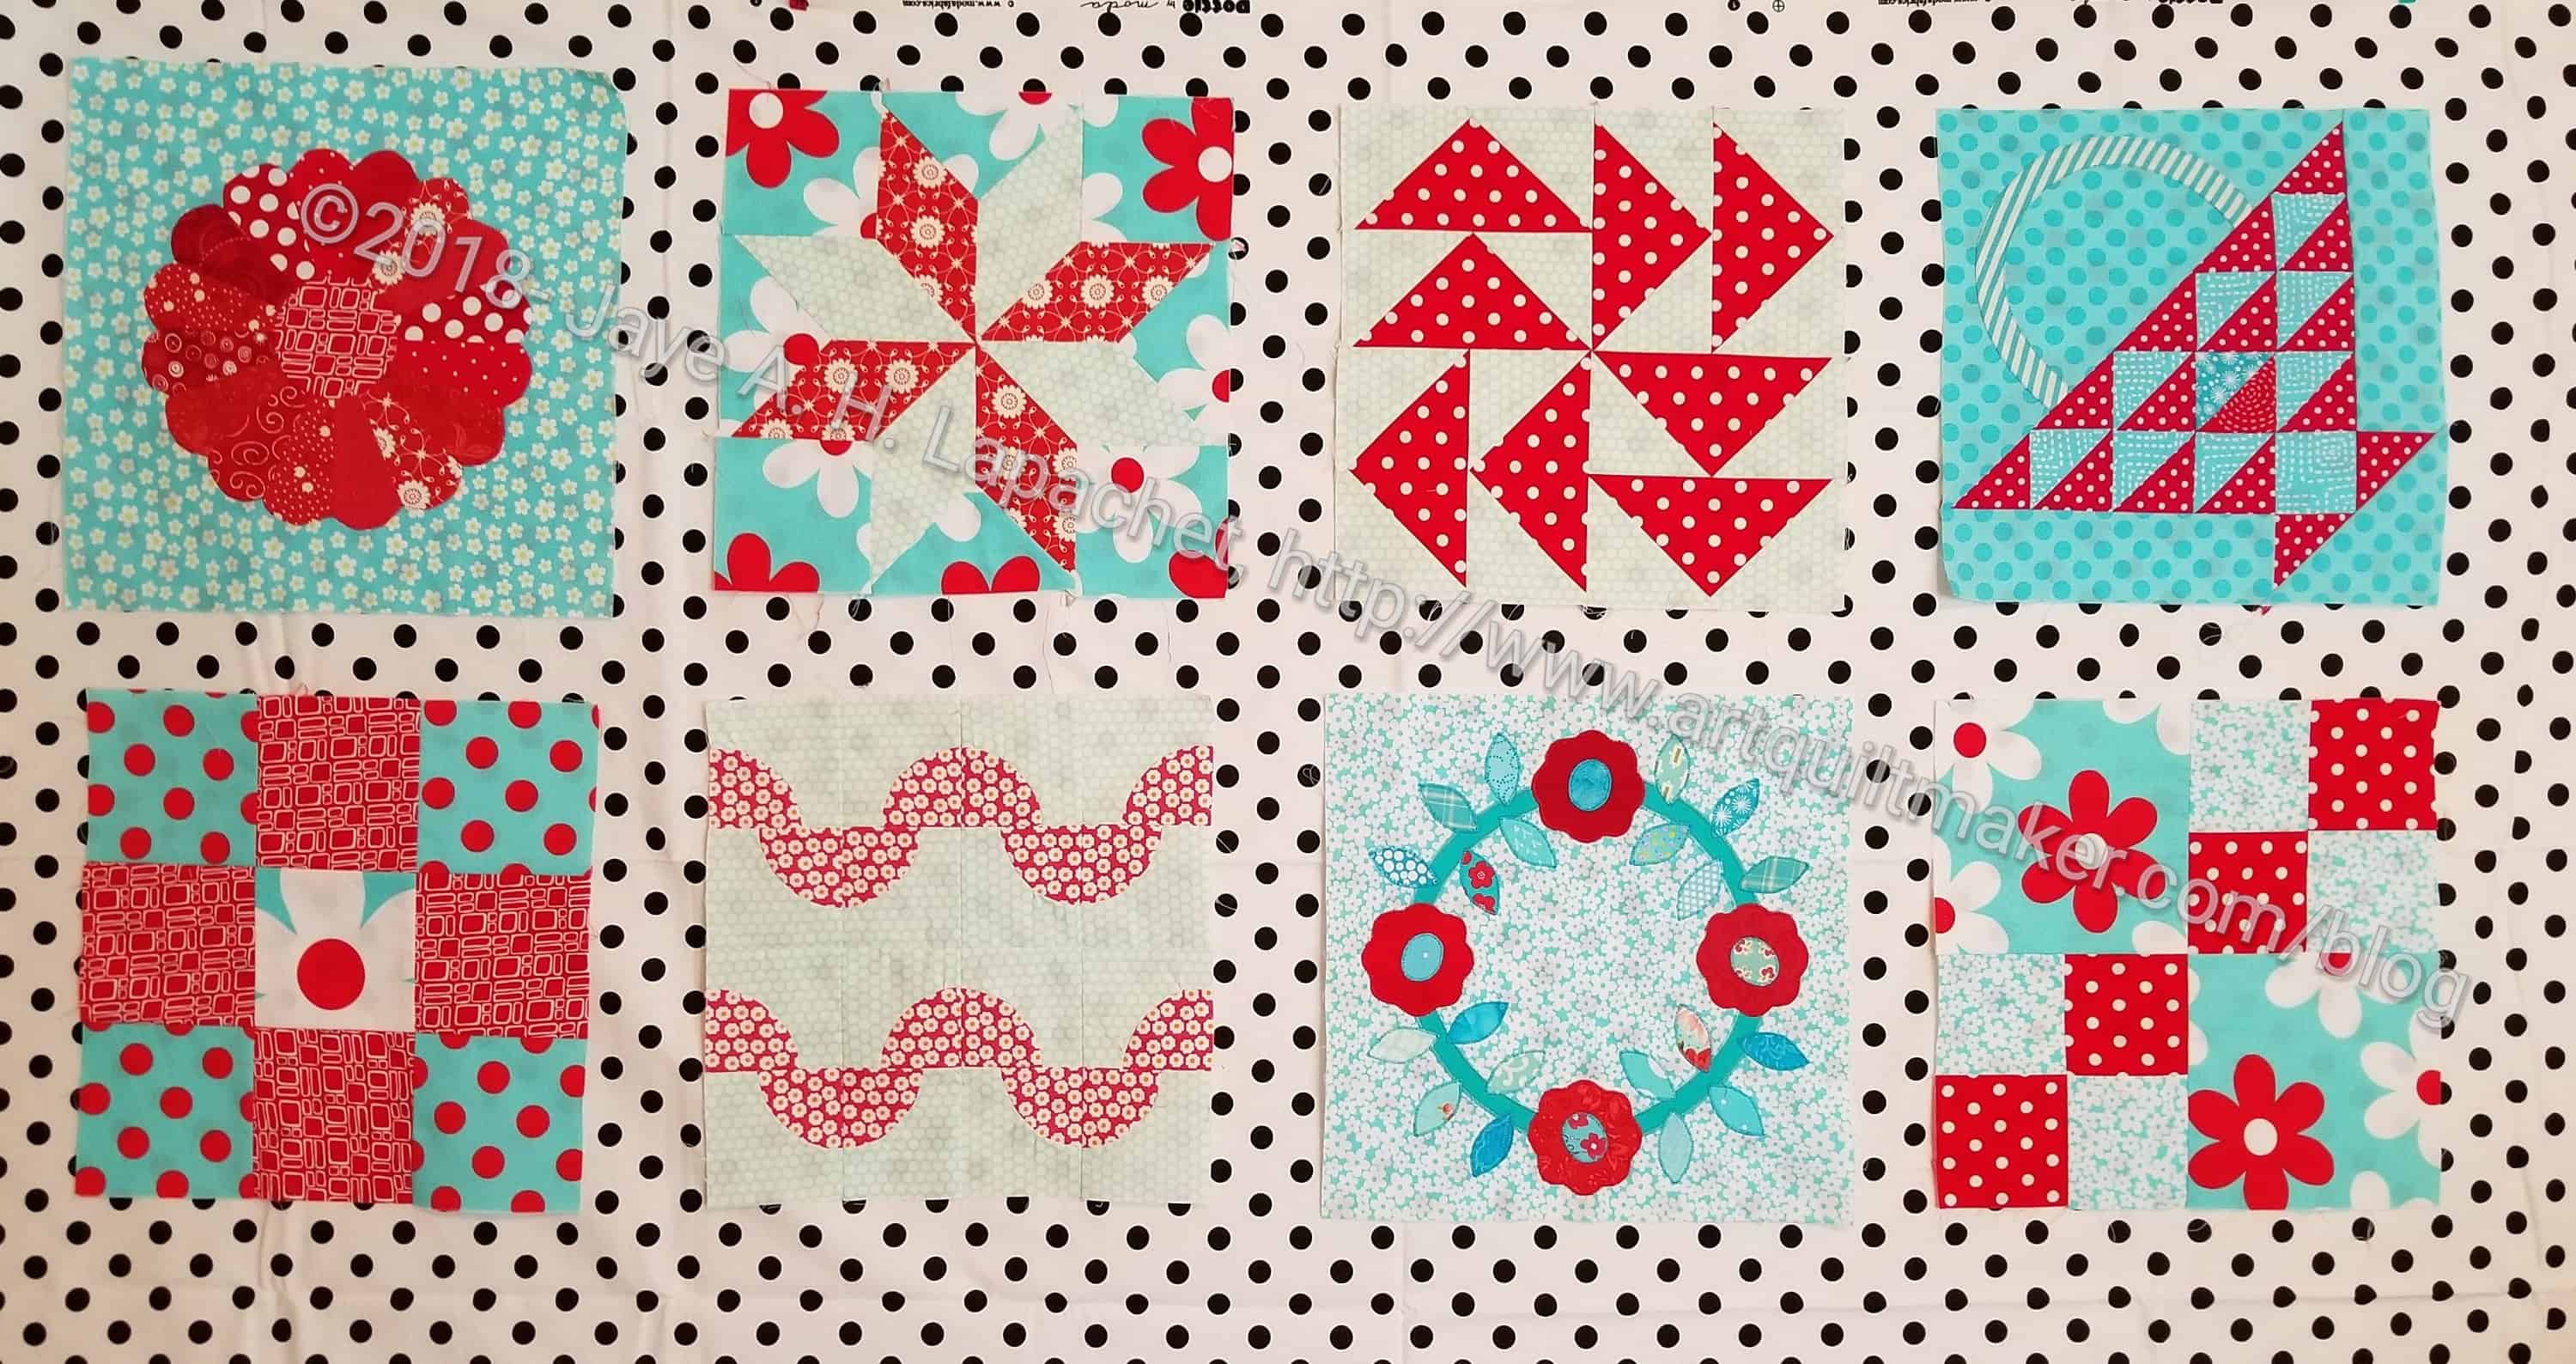
You will notice that I rearranged the blocks since my last layout. I also did not include the Cathedral Window block. It was just too thick. I have another test block from this quilt and I think I will make a pillow from the two of them.
I made a new block and needed to rearrange the blocks because of the colors. I didn’t want all the big red dots and daisy fabrics lumped together in one area. This quilt has been one problem after another and I hope that the borders will cut me some slack.
I found a bright white (Pure Elements Snow, which is different from Kona Snow) that picked up and highlighted the other bright whites in the blocks. I tried not to include too much cream where possible. I’m not sure about the width of that white border (2.5 inches). I may rip it off and make it smaller. That is not my first choice.
I thought the daisy fabric would be exciting, but I would have to struggle with making sure I used every scrap if I can’t find the rest of the stash of it that I know I have somewhere. The solid turquoise would be a solid choice. By that I mean that it would work, it would probably hold in all that is going on in the quilt.
As part of the Sampler Quilt Class and other tutorials I have on this site, I want to add one about putting a quilt together. I thought it would be good to include information about sashing at the same time. Since I have been using this quilt to write the Sampler quilt posts, I thought I would use it to create the latest tutorial.
Process can be a difficult mistress (boy toy??) and she had both fangs and talons out for me on Sunday. I really wanted to just piece a bunch of stuff together, so I took Who Am I? off the design wall and started checking out sashing options for the Aqua-Red Sampler. I thought this would be a relatively easy task and I would be sewing in no time.
HA! I should never think that.
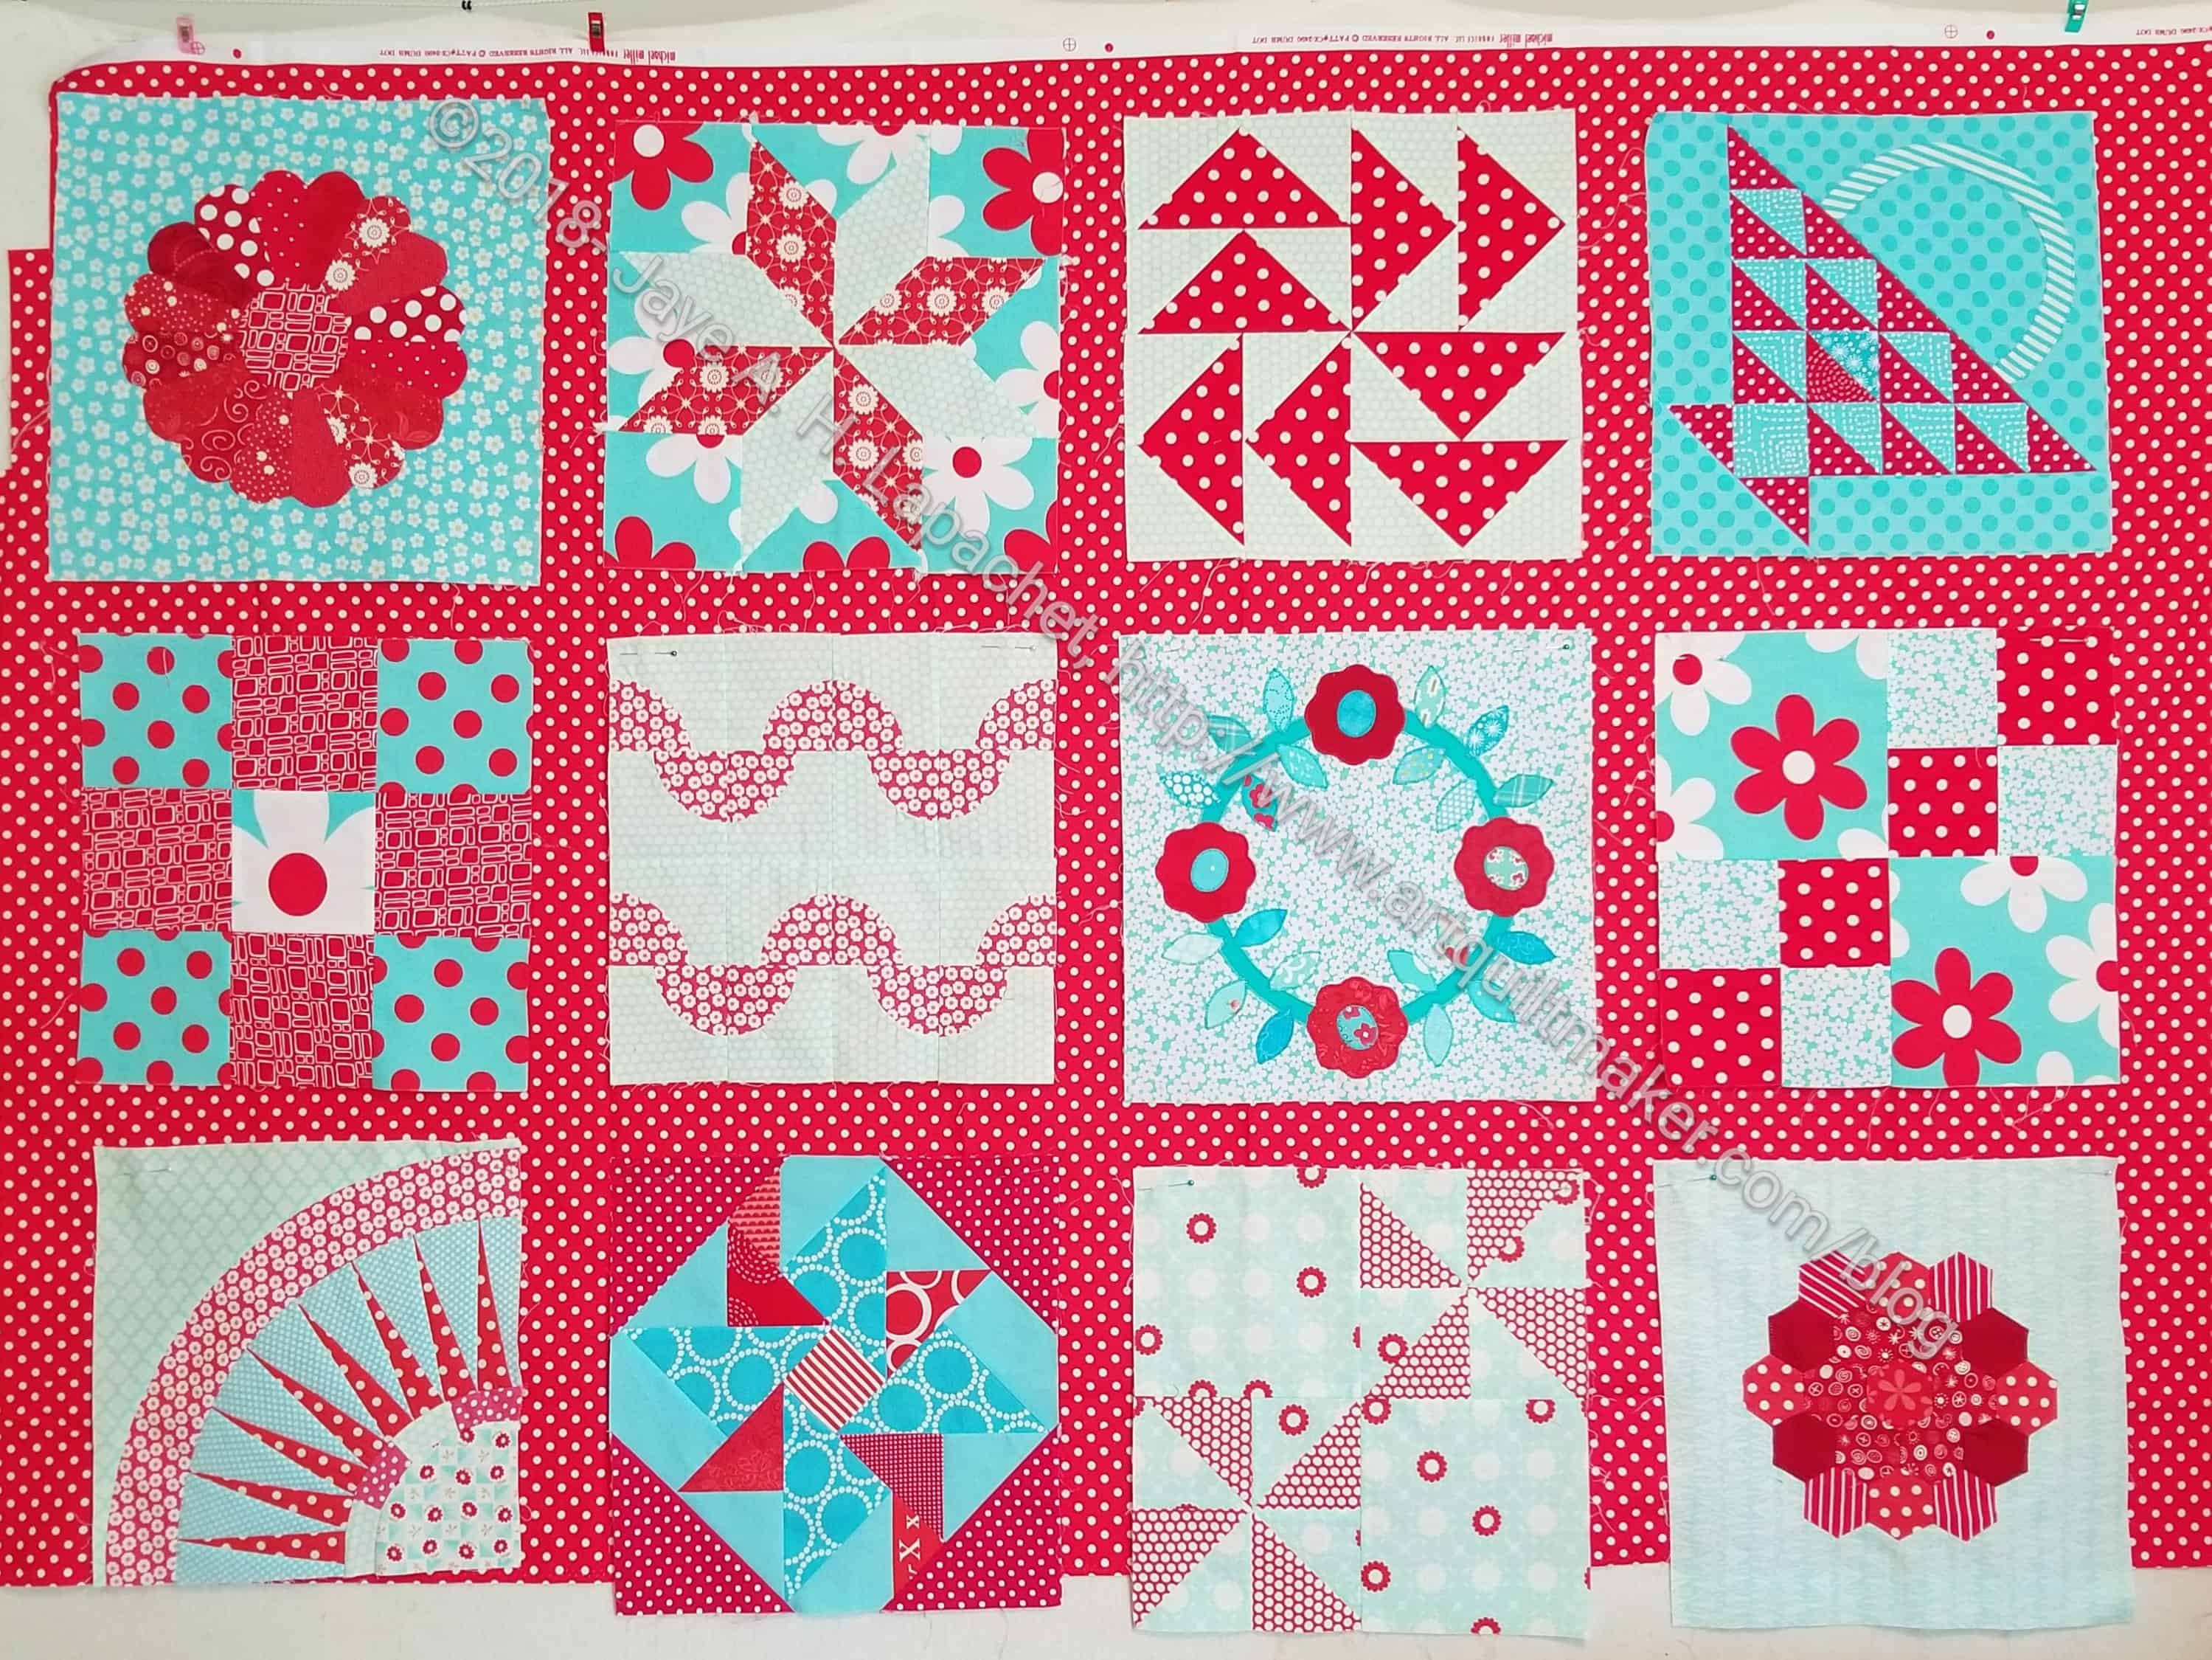
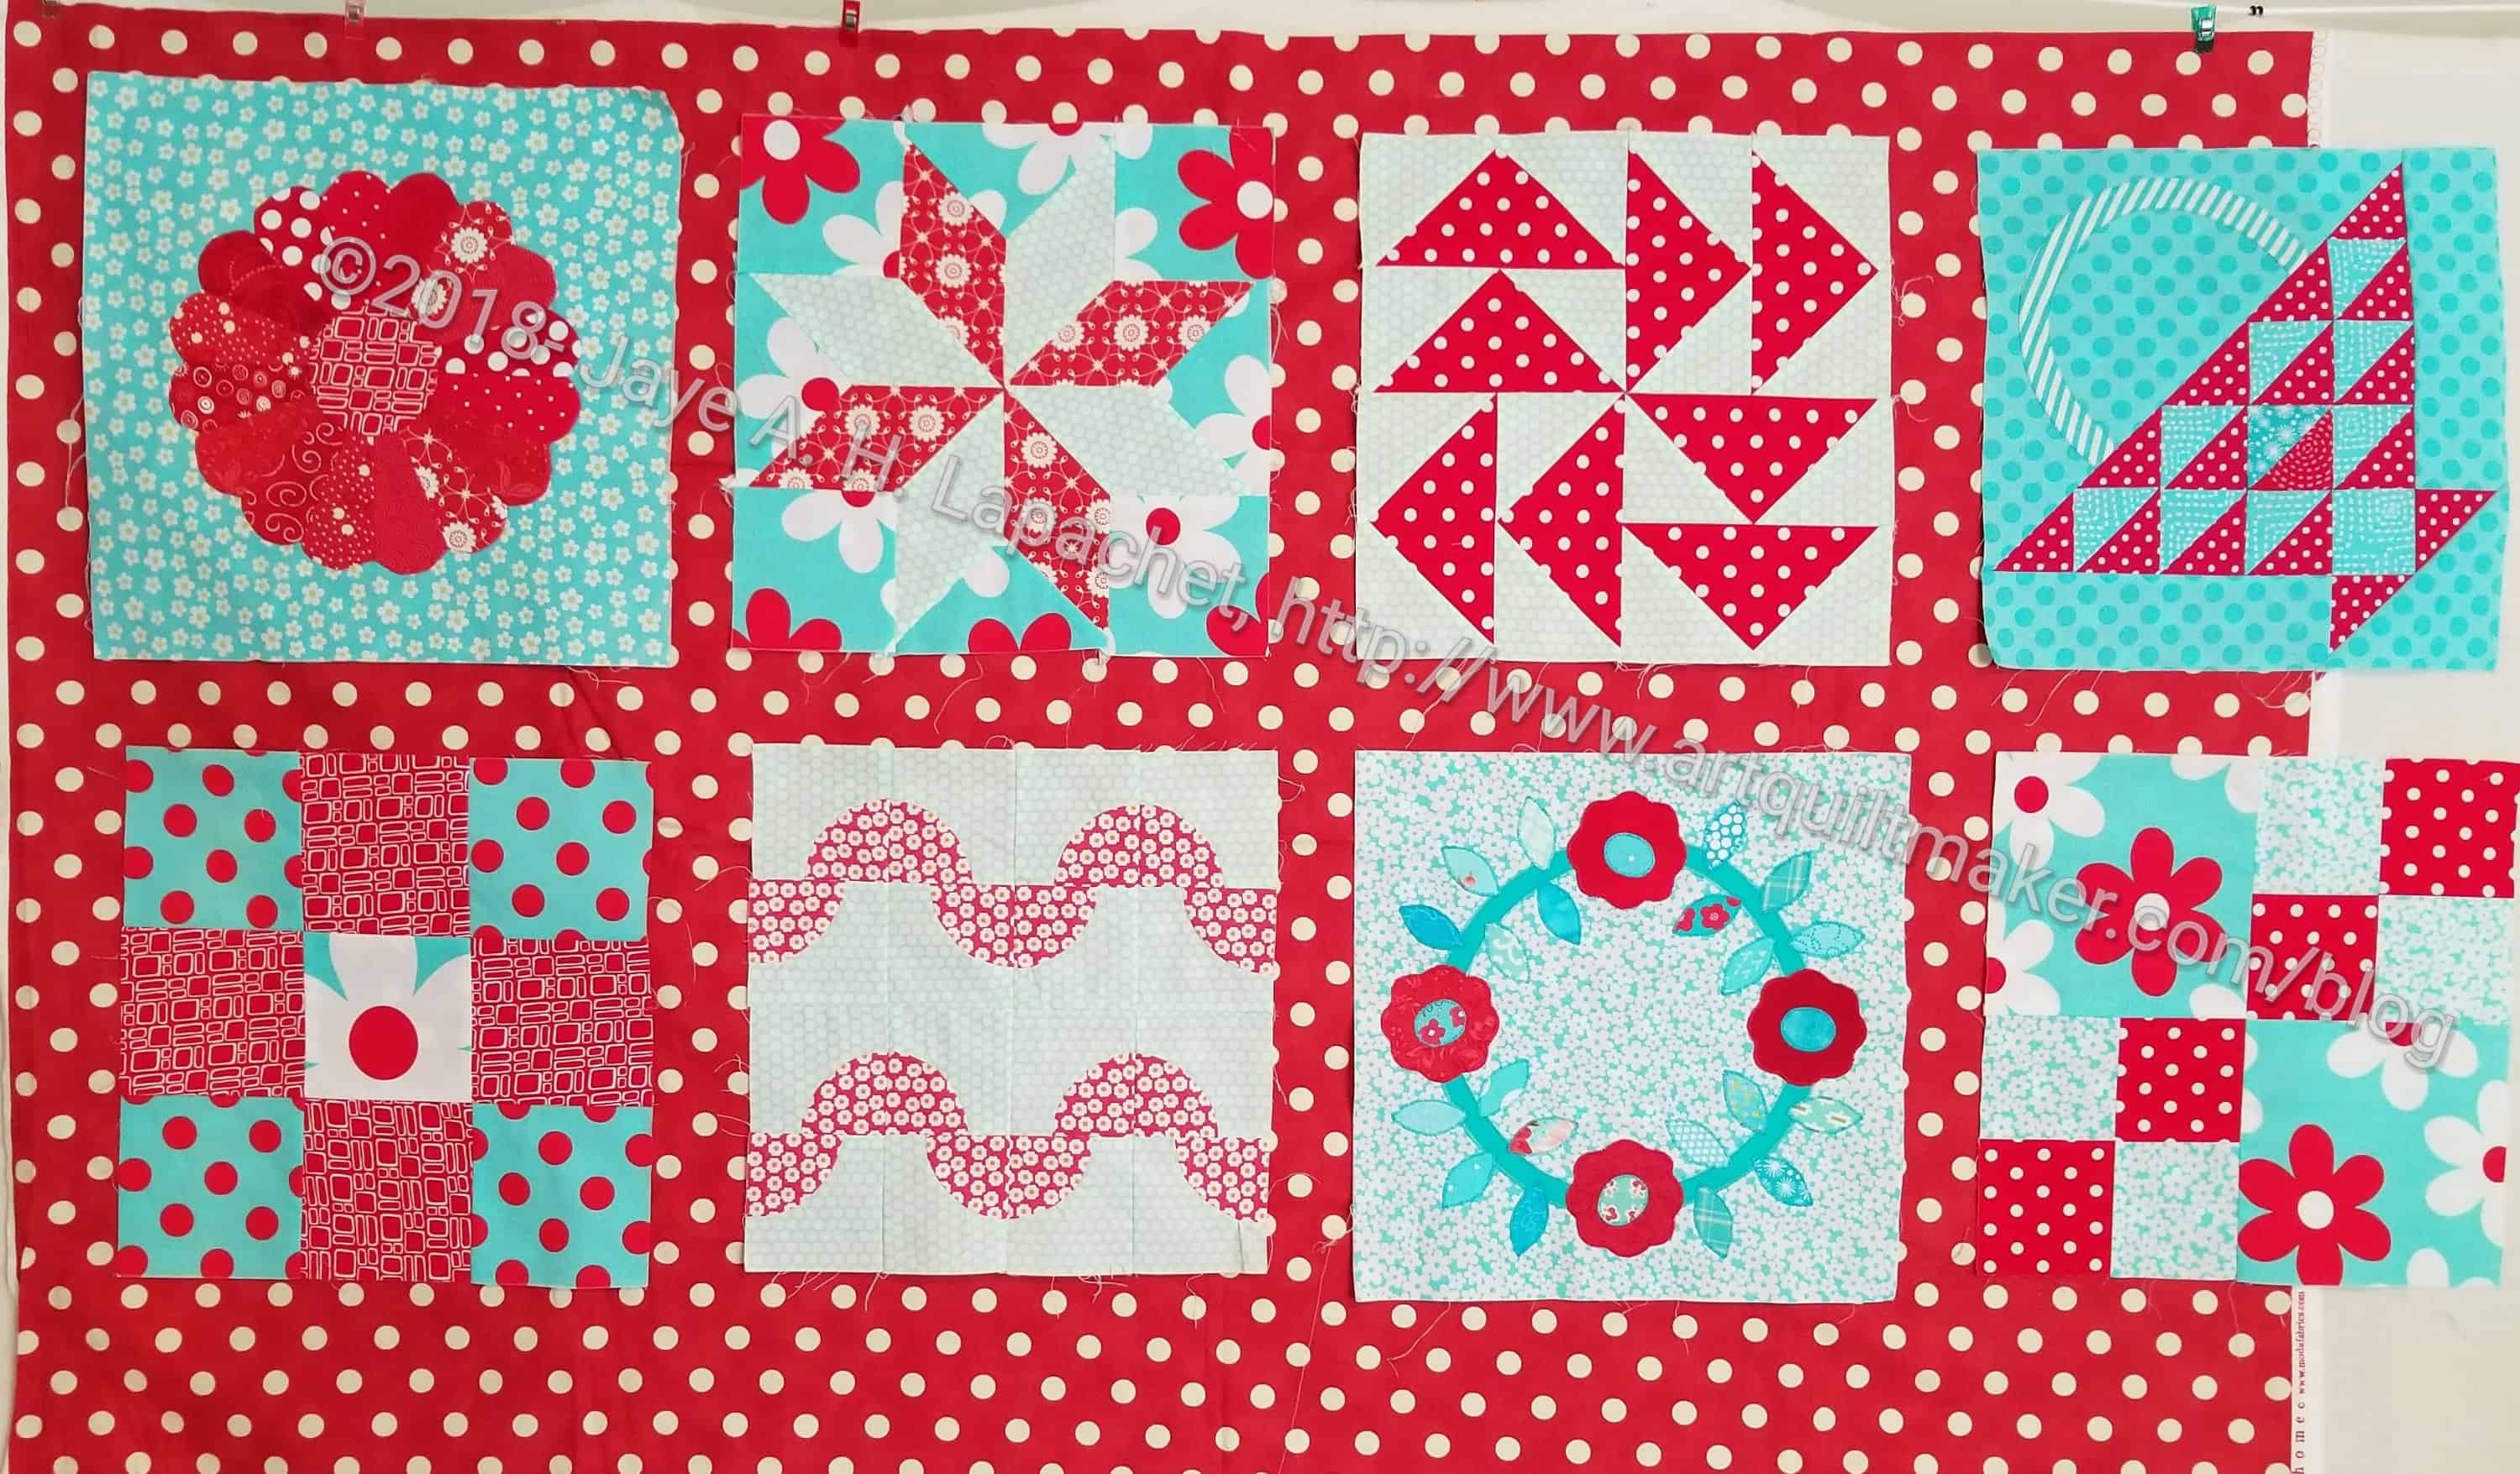
I started off thinking that the version above with no sashing just wasn’t quite right. I have a stack of fabrics that I keep for backs and sashing (larger pieces) so I started to look through them and try them out.
I always use Lorraine Torrence’s rule to “make visual decisions visually”. Well, when I do that I usually get good results. When I don’t, I ruin the quilt.
Sample Sashing n.1
I pulled out the most likely option and pinned some blocks up on my design wall (2 layers of fabric don’t stick). You can see how optimistic I was that this would work based on the number of blocks I put up. It isn’t terrible, but I didn’t like the way the red was interacting with some of the reds in the blocks.
Sample Sashing n.2
I thought maybe some blue and I have a nice turquoise solid that I got out. Not terrible, but nowhere near great either. The blocks with the lighter blue backgrounds stick out like sore thumbs and the blocks with the medium blue backgrounds wash out. I wasn’t daunted yet.
Sample Sashing n.3
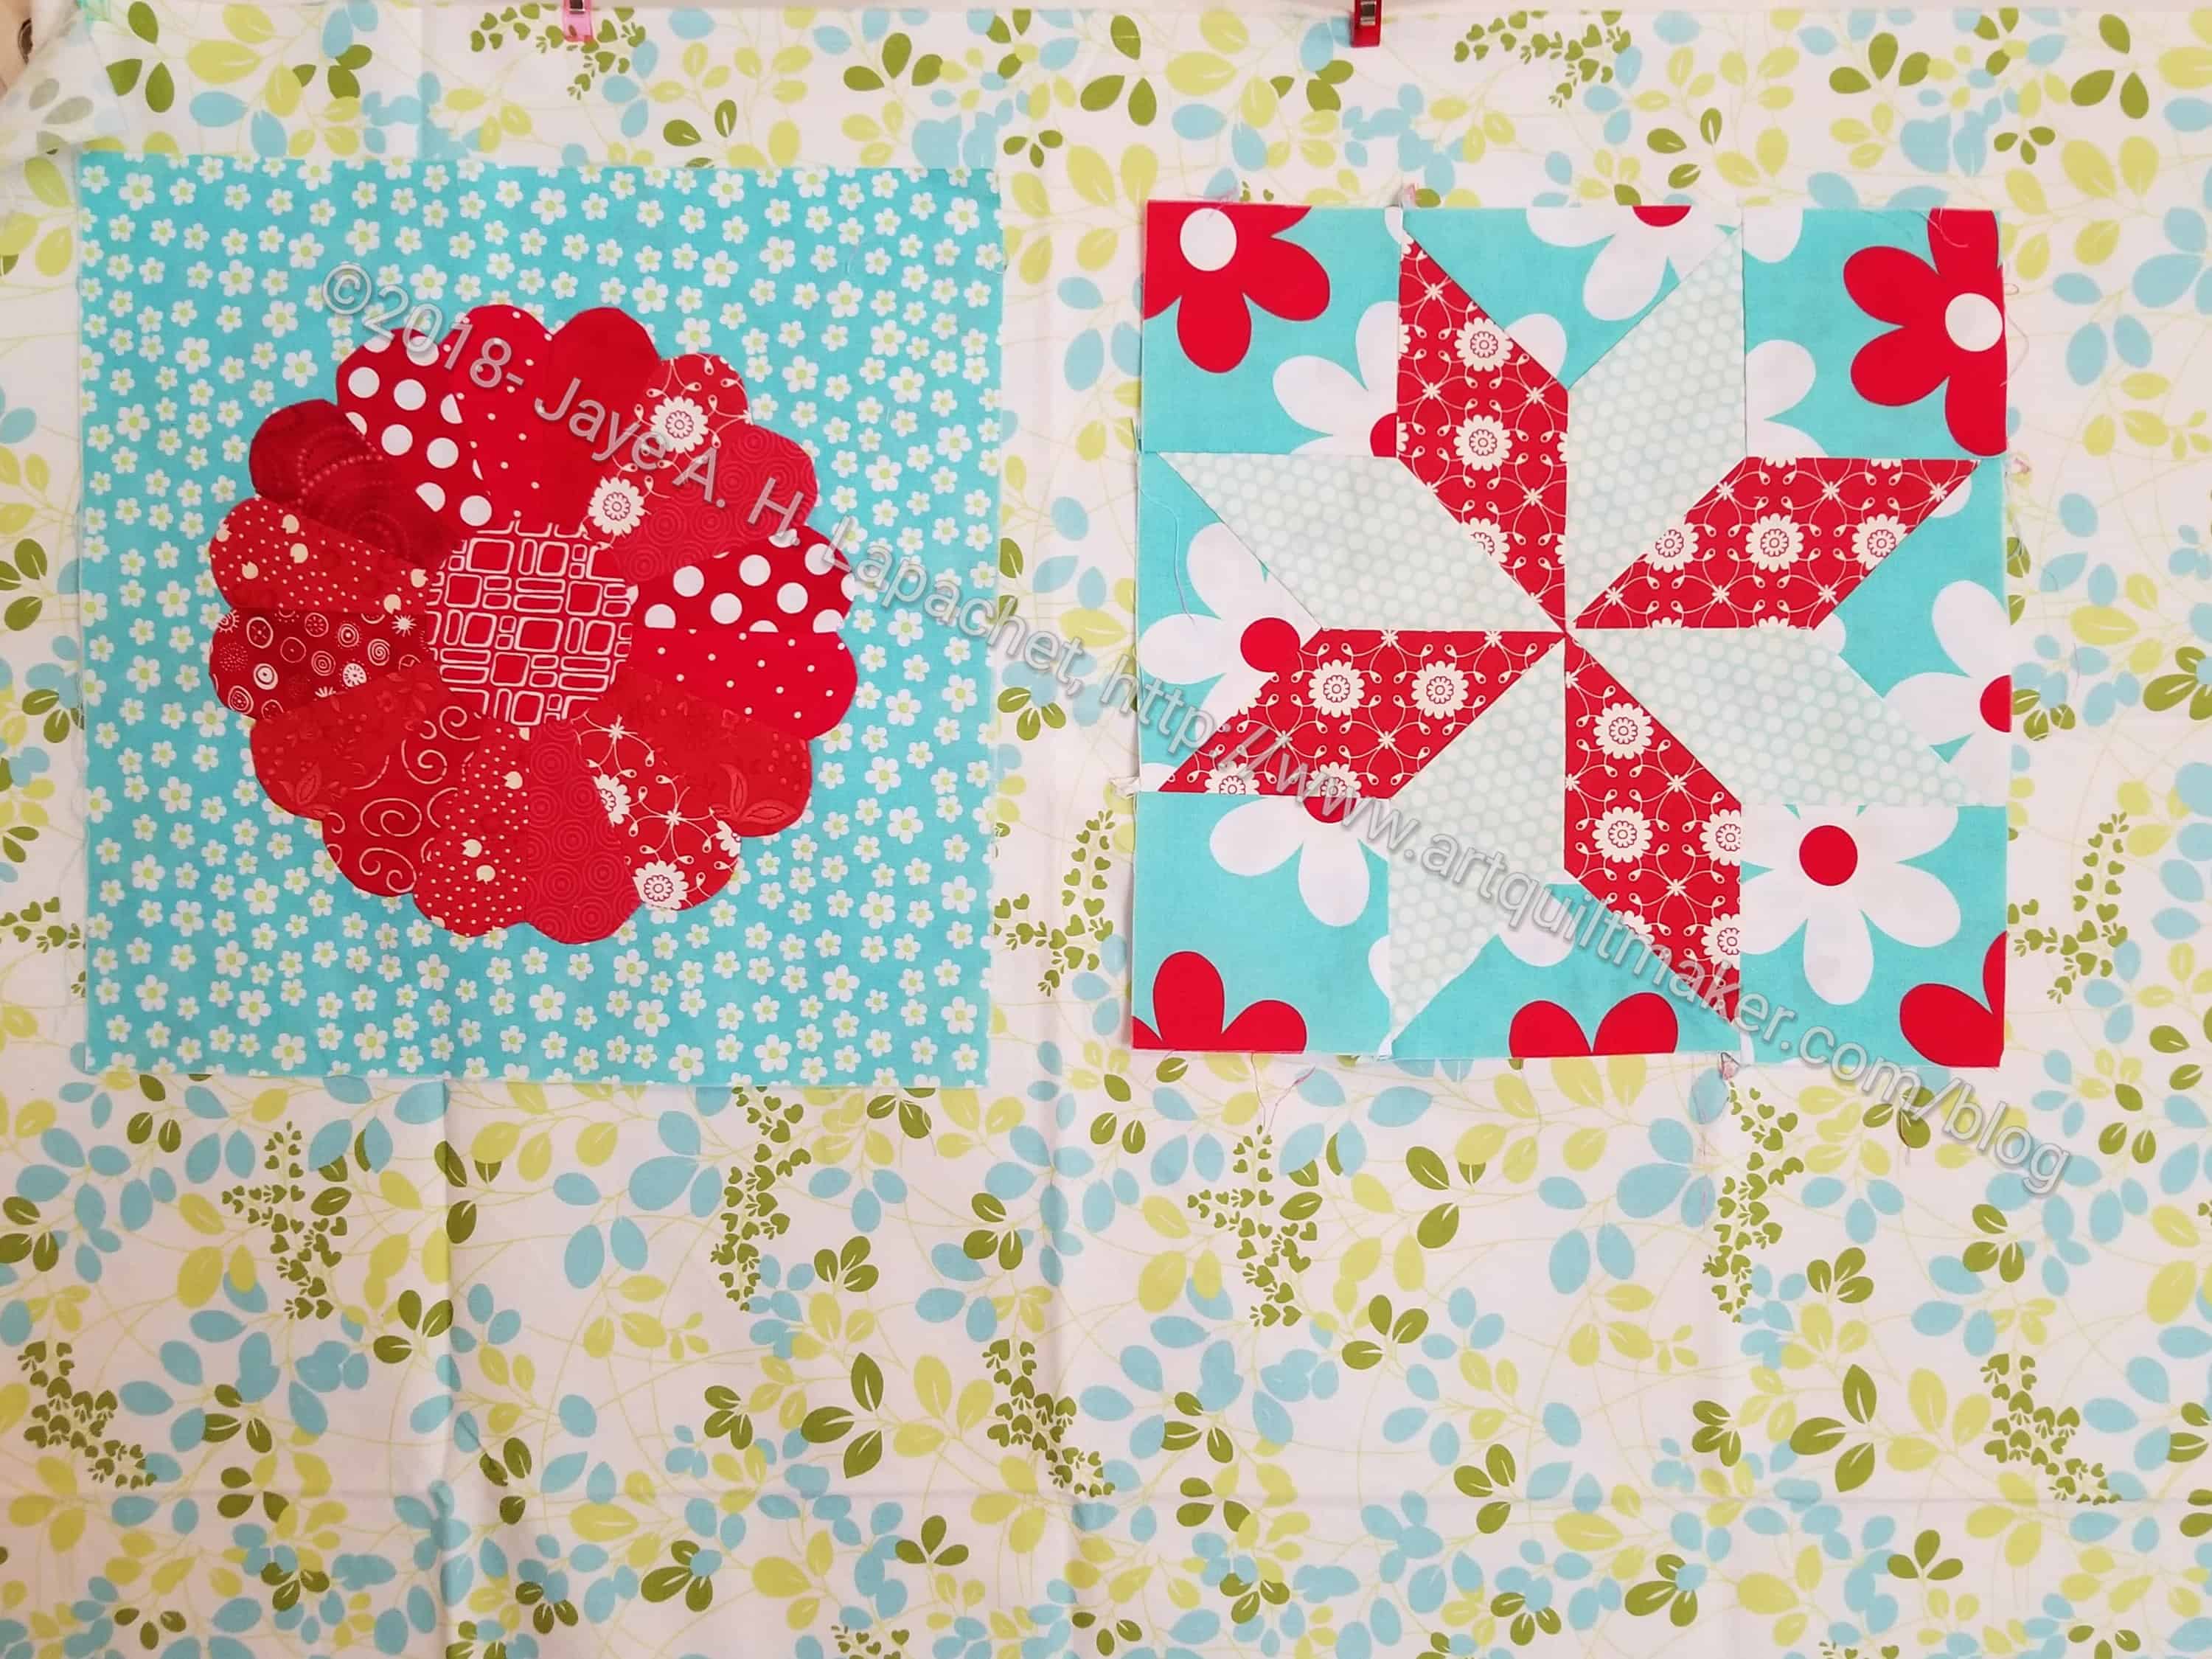
I thought maybe I should introduce a new color. I know I wanted this to be a, basically, two color quilt, but I started to think, perhaps, that there was no way to keep that dream alive with the two colors I had chosen. I thought about the green in Stepping Stones n.2 and I picked out a nice floral without flowers that included that green plus the blue.
Hideous.
Sample Sashing n.4
I couldn’t yank that fabric off the design wall fast enough. It made me think of my man, Phil, though. I tried one of his prints. Also hideous. Well, not hideous, but it really didn’t work. The blue was wrong. The pink was wrong. It looked messy and slapped together.
Sample Sashing n.5
I decided to try some white. It wouldn’t be my first choice because it is too predictable, but I was starting to feel desperate. Just a little. The white is wrong, too. I am not sure why, but it doesn’t add anything. It was too white as well, as if THAT makes any sense.
Sample Sashing n.6
Since I liked the dots and was still thinking the white might just too white, so I pulled out a different dot and tried to like it. It isn’t terrible. It does add a bit to the whole piece, but the black dots just aren’t right. There is none of that fabric in the whole piece. I put it aside as a possibility.
Sample Sashing n.7
Still thinking dots would work, I pulled out a different red dot print. The red wasn’t exactly the shade I would have chosen if I had all the fabric in the world, but the dots were larger and that was promising. Also, not terrible, but also not exactly right.
By this time, I was starting to feel disheartened and needed some input so I posted to Instagram to get some feedback. People were very kind and had some good ideas.
Sample Sashing n.8
One person suggested navy, which might work, but I don’t like navy much and don’t have any navy fabric – yardage, at least. I might have some scraps. Amanda suggested yellow. I had a nice sunshine-y orange, which I just thought I would try to see. Not terrible, but not right either. It came across as gold in the photos (even the one above, I think). You remember the hunt for yellow in which I engaged for the basket quilt? I really didn’t want to go out and buy fabric. I really felt I had to have something that would work.
Sample Sashing n.9
I found some cherry fabric, again by my man, Phil, and thought I would try it. The first Philip Jacobs option was still on my mind. I wasn’t ready to give up on him again. This fabric is actually okay. I think ‘okay’ is a step above ‘not terrible’. Still it didn’t scream YES! at me.
Much more sighing went on.
Sample Sashing n.10
My last option for the day was a grey. I was not hopeful. I really wanted to sew and I had used most of my sewing time on an unsuccessful attempt to choose some sashing.It didn’t work. It doesn’t look much better than the white
I gave up and went to sew the latest donation quilt. I am starting to think this quilt does not want sashing and I’ll have to make the tutorial with another quilt.
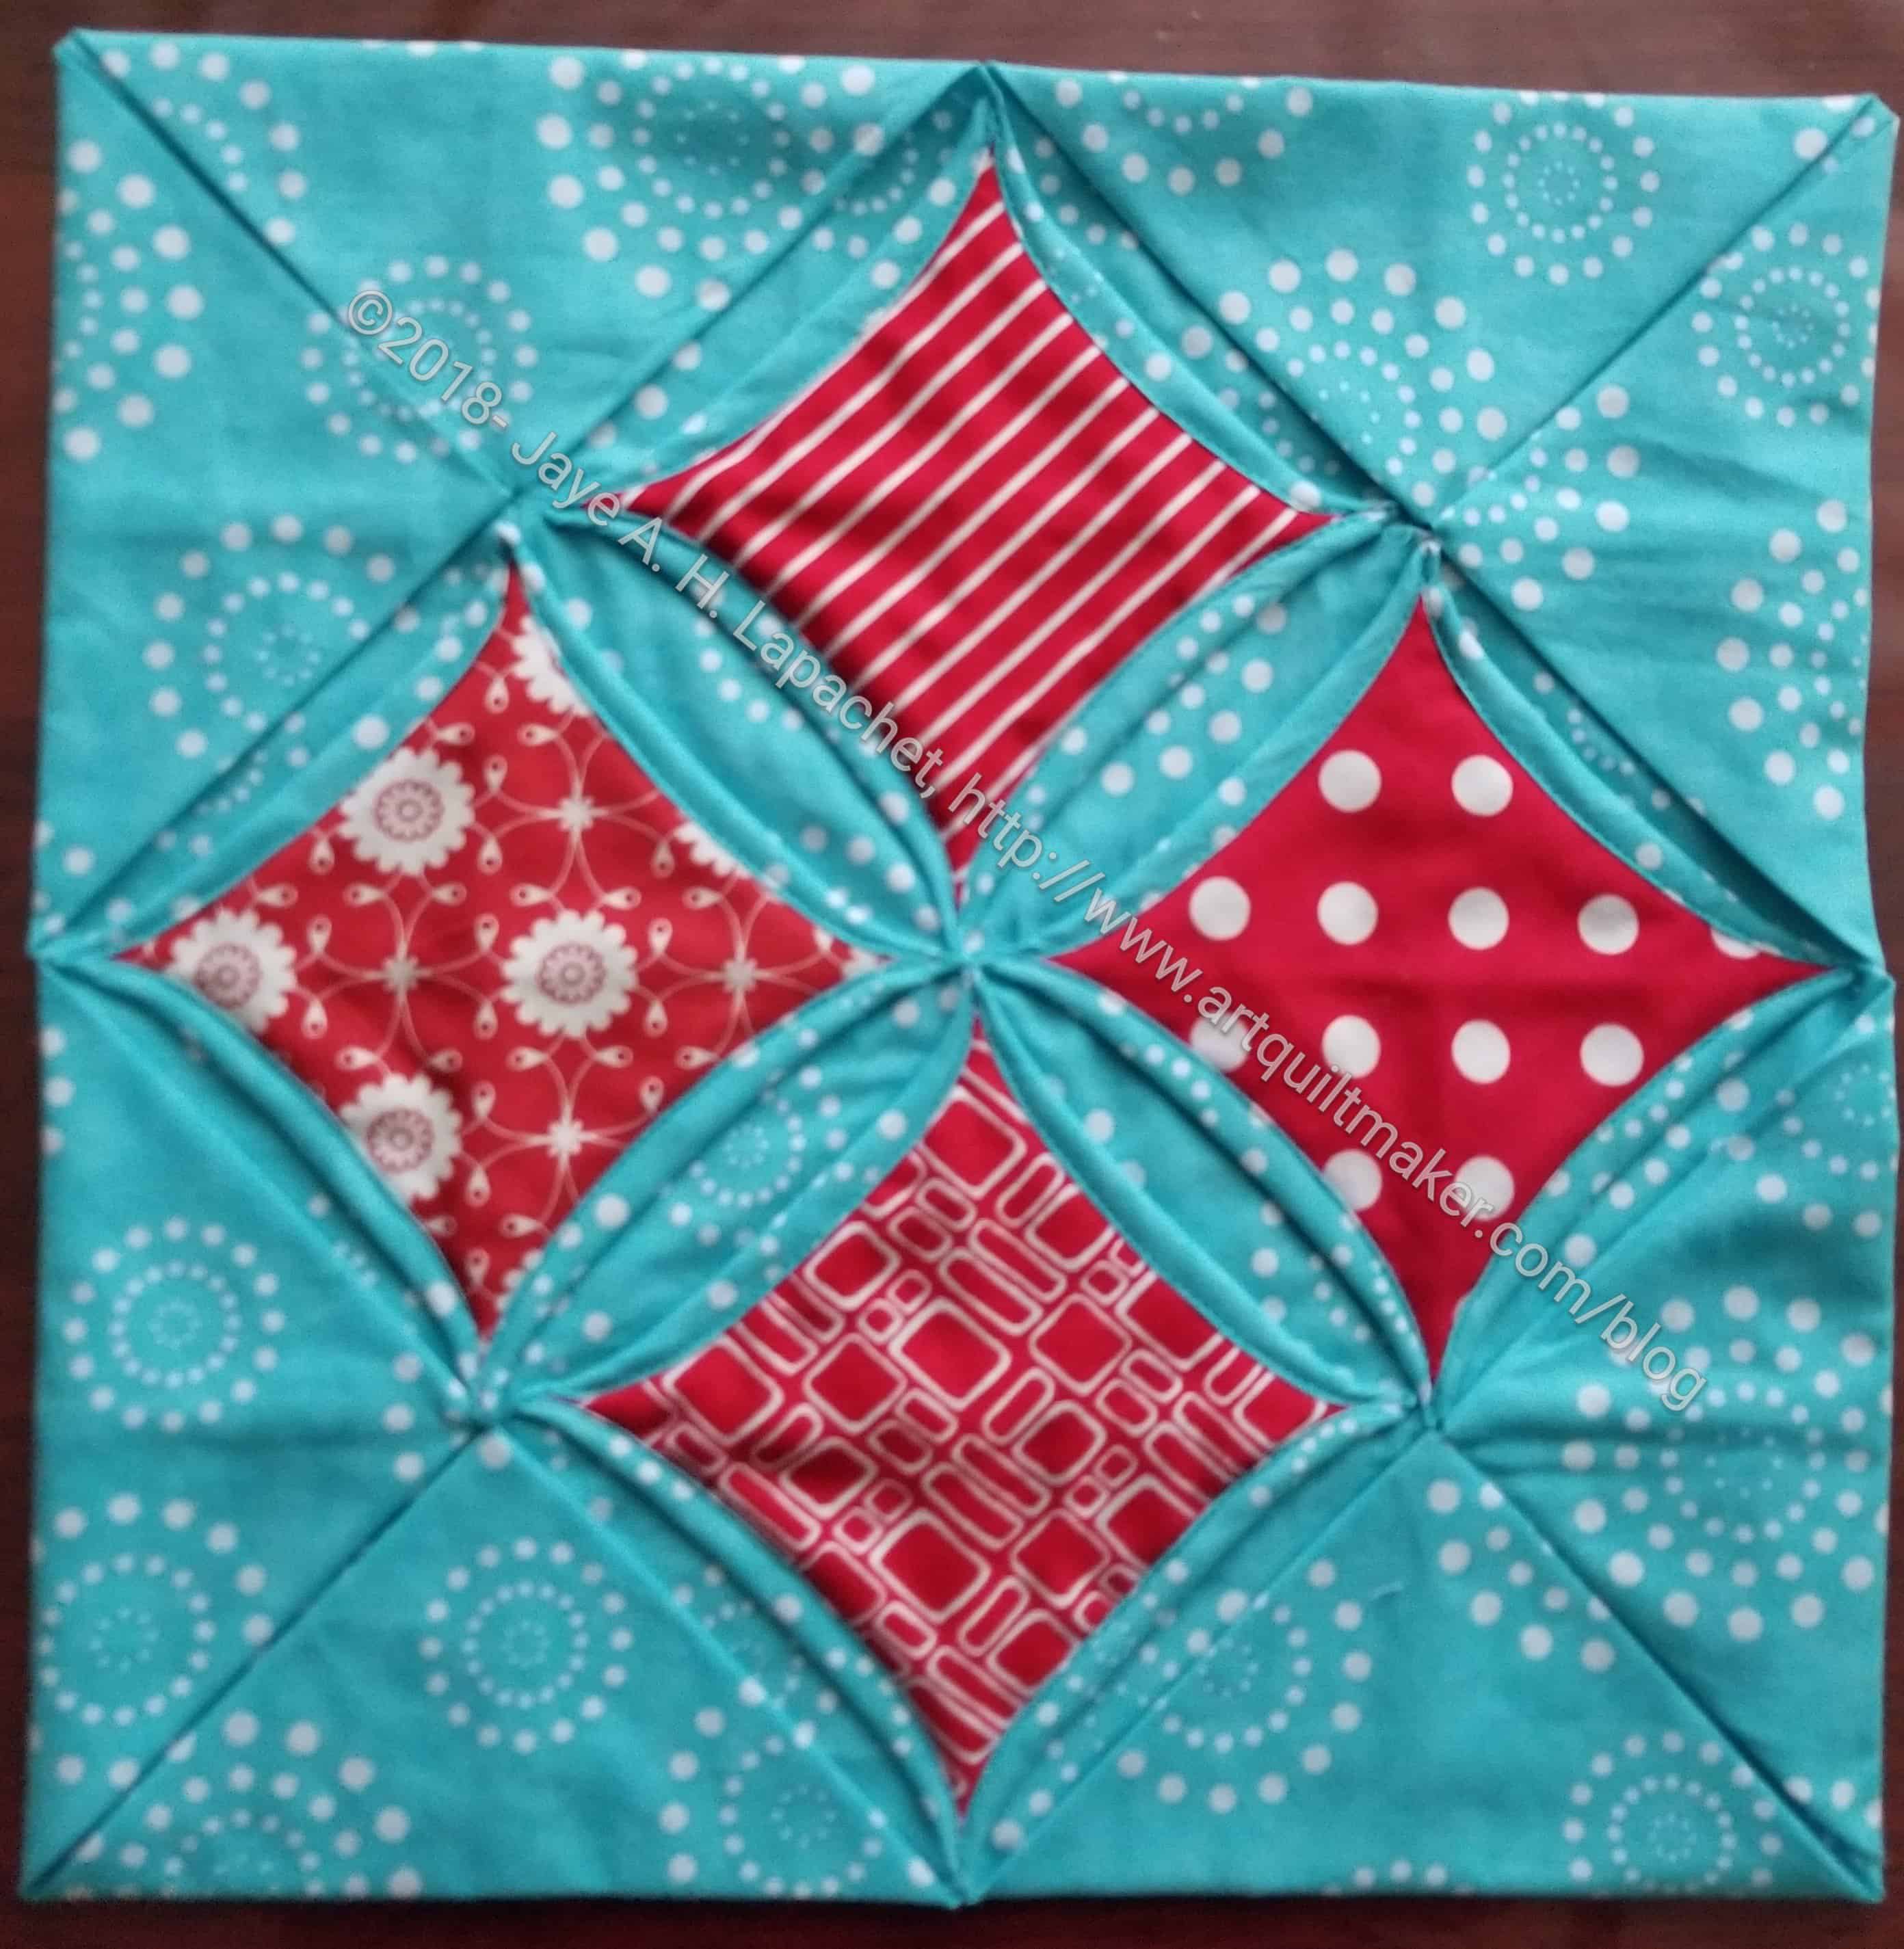
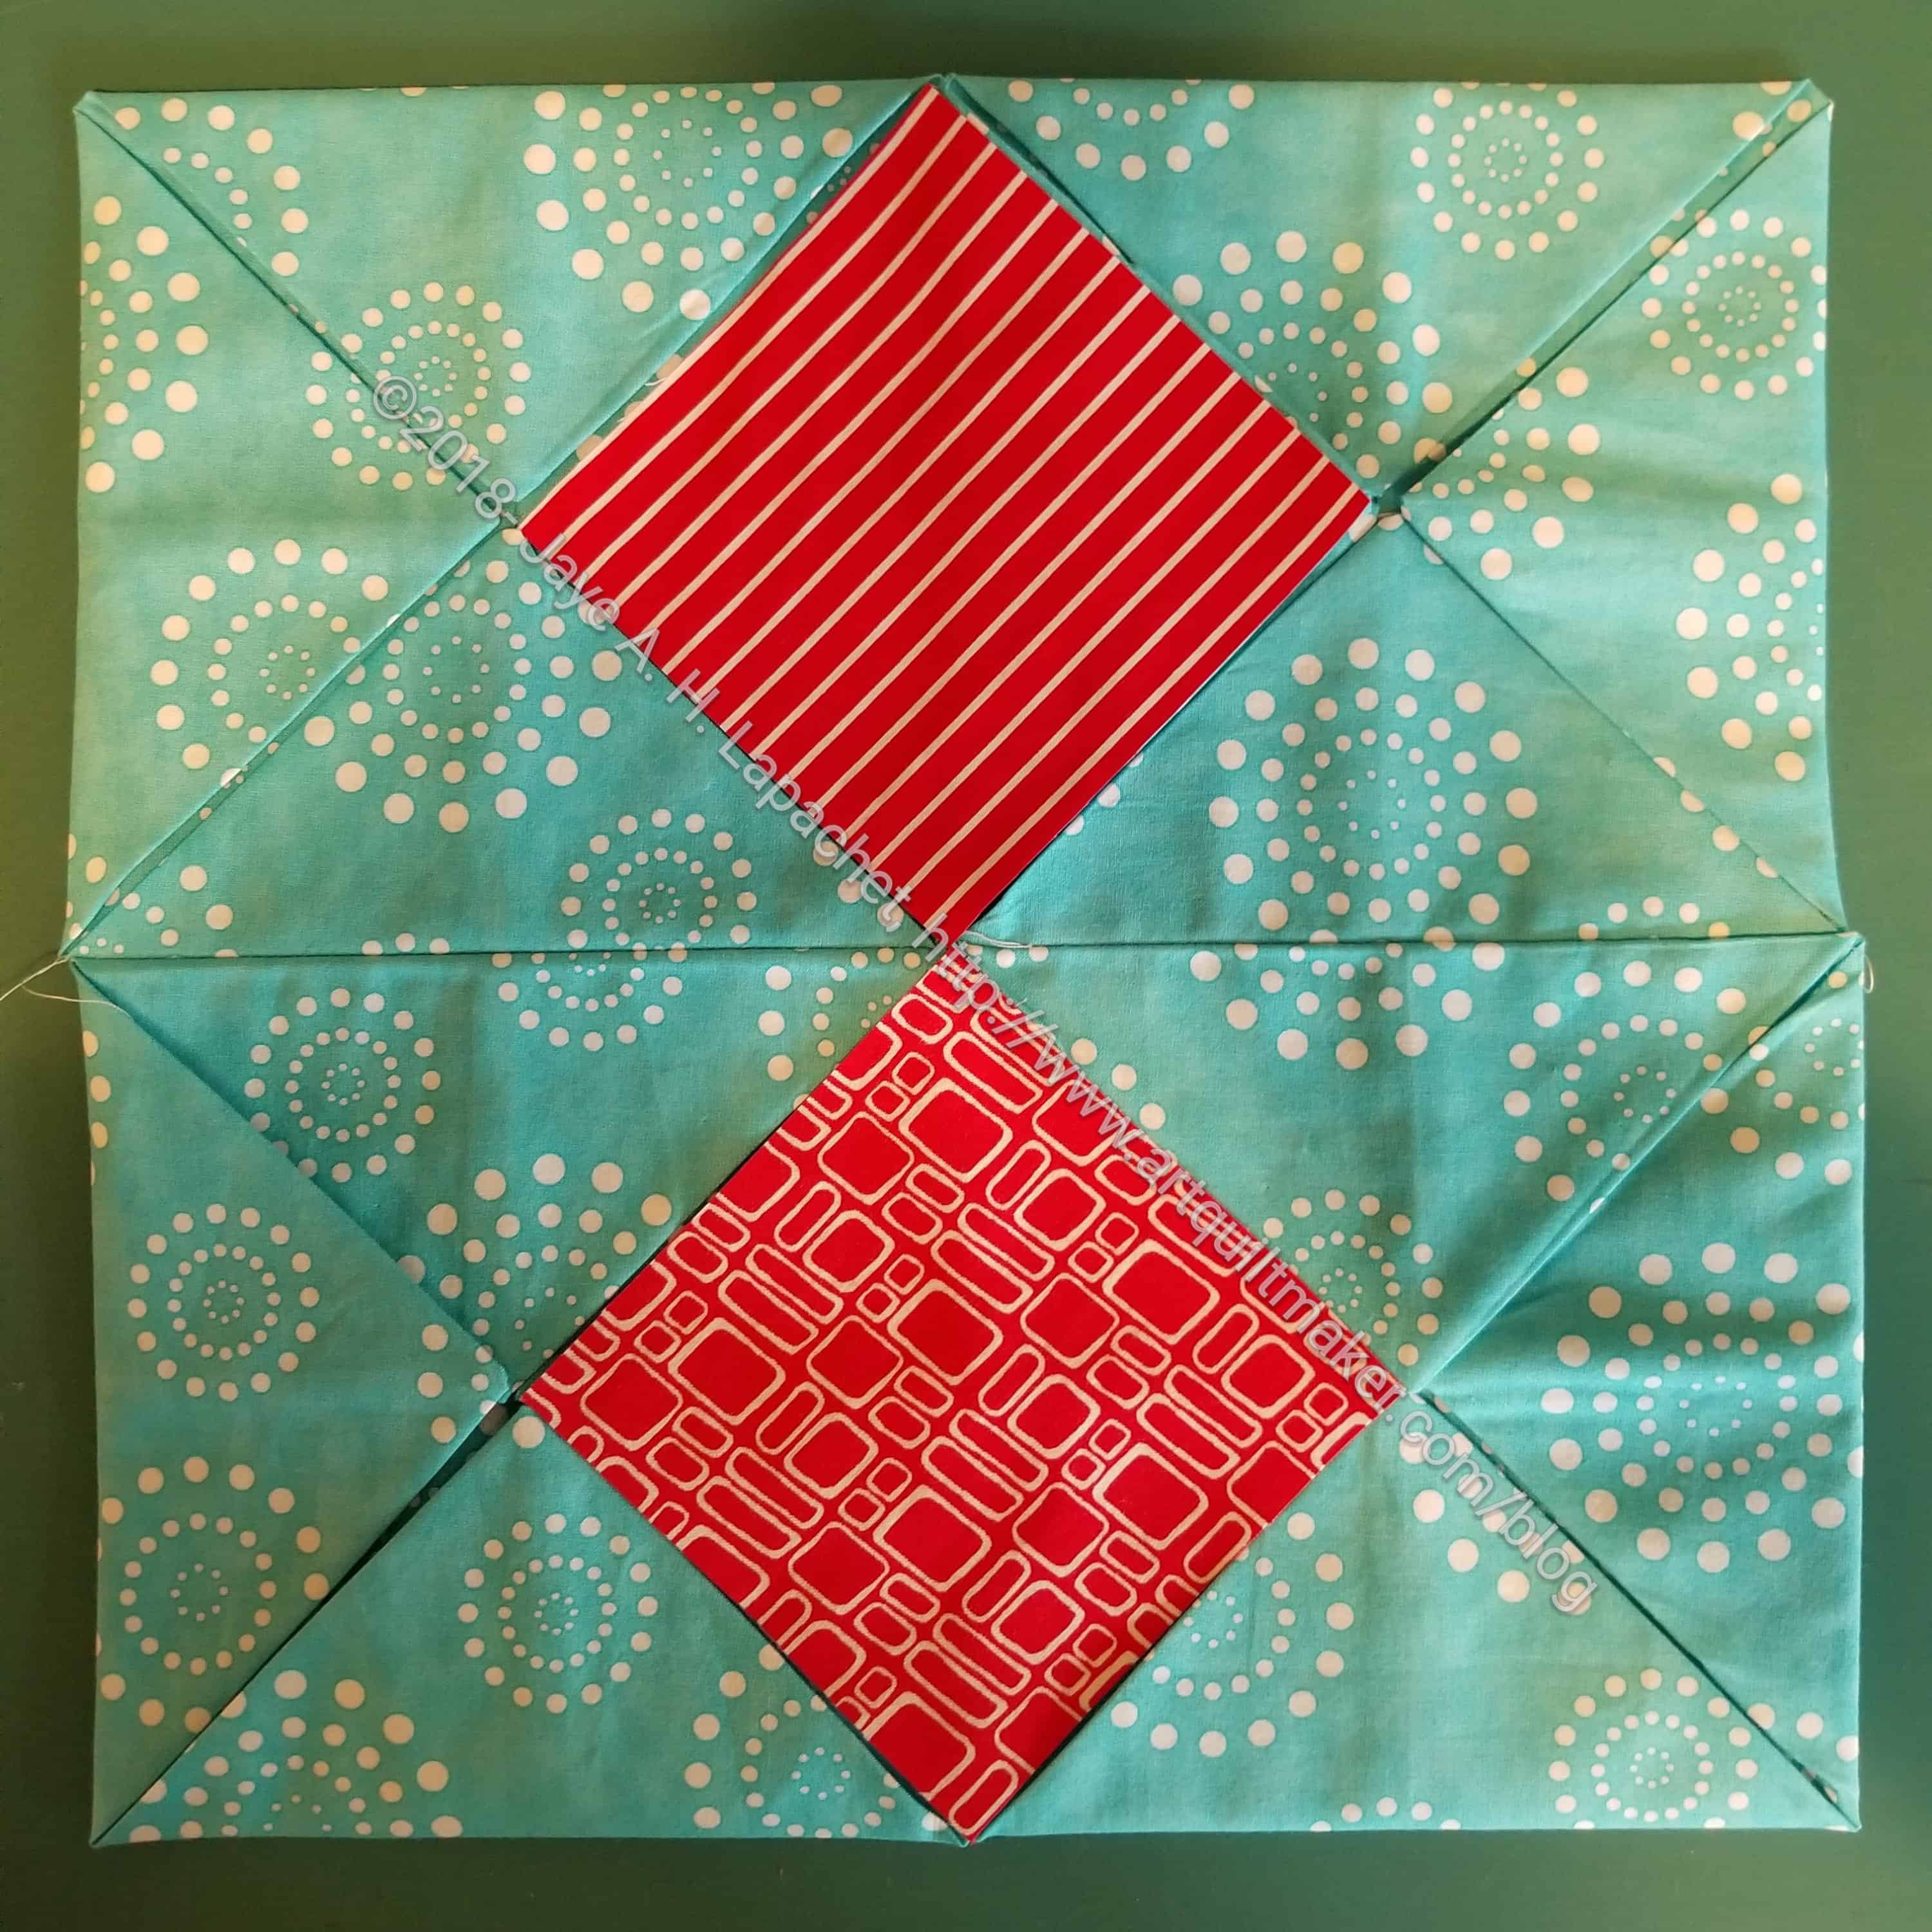
I decided to make this block after finding I needed one more block to complete my Aqua-Red Sampler. I have never made one of these, so I thought “what the heck?”. I had seen some directions for it and it caught my attention. As mentioned, I had to cobble together instructions from at least three different tutorials to be able to make the block. Below is my version. The tutorials I referenced are noted below.
Finished Block Size: 12 inches (12.5 unfinished)
Supplies
Fabric
In this tutorial, the background is turquoise and the foreground is red.
Thread – you might want to use your regular piecing thread for the first part of the directions, then switch to a thread that matches the background fabric for sewing the curves shut
A pen or pencil you can use to draw on fabric (I like Sewline pencils)
Stiletto or dental pick type instrument (something thin and pointy)
hand sewing needle
Instructions for making a 12″ (finished) Cathedral Windows block
1. Cut 4 squares of background fabric 12.5 inches by 12.5 inches
4- 4 x 4 inch foreground squares
2. Cut 4 squares for inset pieces 4 inches by 4 inches.
Fold 12.5×12.5 inch squares in half
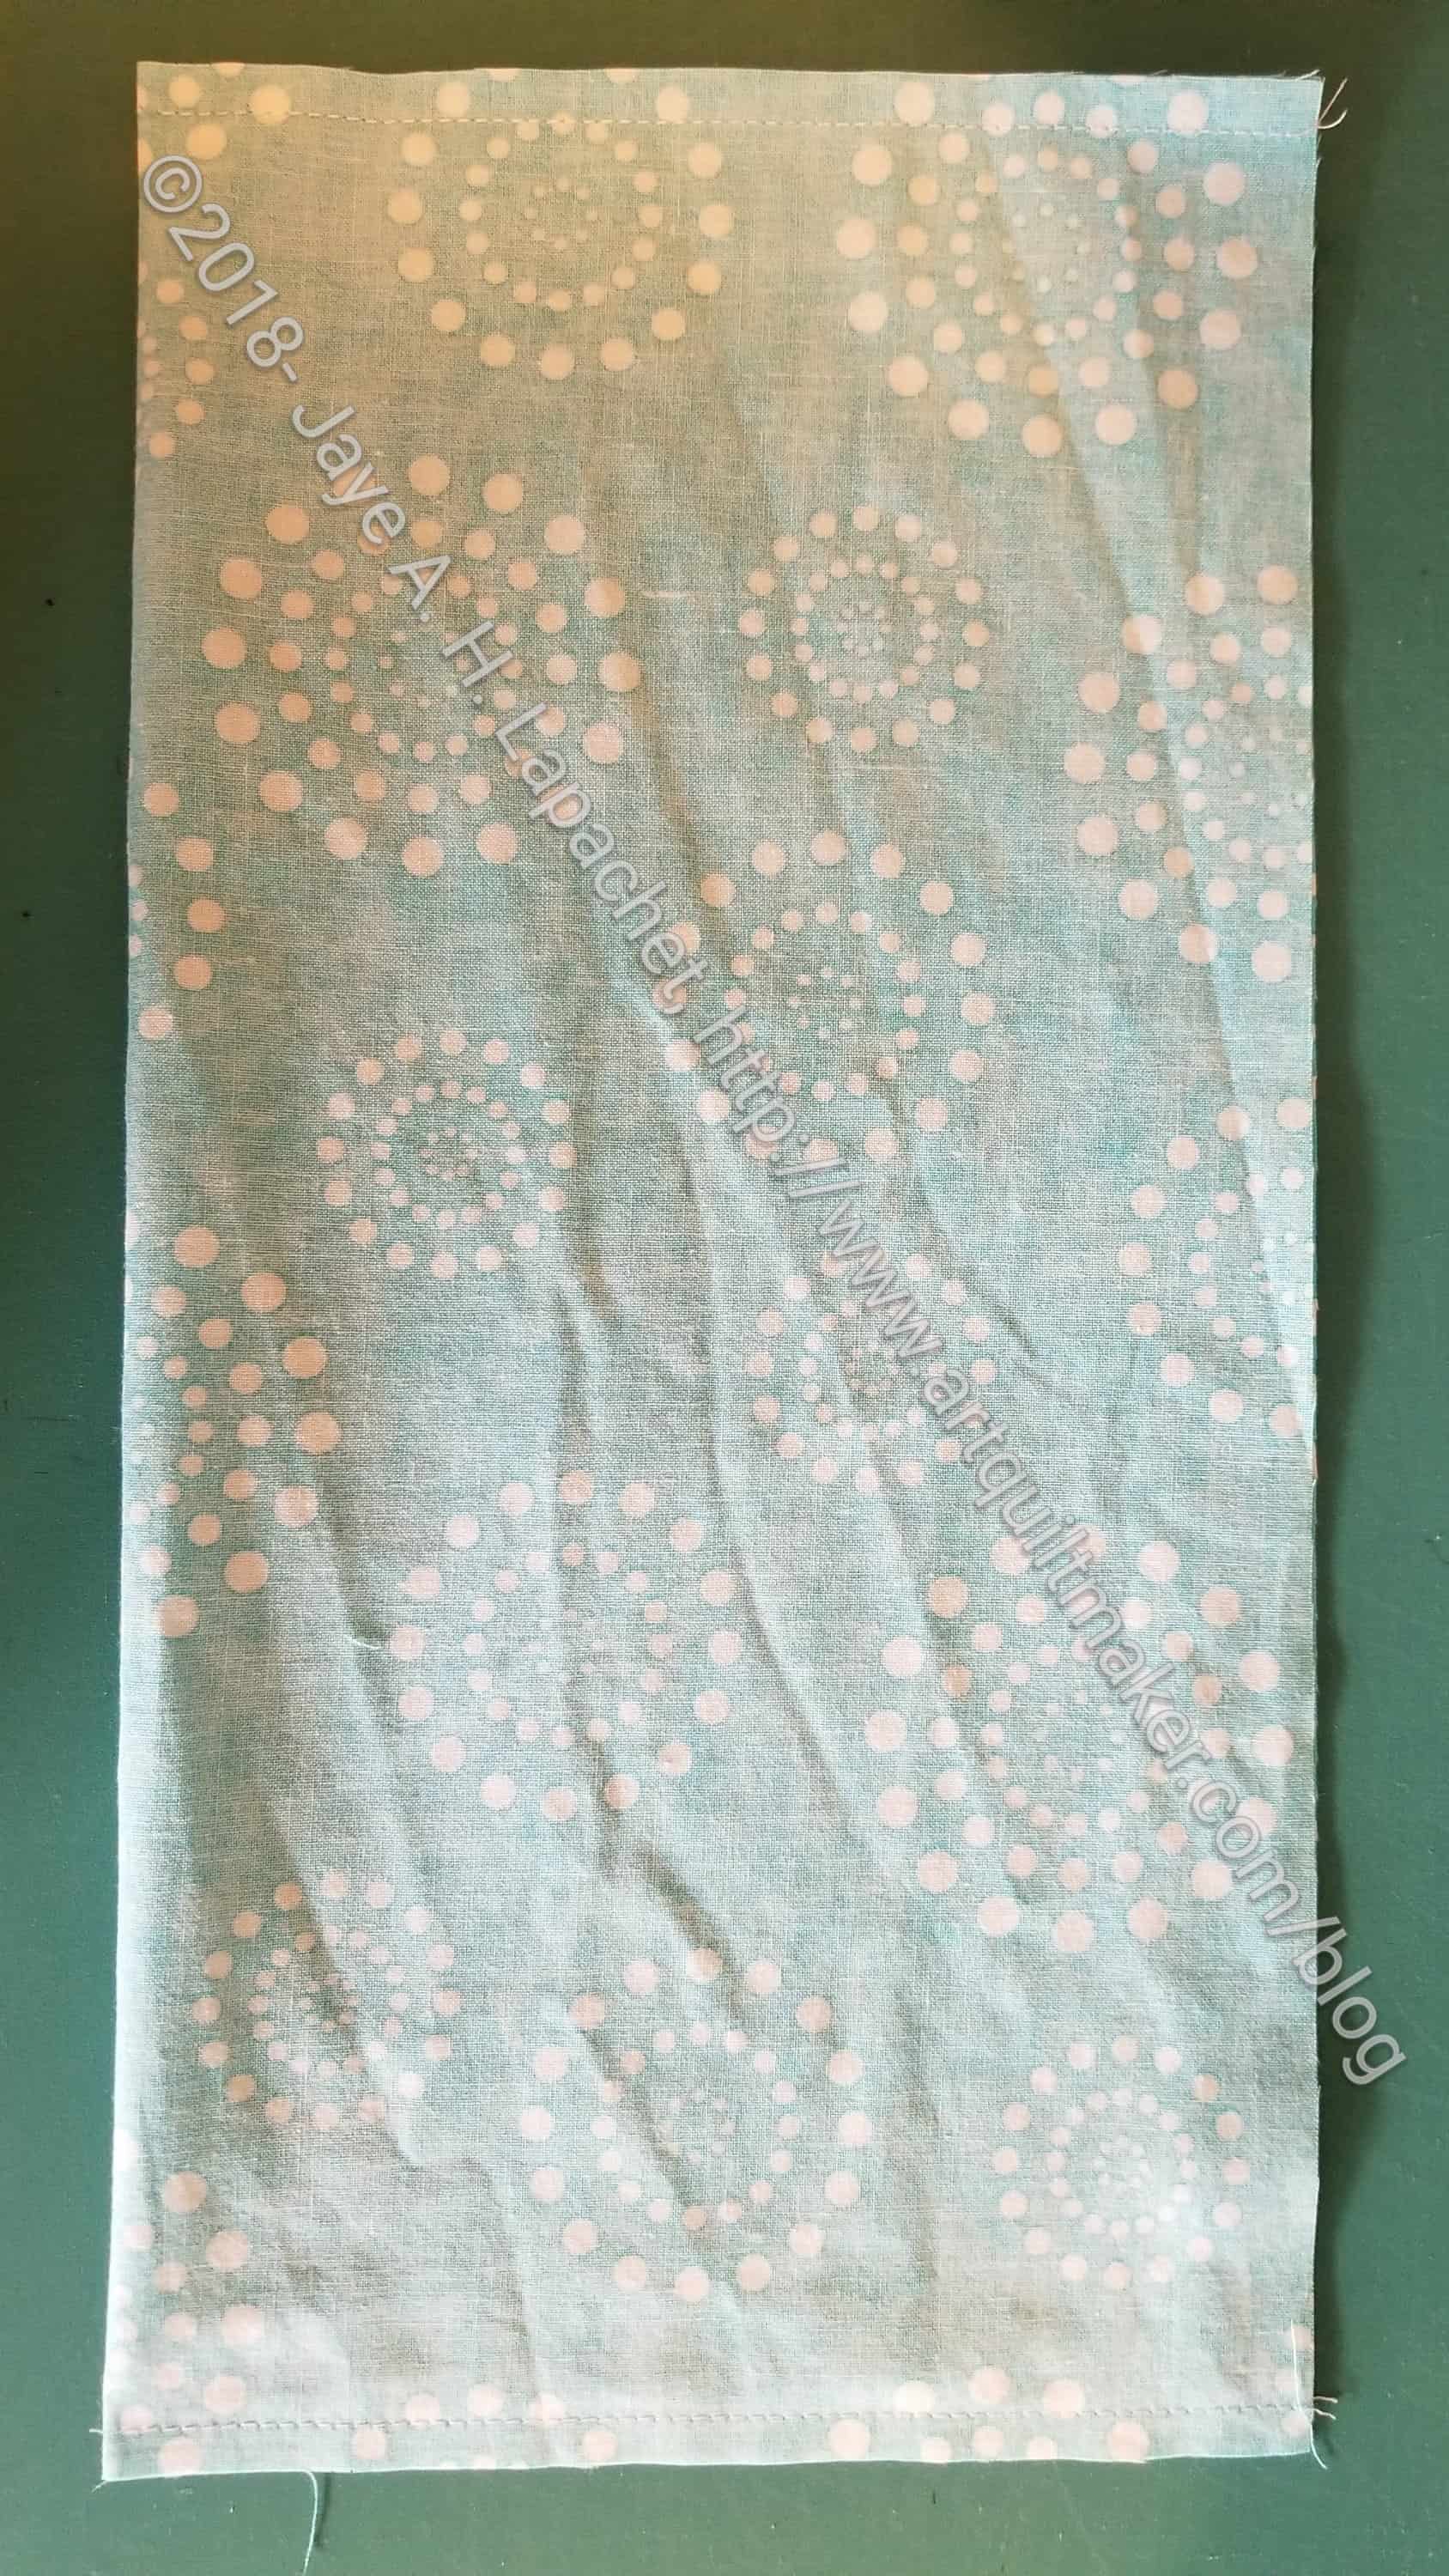
3. Fold each of the 4 background squares in half. This will make your 12.5 x 12.5 inch squares into rectangles (e.g. do not fold NOT along the diagonal).
Hint: I sew all four one after another, but you can sew one at a time, if you prefer.
3A. Sew along the short side, backstitching at the beginning and the end.
Open up rectangles & match edges
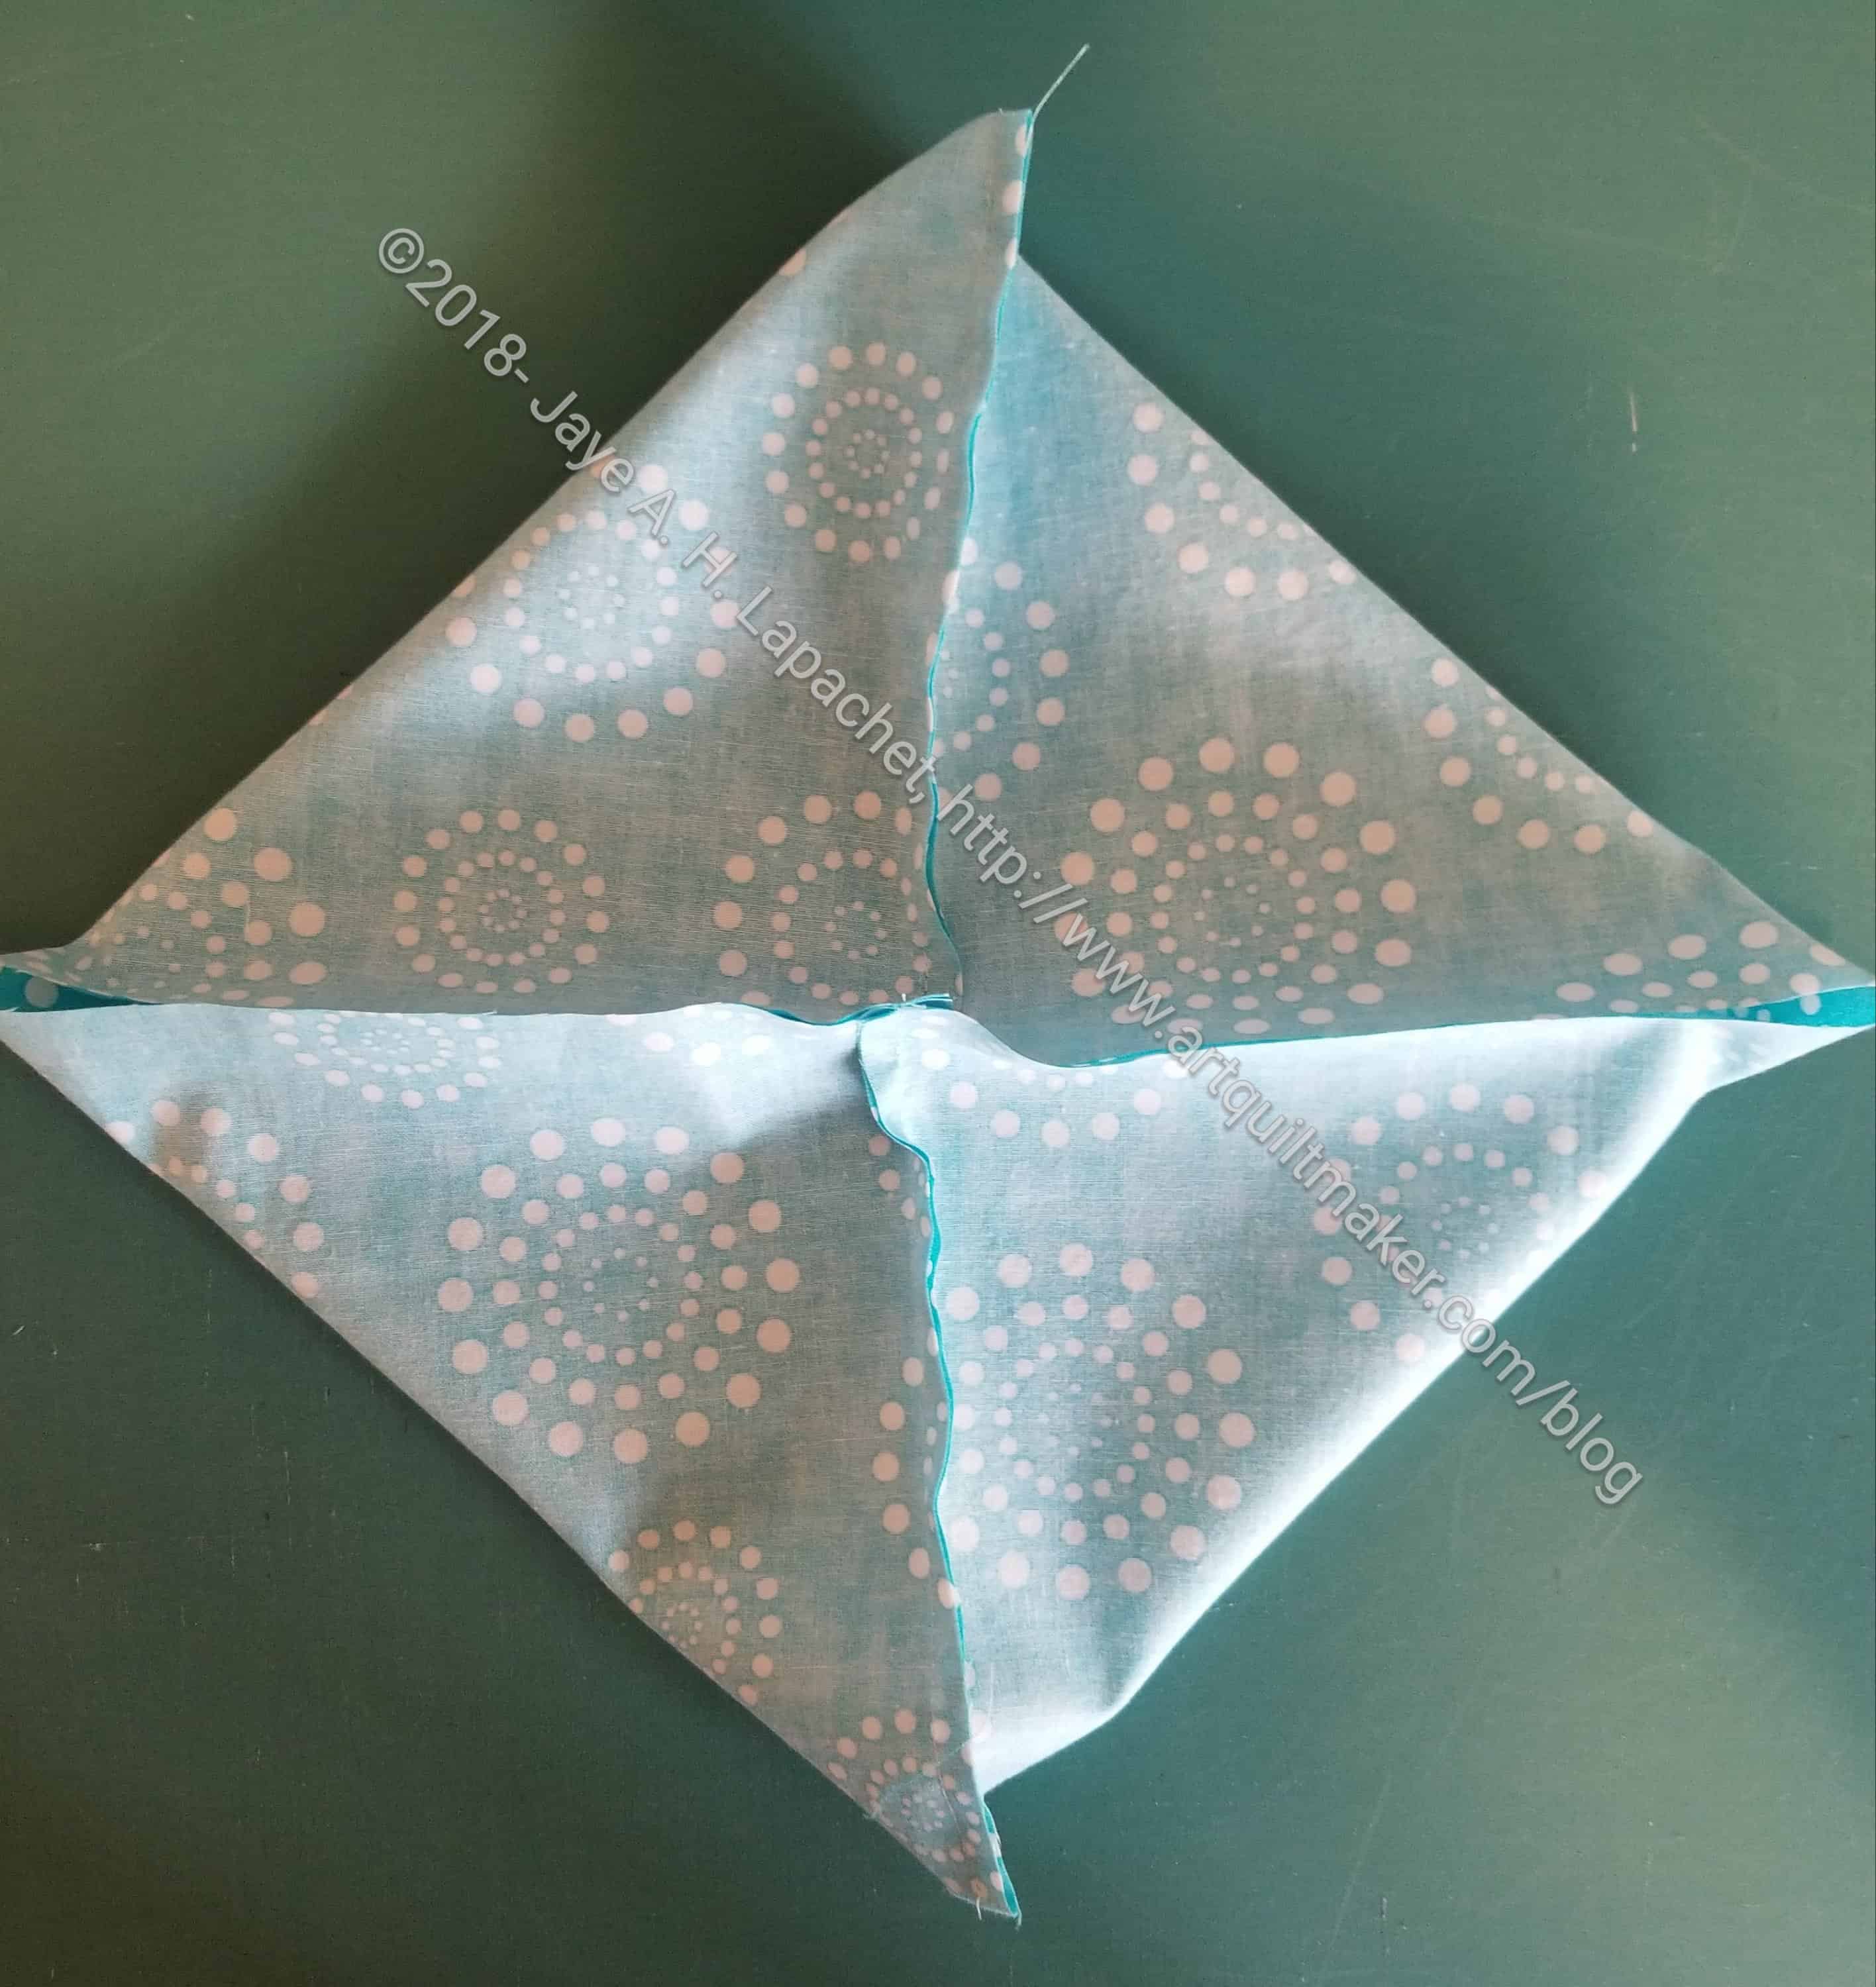
4. Open your rectangles and match up the raw edges.
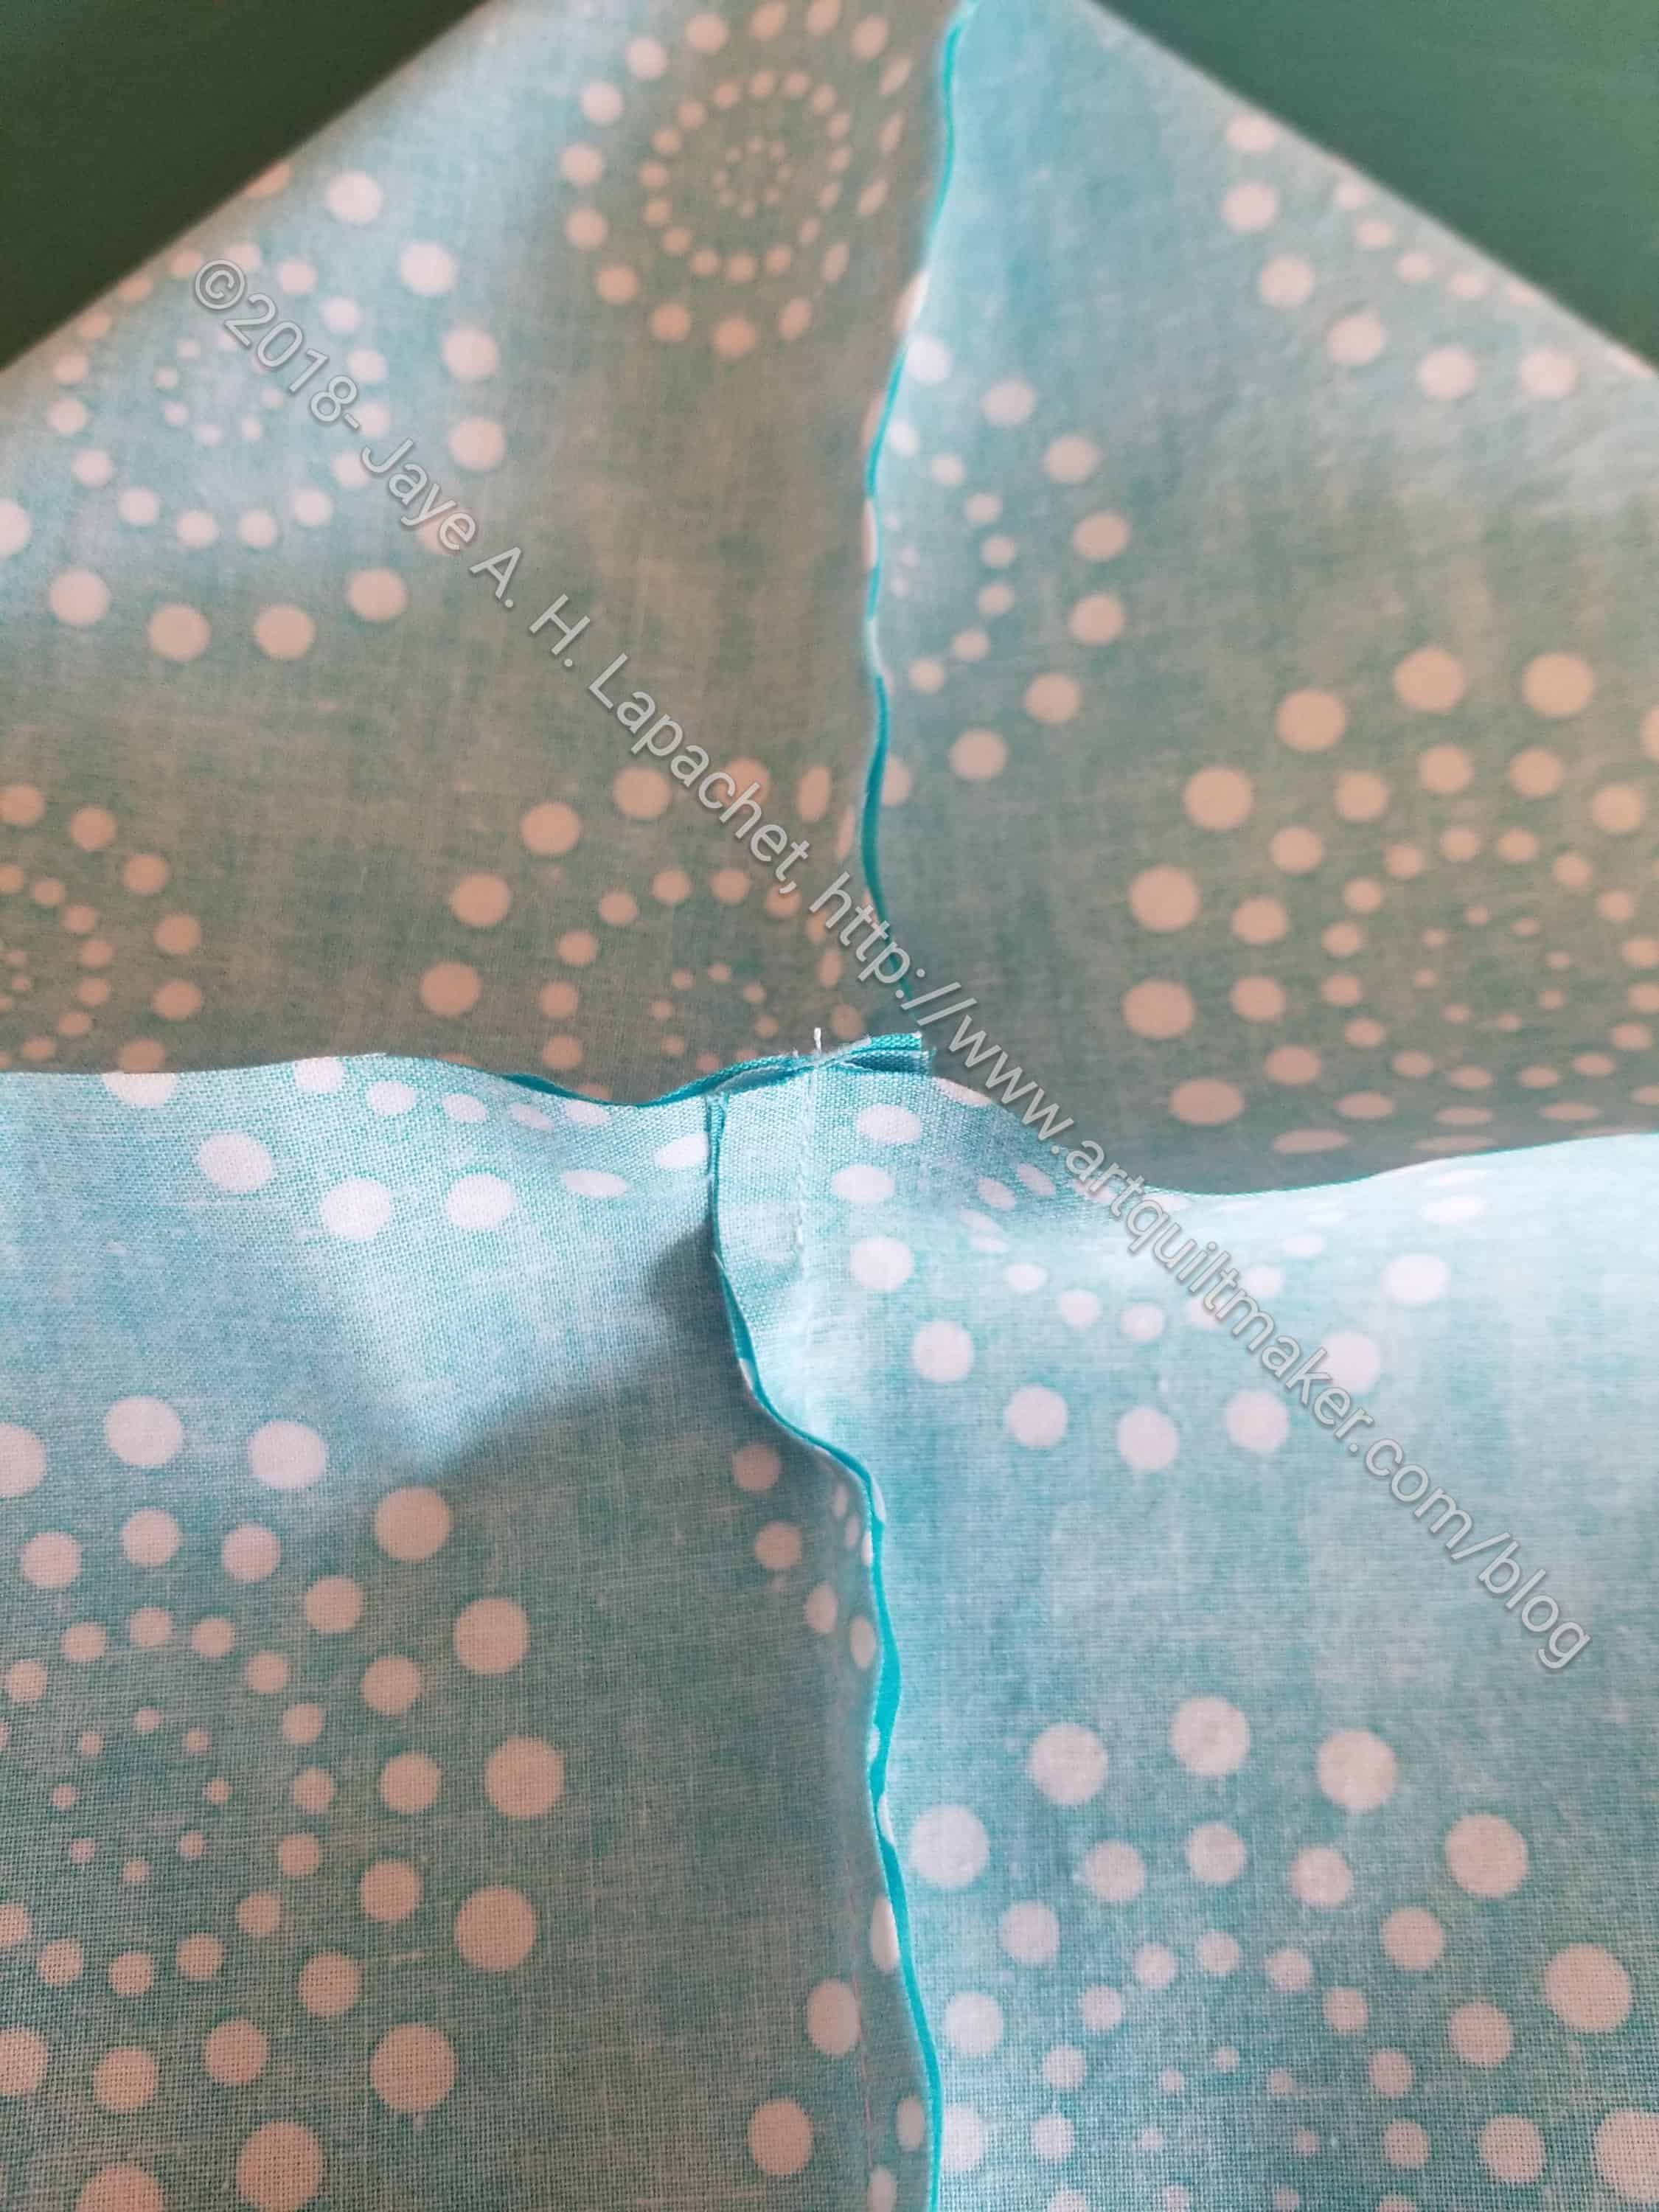
Match edges and nest seams
Hint: I nest the center seams and pin, starting in the middle
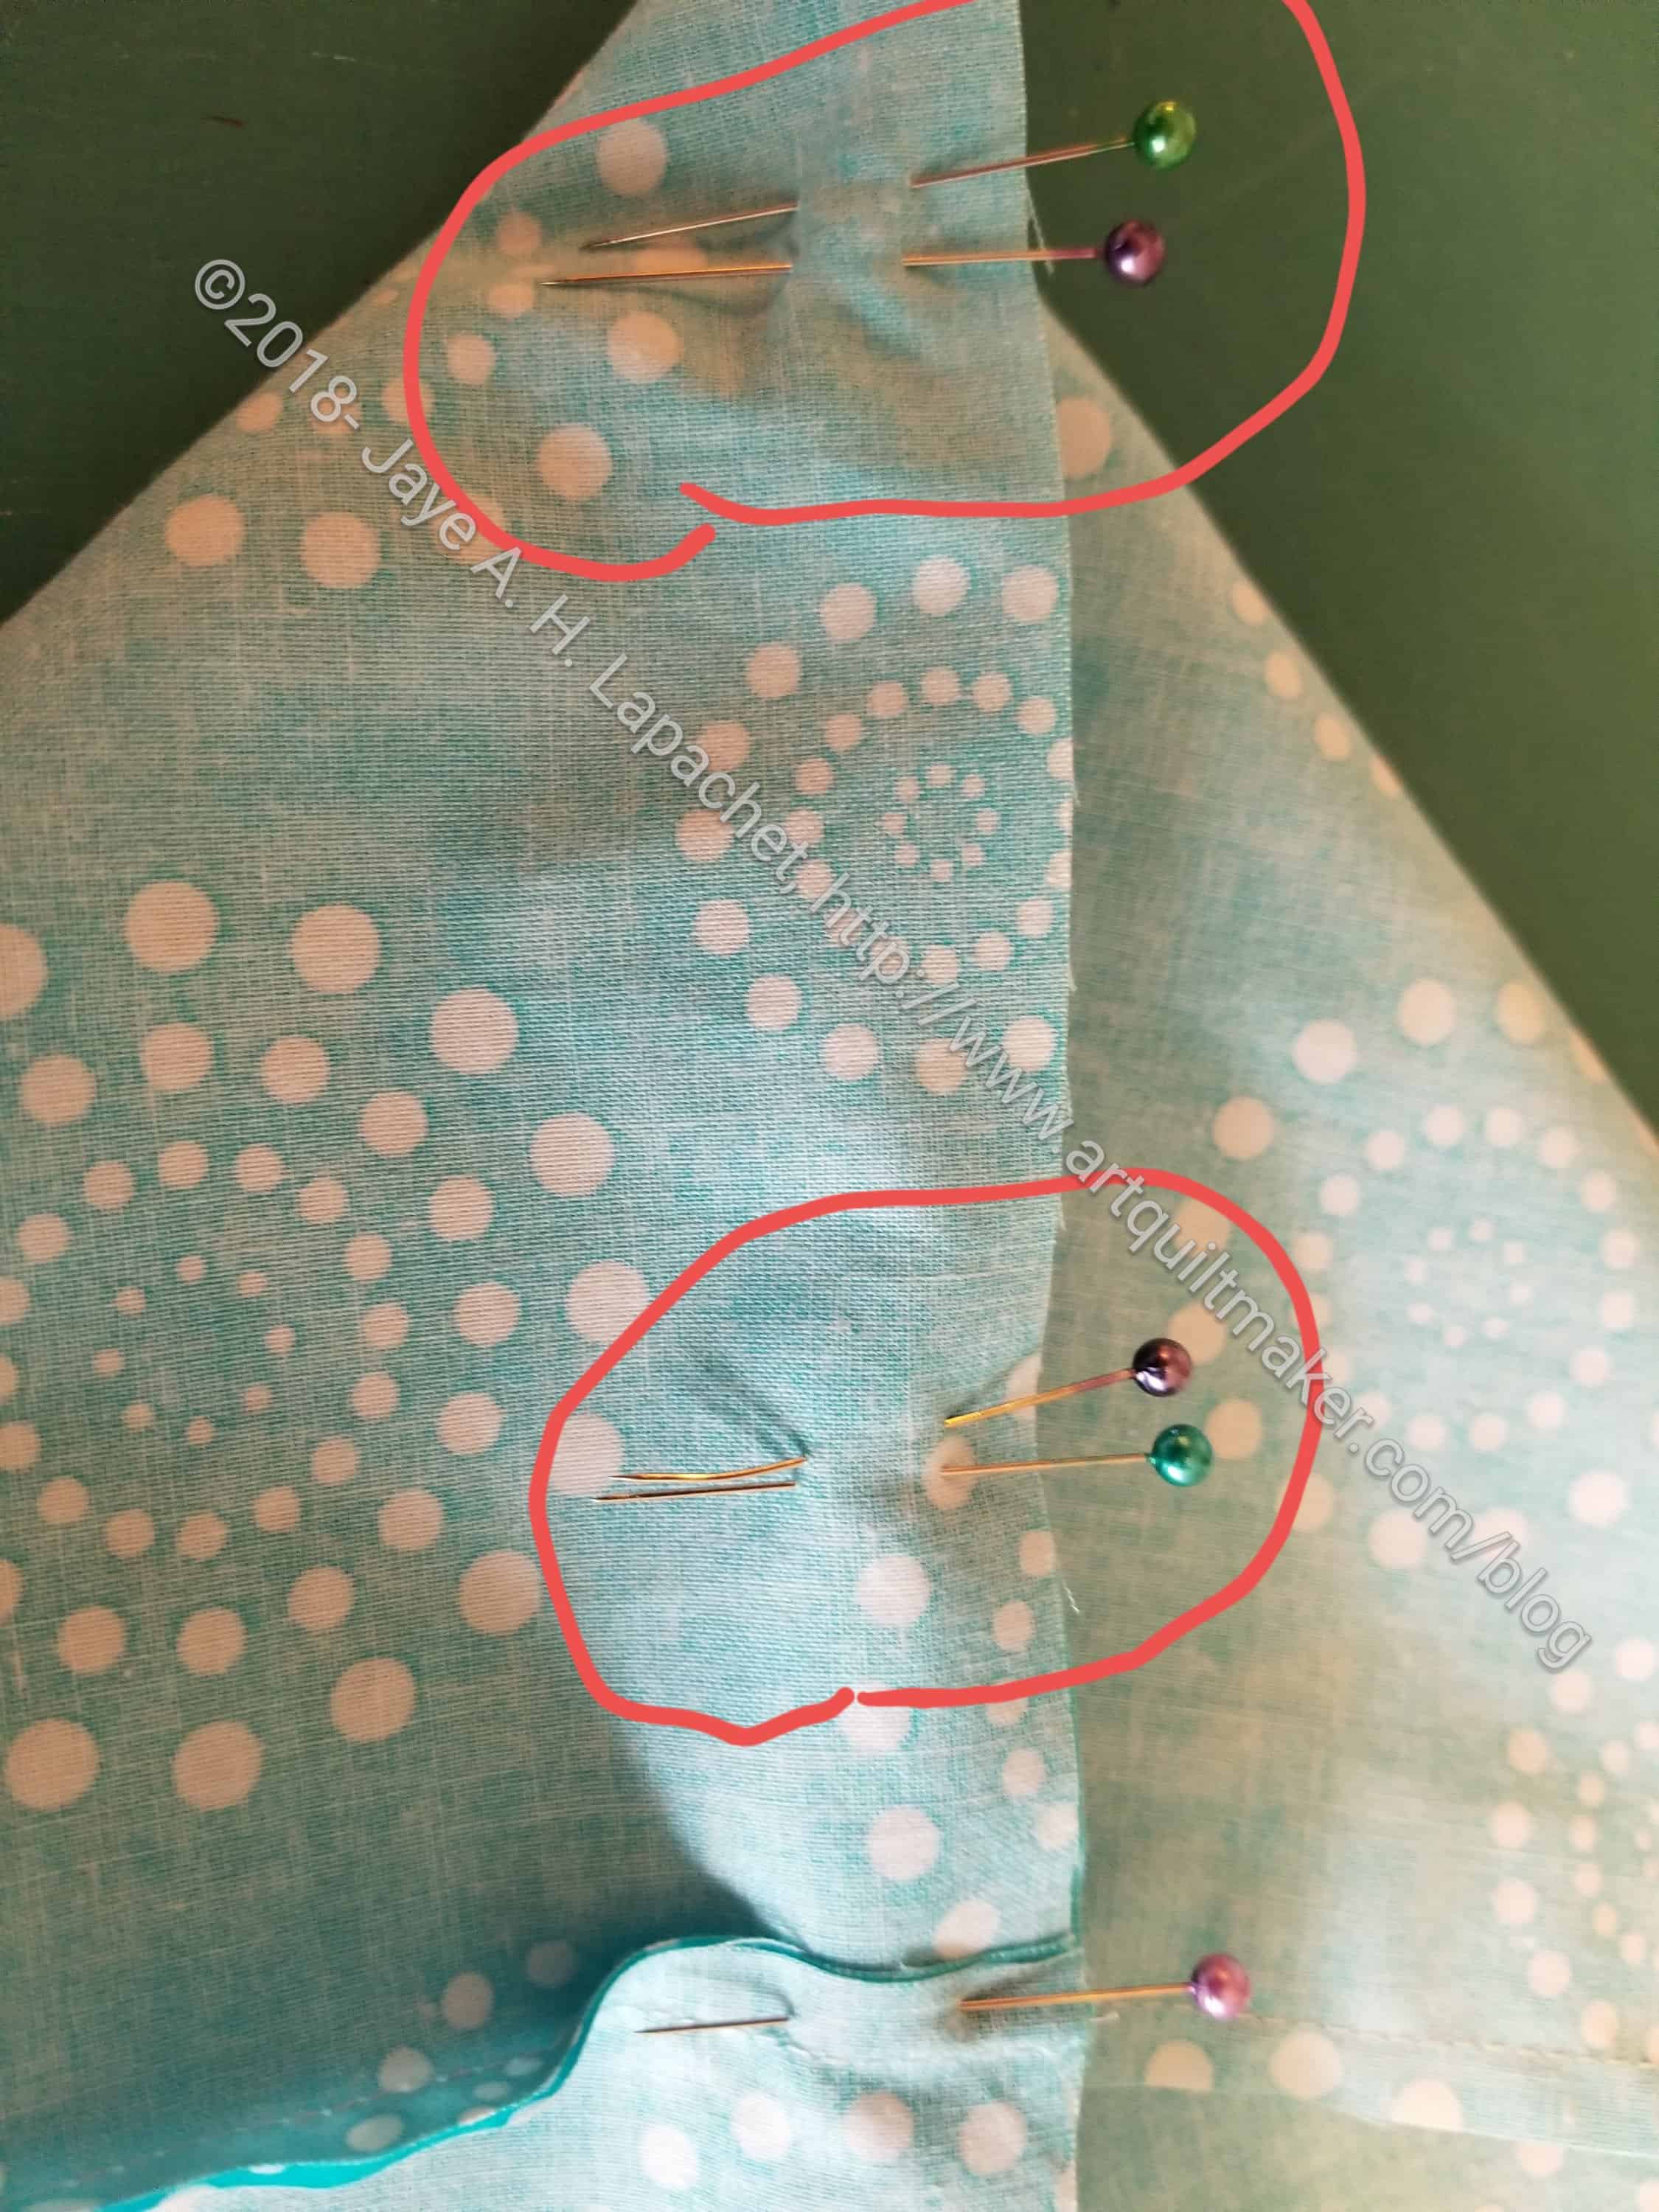
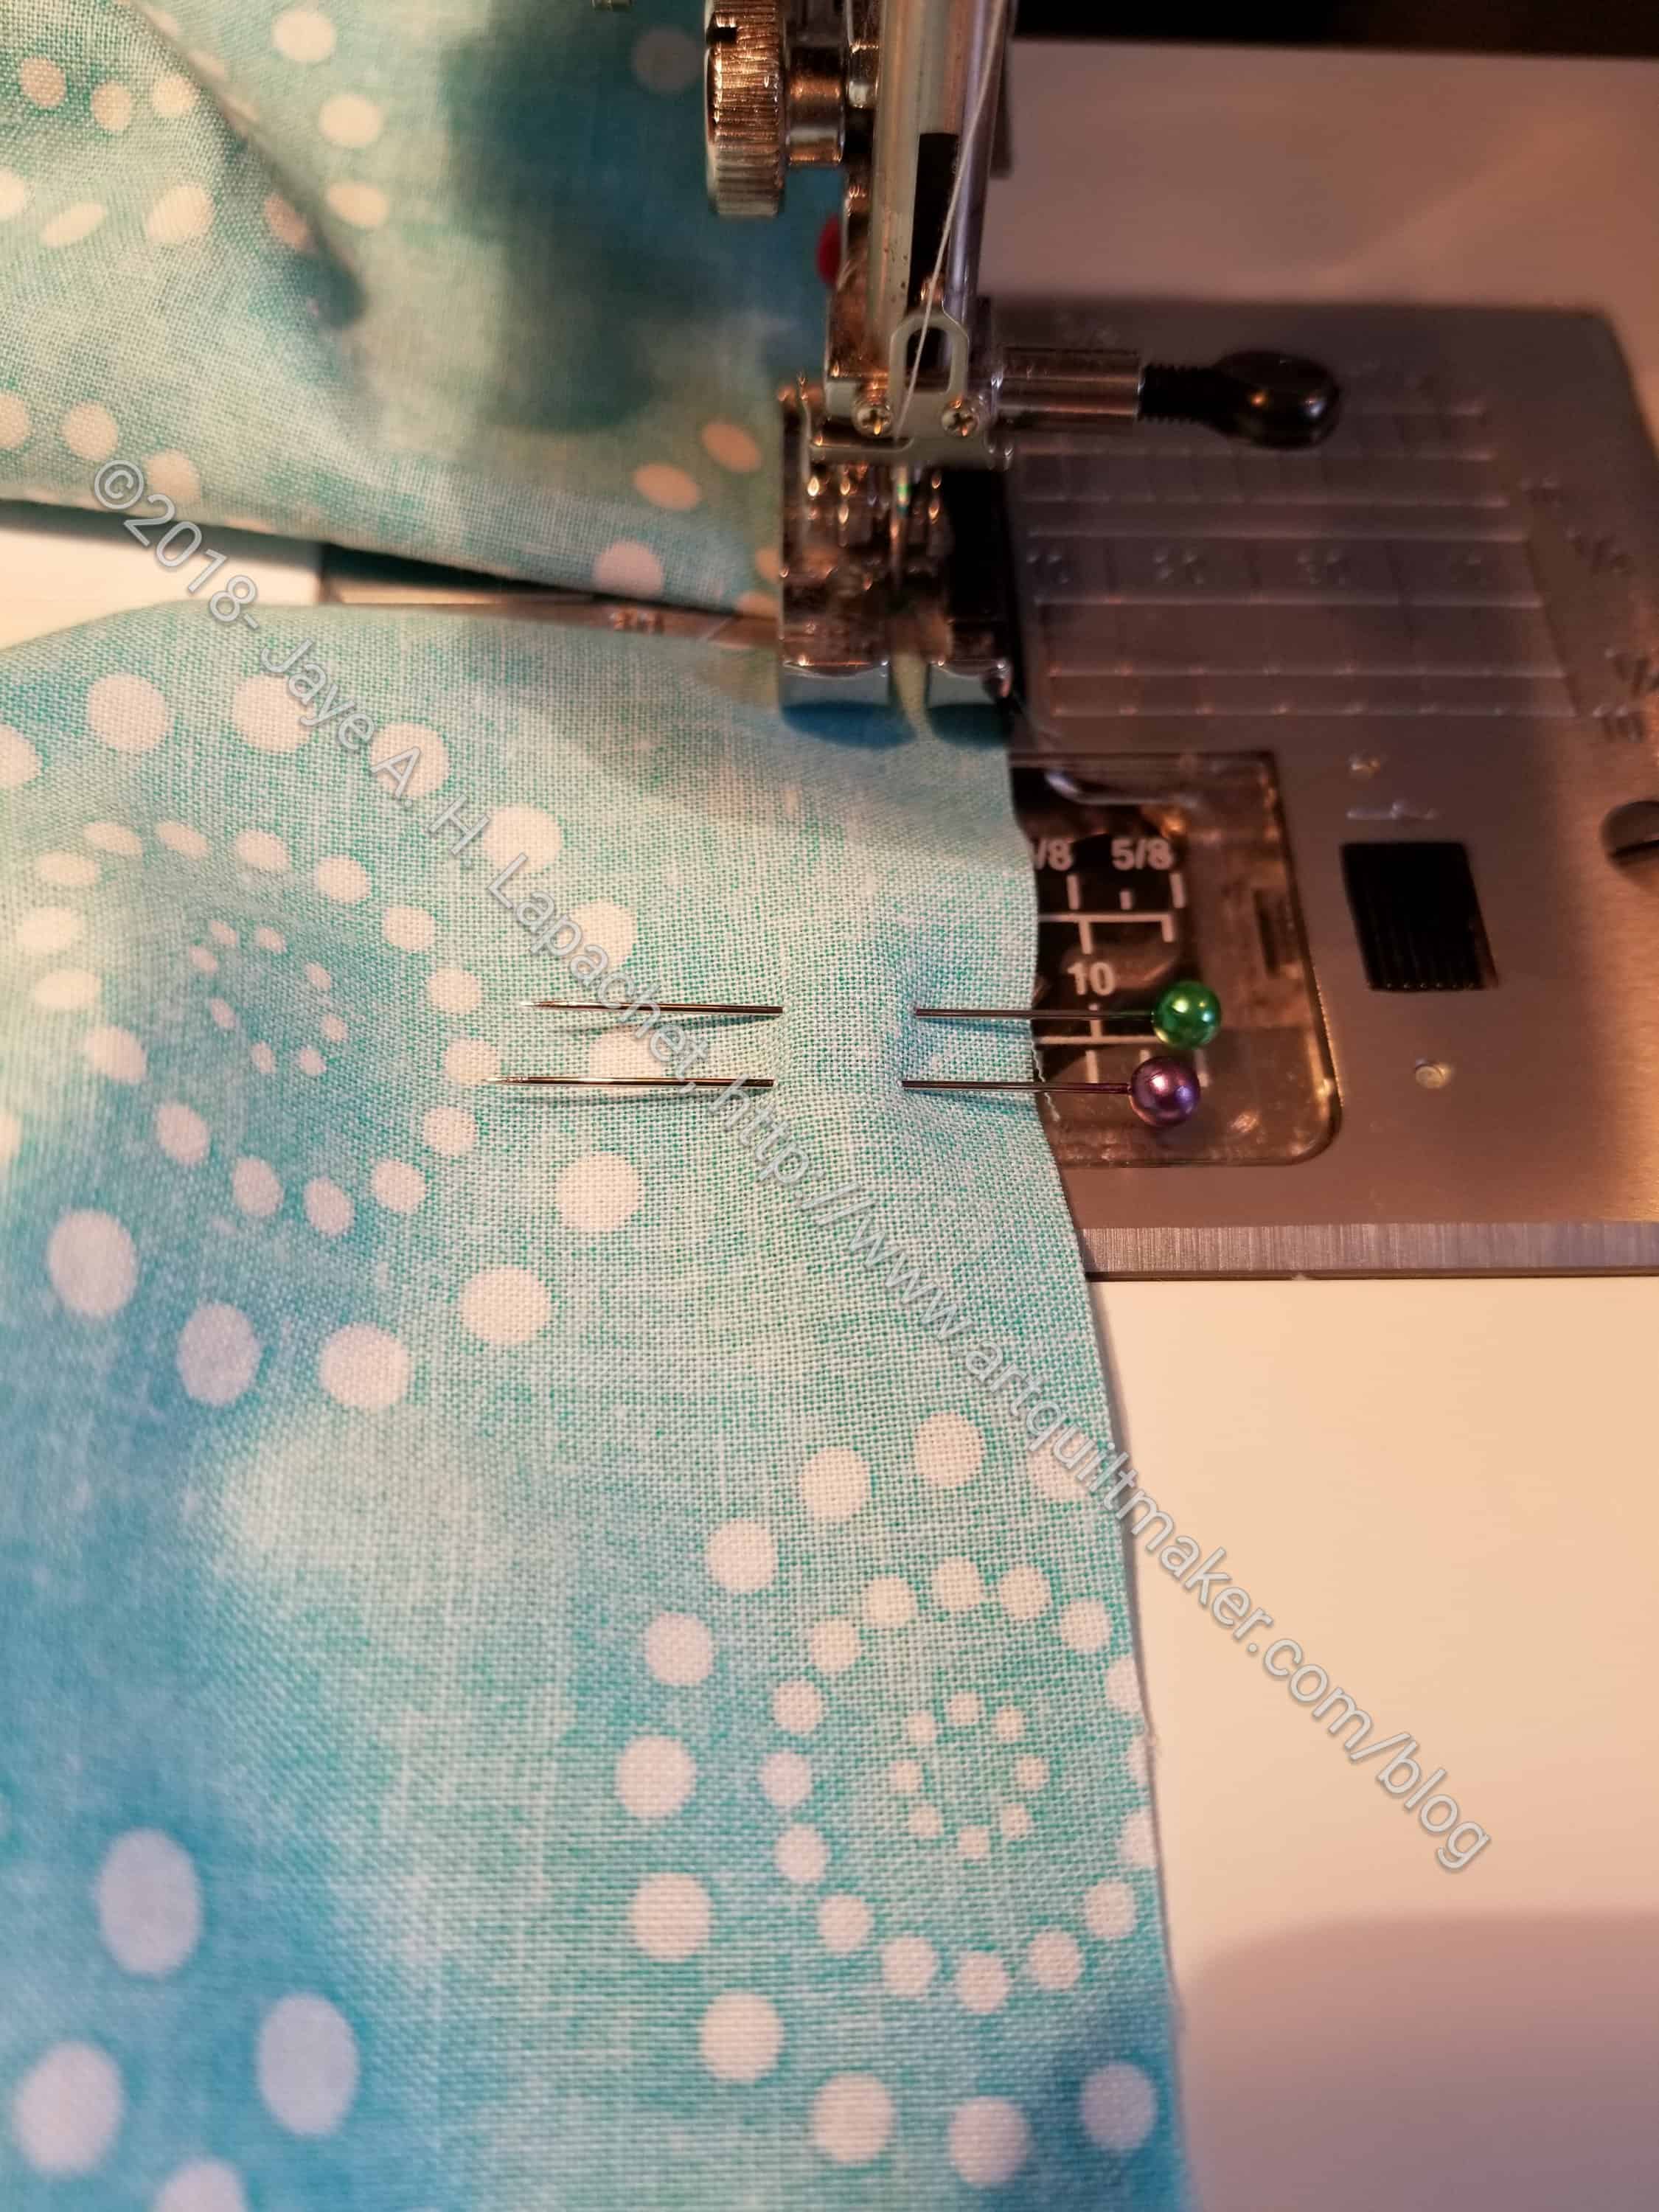
Leave openingPin edges closed, leaving an opening for turning
Hint: leave an opening 2-3 fingers wide for later turning. I mark this with two pins right next to each other.
Sew seam shut
5. Sew your pinned seam shut except for the opening you have left.
Backstitch at beginning and endBackstitch at beginning and end
Hint: I backstitch at the beginning and end of the seams including next to the opening. Yes, it is a hassle to start and stop, but I don’t want the edges of the seams to come apart when I turn.
Smooth out blocks
6. Place recently sewn squares on the ironing board and smooth out wrong side out (above). They should make nice squares.
7. Press nested seams in opposite directions from the center out.
Press seam open to minimize bulk
8. Press long seams in one direction, being careful to line up edge of opening as best you can. You can press this seam open if you want.
You should now have 4 nice flat squares with wrong sides out.
9. Turn squares right sides out.
10 Poke out corners carefully. I use a knitting needle whose mate broke.
Your squares are now on the bias, so be careful when you handle them.
Press right side
10A. Press
Press
Corners folded in
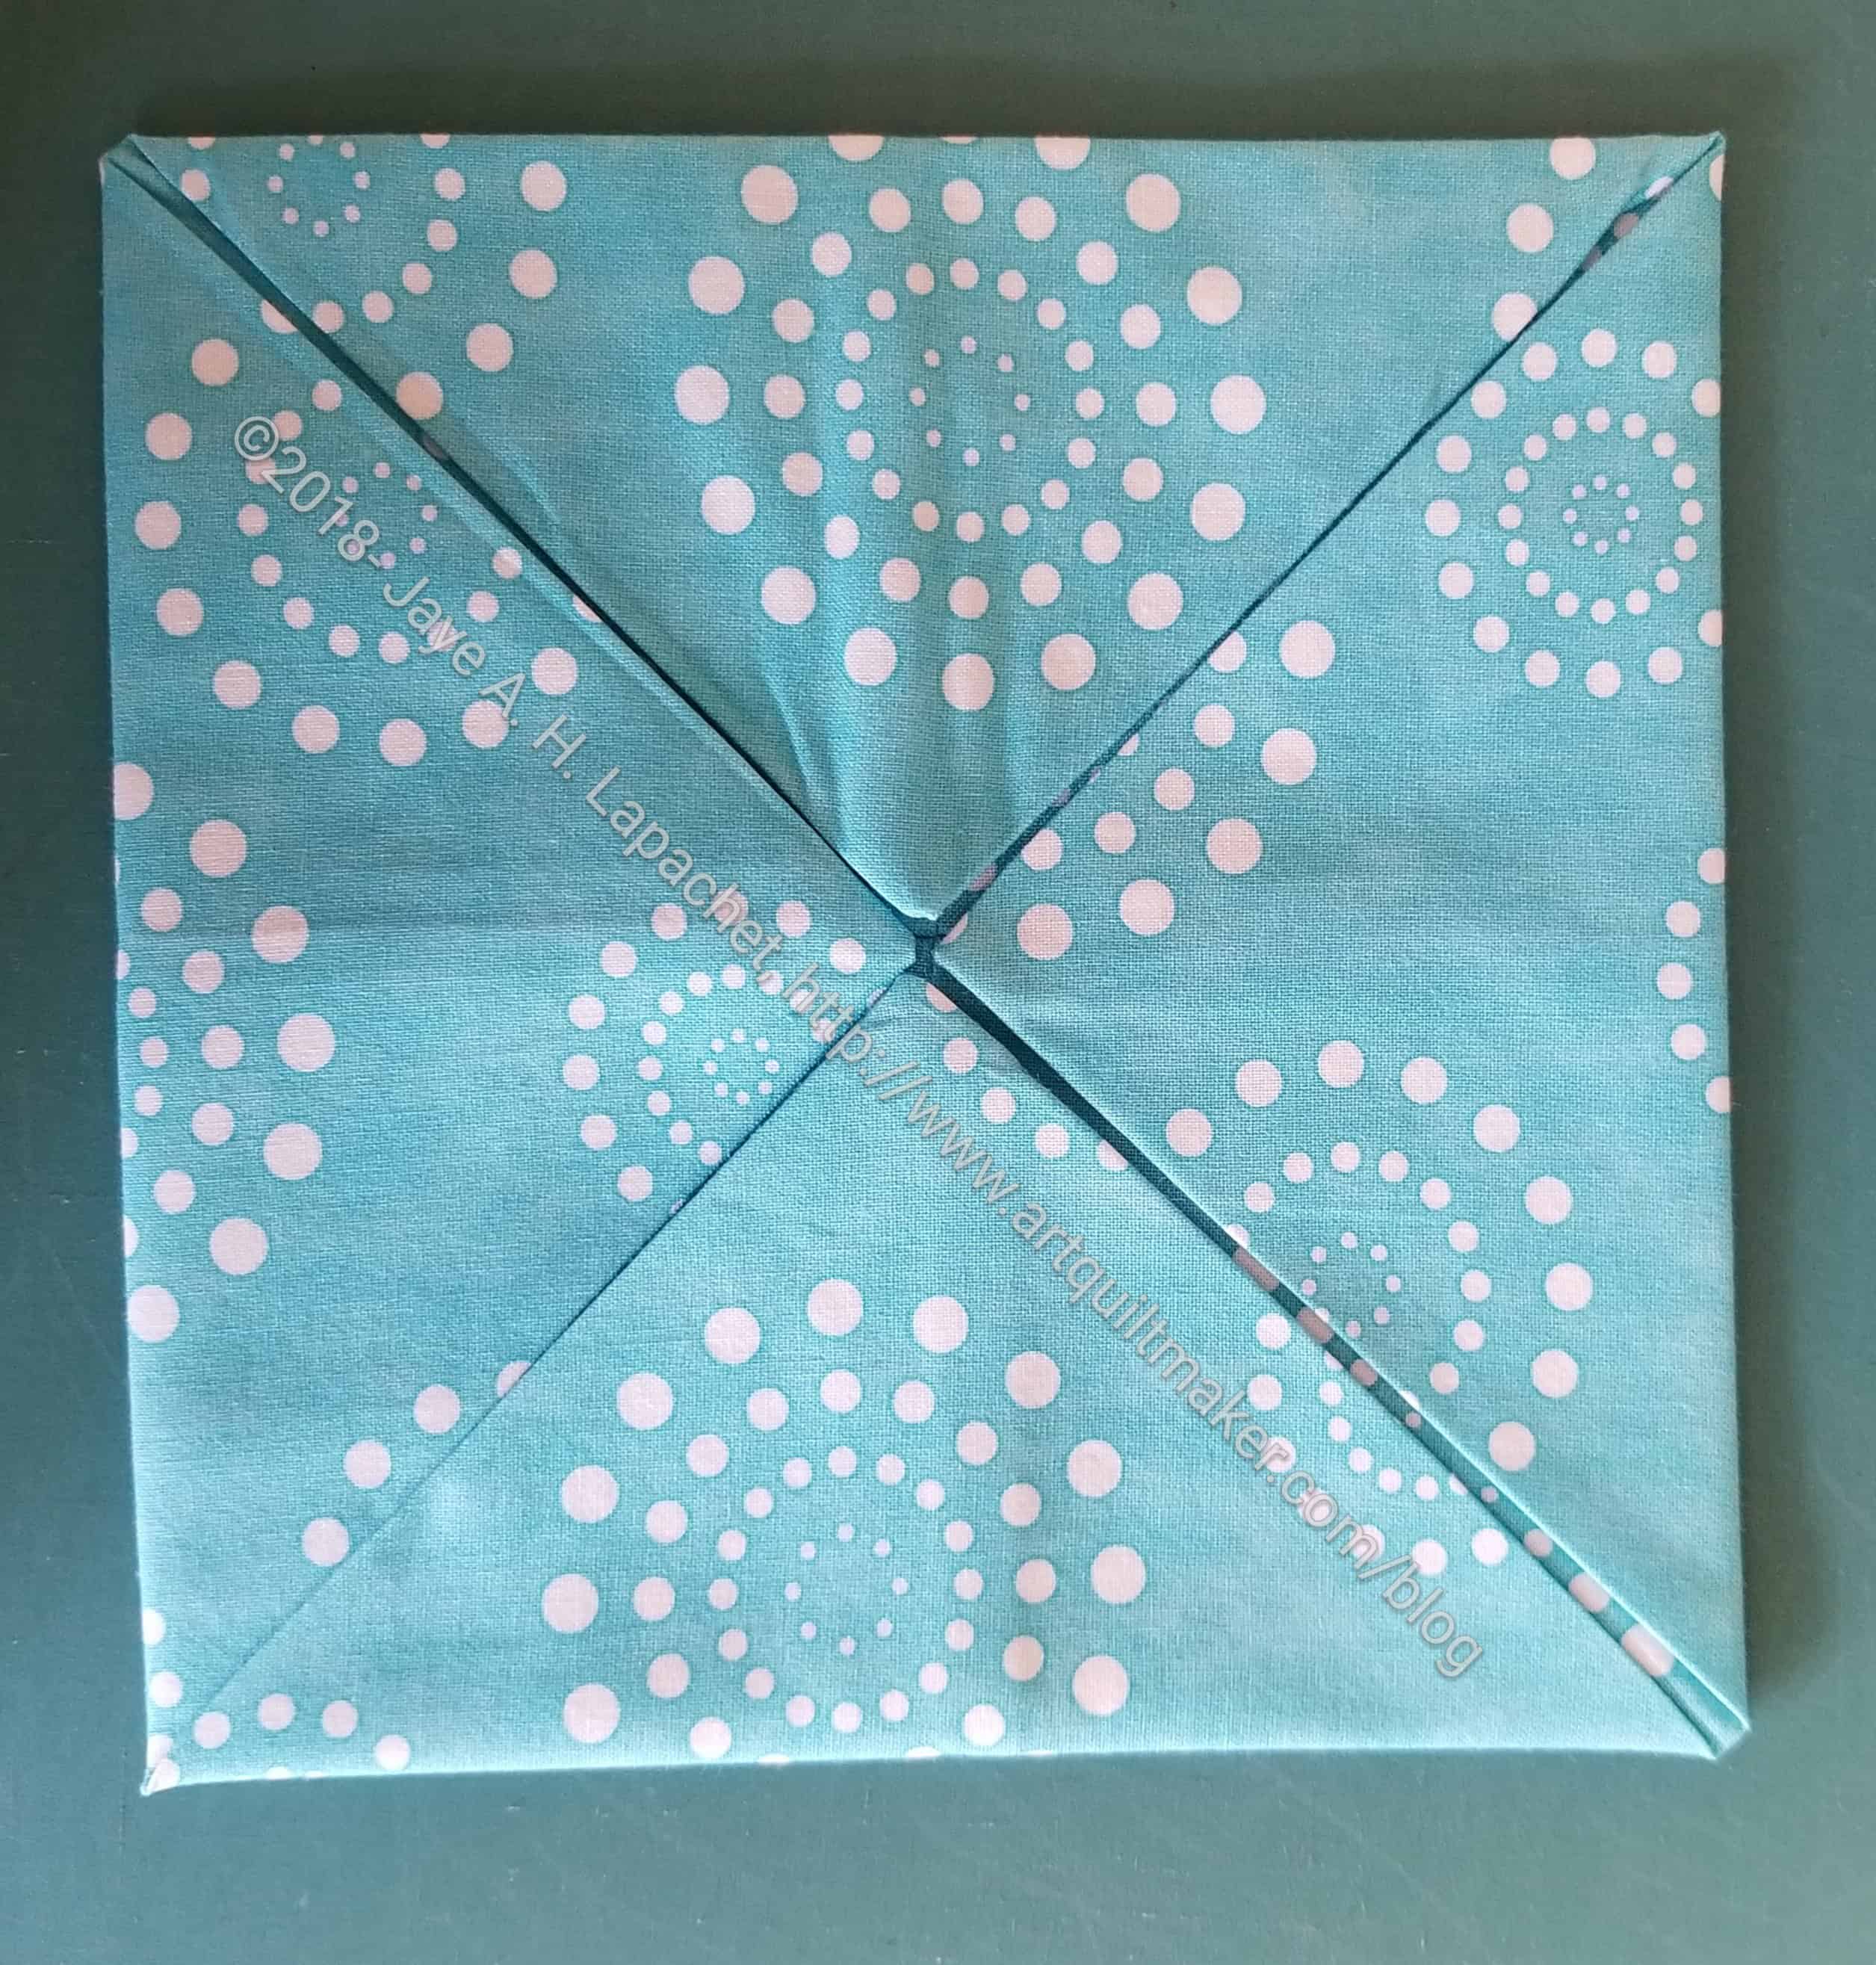
11. Fold corners into the center. Do this with all four corners and make a new square. The square should be 6 inches.
4 blocks laid out in a 2×2 grid
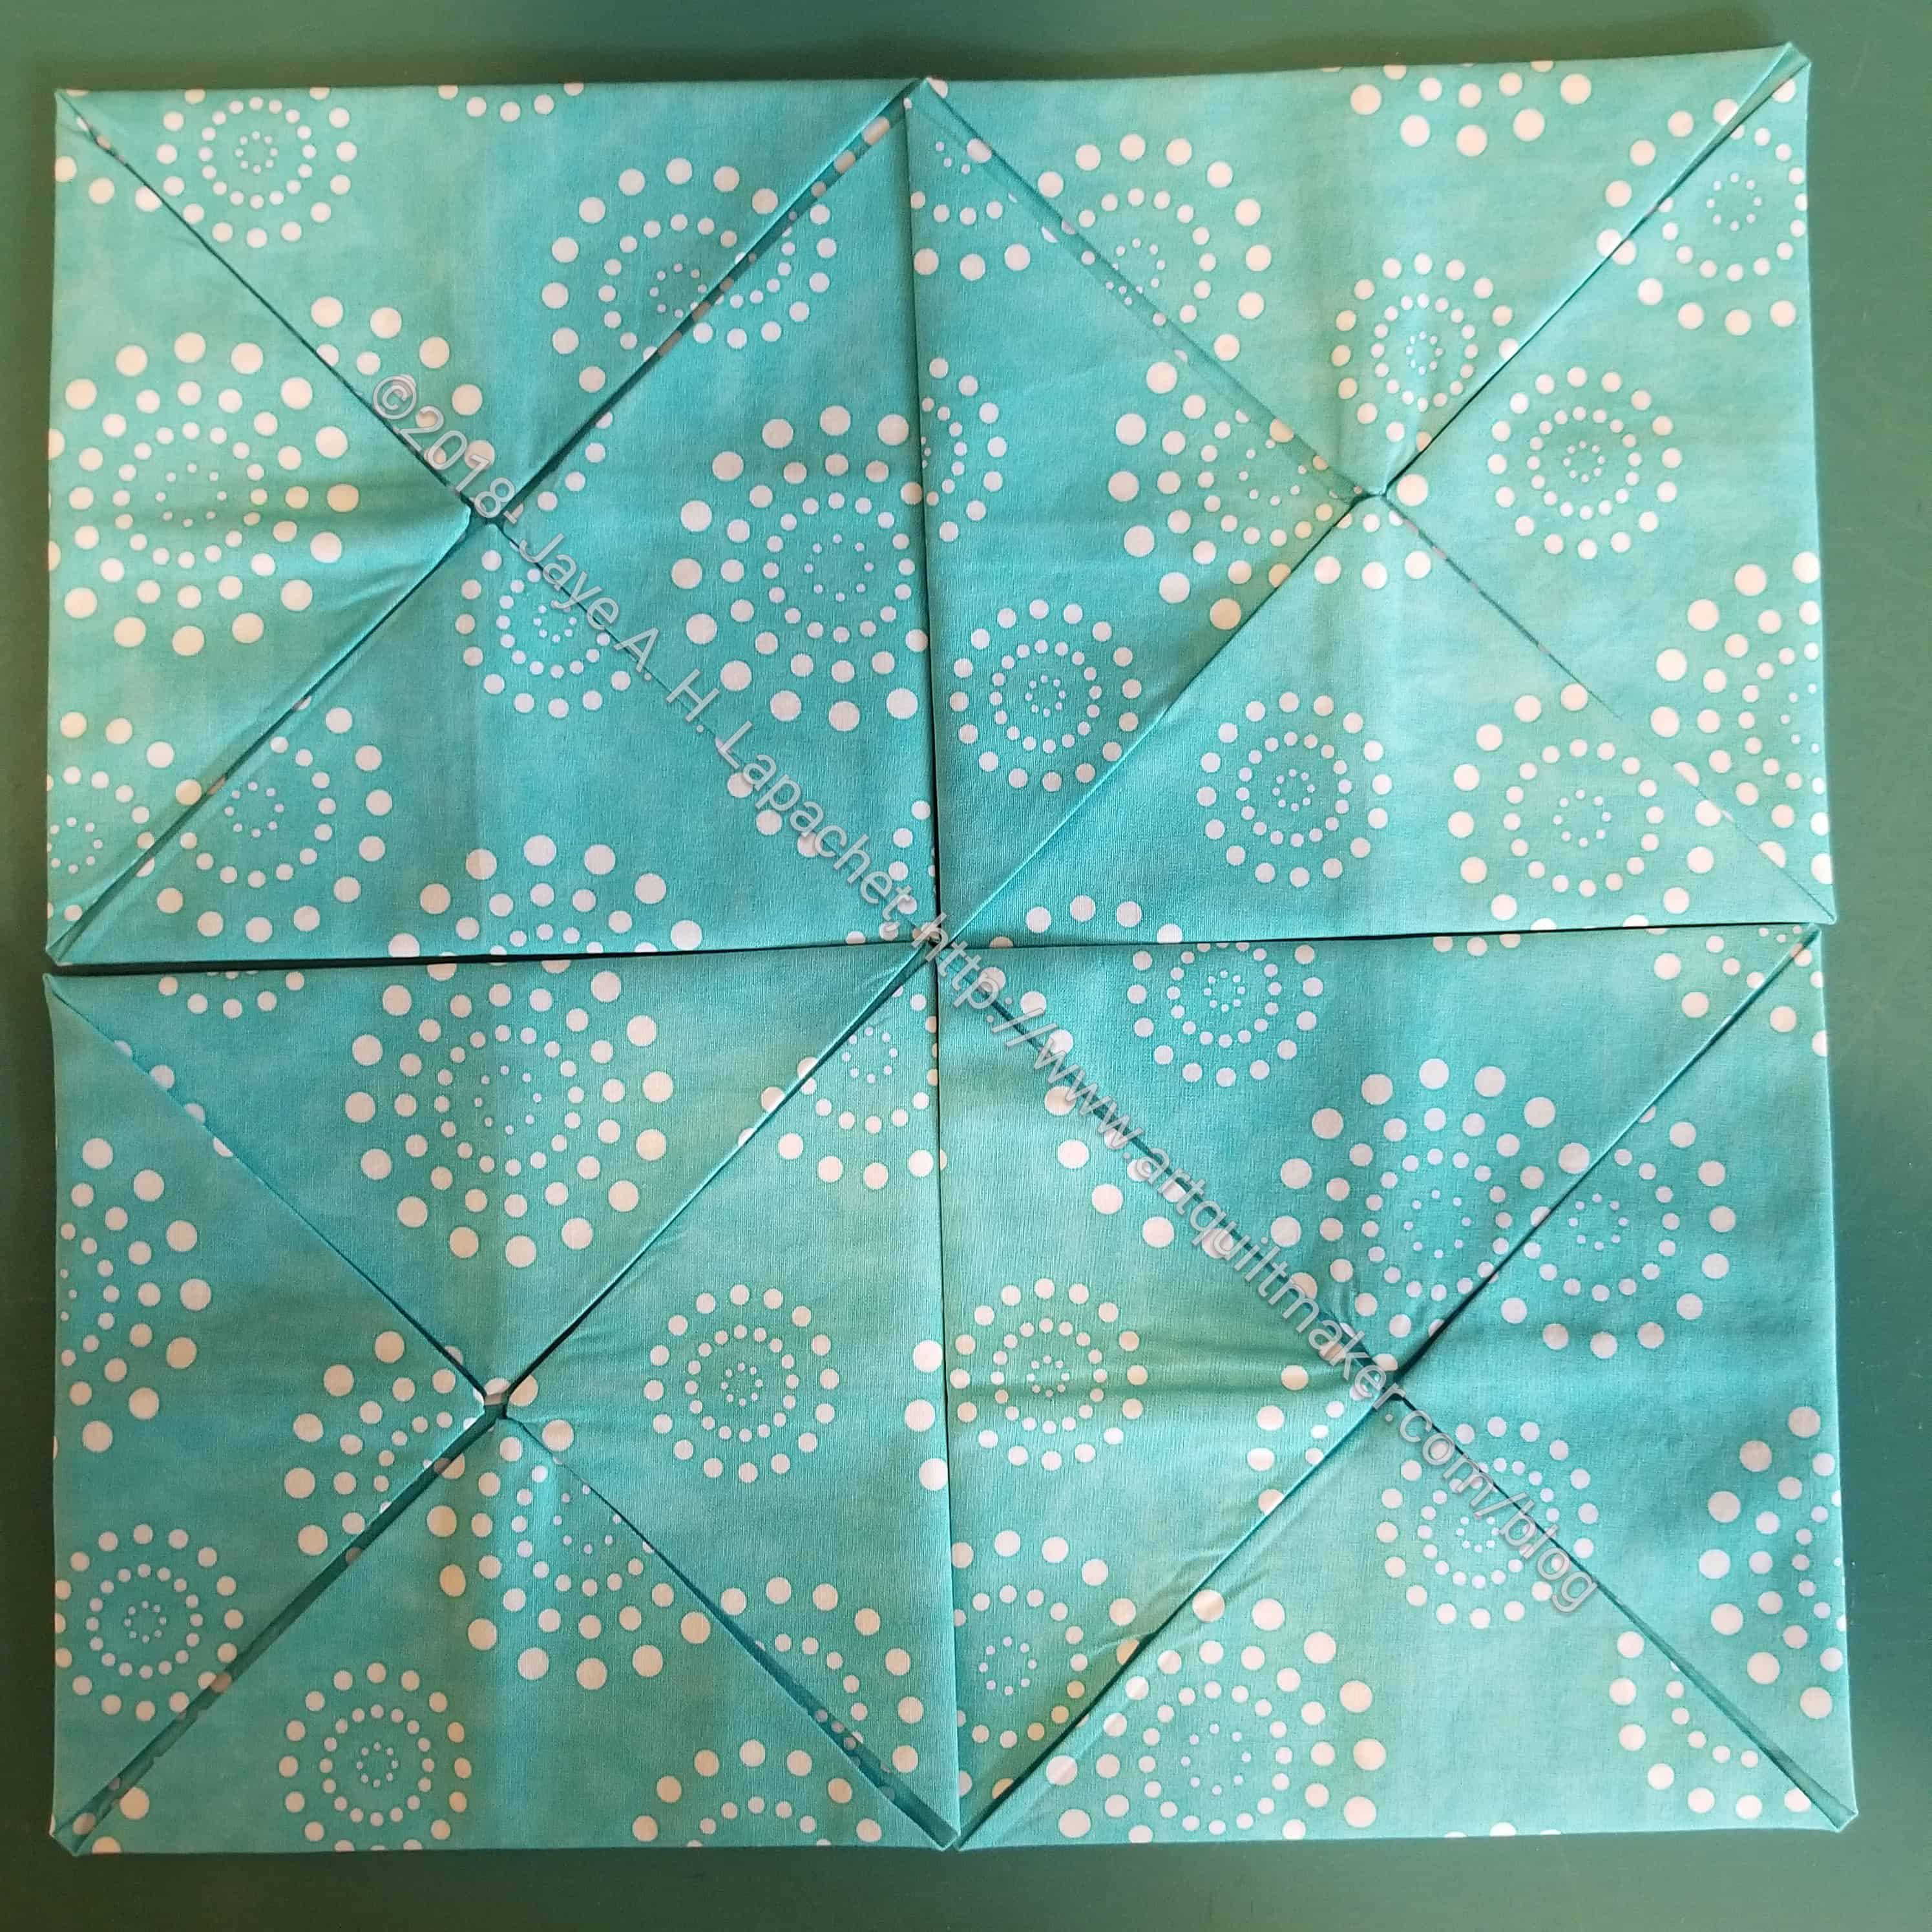
12. Lay out the blocks in a 2 x 2 grid, so you can see what you have
Pin triangles together
13. Pin the center triangles of the two top triangles together. Do the same for the bottom triangles. Now your 2×2 grid will be pinned together in two rectangular sections
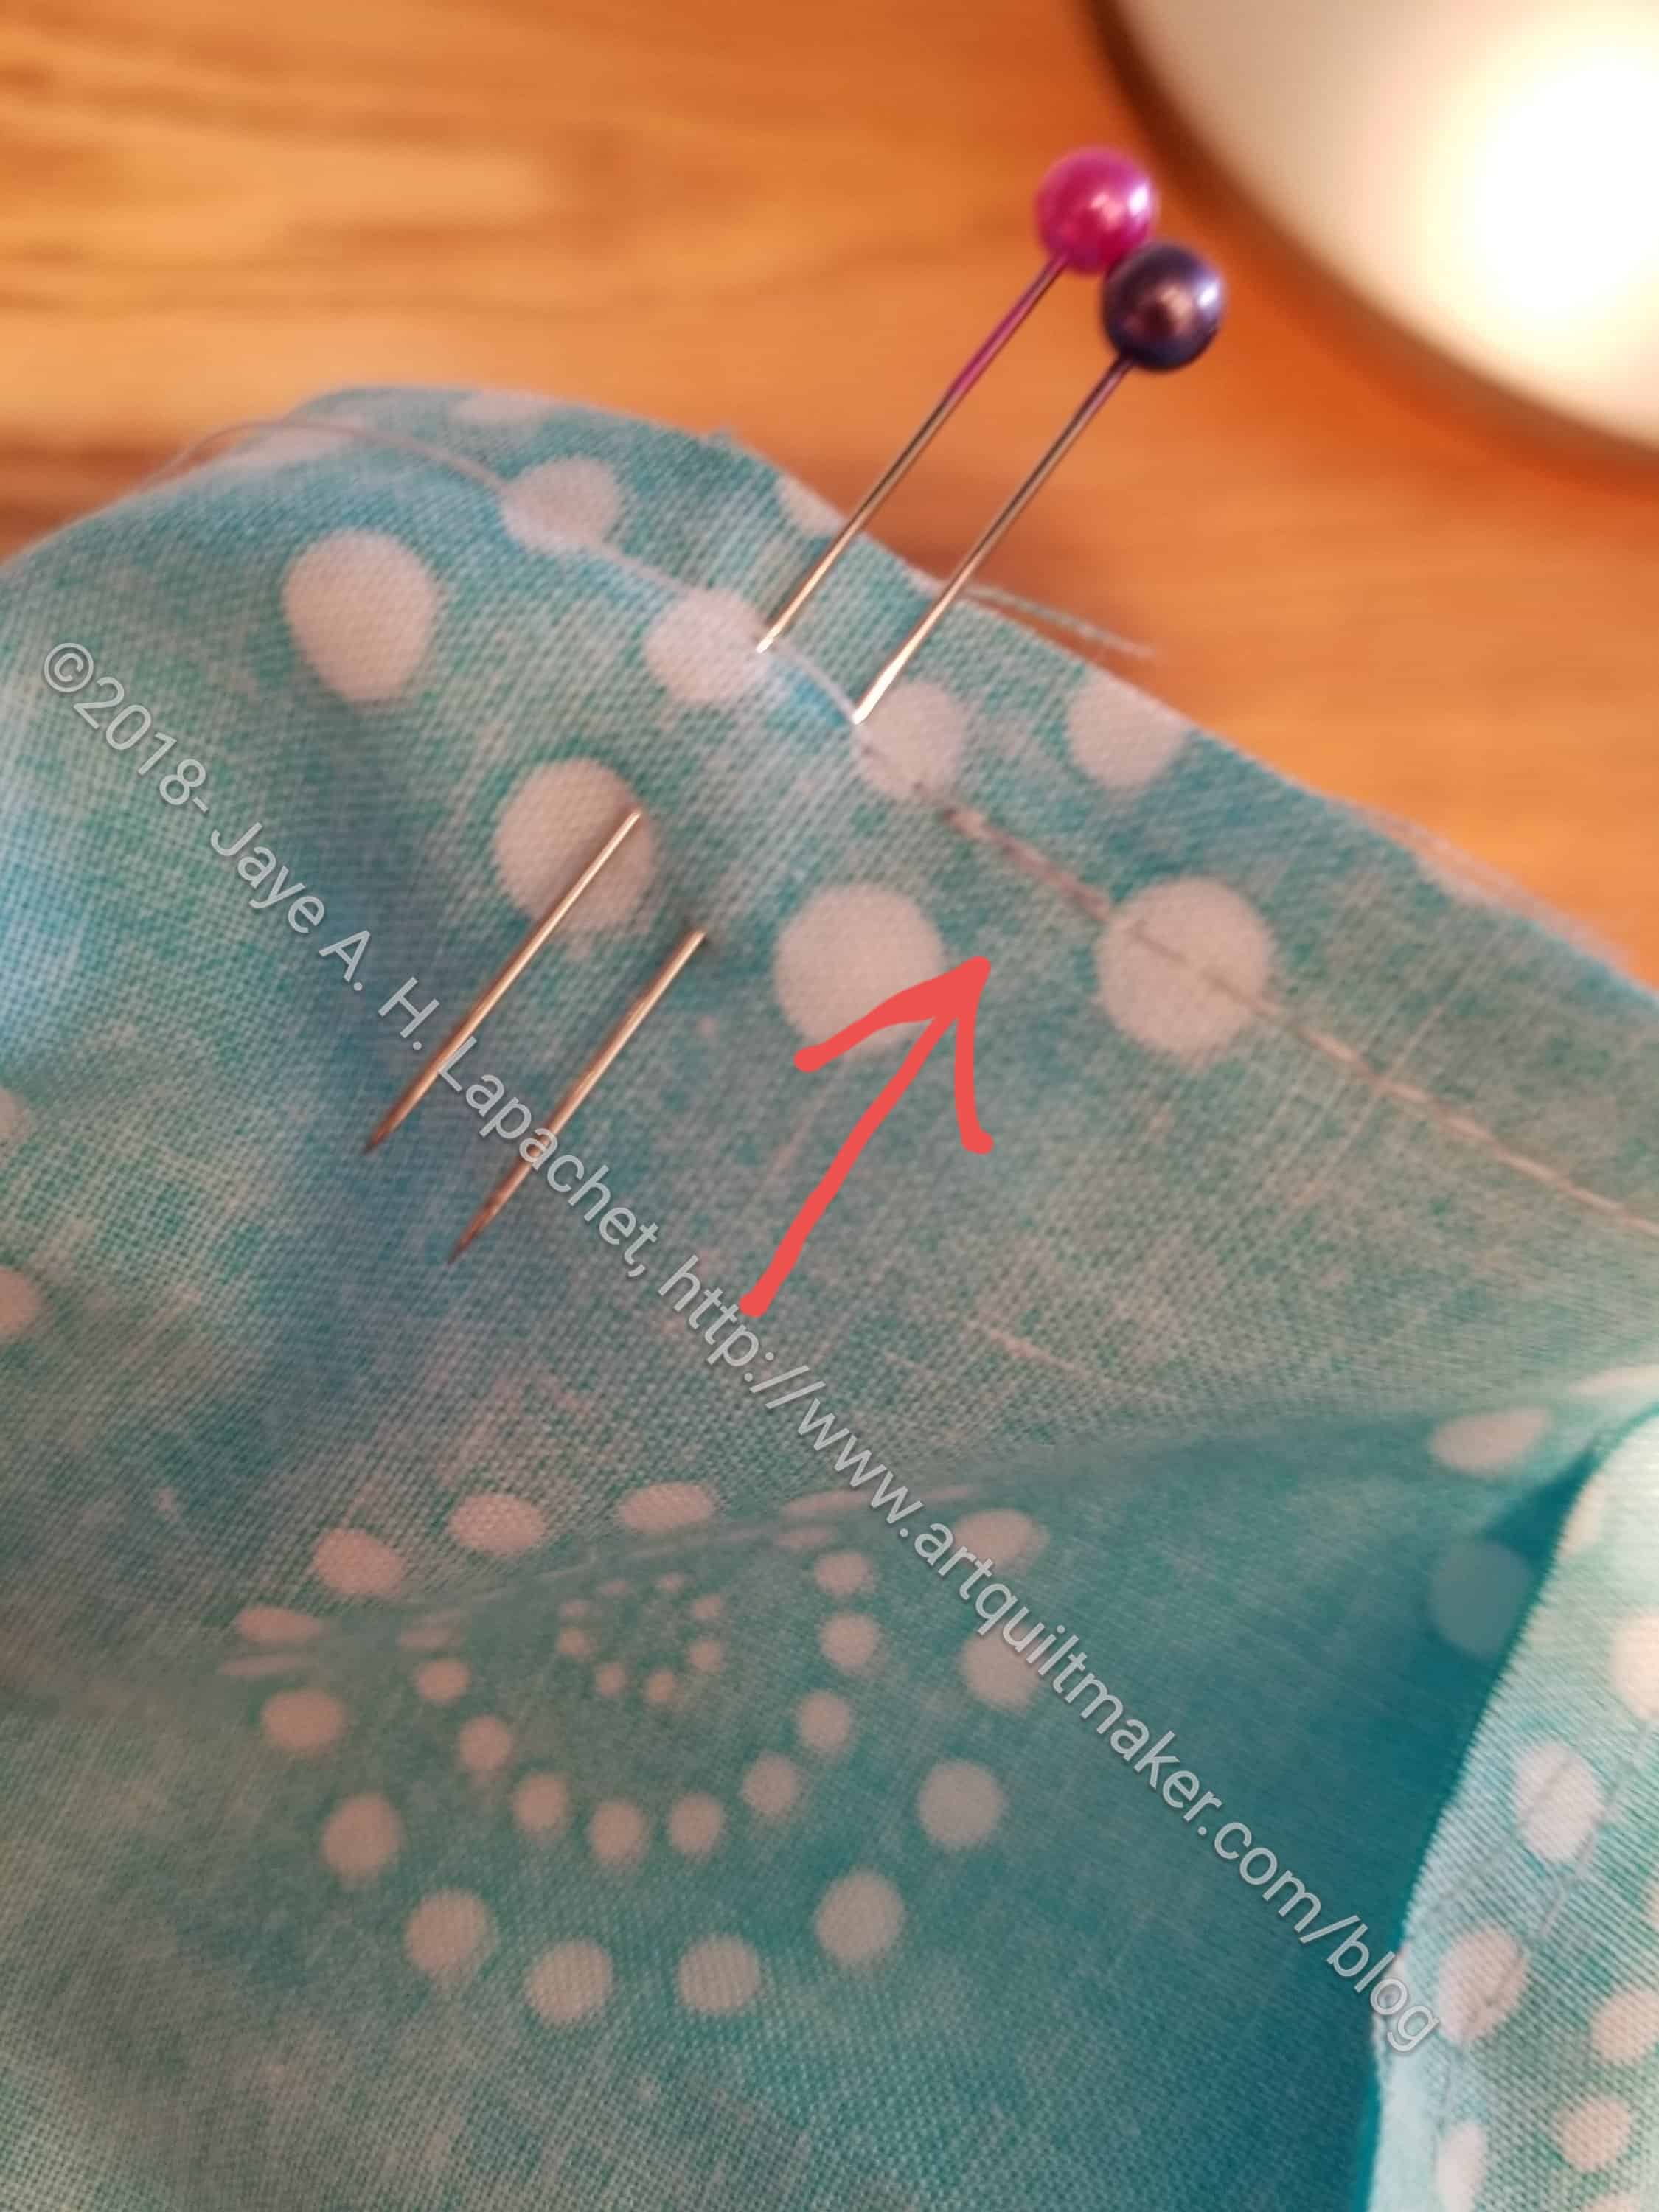
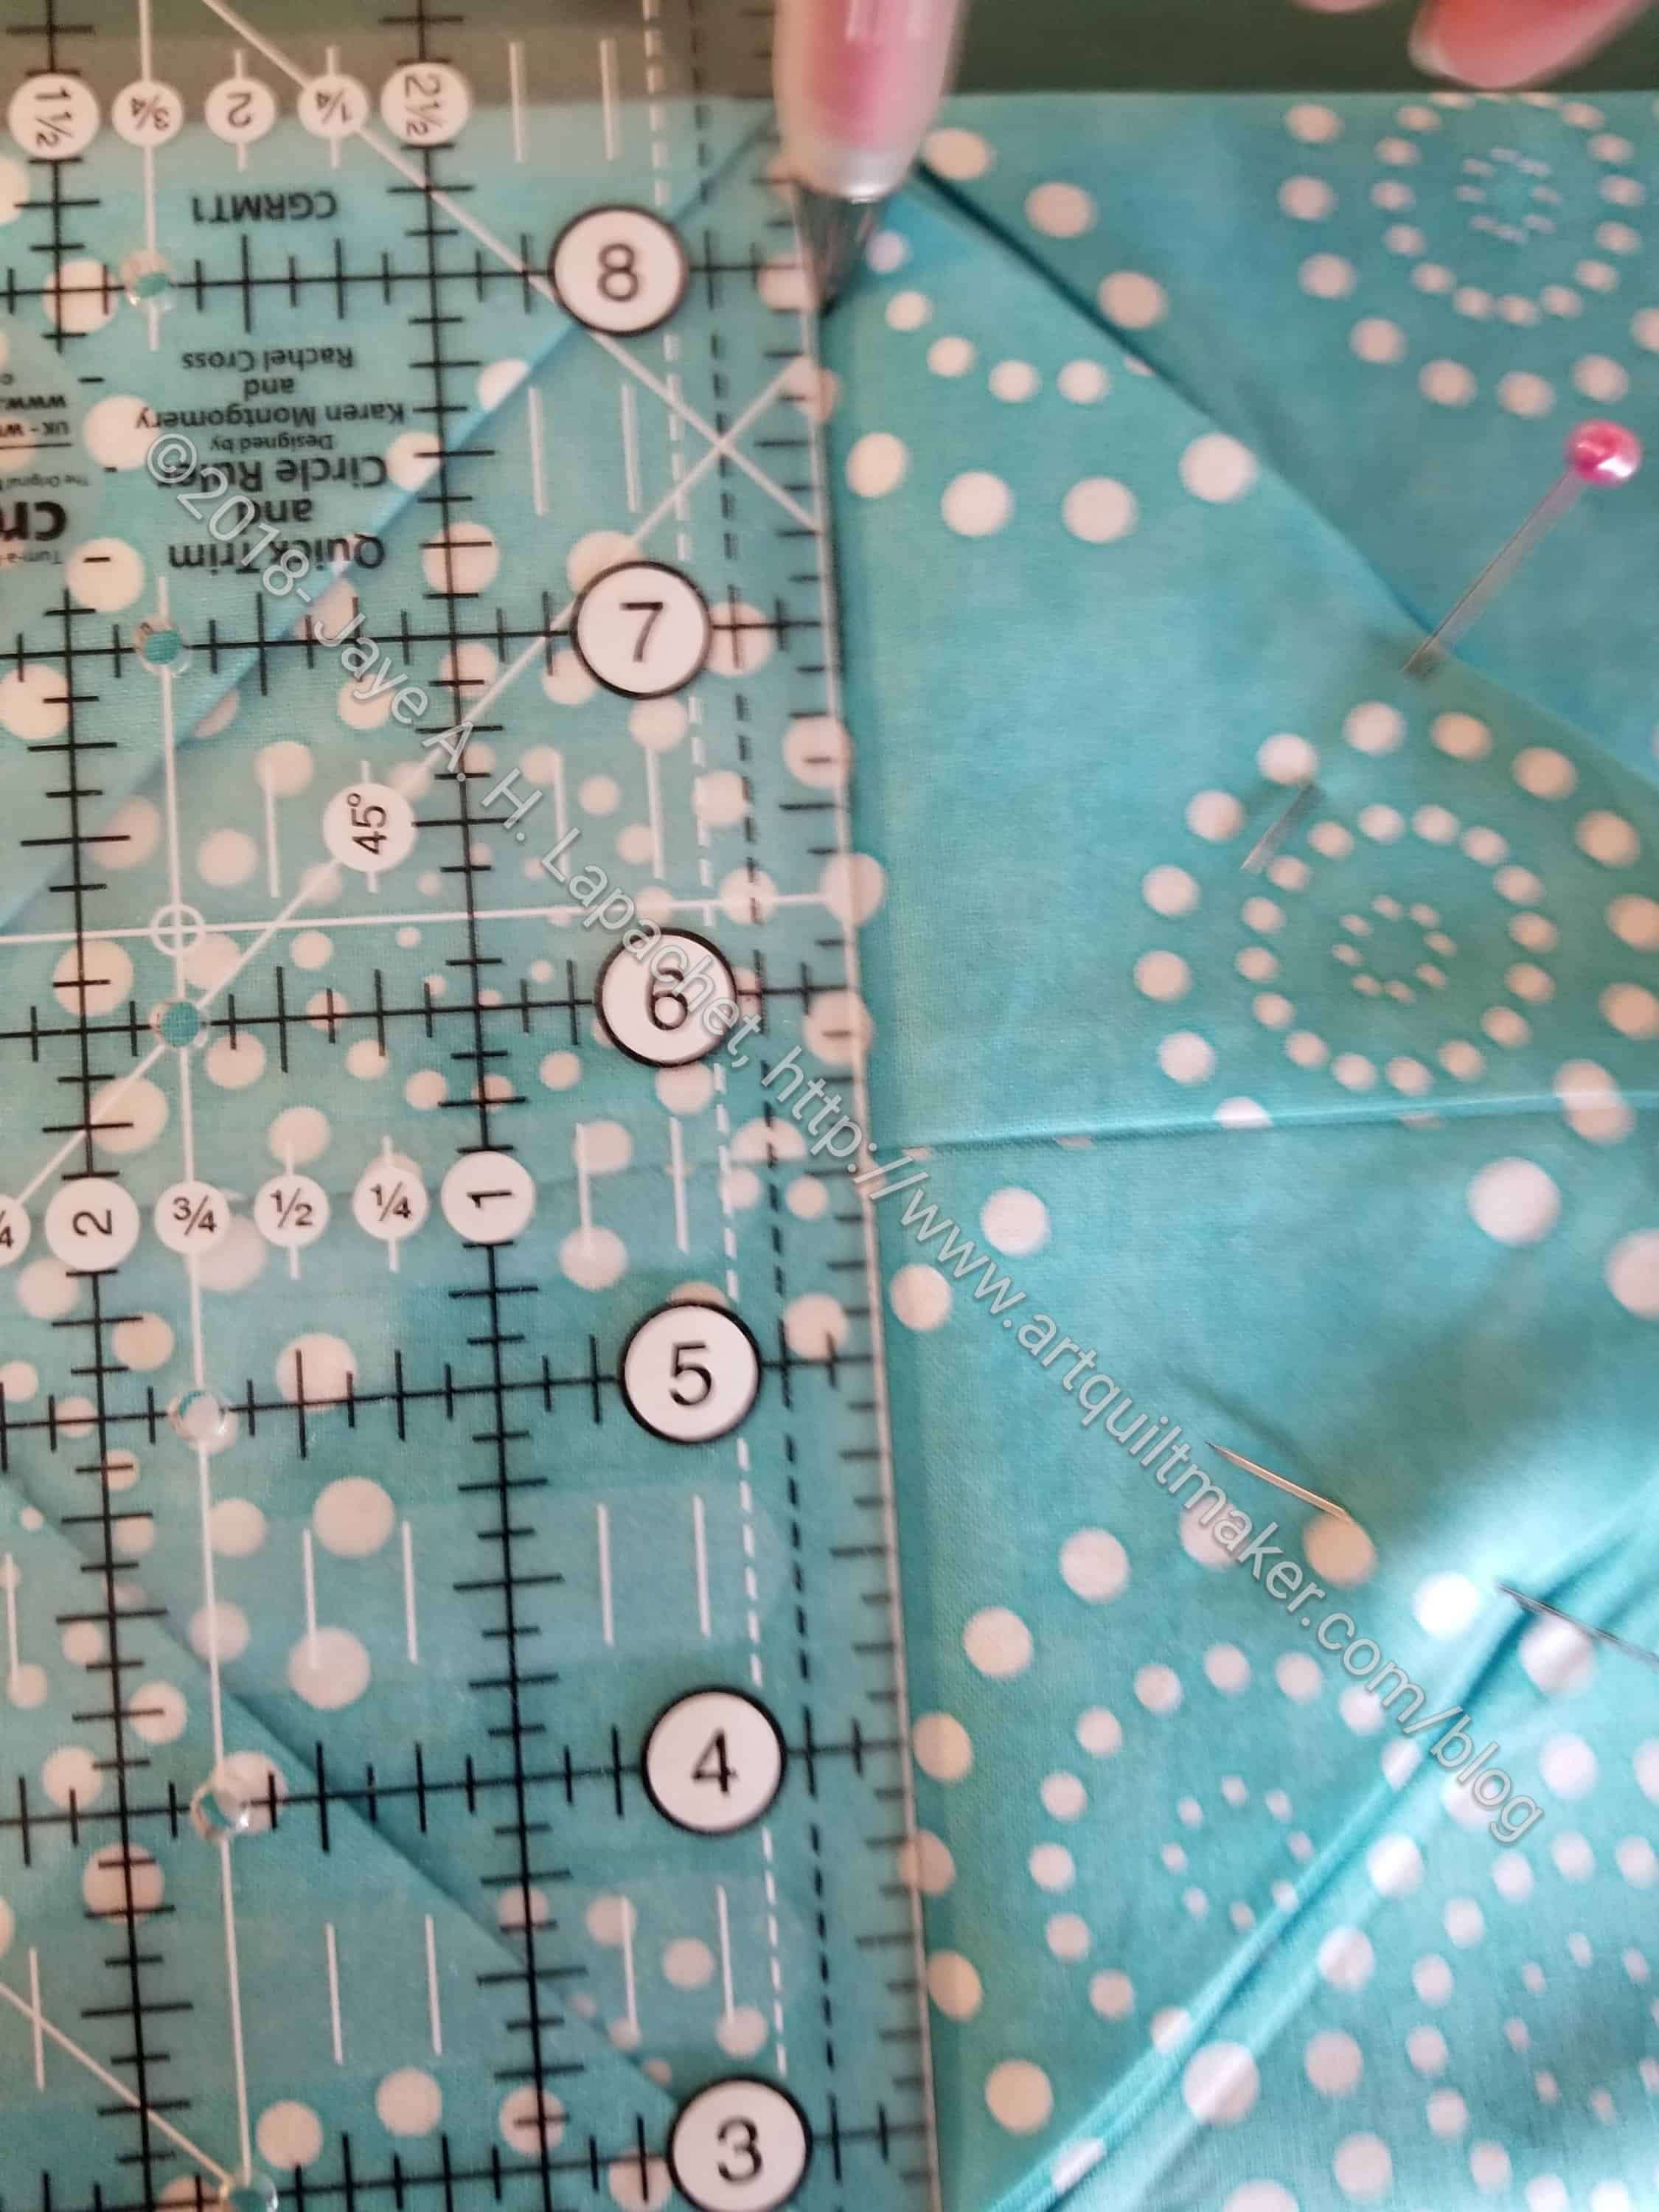
Draw a line in the crease
14. Using a ruler (I use a 3.5 x 12.5 Creative Grids), and your marking implement (I like Sewline pencils), draw a line in the crease under the triangles you are about to pin
Line up squares
15. Line up squares with backs together and triangles pointing to the right.
16. Put your applique’ foot on your sewing machine.
17. Sew along the crease on both sets.
18. Lay out the 2×2 grid again. Now you will have two ‘rows’. You are going to sew the rows together.
Pin them together
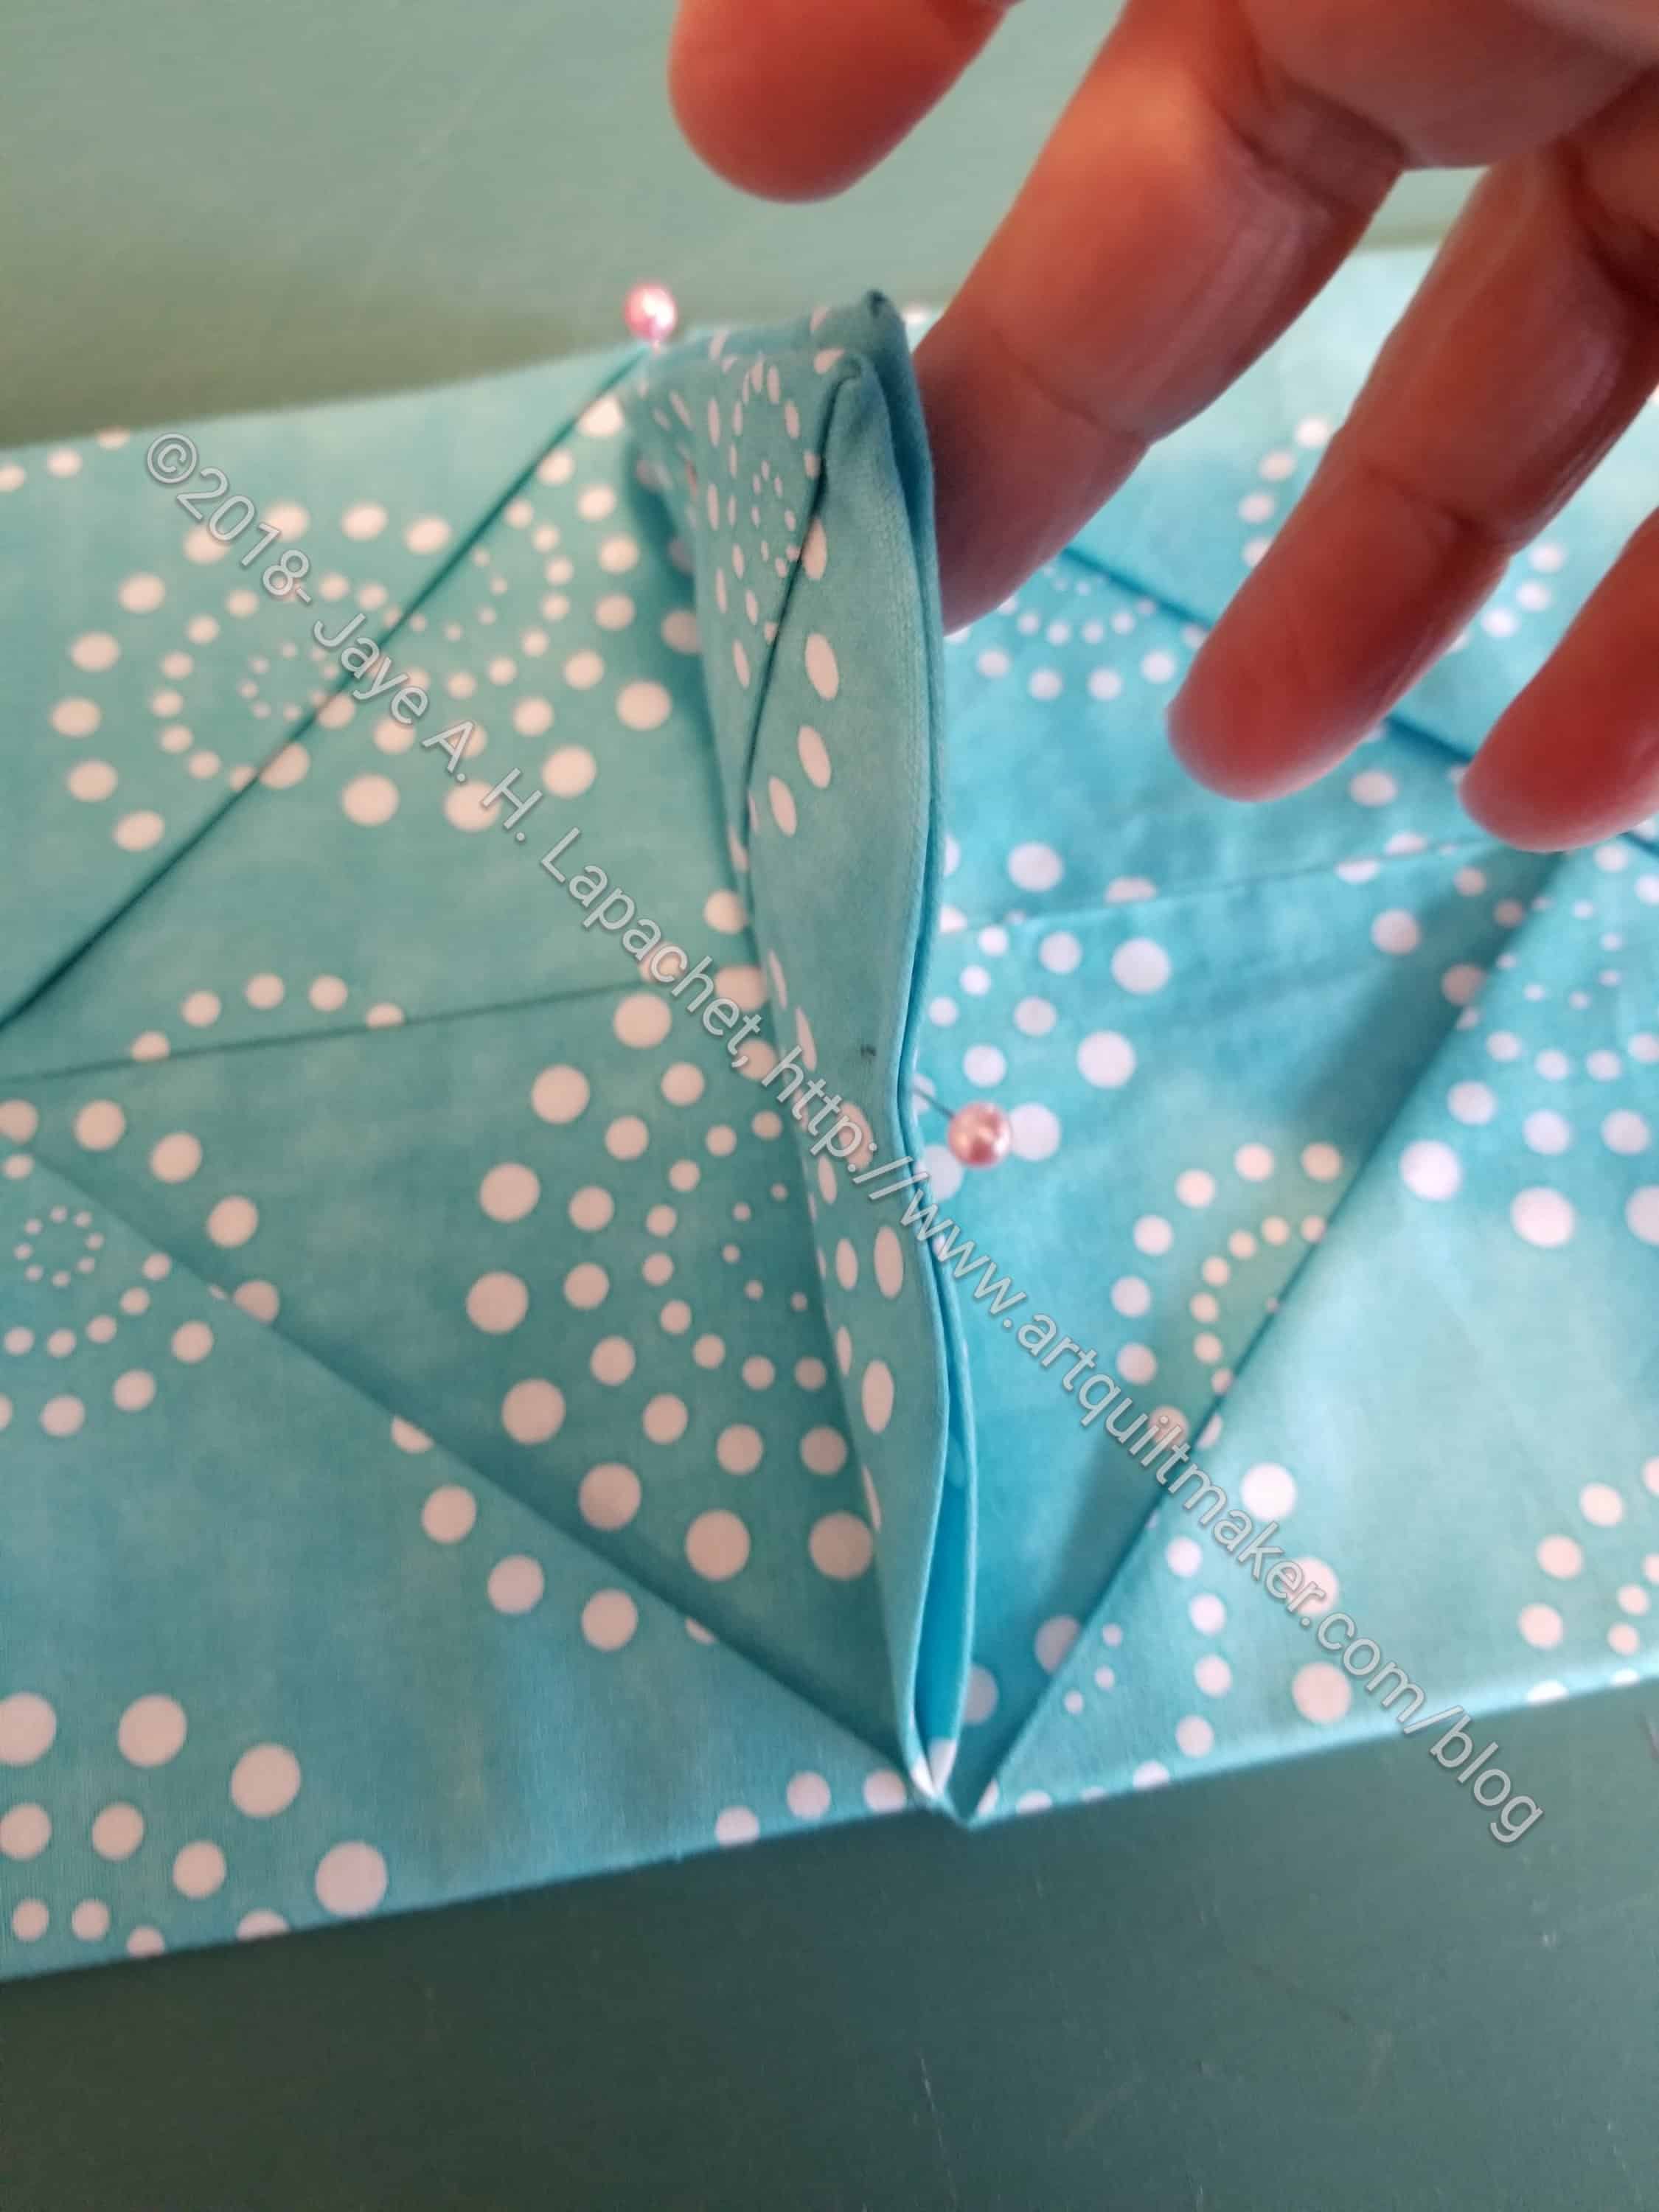
19. Fold up the top triangles from the bottom row and the bottom triangle from the top row.
Draw another line between the two ‘rows’ in the crease
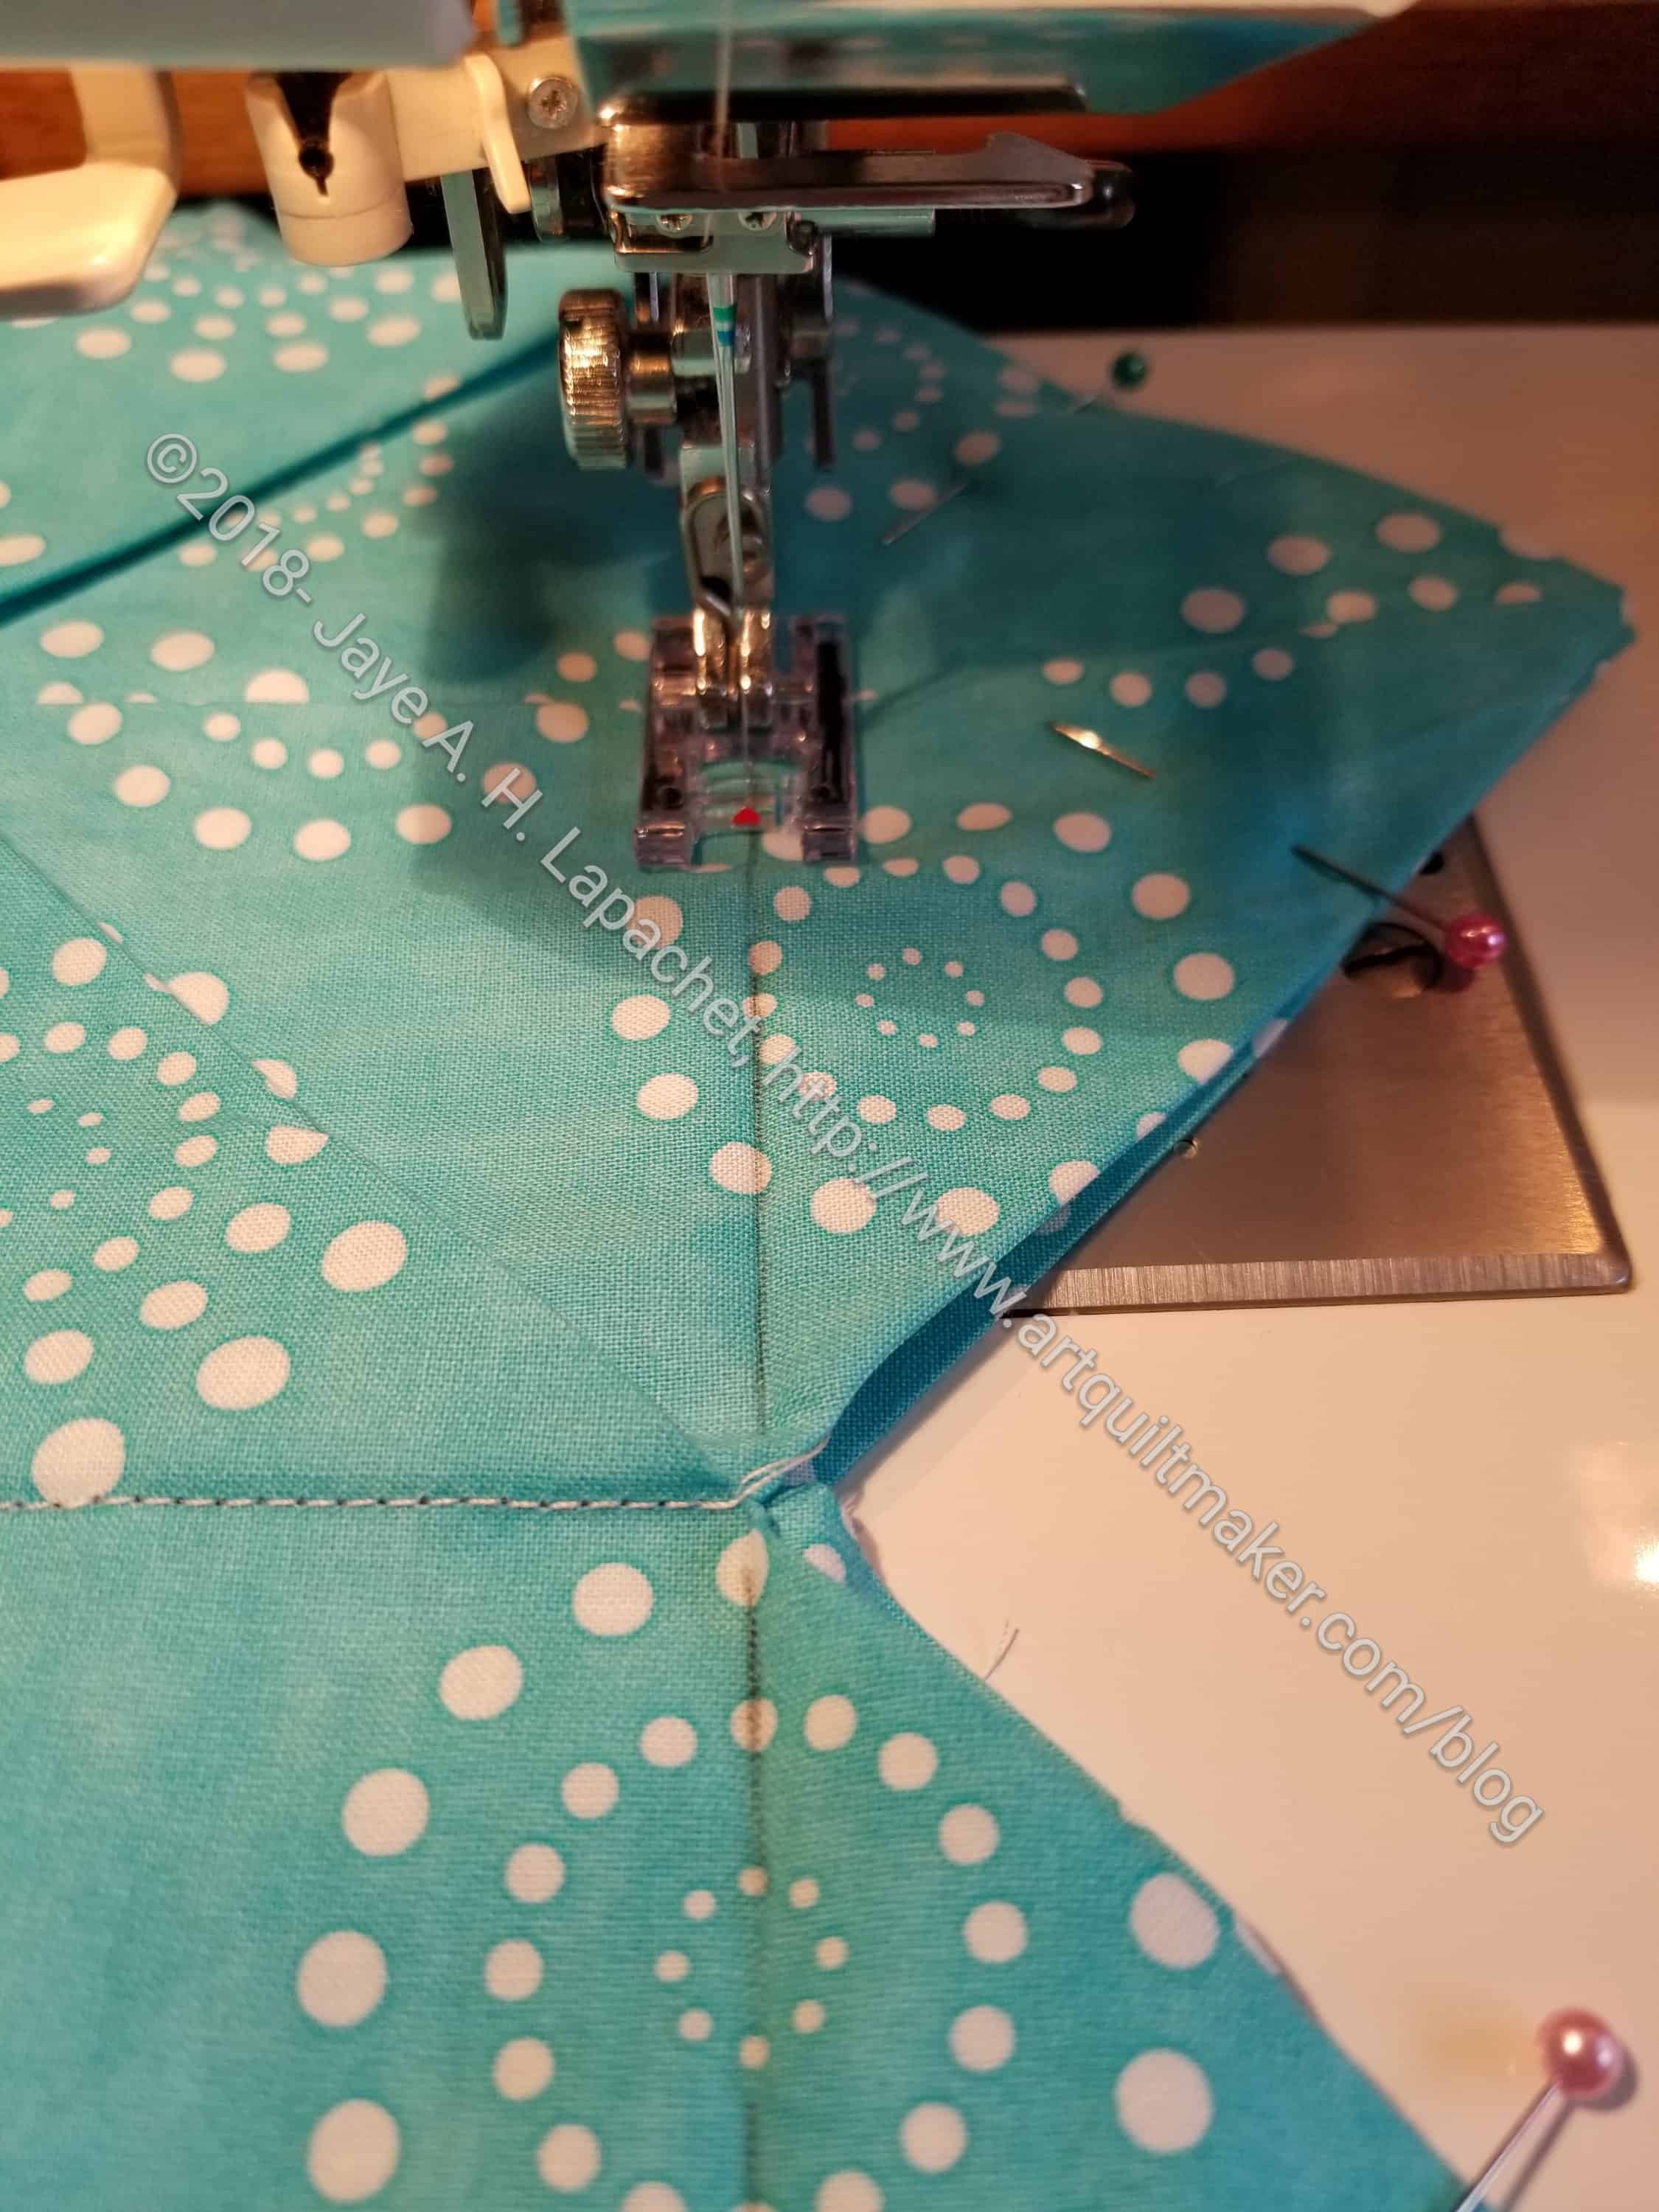
20. Draw a line along the crease at the bottom of the two triangles.
21. Sew along the line. After, you will have your 2×2 grid of squares sewn together and the triangles will be flapping around.
Start laying out your foreground squaresForeground squares laid out
22. Take your foreground triangles and lay them on top of your background
Tuck flaps over foreground
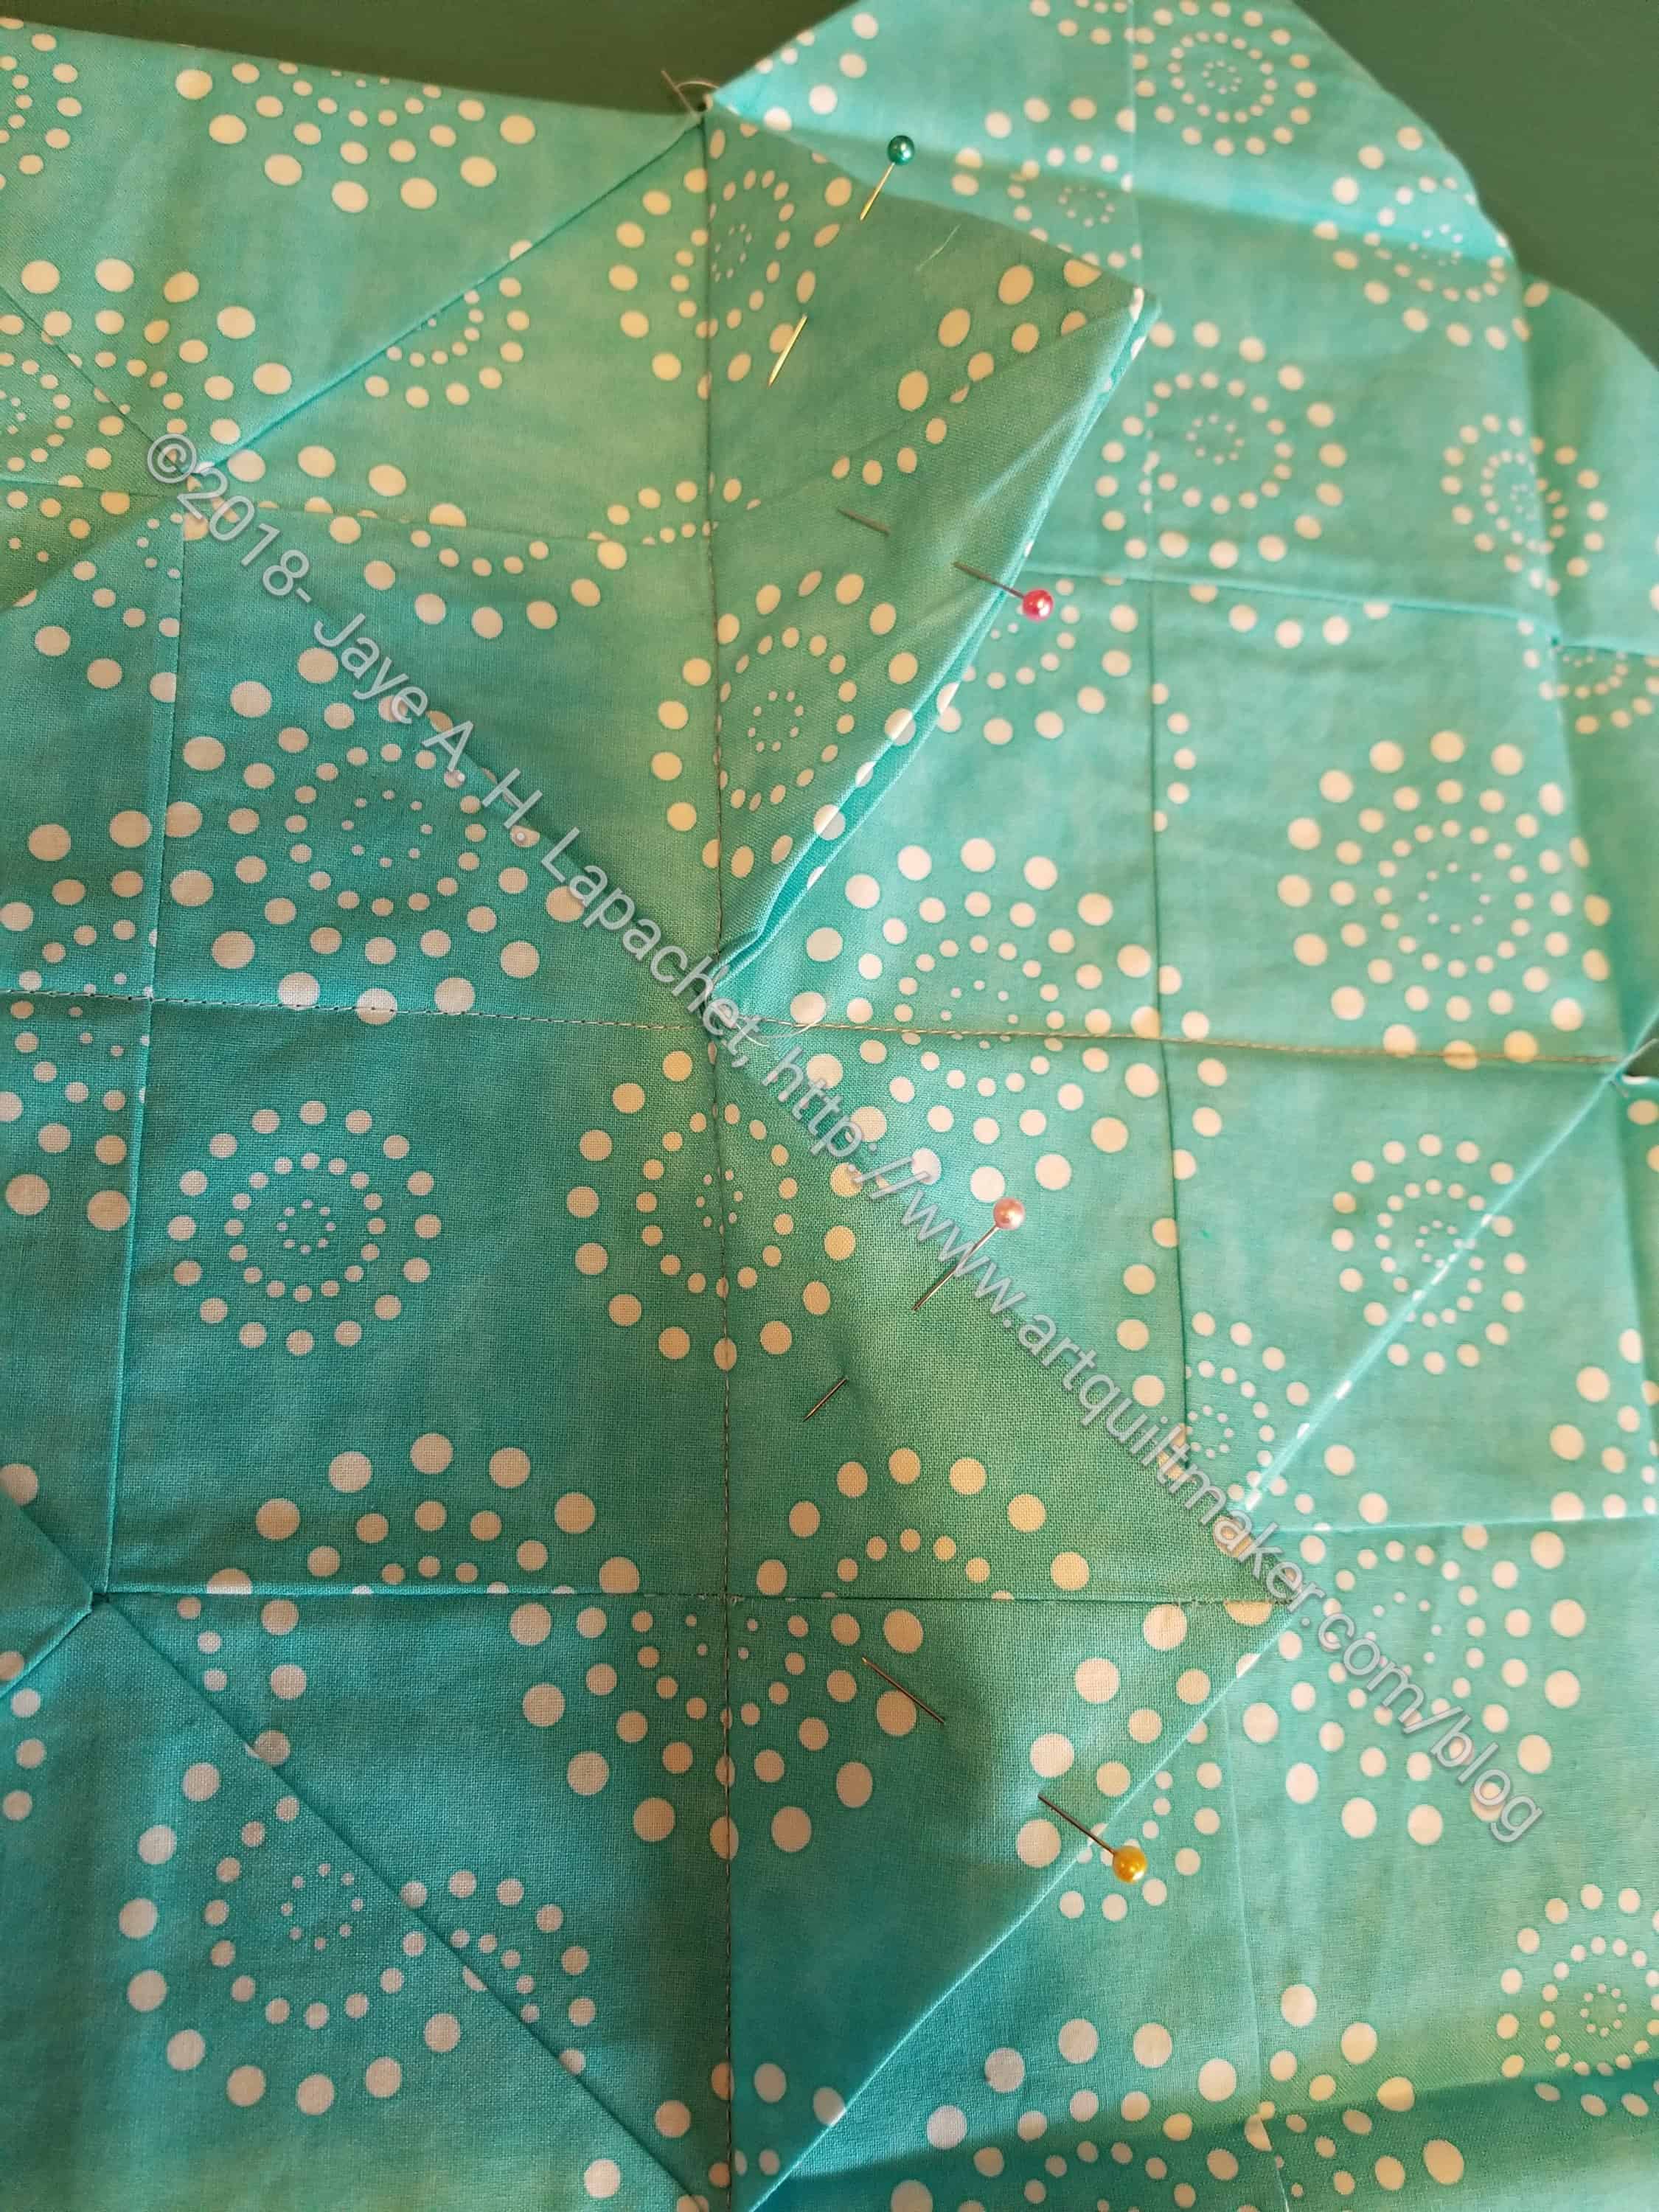
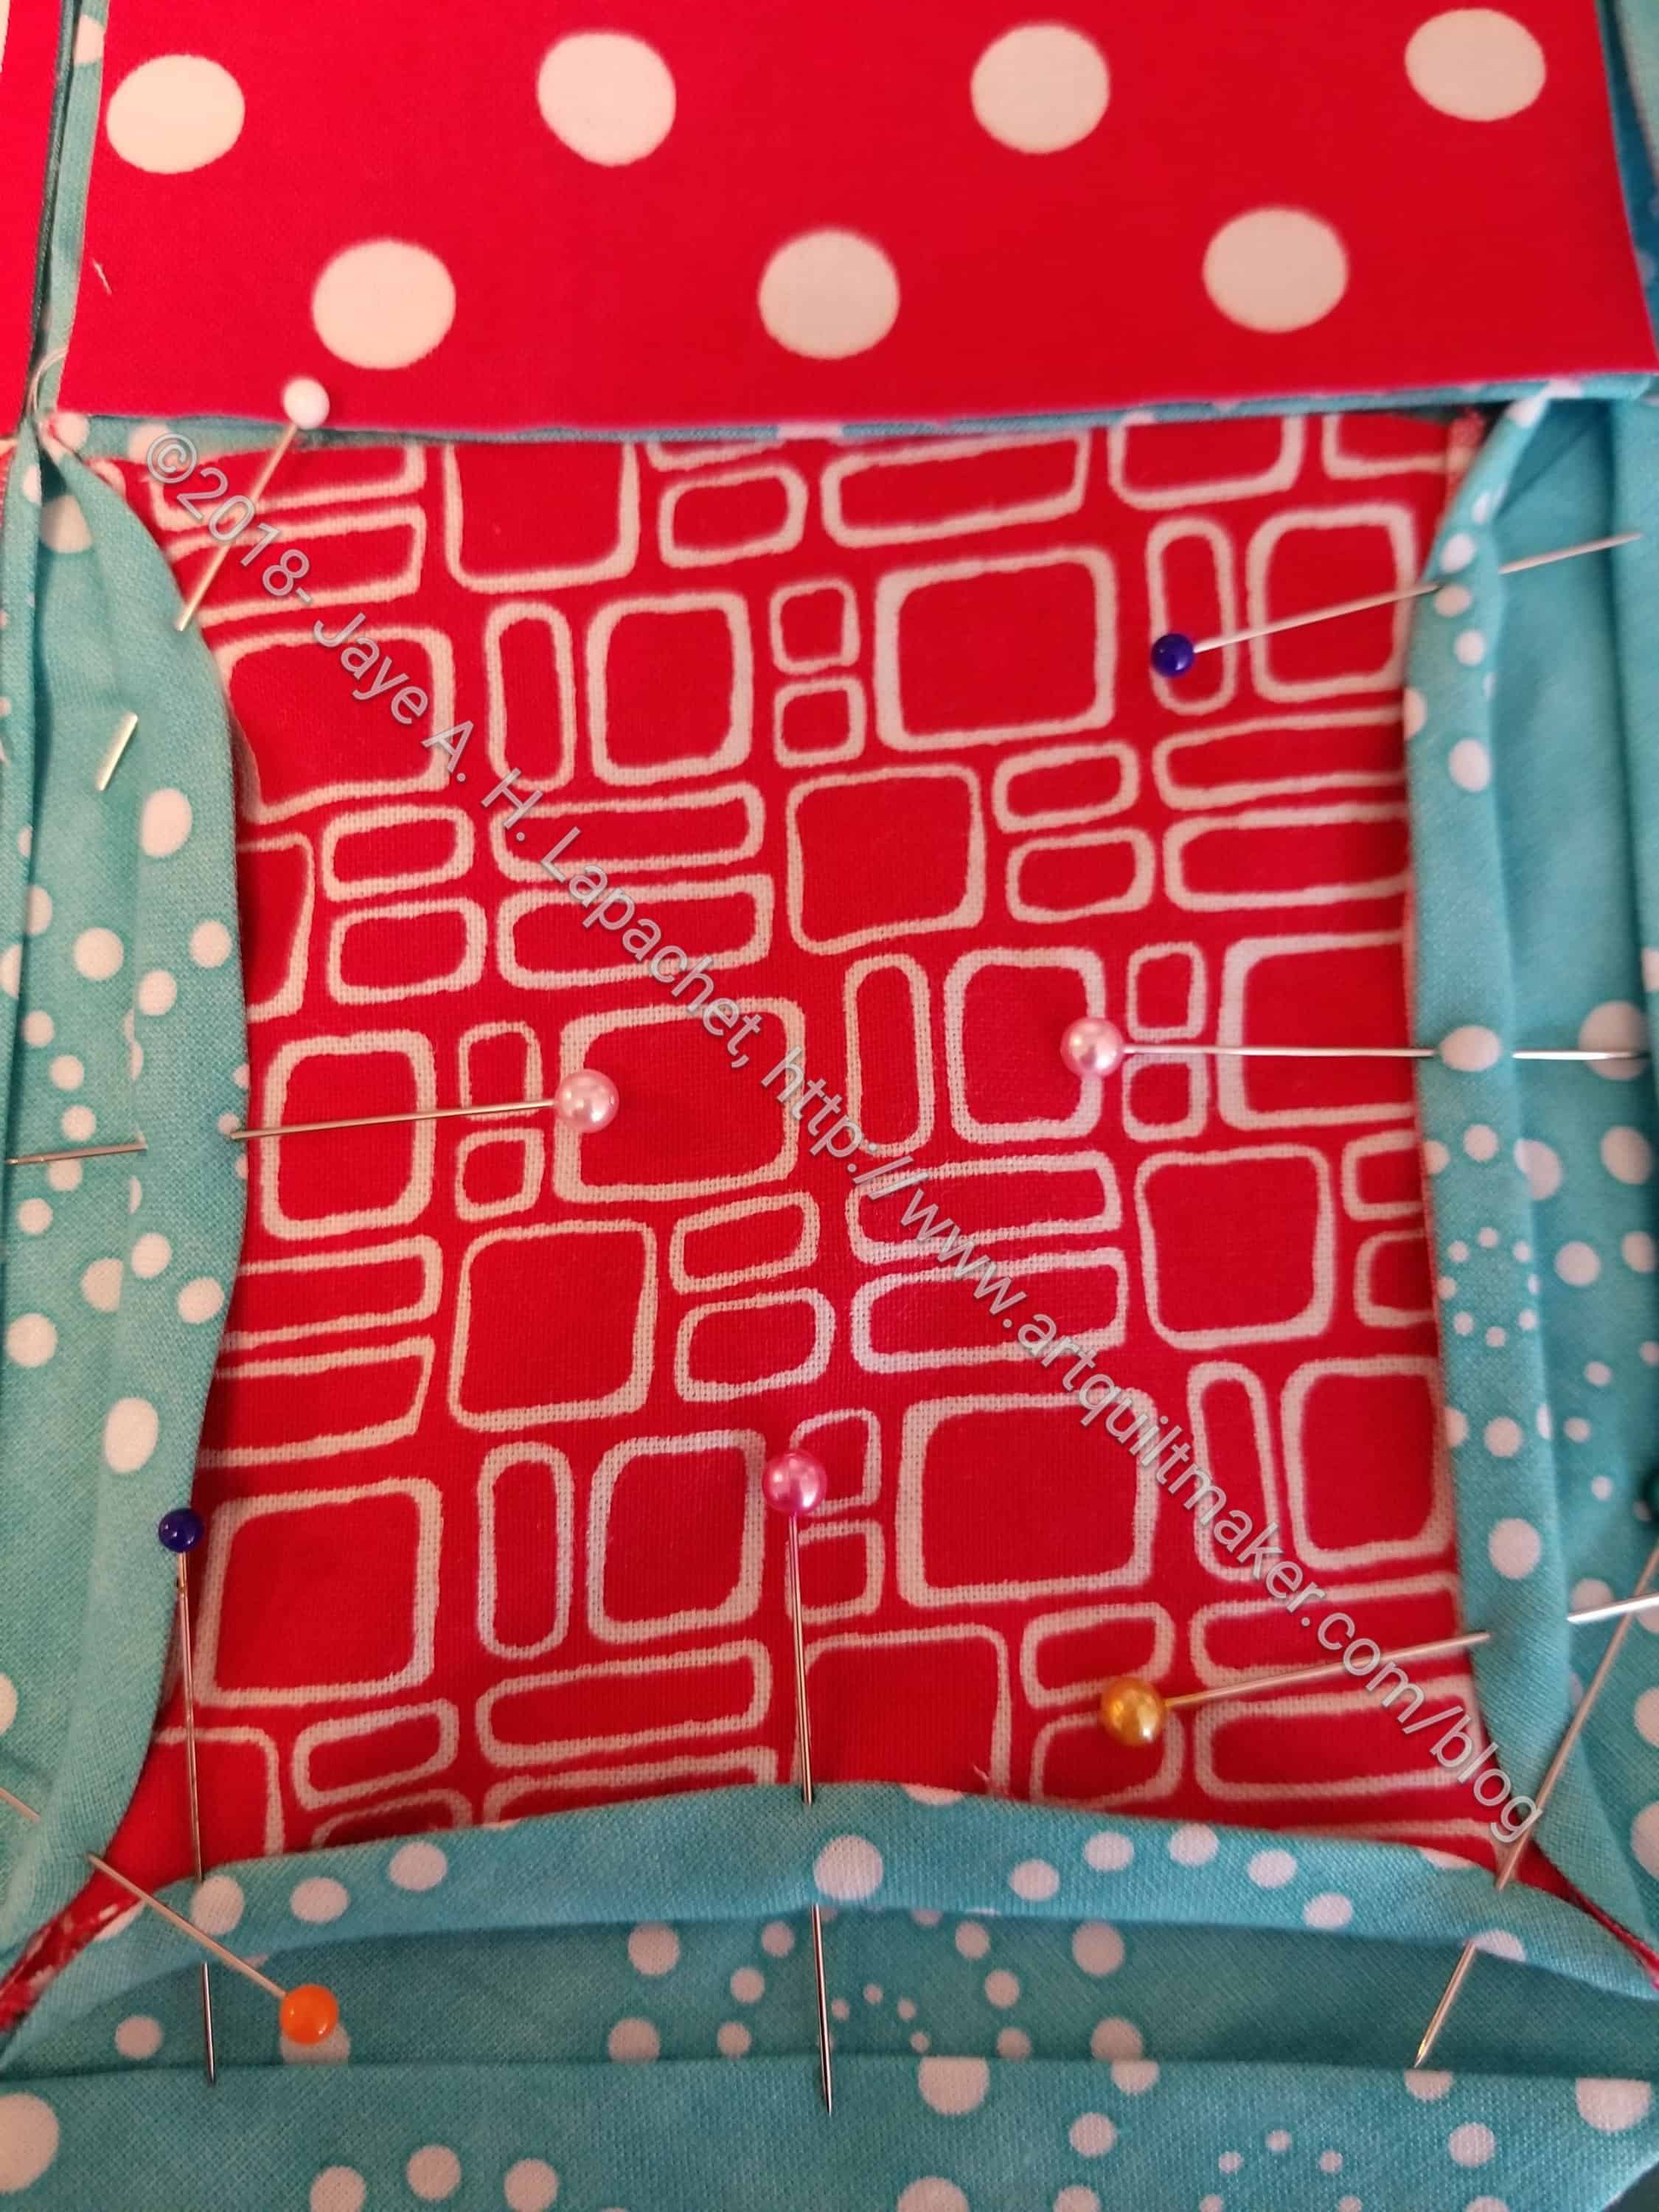
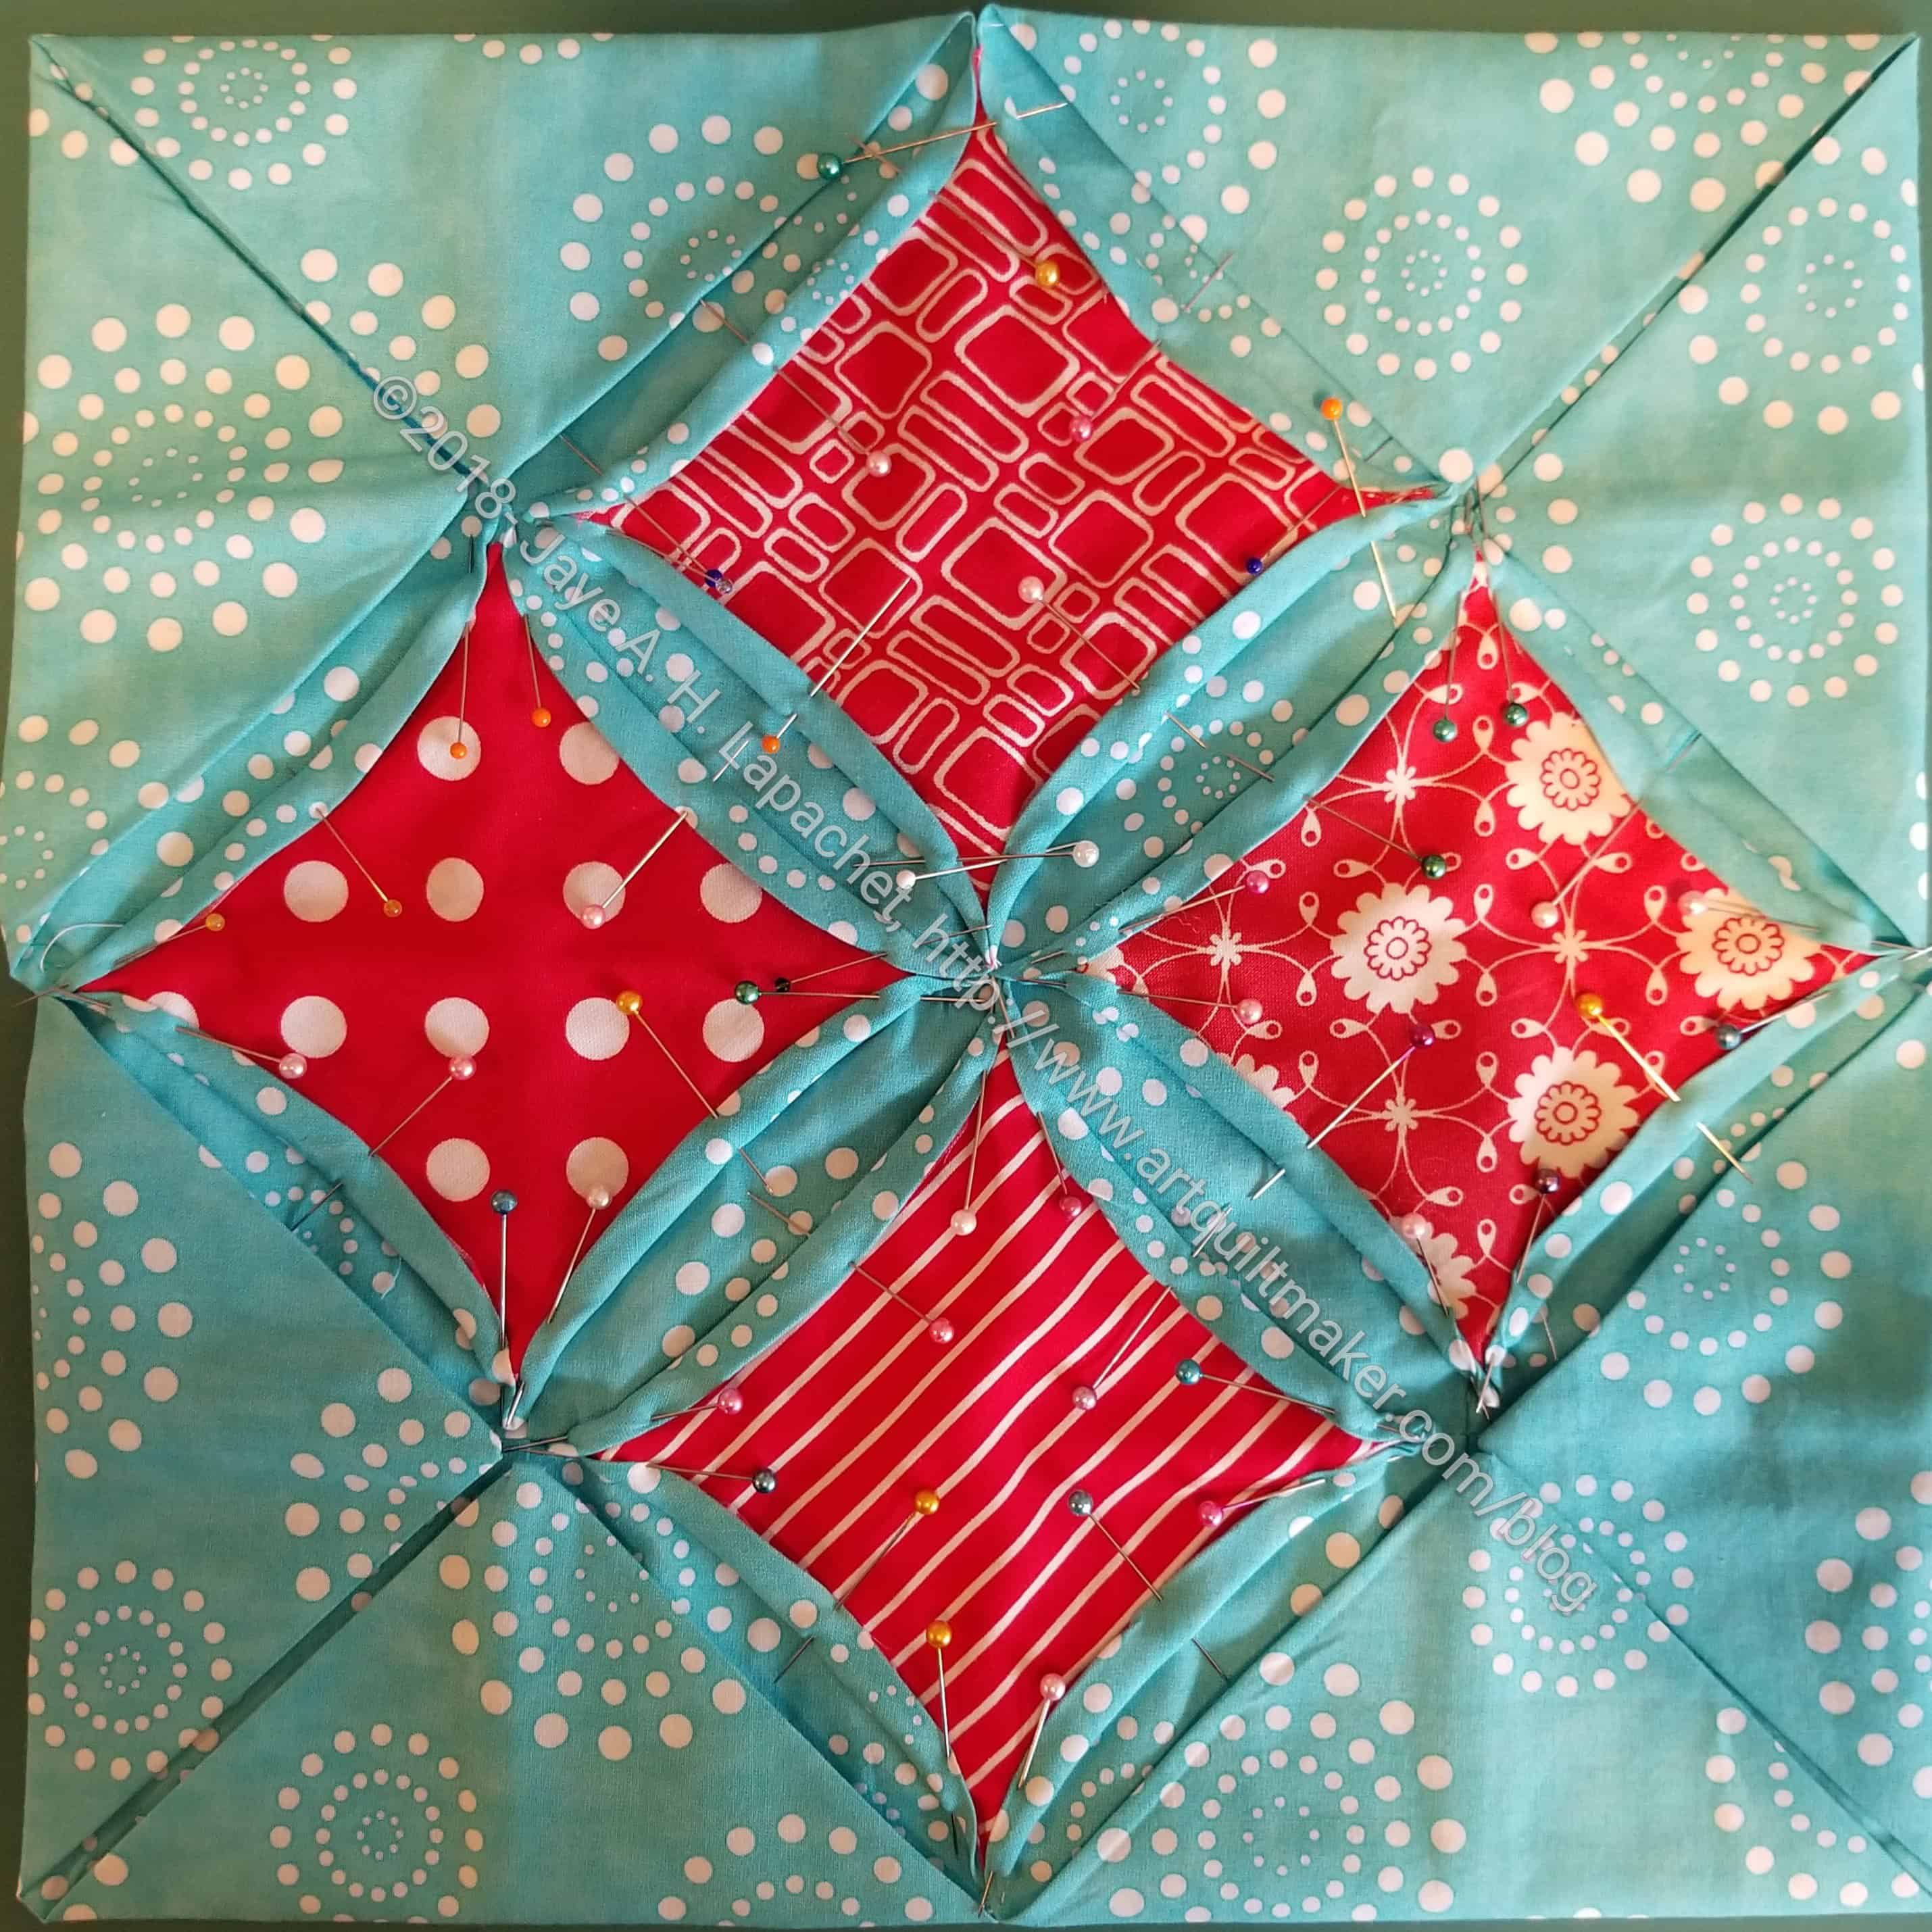
23. Tuck the flaps in towards the center and pin in place. Watch out that the edges of your foreground squares don’t show. Make the edges curve slightly
Note: this was confusing to figure out and it turned out that I did not have all the sewn triangles in the right place. After you sew the triangles together, make sure you flatten them back in their original places, e.g. one layer of background on top
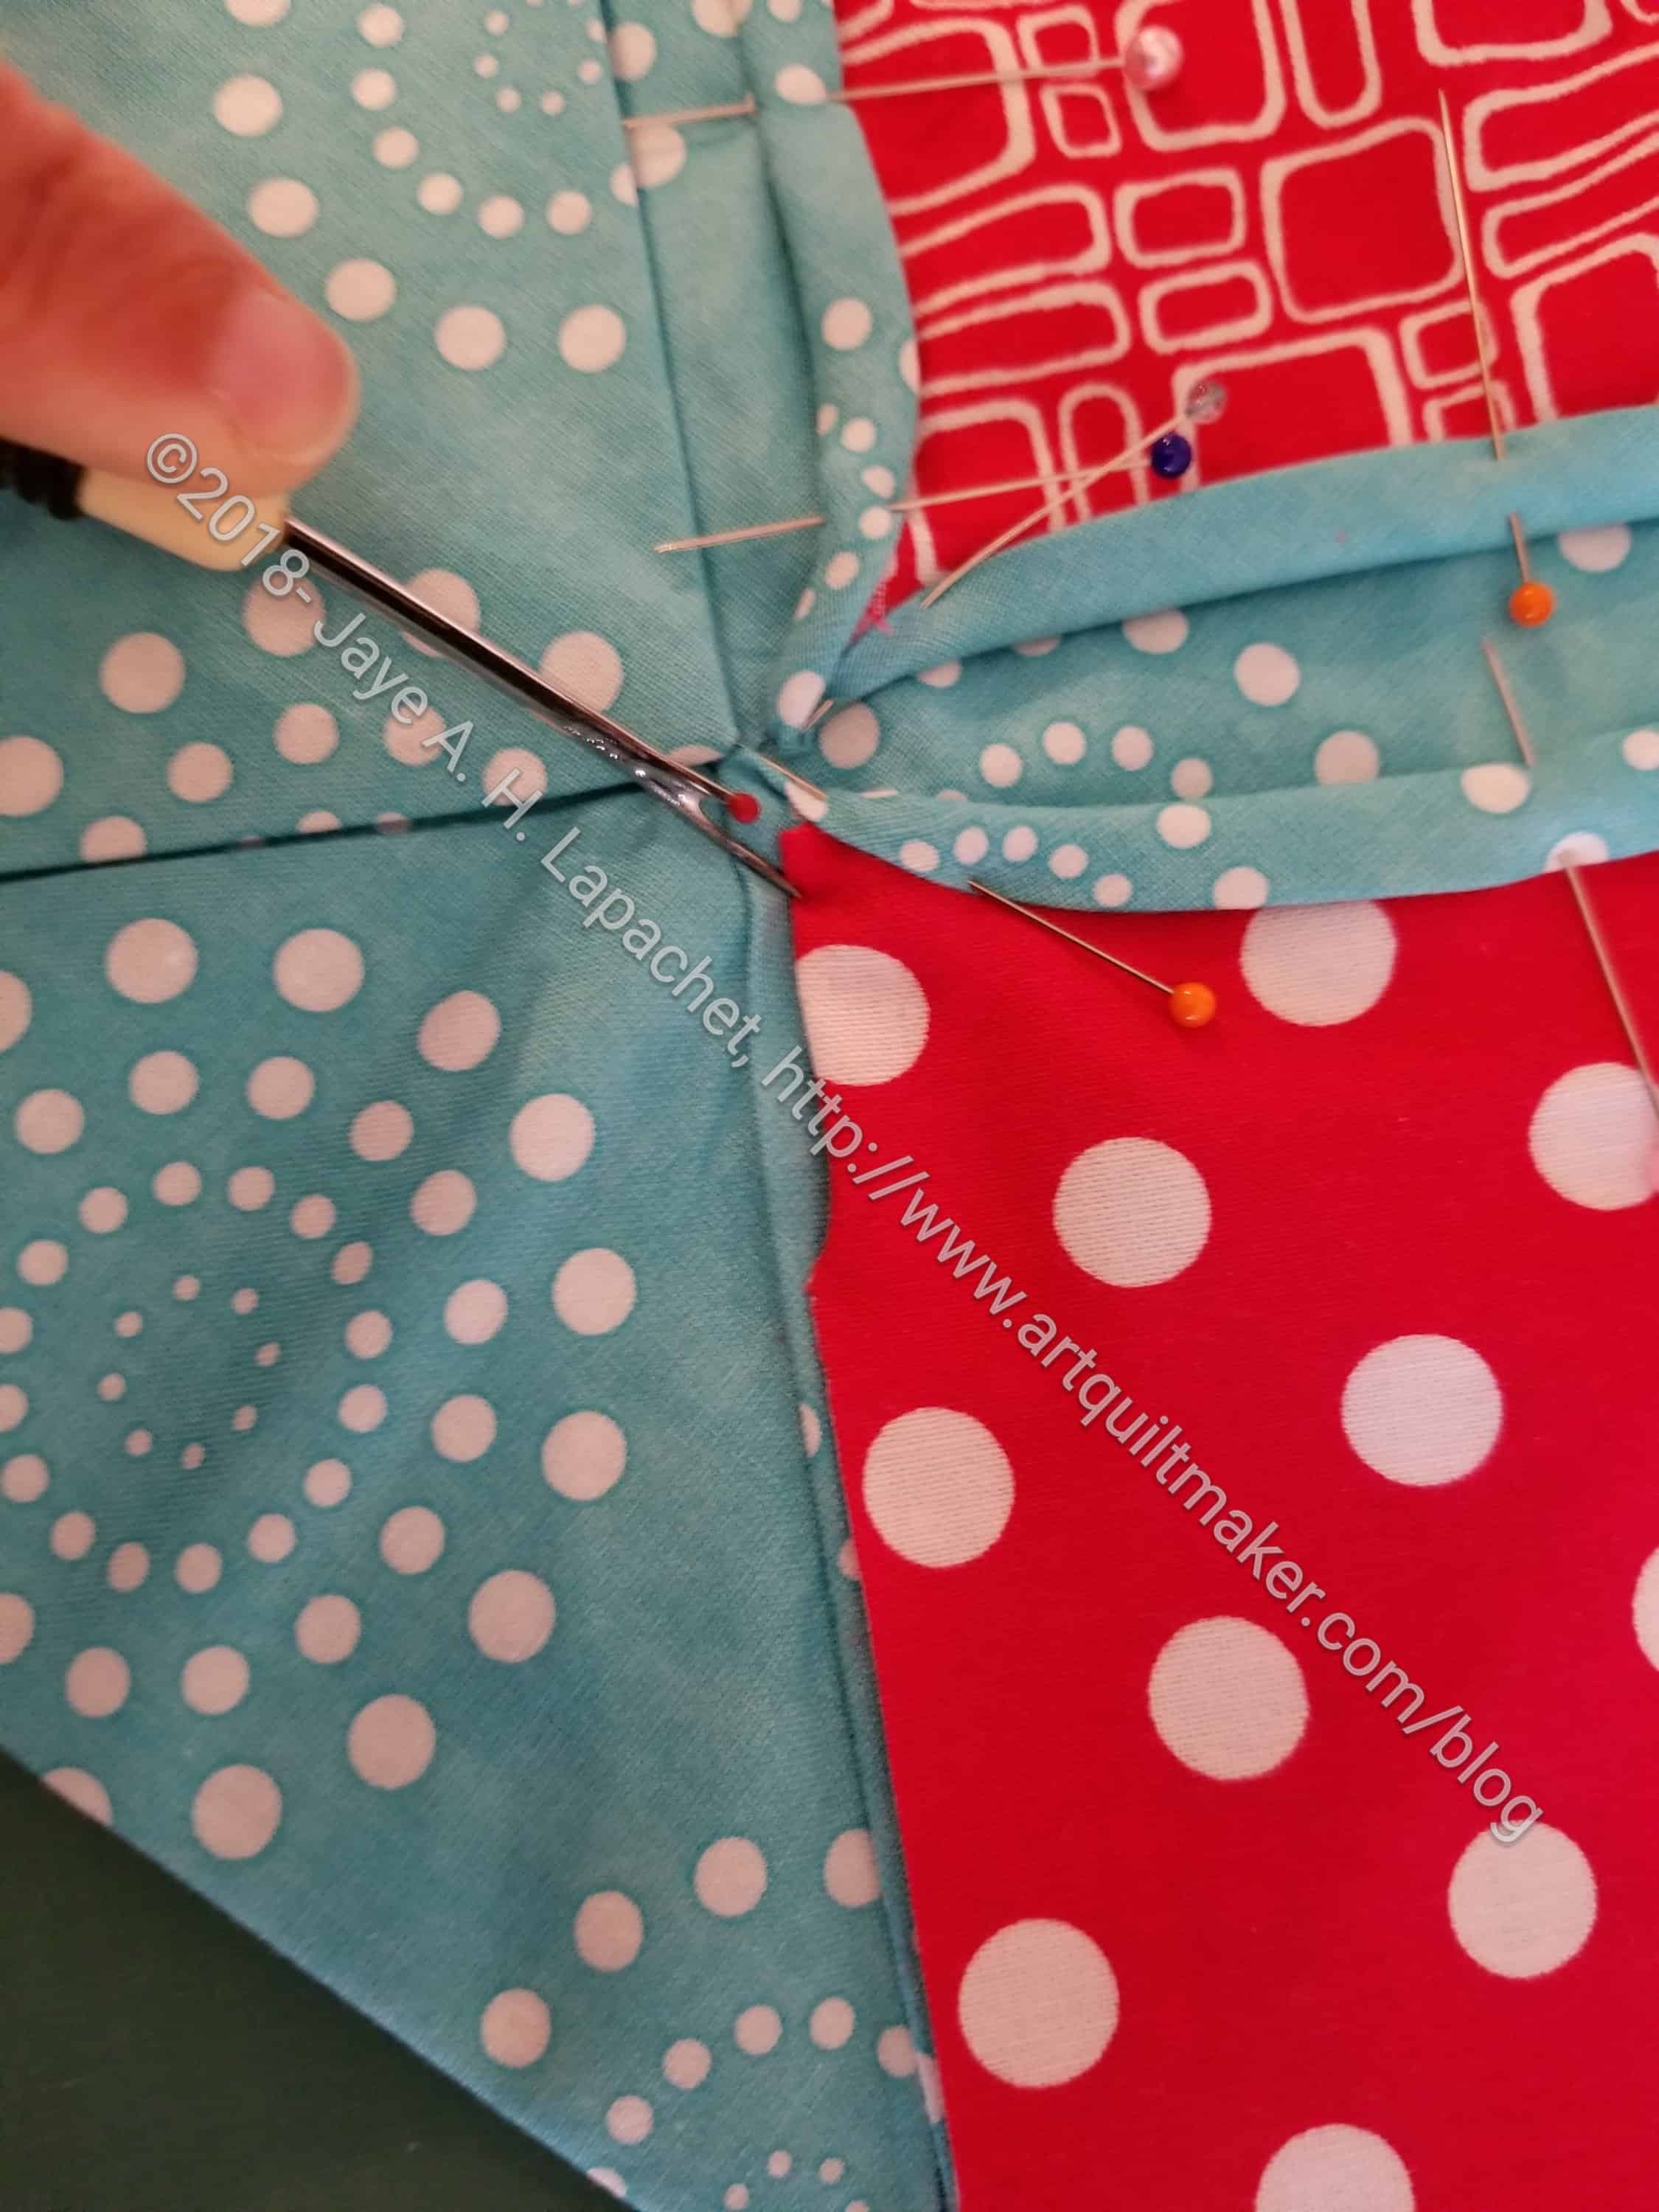
You may need to use a stiletto
Note: I had to use a thin sharp tool, like a stiletto or dental instrument to tuck in some of the foreground edges. I sometimes use a seam ripper, which is a very bad habit, because if you aren’t careful, you can rip your fabric. You can definitely trim the foreground fabric, but trim a little at a time very, very carefully
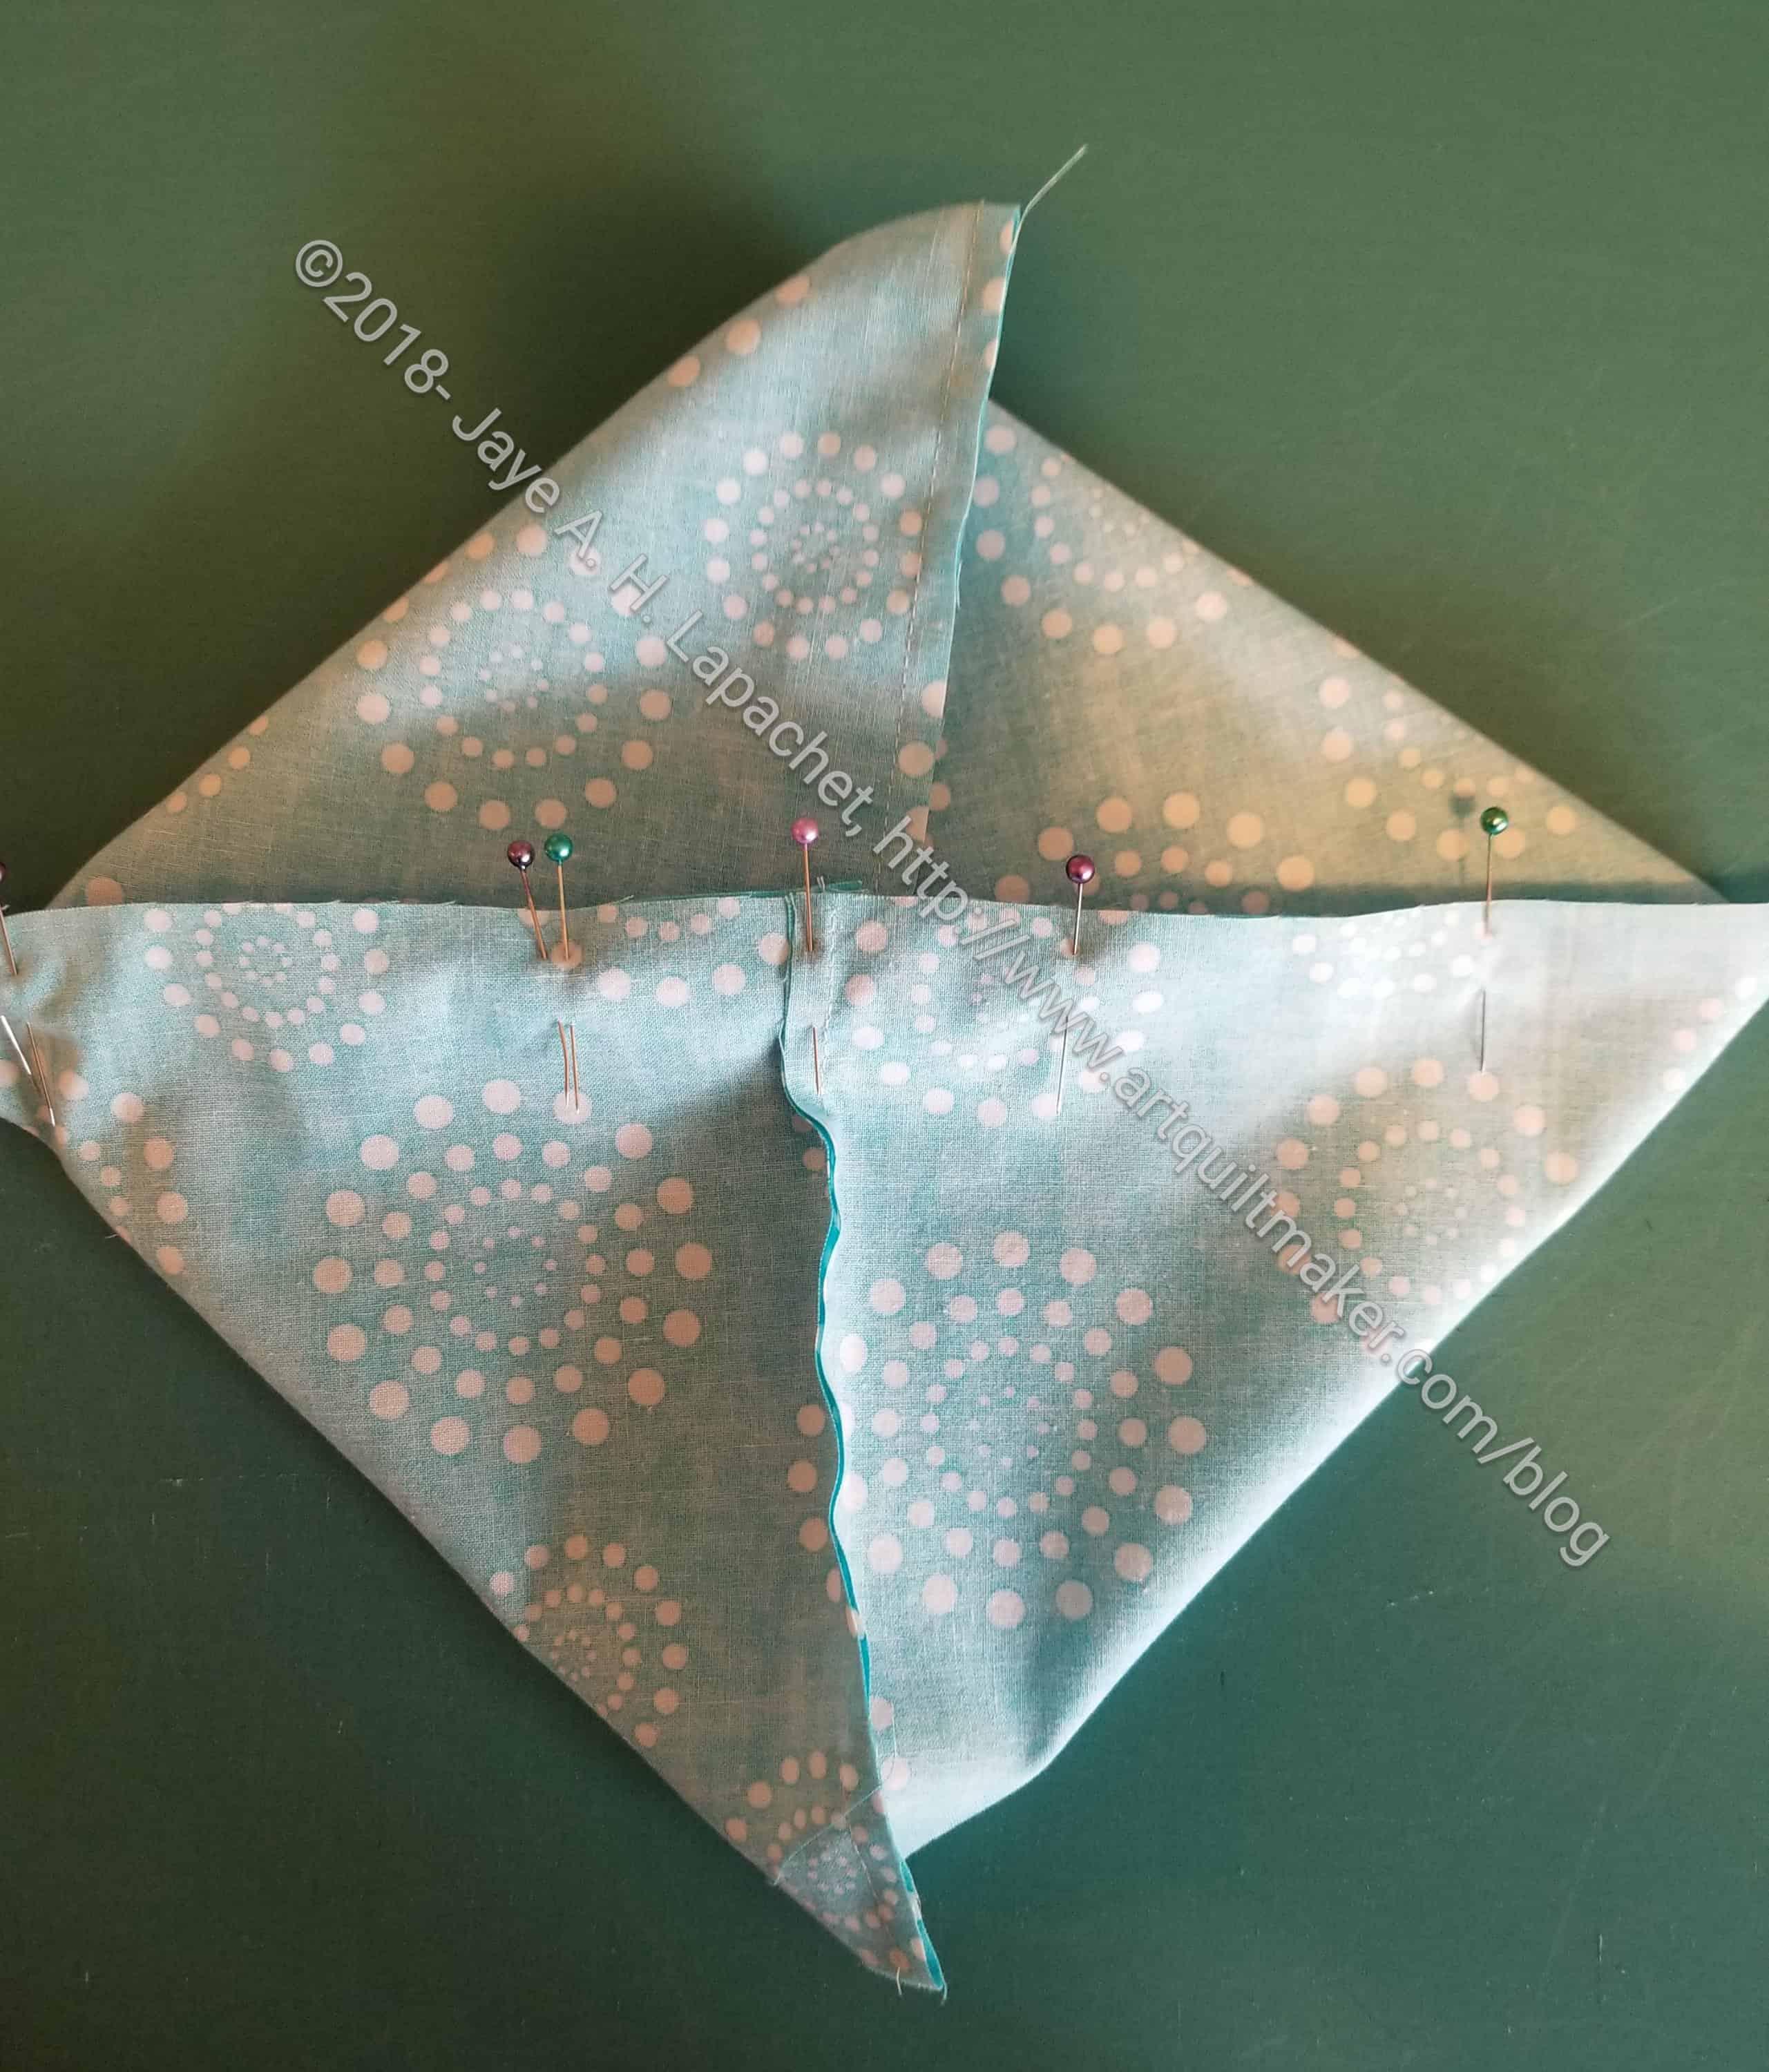
Pinned and ready for sewing
24. Pin each edge in three places with the heads of the pins facing the center of the foreground fabric. This is not micro management; this technique will allow you to sew as long as possible with the pins in place
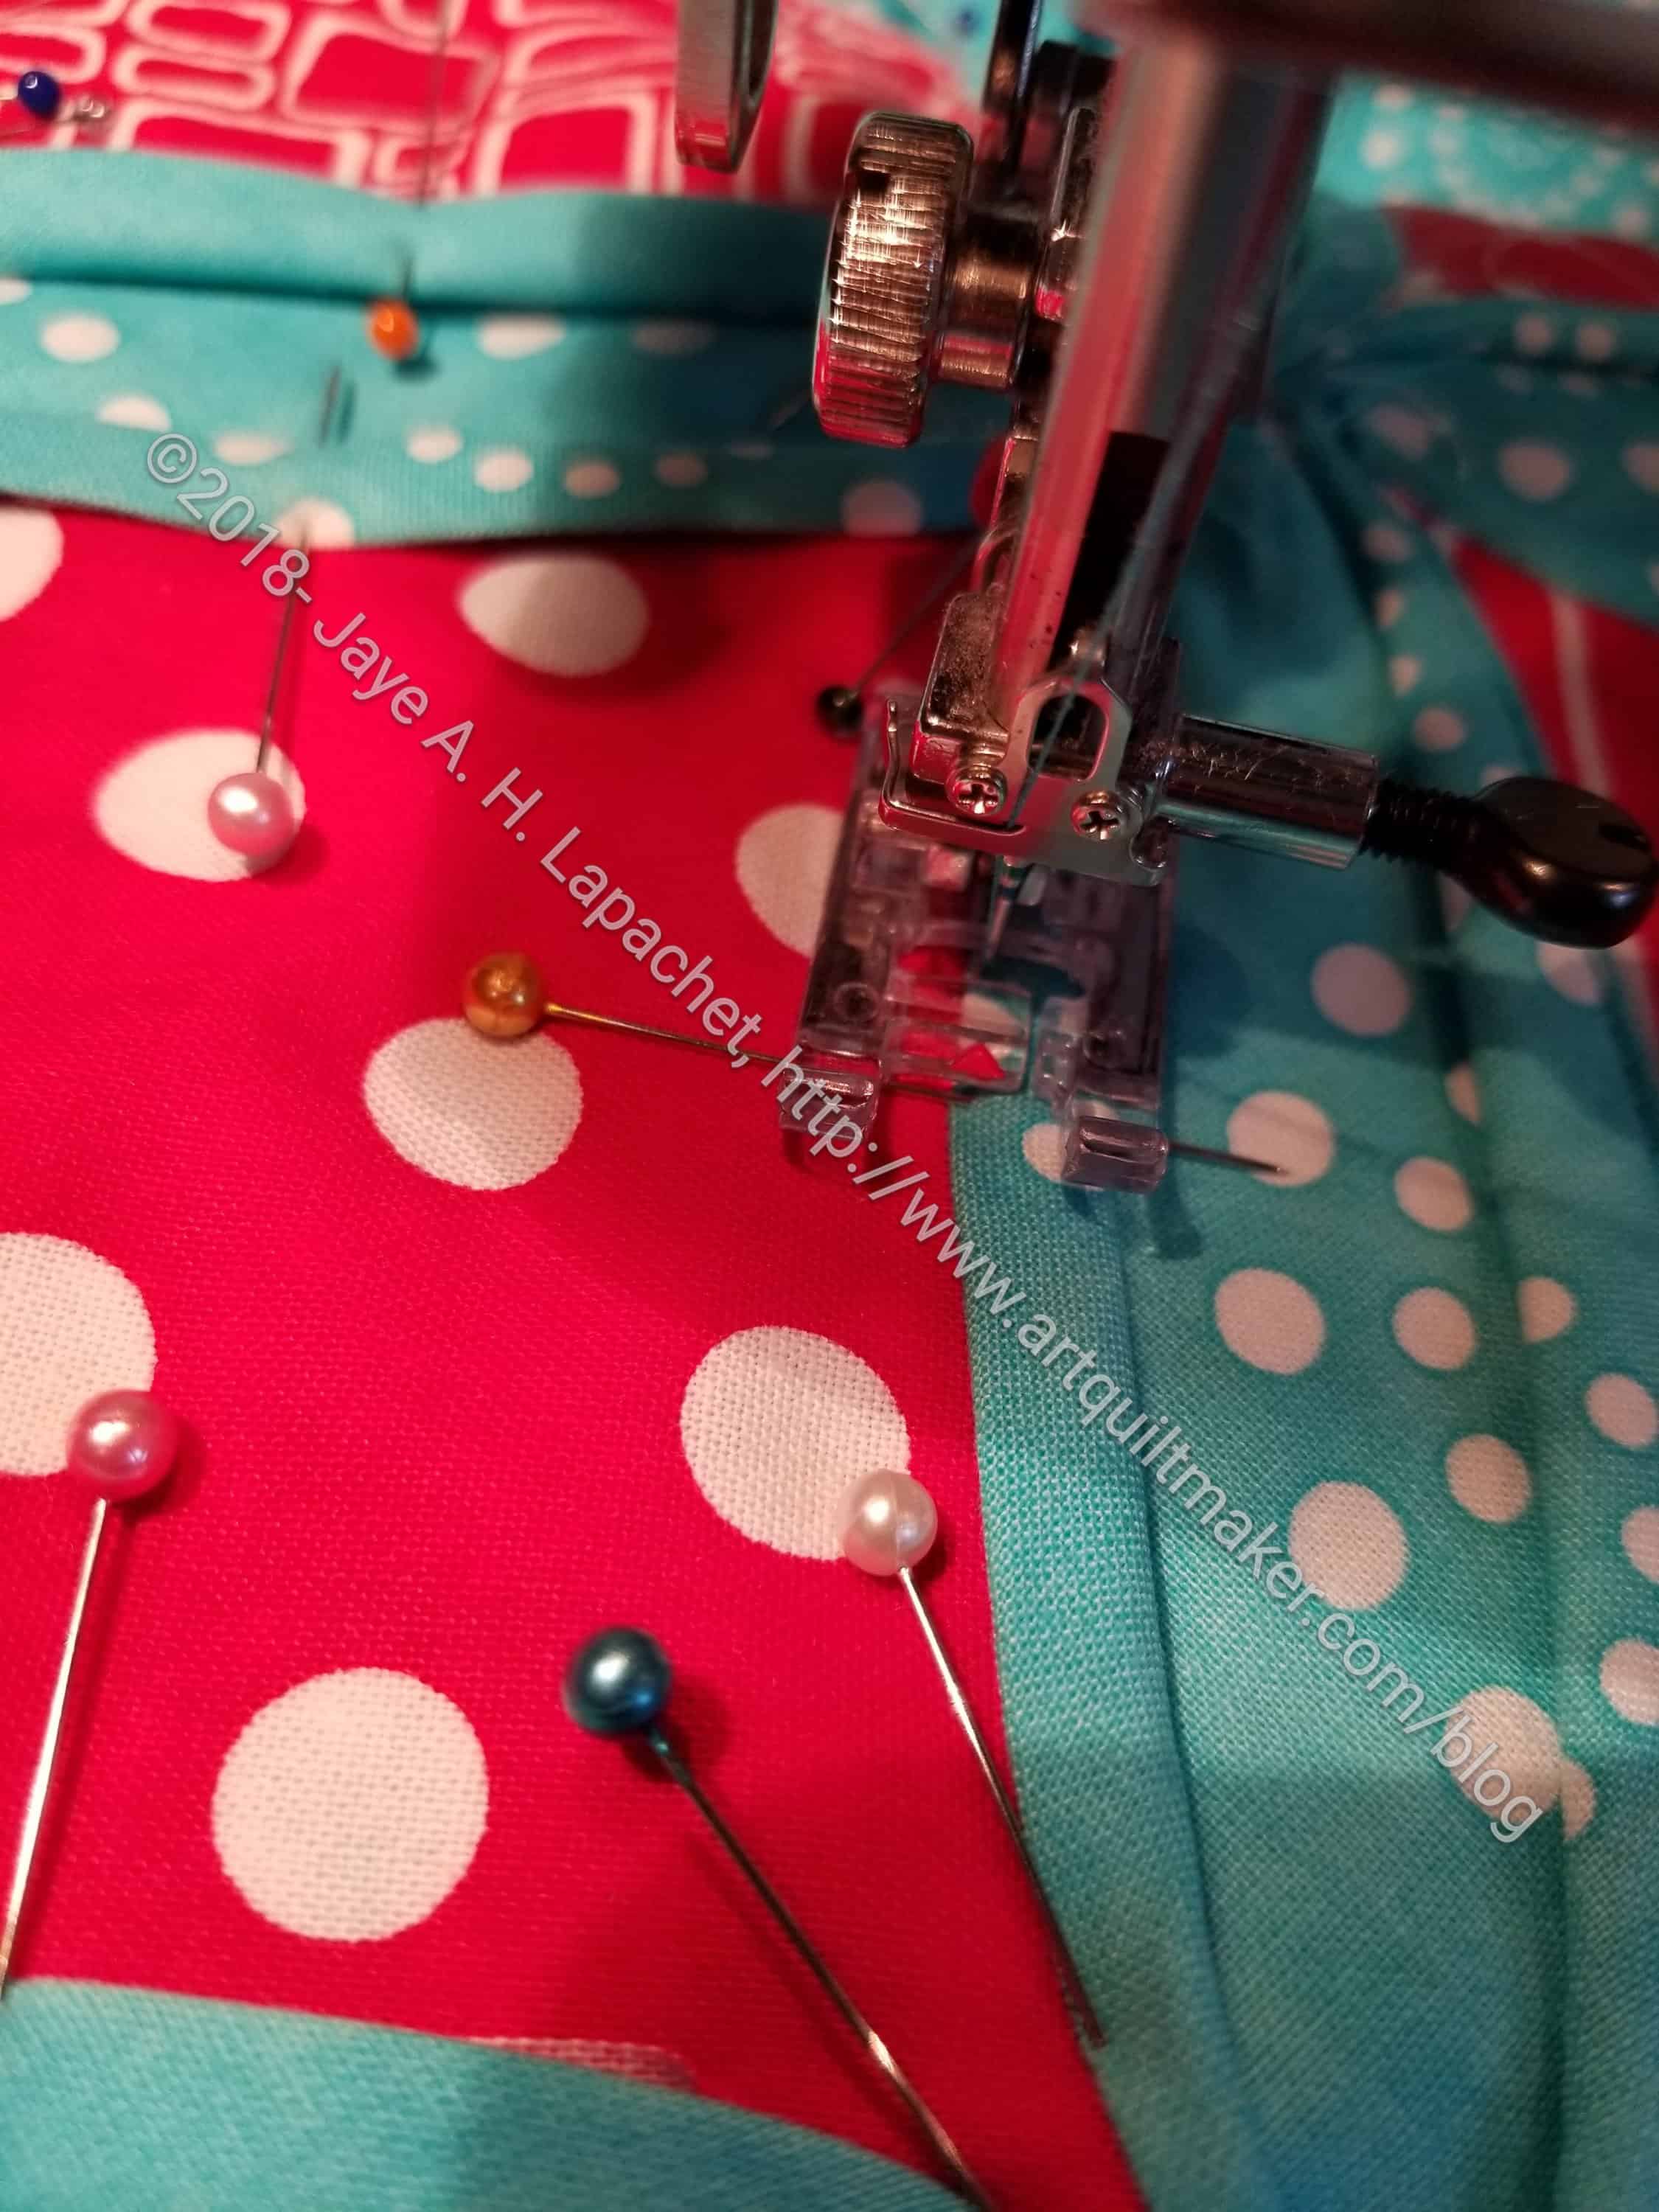
Sew close to the edge of the background fabric
25. Sew very close to the edge of the background. I sewed slowly and carefully. I used the above mentioned sharp tools when I needed a little help. Leave LONG tails so you can knot off and hide the threads
26. Handstitch the other triangle flaps closed with a few stitches. The other tutorials said to use the machine, but 2 stitches is a pain and an irritant on the machine, so I hand sewed the flaps closed when I was sinking threads.
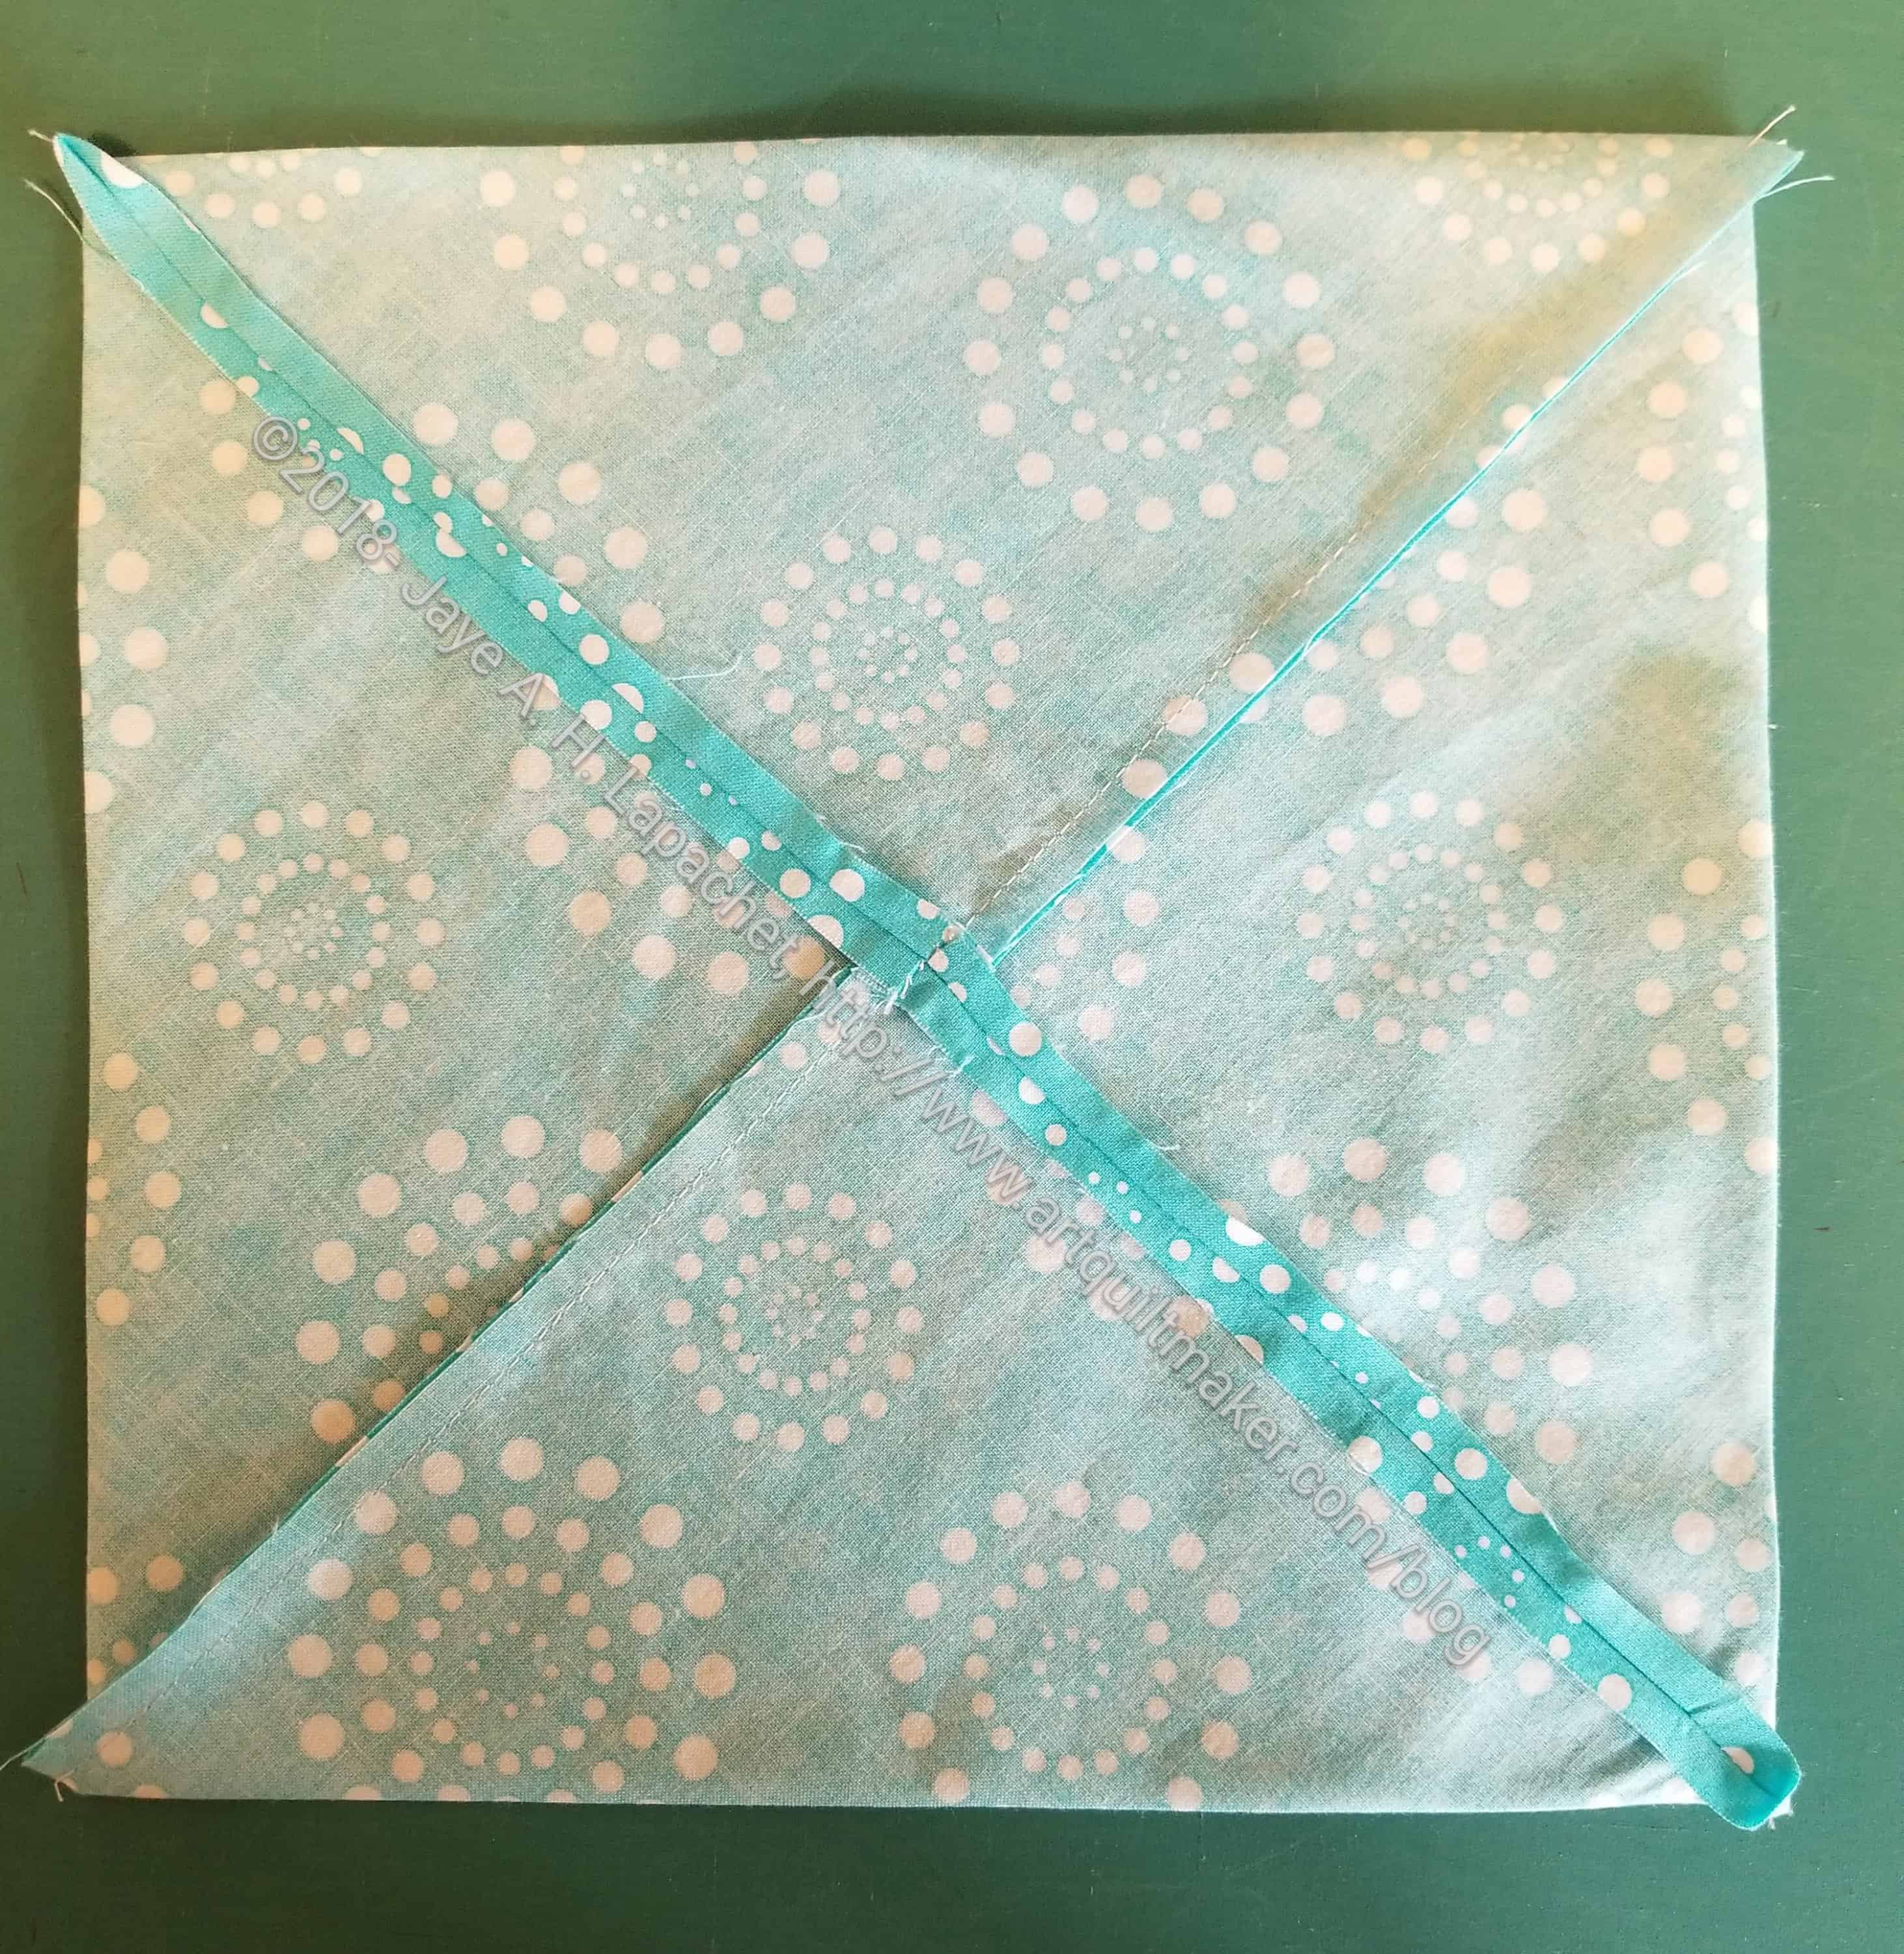
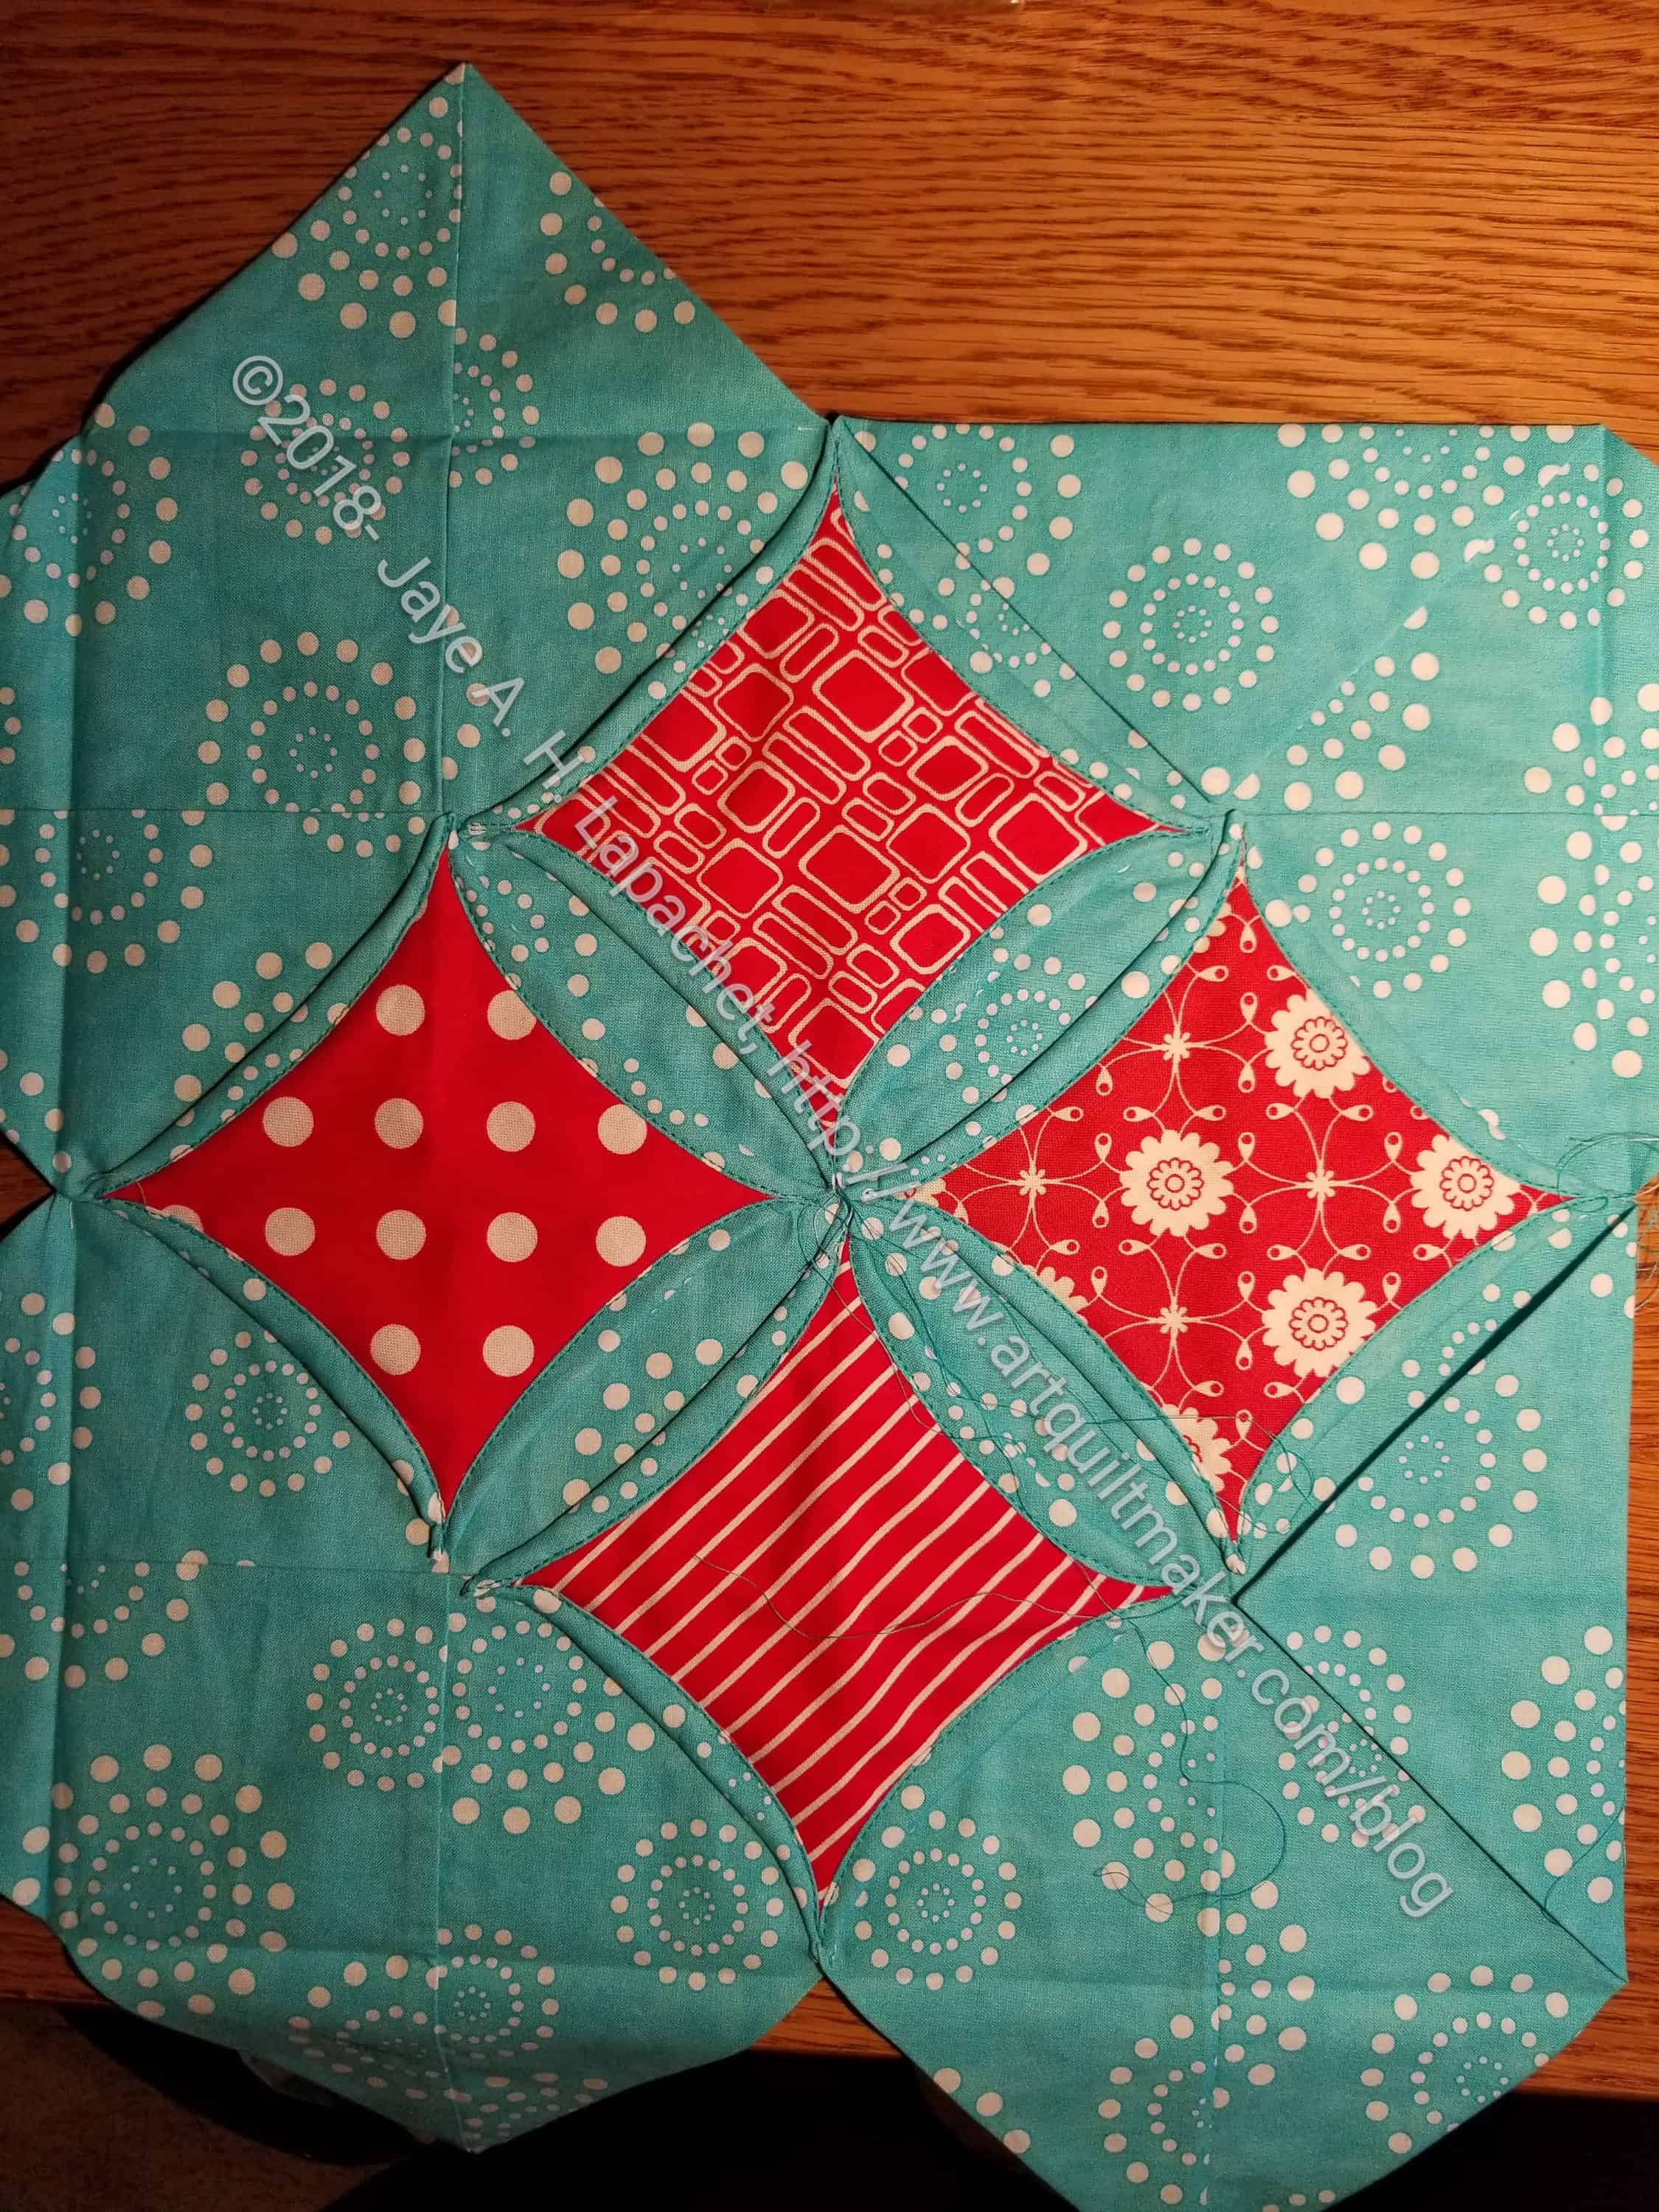
Cathedral Window Block in process
I never thought of making it before, but this block did kind of take my fancy. This is kind of a strange block, partially because of all of the layers. It is lumpier than I expected. Warn your longarmer about it.
Resources:
Fons & Porter Cathedral Window block– I originally found the instructions in one of their magazines as part of their ‘learning to quilt* series’. I had to go looking for other instructions when I found the directions had no sizes or actual cutting instructions. Directions are brief.
Lovely Little Handmades Cathedral Window block – uses a printed background, so you can see how that works. Most people use white, so it was a little confusing for me when I wanted to use the blue.
Sometimes Crafter Cathedral Window block – some missing detail, but has the instructions for cutting the right sized patches. I also don’t like it that the viewer cannot enlarge the photos to see the details.
*Nota bene: not sure if this is the correct name, but it describes the basic idea of the series.
Yes, I worked really hard over the weekend and finished the top!
I also finished the back and binding, so the piece is ready to go to Colleen. Yay!
I started playing around with colors in 2012, so this quilt has been hanging around for longer than I thought. Those first tests were a lot different than what this quilt turned out to be. I am pretty pleased with the colors, though the darker turquoises do stand out. At least they are evenly spaced.
I have another group of fabrics destined for this pattern. Regardless of whether I actually use those fabrics for n.3 remains to be seen, but I don’t think I am quite done with this pattern yet. I’ll need a different border. This one is fine, but not for a second quilt.
I realized that I don’t talk much about ripping out stitching. I do it all the time and this week was no exception.
Stepping Stones n.2 – 1 seam left
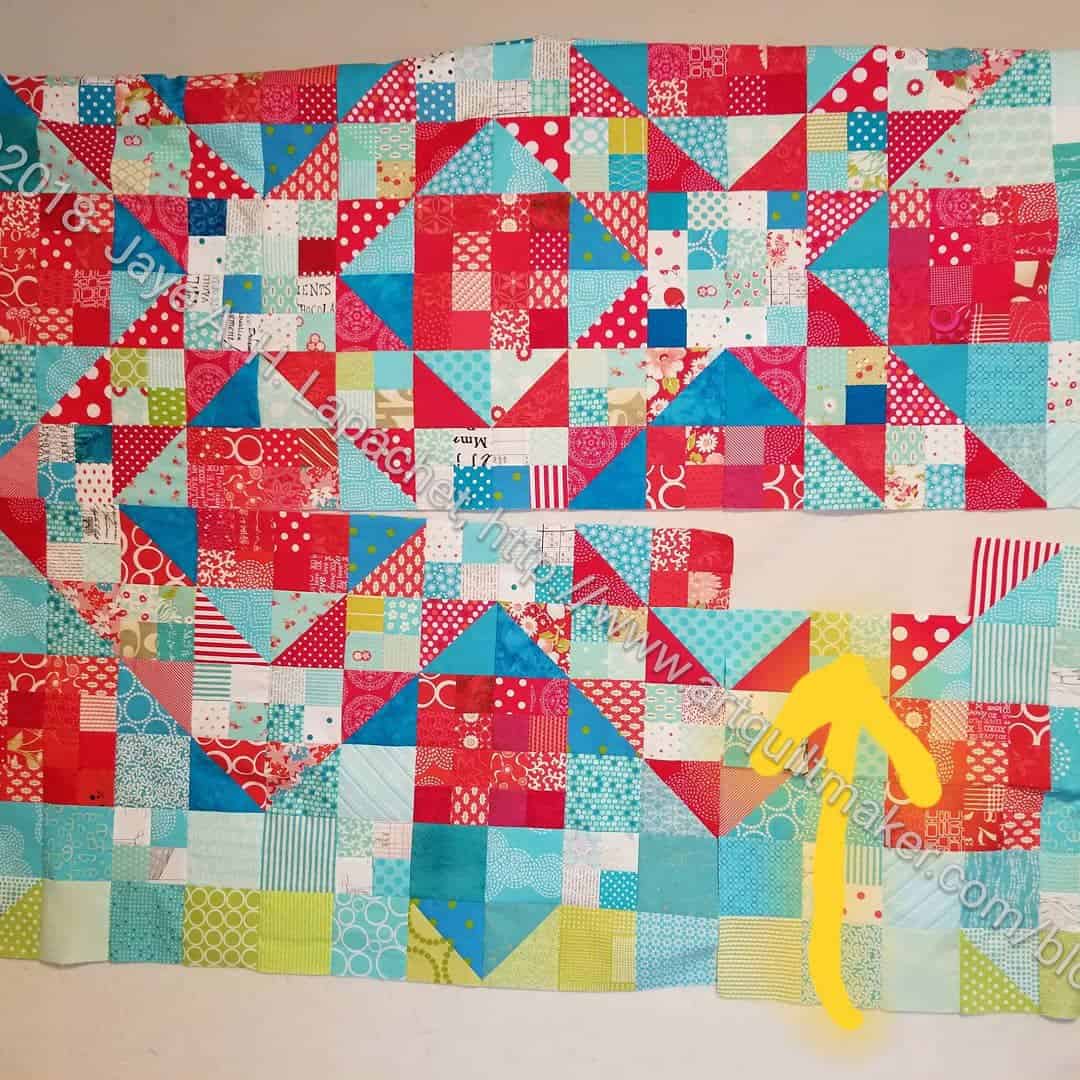
I have been eager to finish the Stepping Stones n.2 top as it has been on my design wall for too long. In my rush, I put a block together wrong and then put it in the quilt. With one seam to go to finish the top, I had to rip out a bunch of seams. Yes, I had to. I looked at the quilt for a long time time, trying to decide if I could live with the mistake. I didn’t want to rip when I was so close to finishing, but I just couldn’t live with the problem.
Stepping Stones n.2 – 1 seam left + error
The look is almost right, but if the viewer looks hard, there is a disruption in the pattern. Also, all of a sudden two like fabrics were placed together, which I really worked hard to avoid all through the piecing process.
I am sure you can’t avoid the big circle, but refer back to the photo above to see the problem. Look down and to the left one row to the see the duplicate fabrics (not circled.
Stepping Stones n.2 – lower right hand corner – ripped
Yep. I ripped. I thought I would just take out one row from one block and sew it back in. I ended up taking part a good portion of the lower right hand corner. The photo with the arrow is before I ripped out some other pieces.
I am in the process of sewing the bottom back together and finishing the top.
Christa Watson has a new pattern out called Stepping Stones. It looks like a reimagined Rail Fence to me, but who am I to say? I had to stop contemplating the names of blocks, however and get back to sewing.
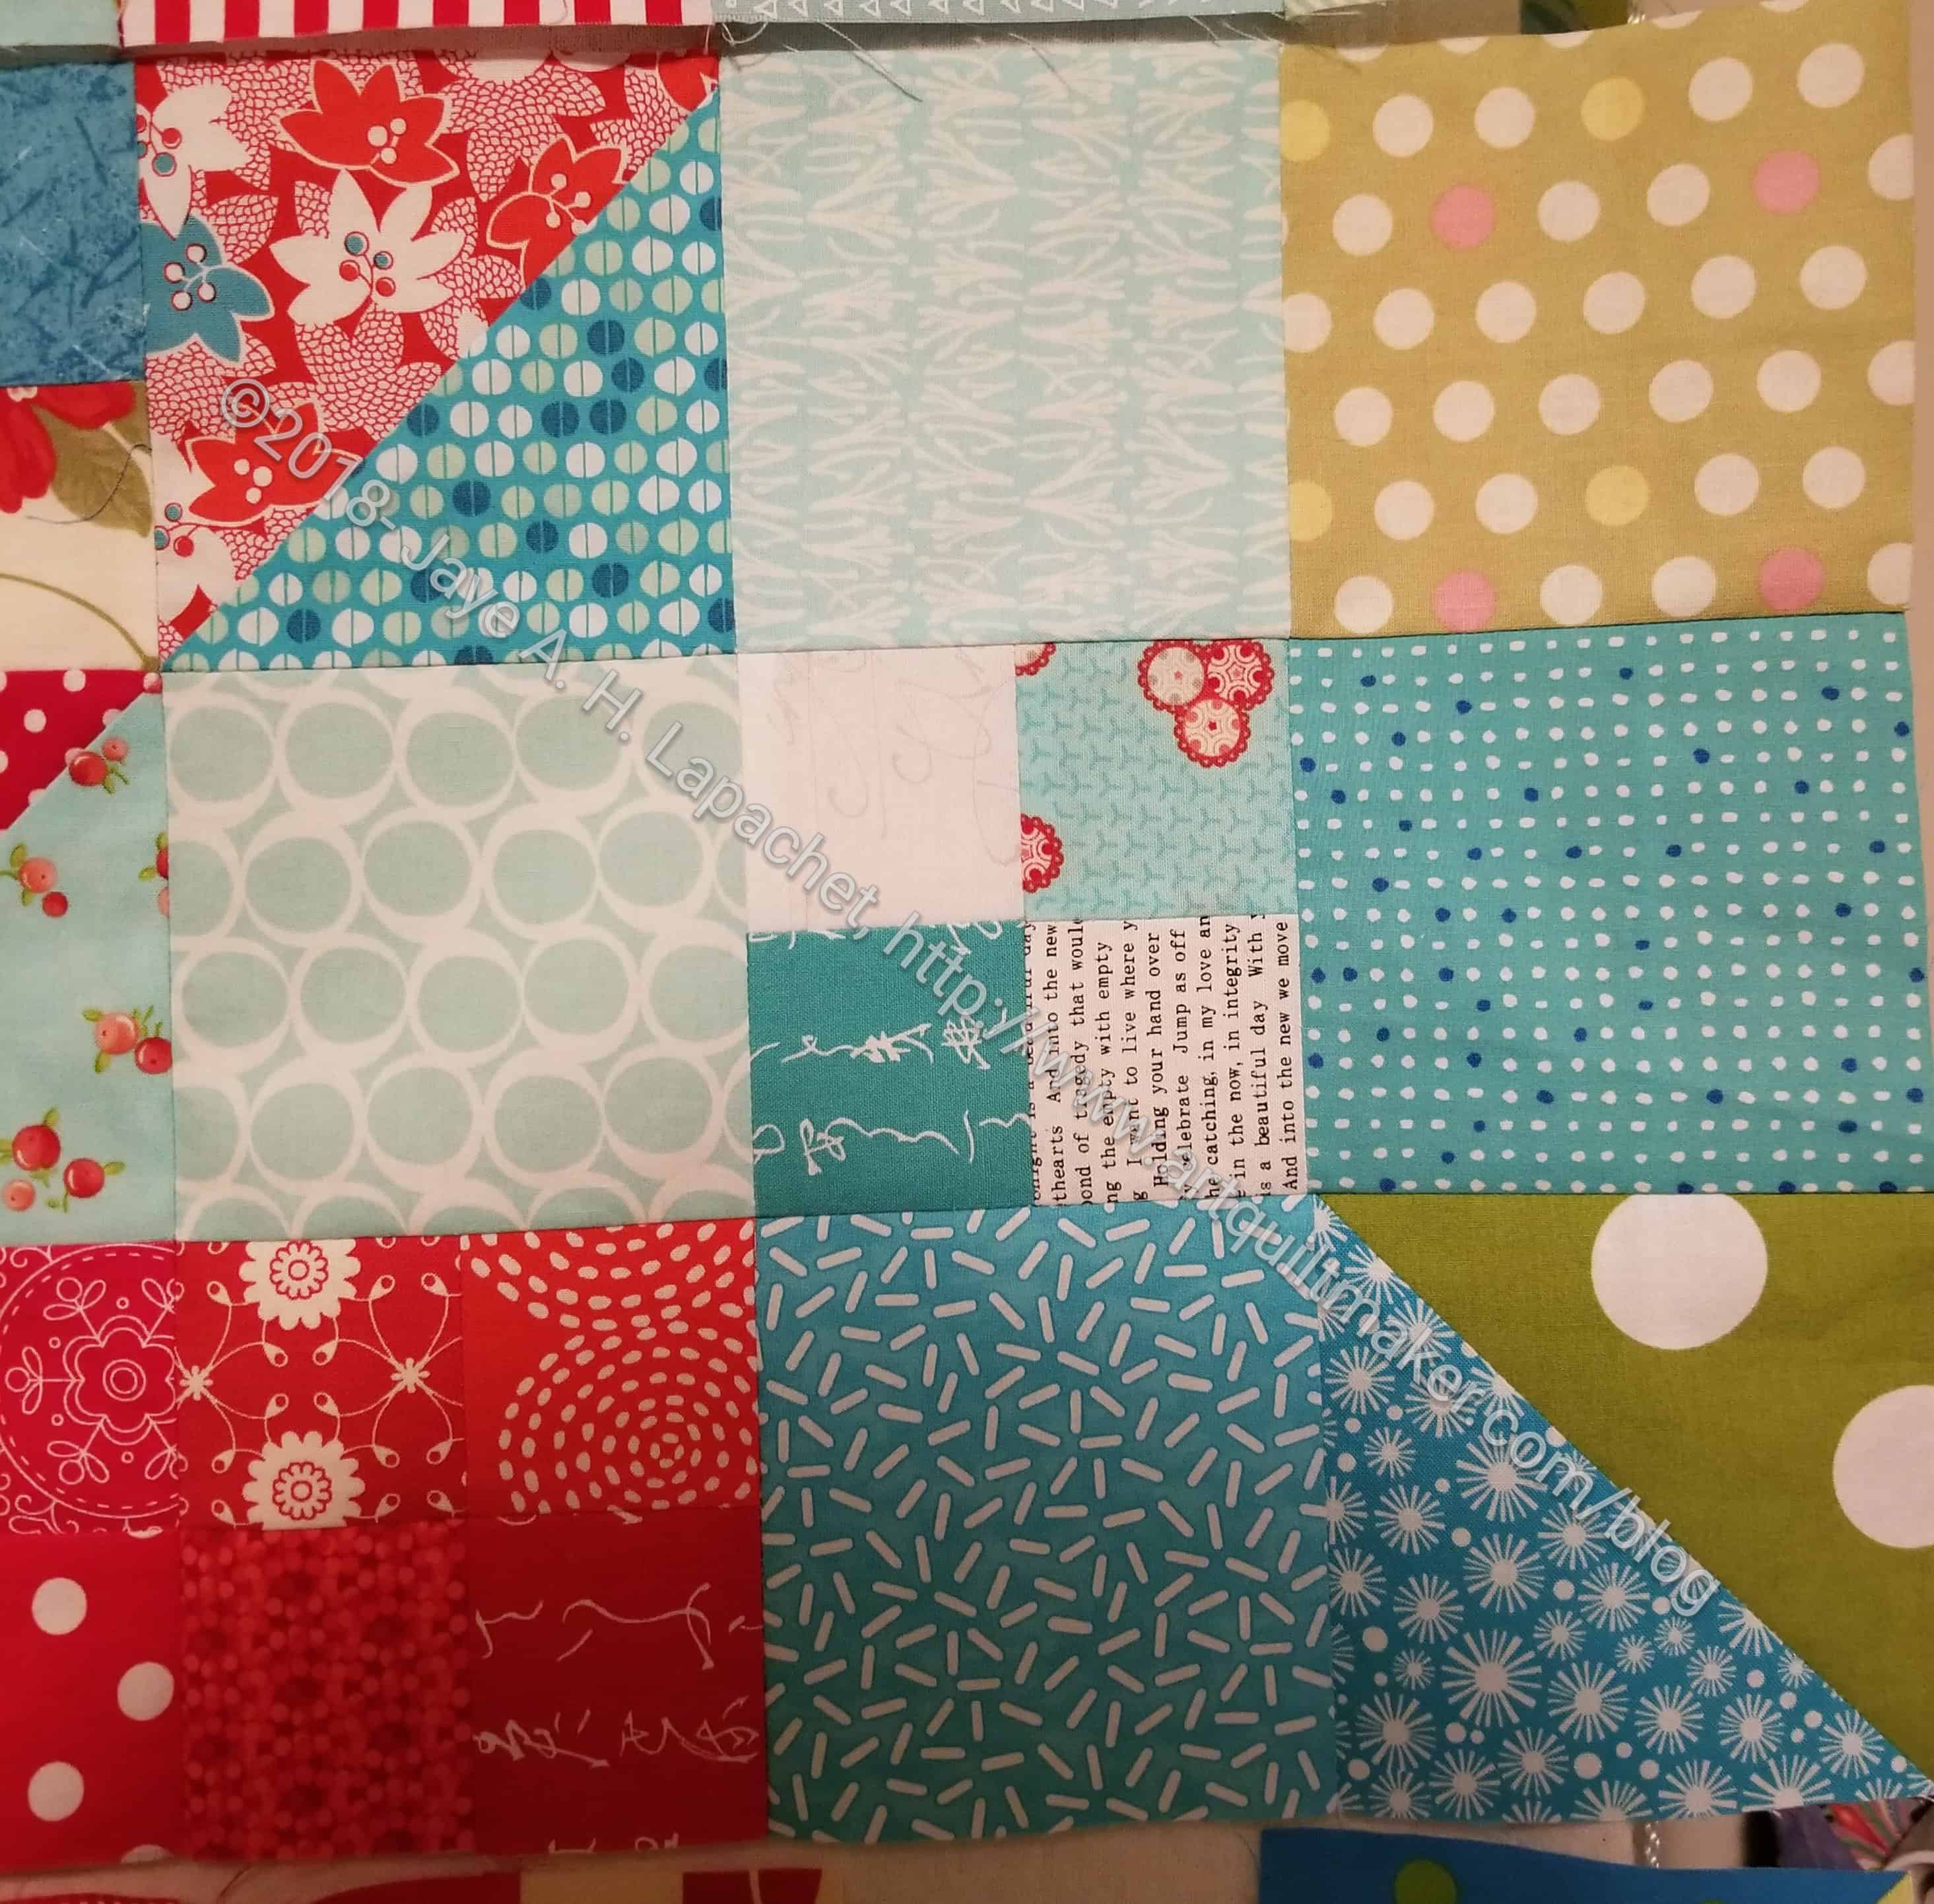
Stepping Stones Border Block – Left Side
I try to make a CrockPot meal for Mondays so that we can come home, eat and I can go to Craft Night in a timely manner. Craft Night was at my house on Monday and the meal was over and done before I even needed to prepare the tea and all. I had about half an hour of time, so I raced up to my workroom and sewed! I didn’t have a lot of time over the weekend to sew, so this was a good way to scratch that itch for sewing.
Stepping Stones Border Block- Right Side
I wasn’t able to finish a lot, but every little bit helps. I had cut some fabric, so I could work on a couple of border blocks, which I did. These blocks will allow me to put together another row of the top.
The green and blue HSTs indicate the middle of the quilt and prove I am halfway finished with the top. I know you believe me, but sometimes I need to prove to myself I am making progress as slow as that progress might be.
Aside from cutting more pieces, which I have mentioned, I have to make a few more HSTs. I can’t actually see one corner of the quilt, because there is some stuff piled in front of it ( 🙁 , I know). Once I sew the latest row to the top, I’ll be able to pull the quilt up and really work on the bottom.
Progress might be painfully slow, but I am making progress. It would be really great to finish this top before July 7, but we will see.
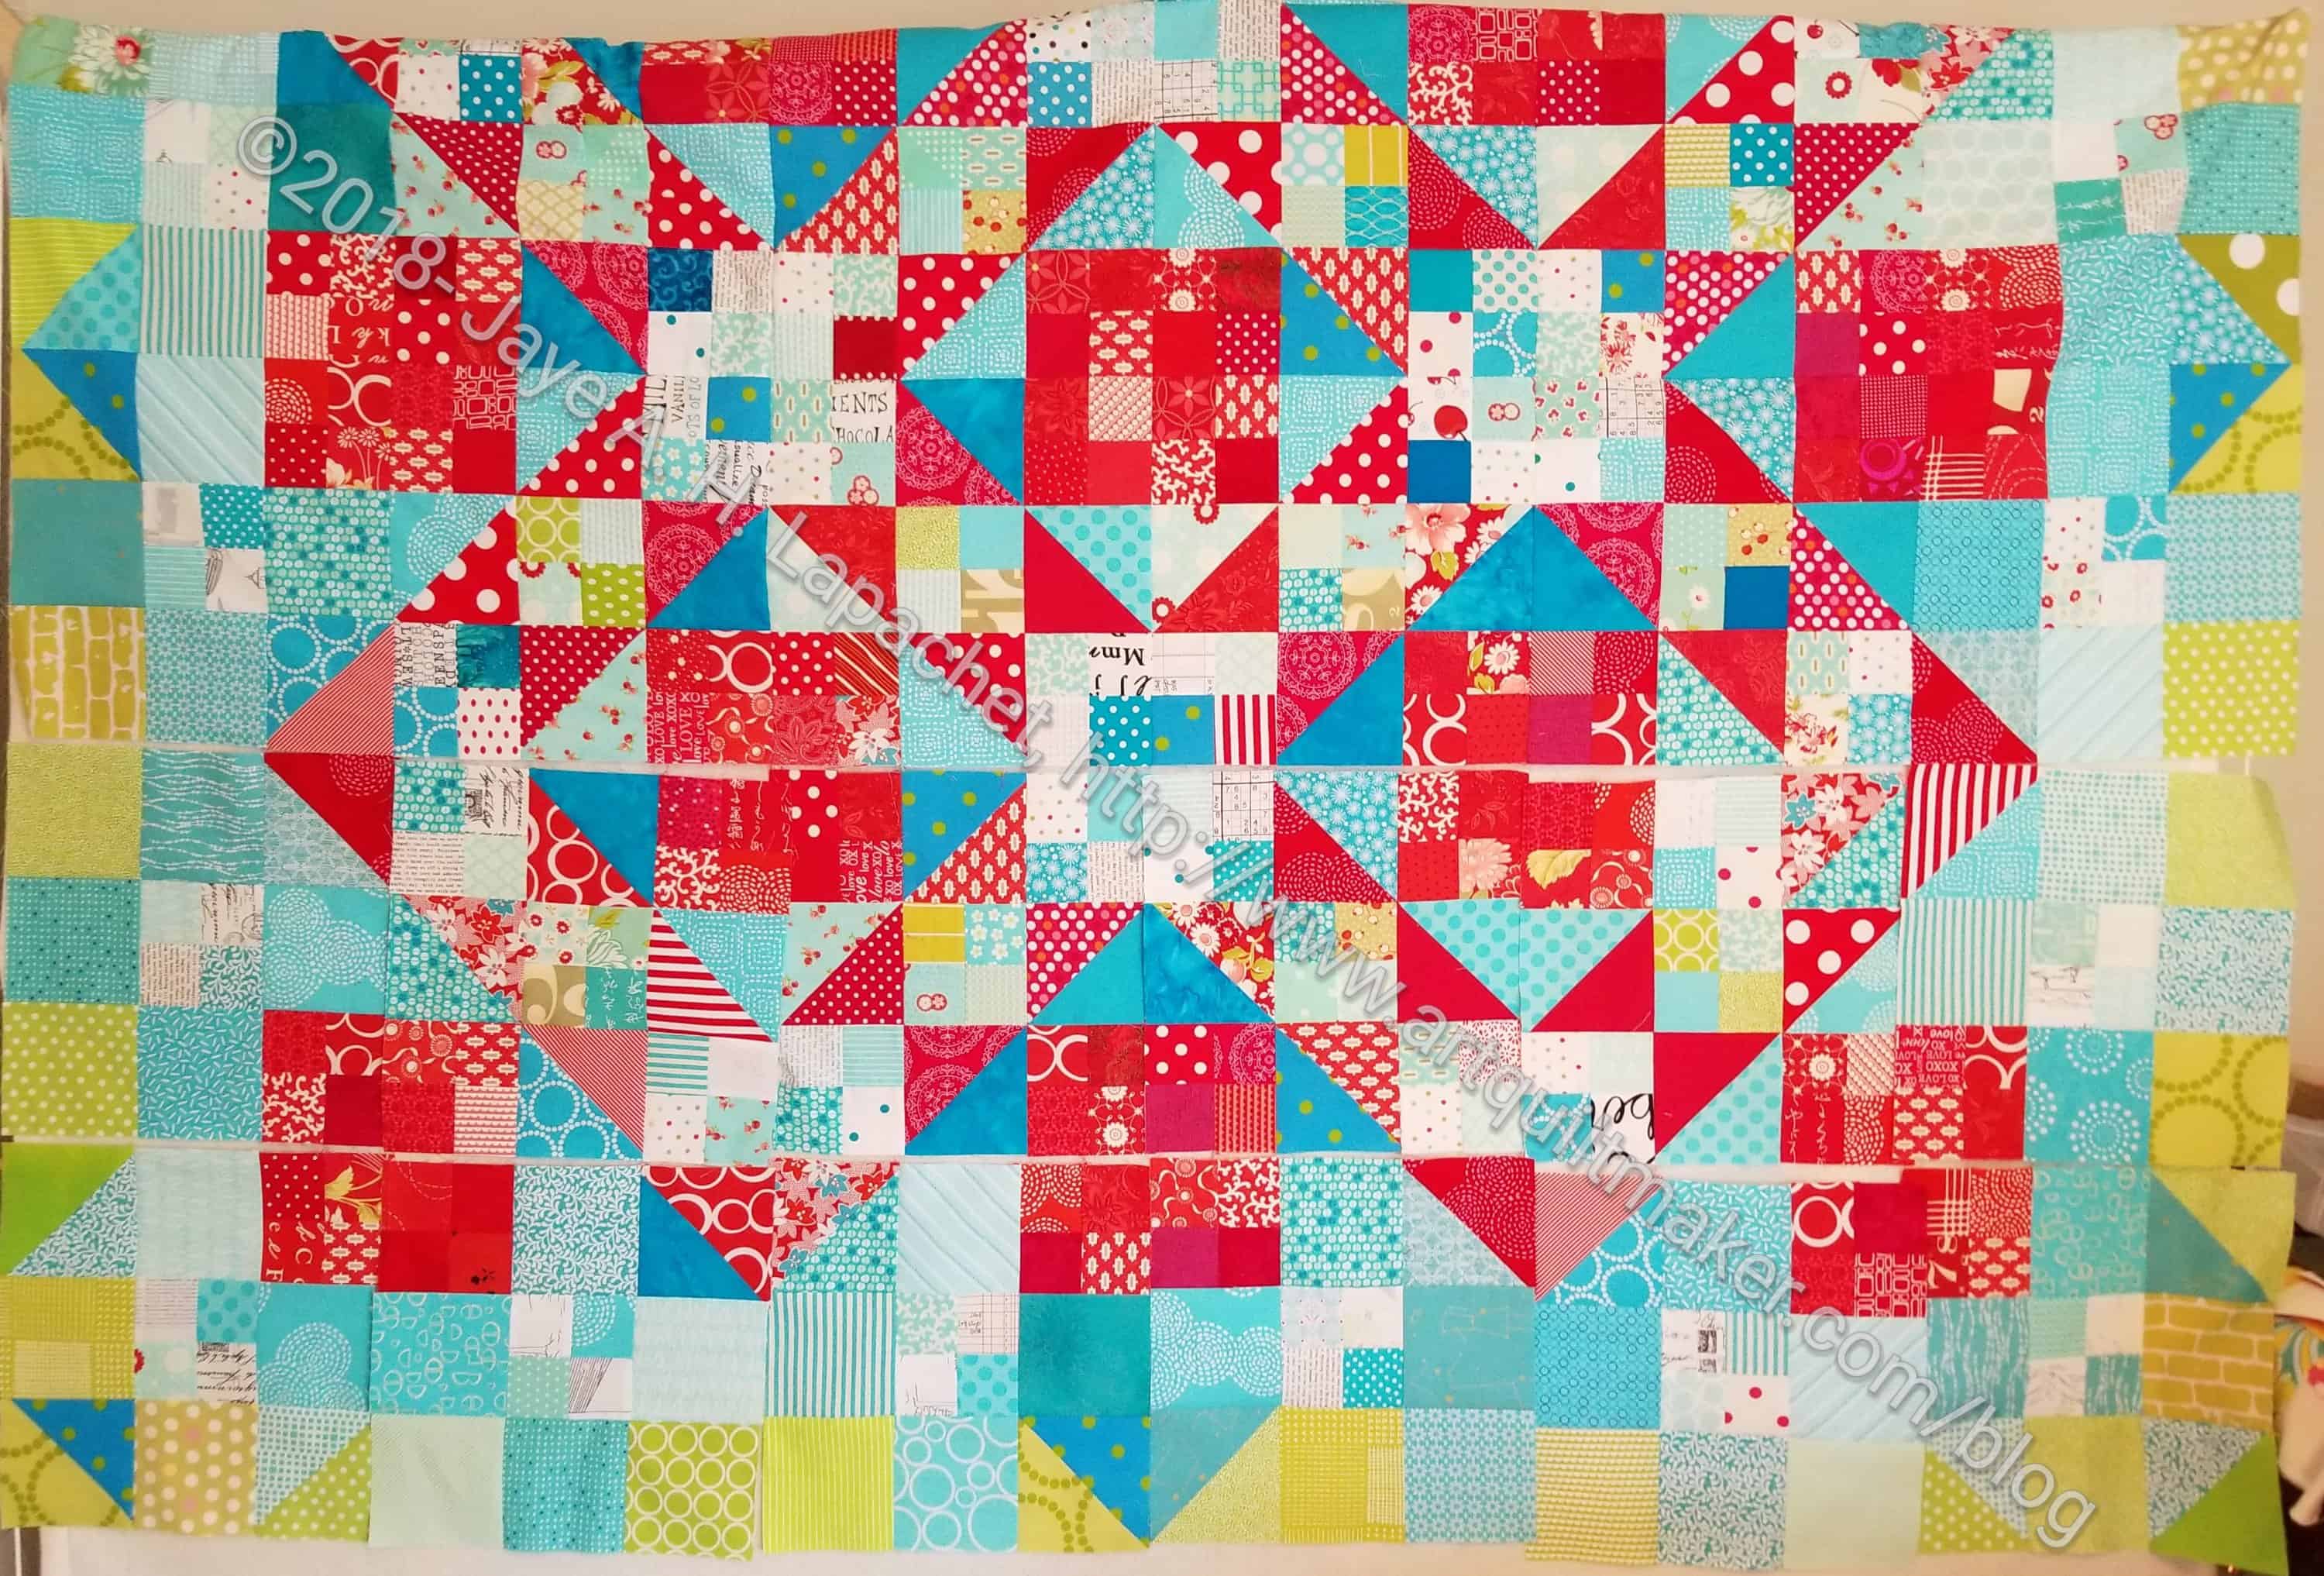
I made really good progress over the weekend. I had only a few seams to sew in order to finish half of the quilt. The quilt is starting to look like something!
I have had to cut a lot of blues and greens for the border, so that is taking time, but at least I can do a few at a time in between everything else.
Looking at this half makes me think that I might have to work on another one of these. I would like to see the framework of the red diamonds more filled in. On the other hand, if I used more red, would the Sawtooth Stars (check the middle, right under the red square) show up? Perhaps fabric with less contrast? Red and pink or orange and yellow? I’ll have to play around.
I also need to work on the border of a new version. This border is ok, but not great. Not sure why, but it isn’t doing much for me.
I am still behind on the BAMaQG Color My Quilt project. I decided while I was sewing the Stepping Stones n.2 over Memorial Day that I would slide in the Color My Quilt pieces. I sewed on them in between the Spiky 16 Patches and the Stepping Stones n.2.
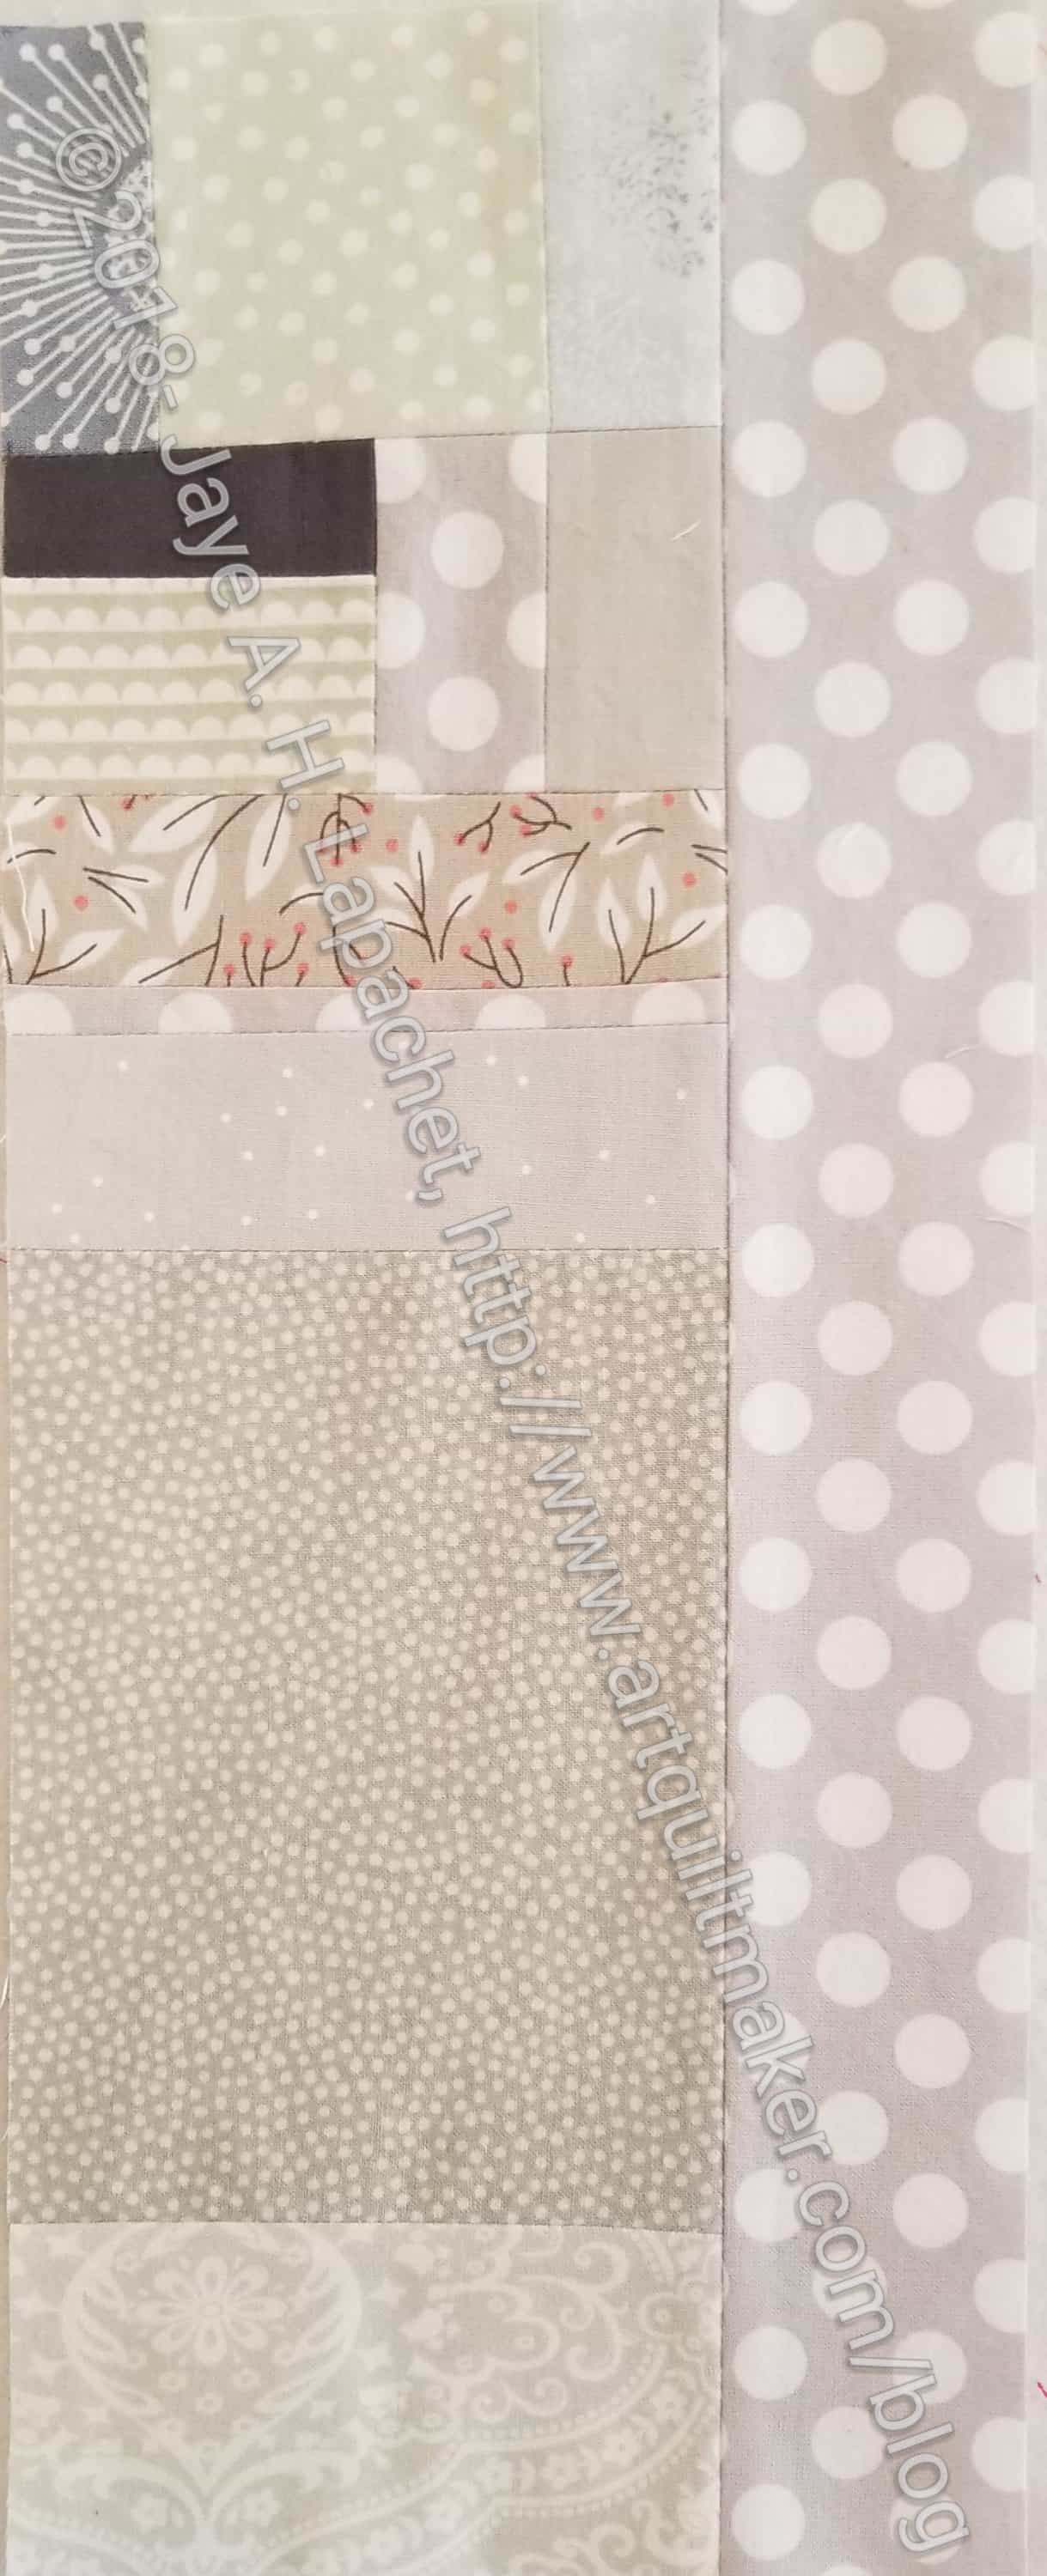
Michelle’s theme was fog. I am quite familiar with it, so I pulled greys out of my scrap drawer and put another long thin piece together.
It is simple and straightforward. I hope it works with the other pieces she got.
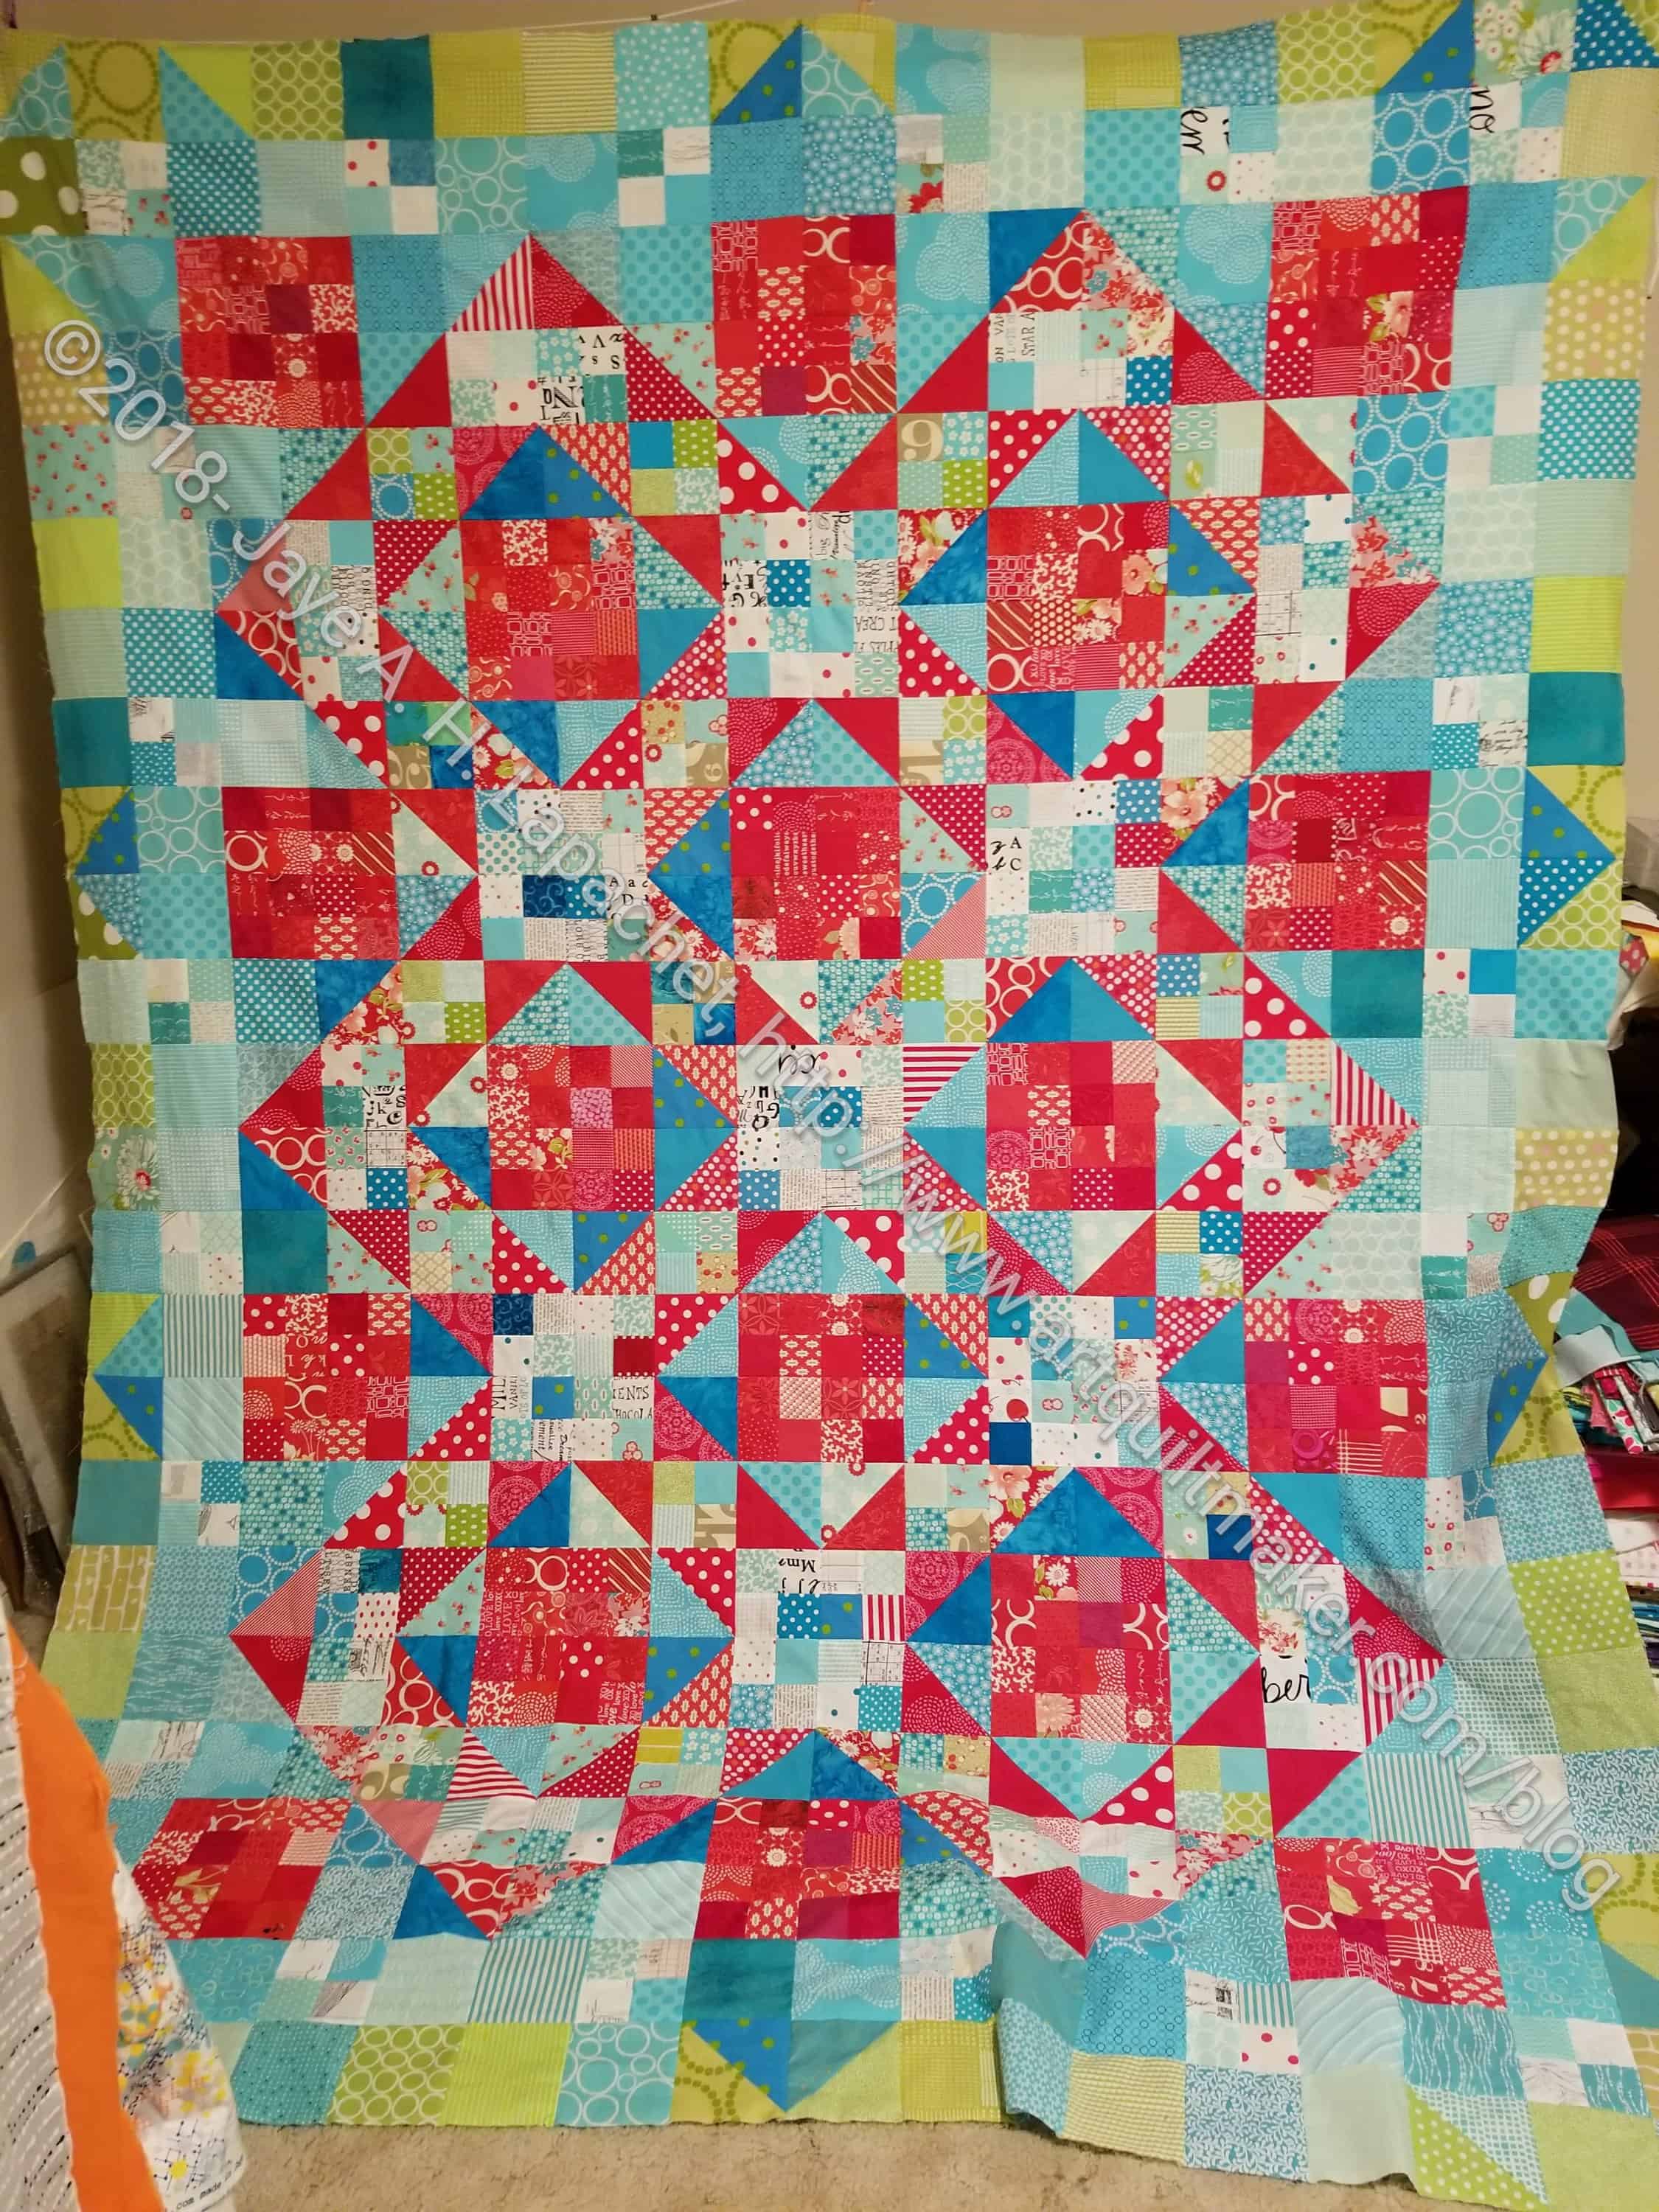
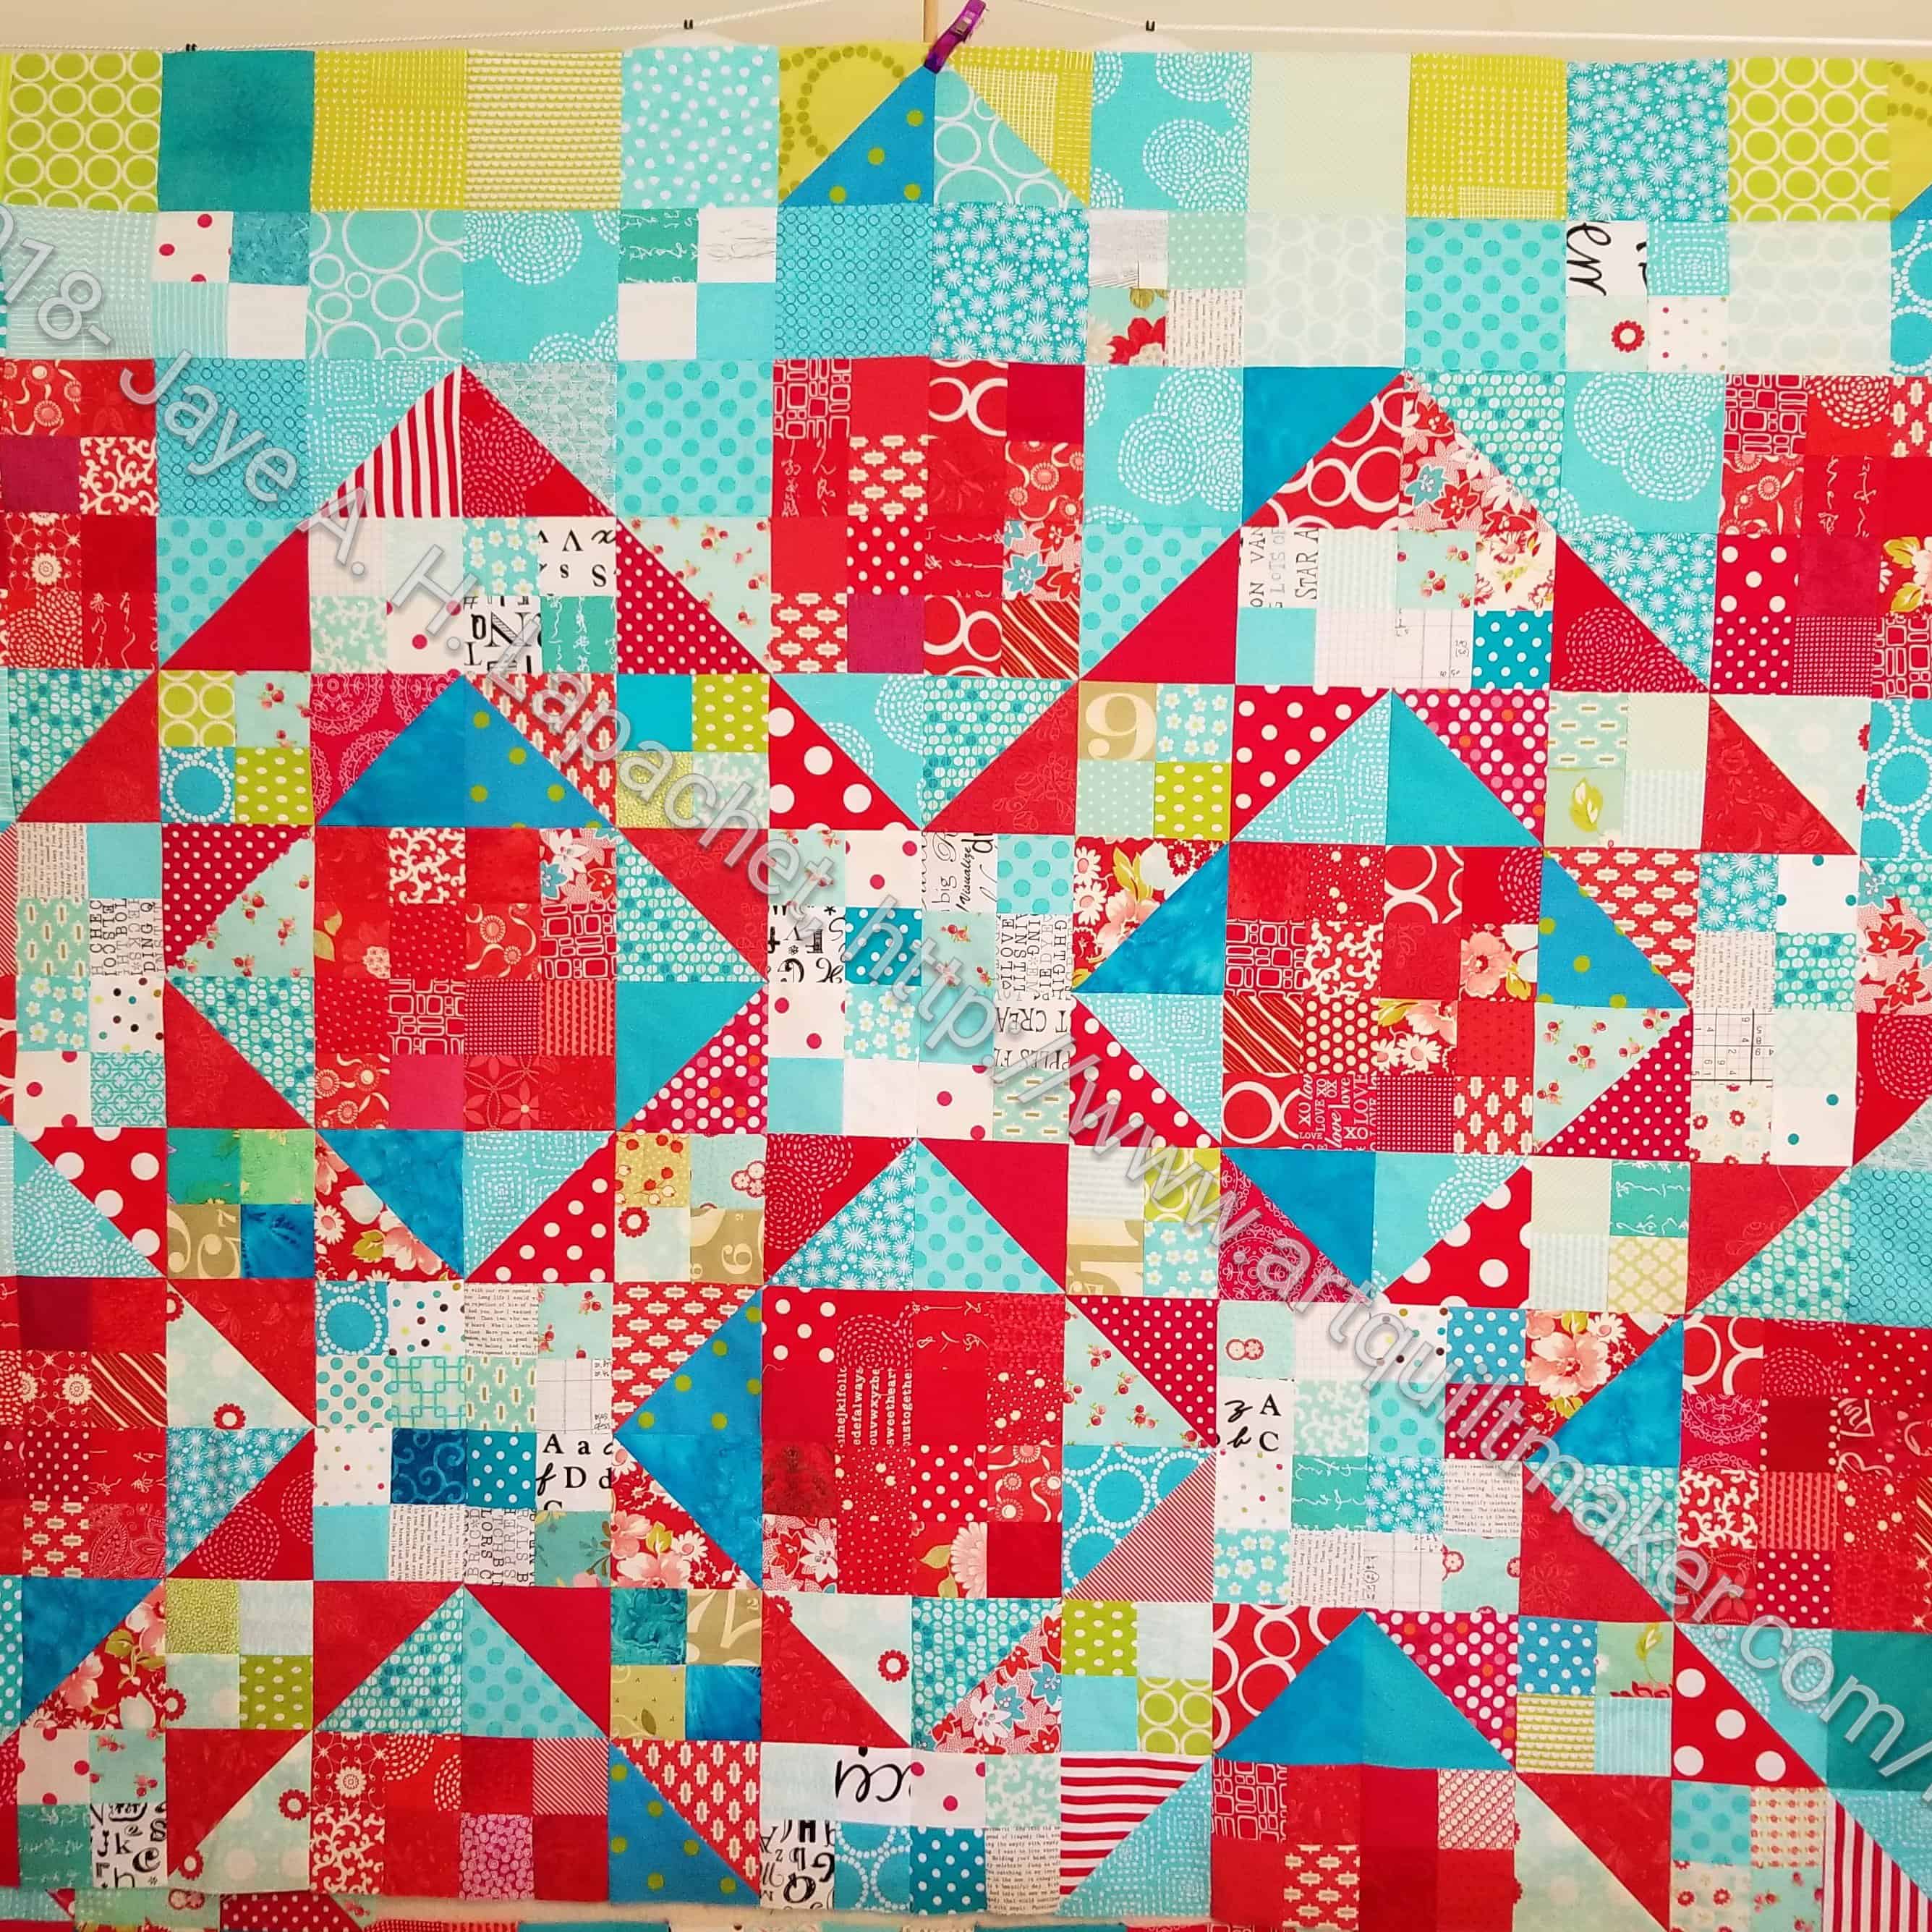
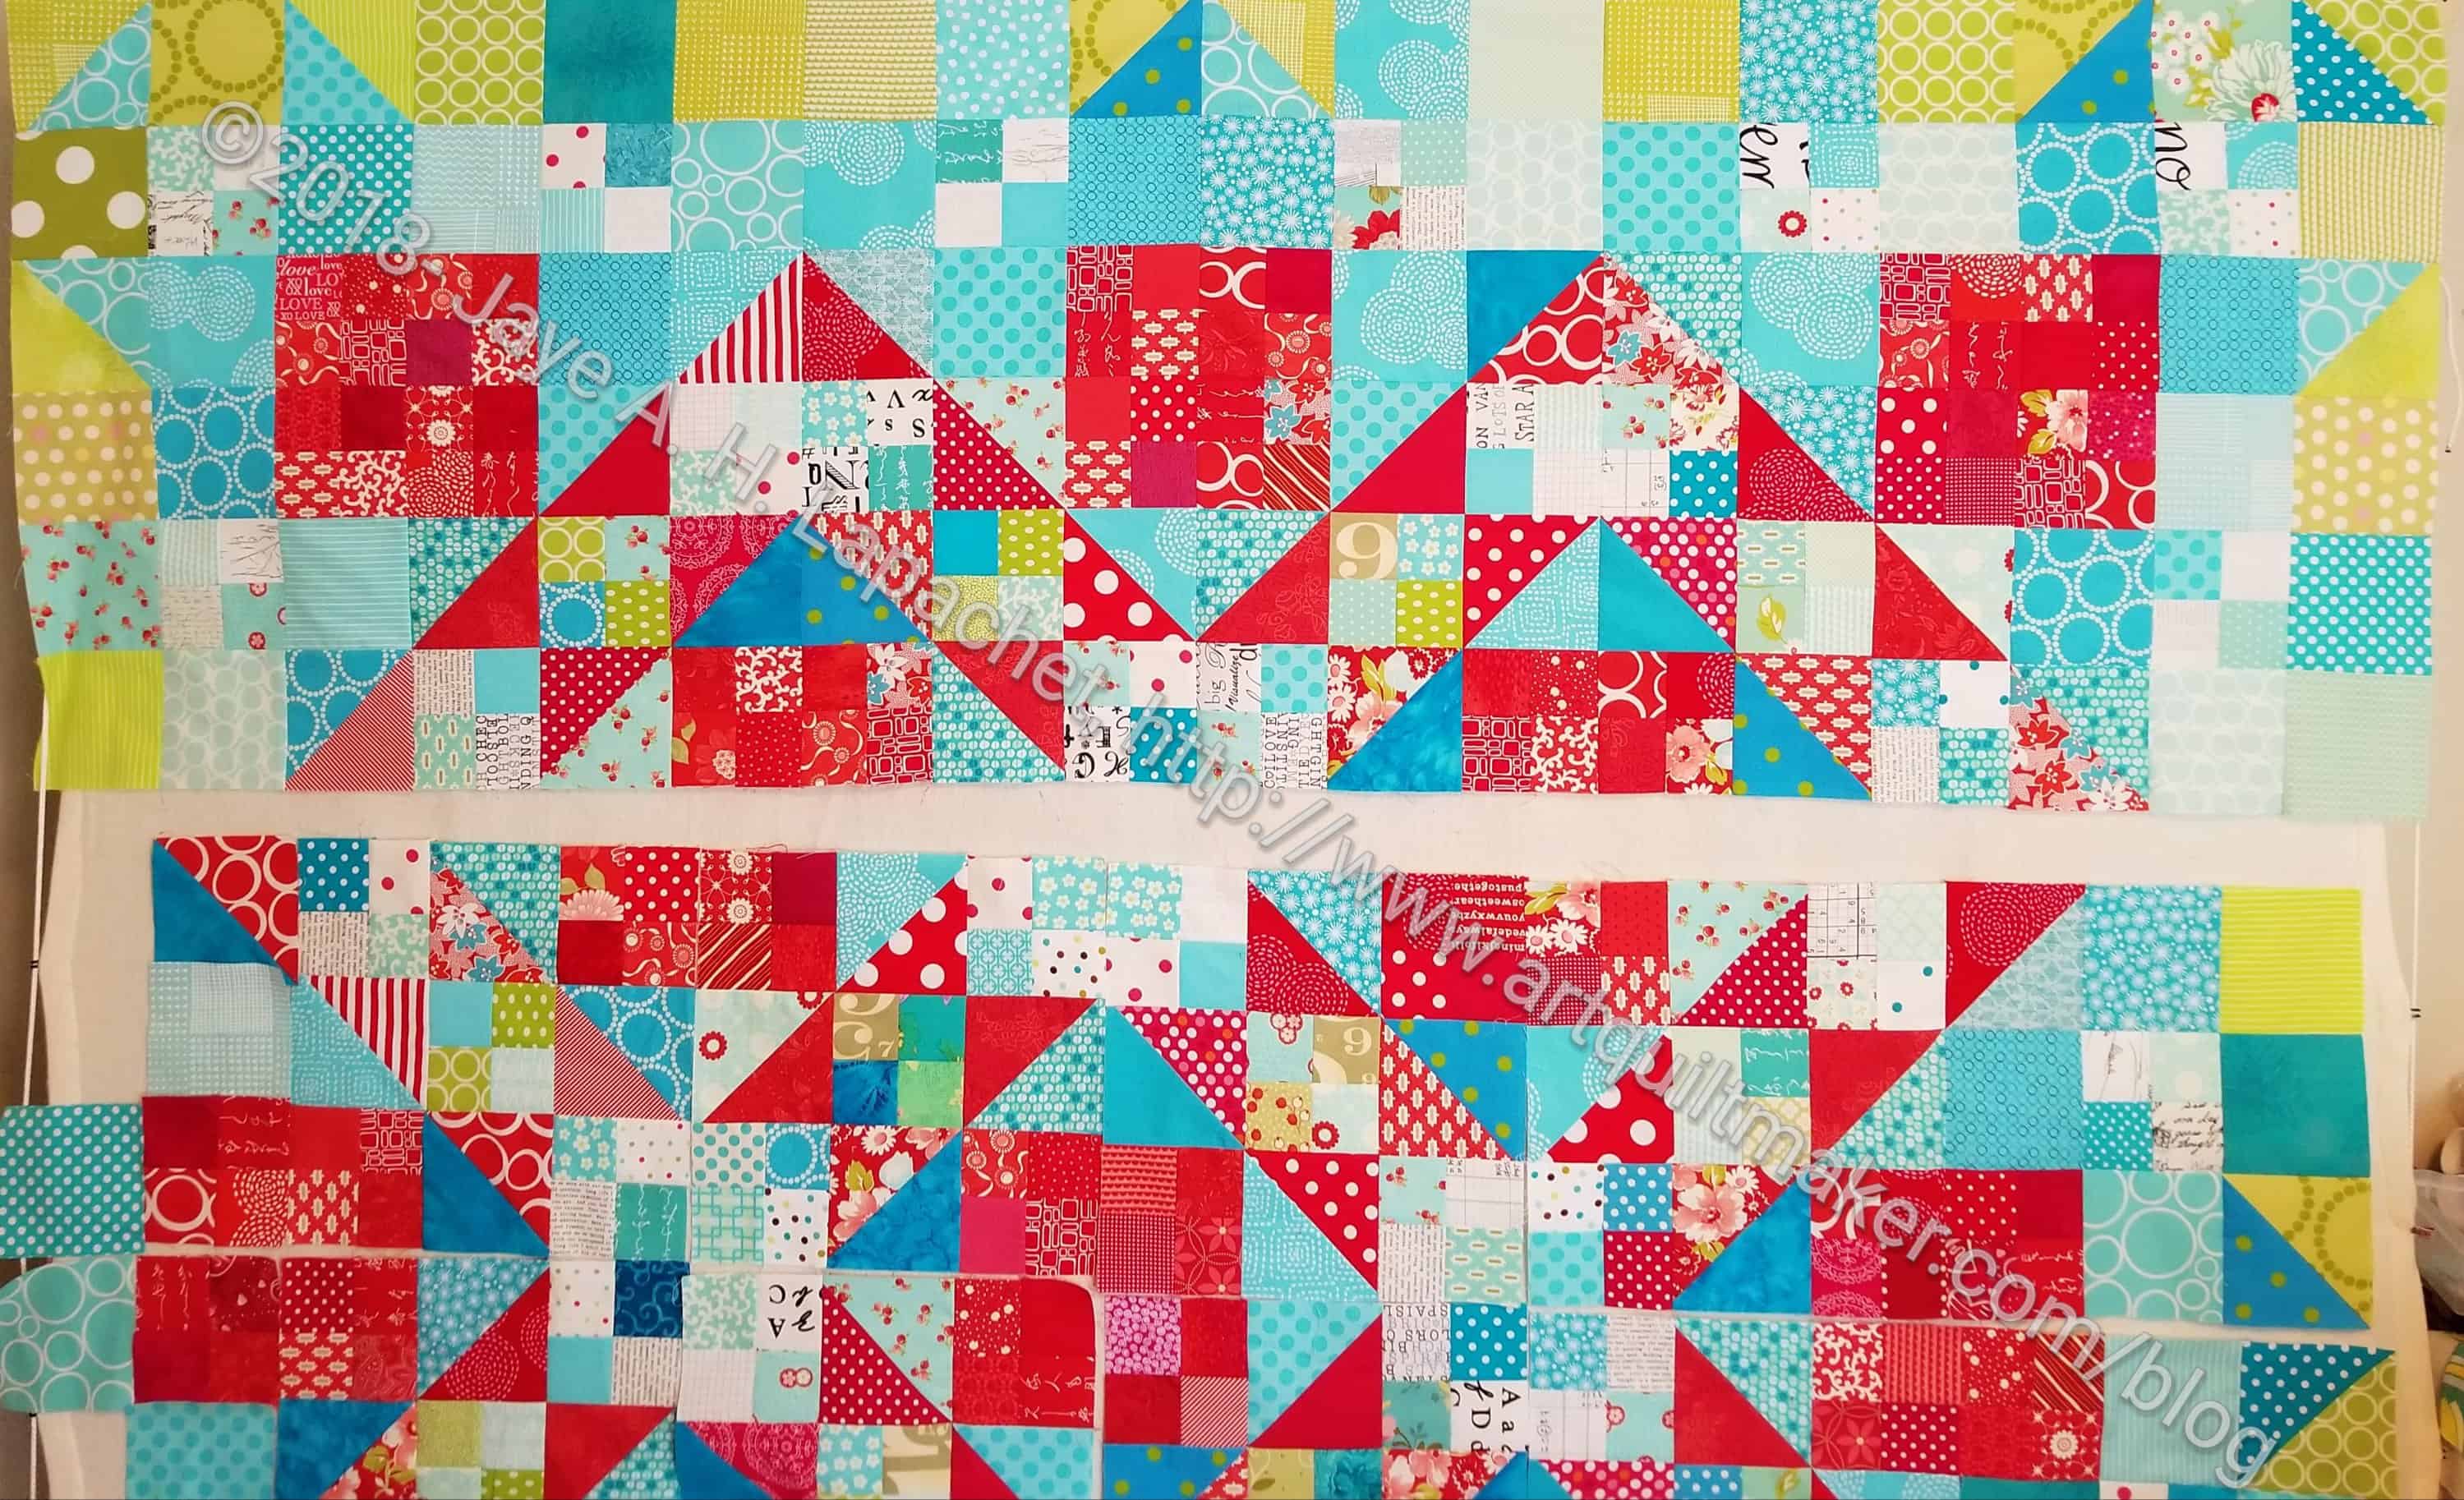
I wouldn’t normally put a quilt together like this (you know I like chunking!), but it is too long to fit completely on my large design wall. I put the top quarter (ish??) together and and then flung it over the top so only the bottom couple of rows are showing. That allowed me to move everything up and work more on the middle. I hope also, to work on the bottom, but I will probably have to move it up again.
I am always amazed at how good quilt tops look sewing together. I really like the top part of this quilt and it took me so long to get to this point. Yes, I have a lot more cutting and a lot more sewing, but I am thrilled, finally, to be making some progress!