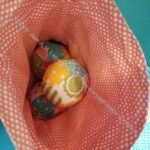
< this is one of the good things about shelter-in-place: sewing at lunch time >
Since then I finished all the blocks, half blocks, quarter blocks: ALL. Hooray. Now I just have to sew the thing together.
This doesn’t mean the piece will be finished. There are still at least two borders, the back and the binding. Perhaps by the time shelter-in-place is over, I will have it done.
The weekend was tough. The sense of unreality I am home all.the.time was very strong. I couldn’t really wrap my head around it even though we have been living it. I took the car out for a spin and felt like I had forgotten the finer points of driving. It is hard to explain. The only thing I can do is not to think about the unreality and list off the good things I have.
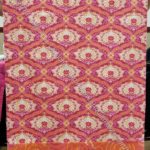
Frolic! -early April 2020
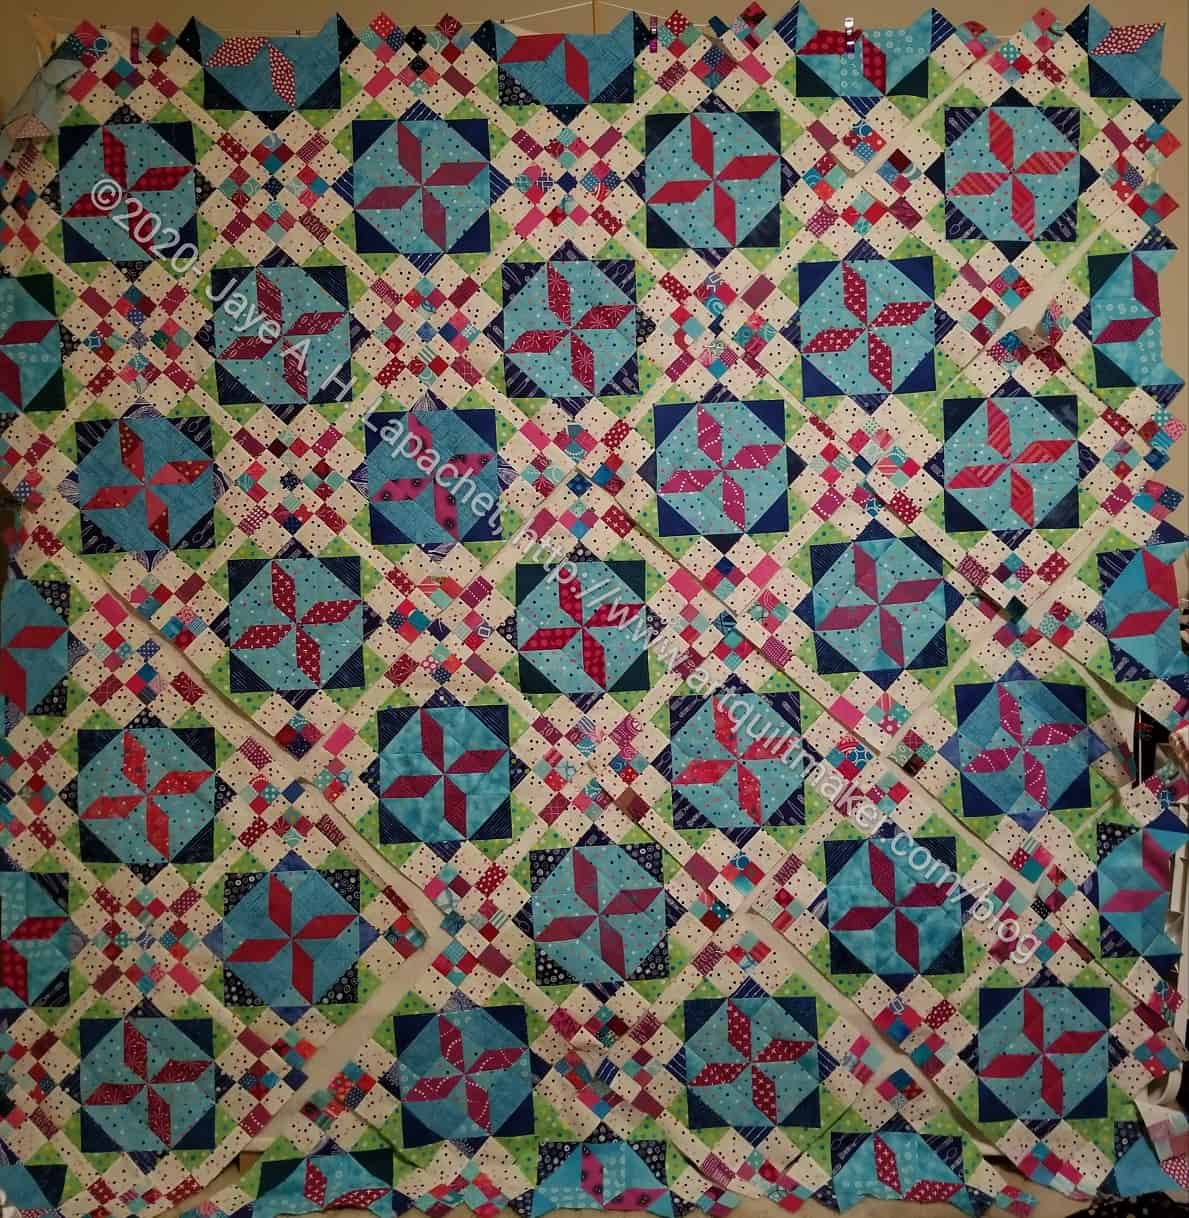
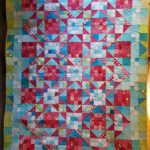
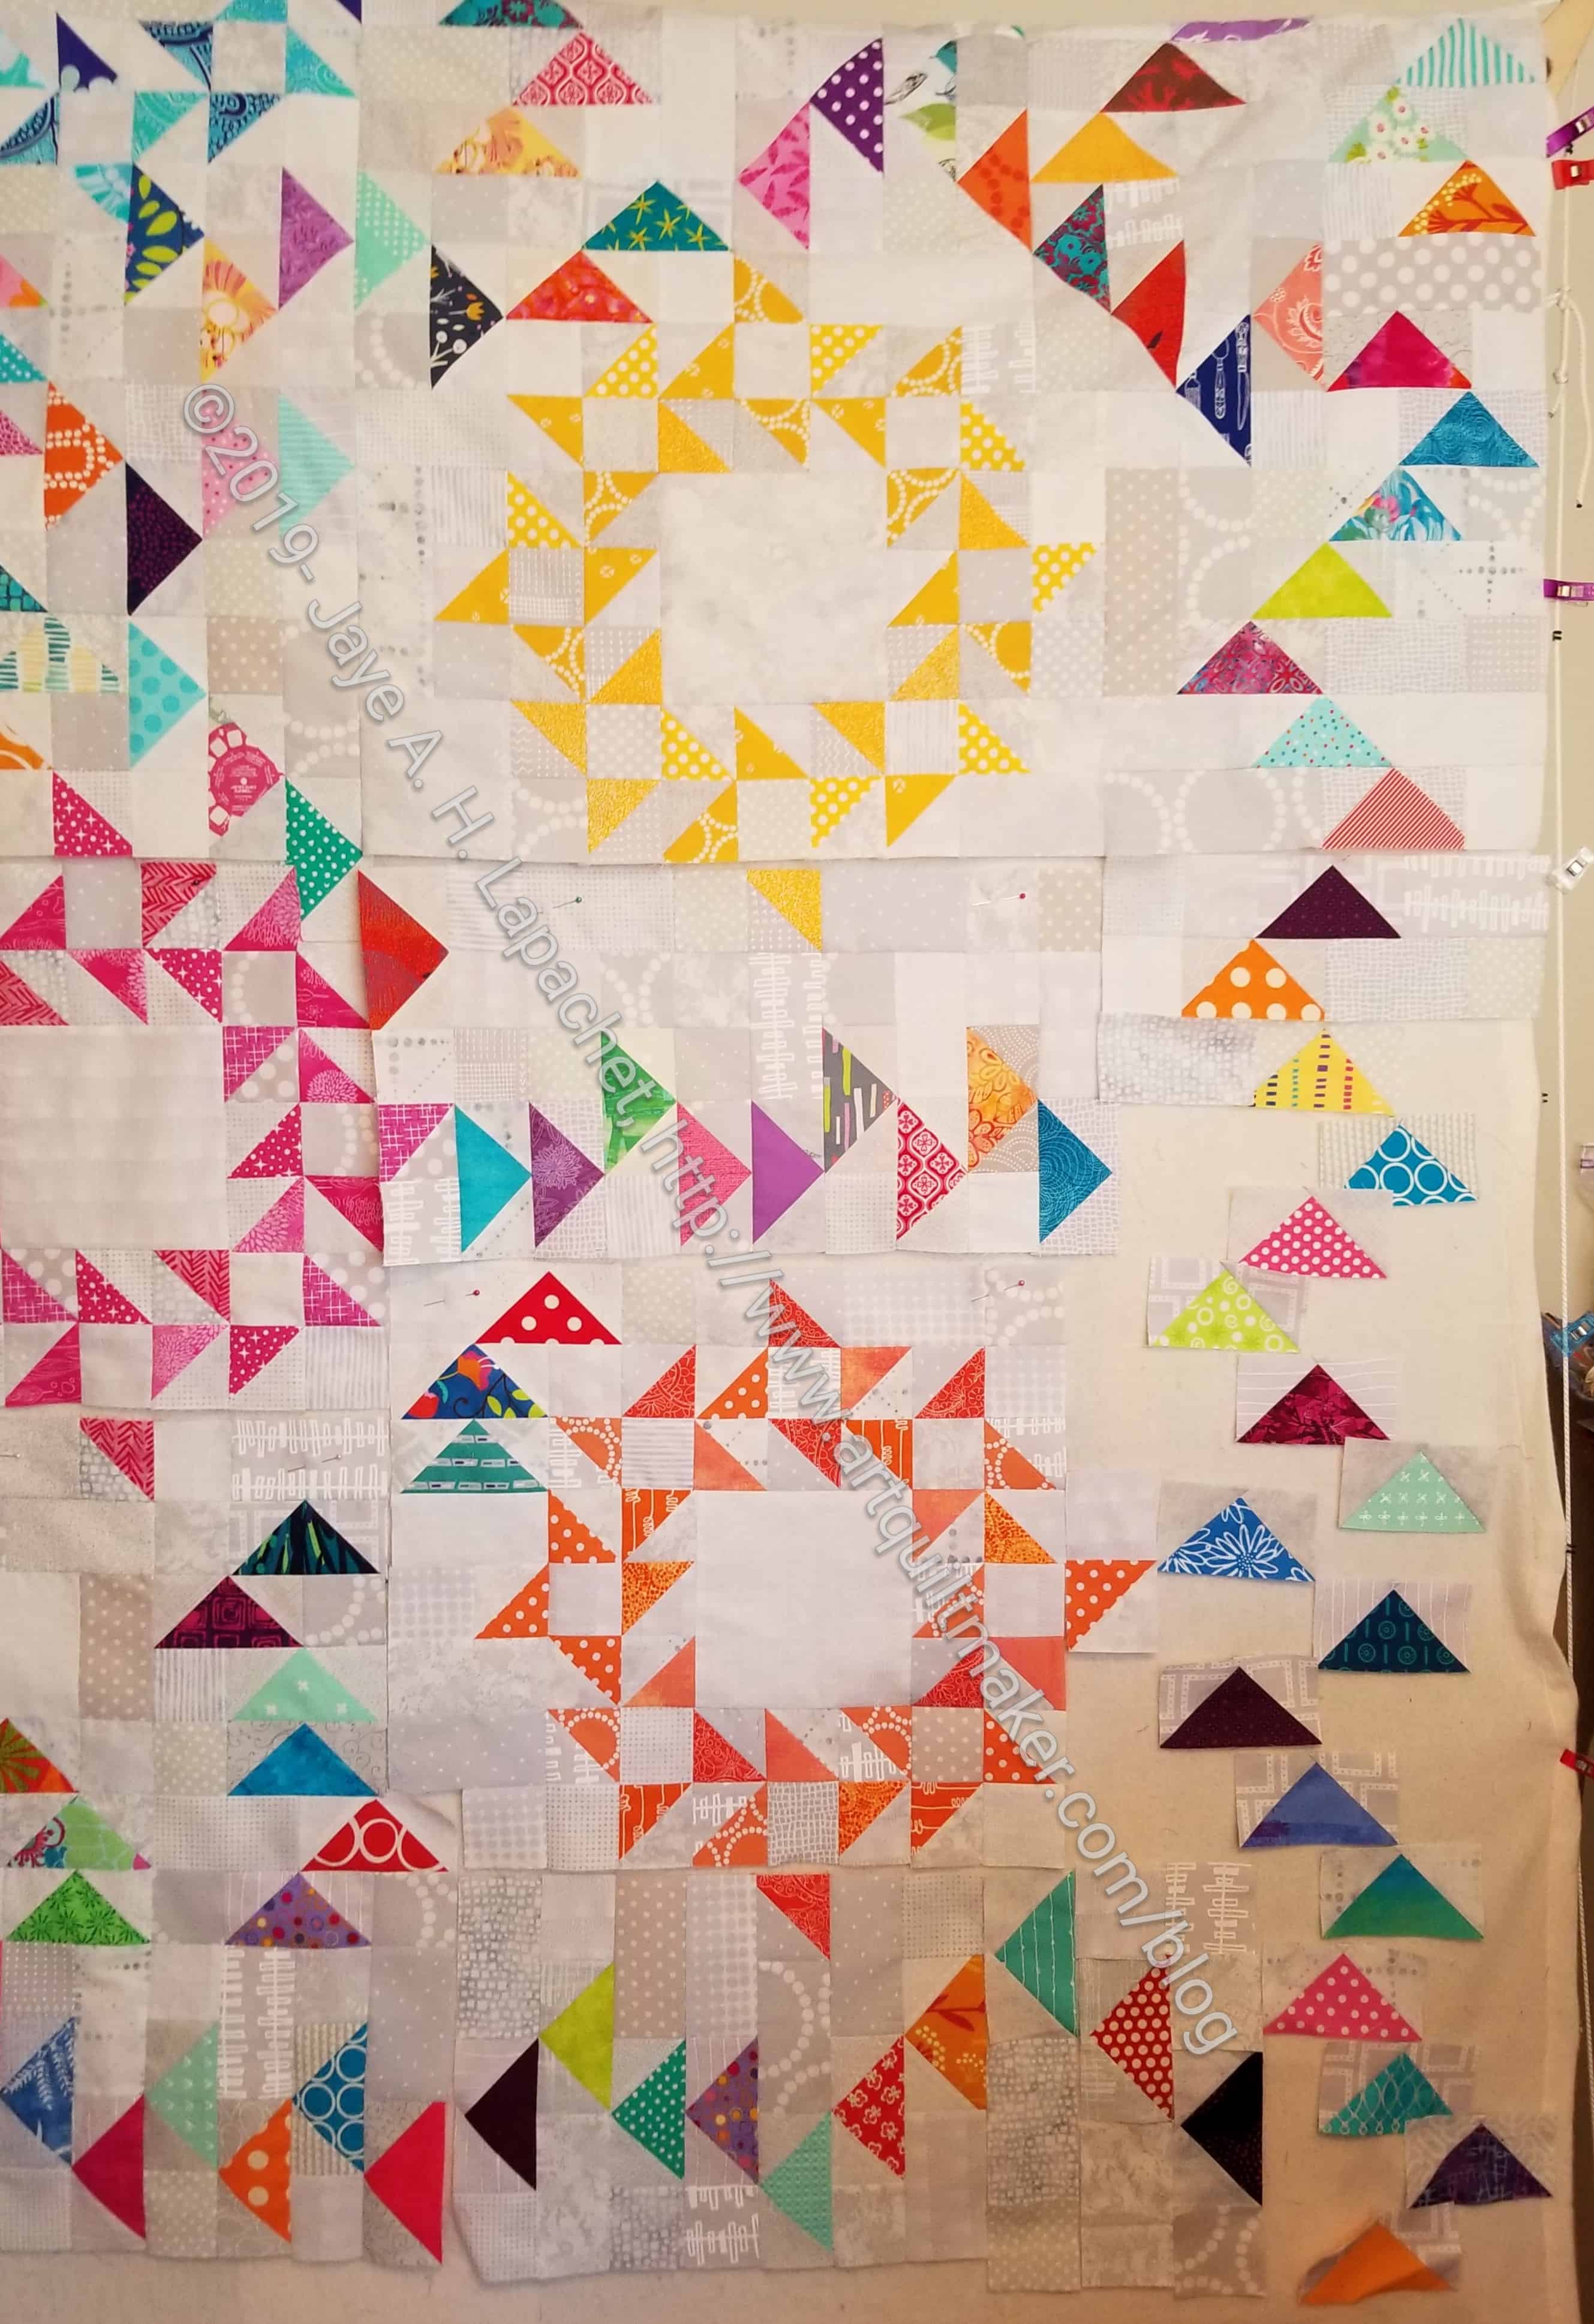
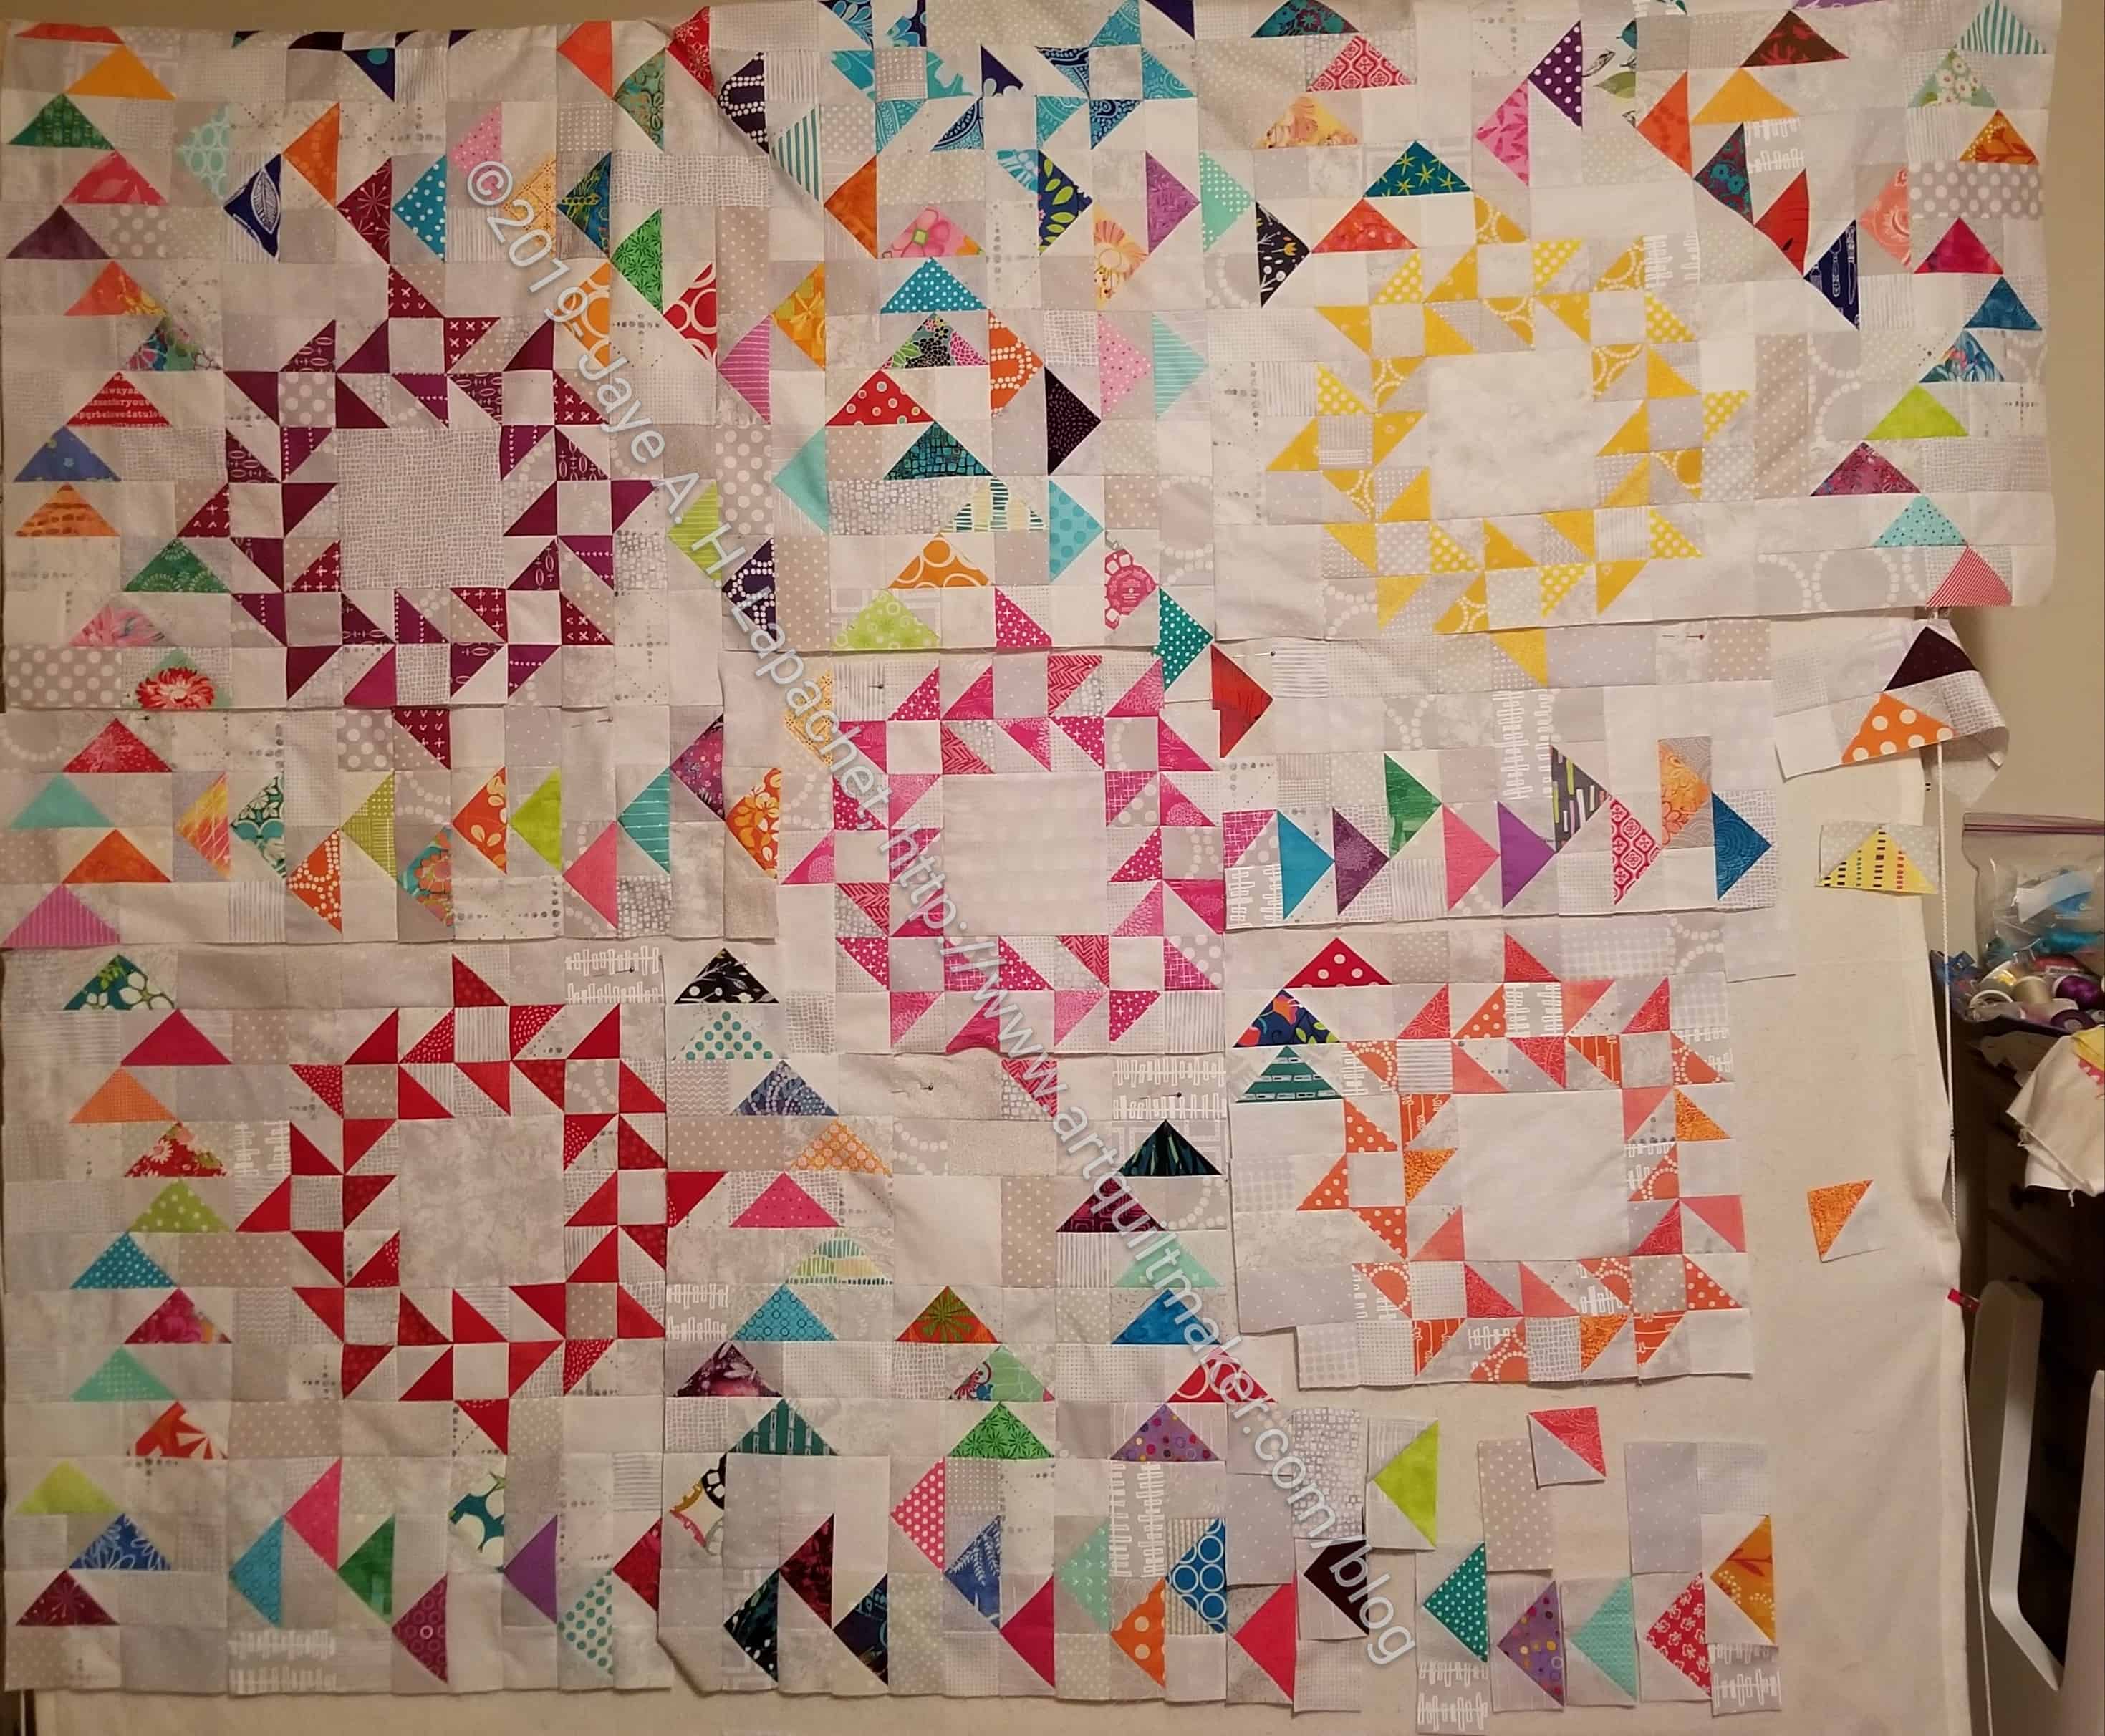
Be that as it may, sewing must go on. I am focused on Frolic! I want that quilt off my design wall. I want to work on other projects. For once, I don’t feel like my weekend sewing was futile. I feel like I made real progress.
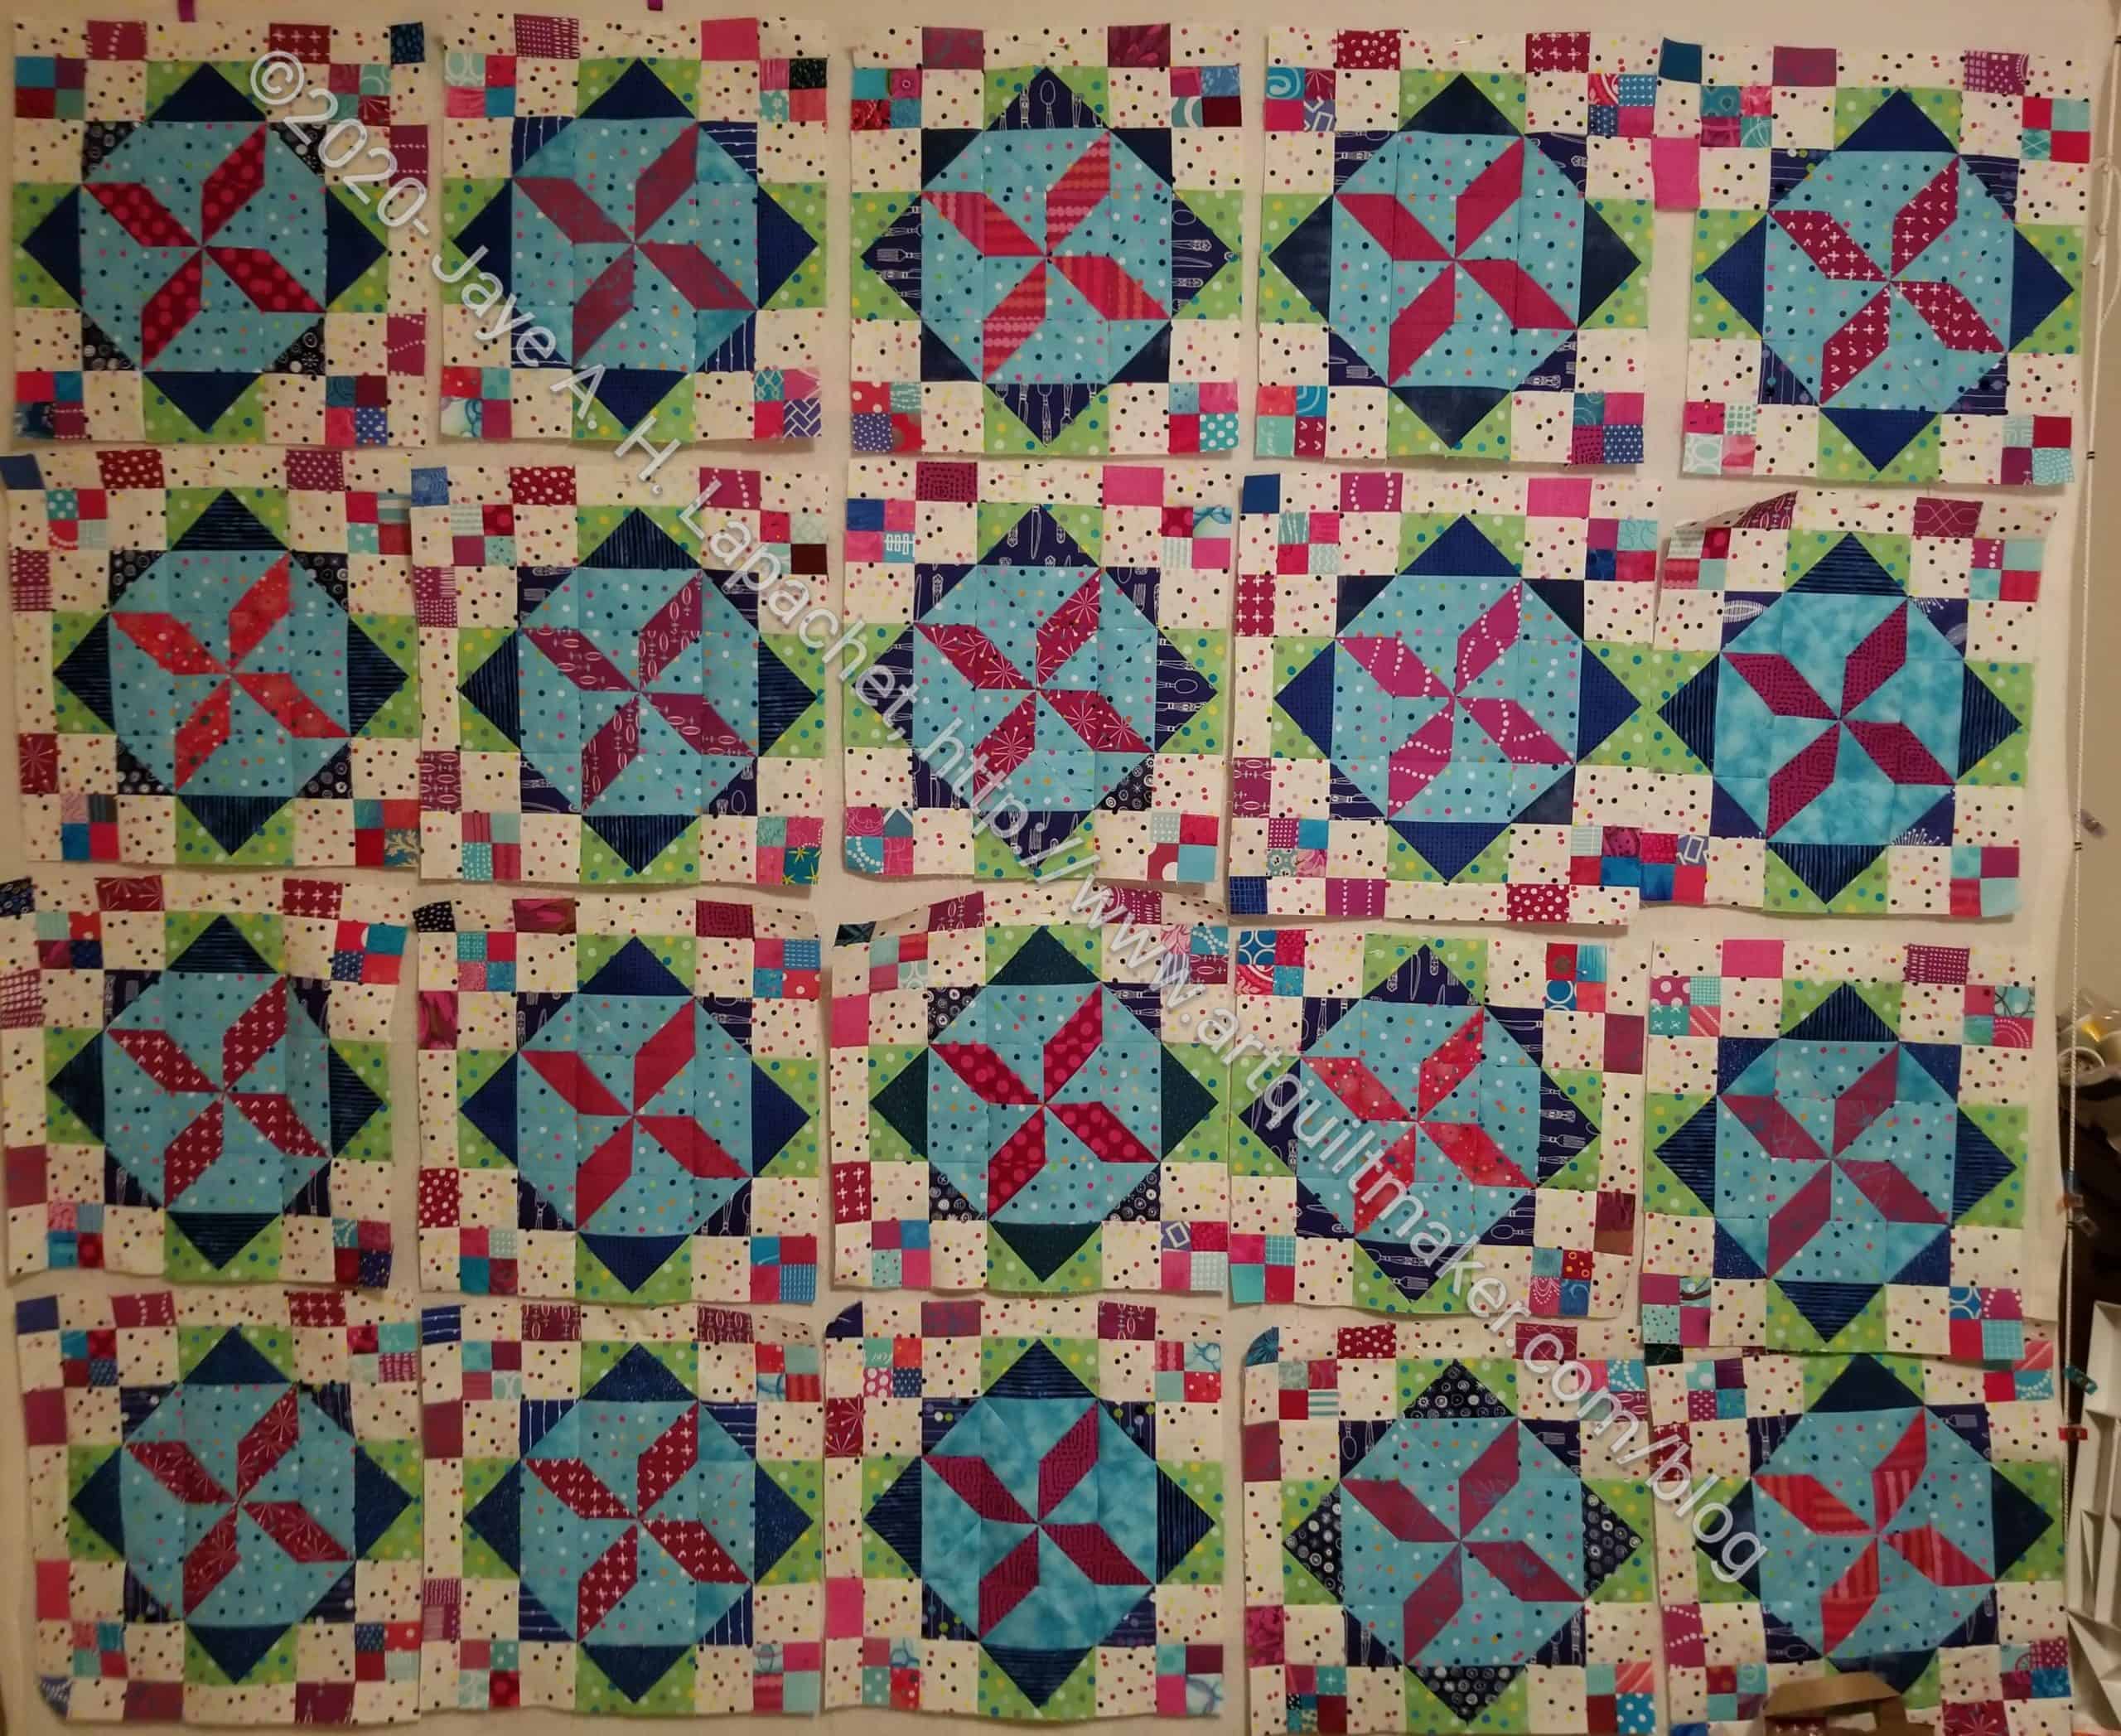
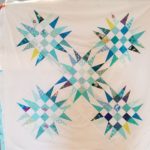
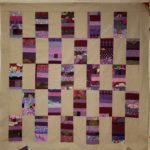
One thing I did to get to this place was sew a big chunk together (upper left hand side). Once that was done, I repositioned all the other blocks so that they would be in the approximate place they would end up when the quilt was finished. This small act allowed me to see what else I needed to sew. As you can see, All I need to sew is 4 more half blocks. Halleluijah! I can really see that the end is near.
You might wonder why I don’t just toss it on the UFO pile and move on to something else. That is devil talk! I don’t want my UFO pile to grown any higher than it is already. This thing will be ready to go to Colleen when shelter-in-place is over. With any luck, it will go with three friends.
The other day I crowed about finally finishing all the whole blocks for Frolic! I was really thrilled. I made progress!!!
🙁
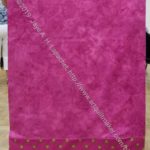
Frolic! Back on Point
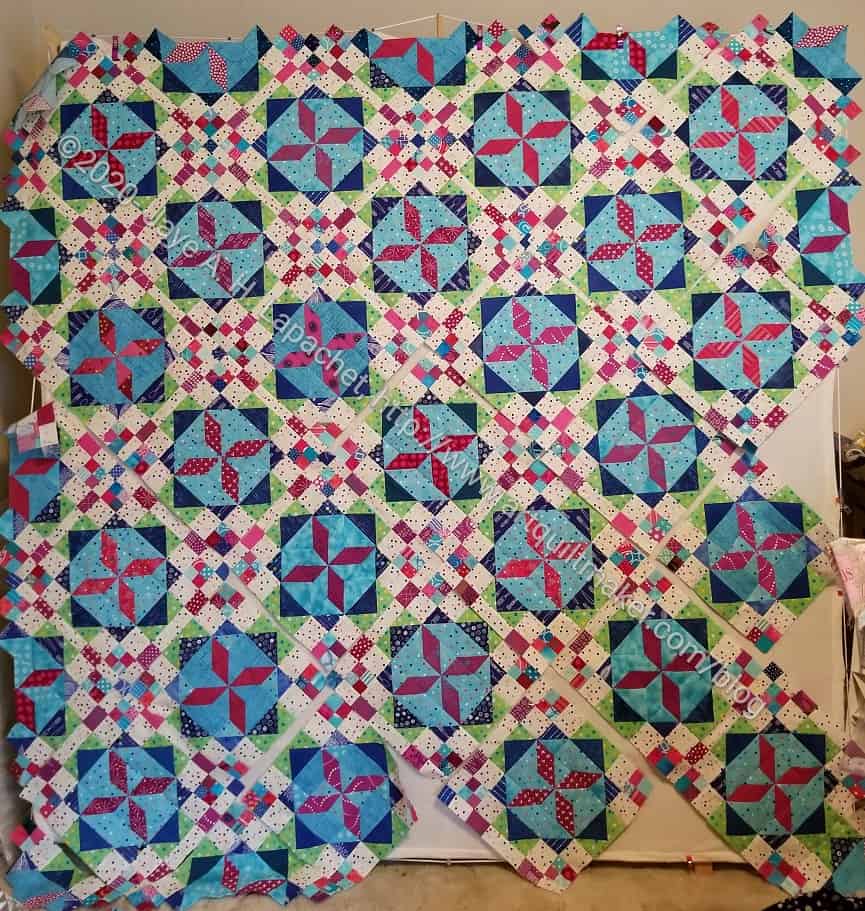
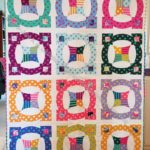
I didn’t actually finish all the blocks. I just counted wrong. I thought I had made 5 rows of 5, but in the photo, you can clearly see 4 rows of 5.
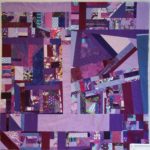
I didn’t figure it out until I was working on the corner and put the blocks on point. In trying to place them correctly, I realized I was short.
WTH?
I counted, recounted, looked for missing blocks and finally at the photos. I realized what I had done and that I was just so anxious to finish that I had counted wrong.
This was supposed to be fun, not a long and difficult process. I don’t mind difficult quilts with a lot of pieces, but I am still not quite recovered from Flying Away.
Now I have to decide whether to work with the blocks I have or make another 5 blocks. Those whole blocks have 65 pieces each. While I have some already made, I don’t have all made. 5 more blocks is not that many, but still.
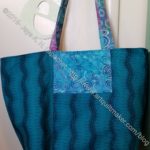
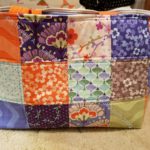
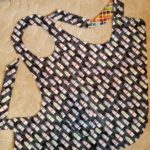
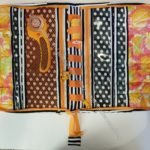
I spent the weekend working on my Ultimate Carry All Bag. I really needed to get on it since a few people have already finished it, like Cyndi. I am supposed to be one of the leaders, after all!
I already made the small front pocket, which is actually the third sewing step. As I think I mentioned, I don’t recommend skipping steps, but I needed to create the tutorial. Needs must.
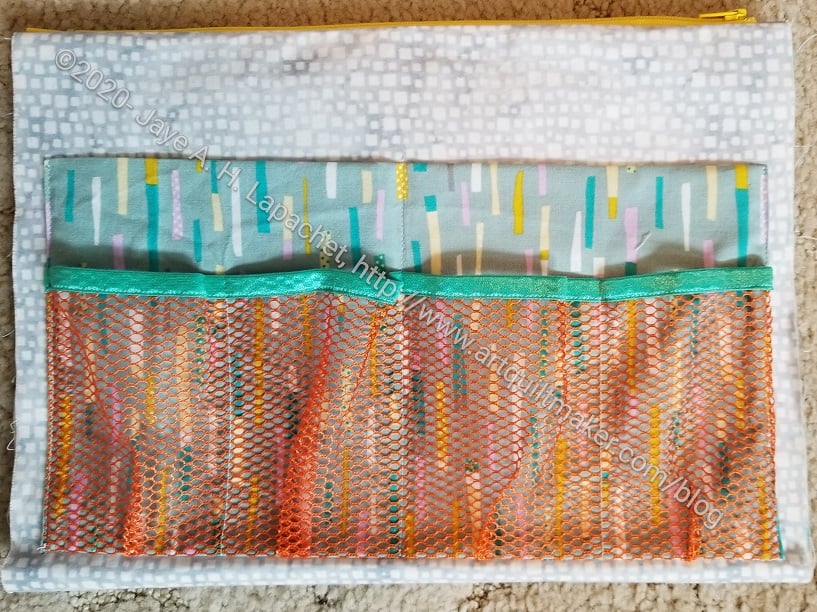
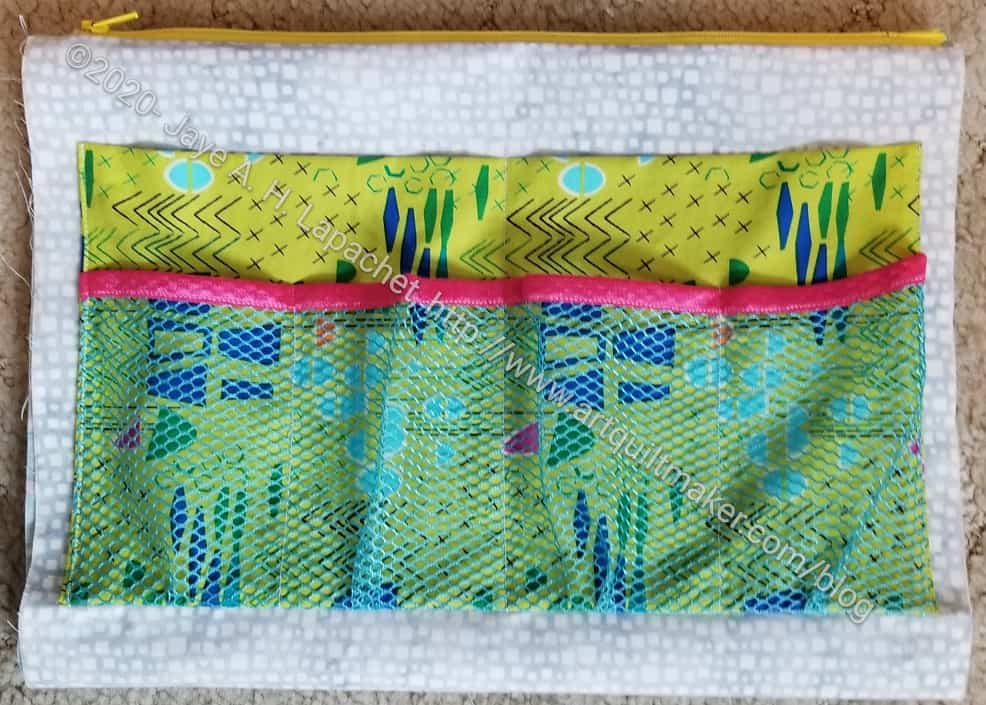
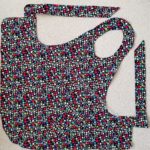
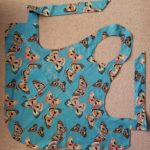
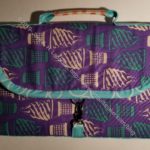
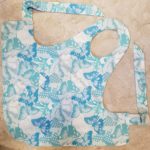
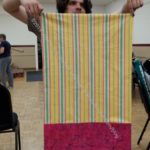
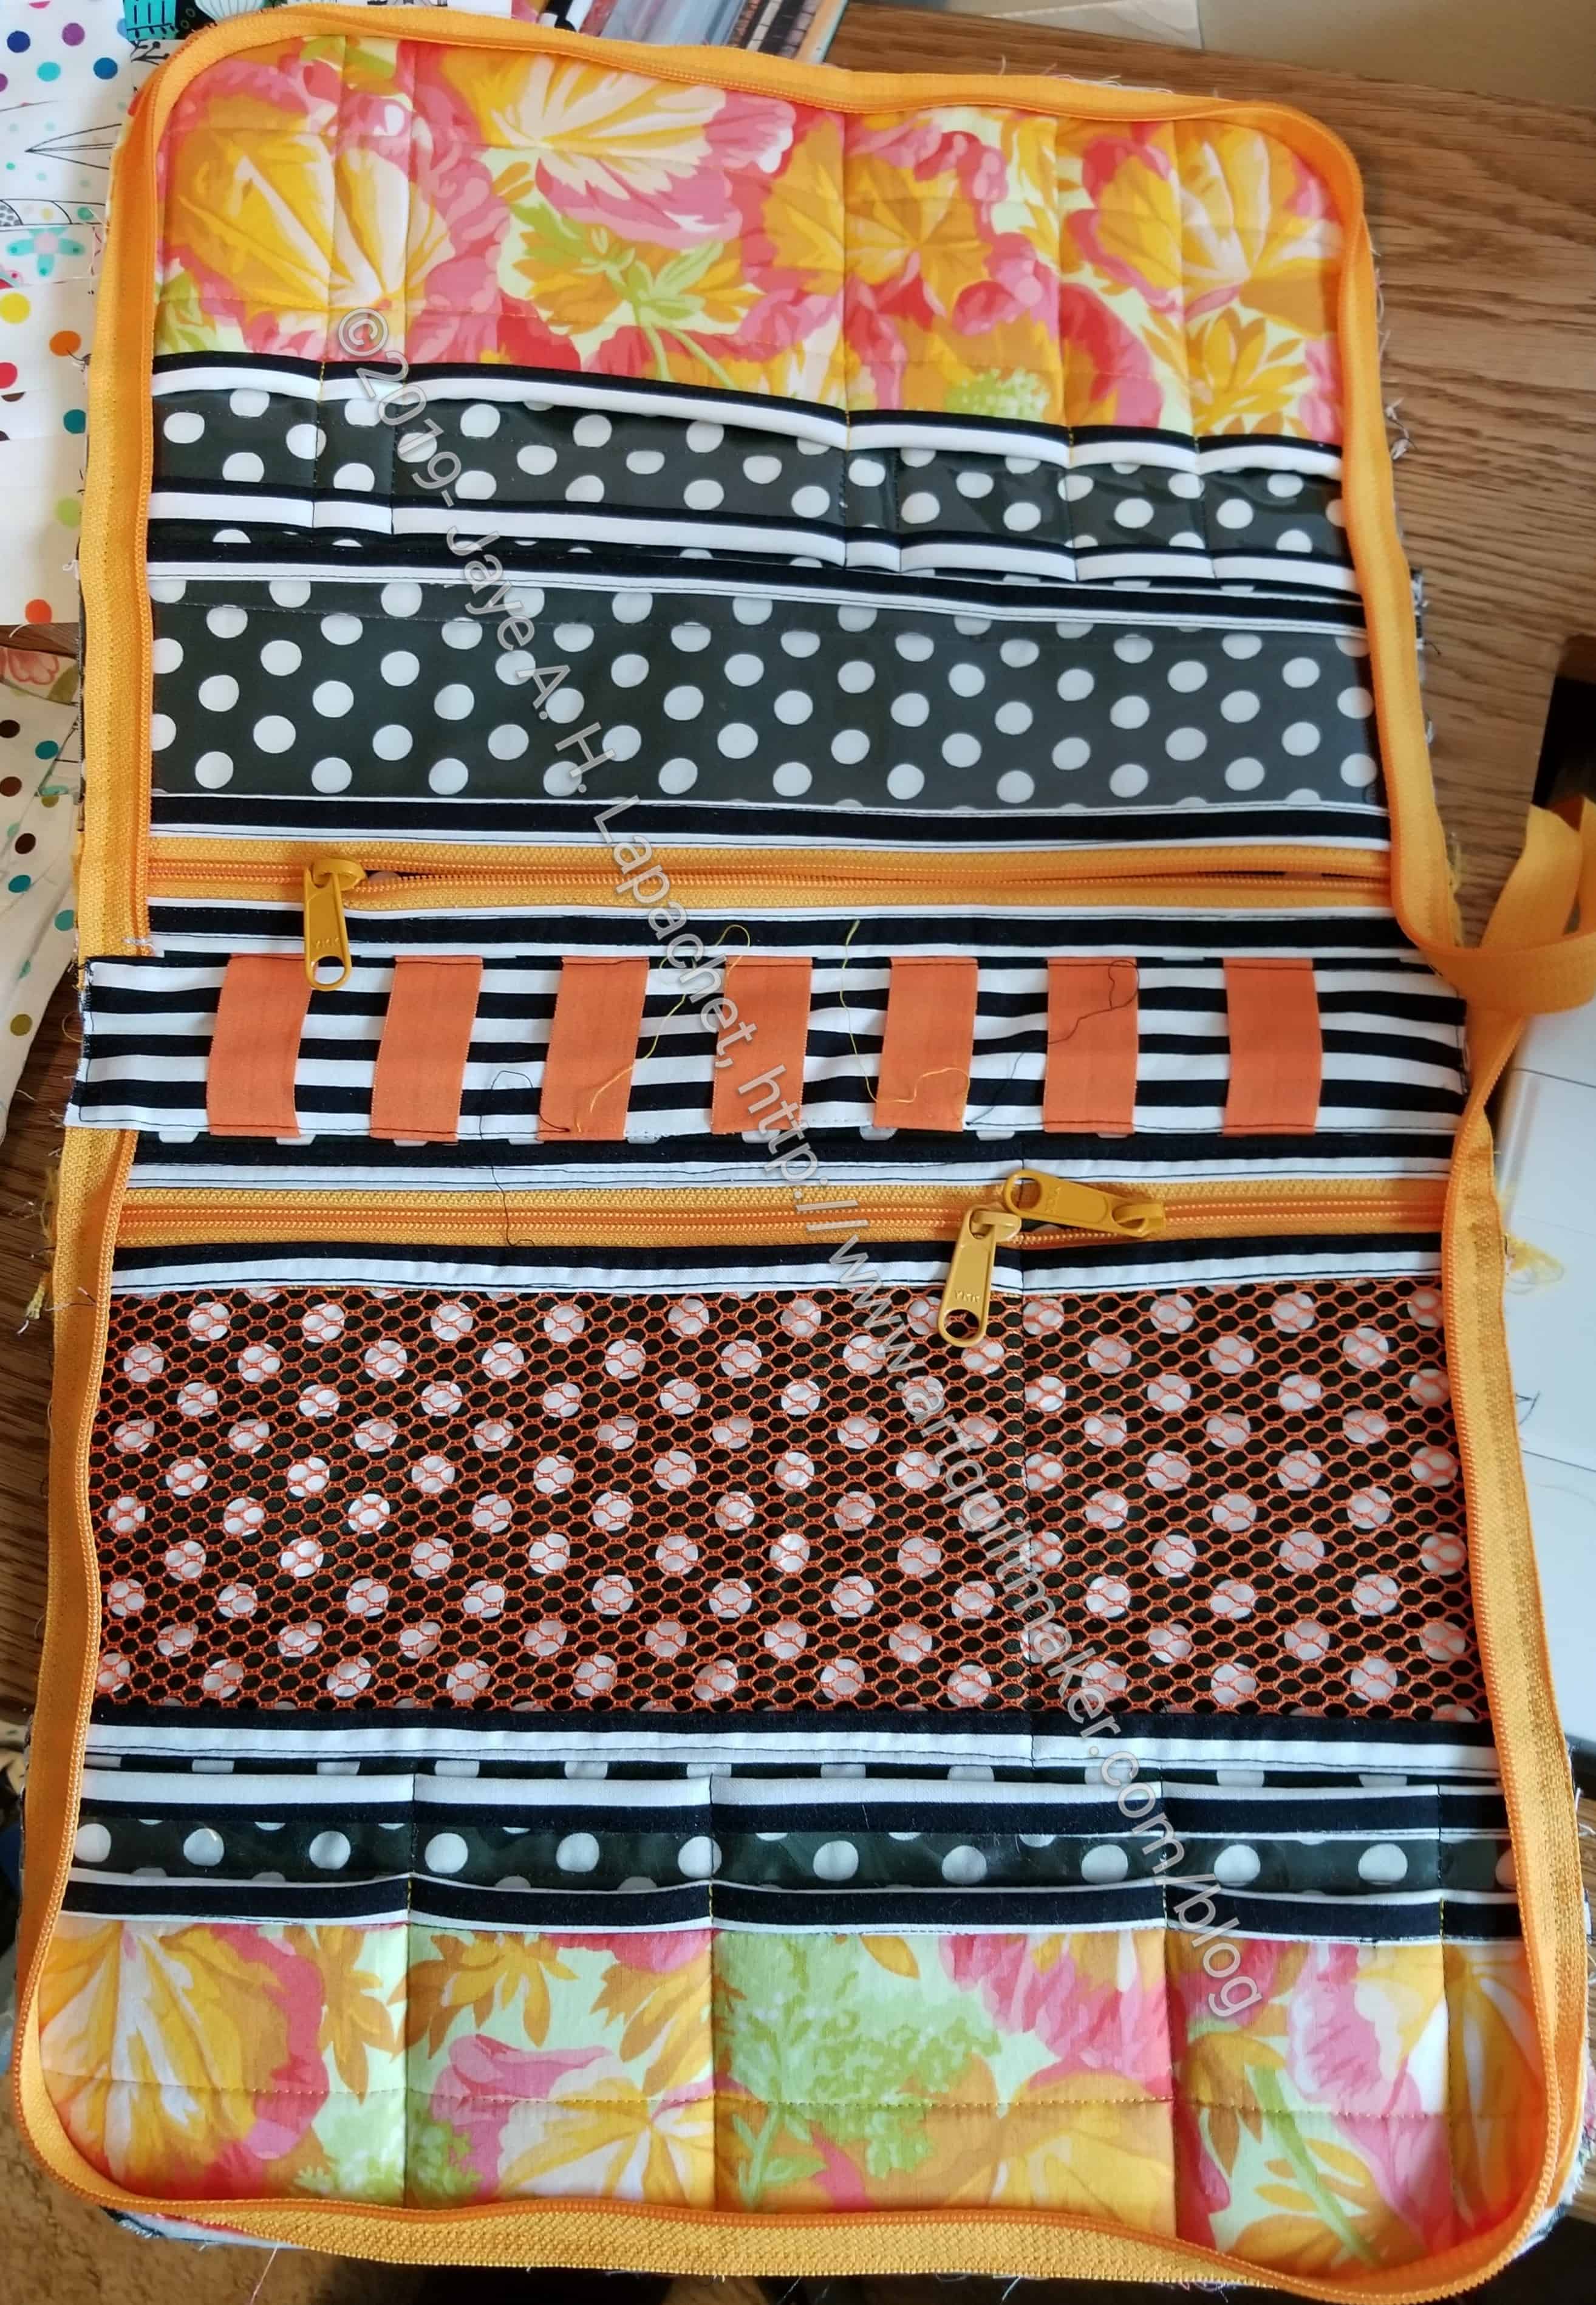
Ultimate Carry All large Pocket #1 back
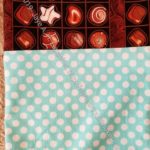
With the small front pocket done, I only needed to create the two larger pockets. The one shown above is pocket #1 and is almost finished. I haven’t sewn up the sides or made the pleat in the bottom.
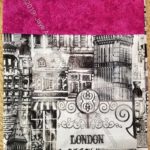
The green pocket with the pink binding on the mesh is the back of pocket #1. This is a hack I added. There was nothing on the back of this pocket. I know I might put stuff in it and forget about it. Still, why not have more pockets? More pockets are better IMO.
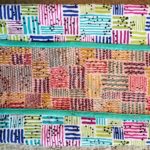
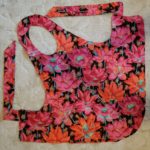
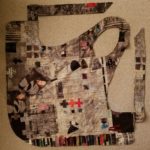
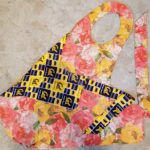
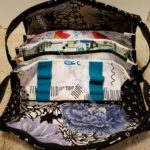
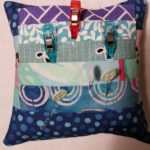
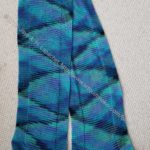
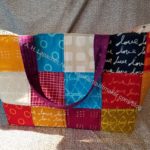
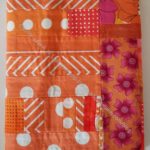
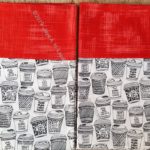
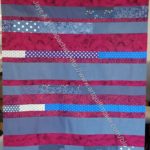
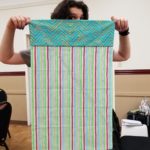
Ultimate Carry All large Pocket #2
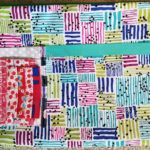
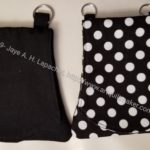
Ultimate Carry All large Pocket #2 back
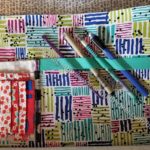
Ultimate Carry All large Pocket #2 back- examples
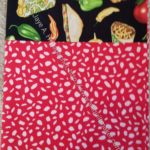
Pocket #2 has the pen holder. I don’t like white elastic, so I used more of the ByAnnie double fold elastic. I like the variety of colors and the elasticity. I wasn’t sure I would put the pen holder elastic on, but I did. Actually, I shortened it and added another Clippy pocket I thought it would be useful.
I made a ton of t mistakes and a lot of ripping went on over the weekend. These pockets are not difficult, but the instructions are unique. Also, I am experiencing a low level of anxiety generally and that is making it hard for me to focus on something as complex as bagmaking. Working on the HRTs is satisfying and not too difficult.
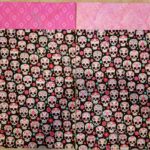
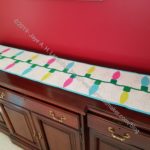
The other night we tried Virtual Craft Night. I think it worked pretty well and I got some cutting done. Usually, we do handwork, but I wanted to get those Frolic! pieces cut. Since I was in my workroom with the computer, I decided to rotary cut. I balanced the computer on my cutting table and cut away.
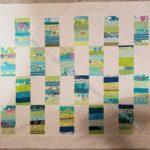
The blue pieces are sets I need for the Frolic! half and quarter blocks. I still have to figure out the last few pieces. There are some blue and pinwheel pieces I need to cut as well; I am just not sure what exactly I need to cut.
Bonnie‘s directions are great; the problem is that I have already done part of the cutting for the full blocks. This means I need to figure out what I have left to cut. I couldn’t do it while on the virtual session with my friends. I had to think and that requires being alone.
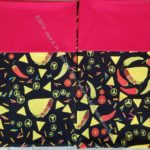
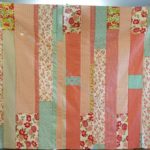
The beige and orange pieces will be used to make another Spiky 16 Patch quilt. Yes, this will be another another non-Color Strip donation quilt. Some recent orange and red and pink donation blocks inspired me. I had to figure out how to cut those spiky rectangles all over again.
I have been sewing a little each day on my lunch hour (who needs to eat?) and after work. It is keeping me sane while I help DH get used to working at home. A few seams a day really does make a difference.
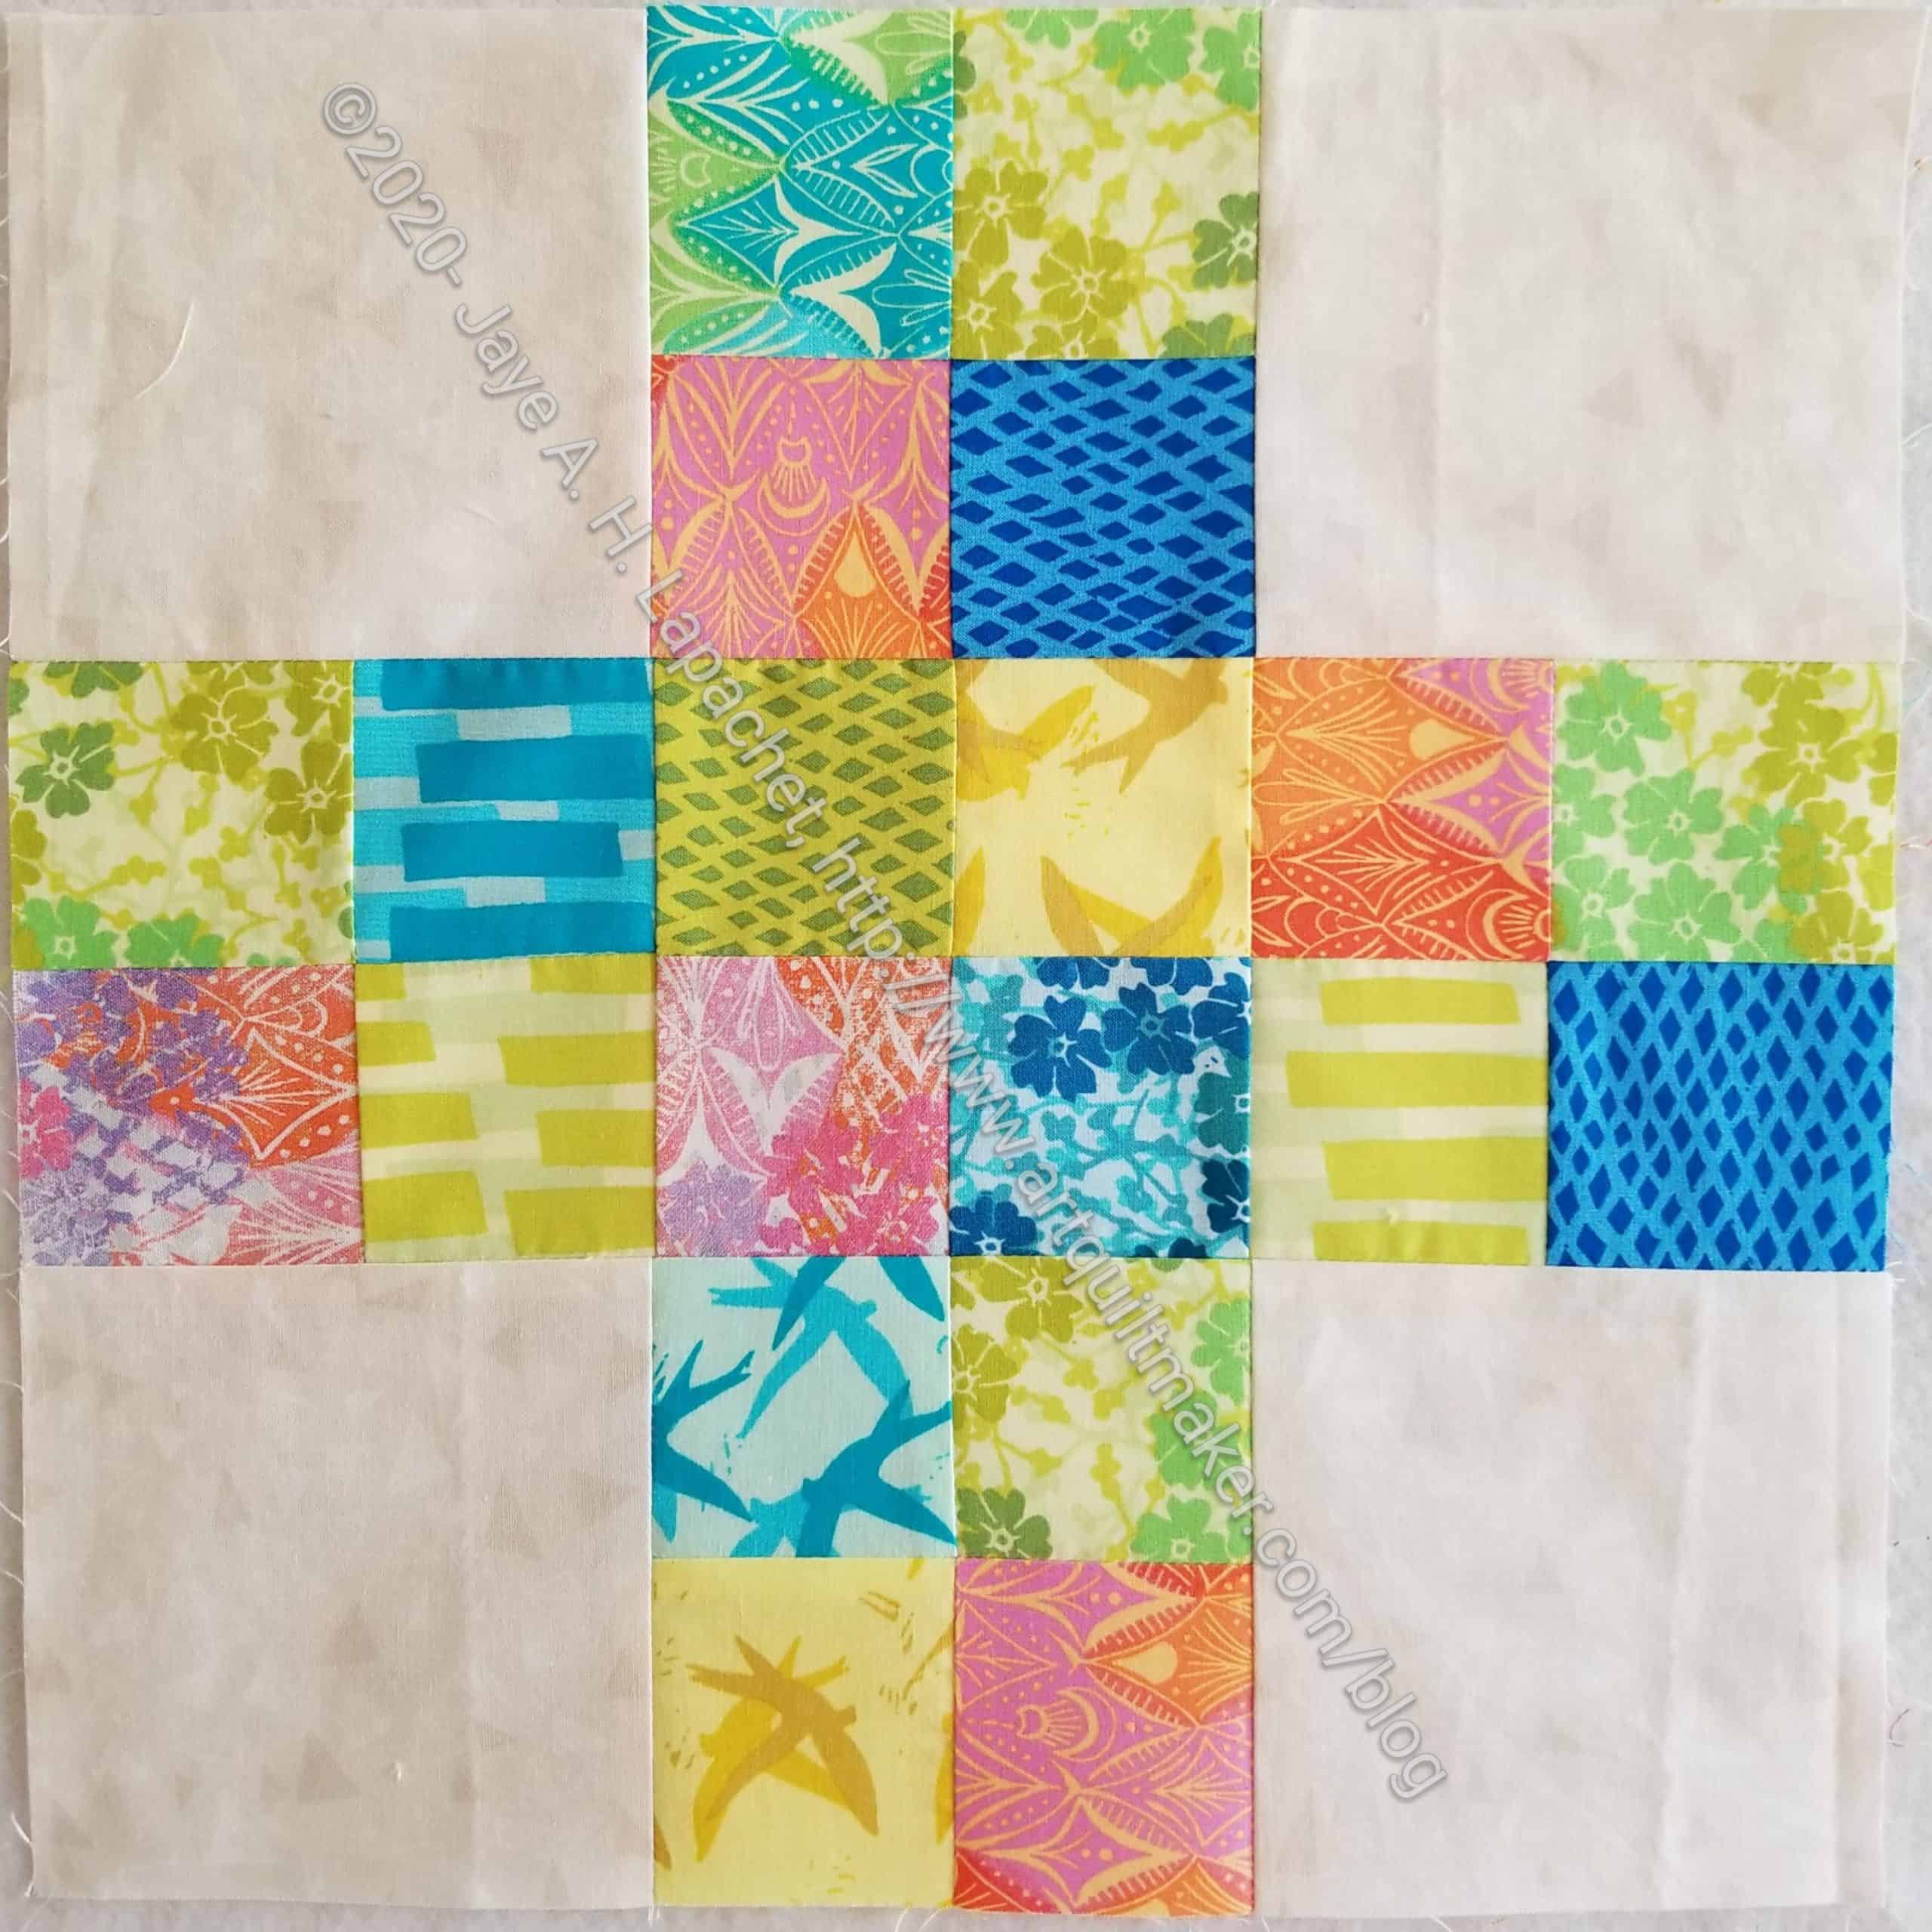
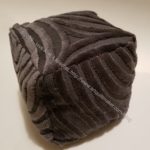
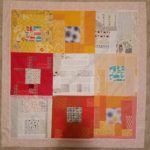
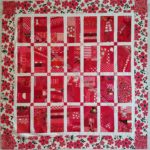
Frolic! Whole Blocks
Now I am finished with all of the whole blocks. The next step is half and quarter blocks. Yes, I am going to make them.
As you know, I have been working on the Traffic Jam pattern. I am using Mini-Charms that have been laying around for awhile. One thing I know, but came to my attention again was that Mini-Charms are not 2.5 inches square. they are about 2.5 inches square, but not exactly.
I decided to ignore that fact on the first block and found that the 4.5 inch corner pieces didn’t fit. It should come as no surprise, but sometimes I need to see for myself. Sigh. Also, I often hope for a little magic. There was none to be found.
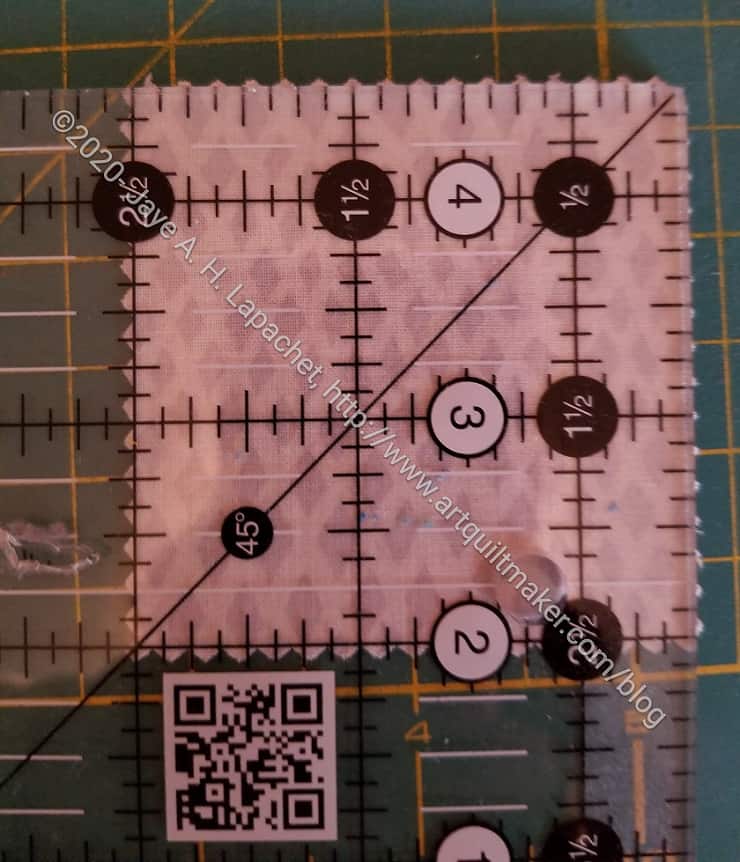
After taking apart the parts of the block I had sewed, I decided to trim the 4 patches. This can be tricky, so I took pictures of what I did.
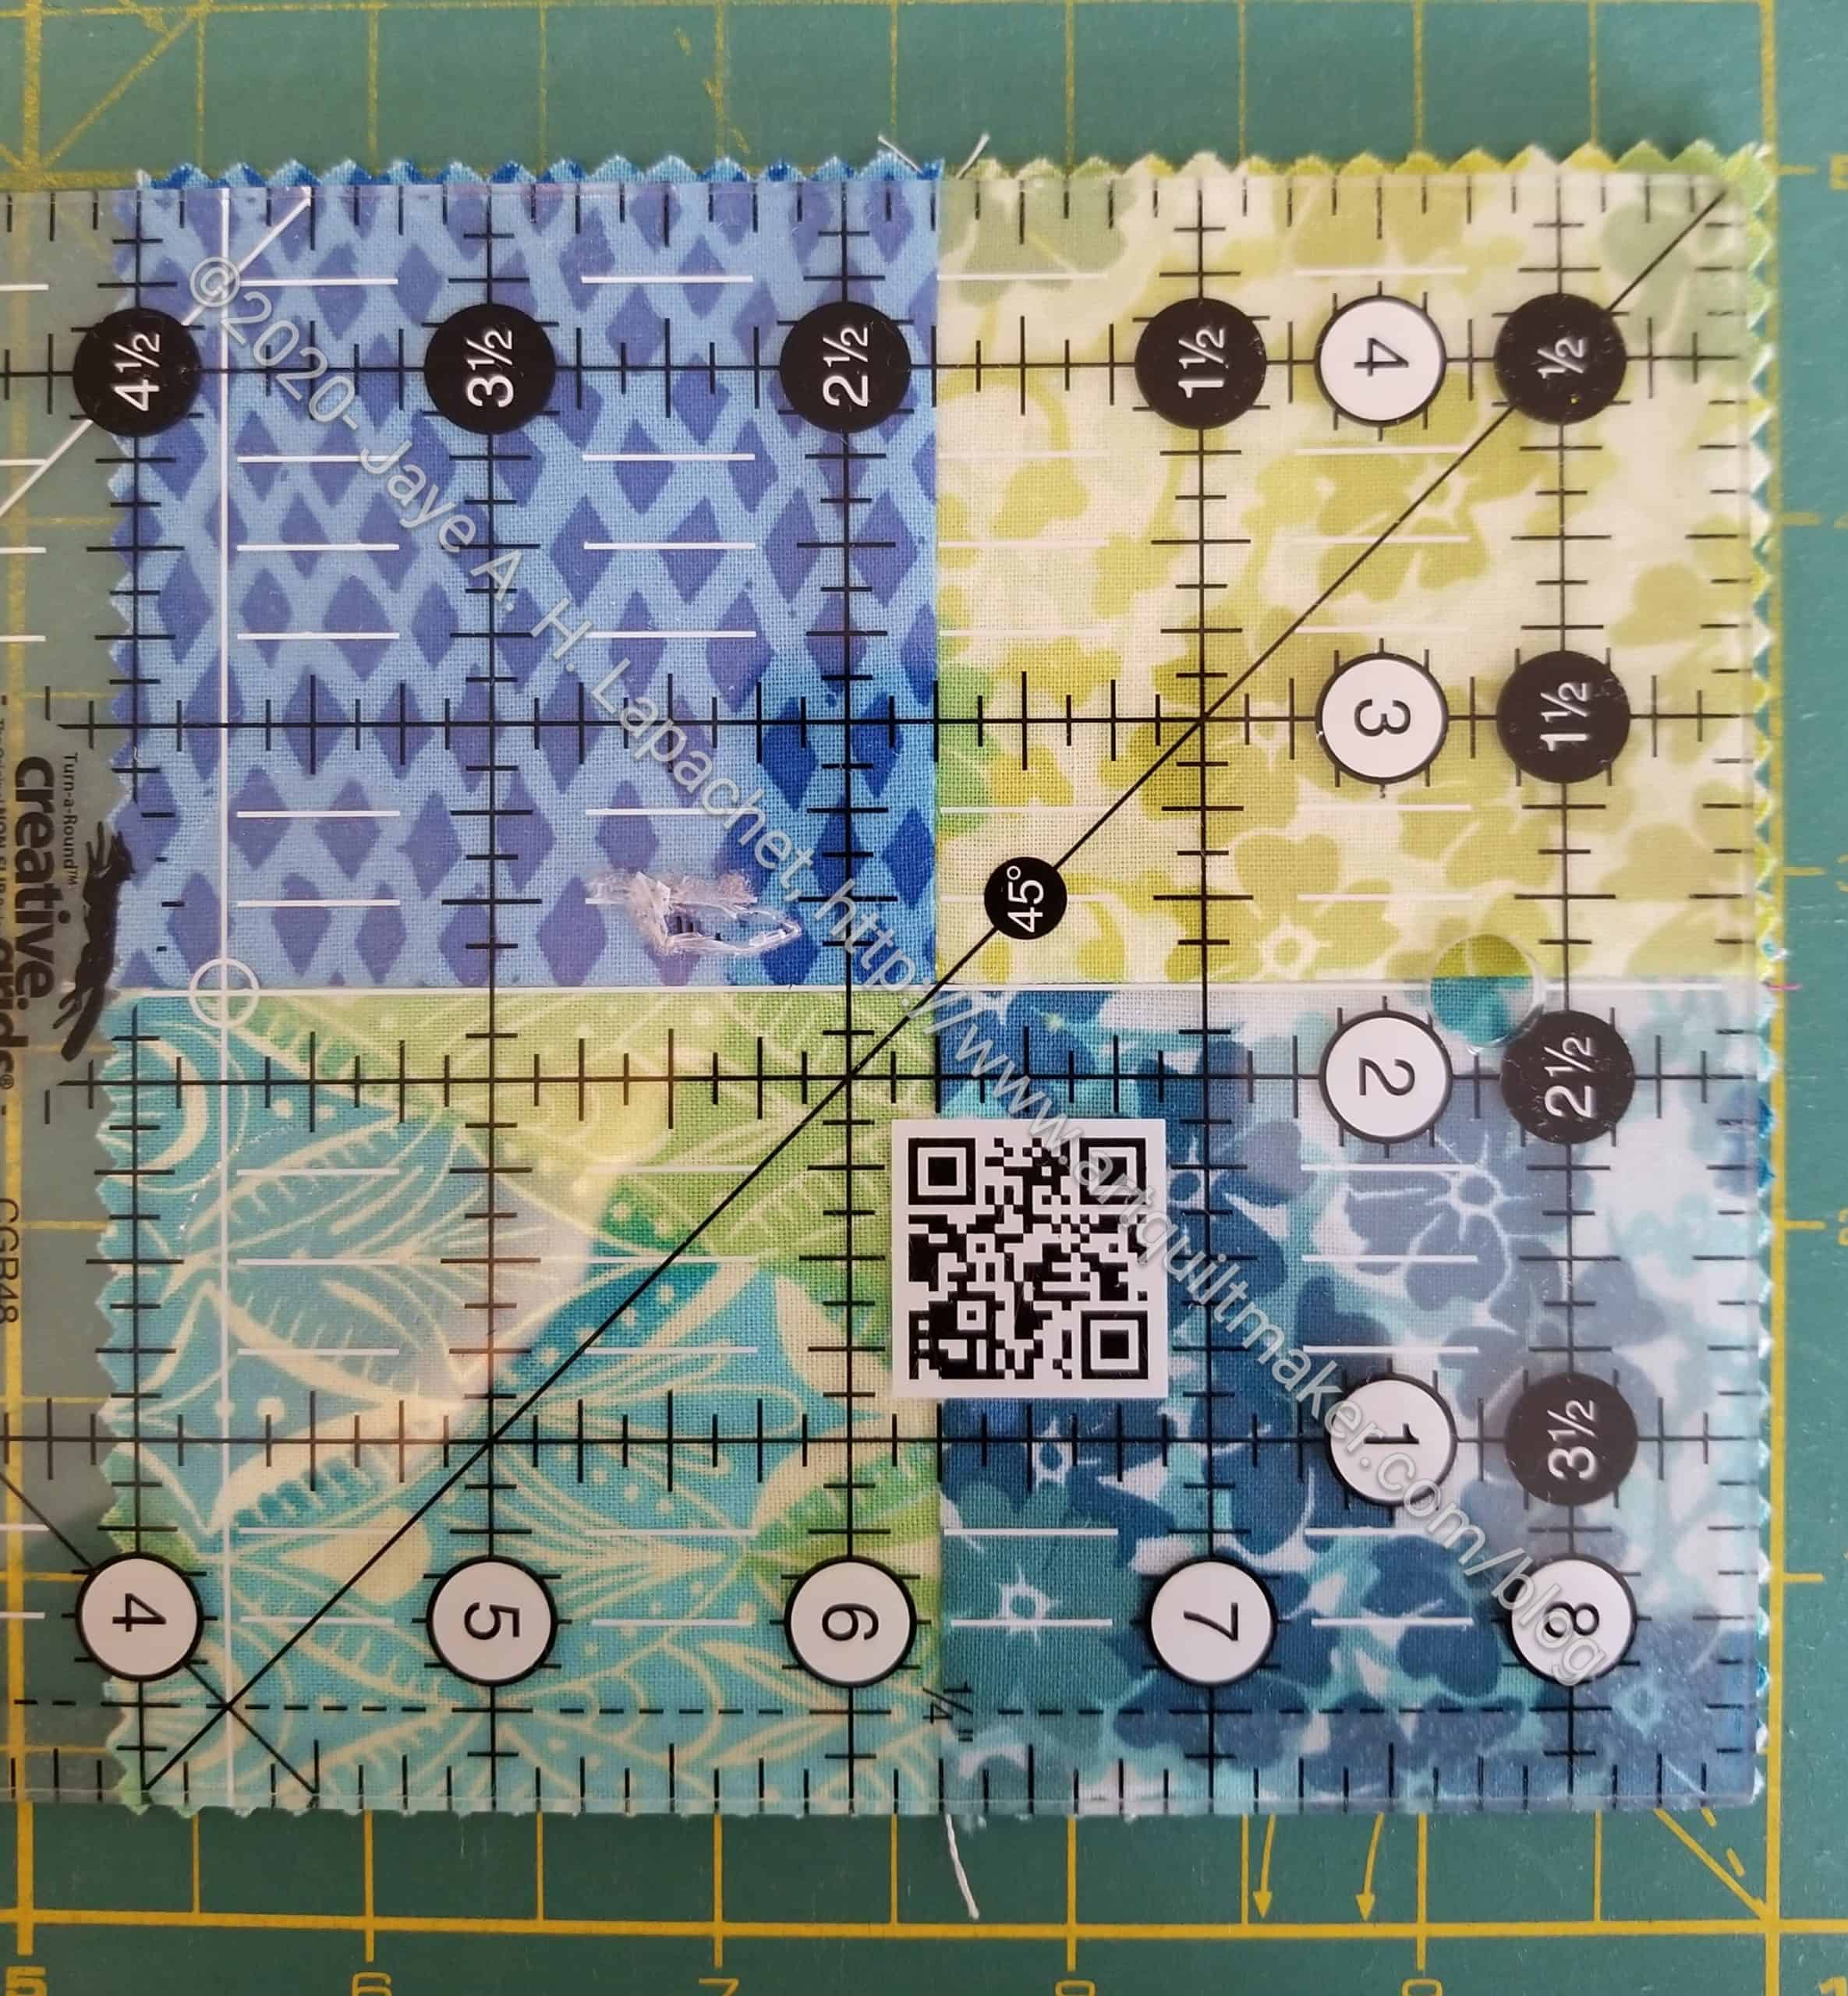
Center Ruler over 4 Patch
First, I centered the ruler over the 4 Patch block.
I have the 4.5 x 8.5 inch Creative Grids ruler** that fits my hand very well. I use it all the time so I also know it very well. By focusing on the total size of the 4 patch(4.5 inches), I was able to find the center of the block on the ruler.
You can see by looking at the 4.5 inch square that there are pinked edges outside of that line.
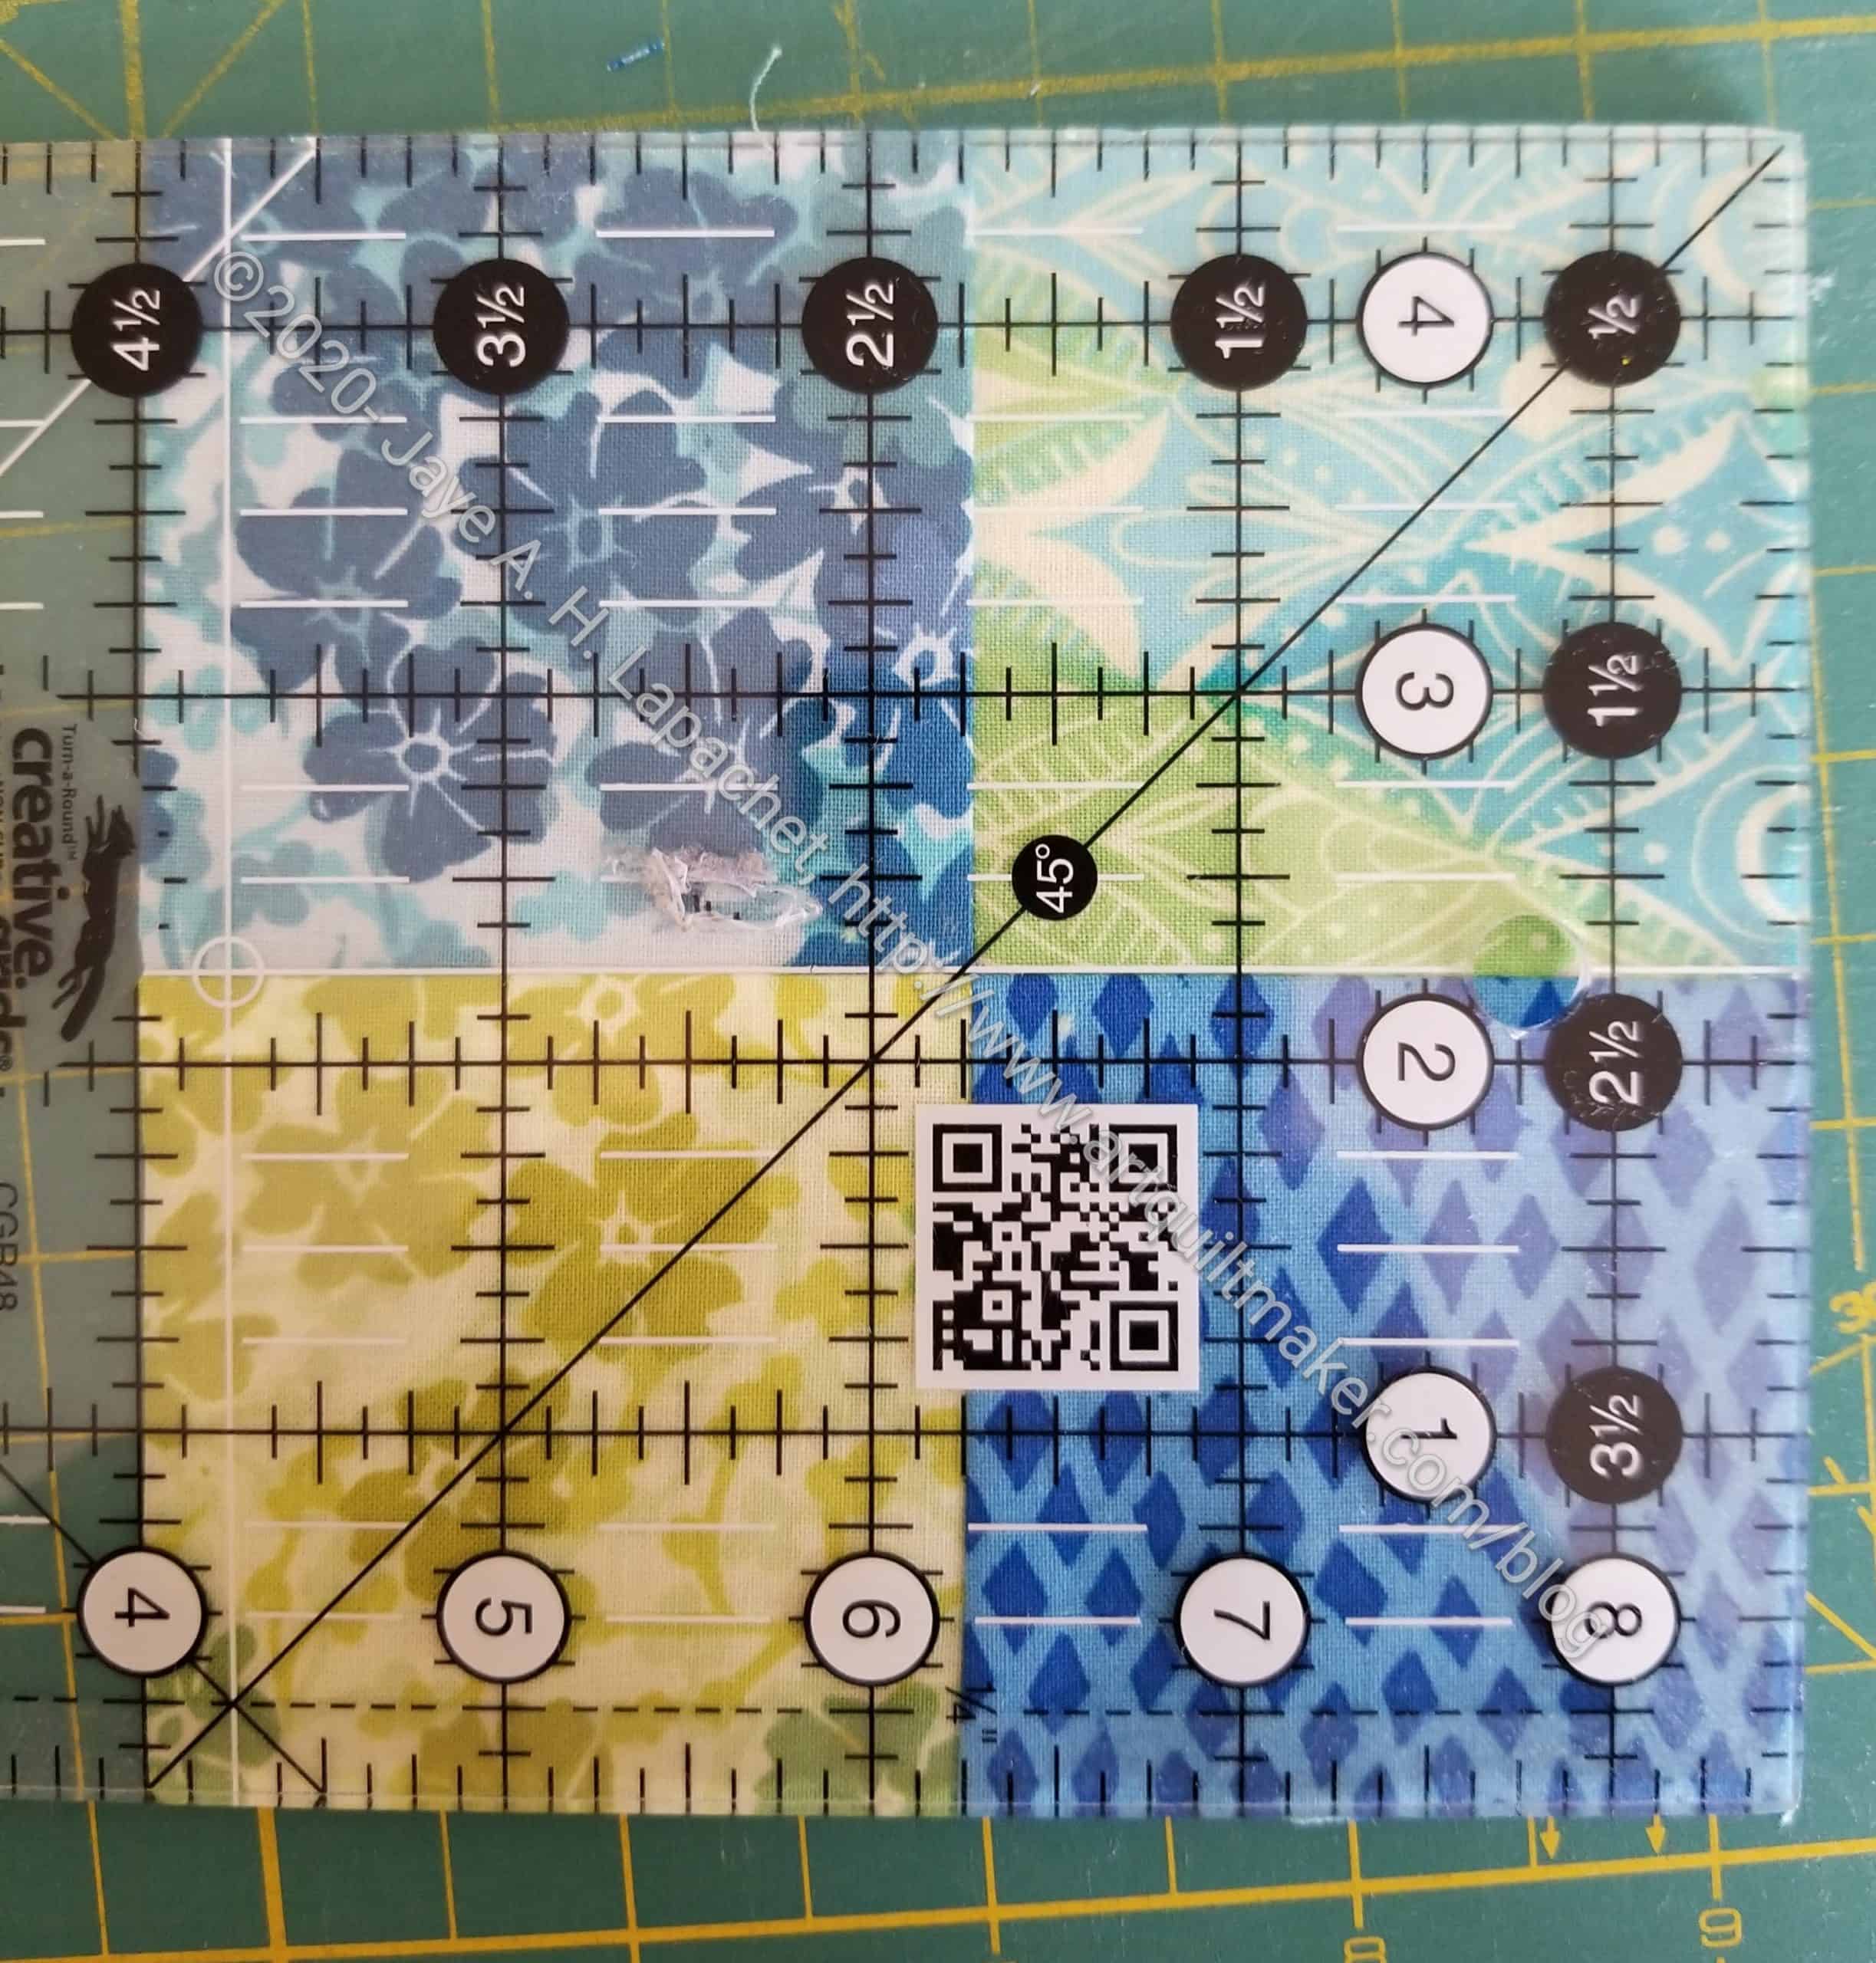
Prepare to cut other 2 sides of block
Next, I trimmed two sides and flipped the block around.
In the picture on the left, you can see that I have trimmed all four sides of the 4 Patch and it is exactly 4.5 inches square.
Also, I don’t have those pinked edges. This is now the perfect size and will fit with the 4.5 inch plain squares in the block above.
Trimming mini-charms
While I am on the subject, this concept applies to the single mini-charms as well.
You can see that the mini-charm is not exactly 2.5 inches. It needs to be trimmed. I trim all of my extra mini charms, so I have fewer problems when I put donation blocks together.
Don’t assume your patches are the right size. Measure and trim as needed.
**I use affiliate links and may be paid for your purchase of an item when you click on an item link in my post. There is no additional cost to you for clicking or purchasing items I recommend. I appreciate your clicks and purchases as it helps support this blog.
I am sort of keeping up. I am still working on Clue 4, but I did finish Clue 5. This was another clue that went pretty quickly and where I used the Triangle Technique for making HSTs.
I find now that I am two clues behind as Bonnie slotted in a clue on New Year’s Eve when I was otherwise occupied. Oh well, one is pretty easy, so I should be able to catch up soon.
My design wall is not full right now. Neither design wall is full as I work on gifts for Christmas and upcoming birthdays.
Design Wall – 25 November 2019
My small design wall is not completely empty either.
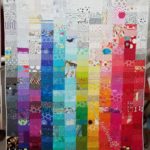
There are two projects on the left. I have the leftover Strip blocks from my donation quilts in the very upper left hand corner. I am saving the leftovers for a quilt that will encompass all the colors.
Directly under those blocks are the 2.5 inch squares for Fabric of the Year 2019.
Bottom left: the Ring Toss block is still hanging around.
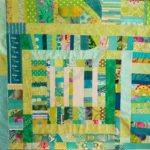
In the middle, you can see that I have made progress on the White improv donation top since yesterday.
That’s all there is. Stay tuned as I get back to making some quilts.
I actually used just over 80 yards net (139 gross), then I bought a bit of fabric and am back to striving for 70 yards. I just couldn’t resist those new Ombre Metallic Confetti colors. I am around the same place I was last month.
I also realized yesterday that I am down from 26 quilt projects on the UFO list when I started this project and am now down to 7. Although it has taken me a few years, I am very pleased.
Green Strips quilt top and back – finished 1/16/2019
Green Thing donation top and back – finished 2/2019
Libs Elliot donation top – finished 2/2019 – Cheryl actually did the quilting and the binding. She made me feel good by saying she really liked the quilt. I should try the technique using stripes instead of making stripes and see if I feel differently. I should do a lot of things.
Orange Improv donation top, bag – finished September 2019
In Process
The ‘In Process’ is used to denote projects on which I am actively working or are on the design wall waiting for me to stitch. I try not to put away projects, because that will ensure I never work on them.
English Paper Piecing Project– half hexies – I have a big stack of stars ready to sew into the quilt. I am still thinking of my friend Faye whenever I work on it. She says that I have to think of this as my slow project.
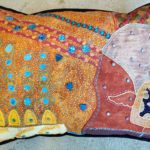
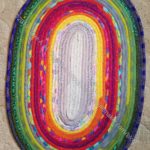
Lobster – I finished the stitching. I plan to back it and overlock or satin stitch the edges. Even though I don’t need anymore cushions, I may turn this into a cushion.
Ready for Quilting
Nothing now
In the Quilting Process
Flying Around (was Flying Geese quilt) – just started, still cutting and some sewing
Still WIPs
I still have WIPs. Who doesn’t, after all? A project in the ‘UFO’ category means I am stalled. A nicer way of saying UFO is a WIP. The list is a lot shorter and the projects are newer, for the most part.
FOTY 2018 – this has to be on the list now as I have cut a ton of squares and need to arrange and sew it together. This is next on my quilt list. I need to cut a bunch of back 2.5″ squares before I can get started.
Handbag Sampler – this is still the forgotten project. It should be on the UFO list. Too bad I don’t have one. The blocks were teaching samples when I taught a sampler class the time before I started writing the quilt class sampler tutorials. I found one block recently, but otherwise I actually don’t know exactly where the blocks are hiding. I have an idea and still have to crawl up in the far reaches of my fabric closet soon and see if I can find them. I haven’t even found a picture of all the blocks. Sad.
Pies and Points from 2016 Victoria Findlay Wolfe class. The last time I worked on it was when Julie and I had a playdate in April 2018. I brought this piece with me so I could cut more elements (Julie has a Sizzix). I lost my excitement about this piece shortly thereafter and still have to get it back. Thus, I had to move this to the WIPs area.
Pointillist Palette #4: Fourth is a series of 6 quilts; needs tiny square patches sewn together. No progress.
Black and Red quilt – This project is creeping into my mind, so it might be up for work soon. The project originally came about because of two other projects. I made a whole bunch of bias tape as part of my failed attempt at doing the Mighty Lucky Club a few years ago. Another part of the inspiration came from my class with Tina of Little Blue Cottage fame. This was going to be for a nephew, but I think it will be for one of my SILs and BILs. I have rectangles cut and some bias tape ready. My next step is to sew the bias tape to the rectangles like pickup sticks. I don’t have any photos of this, so you’ll have to use your imagination.
Who Am I? – This piece is off my design. I have lost momentum, but I think that just has to do with the amount of satin stitching I am facing.
Small Projects in Process
Most of my progress involves thinking or just cutting.
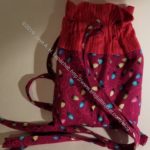
When last we checked on our hero :-), she had to sew the main zipper in. I was able to do it, and the binding. I worked on this project on and off all week. DH was out at meetings again. I took the time to sew since work is interfering with day time sewing.
Running with Scissors Tote: Main Zipper in
I sewed the main zipper in. There was a little bit of ripping, but I did it. I am not sure what to do with the end of the zipper. The pattern says what to do, but it doesn’t make sense to me.
I also sewed on the binding. I sewed it on to the zipper. I tried to machine sew the binding down from the front, but it looked awful, especially around the curves. I unsewed the awful parts and stitched the binding down by hand, for the most part. This took about 50 Wonder Clips!
A Thousand Wonder Clips
The photo shows the Sew Together Bag I made for myself. I keep that bag downstairs and use it to work on hand projects. I had nowhere to put the thousand Wonder Clips, so I put them on the edge of the zipper. This was a good place to hold them temporarily until I could put them away. Who knew?
The Running with Scissors Tote is nearly done in the picture.
I was able to get back to the Running with Scissors tote on Sunday. Not for long, though I planned for at least 4 hours of sewing, but was distracted by various things.
I sewed the two quilted pockets on. I had forgotten to do it, or skipped doing it, in the correct sequence. This worked, though, so I now have the full compliment of pockets.
The major step was to sew the main zipper to the bag. This zipper goes all the way around the bag.
In the photo, you can also see that I started to add the center facing. I caught the handle on the other side in my first attempt so there was some ripping involved. I may be able to finish it this week.
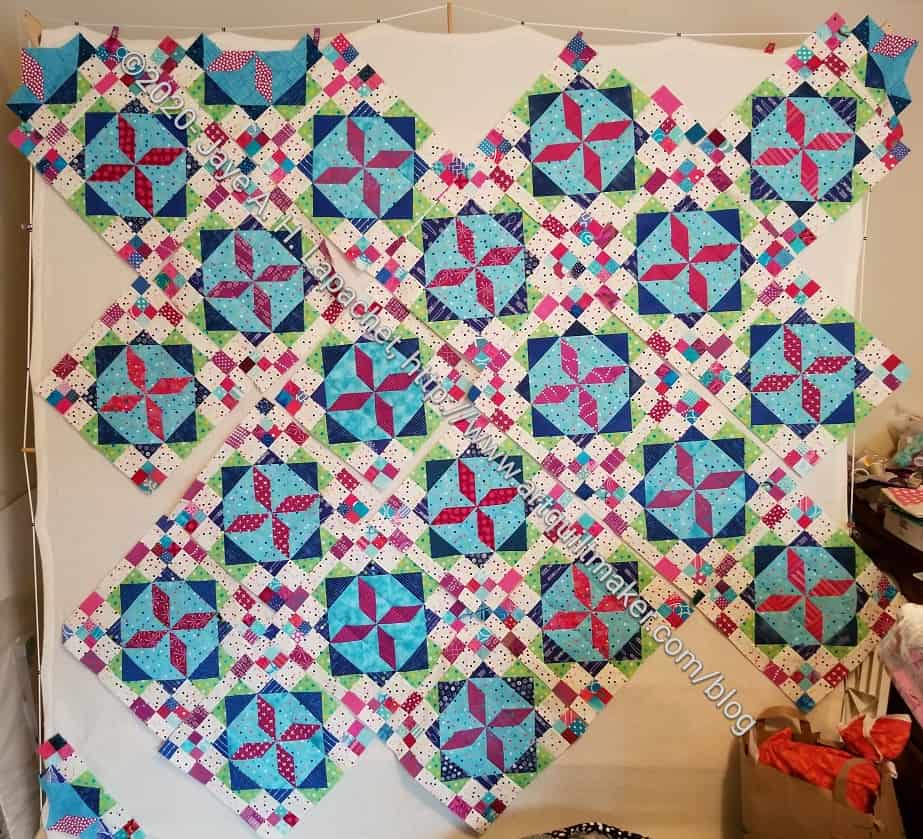
Gosh this must seem painful to you! I said the other day that I was nearing the end. I am still nearing the end, but even closer! The corner pieces are all cut and I just need to sew them together.
30 seams, maybe?
Then I have to sew the giant chunks together. There is quite a bit of partial seaming, but that is not difficult. I have been doing it all along. Check the tutorial if you need to know how to do partial seaming.
I made good progress on Flying Around over the weekend. I am nearing the end, which I know I keep saying, but it is true. That orange Friendship Star is together and I am working on the corner. Lots of cutting required there.