I have to admit to using Leuchtturm journals lately instead of my favorite Miquelrius journals. The Leuchtturm journals are slim and fit in my handbag with all my other stuff. They don’t need covers. I couldn’t figure out why I was leaning away from the Miquelrius journals.
Finally, I realized, on Sunday when I needed a new journal because I had finished the old one what the problem was. I didn’t have any Miquelrius journals with the journal covers already made. As you may have guessed, I like to put journal covers on the Miquelrius journals, because the corners of the covers tend to poke me. I looked back and found that the last journal cover I made was the Orange Soda Journal Cover back in November (November seemed to be a good month for me). That was at least two journals ago.
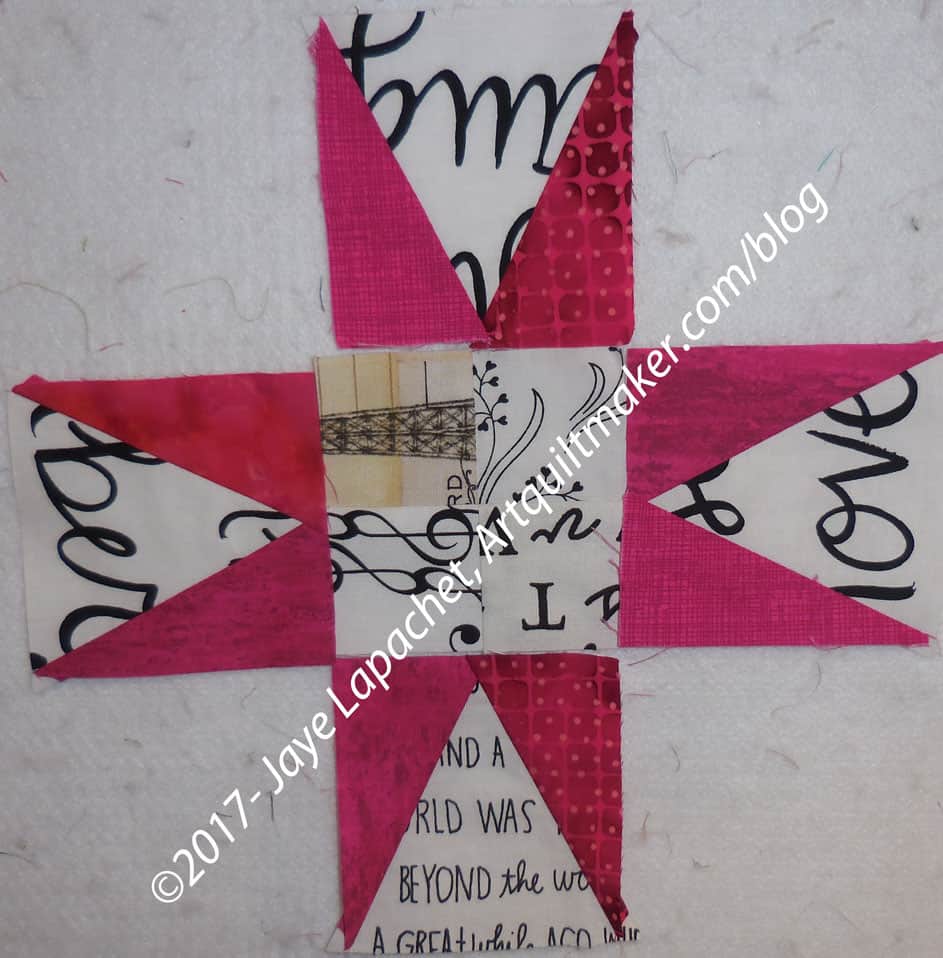
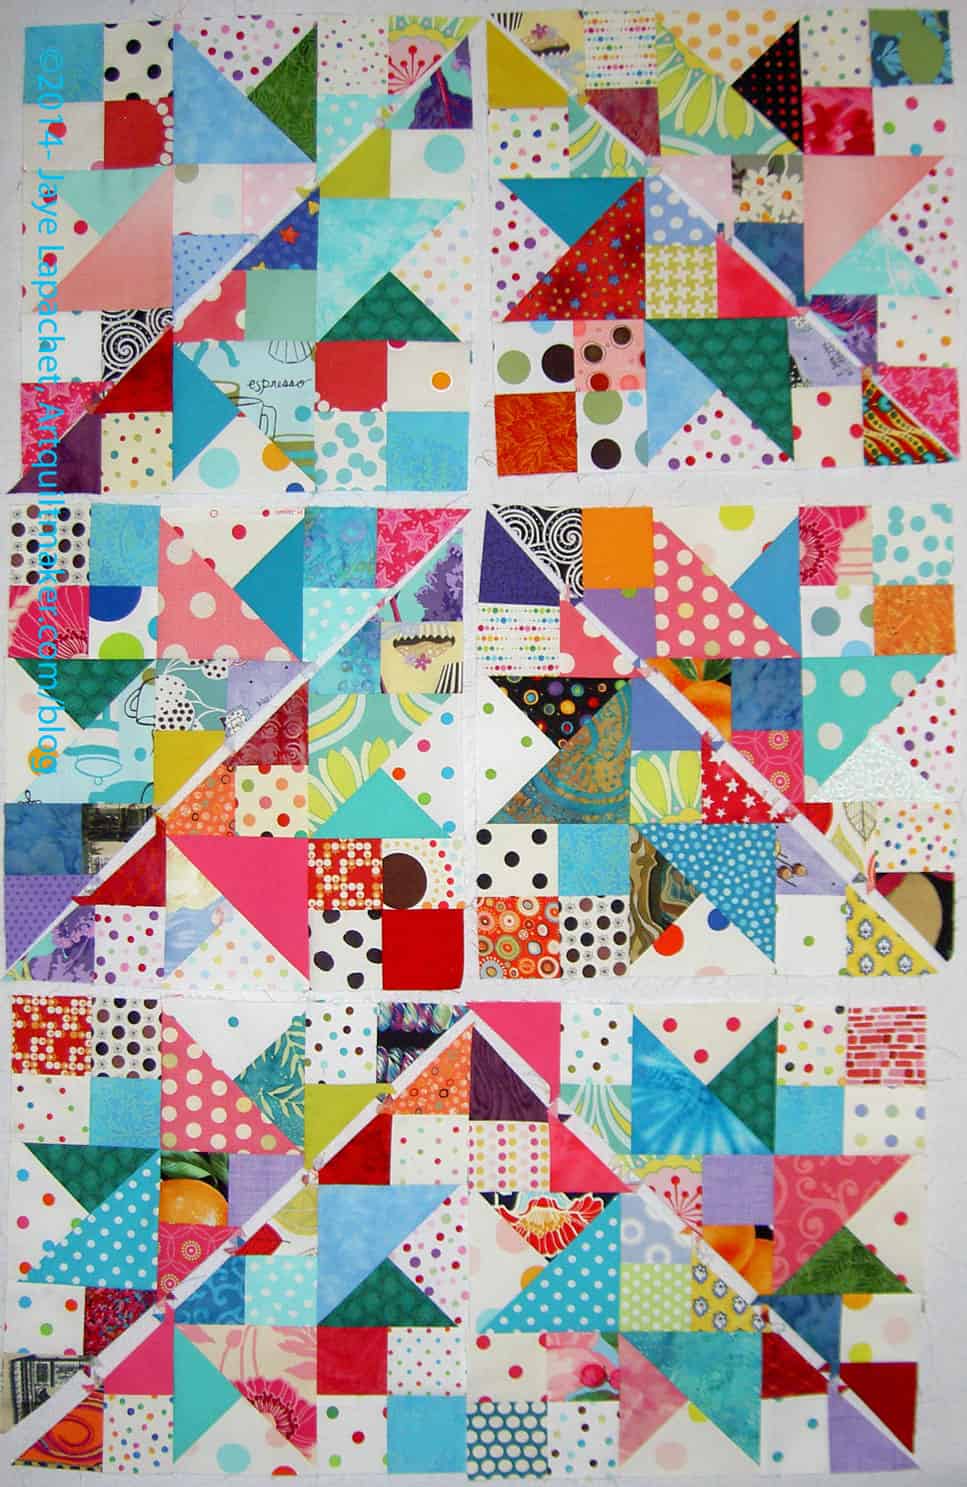
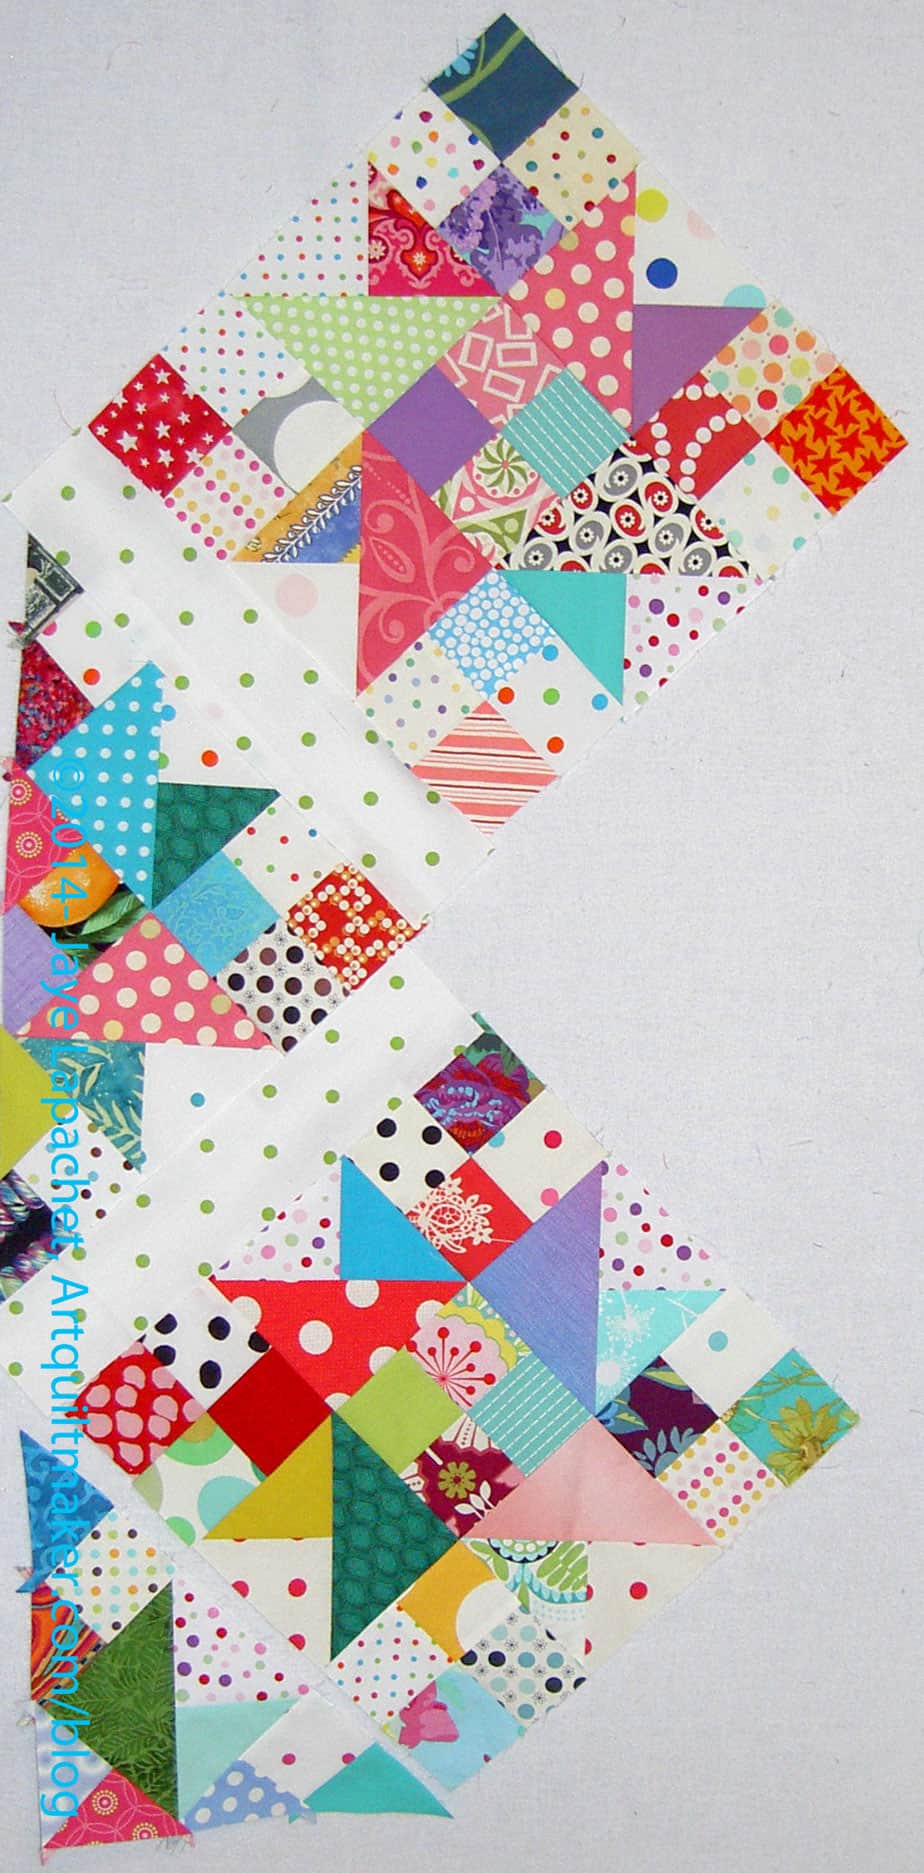
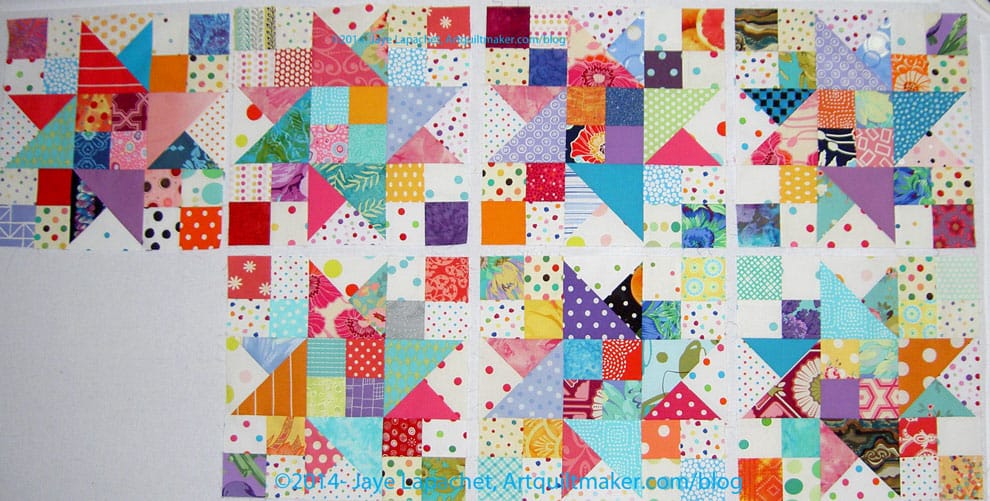
I actually had a journal cover partially made. I hadn’t really worked on it in a few weeks. It occurred to me that it be an entry in the BAMQG scrap challenge. The donation blocks were giving me a bit of trouble (decision making not sewing), so it was an easy choice to switch projects. I used the journal cover pieces and parts as leaders and enders while I worked out my donation block issues.
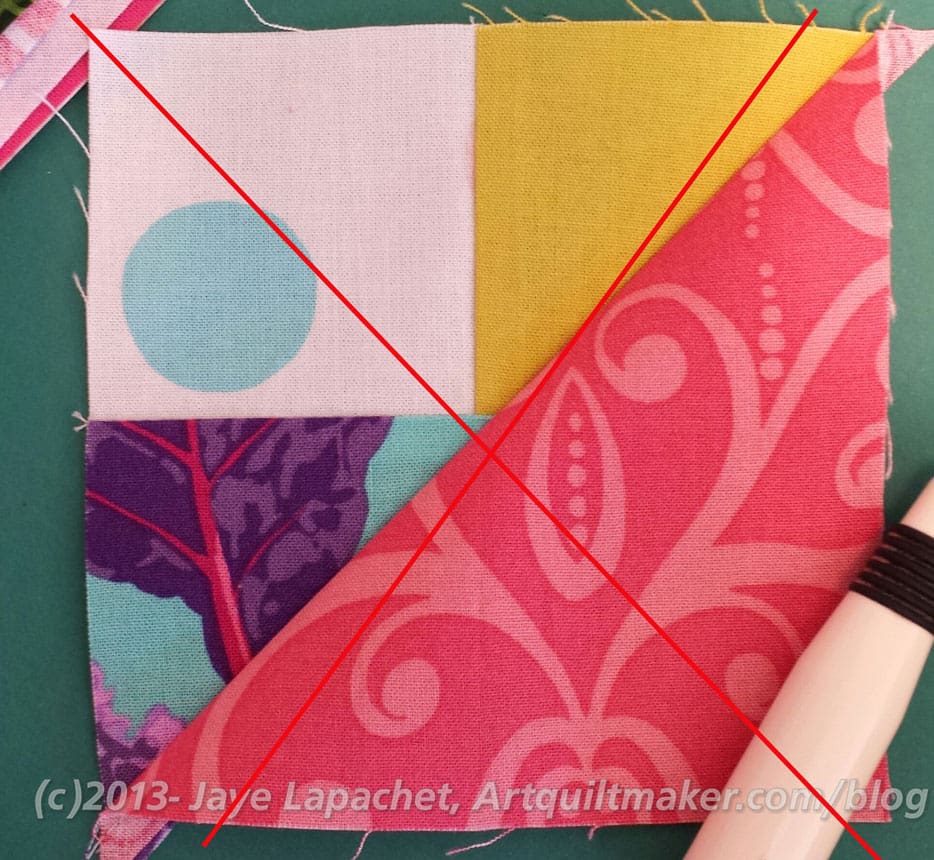
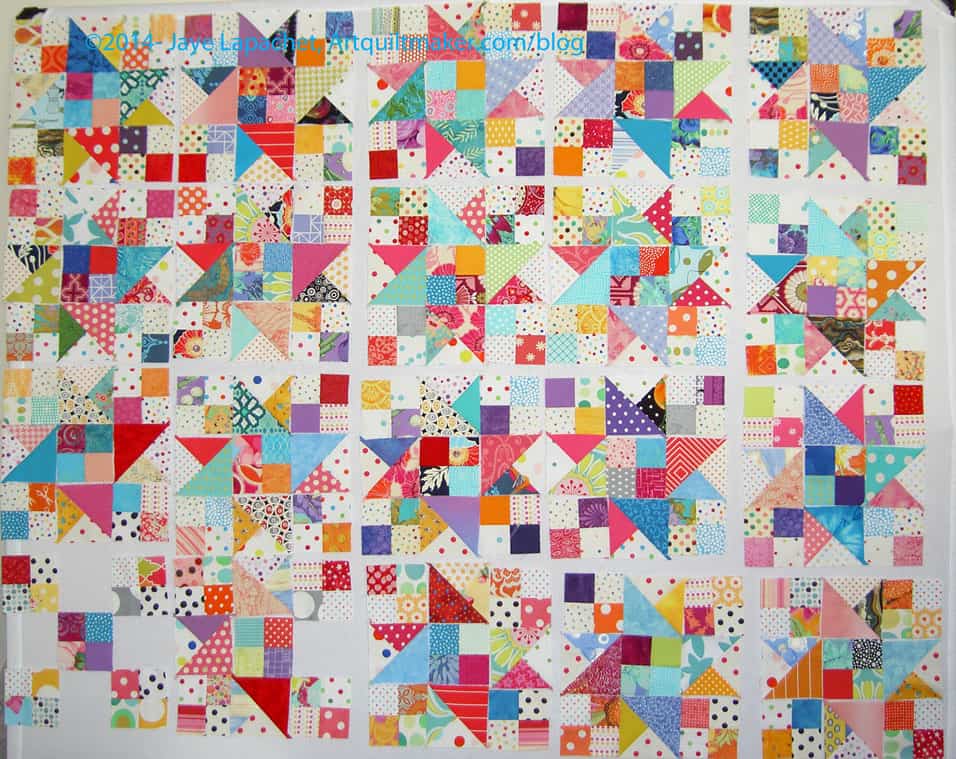
Journal covers are not difficult (tutorial is posted -sizes are for the Miquelrius journals). The time consuming part is the mosaic piecing. Of course you can make the cover out of one piece of fabric for an even quicker and easier version. I rarely, if ever, do that, however.

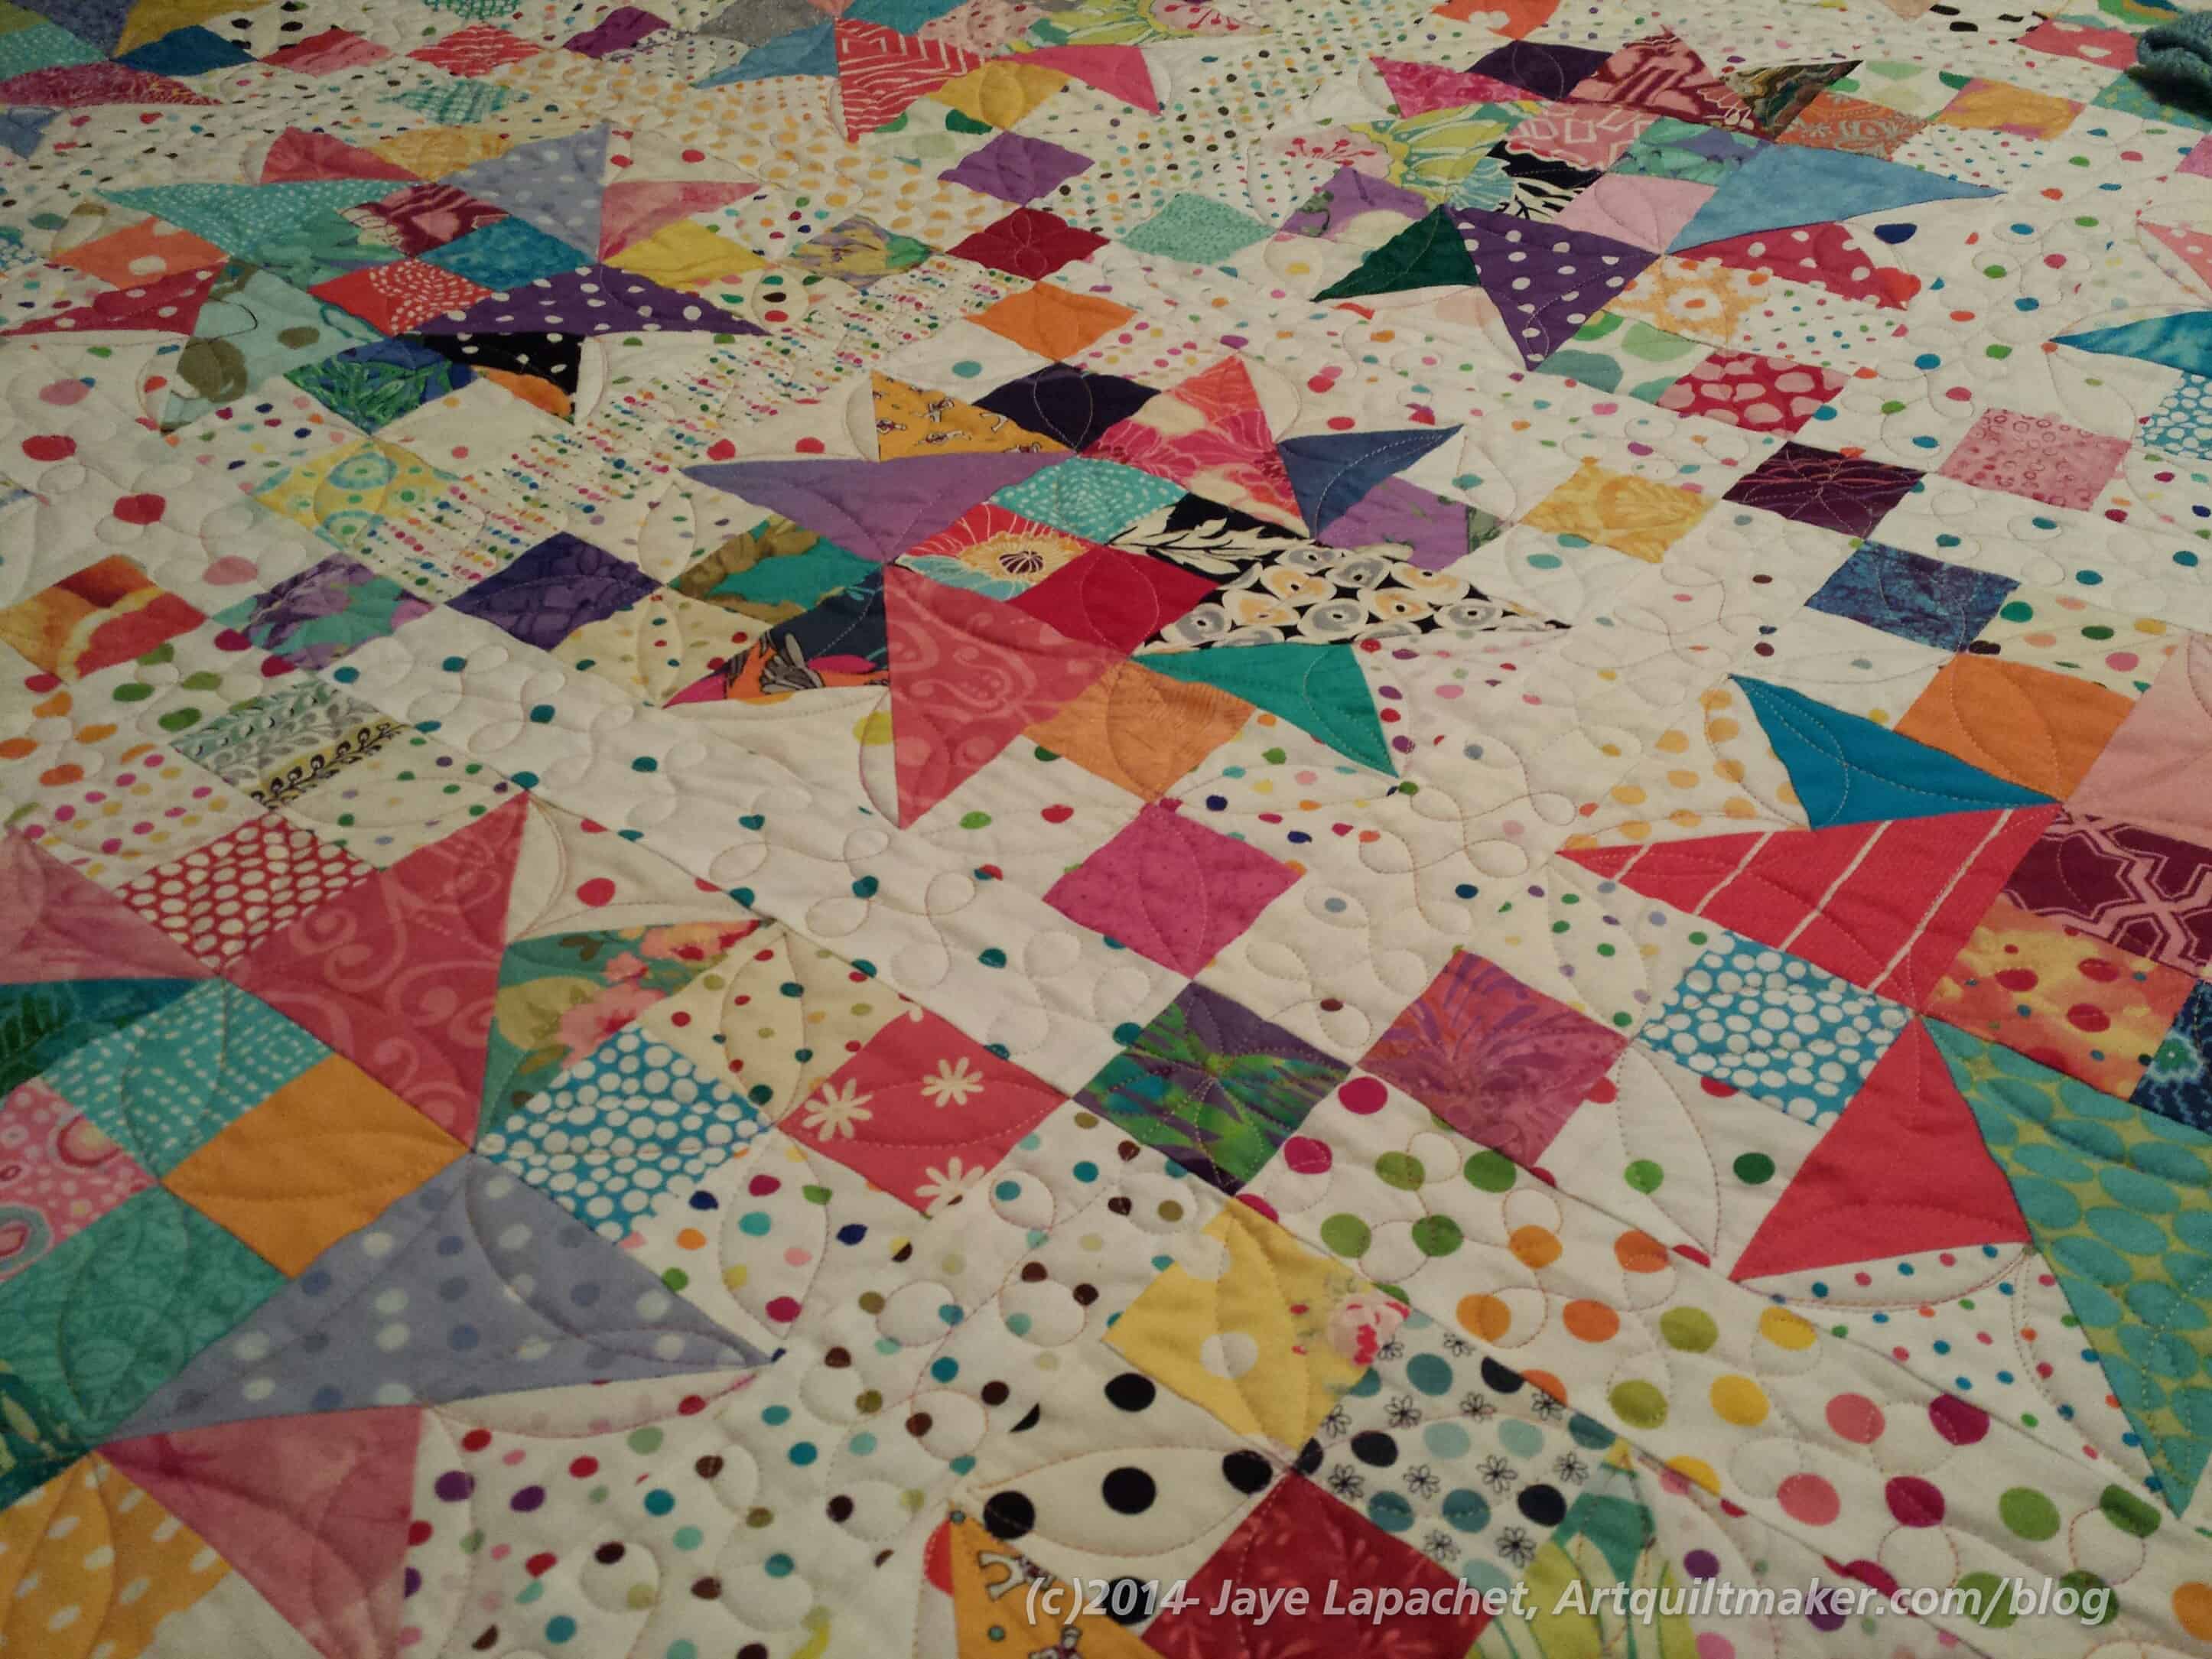
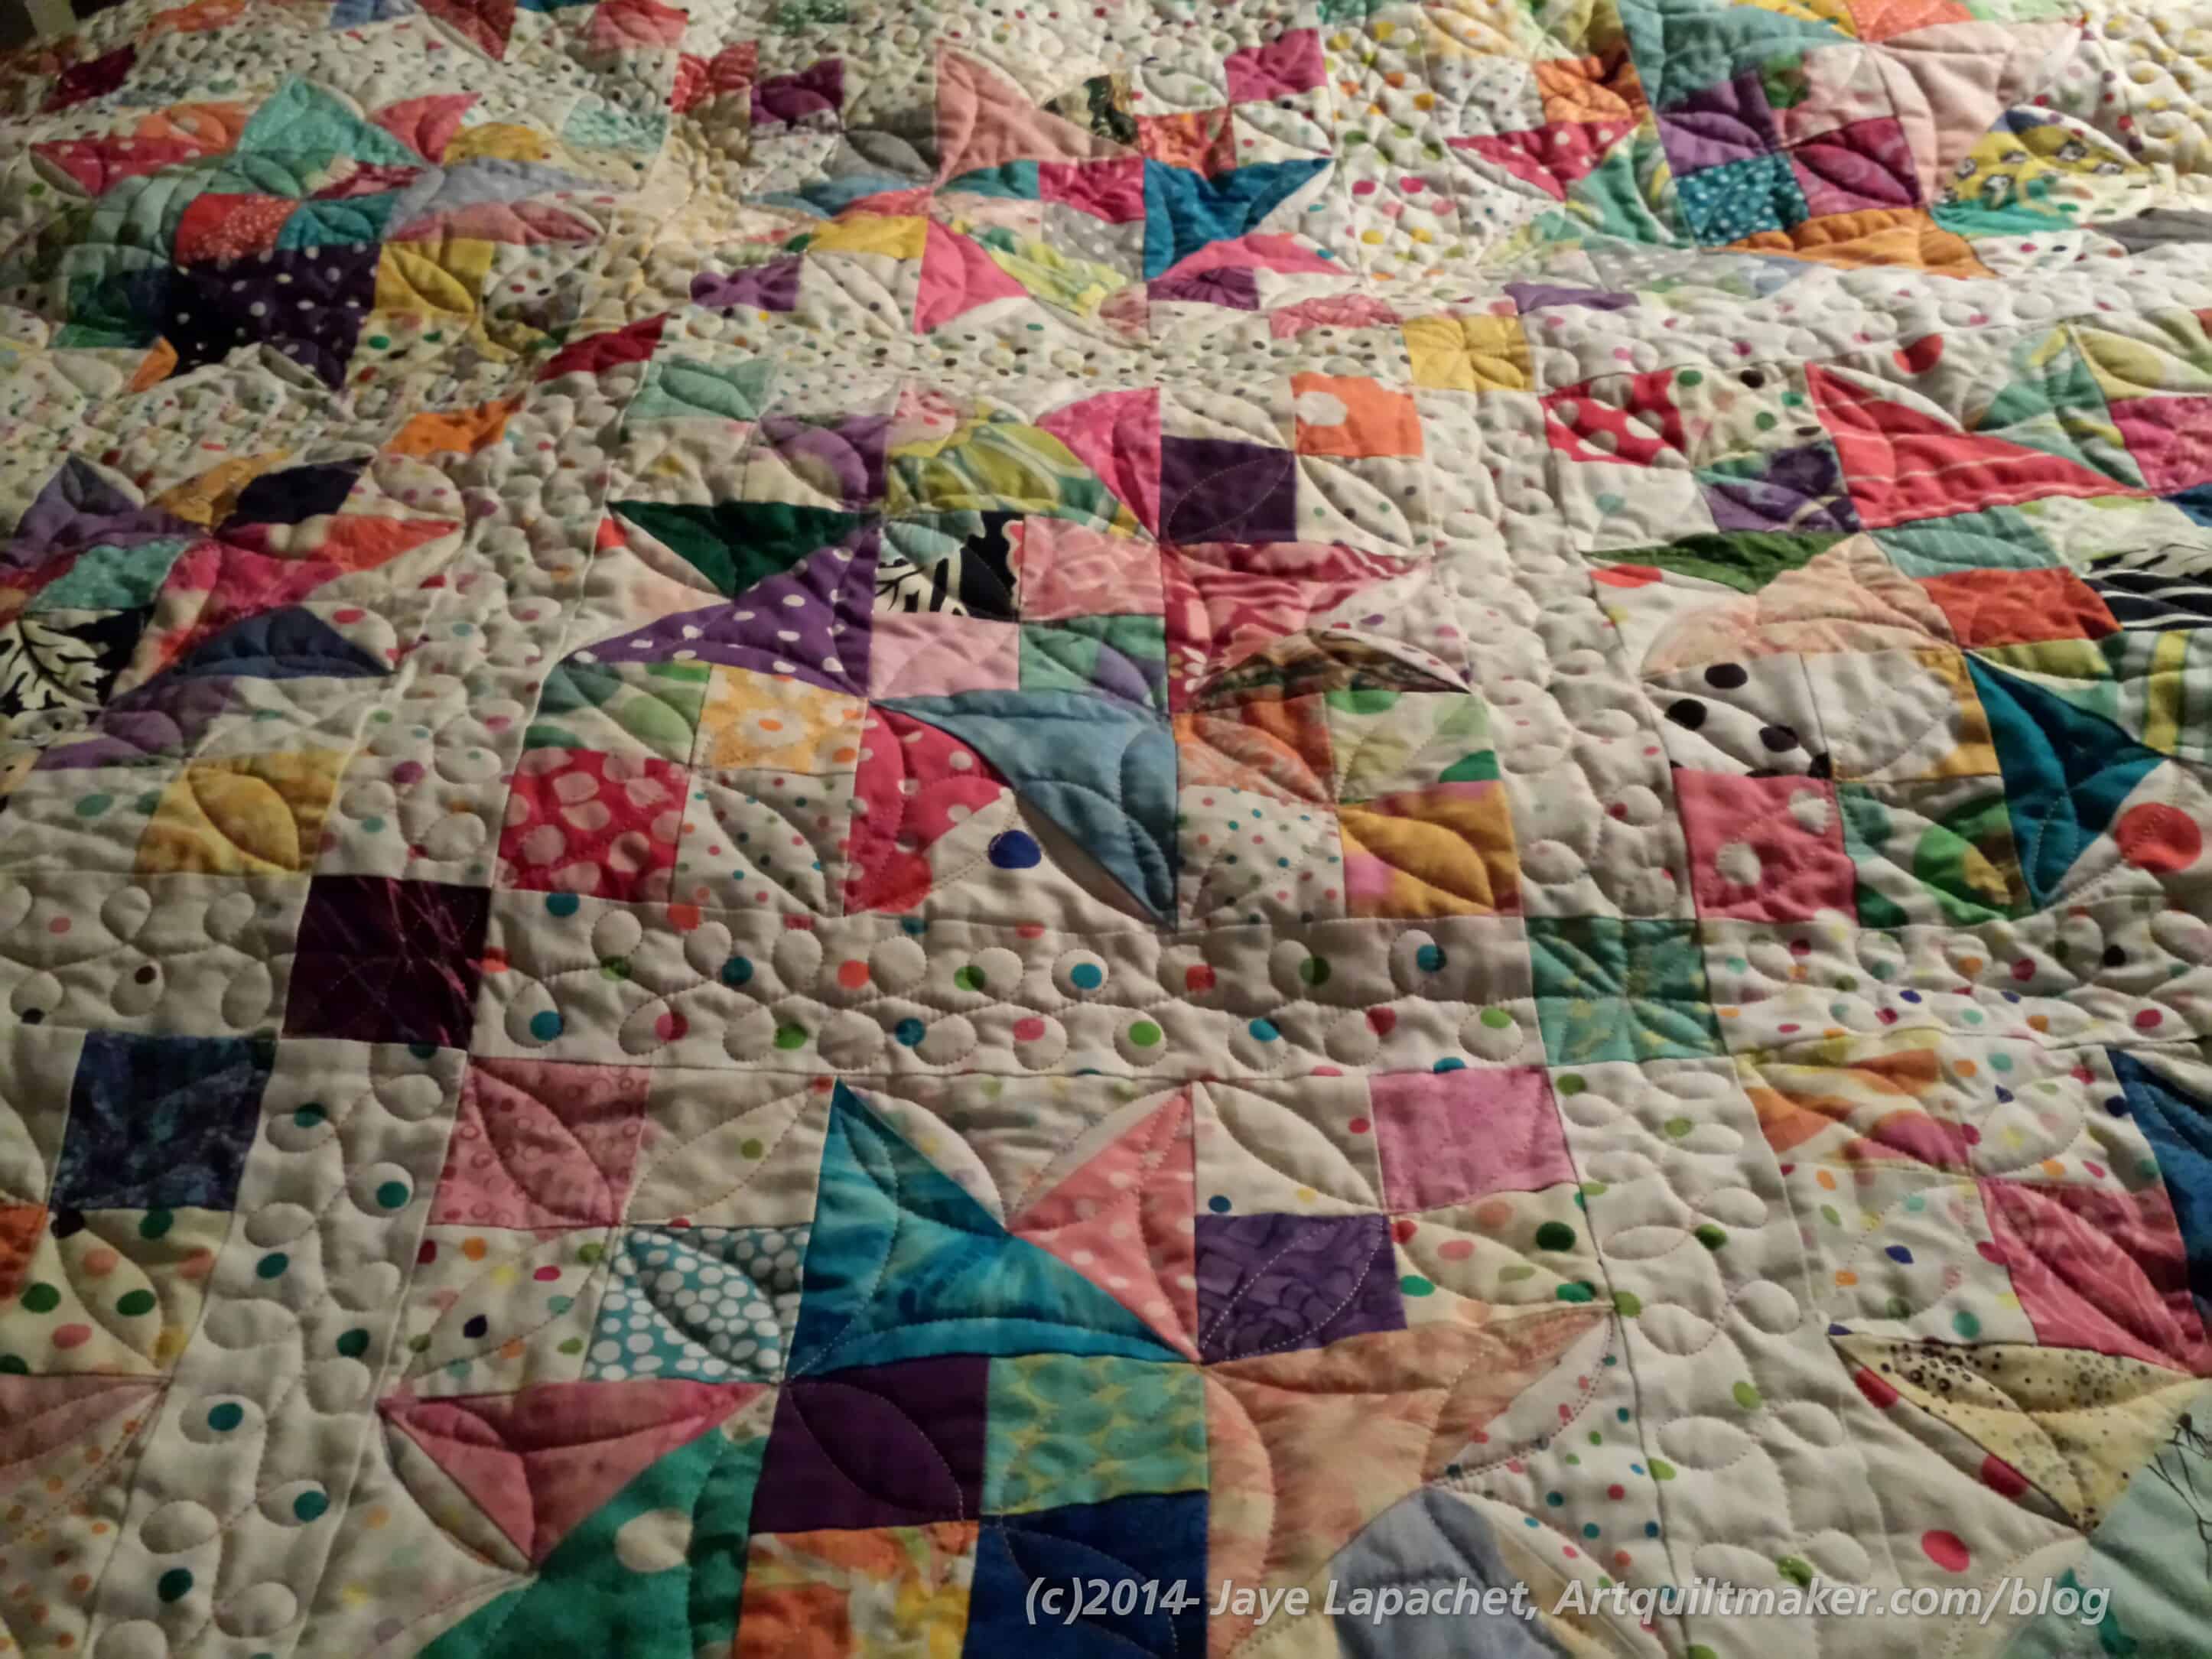
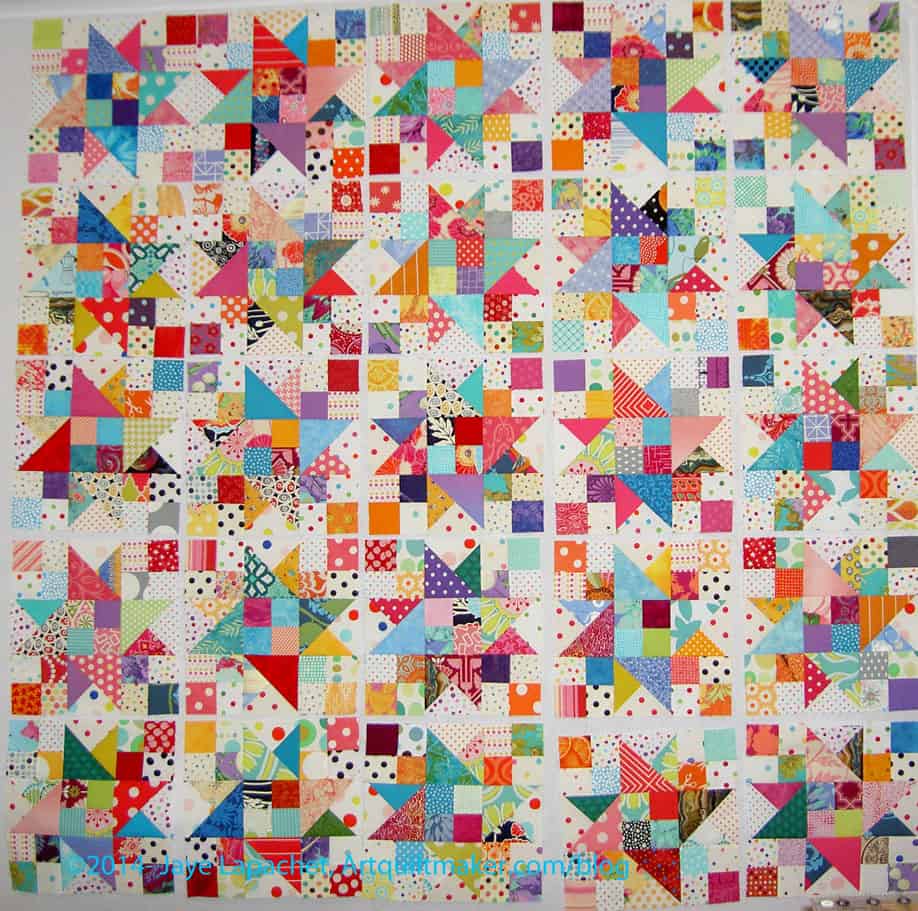
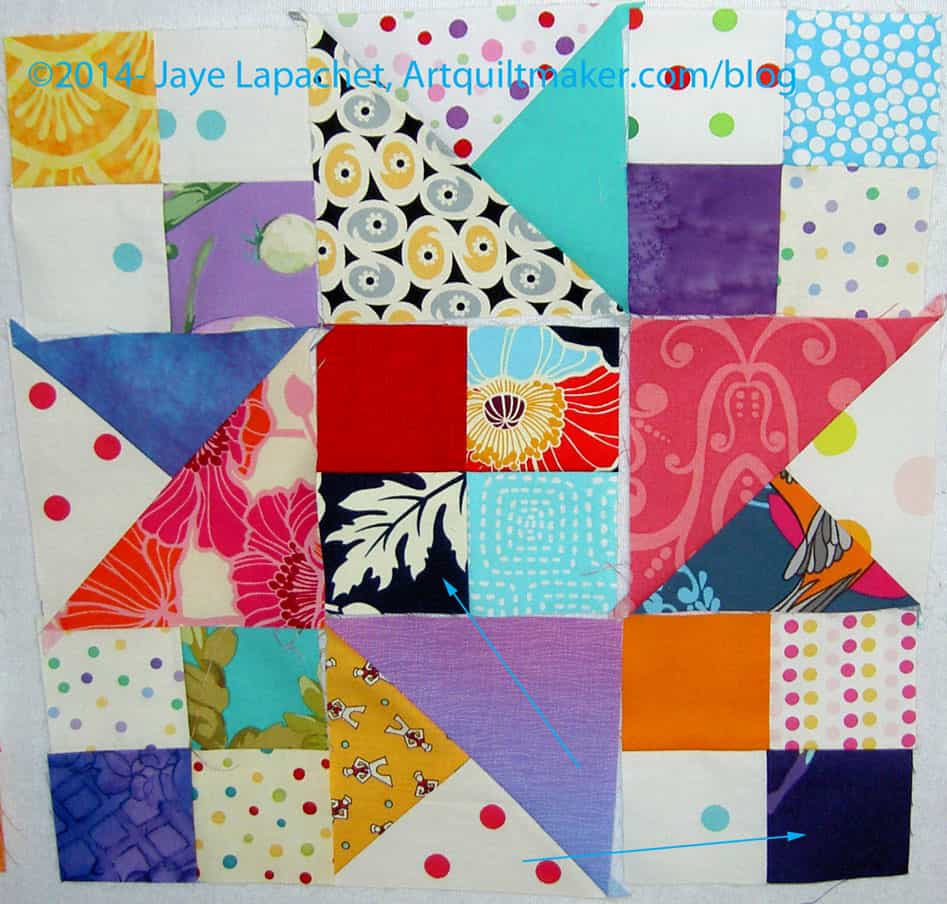
Frequently, I start pulling out fabrics and stick to certain values in that one scrap drawer. I am not sure which fabric pieces I started with, but the first fabrics often set the tone for the entire piece. This one is a little darker than I usually like. I do like the monochromatic look, however, so I stuck with the darker blues.
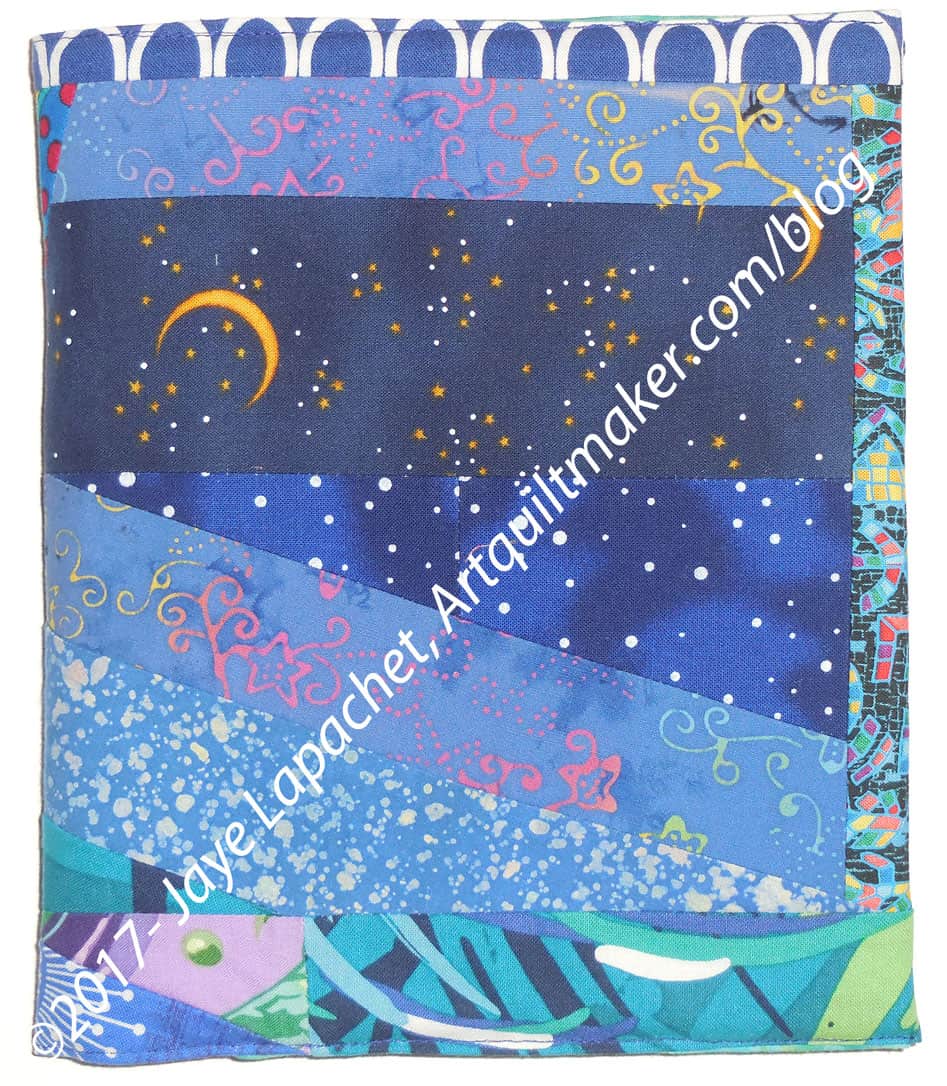
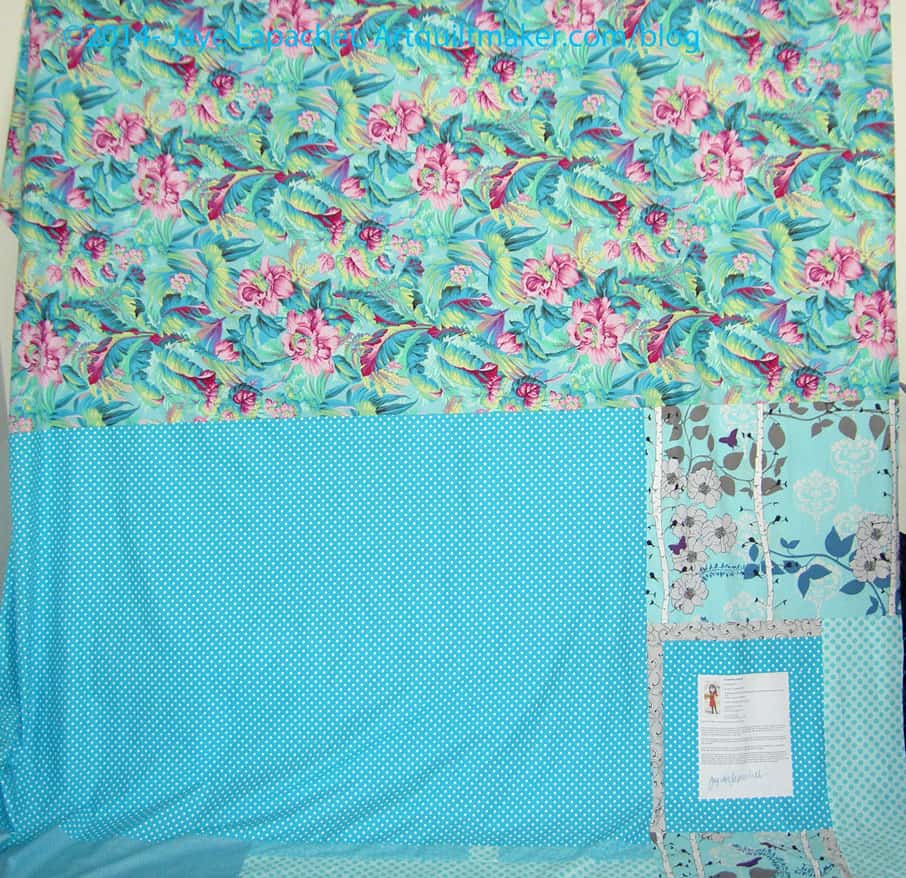
I haven’t decided which side to use as the front. Since I don’t need it immediately, I don’t have to decide for at least three months.
I had some issues with the filling. I have been using flannel, but am just about out. I had some leftover bits of fusible fleece, so I stuck those to the back of the pieced front and filled the rest in with flannel scraps. Some parts are fluffier than I like, but it works and the project is done.
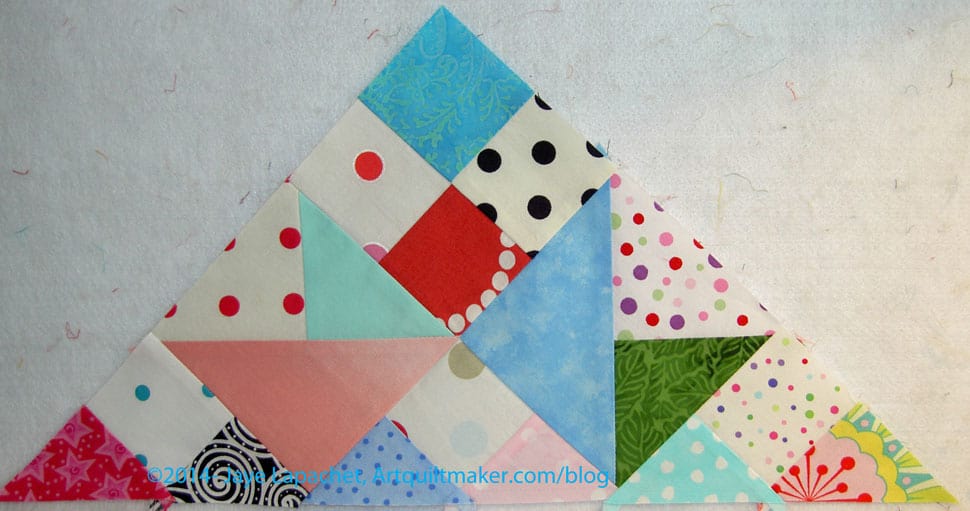
I started another journal cover with turquoise. Stay tuned.