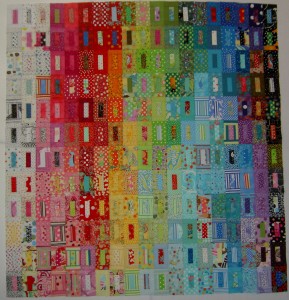
This past weekend was our annual CQFA retreat by the beach. I spent the weekend working on the FOTY 2009. I also relaxed a little even though I spent a lot of time hard at hard sewing. My body is rebelling a bit from sitting so much and standing so much.
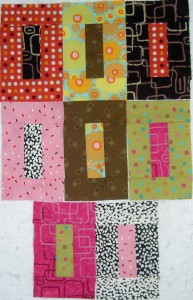
First, I found the last few FOTY blocks on my design wall before I left and I wanted to post a picture of them. I didn’t think I would use the one with the earthy brown (middle row, middle block) on the front, but I ended up using it.
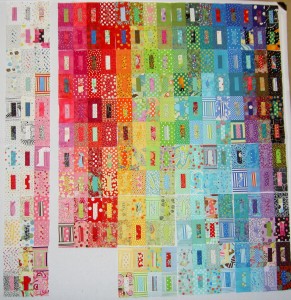
I really worked hard on the piece. As with last year’s piece, there is a lot of sewing and pressing. The process, after I figured out the size and laid the blocks out was to sew two Zanzibar blocks together, press, put back on the design wall, sew two Zanzibar blocks together, press, put back on the design wall and then repeat that process 133 times. Once I sewed sets of blocks together, then I sewed two sets of two blocks together to make a set of four. I did that approximately 67 times. Since I wasn’t in my own workroom I had to walk around my table, past another table and into the corner to get to the iron. The distance was inconvenient, but also good, because it forced me to stretch my body. Putting the top together was a lot of rote sewing, but it was the perfect project for the retreat.
I did a few things differently this year. One was to count up the blocks and try to make a plan as to how I would lay them out before I arrived at the retreat location and was standing in front of my design wall. I knew I had 225 blocks, so I thought I would lay them out in a 15×15 format. What I didn’t take into the consideration was the size of the portable design wall. If I placed 15 blocks down, 3 of them were on the floor. I didn’t want to work with blocks on the floor even though I could have. It is hard to photograph the in progress piece. It is easy to forget some of the blocks, etc. I reconfigured the layout and ended up with, I believe, 12 down and 19 across. I prefer a rectangular layout anyway so it worked out. I needed another block, however, so the earthy brown one ended up on the front. In the grand scheme, it doesn’t scream brown out of the quilt.
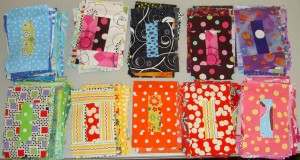
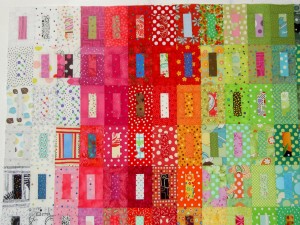
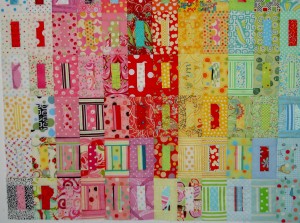
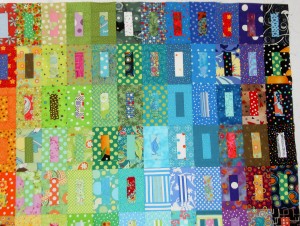
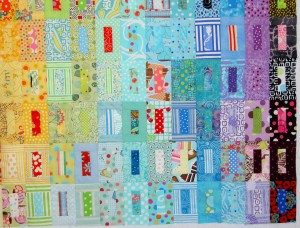
I also sorted the blocks. Last year, I think I just put them up in general areas on the design wall and then I had to move them around a lot. This time I sorted the fabrics on the table, put them in Roy G. Biv + white and black order and then put them up on the design wall. This strategy was a lot easier. I didn’t have move such large groups of blocks over and over. I had to move some groups, but the whole process was much easier. Below is a progression of how the piece evolved as I worked on the color:
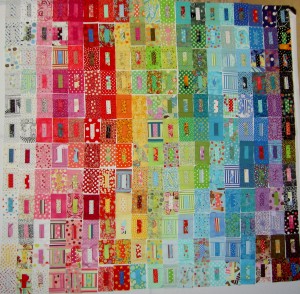
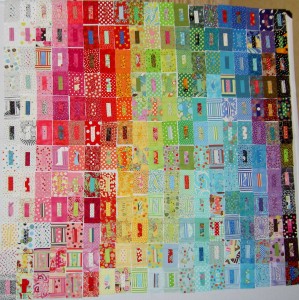
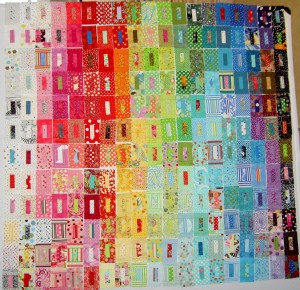
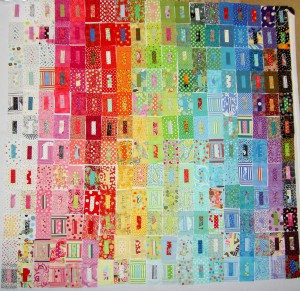
Another thing I did differently this year was ask some of the other retreaters if any blocks stood out to them in an “I am out of place in this quilt” kind of way. Many of the CQFAers are really skilled designers, others are skilled colorists. All of them have something wonderful to offer if I remember to ask and listen.
I was looking at FOTY 2008 last week and found that there were some rectangles I really should have moved. It is by no means a horrible quilt, but I should have played with the layout a bit more. Asking for help was a great strategy, because people mostly liked the color work I did and I got lots of kudos, but some of the blocks jumped out at them. Funnily enough the blocks they noticed, for the most part, did not jump out at me. Almost exclusively, these were blocks that were hard to place – multi-color fabrics, conversationals, light backgrounds almost completely covered by various colors, etc. The CQFA group is great, because they helped me place the problematic blocks to their best advantage. In this way, I also learned.
I spent a good portion of the retreat sewing the quilt top together. Open house at school was today, so I had to leave the retreat early and only got some straps for my next Anna Maria Horner Multi-tasker tote done. I really wanted to stay, but am glad I was able to have a chat with various teachers at school as well. There is always so much to do!
I saw that you responded to my earlier posting on this project. I figured you would rearrange at least once or twice, before committing blocks to be sewn together.
I like how this is such a busy quilt and yet the rainbow color grouping is how the eye gets a chance to rest.
My favorite photo was where it seemed to be in front of a window. OH it would be wonderful to have those colors in a window treatment! Of course I could suffer with it on MY bed too. 😀
Well done…and by hand no less! Hand? Now WHERE have I heard THAT word, recently? lol
It turned out great!
SherriD: By hand? I brought my machine and sewed the pieces together by machine. I was sitting in the corner of the room near a window and I put up my portable design wall in front of the window. There were a few comments about the leaded glass effect and window treatments made out of patchwork.
Vicki: thanks! Now I need to get an appointment to longarm it! Stay tuned.
I read this:
“I also relaxed a little even though I spent a lot of time hard at hard sewing.”
I saw one of the words as HAND, not HARD. lol And here I was SOOOOOOOOOOOOO in awe of you! hehehehe
this is fabulous Jaye!
It sure turned out great! I’m glad I got to see it being put together and that you documented it so splendidly.
Thanks, Kathy and Julie. I appreciate your kind comments. I am really enjoying the color work involved with the FOTY projects.