I had a day off the other day and really wanted to finish my UCAB.
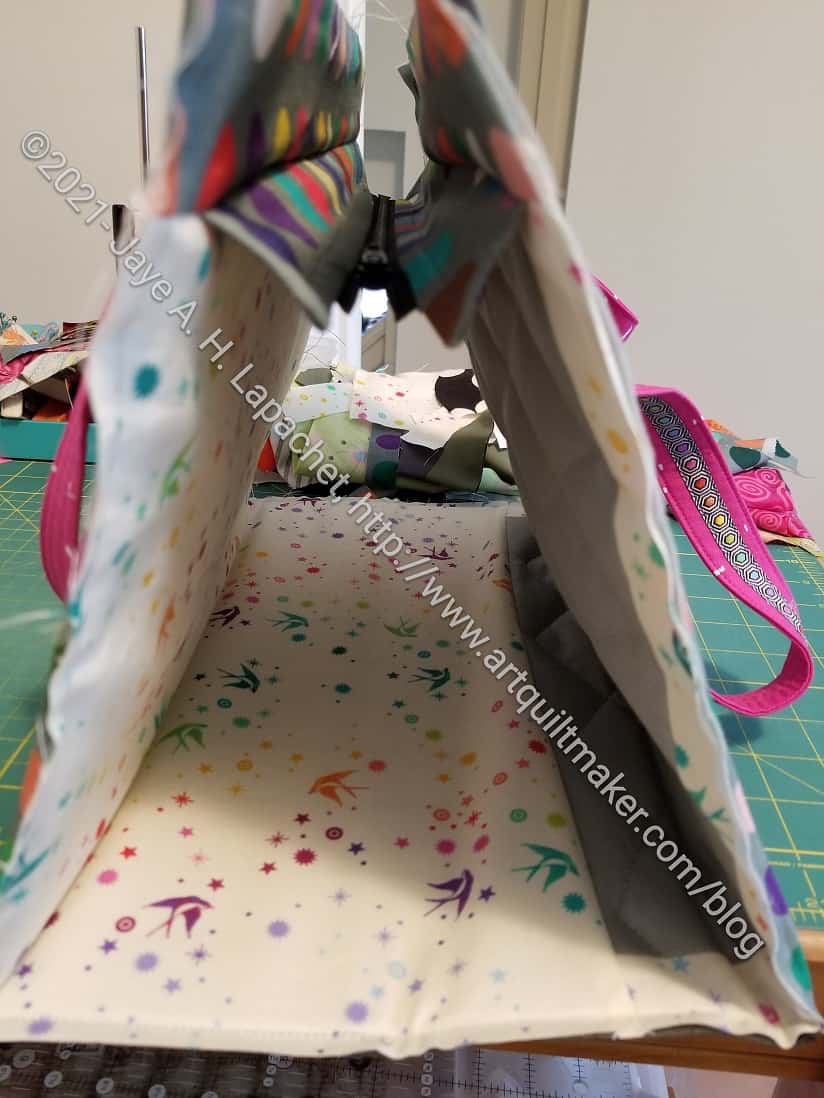
In order to finish the exterior I had to sew the lining. I decided to put in an ironing pad even though I don’t think I will use it much. I have my new Mini Maker Case, so I may actually use it. I will try it out regardless.
I had to cut all of the pieces for the lining before assembling the interior. Construction of the lining went pretty smoothly.
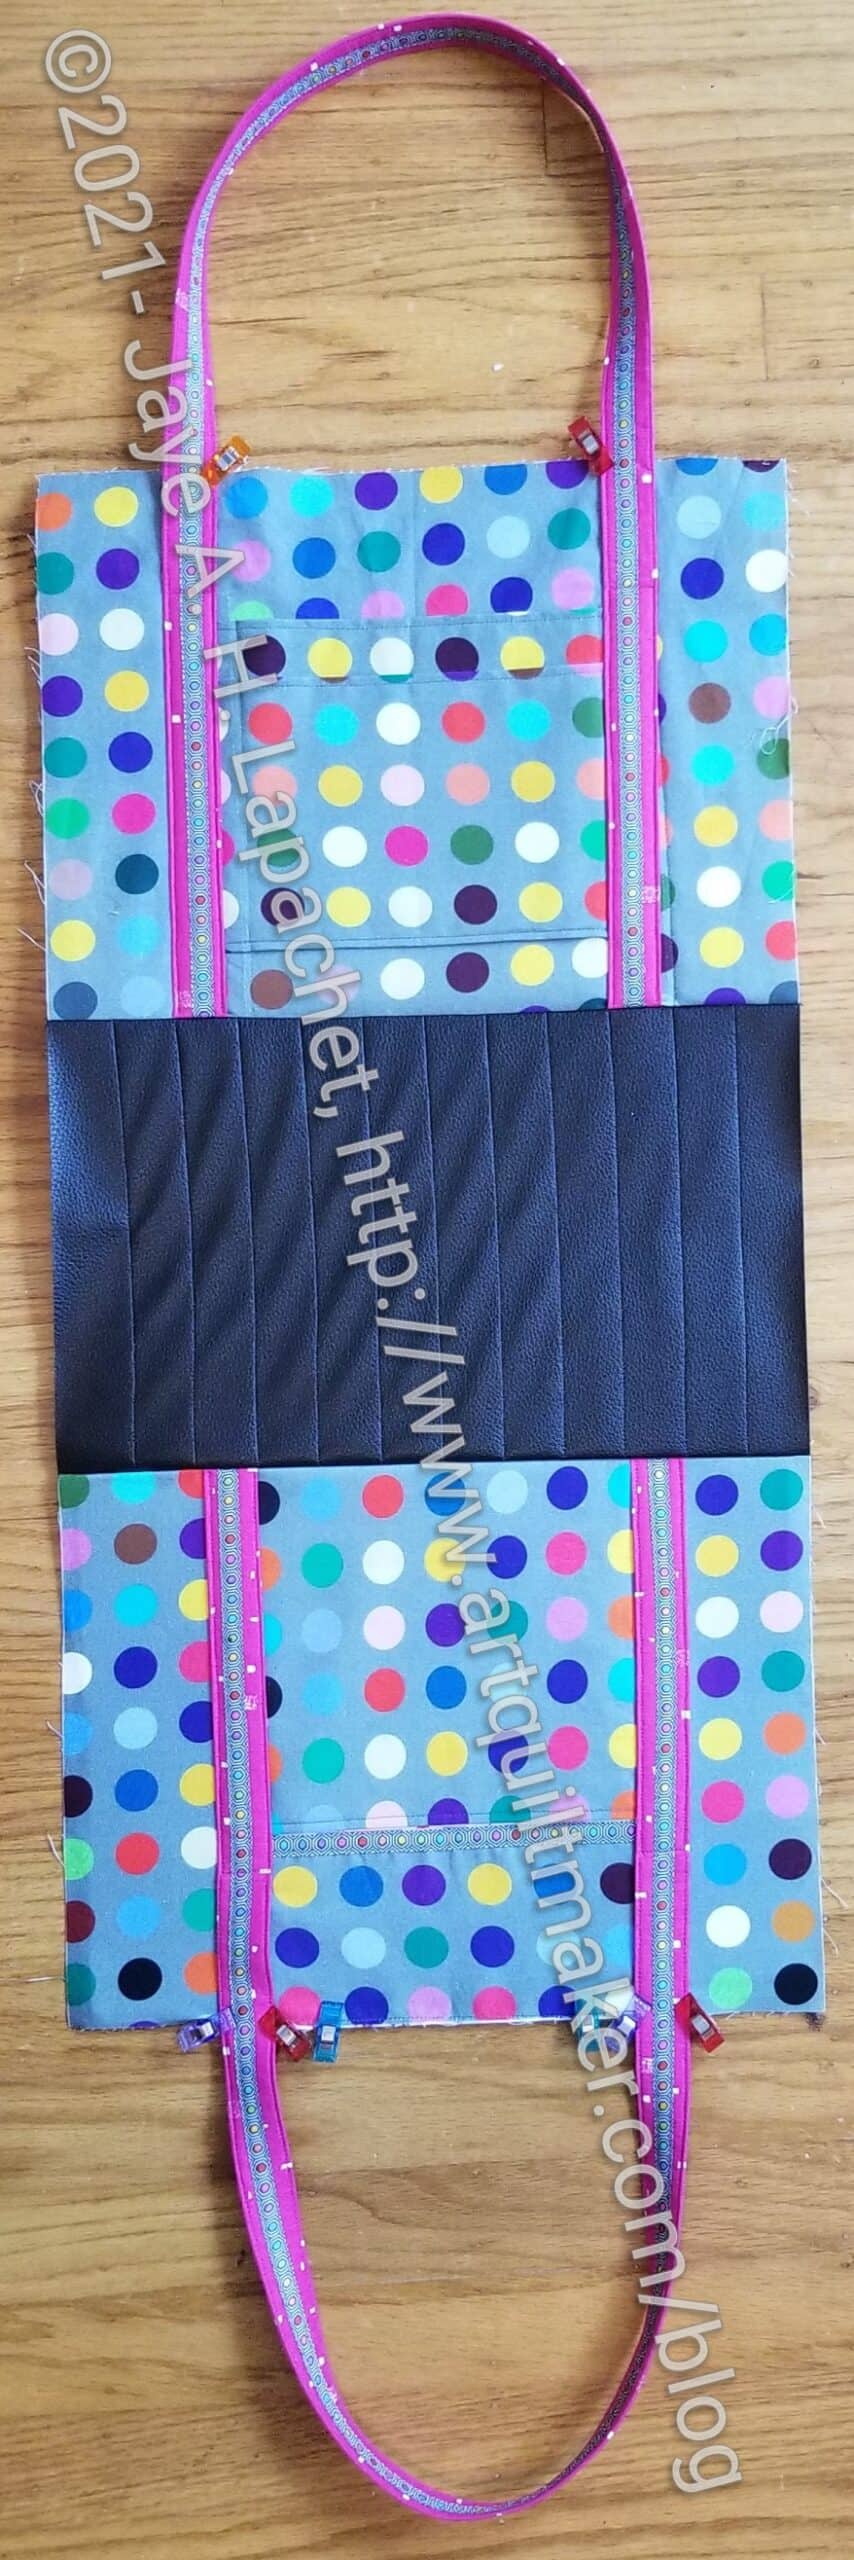
Another task was to finish the exterior. I sewed the three parts together (back, front and bottom), which was pretty easy. I did have some trouble with the pleather bottom sticking to my machine’s bed. I held up both edges and kept as much of it off the machine bed as I could. Then I sort of shoved it through, but will need to rethink that strategy in the future. It doesn’t make for nice stitching.
Laid out like the photo left doesn’t do anything for the overall look of the bag, but you know how it is. It always looks worse before it looks better.
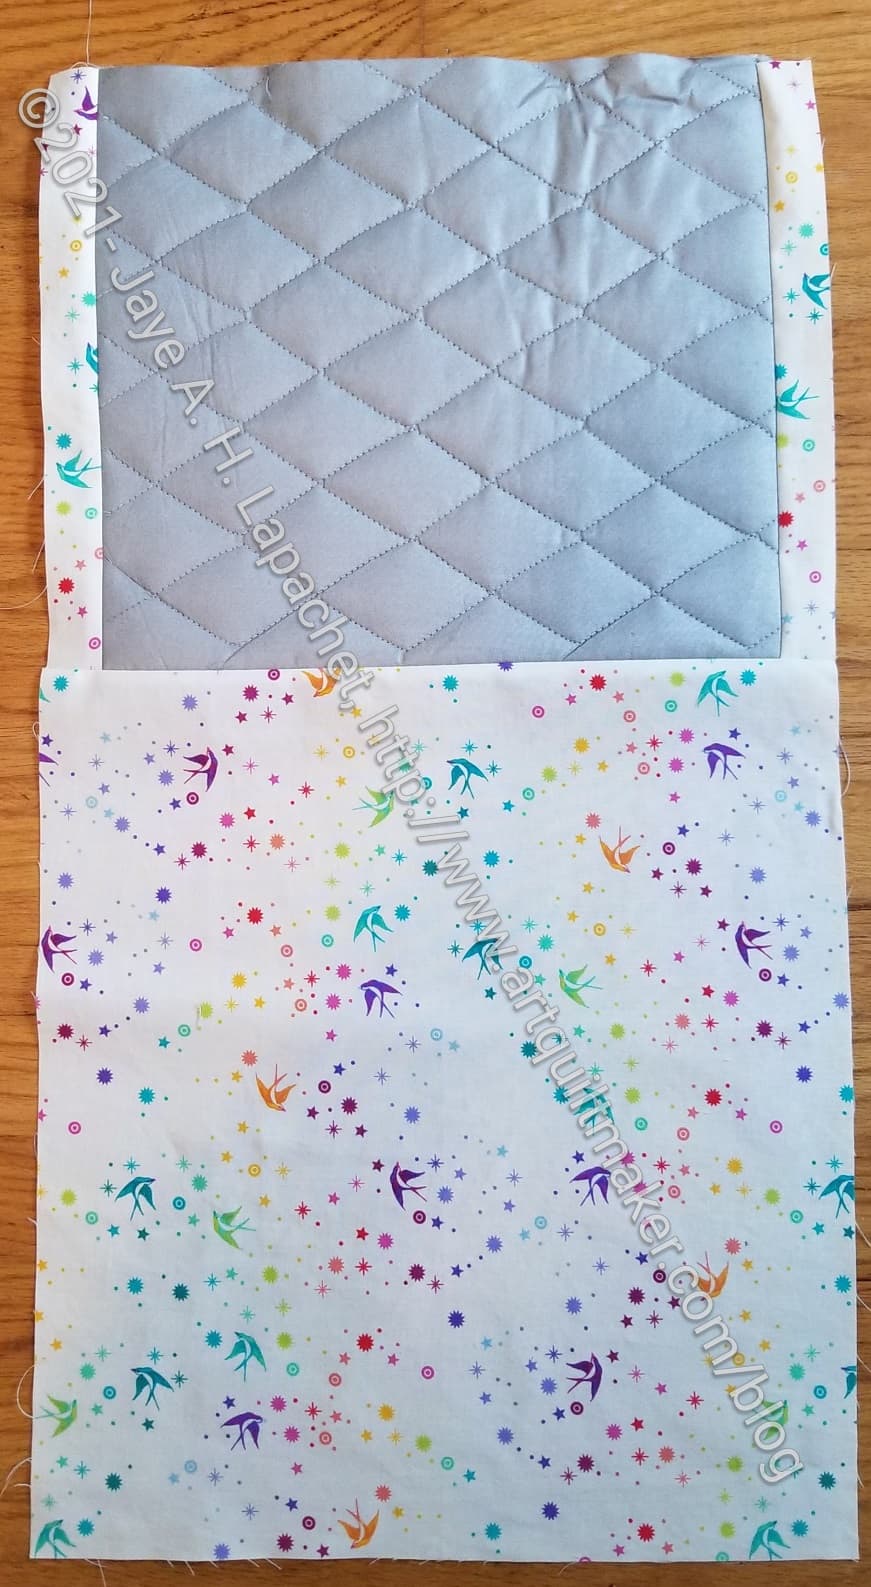
I wanted the bottom to be flat, so I sewed two layers of Peltex to the pleather – kind of like quilting it. I was careful to keep the Peltex away from the edges so that the edges wouldn’t be too thick. I don’t know if that strategy will work, but it seems to be flatter than I could have hoped.
To encourage the bottom get into (and stay into) the right shape I thought of sewing a seam along the edges where the front and back fold up. The ironing pad extends into the bottom of the bag, so sewing a seam would create a bump. If I want to do that, I’ll probably need to omit the ironing pad.
I also cut out the sides (from a template) and put those together. They are an odd shape, so I used scissors. I also pressed the folds into the places where the pockets will be inserted.
I got a fair amount done, but didn’t finish. Progress! Not finished, but progress.