One of the things that came up when I was making pouches over the weekend was the zippers. They are always a pain, so I made some changes tot he way I work.
Because of the video on making an internal zipper pocket, I was reminded of the washaway tape**. I have had this tape for awhile and use it sporadically, but need to be prompted, because I tend to forget about it.
I followed Sara’s directions exactly on the second one, which means that I lined up the tape with the edge of the zipper then pressed the fabric close to the zipper before I sewed. The second one came out much better than the first.
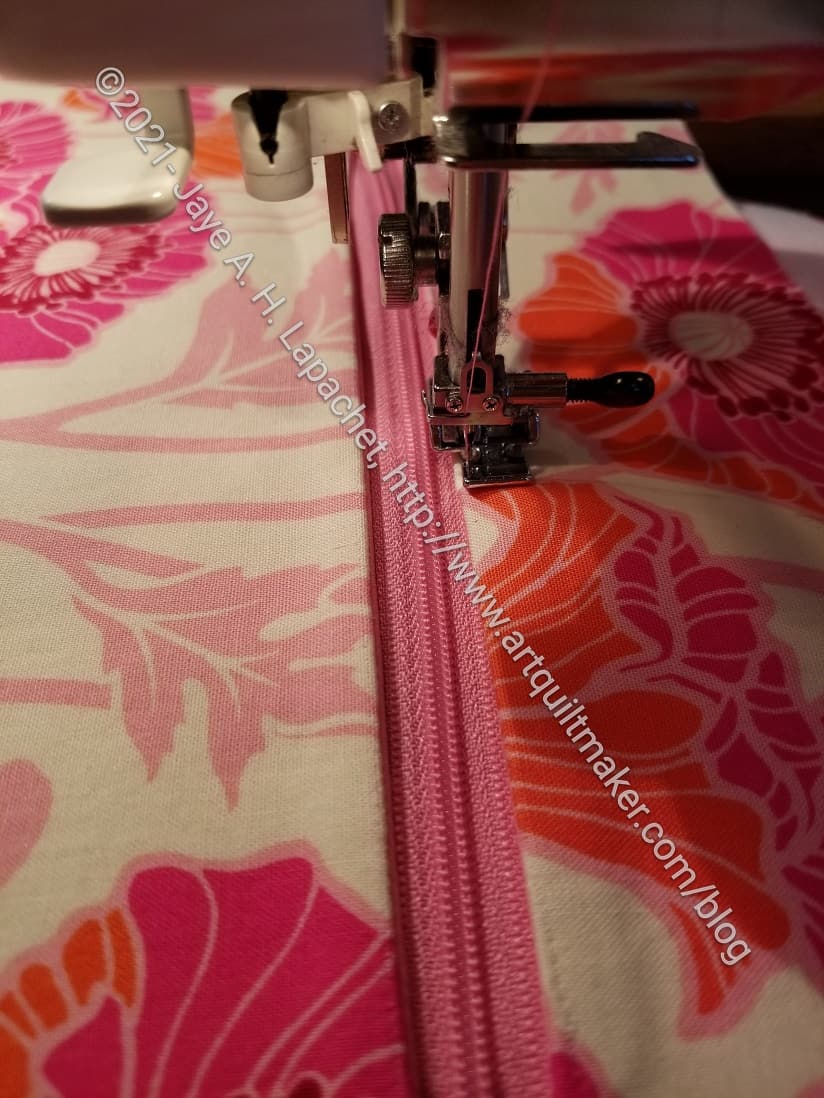
I dug out a zipper foot that I haven’t had luck with and really worked with it. For the first time I had success using the zipper foot. This was the small zipper foot that clicks on to my machine without the use of any screwdrivers. I was surprised that it actually worked this time. Perhaps I was doing something wrong before.
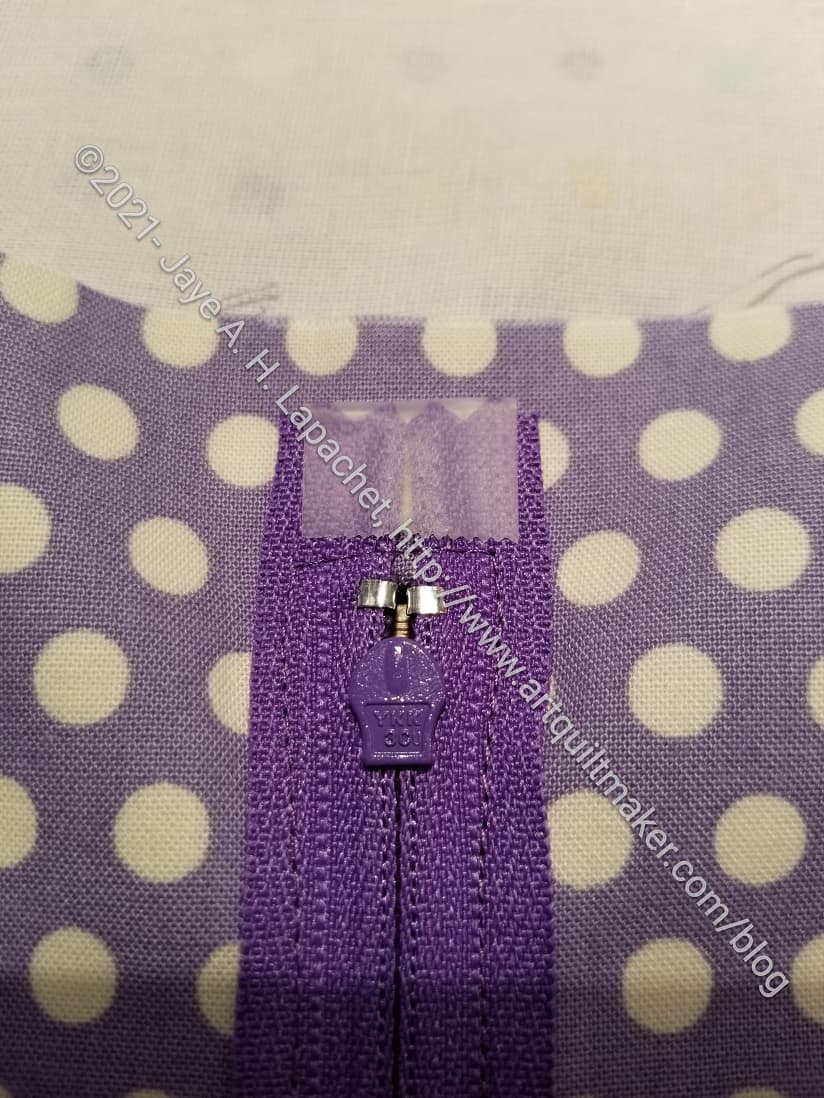
Next, the tape at the end of the zipper tape where the zipper opens, e.g. opposite the stop, is loose. Most patterns say to sew the tapes together, which is a hassle and mostly doesn’t work for me. Since the ends would be hidden inside the pocket, I decided that I would try tape instead of sewing the end of the zipper together. I used regular Scotch tape and it worked great. I didn’t have to rip out any stitches or deal with a scrunched up fabric and thread nest. It was also fast.
**I use affiliate links and may be paid for your purchase of an item when you click on an item link in my post. There is no additional cost to you for clicking or purchasing items I recommend. I appreciate your clicks and purchases as it helps support this blog.