Cut and Run Quilt Shop

We were away last week on the Central Coast so DH could attend Grand Parlor. I didn’t do nearly the prep that I had done in the past for his events and had decided to do some quiltmaking side trips of my own. I planned to drive to Carpinteria while we were in SLO to visit Roxanne’s. It was about a two hour drive and after finding a few quilt shops much closer I put off the Roxanne’s visit (and the SBPL visit) for another time.

Cut and Run Quilt Shop, SLO

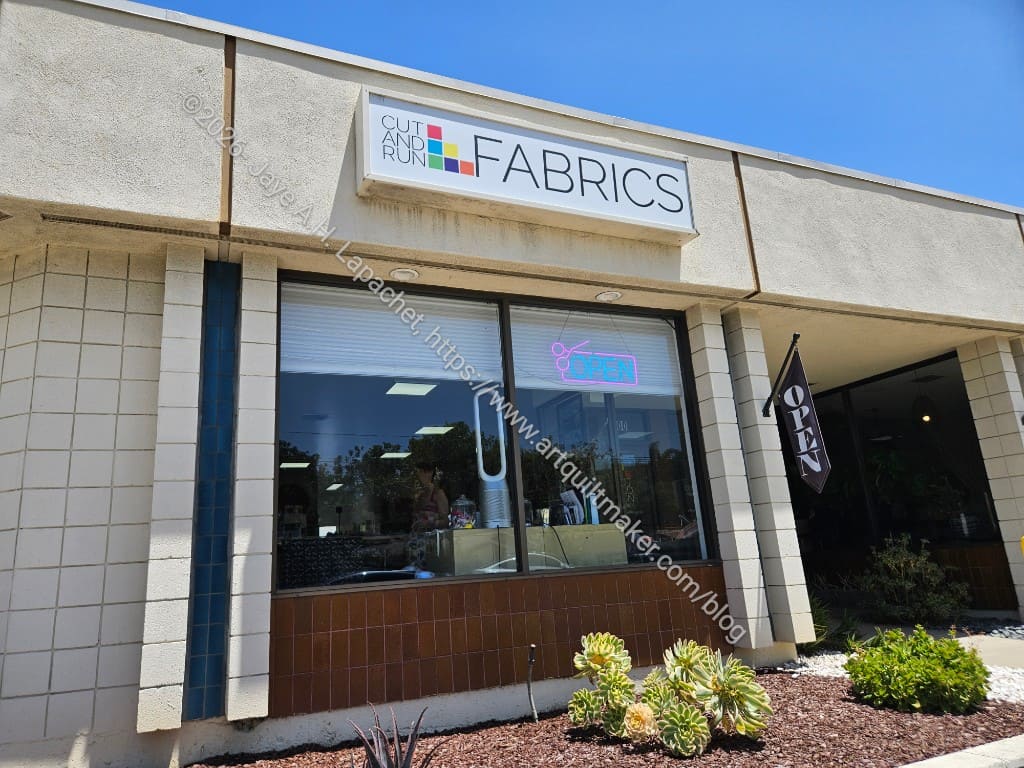
Cut and Run Fabrics was the first quilt shop I visited. I stopped on my way back to the hotel after the Ladies Luncheon.

I had a little trouble finding it, but I was in the neighborhood and eventually arrived. It turns out that the shop is within walking distance of my aunt’s house.

Cut & Run interesting notions

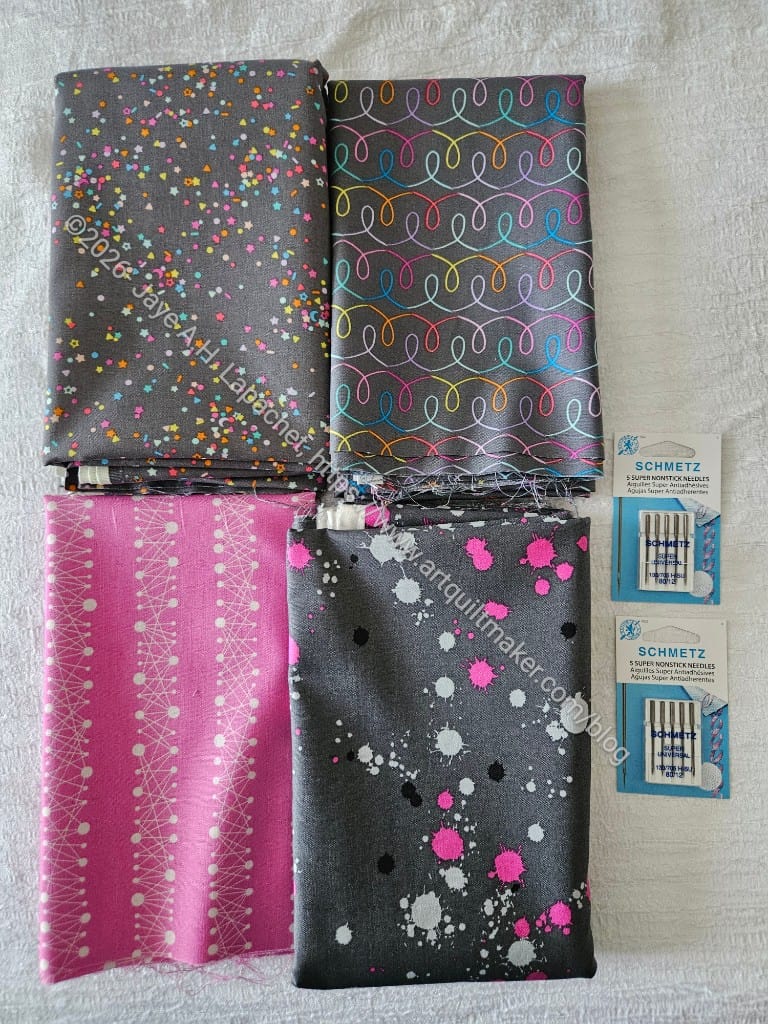
Cut and Run has quiltmaking fabrics as well as garment fabrics and supplies for making garments. I saw some lingerie straps and closures that I recognized from when my grandmother took a lingerie class. 

Cut & Run fabrics
Cut & Run fabrics

The shop had a great selection of fabrics with a distinctly modern vibe that appealed to me.

I chatted with the owner for awhile after she gave me a bookmark with all of the shops on the Central Coast listed. This is definitely a great effort by all of the shops to work together.

The bookmark definitely makes for a temptation to go on a road trip specifically to visit all of these quilt shops. Of course I wanted to head out right away, but I had to fulfill promises to DH and attend events for which I had signed up.

Cut & Run vintage buttons

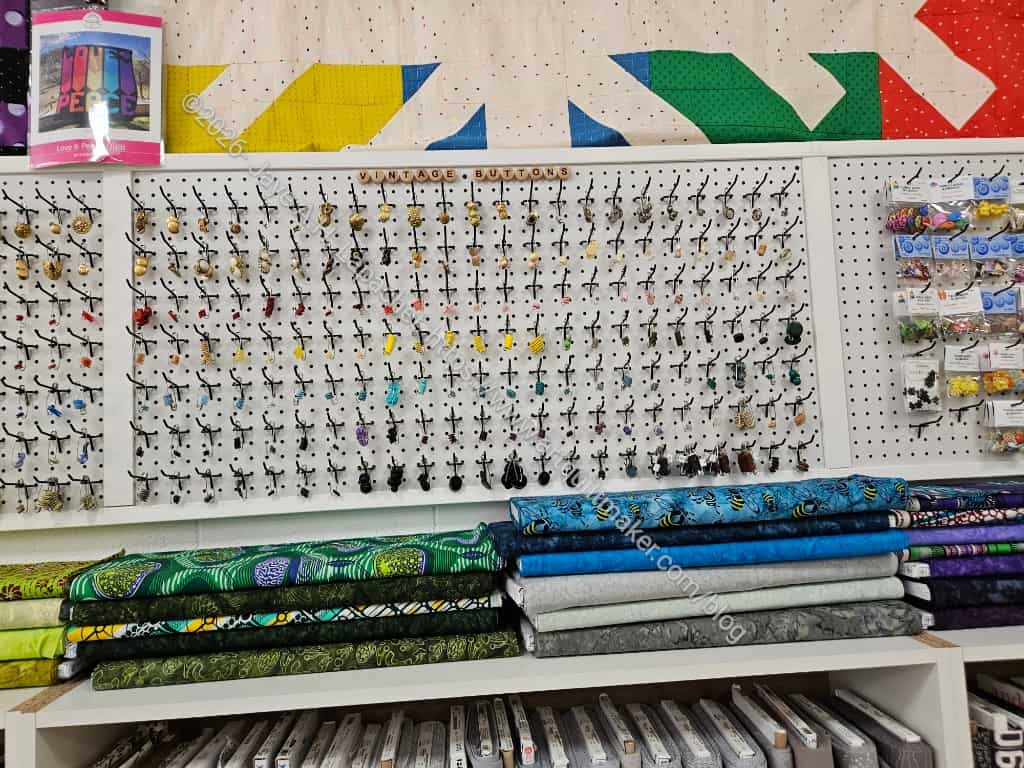
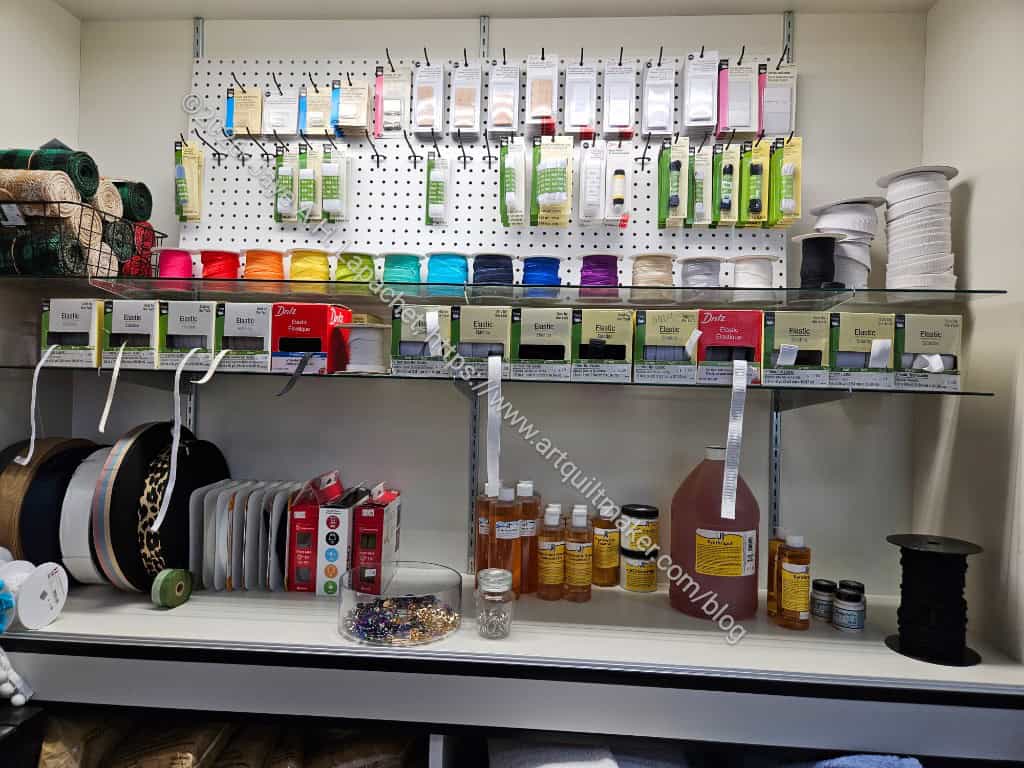
There was a wide variety of notions including quite a large display of vintage buttons. 

Cut & Run, Dozer and front of shop

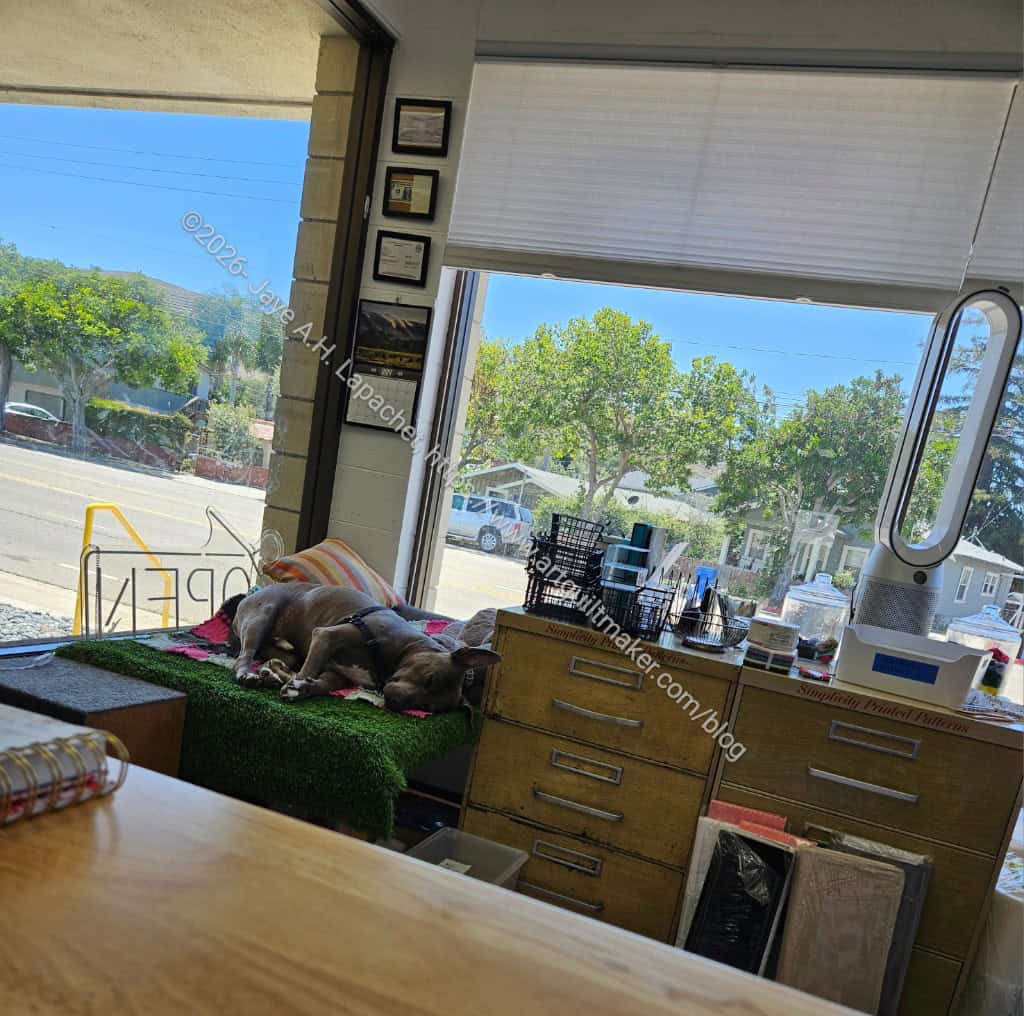
Dozer, a very large dog, was snoozing away behind the cutting counter.

I meant to ask whether the shop actually stocked garment patterns, but was distracted by the excellent marketing. It is possible she rescued the cabinets from a Joann that was going out of business.

Cut & Run samples
Cut & Run samples

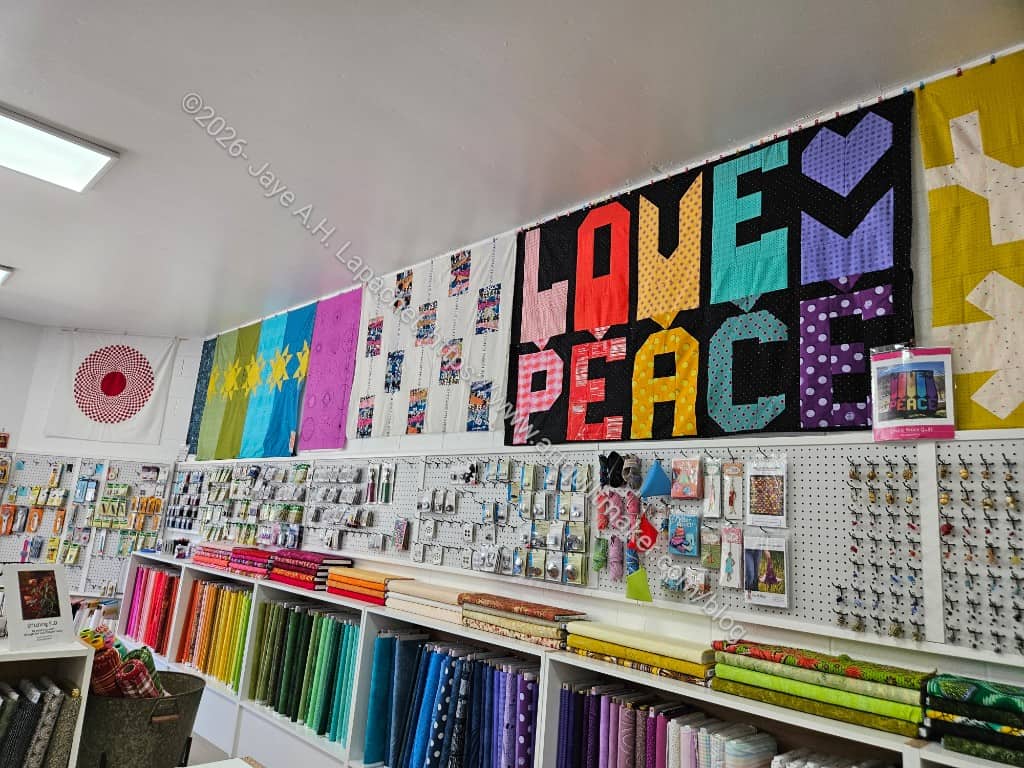
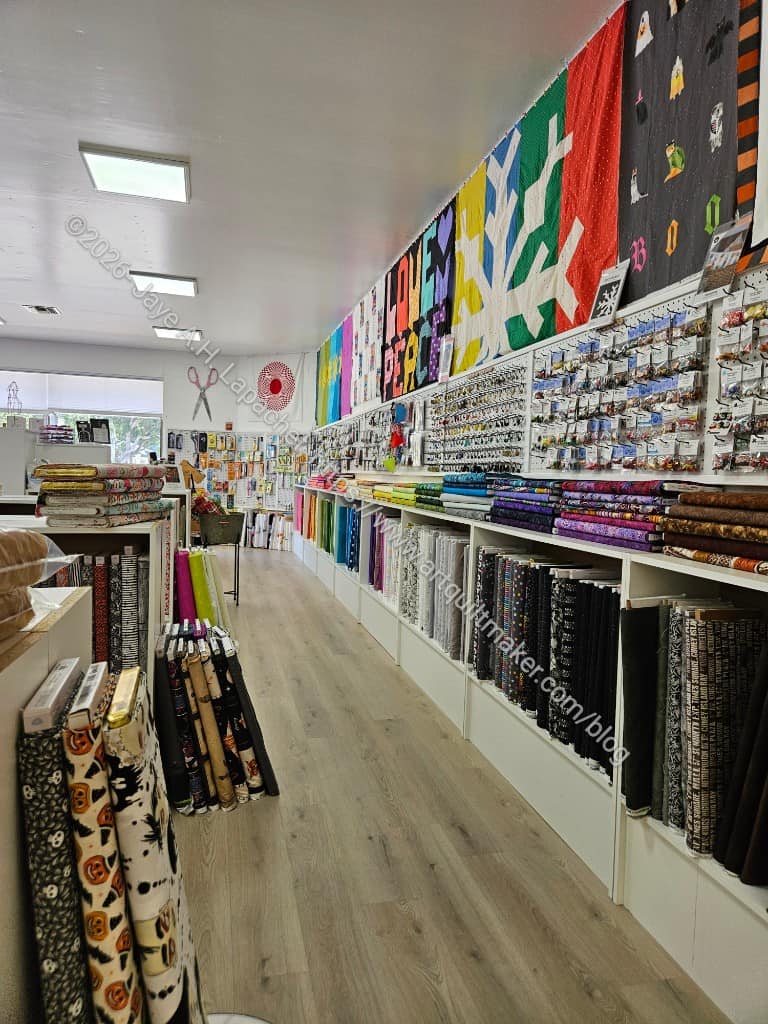
I like the samples of quilt patterns that were displayed. They are big and bold. I like the colors, too.

The variety of colors of the samples and the fabrics made me happy to be in the shop.


Cut & Run back to front

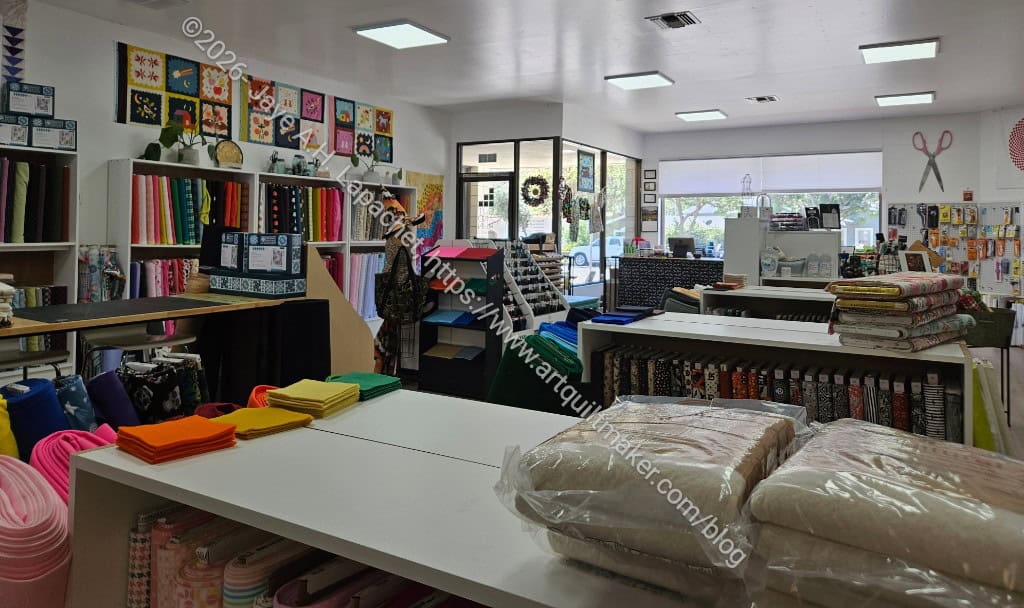
I thought the shop was a good size, too. Not too small, plenty of fabric and notions, fresh everything.

One thing I saw was great flannels! The shop had wonderful colors for flannel. I can’t remember seeing such a good variety since I was at Joann’s looking for flannel for the YM.

I think we will make another trip south later this year and I will put this shop on my list as one to visit again.

Cut & Run fabric purchases

Address: 2300 Broad St, San Luis Obispo, CA 93401
Phone:+1 805 519 1908

Hours: Tue 10 AM–5 PM
Wed Closed
Thu Closed
Fri 10 AM–5 PM
Sat 10 AM–5 PM
Sun 10 AM–5 PM

Working on the Sheffield

The Sheffield is a joy to work on! I can’t tell you how much easier it is to work on a bag when I don’t have to fight with my machine. I didn’t even realize, really, that I was fighting with my machine.

To make this bag, I changed  feet and needle plates pretty frequently, but it really helps use different feet. 

Top stitching thick layers

I used the Bi-level foot to stitch the top stitching on the frame case and that was a breeze. I never used the Bi-level foot before, but now it is one that seems to be coming out of the box often. I am not sure why I didn’t use one before. Maybe I didn’t have one?

Anyway, I was amazed and pleased with how straight the stitching was using this foot.  There are a lot of layers the machine is punching through in the photo above and I got good stitch quality, no broken needles or stuttering. Of course, I wasn’t being the demon speed sewist either. I sewed pretty slowly on this section. 

Sheffield internal zipper pocket

I decided to add an internal zipper pocket, which is not part of the pattern.I didn’t have any trouble making it. I learned a bit from the second interior zipper pocket on the Pandora Charisma and that experience helped. 

I also wanted to turn the bag through that zipper pocket, which is a technique that Tim taught me. I had to think about it for awhile, because I wasn’t sure if any bag could be turned that way. I didn’t come to any conclusion, so I just went for it. It worked out fine. I like this method, because it means that nobody can see where the bag was turned unless someone digs into the pocket.

I am not sure why I wanted a zipper pocket, but I did. I also added a leash, which I do for all of my bags.

Anchoring the lining

Finally, my next step is anchoring the lining to the exterior. I have started but need to finish.

Almost there!

Making the Elna Work for Its Keep

My new machine does not have a name, but it might need one. I haven’t ever felt the need to name a machine, so this is an odd feeling for me.

As I worked on the two bags I talked about recently at home, the Zip It Up and the Sheffield, I was determined that my machine should work hard. Part of the reason was to test it out, to see what it could do. As I started to write this, my first machine class was coming up. Throughout my testing on the Sheffield I feel like I was able to make good choices and not do anything fatal to the machine. 

Top stitching thick layers

I am thrilled with the Bi-level foot. It helped me do an amazing job on top stitching around the zipper. The top stitching on my bag looks professional.

Top stitching is something that needs to be done on most bags. It is also something I have struggled with. I am so pleased that this foot helps improve the look of my top stitching.

Anchoring the lining

I have used this foot quite a bit, but learned at the class that I have to turn the dual feed aspect on. Even without that aspect, the foot was fabulous. It is even better with the dual feed activated. I used this HP2 foot to anchor the lining of the Sheffield to the exterior. I had to turn the bag back inside out as I forgot to sew the anchor stitches before I turned it right side out, but that was no problem. The corners were pretty thick so I avoided those, but I was able to avoid them and sew a long way down the bottom seams. That HP2 foot is a total champ in this task. The width of the foot is a quarter inch. The dual feed aspect of the foot means that despite several layers of foam and canvas, nothing shifted. One seam each on two bottom seams and I was done. 

Sheffield under the needle

Yes, I really should have put my label on when I finished each side, but I forgot. I also think I didn’t have any labels with me at Mary’s. After I finished the entire bag I remembered to sew on a label. I found a spot where I would have to go through layers, but none that would impede the smooth operation of the interior zipper pocket. I was super careful when I performed this operation, but it worked perfectly.There was enough throat space to fit the whole bag without the bag being scrunched up and catching on something. I knew that having a throat space that was taller was good for bagmaking. It came as a surprise that this new machine had it. I didn’t measure. A++ to taller throat space.

Elna - bobbin winding
Elna – bobbin winding

Finally, the bobbin winder has a separate motor. I found this out at the class I attended. I had wound a bobbin before the class. With my 6600, I was in the habit of winding multiple bobbins at one time with my go-to Aurifil 2600. Then I could plow through multiple bobbins before stopping my sewing and repeating the whole exercise. It made sense with my old machine, because I had to stop sewing in order to wind bobbins. 

In the photo above, I am winding a bobbin. The blue arrow points to the bobbin winder. Next to it, on the right, is a button that engages the bobbin winder motor. The red arrow shows the thread I was using to wind the bottom. There have to be two spools of thread to wind the bobbin and sew at the same time. The green arrow shows the thread I was using to sew, which I was doing at the same time. In this case, I was using the same color thread to sew and wind bobbins.

I am exploring a lot of things at the moment with this machine. Different feet, different capabilities. I am really happy with how the machine handles lumps in my sewing, such as where multiple seams meet in piecing (like an 8 pointed star) or thicknesses in bagmaking.

Finished Ends n.25

Ends n.25 top finished

I finished Ends n.25 a few weeks ago. I just handed it in and made time to post about it.

The background doesn’t provide the required contrast to make the oranges and yellows stand out. They don’t, however, blend together either. 

This is a great example of what is fun about making donation quilts. I can play around with fabric combinations that I wouldn’t otherwise consider for my own work. I guess making backing is a little of the same.

Ends n.24 back
Ends n.24 back

The back, like the back for Ends n.24, uses some old solids that have been around since the dark ages.

Mini One Handle Tote #3

Mini One Handle Tote #3 lining

I promise not to show every single one of these that I make. I am just so tickled that the directions from an IG video actually work!

The aspect I worked on in this version was making sure the lining wasn’t saggy baggy.

Bag sewn
Bag sewn

I am pretty pleased with the way it came out. I veered to a 3/8 inch seam allowance when I sewed the lining part of the bag together and used a 1/4 inch seam allowance for the exterior. This all happens before the bag is turned right side out. The picture of the inside of the bag shows the different seam allowances! (enlarge the photo). The trick is to veer smoothly. Don’t abruptly change the seam allowance, though it might not matter if one stopped, then restarted. I think veering is better, though. I may have to try the stopping and starting.

I am thinking about adding a pocket. I’ll have to think about how that would work.

Chaos – Making the Rainbow Block

Chaos with a Twist templates

There is no acrylic template for the rainbow block included in the Chaos with a Twist template set. Libs has repurposed these templates from other patterns, Bloem and La Fin Du Monde. It is great that the same templates can be used for all patterns, but I would really like that rainbow block template. 

I have placed True Grips** on the back of my templates as it keeps them from sliding around. You can see them through the bright green. My paper Rainbow template is in the upper right hand corner. I made using the tried and true paper and template plastic** method. Not ideal, but it will work.

Testing the Clammy for Chaos

Before I put the Rainbow arch template together, I tried different specialty rulers to see if one of them would work.

The Clammy (left) is the wrong shape for this quilt. I tried to use it for the Orange Peel block and it is just too small. As a result, it won’t work for the Rainbow block, either. 

JCB Options
JCB Options

I also pulled out my Jen Carlton Bailly templates from the class in 2019. One of the blocks she shows was a Rainbow block. It might not be the exact right shape, but if I do them all the same, it should work. 

Looking at the photo I took, it may also work to make a regular quarter circle then use the background template to make the Rainbow. I am going to try this and see what happens.

There’s always more fabric, right?


Started Ends n.25

Ends n.25 top
Ends n.25 top

Almost as soon as I finished Ends n.24, I started Ends n.25 using the same background fabric. I got the background fabric for free somewhere and never used it, so here we are.

You can see that there is a shortage on the bottom right so I’ll have to add something in there.

I am still working through the edges of the back of Orange You Glad, which make up the color in this quilt. I have a few other red and orange edges that I added in, some still hanging around from the back of the Lobster table runner.