Various & Sundry 2019 #9

First! Redfin quoted me in an article about sewing room organization!

Other Artists

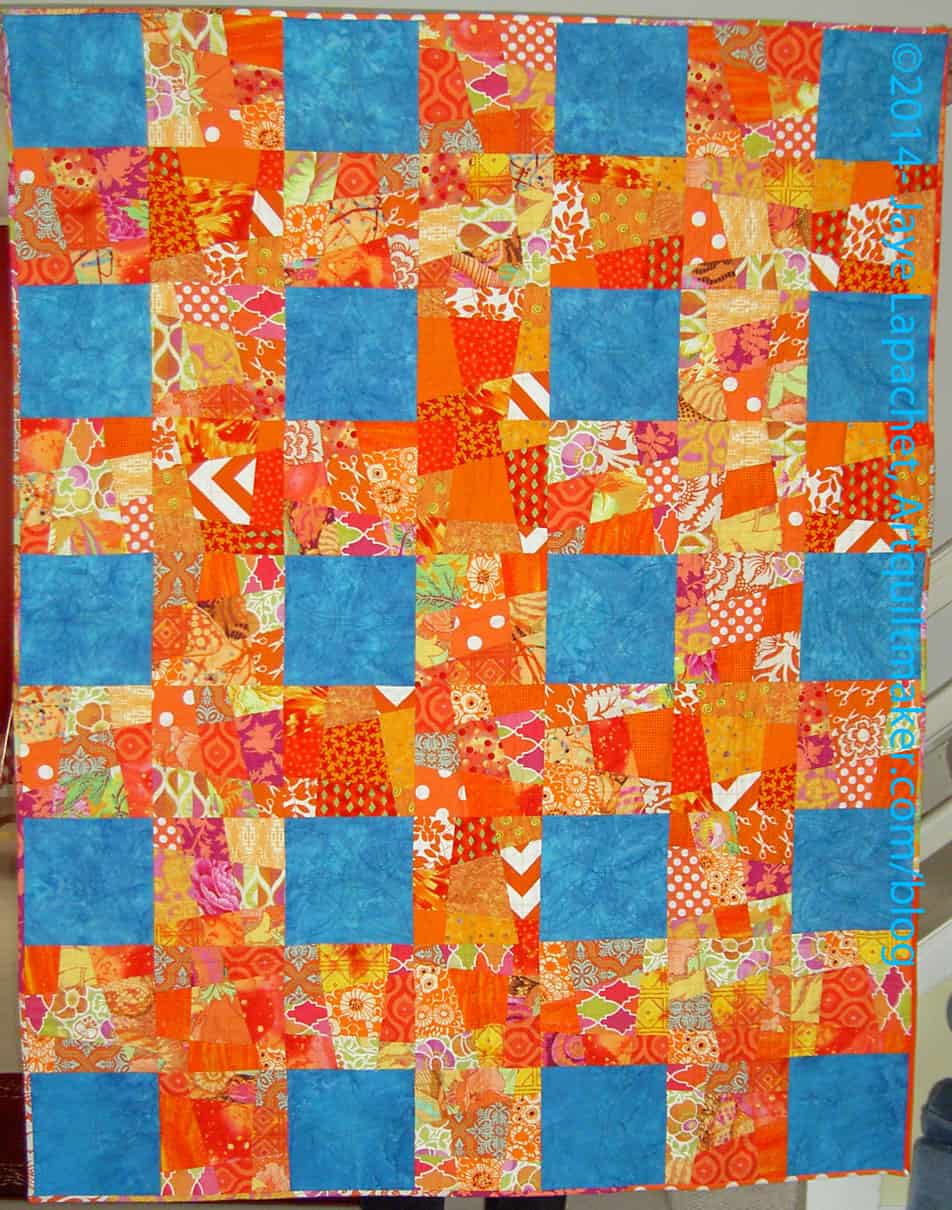
Ellen Harding Baker made a quilt to illustrate her astronomy lectures in the 1800s. An article was recently published about this quilt.

Exhibits & Events

The Dear Jane quilt, officially called the 1863 Jane Stickle Quilt, is on display at the Bennington Museum in Vermont August 31 through October 14, 2019 in the Textile Gallery. Regular admission gets you a viewing. Let me know if you are able to go. You can find the information on their blog.

Local Sew Sweetness meetups are coming:

  • ALABAMA – August 24th at 9am-4pm. Location: The Sewing Machine Mart in Homewood, AL. Contact: Sheila Johnson, sheilakj99@msn.com
  • CALIFORNIA – August 31st at 11am-3pm. Location: Cotton Patch Quilt Shop, Lafayette, CA. Small fee to sew. Contact: Lisa Lien, l_lien@att.net
  • CALIFORNIA – August 31st at 11am-3pm. Location: Elk Grove Sewing and Vacuum Center in Elk Grove, CA. Call 916-714-0904 or go to the website to reserve a spot for the Sew Sweetness class. Contact: Lisa Lien, l_lien@att.net
  • DENMARK – August 31st from 10am-4:30pm. Location: Kvinsbjerg, Dalmose. Contact: Inge Hansen, ingeh64@gmail.com
  • MINNESOTA – September 28th at 9am-6pm. Location: Pearl & Myrtle’s Retreat Center in Anoka, MN. $11 fee to use the sewing space for the day. Contact: Amanda Badger, amandasoule1983@gmail.com

The Asheville Quilt Guild is having a show September 27-29. Check the website for times.

Doing Good

If you want to help AQSG raise money for their projects, send repro fabrics to them for their fundraiser.

Media

The Quilt Alliance blog has a story about connecting the community with quilts.

Fabric, Supplies, Tools & Notions

Have you seen the new state panels from Whistler Studios for Windham? The California panel is really cool! I saw them at Hawthorne Supply and my ideas are racing for another shirt for DH.

I think I will go on a bagmaking binge after finishing Flying Around. In preparation, I watched a Sara Lawson/Sew Sweetness video on applying Odicoat to make fabric water resistant. Sara talks about making bags, such as lunch bags or cosmetic bags wipe clean using Odicoat. As mentioned, I often use the iron-on vinyl to help protect the bottom of my bags. This is not ideal since the bottom of the bags needs to be completely enclosed by stitching to avoid peeling. The iron on vinyl that I have used has never peeled, but I don’t want to risk it. I think the Odicoat might work better since you paint it on the fabric, so you can put it where you want. The video doesn’t talk about sewing it (does the needle stick?), though it looks like it wouldn’t be a problem.

If you want to know what Pellon Products are used for or see a description, I found a chart. Sara of Sew Sweetness has a blog post that discusses how to use various products (smaller list, but what she uses for her bag patterns) and some of their qualities. I am searching for a massive chart that compares different interfacings from different manufacturers. Other articles about interfacing are:

  • Sew4Home: detailed information and history of interfacing with a printable chart
  • SewMamaSew: article on a variety of non-Pellon interfacings with lots of photos and links to patterns. No real chart.
  • SewMamaSew/Amy Butler: interfacing guide
  • Pellon: a variety of printable information sheets on interfacing in chart form. Limited to Pellon products

I use vinyl on some of my bags. It is a little boring, so when I saw that Glitter Vinyl was available, I put it on my list to buy. You have to buy half a yard, which is a lot if you are just making a small pouch, though I could make another bag out of it.

Projects, Patterns & Tutorials

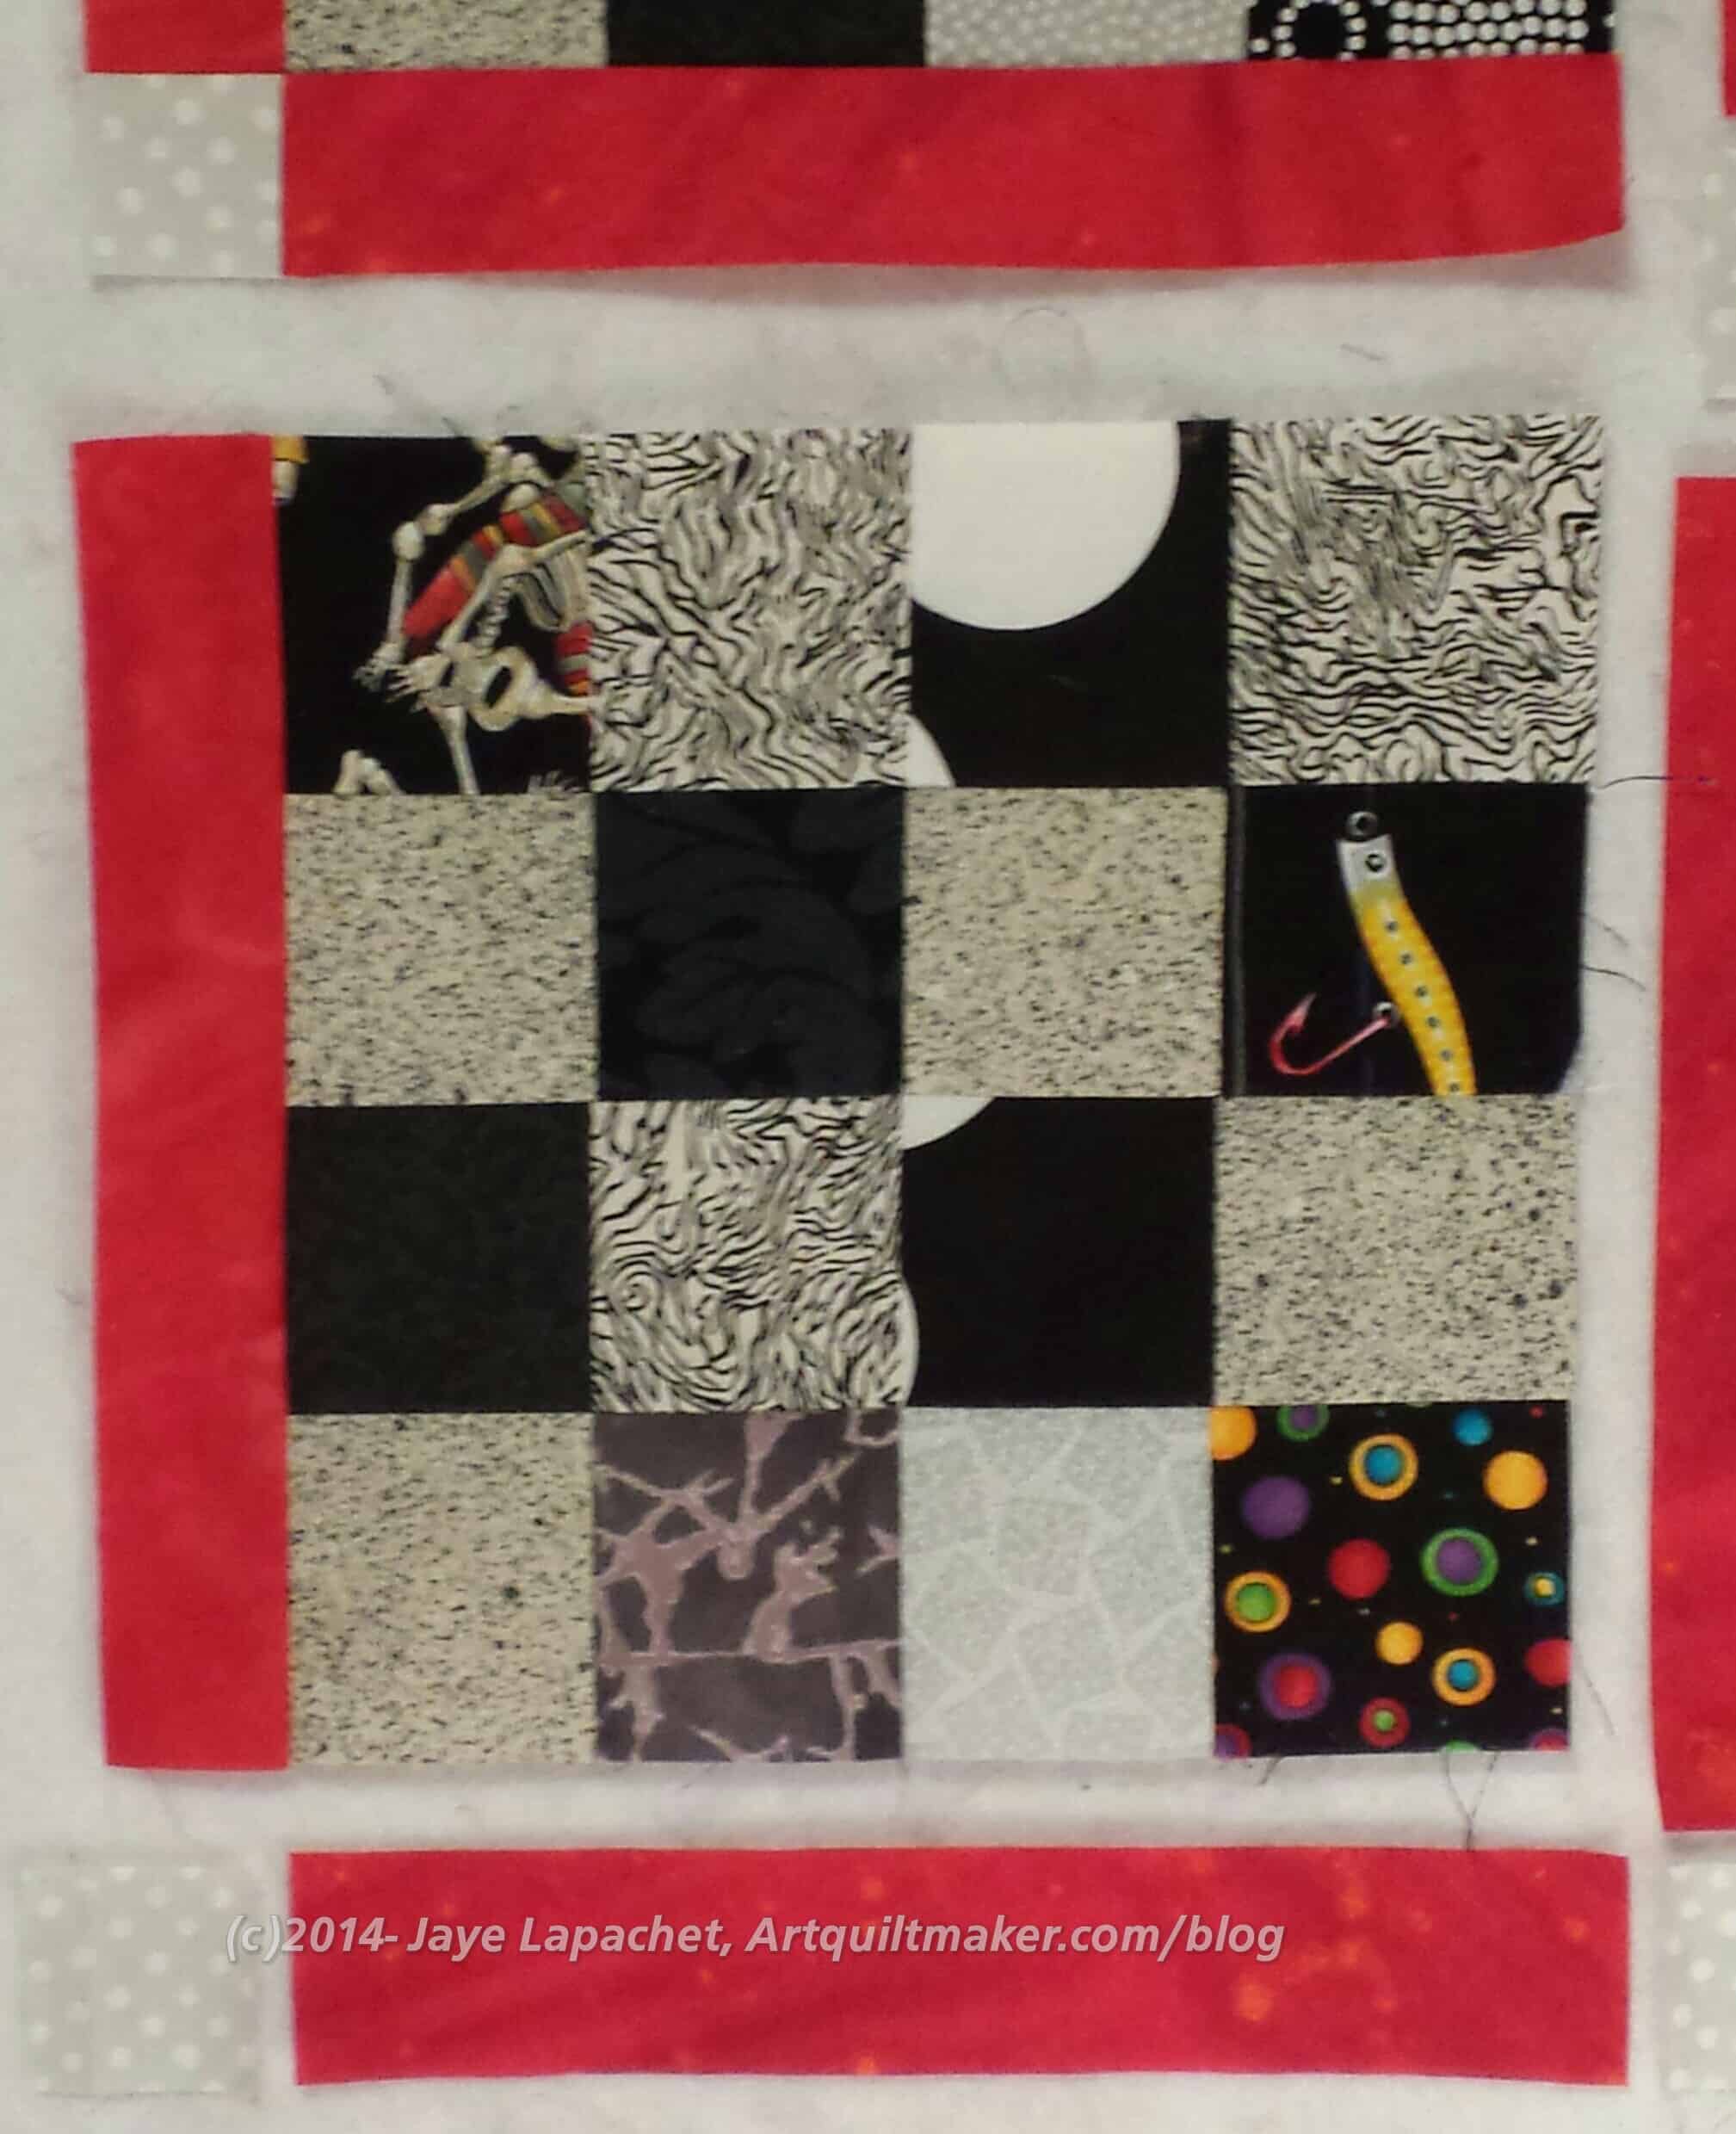
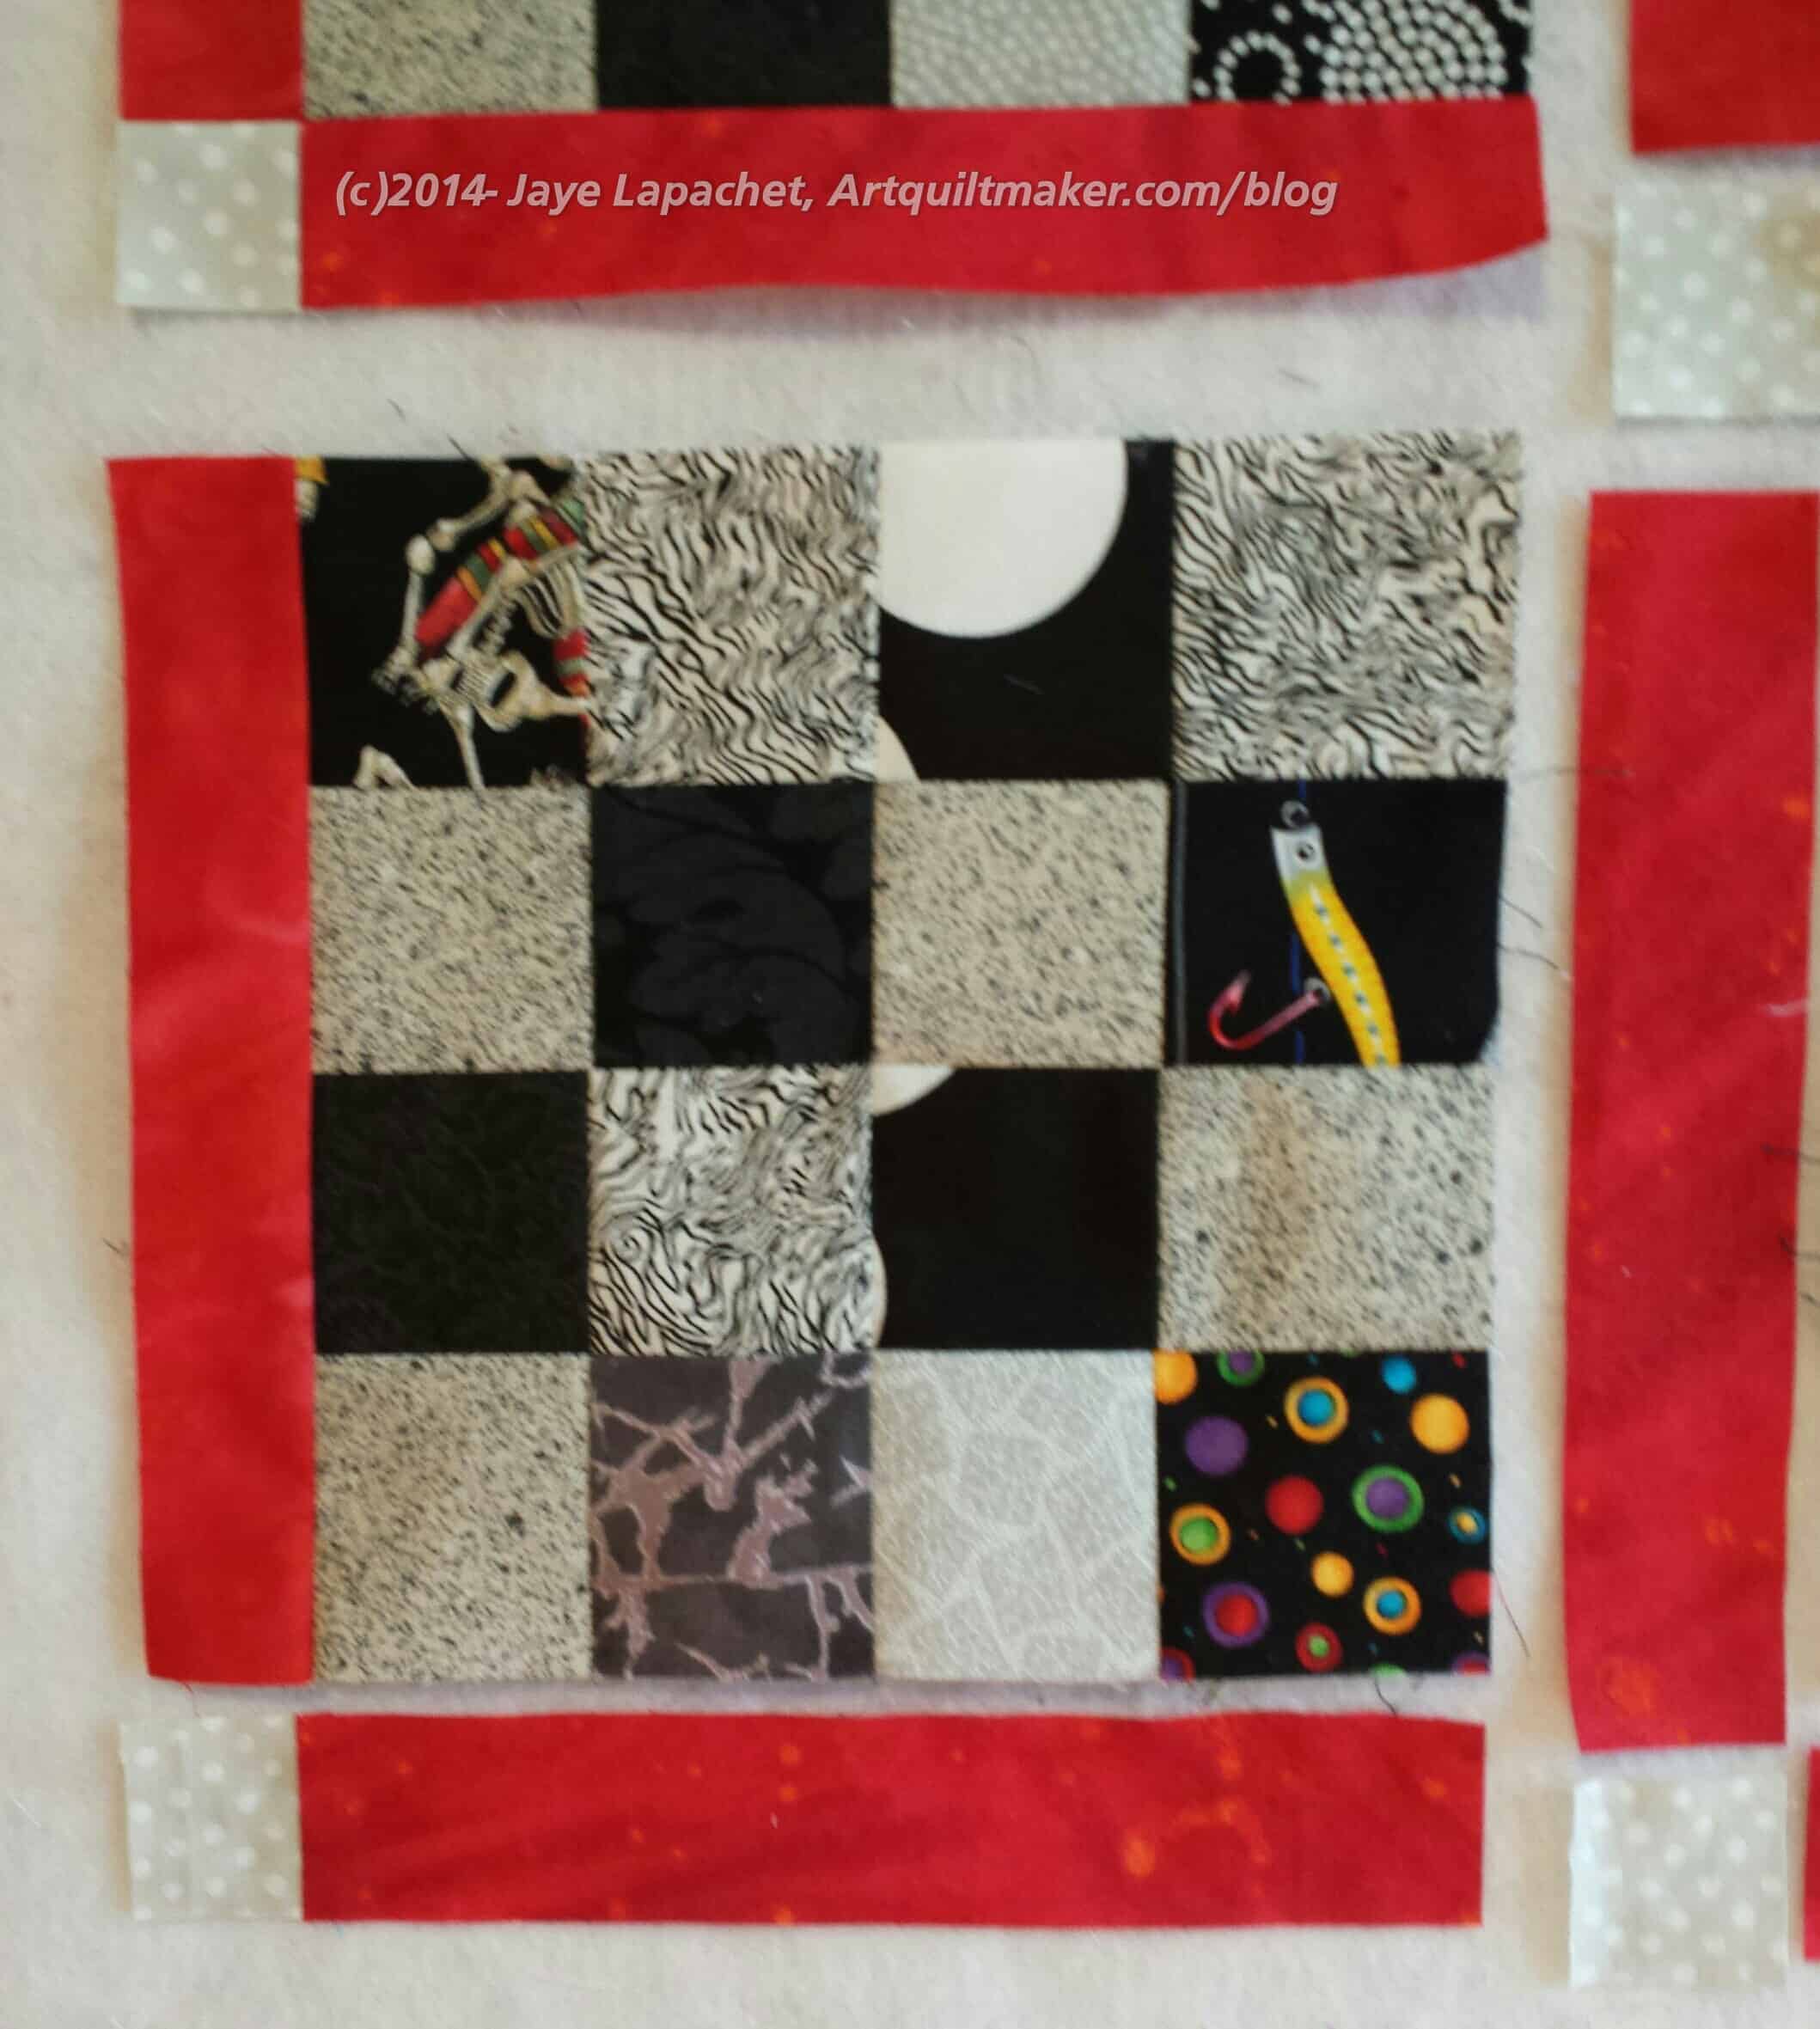
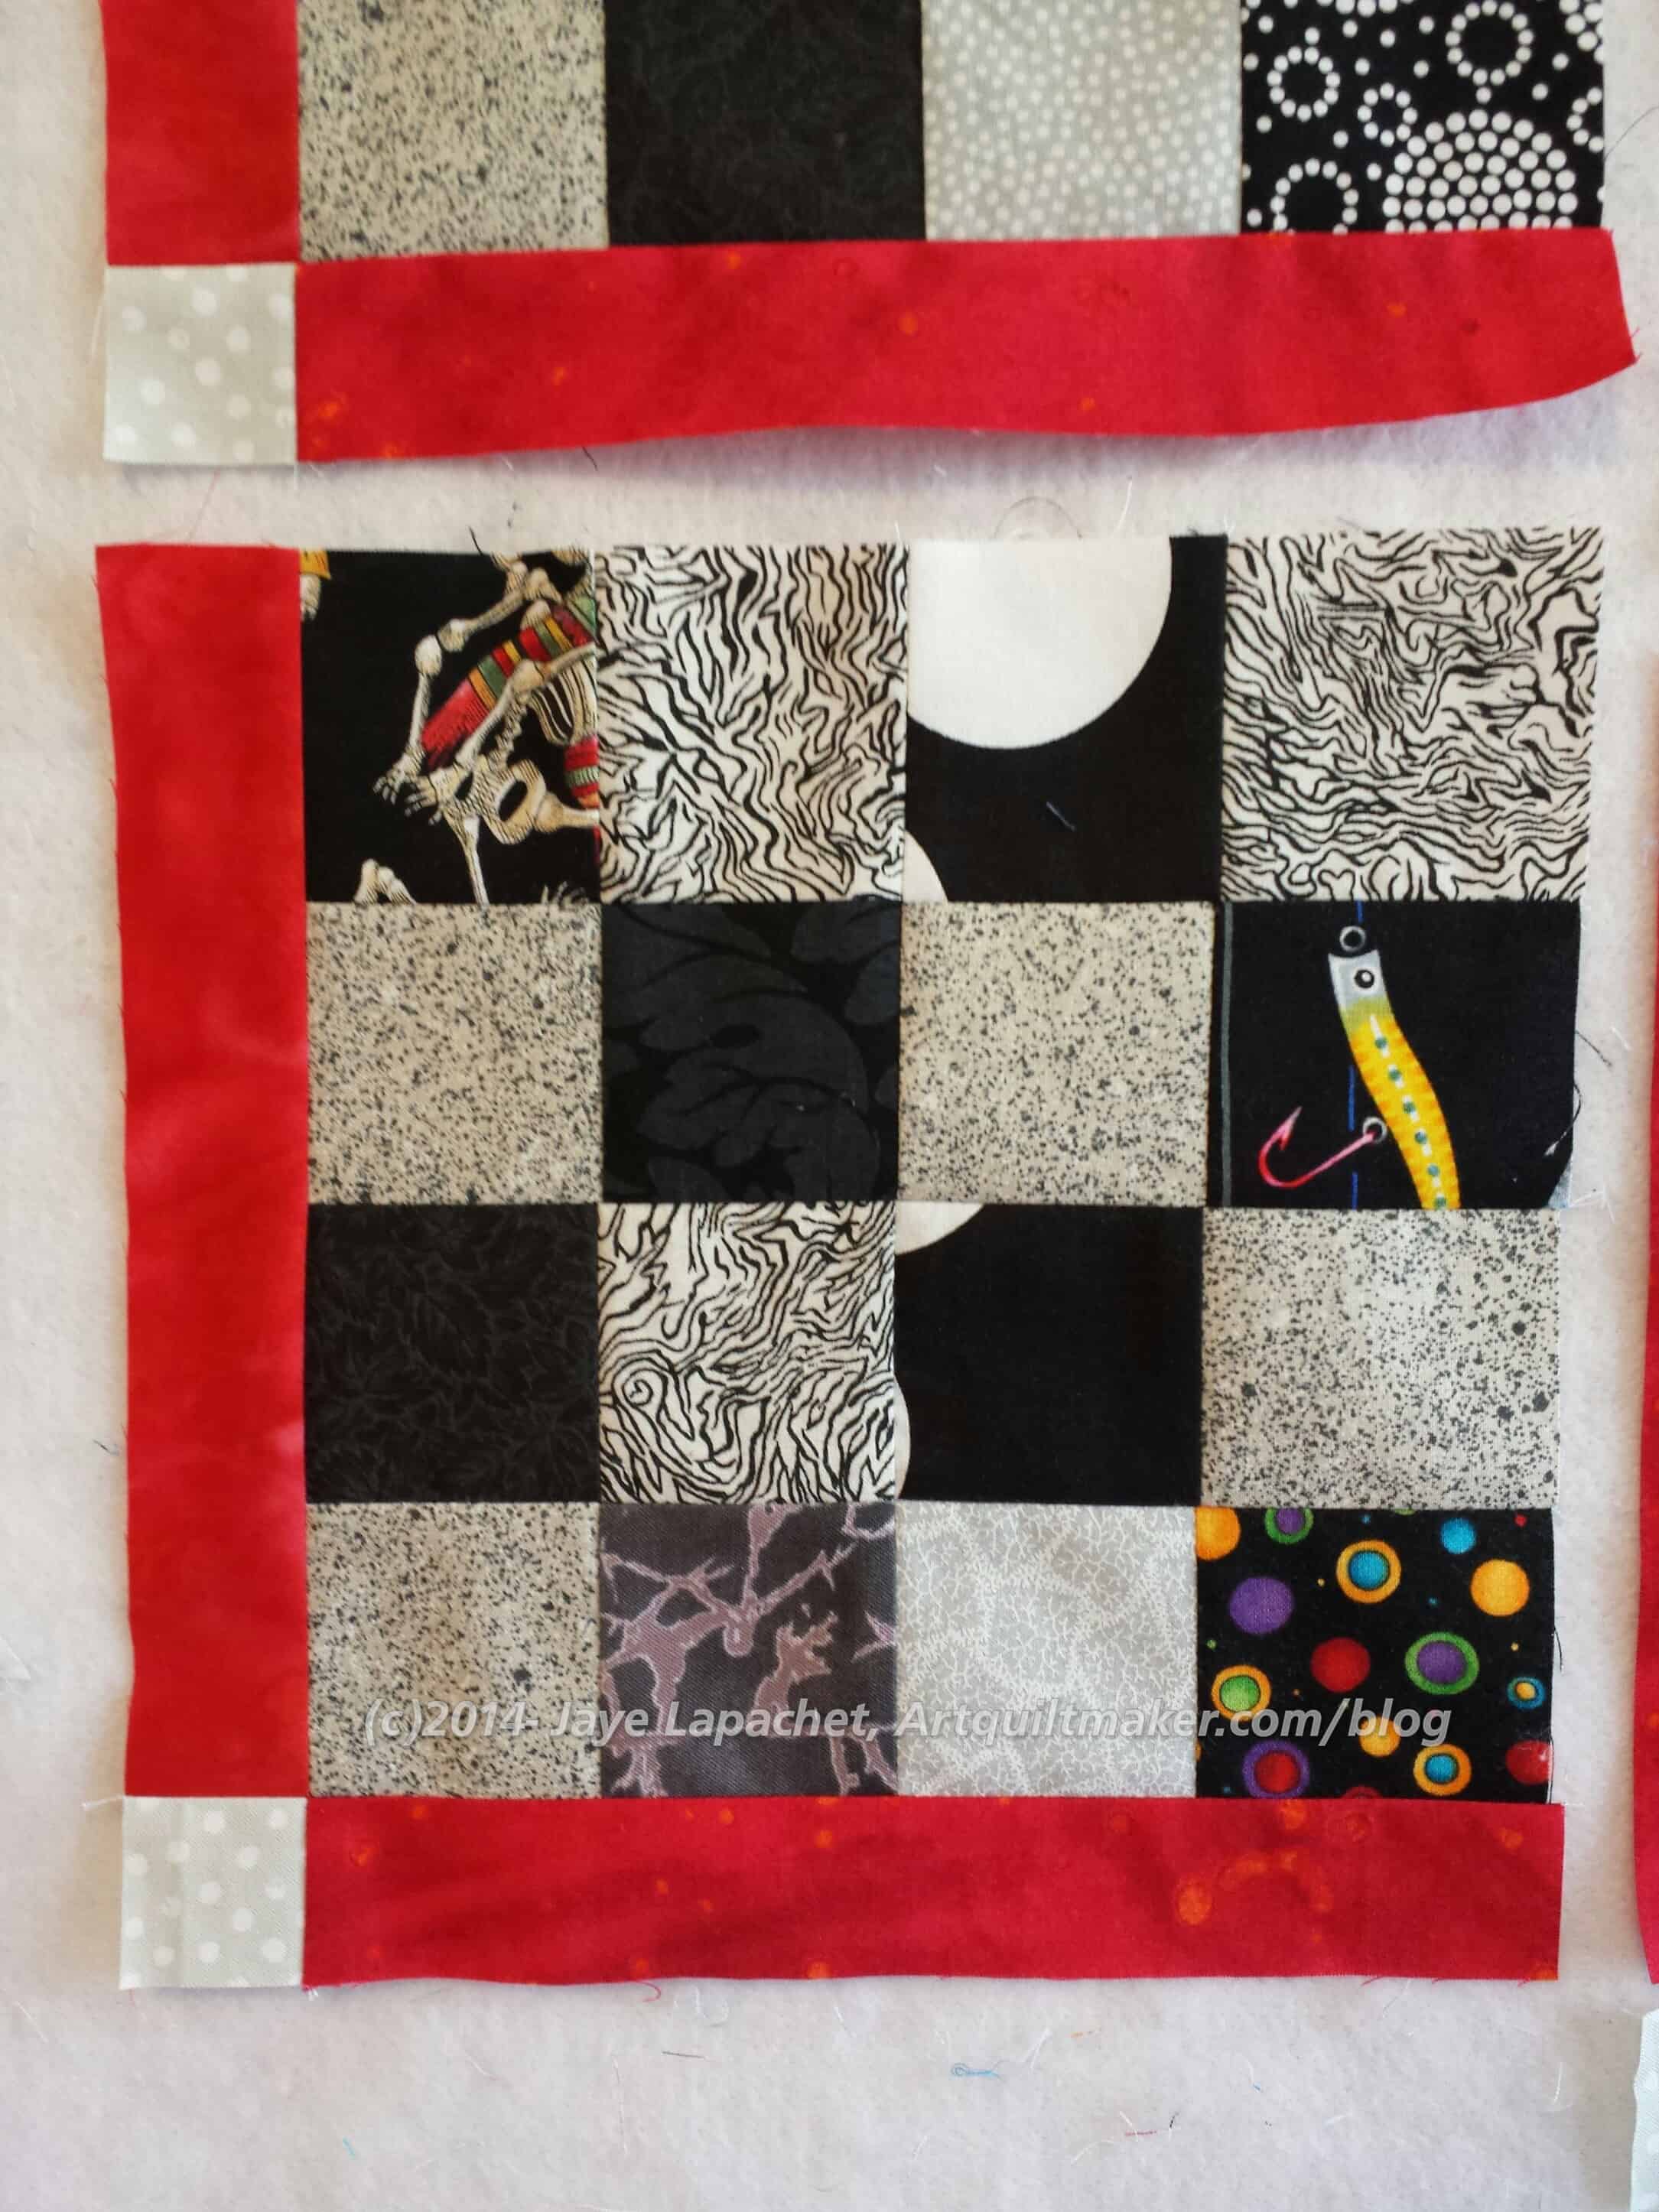
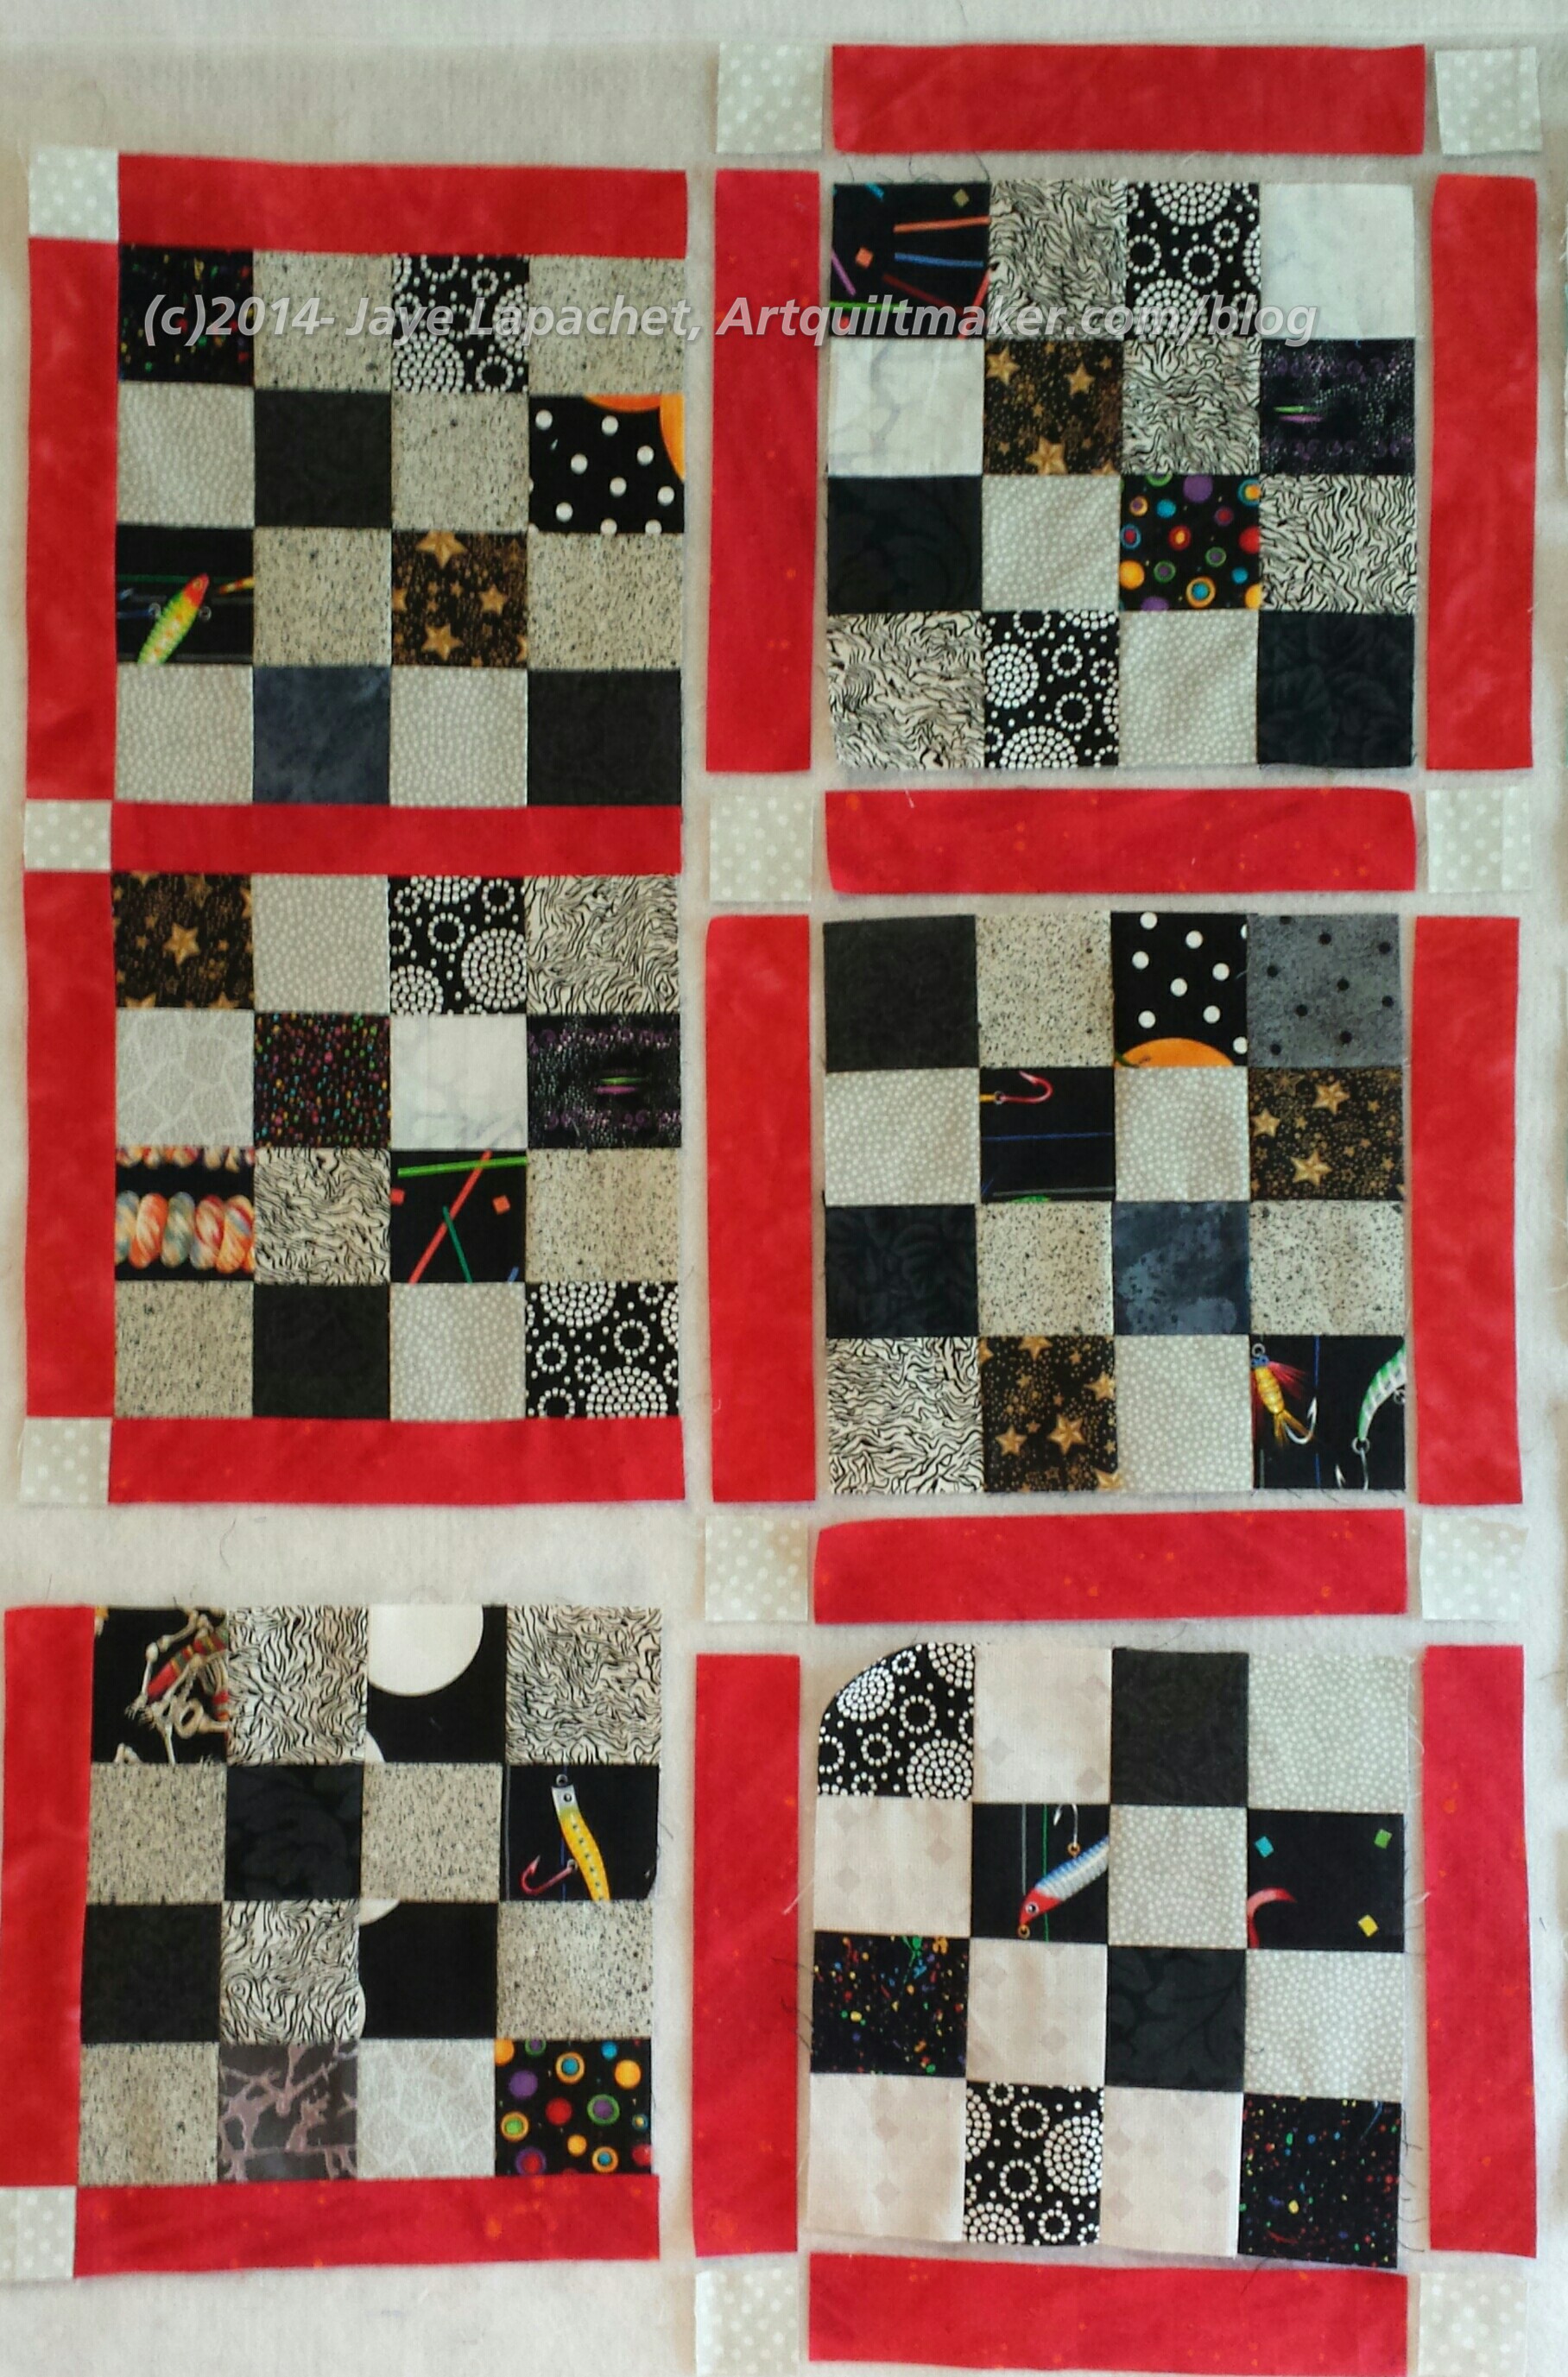
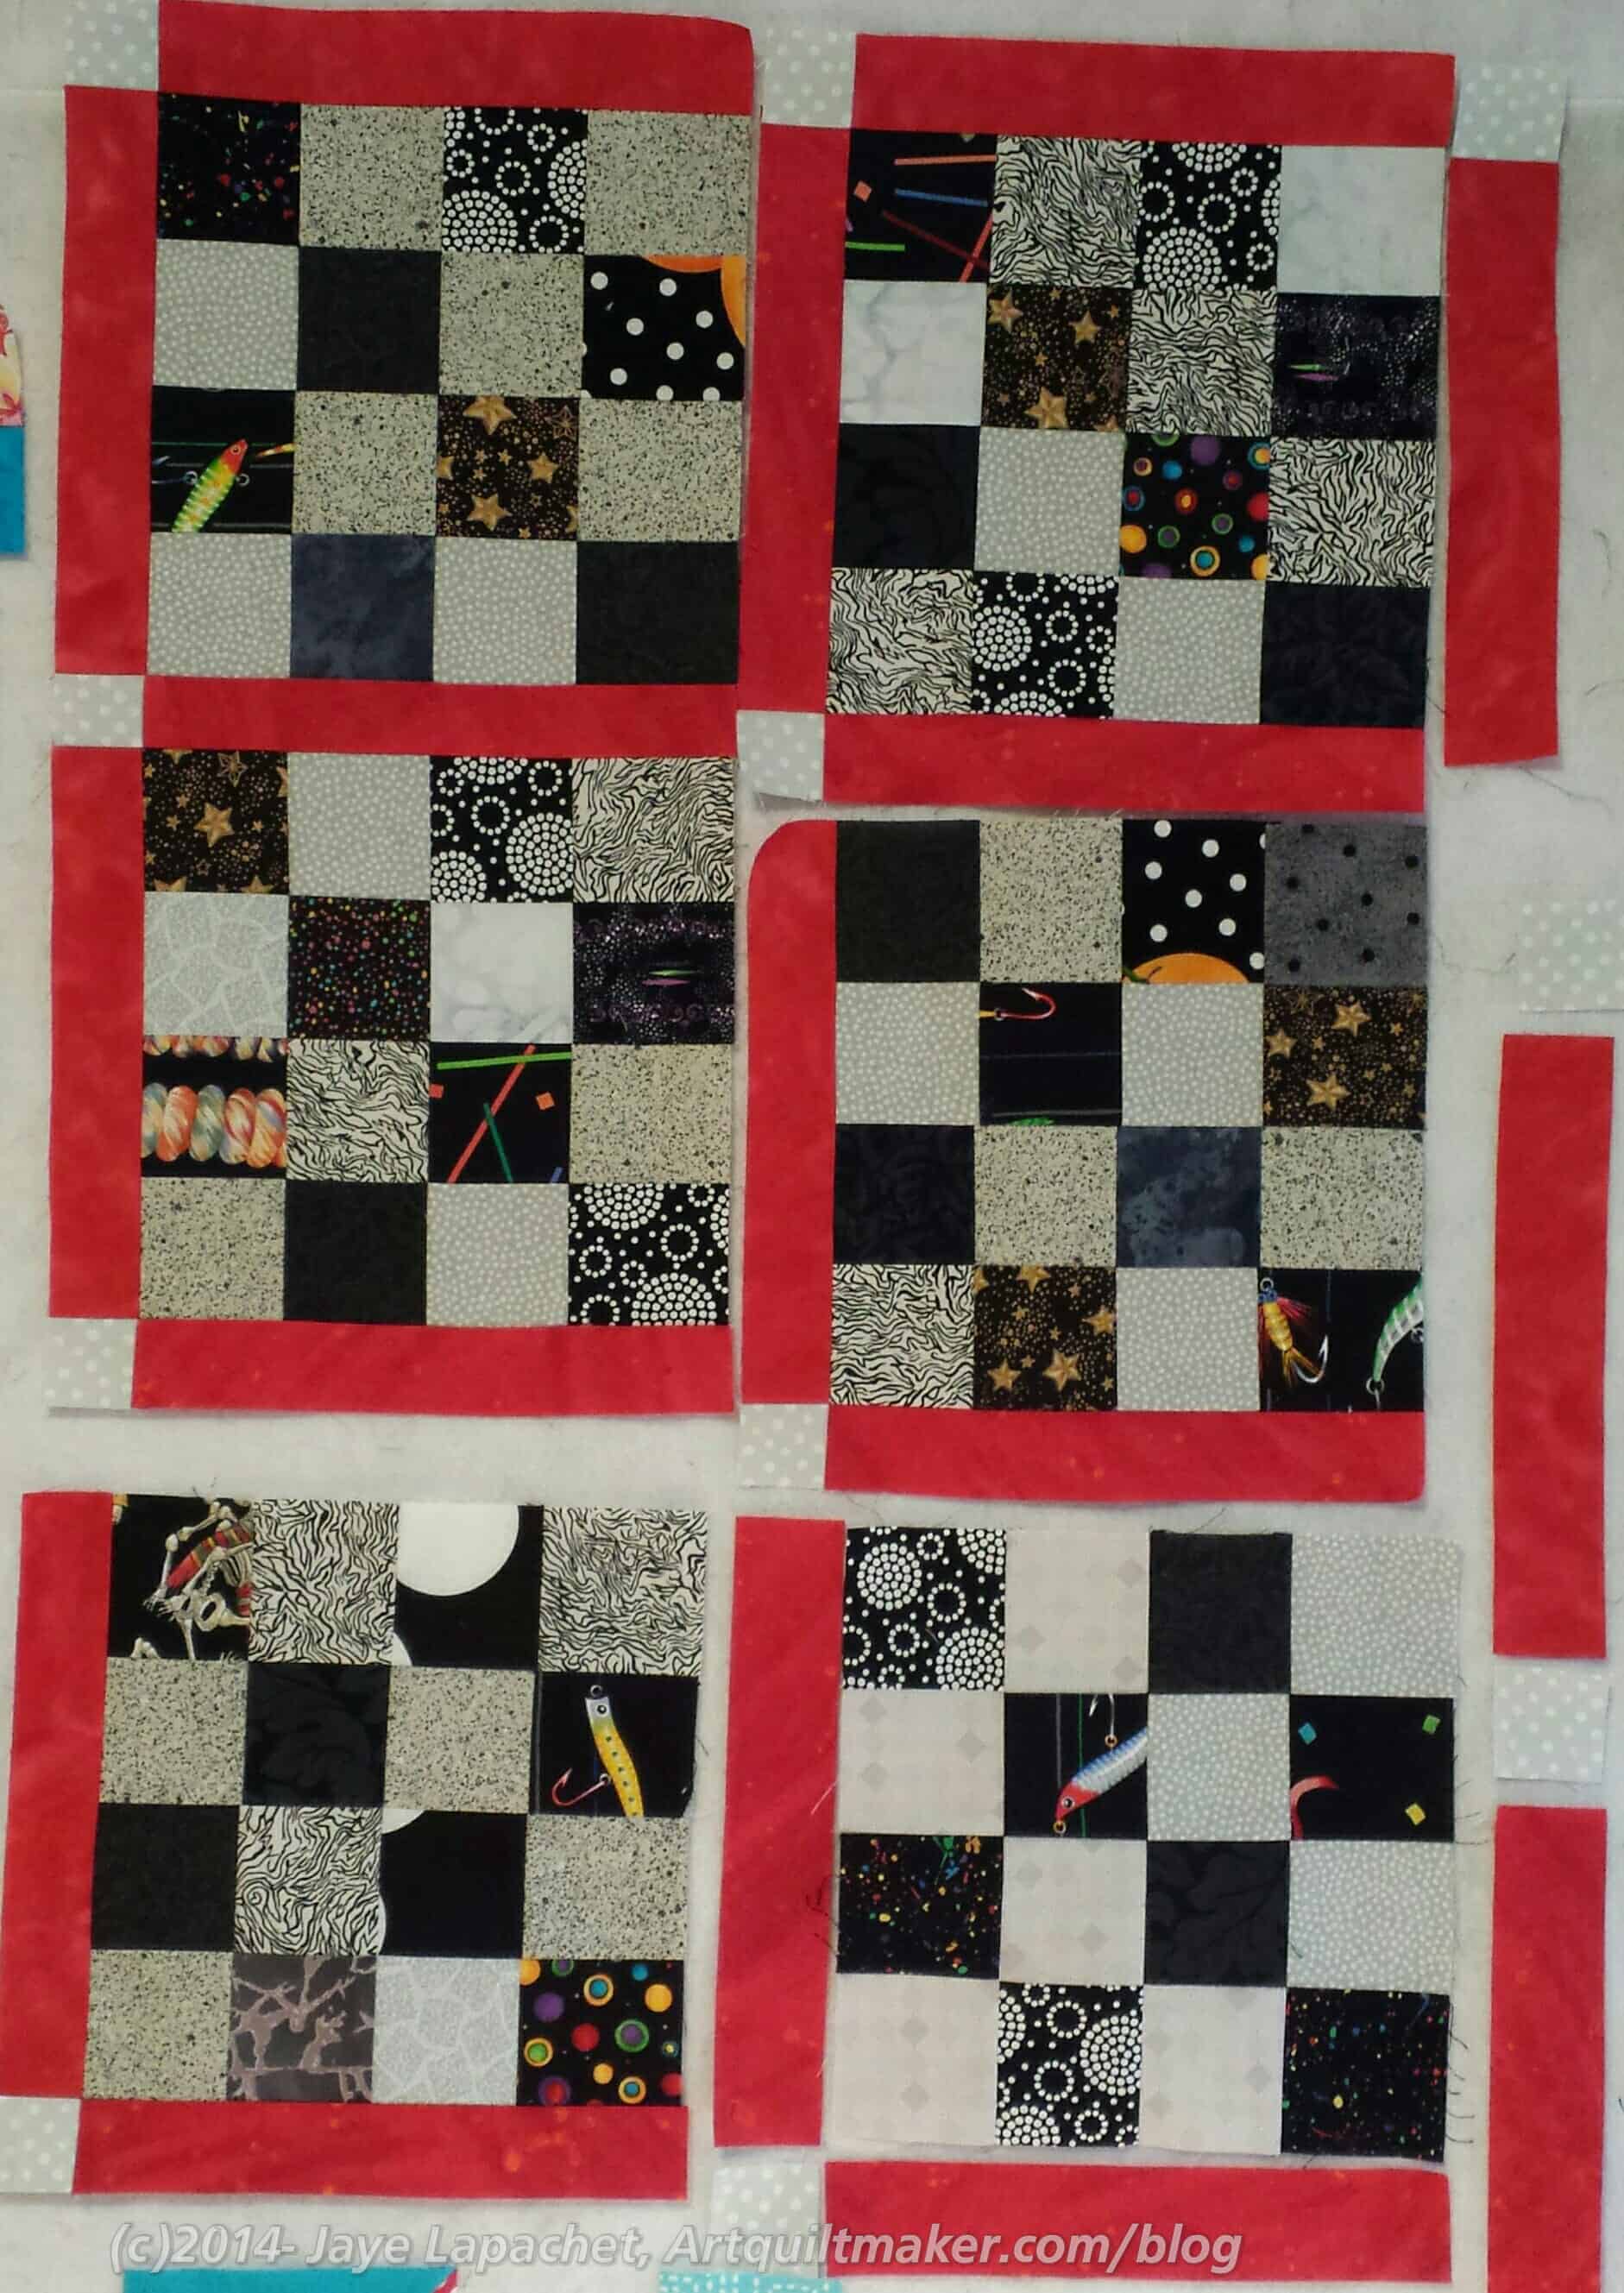
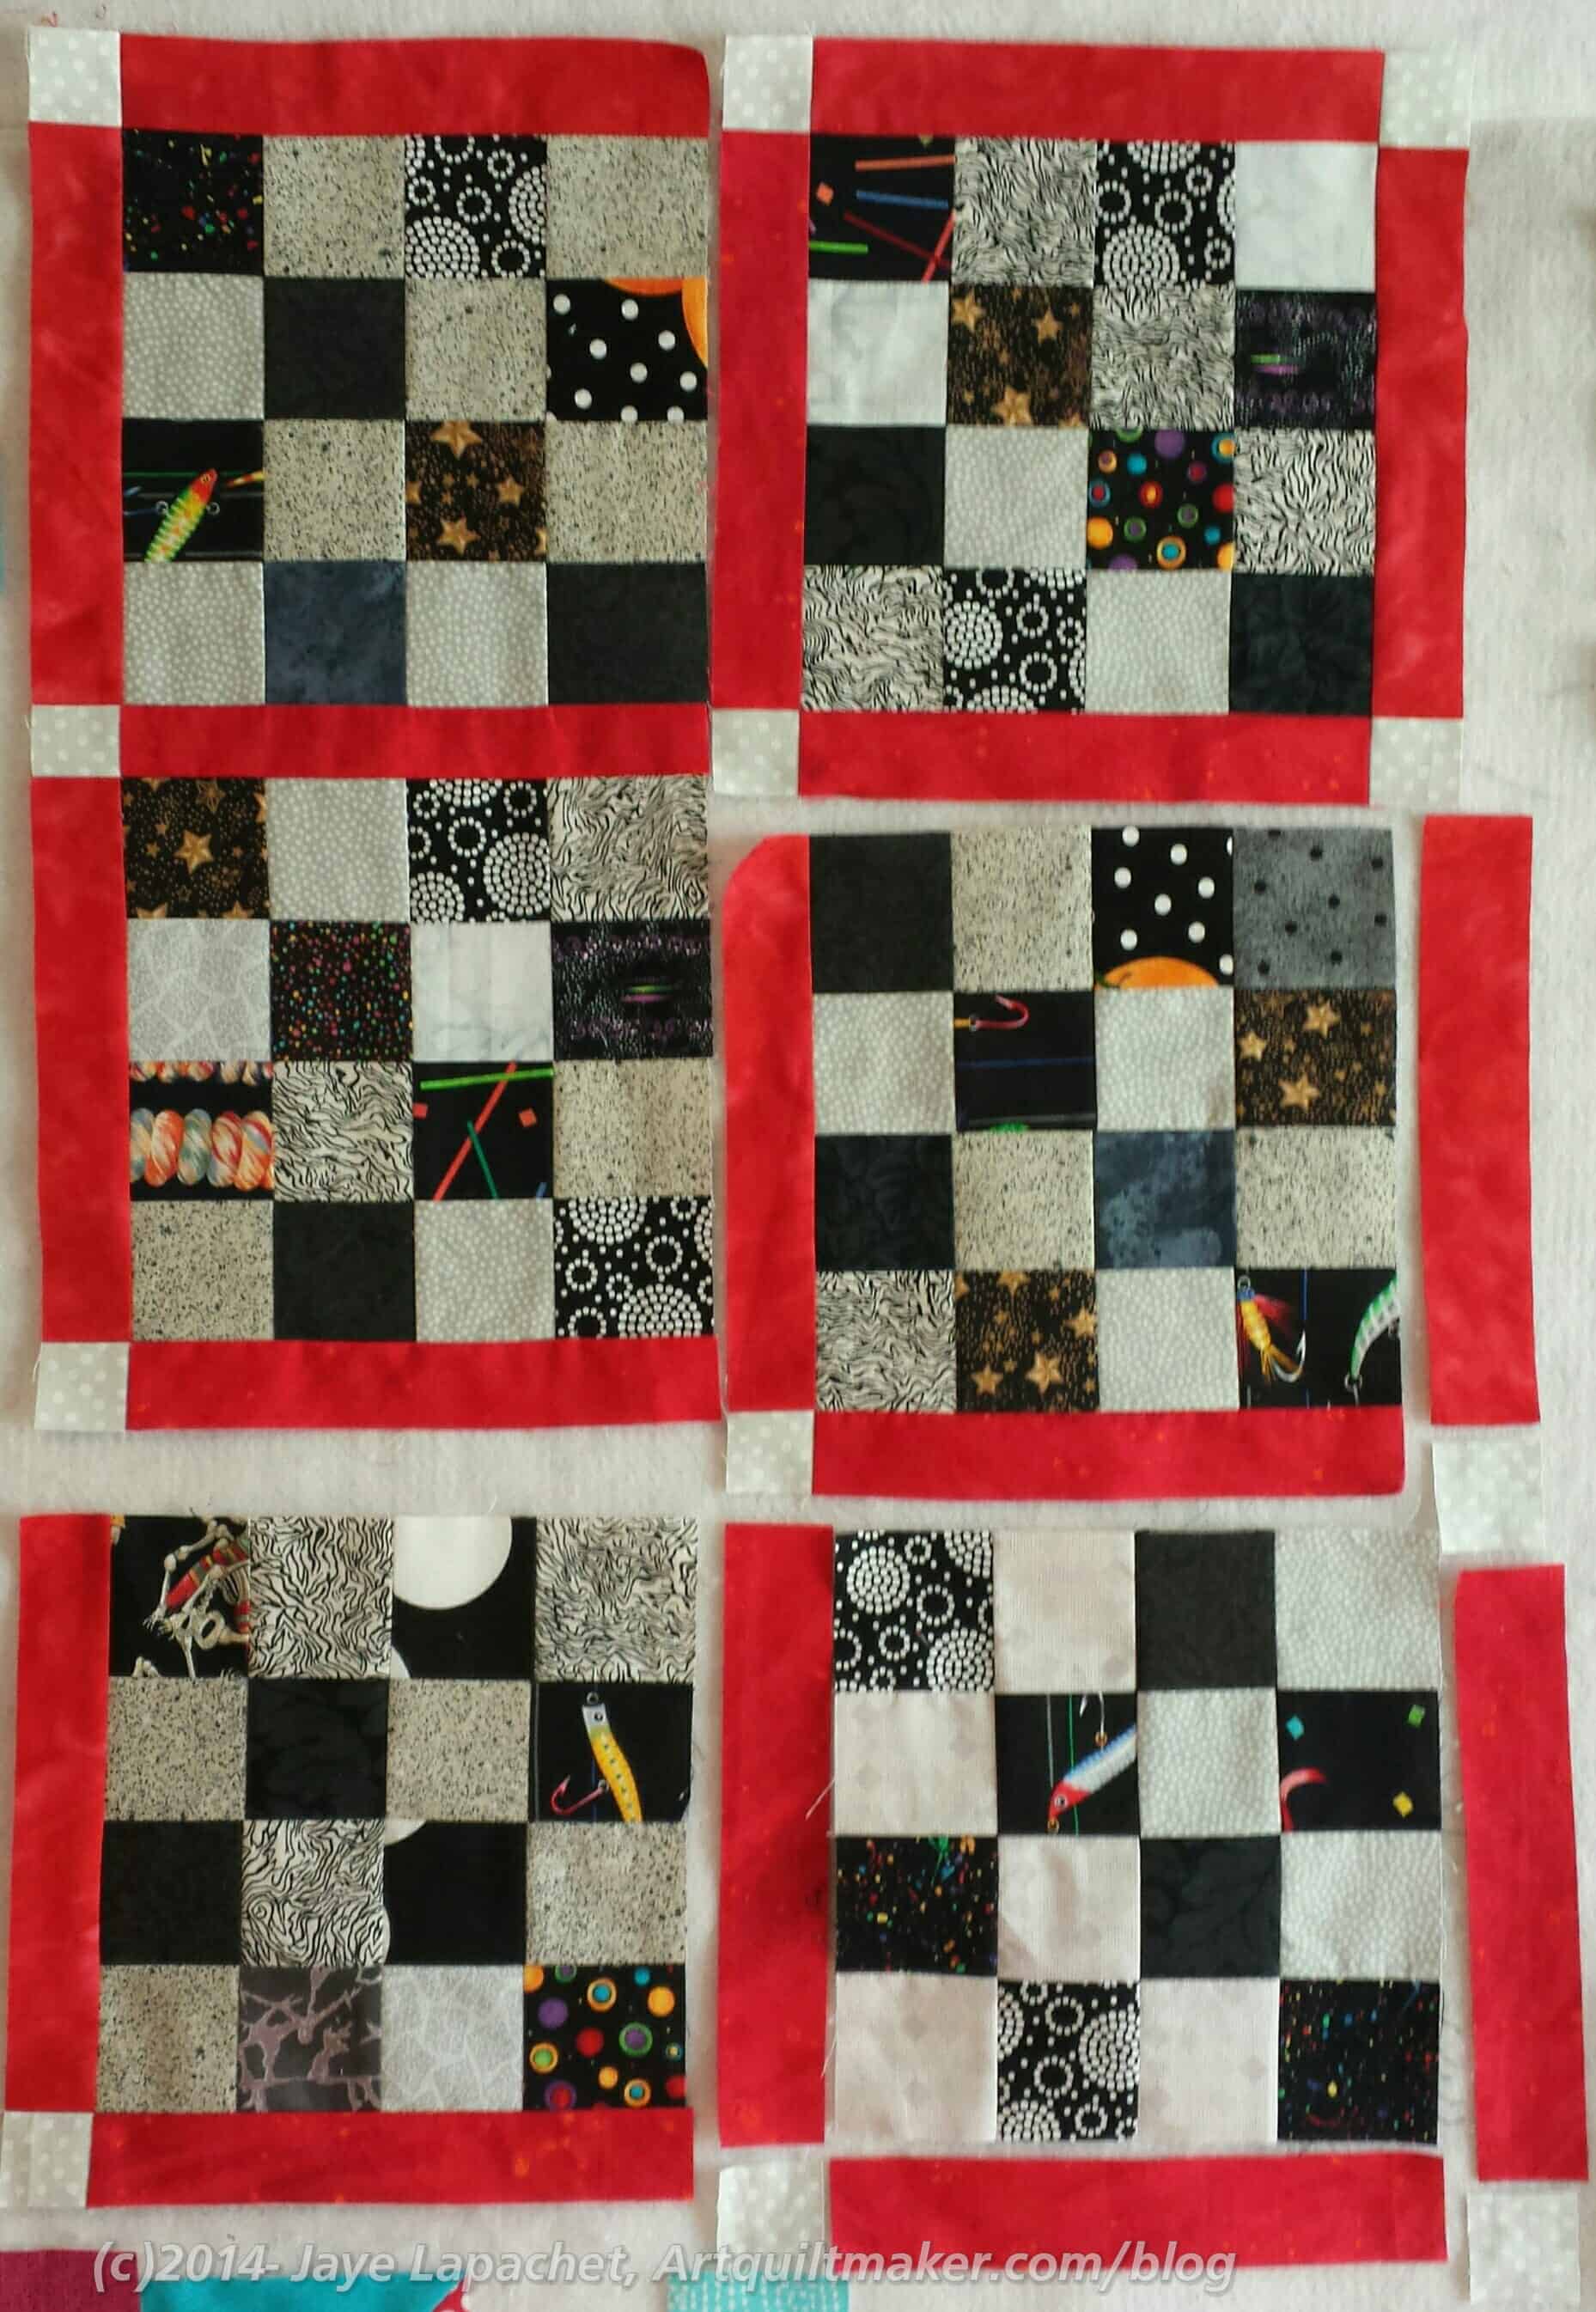
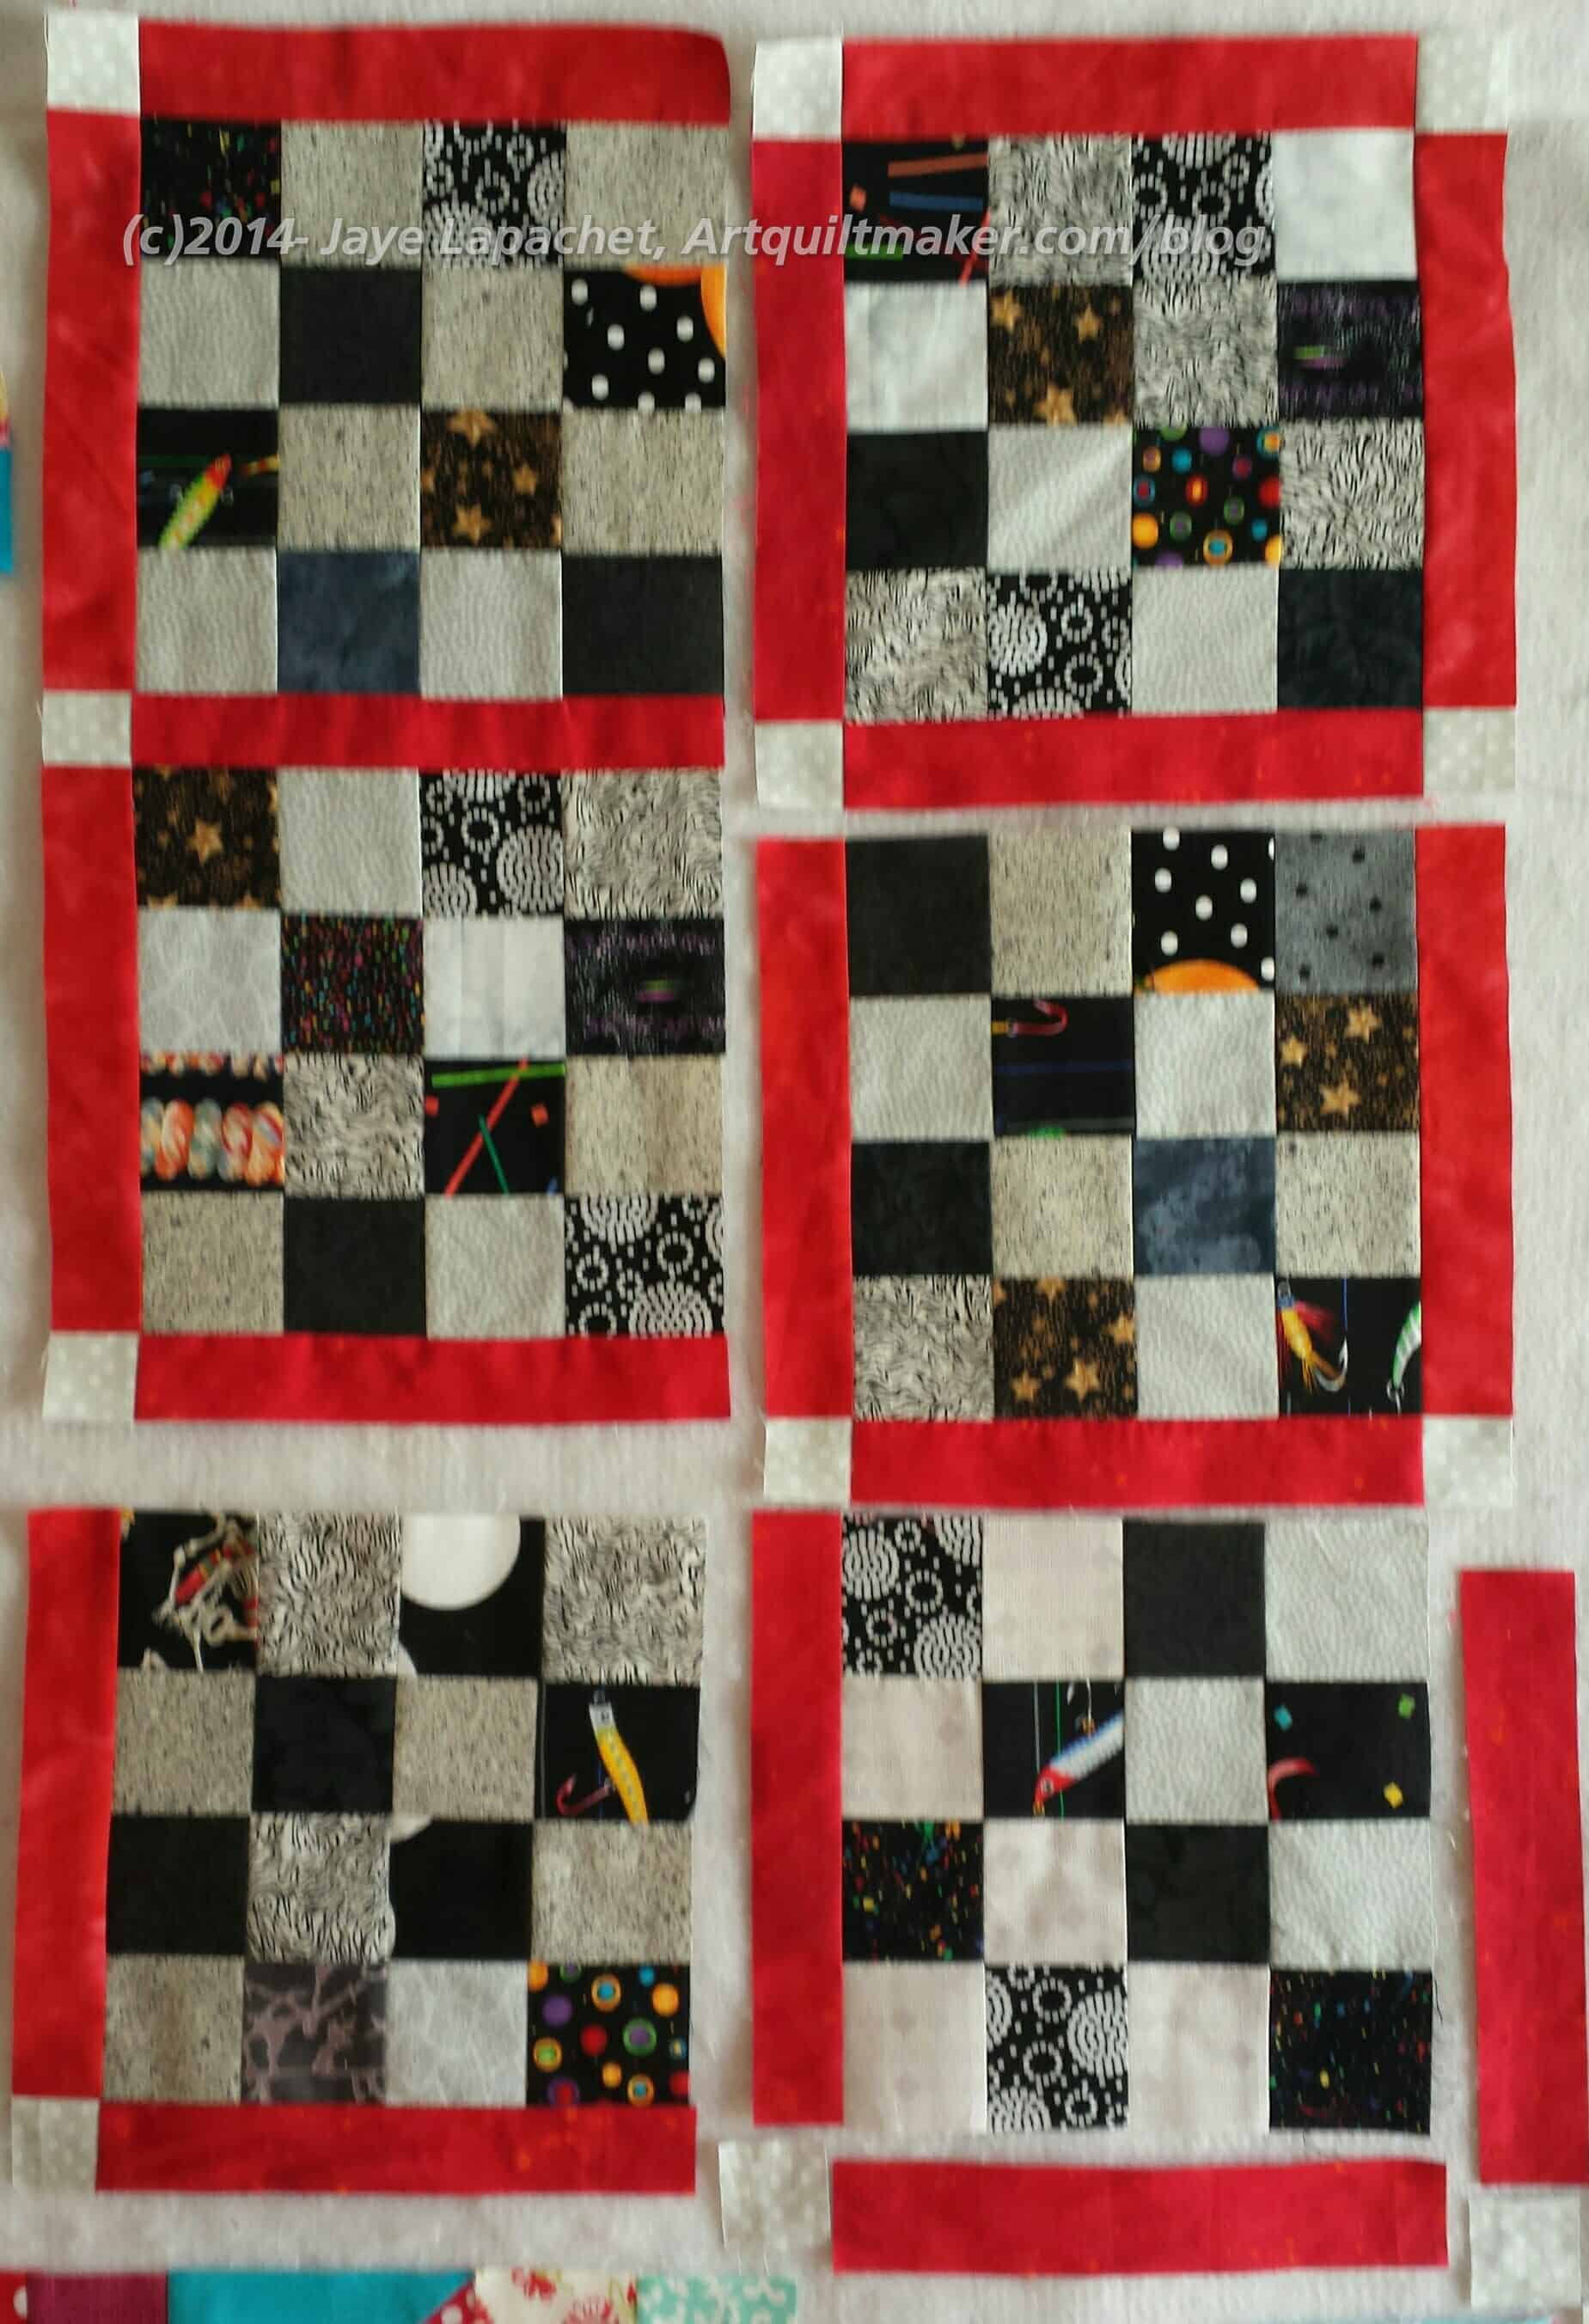
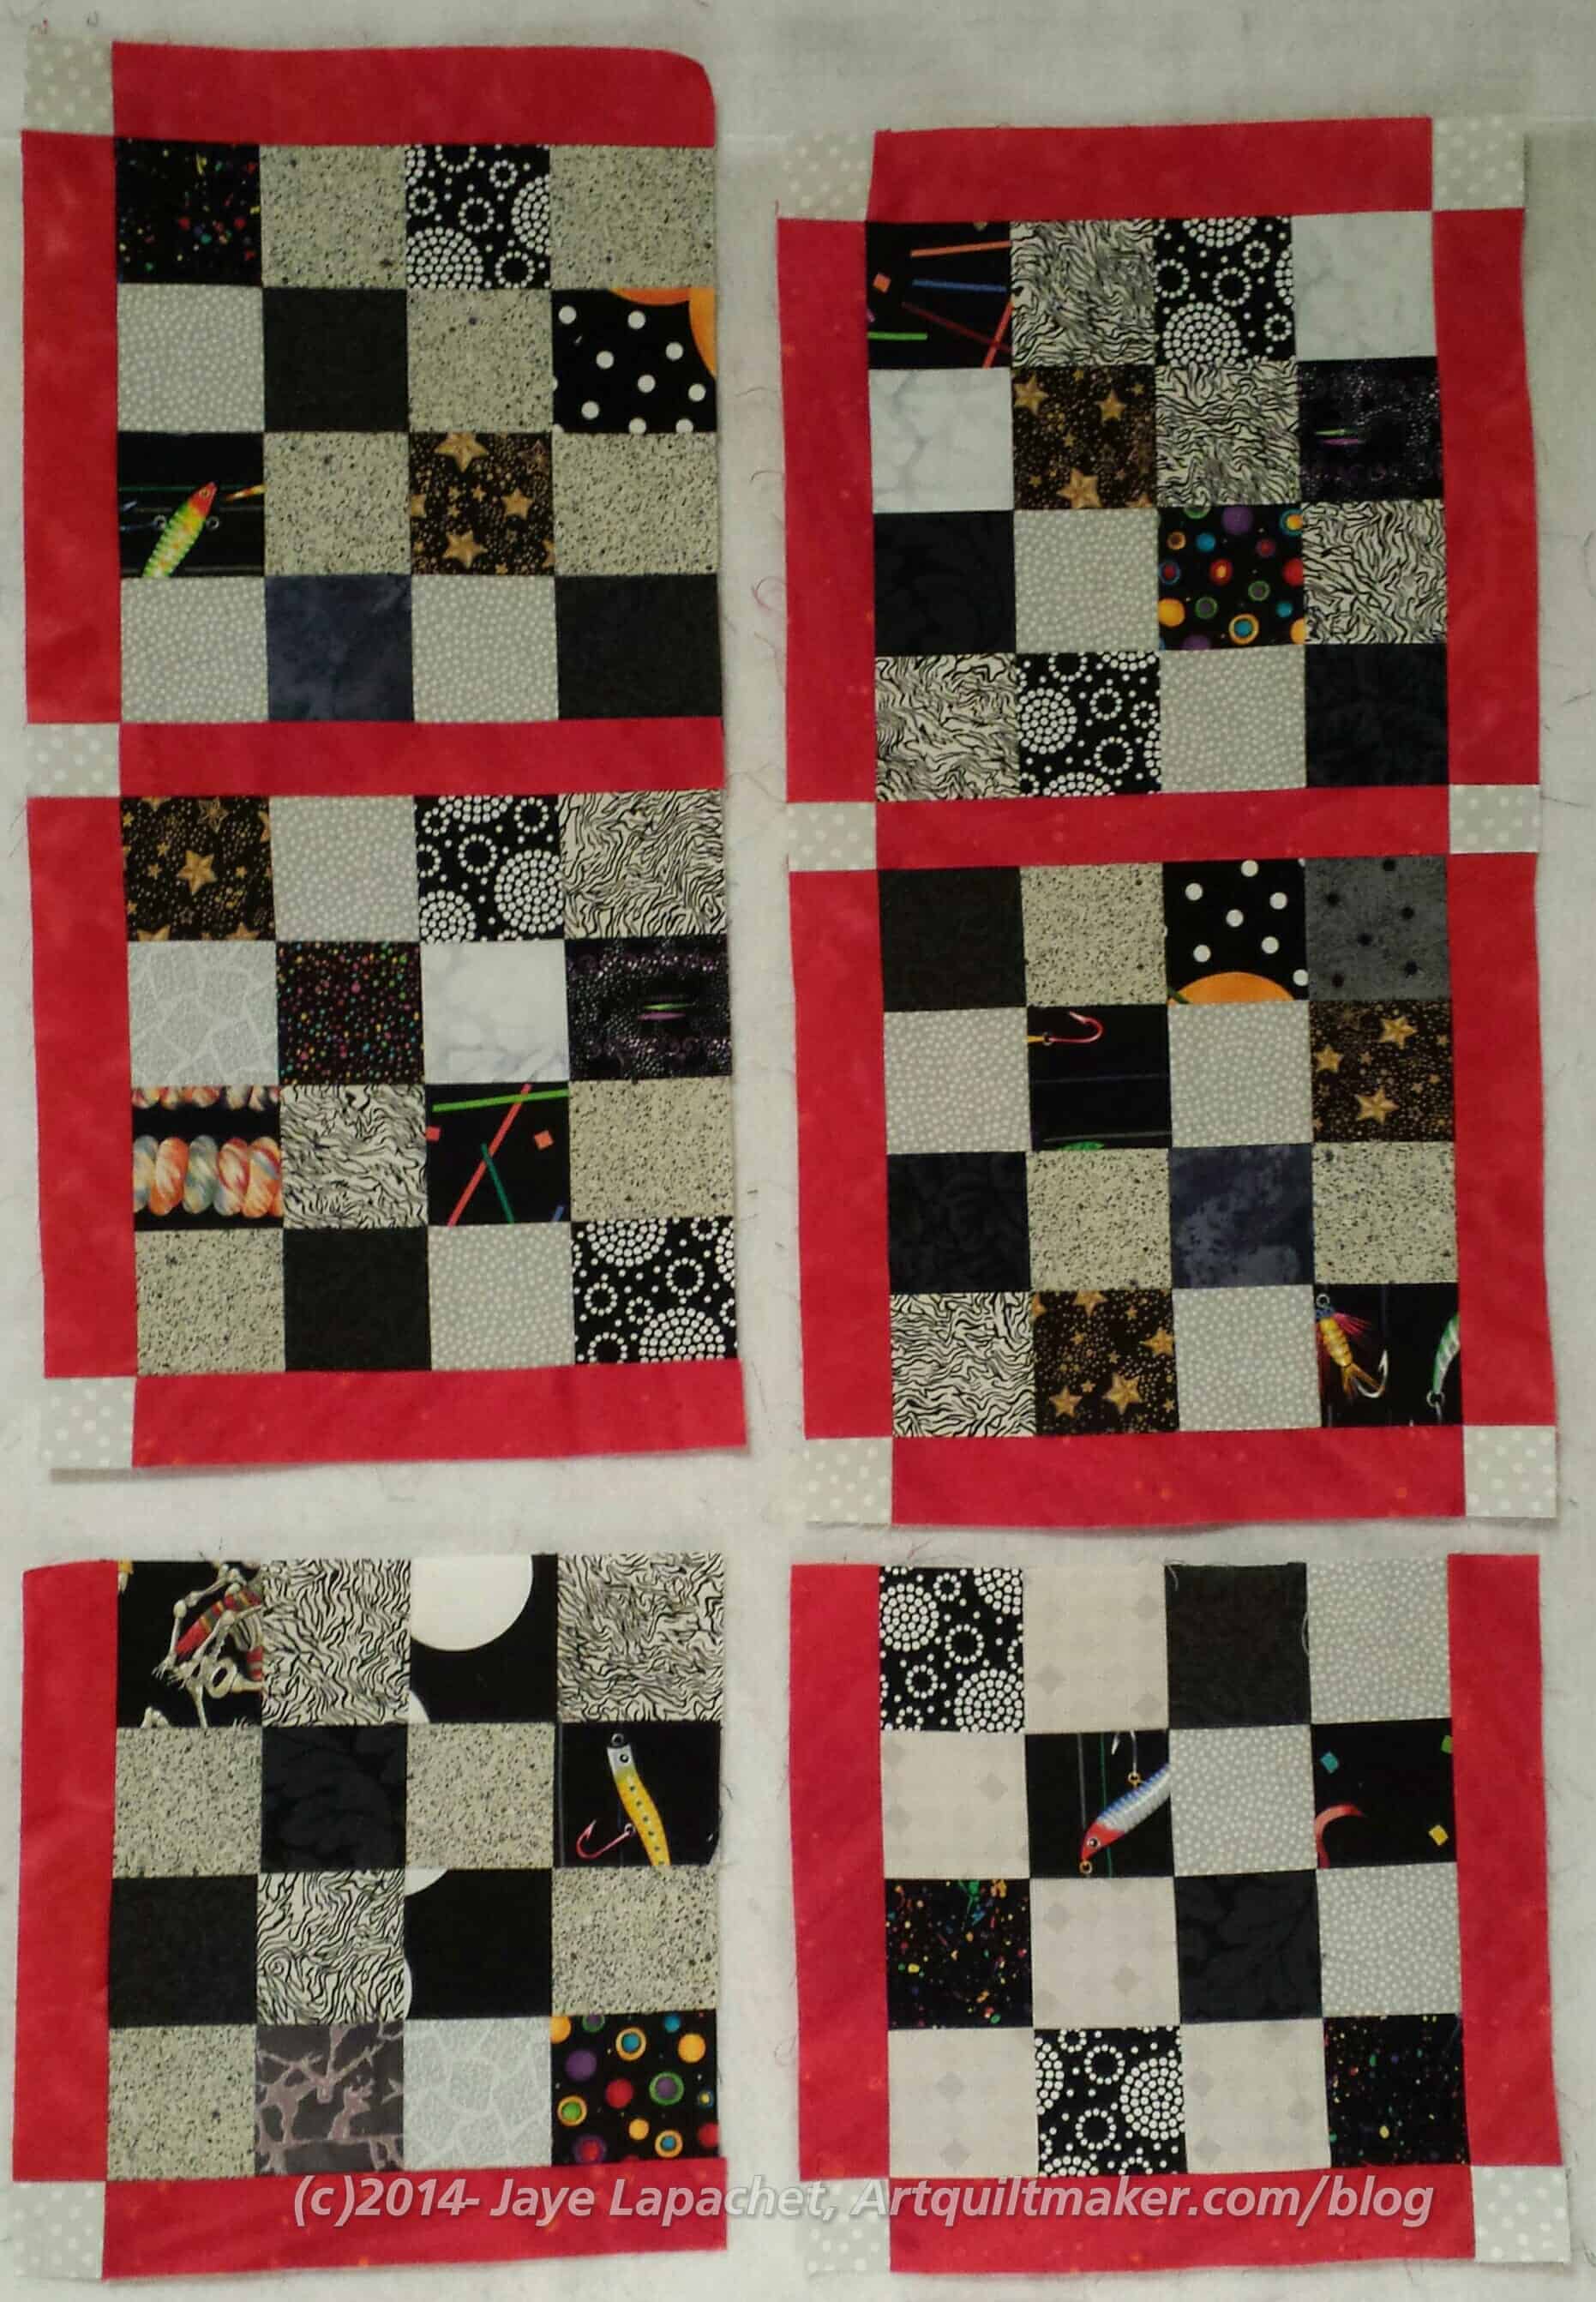
By the time you read this, there are probably a few other blocks posted for the Daredevils Block-a-Long. As I write this, the second block, Bessie’s Sunburst, the third block, Hazel’s Star, & the fourth block, Helene’s Star have been posted. I really like Helene’s Star!

PolkaDotChair has a list of “5 Foundation Paper Piecing Tips Perfect for Beginning Quilters.” You’ll have to tell me if they are helpful as I don’t like foundation piecing and probably won’t try them out.

MellySews has a tutorial for the zipper pouch we used for the recent Community Quilt Sew Day. There are tons of tutorials on the site. You’ll spent hours there. 😉

I was trolling hashtags on Instagram for new bags. Not that I need more bags, but you know. I can’t stay away. Anyway, I found a portfolio that is very interesting and would be great for someone getting a new job or being appointed to a committee. I don’t know if it would fit a composition book, but this would be an even greater pattern.

Sew Sweetness has a pattern and video bundle on sale until Sept.2. Yes, I bought it, but I haven’t made anything yet, but will. I was tempted by the Minikins Season 2 collection, because I like that Day Trip Cell Phone wallet. I held off, though.

Want to choose from a number of free tutorials to make wonderful small gifts? Take a look at the Sew Hungry Hippie Free Tutorials page. The page also includes a 1 hour basket tutorial made from vinyl.

Sara also has a free pouch pattern called the Persimmon Pouch available with a video! This looks similar to the Crafty Gemini pouch that Angela made for me. I am sure they are very different. The blog post has a link to download the pattern, an embedded video tutorial and a supply list. The pattern includes 3 sizes. She doesn’t, however, show the inside.

Need to know how to sew vinyl? Check out the guide from Sew Hungry Hippie.

Quilt Babies

Lynette recently flew to Zurich and then traveled to France and some other places. She was kind enough to take two quilts with her for the children of friends.

Anja with her BAMQG Color Round Robin

You might remember the BAMQG Color Round Robin? i started the piece in May of 2013.Kathleen and Rhonda both worked on, but I don’t know if anyone else worked on it.

This was one of the quilts I sent off to Austria. Anja is now the proud owner of this small piece. She is about 3.


Lukas' Sealife
Lukas’ Sealife

Her brother, Lukas, received the Sealife quilt. I worked a lot on this one at the 2018 BAM Retreat.

It took awhile for me to get these quilts to Europe and it turned out to be the perfect time. Lukas and Anja also got a new baby sister a few weeks before, so these quilts ended up being their Baby Gifts.

Baby Laura
Baby Laura

Their new sister is called Laura (pronounced LOW -rah -with the OW being pronounced like an owie not like oh). Lukas is now outnumbered.

The way I send quilts to friends in Europe is I beg a traveling friend to stick a quilt (or 2) in their luggage and then visit a post office once they get to the EU. I put the quilts in one of those vacuum seal bags and suck as much air out of the bag as humanly possible. By doing this, I can usually save $70 on postage. I am pretty sure the post office wouldn’t like this if they knew, but I am not telling. 😉 I have another large quilt to send and I don’t know yet who will be the lucky courier.

Orange and Green Donation Top Finished

Orange & Green Donation Top

The other day I talked about a new quilt top on which I was working. Over the weekend, I finished it and the back. It is now ready to take to the guild meeting for someone to quilt.

I can’t decide what I think about this color combination. It very much reminds me of eating sherbet at my grandparents’ house. I probably should have called this Lime Sherbet!

Orange & Green Donation Back

I did decide to make a back for this piece (more fabric used!). I pulled out several fabrics I didn’t think I would use and whipped one up. Amazingly, I didn’t have to fight to make the back for once. It went together really easily.

I am pleased that the green rectangles are off my sewing table and I get to add 3+ yards to my “Fabric Used” tally.

Chunking Again

Periodically I like to updated and post this tutorial. Check out the previous tutorial.

I was taught this method of putting quilts together and have found it to be more accurate that putting rows together. I use it for block-based and similar quilts. Very occasionally I’ll sew on a long border after the center of the quilt is complete, but otherwise I try to avoid the long seams required to put quilts together in rows.

Using this method, usually I have only one really long seam to sew at the very end and 1-2 mid sized seams.

This technique improves accuracy when you have sashing and cornerstones, but also improves accuracy with sashing and blocks or just blocks. If you have no sashing, then the pieces are much easier to handle.

Occasionally you will have a quilt where chunking is not appropriate for one reason or another, which is why it is good to know many techniques. Knowing a variety of techniques enables you to choose the best method for achieving your creative vision.

First, lay out your blocks and pieces on a design wall (or design floor) so you can see what you have to work with and the order in which you want them to end up.

Blocks Laid Out Waiting to be Put Together

The quilt starts out as a bunch of pieces waiting to be put together. In the example above:

Blocks: grey and black
Sashing: red
Cornerstones: grey

The basic idea is to put the quilt top together as you would a block: sew smaller patches together to create larger sections. I avoid sewing the quilt together in rows as chunking keeps the quilt is more square. Also, my intersections line up much more accurately.

In the example above, the border is incorporated into the construction of the quilt top. If you sew it as you sew the rest of the top you won’t need to put it on at the end. Putting the border on as you put the whole top together will also help line up the cornerstones with the sashing more accurately.

Nota bene: The picture below is numbered, so it will be easier for you to follow the tutorial. You may need to click on the image to enlarge the picture to see the numbers.

Numbered Photo
Numbered Photo
Sew patch 2 to 7
Sew patch 2 to 7

First, sew #2 to #7, the top piece of sashing to the first left hand block. Press to the red piece of sashing. I press to the red, because there are fewer seams to get in the way.

Sew patch 1 to 6
Sew patch 1 to 6

Next, sew #1 to #6, the first grey cornerstone (upper left hand corner) to the first side piece of red sashing.

Sew first 2 sections together

Now you have two sections which you should sew together. This is how you sew the border on. If you had a second border, you could also incorporate that into the piece, but this technique works best when the border is broken up into pieces (e.g. sashing and cornerstone). You can always put additional long borders on later.

First two sections sewn together

You now have your first ‘chunk’! Hooray!

Sew bottom cornerstone and sashing to block chunk

Now sew patch #10 to #11, the bottom cornerstone to the bottom piece of sashing. Then sew that 10-11 cornerstone-sashing bottom pieces combination to the first chunk.

Almost fully bordered block

Voila! You have a chunk fully sashed!

Pin sashing piece #15 to block #16. Now sew the sashing to the block.

Side sashing sewn to 2d chunk

Generally, there will be a piece of sashing that needs to be sewn to a block alone before you can sew a sashing-cornerstone combo to a chunk. You make the ‘chunk’ by sewing a piece of sashing alone to the block.

Sew bottom cornerstone and sashing to 2d block chunk
2d chunk
2d chunk

The center ‘chunks’ are just comprised of one cornerstone, 2 pieces of sashing, and a block. Sew the side sashing to the block. Sew the cornerstone to the bottom sashing, then sew the bottom cornerstone-sashing combo to the sashing-block combo for another chunk.

Sew two chunks together

At this point, you can sew your two chunks together.

Now that you have two chunks sewn into a larger chunk, the next step is to prepare your next chunk. You do it the same way you prepared the two chunks above.

Pin sashing piece #25 to block #26

Pin sashing piece #25 to block #26. Now sew the sashing to the block.

Patch #30 sewn to #31

Now sew patch #30 to #31, the bottom cornerstone to the bottom piece of sashing. Then sew that 10-11 cornerstone-sashing bottom pieces combination to the first chunk.

Third chunk
Third chunk
Two chunks
Two chunks

With two pieces of sashing and a cornerstone sewed to block #26, you have your third chunk. You could sew the #25-#26-#30-#31 combo to the chunk you sewed together before, but I suggest you wait until you have more pieces sewed together.

Sew piece #3 to piece #4

Refer to the drawing of your pieces in Step 1. Now we move up to the top of the section again and sew #3 to #4.

Sew sashing #8 to block #8

Sew piece #8 to block #8**. This puts a piece of red sashing on your block #8.

Next, sew cornerstone/sashing #3-4 to sashing/block #8.

Next, sew cornerstone/sashing #3-4 to sashing/block #8.

 Sew cornerstone #12 to sashing #13 and then to the block
Sew cornerstone #12 to sashing #13 and then to the block

Sew cornerstone #12 to sashing #13 and then to the block. I don’t have a picture of the two pieces sewn together before I attached them to the block, but you do have to sew them together before you sew them on the block. Now, sew that combination to the block.

Follow the same steps for block #18.

Follow the same steps for block #18 as you did for block #8. Sew sashing #17 to block #18. Press. Next, sew cornerstone #22 to sashing #23 and then to the block.

You will have two new chunks, one with sashing on three sides and another chunk with sashing along two sides.

Sew cornerstone #5 to sashing #9

Sew cornerstone #5 to sashing #9 (upper right).

Sew cornerstone #14 to cornerstone/sashing piece #5-9

Sew cornerstone #14 to cornerstone/sashing piece #5-9. You will have a piece made from three patches.

When you press, press the cornerstone seams in the opposite direction as you have pressed the other sashing already applied to block #8. This will allow you to piece your seams more precisely.

Sew the long thin piece made up of three patches to block #8

Sew the long thin piece made up of three patches (2 cornerstones and a piece of sashing) to block #8, which already has sashing on three sides.

Sew sashing/cornerstone piece #19-24 to block #18

Sew cornerstone #24 to sashing #19. I don’t have a picture of the two pieces sewn together before I attached them to the block, but you do have to sew them together before you sew them on the block. Now, sew sashing/cornerstone piece #19-24 to block #18 (middle right).

Sew sashing #27 to block #28

Sew sashing #27 to block #28.

Sew cornerstone #32 to sashing #33. Now sew combined piece #32-33 to block #28.

Sew cornerstone #32 to sashing #33. Now sew combined piece #32-33 to block #28. This will give you a chunk that is sashed on two sides (left and bottom).

wpid-wp-1420348408792.jpeg

Sew sashing #29 to cornerstone #34, then sew that combined strip to block #28. Pay attention to seams so you can line them up.

You now have five chunks and are ready to sew them together.

Sew the two blocks on the upper right side together.

Sew the two blocks on the upper right side together.

Sew the two bottom blocks together.

Sew the two bottom blocks together. Now you have three chunks.

Sew the top two chunks together

Sew the top two chunks together, which is four blocks.

Sew the bottom chunk, made up of two blocks to the top chunk

Sew the bottom chunk, made up of two blocks to the top chunk, which is made up of four blocks.

I have used a small piece as an example, but the same principles apply to a larger piece. I start in the upper left hand corner and work my way to the lower right hand corner, making chunks and eventually sewing them together into larger chunks until the quilt is finished.

Let me know if you have questions.

You will have easy access to this tutorial via the link on the navigation bar to tutorials.

**Nota bene: I accidentally labeled two pieces of fabric with the number 8 in Step 1. Note that one is a piece of red sashing and the other is a block. Please look at the photos to assist you with the correct sequence of piecing.

Book Review: Rotary Cutting Magic

All-In-One Rotary Cutting Magic with OmnigridAll-In-One Rotary Cutting Magic with Omnigrid by Nancy Johnson-Srebro

This pamphlet could be considered an advertisement for Omnigrid. The reason I am including as a book review on my blog is that the book includes some basic quiltmaking information that is not covered in many other books. As I wrote this, it occured to me that I should cover the info in my sampler classes.

The pamphlet is 64 pages pages long with one of the last pages being an ad for other C&T pamphlets available, including the 3-in-1 Color Tool by Joen Wolfrom, which is a favorite of mine.

Continuing from back to front, the second to last page has a short bio of Nancy Johnson-Srebro with a list (possibly incomplete) of her other books. After the title page, dedication and acknowledgements (pg.4), the books starts with a detailed table of contents (pg.5-6). One thing I noticed is the clarity of the page design and font choice. These qualities make the table of contents very easy to read. Readers can get to the appropriate location quickly.

This is not a project book, though there is a link to free block designs, though the blocks designs weren’t immediately available at the main site link.. I can’t really call it a technique book either, though I suppose it is. The main point of the text is how to rotary cut. Many techniques are shown so the reader can cut almost any shape accurately. You may not have thought you could make certain blocks or quilts using just your rotary cutting kit, but this pamphlet will show you how. Non-square shapes are no problem. This pamphlet helps readers and cutters gain confidence.

The first part of the book (pg.6-8) covers rotary cutting equipment and how to cut. The bad part is that I do not use this model of rotary cutter. The good part is that the text is pretty general and, mostly, covers more than just the displayed rotary cutter model. If you do not use the model shown you will need to experiment with your own rotary cutter based on Johnson-Srebro’s suggestions.

One comment I found interesting was about accuracy. Th author writes “This piece of equipment has almost totally replaced…large dressmaking scissors in quiltmaking. The reason for this is accuracy. When you cut with scissors, the fabric is lifted slightly off the table…” (pg.6). This information makes complete sense, though I never really thought about it in these terms.

The helpful hints for successful rotary cutting “are useful for any brand or model of rotary cutter. Some of the tips are obvious, e.g “change the blade” (pg.9), but some are things about which I wouldn’t have thought such as “you are not holding the cutter at a 45 degree angle…” (pg.9).

The author prefers Omnigrid and Omnigrip rulers and explains why (pg.11). I use Creative Grids rulers because of the half inch with the 4.5 x 8.5 being my favorite. Any good quality ruler without nicks or breaks will work fine with this book. I always suggest that my students buy the highest quality tools they can afford. I still have rulers I bought when I first started quiltmaking. These are tools that last a long time, if you take care of them, and don’t need to be replaced very often. Many of the reasons Nancy likes the Omnigrid and Omnigrip rulers also applies to other brands.

The same treatment given to rulers is also given to Omnigrid mats, including how to clean them (pg.13).

After the introduction to tools, the book transitions to cutting with one of the reasons I chose to review this book: bias (pg.15-19). The author explains what bias is and the different types of bias. What other book does this? What other book even mentions bias?

One important note is included “to help keep your quilt blocks from out of square, try to cut your pieces so that the straight grain (not the bias) is on the outside of edges of the blocks or quilt” (pg.15). This is something critical to quiltmaking. It is a huge annoyance for me when patterns, especially free patterns and tutorials don’t mention bias. Modern quilt designers often do not mention (do not care??? do not know???) about the bias. This section will really improve your quiltmaking, especially your accuracy, if you think about it when you cut. The grainline diagrams (pg.16-19) could be displayed in your sewing room as a visual reminder.

Another reason I chose to review this book is the section on squaring up fabric (pg.20-23). The section covers the process in a very detailed manner, which is helpful if you have never had the whole process explained logically.

I have never heard anyone talk about the V cut. This is the result of cutting strips from fabric you haven’t squared up. Johnson-Srebro calls it “…the Dreaded V Cut” (pg.23). Keep in mind that while cutting you need to re-square the fabric periodically.

After the lesson on squaring fabric, the lessons on cutting start with a square (pg.24-25). In each of these cutting sections, right and left-handed instructions, detailed images illustrating the steps and example blocks are included.

The book includes basic cutting instructions for units as well as shapes. HSTs, QSTs and HRTs (pg.26-33) are covered. Method 1 uses a basic ruler for each of the shapes/techniques. Special rulers are used for HST method 2 (pg.31). The images accompanying the unit sections reinforce thinking about bias by showing where it is on each shape.

Cutting instructions for different shapes such as a 30 degree diamond (pg.34-35), a 45 degree diamond (pg.36-37), which is good for a LeMoyne Star or 8 Pointed Star and an equilateral triangle (pg.42-43). Unusual shapes such as trapezoids (pg.44-45) and parallelograms (pg.38-39) are also shown. For those who want to make lozenge quilts, the Double Prism shape is included(pg.48-49). There are a total of 17 units and shapes the reader learns to cut from this book. I recommend following along and cutting the shapes as an exercise so the techniques are more than theories.

Following a lesson on squaring up blocks (pg.55-56), the author includes several pages of “other Useful Omnigrid Products” (pg.57-59).

This is a good basic book that will improve your rotary cutting skills, if you take the lessons to heart.

View all my reviews

Flying Around Top of Top

Flying Around - early August 2019
Flying Around – early August 2019

The top finally got to be too much. I need to sew most of the top together in order to move the whole piece up (and hang some over the top of my design wall), so I can work on the bottom. I have been sitting on the floor, which is fine, but not so fine when the quilt doesn’t fit on the design wall. Pieces in order on the floor doesn’t work.

Background detail - Flying Around
Background detail – Flying Around

In order to move the whole piece, I had to be certain of all the piecing on the top and sew the whole top section together, perhaps including the red-violet and yellow Friendship Circles. The top middle was bugging me, however.

I finally decided that the Flying Geese were too low. They were supposed to add interest that low, but they just looked weird. Unpicking was in order. It was a hassle, but I did it. Anything for the sake of art, right?

FGs moved up, red FG moved to left

The Flying Geese along edge are supposed to be a border. No, they are not a traditional border, but they are still a border because I say they are. Next, I moved the whole section of Flying Geese up higher. This move was intended to get it more in alignment with the Flying Geese border pieces above the purple and Green Friendship Circles. With this move, I had to move one of the red FGs to the other side of the group.

I don’t know why there is a missing FG between the deep purple and the yellow/pink FGs on the right. That space will have to go. It might have looked arty before. Now, it isn’t right.

That big white space under the new placement is still weird looking. I sewed a piece in. It didn’t look right. Another big space that was not the center of a Friendship Circle just looked wrong.

The answer? More FGs.

Add red FG
Add red FG
Added, moved Flying Geese

I found another red FG, which I thought would work. I think it is looking better. The red dot FG is not yet sewn in. I wanted to see if I could see how it would look before I committed myself. What I think looks strange is the two greens near each other on the right. I don’t know if I will change one of them, but it is a possibility.

I don’t think I will add more Flying Geese to the ‘white’ space. I think I will break it up with different greys and hope that helps.


New Donation Top

I had some plain green blocks, which I showed during the process of working on the Purple Strip Donation Top. Obviously, I cut a bunch and didn’t use them. They have been sitting on my sewing table since then. Recently they started to bug me.

Green & Orange Donation Top

I decided that orange would look good with that shade of green. I cut some oranges and have started to put the top together. This is not interfering with Flying Around, but I put the Orange Improv top on a brief hiatus while I put this thing together.

It might just be quick and dirty with no back or batting since I know the Community Quilt stash has both of these. We will see since using fabric is high on my priority list.

Orange Improv Donation Top Progresses

Orange Improv - Late August 2019
Orange Improv – Late August 2019

I mentioned the Orange Improv donation top yesterday and realized it had been awhile since I showed it. I just finished adding a major piece, so it was time to post it again.

It is progressing. The orange scraps in my drawer are significantly fewer than before. I have some large-ish pieces and am wondering if I should add them as is or cut them up. I like the look of the piece now, which is mainly small pieces.

Design Wall Monday -August 2019

I thought it had been awhile since I posted my design wall, but not as long as I thought. I found a post from May, which is relatively recently. My design wall is active, as per usual.

Design Wall Monday August 19, 2019

1. These are a few leftover blocks from my strip donation projects. I didn’t use them in the quilts already made, so I saving them for one that I will make at the end of the project.

2. I am still cutting for FOTY 2019

3. That Ring Toss block is still on my design wall. I still want to try and make a larger block, but haven’t gotten to it yet.

4. I cut some plain green blocks for the background of one of the strip donation quilts and didn’t use them. I decided that I wanted them off my table, so I cut some orange and am making them into a top. Yes, I am interrupting my work on the Orange Improv top to do it. The stack was really bugging me and I want those green blocks out of my hair.

5. While the Orange improv donation top might take a break while I work on #4, it is still in process. I got a lot done last week and it is growing.

Things are happening here. I am linking up with others showing off their design walls via Small Quilts and Doll Quilts, the hosting site of Design Wall Monday.


Dream Projects #12

Quilt Diva Julie had an ideas post recently. I really liked the methodical way she went about deciding what projects from inspiration would turn into actual quilts AND when!

I last wrote about my dream projects in March. Since then, I have, actually and surprisingly, made a little progress on this list. This makes me kind of feel like writing down dream quilts isn’t a terrible idea. Of course, many of the potential projects on the list haven’t changed.

Art Institute of Chicago Fusible Applique’ (Ticker Tape Style) Quilt

  • Status: Dream state
  • Pattern: Original, I do have a version of the pattern I used for the Whole Cloth quilt and I will use it as starting point.
  • Fabric: Turquoise and red, mainly, but other colors for the leaves and flowers, perhaps
  • Steps: need to fuse a bunch of turquoise to some piece of fabric in the ‘ticker tape’ style so I can cut it up into small pieces. I am thinking of making it similar to the Whole Cloth Quilt and using red, again, for the background.
  • Thoughts: I might make another one with turquoise on top of red with just two pieces of fabric. I’d really like it if someone else would apply fusible to a bunch of turquoise for me.

Art Institute of Chicago Fusible Applique’ (one sheet of fabric) Quilt

  • Status: Dream state
  • Pattern: Original, I do have a version of the pattern I used for the Whole Cloth quilt and I will use it as starting point.
  • Fabric: Turquoise and red, mainly
  • Steps: need to fuse a big piece of turquoise to SoftFuse or similar, then cut out the image and fuse it to the background. I would satin stitch all around the image. I don’t know that I can make one continuous piece, but will try. The image would be similar to the Whole Cloth Quilt and using red, again, for the background.
  • Thoughts: I might make it with turquoise on top of red with just two pieces of fabric.
  • Added: 9/14/2017

Basketweave Baby

  • Status: Dream state
  • Fabric: Scrappy
  • Pattern: Fons & Porter, series 1000, episode 1005
  • Thoughts: I like the challenge of piecing this quilt and using a lot of partial seams for the piecing

Blue Rectangles Gradation Quilt

  • Status: Hunting and Gathering
  • Fabric: blue 2.5×4.5 rectangles
  • Pattern: similar to FOTY 2008
  • Thoughts: I can’t decide if this is still a dream or if it is already started and I just need to arrange it and start piecing. I have done a lot of cutting, so I think I have started it, thus it may not be a dream anymore. The original idea stemmed from the FOTY quilts. I just decided to do a monochromatic version – using just blues, in this case. I probably have enough patches now and just need to slot the time to work on it into my schedule.

Blue Lemonade

  • Status: Hunting and Gathering
  • Fabric: blue, purple and green scrappy
  • Pattern: inspiration from TFQ’s Pink Lemonade quilt
  • Thoughts: I probably had enough squares to make this quilt, but then I used a bunch of them to make En Provence. Now I am working on cutting more. I hope to slot the time into my schedule int he not too distant future.

Easy Street

  • Status: have pattern/ dream state
  • Fabric: pinks
  • Pattern: Easy Street by Bonnie Hunter
  • Thoughts: I really liked Daisy‘s version of Easy Street, which she calls Cherry Bomb (she thinks of the best names for her quilts) in terms of color and feel. I don’t want to copy her, but if I do this quilt, I’d like to have the same pinky-red feel to it. One challenge about a mostly monochromatic quilt is getting enough contrast. I look forward to that challenge. Not sure this will become a reality.

En Provence #2

  • Status: Dream state
  • Pattern: En Provence by Bonnie Hunter
  • Thoughts: I loved the one I made before and can’t stop thinking about it. I have to make another one, but I can’t figure out what colors to use next. The ones I used before were almost perfect.

Feathered Star Block (or quilt?)

Good Night Irene Quilt

  • Status: dream state
  • Pattern: Good Night Irene from the Missouri Star Quilt Company’s Block magazine, Spring issue v.2, issue 2, pg. 54
  • Fabric: I decided not to use a layer cake and will use the scrap 2.5 inch squares I have been cutting. I love the cheerfulness of Scrapitude Carnivale, as I say over and over, and am not done with that fabric combination yet.
  • Thoughts: I thought about using dots on a white background as the background, as I did with the Scrapitude Carnivale quilt. It makes the Scrapitude quilt look so cheerful. I probably wouldn’t call it Good Night Irene.

Interlocking Triangles Quilt(s)

  • Status: dream state
  • Pattern: This is an idea that I designed myself. I made two quilts and have variations on the pattern to make more.
  • Fabric: I have a few different collections of fabric I want to use. Most are rainbow colored; I also have a lot of stripes to use
  • Thoughts: This is a quilt from which I get a lot of bang for my buck. The visual impact is tremendous. The easiest way to do the spiky triangles is with paper piecing. I am not that big of a fan of paper piecing (read my laments about the Spiderweb‘s paper piecing). I made Spiky Stars using templates and that was meditative and won a prize, so it is doable.

Jack’s Chain Quilt

  • Status: dream state
  • Pattern: Jack’s Chain, a continuous pattern
  • Fabric: bright scrappy, consistent centers
  • Thoughts: This is one of the first quilts I saw hanging in a quilt store and thought of making. I have seen a number of variations lately using different hexagons in the center. It occurred to me recently that I could do four rings and make a pillow cover instead of a whole quilt. Partially, I thought of this because I saw an EPP pattern for this quilt. Taking on another large EPP quilt right now is not in the cards. I could also make the pattern larger, making the piecing for a quilt much quicker. I still like the smaller version better.

Music Quilt

  • Status: dream state, but not very inspired
  • Pattern: Top will have a piece of music the Young Man can actually play. That will probably be applique’
  • Fabric/Colors: music prints and tone-on-tones with a little red
  • Thoughts: The Young Man has requested this quilt as his high school graduation quilt. I missed that deadline and now I have missed the college graduation deadling. He has sent me a piece of music, which I printed out. Now I need to make into an applique’ or do something else (print on fabric?).

Pineapple (Hunting and Gathering)

  • Status: I have some strips cut.
  • Fabric: dots. Have most of the strips cut. Will be much more selective about which strips I use.
  • Pattern: Pineapple log cabin
  • Thoughts: I haven’t given up on a Pineapple quilt despite my frustration with the previous attempt. I bought a different ruler: a Creative Grids Pineapple ruler in hopes that it will work better for me

Silk Colorblock quilt

  • Status: I have the fabrics and the plan
  • Fabrics: silk dupioni and cotton in brights (of course)
  • Pattern: Similar to Colorblocks 2
  • Thoughts: I have made a couple of, what I call, Colorblock quilts over the years. One was the Kona Challenge in 2011, another was my 1990 Colorblocks 2 and the first one, Colorblocks, also made in about 1990. I bought the silk fabrics at the Marin Needlearts show about a zillion years ago and they have languished waiting for me to learn to back them so I can use them. I think I have that covered now and there is nothing stopping me except time and will.

Spin Wheel

  • Status: Hunting and Gathering
  • Pattern: Fons & Porter Spin Wheel, 1200 series, episode 1201
  • Fabric: Scrappy with controlled scrappy background
  • Thoughts: I like the construction of this quilt and am convinced that I will make it. Another one just waiting for time and will. I have added the correct size piece to my cutting sheet and now have a huge stack of patches waiting for a background color.

Windmill (Hunting and Gathering)

  • Status: half cut; need more greys for the background
  • Fabric: Scrappy. I will use a grey for the background, because if I use more of the cut fabric patches, the pattern will be lost. The pieces are too oddly shaped and I don’t want to lose the pattern in a mass of scraps.
  • Pattern: Come Quilt with Me Rotary templates
  • Thoughts: I thought I would buy the Sizzix template and cut grey windmill pieces with that instead of by hand. Friend Julie tested the Sizzix die and found it to be the wrong size, so back to cutting

Out of the Dream State: Below is a list of projects that were on this list at some point that I actually made or am working on:


More on Go Bags

Reader Colleen was kind enough to leave a comment about her experience with quiltmaking Go bags. She wrote, which reminded of more detail I should have included: “I do have a go bag. It’s one of those big, flat bags they sold about 10 years ago that holds an 18×24 cutting mat and a 6×24 ruler, plus lots of pockets and sections for smaller tools and a project.

I don’t actually like it for carrying projects. I got plastic lidded totes that are about twice the size of a shoebox, that seem to work well.

While I do have some duplicate tools, I have created a list of what I need to take, so I can grab the items quickly when packing up. I just joined my quilting group last year, so I also wrote down everyone’s name and a brief description, so I could refresh my memory before going the first couple times.”

Best Bag Ever
Best Bag Ever

A go bag like the black one I showed doesn’t include everything I need to sew at Sew Day, on retreat or in a class. This bag includes basic supplies. I also have a flat bag like Reader Colleen describes. I probably wouldn’t have made myself a bag like this, but I got it in a swap. I find that it is very useful. It keeps a large rotary mat flat, a few rulers and a flattish, portable ironing board ready to go on a moment’s notice. I don’t always take this bag, but I have it available if I need it.

The point, however, is that I can’t just grab the black bag and go. I need to pack. The black bag does not include projects or fabric, specialty supplies or a sewing machine.

ArtBin Project Box

As Reader Colleen says I also put some of my active projects into ArtBin project boxes. I just started this practice in the last year. I also use larger bins (larger projects, quilting) from the Container Store. As I said in that post from last year, I like the fact that they are stackable and I can keep all the stuff for one project (or a group of projects like the Crafty Gemini Organizer Club bag supplies) together. This helps A LOT with Grab & Go.

Whatever is leftover and loose, I toss into a Chubby Charmer. Sometimes, these items end up in the project box/bin later; sometimes not. On a good day, I have 4-5 bags and boxes with me plus a sewing machine sometimes. This is a lot of stuff, but it is much more organized than having to cannibalize the supplies from my workroom, hunt through fabric for a project and find notions. I like to be organized in this way, because it gets me sewing or working on my project faster.

Flying Around Arrangement

The other day I showed you most of a photo of Flying Around. After posting that, I started in on the last two Friendship Circles.

Flying Around detail

The placement of these will be tricky for a number of reasons. First, they will be on the floor (see the bottom most red Friendship star? It is right at the bottom of my design wall) as I place them unless I sew together the top and move everything up. I have been wanting to do that, but am waiting because I am not sure I am happy with the top middle of the piece. That big piece of grey at the top is of concern to me. I wonder if it pushes the Flying Geese down too much.

I want the Geese around the edge to act as a border without being a separate entity, but I am not sure that particular section achieves that goal.

Next, I don’t want the ratio of width to length to be too strange. If the piece gets to be too long, it might look too long and skinny. Of course, I am often hampered by the width of my design wall and this is the case with this piece. Sigh. I don’t want to take apart the whole piece and make it wider, so I have to measure and try and estimate how long it will be.

I also need the Flying Geese to wrap around each of the Friendship Circles and there isn’t quite enough space for them to do that with the placement of the red HSTs. You can see that dark Goose near the second Friendship Star; notice how crowded that area appears. Of course, I could move the red Friendship Circle over to the left, but I also don’t want it to be directly below the red-violet circle. I want them to appear randomly placed. The width is really a problem for me.

As you can see, there is still work to do on this piece. I started it sometime in April, I think, so it has been on the wall for a long time. I would like it to be finished, but I also want it to be right.

Inspiration Blue & Orange

Blue & Orange Bowls, Houston

In 2014 Friend Julie, my mom and I went to Houston for Quilt Festival. I remembered a photo I took and went looking for it. Blue and Orange has been on my mind lately, so something in my subconscious must have nudged me. I assume that it has been on my mind because of my recent donation top finish.

Finished: Wonky 9 Patch

I didn’t just want to show you a picture of bowls, but I wanted to show you how something like this photo can influence your quiltmaking. I don’t know if finishing the Wonky 9 Patch made me see these colors or not, but clearly, the bowls are similar as is the arrangement of colors.

The recent Orange Strip Donation top finish is in the same colors and I do feel strongly that I am not done with this combination.

The Problem with Grey

Bolts of Grey
Bolts of Grey

I went to The Granary the other day and Friend Julie pointed out a row of greys. She called it the “problem with greys.” I thought the photo explained the ‘problem’ beautifully.

The colors in the photo look different from when I saw them with my eyes, but it doesn’t matter, because you, dear Reader, can still see the difference.

None of the colors would be called anything but grey. The bolt on the far right looks black but was a charcoal (you’ll have to trust me). The shelf sports a wide variety.

Background detail - Flying Around
Background detail – Flying Around

I like using a variety of greys as background on my quilts and it is a happy chore to find the right ones. You can see the variety in Flying Around. Mostly I like to use greys that are very close in tone to each other so there is no grey that obviously stands out. Also, I don’t like the taupe based greys. I am sure I have said that before.

In the photo of the Flying Around background, I have more variety. It might be because I want the eye to move around the background as well as the foreground or it might be laziness. Not sure or not admitting to anything. 😉

This is an example of why my rule of ‘make visual decisions visually’ is so important. It is impossible to match any color, perhaps particularly greys, without putting the bolts or pieces next to each other.

Flying Around – More Progress

I dragged myself away from pillowcases and worked on Flying Around as well. I was kind of facing a hump and working on the project this weekend got me over the hump. I actually used the pillowcases as leaders and enders. The small finishes kept me going.

It’s not that I don’t like Flying Around. I like it a lot and think it will be a really good design once I finish. It is a hard quilt to make. There is a lot of thinking required with a dose of extra seam ripping as well.

Flying Around - early August 2019
Flying Around – early August 2019

Still, I am over the hump and am seeing the end of the adventure. The hump was the bottom left corner, currently comprising the red-violet Friendship Circle and the pink Friendship Circle as well.

That corner will end up with a red circle eventually, but I haven’t done the cutting yet.

The upper left corner has been sewn to the center, so there is a big chunk finished. I haven’t quite figured out how to sew the yellow circle to the part above it. Partial seams will be involved, for sure.

The end is in sight, which is nice. Stay tuned!