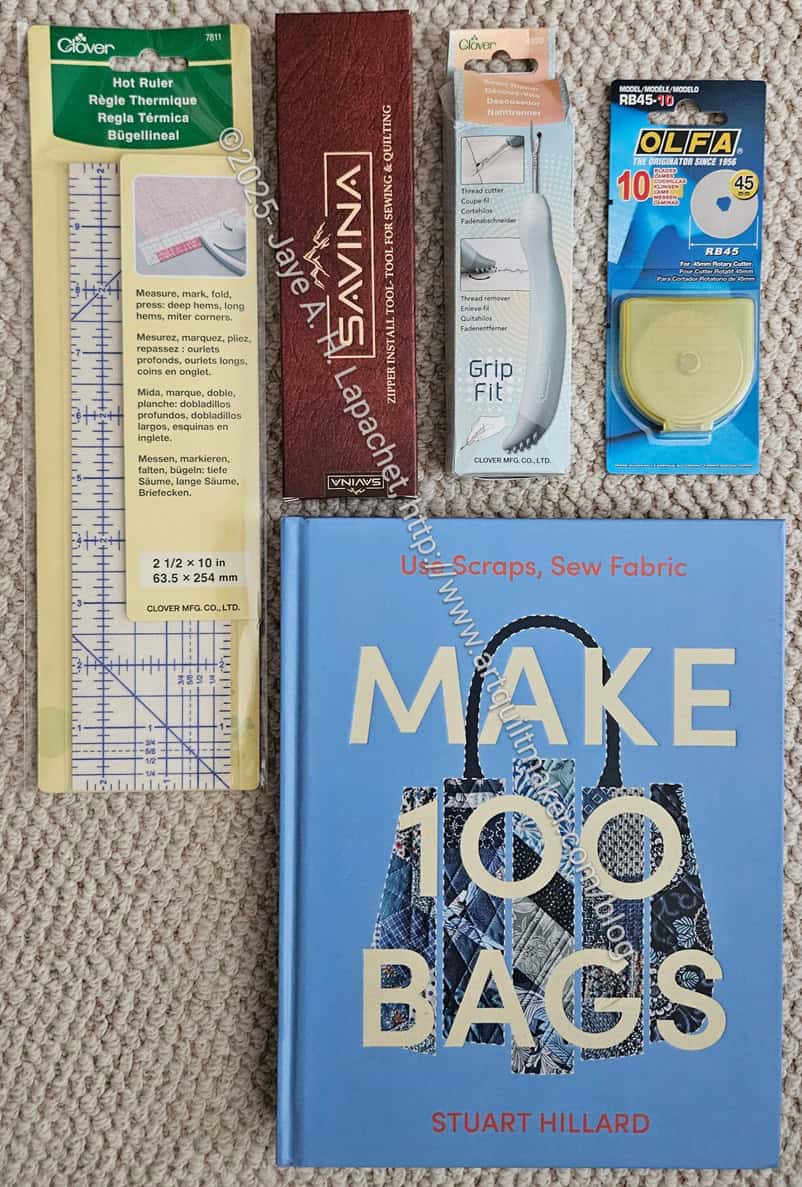
I got interested in reading this book after seeing his bag book, Use Scraps, Sew Fabric Make 100 Bags by Stuart Hilliard**. I liked the style of the book and was interested to see that Mr. Hilliard has written a few quilt and sewing books. I had never heard of him before.
 Use Scraps, Sew Blocks, Make 100 Quilts: The complete beginners quilt guide with 100 stash-busting scrap quilts by Stuart Hillard
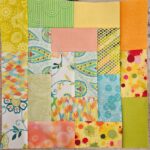
The first thing I noticed about this quilt book** was the end papers. They are in an Orange Peel design, which foretells the detail contained in this book. The next thing was the table of contents. It is amazingly detailed and really has patterns for 100 quilts. There are NOT 100 quilt patterns in this book. If that is going to disappoint you, then walk away now. This is a collection of 100 quilt blocks, which you can make into a sampler quilt or 100 one-block quilts. The book includes how-to make 100 blocks and the general directions for making each block into a quilt. You are going to have to use your brain if you want to make a quilt using this book.
The introduction includes a brief quilt bio of Stuart opposite a very friendly picture of him. He talks about how fabric drives quiltmakers and the kind of quilts he loves. Hilliard talks about the how-to section of the book and how it applies to all types of quiltmakers. The last paragraph describes how this book is aspirational. It reminds me of the way books used to be written before they were all about specific projects and patterns.
After the introduction (pg.4) is a section on scrap quilts (pg.6) which blends into color selection. He talks about scrap quilts being more of an attitude, idea or a look; that scrap quilts are personal. I would agree with that.
The color section is called Making Colours (Colors) Work (pg.7). This is not a whole lesson on the color wheel. Take my class if you want that. This is basically a few tips to be successful. My favorite is “neutral goes way beyond white and cream.” For the neutral on my 2026 Lupine & Laughter Mystery Quilt, I chose black and I am really liking it. I also have used other colors and really like the difference it makes in the pattern. Using an actual color as a background expands the way your mind conceives of a quilt block pattern, and, by extension, a quilt.
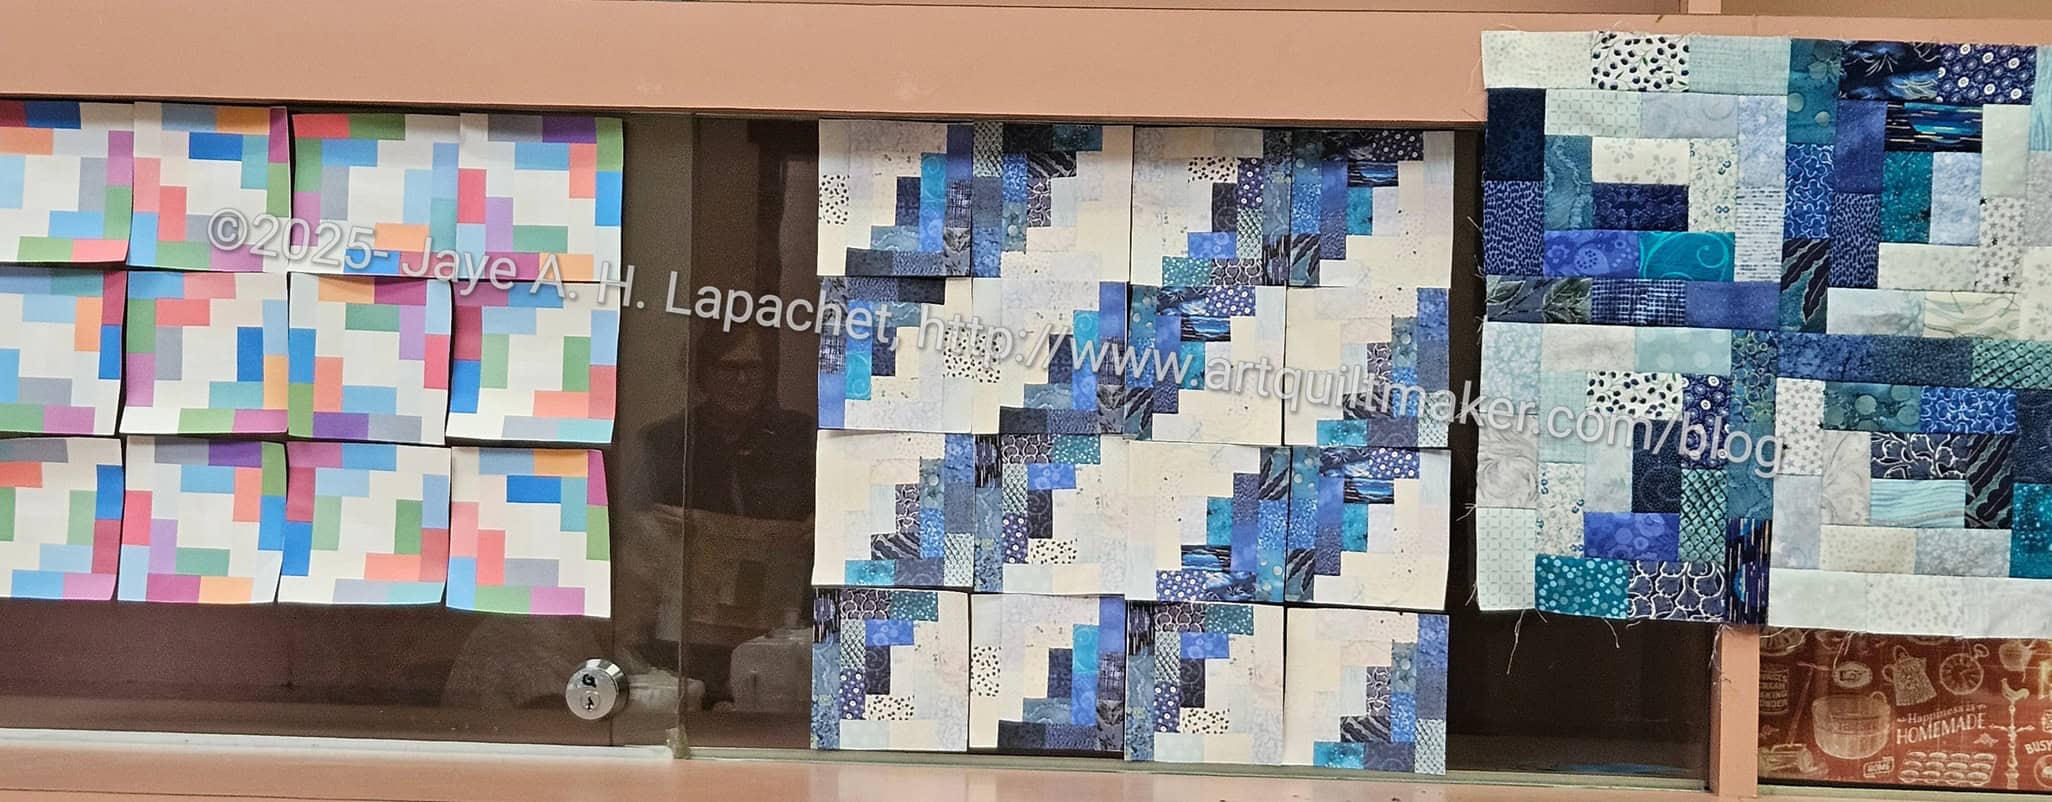
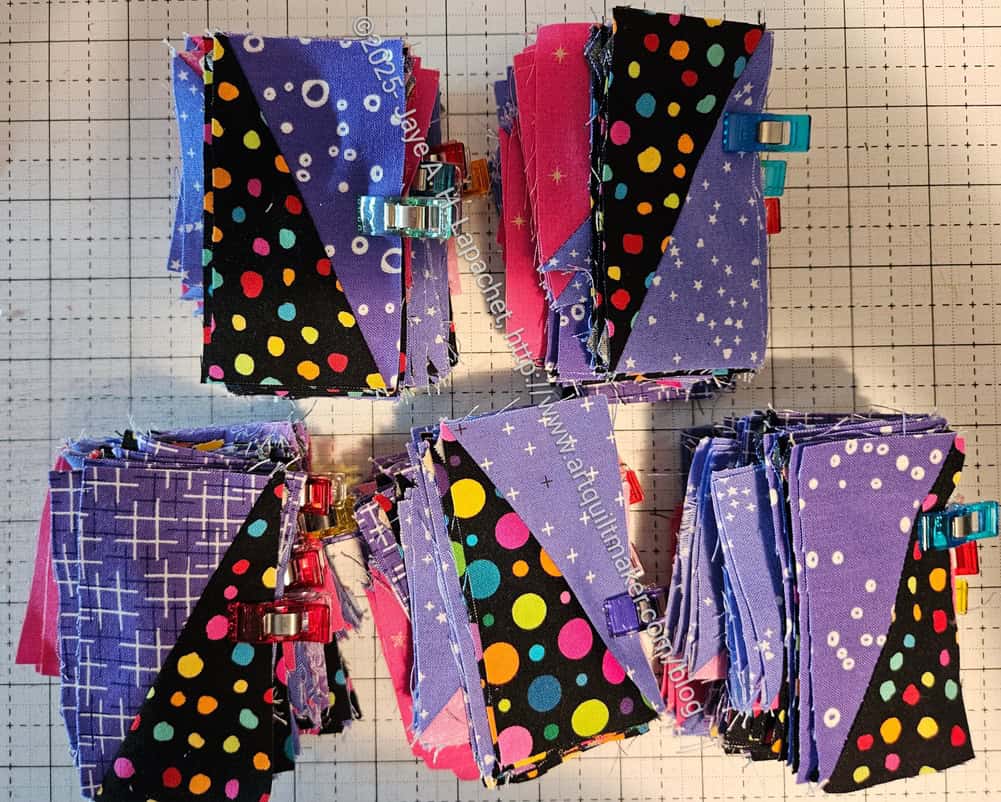
There are a lot of ways to organize scraps and the section called “Organizing Your Scraps (pg.8)” gives you 10 tips. One tip that stands out to me is “trim any oddments down to a size and shape you commonly use, for example 2.5″ (6.4cm) squares…”. In my mind this is critical. If you cut your scraps down to sizes you will never use, then there is no point in doing a bunch of scrap processing. I have had good luck cutting 2.5 inch squares. I find that I use them frequently and that I can pick from my boxes of them when I am doing a mystery quilt.
Following the “Organizing Your Scraps” section is a chapter on “Techniques, Tools and Materials.” The first part is about rotary cutting (pg.12-13). Hilliard goes over what a quiltmaker needs to rotary cut and then how to cut strips and some shapes. The book also contains information about using templates (pg.14) and die cutting (pg.15), which includes a basic ‘tool kit’ recommendation. Cutting is followed by piecing (pg.16) including the perfect seam (pg.16), sewing patches (pg.17), strip piecing (pg. 17) and string piecing(pg. 18). Tutorials on basic patchwork units (pg.19) follows with half square triangles (pg.19), quarter square triangles (pg.19) stitch and flip (pg.19) and Flying Geese quick piecing (pg.19). Stuart provides a comprehensive guide on Paper Foundation Piecing (pg.21-23), Applique’ (pg.24-26), and Adding Borders (pg.27-29). The Adding Borders section includes a subsection called “the very wrong way to add a border (pg.28)”. I was pleased to see directions on measuring for borders (pg.28). Layering (pg.30), Quilting (pg.31) and Binding (pg.32-33) are the last bits of the techniques portion. The last part of this chapter is called “Useful Equipment (pg.34-35)” and gives a very brief description of the items makers will find useful.
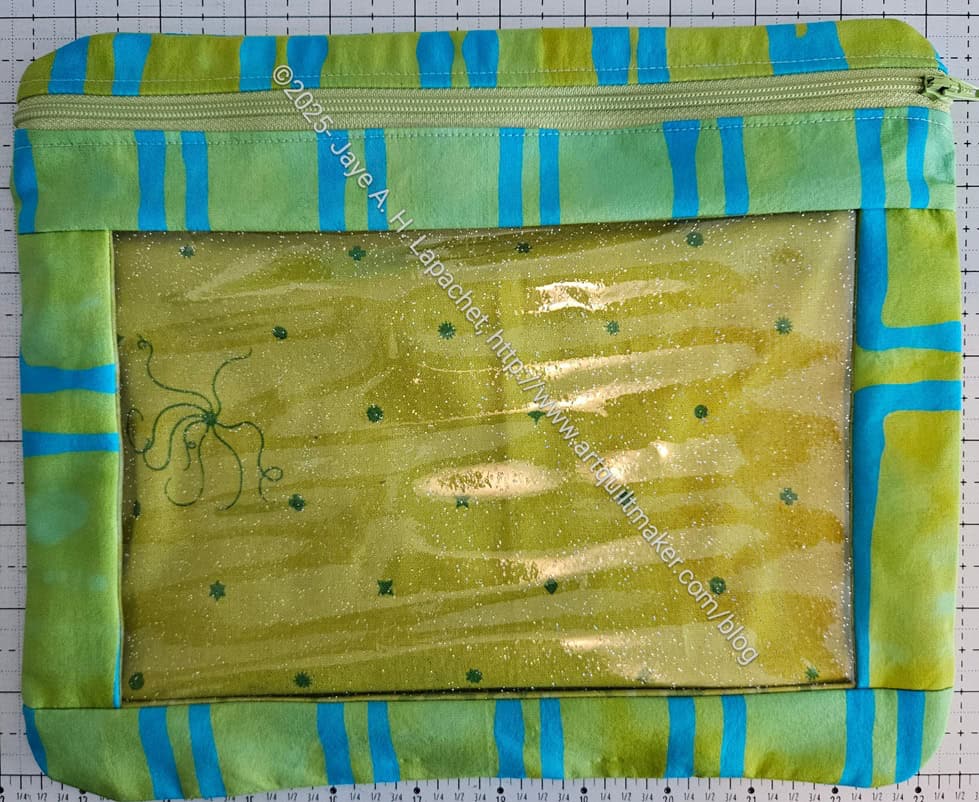
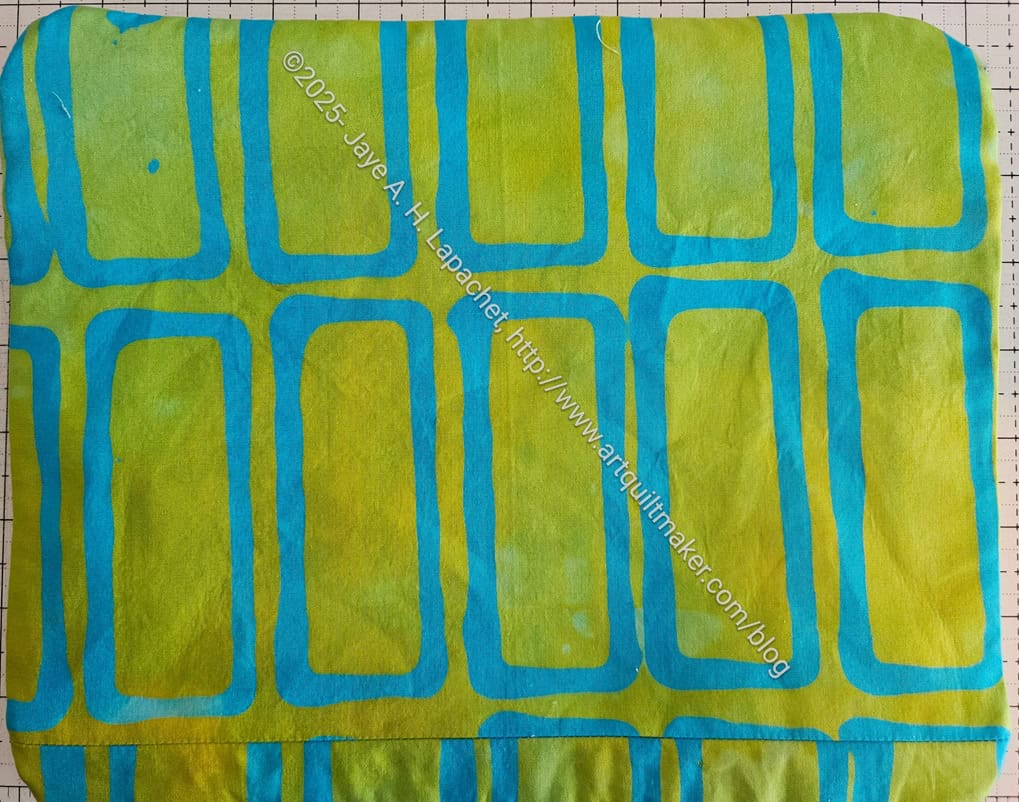
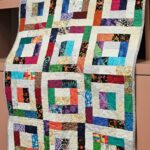
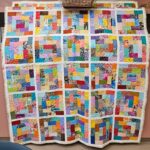
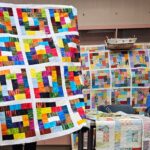
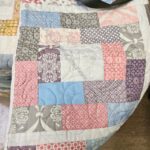
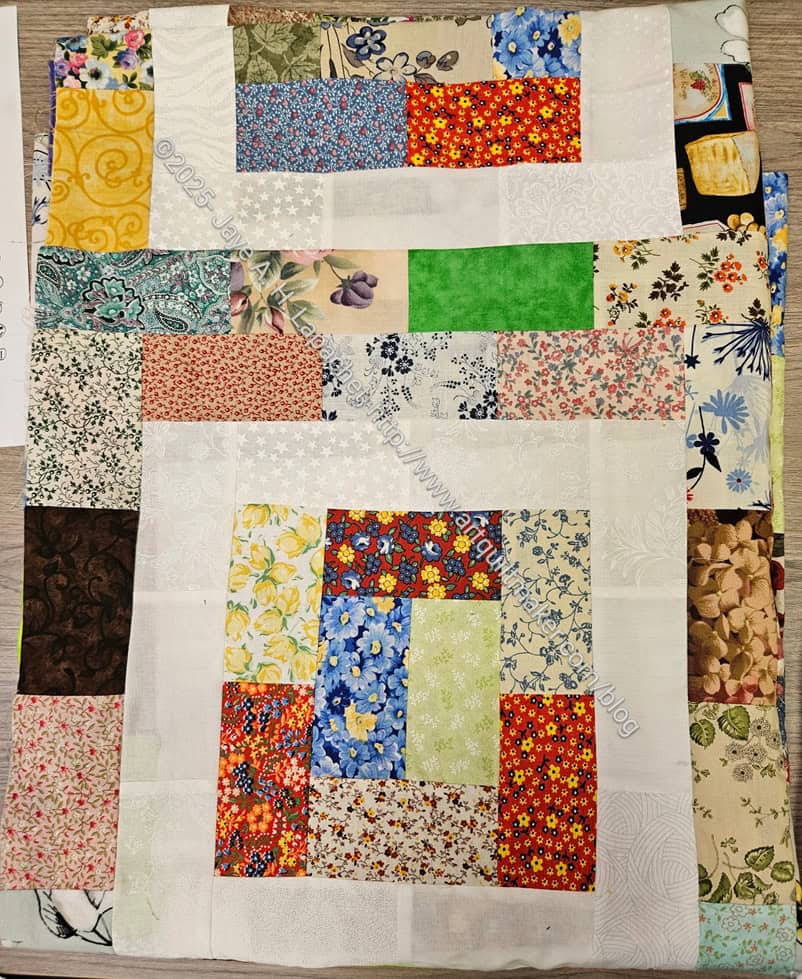
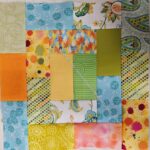
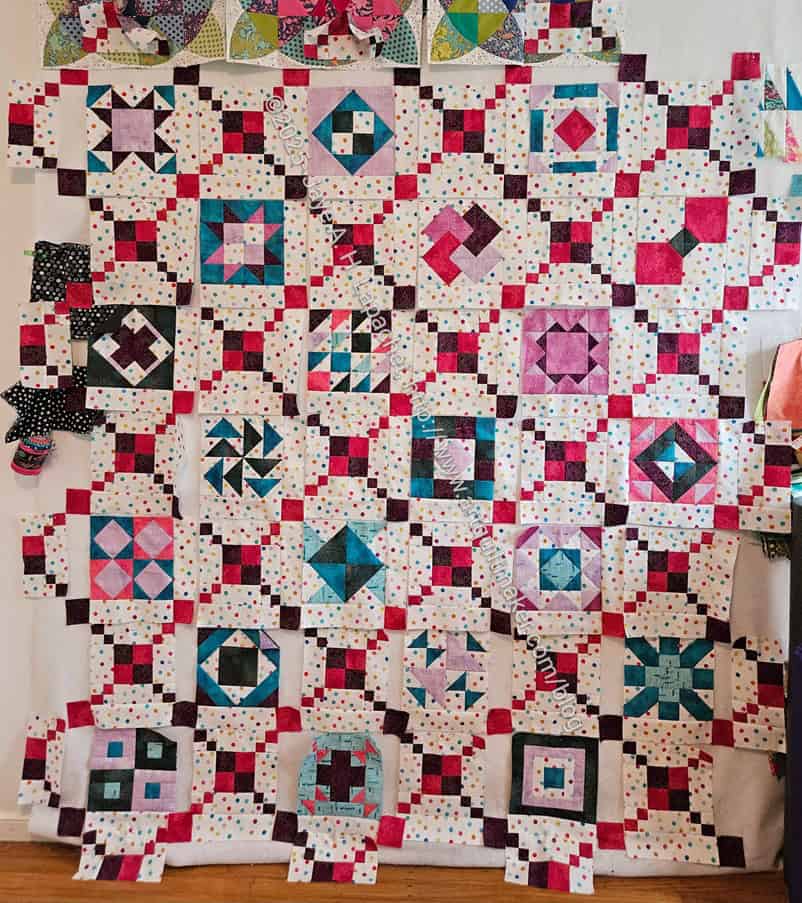
Hilliard follows these ‘obligatory’ sections with a section called “100 Quilts” (pg.37-223). The general layout of the page includes a block, what you will need to make it and how to assemble it. Many of the pages also have a quilt that shows an example of how to layout a quilt made with multiple blocks. There are mostly not directions for how to make the quilt. The assumption is that once the reader makes a block s/he can make 5-10-20 more and put them together into a quilt. I know you can do it
Each block is numbered. They include the units from the beginning of the book. Most of the blocks are classic blocks. Modern improv techniques are included, as are some modern patterns. No.9, Lipstick and polish (pg.52) is a very modern looking block and quilt, and I love his ideas for the quilt. Another such block is n.11, Ice Cream Cone (pg.56-57).
The fabrics used in the examples vary, which will appeal to a variety of different quiltmakers. Also, there are so many blocks in this book that if someone can’t find one that appeals, the person needs to rethink their choice of hobby. Every combination of units is shown and the suggested layouts provide a wealth of inspiration.
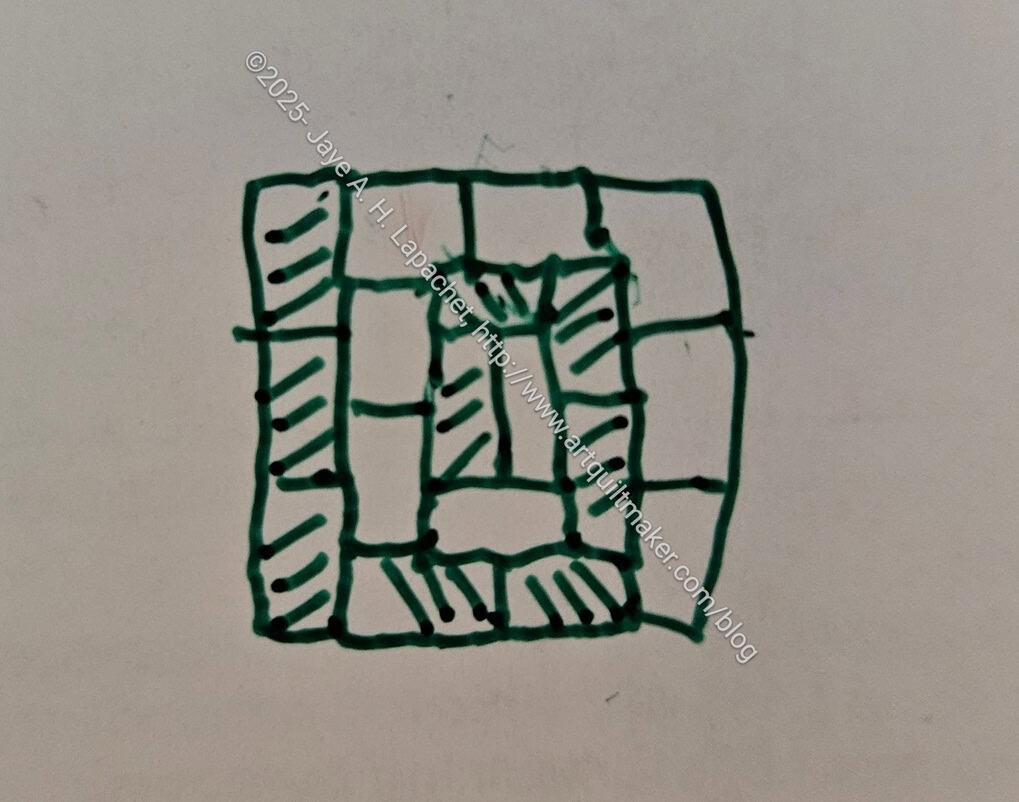
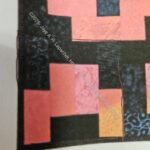
My favorites are n.22, Whirling Geese, which is comprised of two blocks and is actually a quilt rather than just a block, though the format is the same as described above. I have to make a quilt with this design sometime. The circles that show up when the blocks are combined are so appealing. I also really like Ditsy Squares, n.41 (pg.111). I used this pattern for one of my BAM BOM blocks. I was able to make it with no problem using the instructions in the book. N.44 Simple Tiles, (pg. 117) would make a great scrap quilt. Stars and Chains, n.70, (pg.164-165) has a different name that I can’t think of at the moment, but is a great block as well, despite the browns Hilliard used to illustrate it. N.74, Scrappy Lattice (pg.172-173) is the same as, or similar to, Goodnight Irene, a quilt I have wanted to make for a long time.
There are a few patterns that are appealing for other reasons than being my favorites. Dresden Sunflower, n.45 (pg.118) is a very appealing shape for a Dresden. I like the small fat petals a lot. Also, using the small and large dots is really innovative. N.46, Drunkard’s Path (pg.121) has a fantastic color scheme and I would love to make this quilt using these colors. I am not a huge fan of green, but I think the very light green really adds interest to this quilt. Linked, n.52 (pg.133) is simply a cool design. Square the Circle, n.72 (pg. 168-169) looks similar to a block from the Tula Pink’s City Sampler: 100 Modern Quilt Blocks. I like the idea of being able to use a bunch of squares to make a scrap quilt. I might resize the blocks to use 2.5 inch squares instead of 3.5 inch squares.
Where there are special techniques required to make a block, such as partial seaming required for n.82, Bright Hopes Star, Mr. Hilliard includes the instructions with no fuss.
He slips in a couple of quilts into the mix as well. The Modern Amish Sampler Quilt, n.87 (pg.192-193), is fantastic.
The templates section starts on page 224 (pg.224-238), so you can copy and enlarge the templates. There is also a link to download the patterns on the first page of the templates section (pg.224).
The book ends with a list of suppliers, which are mostly UK based.
It might be a great idea to spend some time working through some of these ideas. I don’t think I would be bored. I like this book and am surprised I had heard of it.
View all my reviews
**Obviously, you should shop at local quilt shops and small businesses. However, if you are too busy or can’t find what you need there, I use Amazon affiliate links and may be paid for your purchase of an item when you click on an item’s link in my post. There is no additional cost to you for clicking or purchasing items I recommend. I appreciate your clicks and purchases as it helps support this website.