Patterns, Projects & Tutorials
I know that Christmas and the other gift giving holidays have passed, but it is never too early to start collecting ideas for next year. Making stuff takes time! Marie Bostwick has some ideas and brief directions on some quick gifts on the Fierce Over 50 blog. She also has some links to tutorials and patterns she has found on other blogs.
Sarah, over at Sarah Goer Quilts, pointed me to a list of BOMs and QALs for 2019. I say work on your own list, but if BOMs and QALs float your boat, then go for it. One is about Harry Potter! I am sure this is not an absolutely comprehensive list. Be sure to check your local quilt shops for other options.
There are other online BOMS as well. Rebecca Bryan is leading the Stargazer BOM. Lee Heinrich over at Freshly Pieced is offering an HST BOM.
Today’s Quilter issue 44 has a gorgeous Mariner’s Compass quilt. You can find the templates on their blog.
Scrap fabric twine seems like a good idea. I found a video and a tutorial. Good TV project. You could use the twine to wrap gifts. Thanks to Kristen!
Kitty Pearl, one of my fabulous readers, mentioned Teresa Down Under video tutorials, after I mentioned working on the All Rolled Up tote. I watched one that made an HST where one side of the block is made up of two triangles. I used these units in the Scrapitude Carnivale quilt. Teresa seems to have many, many tutorials and I liked the cheerful music.
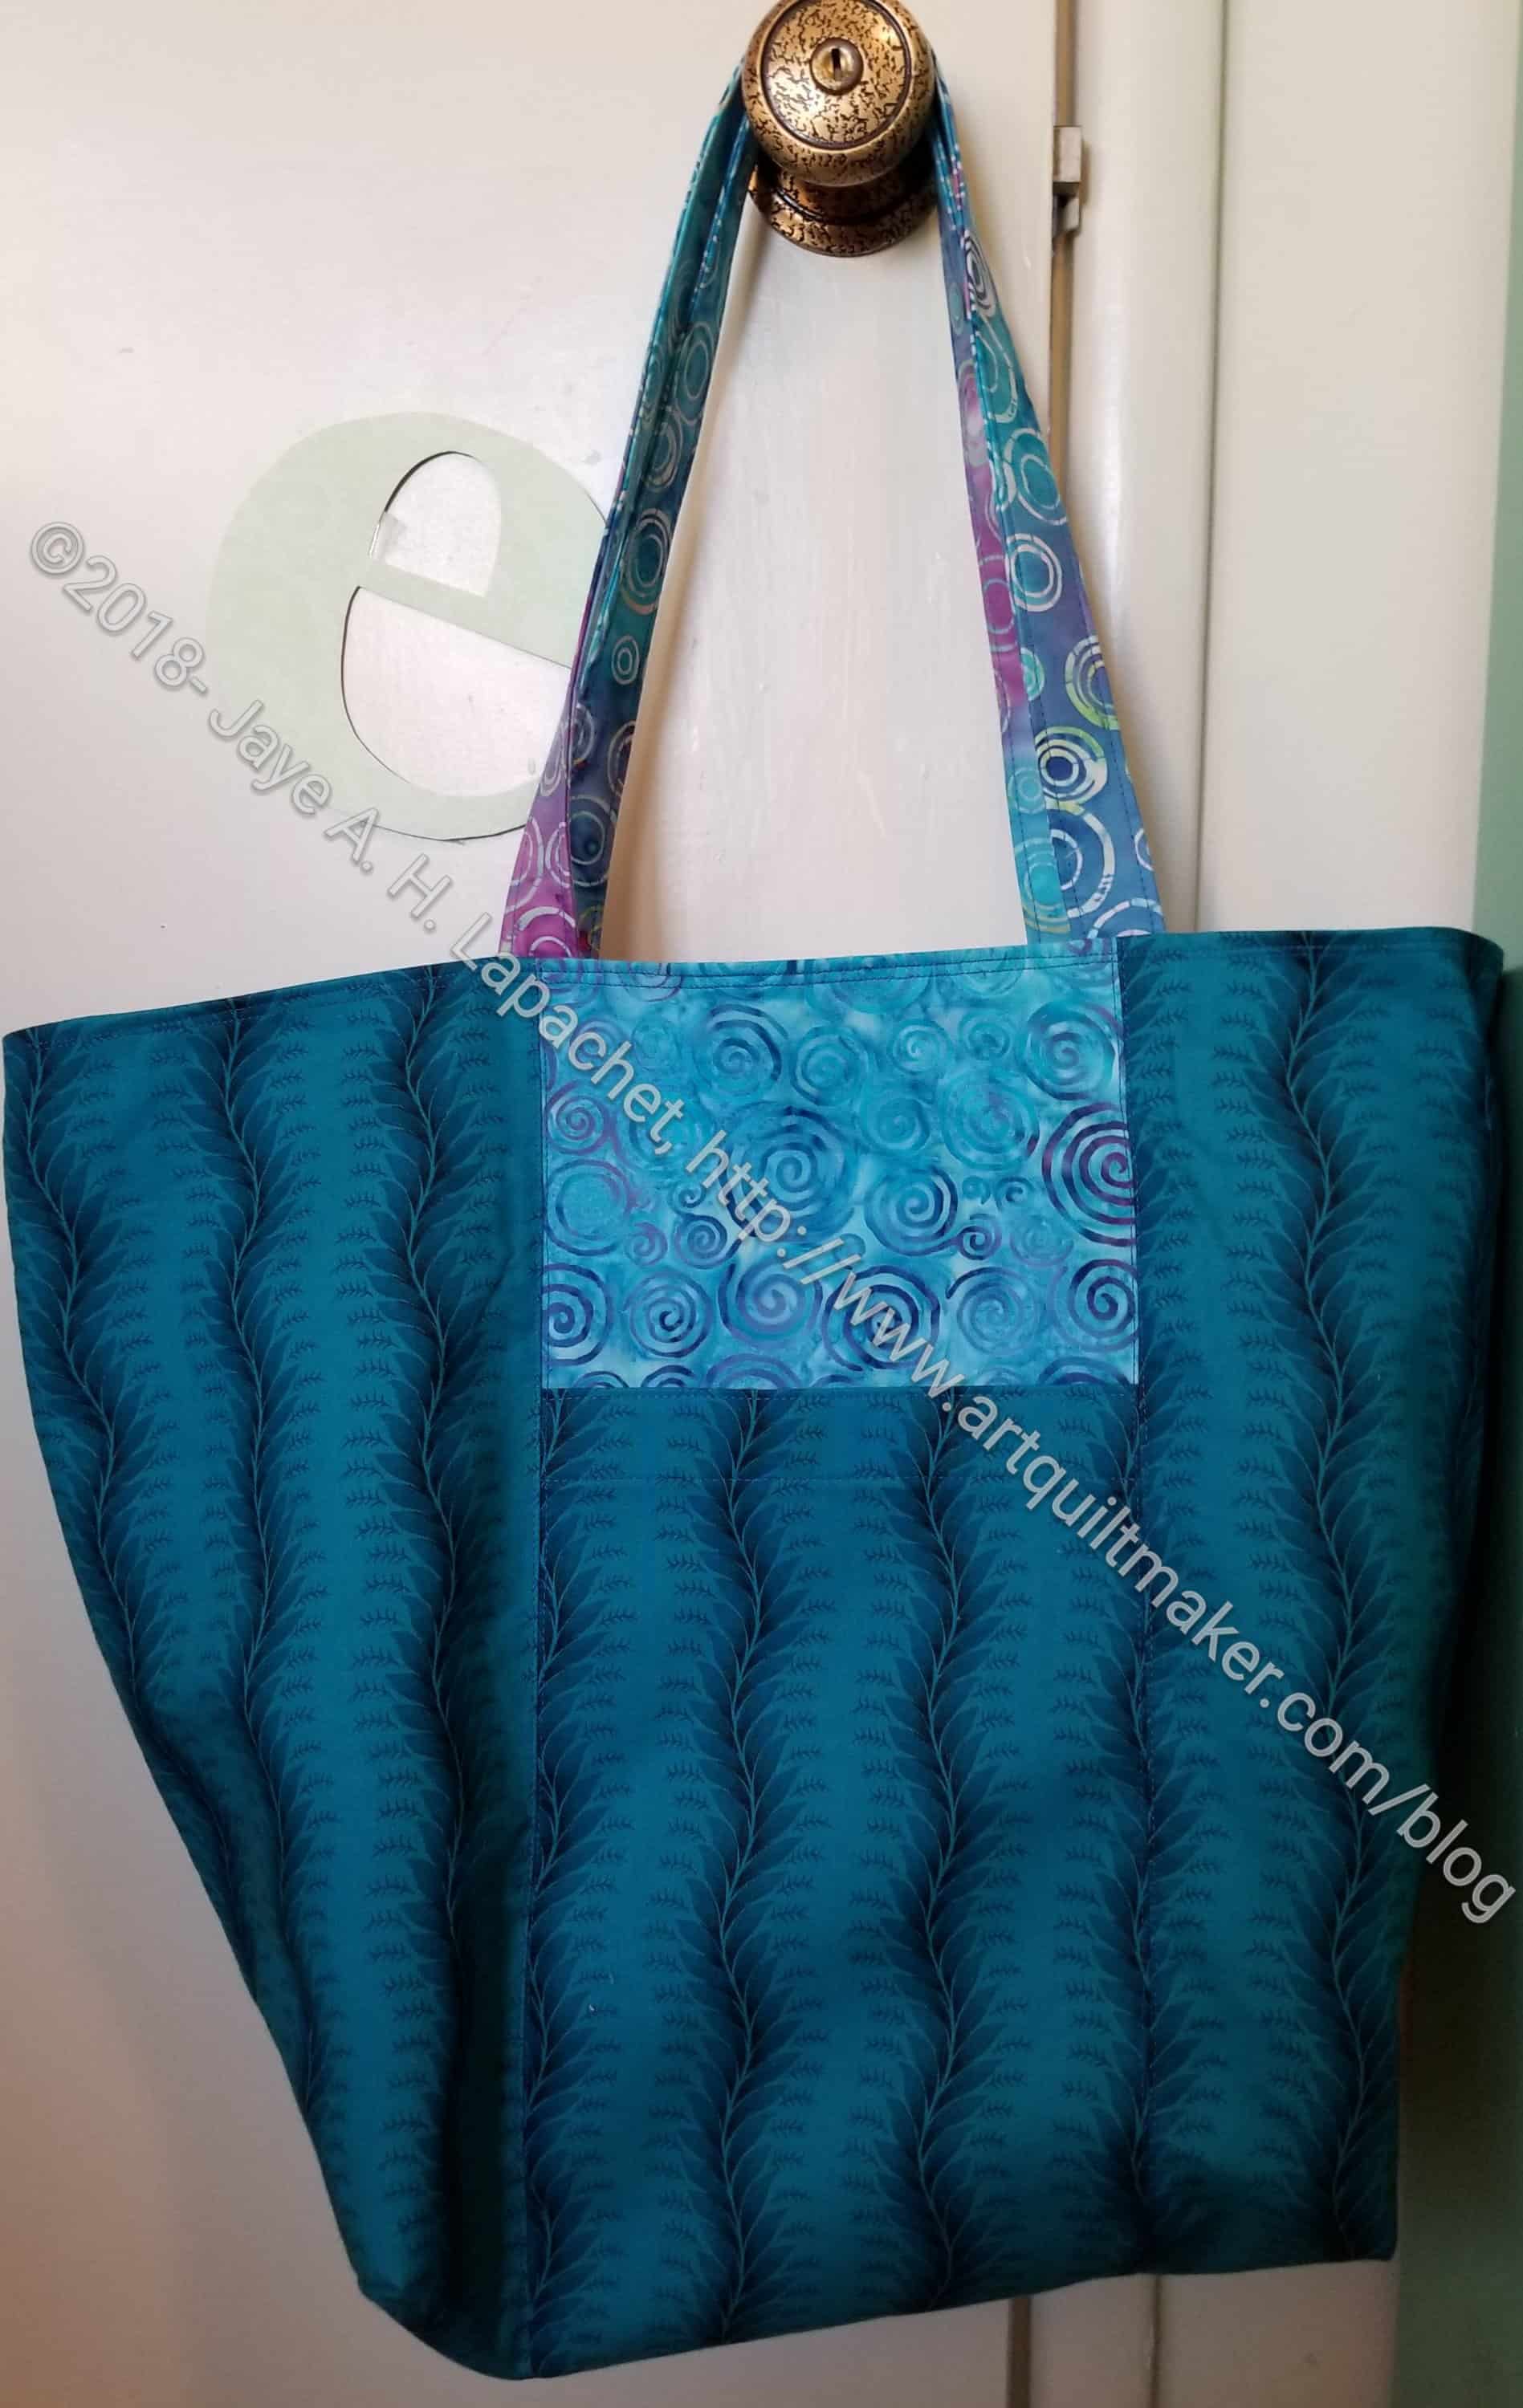
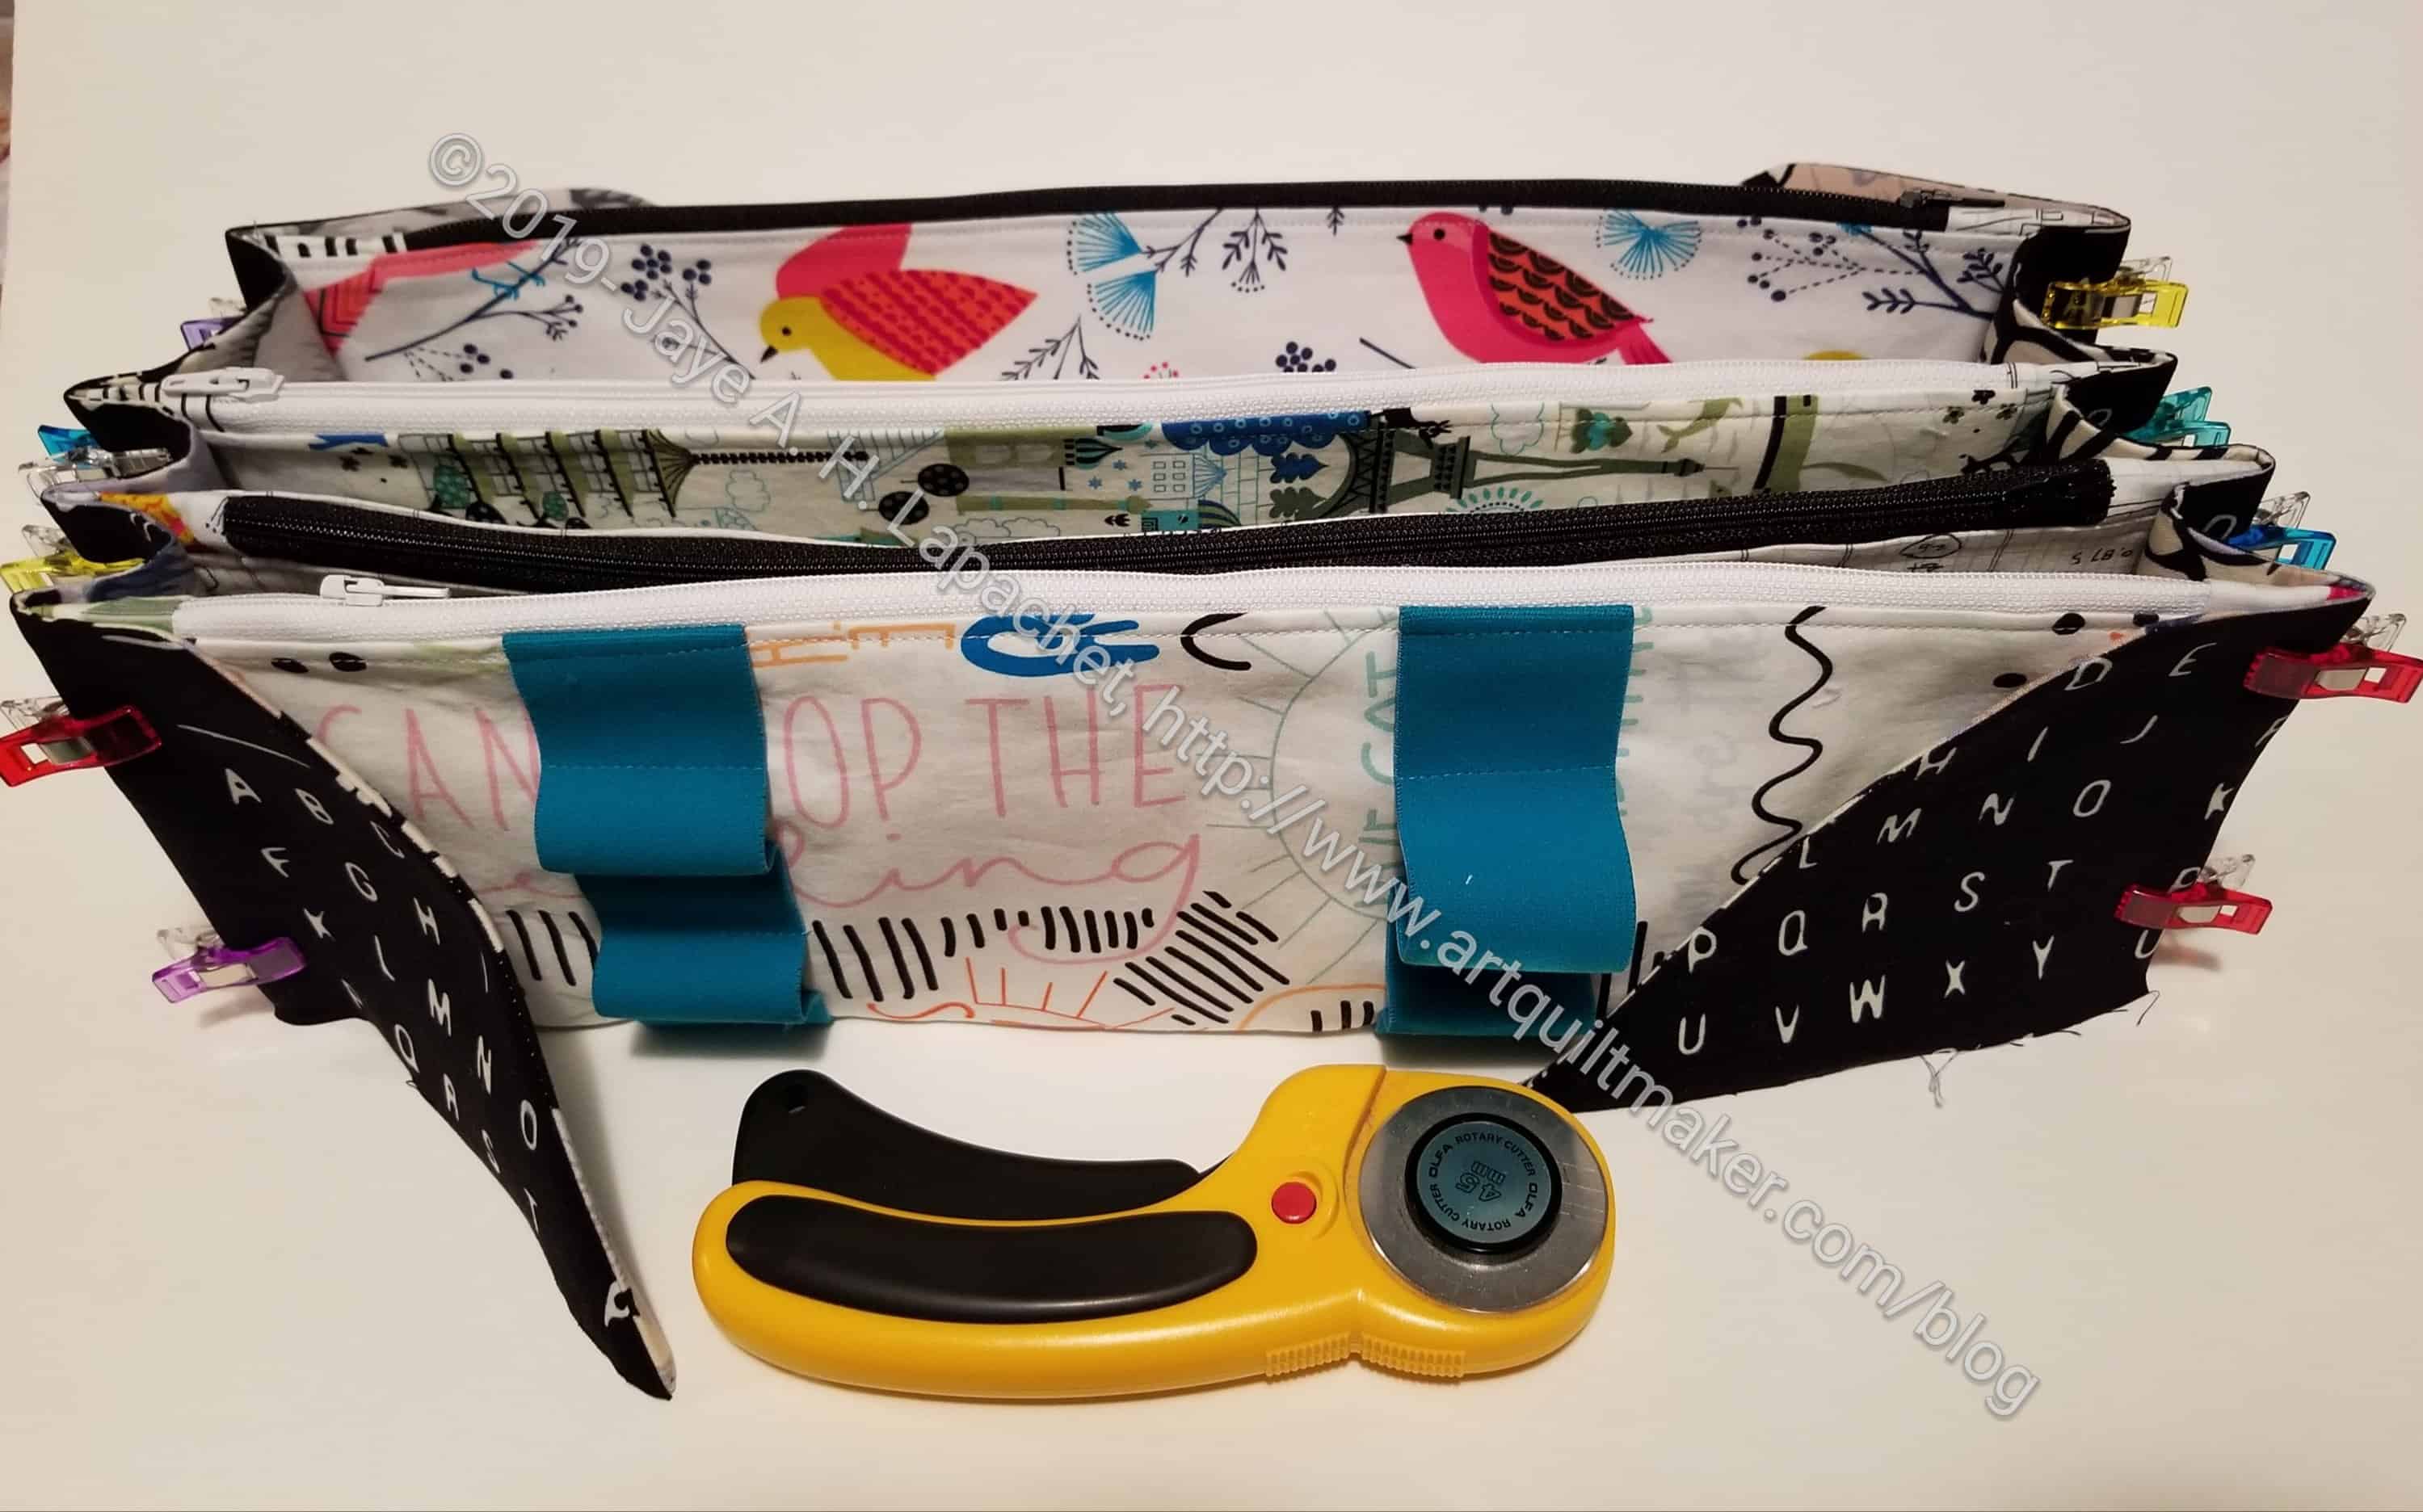
I saw the Running with Scissors tool bag by Annie. OMG! It is fabulous and I am trying not to buy it and make it. I have just made a couple of tool totes already and haven’t filled them up yet. Perhaps I will make one for a swap or a gift? Have you made one?
Fabric, Notions, Supplies & Tools
My friend, Mary, turned me on to Maker’s Mercantile, which is mostly, it seems, a knitting supplies vendor. They also carry Sue Spargo wool felt. She has come out with bunches of different colors. They are hard to see online, but still yummy and hard to resist. They also carry some precut Sue Spargo shapes, specifically flowers. they are on my list, but I have to restrain myself as I already have enough handwork projects to choke a horse.
I got a zipper pull (to hook on to a zipper to make it easier to pull) and love it. I use it on my first Sew Together bag. I have been wanting to buy some more. Someone recommended Tiffany Green Designs. I haven’t purchased anything yet, but she has a lot of nice charms with lobster type clasps.
Tips, Tricks & Techniques
Patti posted on my guild’s website about a boxy bag dimension calculator. This is a useful tool, especially when you want to venture out on your own. The site also has interesting garment patterns so take a look around.
Sara of Sew Sweetness bag fame has produced a video tutorial about Tapered Corners and it is now posted on the Sew Sweetness site. This technique is useful for making pillow corners and bag corners not look so ‘pokey outy’ – long and thin once the fabric is turned. Corners will look more professional. The video is realtively short and this is a useful technique to incorporate into your bag of tricks. Templates for the tapered corners are now posted on the site alongside the video.
Other Artists
Julie got a Quick Curve Mini Ruler when we were at PIQF together. She also got a pattern for a pumpkin quilt. and started working on them on our last quilt adventure. She has some progress posted on her blog and you can see how cute they turn out.
I write in a journal every day. It is more usual for me to write than it is for me to skip writing. I also think a lot about why i write. I don’t have an exciting life (a fact for which I am grateful), so who, in the future, would care about my sewing projects, my worries and how much I got done on any given day? Danny Gregory put my random thoughts about why into a coherent couple of paragraphs in a recent blog post. He draws a lot more in his journal, but I think the reasoning is the same. He wrote:
“In the end, honestly, these drawings and words were much more for me than they were for my friend or some strangers. Getting it down on paper, controlling the narrative, putting bookends around it, gave a sense of the finite to my experience.
And it helped me understand better why Frida would paint her nurse, her hospital bed, her scars. Why Vincent painted himself with a bandaged ear. Why my favorite artists painted screaming popes, bayonetted innocents, dying horses, dead wives. Not for the shock value that intrigued me as a sniggering adolescent, but to make the incomprehensible meaningful to them — and ultimately the world.
The art we make is not just a means of gauging our talent or our progress or making pretty things to hang on the wall or sell in a gallery. Art making is the way to commemorate and honor love and suffering and all the vicissitudes of life — and share the wisdom we gain in the process.”
It doesn’t really matter to me if nobody else in the world writes down their thoughts. I don’t really care if nobody ever reads what I write. I barely ever read what I wrote, though I do go back and look up drawings for quilts and other projects sometimes. I write to help me deal with the world – an often unfair, violent and incomprehensible world. I feel like I can put my worries and concerns into a book and shut it. Then I know they are documented and I can go back and revisit them, but I don’t have to keep them in my head.