Various & Sundry 2023 #7

Tools, Books, Fabric, Notions & Supplies

I recently read a blog post about the Classic Curves plus ruler. I have the regular Classic Curves ruler** and am slowly collecting pieces for a quilt. You know I love a good specialty ruler, so I looked carefully at this article and the specs for the ruler. It allows quiltmakers to create the same shapes as the Clammy. Since I have various sizes of the Clammy, I probably won’t be buying this ruler. The Classic Curves ruler does not take training to use, unlike the Clammy, so if you don’t have the Clammy rulers already, this might be the ruler that helps you create inset circles, Orange Peels, half circles and Drunkard’s Path blocks. Take a look and help support a small, woman-owned business.
There are other specialty rulers that create circles, Orange Peels, half circles and Drunkard’s Path blocks.  One is by Creative Grids, the Circle Savvy** ruler. I don’t have this ruler. You can find a few different rulers by searching around. In addition to Sharon of Colorgirl Quilts and Latifah, creator of the Clammies, Jen Carlton Bailley has her various Drunkard’s Path templates. Daisy of Warmfolk, Papper, Sax, Sten and many others want you to make curved quilts.

I struggled to butt the pieces of my La Pass quilt together so I can sew them as i sew more of the top together. I have some of the Sew Tite HDs**, which are great, because they are really strong. The problem is that they are not long enough. At the guild meeting the other day, Lindsay told me about Sew Tite Magnums**, which are longer than any of the other Sew Tites. They are on the pricey side, so we’ll see if I buy them, but they look really useful.

Events, Exhibits and Shows

The North East Ohio Quilt Show will be held in Wooster, Ohio July 20-22, 2023. No, I won’t be there, but I’d love to see what  you see there! There is free admission and free parking. They have a raffle and over 40 vendors. Check out their website!

There is also the Delta Quilters Guild 2023 Quilt Show being held in Brentwood at 35 Oak Street on August 19-20, 2023. There is a $10 entry fee, which is good for both days. See quilts, demos, vendors and take part in their boutique and raffle. Take a look at the Delta Quilters website for more information.

Media, Books and Articles

This isn’t quite the chart I was looking for, but I found a guide to interfacing from Threads magazine. I found a chart from the Cotton Patch in the UK, so some of the information isn’t relevant to all of the interfacings US quiltmakers have available, but it is somewhat useful. Pattern Pages has an article on choosing interfacing. Kayapapaya blog also has an article on various types of interfacings. They occasionally mention equivalents as well. They have a brief equivalency chart for those of you who live outside of the US and can’t get Pellon products.

Pellon has a series of guides about how to use the interfacing.

I talked about the Sew Tites magnetic cutting system last time. They are still taking pre-orders (no affiliation). The Sew Tites team went to Utah and talked with Annie Unrein of ByAnnie fame about their system. They recorded the show.

Projects, Classes, Patterns & Tutorials

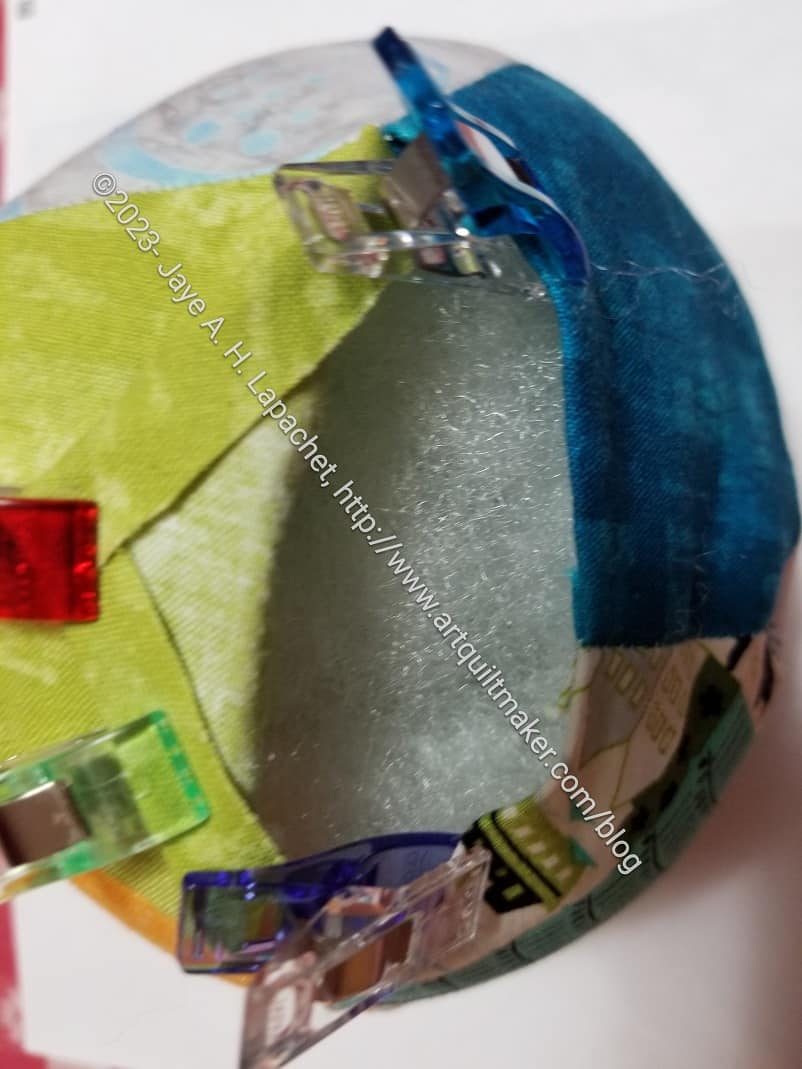
I may have posted this tutorial before. I am making another EPP ball, so I had to look it up again and I thought you might want to sew along with me. The last one I made was in 2020.

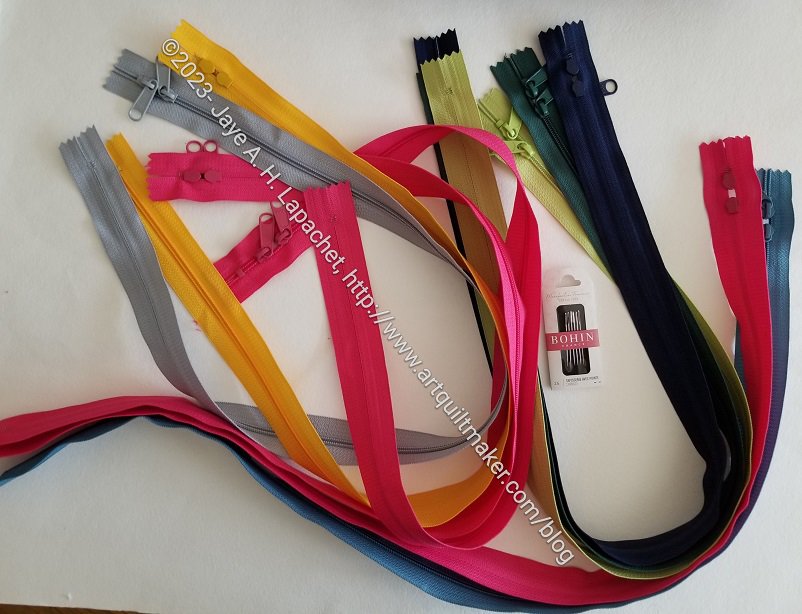
Sara of Sew Sweetness sent out her monthly newsletter last week. In it she reminded readers of her free technique videos. She says “The FREE technique videos that we have on the website are designed to enhance your skills as bag makers and can often be adapted and applied to many different projects. The video on “How to add a divider to a bag” can be used on any bag pattern that has a side panel. You can even add a divider that functions as a pocket. What a great place to add a fun bright zipper!” You can sign up for the newsletter on her site. The newsletter offer usually comes up when you open the page. You also get a free pattern for the Oslo bag. No affiliation; just a happy customer. Also, the Oslo Bag is great for organizing your tools and supplies.


**Obviously, you should shop at local quilt shops and small businesses. However, if you are too busy or can’t find what you need there, I use Amazon affiliate links and may be paid for your purchase of an item when you click on an item’s link in my post. There is no additional cost to you for clicking or purchasing items I recommend. I appreciate your clicks and purchases as it helps support this blog.

26 Projects 2023 #6

June was an okay month in terms of sewing. I got back in the saddle and was able to finish a few things. I need to get back in the swing for July as I have some projects to finish as gifts.

Finished 2023 Quilt Projects

Finished (for me!) Donation Quilts

I don’t quilt much and I enjoy the collaborative effort of making a top and allowing someone else to quilt it. Thus, the quilts below are mostly tops, but I will include a finished quilt once someone else finishes it for the group.

Finished Bags and Small Projects

This category covers bags, toys, aprons and knitting as well as other non-quilt projects.

In Process or To Make

The ‘In Process’ is used to denote projects on which I am actively working or are on the design wall waiting for me to stitch. I am continuing to try not to put away projects. I find putting a project away ensures I never work on them, because I just lose steam.

Quilts (machine work)

    • Nothing at the moment!

Quilts (Handwork)

I decided that some of my quilts are in a different class because they are hand piecing or embroidery or beading. They take longer. Thus I created a new category and have moved some projects here.

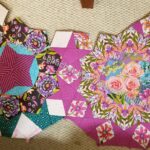
  • Half Hexie Stars Project– I am reignited about this project after working on it at the November Sew Day. I have been working away steadily and can see the light at the end of the tunnel
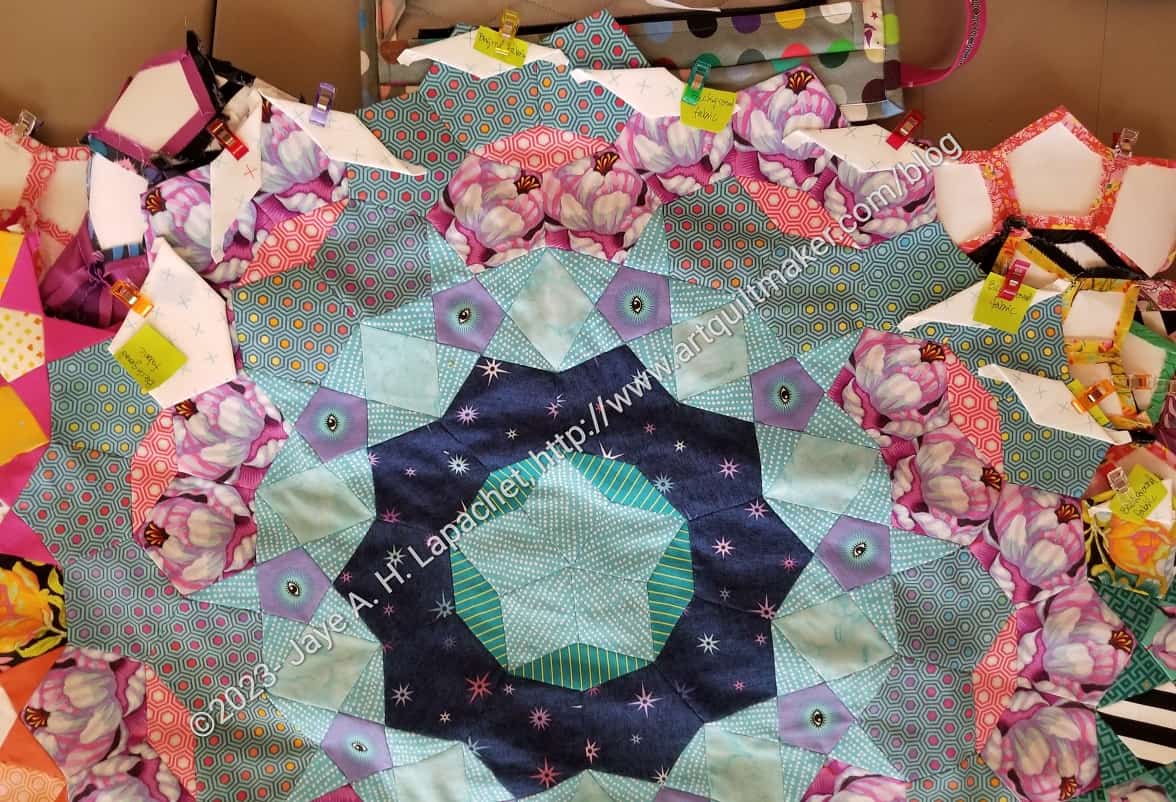
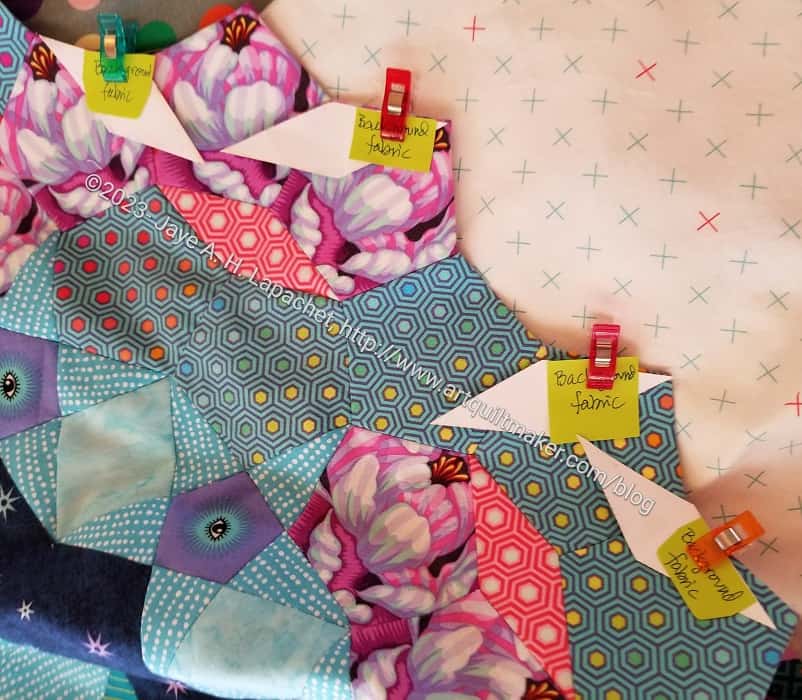
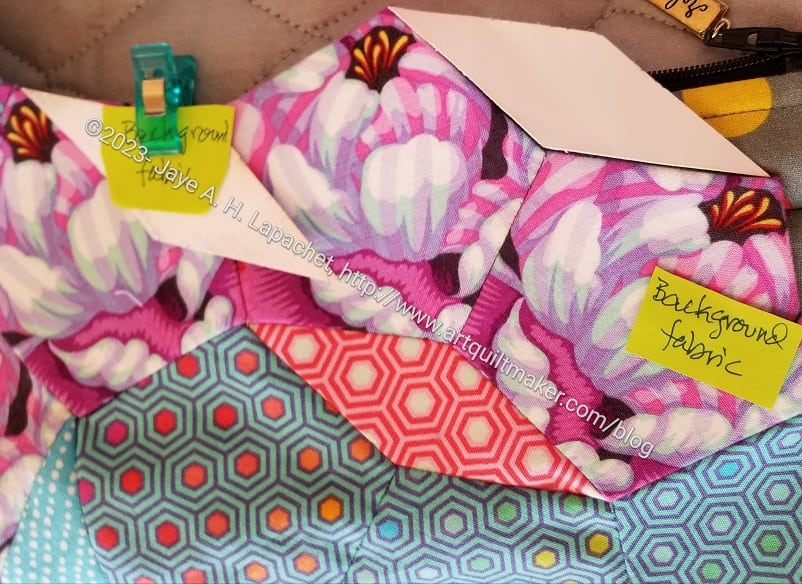
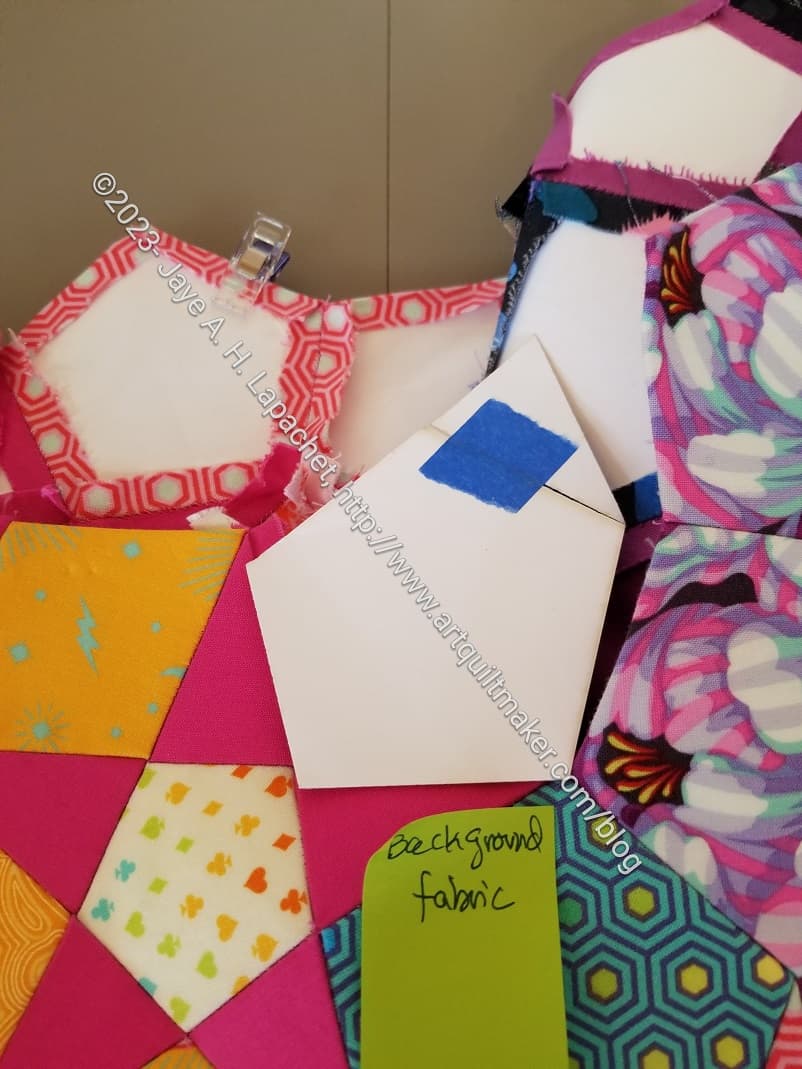
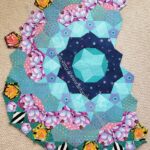
  • La Passacaglia – The rosettes are all assembled. I am ripping out the papers and deciding which rosettes to finish into the border.

Ready for Quilting


In the Quilting Process

    • Nothing at the moment

In the Finishing Process

    • Nothing at the moment

Small Projects

Most of my progress involves thinking or just cutting. I don’t have a bag in process at the moment.

  • Ultimate Project Organizer – another project from the Crafty Gemini Organizer Club, also on my list, but not yet started. I did pull the fabric, supplies and reviewed some finished photos that others posted, so I am one step closer.
  • Retreat Organizer – another project from the Crafty Gemini Organizer Club, also on my list, but not yet started. Recently, I saw one of these made up and I am not so nervous about it. I did pull the fabric, supplies and reviewed some finished photos that others posted, so I am one step closer.
  • Rose Petrillo bag – I found the pieces for this bag cut out, but not sewn.
  • Superbloom tote using Hindsight fabric – not started. I did pull the fabric, supplies and found a photo I plan to use as inspiration that others posted, so I am one step closer.

Still UFOs
I still have UFOs. Who doesn’t, after all? A project in the ‘UFO’ category means I am stalled, it hasn’t been worked on in awhile or it is waiting its turn to be worked on. The list is a lot shorter and the projects are newer, for the most part.

I am annoyed that some of these are still WIPs. I just need to work on them!

  1. Handbag Sampler – this is still the forgotten project. It should be on the UFO list. The blocks were teaching samples when I taught a sampler class some time before I started writing the quilt class sampler tutorials. I found one block recently, but otherwise I don’t actually know exactly where the blocks are hiding. I crawled up in the far reaches of my fabric closet to see if I could find them and they weren’t where I thought. I am sort of mystified as to where they could be. I haven’t even found a picture of all the blocks. WTH?
  2. Self Portrait: started in 2006 at a class at Quilting Adventures in Richmond, Virginia. After a brief burst of inspiration, I am stalled on this again. As one of my oldest (I am pretty sure) UFOs, I put it on my blog and out into the Twitterverse and Diane suggested that I not consider this as a self portrait. I think that strategy is a great idea. I am now trying to think of a new persona for her.
  3. Serendipity Lady – I am still planning to take this piece to be framed. It might need a bit of quilting first.
  4. Fabric of the Year 2020
  5. Fabric of the Year 2021 – I may combine 2020 and 2021 into a COVID edition.
  6. Fabric of the Year 2022 – yes, I added this one to the list, but this is the last one I plan to do.

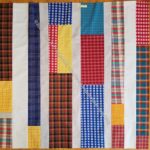
Blue Strip #3 Heading Towards Finish

Blue Strip #3 donation top without borders

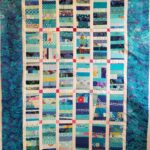
I had time this week to work on this donation top. I was able to finish putting the blocks together into a top.

The top is a weird shape – kind of long and skinny. I probably should have put the top row of blocks on the side to make it more square. I didn’t, however, so I will put a larger border on the sides than on the top to see about making it more square.

The pink cornerstones add a little spark to the top.

Handles from the Back

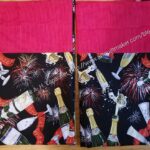
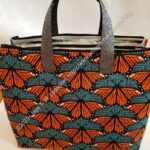
Kit Supply Tote in Progress

I cut out a large version of the Kit Supply Tote by Aneela Hoey at one Sew Day in the past. I checked and can’t find a date when I did it. Still, I decided, over the weekend, that it was time to put the bag together.

Overall, this is a pretty straightforward tote. Directions are provided for two sizes and both are put together the same way.

Kit Supply Tote handles

Towards the end, I chose one of the webbing handle materials from Sew Hungry Hippie.They are a glittery black or silver overlaid on black. Very glittery

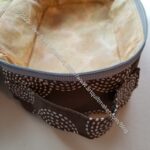
It was hard to sew on the previous lines from the front. I was using a charcoal thread color that  matched pretty well. I sewed the handles on a little bit from the top/exterior, counting stitches carefully until I had one line of stitching sewn in a square. 

Handle stitching
Handle stitching

Thereafter, I took the bag out of the machine and sewed from the lining side.  I could easily follow the stitching by sewing on the previous lines. I am pretty pleased with how the stitching came out.

No Paper Sewing FPP

Julie told me about foundation paper piecing where you don’t sew through the paper. I meant to have her show me at the last Sew Day, but somehow we didn’t get around to it.

As my stack of postcards grew, I knew I needed to do something, so I watched a video called My FPP (Foundation Paper Piecing) No Sew Paper Method and was able to get started.

WOW!

What a game changer! I might actually start to use FPP more.

I am not doing a tutorial right now, but might in the future. It would be a good technique to teach in my Sampler class.

Fold pattern over thin ruler

One of the keys is folding the paper back. The video I watched show using the Add-a-Quarter** ruler to fold the paper back. I have that ruler, but it didn’t work the way I expected. I have a very thin Bernina ruler I got somewhere and that worked very well for me.

I also have a thin plastic grid ruler**, which I haven’t tried that might work well also.

There are a few different videos on this technique. Julie said she uses this technique in a little different way, but that what it shows is basically the same.

One good thing about this technique is that I don’t have to print paper patterns all the time, use them once and then print another. Great reuse!!


**Obviously, you should shop at local quilt shops and small businesses. However, if you are too busy or can’t find what you need there, I use Amazon affiliate links and may be paid for your purchase of an item when you click on an item’s link in my post. There is no additional cost to you for clicking or purchasing items I recommend. I appreciate your clicks and purchases as it helps support this blog.

More Scrappy Celebration Blocks

Scrappy Celebration - late June 2023
Scrappy Celebration – late June 2023

I focused on getting some more blocks done for Scrappy Celebration over the weekend. My design wall is looking good even if I have to layer some of the blocks. I do need to move them all up and will probably do that today.


La Pass – the Other Half

La Passacaglia - the Other Half
La Passacaglia – the Other Half

Yes, I finished the other half. There was one long seam that took me about two evenings (1.5-2 hours?) to sew. That created this giant half.

Now I will sew the two halves together. I bought the Sew Tite Magnums**, which Lindsay recommended, but they haven’t arrived yet and I want to get on.

I am kind of in shock that I have ONE SEAM LEFT. Granted it is a realllllly long seam, but still after all these month ONE SEAM!!!

Enigma in Use

Enigma for EPP
Enigma for EPP

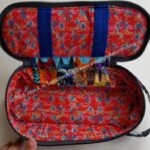
I finally found a use for the Enigma Bag.

I plan to use it for small EPP projects when I am on the go. In this case, I have the pentagons that will be made into a ball in the bottom.

I was able to stock the bag with scissors, needles etc by using some other gifts I have received that haven’t had a home yet and I am really pleased about that.

More Julie Pantone Blocks

Pantone Project blocks from Julie April 2023

After the meeting on the weekend, I cleaned out the Chubby Charmer I take to the meeting and found a bunch of stuff leftover from Retreat in the bottom. Among the items was a bunch of Pantone Project blocks that Julie made. She must have handed them over at the Retreat.

This group looks very Fallish/Autumn-like to me.

I feel terrible that they have languished unremarked upon for weeks. My only explanation is that I left for a business trip only a few days after I returned from the Retreat and really didn’t do a great job of putting everything away.

I have some fabrics chosen for some blocks for Julie and I am determined to get some done.

Half a La Passacaglia

Half of La Passacaglia

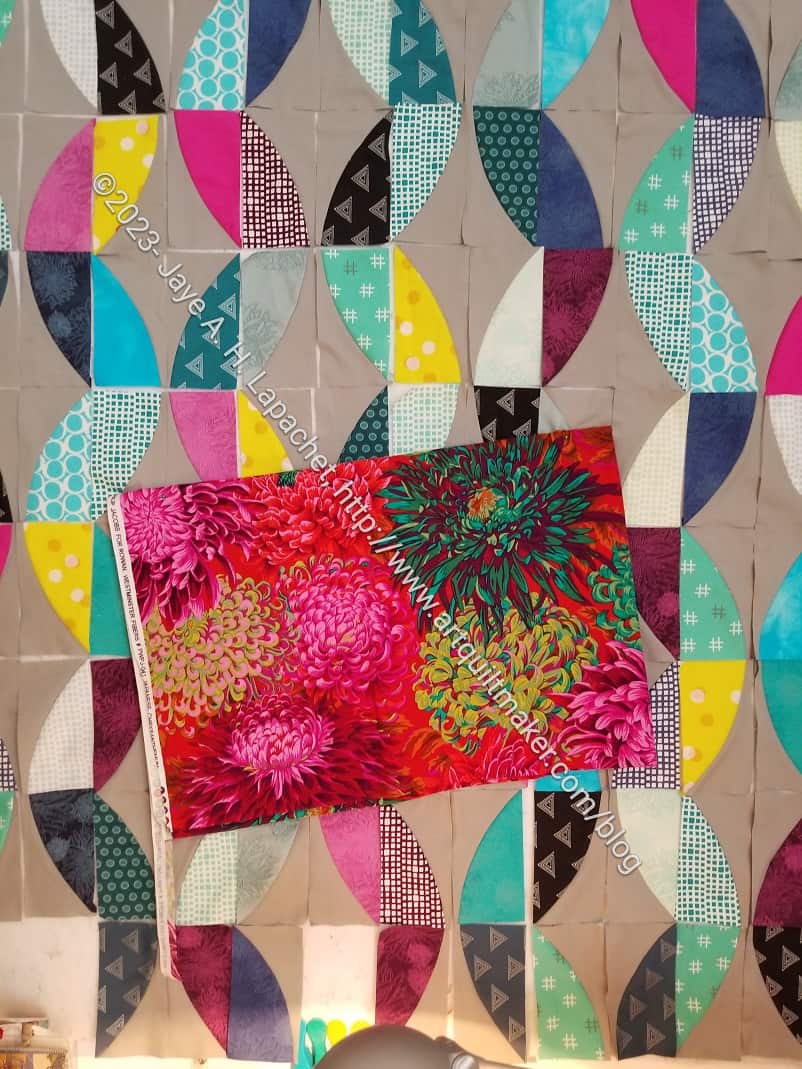
Yes, half of my La Passacaglia top is sewn together. I think it looks pretty good. I do think there were some things I would change if I had known then what I know now.

I was telling Lindsay that I have learned so much making this quilt. I am really sad it is ending. I will probably try another one on my own. Nothing is happening before I finish this one, however.

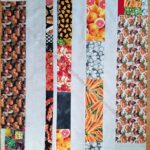
Color Strip Donation Blocks Ready

Color Strip blocks laid out

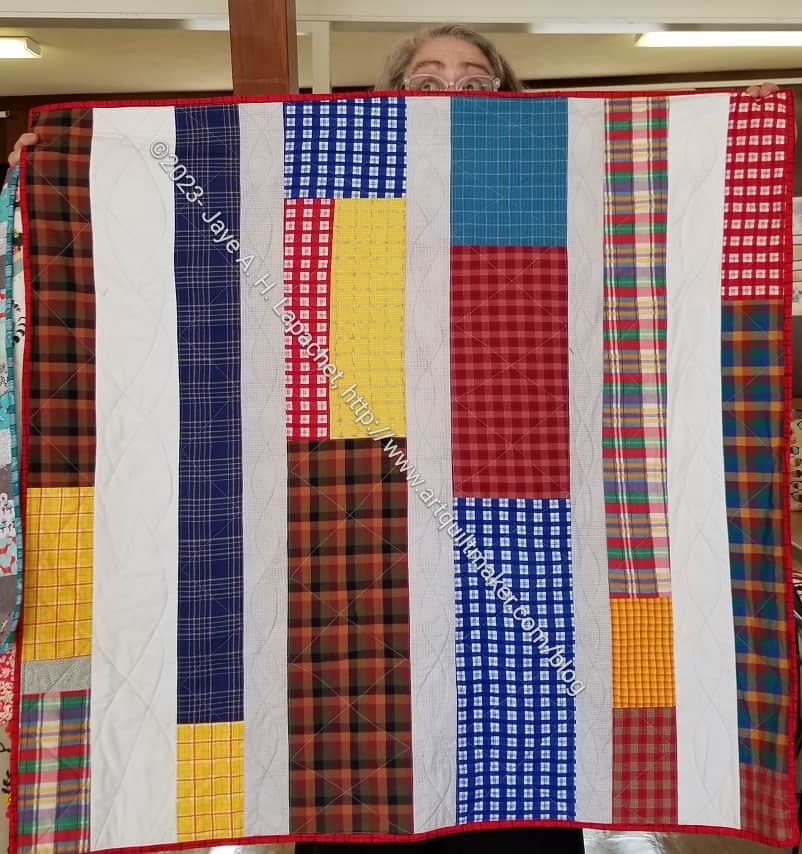
I am ready to put the Blue Color Strip blocks together. I have made all the blocks and laid them out on my small design wall, ready to sew. I hope to get the quilt ready to hand in on Sew Day in July.

I looked at the previous quilts and didn’t want to do the same thing, but also am not up for a lot of fancy piecing.

It came to me in a flash to add some pink cornerstones!!

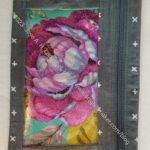
Finished: Peony Enigma

Enigma Bag #2
Enigma Bag #2

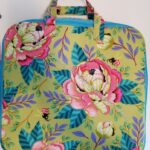
I forgot to post about the finished second Enigma. I wrote about last a week ago.

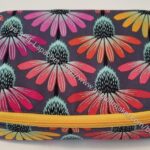
I am so pleased with the fabrics, which I talked about last time. They look so well with the zipper, too.

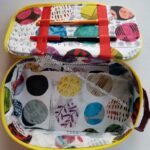
Peony Enigma open
Peony Enigma open

As per usual with second tries, this one went together a lot easier and much faster. I didn’t use the prequilted fabric I had Colleen make for me. I only have one fabric, the Philip Jacobs fabric I used last time and I wanted something different.  The bottom piece needs to be quilted, which meant I had to quilt the bottom. It was fine. I used one fabric for the lining and I like that look a lot better, even if the various lining fabrics aren’t very noticeable on the first Enigma.

Peony Enigma: accordion pocket

The accordion construction of the center pocket is magical in a way. It is just so amazing how easily it goes together. I am really pleased with how it came out.

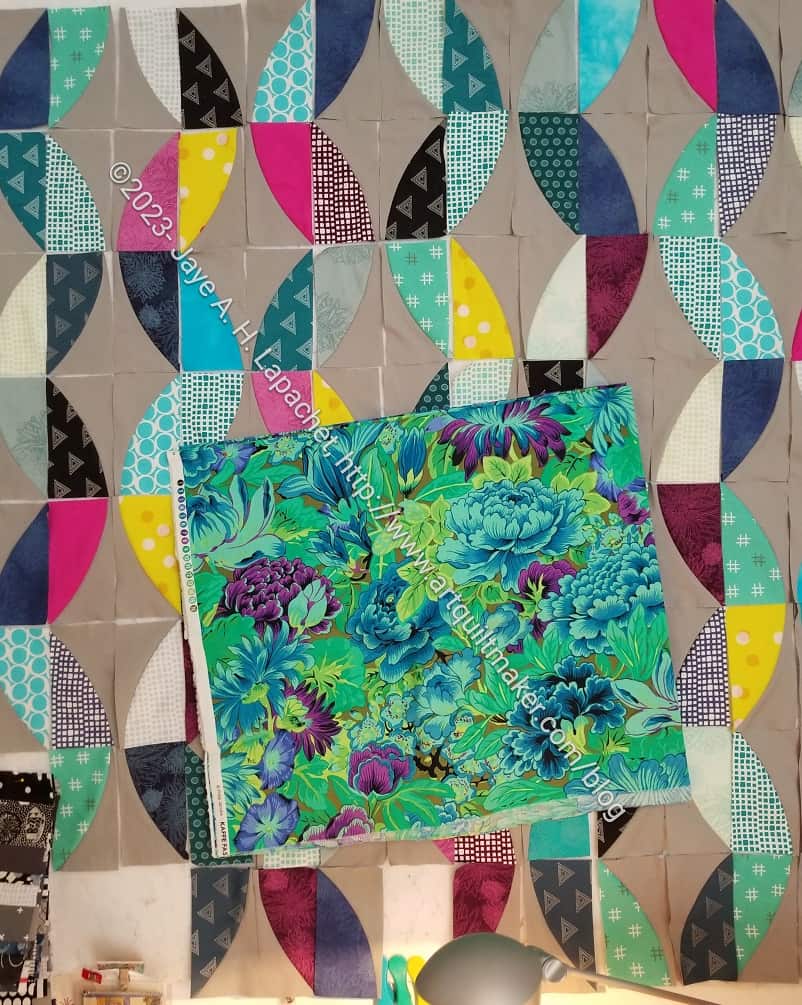
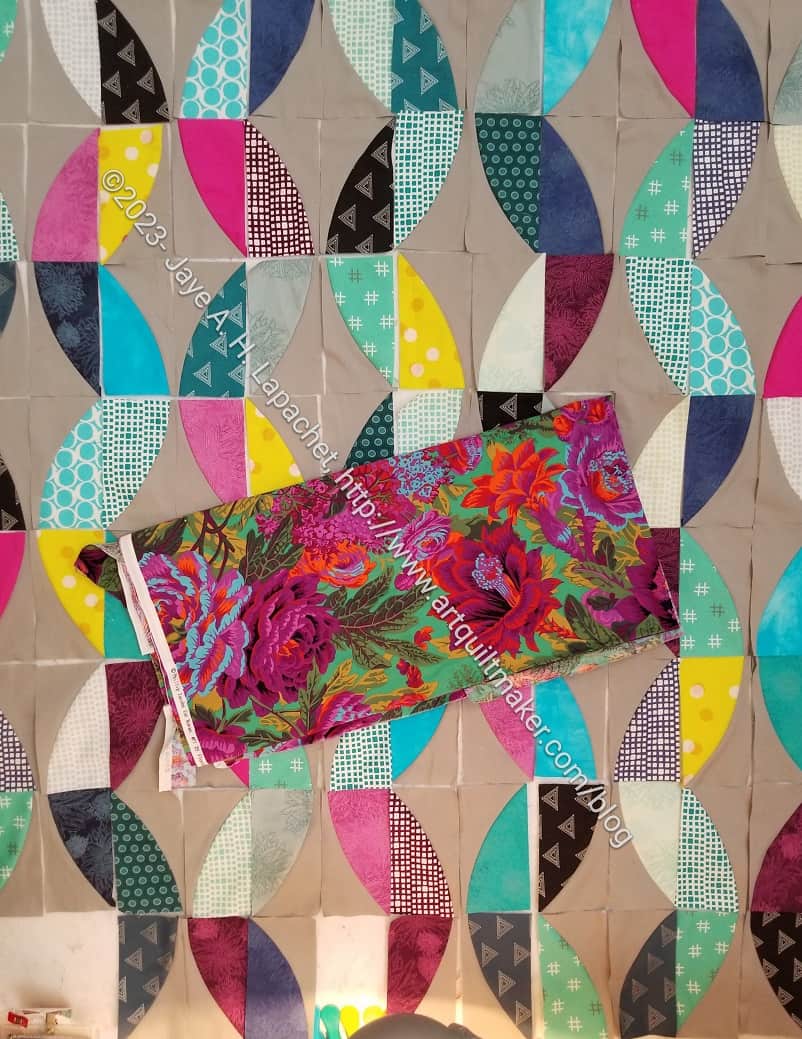
Also, the fabrics look so pretty in this configuration. I think the Kabloom fabric is just a good fabric design, because I didn’t have much fabric left to fussy cut. The end with the half peony flower is a happy accident.

Peony Enigma: diagonal zipper

I am still kind of enamored of the diagonal zipper design. I really need to know how Sara comes up with her designs. I saw another bag like this, but can’t believe that she would steal a design.

The only part that didn’t come out exactly as planned was the handle. I think I spaced the stitching too far apart. The empty space is large enough for me to carry it, but the Chrysanthemum version had more space. C’est la vie!

Peony Enigma: handle

I am so pleased with how this bag came out.

I plan to use it to travel with EPP projects. I haven’t filled it, or the Chrysanthemum version, up yet, but will. I have a few trips coming up later this year and will need it for them. Cross your fingers I can find a good project.

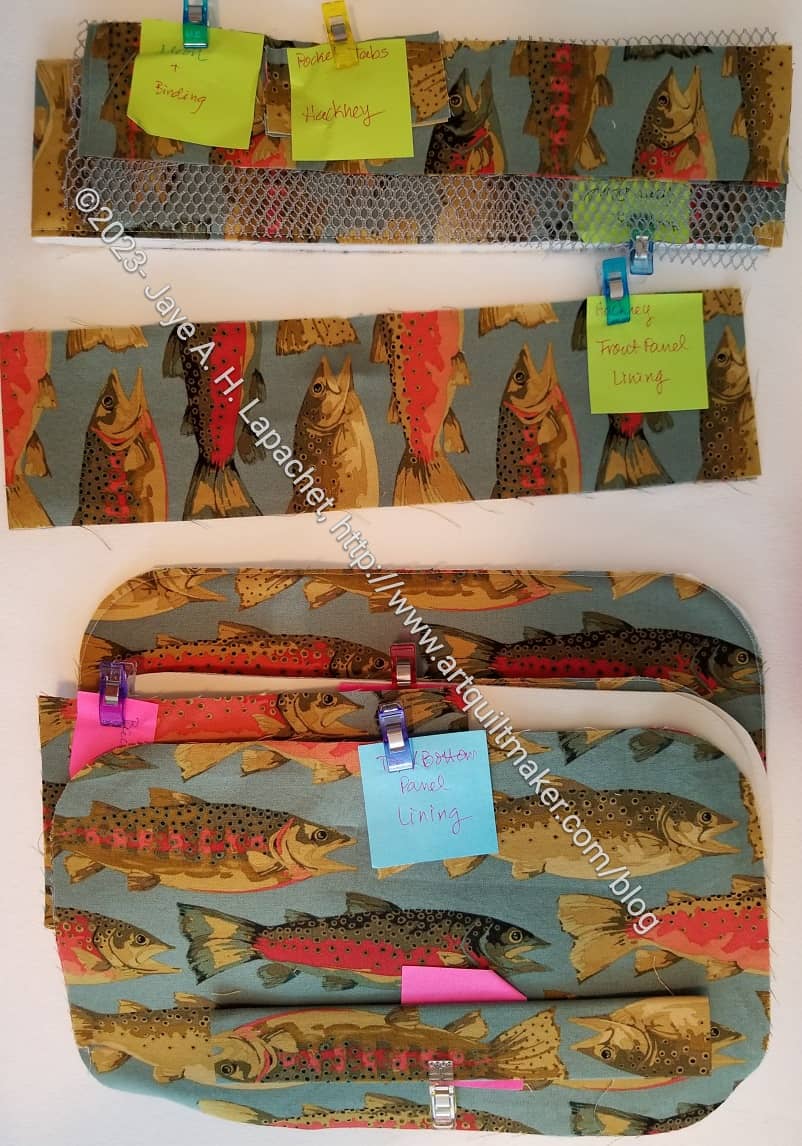
I might put this bag on my list to make as gifts. I am not done with the Hackneys yets, so stay tuned.