Calico Creations, Mt. Vernon, Wash

Calico Creations, Mt. Vernon, WA

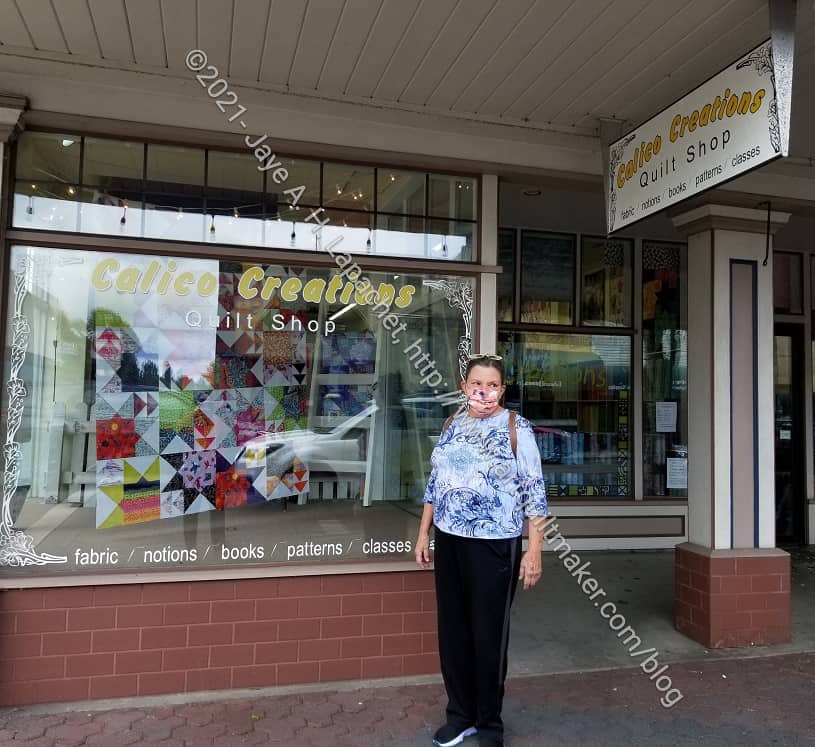
If you thought Sew Creative was good, you will love Calico Creations. We found Calico Creations accidentally on our way to the post office. I had seen the listing on Google, but thought it was a chain upholstery shop. There is a decorating/soft furnishing shop with a similar name near me so I ignored the listing. I am so glad we ran across it. This is a GREAT shop.

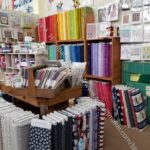
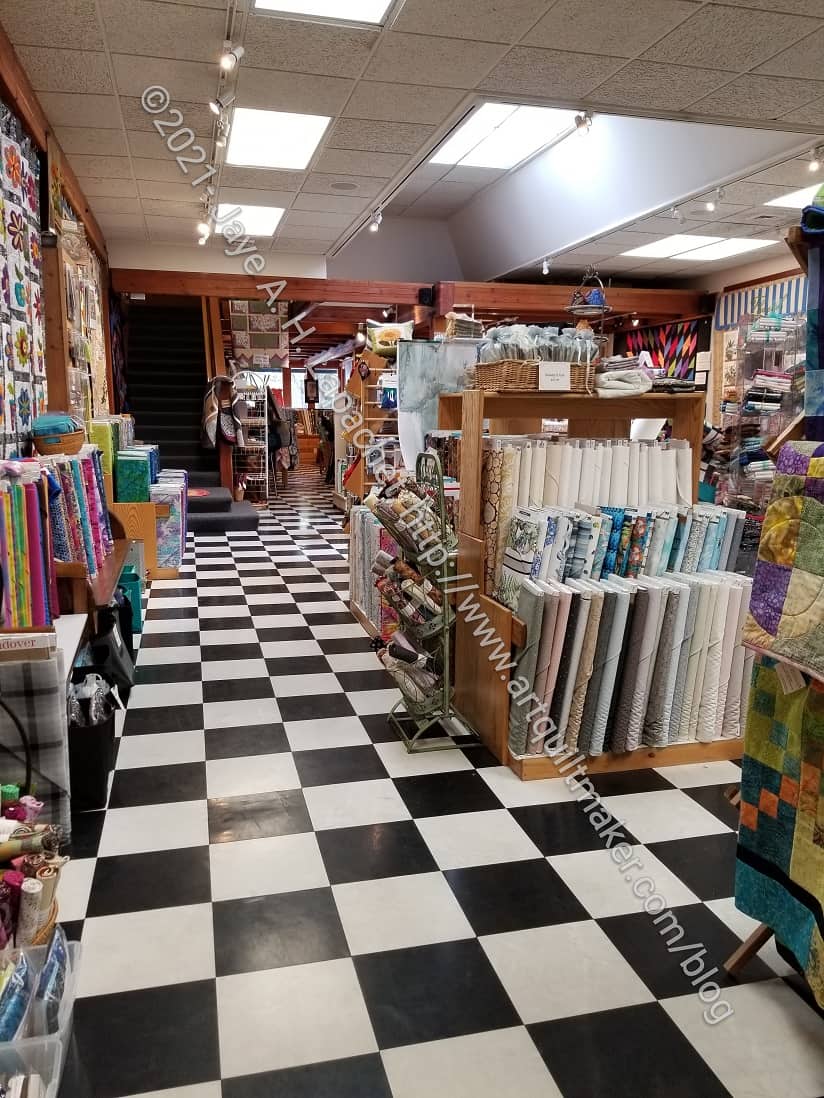
Calico Creations: front to back

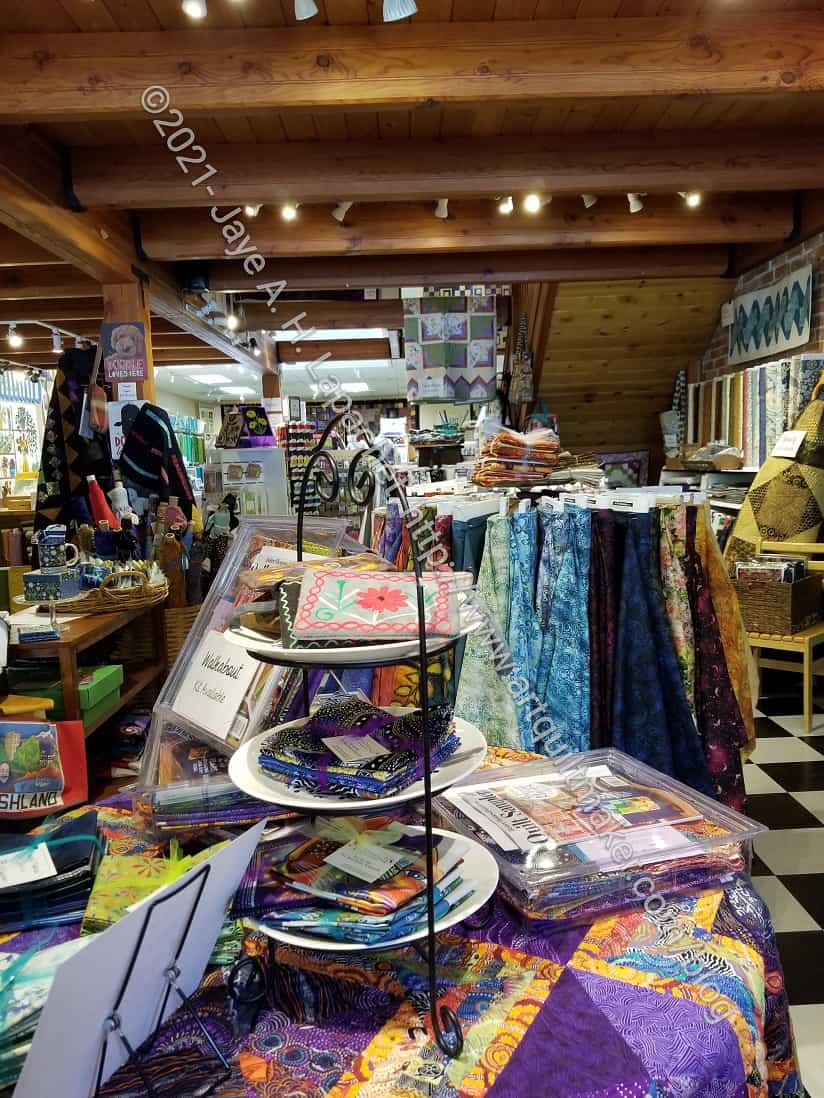
It was great for a number of reasons. The shop had A LOT of bolts of fabric. Their shelves were mostly 3 bolts high and then bolts were stacked in front of the shelving about 6 deep. They had just gotten Curiouser and Curiouser in as well as the new Anna Maria line, Bright Eyes. I haven’t seen that number of KFC bolts in one place in a long time. I saw Philip Jacobs fabrics that I have never seen on the bolt in person. There were bolts everywhere and then there were more bolts. I saw a lot (A LOT) of fabrics I wanted, but I tried to keep the yardage numbers down.

They had a large number of notions, rulers and other quiltmaking tools.

Calico Creations: Book Nook

There was a book nook with a comfy chair nearby. My Mom sat there for a minute and browsed some books. For the first time ever, I saw some Tilda books. I have wanted to see one for awhile, but CC had them and I was able to take a peek. One I looked at was Quilts from Tilda’s Studio**. I also took a quick look at Sewing by Heart**, which had small projects like pincushions. I like the soft colors, but the books are mostly projects and I need more out of a book than more projects. I saw an issue of Simply Moderne, but didn’t take the time to see if it was worth $20. I have an issue at home and one quilt I want to make from it.
CC had a large number of sample quilts. I saw a few bags, too, but their sample quilts were stellar. There were a lot of them and the fabric and color choices were great. I keep looking at various Quilts of Valor type designs and have wanted to make one. The shop had a flag quilt displayed that I thought would make a nice Quilt of Valor.
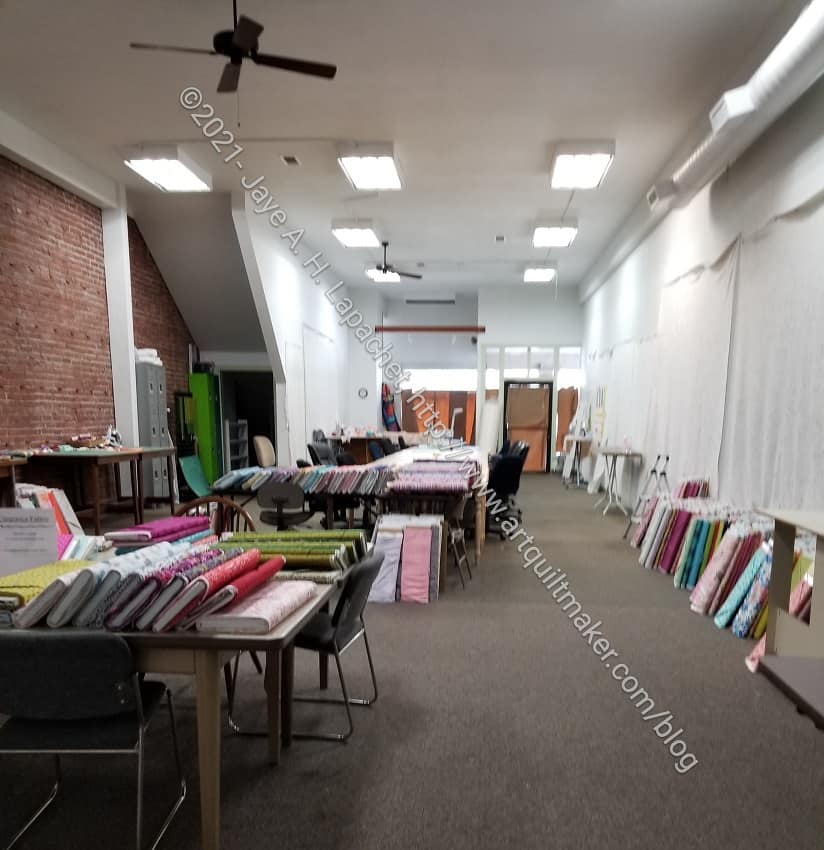
Calico Creations classroom

The classroom is large and roomy. I think it could easily hold 10-15 people sewing at one time. It is, obviously, not in use at the moment except for the large number of $6/yard sale fabrics. Above I said they had a lot of fabric. This sale room wasn’t even included. There were tons of bolts here, too.

The shop was busy as well. Not crazy busy, but people were coming in and going out the whole time I was there. I couldn’t turn around without seeing someone in the shop. The shop owner must be doing something right.

The staff was super friendly. They were eager, but not too eager, to help. They chatted with us while my fabrics were getting cut.
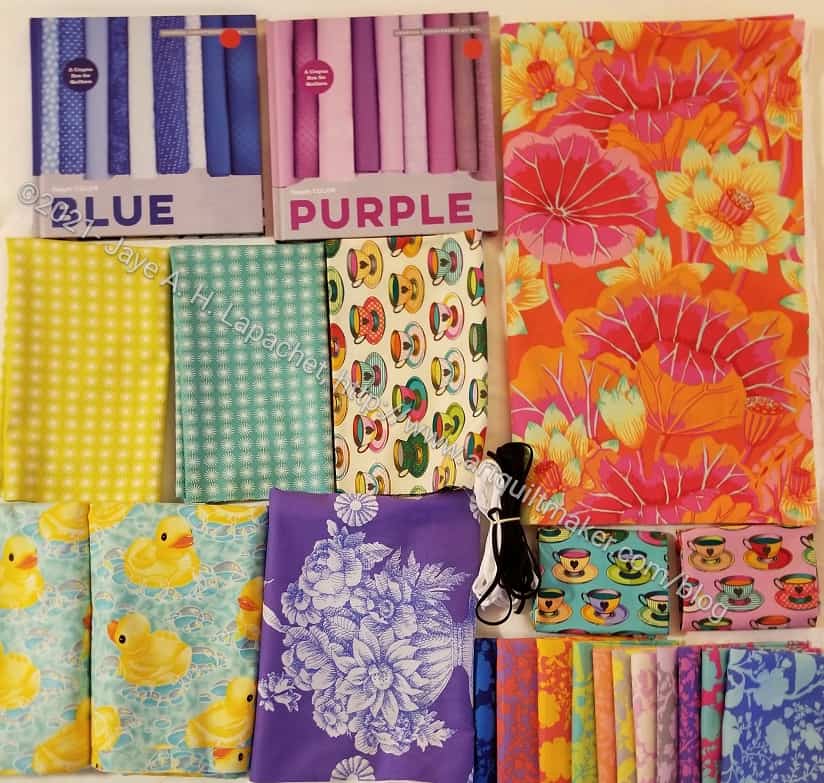
Calico Creations: new fabrics

I bought some super bright fabrics, including a couple of Philip Jacobs prints.

I only bought two yards of the pink and orange flower print, so it won’t be a dress. The flower urn fabric was an impulse buy as was the Tula Pink True Colors fat quarter pack at the bottom, right. I blame my mom. She was talking to the lady at the counter and giving me more time to shop. I bought the rubber ducky fabric (one is flannel) to make pillowcases and some other gift items for my YM’s partner. I really just wanted a bit of the Curiouser and Curiouser. The two books were on sale and I thought I would fill in my collection. I hope I had it right that these were the two I didn’t yet have.

I highly recommend this shop. If you visit one shop in Washington, go to Calico Creations.

Calico Creations
400 S 1st St
Mt Vernon, WA 98273
Phone: 360.336.3241
Email: calico@cnw.com


**I use affiliate links and may be paid for your purchase of an item when you click on an item link in my post. There is no additional cost to you for clicking or purchasing items I recommend. I appreciate your clicks and purchases as it helps support this blog.
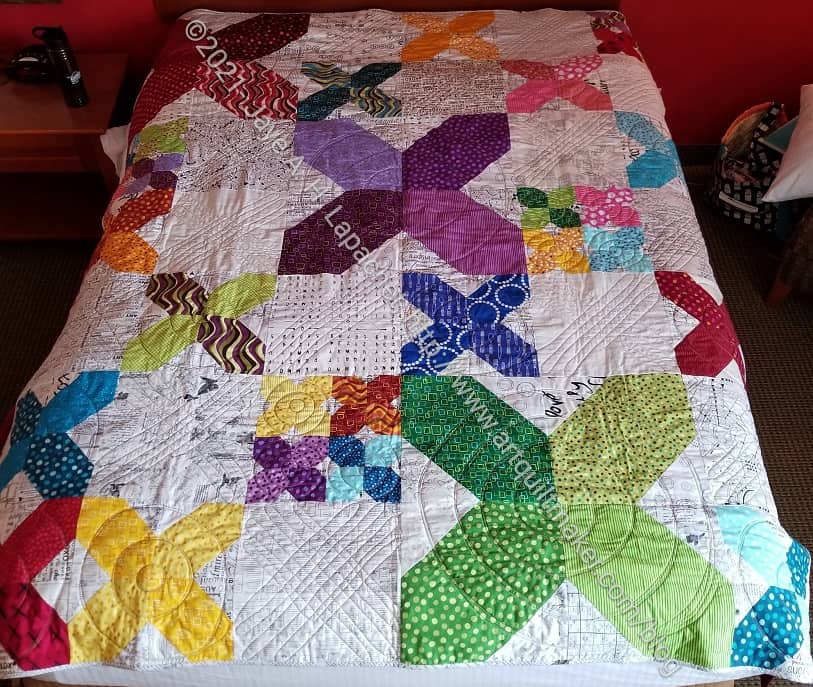
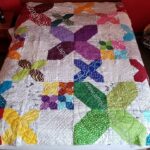
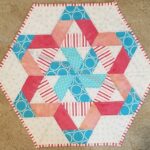
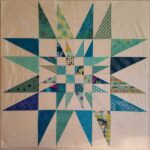
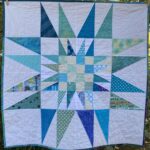
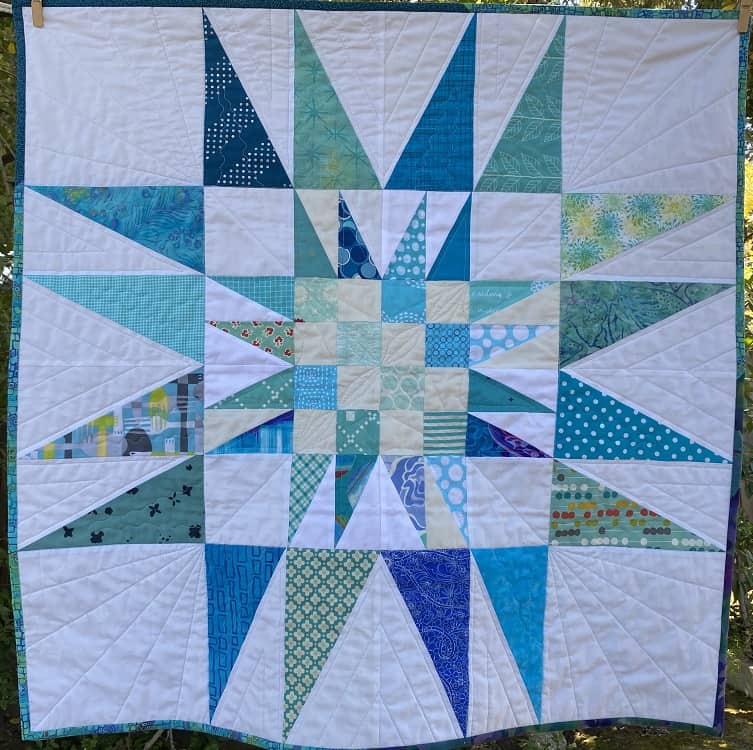
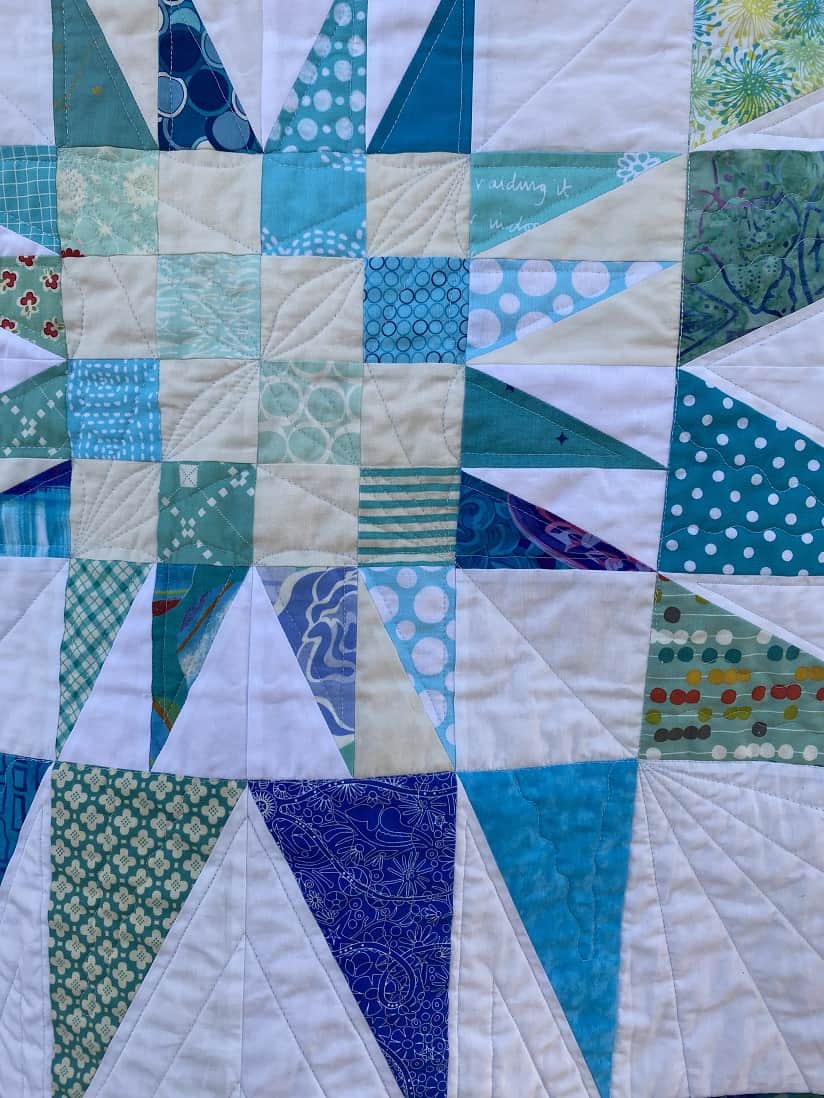
Finished: X Quilt

Finished: X Quilt
Finished: X Quilt

I finally finished the binding on the X Quilt!!I feel like I usually get the quilt bindings done faster. This one felt like it took forever.

Fortunately, I had a deadline and I got the quilt done before the deadline. I watched some Midsommer Murders with my Mom and was able to sew while I watched.

I took the photo in a hotel room. The best position was laying it on one of the beds. I was pleased that the quilt fit, with an overhang, on a queen sized bed.

26 Projects 2021 #5

Finished 2021 Quilt Projects

Finished 2021 Small and Non-Quilt Projects

This category covers bags, toys, aprons and knitting as well as other non-quilt projects.

Doing Good

In Process or To Make
The ‘In Process’ is used to denote projects on which I am actively working or are on the design wall waiting for me to stitch. I am continuing to try not to put away projects. I find putting a project away ensures I never work on them, because I just lose steam.

Quilts

  • Scrap Dash is on the design wall and I am sewing on it every chance I get

Small Projects to Make or in Process

Most of my progress involves thinking or just cutting.

  • One Hour Basket for my stuff that tends to accumulate on the dining room table. I may switch to one of the Minikins projects or a Catch All Caddy for this purpose.
  • One Hour Basket for DH’s stuff that tends to accumulate on the dining room table. I may switch the pattern to one of the Minikins projects for this purpose.
  • Retreat Organizer – another project from the Crafty Gemini Organizer Club, also on my list, but not yet started. Recently, I saw one of these made up and I am not so nervous about it
  • Superbloom tote using Hindsight fabric – not started
  • Tessuti Japanese Apron – cut out and ready to sew. I am figuring out how to make it reversible.
  • Ultimate Project Organizer – another project from the Crafty Gemini Organizer Club, also on my list, but not yet started
  • Ultimate Carry All Bag gift – Bag-a-Long for BAM – I have the inside pockets as well as the front panel made and am looking forward to the next step
  • Ultimate Carry All Bag for me – I have the inside pockets as well as the front panel made and am looking forward to the next step
  • Westchester shirt – this is a Crafty Gemini pattern. I bought the fabric at PIQF in 2018. I have the pattern ready and need to start cutting.

Handwork

I decided that some of my projects are in a different class because they are hand piecing or embroidery or beading. They take longer. Thus I created a new category and have moved some projects here.

Ready for Quilting

  • Nothing at the moment

In the Quilting Process

In the Finishing Process

Still WIPs
I still have WIPs. Who doesn’t, after all? A project in the ‘UFO’ category means I am stalled. A nicer way of saying UFO is a WIP. The list is a lot shorter and the projects are newer, for the most part.

  1. Handbag Sampler – this is still the forgotten project. It should be on the UFO list. The blocks were teaching samples when I taught a sampler class some time before I started writing the quilt class sampler tutorials. I found one block recently, but otherwise I actually don’t know exactly where the blocks are hiding. I crawled up in the far reaches of my fabric closet to see if I could find them and they weren’t where I thought. I am sort of mystified as to where they could be. I haven’t even found a picture of all the blocks. Sad.
  2. Lobster – I think I might make this into a tablerunner for the buffet. I think that will be a good and fun use of the piece even if the colors aren’t quite right for the dining room.
  3. Pies and Points from 2016 Victoria Findlay Wolfe class. The last time I worked on it was when Julie and I had a playdate in April 2018. I brought this piece with me so I could cut more elements (Julie has a Sizzix). I lost my excitement about this piece shortly thereafter and still have to get it back. Thus, I had to move this to the WIPs area.
  4. Pointillist Palette #4: Fourth is a series of 6 quilts; needs tiny square patches sewn together. No progress.
  5. Self Portrait: started in 2006 at a class at Quilting Adventures in Richmond, Virginia. I am still stalled on this again. As one of my oldest (I am pretty sure) UFO, I put it on my blog and out into the Twitterverse and Diane suggested that I not consider this as a self portrait. I think that strategy is a great idea. I am now trying to think of a new persona for her.
  6. Serendipity Lady – I am still planning to take this piece to be framed.
  7. Who Am I? – This piece is still languishing. Perhaps having a larger design wall will help me regain momentum. The amount of satin stitching I was facing was a problem until I thought of BIAS TAPE. I am going to make the words with bias tape, perhaps different widths, then I won’t have to sew the satin stitching. Red Scribbles and Friend Julie helped me come up with this solution. Now I just have to do it!

Sew Creative – Ashland, Ore

After 18 months, I am on the road again. I drove almost 1000 miles north to see my YM who has had two bouts of non-COVID illness in the last month. I needed to see him for myself – see that he was getting well, see that he was taking care of himself. Since he was the only one who was not fully vaccinated (though he is now), I felt confident in traveling.

I want everything to be like it was, though I realize it isn’t so I put on my mask and go forth in the new normal: looking at others wearing masks and seeing so many closed shops and restaurants.

Sew Creative, Ashland

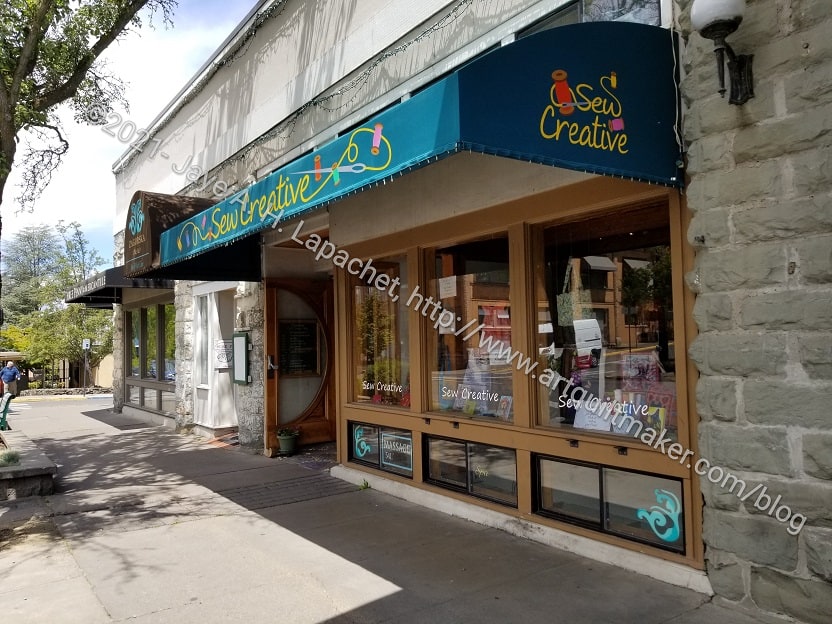
On the way north, we stopped in Ashland, Oregon. It is a beautiful city and I took some time to venture to a quilt shop.

Sew Creative was crammed full of everything quilty: fabric, kits, patterns, notions, etc. I thought the shop was a tiny bit overcrowded and a little dark, but I liked the overcrowding because there was so much stuff! Also, it was a little dark because the walls had beautiful wood. Neither made me not want to go there again. I had to decide if I was going to visit again on the way back!

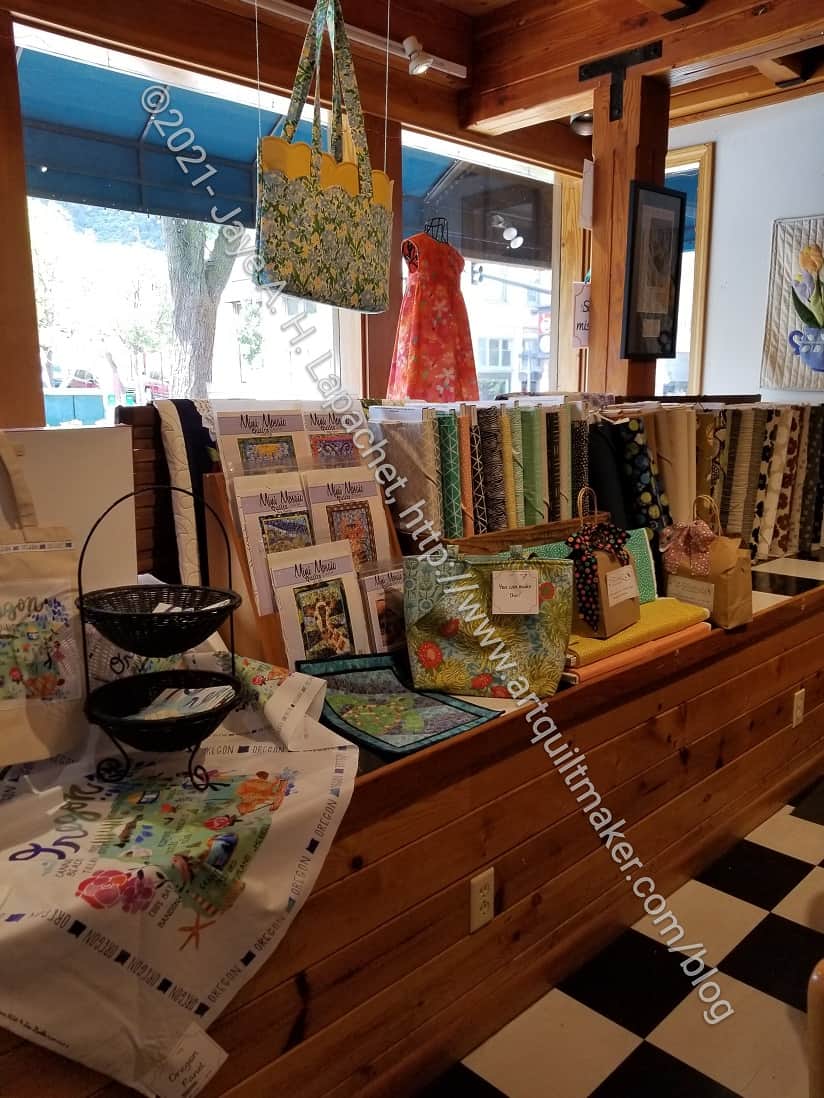
Sew Creative: inside front window

One of the things I saw (but didn’t buy) were a couple of interesting bag patterns. The shape of the bags were pretty normal, but they had some interesting detail. One had a diagonal pocket (like the shape I cut with the Simple Folded Corners ruler). It is in the middle of the counter in the photo. The other, which is hanging in the photo, right, has a scalloped top edge.

This section had some Figo Linen/Cotton blend fabrics that were a little like canvas. I bought two 2 yard pieces and plan to make some bags out of them. I have heard of Figo fabrics and seen them in quilt shop newsletters, but hadn’t seen them in person. Since this was the first quilt shop in which I had set foot in 18 months or so this should come as no surprise.

Sew Creative - books racks
Sew Creative – books racks

I also saw a large selection of books (photo left). They had about 3 full racks of books. I didn’t look closely at them, but I noticed several I have not seen at other quilt shops or had never seen. The shop had a GREAT selection of embroidery stitch books.

In the books photo you can also see a sample quilt. The shop had a number of sample quilts around the store. I am not sure if the samples were for classes. There was a straight list of classes, but there were no photos, so I’m not sure what types of classes they were and I didn’t ask.

Sew Creative: back to front, right side of store

This photo is looking from the back of the store towards the front window. You can see the beautiful wood on the ceiling.

There were several tables scattered throughout the store with various displays. Many of them held a project or kit. I didn’t look very carefully at the kits, but I did notice there was a huge selection, so anyone who didn’t want to make decisions was in the right shop.

I bought a couple of gifts and the shop staff was very helpful with them.

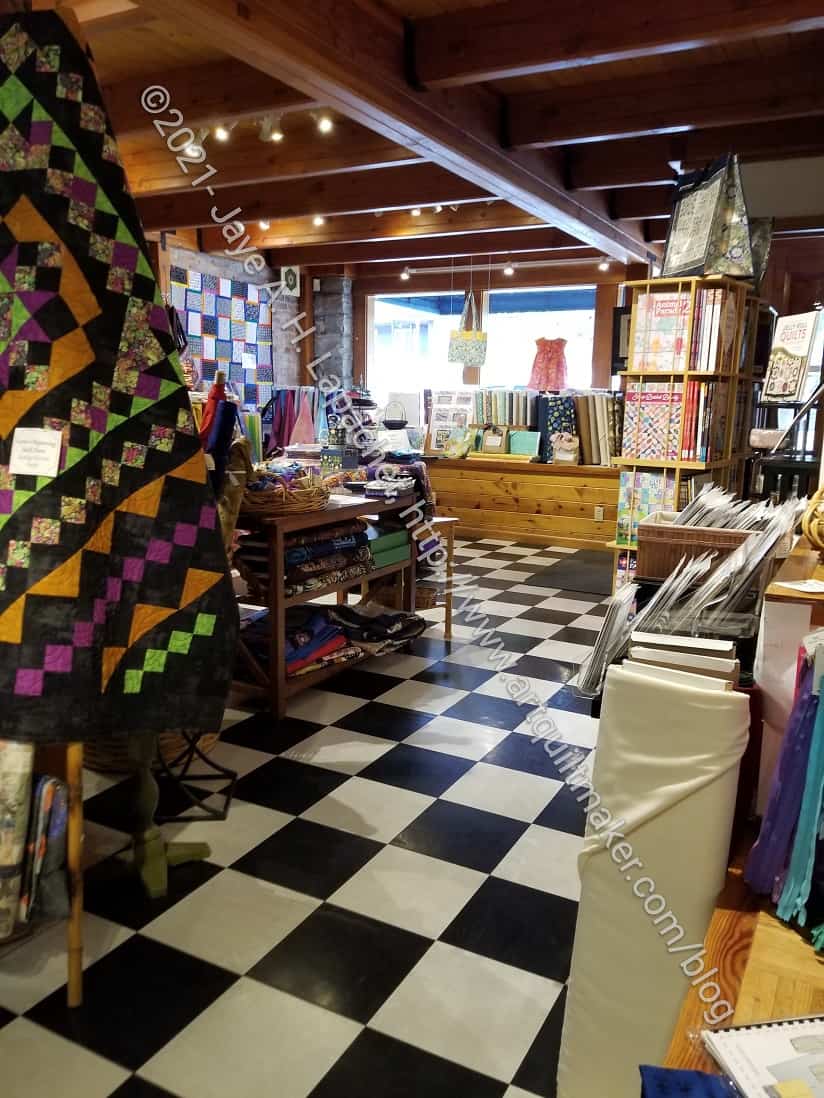
Sew Creative: back to front, left side of store

The back of the store was a little brighter. The ceiling was white and that helped. Don’t you love the black and white floor? I do!

There really was a lot of stuff in this store and looking at the photos, I realize how much I missed.  Most of the bolts of fabric by color were housed in the back of the store. I found some turquoise dot dash fabric. They had quite a bit of Philip Jacobs for KFC prints and I spent a long time looking at them and dreaming.  I also found a few red-violet prints to replace the ones I have used up.

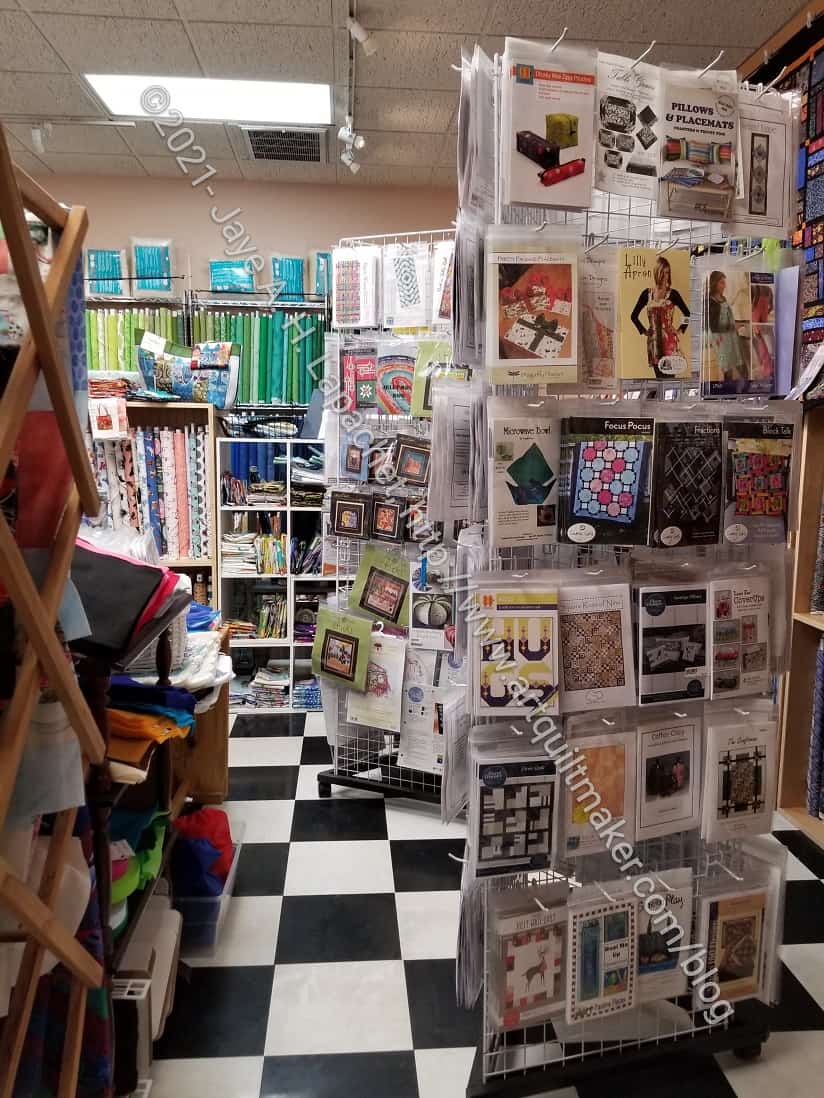
Sew Creative: back of the store (L to R)

In this photo, you can see how many patterns are available. There were a wide variety of non-quilt patterns. I saw placements, a number of different bags, some garments. I also noticed that many of the patterns were from designers I didn’t recognize.  I didn’t find it difficult to see the patterns, in terms of lighting. That is one of the things I enjoy about visiting quilt shops in different areas.

In the photo, left, you can also see the shelves of fabric at the back of the photo. That is where I found the dot dash fabric.

The other thing I noticed was the shop was very clean. I don’t know what they have been doing during COVID restrictions, but it looked like they turn over their stock quickly.

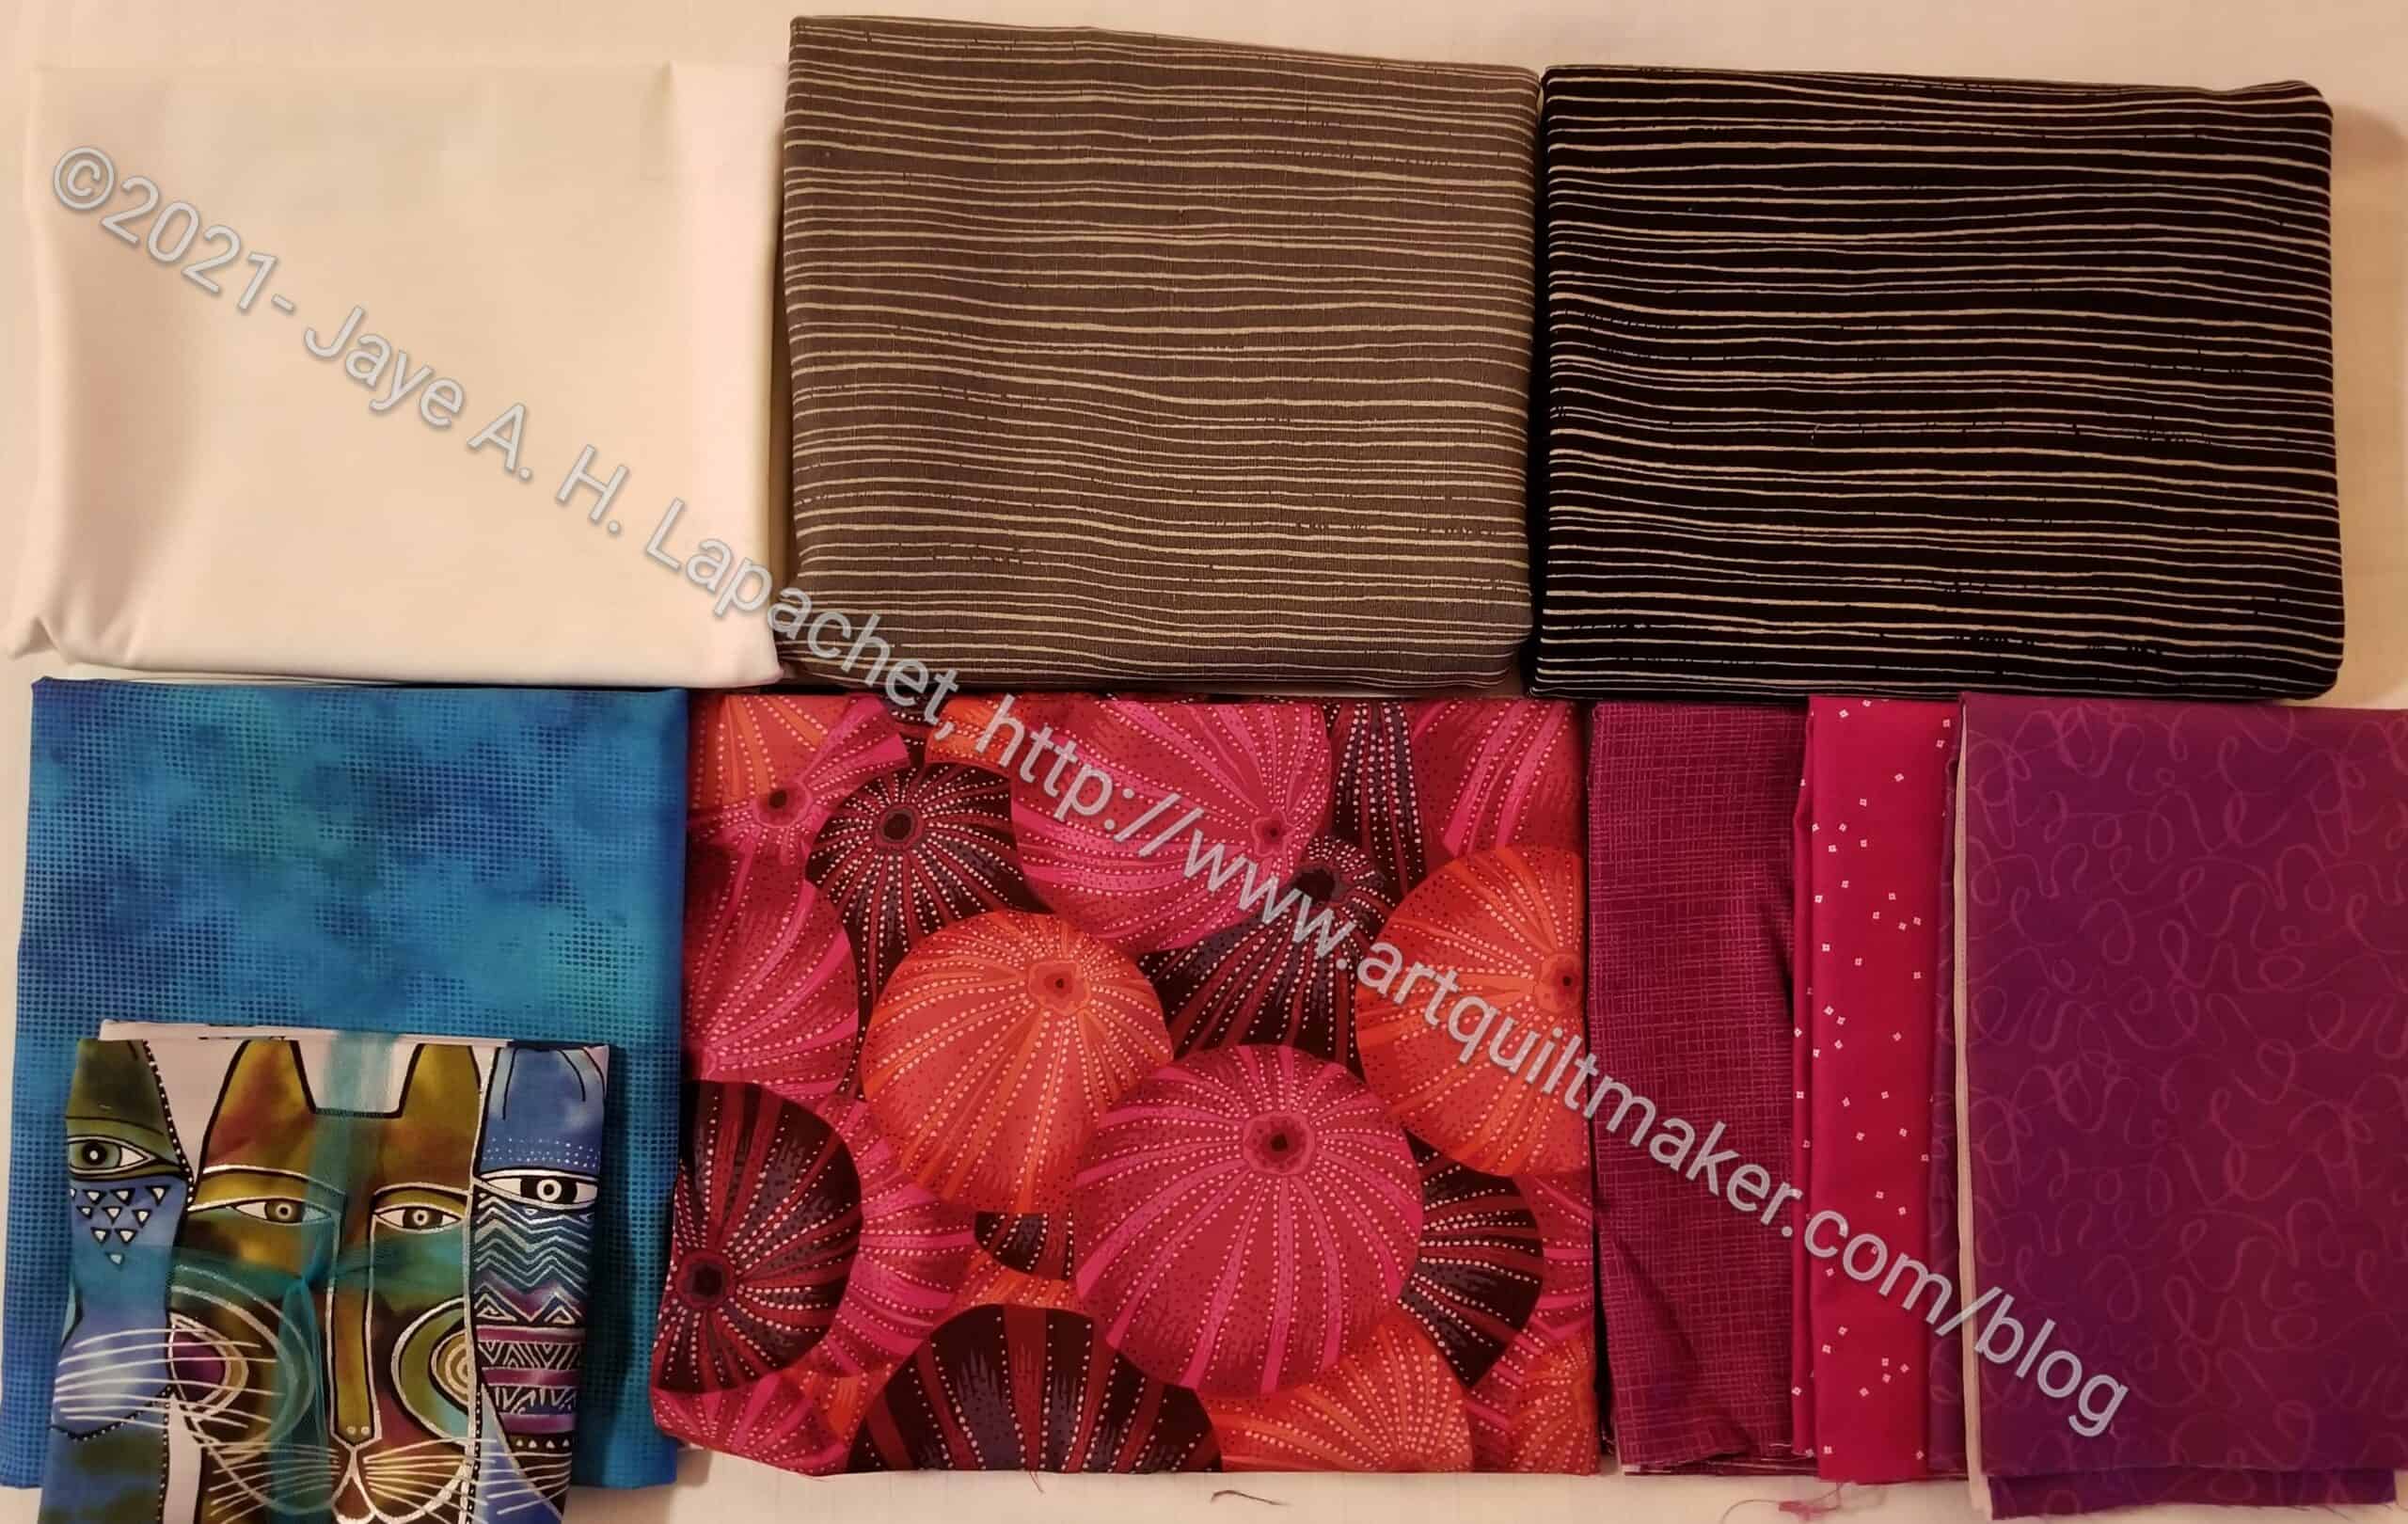
Fabrics I bought at Sew Creative

The grey stripes and the black stripes are the Figo fabrics. I am going to use the white, which I think is Grunge fabric, to redo my inspiration board. The Laurel Burch fabric will be a gift. The shop had a great selection of Kaffe fabrics. I bought that shell (?) sea urchin (?) print. I also replaced some of my red-violets.

I highly recommend this store. I will definitely stop again next time I drive through Ashland.

Sew Creative
Address: 115 E Main St, Ashland, OR 97520, United States
Phone: +1 541 482 1665

Book Review: Stitch ‘n Swap

I borrowed this book from the library in Kindle format. I kept it for a long time and then it was yanked from my digital bookshelf by the tyrant that is the app?

Stitch 'n Swap: 25 Handmade Projects to Sew, Give & ReceiveStitch ‘n Swap: 25 Handmade Projects to Sew, Give & Receive by Jake Finch

This book is described as a guide on how to organize and participate in successful community swaps. My mind immediately went to swapping with other members omy quilt guild. The authors, however, weren’t limiting their ideas to just guilds. They use the term “like minded stitchers,” which is a very nice term! They also mention bees, small groups or other regular congregations of those with whom “you have something in common.” There are 25 projects and one of the projects inspired me to borrow this book.

The books starts off with an Introduction, which clearly and succinctly explains swaps. It explains what they are, different types and how they work. Fun is clearly at the forefront according to the author. The authors mention having a theme and offers up a few as examples. My guild does this every year. One year we had a kitchen themed swap and I received a gorgeous casserole carrier. Other theme ideas are a single fabric, a type of project, like pincushions or something like storage containers. The author has compiled projects from a variety of designers. One of the designers is Victoria Findlay Wolfe.

Next comes the guidelines for organizing a swap in a chapter called ‘Organizing a Swap’. The author believes that any kind of swap should stretch your creative muscles. As you know I am a pretty confident bag maker, but in the last guild swap, I learned some new skills when I made the Oslo bag for Cyndi. In this chapter, Finch provides a list of guidelines for leading a swap, including written guidelines and list of participants as well as a backup plan. There are also optional guidelines, what to do when you are using a commercial pattern and a little on working with kids.

One of the suggestions is to keep the swap to about 20 people. Having some kind of ice breaker event so people can get to know each other could make the swap more successful. These optional guidelines are followed, in the book, with theme suggestions, style and advice for a successful swap.

Of course there are always dropouts. Life happens. I have often acted as a swap ‘angel’ where I make something that will be given to the dropout. One good reminder is to just be philosophical and accept the dropout gracefully. It does not good badmouthing the person to other swappers.

After these two chapters, the projects start. There are pincushions, a sewing kit, a variety of bags, a scissor case, baby organizing supplies, such as a diaper changing mat, a few small quilts, cushions and many more.

Most of the projects are not exciting and I have other versions of these patterns already in my workroom. I was excited about the fabrics used and some of the interesting piecing. In Anne Deister’s couch scarf, she sewed rainbow strips unevenly so there is a lot of movement along the width of the couch scarf (which is described as “a long, pretty quilt”).

My favorite project is the Interchangeable Monster*. This is a one eyed stuffie, nominally like a dragon, but with wings and legs that can be moved around and changed -like Barbie clothes, maybe? Most of the other projects are cute, but not that interesting.

There is no index, and no gallery of projects at the beginning. I am glad I borrowed this book so I could take a look at iti. If you are new to organizing swaps, you need this book. If you want a lot of small projects for swaps or gifts, this is a good book for you.

*Since this is a Kindle book there were no page numbers, which is why I have not given you any references.


**I use affiliate links and may be paid for your purchase of an item when you click on an item link in my post. There is no additional cost to you for clicking or purchasing items I recommend. I appreciate your clicks and purchases as it helps support this blog.
View all my reviews

Very Spiky

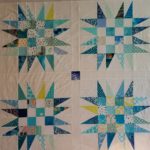
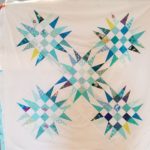
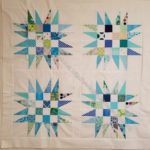
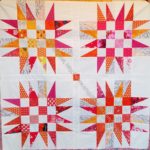
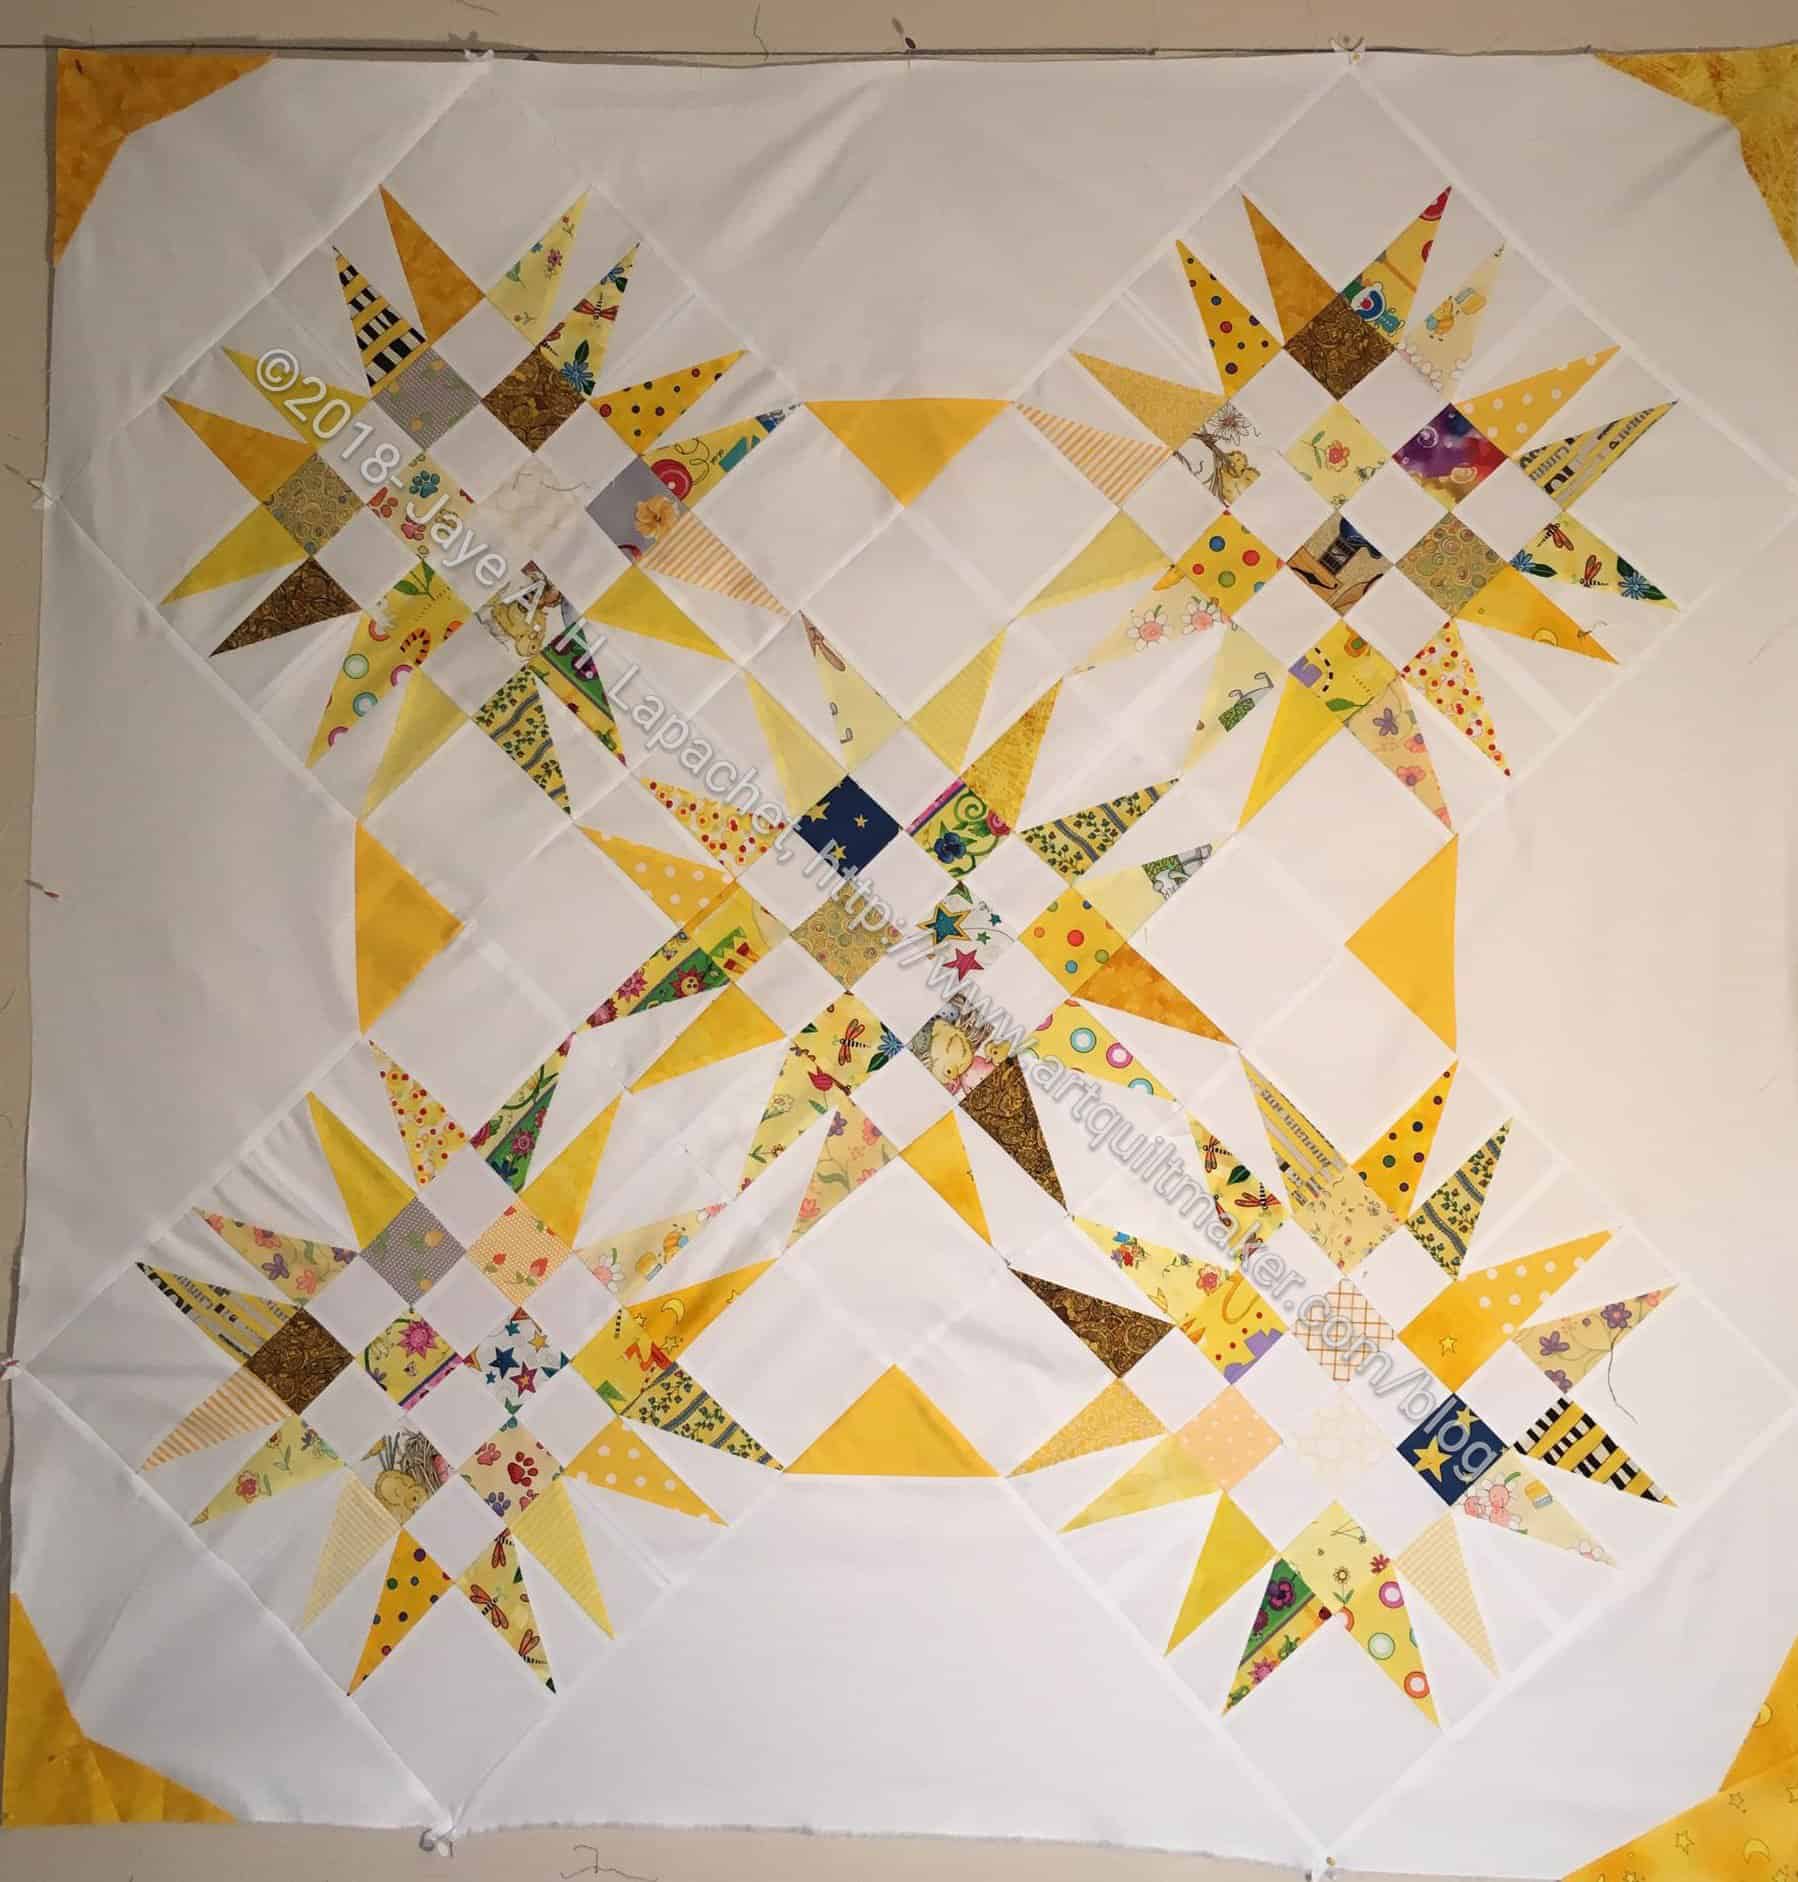
The other day i talked about the Double Spiky 16 Patch that Lee Ann finished. It made me wonder about all the Spiky 16 Patch quilts I have made. I looked back at my media files and decided to put them all into one post.

Mrs. K's Spiky 16 Patch Top
Mrs. K’s Spiky 16 Patch Top

I also inspired Mrs. K to make a top. I love it when you sew along with me, especially if you use one of my tutorials. Hers is great! It makes me think I need to add a yellow version to my list. Look at the corner triangle detail. Isn’t it great?

I always think I have made more of anything I want to show you than I really have. Six tops is not nothing. I want make more of these and now, that I see them, in different colors.


I am sure I will make more of them, so I’ll have to update this post.


Scrap Dash Borders

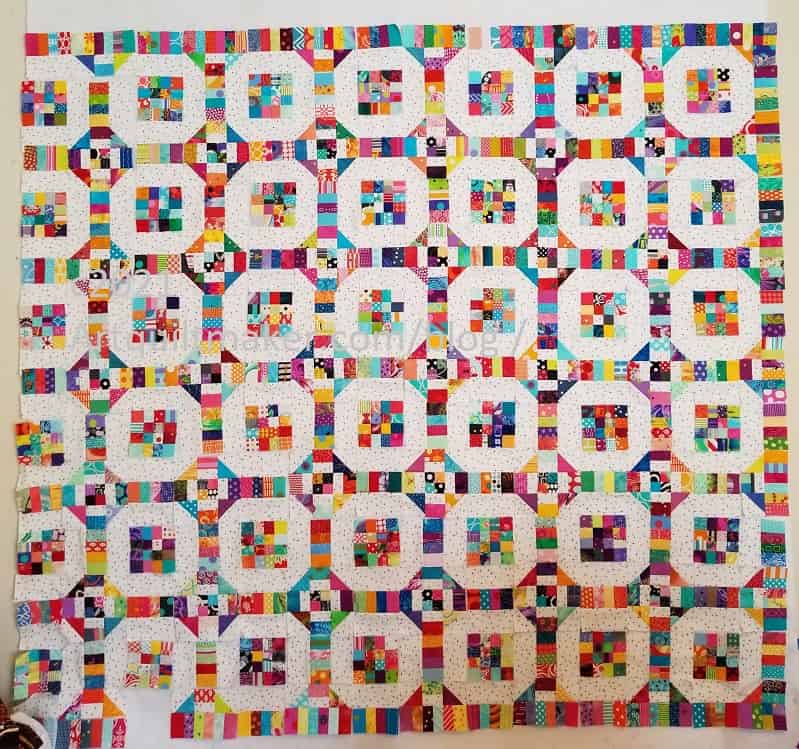
Scrap Dash - end of May 2021
Scrap Dash – end of May 2021

I spent most of Saturday working on Scrap Dash, though I also worked on the Yellow Strip Donation quilt as leaders and enders. I continue to be pleased with how the piece is progressing.

I cut a bunch of pieces for the borders during the previous week. I had sewed some of them together in snatches of time also during the week. On Saturday, I stitched many more together. I also started placing them in their spot on the wall. I now have sections of 3 sides of the borders sewn to some other piece.

I didn’t want to sew the entire border strip together then sew it to the quilt top as one piecing. I am chunking all the pieces and I am glad, because I have to fiddle with some of the border pieces to get them to fit. I am not sure why as my 1/4″ looks good and the pieces are cut accurately.

I have started, in a small way to sew the chunks together. I am not seeing much shrinkage yet as that depends on quite a bit of sewing the chunks together.

More Yellow Improv

Yellow Strip Improv blocks - Mid-May 2021
Yellow Strip Improv blocks – Mid-May 2021

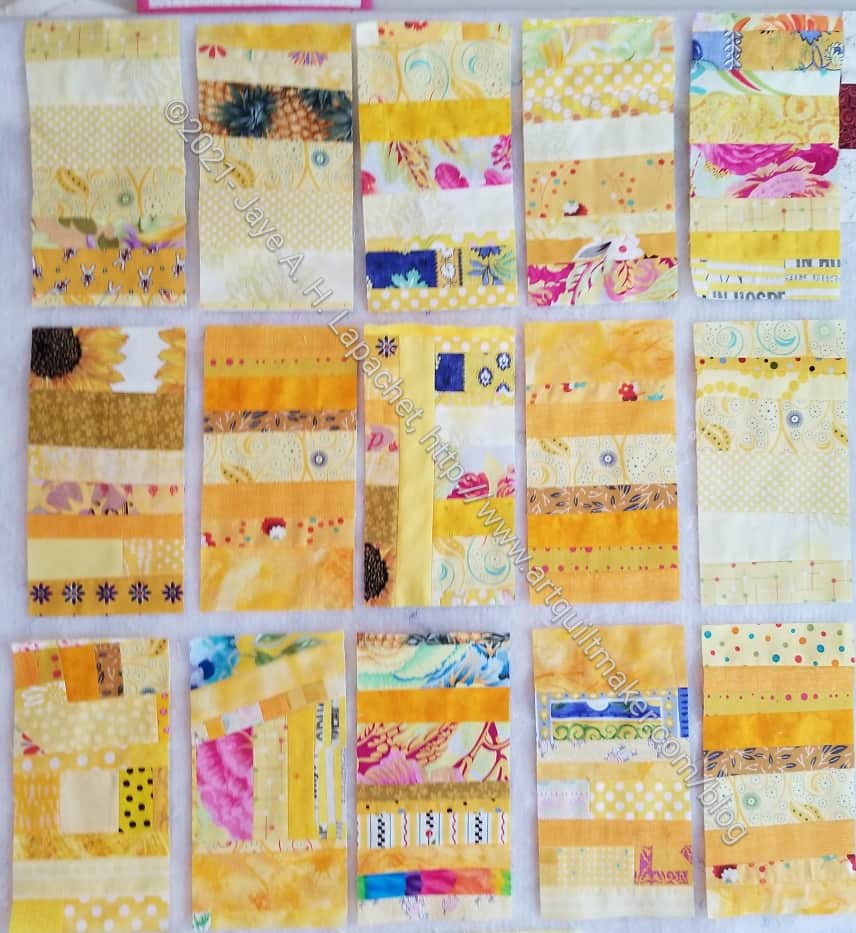
In between working on Scrap Dash, I made more yellow Improv blocks. I don’t have a tons of yellow scraps and I’ll be lucky if I can make this quilt and a straight Improv version like the other colors I have made. I’ll definitely be able to finish this one, but I have had to add chunks to the blocks. I don’t have enough strips to make all the blocks just from strips.

I sewed way more than one seam throughout the day. I felt kind of manic about these blocks. Even though I was working on Scrap Dash, I wanted to make progress on this quilt as well. I am pleased with the progress.

Teachers Redux

I came across a post I wrote in 2005 about the qualities teachers should exhibit. Since I have been teaching quiltmaking recently, the post made me think about whether or not I am practicing what I preach. I thought I would revisit the post in this new light and see if everything I said then still stands.

  1. Know your subject: Yes, I don’t think you should teach if you do not know the subject. However, there are sub-sections of classes where you may not be an expert so just brush up and stay ahead of the class. We can’t be experts on every single aspect of a topic. Case in point is me and how I wouldn’t try to each free motion quilting since I am not good at it. I do quilt sometimes, as you know, so when I taught my class I taught what I do when I quilt and gave resources on other types of quilting and the names of teachers I thought were good.
  2. Be well prepared: yes, absolutely.
  3. State your goals at the beginning of the class and let students know your timing. I think this gives people an idea of what to shoot for and also reduces stress. If I know there will be a break at 10am, I can plan around it.
  4. Have handouts (with pictures, if appropriate) : I have taken a couple of classes recently where the teachers have provide handouts after the class. They do this so you will pay attention to them. I understand that, but I also like handouts. I’d rather have a handout with brief descriptions so I can take notes on it than getting it later when I have to consolidate my notes with the handout.
  5. Don’t assume that since you can quilt you can also teach : I still believe this. Teaching takes skill and not everyone has it. Practice your presentation or your class before you teach.
  6. Manage students : I have been in a number of classes where one student dominated. It was frustrating for me, because I felt like the teacher was getting distracted by the person who was demanding attention. This is the hardest part of teaching, but you have to do it.
  7. Don’t assume that people are there to hear your opinion : I am not sure I believe this. I think people take classes now to learn what specific teachers have to teach. I recently took the Latifah Saafir class and didn’t expect to learn how Jen Carlton Bailly sews curves. I was there to learn specifically what Latifah had to teach.
  8. Acknowledge that people cannot absorb information for 8 hours: I made some really good points in this section. People need a variety of activities during a class: listening, doing, undoing, working with the teacher, etc. Change up your class so everyone can be successful.
  9. Be professional : definitely act like a professional, which is possible even when being friendly.
  10. Make sure your handouts are well organized or track your lecture : this point assumes you have handouts (see above #4). I prefer that handouts track the class, but I also understand that isn’t always possible. Point your students to the correct section in the handout if your lectures doesn’t track the handouts.
  11. Consider whether you need a helper : I think every class with more than 5 students is improved with a helper. You don’t want the teacher to have to run off to make photocopies or get more of their product to sell. Helpers can also fiddle with machines and troubleshoot so the class can stay on schedule.
  12. Walk around : I think 1-on-1 time with students is important. Students benefit from a discussion with the teacher.
  13. In point 1, I also mentioned books an other resources in a bibliography. This should have been a separate point. I do think it is important to provide additional resources as you won’t be with your students all the time and they may need reference material. or they may want to look at additional resources. I also LOVE reference material. ?

Go forth and teach well.

Scrap Dash Again

Scrap Dash - Mid-May 2021
Scrap Dash – Mid-May 2021

I spent a lot of time on Saturday working on Scrap Dash. I am pleased with my progress and feel like I can see a glimmer of the end of the project. I am still far away from it, but I see a glimmer.

I am getting more of the border on the wall and will soon start to sew it together. I need space so I can get the rest of the right hand column up, too.

Hooray for progress!

More of Tim’s Improv

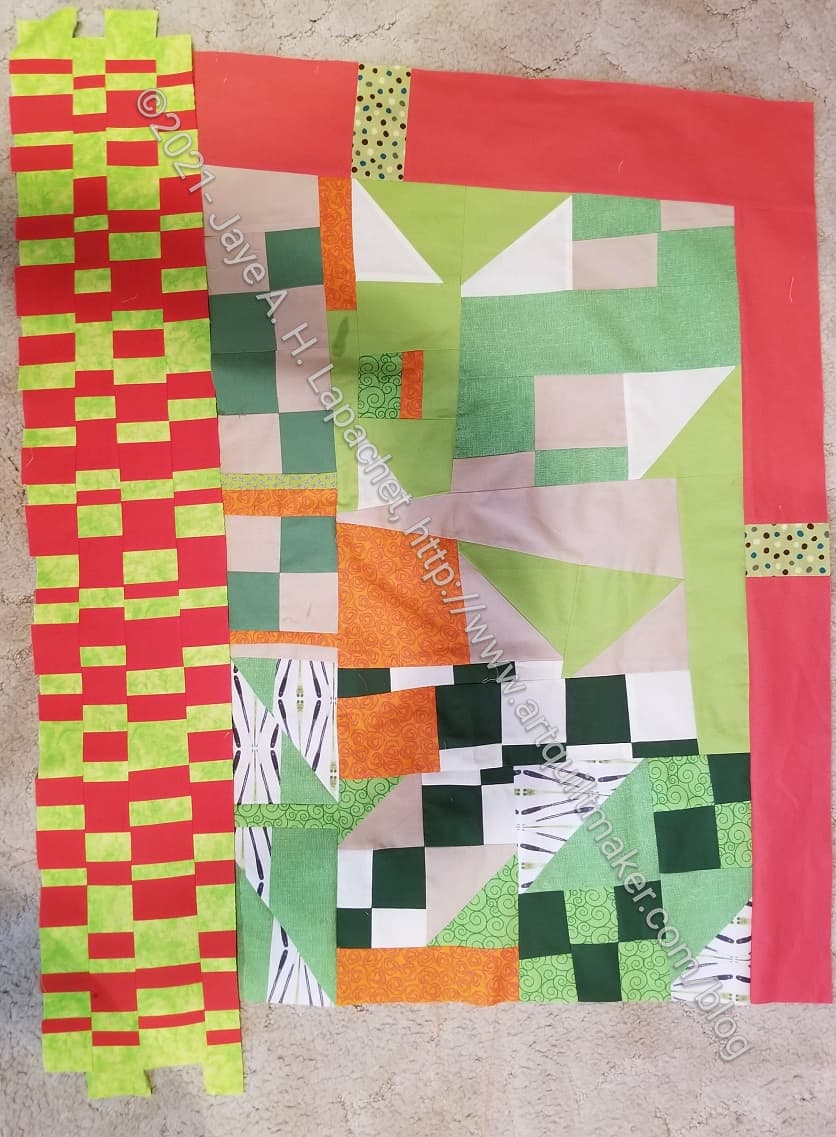
I am on the fence about how this quilt is looking. I don’t have the exact colors that Tim used, so I am using what I have. I don’t know if it is working.

Improv Checkerboard
Improv Checkerboard

When I talked about this quilt before, I had finished sewing the parts Tim gave me to the piece and had just added a strip of my own.

I made this improv checkerboard to add to the sides as the first piece that was all my own. It was kind of fun to play around with different sized strips. The green, however is a little more chartreuse than Tim used. While I like the shape, I am concerned about the colors and how they fit in with what went before.

I plan to put part of the checkerboard on another side perpendicular to the checkerboard I already sewed to the top.

Tim's Improv Quilt with checkerboard
Tim’s Improv Quilt with checkerboard

I don’t think it looks terrible and that might be good enough for a donation quilt. I don’t mean that it is ugly so it is only good enough for a donation quilt, but that it is not too ugly to give as a donation quilt.

I really don’t nee to make it much bigger, but I want it to have a relatively cohesive design without me spending 50 hours on it.

Double Spiky 16 Patch #2 – Quilted

Double Spiky 16 Patch Quilted

In February, I worked on some more Spiky 16 patch quilts. Then I gave them to Peggy and she found someone to quilt at least one. #2 popped up as finished at the guild meeting last Saturday! Lee Ann did the basting and quilting. She did a lot of straight line quilting, which I think works really well.

There is a wobble on the edge, which surprises me. I am hoping it is the wind blowing the quilt and not my piecing!

Double Spiky 16 Patch Quilted - detail
Double Spiky 16 Patch Quilted – detail

Lee Ann sent me these photos, which included a detail. You can see the leaf like shapes in the 16 patch center as well as a little more of the straight line quilting on the border.

Keeping Up with Yellow

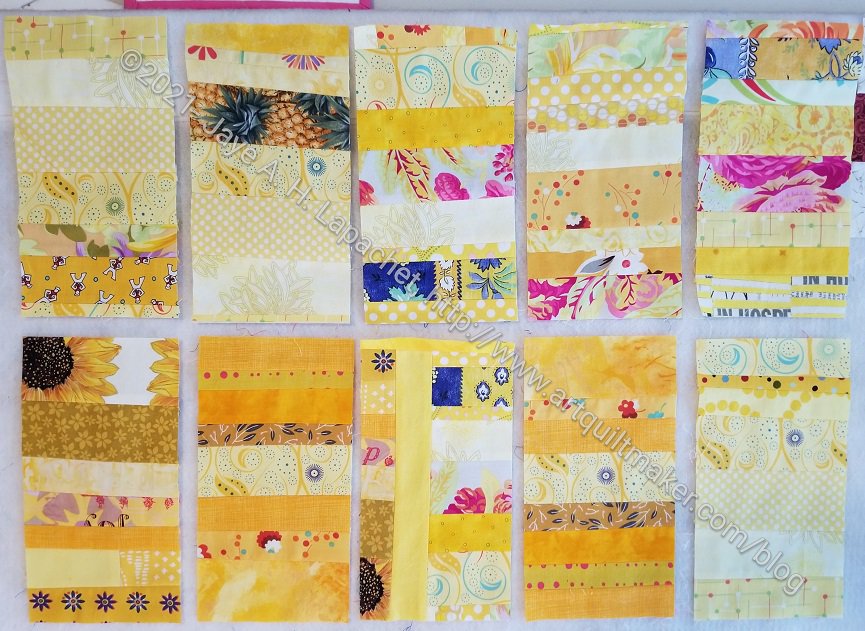
10 Yellow Donation Blocks

I am continuing to work on the yellow donation blocks. I talked about making another batch a few days ago. I have more progress to show you today.

They look better on my design wall than they do on the photo. Oh well.

I made one with a strip going vertically, because I had two leftover pieces that weren’t wide enough to make a block with horizontal strips. For this version, I am really trying to make all the strips oriented on the horizontal. I have a lot of small pieces of yellow, so I don’t know if it will work. I’ll make as many blocks as I can with horizontal strips, then I will start putting more chucks together into blocks.

MLIS Quilt

MLIS Quilt
MLIS Quilt

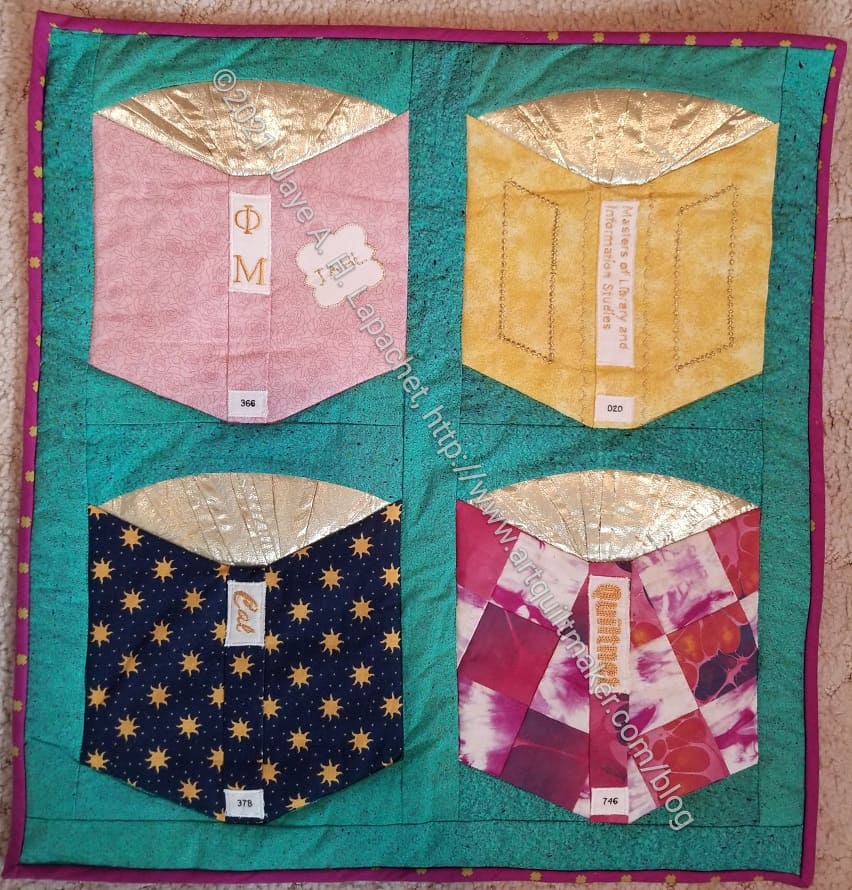
This is not my work, except for the repair job I just finished. At some point this quilt got a rip in the border. I decided to take off the extra border and put a new binding on it. Sadly, I did not have enough of that fabulous green, but the red-violet looks good, I think

This was a gift from two of my sisters-in-law when I graduated from my Master’s program. I have a Master’s degree in Library and Information Studies from the University of California, Berkeley. At the time, the program was, what we in the business call, ALA accredited. That means that I can work in public and academic libraries, which require that accreditation. Sadly, I was in the last graduating class from that program. They have a School of Information, but no longer train librarians.

Anyway, this is an awesome snapshot of a time in my life. Each book represents a facet of my life and all are still important to me. The upper left shows the insignia of my sorority. Most of my good friends come from that experience. While you may think of ‘Animal House’ when you hear sorority, I met lifelong friends, received a scholarship which allowed me to complete my Master’s degree and learned what philanthropy was all about.

The upper right shows a book with my degree on the spine. I am the first person in my family to receive a Master’s degree. My dad would have preferred I became a salesperson, but I feel I have done well and been happy as a librarian.

The lower left represents the University of California, Berkeley. Many of the members of DH’s family have degrees from Cal, as it is affectionately named. I have both my Bachelor’s and Master’s from UC Berkeley. It is also the joint family activity to attend Cal football games. They generally do not do well, but hope springs eternal and stories about trips to bowl games are regularly recounted.

Finally, in the lower right is a book that says ‘QuiltNet’ on the spine. QuiltNet was probably the very first listserv, or email list about quilting. At that time, you had to find space on a server that would allow you to create an email list. You couldn’t create an account on Groups.io and have an email list running in 10 minutes. I don’t remember very well how most people got their messages, but I remember logging into a UNIX server and reading messages using a tool called ‘vi’. No WYSIWYG! We talked about quiltmaking and described our quilts because there was no way to take a photo then attach it to an email message. It was a very vibrant list that led to a variety of friendships, exchanges and information about all sorts of quiltmaking topics. QuiltNet really opened up quiltmaking to me.

I am so pleased that I finished, finally, repairing this quilt. It has been on my list for ages. Now it is time to hang it up again so I can enjoy it.

Various & Sundry 2021 #6

For Sale

$60+ shipping: La Passacaglia papers and acrylic cutting templates. PayPal cash only. This set includes:

  • Complete Piece Pack Includes ALL the Pre-Cut Papers, approximately 2900 pieces, to make La Passacaglia.
  • 5 Piece La Passacaglia Acrylic Set includes shapes A, B, C, D, and E and is available with a 1/4 inch seam allowance.

I updated the Minikins page and the Supplies page.

Articles, Media, Exhibitions and Shows

Sara Lawson’s Sewcial Sunday from a few weeks ago included an interview with Megan Doherty.  Some parts of it made me laugh out loud.

The 2021 Quilting Trends survey is out. According to the survey, “…there are now 85 million “active creatives” in North America, meaning people who have done at least one creative project in the last year. Crafts generate $35 billion in annual sales. There are currently 10-12 million quilters and the quilting market is expected to approach $5 billion by 2026-2027. In 2020 there was a more than 12% increase in the number of new quilters. The quilting market is expected to grow to $5 billion by 2026.” Can you believe the increase in 2020? I guess people had to do something with all their free time during the shelter-in-place orders. I’m glad it was quiltmaking.

I know most of you had crayons when you were a kid and probably, like me, coveted the giant box of colors. I also jealously guarded my box and refused to share with my sister, because she would break the points. I never delved into the history of the humble wax implement until the other day. I read the LAPL newsletter, which had a brief history of the crayon. It was so interesting. Did you know Crayola LLC is now owned by Hallmark? Did you know that Mr. Binney’s wife helped create and name crayolas? Another woman nobody ever heard of until now. Did you know that Binney & Smith bought the Munsell Color Company in 1922?

Barbara Brackman recently posted about an interesting wreath quilt on her Material Culture blog. It is the first picture of a square wreath quilt and it is really interesting. I love the woven and squarish look. I’d like to think I would make one, but I probably wouldn’t.
Sharon at ColorGirl Quilts shows you, in her newest video, how make Flying Geese and half circles using her Classic Curves Ruler.

Projects, Classes, Patterns & Tutorials

Michelle Graham, one of the moderators of the Sew Sweetness Facebook group mentioned Sincerely Jen, a pattern company with a lot of bag patterns. They do not have as many patterns as Sew Sweetness, but some are interesting. I particularly like the Rossatron.

I have been contemplating different methods of organizing my Sew Tites. Funnily enough a new pattern designed by LillyElla Stitchery for a folio that holds Sew Tites along with needles, etc was advertised in the most recent SewTites newsletter. It is like a needlecase, but includes storage for Sew Tites as well. Pattern is a free download.

Because I think Im ight become a great knitter some day, I look at some knitting sites and newsletters. As you know, I do knit a bit, but I struggle. One thing with which I struggle is the organization of my circular needles. I prefer circular needles, but they don’t really fit in a conventional bag. I saw one by DellaQ in the Maker’s Mercantile newsletter recently. It turns out that DellaQ has quite a few knitting needle bags. Because I can’t leave well enough alone, I went hunting for a pattern. I love the DellaQ versions, especially the one in turquoise, but I have a lot of fabric here, so can’t I just make one? I found one pattern from Charlotte Copper that looks reasonable. I also found a pattern by Olga (@zaudalcreates )on Etsy that I really liked. You can see a video tour of the case on IG. She has a website, too. I found a nice tutorial for a large shopping/travel tote, which I think would be good for the guild officer gifts. She uses a lot of canvas. If I make the circular needle case, I may have to use quilting cotton and Soft & Stable instead of canvas to make something I like. I don’t really want to get into buying canvas, but I understand the need for stability.

I am tempted by Olga’s Oslo Pouch (different from the Sew Sweetness Oslo Craft Bag). It looks like a cute little handbag. I am trying to be restrained as I just bought the Minikins 3 and have only made 3 projects from that set.

If you need to match a binding in various places to specific designs in your quilt, A Quilter’s Table has a tutorial.

I saw the Bubba Bowling Bag in the AGF newsletter. There are some nice photos on the page, but none of the inside. 🙁 I even checked IG and didn’t see any. Of course, I could put whatever pockets I wanted inside, but I still like to see what others did.

A few weeks ago, I talked about cross body/Japanese aprons. Alison, a friend from the guild, mentioned a pattern I had found before from Purl Soho.

Books, Fabrics, Notions & Supplies

Clover Hot Press Perfect Ruler

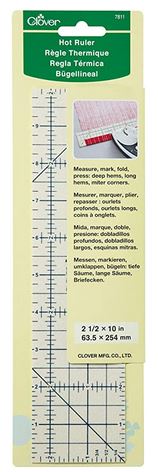
Recently, in various patterns I have had to press pattern pieces a certain amount (usually 1/4 inch). This is such a hassle as it is a small amount and I have to keep my fingers out of the way. I have a weird double headed stiletto type thing that I use, but it doesn’t help with the measuring. I found a ruler by Clover that I am considering called the Clover Hot Press Perfect Ruler **.  Keep in mind that I haven’t used this, but it looks like you can lay this down on the fabric, fold over the part you need to measure and then press. That would be perfect, if it works and isn’t too thick. I Like Clover products and think they are high quality, so fingers crossed that it is a good product. Let me know if you have one or if you have tried it.

Check out the Tatter Journal, a quarterly publication “offering of original content, which explores our relationship to cloth through a quarterly theme.” The first issue is about isolation.

I am still on the hunt for a chart of zipper sizes and descriptions. I found a comprehensive blog post about zippers, which is really interesting and helpful. It only gives a brief description of what size zippers to use for what project. Not helpful for my purposes, but interesting. It also says that a zipper foot is a must. I have never had good luck with zipper feet. I use my 1/4″ foot. Perhaps it’s my machine?

I found a yardage converter page on the AllPeopleQuilt site. My only question, because it is not readily obvious, is 4.5 inches x what equals 1/8 yard. I presume 42 inches or the fabric width from selvedge to selvedge. The chart does implicitly say.


Other Artists

My friend Nancy created a website recently to showcase her artwork. She is much more deliberative in her work than I am. Thus, the pieces she shows are carefully selected.


**I use affiliate links and may be paid for your purchase of an item when you click on an item link in my post. There is no additional cost to you for clicking or purchasing items I recommend. I appreciate your clicks and purchases as it helps support this blog.