X Quilt Leftovers

As you probably guessed from the Folded Corners Ruler tutorial, I am generating a lot of triangles. As the triangles are cut off the squares, they are ready to sew into Half Square Triangles.

Pop Parade HSTs
Pop Parade HSTs

So, I sewed them into HSTs. I couldn’t think of a design, so I put some of them up on the design wall so I could look at them. Now I have an idea of what I might do with them. I don’t think they will fit together as is, so I have to add some sashing or something. 

The picture shows only a small fraction of what I have sewn so far. Depending on how large the final piece is, I may donate it to the guild. However, I might make it a Niece-phews quilt.

X Quilt

I have rummaged through my dots drawers numerous times since I bought Pop Parade by Metro for P&B Textiles. Recently, the collection caught my eye and that is what I am using for my latest quilt.

This quilt is from the book Quilt Big** by Jemima Flendt. I tried to borrow it, but nobody had it, so I ended up getting a deal on it in Kindle format.

This quilt had a rocky start. The Kindle format didn’t make for easy reference to the pattern. I finally figure that out and started cutting, but got confused by the directions, so I pulled all the fabrics I planned to use, then started cutting again. That made more sense, but not a lot. My confusion continue. Finally, I printed out a copy of the layout, looked up the sizes of squares I needed and cut using those two aids. After figuring out the folded corners ruler, I sped along.

X Quilt- Saturday work

I made good progress on Saturday. I thought I might finish cutting and sewing the blocks together. HAHAHAHA!!! There was a lot more cutting than I anticipated. I guess I got oriented to the pattern on Saturday.

Simple Folded Corners Ruler

I bought Doug Leko’s Folded Corners Ruler** awhile ago but didn’t have a reason to use it until Saturday. I started working on the X Quilt last week. I was really struggling with the way the pattern was written. After reading a Bonnie Hunter post about Valentine’s Day where she mentioned this ruler**, I dug it out. I watched a video, started using it which resulted in the X quilt process moving along. I also felt happier.

Folded corners are often referred to as “flippy corners”. This ruler makes them easy. I was amazed to find that they sew up perfectly. I watched the Fat Quarter Shop video demo to get me started.

Two squares to join
Two squares to join

First you need the two squares indicated in your pattern. I used a 6.5 inch square and a 3.5 inch square. These sizes came straight from the pattern. These sizes were one of three pairs of sizes I needed to make the quilt. I used the same process on all the sizes and it worked perfectly regardless of size.

My smallest sizes were 3.5 inch square and 1.5 inch square (for the corner). I was concerned that the 1.5 incher would be too small, but it worked just as well as the others. N.B. I did have to make sure that the small pieces did not get caught in my machine, but it was made easier because there were no dog ears. Doug Leko does have a mini version of the ruler** I mentioned, but I don’t have it and didn’t’ investigate the differences. I also noticed that Creative Grids has a ruler that purports to do the same thing**.

Line up two squares
Line up two squares

Make sure right sides are together. Line up your squares so the corners are straight. You do not want to see the bottom square on the top or right when the pieces are lined up.

The above step requires fairly accurate cutting. By that I mean your square should be square.

Line up ruler
Line up ruler

Place the ruler** on the two squares. Line up the solid line on the left and the XX line on the bottom with your top square.

Lines to use
Lines to use

When you line up the ruler, there is a solid line on the left. It is the first solid line on the left and connects with the diagonal line. This is the line you place on the left side of the smaller square. The diagonal line should be corner to corner.


Cut on the diagonal
Cut on the diagonal

Cut on the diagonal. The ruler includes the diagonal seam allowance. This is a great feature of the ruler so you don’t have to guess where to sew like you do when drawing a diagonal line. Also! No drawing of diagonal lines. I have a lot of corners to add for the X quilt so this is a bonus. It saves me a little time.


Pin then sew
Pin then sew

I like to pin, then I sewed along the diagonal.

Press.


Perfect corner!
Perfect corner!

Perfect! You might think that I picked the most perfect one, but I didn’t. First, I didn’t know what was going to happen when I started taking photos for the tutorial. With very few exceptions all the corners came out lined up perfectly. Where they didn’t (1 or 2 only), I think it was because I didn’t press the fabric properly or didn’t cut accurately.


Whole Lozenge Block
Whole Lozenge Block

The whole block came out really well, too.

I love the idea of specialty rulers. I often buy them with hope and don’t take the time to learn to use them. Or they turn out to be not as promised- not as helpful, hard to use, etc. This ruler works really well. I am super pleased not to have to draw 2 zillion diagonal lines!


**I use affiliate links and may be paid for your purchase of an item
when you click on an item link in my post. There is no additional cost
to you for clicking or purchasing items I recommend. I appreciate your
clicks and purchases as it helps support this blog.

Ends n.9 Quilted

Ends n.9 quilted
Ends n.9 quilted

Alison also quilted Ends n.9. It is an appropriate quilt to post on Valentine’s Day because of the colors.

Like Blue Strips n.2, this will be donated to the Project Linus project near where Alison lives.

I forgot about this one even though it was the last one that I made. It makes me think that I need to look and see if I have some more ends that need making into a quilt.

Blue Strips #2

Blue Strips #2
Blue Strips #2

Alison sent me some photos of Blue Strips #2 after she finished quilting it. Since Alison is in Oregon now and the guild doesn’t want to incur the costs of shipping the quilts back for donation. Alison found a good Project Linus group who is getting the quilts she quilts. I am pretty pleased that she was able to quilt this one. I’d like it to be used as soon as possible. She was kind enough to send a bunch of detail shots as well.

Wabi Sabi

I am going through my bookshelves as I prepare to remove everything from my workroom and paint. That project is a story for another day, but the bottom-line is that I cannot stand the life sucking beige anymore and it has to go. In order for it to go, I have move all of my stuff — all of THE stuff out of my workroom.

When I come across certain things, like magazines, I look through them to try and see if I want to devote part of my new, fresh space to them. I am pretty good about marking pages when i initially read a magazine. This makes looking through the issues much easier, though i do tend to want to see what else is in the content. I did mark up a 2014 issue of Fresh Quilts**. I don’t know if this magazine is still published. This particular issue has an interesting essay on wabi sabi by Riane Menardi. Not so interesting that it is going to live in my new workroom, the essay is making me think.

The definition of wabi sabi in the article “an old Japanese philosophy that asks us to find beauty in the imperfect. It us that in life, nothing is perfect, permanent, or complete. Wabi sabi asks us to embrace all the natural states of being – the cycle of creation, growth, and decline, and everything in between.”

I also checked Wikipedia (yes, I looked at the references and this article was well documented) and the definition there is “wabi-sabi (??) is a world view centered on the acceptance of transience and imperfection.[2] The aesthetic is sometimes described as one of appreciating beauty that is “imperfect, impermanent, and incomplete” in nature.[3] It is a concept derived from the Buddhist teaching of the three marks of existence (???, sanb?in), specifically impermanence (??, muj?), suffering (?, ku) and emptiness or absence of self-nature (?, k?). Characteristics of wabi-sabi aesthetics and principles include asymmetry, roughness, simplicity, economy, austerity, modesty, intimacy, and the appreciation of both natural objects and the forces of nature.”

Slight difference, I think, but I can see the relationships.

From a here and now in the world perspective, I know that nothing is permanent. I am sitting at home for the 5 millionth day in a row unable to see my friends or my family. From a quilt perspective, I think things are less clear.

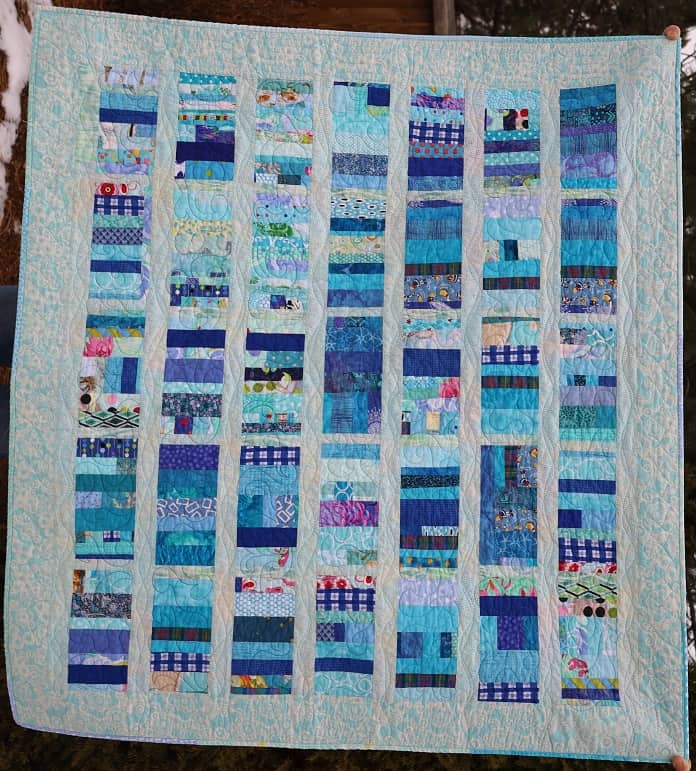
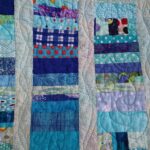
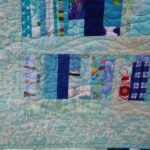
I went shopping inside a quilt store the other day – for the first time in over a year. There they had some fabrics I thought I would never be able to get again. While this was surely an anomaly, it was a welcome anomaly. In my mind this means that while nothing is permanent, sometimes the train of impermanence hurtling toward you is delayed. In quiltmaking, we can get fabrics with the same colors, so the idea in a quilt design can be continued even if the fabric is different.

I worry about the ‘nothing is perfect’ aspect of wabi sabi with regards to quiltmaking. Nothing is perfect, but I strive for excellent workmanship and technique. I want as few mistakes as possible in my quilts. When I do make a mistake, I contemplate it for a bit and decide if I can live with it. If so, I move on. If not, I rip it out and do it over. What worries me is people putting in an obvious mistake in a quilt because ‘nothing is perfect’ or ‘only God is perfect.’ This was a real phenomenon in quiltmaking in the 1990s and kind of outraged me. In my mind, there is no way I can make an absolutely perfect quilt – one with no mistakes. I don’t need to put in a mistake since there will always be mistakes no matter how careful I am. There will always be more than one mistake in every quilt I make whether the viewer can see it or not. Why would you intentionally put a mistake in your quilt?

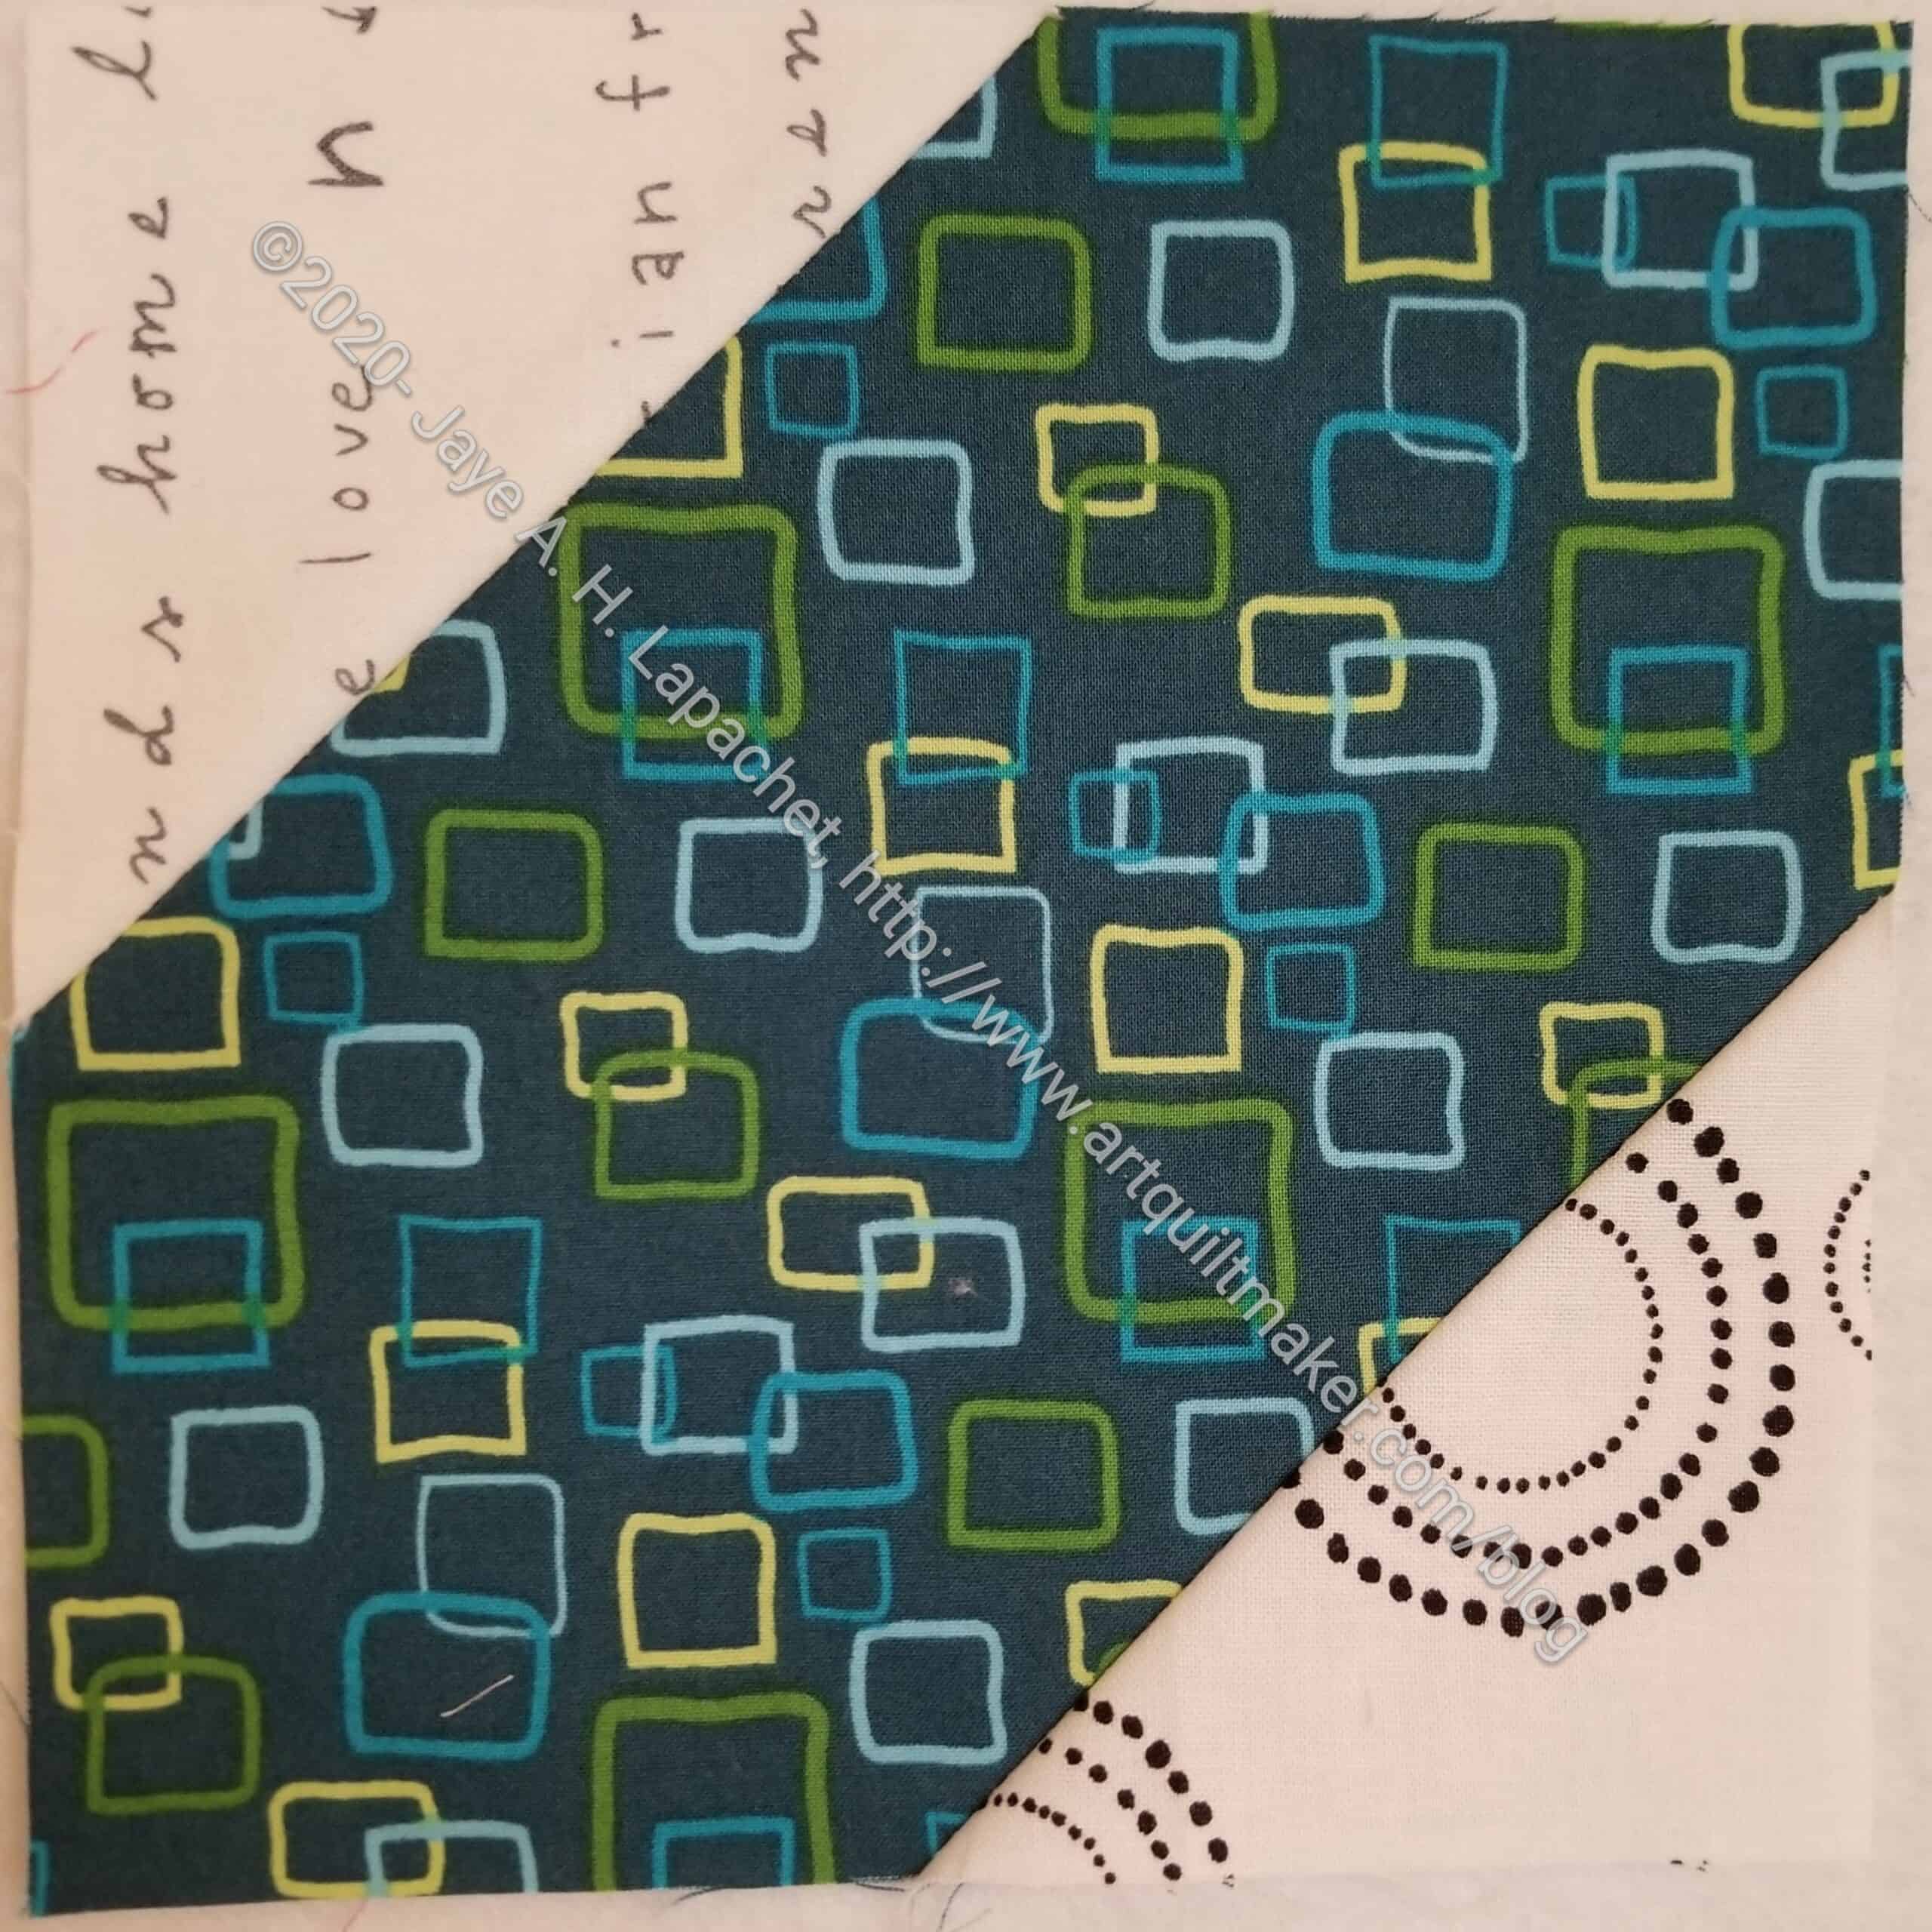
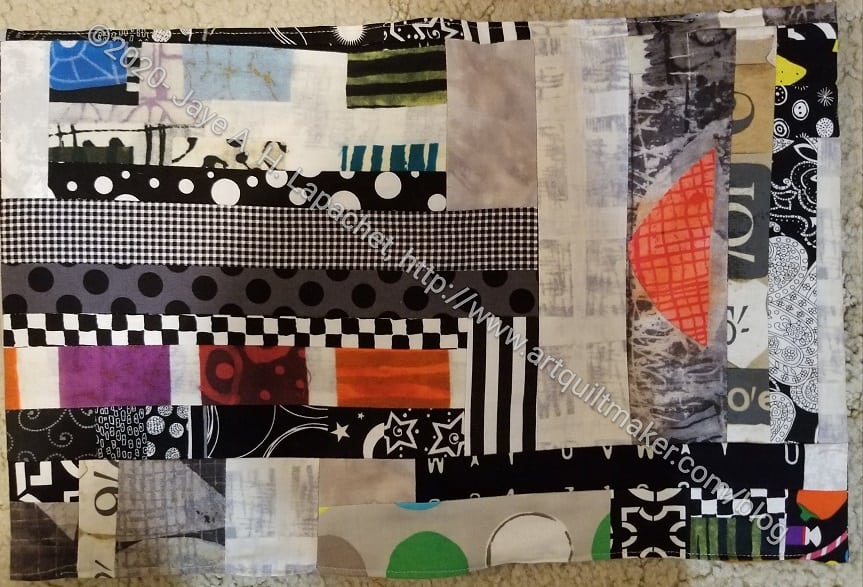
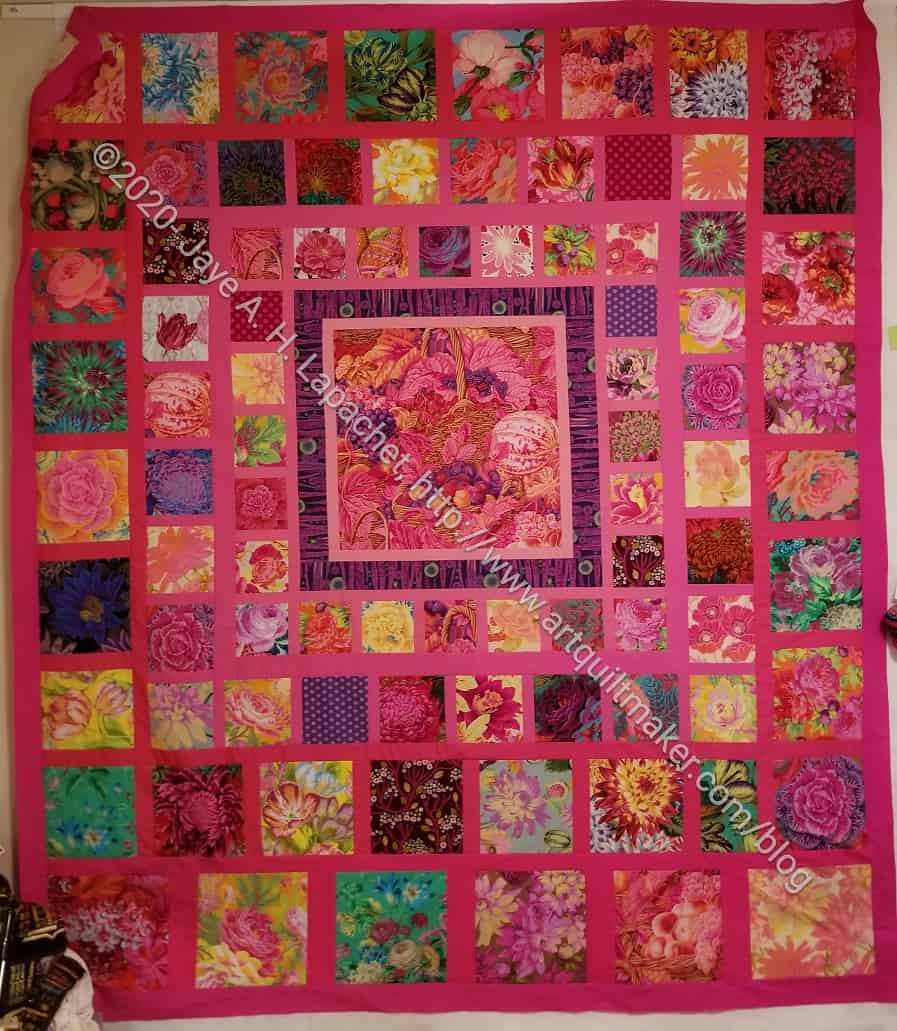
The author says to embrace mistakes and make them part of the design. I often do this, especially if I run out of fabric. I pick another fabric with a similar color and move forward. The bonus of this technique is that I have  developed a style where I use many, many fabrics rather than just one, especially where fabrics of the same color can make the area of a quilt more interesting. If a mistake will ruin my overall design idea, then I don’t go in a different direction. I fix it. In my work, I need to complete the idea in my head or it won’t leave me alone. I suppose it depends on the idea. If I am just playing, then unexpected directions can be a useful tool. Often, though, I have a design in mind that I want to explore and those feelings can be compulsive.

Ms. Menardi also talks about destruction. She says to ‘destroy something’ or ’embrace destruction.’ I was in an improv exchange once where one member sliced and diced everyone’s piece to shreds  and then sewed them back together. The results were awful. Mine escaped this fate somehow. I think she came up with the idea after she worked on my piece. I was glad, because the resulting compositions of the other pieces were destroyed. Not in a good way either. Every choice in my work needs to have a reason and needs to make it a better piece. Even with my Color Improv donation quilts, I make choices in where I place the fabrics. I might be using looser rules than when I make other quilts, but I still make choices that better the overall design. I don’t believe in destruction for destruction’s sake.

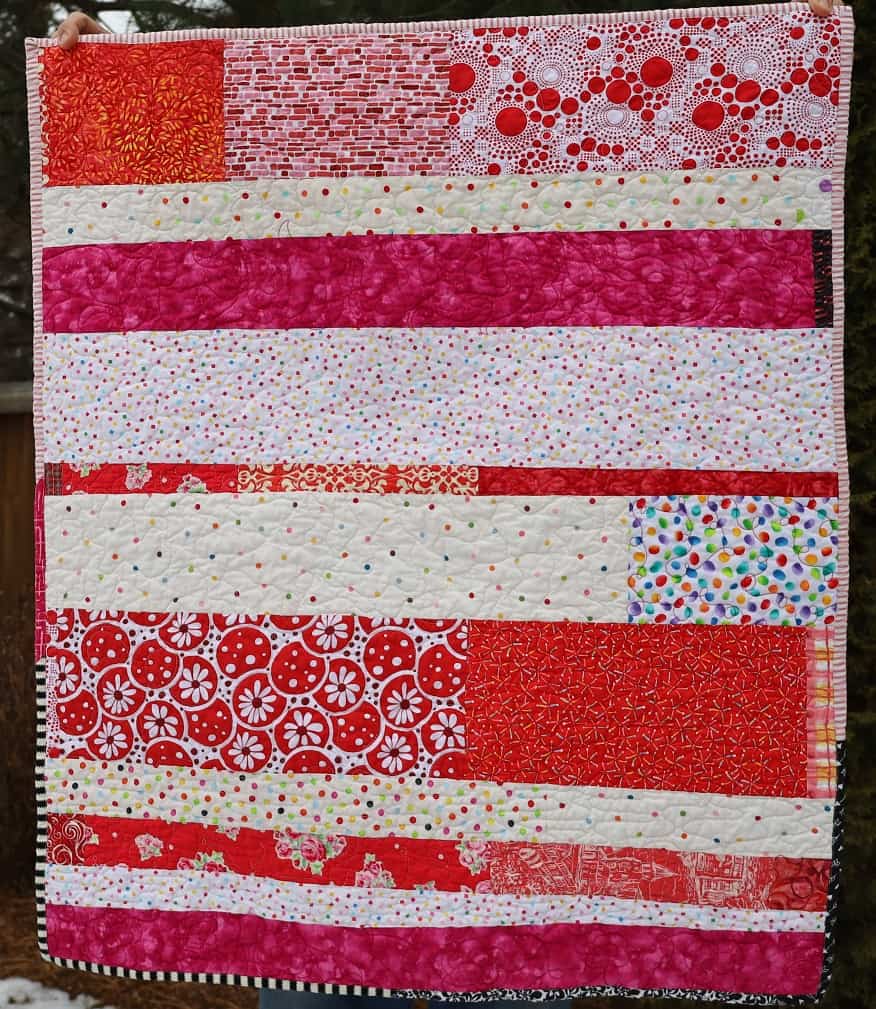
The final suggestion was ‘love (and use) your quilts.’ This is important to me. With very few exceptions, I don’t give people quilts for them to end up in a  cupboard ‘for good.’ I want baby quilts to be dragged around and used to death. I want my nieces and nephews to wrap up in their quilts for comfort until the binding frays and worn areas appear. The bottom-line? There is always more fabric.

I do embrace the beauty of handmade items and recognize that those items have mistakes. The mistakes are not important; the beauty of the visual design and the love that went into the hours of sewing is what is important to me.


**I use affiliate links and may be paid for your purchase of an item when you click on an item link in my post. There is no additional cost to you for clicking or purchasing items I recommend. I appreciate your clicks and purchases as it helps support this blog.

Gift Post: Eye Mask

A friend of mine has Stage Zero Breast Cancer. I have never heard of Stage Zero Breast Cancer either, but she explained that it has something to do with calcifications. You’ll have to look it up, if you are interested. She said that her health system is one of the few that actually treats Stage Zero Breast Cancer. She will be having surgery on Friday.

Eye Mask gift
Eye Mask gift

I decided to make her an eye mask as I wanted to make her something that would provide comfort. After finding a piece of pretty fabric, I whipped it up and will be sending it off this morning.

After I made it I thought the curve would accommodate using it under her arm as well. I don’t know if that will feel good, but it is an option. I used the small amount of leftover fabric to make a small gift/storage bag.

Double Spiky 16 Patch #2

Double Spiky 16 Patch #2

I spoke about my first Double Spiky 16 Patch a few days ago. This is the second one. I am still happy with this version as well. I made two thinking I would make one quilt, but I decided I would leave them small.

This one is also 32″. There is a charity to which my guild donates takes small quilts, so I think it will be fine.

Superbloom Side Pockets

Superbloom Side Pockets

I spent some time on Sunday sewing the Superbloom tote. I am particularly happy with the Side Pockets.

First of all, I always forget how easy those internal zipper pockets are. They really go together smoothly. I always wonder why I don’t just add them to every bag. I should.

Second, I am super happy with fussy cutting. I basically lined up the motifs with the template pieces. My one issue is that the swans heads got cut off when I added the zipper. I plan to add some markers on the template where the zipper is so I know where the zipper for the next time I make one of these.

I started putting the bag together and am excited to see how it will look.

SLA Journal Cover Gift

SLA Journal Cover front

I am, once again, president of my local library association. Not what I wanted to do again, but circumstances required that I step up. One thing that I did was want people to read my newsletter/”Message from the President”. As an incentive, I offered a fabulous prize, which was a journal cover for a composition book.

Since I didn’t know if a woman or a man would win, I chose neutrals – mostly blacks and greys, but one piece had that great orange triangle, so I used it as a centerpiece. I wasn’t excited about making something with those colors, but I am pleased with the way it came out.

SLA Journal Cover -open

I picked the winner and now just have to get it to that person.

Superbloom Tote Start

My YM’s girlfriend (YMG??) has a birthday at the beginning of January. I thought I might be a week late in getting her a gift, but here it is a month later and I have not made progress on the tote.

Linework Superbloom Tote pieces cut out

I decided to make her a Superbloom tote. I wanted to try this pattern and her birthday seemed like a good opportunity.

I used some of Tula Pink’s Linework fabric for the outside. YMG likes dark green, which is not a color of which I own a lot (shocking, I know), so black and white it is.

This is a Sew Sweetness pattern (one of the new ones) so I have every confidence that it will go well.

As you can see, I haven’t gotten very far. I still need to get beyond the cutting and hope to work on it this weekend.

Book Review: Sew Gifts!

Sew Gifts!: 25 Handmade Gift Ideas from Top DesignersSew Gifts!: 25 Handmade Gift Ideas from Top Designers by That Patchwork Place

I wanted to read this book for a long time. I finally borrowed it from the library and found that the projects were all made from very appealing fabric combinations. Also, the photography was very appealing.

There are several interesting projects. I found that the projects are different from other books on making small gifts. Still, I enjoy seeing how other designers deal with zippers or make a pouch in a different shape.

This book has very little text beyond the patterns. It is a compilation of projects from different designers. Mary V. Green wrote the Introduction, which is very short. It doesn’t provide much information except to talk about how great sewing gifts for people is and mentions the variety of occasions appropriate to give sewn gifts. Readers do get a brief view of the patterns included in the book, because of a few of them are showcased on the page opposite the Introduction.

After the brief introduction, the patterns start. The patterns are divided into four sections. Bags, Bags, Bags includes tote bags, zipper pouches, wallets, a key holder and a few other things. The section called Gifts for Special Interests contains a scarf, a knitting needle zipper pouch, a sketchbook cover and matching pencil pouch, a backgammon game and an owl softie. Kitchen Mates shows readers how to make a Little Girl Bake Shop set, a holiday apron, a casserole carrier and mug rugs. Pillow Perfect is all about pillows.

Patterns are about 4-6 pages each and include a lot of photos, which makes making the projects easier and the patterns more understandable. Some of my favorite projects are the Zippered Dresden Pouch ( pg.10-13), Wristlet Key Holder (pg.23-25), Triangular Knitting Needle Case (pg. 43-47), Artist’s Sketchbook Cover and Pencil Case (pg.48-54), and the Hoot Pincushion (pg.63-69). I also like the felt cupcakes (pg.72,74) included in the Little Girl Bake Shop set (pg. 68-74). I am sucker for felt food, though I have no reason to make it. I just like it. The Casserole Carrier (pg.81-85) could also be used as a project carrier. The Pillow pattern designs are interesting enough to be the start of quilts. Basic sewing techniques start on page 105. The section includes brief overviews of binding, blanket stitch, sewing curves, edge and top stitching, felting wool, fusible applique’, satin stitching, seam allowances and zippers. The ‘Meet the Designers’ section starts on page 110. Each designer gets a one paragraph description with some links to blogs and websites.

The Zippered Dresden Pouch ( pg.10-13) is one of the very appealing patterns. After making the Dresden Sew Together Bag, I am enamored with using Dresden Plates for embellishments. The embellisment brought this pattern to my attention immediately. It also included good skills which were well explained for making future pouches, such as using zipper tabs and boxing corners, two skills not always included with zipper pouch patterns.

The Wallet Key Card (pg.14-17) is interesting. I don’t think I would use such a thing, but it might be a good gift. The zipper might need a zipper tab.

The Wristlet Key Holder (pg.23-25) was another interesting project. I can’t think of a time when I only go out with a key, but this might be a good project to make for a child who doesn’t need a driver’s license when s/he is outside playing.

I like the shape of the Casual Crossed Hobo Bag (pg.4-39). The pattern requires enlargement, which is possible, but may not be so easy without access to a copier. The pattern does show how to manually enlarge it.

Triangular Knitting Needle Case (pg. 43-47) uses a shape for a zipper pouch I don’t remember seeing before. I use circular needles for the most part, but I have been thinking about what I could store in this zipper pouch. Pens when I go to guild instead of having them hang in the loops I made in my last Chubby Charmer? Of course, they wouldn’t be as accessible encased in a pouch.

The Artist’s Sketchbook Cover is not that different than the journal covers I make at regular intervals. The Pencil Case (both projects: pg.48-54) is just a zipper pouch. What makes these two patterns fun is the design on the outside. It is fiddly to do so much piecing, but also fun and cheerful.

The Sewing Kit in a Jar (pg. 59-62) is kind of novel and might make an entertaining, if not very useful gift.

The Hoot Pincushion (pg.63-69) reminds me of my Henry Owl Softies. I like the idea of using buttons for eyes and also the pocket for scissors. I was also pleased to see that the designer included supplies to weigh down the pincushion.

For times where you need appealing gifts quickly, this is a book that you could use. There are patterns you could make over and over in different fabrics and with different embellishments. I would have liked to have brief descriptions of the designers’ inspiration for the project, but perhaps I am the only one as that doesn’t seem to be something publishers like to include. Also, I guess I can check their websites to see if they talk more about the projects.

View all my reviews

Various & Sundry 2021 #2

If you missed the Altoids tin sewing kit tutorial, I have updated the AQ Tutorials page so you can find it easily.

Martelli rotating mat

I got a late gift from the YM that didn’t make it into the Birthday Extravaganza post, a Martelli rotating mat**. This is the nicest rotating mat that I have used. I like that the edges are round. They don’t poke me when I am trying to spin it and cut. This is useful right now as I am teaching Peaky & Spike units, equilateral triangles and diamonds. A rotating mat to cut these shapes makes cutting much safer.

I also updated the Sampler Quilt Class page. After posting the setting tutorial, I decided to add a finishing section to my Sampler Class.

Articles, Media, Exhibitions and Shows

I have posted about the EBHQ shows in the past. The EBHQ Voices in Cloth Show  that was cancelled last year can be seen virtually now

Books, Fabrics, Notions

EQ8 and Accuquilt Dies: There are new Add-ons from Lori Miller – Lori has created more EQ8 Block Libraries that work with the Accuquilt GO! Qube and Block on Board (BOB) dies. Check out all the sets she has available in her Etsy shop!

Judy Martin has an index of all of her block and quilt designs available as an ebook.

One of the items I received for my birthday was a Violet Craft seam roller.  Friend Julie swears by it. I don’t do much paper piecing, as you know, but I came across this description and it made me think in a different direction. “The Violet Craft Seam Roller is the perfect tool for all quilters & BAG MAKERS! Used in place of an iron, the rounded barrel places all the pounds of pressure right on the raised seam for a crisp press. The Seam Roller is superior to the iron for foundation paper piecing and is the perfect replacement for on-the-go sewing such as English paper piecing and retreats. Use this to flatten hard to reach seams inside your bag, tight corners, or just getting a vinyl or cork seam to lay flat!” (Italics are mine) This thought provoking description came from the Emmaline Bags newsletter.

I am sure most of you have heard that we should now be wearing masks with 3 layers of fabric. Also in the Emmaline Bags newsletter, I saw a link to Pellon Sew In Cambric Polypropylene Mask Filter Material. I couldn’t find it on Amazon, but only did a quick search. I did find 915 Cambric listed on the Pellon site, but the description doesn’t say anything more about mask making. I also found a ByAnnie product called Mask Filter Material that seems to be similar. More research is required.

Projects, Classes, Patterns & Tutorials

I looked through the In Color Order tutorials and found a lot of good ones. There are a variety of her drawstring bag patterns, too.

Need to bring your charger wherever you go? I feel like I do because my phone’s battery routinely dies in the middle of the day. Of course, since I never go anywhere now, I am just planning ahead with the Sallie Tomato video tutorial on making a Key Fob Cord Keeper.

Charlotte Hawkes has another scrap mystery quilt project going.

Gnome Angel has tutorials for all of the Farmer’s Wife 1930s Sampler** blocks.

Other Artists

Sarah Goer has list of goals for 2021. I like it that she included life and business goals as well as quilt goals. I also really like her quilt goal “use pretty fabric.” That should be a goal for all of us.

Valerie made 36 quilts last year! WOW!

One of my friends, Sonja, has been doing art on paint chips. I know this sounds crazy, but her work is fantastic and these aren’t ordinary paint chips. The Kelly Moore Essential Color Set is like a tablet of small art canvases. You can see the fabulous work that Sonja is doing on her KM Color Set on her Instagram feed. Pokey Bolton spoke with Sonja in an IG Live Interview.


**I use affiliate links and may be paid for your purchase of an item when you click on an item link in my post. There is no additional cost to you for clicking or purchasing items I recommend. I appreciate your clicks and purchases as it helps support this blog.