Peek-a-Boo fabric by Amy Bradley Designs, Pattern #13012
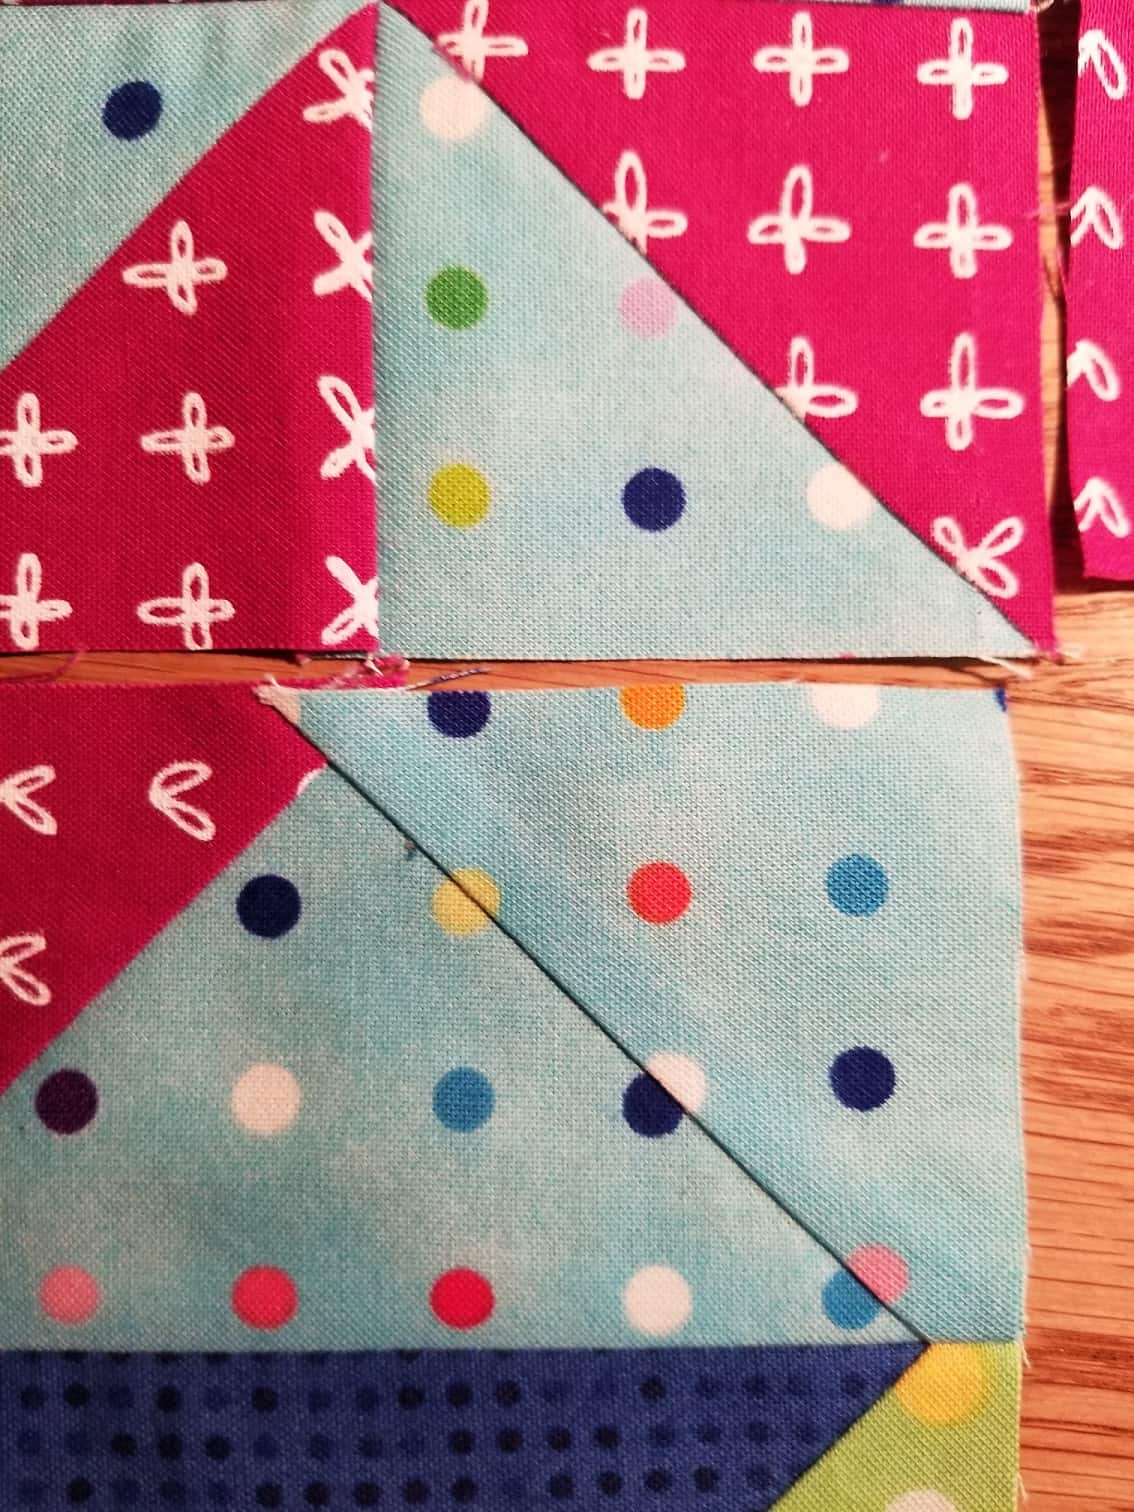
I am working on the Frolic! quilt, as you have seen and, of course, I have run out of fabric. This blue dotted fabric is an older fabric called Peek-a-Boo by Amy Bradley Designs for Moda Pattern #13012. I always try to think of running out of fabric as a design challenge. Thus, I have a relatively suitable substitute waiting in the wings, but would really prefer just a little more of this fabric. If you have any you are willing to sell or trade, please get in touch. I would really appreciate your help. Thanks!
I spent another day Sunday, ostensibly sealing the fate of the cold I felt coming on, but really sewing. I did stay home in order to make sure I didn’t get sick. It was a great time to sew. I thought I would get as much done as I felt I had done on Saturday. It wasn’t to be.
I feel like I sewed as much, but I can’t see the progress. The progress isn’t as dramatic and I wanted visible progress.
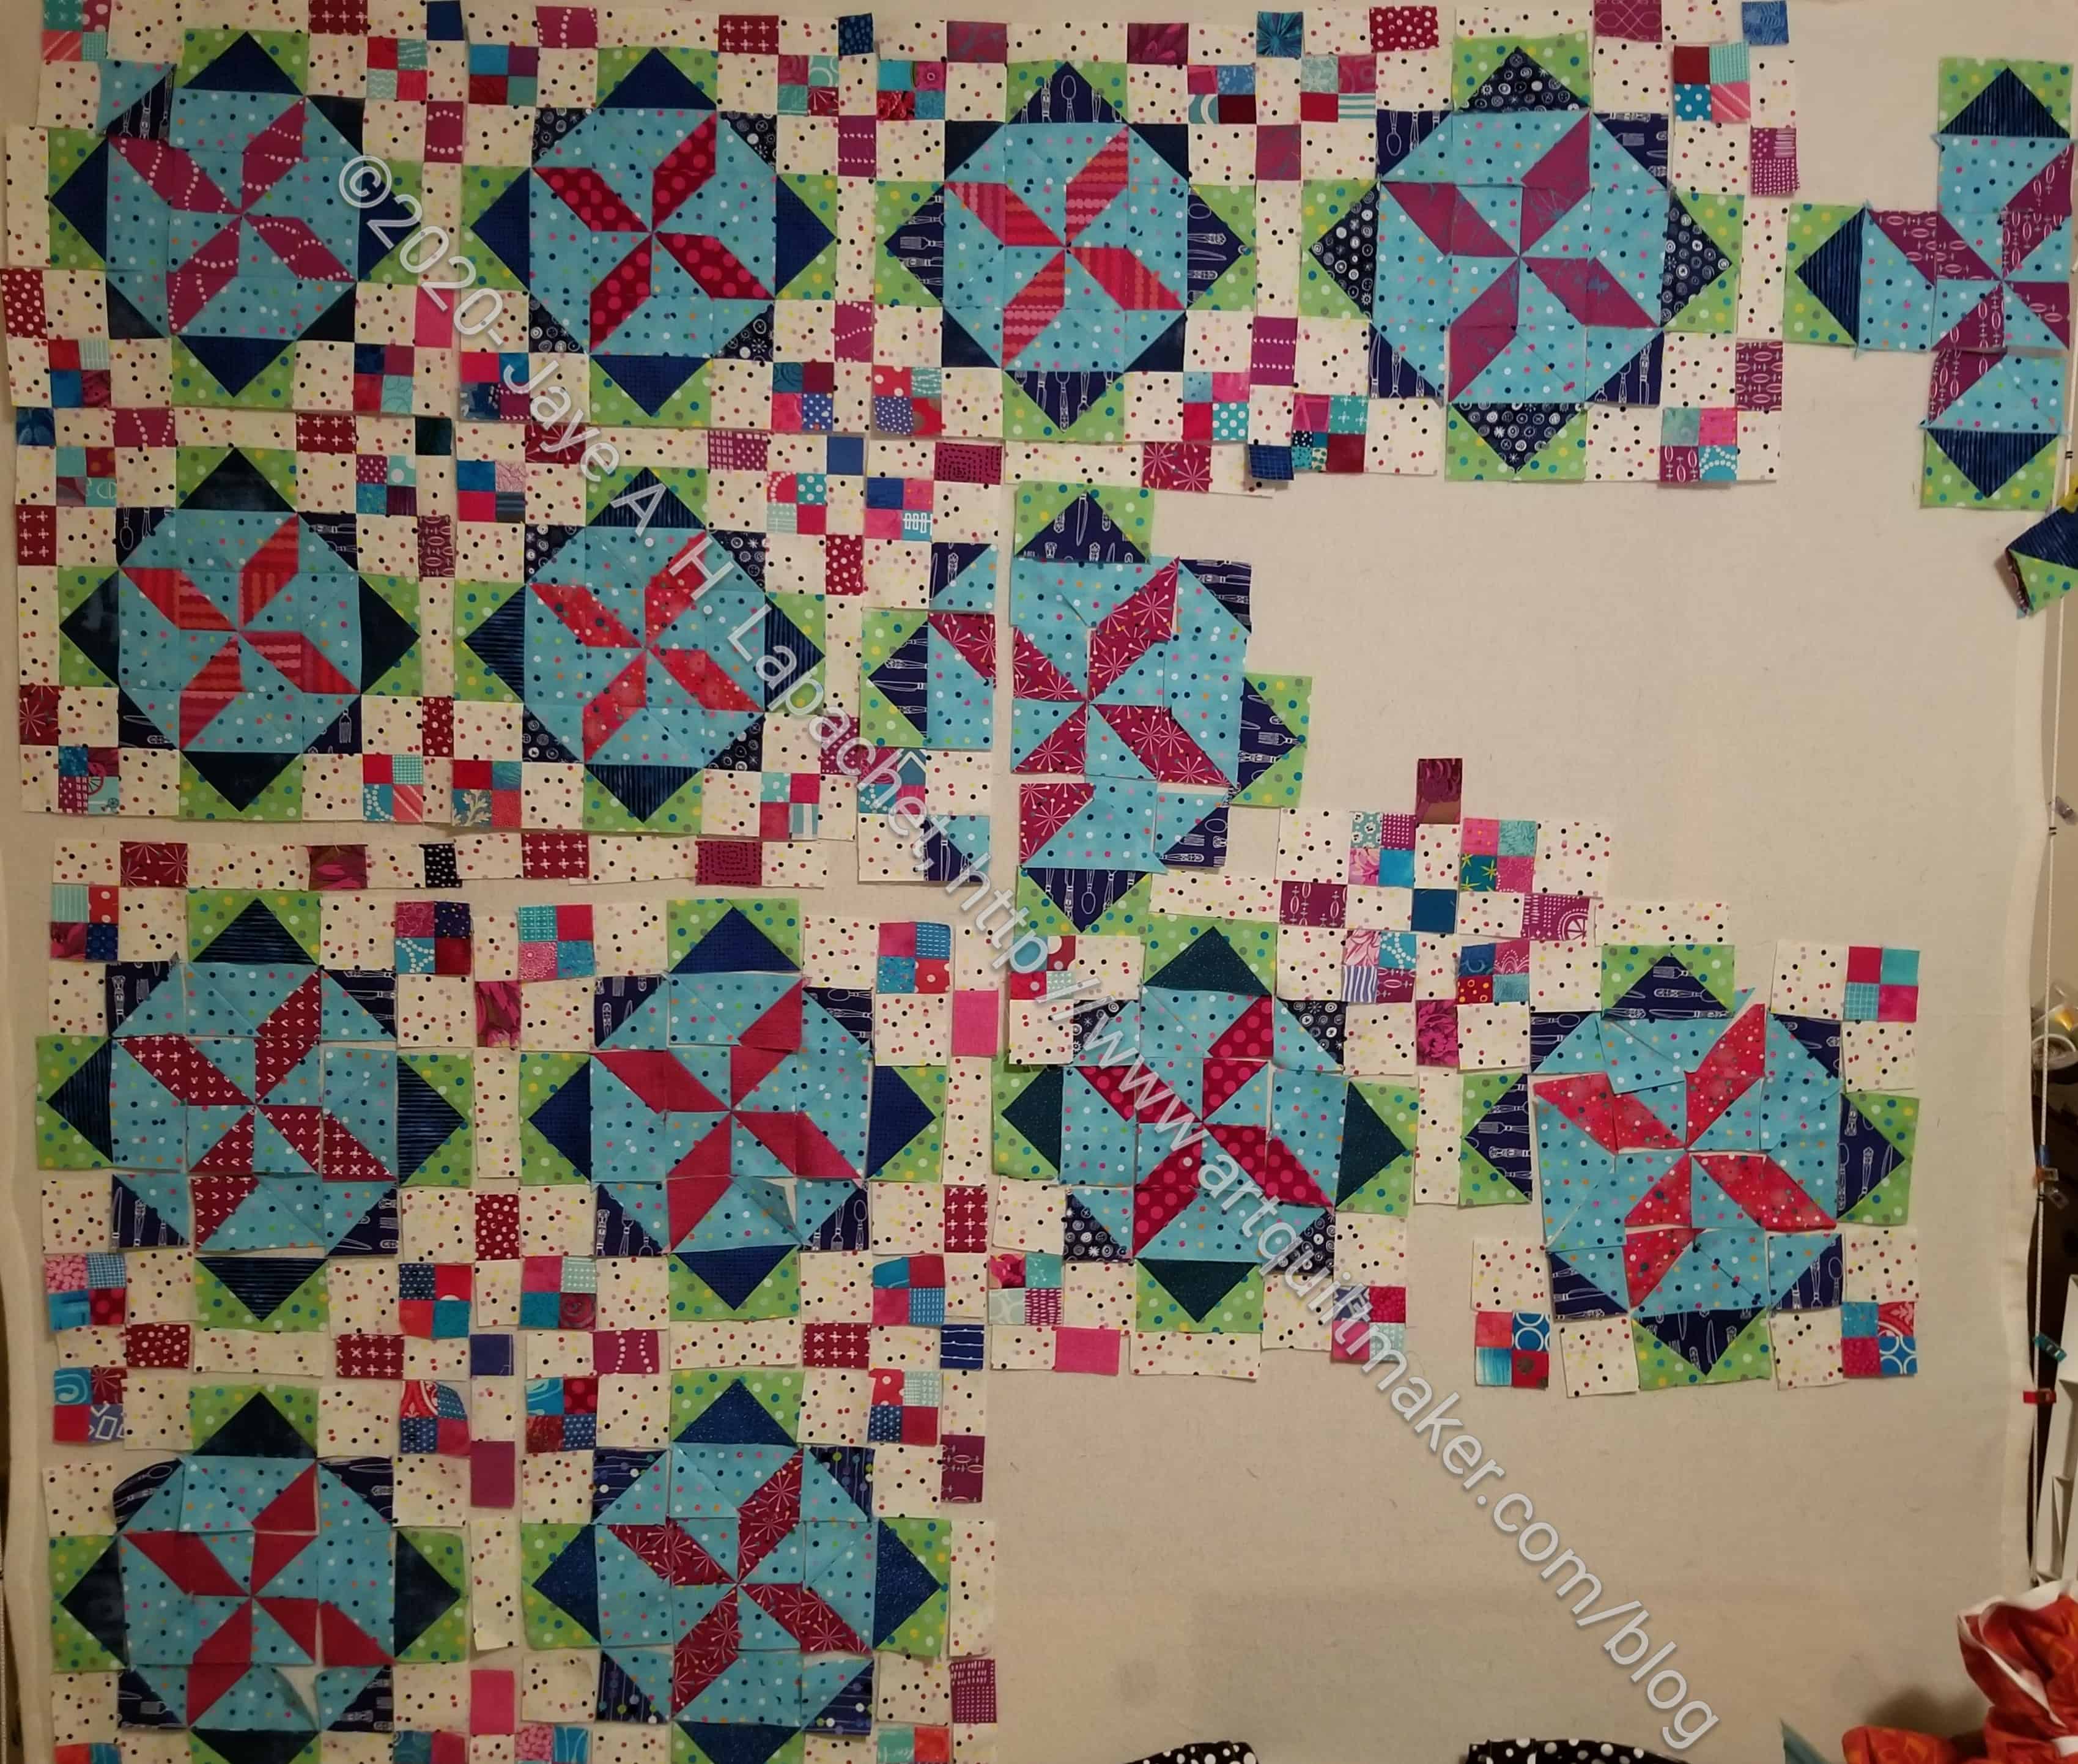
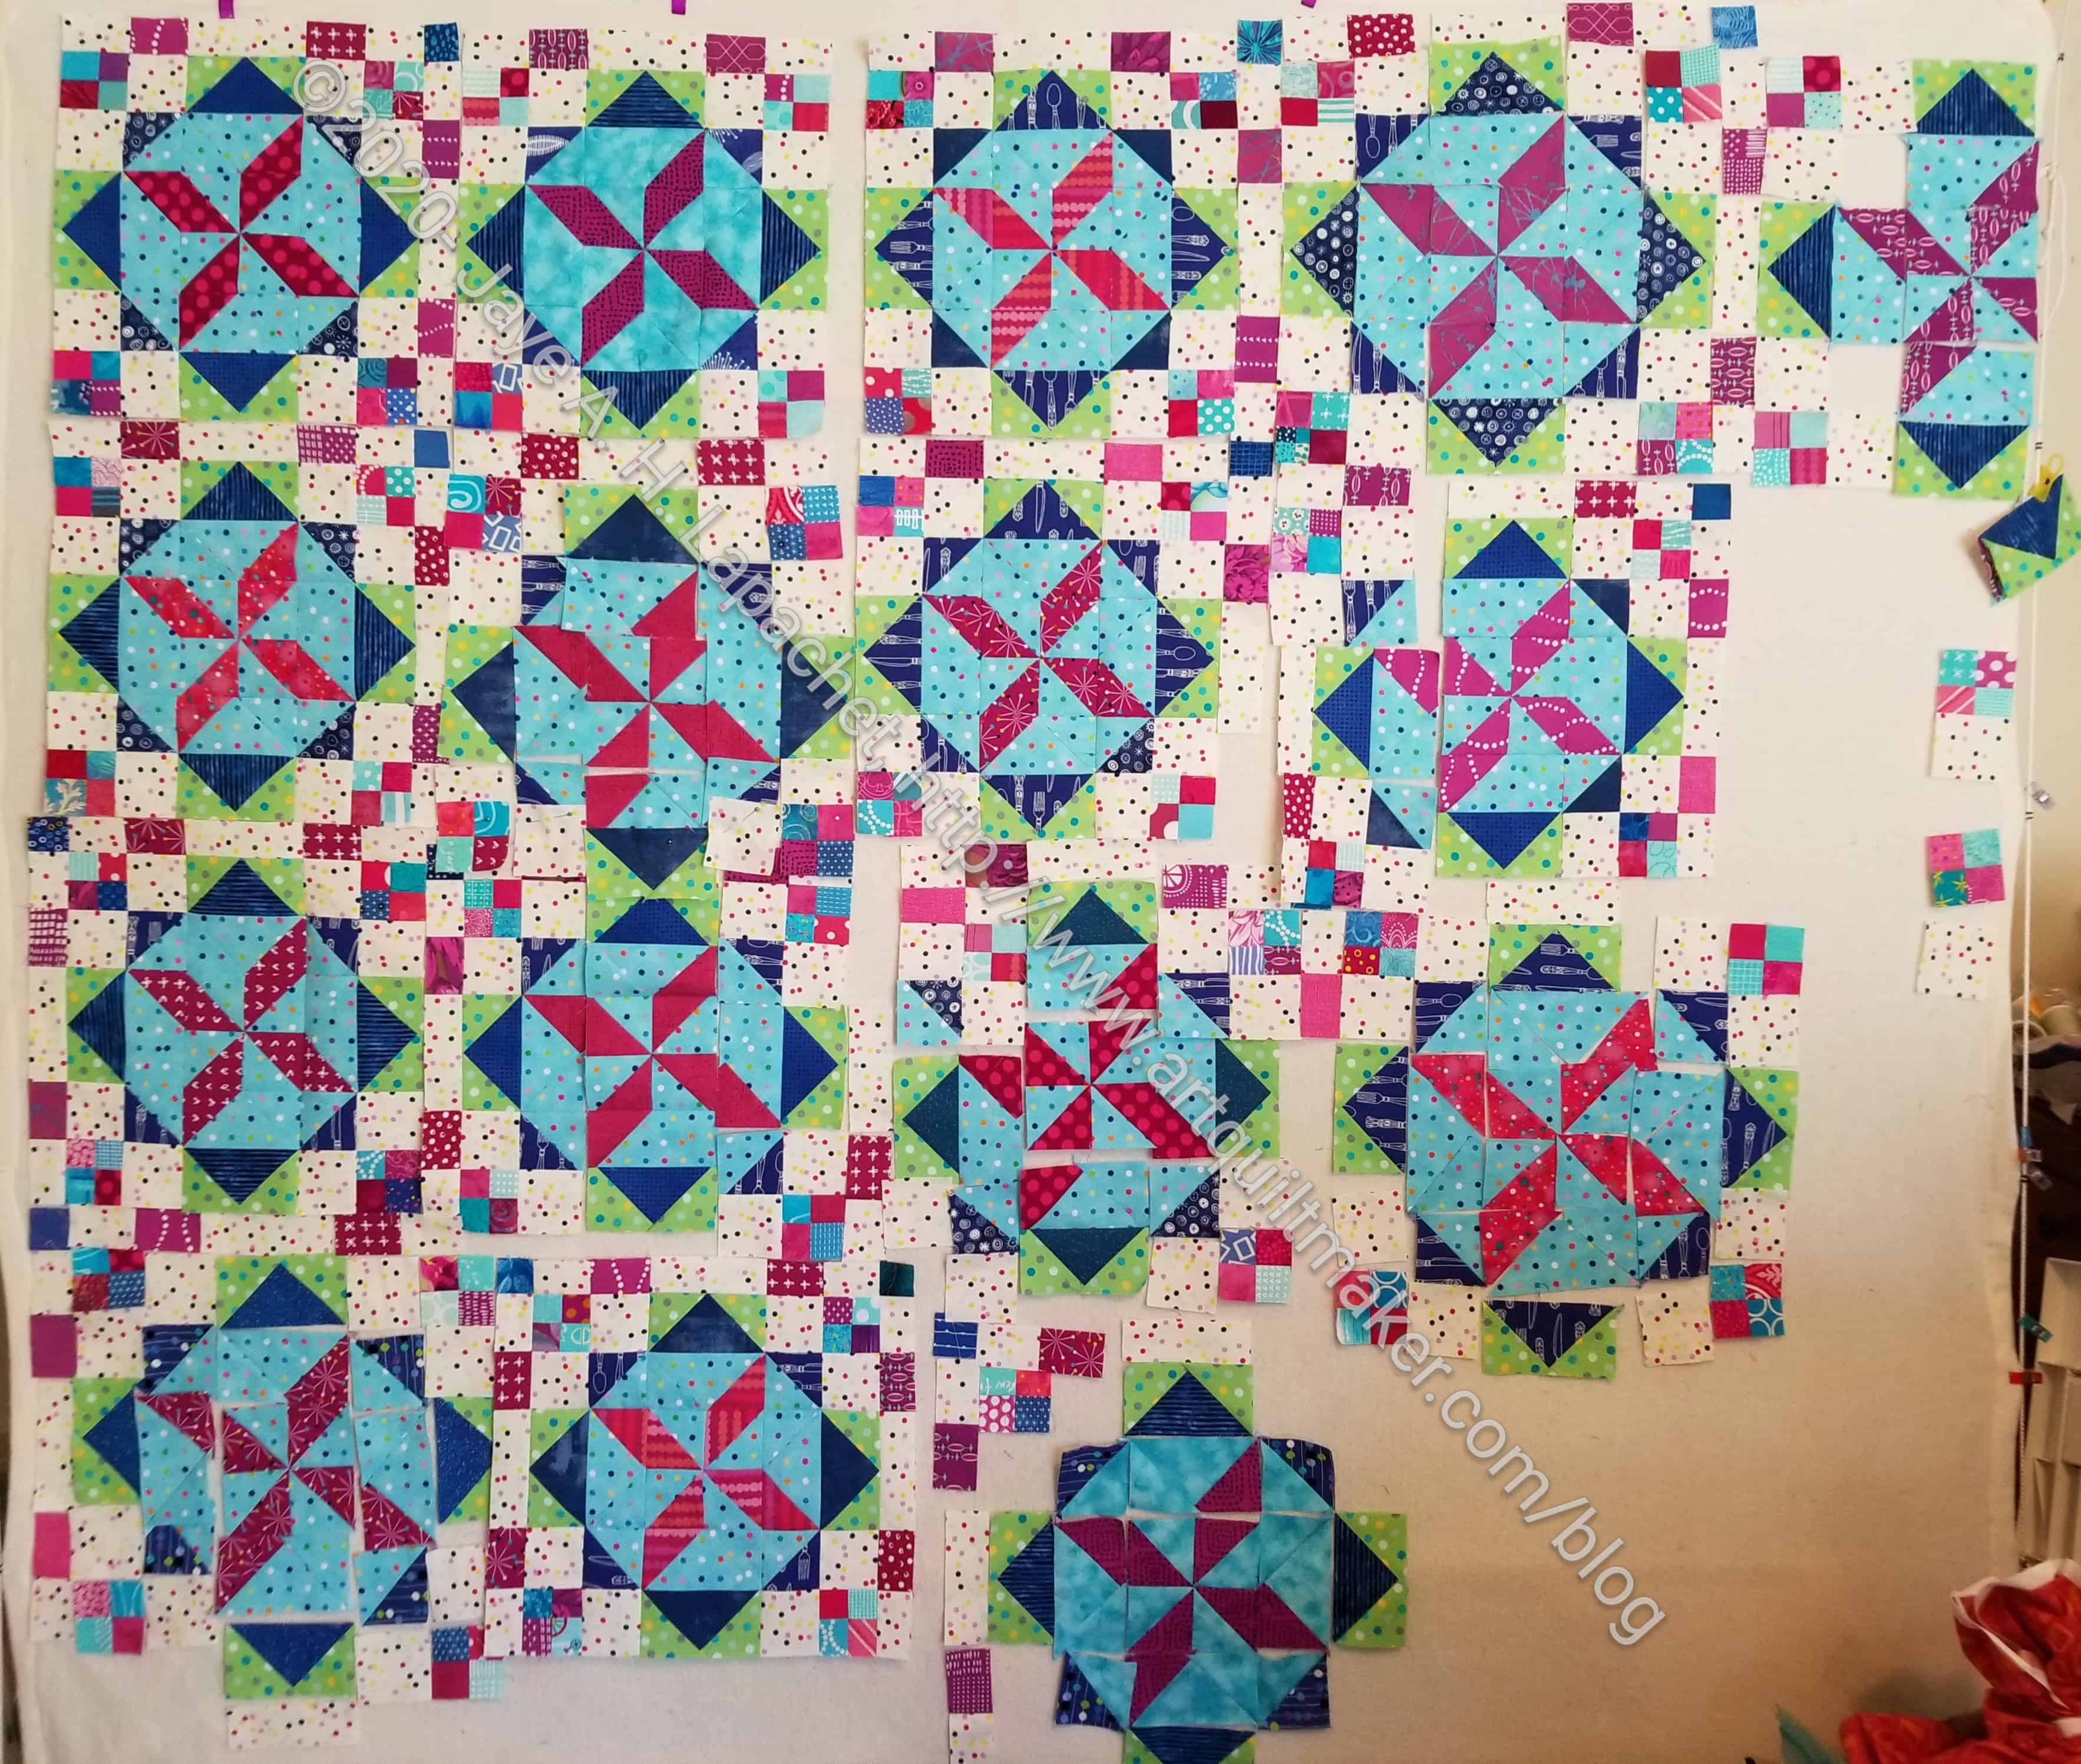
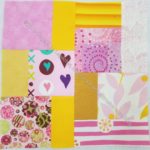
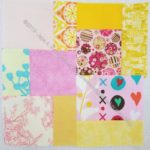
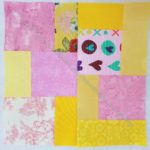
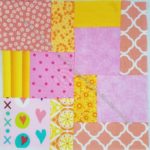
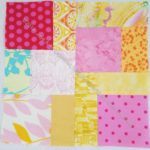
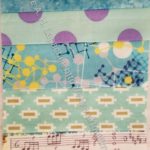
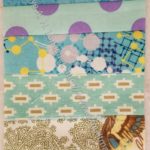
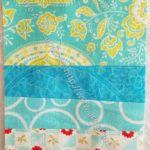
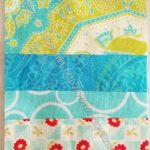
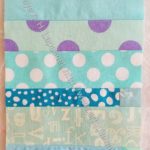
After my efforts on Friday night and Saturday, I was hopeful that I would get the blocks done on Sunday. I had to make space on my design wall. I would gain space as the seams shrank the blocks together. That required sewing, so I got down to it. I forgot how much piecing Bonnie Hunter‘s quilt patterns require. I really did make progress. If you compare the two photos, they look similar at first glance, but do show the progress.
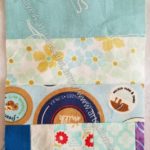
Frolic! – end of February 2020
Work finished Sunday:
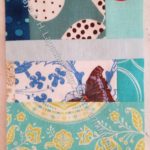
Frolic! – early March
I also know I am on the brink of really having my progress show up.
I also made progress on the Blue Strip donation top Saturday. It is larger, so not moving along as quickly as I would like, but it is also not causing me any problems. I made progress on this piece as I worked on Frolic on Saturday.
After last week’s Frolic! ‘progress’ and my lack of time to tinker with projects during the week lately, I felt like putting Frolic! away and working on something else. This is not a good strategy for me and would not have helped the project. I also don’t want more UFOs.
I decided on Friday that I go back to Clue 4 and start there. I decided I would spend a little time cutting as not having the pieces to work with seemed to be hampering me.
I have to acknowledge that I did sew blocks together last weekend and that was some project.
Frolic! – end of February 2020
I, however, wanted major progress and that required cutting more pieces. I cut about 15 ‘sets’ on Friday night. When I was ready to sew on Saturday, that made a difference. I still had to do some cutting, but I was able to get a lot of sewing done. The blocks are not all sewn, but they are well on their way and my design wall is more full.
The best part was that I felt like I did good work and felt hopeful about this project again.
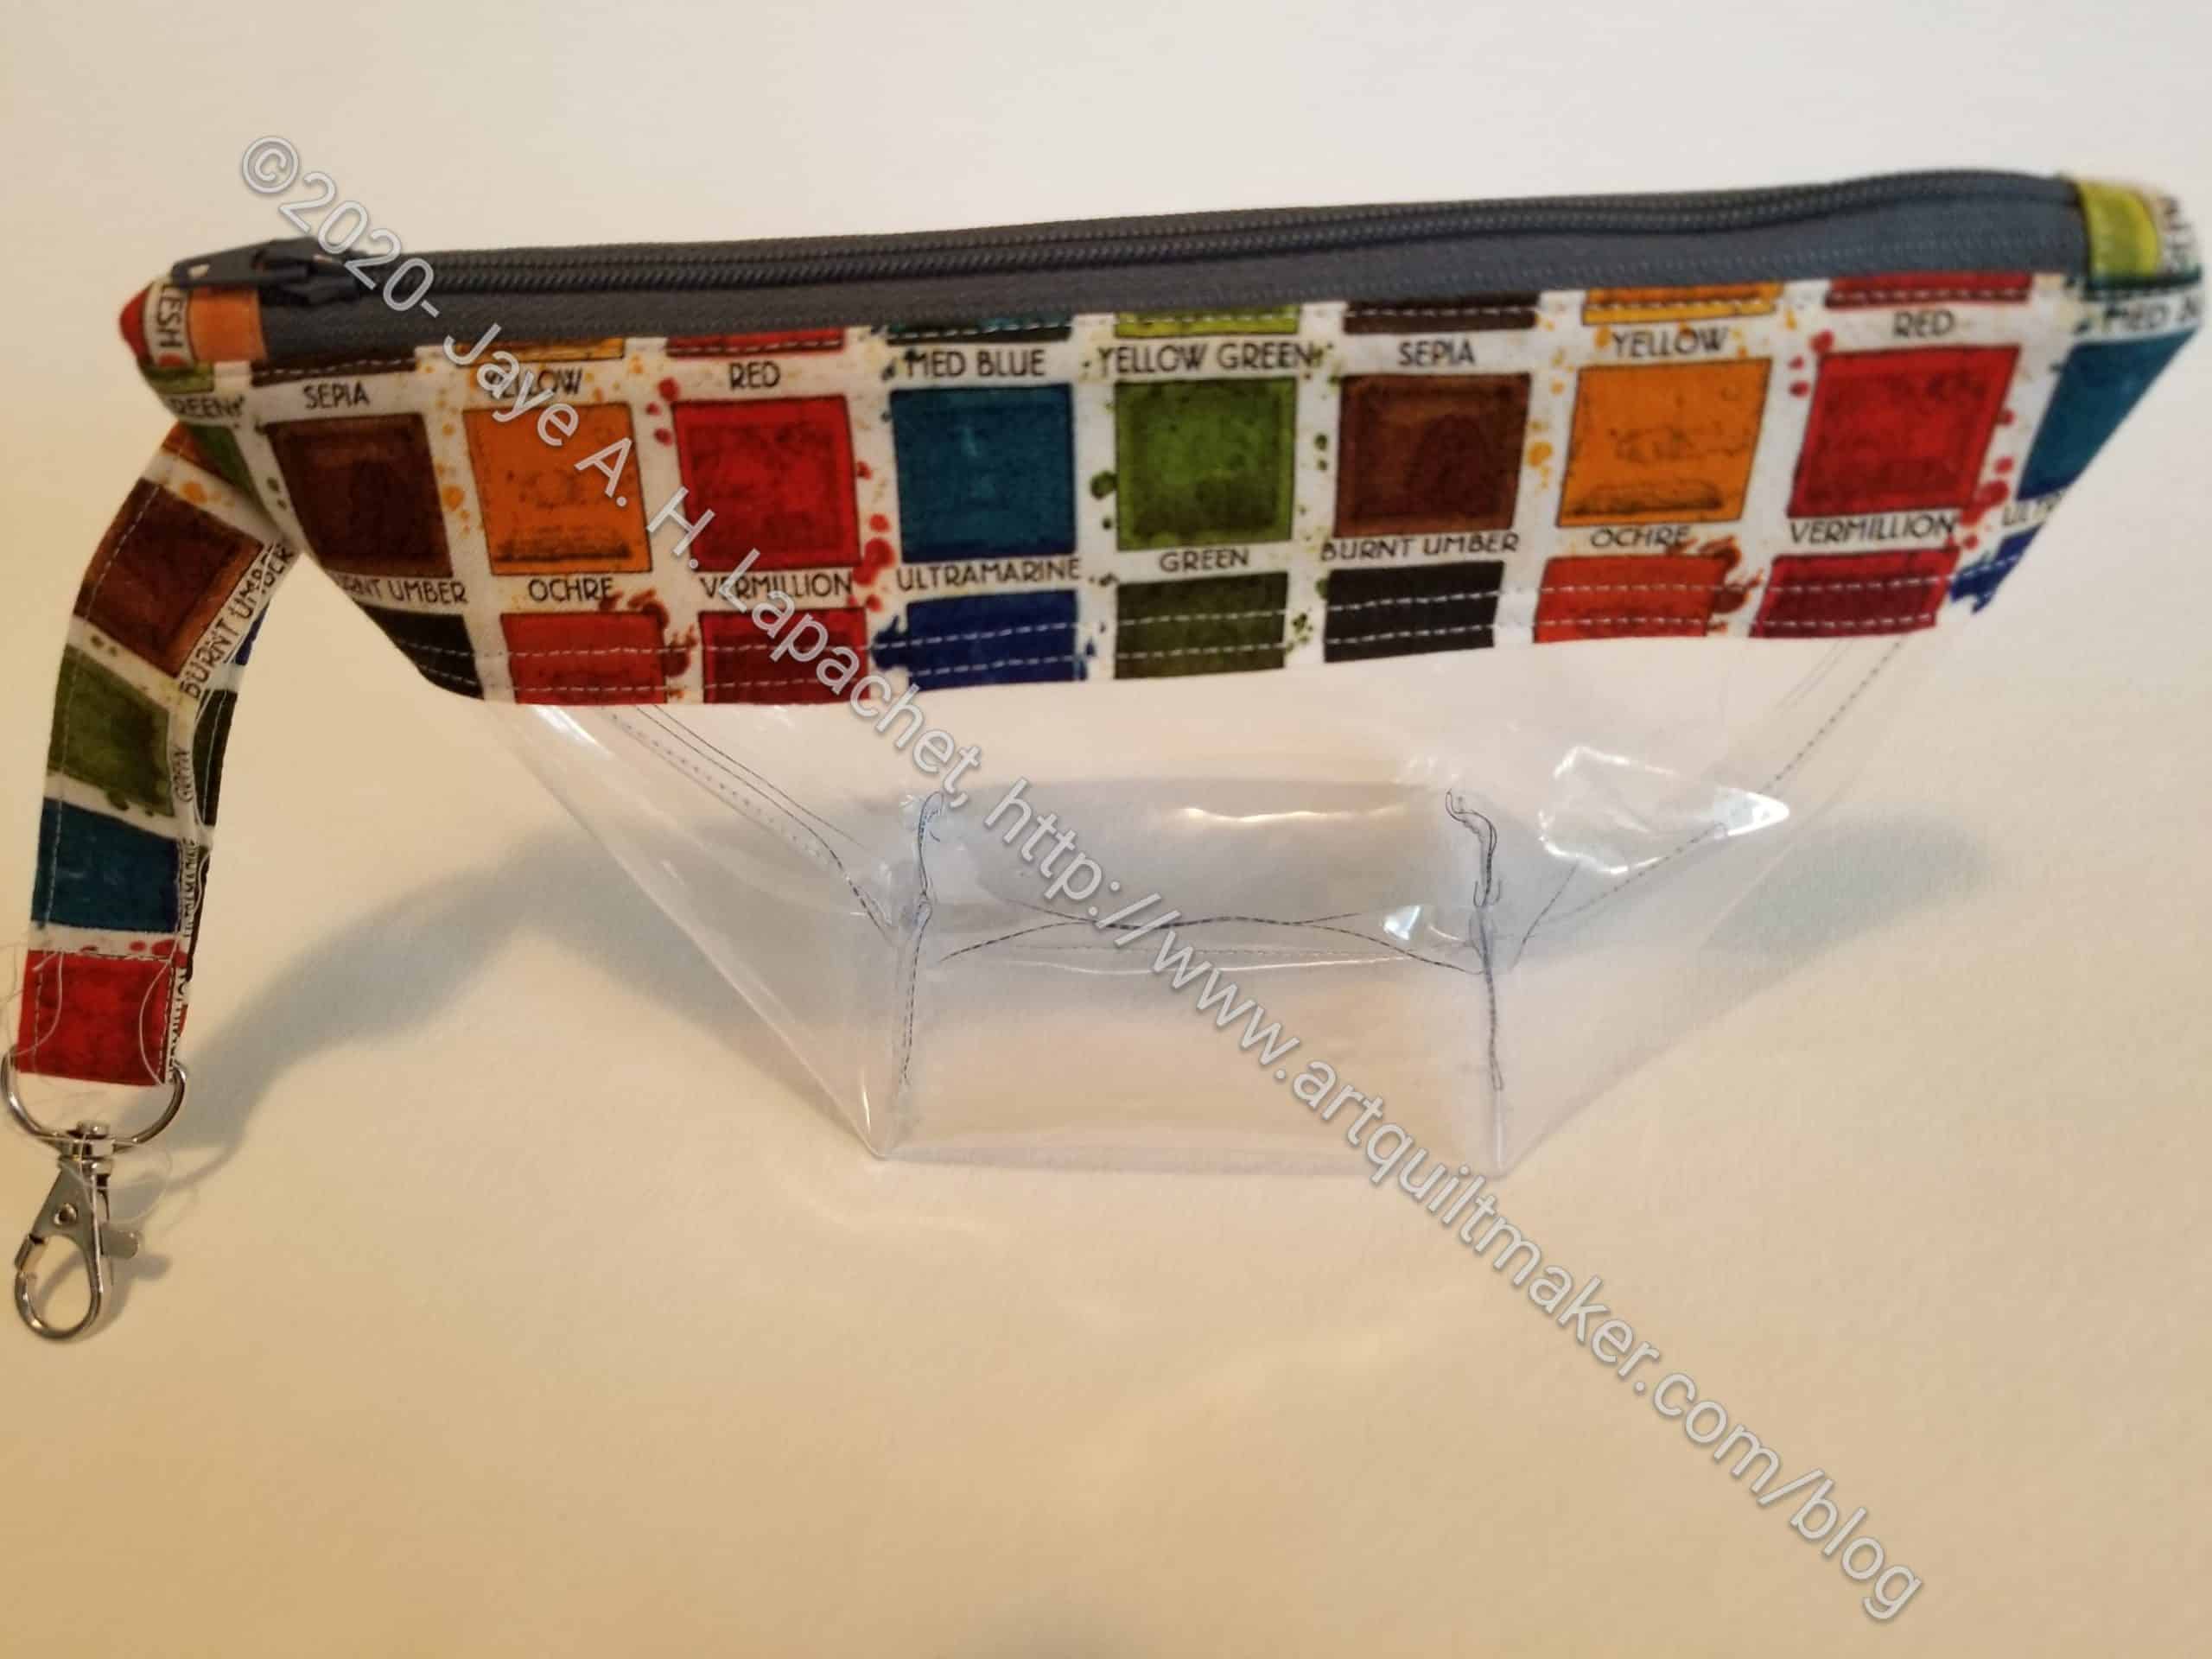
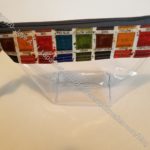
I was trolling YouTube for some some reason I can’t remember and found a video for a vinyl pouch. I actually found several, but one from So Sew Easy caught my attention. I think it caught my attention because I have been thinking about the vinyl pouches in the UCAB pattern and how I could make something more useful. I was thinking about making pouches similar to the Comfort Stitching Speedy pouches I made for the officer gifts. That pattern has a lot of binding, which is nice looking, but annoying to sew. All of these random bits of information contributed to my thoughts. The thoughts all sort of dovetailed when I saw this video.
Vinyl Pouch
I decided to use some scraps to make a pouch loosely based on this video. As you can see, I used some fabric scraps from the projects I have made for mom. I was lazy and the scraps were handy.
Instead of having the ends of the zipper sticking out, I wanted to try encasing them in the seam.I am pleased with the way the ends came out, but I finished the zipper tab and it meant there were a lot of layers through which to sew. In the future, I will leave the sides of the zipper tab open in order to reduce the number of layers. This assumes, of course, I can finish them and they don’t show on the inside. Unlike in the video, encasing the zipper in the ends of the pouch means that this will not be a widemouth pouch.
I also wanted to try boxing corners. Boxing corners means that the pouch will not be as tall, but the user will be able to put 3D objects inside. I was thinking of thread. The boxing worked well, but I had two problems. First boxing vinyl is a hassle. The video shows fabric on the top. I think, if i make something like this again, I will put a fabric strip on the bottom as well. One of the benefits of this pouch is seeing inside and I would want to preserve that feature. Second, I chose a size (1.5 inches) that was a little too small. I think I would try a 2 inch square next time.
The seams aren’t finished and that is always a problem for me, but I didn’t want to take the time. I would if there was fabric on the bottom.
This project is not a loss. It may not meet my perfectionist standards, but I think it is perfectly serviceable.
In Process
The ‘In Process’ is used to denote projects on which I am actively working or are on the design wall waiting for me to stitch. I try not to put away projects, because that will ensure I never work on them.
English Paper Piecing Project– half hexies – I have been making slow, but steady progress. I am adding another dots on white row to the piece to make it larger. I am still thinking of my friend Faye whenever I work on it. She says that I have to think of this as my slow project.
Frolic! – I am making progress. I did good work yesterday and am starting to see results after feeling like I was getting nowhere last week.
Serendipity Lady – I am still planning to take this piece to be framed.
Lobster – I finished the stitching. I plan to back it and overlock or satin stitch the edges. Even though I don’t need anymore cushions, I may turn this into a cushion.
Small Projects in Process
Most of my progress involves thinking or just cutting.
Retreat Organizer – another project from the Crafty Gemini Organizer Club, also on my list, but not yet started
Ultimate Project Organizer – another project from the Crafty Gemini Organizer Club, also on my list, but not yet started
Officer gifts for January 2021 – have the pattern and the supplies. Need to start so these are ready and I am not scrambling at the last minute
Still WIPs
I still have WIPs. Who doesn’t, after all? A project in the ‘UFO’ category means I am stalled. A nicer way of saying UFO is a WIP. The list is a lot shorter and the projects are newer, for the most part.
FOTY 2018 – this has to be on the list now as I have cut a ton of squares and need to arrange and sew it together. This is next on my quilt list. I cut a bunch of black 2.5? squares so now I can get started.
FOTY 2019 – this is now on the list since 2019 is over and I have the squares.
Handbag Sampler – this is still the forgotten project. It should be on the UFO list. Too bad I don’t have one. The blocks were teaching samples when I taught a sampler class the time before I started writing the quilt class sampler tutorials. I found one block recently, but otherwise I actually don’t know exactly where the blocks are hiding. I have an idea and still have to crawl up in the far reaches of my fabric closet soon and see if I can find them. I haven’t even found a picture of all the blocks. Sad.
Pies and Points from 2016 Victoria Findlay Wolfe class. The last time I worked on it was when Julie and I had a playdate in April 2018. I brought this piece with me so I could cut more elements (Julie has a Sizzix). I lost my excitement about this piece shortly thereafter and still have to get it back. Thus, I had to move this to the WIPs area.
Pointillist Palette #4: Fourth is a series of 6 quilts; needs tiny square patches sewn together. No progress.
Black and Red quilt – This project is creeping into my mind, so it might be up for work soon. The project originally came about because of two other projects. I made a whole bunch of bias tape as part of my failed attempt at doing the Mighty Lucky Club a few years ago. Another part of the inspiration came from my class with Tina of Little Blue Cottage fame. This was going to be for a nephew, but I think it will be for one of my SILs and BILs. I have rectangles cut and some bias tape ready. My next step is to sew the bias tape to the rectangles like pickup sticks. I don’t have any photos of this, so you’ll have to use your imagination.
Who Am I? – This piece is off my design. I have lost momentum, but I think that just has to do with the amount of satin stitching I am facing.
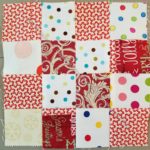
Last month I only made two donation blocks, but I did better this month. I went over my 2019 monthly goal of 30 this month. Since I only made two last month, however, I probably should have made 60 this month.
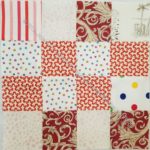
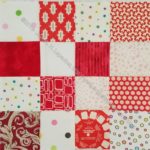
Red/white donation block 4
Red/white donation block 3
Red/white donation block 2
Red/white donation block
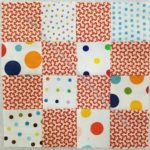
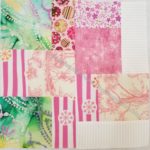
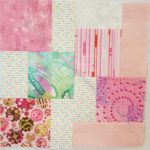
Scrappy Community Quilt Day block 10
Scrappy Community Quilt Day block 9
Scrappy Community Quilt Day block 8
Scrappy Community Quilt Day block 7
Scrappy Community Quilt Day block 6
Scrappy Community Quilt Day block 5
Scrappy Community Quilt Day block 4
Scrappy Community Quilt Day block 3
Scrappy Community Quilt Day block 2
Scrappy Community Quilt Day block 1
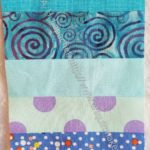
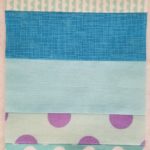
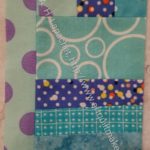
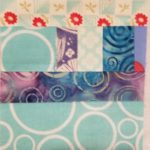
Blue strip donation block 1
Blue strip donation block 2
Blue strip donation block 3
Blue strip donation block 4
Blue strip donation block 5
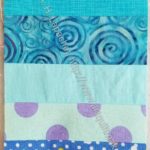
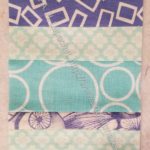
Blue Strip donation block #11
Blue Strip donation block #6
Blue Strip donation block #7
Blue Strip donation block #10
Blue Strip donation block #9
Blue Strip donation block #8
Blue Strip donation block #12
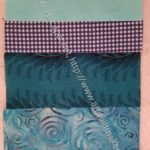
Blue Strip donation block #16
Blue Strip donation block #15
Blue Strip donation block #13
Blue Strip donation block #17
Blue Strip donation block #18
Blue Strip donation block #19
Blue Strip donation block #20
Blue Strip donation block #21
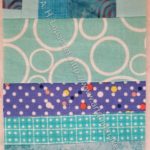
I know you have seen most of the scrappy community quilt blocks, but I also made some of the regular 16 patch blocks and have started on a new color for a Color Strip quilt top in blue. I am not where I want to be but I am making progress and that is all that anyone can hope for.
Barbara Brackman has a wonderful quilt she has been puzzling over with a friend. She is calling it Friendship Knot, but I get the impression they don’t know where the quilt design/pattern came from. Check out the block! It is so interesting the way this pattern is put together. I might want to make this quilt. 😉
This is not a political blog and I am not for or against any candidate right now, please no political diatribes. However, when I see a quilt on the wall of a politician’s office, I have to take notice. I really want to know the story behind the quilt on the wall. Is it his? Is it part of the office decor? Who made it? This is a NY Times article, so you may have to access it through your public library.
I saw a series of books on color by Michael Pastoreau. To date he has written volumes on blue, yellow, red, green, and black. I haven’t read any of these books, but I think I will need to see if the library has them.
According to a website, drawing is the fastest and most effective way to learn.
Weeks Ringle has a really great post on preparing for workshops.
I found a video workshop talking about box corners for bags. The presenter talks about creating box corners of different sizes with the theory behind the process. Sara Lawson, Sew Sweetness, also has a tutorial about boxing corners. It is focused on using her boxing corners ruler tool. The two methods are slightly different. In Sara’s tutorial, the choice of how large to box a corner seems a little arbitrary.
Sara also has a tutorial on tapering corners. For pillows and similar projects, tapering the corners actually makes the corners look more square. Not tapering the corners can (for some mathematical reason, I am sure) make them look very long and thin. In the tutorial, she shows a paper template, but she also, now, sells a rotary ruler version. I don’t see a link to the paper template, but you can make your own by looking at the example in the video.
Fabric, Supplies & Tools
Ever since I read Sarah’s blog post about the Janome M7 Continental, I am in love. I think I become enamored with each new machine that Janome releases!
Janome M7 Continental
Janome claims that “one of the favorite features is that the M7 has the industry’s largest sewing space available on any household use machine. With 13 ½” of work space, a total work area of 17.81”, more than 3” in the needle/needle plate section, your sewing capacity will improve all around. With an added extension table of 26.77” X 15.75”, you’ll have even more work space to utilize! Check out the M7.“
Heidi Proffety has a 3 part series of videos where she gives an in depth look at the M7 and its features, all three parts of her tutorial can be found on their Facebook page or on YouTube.
I have a KAMsnaps installation kit. Crafty Gemini recommended it and I used it for my 4-Zip Organizer. I had a hard time with it, so I was pleased to see a video about using it. I am not sure if the video helps, but I will try again to get the KAMsnaps to work on my project.
Barbara Brackman has a block on her blog called Dog Star. She shows a quilt that is really cool looking.
Pouches have been on my mind. Perhaps because of the fabulous gift pouches I received recently. A long time ago, I visited Kelley and she gave me the zippers for a Triple Zip Pouch. I hunted down the directions and think it might be time to make it. I might have to make two and send one to Kelly. We’ll see.
I have not made a Bionic Bag; I have made several Sew Together Bags. However, I found a video (I know! Why I am watching videos is a whole different issue) that I thought compared the Sew Together Bag with the Bionic Gear Bag. I was wrong. The video compares three versions of the Bionic Gear Bag: The Mother Lode, the Bonza and the Original. I don’t know the sizes, but the Mother Lode kind of looks like it might be comparable to my All Rolled Up Tote. The presenter also mentions a baby version. You can find the pattern for the Baby version on the downloadable products page. If you want to make the Bonza version, check out the page of workshops and video tutorials. That page has a good close-up of the features of the bag as well.
Recently, I mentioned the Knot & Thread Hello Pouch pattern. While checking out other videos, I saw a free tutorial for a similar pouch tutorial from Olfa. I haven’t made either bag and I can see some slight changes, but essentially they look the same. This presenter, Lauren Mormino, does everything on camera. The sewing was great, but I sped through the opening of her new rotary kit and all the cutting. She doesn’t have any step-outs prepared in advance. This is a really quick project. I would definitely bind the raw edges on the inside. She deals with the vinyl in a different way than I do. Check out my tips and tricks for using vinyl if you don’t have a similar machine to hers.
I also found a slightly different vinyl bag from So Sew Easy. These make great project bags or ways to organize your fabric closet or supply check. This video has a very interesting method for enclosing the zipper. I want to think about how I could use it for other projects.
A long time ago, I participated in a Sew Sweetness Purse-a-Palooza. I was looking through her older blog posts and I came across my post on her site. It was fun to see my work out there in the blogosphere.
My eye doctor asked me to put a heated compress on my eyes each night, which I thought might be easier if I had an eye mask. I went looking for a tutorial since I have fabric and rice here at home. I found one which starts out talking the author’s optometrist as well. Chloe of Nurturing Creativity has tutorial called “How to Create a Heated Eye Mask.” How perfect is that?
As I wandering around the web, I also came across the Moda Blockheads 3 project. I am sure most of you know about this, but I wasn’t in the loop. Lots of interesting blocks. The Zen Chick LOVE block would make great pincushions.
I am backtracking. I worked hard on piecing Frolic! over the weekend. This is no different than other Bonnie Hunter Mystery quilts in that there is a lot of piecing. I think I pieced 1.5 blocks total. I worked for about 6 hours on this piece and don’t feel like I made a ton of progress.
Regardless, I had a lot of time to work on this piece and look at it. I think it may need to be on point. I may still set it straight, but I am thinking it may need to be set on point. Stay tuned.
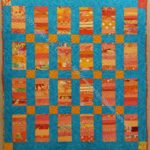
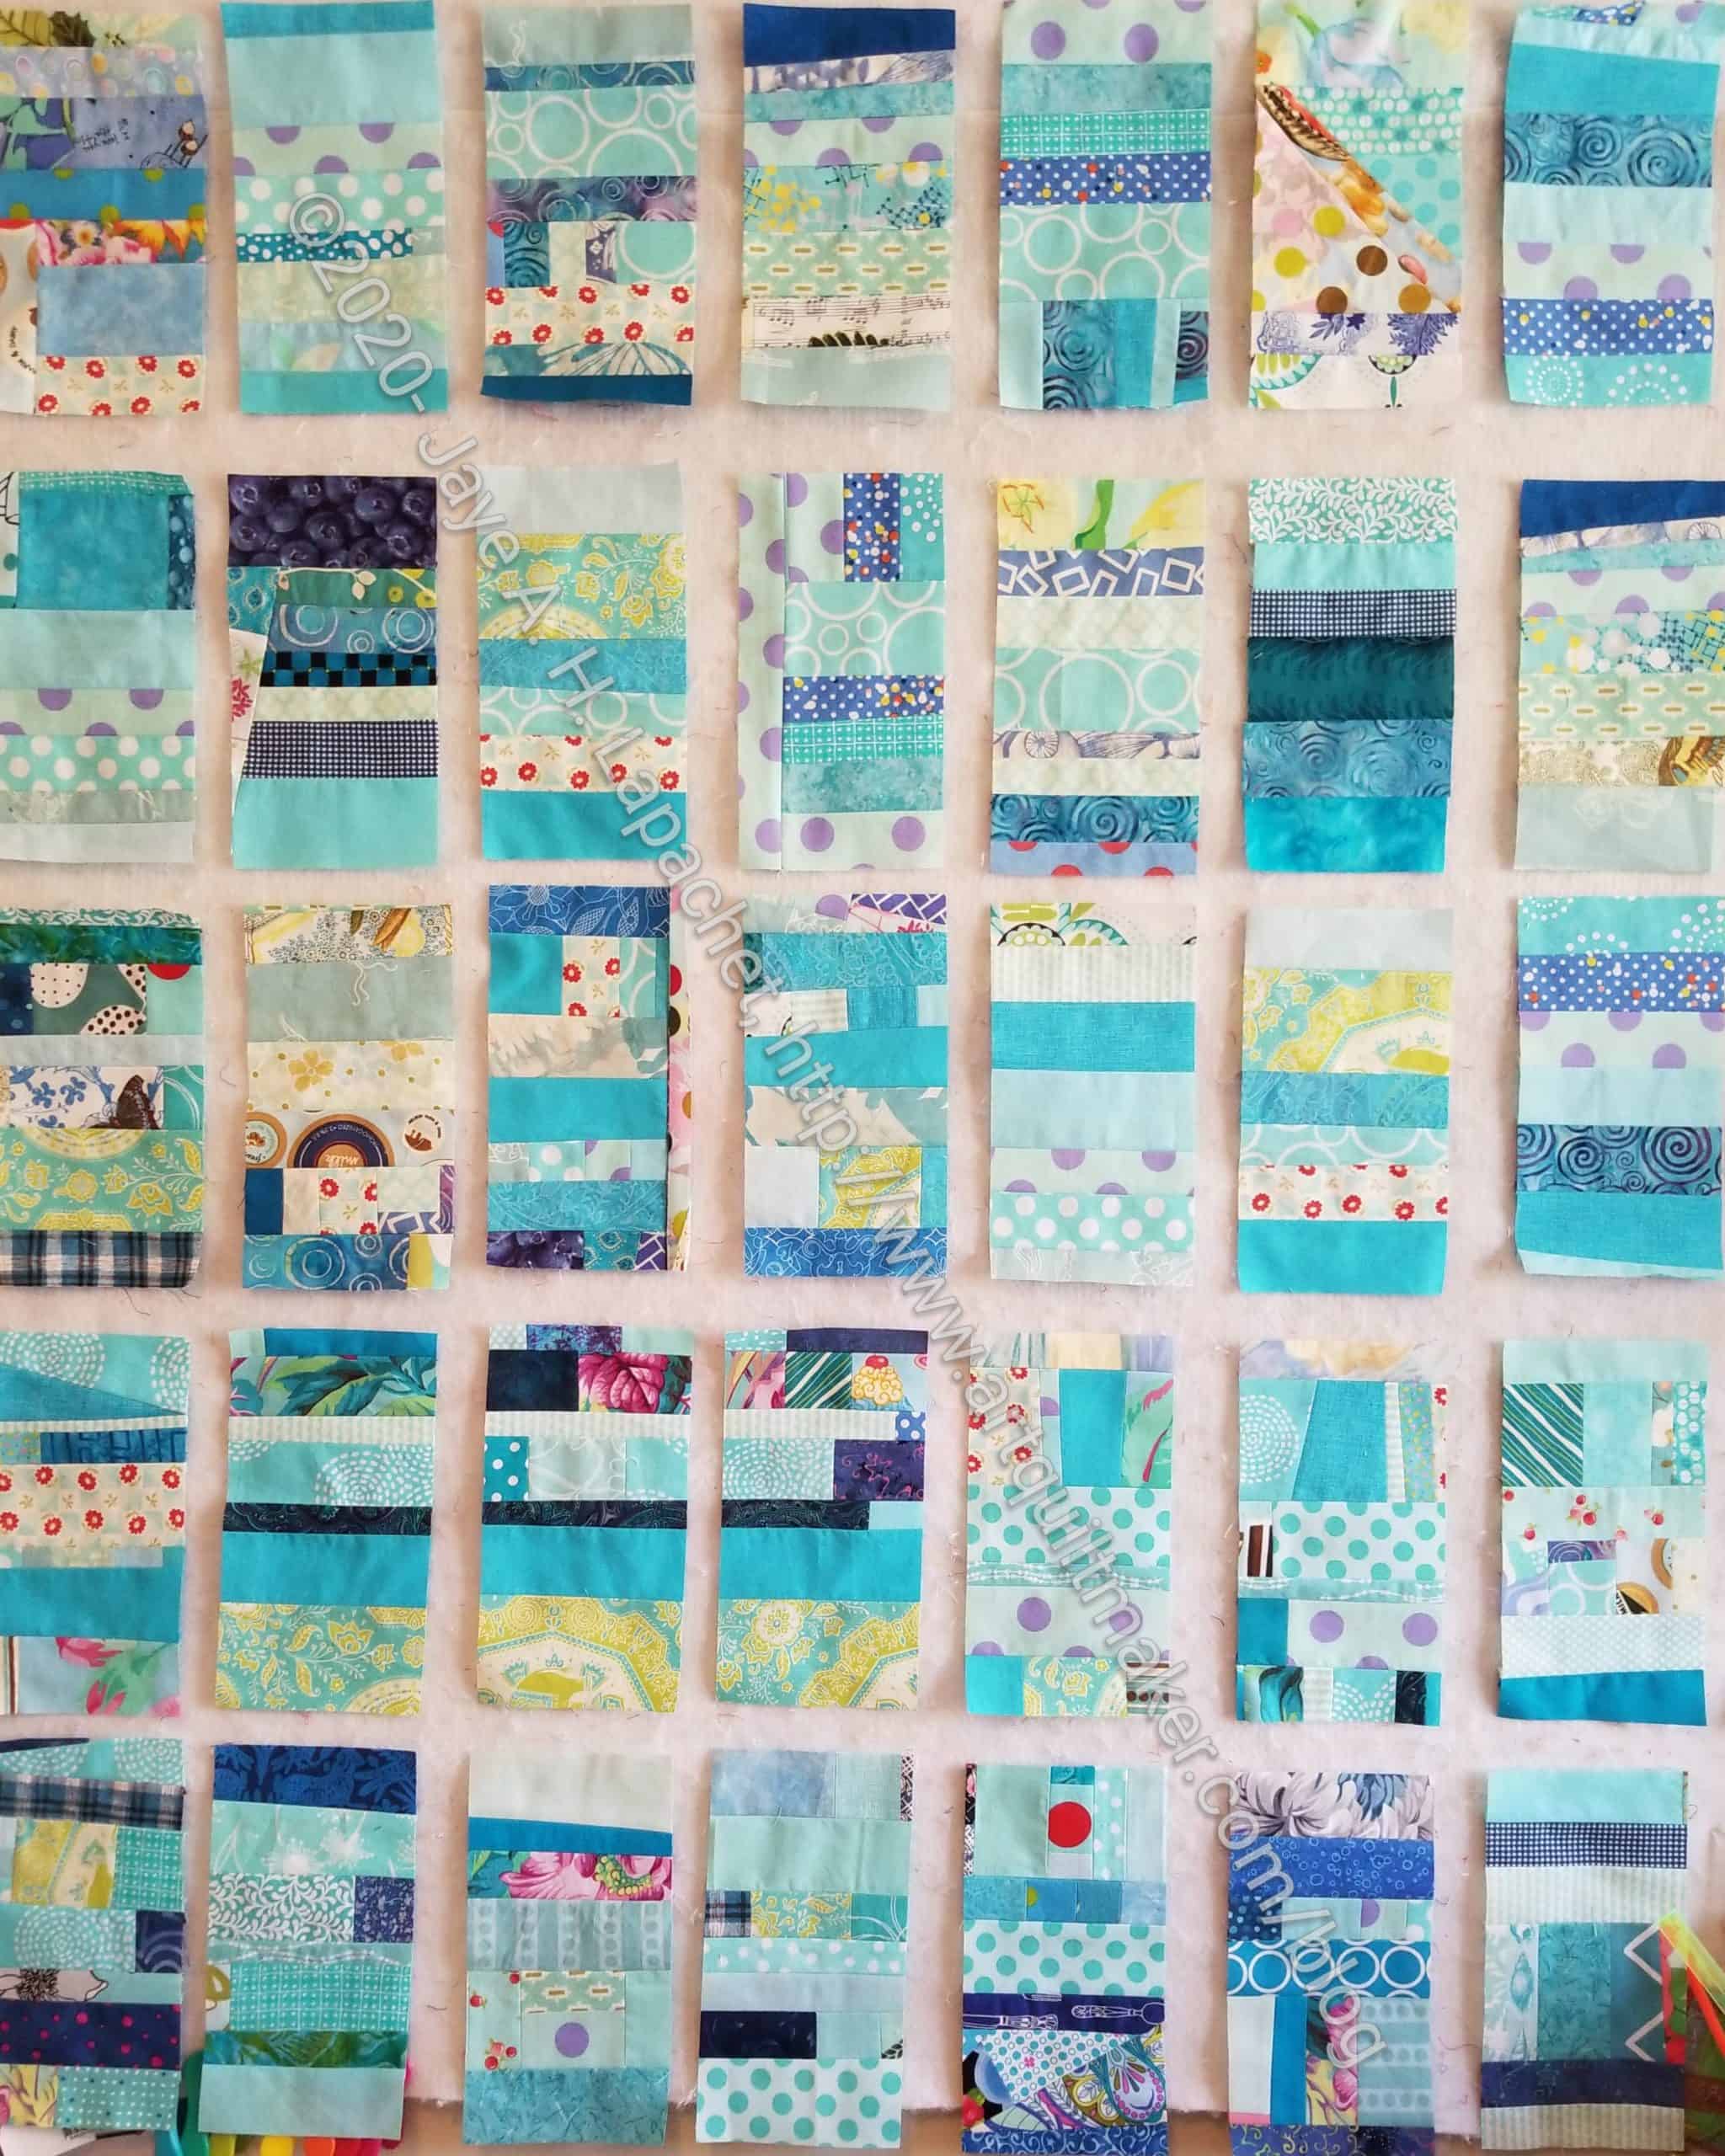
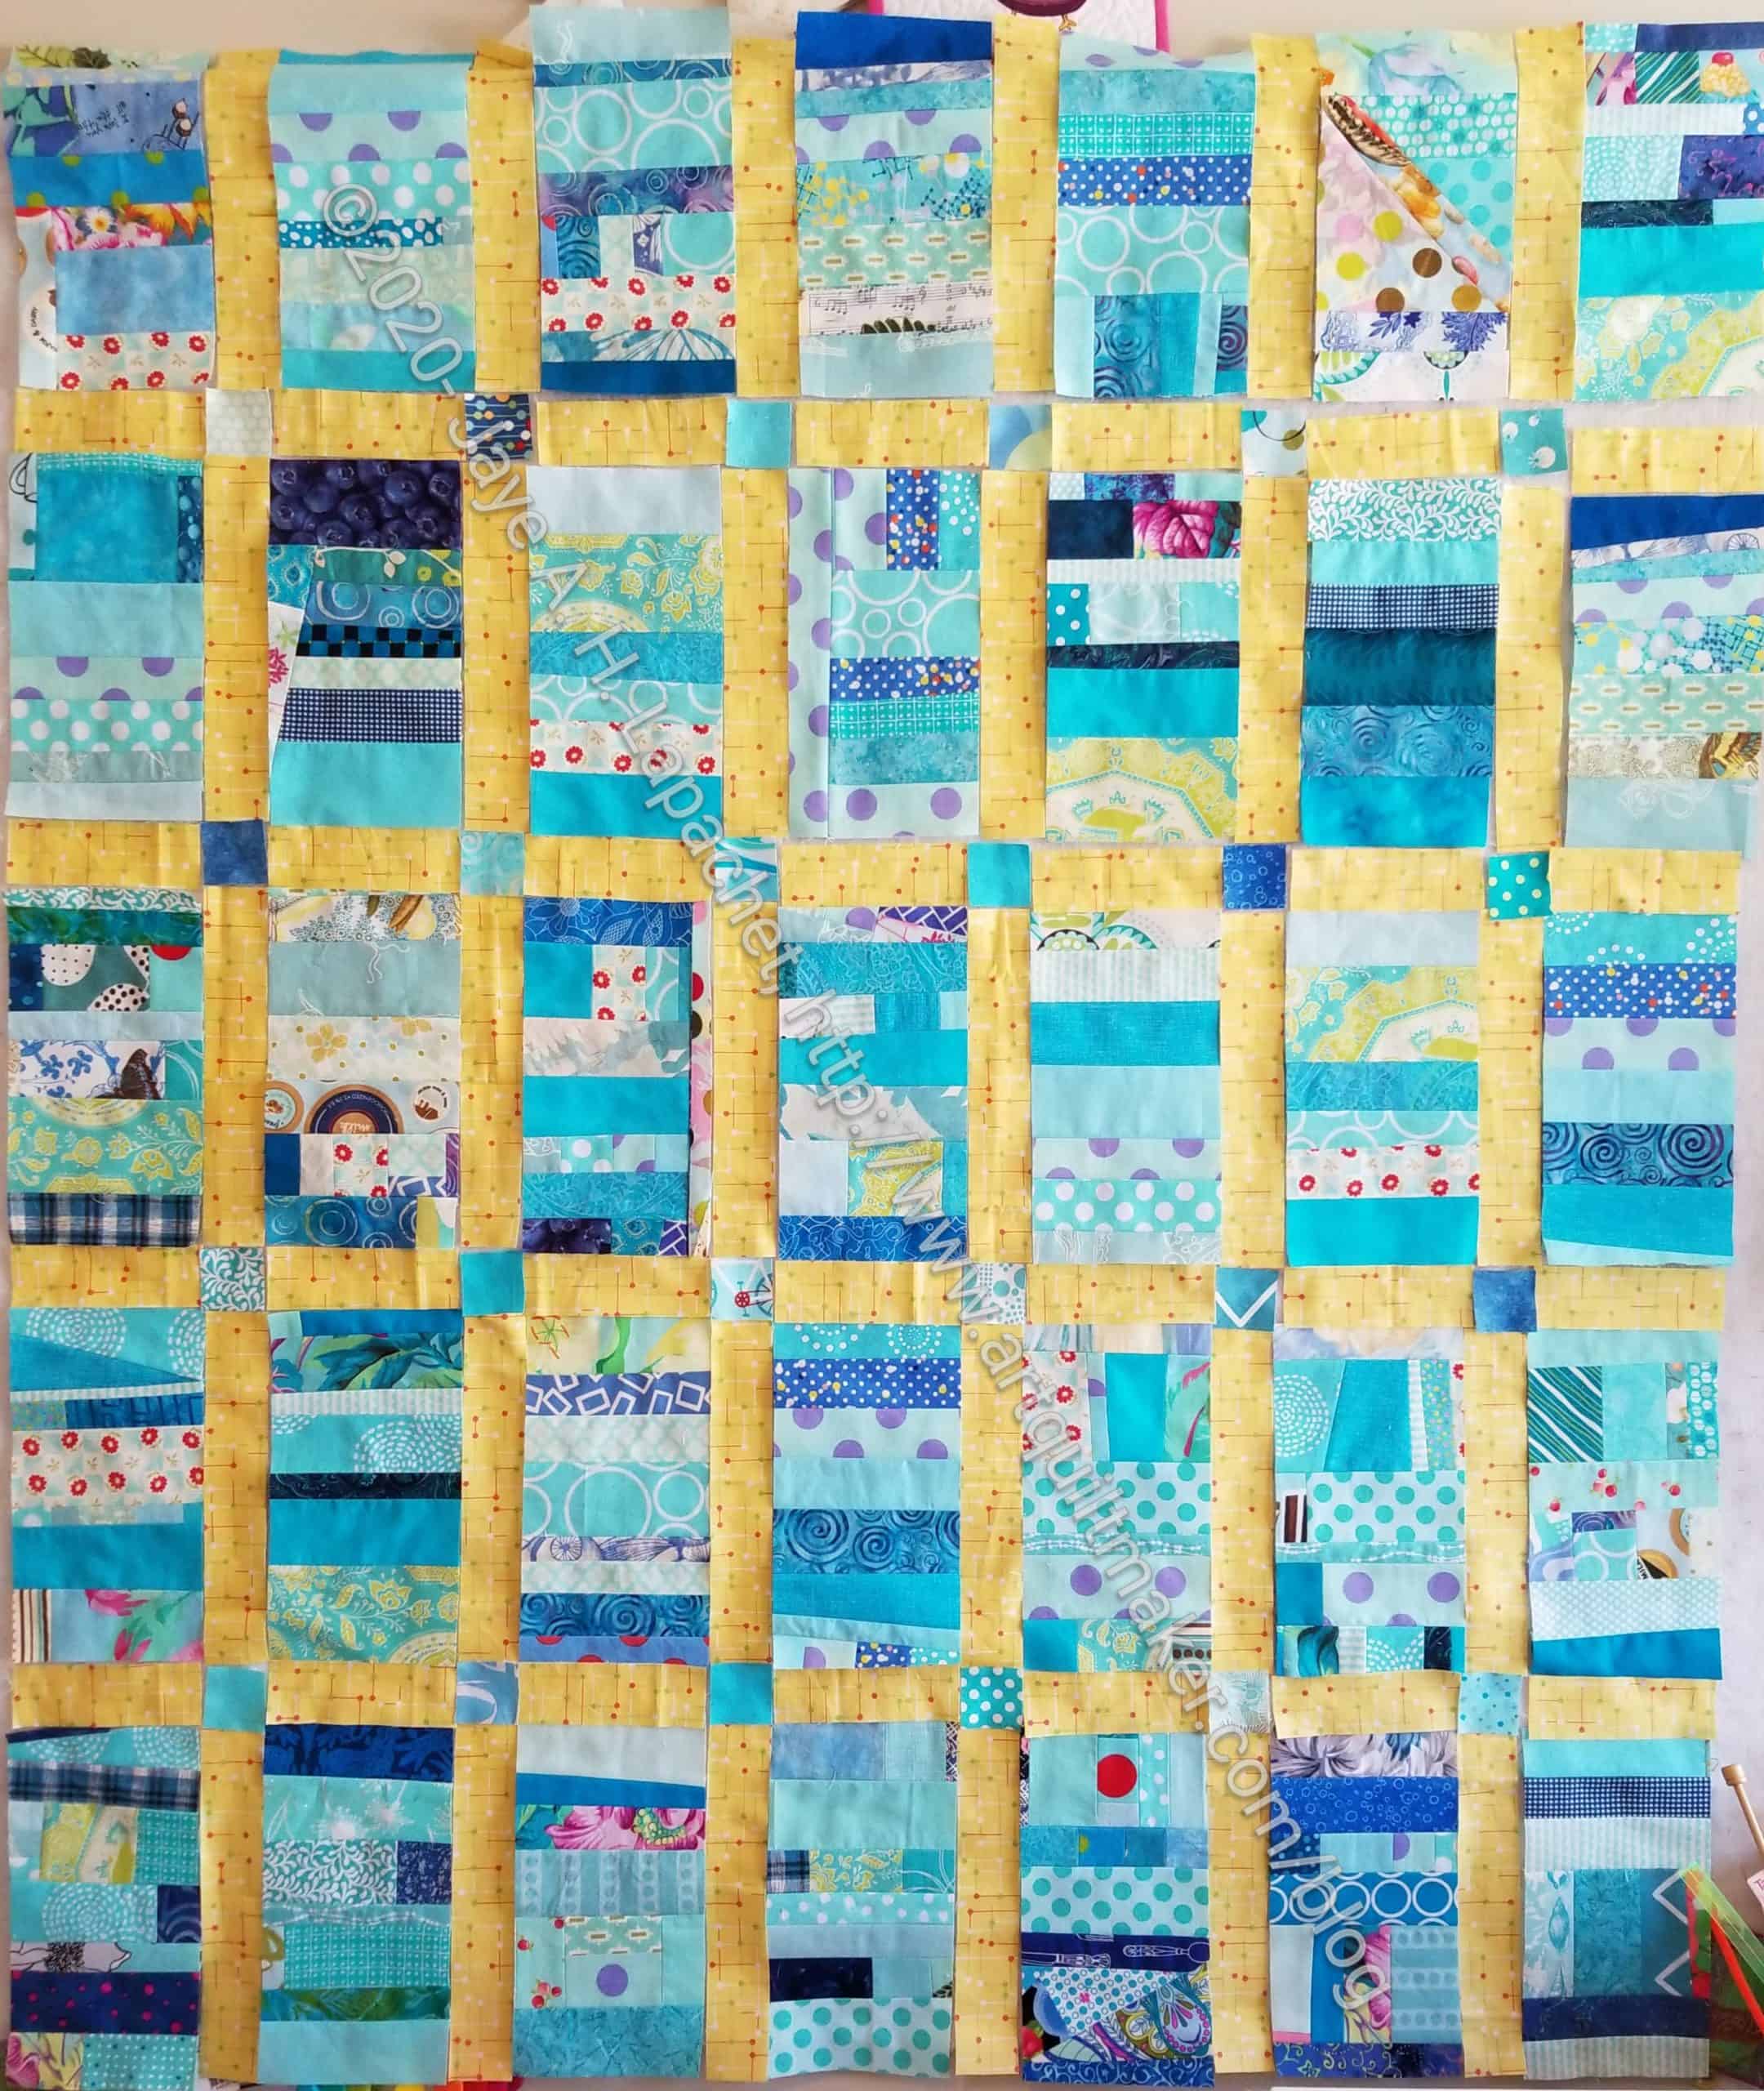
I spent more time on Frolic! over the weekend. In addition to making slow progress on that piece, I also made a lot of progress on my blue strip donation quilt.
I now have all of the blocks finished and the sashing cut. As I mentioned before, I am going to make this piece slightly larger than some of the others.
It seems like it is an odd shape – more rectangular than square, but it may be the lack of finished seam allowances.
Blue Donation Blocks- with sashing
I am pleased with the yellow I chose. This was a half yard of fabric I have had around for awhile. I thought the color worked well with the blue even though light yellow is complementary to darker blues.
Half and quarter blocks are not my favorite. As a result, I have been thinking about setting Frolic! in a straight set in order to avoid those pesky half and quarter blocks. Since I haven’t had the time to actually move any blocks around on my design wall, I went trolling for examples of the Frolic! quilt on IG.
I saw a number of blocks sets laid out in a straight set. Jeff Rutherford took a straight on photo that really helped me visualize how the quilt might look. Little Bunny Allison also posted a straight on photo.
Finally, I saw a previous Bonnie Hunter Mystery Quilt, On Ringo Lake, by Sew Angela. She has some setting triangles, but they are just a few pieces. This layout keeps the quilt on on point, but avoids me having to make those half and quarter blocks.
Perhaps I am just being lazy? There is a lot of piecing in this quilt (and all of Bonnie’s mystery quilts!) Barbara Reeves had a particularly nice example of the quilt as Bonnie intended, so it is still a possibility.
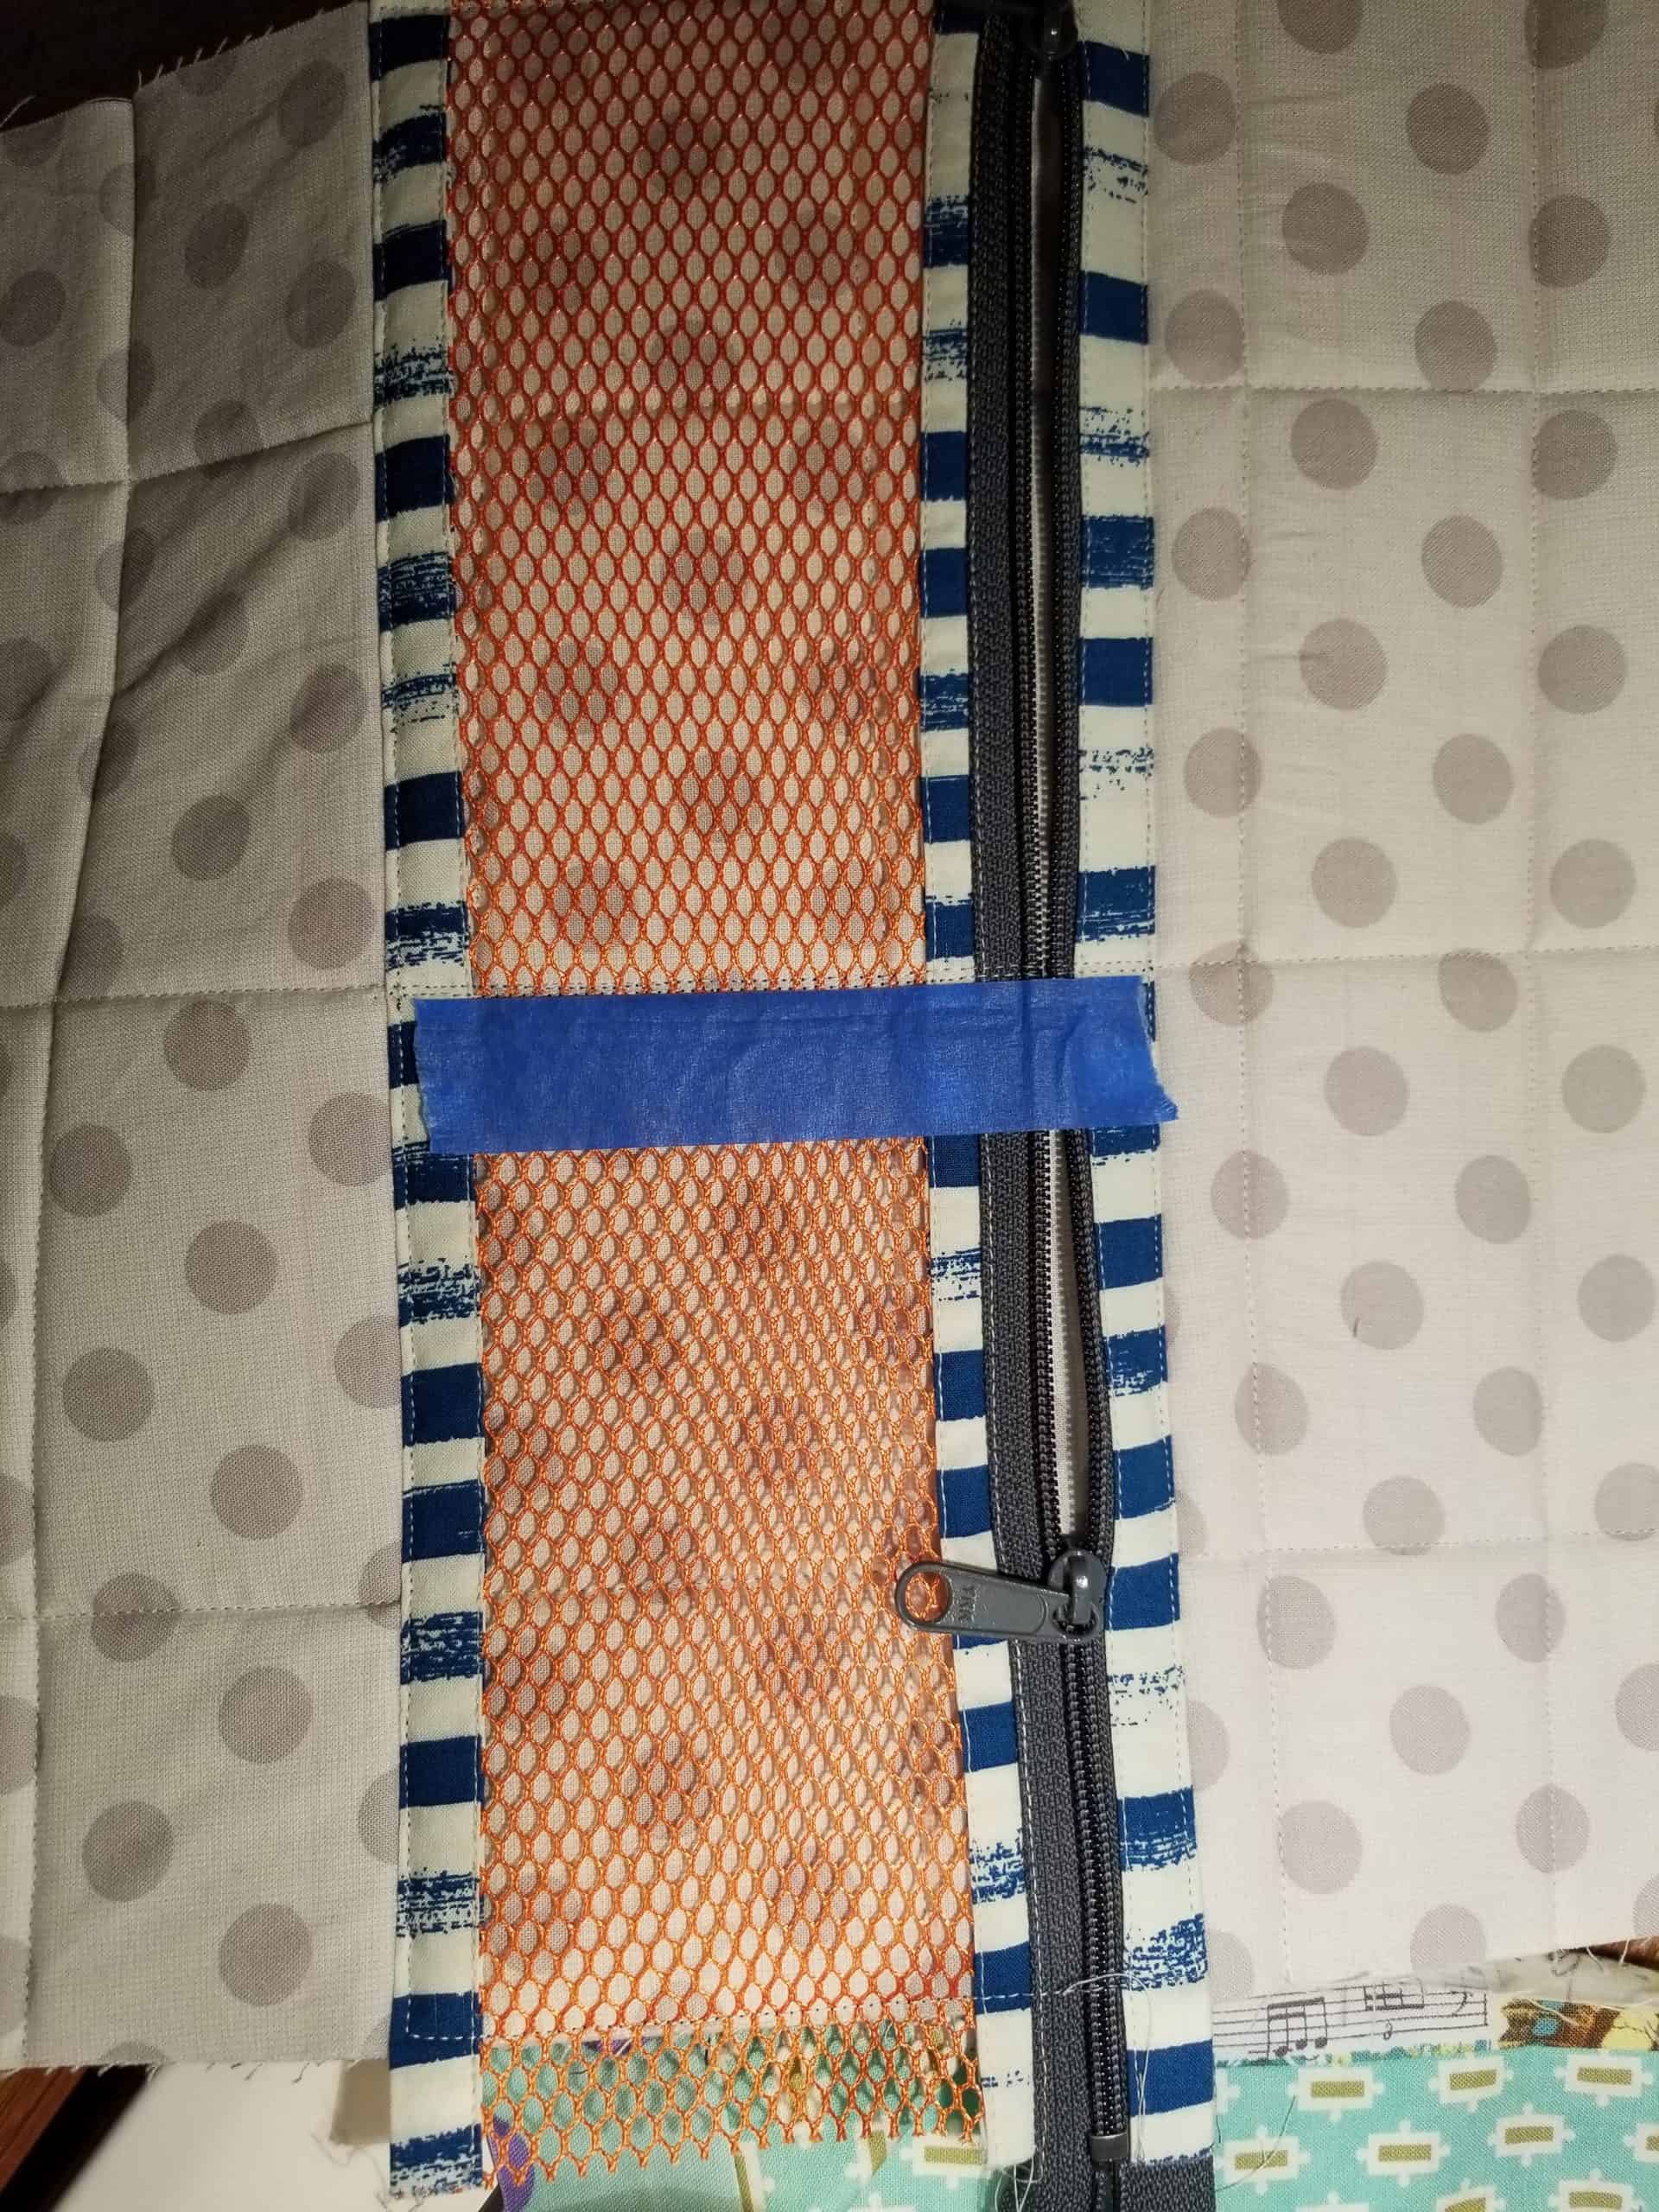
I am working on another Running with Scissors Tote and am heading towards finishing. It is another gift, so I can’t show the whole thing right now.
Running with Scissor Tote -Mesh Tape Trick
I did want to show my tape trick, though. The directions say to mark where to sew – to divide the mesh pocket in half. It is difficult to mark mesh, so I had a brainwave and used blue tape.
I did not sew through it, but sewed next it, where I would have marked a line on regular quilting fabric.
I am kind of proud of myself for this little idea. I hope you can use it, too.
I am up to 21 blocks for my latest Color Strip donation quilt. I plan to make another 14 so it is slightly larger than the red and orange donation quilts.
Regardless, I have barely made a dent in my blue scraps. Of course, I generate them at a faster clip than other colors, except, maybe, pink, but still. I’d like to be able to see progress. Perhaps I will be able to make 4 quilts out of this drawer.
They went very quickly as I worked on Frolic the other day. There were a lot of small fiddly seams to sew on Frolic!, so I needed leaders and enders. They come together very quickly once you start and some strips I have are very long, so I can cut 2-3 blocks out of a strip set.
Mom stopped by the other evening and brought her quilt project. She is hand quilting the quilt because she didn’t want to pay for longarming. The quilt will be for her, for once.
The opposite side is a panel we bought together. The other side looks like a BettyCrockerAss design and I really like it.
She is making good progress and I think she will done soon.
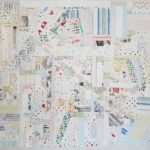
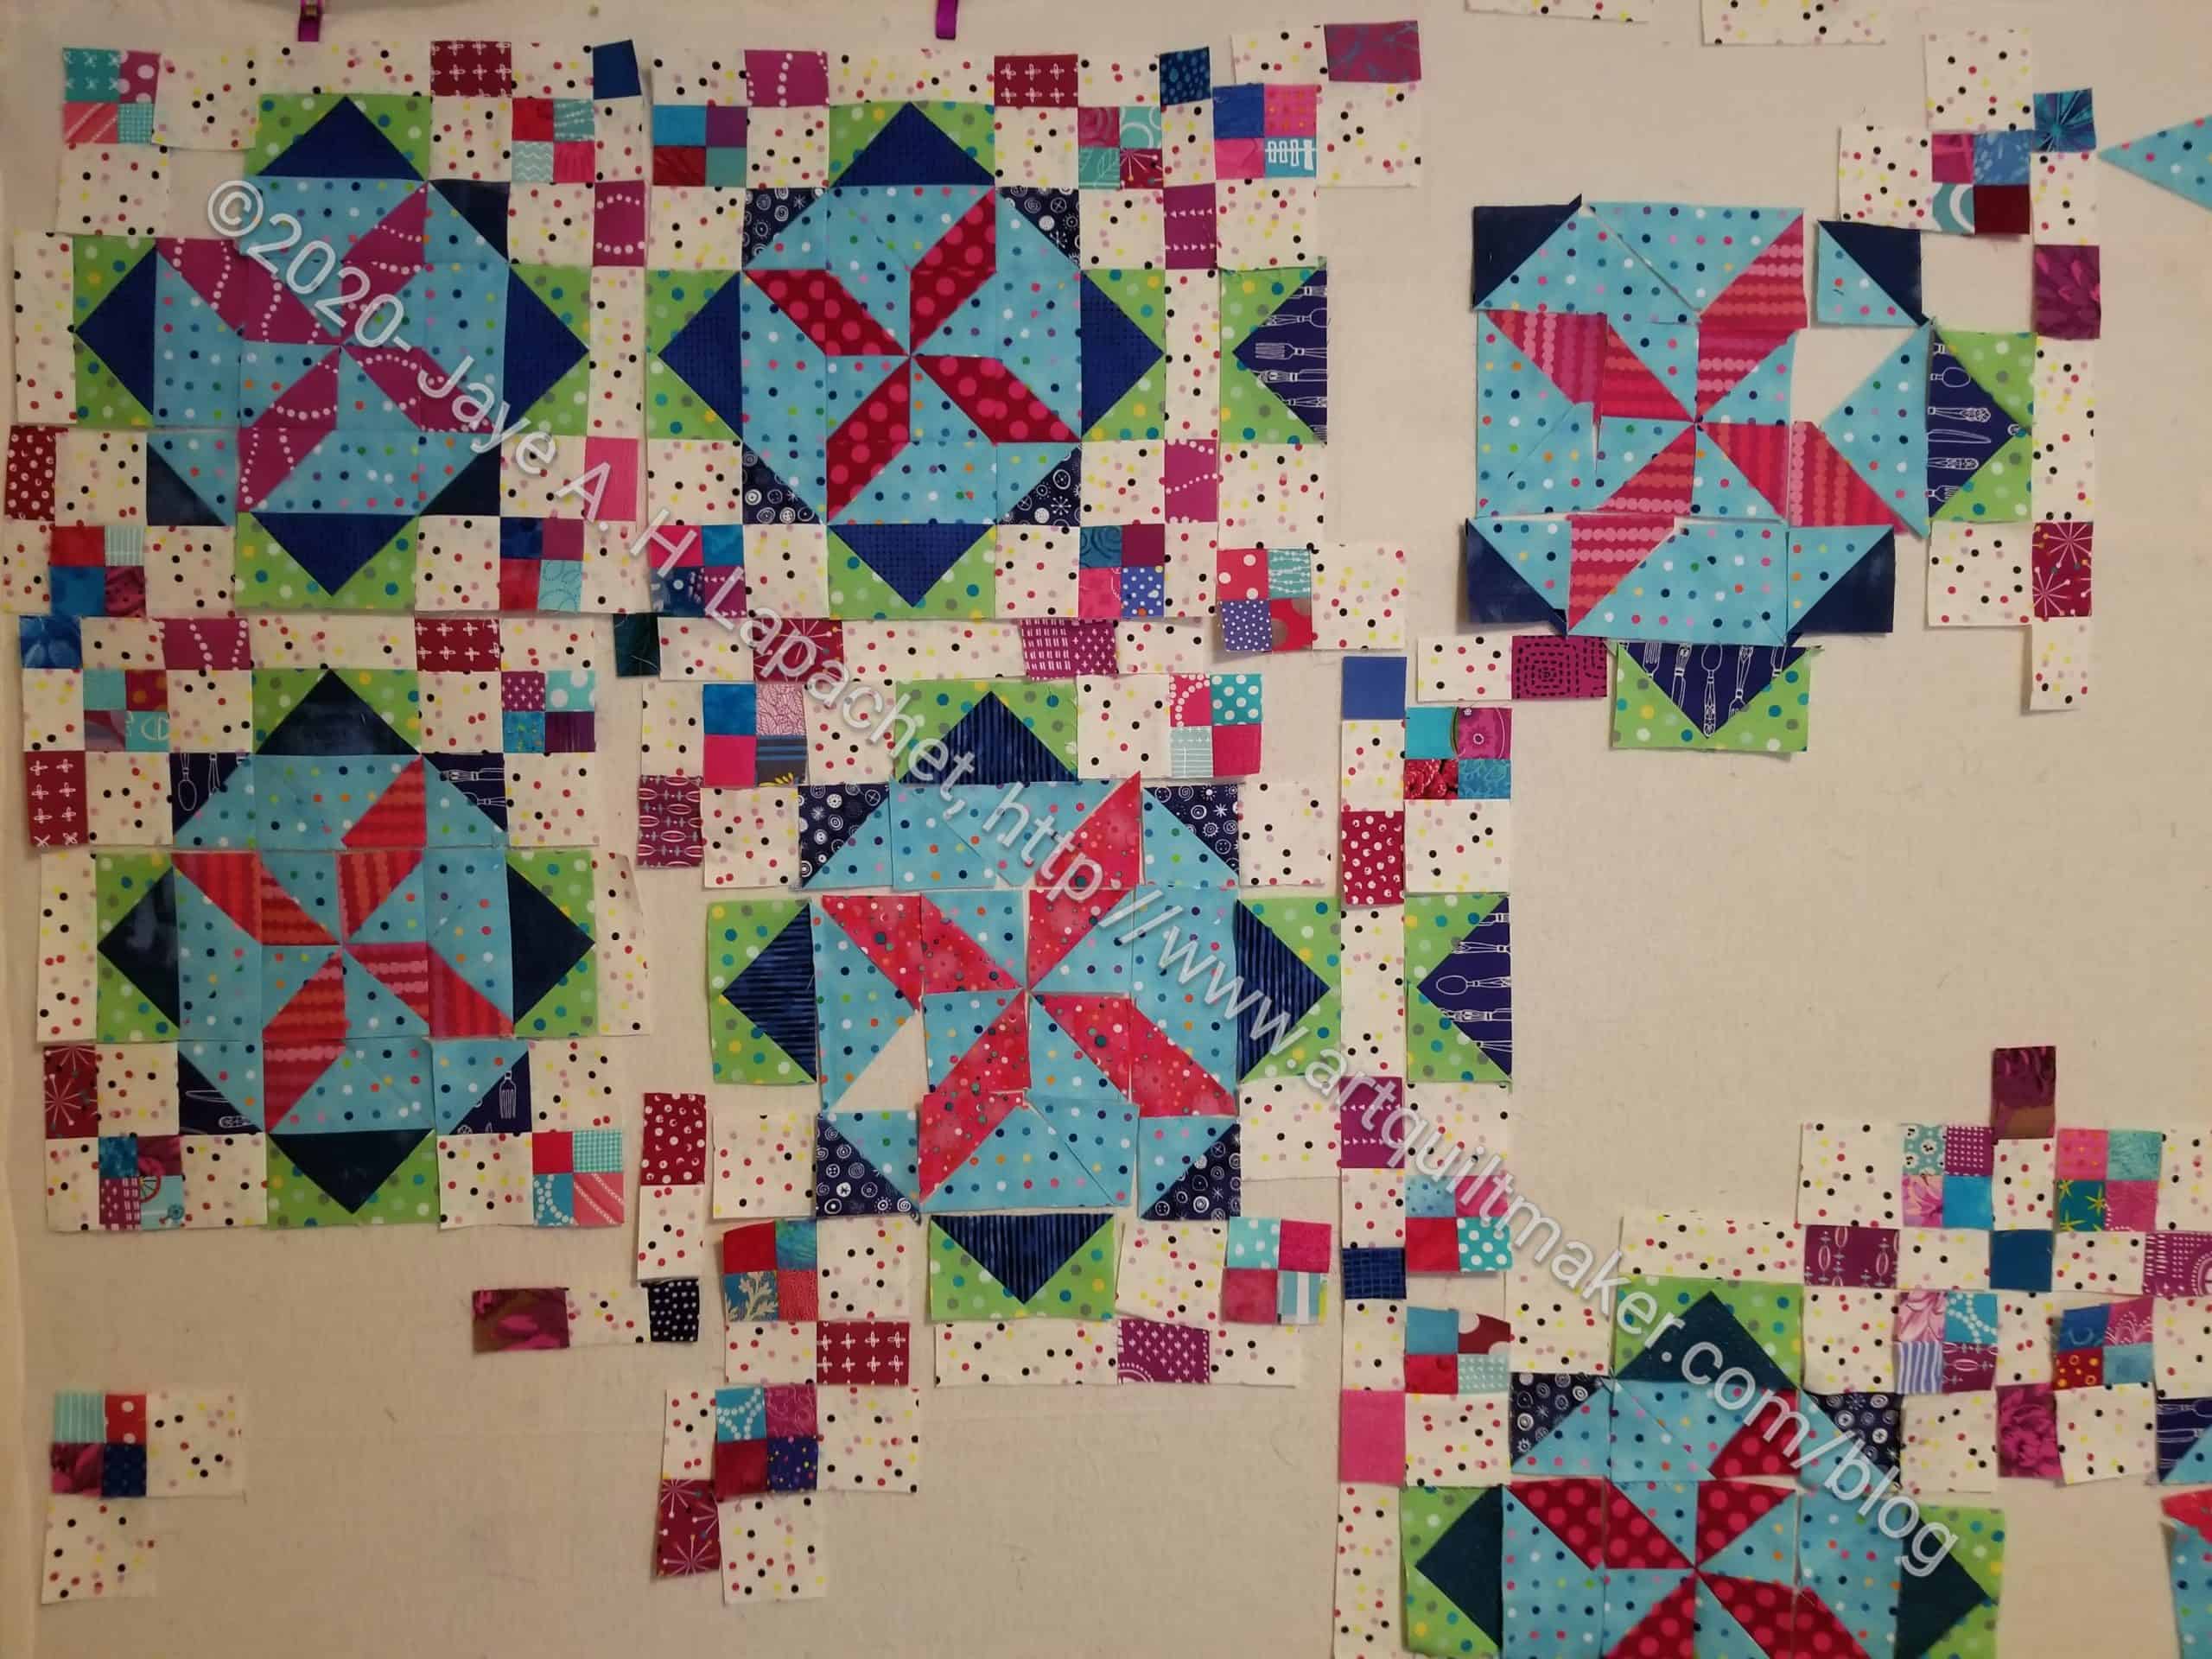
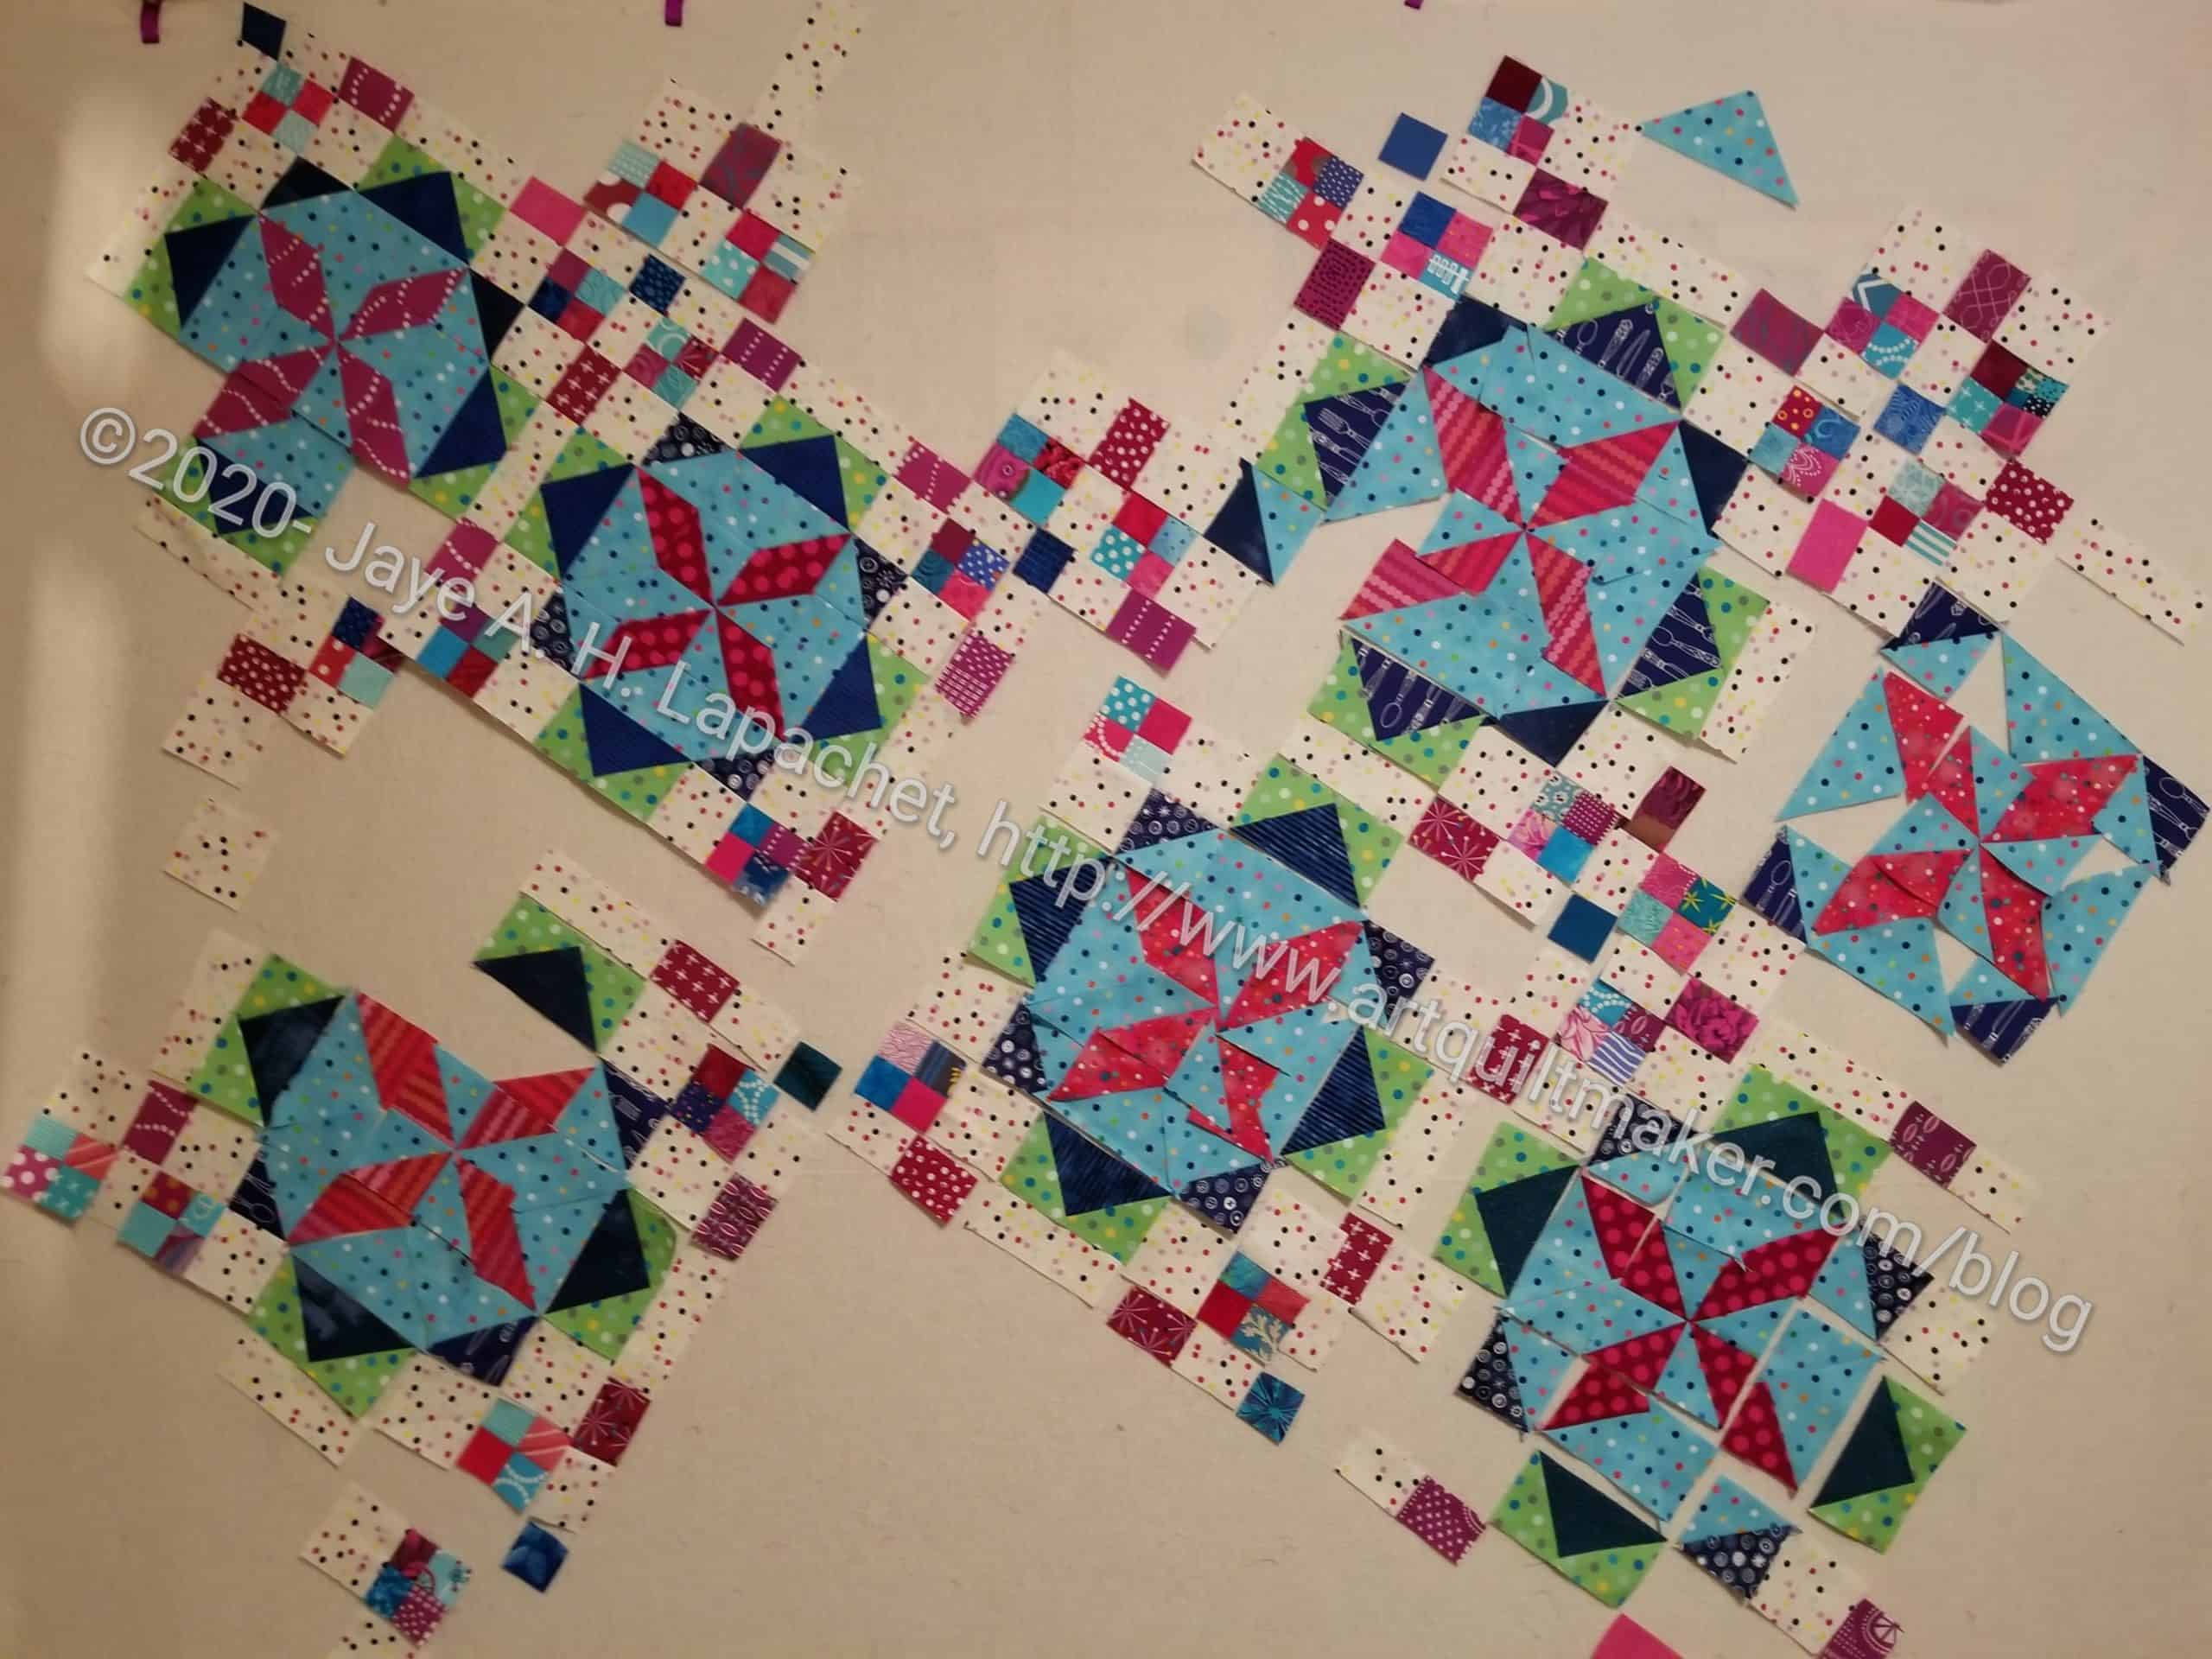
After the update the other day, the piecing on Frolic! went a lot faster. I think I reached a tipping point and was able to zoom right along. I made some more progress and feel like I am making good headway, though it looks like a mess right at the moment.
Frolic! Reveal in process
I believe I need 25 full blocks. The 7 I have are in various states of being sewn. The spaces are because of the seam allowances or missing pieces.
I haven’t dealt with the half and quarter blocks yet. I don’t like quilts where there are half finished blocks, in general. I am seriously considering a straight set. I laid out some of the pieces in that way before the Reveal. When I have a few more blocks finished, I’ll lay it out that way and see what I see. The corner pieces with the 4 patches make a very interesting secondary pattern.