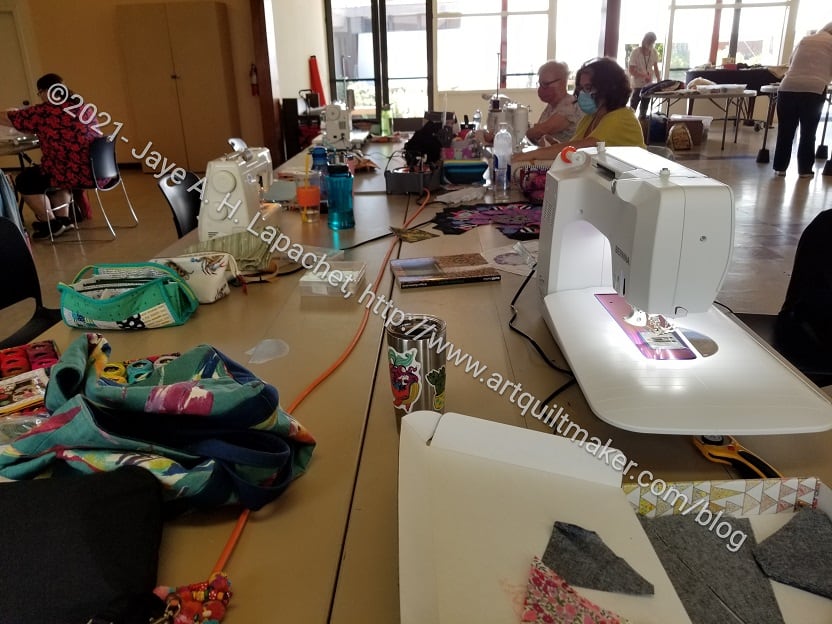
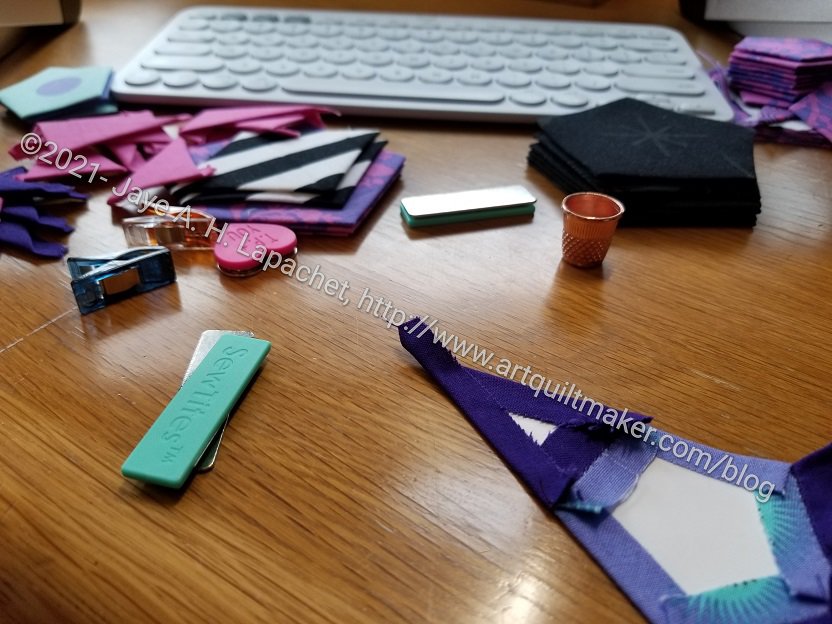
Sew Day fell in the middle of Labor Day Weekend. I was happy to go. I didn’t take as many photos this time, because I was devoted to my La Pass Rosette #1.
I got a lot done, though not the whole thing. I am feeling some pressure, because I haven’t started Month #2’s work yet. Month #2 adds on to Rosette #1.
I found that I could walk around and sew, so I walked around with my sewing and talked to people. Lots of people were very interested in my project. Some had never seen EPP so complicated which was a surprise to me. I thought everyone knew Willyne Hammerstein‘s work. I also explained how the Block of the Month program worked.
It was interesting just doing handwork.
Sept. 2021 Sew Day
Everyone wore masks, which was great. It is fun to see everyone’s projects. Lindsay came and put together the top and back of a Buffalo Plaid quilt, then began working on her foundation piecing block of the month. She sews really fast. I am constantly amazed at her output.
Lynette’s pouch
Lynette was there. She had a pouch that was an excellent example of what good fabric can do.
This is a fairly simple looking pouch pattern, like the Persimmon Pouch from Sew Sweetness. With the great Kaleidoscope fabric, it looks super impressive.
More donation quilts were exchanged. There was a free table to which I contributed some fabric and things. it was good fun.
Remember the Ring Toss block that I agonized over? I am pretty sure I told you I wasn’t going to make the quilt. The block, which I like has been hanging on my design wall since December of 2018. It occurred to me that it would make a great exterior for a Sew Together Bag. I thought this was an especially good idea since I had no idea what colors the recipient likes.
While I am sad I won’t have this block to look at, I am pretty pleased with how it came out as a Sew Together Bag.
Ring Toss Sew Together Bag closed
Ring Toss Sew Together Bag
I wish I had thought of how the bag would look from the top. I added grey around the block to make it large enough for the exterior. The viewer can’t see the Ring Toss block from the top. Mostly you see the grey. I think it is fine, since I mostly look at mine from the side or end.
Ring Toss STB open
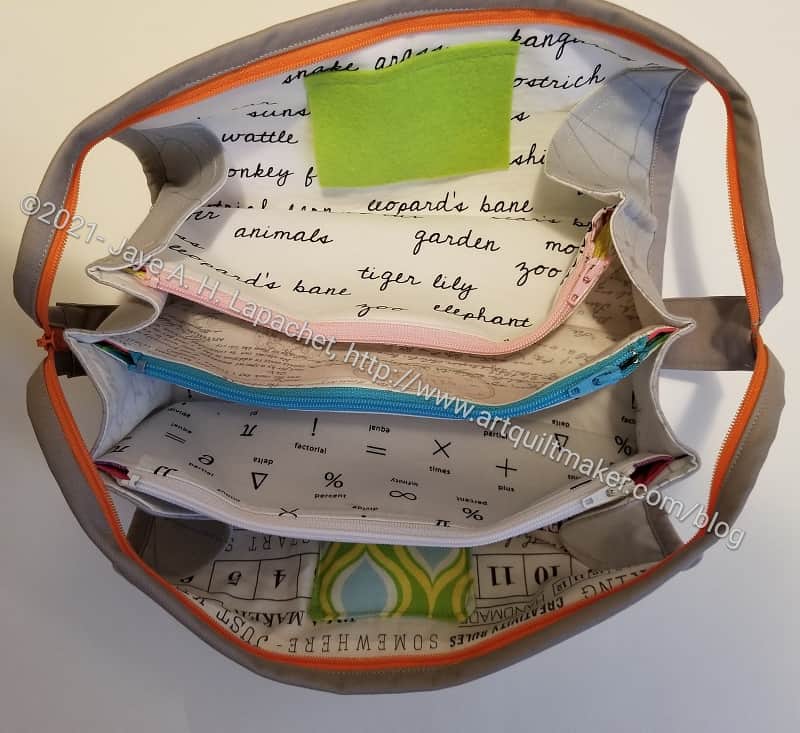
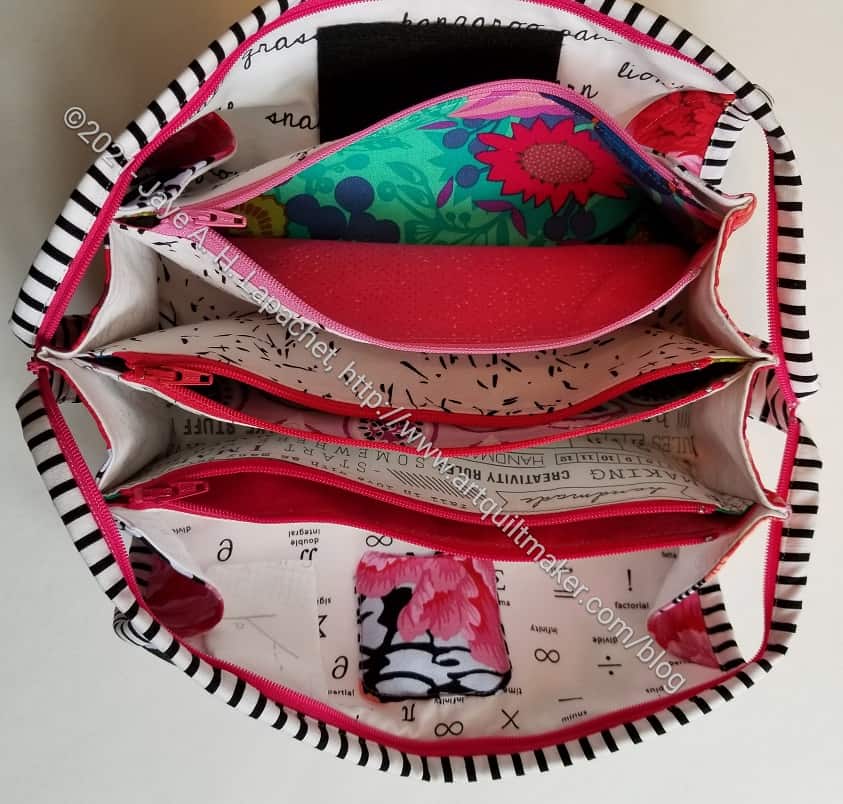
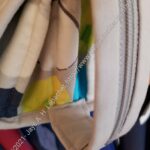
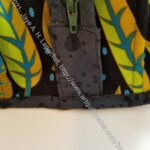
This bag has similar insides to the Leaf STB, the Puffin STB and the Brocade Peony STB. I chose different colors for the zippers, needle holder and pincushion so they are different from the other bags.
I meant to hand this off to my DH to deliver at a Native Sons event, but I forgot until he was already gone, so I’ll have to mail it.
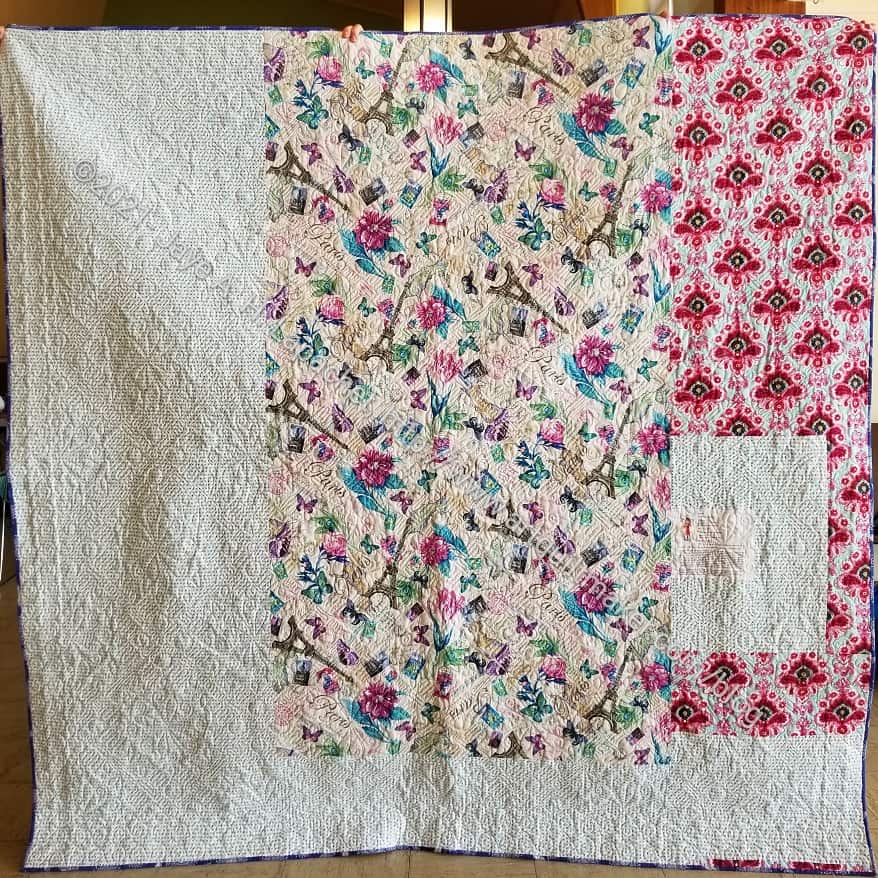
I finally got a picture of the finished Frolic! Some guild friends helped me hold up all the large quilts. Thanks to Tim, Mary, Amy, Marty and everyone who helped.
Colleen did a great job quilting it, as usual. She didn’t quilt it for a long time to help me manage my cash flow, which is part of the reason it took so long to finish. I think the part I like best is the border. It went together so easily and I still marvel at that. The quilt is great and I do like the colors, but those half blocks bug me.
Frolic! Finished back
I used some big background prints on the back, as usual. I added a white background print to fill out the rest of the back. I had it laying around and it worked. No Philip Jacobs on this back.
I made some progress last weekend on the Ultimate Carry All Bag. Shocking, I know. I was spurred on by finishing the STBs, not having my design walls available and by talking with Lynette at Sew Day. Mostly, I am also determined to get this *&^% project off my to do list.
As you might remember, I am making one as a gift. That one is farther along, because all the pieces are cut. I have been cutting the pieces as I go along for this one and I didn’t cut the pieces for the zipper yet.
Sometime ago, I decided to use some fake leather I bought for the bottom, so I want able to use that piece to put the exterior together.
I am still trying to decide whether I will put an ironing pad in this one. I am not sure I will use it, but it seems like a good thing to have anyway.
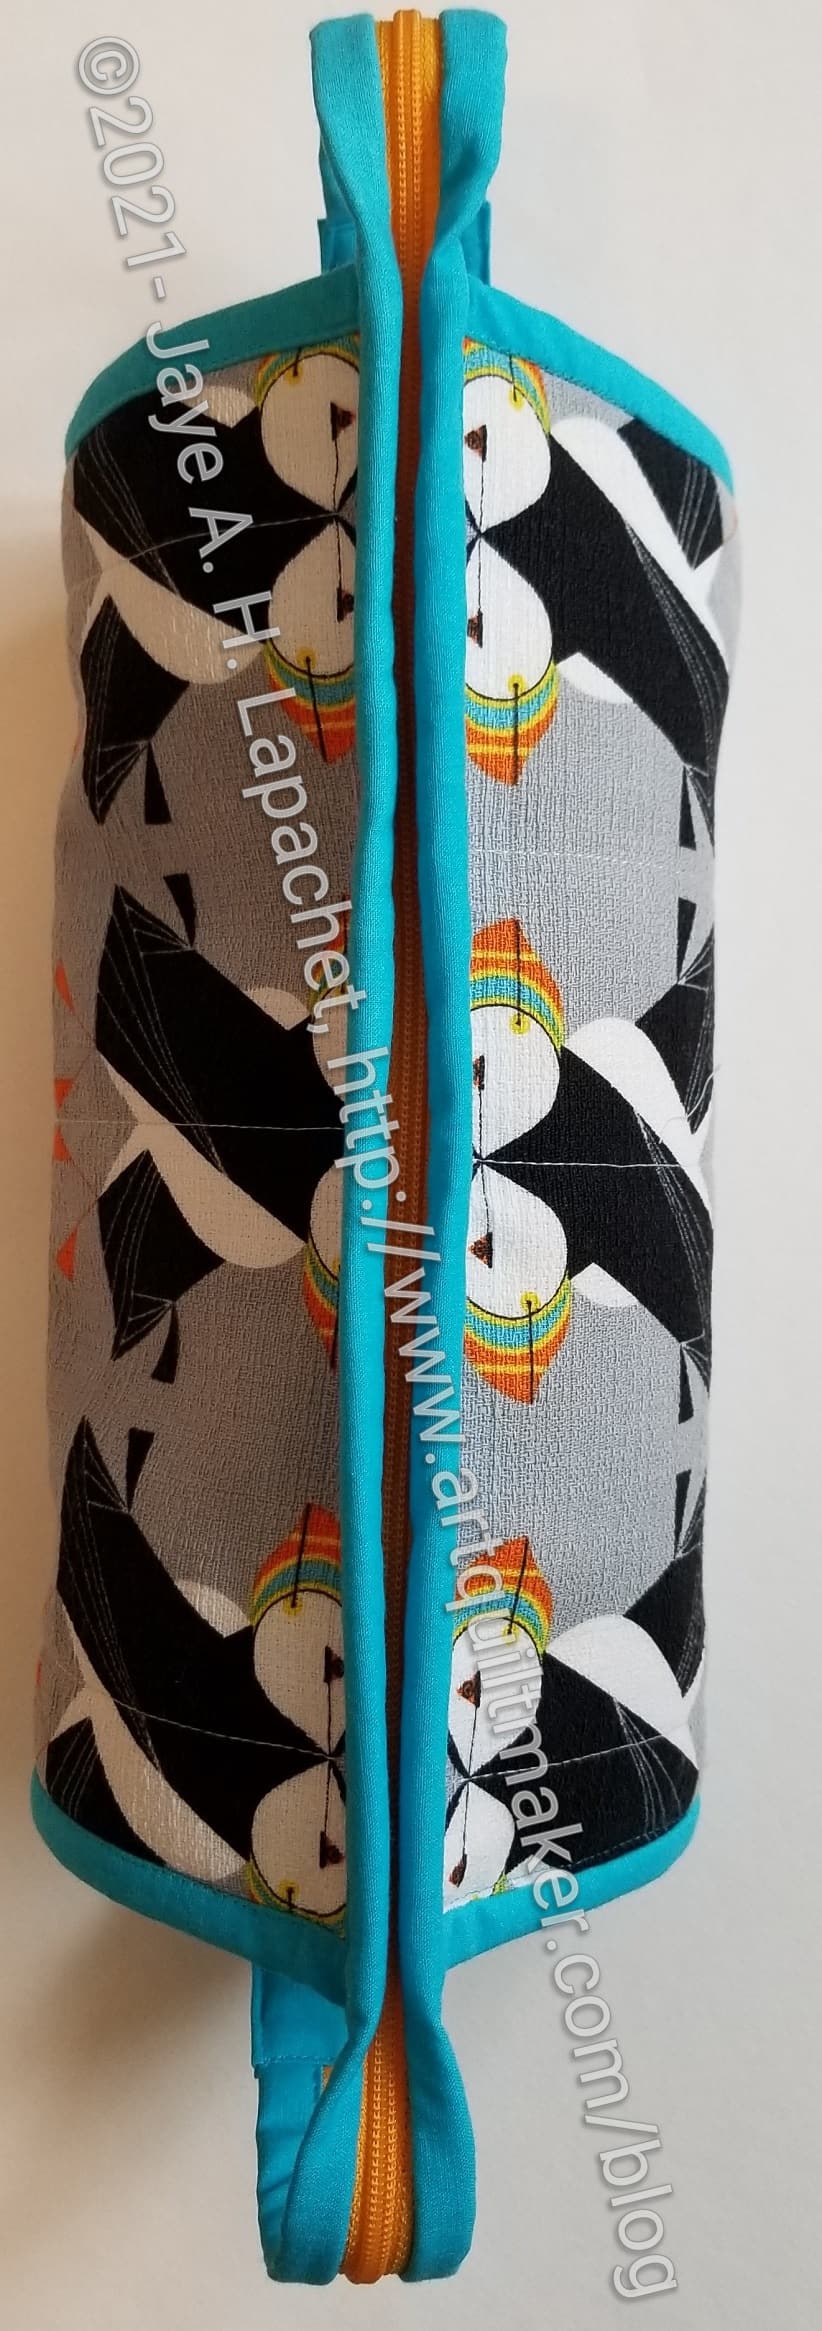
I made this Sew Together Bag as a gift. I want to send it off now, but am trying to wait until Christmas.
The outside is a Charlie Harper print made from Barkcloth. I have never used Barkcloth before and it was fine. I interfaced it with SF101 and didn’t have any problem with the looseness of the weave. I am not sure how it will be if I cut squares and try to use them in a Fabric of the Year quilt. I only bought it to make this bag because my friend loved it. Ordinarily I wouldn’t have bought it.
I really struggled with what to put with it for the binding. I don’t think the turquoise is perfect, but I think it looks pretty good. Black was my other choice, but I think with the grey background and the black on the puffins the whole project could have easily gone towards depressing. I chose the turquoise binding to make it super cheerful.
Puffin STB interior
I fussy cut some more puffins for the mini pincushion. I think they look really cute.
You can see similar interior fabrics to my Brocade Peony / La Pass Sew Together Bag. Same fabrics- different order.
I haven’t talked much about zippers as I have spoken about these projects. Each bag requires 4 zippers. I chose, mostly, different colors for each zipper to make the bags more visually interesting. I also think that zippers are another visual cue to where the maker put a tool or supply. I kind of wish I has used another orange zipper on this bag, but I think it looks good as is.
There is no way I am going to make anywhere near my 100 yard goal this year. As it stands, I’ll be happy to be in the black by December 31.
True Colors & Coneflowers
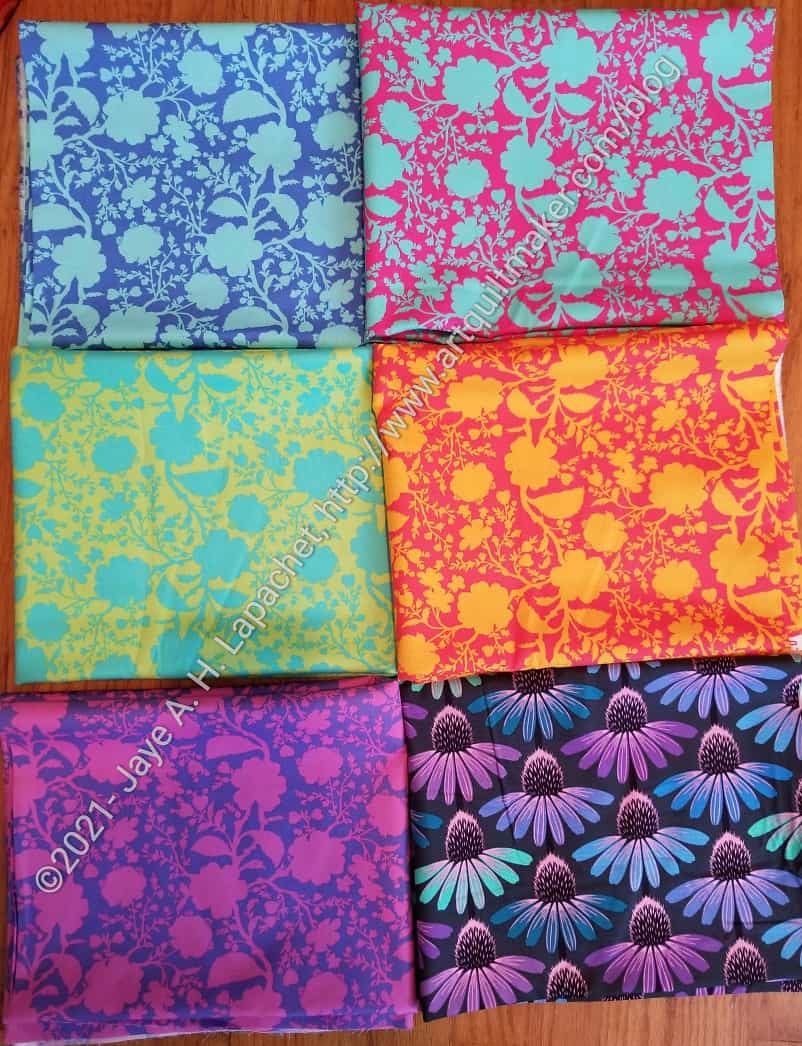
Last month, I talked about cutting the La Pass pieces wrong. That was my excuse for getting some of the Tula Pink True Colors. I needed a little more of the dahlia (lower left corner), but decided to get some of the others as well. I know they will show up in La Pass as we expand out into the other rosettes.
You see the coneflowers as well, I know. I couldn’t not buy more. I may use a little of in La Pass, but I also want to make more I Spy Pouches from it.
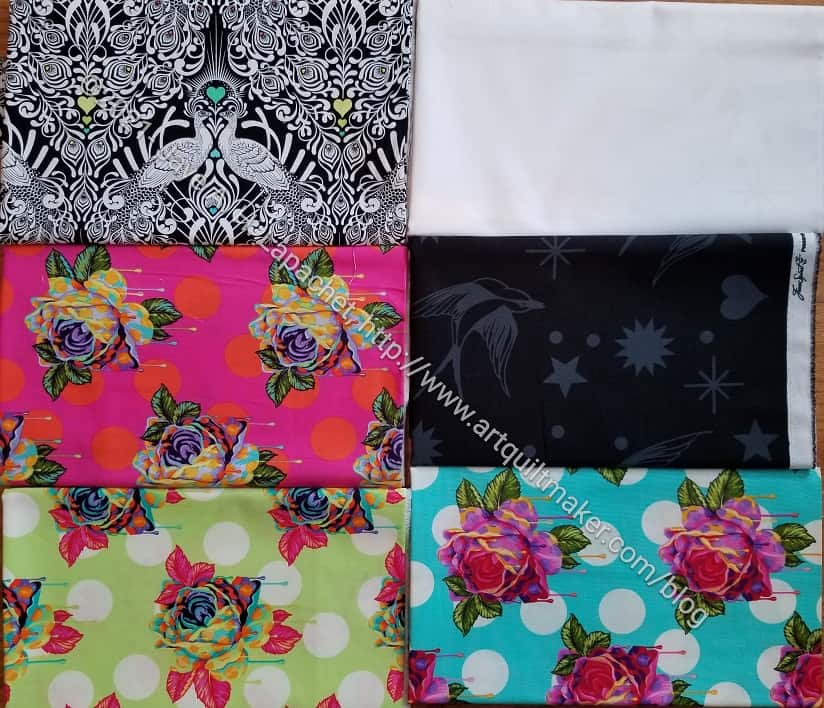
Curiouser & Curiouser + Peacocks
I also bought some of the dripping roses. I saw an Inside Outside Pouch by Aneela Hoey that someone made with the dripping roses. I only had an FQ and that wasn’t enough to cut the two main pieces of the pattern. I cut something else, but that wasn’t what I wanted, so I bought these fabrics and will cut out that pattern soon. I will use it for the thread I am using for La Pass.
The black and white are just extras for the project and I wanted more of the peacocks so I could sub in that fabric when I didn’t like some of the others. My sewing life seems to be all about La Passacaglia right now.
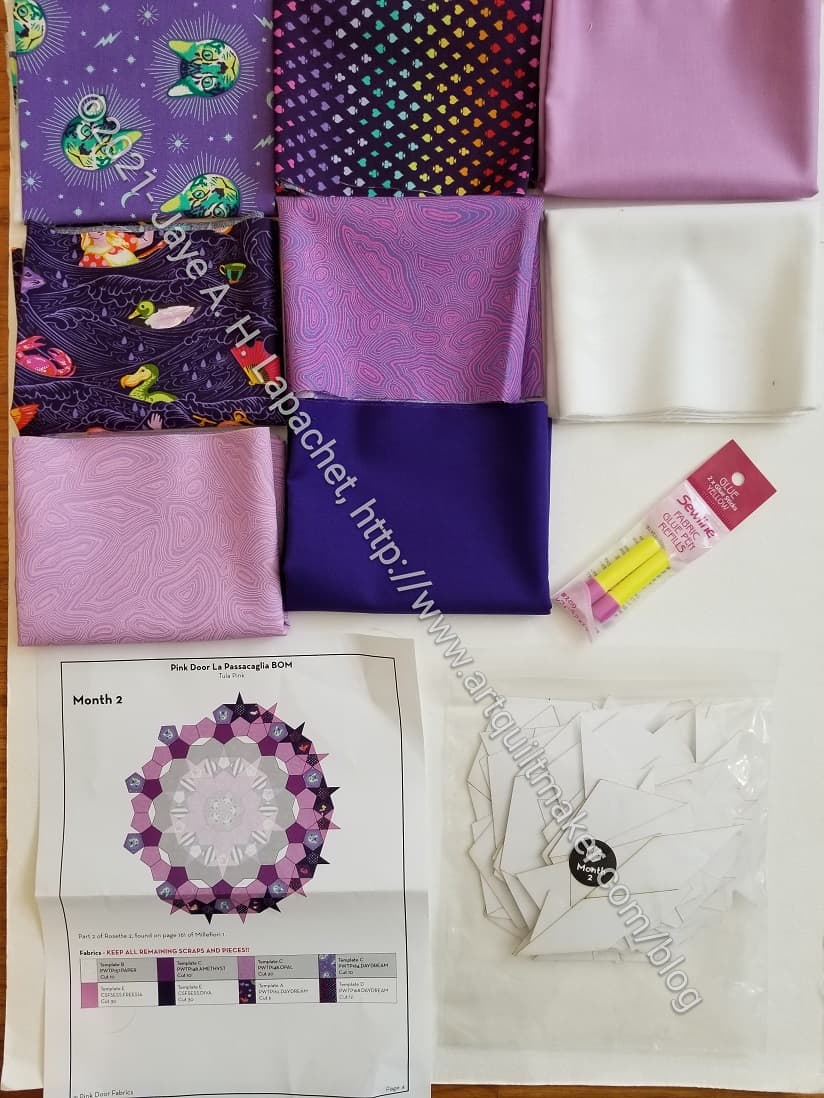
Right is what came in this month’s kit. No acrylic templates this time. Apparently, we use the same ones we used last month: more skinny diamonds and pentagons.
This group of fabrics is not my favorite. Those light purples look wimpy to me My general rule, following my friend Lindsay’s good sense, is that I will replace as little as possible. She allows herself to replace one fabric per month. I am trying to stick to that since I bought the ‘papers and fabric’ option.
I definitely will not be using the cats. I am also not a superfan of the ‘Drink Me’ print, though some of the motifs are ok. I need to study the plan and see if I will replace it with something else.
I am going to see about fussy cutting the cat fabric so the cat faces do not show like I did with the panda print. I am thinking of using the same Anna Maria Horner coneflowers I used in the I Spy pouches. That doesn’t have as much green and yellow as the cat fabric.
The issue is that if I don’t want to use the fabric provided then what will I use?
It might seem ridiculous to make another Sew Together bag for my latest project. I have plenty of fabric and I know how to make these bags, so that is not the issue. The issue is that have been using the area under my computer stand to store various supplies and tools. This does not make the project very portable. It does make it convenient to grab some pieces and sew when I have a work meeting.
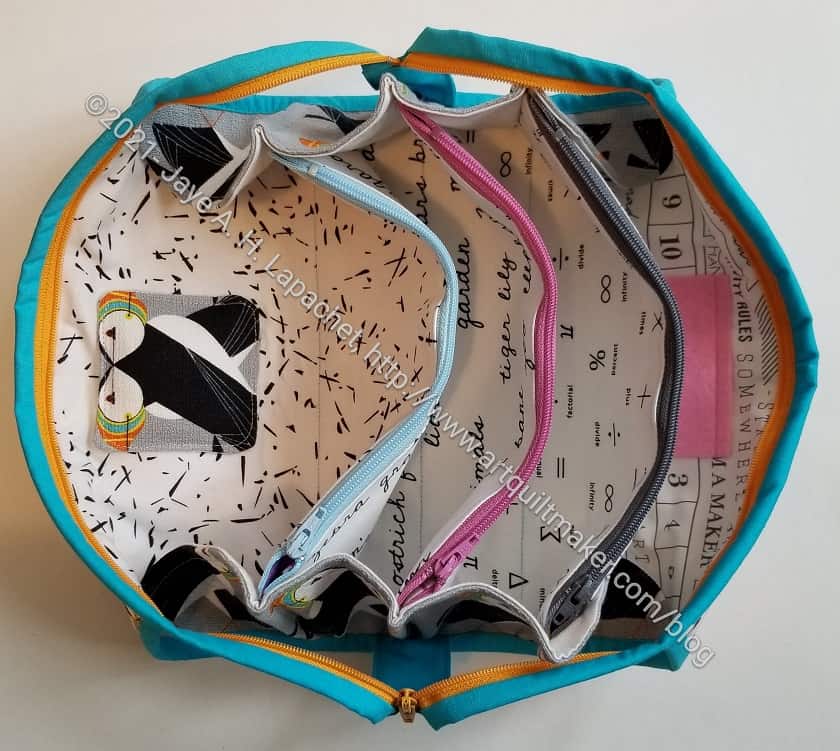
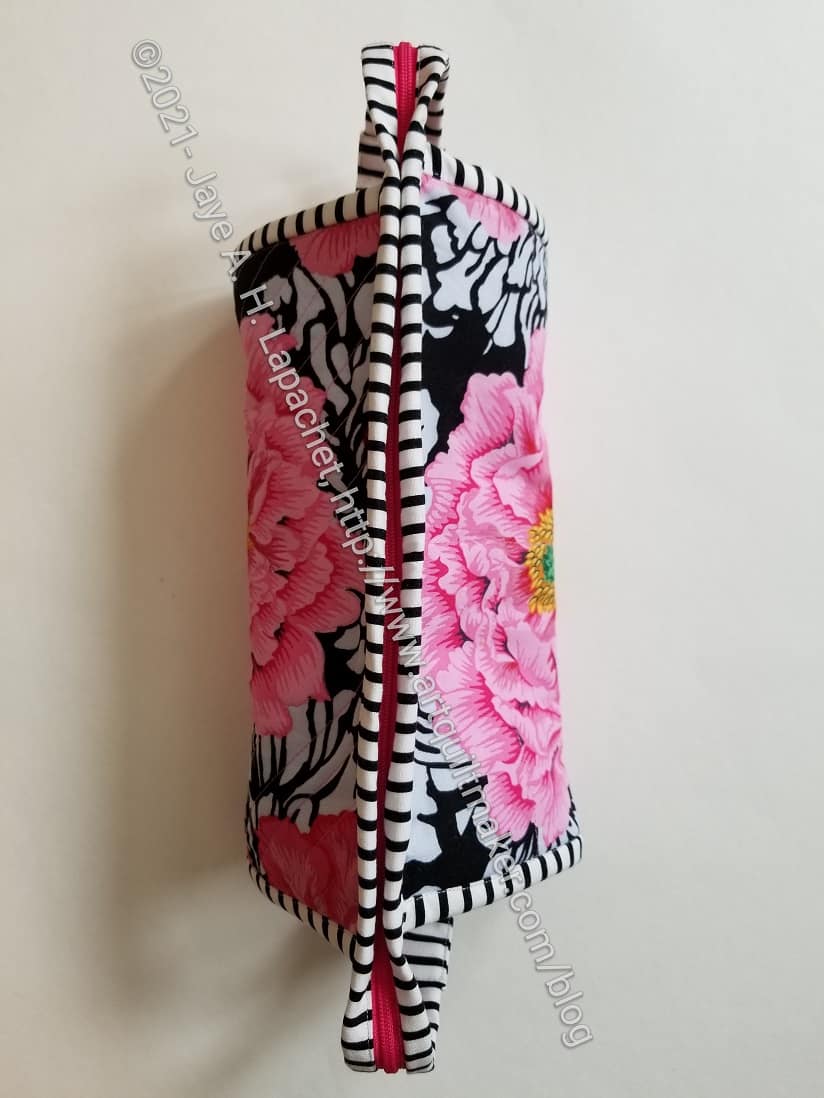
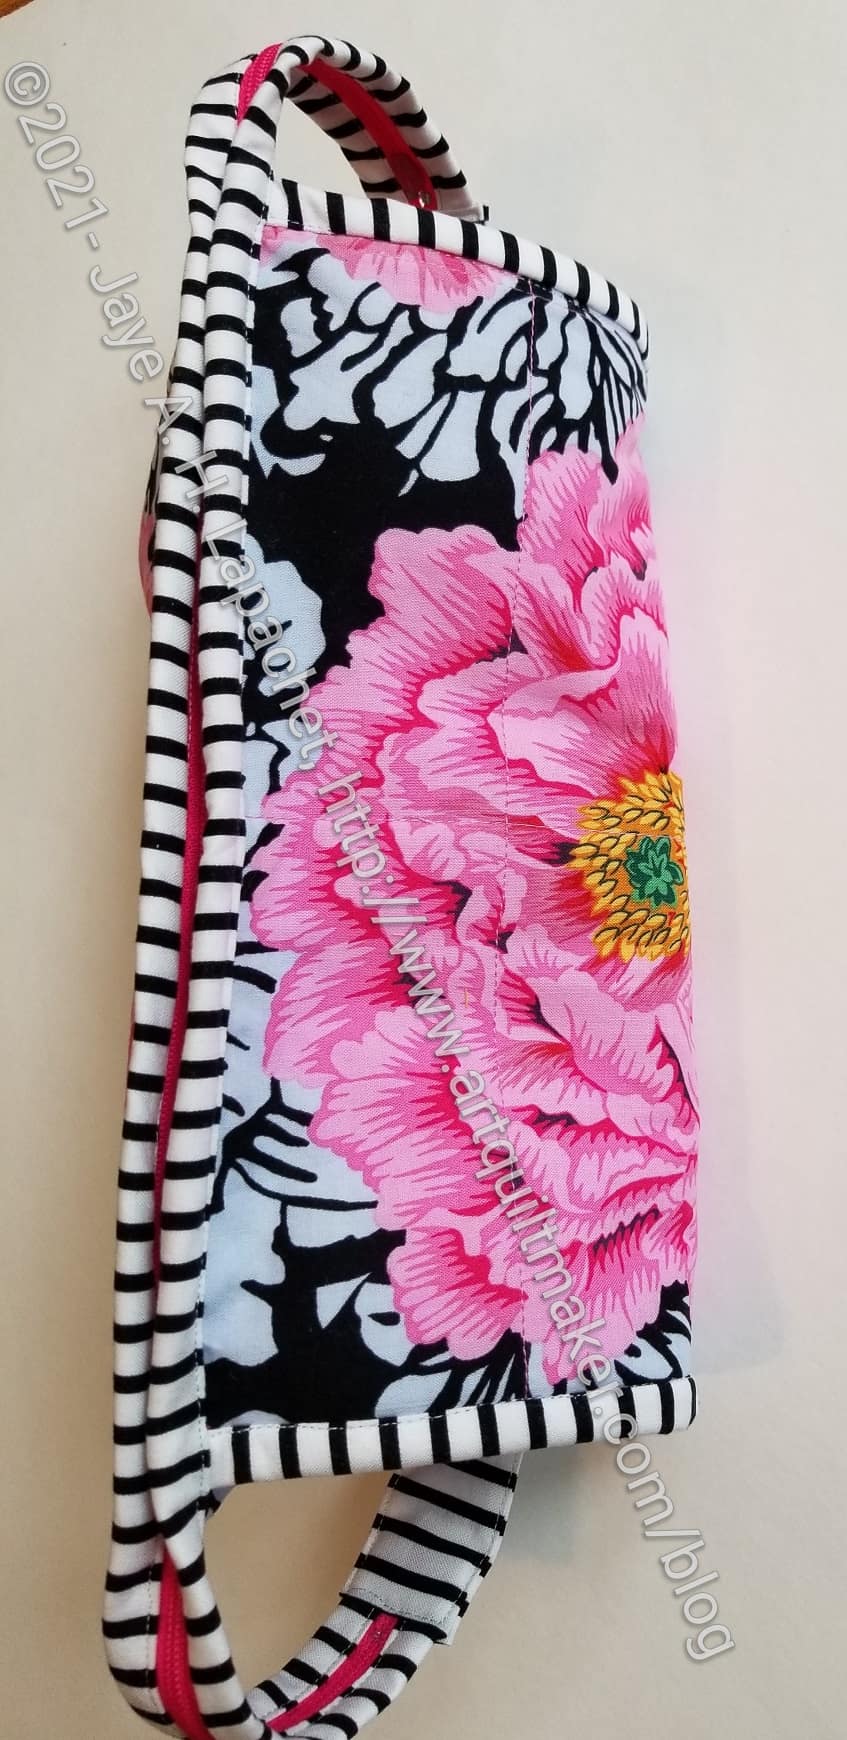
Brocade Peony (La Pass) Sew Together Bag
I have been using my embroidery Sew Together Bag for this project, but I want to be able to take the pieces around and I need my embroidery STB to stay with my embroidery. I was also making some gift STBs so I thought I might as well make one for myself.
This might be a stopgap until I can make the A Place for Everything Bag that will be really useful for this project. I talked about it briefly in a Various & Sundry post. I have been collecting supplies and I think I would rather just toss the Sew Together Bag in the A Place for Everything Bag when I go somewhere. I am used to using Sew Together Bags for handwork and don’t want to try to learn new habits. At the moment. I just want to sew.
Brocade Peony (La Pass) Sew Together Bag – exterior
As you can see, this bag uses one Philip Jacobs recent prints. He recolored the Brocade Peony print and I thought it would be good to showcase a couple of the blooms on this bag.
I also used the striped binding, which is a favorite trick for adding interest to a bag. If I were making this bag again, I might use pink on the side bindings and reserve the stripe for the top zipper only. I don’t think the stripes as I have used them are too much, but they are verging on too much. I keep thinking of the striped stockings the witch wore in the Wizard of Oz movie. In general, I am happy with the exterior of this bag.
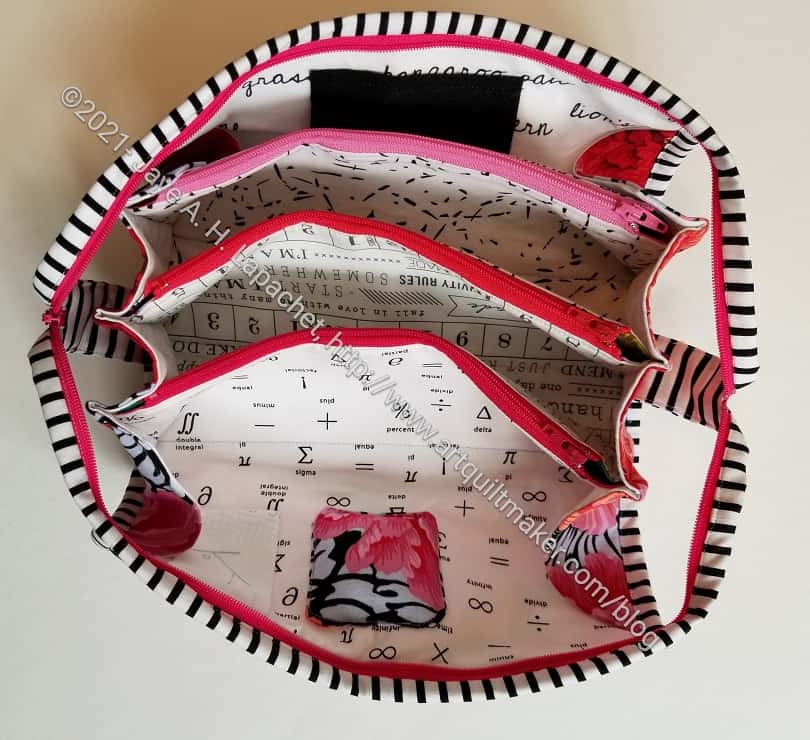
Brocade Peony / La Pass STB – interior 1
As you saw in another post, the white insides are mostly the same for the four most recent bags. It was easy to cut the whites all at once. I did put the whites in different places on the different bags, but I used, mostly, the same prints. I did run out of a few, so there are a few differences.
As I have said before, I like light interiors so I can see my tools and supplies.
Brocade Peony / La Pass STB – interior 2
I did vary the fabric in some of the pockets according to tastes of the recipient.
For mine I used a lot of pink and that great Anna Maria Horner print with the emerald green that I got in the Modern Quilter’s Box from Modern Handmade last year. I am not a huge fan of green, but something about that fabric is perfect. I also used it for a Retreat Pouch.
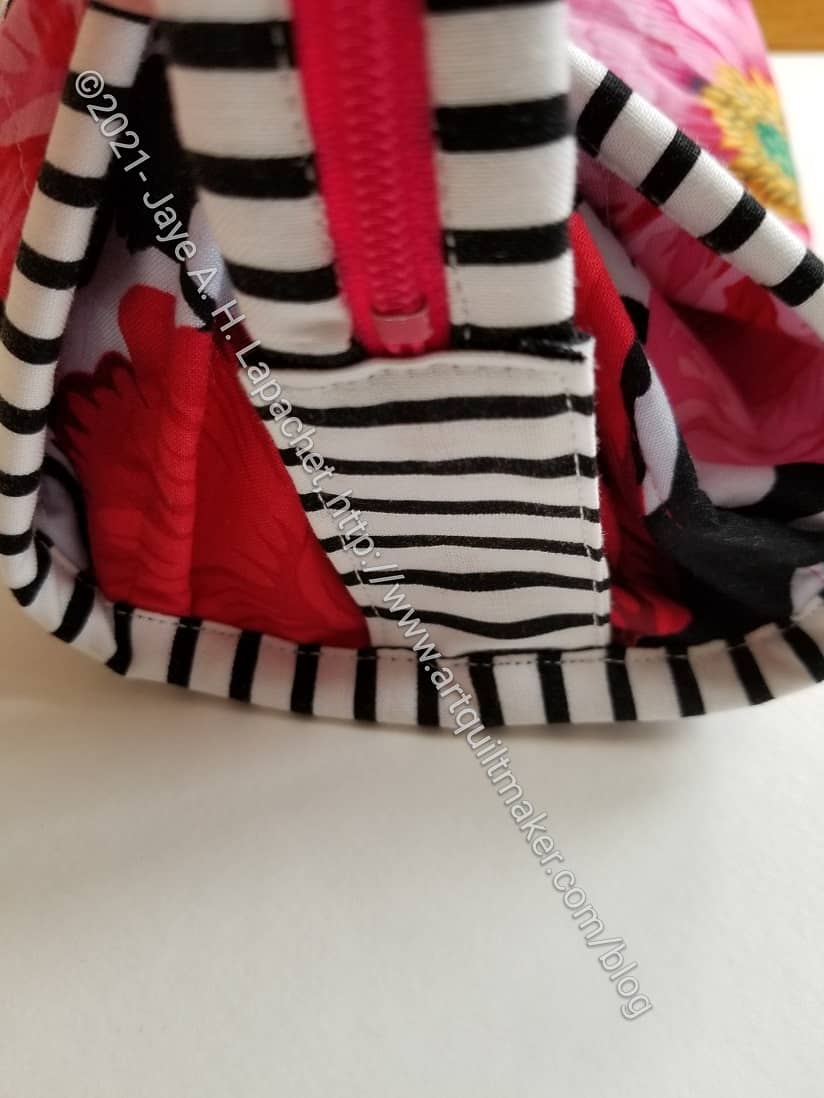
Brocade Peony / La Pass STB zipper tab detail
And look at this fantastic zipper tab. I carefully cut the fabric to match and used the directions I posted the other day for securing the zipper tab. I am really pleased with how it came out.
Now I just have to fill it with my supplies and tools for my La Pass project.
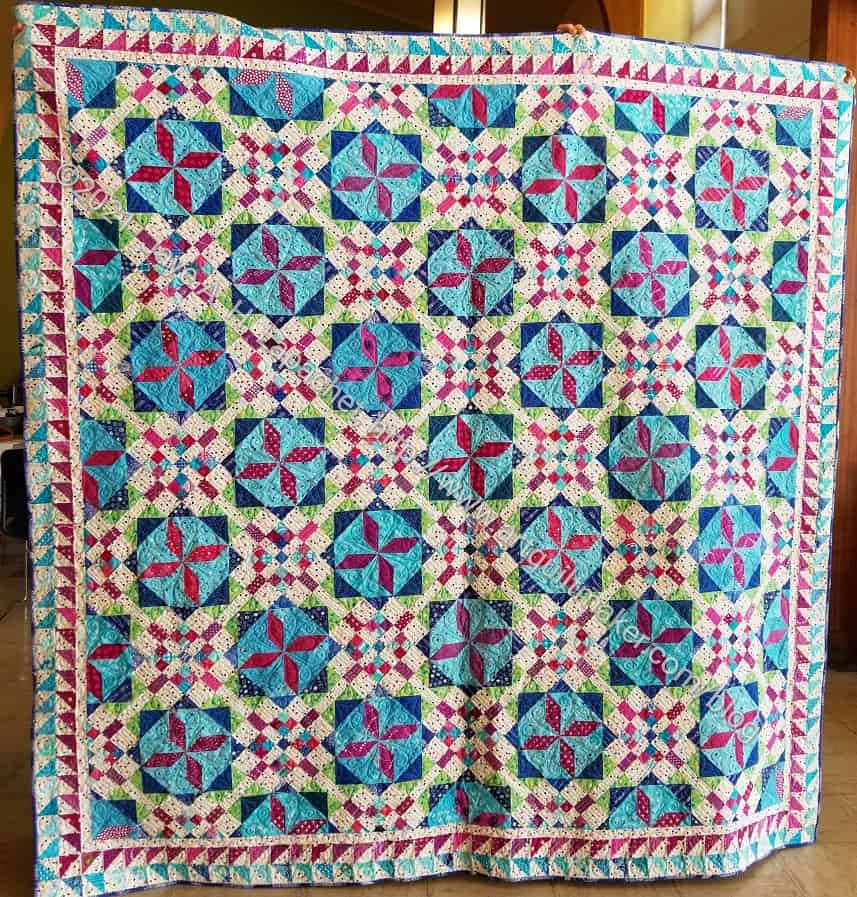
I thought about not writing this post this year. Then I thought about the recent takeover of Afghanistan by the Taliban and all the changes that have taken place in the Middle East since 9/11. My quilt ‘What Comes Next’ still reflects my vision of the future.
In a New York Times article I saw this week, the photo says “more of the same” to me. Members of the Taliban leadership sit in a room in the home of the former Afghan intelligence chief in Kabul. They are all men. They have guns in a room that looks like it once was a place where people sat and talked before a fancy dinner.
I don’t see anyone doing anything different. People fight each other for power. They destroy everything and then try to govern the rubble. Families are broken apart; cities are ruined and so many people have died since 2001. I don’t see the point anymore. Did we get justice for those on the planes?
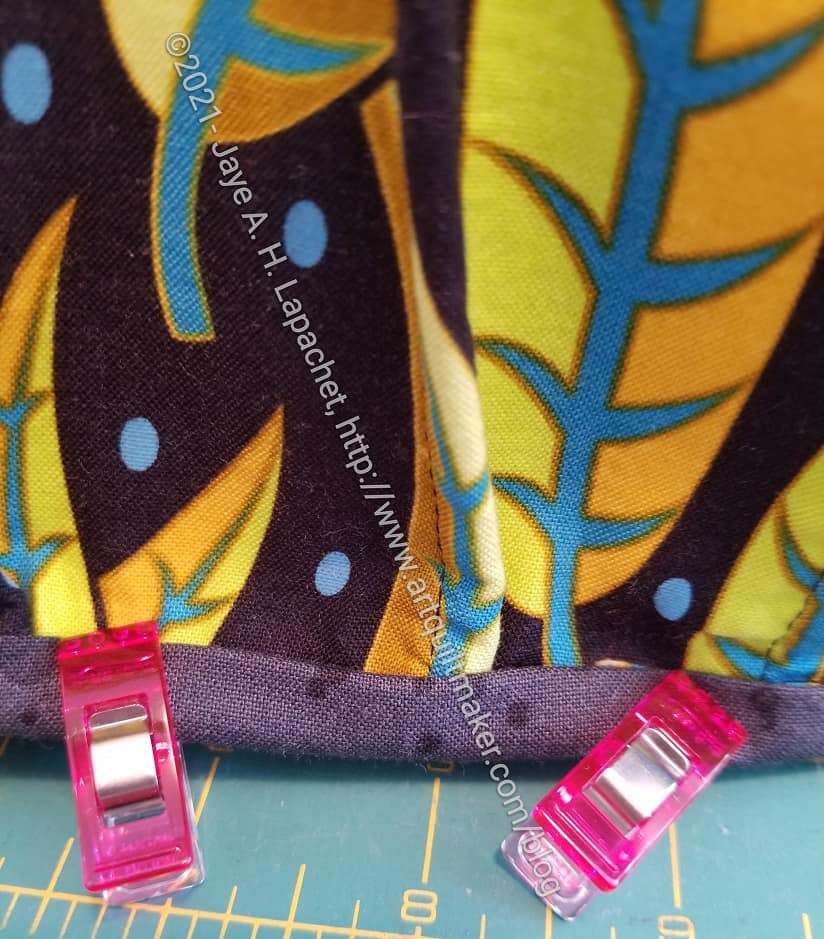
The Sew Together Bag pattern tells you to put the binding on the bag, then sew the zipper tabs over it. With a little effort, you can hide the ends of the zipper tabs under the binding, which is what I did with my recent Sew Together Bags. My hack takes place after you sew the binding on to the sides.
First, I sew the side bindings on to the exterior. The pattern says to sew it to the interior, but trust me. This will work.
Mark where to stop sewing
Second, I mark where to stop sewing. The goal is to leave that section of the binding under the middle fold open so I can insert the zipper tab. My regular practice is to use 2 pins. That is a sign to me that I need to stop sewing. use whatever method works for you. A Chakoner** or a Sewline Air Erase** pen can also work.
Wrap biding around
Next, I wrap the binding around to the top. In this case, I have to switch to WonderClips to mark where to stop sewing. because that whole area is WAY TOO thick. Ask me how I know. Note: my clips are in the same place as the two pins and I deliberately used pink only to mark the stopping point. The clips on the rest of that edge were different colors. Do whatever you need to do to mark your stopping point.
Sew, leaving a space open
Finally, I sew. I stop halfway between the folds of the bag’s side on each side of the center fold.
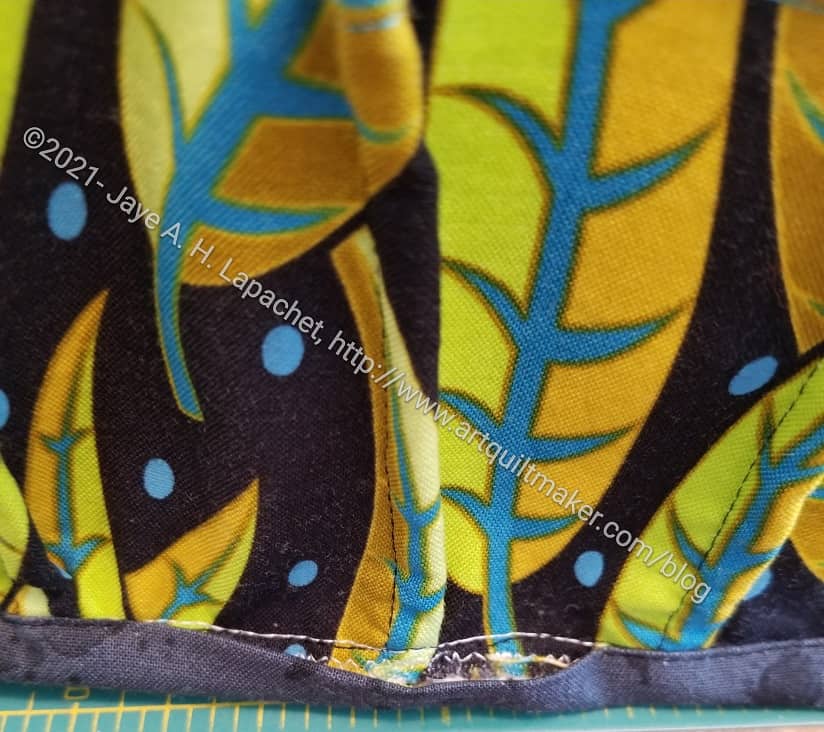
After following the directions in the pattern to sew the binding to the long, top zipper, I sew the zipper tabs to the ends of the zipper.
It occurred to me while I was doing this that next time I would cut the zipper tabs the same size as the binding. It would make wrapping the zipper tabs around the zipper ends a little easier.
Sew in Zipper Tab
Once the zipper tabs are sewn to the end of the zipper, I insert the end of the zipper tab into the space in the binding. Then I connect the stitching lines from where I stopped sewing to where I started sewing.
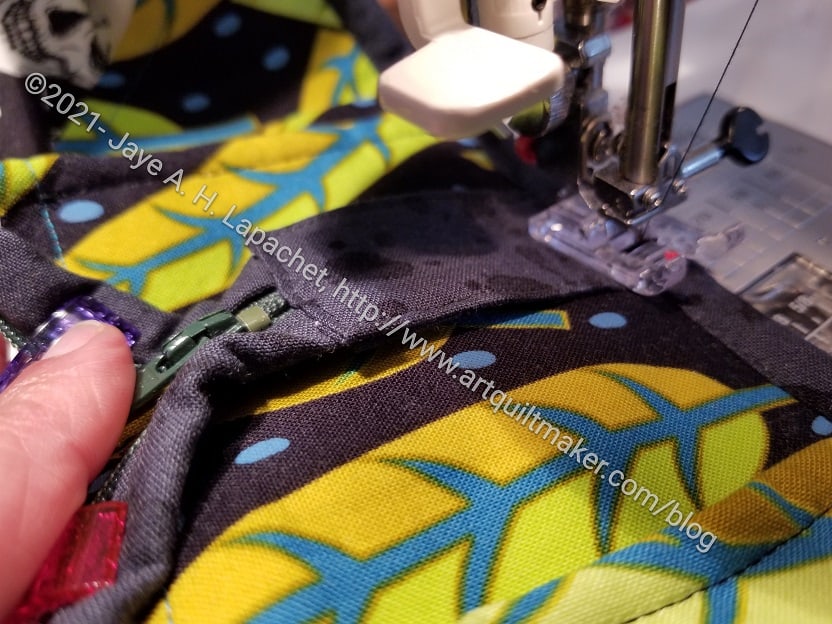
Zipper tabs sewn under binding
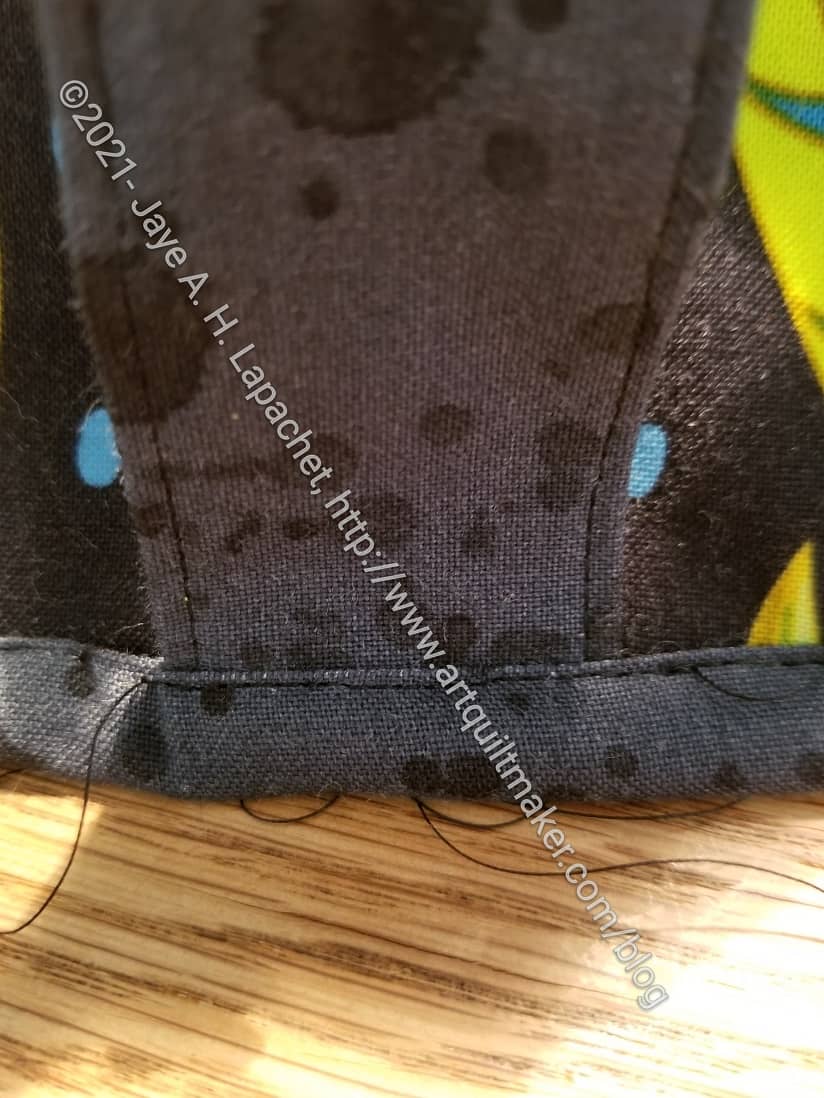
After that I sink the threads and the side bindings are done. I suppose you can backstitch, but I don’t like the look. It takes more time to tie knots, but I think it looks more finished.
Grey zipper tab ends
Zipper tabs sewn into binding – finished
Here is the first Sew Together Bag I made according to the directions (left). See how the zipper tab is just sewn to the top of the binding after the fact? One from the most recent batch is on the right. See how much better the end of the zipper looks tucked in? Is it a pain to sew it this way? Yes, it is an extra step, but it looks so much better.
**I use affiliate links and may be paid for your purchase of an item when you click on an item link in my post. There is no additional cost to you for clicking or purchasing items I recommend. I appreciate your clicks and purchases as it helps support this blog.
I have been working steadily, if a bit slowly on the first La Pass Rosette since I talked about it a few days ago. I am making good progress and refuse to be discouraged.
It can be discouraging when the others in the group finish their second Rosette and I haven’t finished the first one. I reminded myself that I had a few weeks earlier last month when I couldn’t sew and I am still ‘camping sewing’ because of my workroom’s unfinished status.
My next step is to sew the hearts and cones together then attach them to the center.
I worked on the leaf Sew Together Bag over the weekend and was able to finish it. Yay!
As shown the other, this used a Jane Sassaman leaf fabric for the outside. I used black for the binding, though green might have worked as well. I don’t have a lot of dark green. I think the black is a good choice.
Leaf Sew Together Bag – open
As you saw on another day, I made all the insides light colored so items stored inside are easy to find.
The recipient works for a public health department and I have been assured she will like the ribs.
I did the pincushion a little differently from my red-violet Sew Together Bag. I made it much smaller and I machine sewed it to the interior. I don’t know if that is better, but we will see.
The flap on the right of the pincushion is for WonderClips. I think Sew Tites could be stored there as well.
Bonnie Hunter reminded me that the Quilters Take a Moment virtual event is coming up on September 17-18.
Quilters Take a Moment is a virtual fundraising event for the nonprofit Quilt Alliance, featuring captivating speakers, deep-dive interviews, joyful conversations, a quilt exhibition and moments of community for quilt lovers everywhere. Tickets are now available. Because the event is online you can watch live or watch the recorded content any time, anywhere! And because it is a virtual event – you can participate from anywhere in the world, from the comfort of your own home, wearing whatever you want to wear. We live in the world of Zoom, etc now, so we all know this, right?
Lots of interesting artists, speakers & presenters. I was interested to see that there were a number of researchers and historians on the agenda.
Media
If you want to learn how the best way to thread a hand sewing needle, watch the EPP n.2 video with Tula Pink. Check at about minute 13.5 or 14.
If you want to learn how to glue baste fabric to EPP papers, watch Tula’s first EPP video, about halfway through.
Tula talks about pattern-first quilting and fabric-first quilting in a recent video. She also talks about making colorwash type quilts (similar to my Fabric of the Year quilts).
I am sort of Tula obsessed right at the moment. I blame Lindsay, though I have to admit that she helped open my eyes to the genius of Tula. I still am not a huge fan of the animals, but I admire her work ethic, her creativity and her willingness to share her process. I love process and hearing about other people’s process for creativity. I found an old interview with her from a UK Quilt Shop. In that interview, she talks about a book called Quilts from the House of Tula Pink**. I want to take a look at it.
Needlework pocket-book 1781, RCIN 45126
A needlework pocket book was mentioned in a recent Barbara Brackman post. I was able to find it in the collection of the Royal Collection. [Warning: librarian speak coming] I was disappointed that the metadata wasn’t better and I wasn’t able to find it using Mary Delany or ‘sewing’ as search terms. I am interested in this as I ma making some Sew Together Bags and the items are related because they are both designed carrying tools and supplies around. I wish the Royal Collection had a picture of the pocketbook open so I could see how it was laid out. Also, I wonder what some of the items are used for. A spoon? What about that twisty hook tool (bottom right)? Eventually I’ll look them up, but for now I will wonder.
The Wall Street Journal, periodically, attempts to talk about crafts in an intelligent way. They don’t seem to be able to find someone who actually does the crafts and come up with interesting, if somewhat stilted articles. This time it was about crochet. (You may need to login or use your library)
Other Artists
Friend Julie put up her cornucopia post at the end of July. It is so interesting to see what different sites and links she finds, then chooses to share. One interesting link was for Seamwork – a kind of how-to-sew network. I hope they can make it work.
Need some chickens? These are appealing to me, probably, because of the polka dot fabrics. Make them into pincushions and give them as gifts.
Books, Fabrics, Notions & Supplies
I am obsesssing, as I have said, about Tula Pink right now. I don’t have an embroidery machine, but I wanted to see her machine embroidery options. I finally found a link, which was not quite as easy as I thought it should be.
I am trying not to buy more bag making supplies, but in case YOU need some, check out Gold Star. they have a wide variety of different things. It looks less ‘curated’ than some of the quilt shops. they have some industrial type machines to install grommets and such in case you are churning out bags for sale. They have a variety of lobster clips in different shapes and finishes.
I have the Tula Pink Butterfly Pattern. I saw the video she produced about her updated version of the quilt and it got me interested in making it. I saw a quilt store that has fabrics packs – a kind of subscription – for that quilt. I don’t think I want to buy it. I have a lot of fabric and I want to use it. Anyone planning to make the Butterfly Quilt?
**I use affiliate links and may be paid for your purchase of an item when you click on an item link in my post. There is no additional cost to you for clicking or purchasing items I recommend. I appreciate your clicks and purchases as it helps support this blog.
I spent last weekend finishing the Sew Together Bags. Mostly what I had to do was put the bindings on.
In the last batch of Sew Together Bags, I did something a little different. I tucked the zipper tab into the side binding to make it look really finished. Look for a mini-tutorial about how to do this later. I did that again, so it took me most of two days to get them completely finished. Now they are and I am really pleased with how they came out.
These were much easier to make. I felt like I was playing a bit and not fighting the pattern. I guess that is what comes after you have made 14 of them!
I took Friday off work, mostly because I was tired and just needed an extra day. I thought I would tack an extra day on to Labor Day, which would allow me to get stuff done around the house and sew quite a bit. Also, I really need to take some boxes to the donation place. I have a big pile from clearing out my workroom. DH contributed to the pile. He was encouraged to clear off his piles as well.
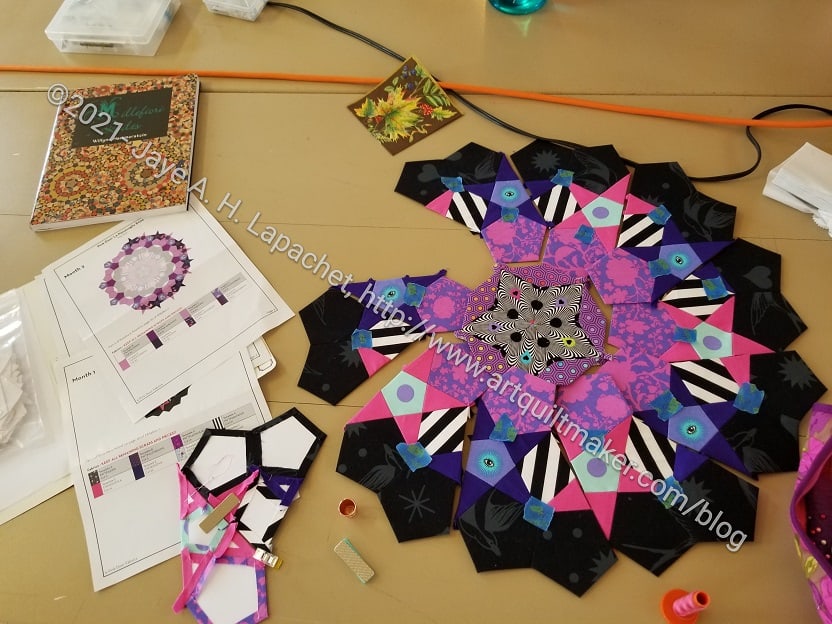
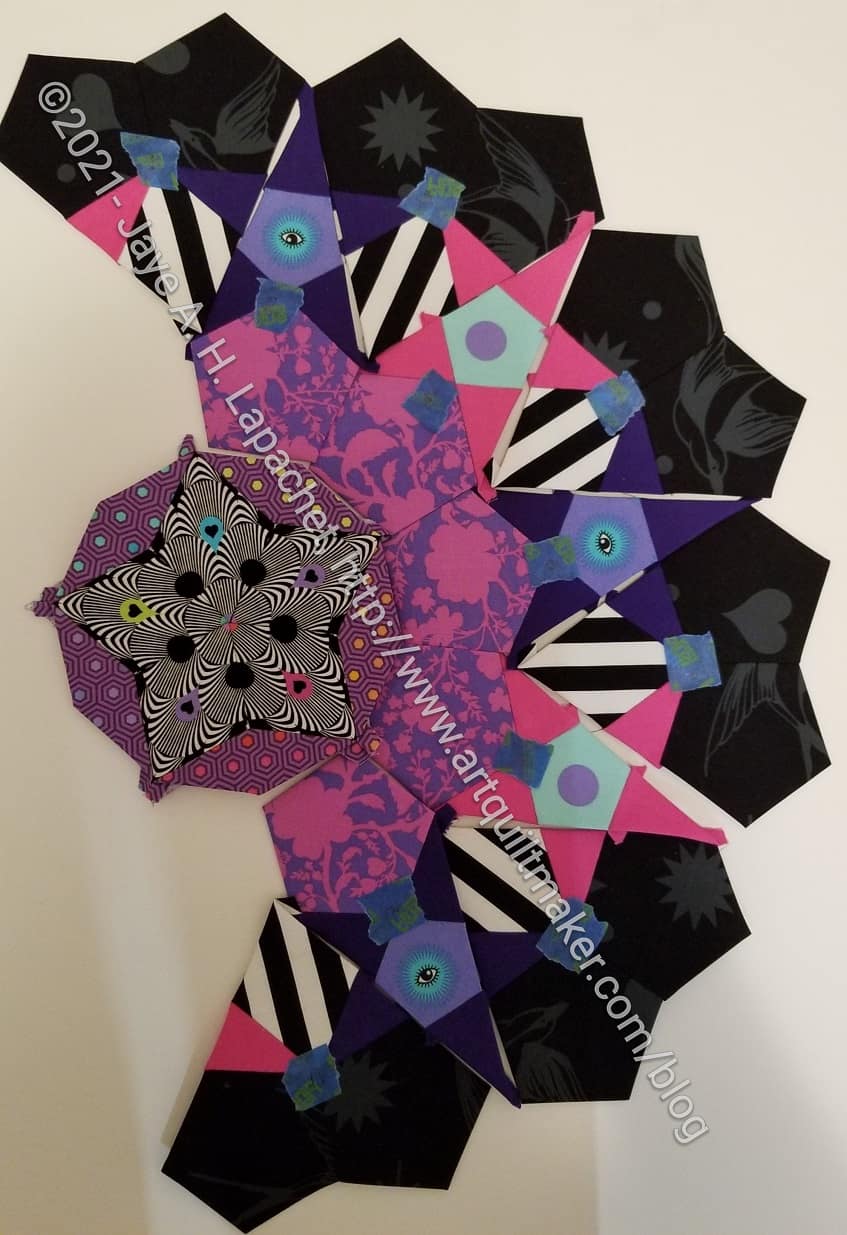
I have made some good progress on La Passacaglia as you have no doubt seen. I really want to keep up with this project. I think getting behind would put this squarely on my UFO list. I am a little behind as Rosette #2 has been sent out. I am waiting for it. I have until Tuesday to finish this Rosette.
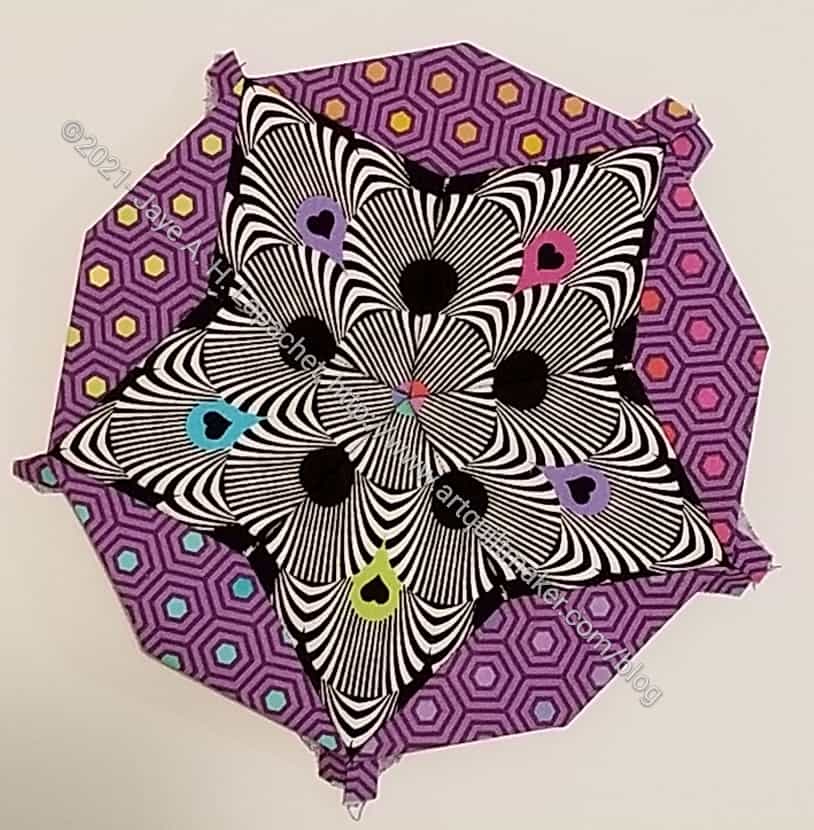
Rosette #1 center
Thursday night, after work, I sewed the center together. I had been working on the hearts and cones as I thought that would be the most bang for my buck. Still, not having the center completed started to bother me. I decided that would be my after work goal.
It isn’t perfect, but I am pleased with the way it came out. In the overall scheme of La Passacaglia, the slight imperfections won’t show. It was my first time fussy cutting to create a new look (new fabric design) in the manner Paula Nadelstern works. It felt like a huge achievement to finish the center.
Rosette #1 – almost finished
Once the center was done, I laid out what I had sewed and looked at it.
In the photo you can see the hearts and cones in the outer part of the rosette are not yet sewn together. I also have 4 more cones and 3 more hearts to make before I can sew the whole piece together.