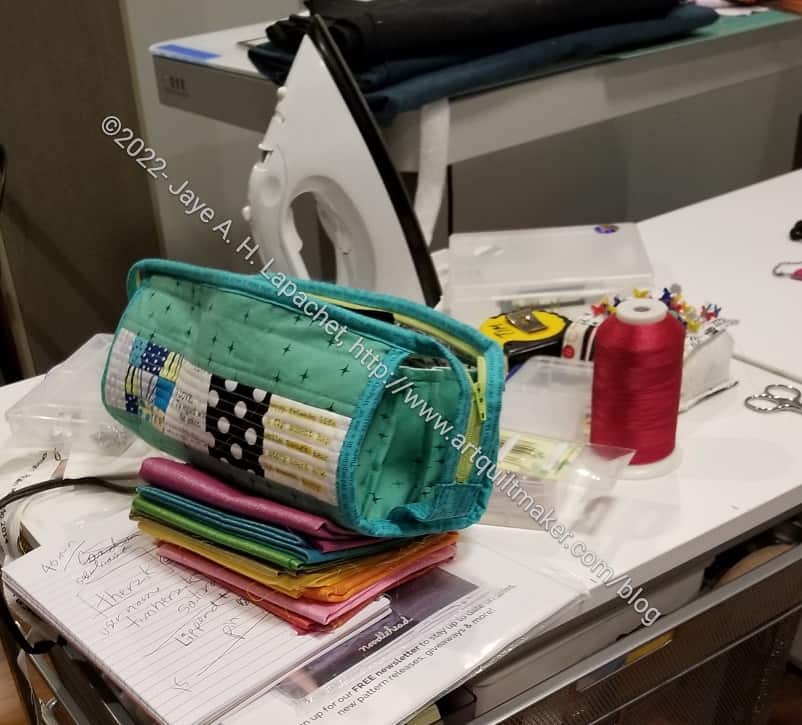
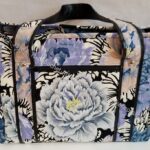
I was really pleased to see the Sew Together Bag I made out in the wild.
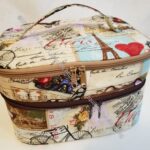
I went over to Tim’s the other day and saw the bag I made for him. It was full of supplies, which made me very happy.
Commentary about works in progress, design & creativity
I was really pleased to see the Sew Together Bag I made out in the wild.
I went over to Tim’s the other day and saw the bag I made for him. It was full of supplies, which made me very happy.
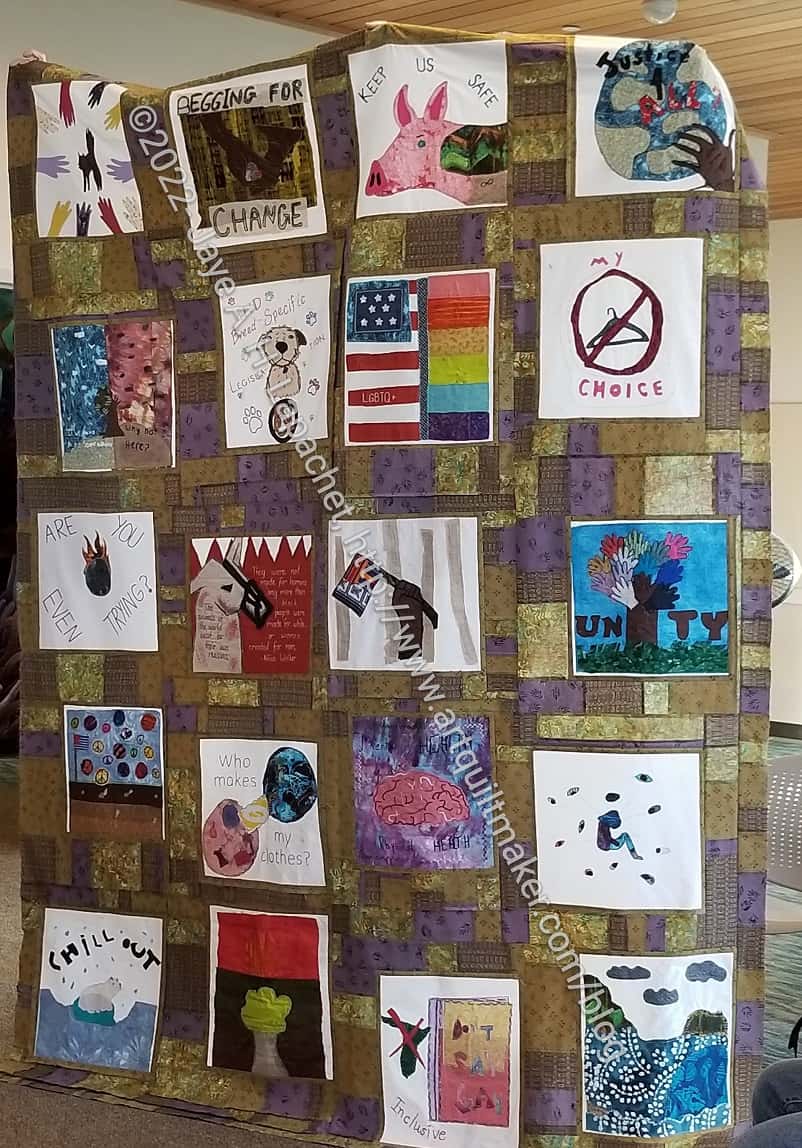
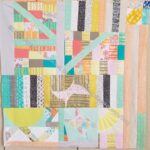
Cyndi brought the Social Justice Sewing Academy top to the meeting a few weeks ago for us to see.
The sashing fabrics are not fabrics I would choose, but they really provide a great background for the blocks. I think the blocks really shine.
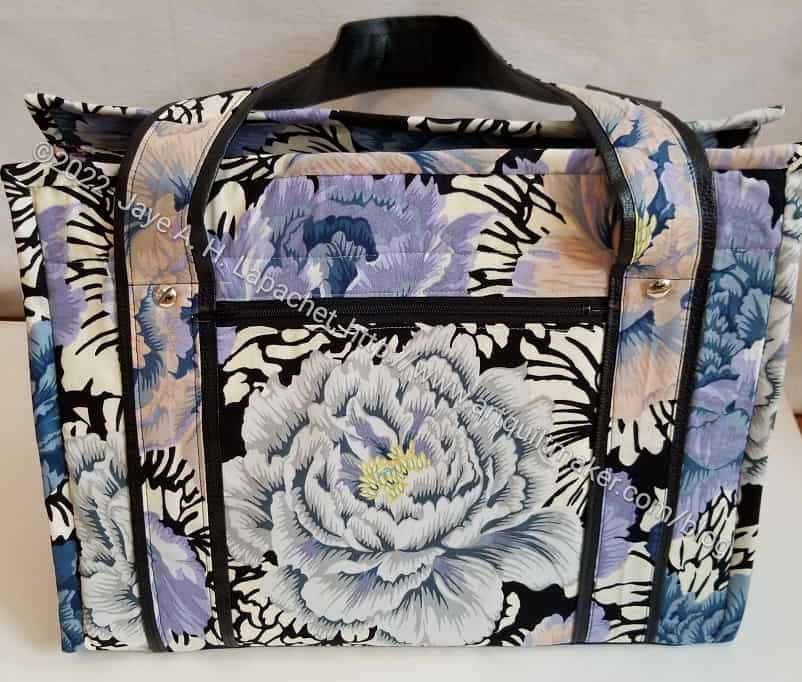
Yes, I made Julie a UCAB. This wasn’t planned for her, but she admired mine at Super Sew Day so much that I showed her the outside of the Brocade Peony UCAB and we made a deal. I would finish it for her and she would forget our conversation and be surprised.
I didn’t wait until the last minute to get the project done. About a week after Super Sew Day, I started on the pockets and just powered through. This is my third UCAB and I don’t find it any easier than the first two. Well, maybe a little easier.
Anyway, I sent it off the day before Thanksgiving and I am sure she got it. I can’t wait to hear if it is useful or her.
Admin
I updated the Minikins page. I also updated the Ends Donation quilts page.
Projects, Classes, Patterns & Tutorials
I found an interesting bag while scrolling through Instagram. It is called DIY Magic Twist Zip bag. It has a template for the shape included, though I don’t know what the template is made from. It comes from a shop called Dremmie.com, which appears to be just a shop to sell patterns and templates. There is no information about the shop except hidden in the About us on certain screens and that doesn’t even say that much, such as where they are located and the location from where they ship.
Crafty Gemini has a video on choosing bag interfacing.
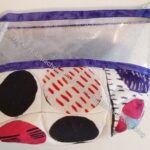
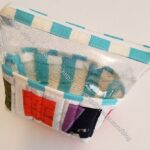
Natalie from SewHungryHippie has a free tutorial for a see-through pouch called the Comet Case. In the tutorial, she shows you how to make it with vinyl.
The first clue for Bonnie Hunter’s FREE 2022 Mystery Quilt came out this morning. If you want to join in, take a look at the introduction and first clue. All the information is on the Chilhowie tab on her website. I have made two of her mysteries, En Provence and Frolic!. Lots of piecing, but it is broken down into manageable stages. I don’t always do the quilts, but I always save the clues.
Bonnie’s mystery quilts are great scrap busters and also a great way to hone your precision piecing. She gives lots of tips and tutorials on making your pieces fit.
I tried to teach myself to use the pliers I bought to add snaps to a project. I even found a tutorial that was helpful in getting me to understand what I was doing. It didn’t help. I rummaged in my tools pouch some more and found the Snapsetter tool. It was in an unlabelled box, so I had forgotten about it. Apparently, I didn’t end up using it for whatever project needed snaps. I do remember that Sew Sweetness has them, so I checked the tutorials link on her site. There, I found a video on how to use it. I did a few practice snaps then went for it. I am pleased with the way the snaps came out. Stay tuned for photos.
Tools, Books, Fabric, Notions & Supplies
Need colored elastic? Check out ElasticBytheYard. They have polka dot foldover elastic!
Media
I watched a GREAT Tula Pink video where she showed A LOT of bags made with her new Everglow fabric line. She showed a Bionic Gear bag that finally made me want to make one of those.
Finished 2022 Quilt Projects
Finished 2022 Small and Non-Quilt Projects
This category covers bags, toys, aprons and knitting as well as other non-quilt projects.
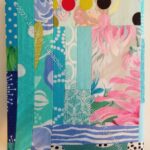
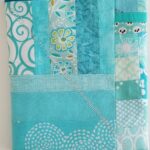
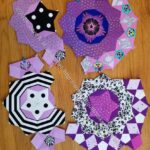
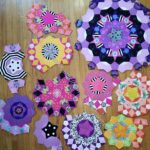
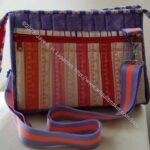
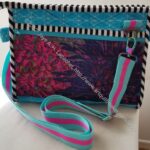
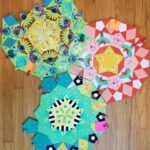
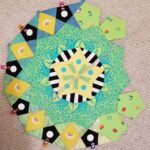
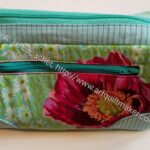
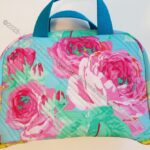
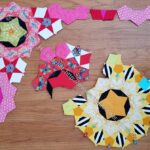
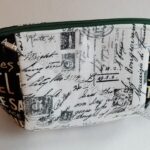
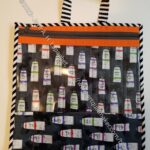
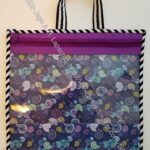
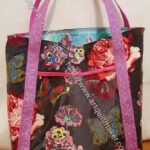
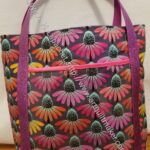
Doing Good
Ready for Quilting
Nothing at the moment
In Process or To Make
The ‘In Process’ is used to denote projects on which I am actively working or are on the design wall waiting for me to stitch. I am continuing to try not to put away projects. I find putting a project away ensures I never work on them, because I just lose steam.
Quilts (machine work)
Quilts (Handwork)
I decided that some of my quilts are in a different class because they are hand piecing or embroidery or beading. They take longer. Thus I created a new category and have moved some projects here.
In the Quilting Process
In the Finishing Process
Small Projects
Most of my progress involves thinking or just cutting. I don’t have a bag in process at the moment.
Still UFOs
I still have UFOs. Who doesn’t, after all? A project in the ‘UFO’ category means I am stalled, it hasn’t been worked on in awhile or it is waiting its turn to be worked on. The list is a lot shorter and the projects are newer, for the most part.
I am annoyed that some of these are still WIPs. I just need to work on them!

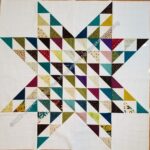
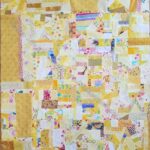
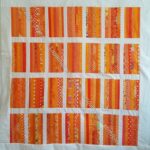
Ends n.13 is finished! I got to see it briefly at the meeting 10 days ago. It is such a hodgepodge of fabrics! Erin quilted this one as well and said that she enjoyed quilting happy looking quilts. This one is certainly cheerful.
Ends n.13 has been languishing long either. I finished the top and back in March of 2022.
We had a discussion of how many quilts we have given away and are in the neighborhood of 130 for the year. That is really great for a small guild like ours.
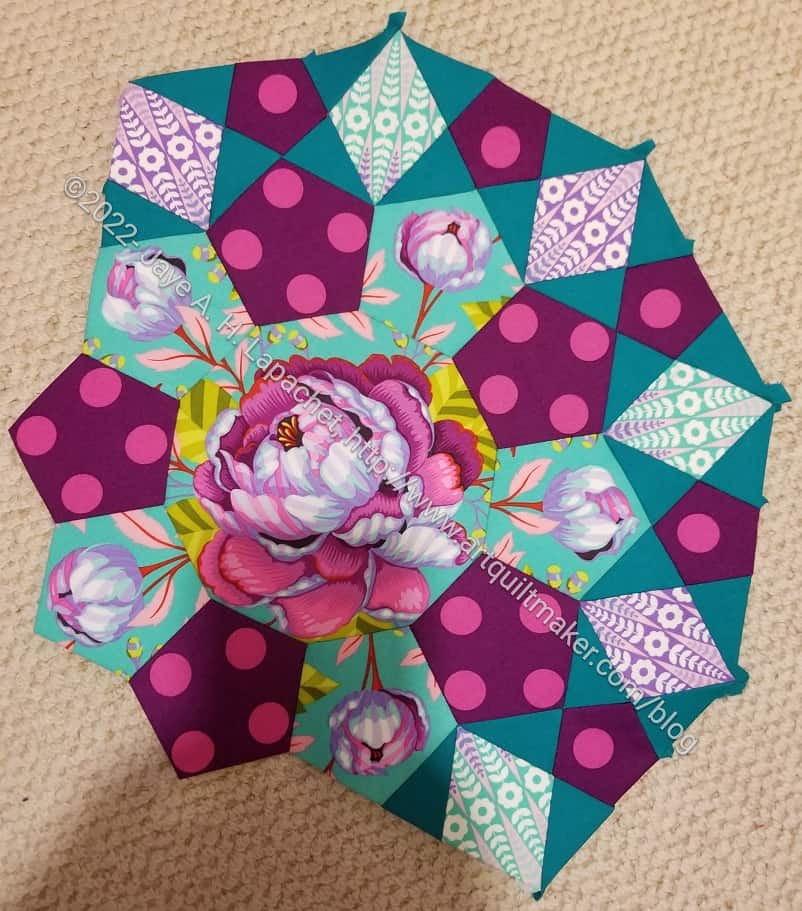
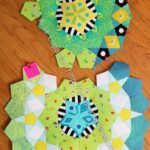
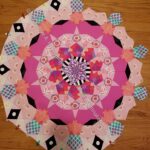
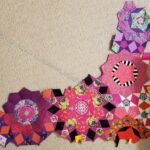
I am not finished yet, but I am making good progress on Month 17. The rosette with the peony center looks really good, I think.
I think the red-violet dots and the green solid look great together. They are sort of complimentary on the color wheel. I am also happy with the way the daisy fabric (in the diamonds) looks in that location. It was supposed to be the center.
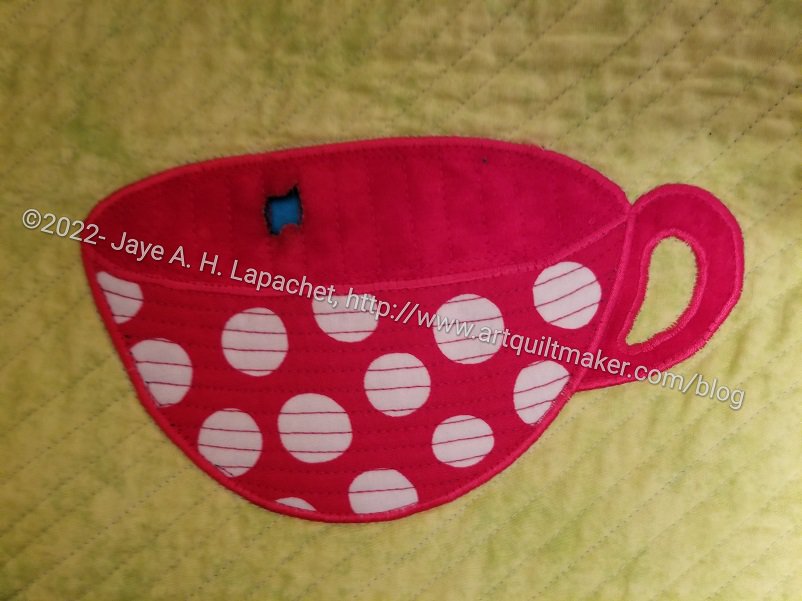
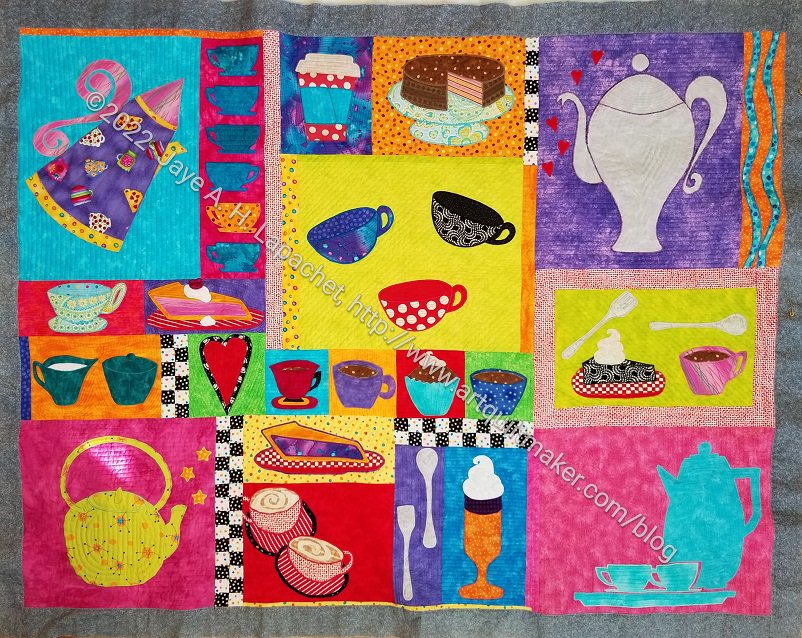
After finishing the quilting on the Tarts Come to Tea, I realized that I still needed to fix the burn. Ever since I wrote about it, I have been very careful not to burn any other parts of the quilt. The center of the burn, however, did not get any better. Crispy bits of fabric and batting fell out until I had a hole I could see through.
As I worked, I also thought about how to fix it. I finally settled on some machine applique.
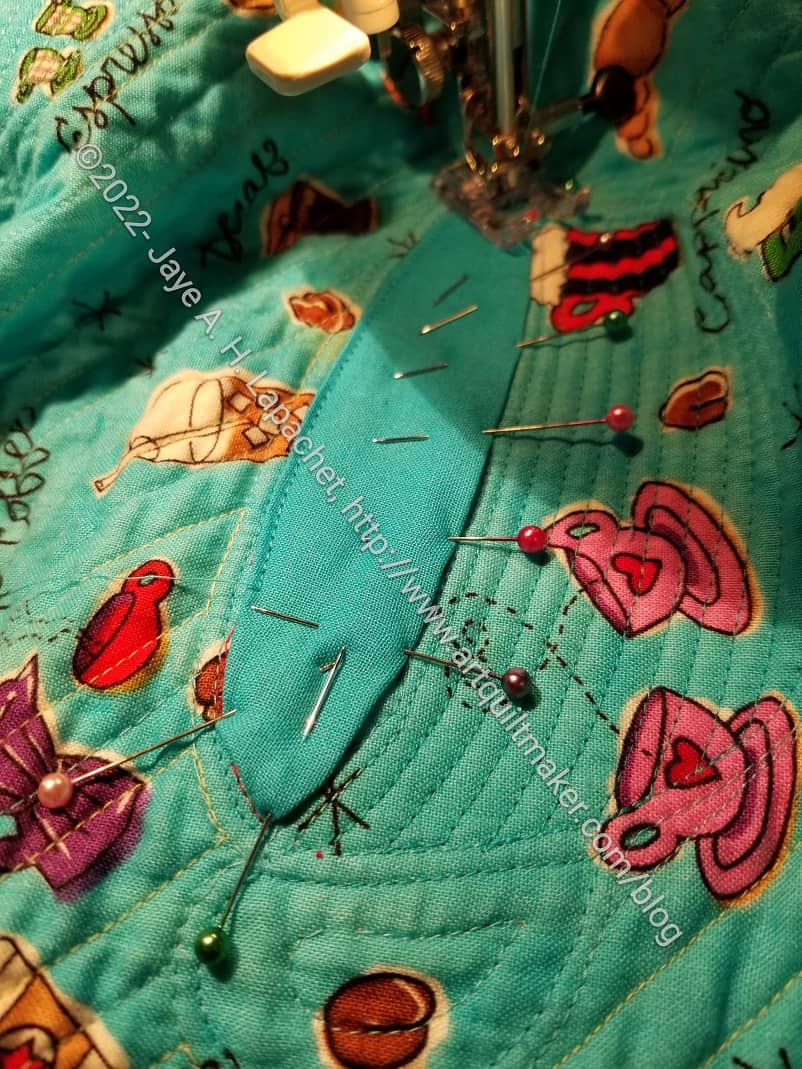
First, I patched the back. To make the patch the correct size, I made a template out of tracing paper by doing a rubbing of the satin stitching. The satin stitching is more 3D than other parts of the quilt so my method worked pretty well.
Then I cut a piece of fabric that wouldn’t stand out. I didn’t have (or couldn’t find) any more of that coffee novelty print so I matched the background with a solid. It isn’t a perfect match, but looks ok.
Then I machine appliqued the piece on to the back.
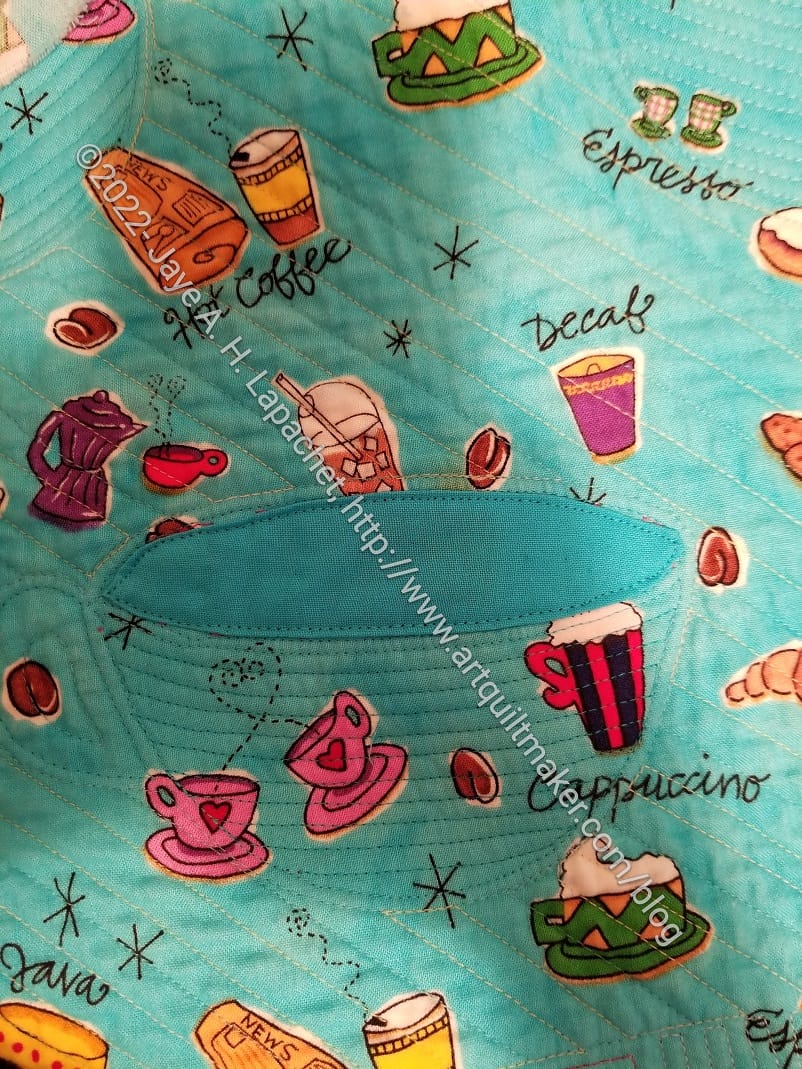
It isn’t perfect, but I think it looks acceptable. It is so annoying and disappointing that this burn is in the center of the quilt. In the picture of the cup (above), you can see the blue fabric through the quilt. That is the patch on the back.
I needed to take more care with the front of the quilt. I had two competing feelings while I did the work. First, I just wanted it done. Second, I didn’t want it to stand out so much after a quick glance that people would notice it immediately.

I am pretty happy with the patch on the front. It doesn’t scream out that there was a problem, though you can see it if you look closely. Hopefully people will enjoy the overall look of the quilt and not focus too much on the details.
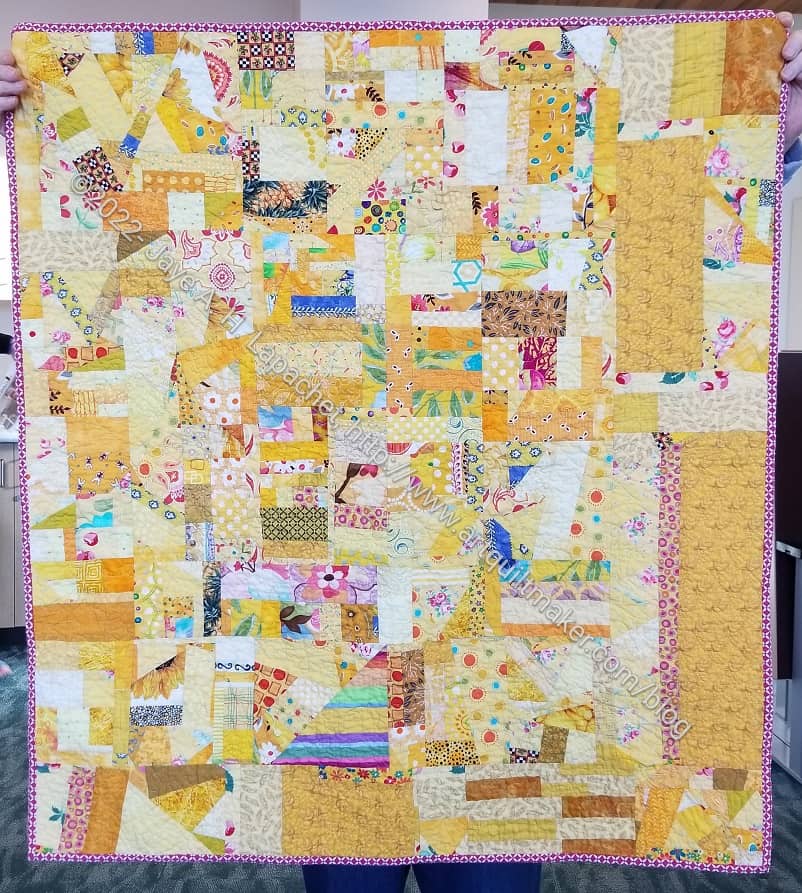
I went the last BAM meeting of the year the other and got to see some of my donation tops finished. This one, was quilted by Erin and I was so pleased to see it finished.
It didn’t even languish for that long. I finished the top and back in April.
The quilting is really hard to see and I didn’t take the time to look at it up close at the meeting, but I am sure it is great. Thanks, Erin, for collaborating!
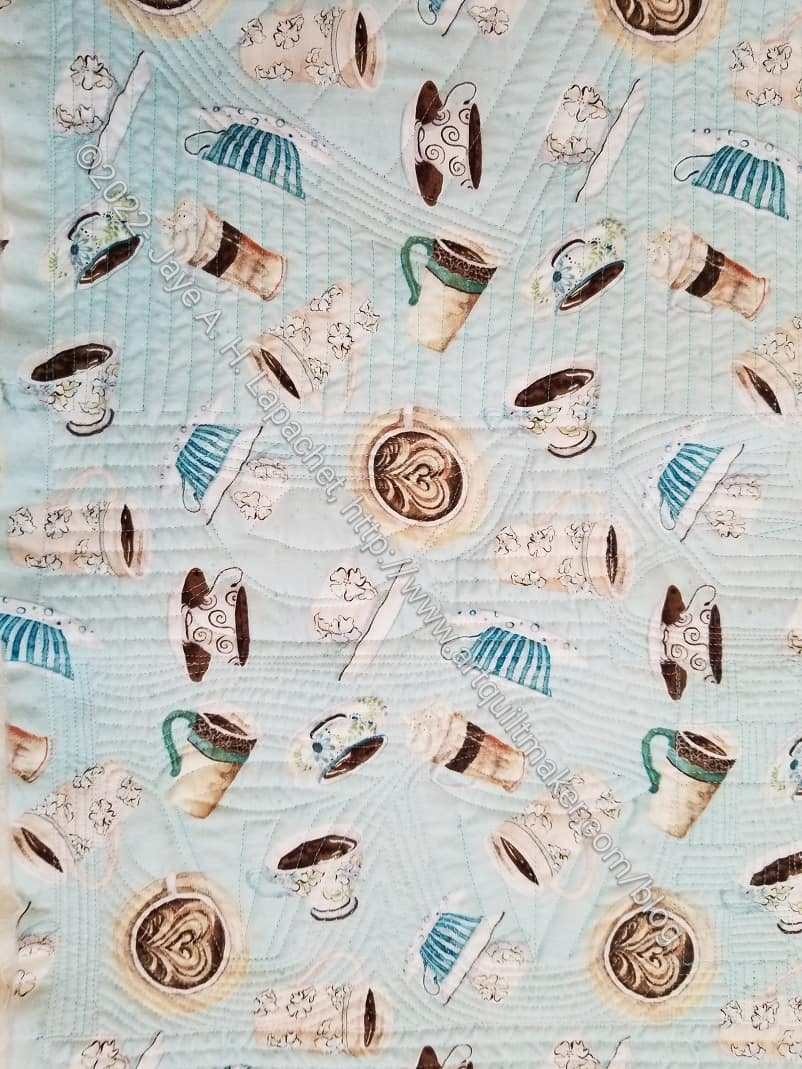
I know the photo I posted the other day didn’t show all of the tiny quilting lines.
In this series of photos you can better see my obsession. The first photo, left, shows the back of the upper left hand corner.
There are some parts that are not as heavily quilted as others. I was using the quilting on the front to express my vision. In this piece, the quilting is part of the design.
I struggle with the quilting being part of the design. I love piecing and never want the quilting to overshadow my piecing. In strictly geometric quilts, like Frolic! and Flying Around, this is usually not an issue when Colleen quilts for me. Her quilting fits really well into the design of the piecing. It’s different with a quilt like the Tarts Come to Tea.
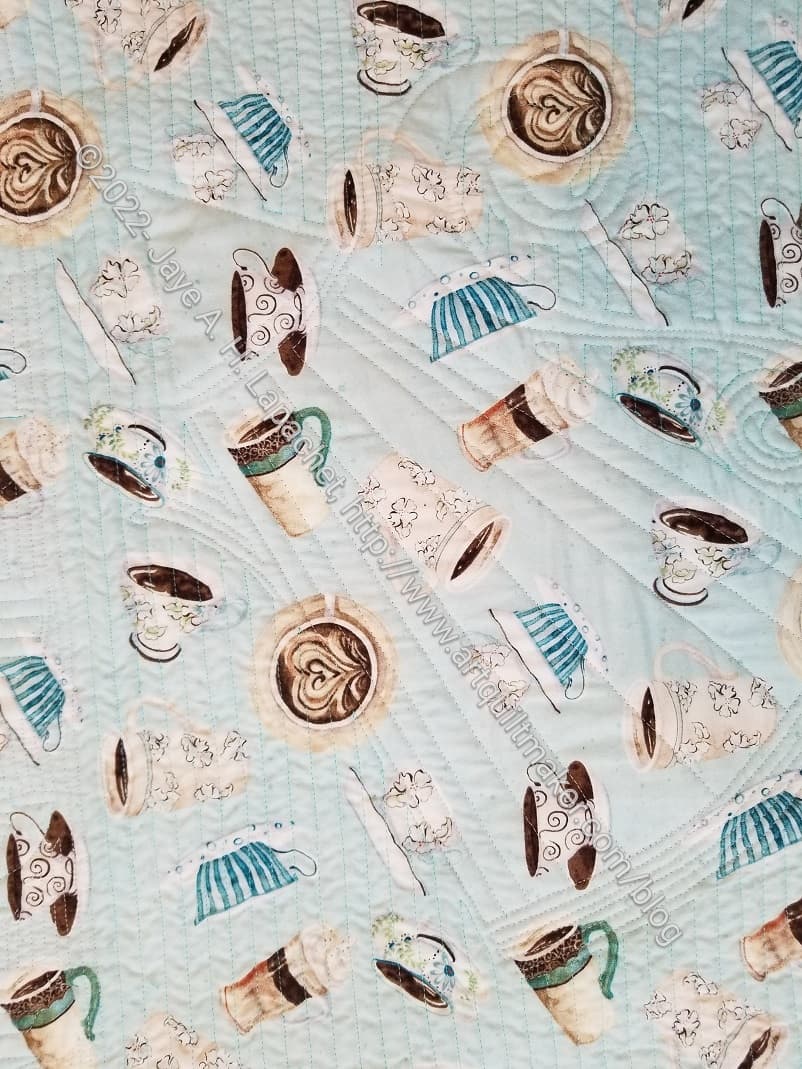
In the second photo, an extension of the area covered in the first photo, you can see more of the differences in the density of the quilting.
The body of the triangular carafe is a lot less densely quilted than the the background, for example. I really struggled with how to quilt the larger tea pots, as discussed in September when I finally broke that barrier. I am not sure I did the right designs in the those larger teapots. My skills were not up to more curvilinear or loops and swirls designs, which might have worked better in the round green kettle and the tarty silver teapot.
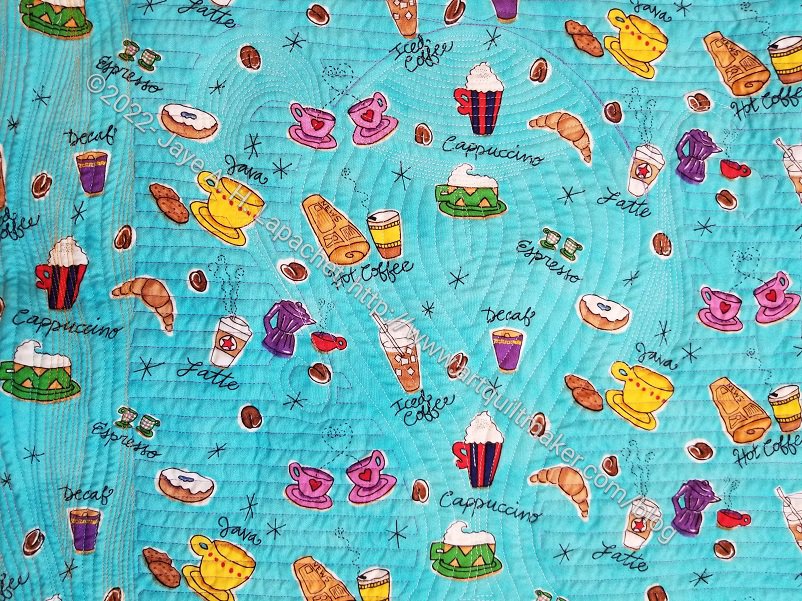
The quilting on the Tarty Silver Teapot shows up very well on the back. I did quilt in some gentle curves, though if I had had Colleen quilt it, I might have had her try to mimic the scrollwork or leaves and vines you see on some antique teapots.

In some respects the idea that the quilting is an integral part of the design shows up in my choice of thread color. Also, as it my usual philosophy, when the quilting lines were not part of the design, I want them to disappear.
I used the same thread on the back and front when I started the quilting. I think I really should have used thread colors that matched the fabric colors on the back. I think it would have looked better, but it doesn’t really matter now. I don’t think anyone will really care and I don’t know that I will put this quilt in a show, but I like to do my best work and this doesn’t feel like my best work.

I am pretty pleased with how the quilting on the cake turned out. The cake is in the upper center of the quilt. I really like the way it turned out on the front. I kind of think using the stripe for the center of the cake was genius (if I do say so myself!). I like how the layers of the cake (horizontal) have been highlighted in the quilting. The quilting on the top of the cake is another plus. I love the way it looks like the pieces have been cut, or scored so they are ready to cut.
Now on to a binding and a sleeve. More coming.
As per usual, DH and I are hosting about 1,000 people today. Not really. Somewhere between 25-30. I am not really sure. The result is that I can’t play with fabric.
I hope that you are having a wonderful day and are feeling thankful for the good things in your life. I am very thankful for YOU fabulous readers. I appreciate you joining me on this journey.
Happy Thanksgiving!
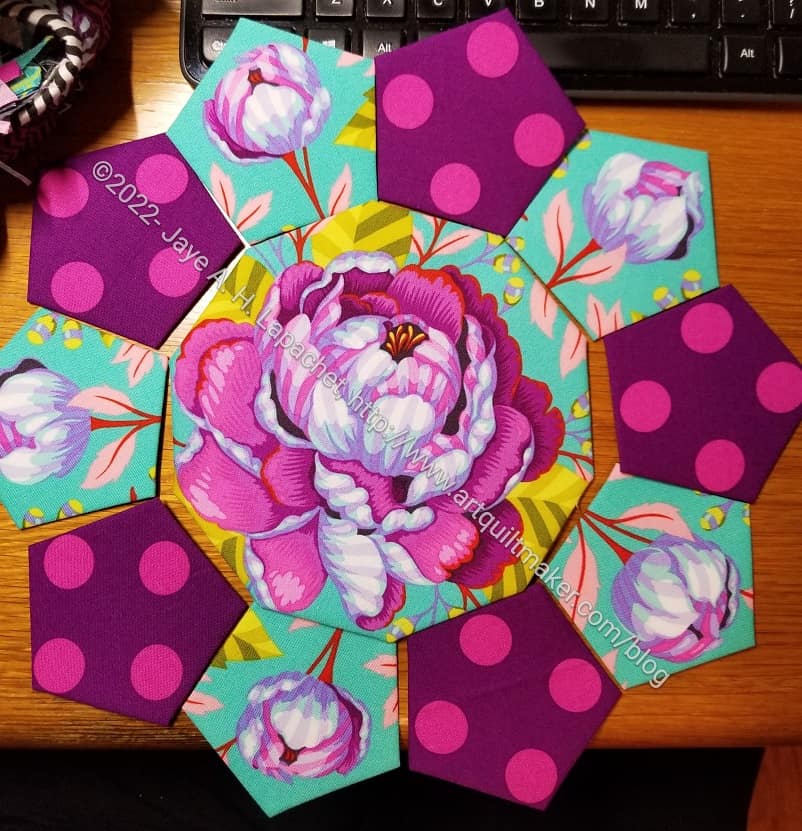
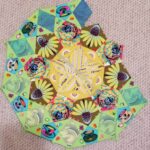
The Month 17 fabrics were pretty green, but, as I said before a blue-y green not an icky green like the other months. Those large and gorgeous peonies were part of the fabric packet and I wanted to use a whole flower, not cut them into unrecognizable blobs. Thus, I decided to use Kelly Pena’s instructions for creating a large center medallion.
Then I decided to use some red-violet to highlight some of the other colors in the flower. I love those dots and should probably buy more to make sure I don’t run out (famous last words, right?) I used some of the yardage I bought to have enough buds to cut for the alternating pentagons and am pleased with the look so far.
I am so pleased with what I cut and how it looks. I can’t wait to see it finished.
After an amazingly long time with many stops and starts, I have finished quilting the last quilt I ever intend to quilt.* The first post I have on this quilt is from 2007. I wasn’t as diligent then about documenting my process, so the post is surprisingly spare on details. However there is an even older image, from April 2003, that shows the bones of the quilt in existence at that time and says that I started the quilt in May 2002. Assuming that is true, this partial finish is a true accomplishment. This quilt has been in progress for 20 years. Crazy!
One of the reasons I don’t like to quilt is that I am obsessive about the lines being very close together to get my quilt flat as a pancake. If you look at the larger version of this photo you will see how close together my quilting ended up.
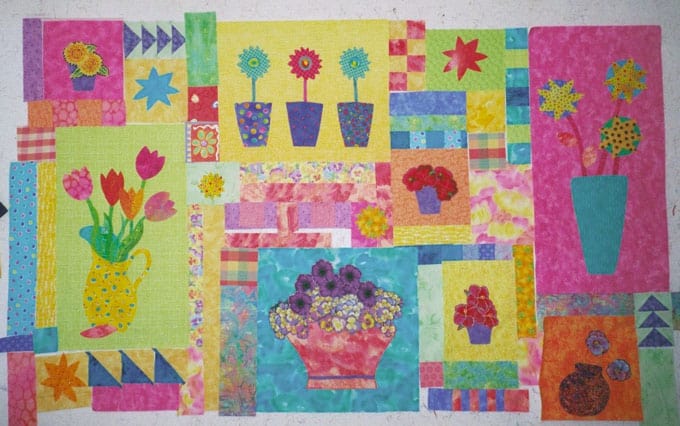
I think the piece looks pretty good, if a bit dated. Working on it has inspired me to to maybe sew a second/recreation of “He Tried to Make it Up to Her”. I have one block I can use and I think I have the templates for the others. Also, I really like the idea of using Philip Jacobs flowers for the basket of flowers in the bottom center. I don’t enjoy the thought of all the satin stitching required, but maybe I can do one block at a time.
Look for another post about the quilting. I plan to milk all that work, trust me!
*I don’t like quilting – I like quiltmaking – so I don’t intend to ever start quilting a quilt again. However, ‘never’ and ‘ever’ are a long time and you never know what is going to happen so I reserve the right to change my mind.
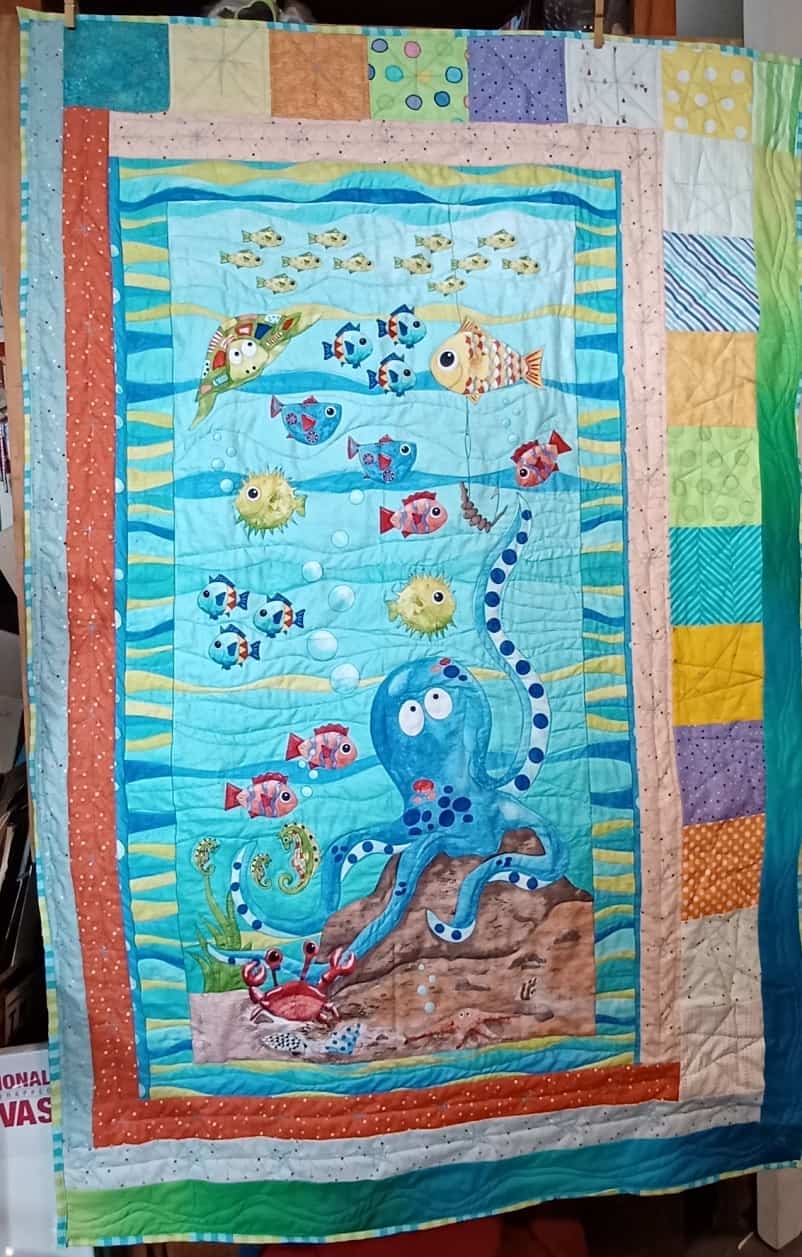
My mom made a baby quilt for our new family baby.This is the same baby for whom I made the Diagonal 9 Patch. The baby, born in October, received at least 4 quilts. That’s what you get when you have aunts who sew.
It is an adorable panel she bought while we were visiting Portland last time. She actually bought it at Just for Fun in Vancouver, WA. For those of you who haven’t been to that area, Vancouver is just over the river from Portland. It’s an easy drive. Just for Fun had a lot of panels.
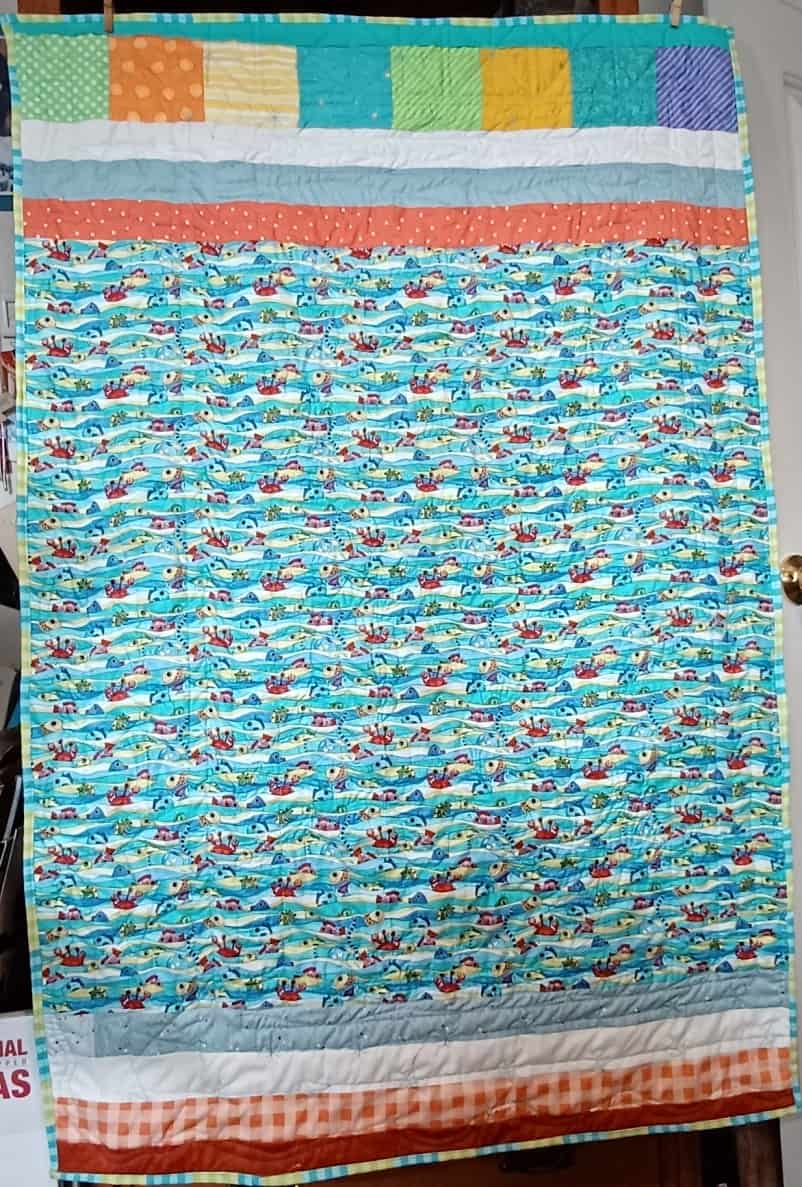
Mom quilt this quilt herself on her Featherweight during Craft Night. She bought the binding when we were together, too, and I really like it.
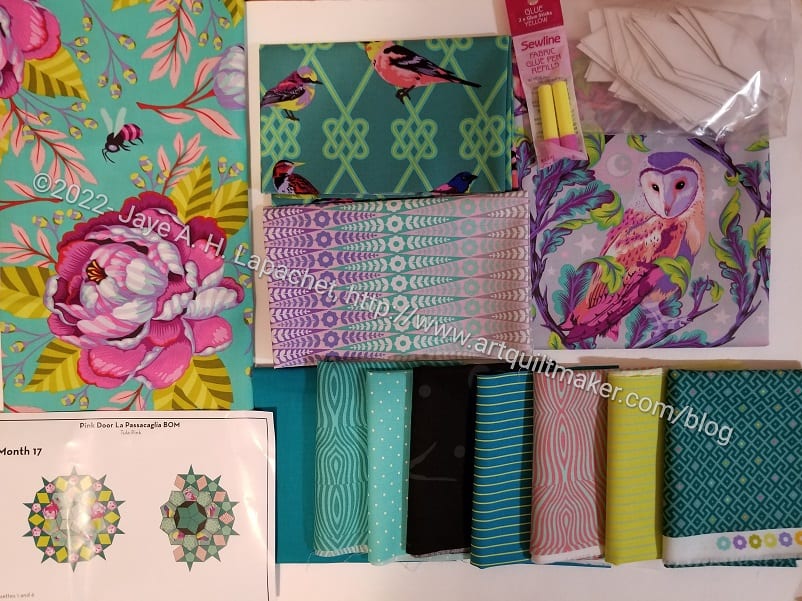
My fabric and supplies for Month 17 arrived. I like the colors even though it includes more green. This particular green is more appealing to me than the previous groupings, such as Month 7, Month 8 and Month 10. It is more of a blue-green than a yellow-green.
Note: I don’t sincerely dislike any of them; I just prefer more green in nature and less green in fabric.
For those of you keeping track, you might be wondering what happened to Month 16. Month 16 will be coming at the beginning of December. Pink Door did not receive all of the fabric for Month 16 so they switched the months. No problem for me and a quick creative solution IMO. We have to make all the rosettes anyway.
I thought that Month 17 was the last large rosette so I was disappointed that I needed to change out all of the green. I moped around for a few days, then looked at the plan and realized that (duh!) there were two rosettes and they belonged in the middle of the quilt. When there are two rosettes, they are usually on the smaller side.

Tula’s Moon Garden fabric is included in this month’s fabric grouping. I bought some extra yardage when Pink Door offered pre-orders and that arrived this week, too. Glad it did! I wanted one particular bird from the “In a Finch” Dusk colorway (the darker green) that just wouldn’t fit. I used a bit of what I bought and everyone (me) was happy. I won’t use the owl faces as indicated. I don’t want eyes looking at me (sorry, Tula!). I may use another part of that fabric. I’ll need to look at it and see.
I like what Pink Door has planned for the centers, but I really would like to use that large flower. I am still thinking about that. Stay tuned.