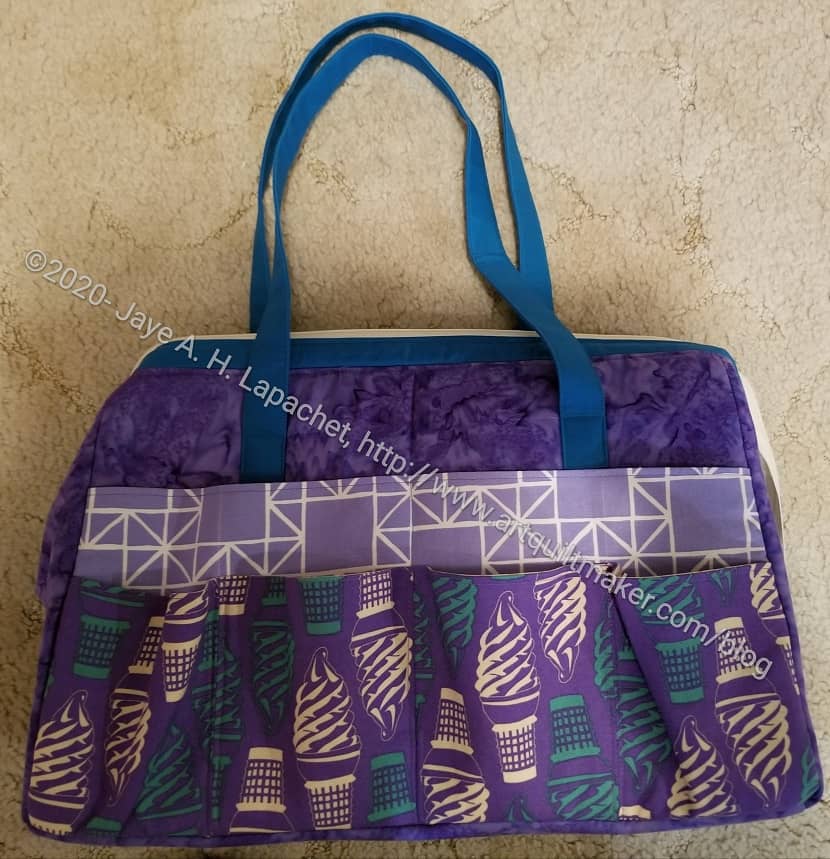
I finished the Sheffield Tool Bag. After I figured out the zipper panel (by watching the video), this bag went together very quickly.
It is a gift so look for a post later this month with more details and more photos.
Commentary about works in progress, design & creativity
I finished the Sheffield Tool Bag. After I figured out the zipper panel (by watching the video), this bag went together very quickly.
It is a gift so look for a post later this month with more details and more photos.

I finished the Black Windmill on Monday night. It is a Christmas gift, so I took it straight to the Post Office Tuesday morning and these are the only two photos I took. DH was kind enough to be my quilt holder.
In this version of the windmill quilt, the windmills are much more hidden some of them can be seen, but most the variation in colors hides the others. As mentioned, I kept sewing until I used up all of the pieces. I want to be done with this pattern, though it is possible that I will make another one at some point in the future. We’ll see. For now, I am done with the pattern.
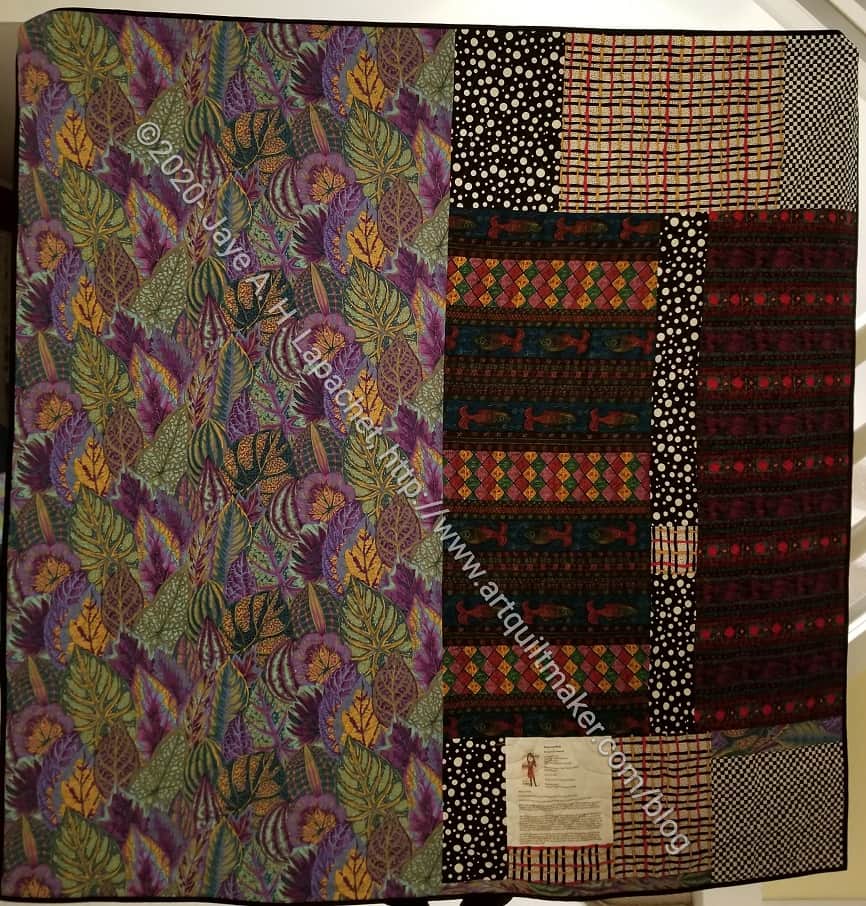
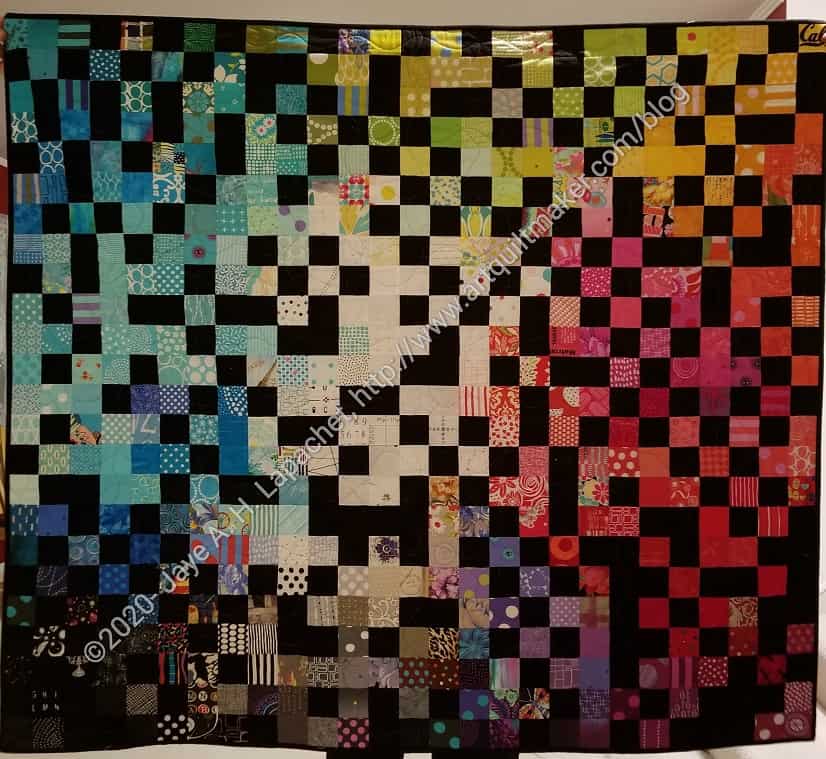
I am finally posting about a finished FOTY 2018. I actually finished the binding a month or so ago, but somehow it never made it on to the blog 9as far as I can tell!). I finished the top in July and took it to Colleen shortly thereafter.
Once I got it back, I had to sew the binding and the sleeve. The piece is ready to hang and I can move on to getting FOTY 2019 quilted.
I finally finished Candy Dish!
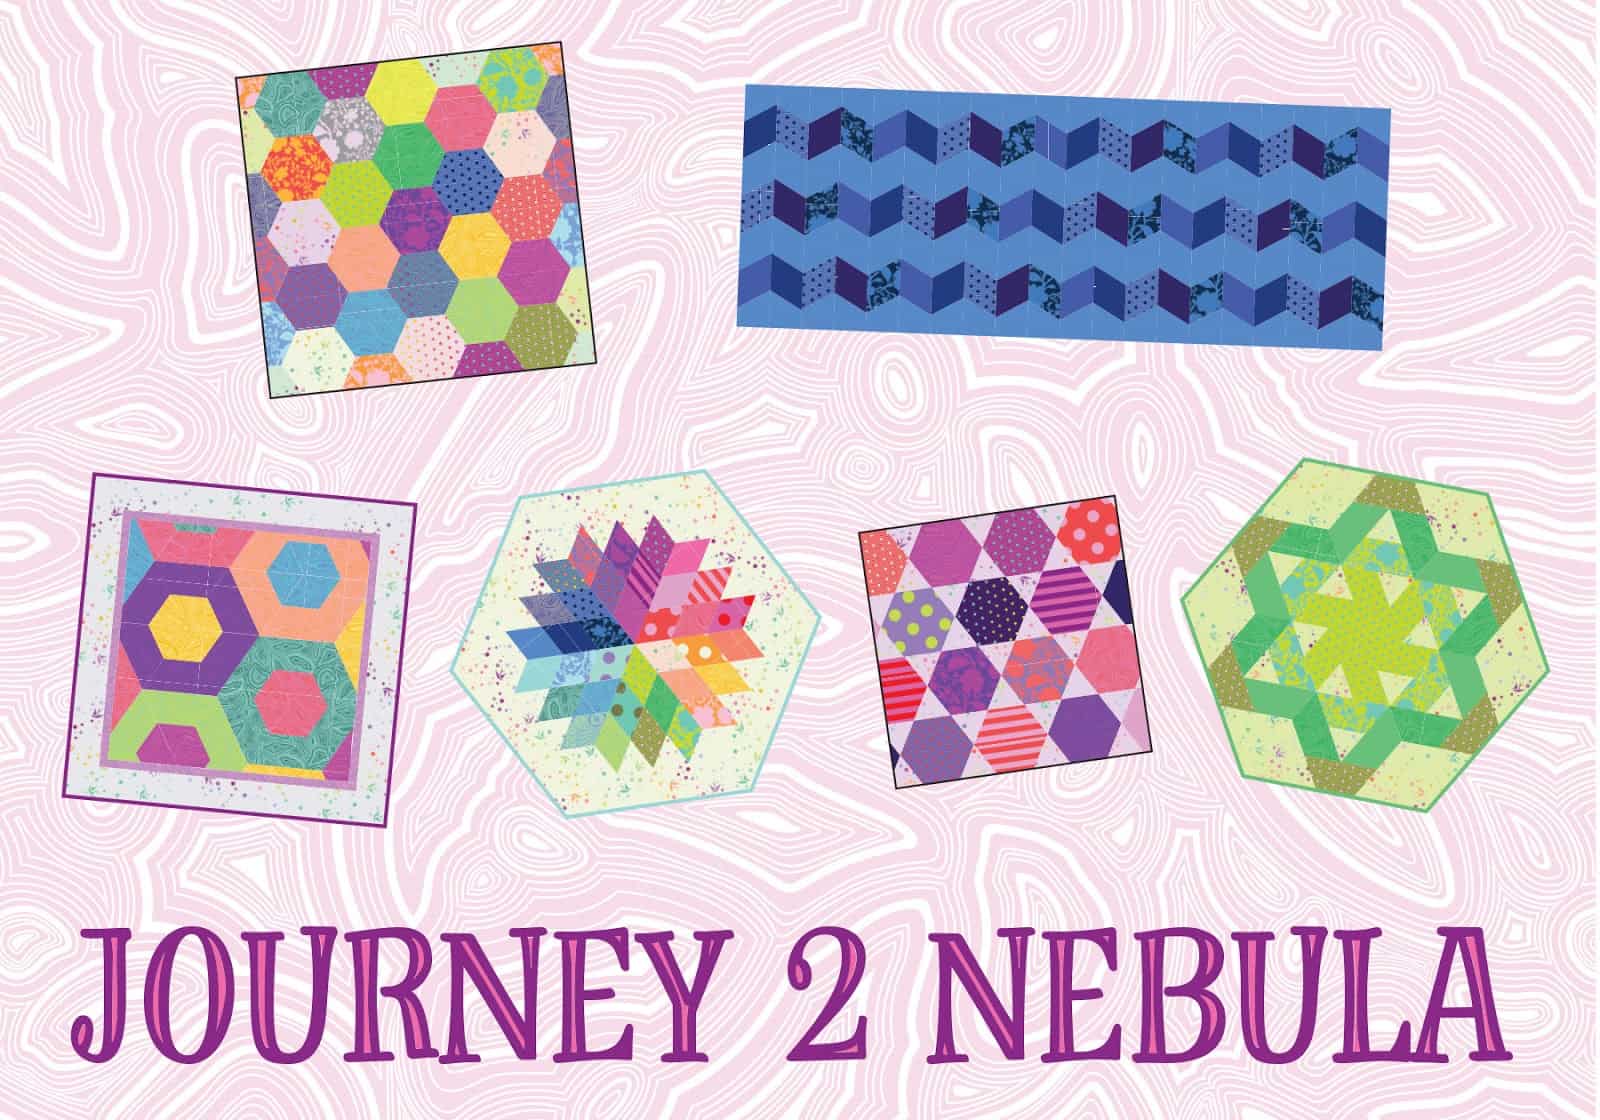
It is nice to finally have this done. I am kind of over the Journey2Nebula project. It is sad, because I was eagerly anticipating the Gazebo project.
I still plan to make the Gazebo table topper** soon. I want to complete the whole group of projects.
**I use affiliate links and may be paid for your purchase of an item when you click on an item link in my post. There is no additional cost to you for clicking or purchasing items I recommend. I appreciate your clicks and purchases as it helps support this blog.
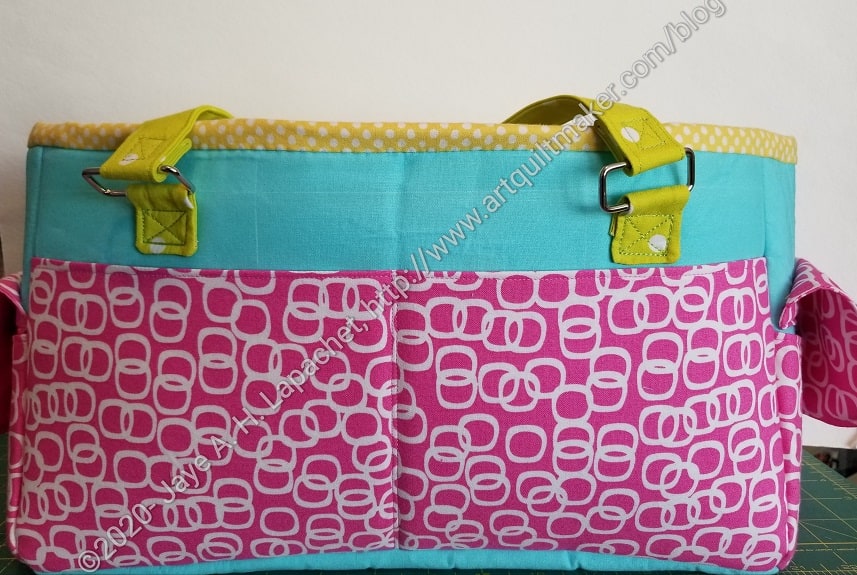
I joined the most recent guild swap and made an Oslo Craft Bag for Cyndi. She said she wanted any kind of tote bag. I was on the fence about this bag as it doesn’t strike me as a straight tote bag.
A few years ago I wrote about this bag and have been wanting to make one ever since. This was a great opportunity. I put a note in the bag that I would make her a real tote if this wasn’t what she was expecting. I thought about making her a Multi-tasker tote as well, but lost steam and didn’t get to it. I kind of want to make her a Superbloom tote as well.
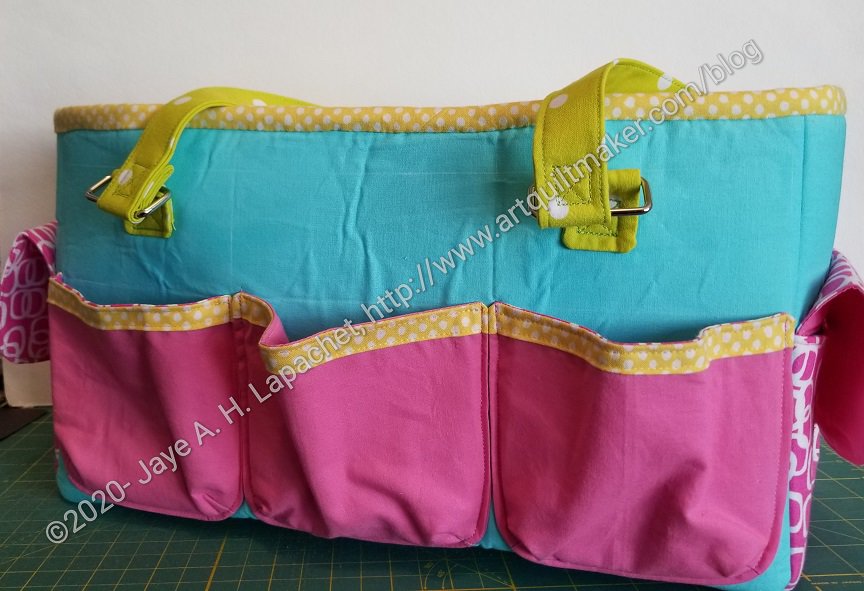
This bag went together with no problems. I thought the pockets with the yellow binding were a little too fussy. However, I like it that they have dimension. I don’t know if I would make them the same way again, but I like to make the pattern as is the first time, as you know.
I saw another version in the Facebook group (a good use of FB, IMO) where the maker put two pockets like the top photo shows, but put a second mesh pocket over the first. I am thinking about making another one and I might do that. I like mesh for some reason, though I am not sure what it is good for in terms of storing sewing items.
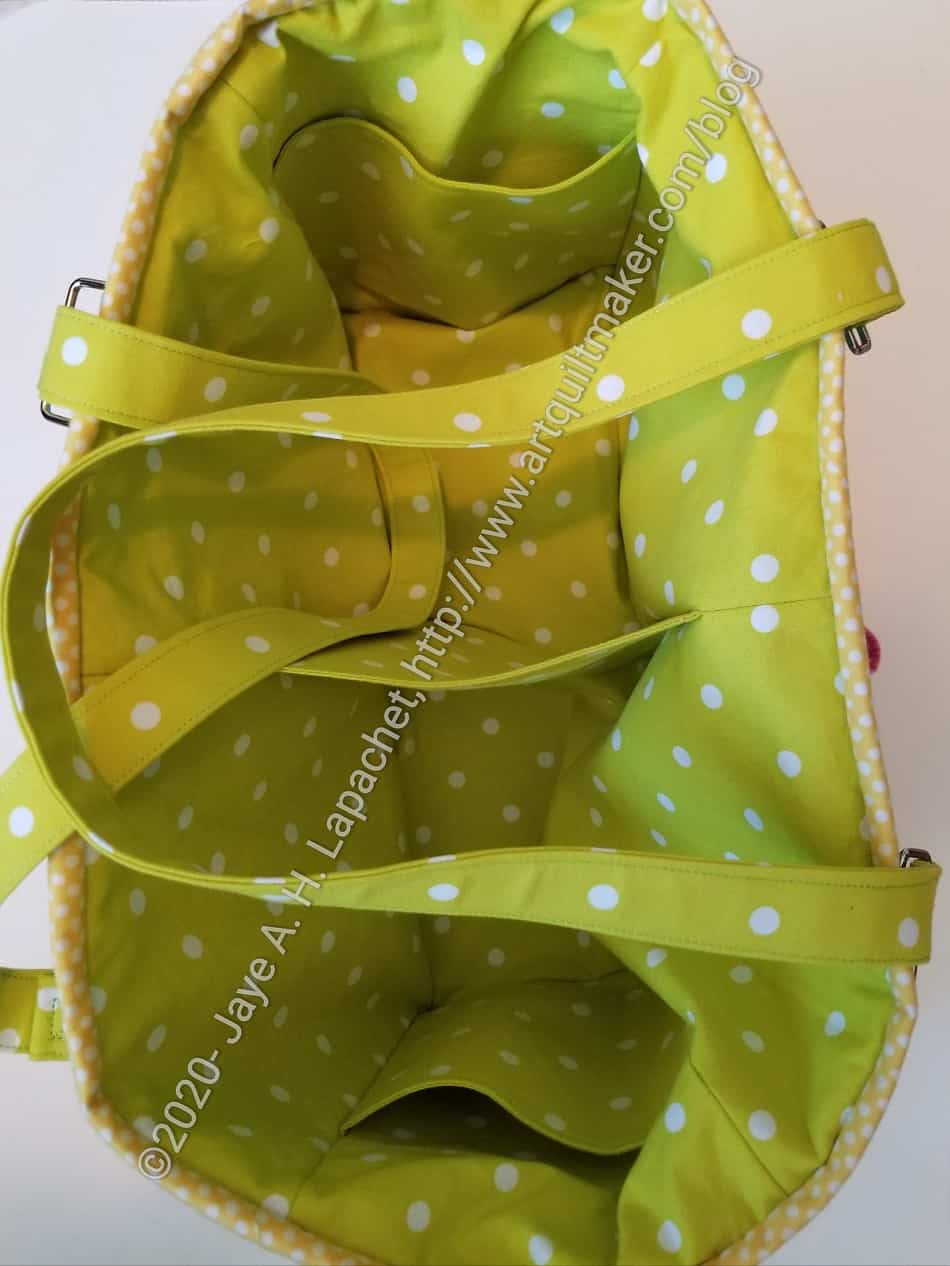
I was disappointed in the interior. Not the design, but the saggy-bagginess of it. The seam allowance was 1/2 inch, which I thought meant that Sara had included enough to take up some of the lining so it wouldn’t sag. No such luck. The exterior was sewn with a 1/2 inch seam allowance as well. I tried a few things to make the lining fit better. Short of taking the whole thing apart, none of my efforts worked.
It is a nice rectangular bag and I think it would be useful for various tasks including bringing things to Sew Day. We’ll see what Cyndi thinks.

I finished my large-ish EPP ball and really like the way it came out.
I fussy cut some favorite fabrics and then spent several hours during Craft Night and some guild meetings basting the fabrics and, then, sewing the ball together.
I used the last bits of my bag of fiberfill to stuff it. Normally I would add some Beanie Baby pellets to the stuff to give the ball some weight. However, I plan to give this ball to a 1 year old and I don’t want her breaking a lamp or giving one of her parents a black eye when she throws it.
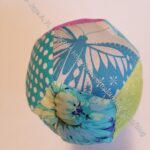
I think these balls would be fun for people of any age, though the fun could get out of hand at a family event.
**I use affiliate links and may be paid for your purchase of an item when you click on an item link in my post. There is no additional cost to you for clicking or purchasing items I recommend. I appreciate your clicks and purchases as it helps support this blog.

I finished Rock Candy over the weekend, but still needed to do the binding. That is always a good hand task to work on at Craft Night, so I finished the binding on Monday night. This has been a banner week for finishes: Rock Candy plus 3 donation tops and backs.
On to Candy Dish, which is the next Journey to Nebula project
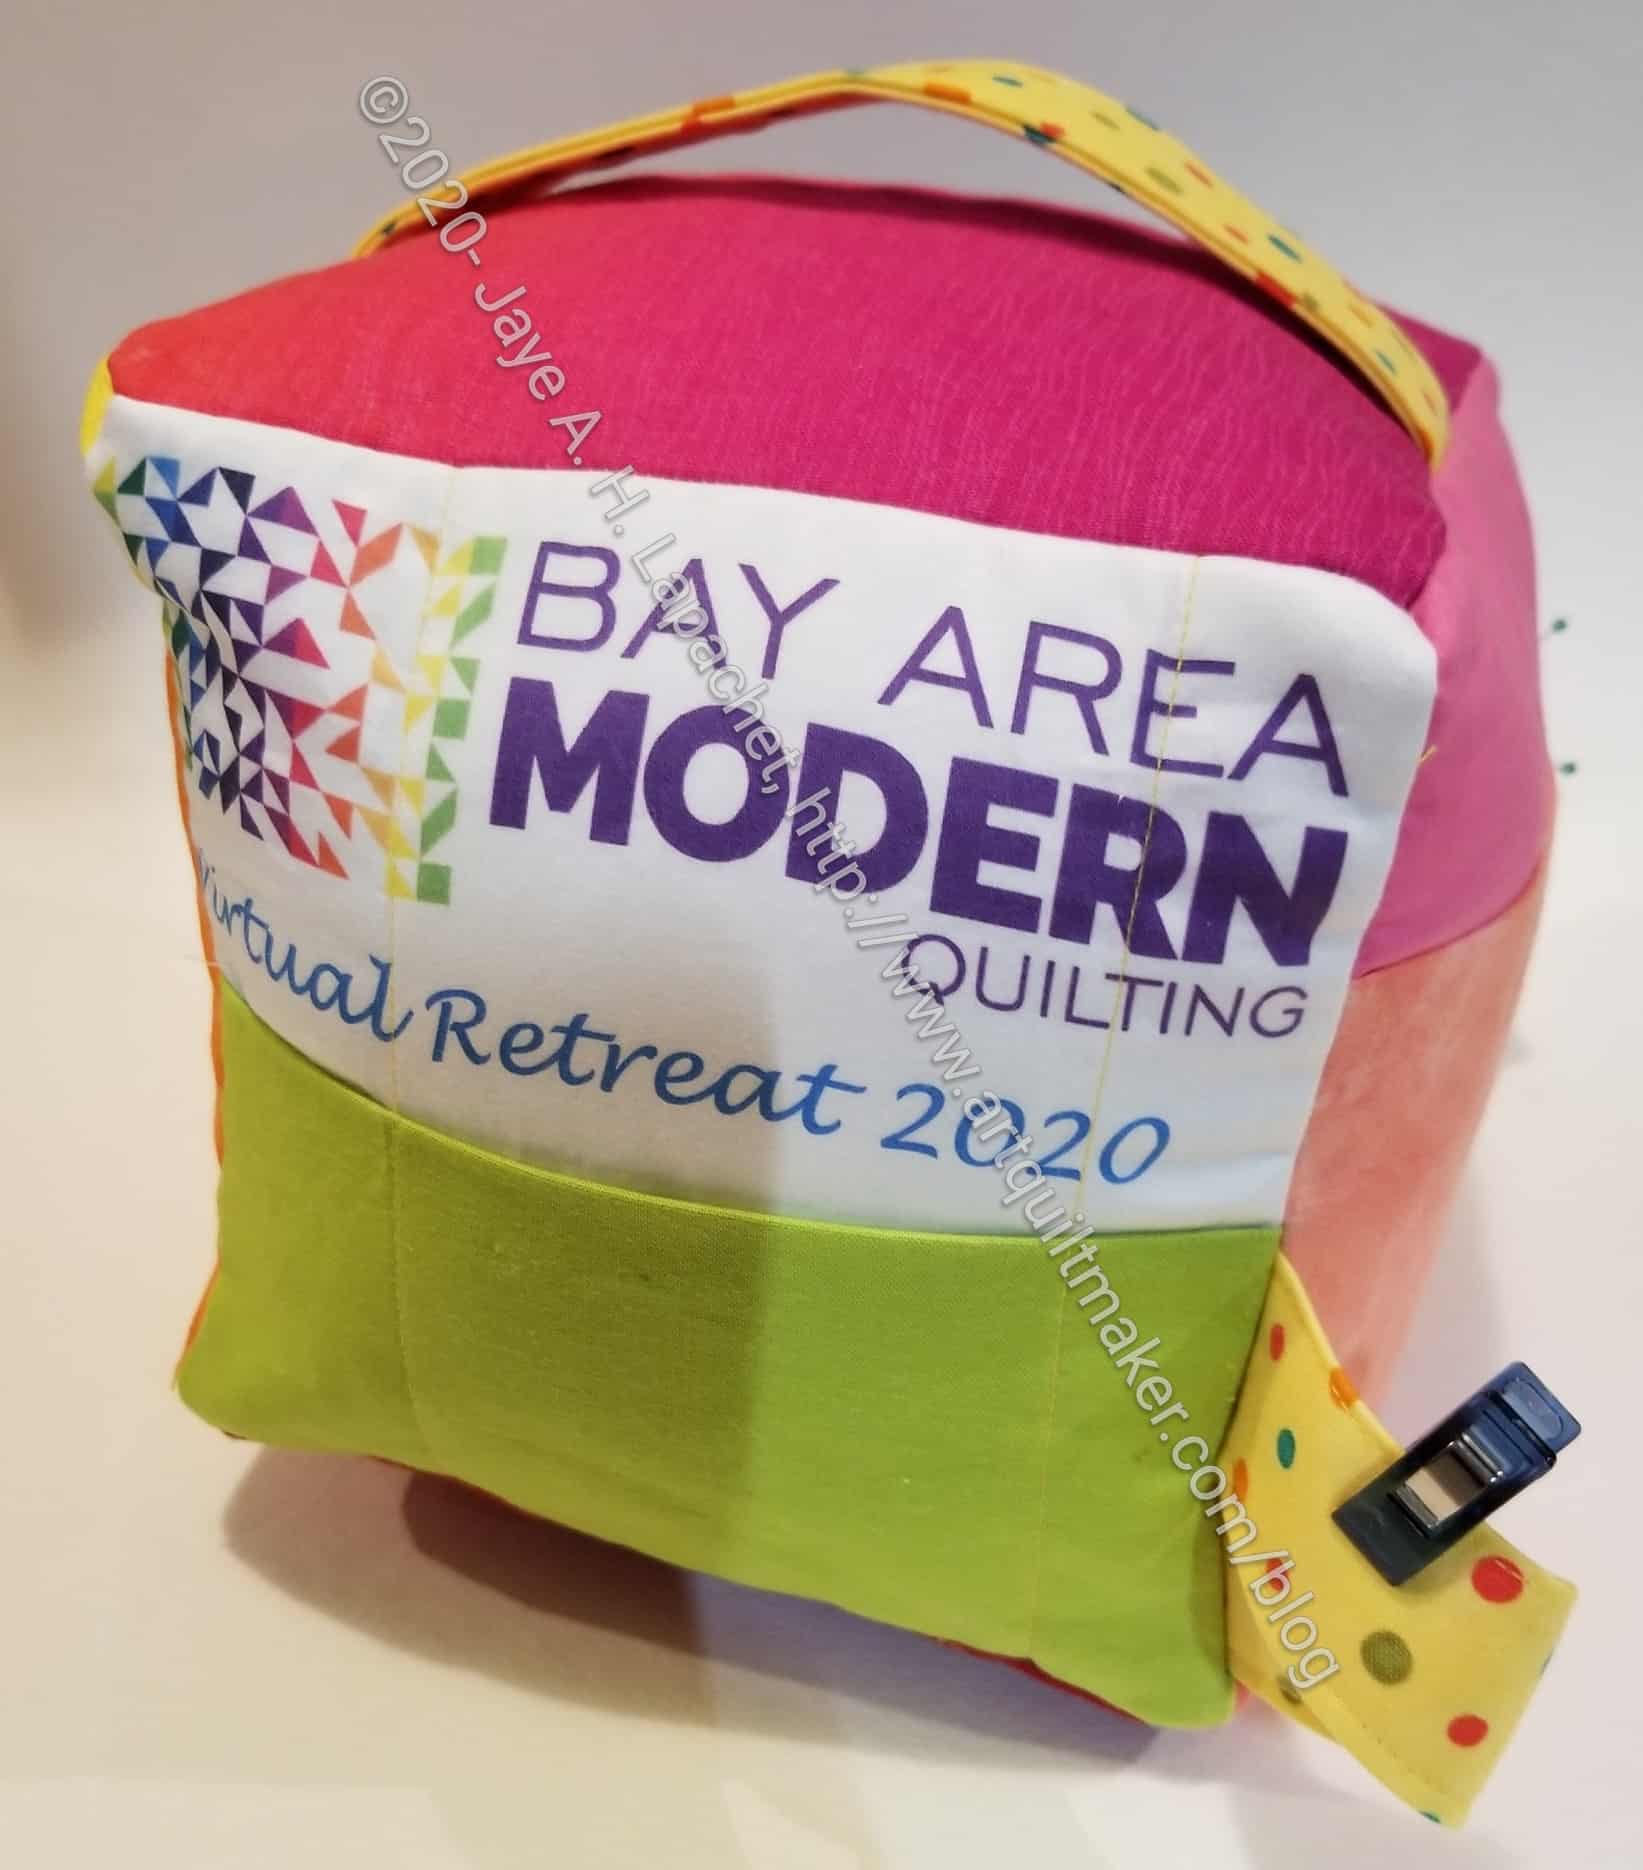
Despite a lot of ripping, I finished the Mega Pinnie on Sunday in the mid-evening. I thought it would be a quicker project than it turned out to be :(. Now I am going to have to scramble for some content this week.
I am pleased with the way it came out, however, and think someone at the retreat will enjoy it.
When I was printing my last label, I had some extra space, so I decided to print the BAM logo on some fabric and use it for part of the Mega Pinnie. It will also be a souvenir for the Retreat. I adjusted the size of the pocket on that side so the words wouldn’t be covered up.

I made the handle a little smaller than the pattern called for this time, so I had an extra piece. I decided to sew it in as a way to attach the Mega Pinnie to another bag or a place for clips. I didn’t think about putting a lobster clip on this time. I completely forgot!
I did make a super cute Mini Pinnie! I really like the fabrics and the way the Mini Pinnie came out. I think it is a cheerful addition. I also made the needle safe a little different this time. I sewed it to fabric RST, then turned the piece and top stitched. It worked ok.

I forgot to top stitch the pockets, but that isn’t critical; it just makes the piece look a little nicer.
This is kind of large, but I think I might try and make one using charm squares. It would be smaller and might not work for some tools, but might be more convenient to transport.
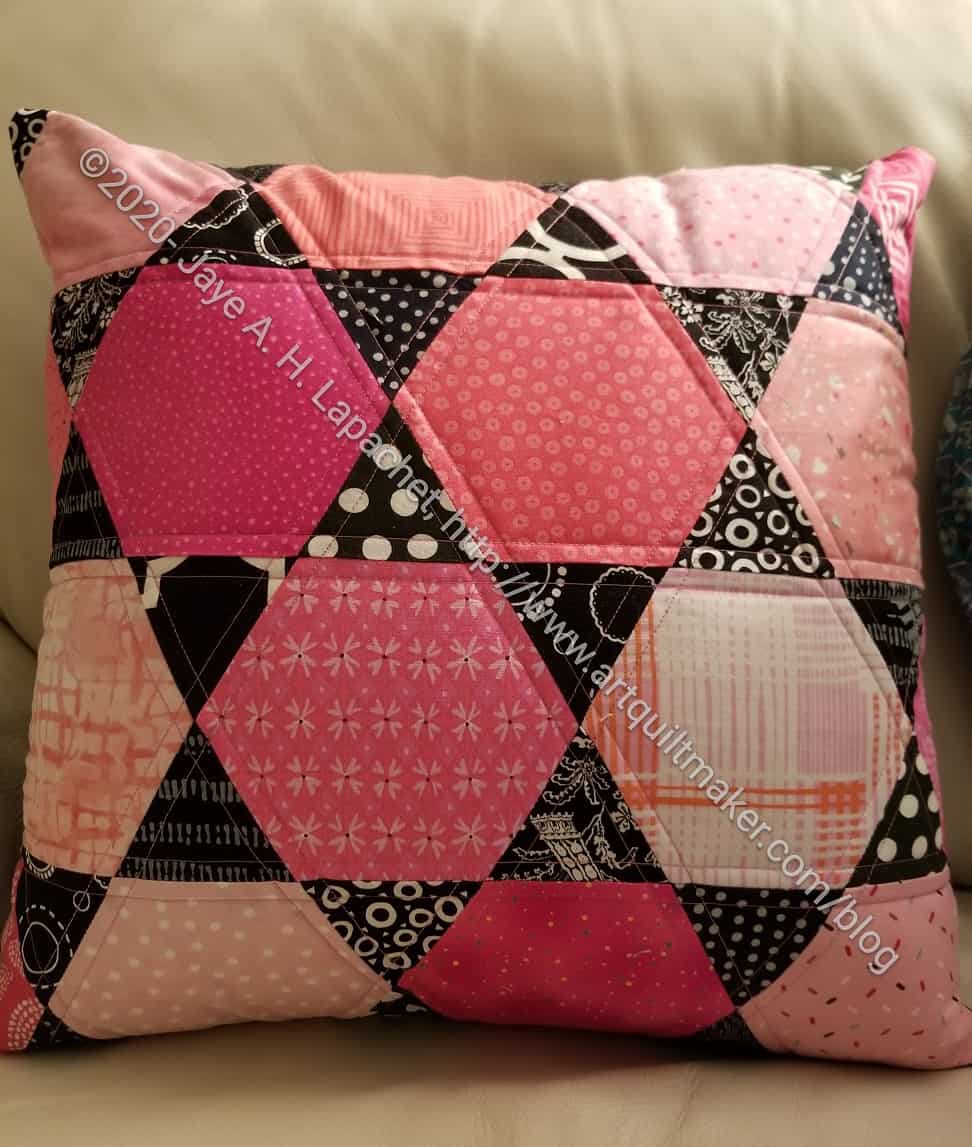
After quilting the Jawbreaker pillow top, it didn’t take much time to make it into a pillow. Once again, I used the Spoonflower directions for inserting a zipper. These directions create some flaps to cover the zipper. I haven’t used this tutorial in awhile so there was some ripping and a tiny bit of cursing, but all-in-all, the directions were straightforward and easy to follow.
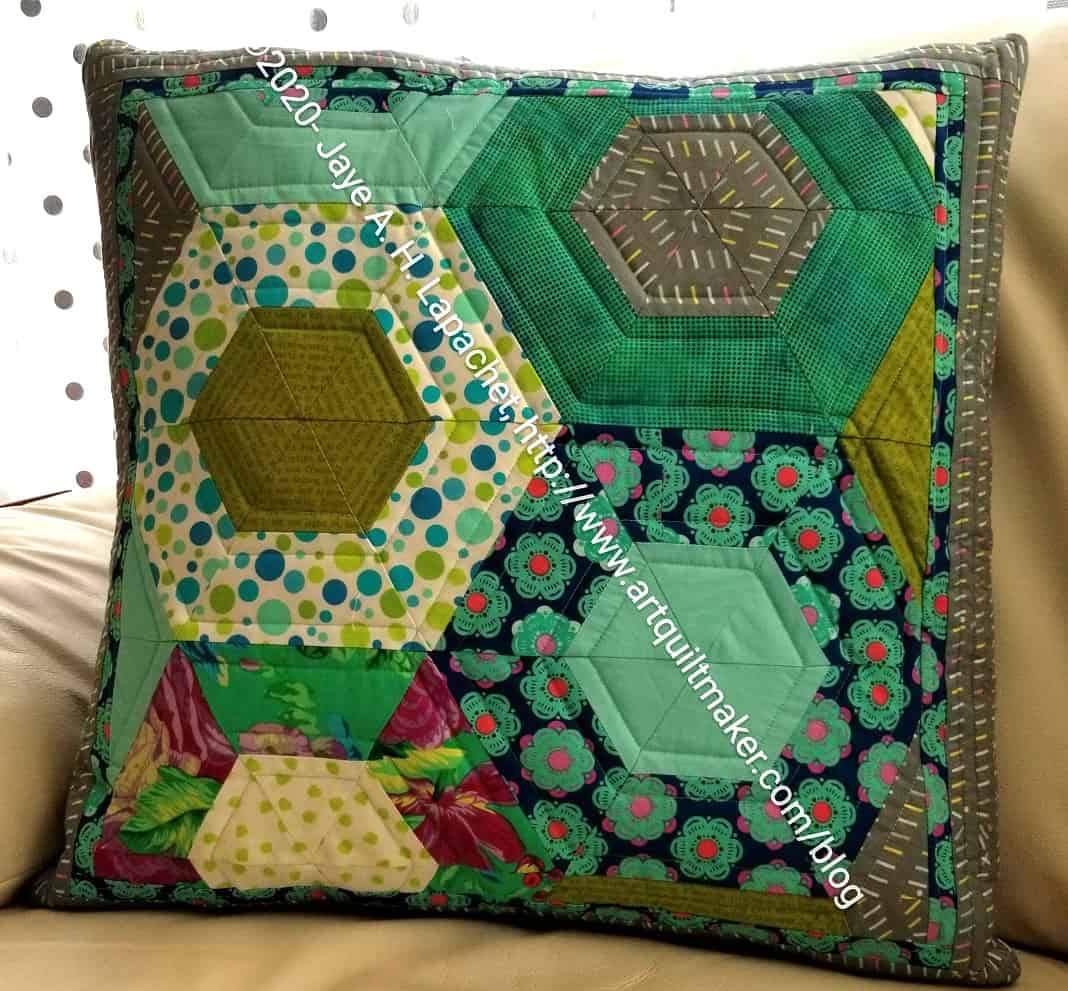
I actually like this technique. The seam lines don’t take away from the overall effect like they do in half hexagons. I can’t think of what kind of project I would make with these in the future, but it is a future technique I would like to explore a little more. Perhaps a table runner?
I didn’t like cutting off perfectly good pieced elements, but that was the design so I followed it.
This post should have really been the first one I wrote about the Catch All Caddy class. I should have posted it before the Baseball Catch All Caddy post. I realized that my mom, to whom I planned to gift it, reads my blog and I wanted it to be a surprise.

As mentioned in the Baseball Catch All Caddy, this was the project from my first Zoom class and I really liked the pattern. Lynette taught the class and she did a great job. I was impressed with her overhead camera set up (she used her iPad on a tripod). I need to figure out that kind of setup for when I teach. Things take time.
I used the color scheme of the original, because I really like that slate grey. I used a Cotton Couture solid from Michael Miller. It was easy to work with, though I didn’t like the fact that the holes where the basting stitches had been showed even after I took them out.
Instead of making a scrappy border for the pocket, I used one piece of fabric. It is the paint tube fabric that goes with the set of bags and holders I am making for my mom. I was actually glad to add this one to the group, because I am running out of useful bags to make for her. She really liked t he bag and thought she might use it to carry a project between her recliner and her sewing room
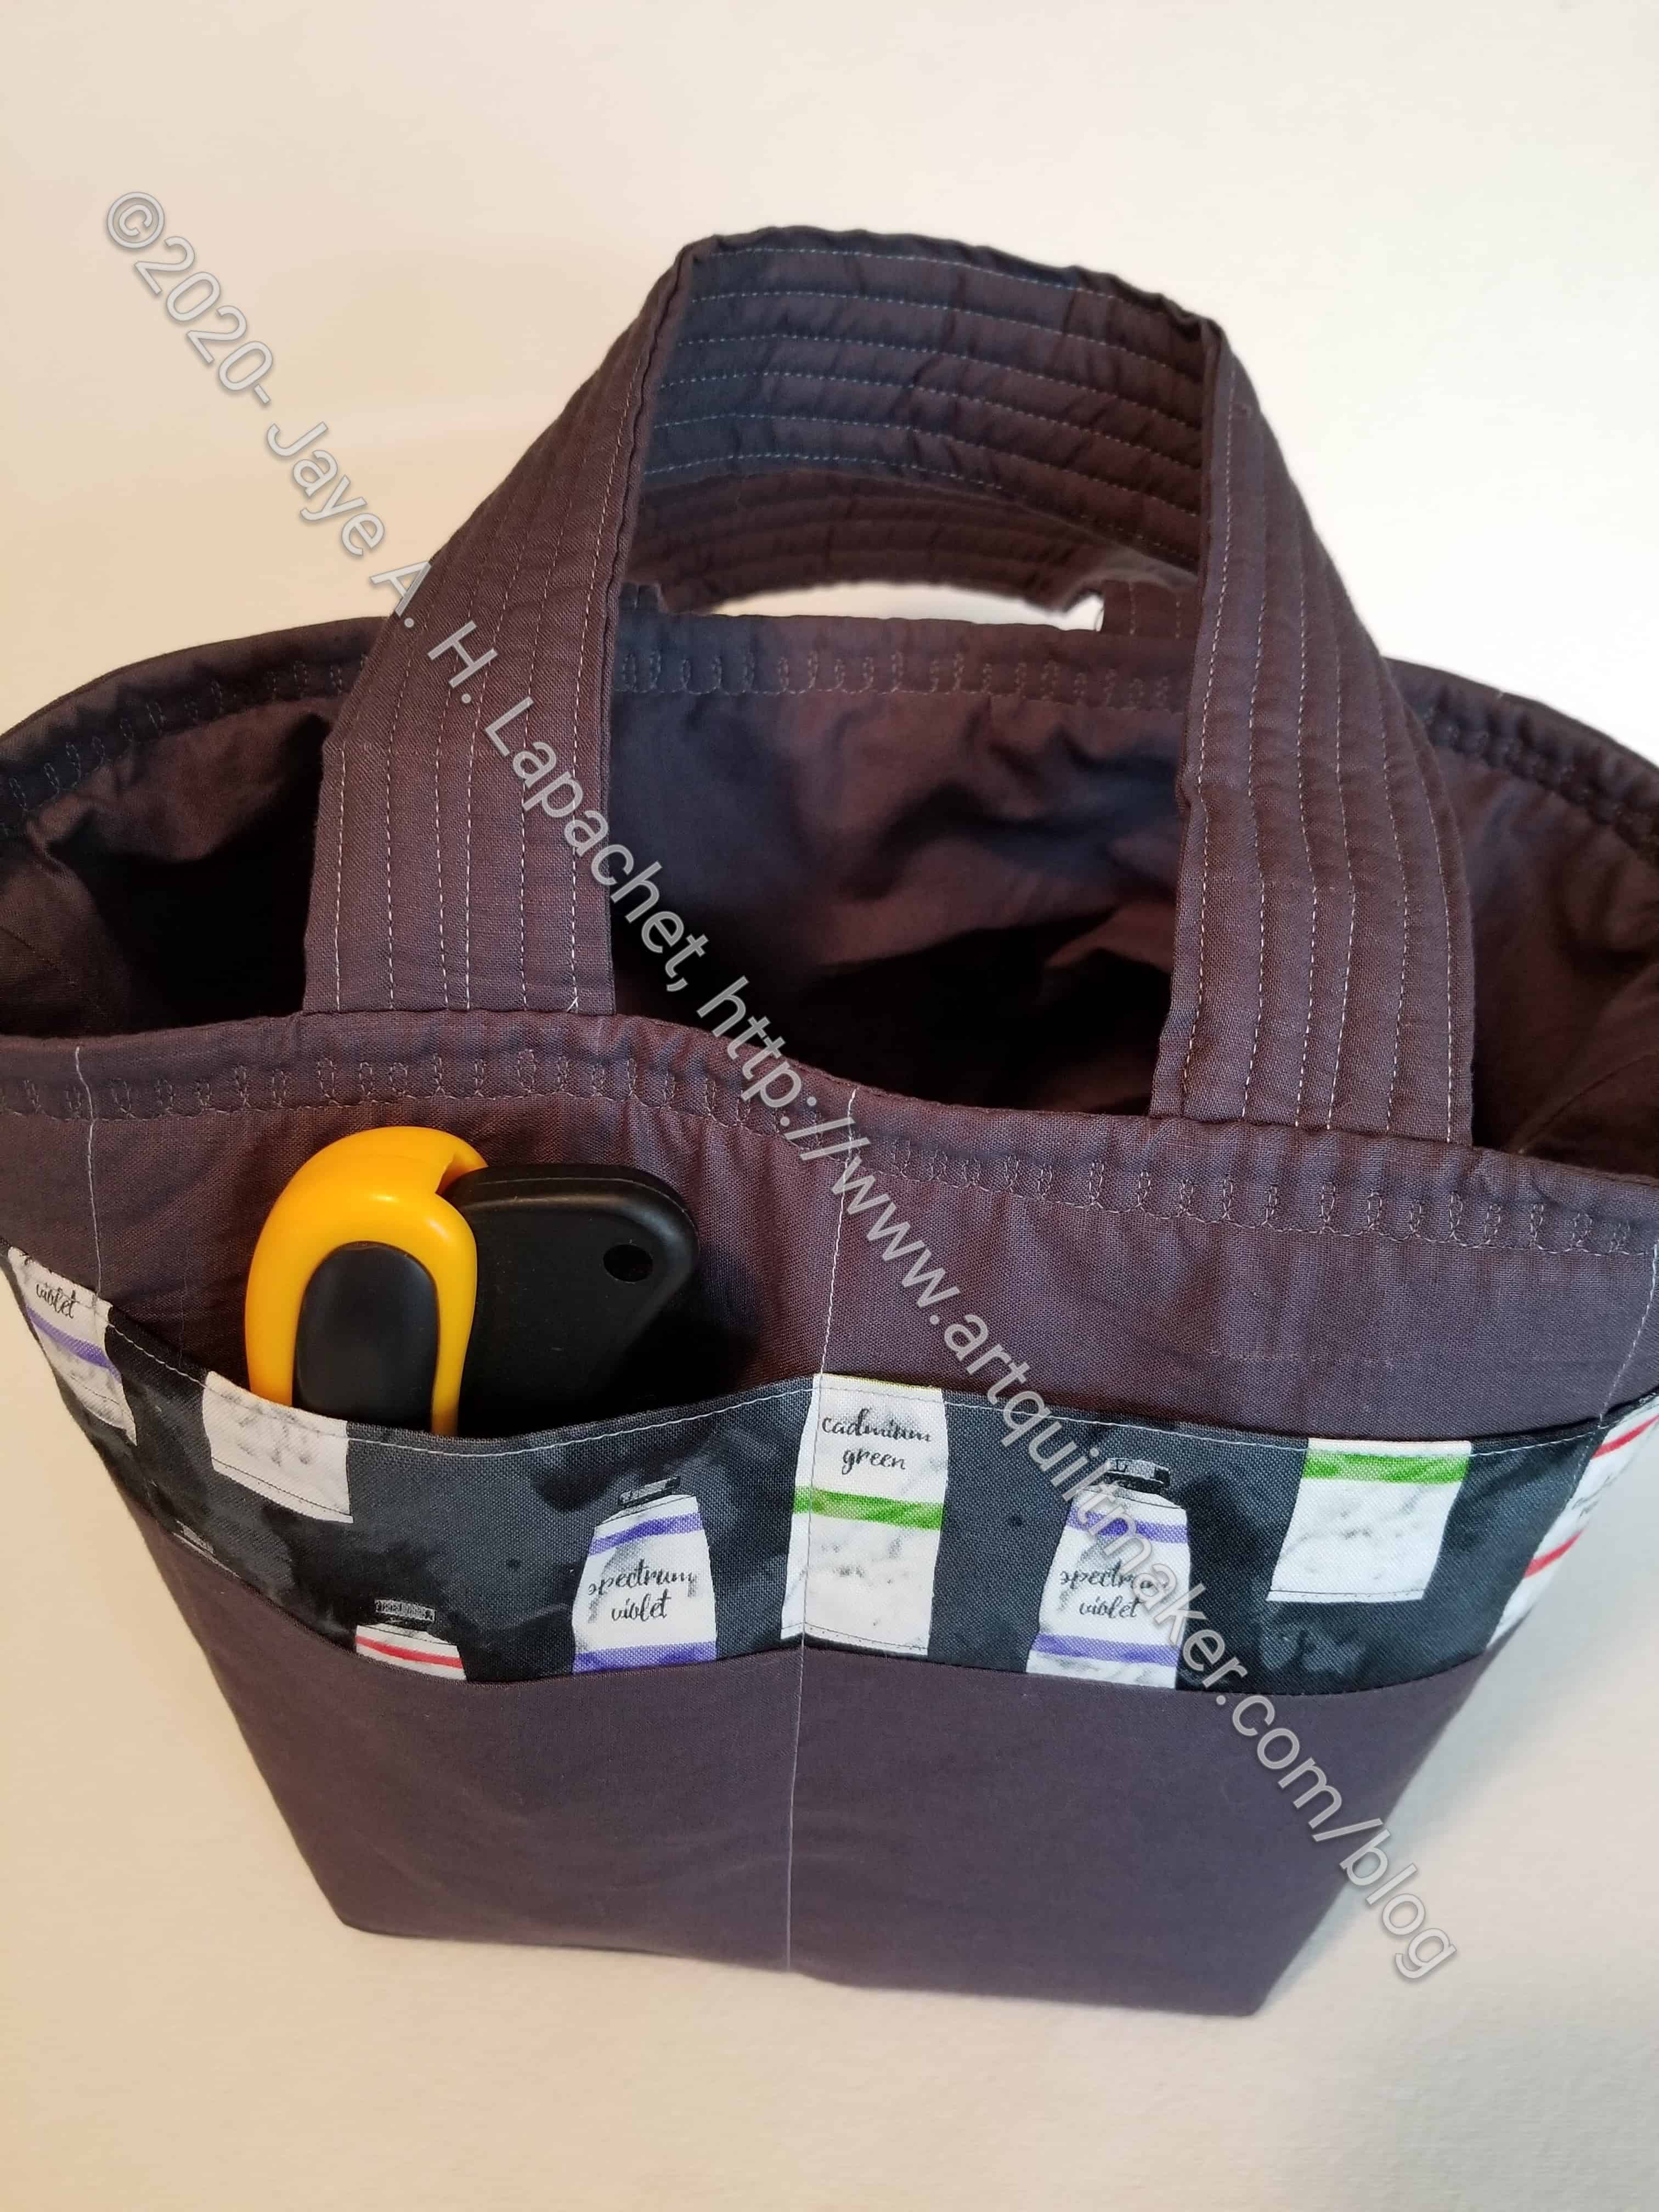
The bag went together pretty easily, which was why I could make two in one day, though I did cut the fabric for this one the day before the class.
I kind of like the simplicity of the bag and the opportunity to highlight favorite fabrics or scraps on the pocket border. I was thinking that I could use ribbon as well. I have some of that Renaissance Ribbon and this project would be a good way to highlight some of it.
I had some trouble with the lining, but was able to fix it when I closed the turning hole. I don’t think Mom will mind.
I finished the Lucky Charm Pillow on Sunday after finishing the quilting on Saturday evening. I ended up using the directions for a zipper pouch and that worked pretty well. The corners by the zipper ends are a little funky, but it looks good.

I was planning on just giving the cover to my niece, but my mom pointed out that she would probably never buy a pillow form for the cover, so I ordered a pillow form.
I am pretty pleased with the way this turned out. I think I will try the Spoonflower zipper closure directions next time as I think they were more appropriate for a pillow. There is another pillow in Journey2Nebula so I can try the directions when I get there.
**I use affiliate links and may be paid for your purchase of an item when you click on an item link in my post. There is no additional cost to you for clicking or purchasing items I recommend. I appreciate your clicks and purchases as it helps support this blog.
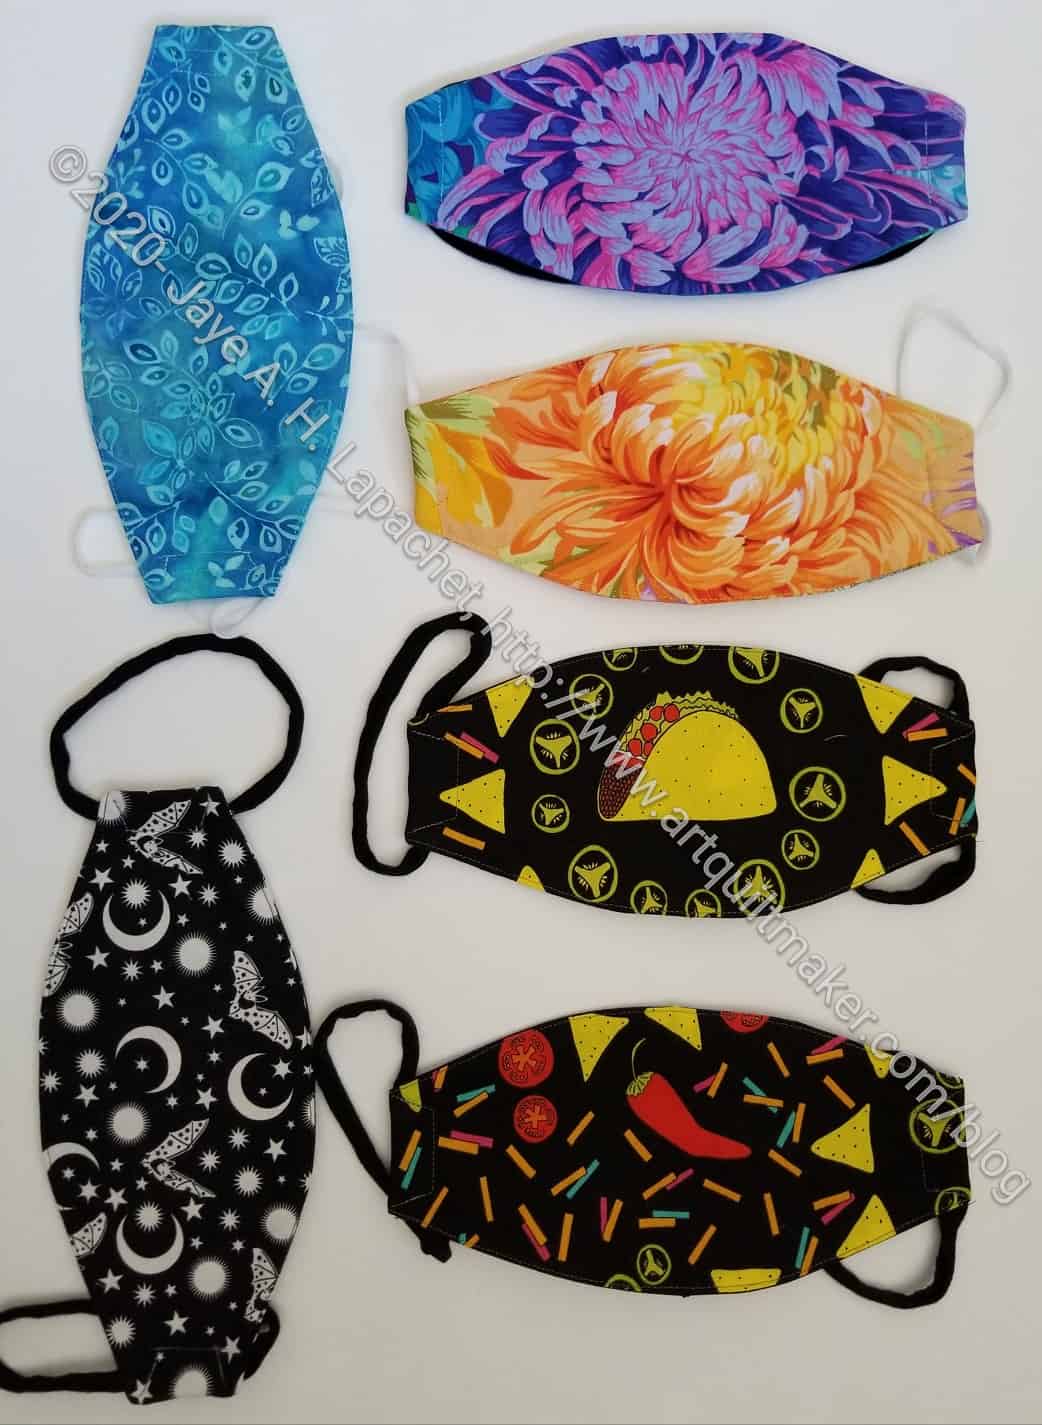
I had several face masks in process for a number of weeks. Since I decided to work on small projects, I decided that I would finish them.Finishing them also means I get them off my cutting table, so I can actually cut things out. (I can but half finished projects are definitely in my way).
Having run out of black thread was a problem, but otherwise, I got a number of them finished. The ones for the YM will be in the mail soon.
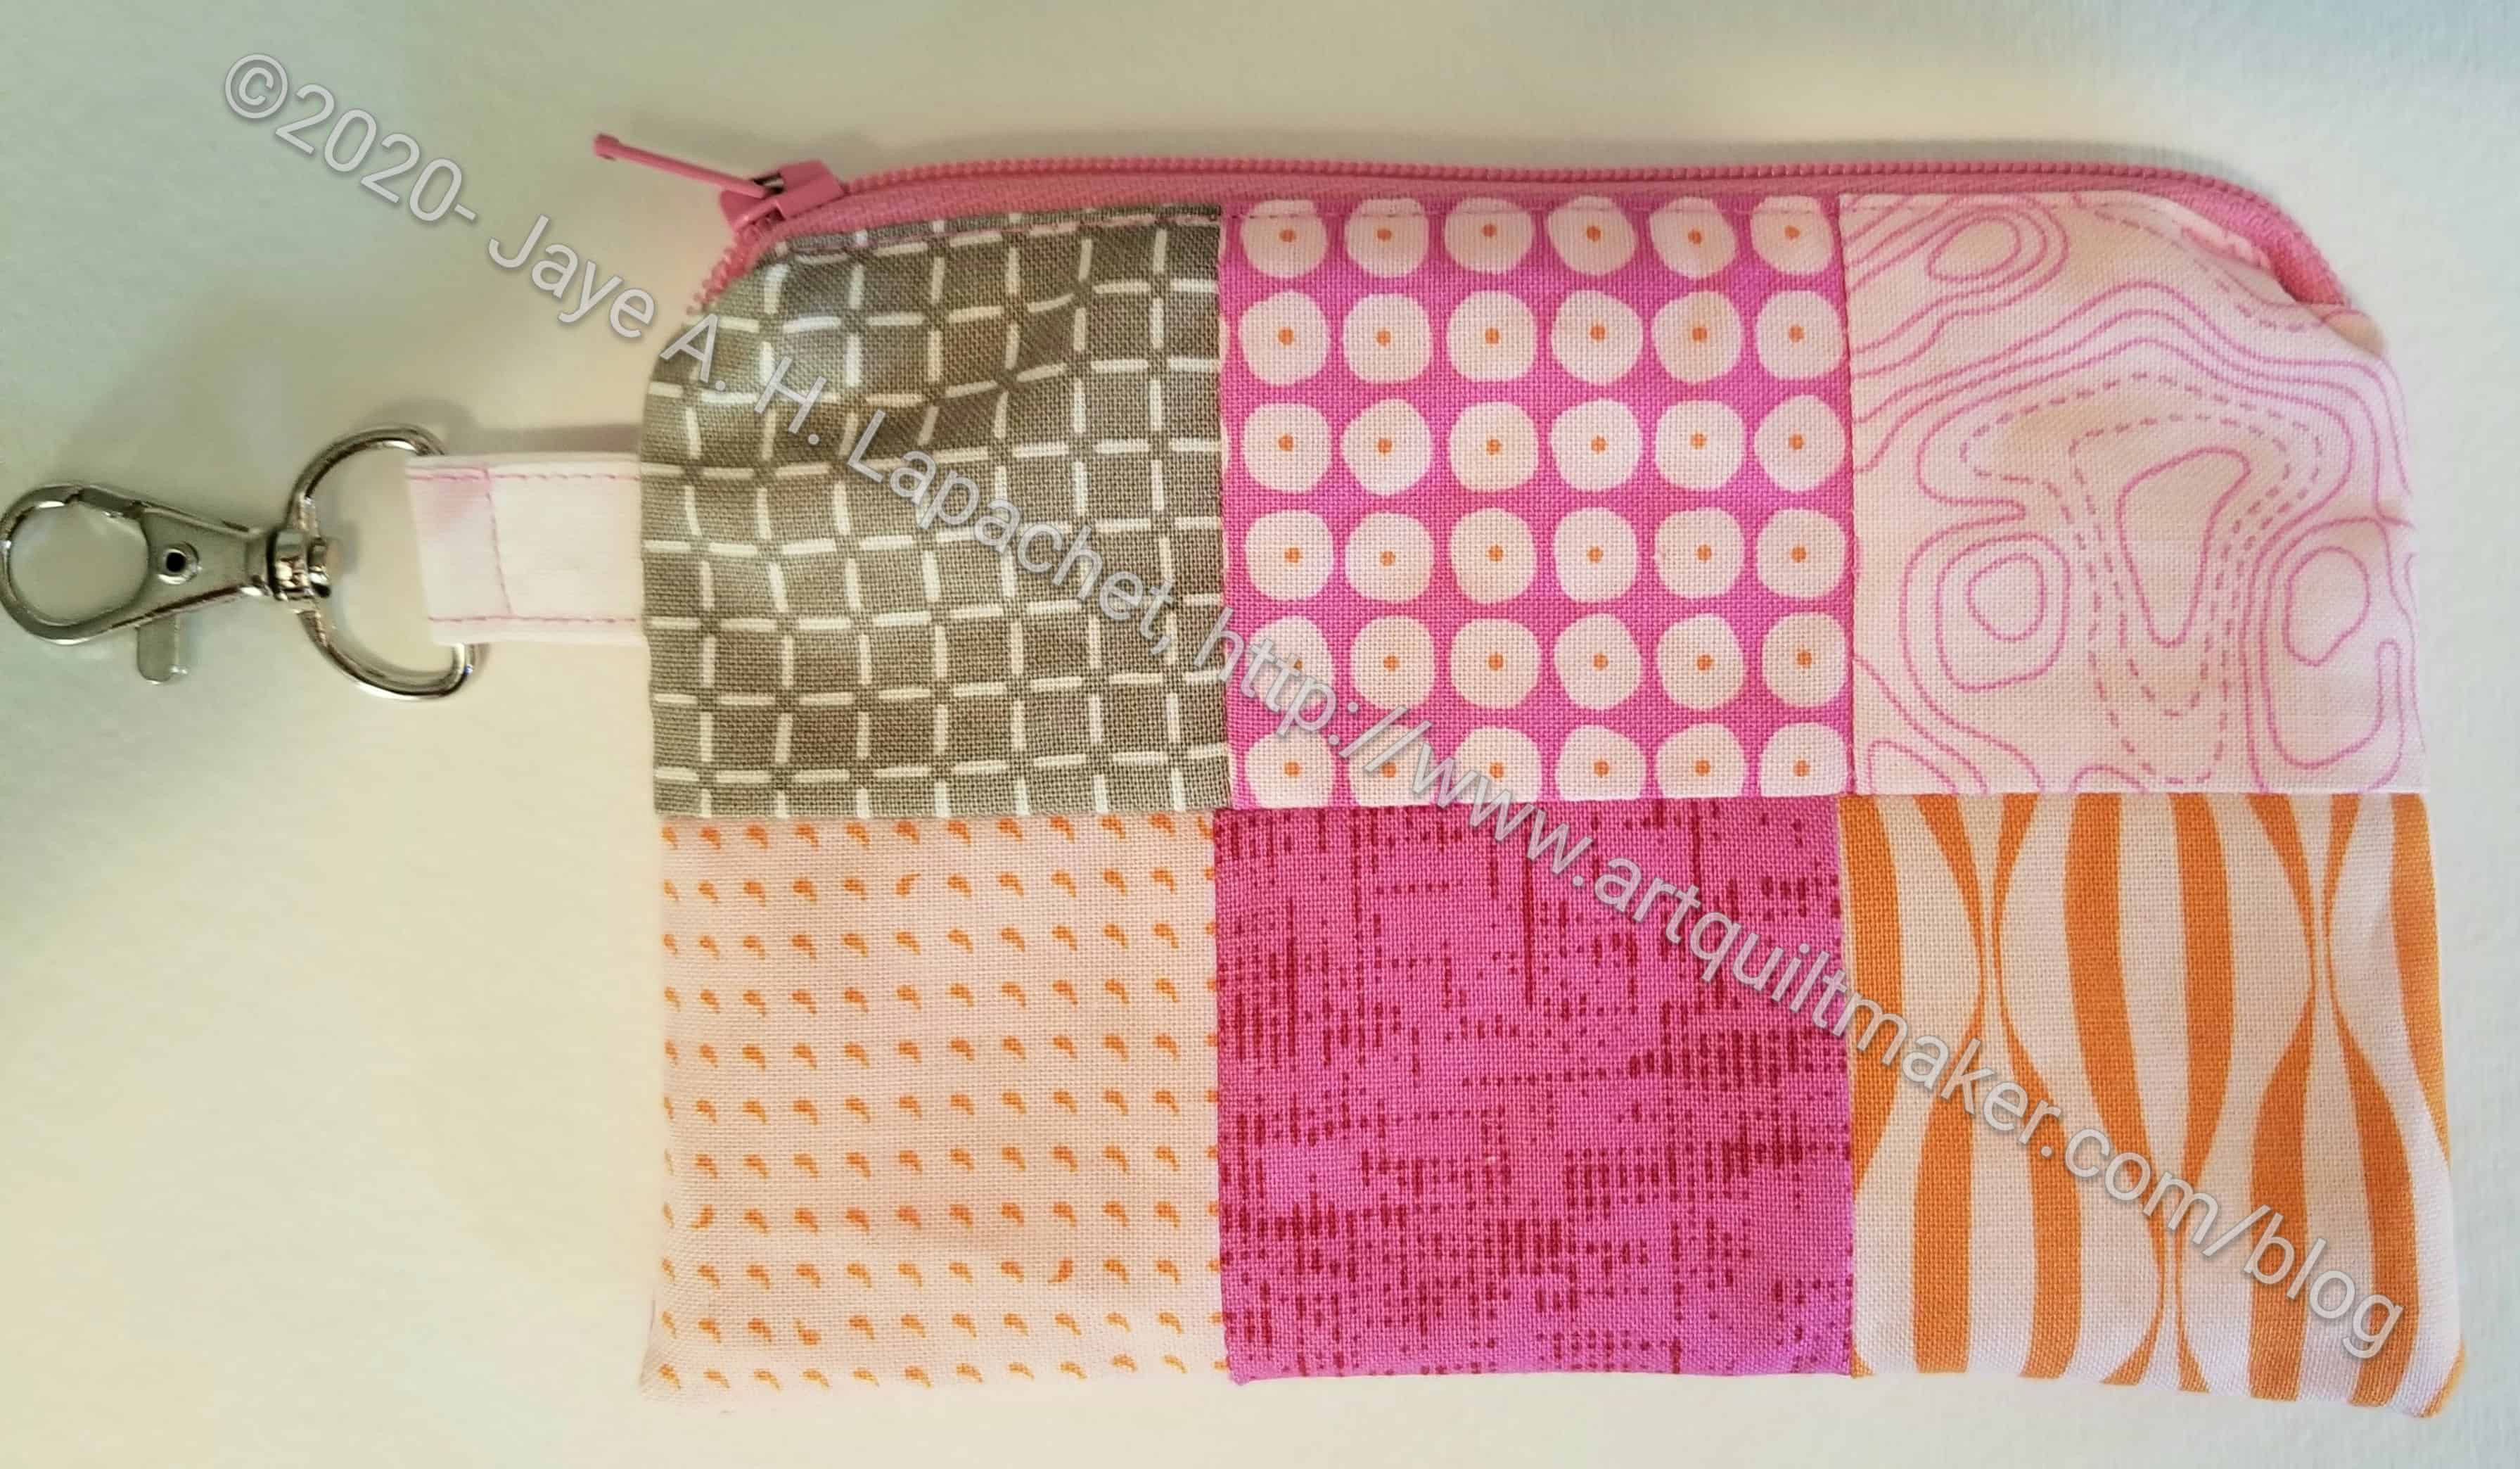
My little Mini Pink Pouch is finished. It didn’t take long, though I had to work on it over a couple of nights in between other projects.
I used a tutorial from Quilting in the Rain just to make sure I had the right order when I was putting this pouch together.
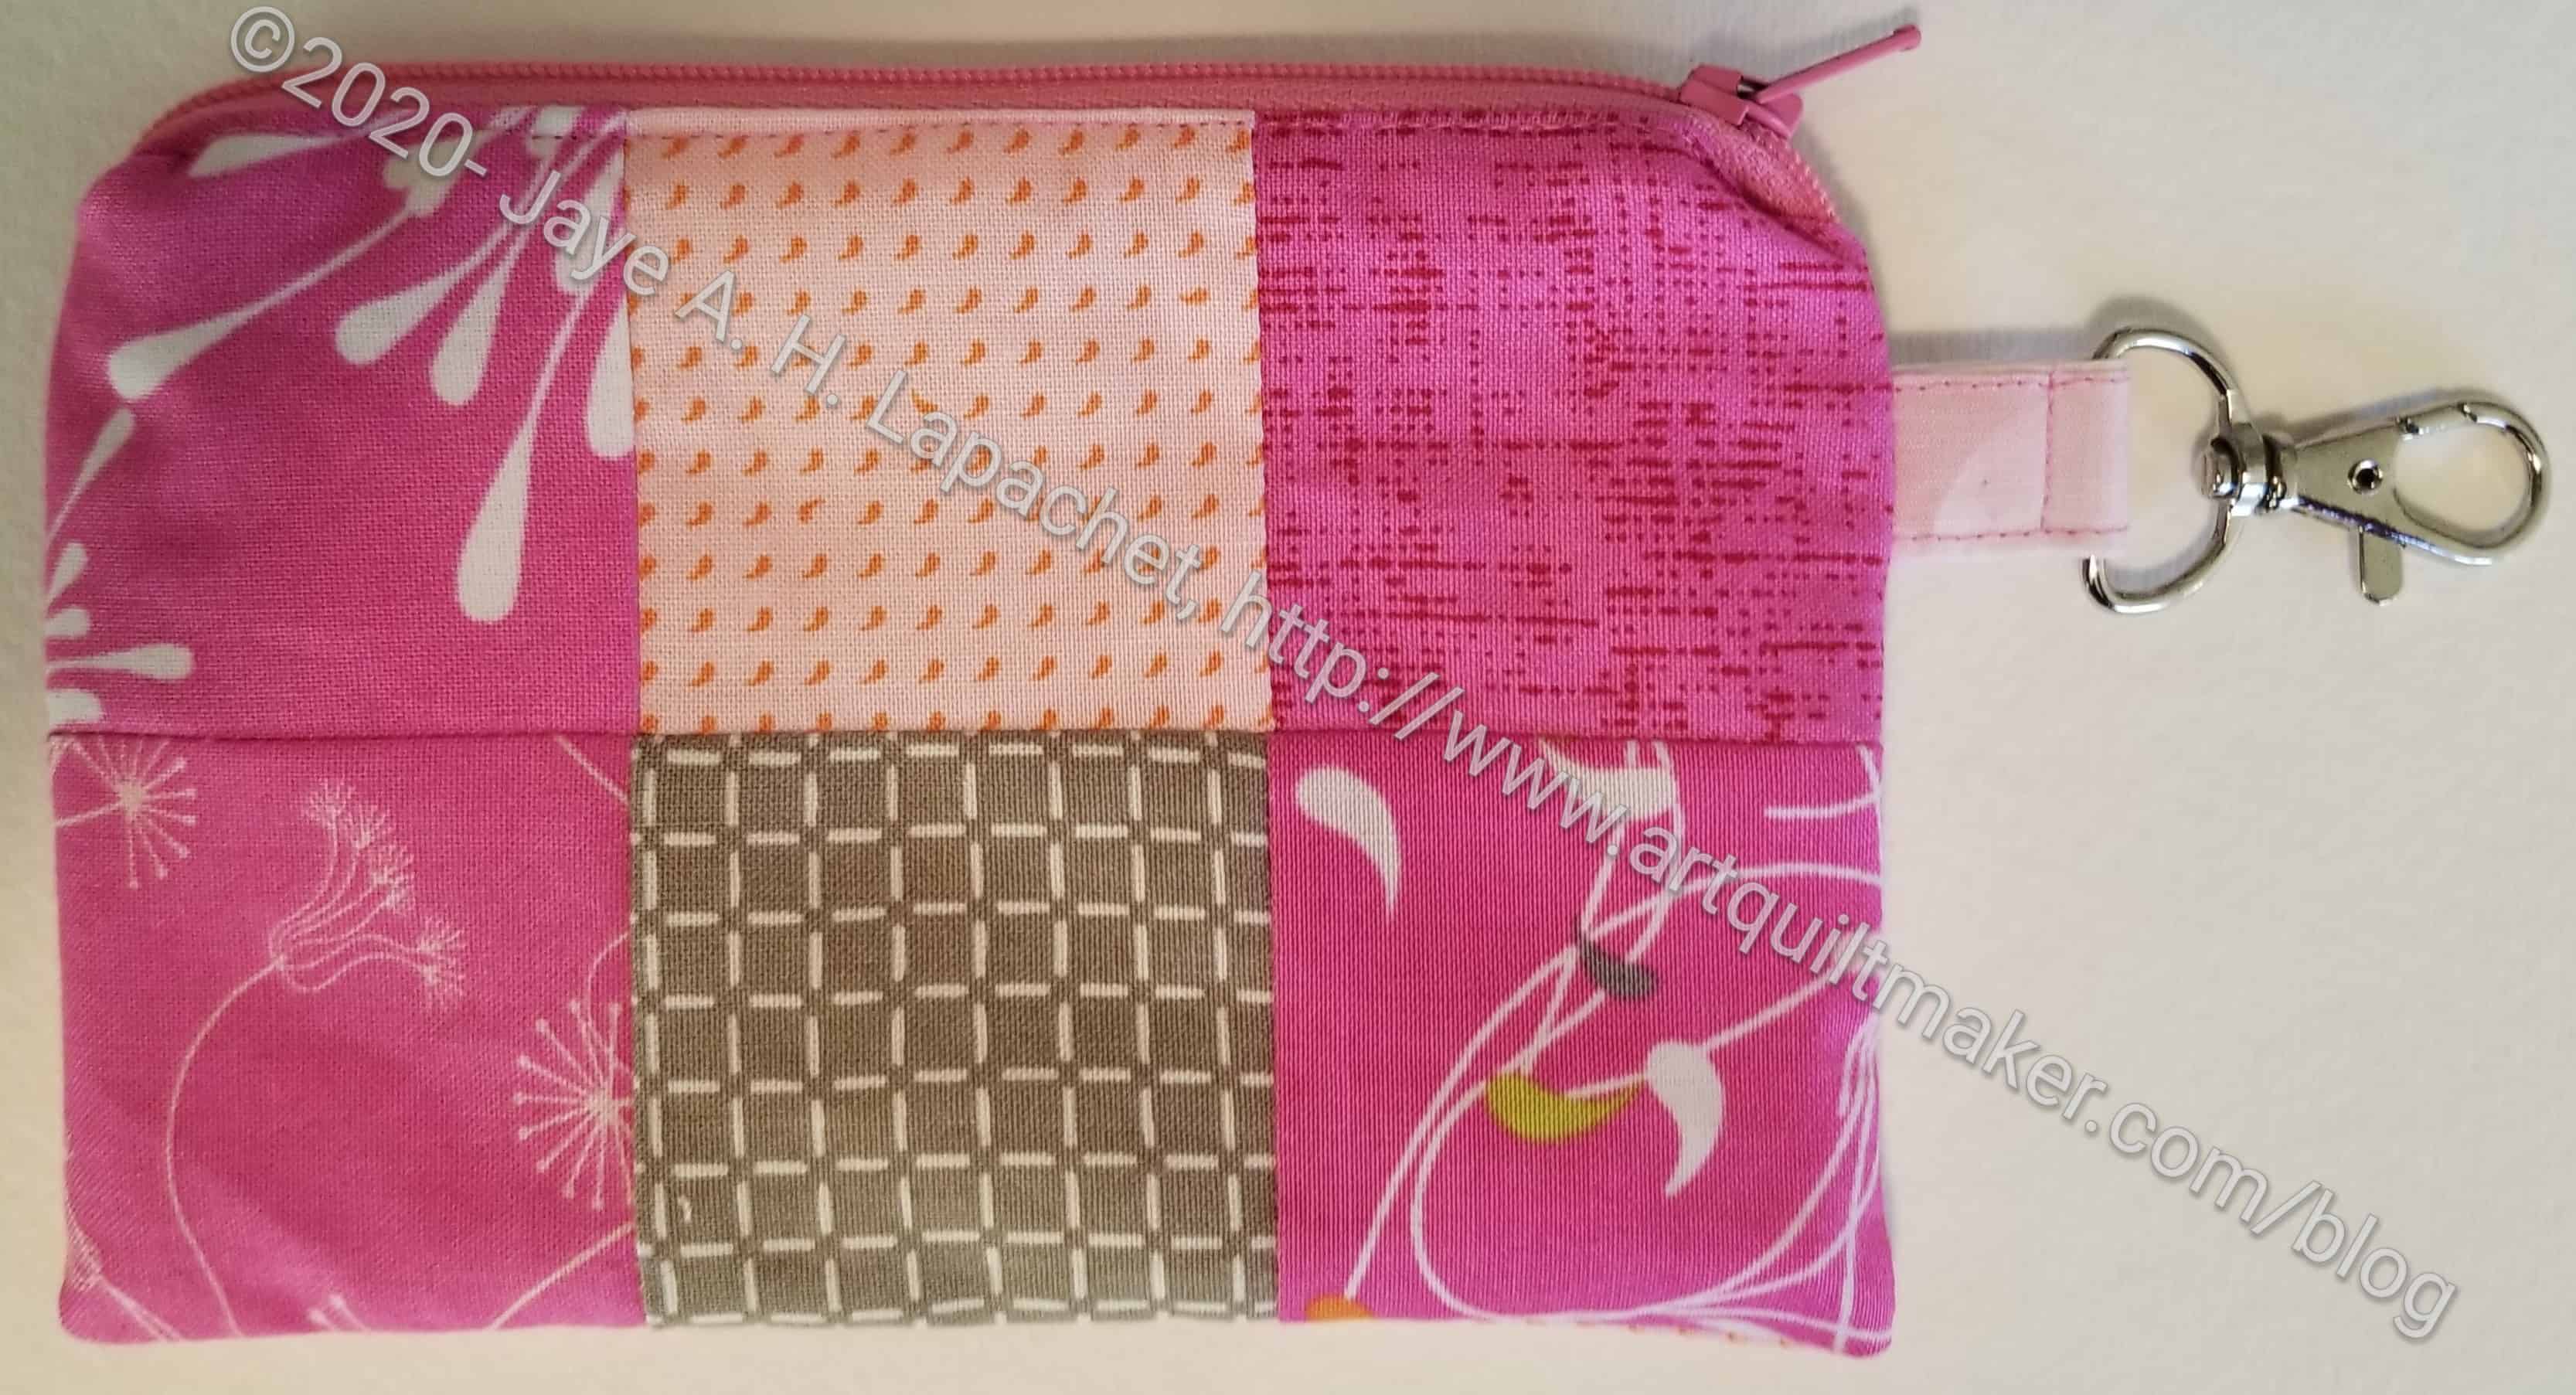
One thing I would do differently is put fabric tabs on the ends of the zipper. I think it would make that curve on the side a little less.
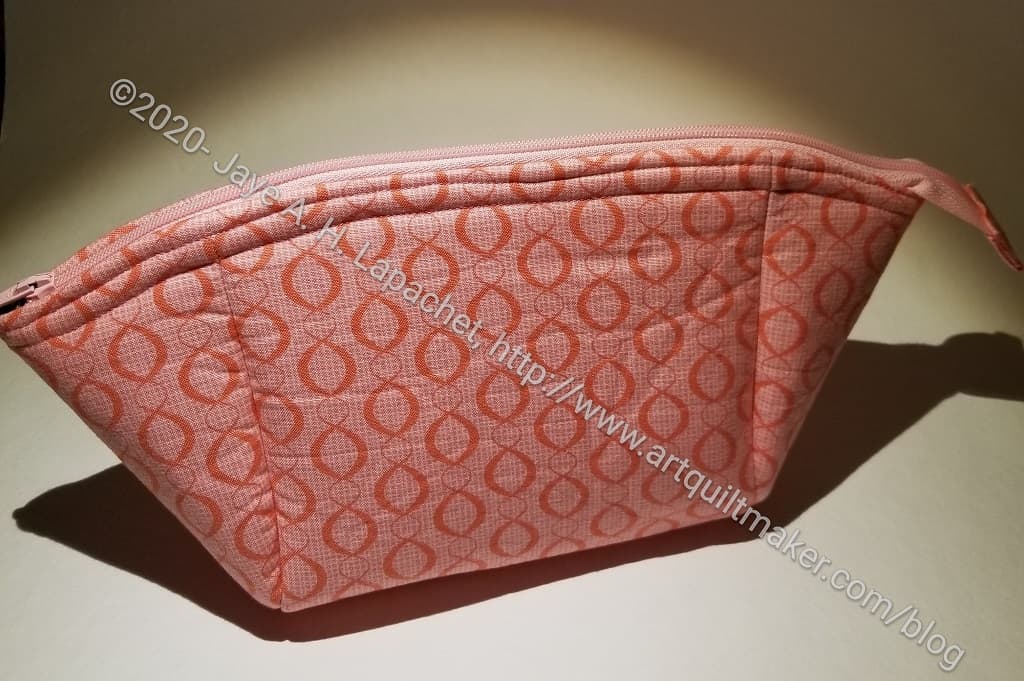
I finished the latest Cotton Candy Pouch over the weekend. This is the one that Friend Julie cut out using her Cricut Maker. You last saw it as a bunch of pieces. I am always interested to see how strangely shaped pieces turn into something 3D. It was awesome to not have to cut anything but to have it all ready to go.
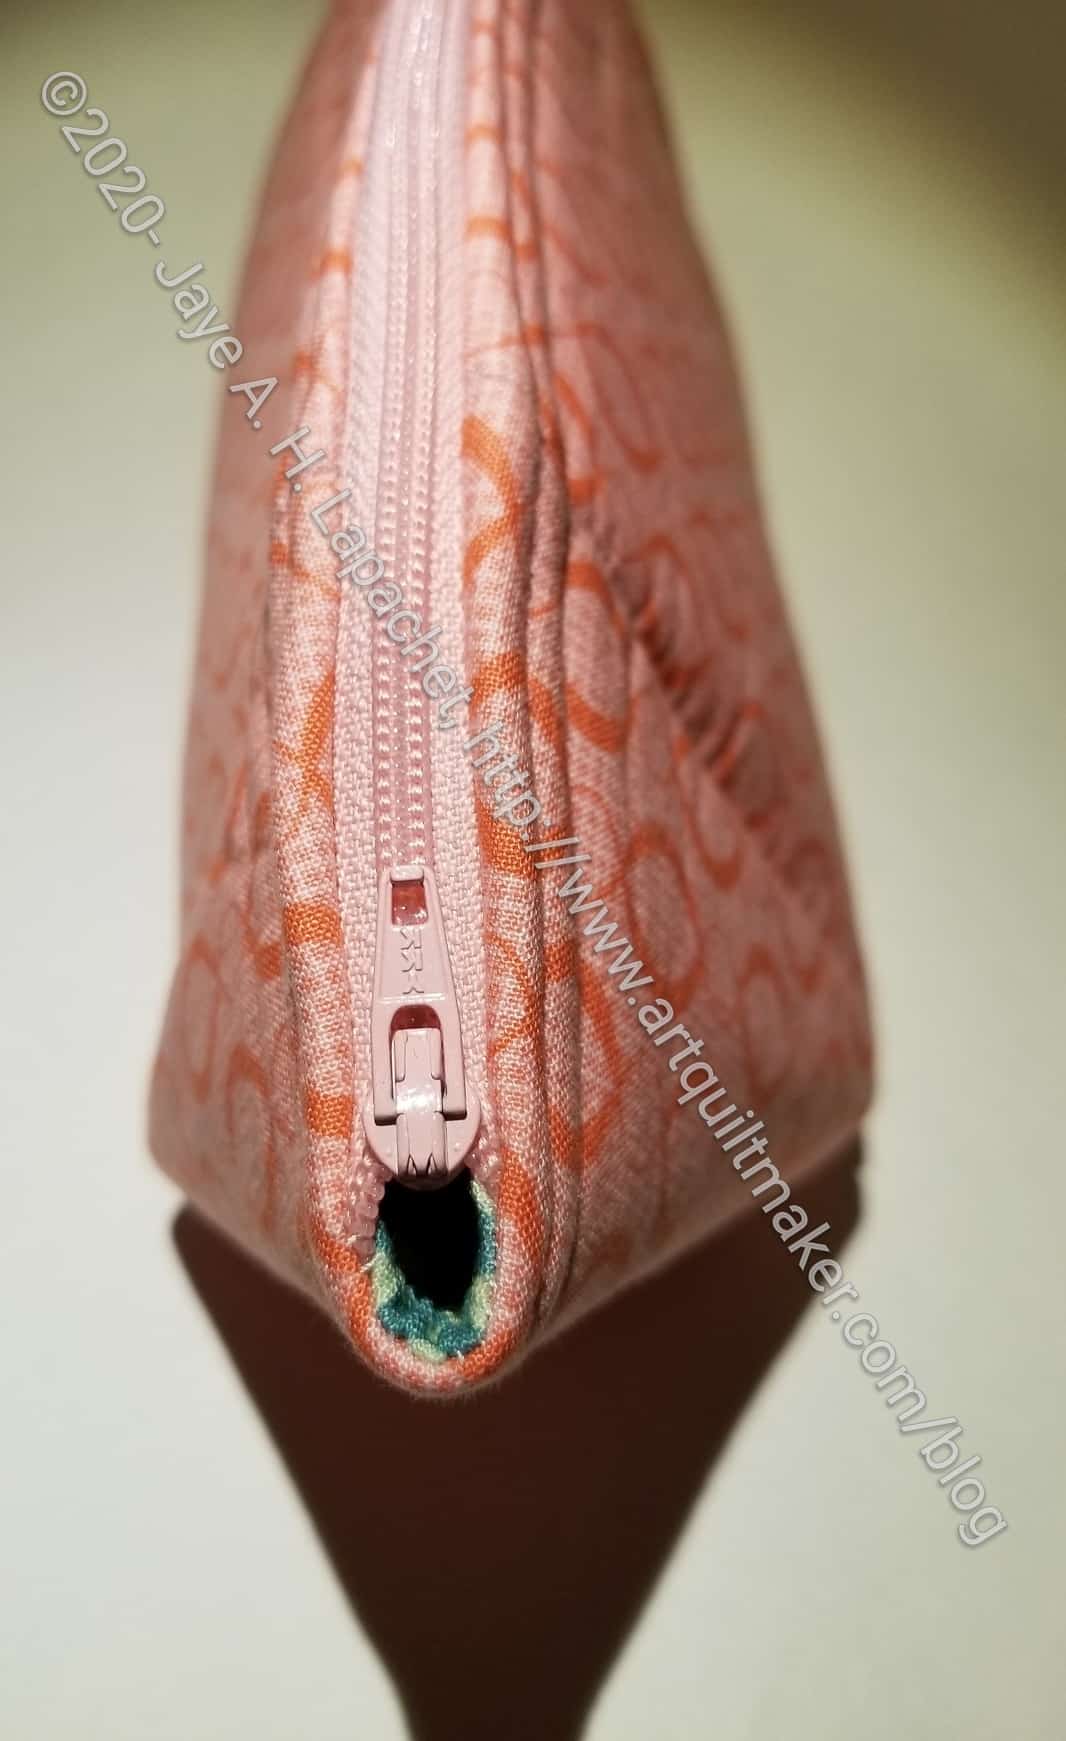
One reason I keep making this pouch over and over is to perfect some of my skills, especially Veering the Zipper, which went much better this time. I was also able to get the beginning of the zipper even with each other. So progress.
Yes, I could have gotten the head closer, but that is a challenge for another day.
I also like the shape of this pouch a lot. I am going to try the sidewinder next. Bronwyn, one of the moderators of the Sew Sweetness FB group, had so much trouble with the Sidewinder that she threw out her first attempt. This scares me!
I forgot to use a deeper seam allowance for the lining :(, but c’est la vie. It is fine for this time. Another part to work on.
The Sidewinder is another part of Minikins Season 1. I have two dozen or so patterns from Minikins Season 1 & 2 to try, so I need to get busy! I am constantly wondering if Sara will come out with a Minikins Season 3? Yikes! I need to get busy.
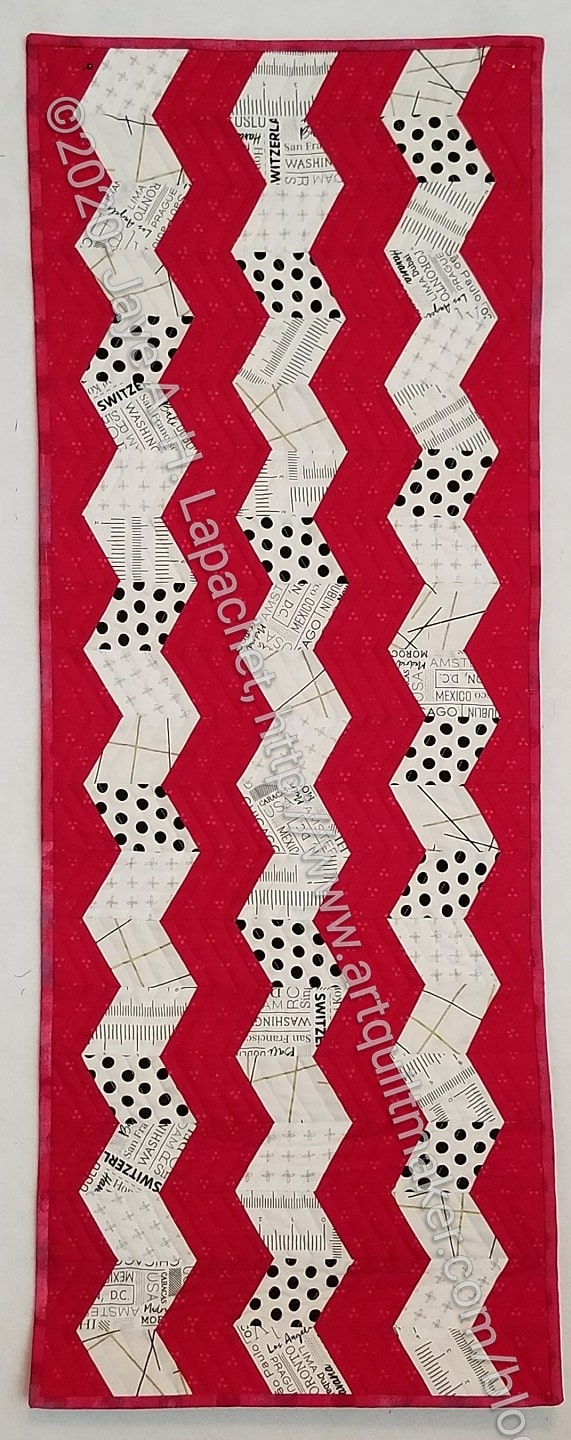
The Red Text table runner is finished. I finished sewing on the binding on Monday during Craft Night. I had already machine sewed and the hand stitching went surprisingly fast.
As I mentioned, I machine quilted it over last weekend. I am pleased, even after several days of looking at it, about how it came out. I am also really pleased that it is done since the new project came out on Tuesday, the Lucky Charm pillow.
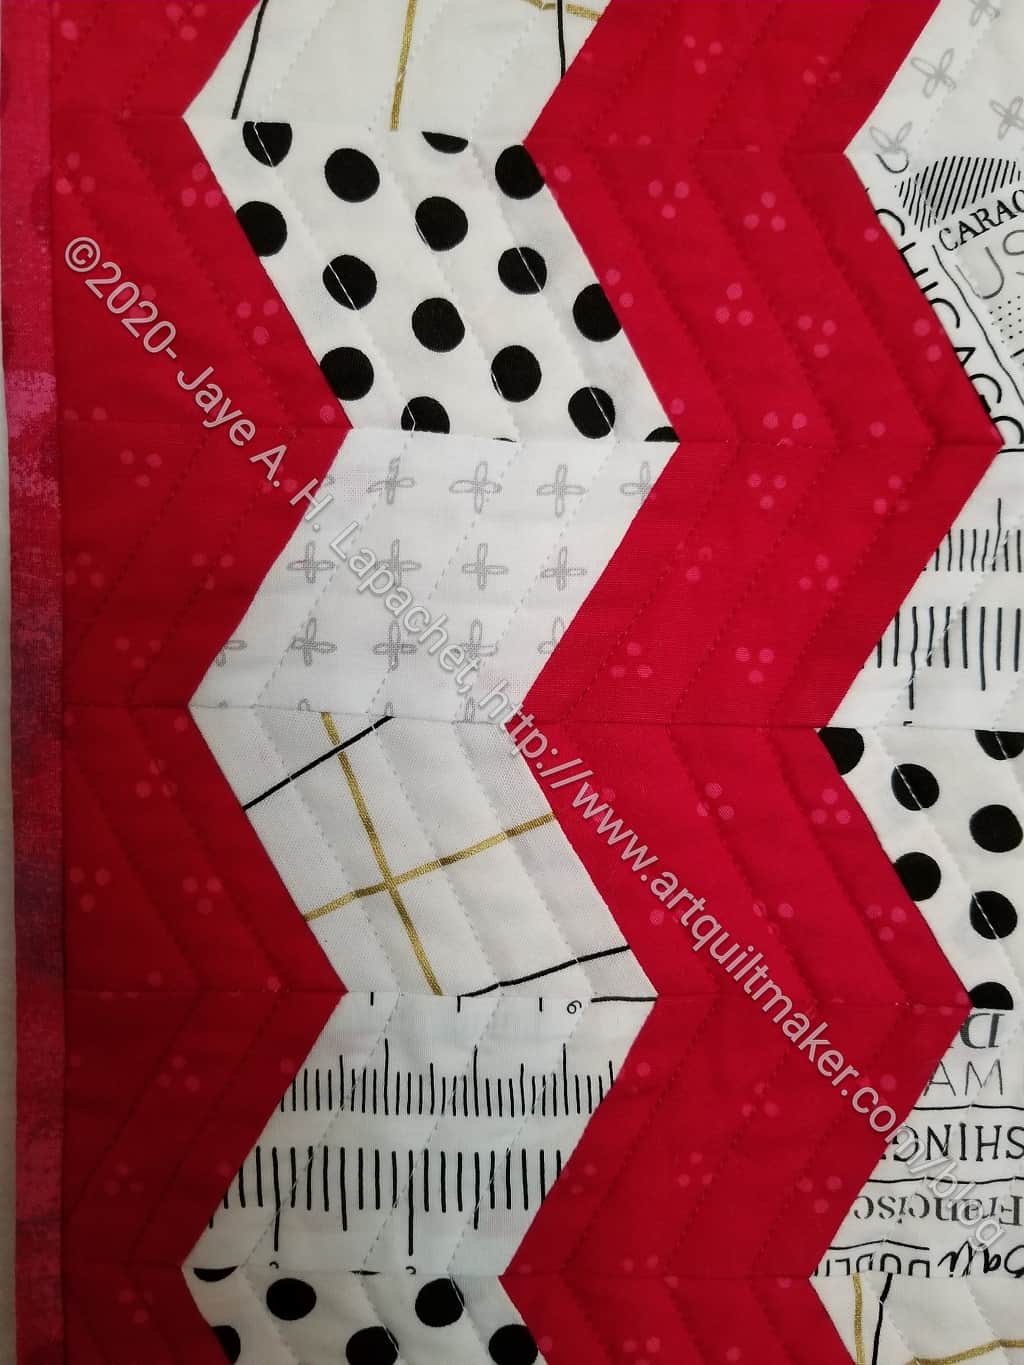
I am more than a little thrilled that I finished the two table runners in time for the new project.