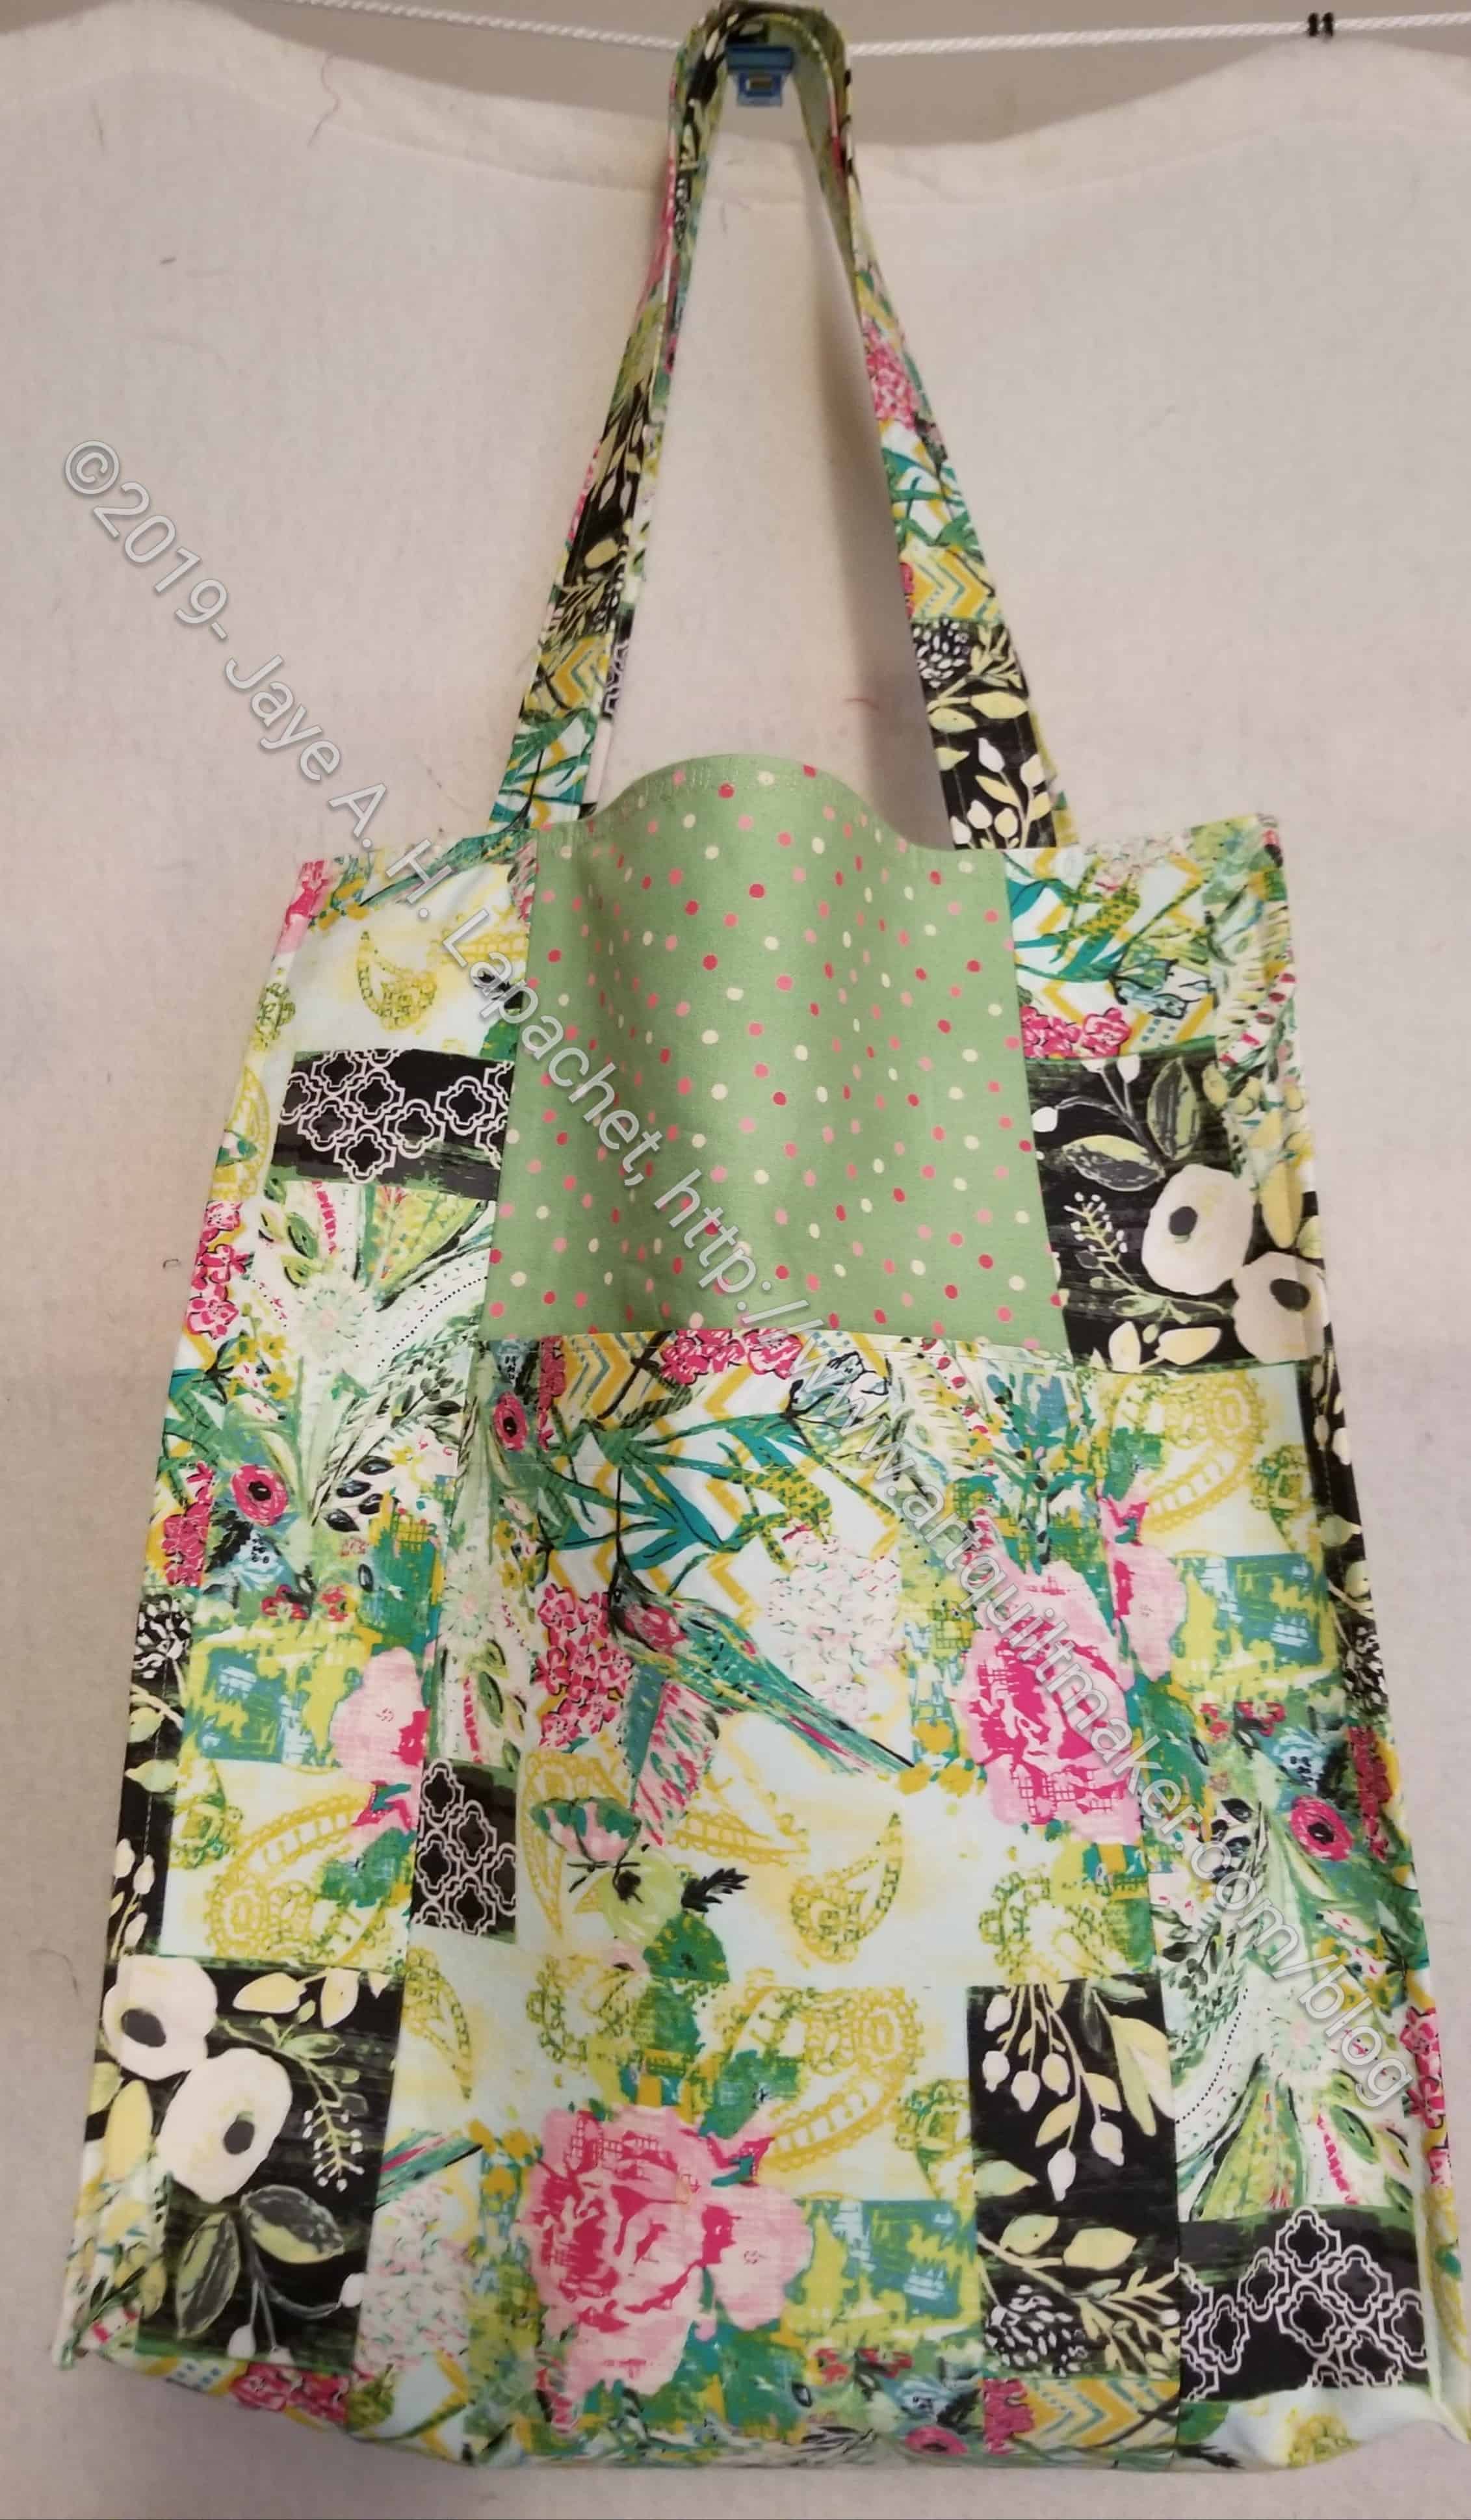
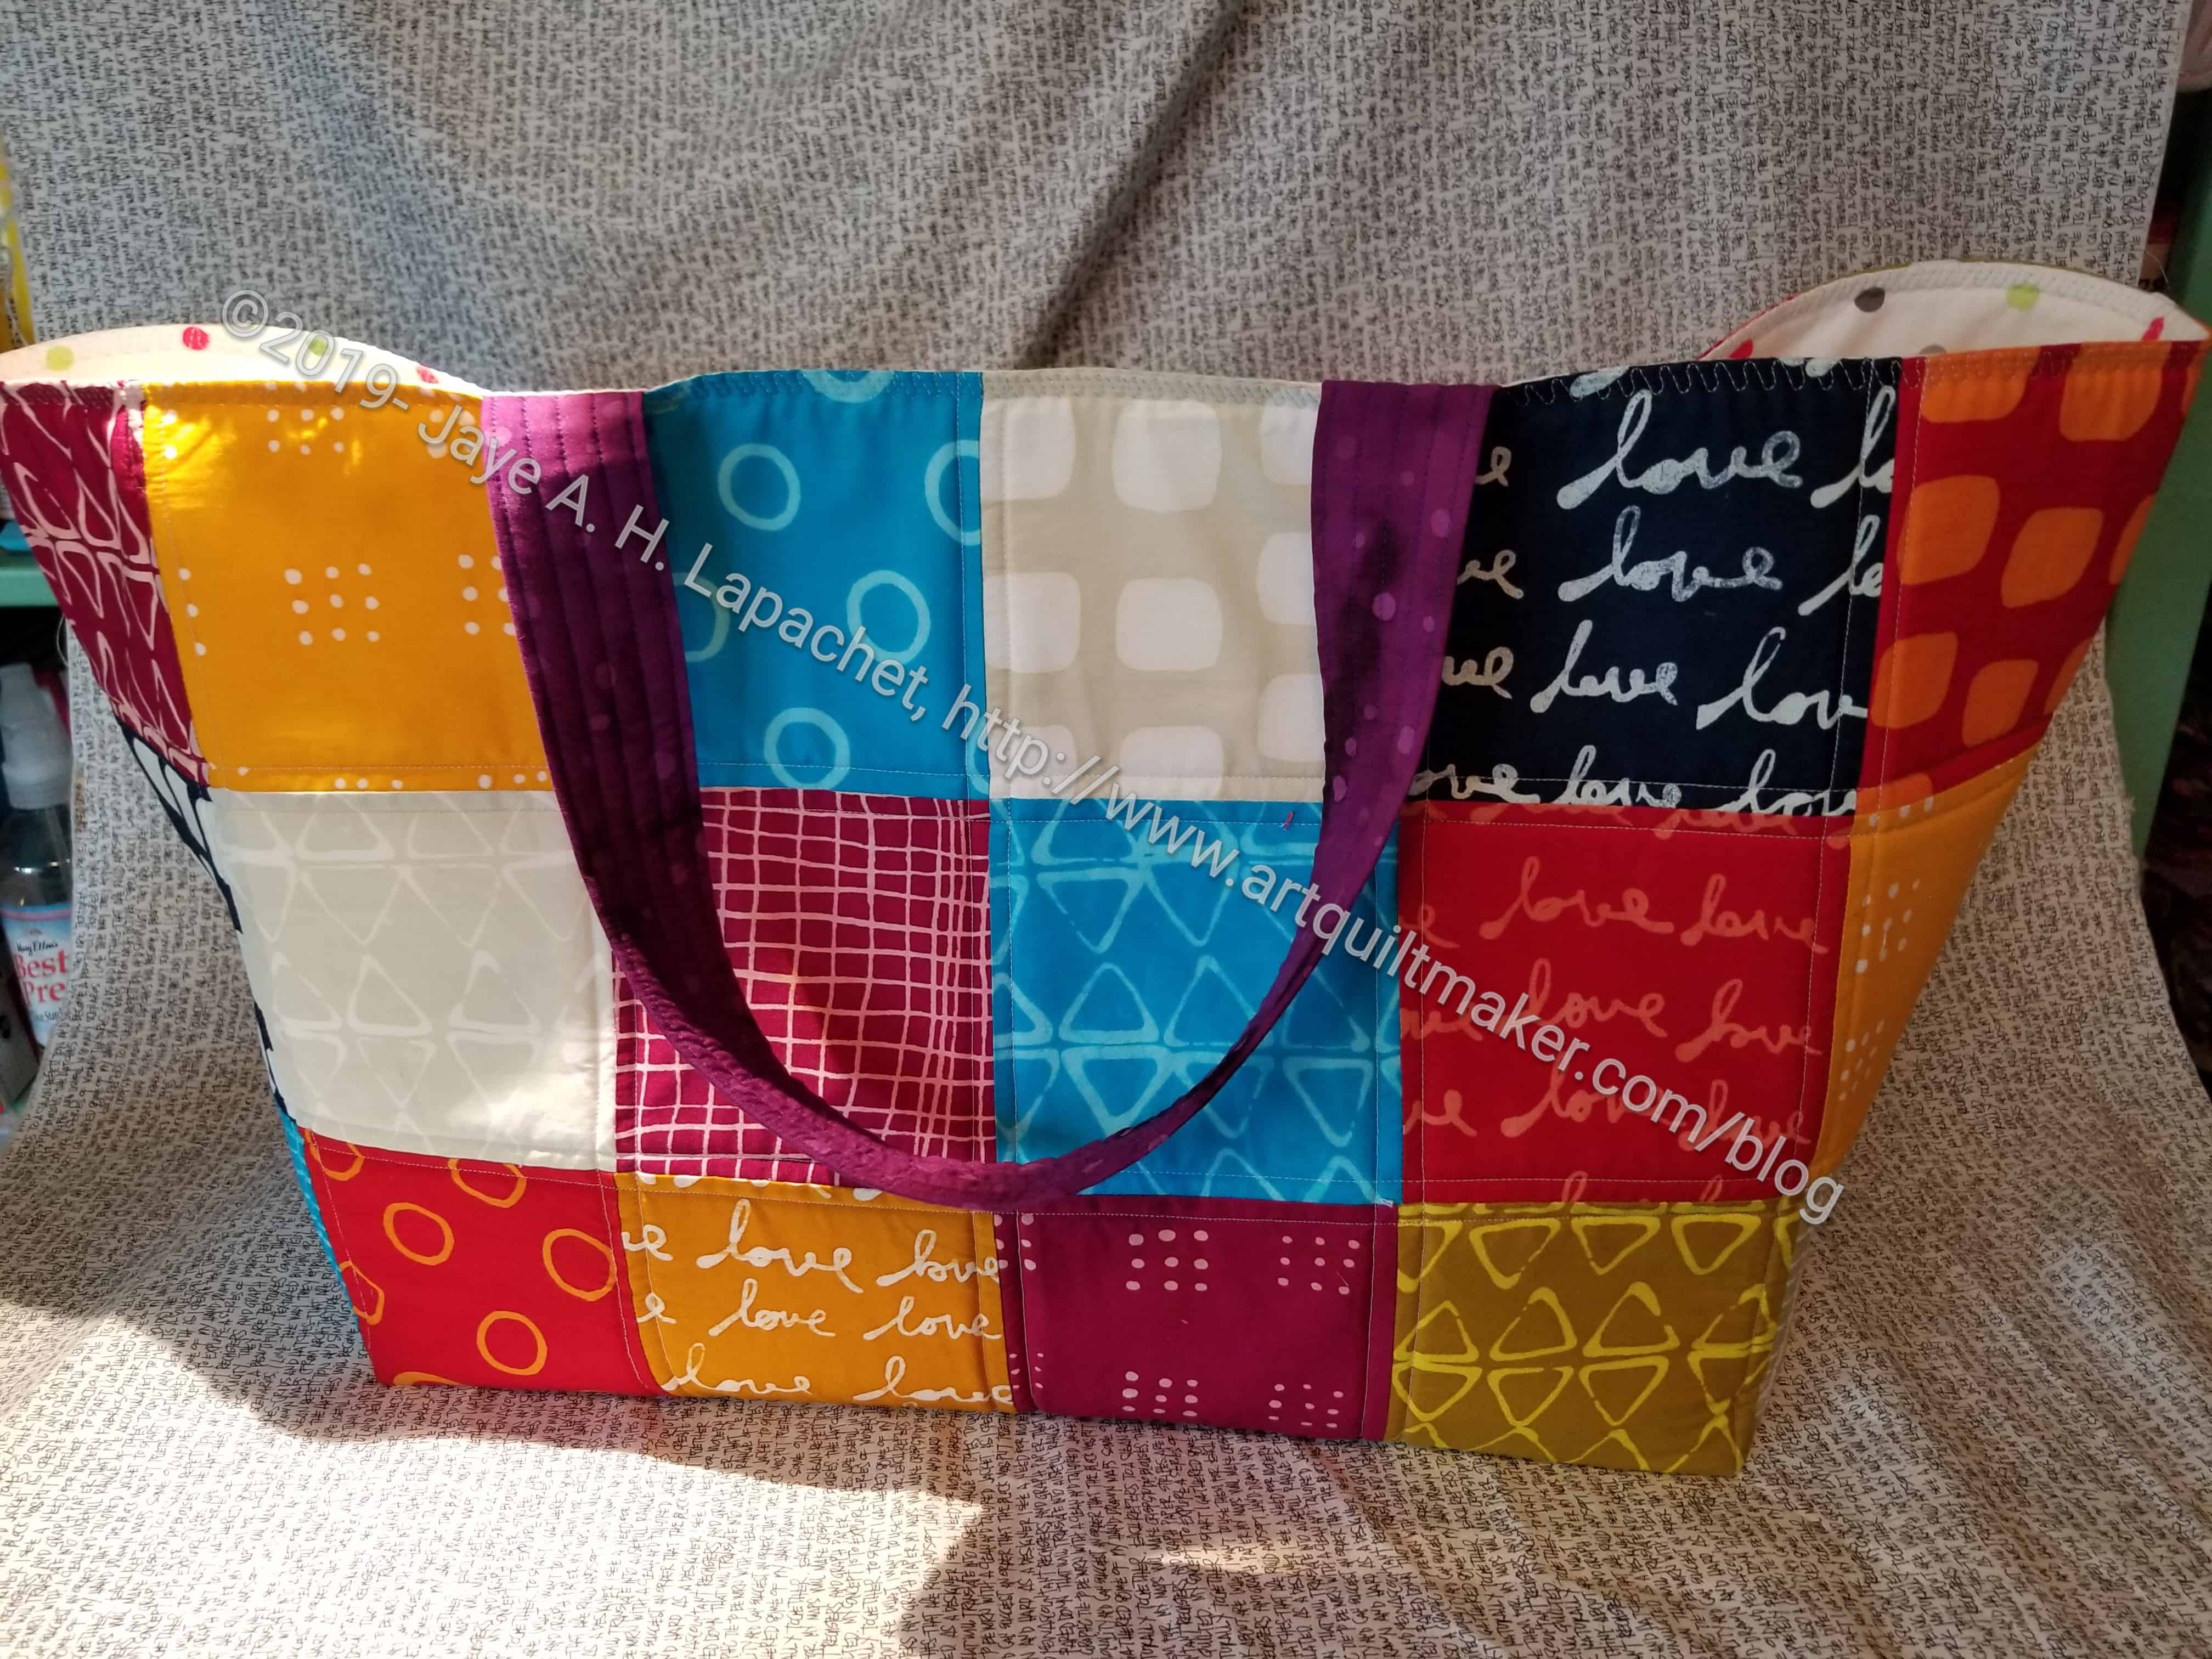
I finished the Jane Market tote I am making for my friend, Silvia. I am so pleased with the way it came out. It is hard to let it go! It gives me some ideas about the officer bags, though.
Commentary about works in progress, design & creativity
I finished the Jane Market tote I am making for my friend, Silvia. I am so pleased with the way it came out. It is hard to let it go! It gives me some ideas about the officer bags, though.
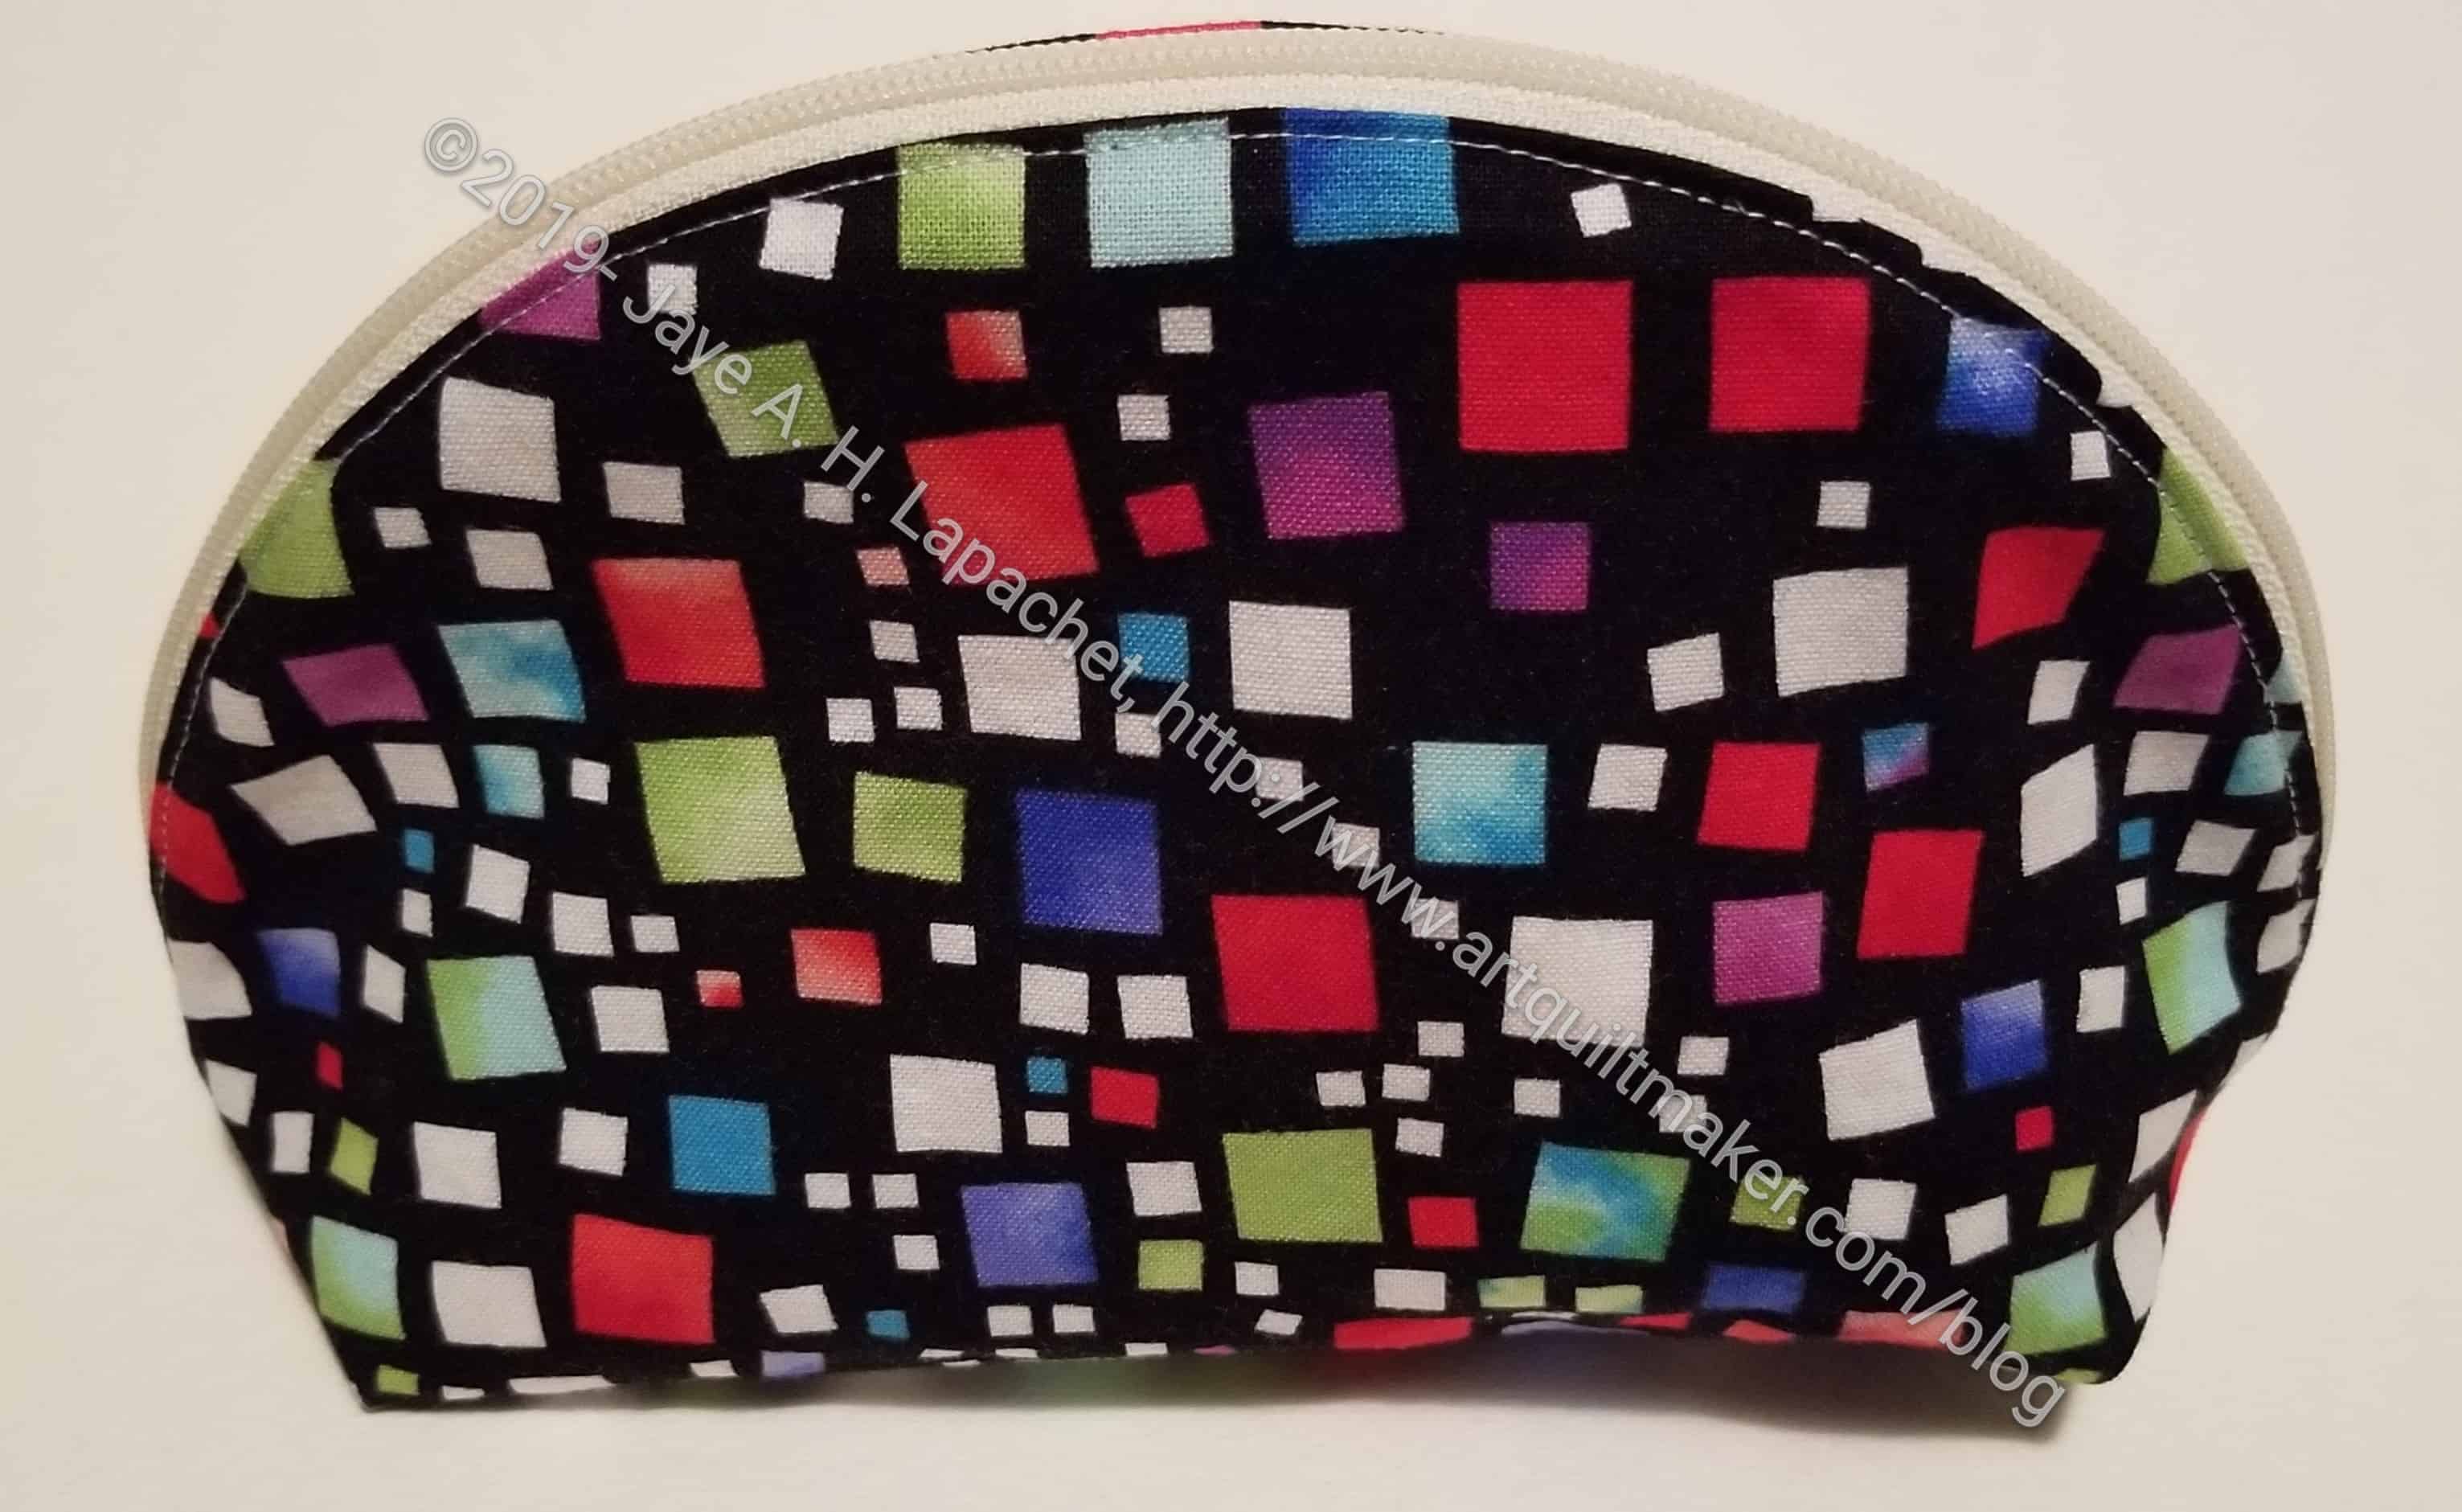
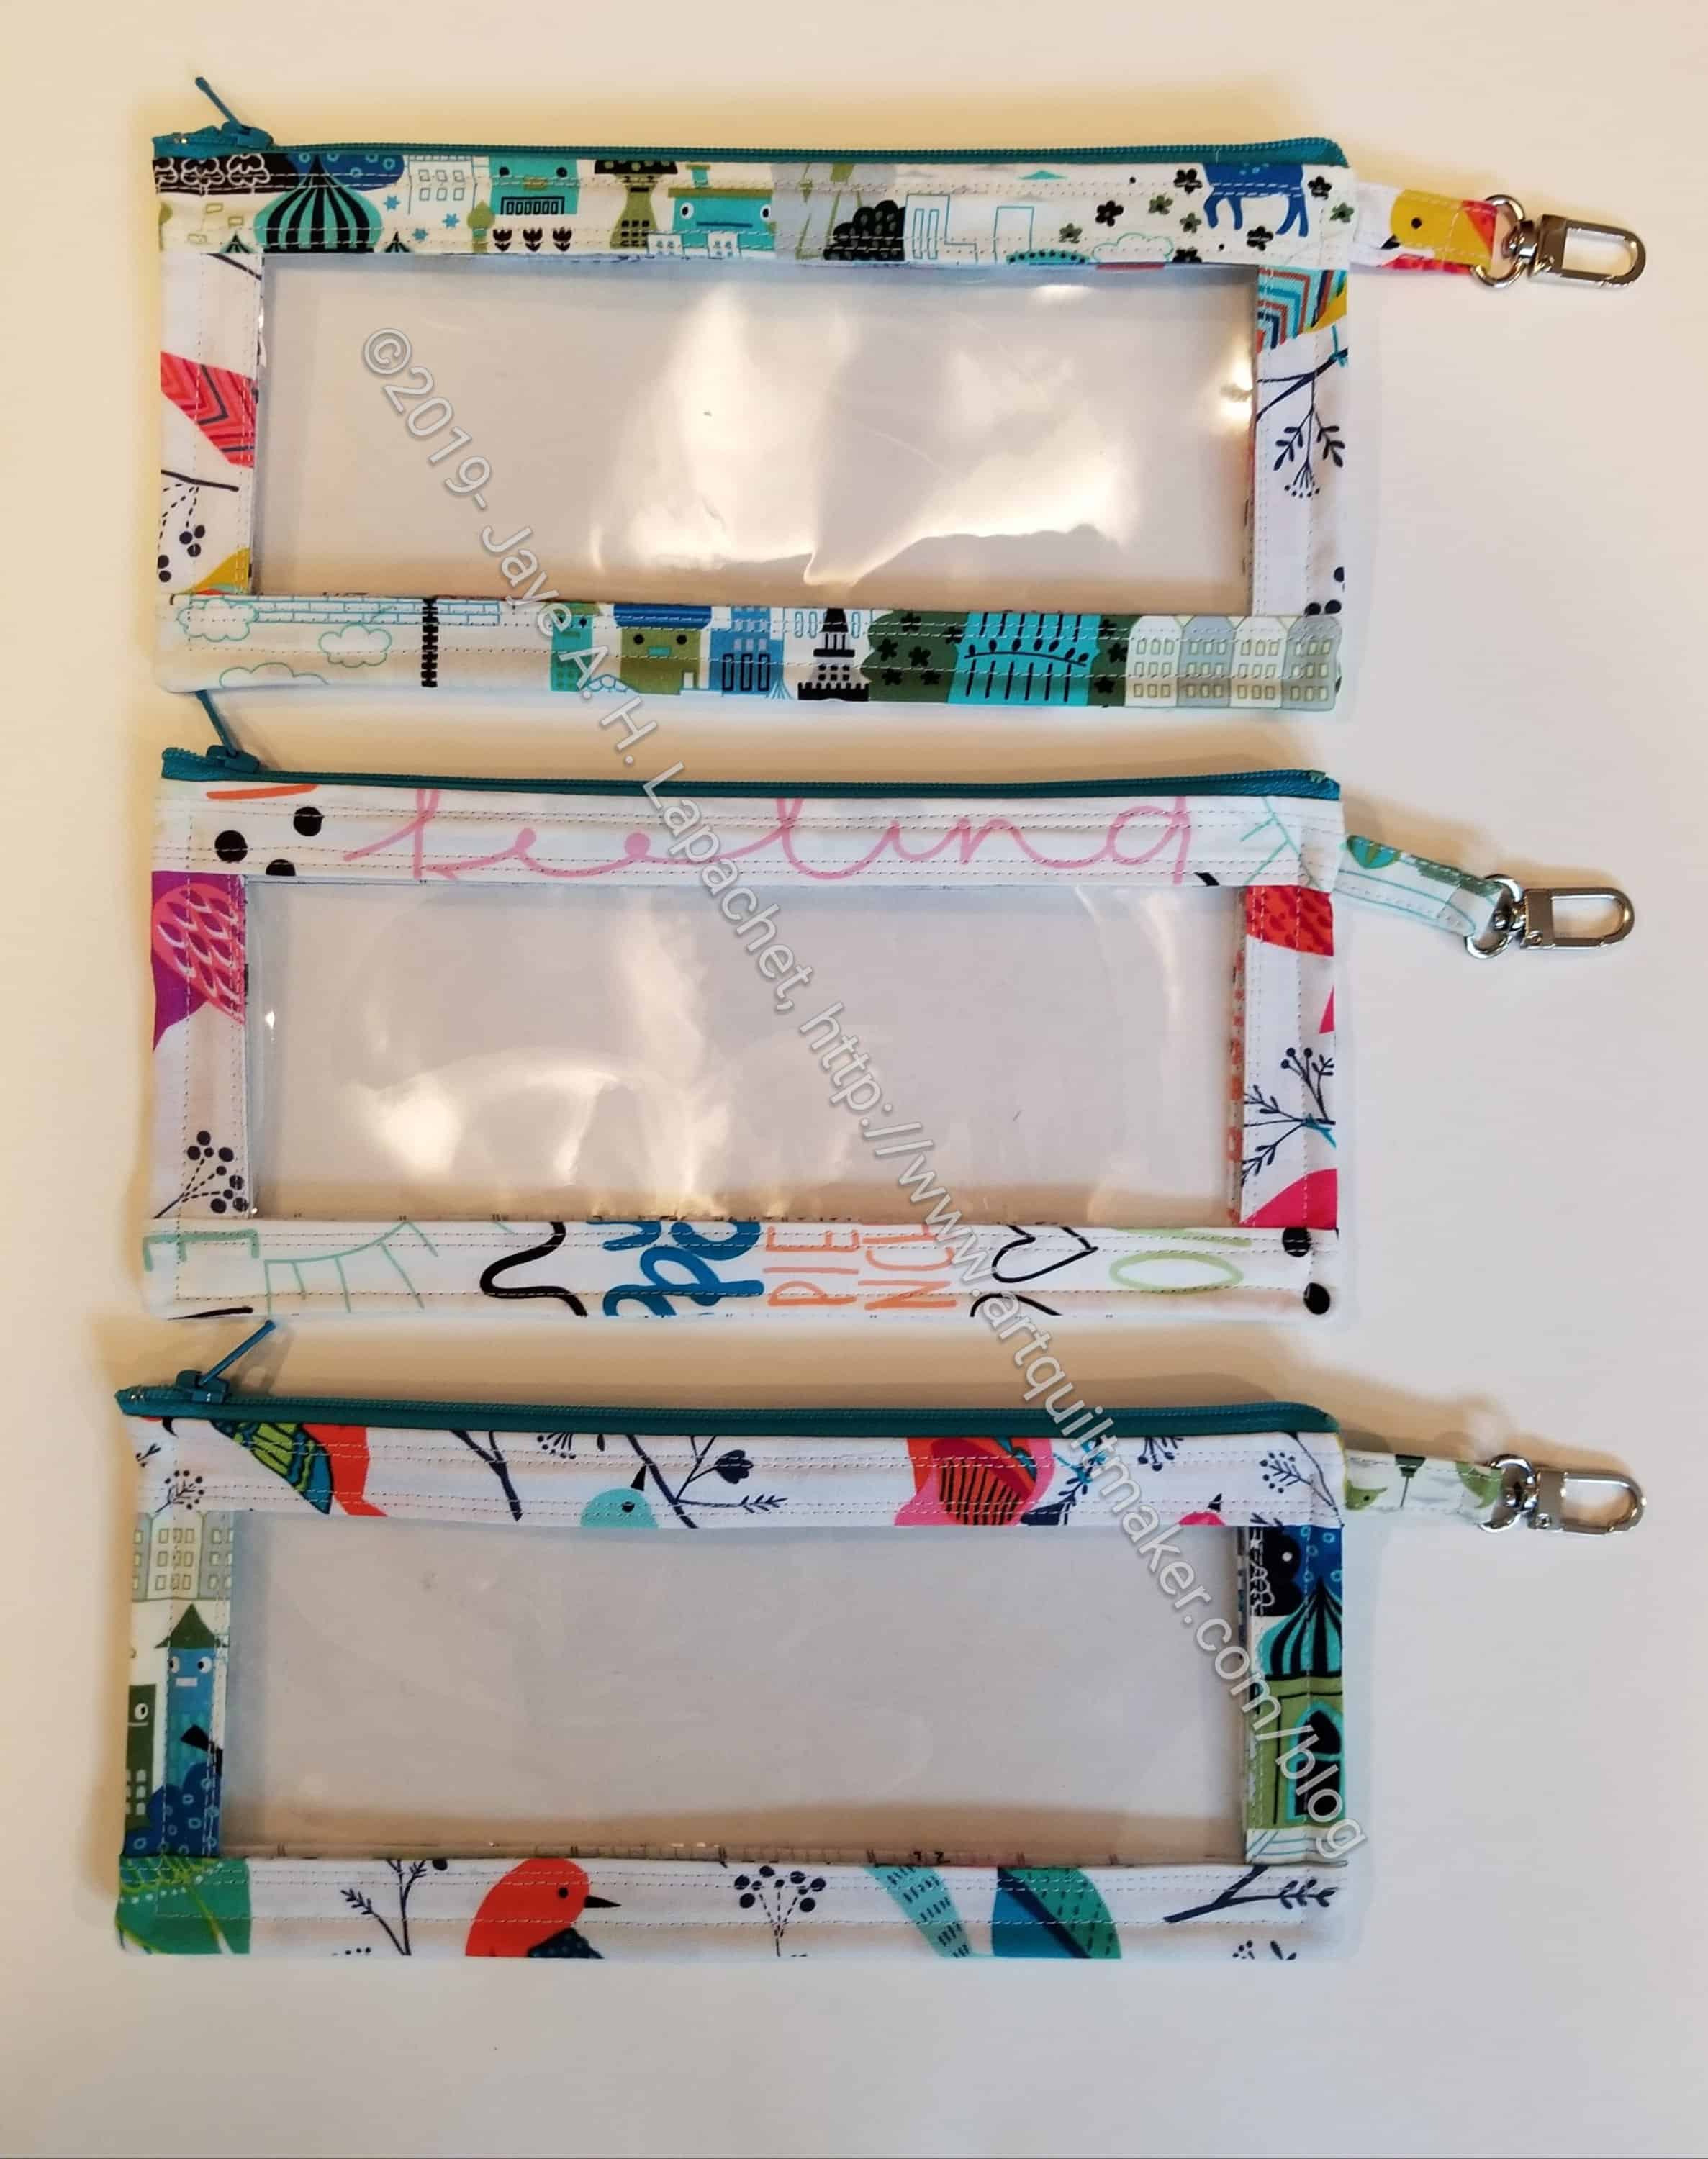
A few weeks ago, I cut out some pouches. I used the Persimmon Dumpling Pouch pattern, a free pattern, from Sew Sweetness for two of them. The pattern has three sizes, small, medium and large, included. This is the small version.
I LOVE this pattern. It went together really quickly after I sat down and just worked on it. It has about 5 seams and the pouch is together. My first try took me awhile, but after finishing it, I thought of a couple of ways I could make this project go faster.
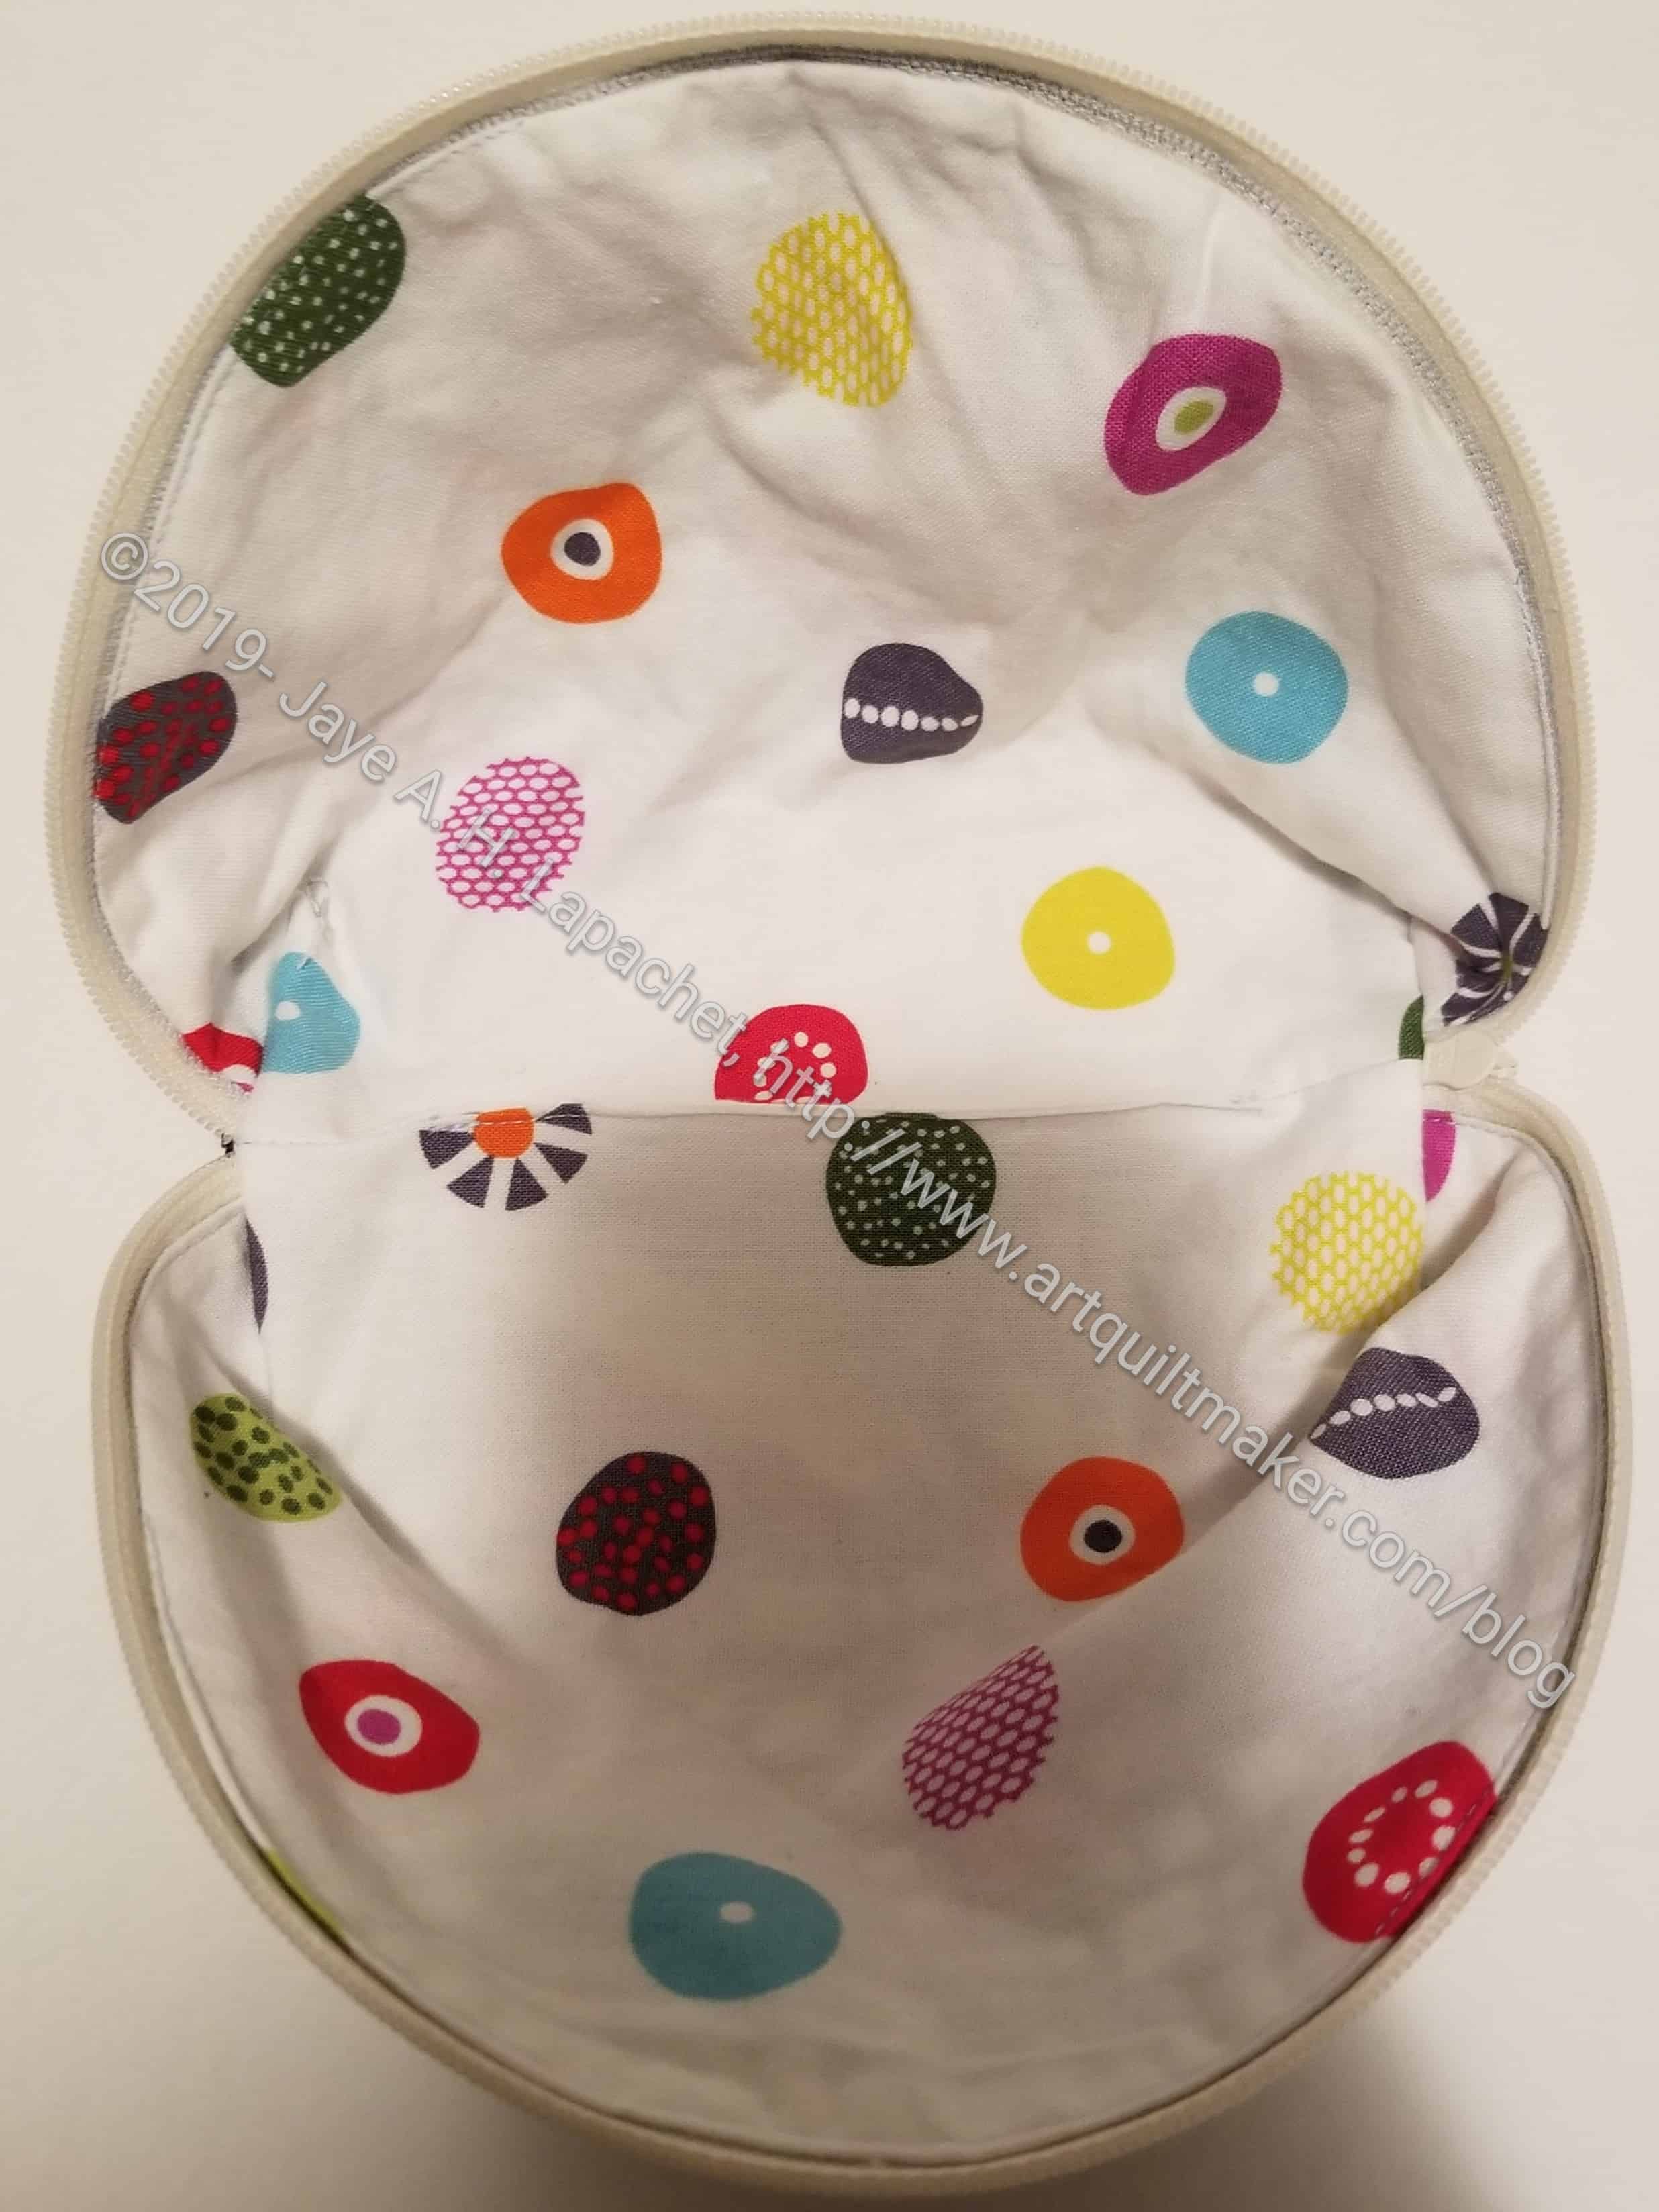
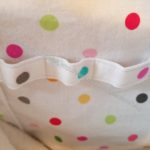
It is so interesting how this pouch opens almost all the way flat. I suppose that could be a problem if the owner had a lot of small items inside.
I have seen this made with two zippers that come together in the middle. Doing that is a skill I have not yet mastered – or even tried. I doubt it is difficult. I’ll put it on the list.
The pattern uses strips to make the exterior. It would be a great pattern to use with some improv piecing, but I just used one piece of fabric for this one and the one I have not yet completely sewed. There is a lot of scope for imaginative fabric use in this pouch pattern (and most, I suppose).
I made this one for the raffle baskets as a test to see if I would want to keep making these as gifts. I think it will be a great pouch to hold all the little gifts. Of course, I have other patterns I can and want to try as well.
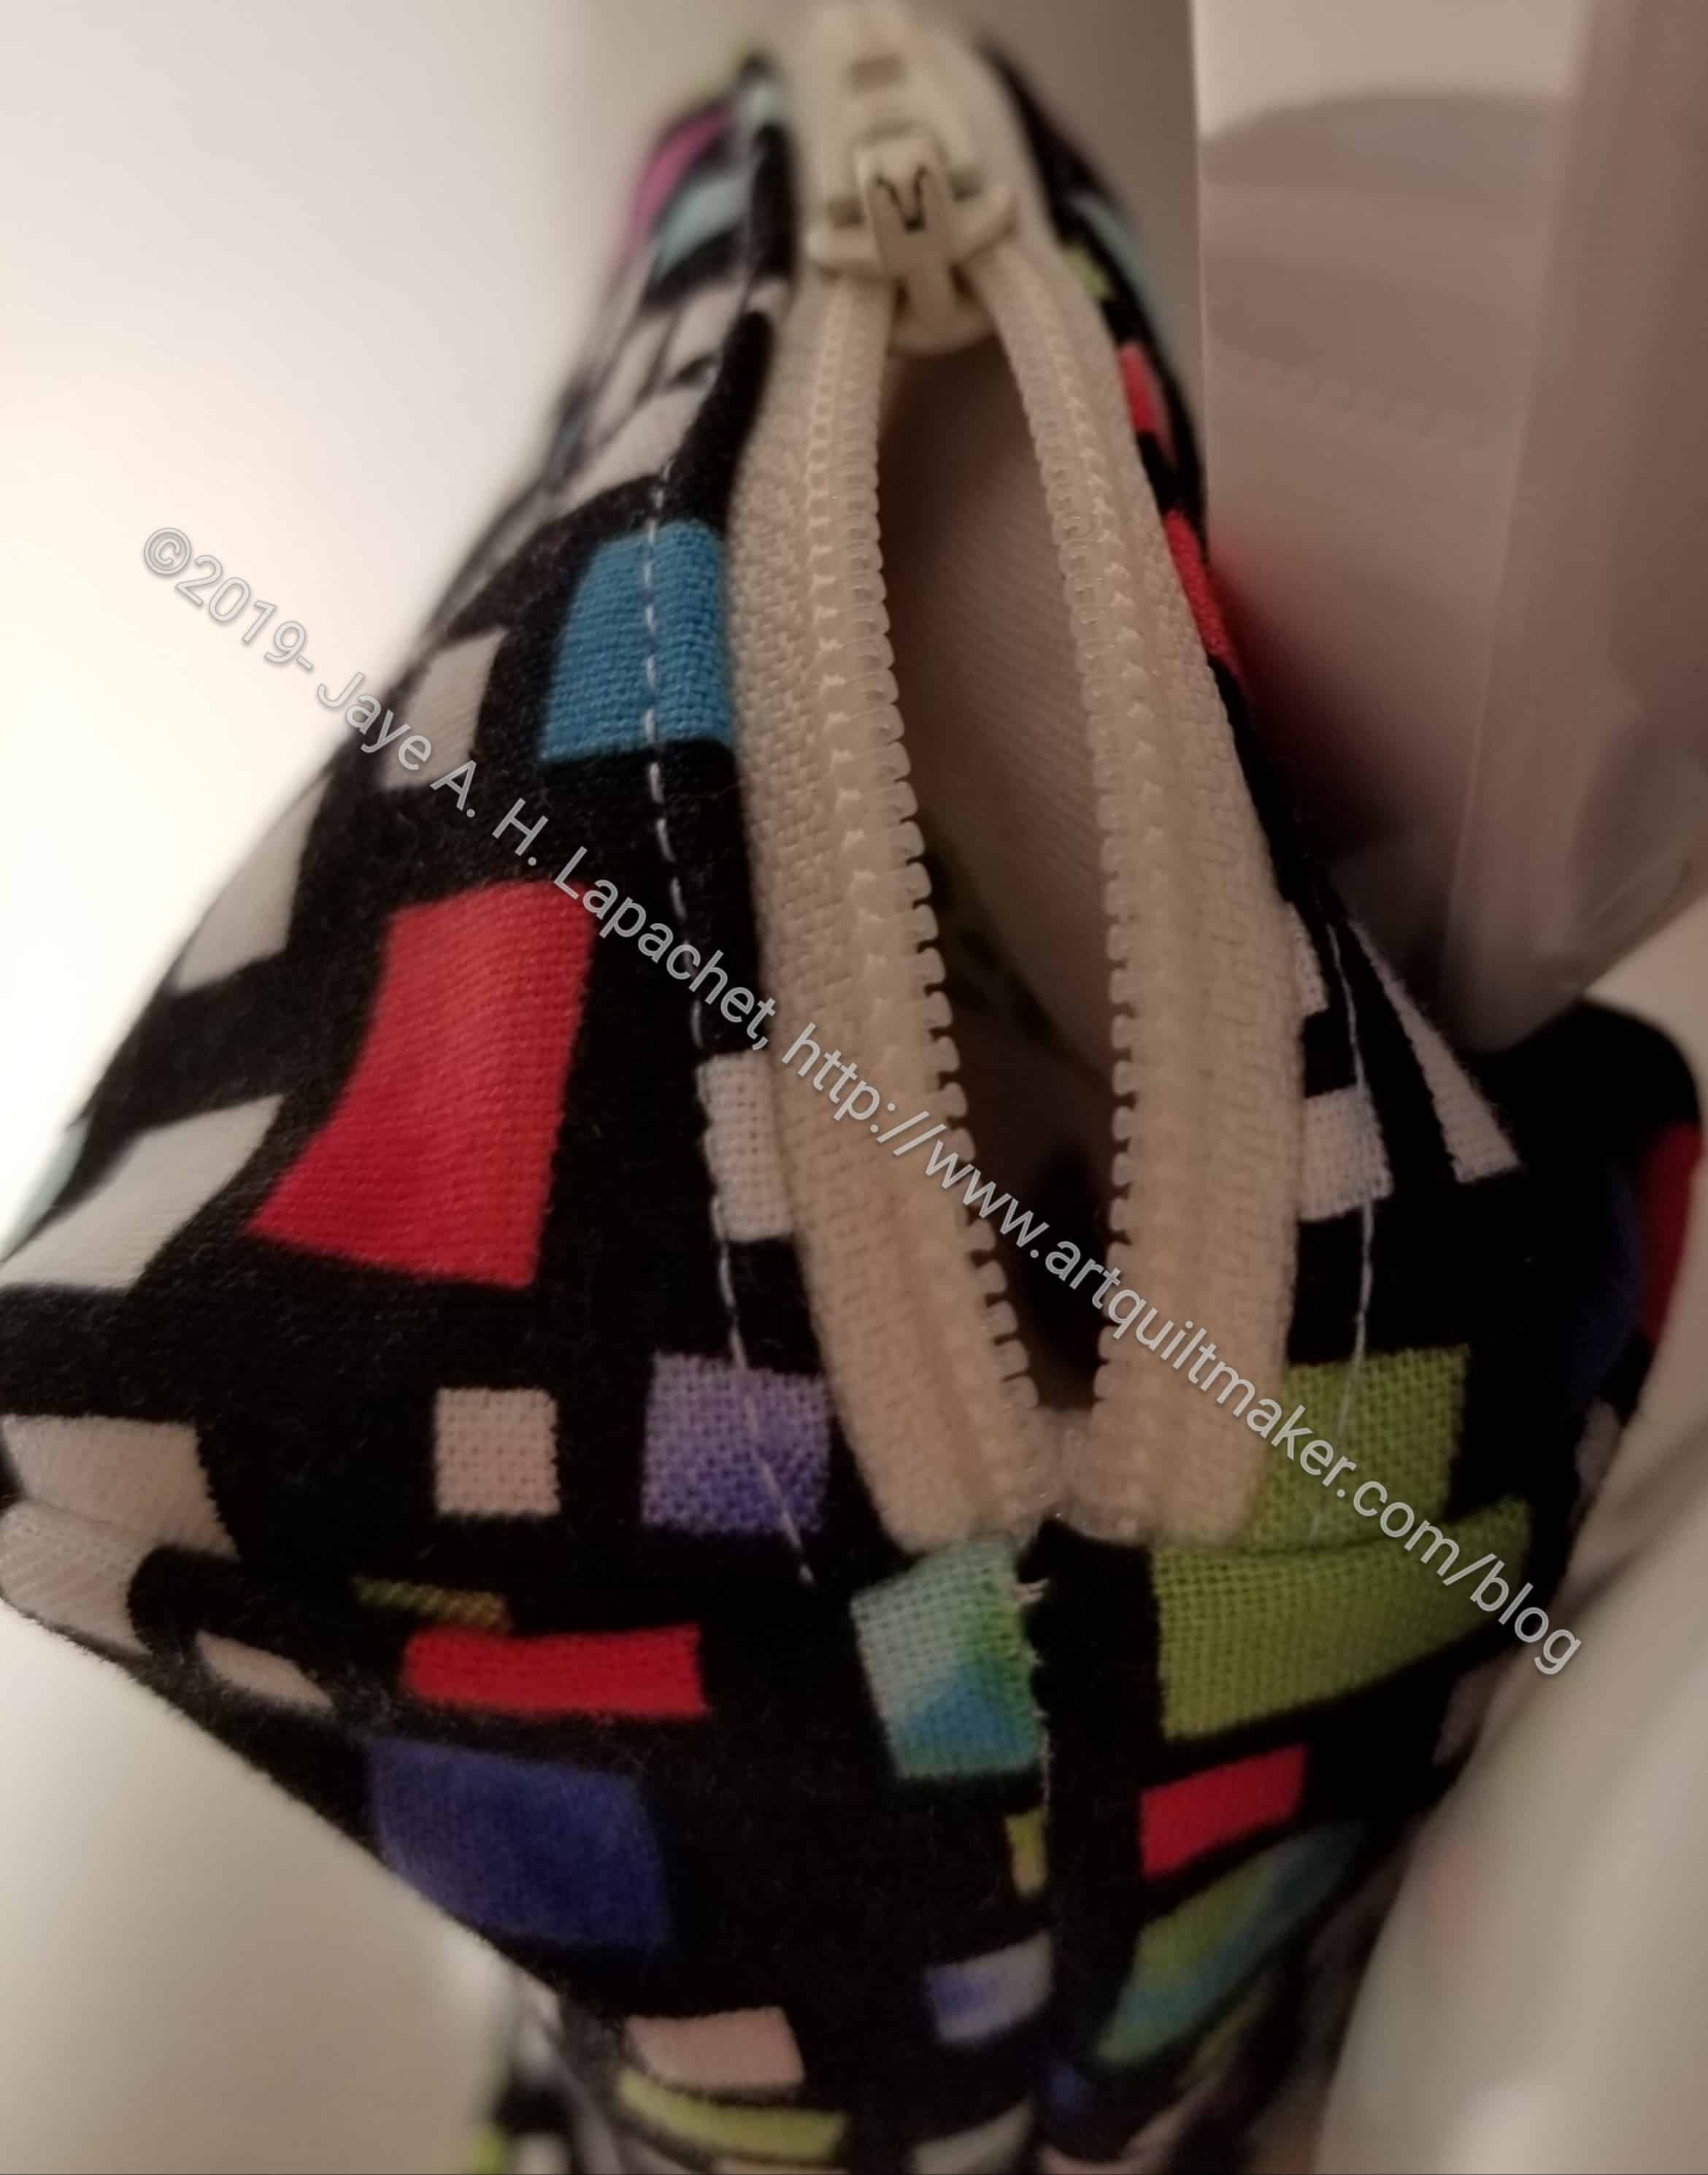
It also has a great way of finishing the ends of the zippers. There is no cutting off the zipper ends or making new stops. The ends are tucked into the bottom seam and hidden between the lining and exterior.
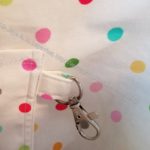
I was thinking I would like to add a leash and a lobster clip to this pouch, but since there are side seams, I am not sure if it is possible. I have another one cut out, so I will think about it some more as I make the next one.
Stay tuned for more! If you try this pattern, let me know what you think.
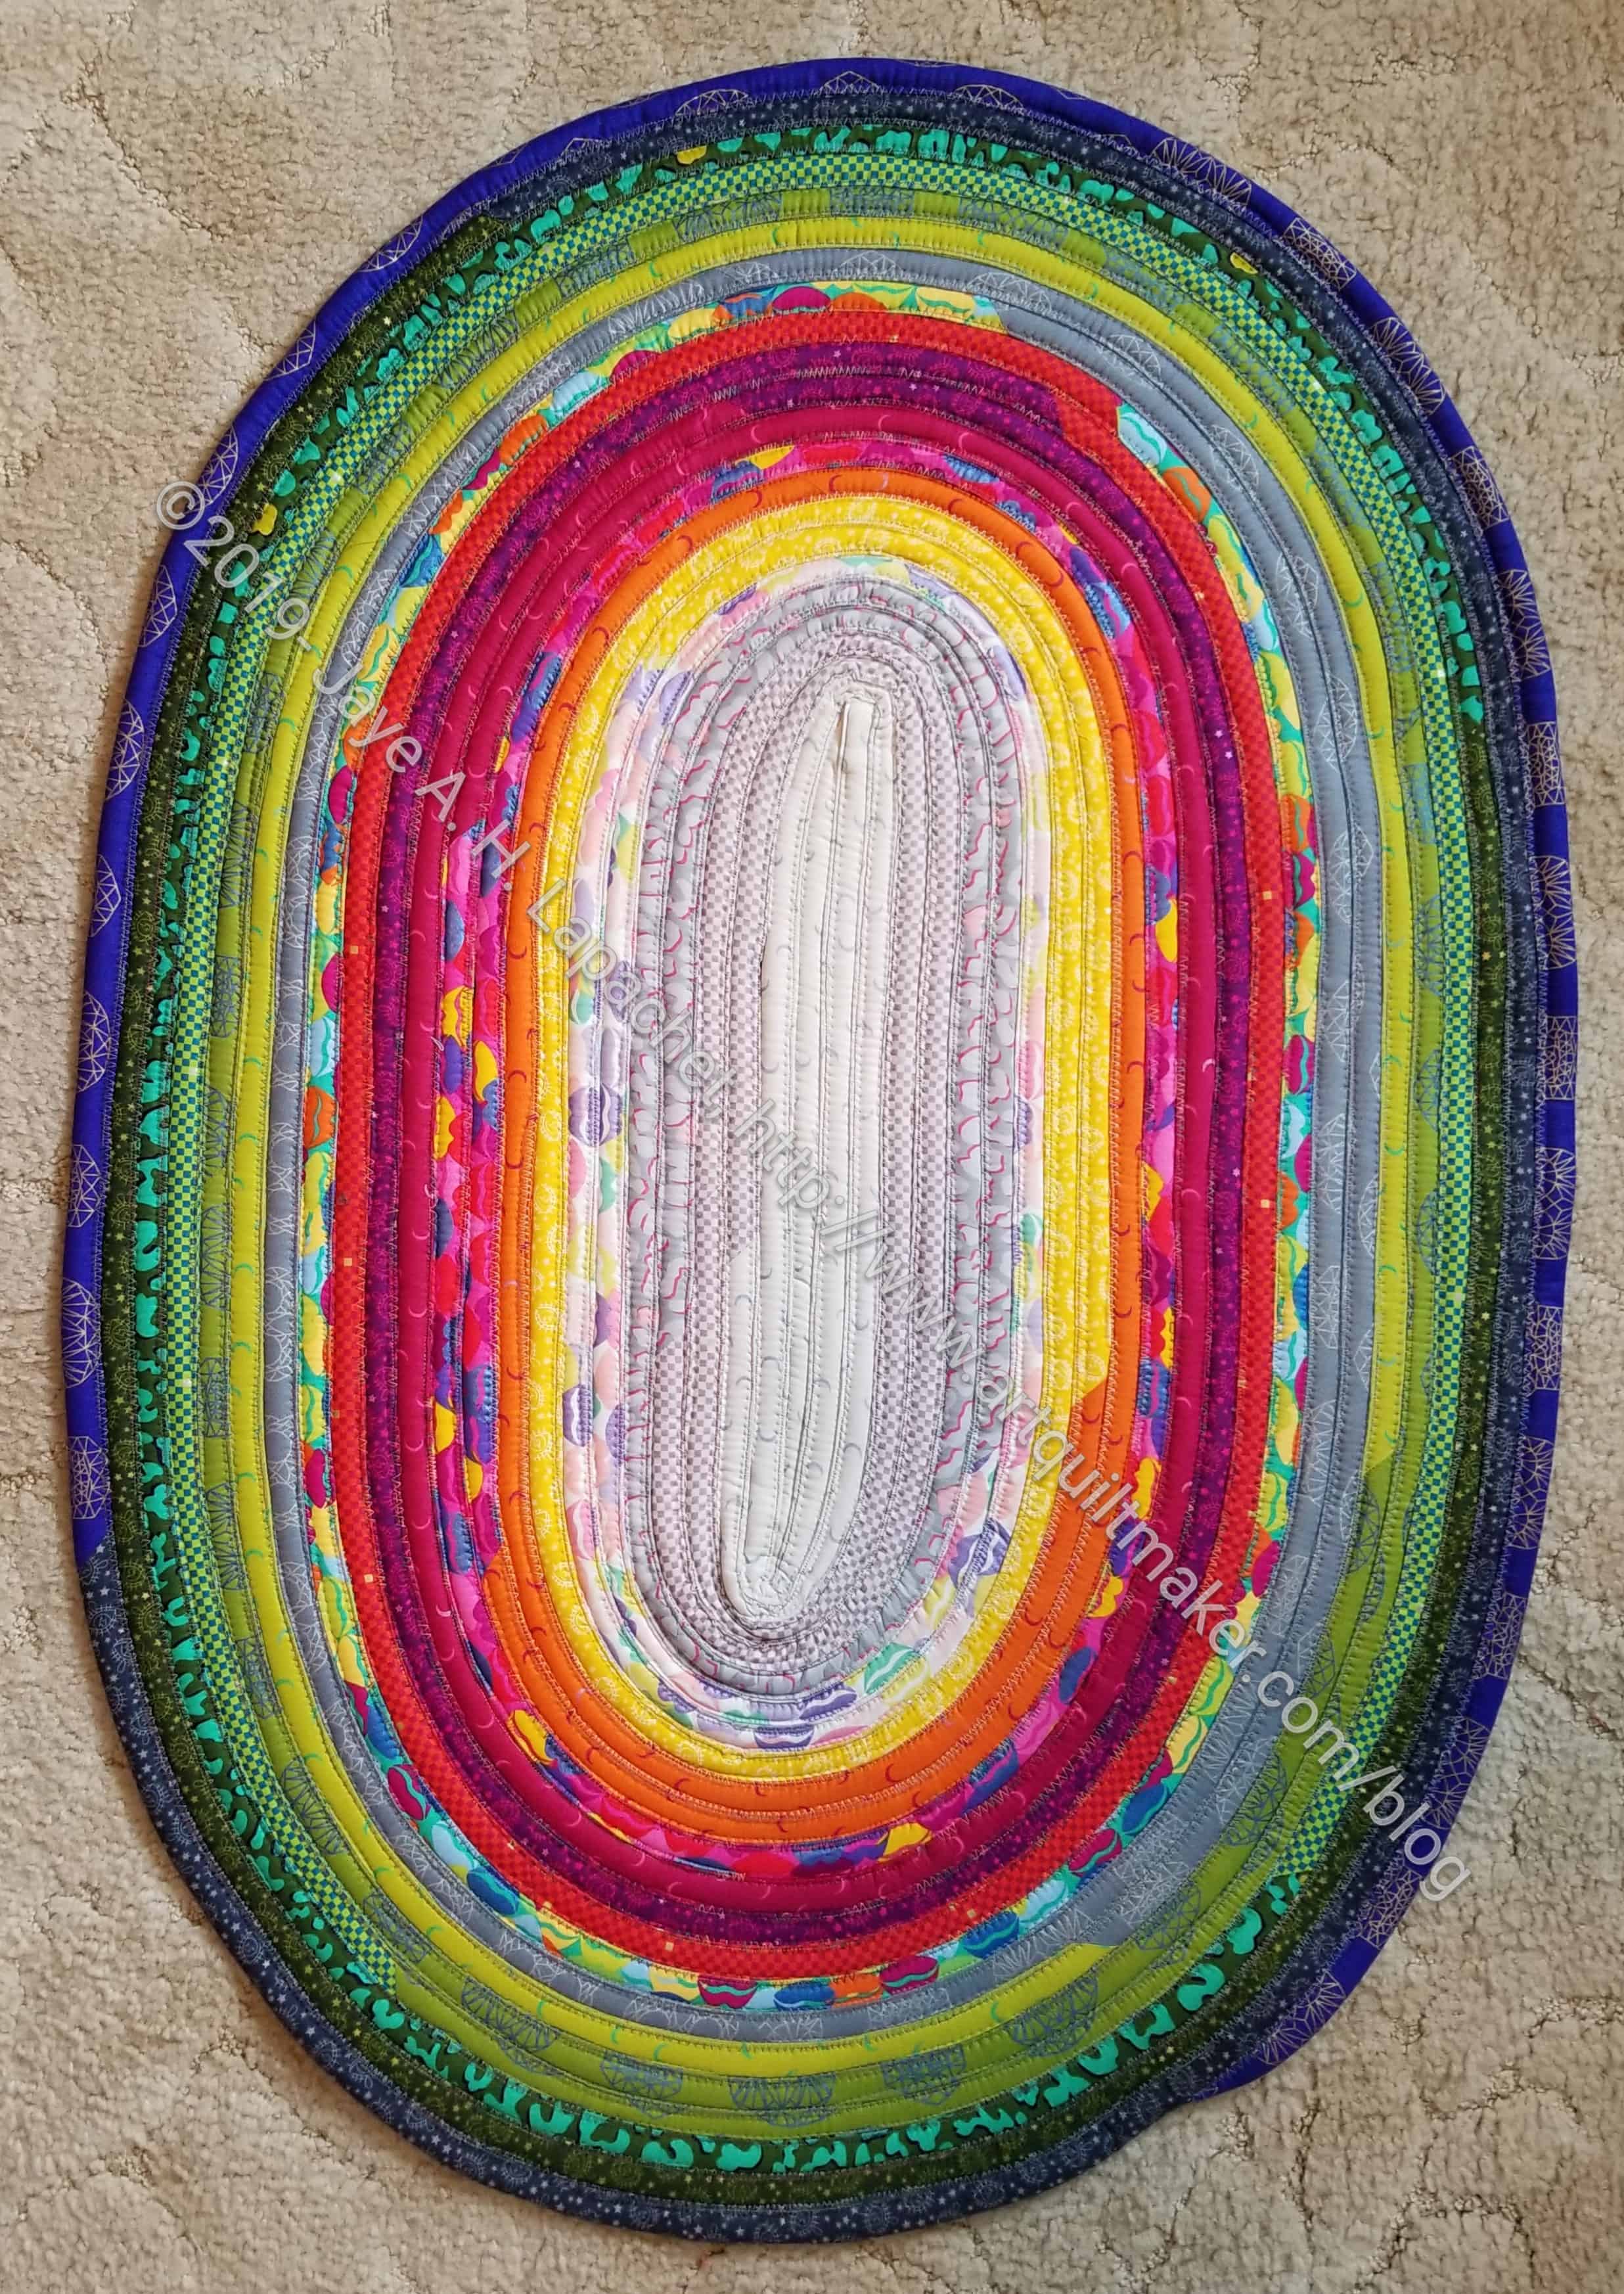
The Jelly Roll Rug is finally finished. I finished the sewing a few weeks ago, but Gretchen said I needed to steam it.
I finally did the last step on the Jelly Roll Rug over the weekend, which was to steam the living daylights out of it.
It is now pretty flat so all I have to do is send it off. I was going to have my YM take it to Portland to its new home, but he has a super cheap flight that doesn’t allow baggage.
This was a good experience. I think I will make another one, but square or rectangular.
After having to redo the sleeve (too long), I spent some time away from the half hexie project stitching away on the binding and sleeve of FOTY 2017. The piece is finished!
Others were able to see the skyscraper/tall buildings that I was intending when I created this layout. I am pleased that it is finished.

For once I also photographed the back. I know I have been slack on that lately.
I finished the tablerunner I talked about the other day. I did some simple quilting and bound it. I was actually able to finish the hand part of the binding in one sitting. I am not sure I have done that before. The piece is 13×37 and will reside on our coffee table.
I finally finished the Chubby Charmer I started making for myself a few weeks ago. I am really pleased with how it turned out. I started filling it with supplies for the Jelly Roll Rug class almost as soon as I had finished with it.

I used a violet batik for the handles and I am pleased with the choice.
I also did a few different things with the inside pockets. I didn’t make smaller pockets or slip zipper pockets. I even forgot to add Shapeflex to the pockets, but I did add a lobster clasp and a special pen holder.
My idea for the pockets had to do with the pouches I discussed when I made the All Rolled Up Tote. Yes, there is no D-ring like I discussed, but I didn’t have a D-ring that would fit with the lobster clip. I have a lot of those lobster clips. I will need to get some D-rings to go with them, but at this point I thought a lobster clip could still be clipped to a lobster clip.
Looking at the pictures now, I might just make a pouch to go with this Chubby Charmer as well.
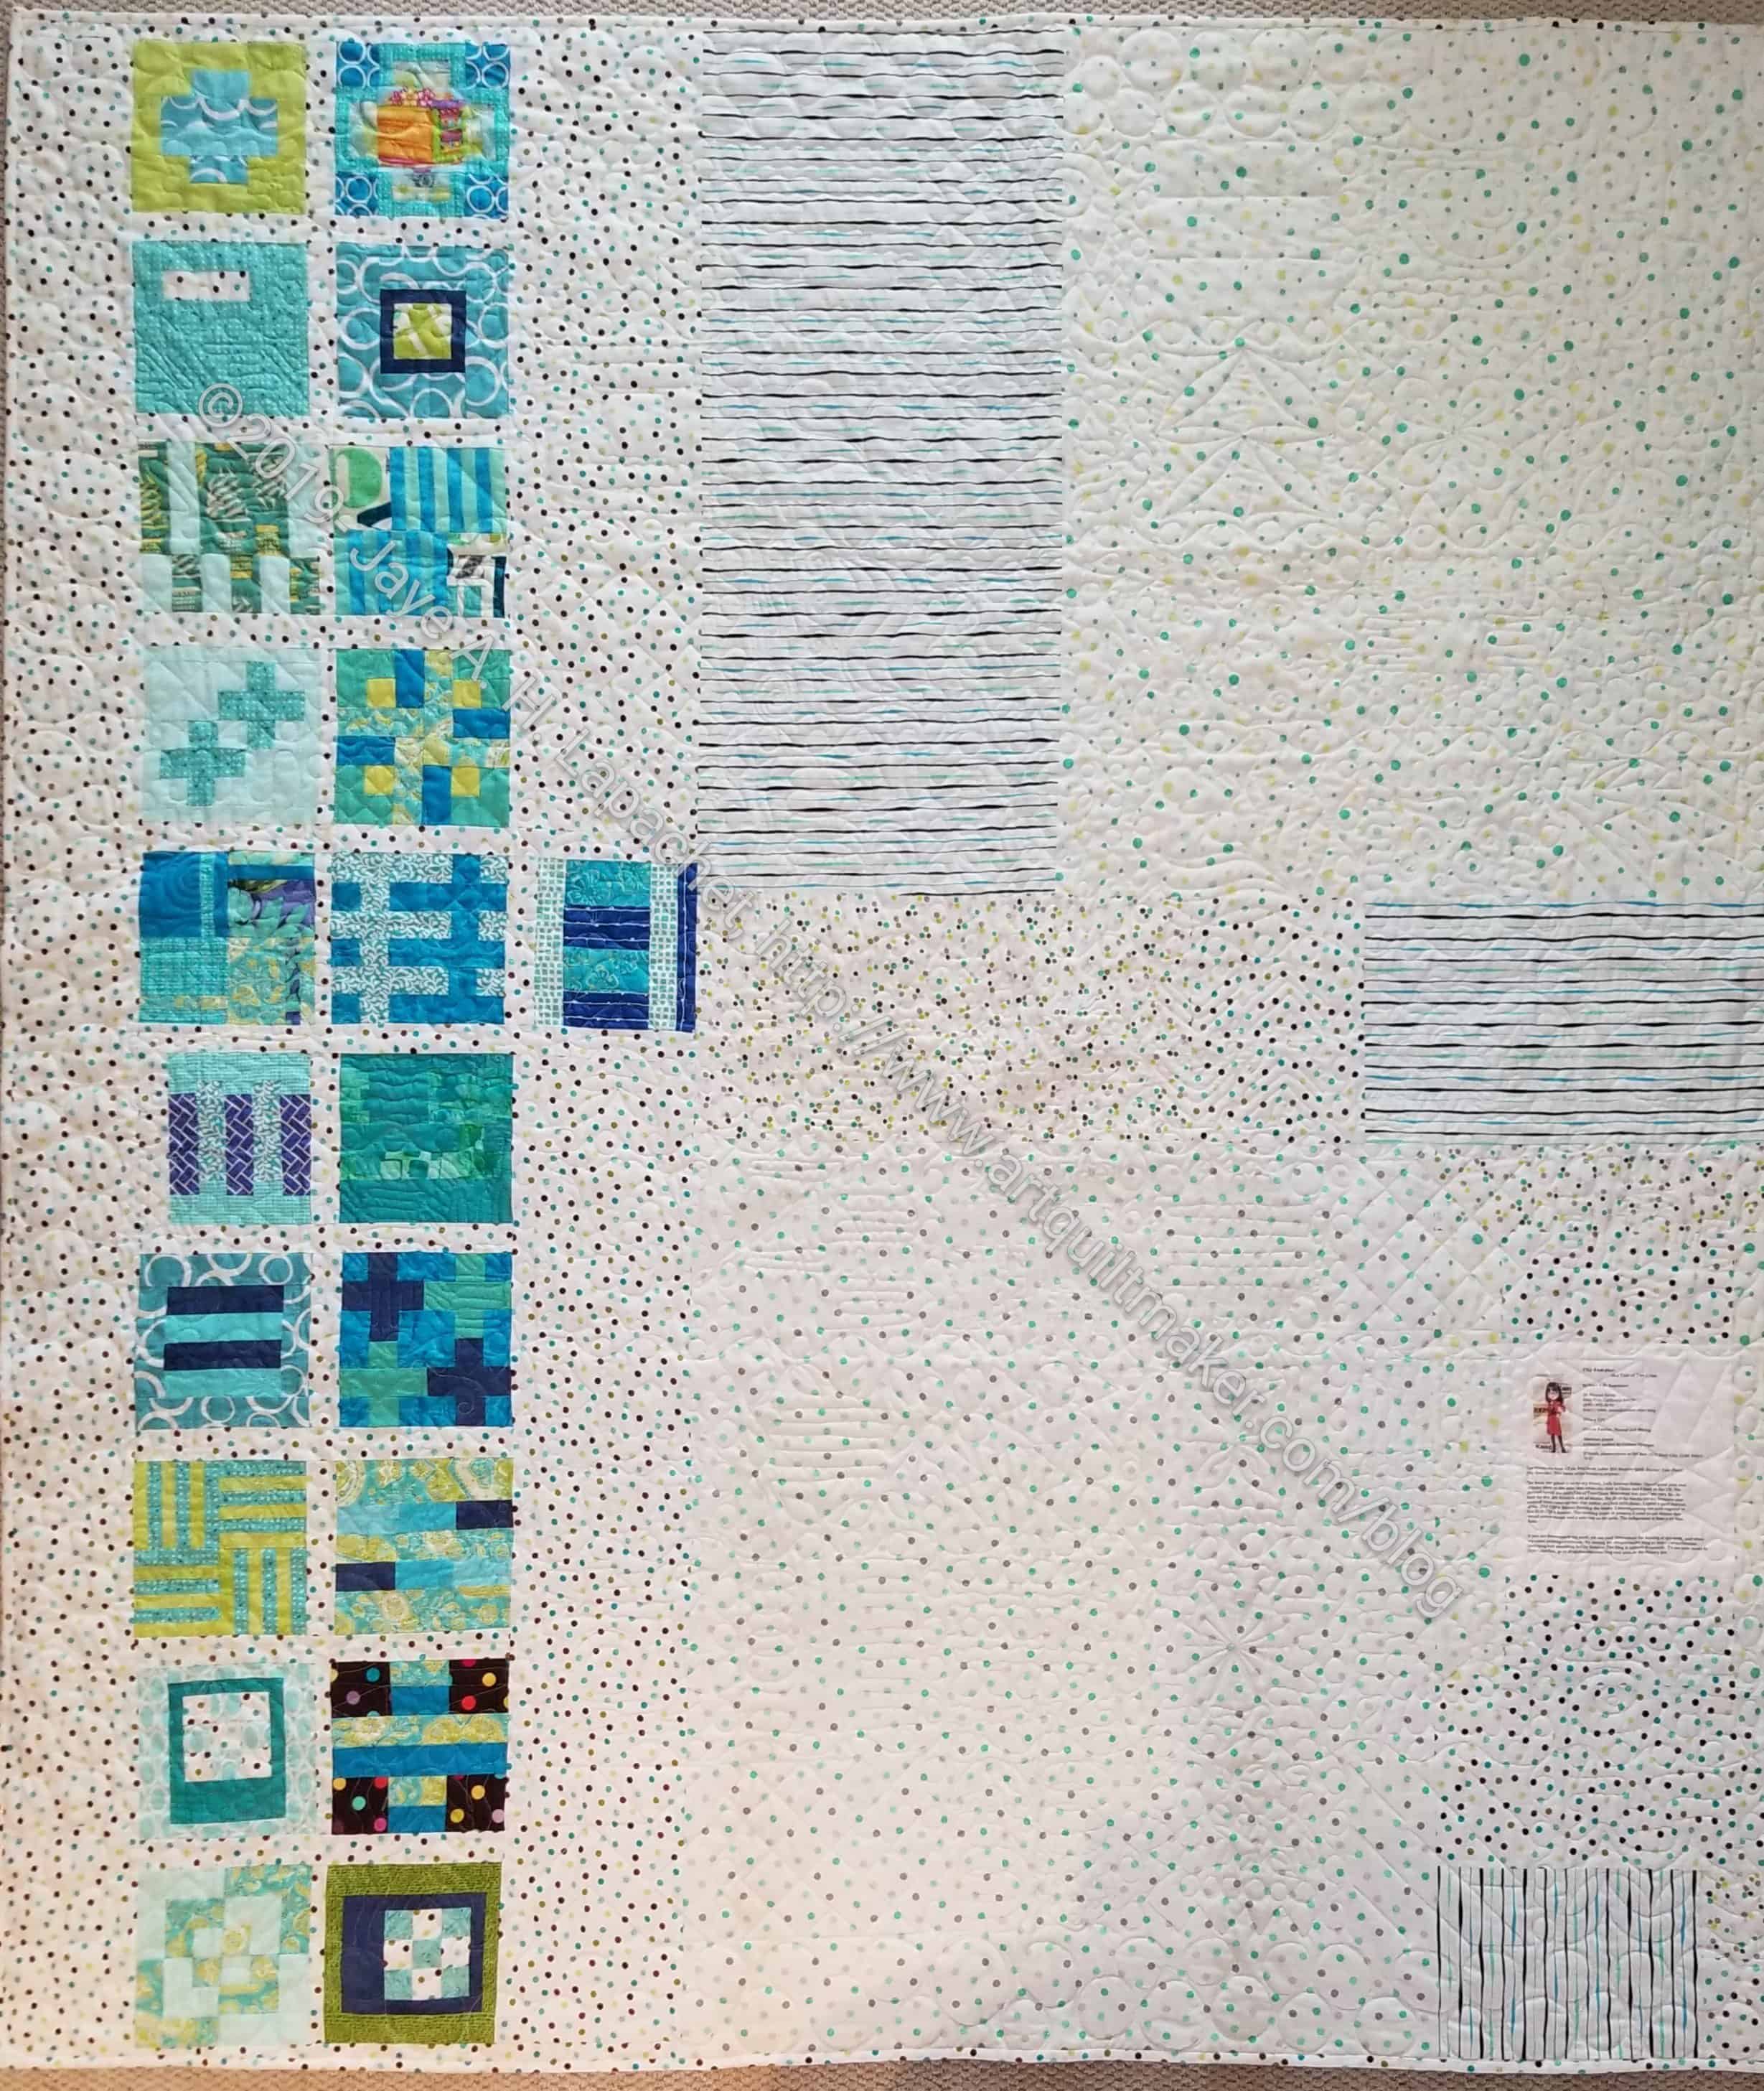
Finally! After, what seems like, years, I finally finished the City Sampler.

This is the product of the Tula Pink’s City Sampler: 100 Modern Quilt Blocks.
I started it in 2014 with high hopes of having a fun joint experience with Julie. Of course, it was fun to work on it at the same time, but the whole experience was not that great. I had problems with my seam allowance. Coupled with the small pieces in a lot of the blocks, many of the blocks came out the wrong sizes. I think of myself as a competent piecer, so this problem was extremely frustrating especially when I couldn’t diagnose the cause of the problem.
Also, I do not like log cabin blocks. I don’t know what it is about them, but I don’t like them. This book had a ton of log cabin-like patterns. They just felt like torture to me.
I finally decided to suck up the suffering and get this off of my list. As you know, I worked on it at the CQFA Retreat and that event provided the hours I needed to get over the hump.
What makes this quilt is the quilting. Colleen outdid herself with masterful work. We have a true collaboration and it shows in this quilt.
You can find more posts about the making of this quilt by clicking on the City Sampler tag.
Last year, during or after the Sisters trip, I started knitting a scarf. I had my usual ups and downs with the knitting, ripping out quite a bit, not knitting on it, etc.

Lately, when DH is out at a meeting on a Wednesday evening, I go to a knitting circle at a local shop in order to see people and have some human contact. I have been 3-4 times. I just sit there, knit and listen. This activity has helped to get this scarf finished. I still have to weave in the ends, but I am calling it done. This project is for me and I will wear it as a summer scarf, for those foggy days in August.

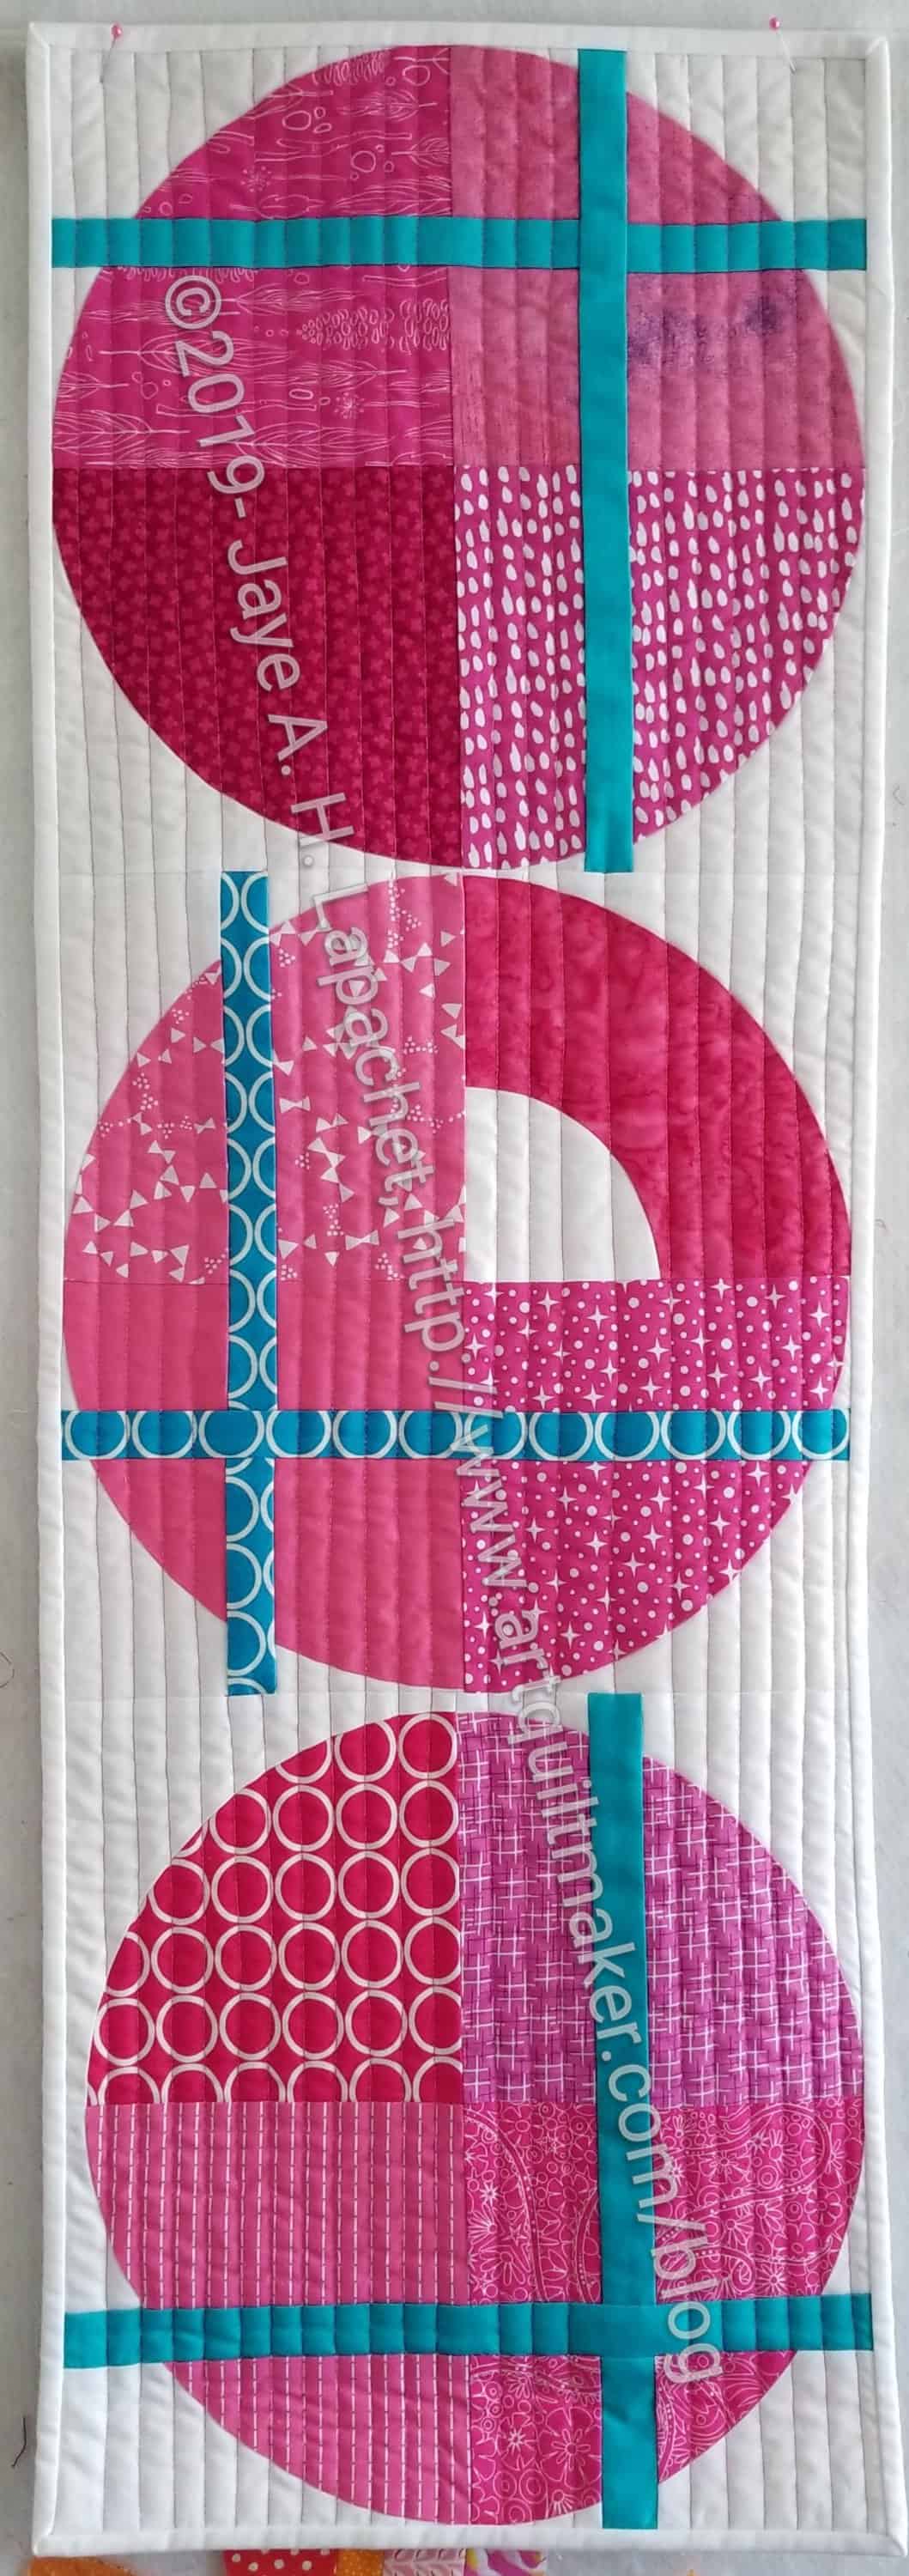
This tablerunner (buffet runner) is finished and I couldn’t be more pleased.
The photo, left, shows where it will go in my house during Christmas. I am pleased because I had to adjust the pattern slightly and it worked! The runner fits perfectly on top of my buffet.
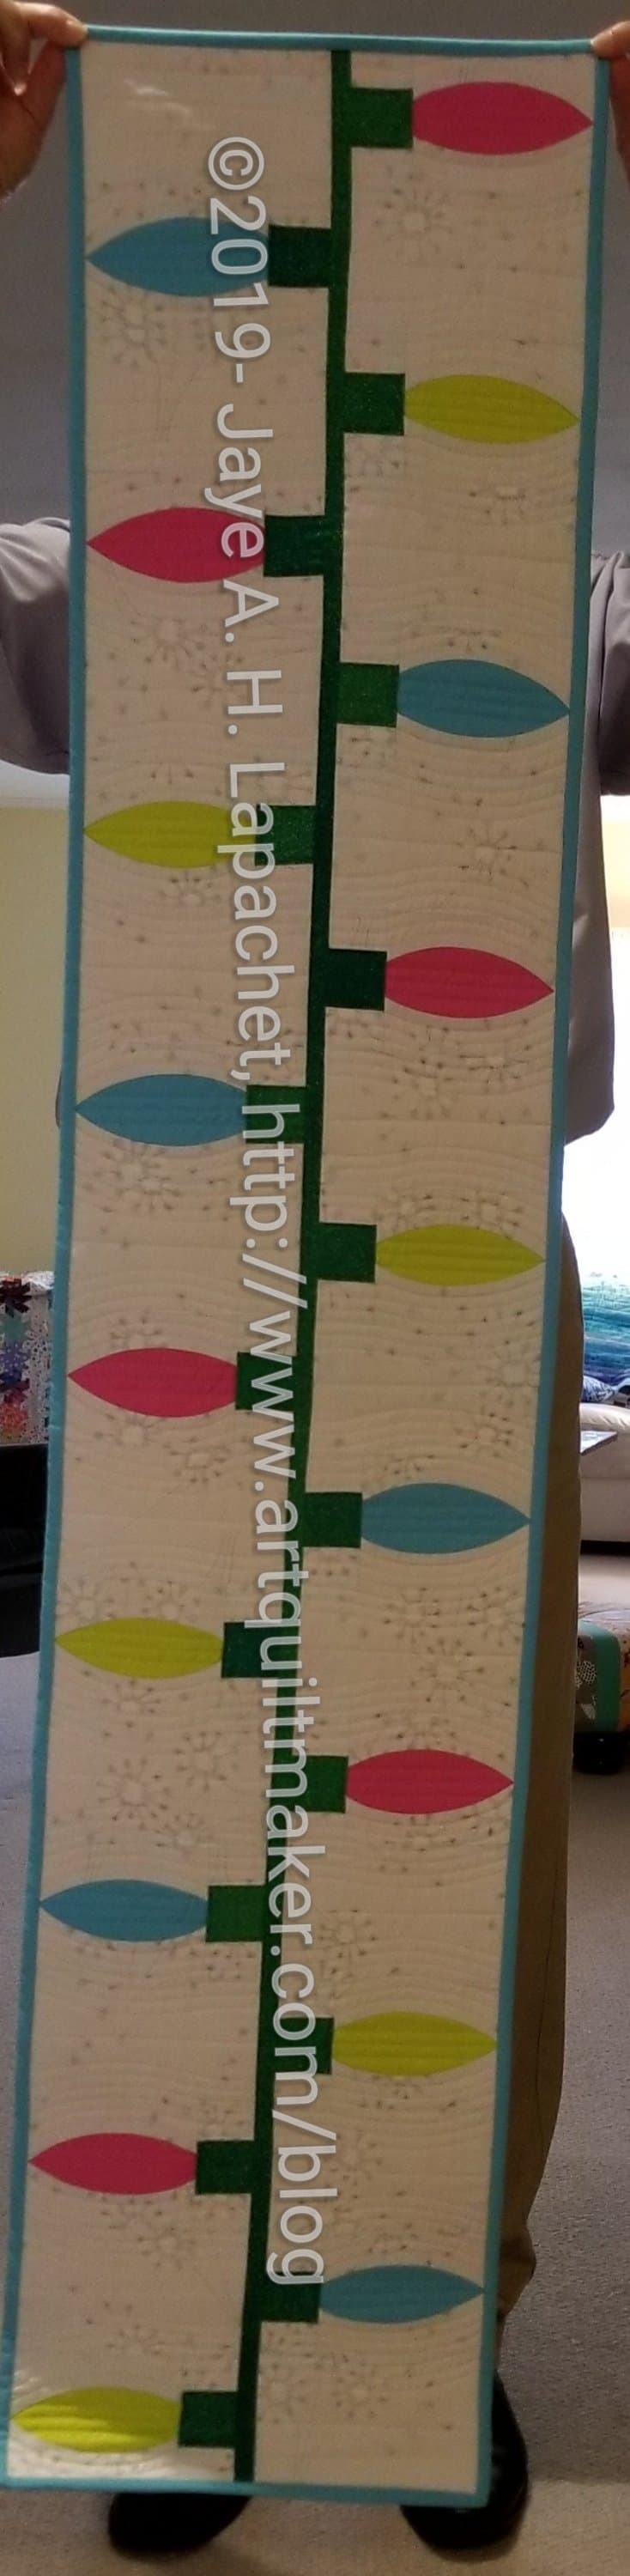
As mentioned, this is a quick curve mini-ruler pattern from Sew Kind of Wonderful called Mod Lights. The pattern has 3-4 patterns, so you wouldn’t just be getting this one.
I used some Free Spirit solids bought at QuiltCon in 2018. They were lovely to work with-not much fraying and great colors. The green is a Pointillist Palette ombre I have had for awhile and the background is the same background I used for Metroscape.
I also did the quilting myself. I don’t do much quilting, but I decided it was too small to take to Colleen and I could do it. Also, I wanted it done, so I spent a Saturday quilting it very slowly. My body is still complaining a bit from the exertion.
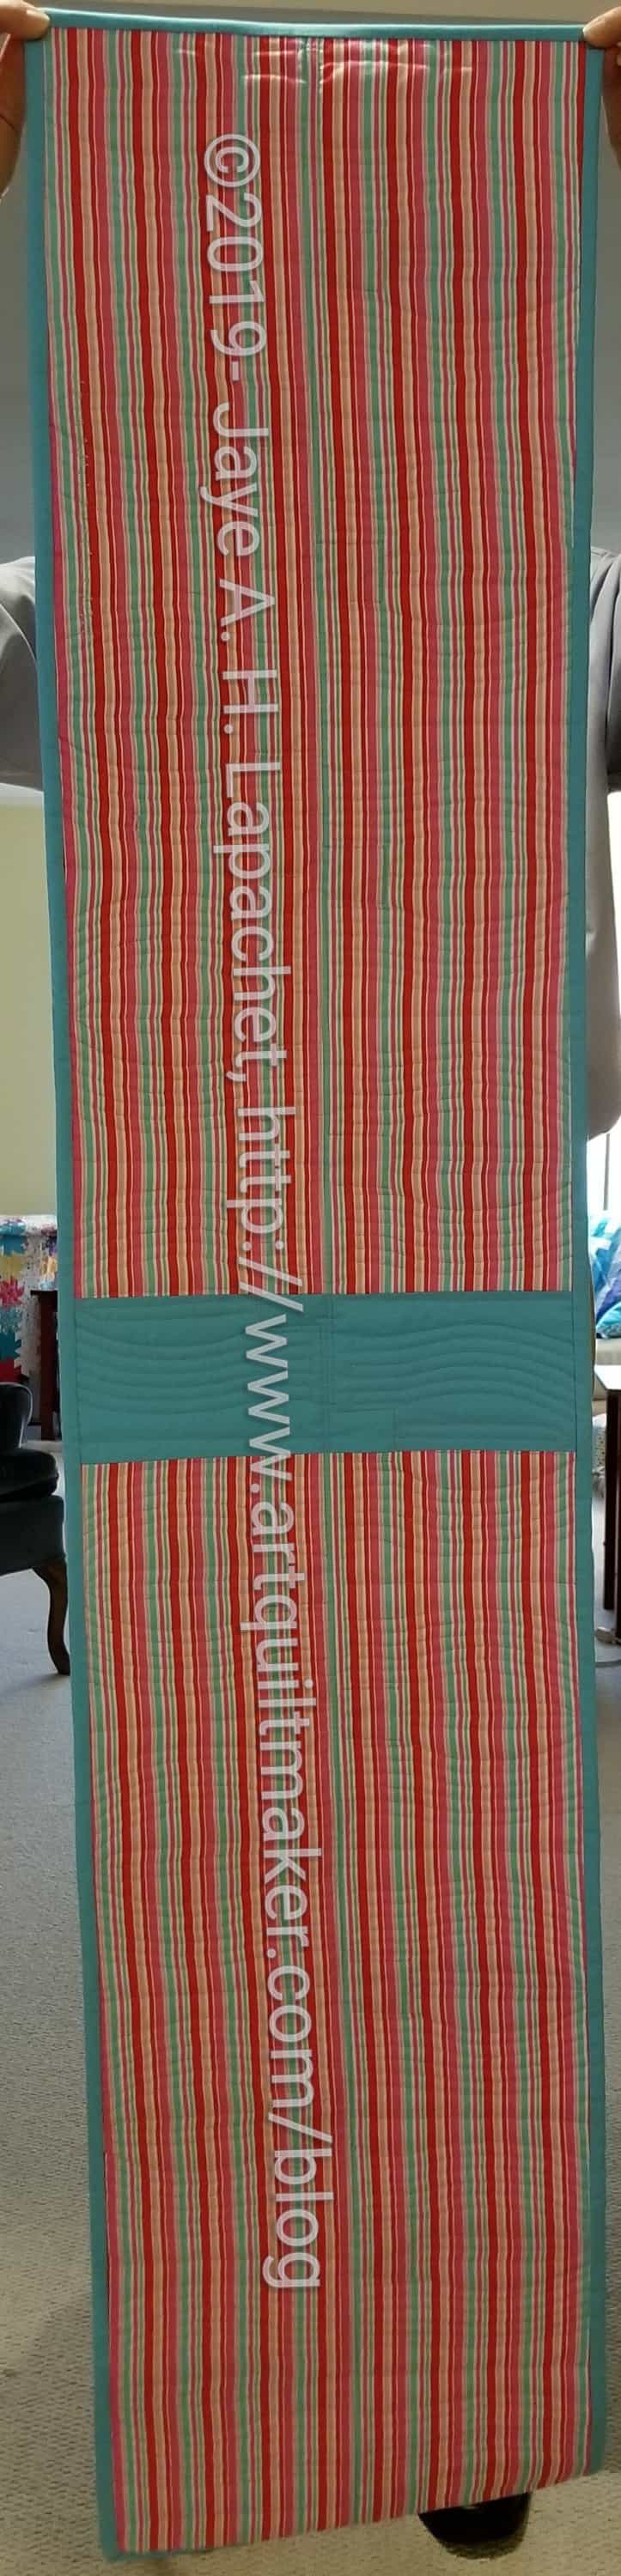
I had some tension issues, but learned a bit about my machine in working them out. I didn’t see the computer display change as I adjusted the tension, but I did see a difference in the stitching, so I guess it worked.
Shortly after I finished the binding on Metroscape, I started and finished the binding on this sampler. I am pleased to have another finish! With this finish, I am crossing something off the list that has been on it for a long time. That feels great.
I showed it at BAM last Saturday and I was gratified at the response. I don’t think this sampler looks fuddy-duddyish, but I wasn’t sure how that more modern audience would take it. They liked it and it makes me want to pull out the Handbag Sampler and get back to it. I do think I would like to make some smaller blocks to go in a new sampler I might start, like the Star Sampler.
I finished Metroscape a few weeks ago. I didn’t post it sooner because I just had the chance to snap a photo before I took it to guild last week.
I am still pleased with it and was encouraged to enter it into the fair, which means adding a rod pocket. I don’t have much else to add so I just might. It will, at least, impress a few people because of the curves. The machine quilted category is a tough one, but with the curves and the bold fabrics, this one might have a chance to win.
What this quilt makes me think about now is what to do next with the Quick Curve Rulers.
Every time I type ‘apron’ it comes out as aprong. I am not sure why, but it may mean that I need to stop making aprons.
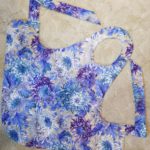
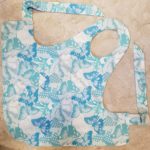
I finally finished my Flapper apron. I have been using the Church Ladies apron I made awhile ago, though it is not perfect. I don’t like the interfacing in the handles, because it makes them hard to tie. I also don’t like the construction.
I made a Flapper apron for myself awhile ago. The neckline was too long and gaped, so I didn’t like it for myself. It was the one I put in the Fair last year and was well sewn. It couldn’t compete against the tailored blazer in the same category (ERGH!!!), but I still did my best. I never wore it so I sent it off to a friend who admired it. Why not? She loves it.
I adjusted the pattern a little bit on this newest version and the neckline is much better. Not as long, so it doesn’t gape.
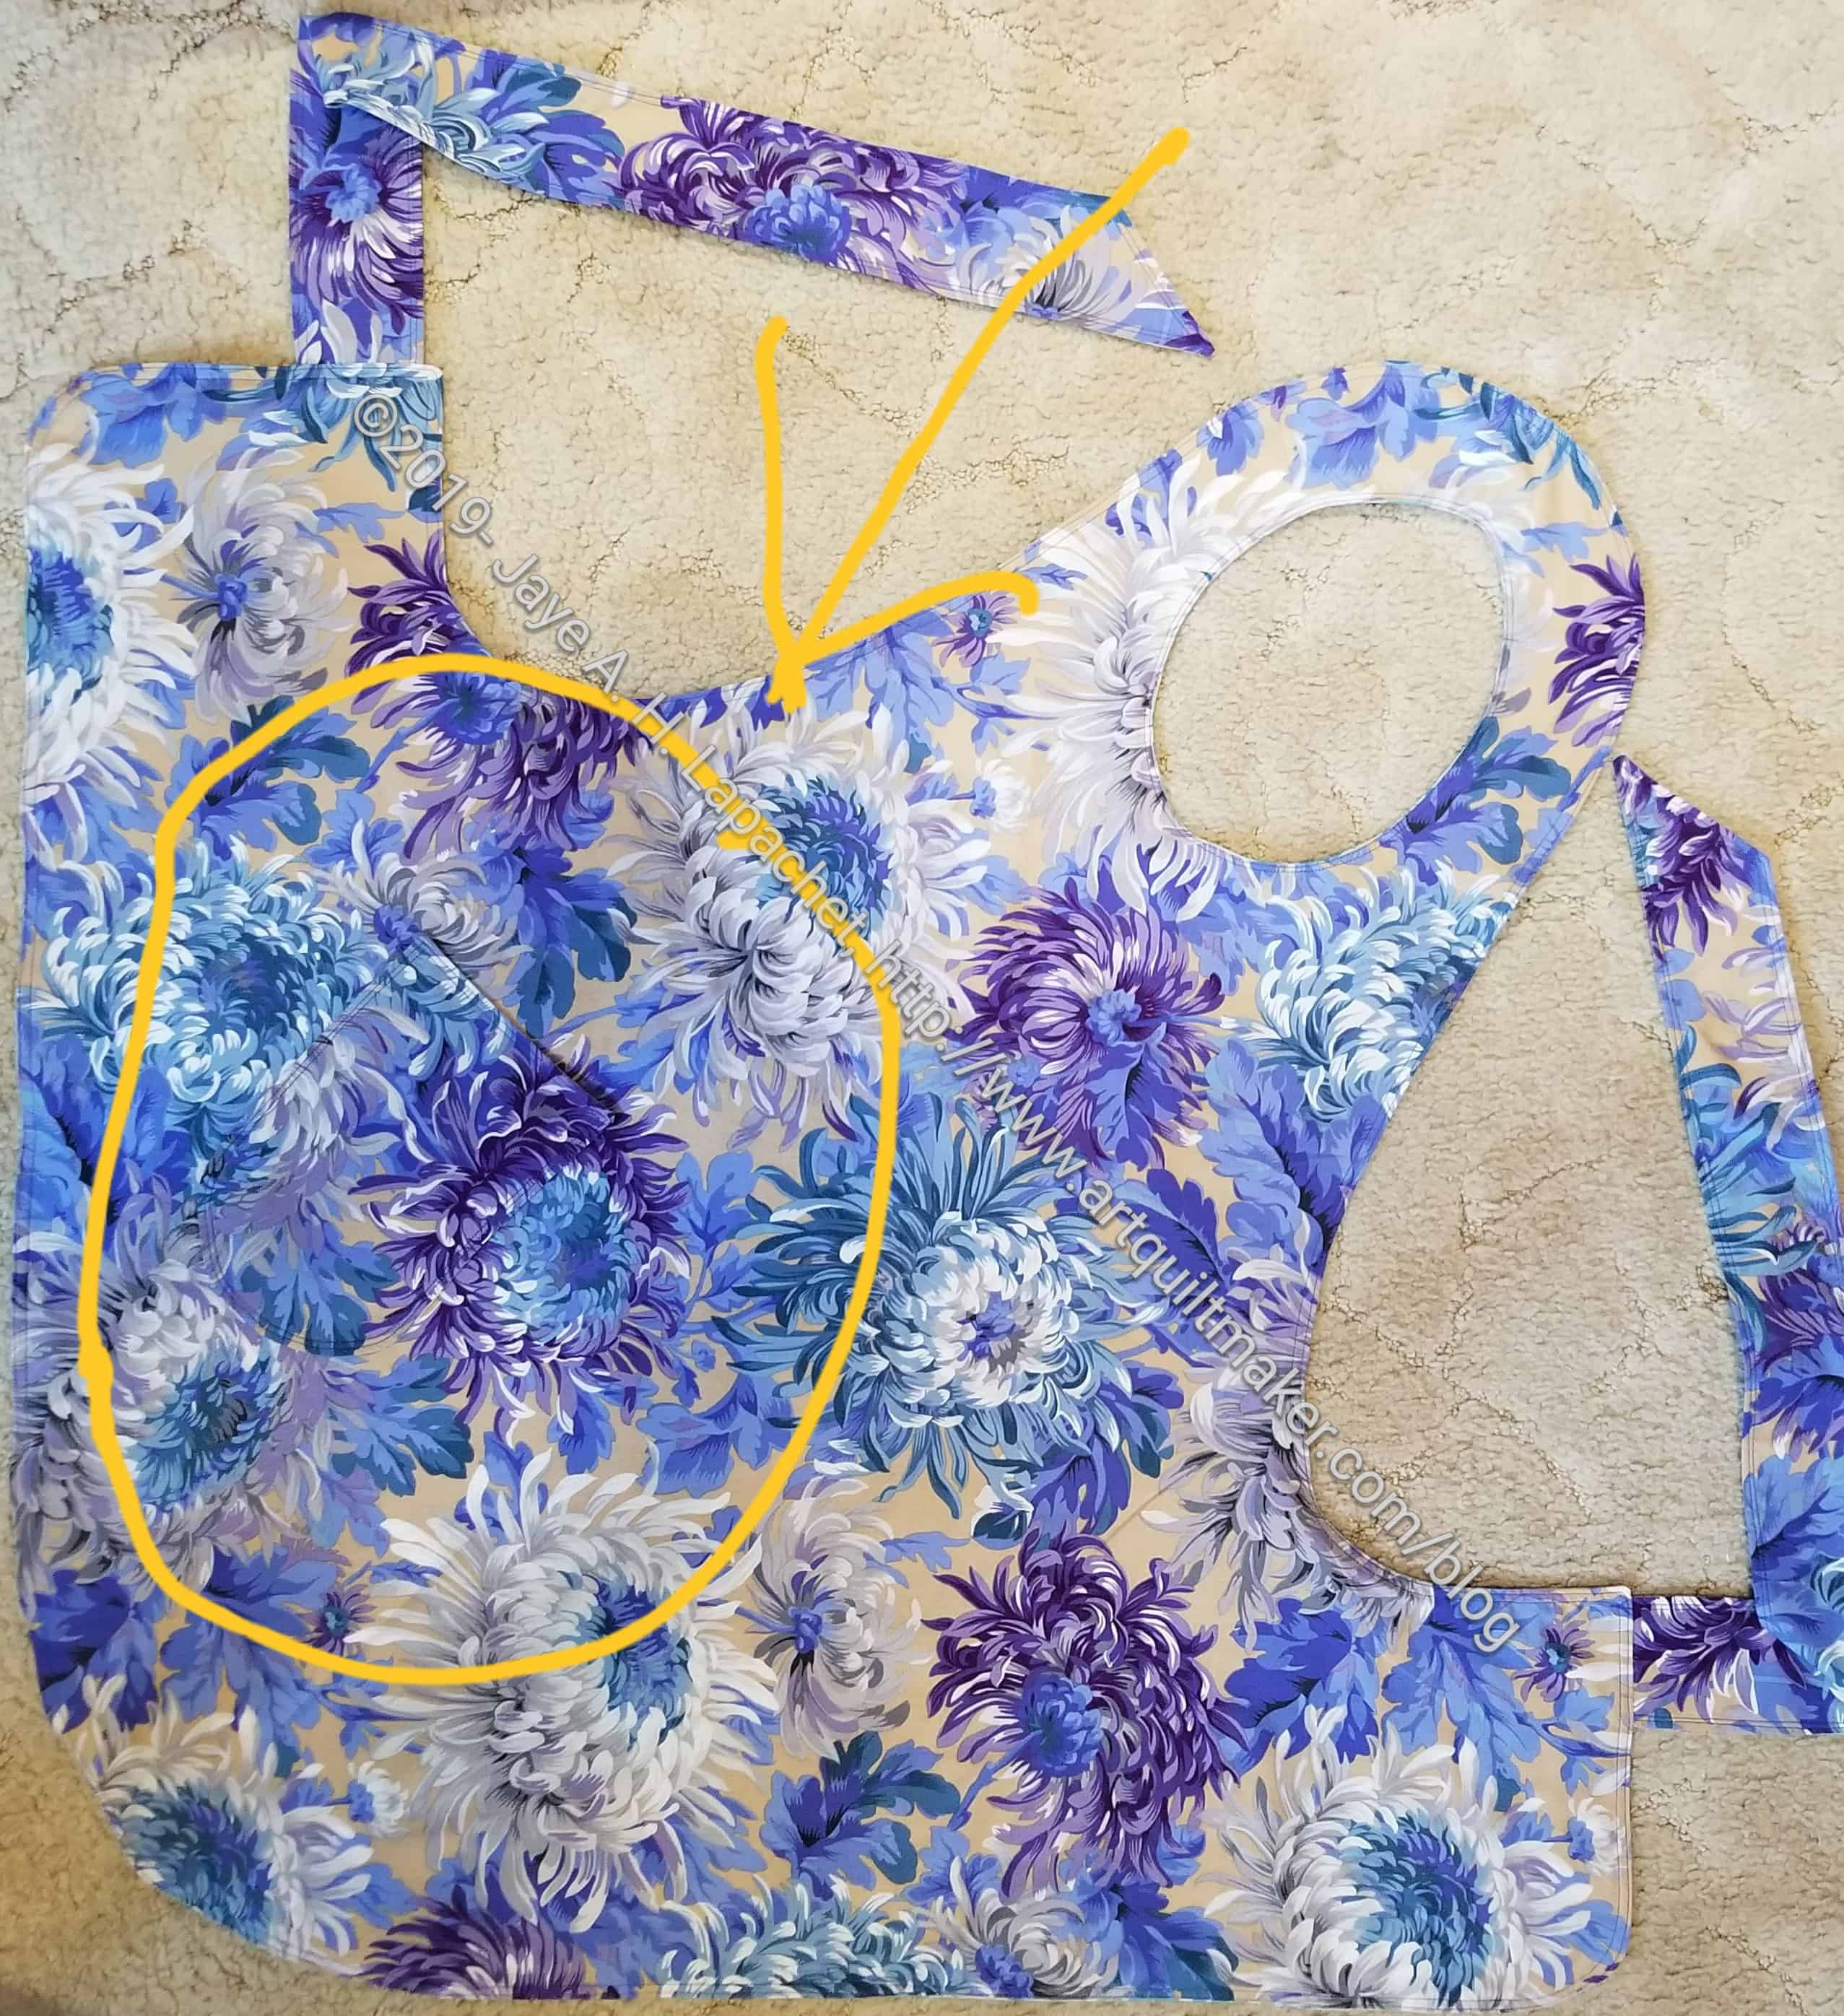
When I put the pockets on, I was pleased to see that I had matched up one of the Chrysanthemums! I didn’t do it on purpose, but am so pleased. I know the pocket blends into the fabric, so enlarge the photo to see my triumph. 🙂
I haven’t tried it out, but will soon.
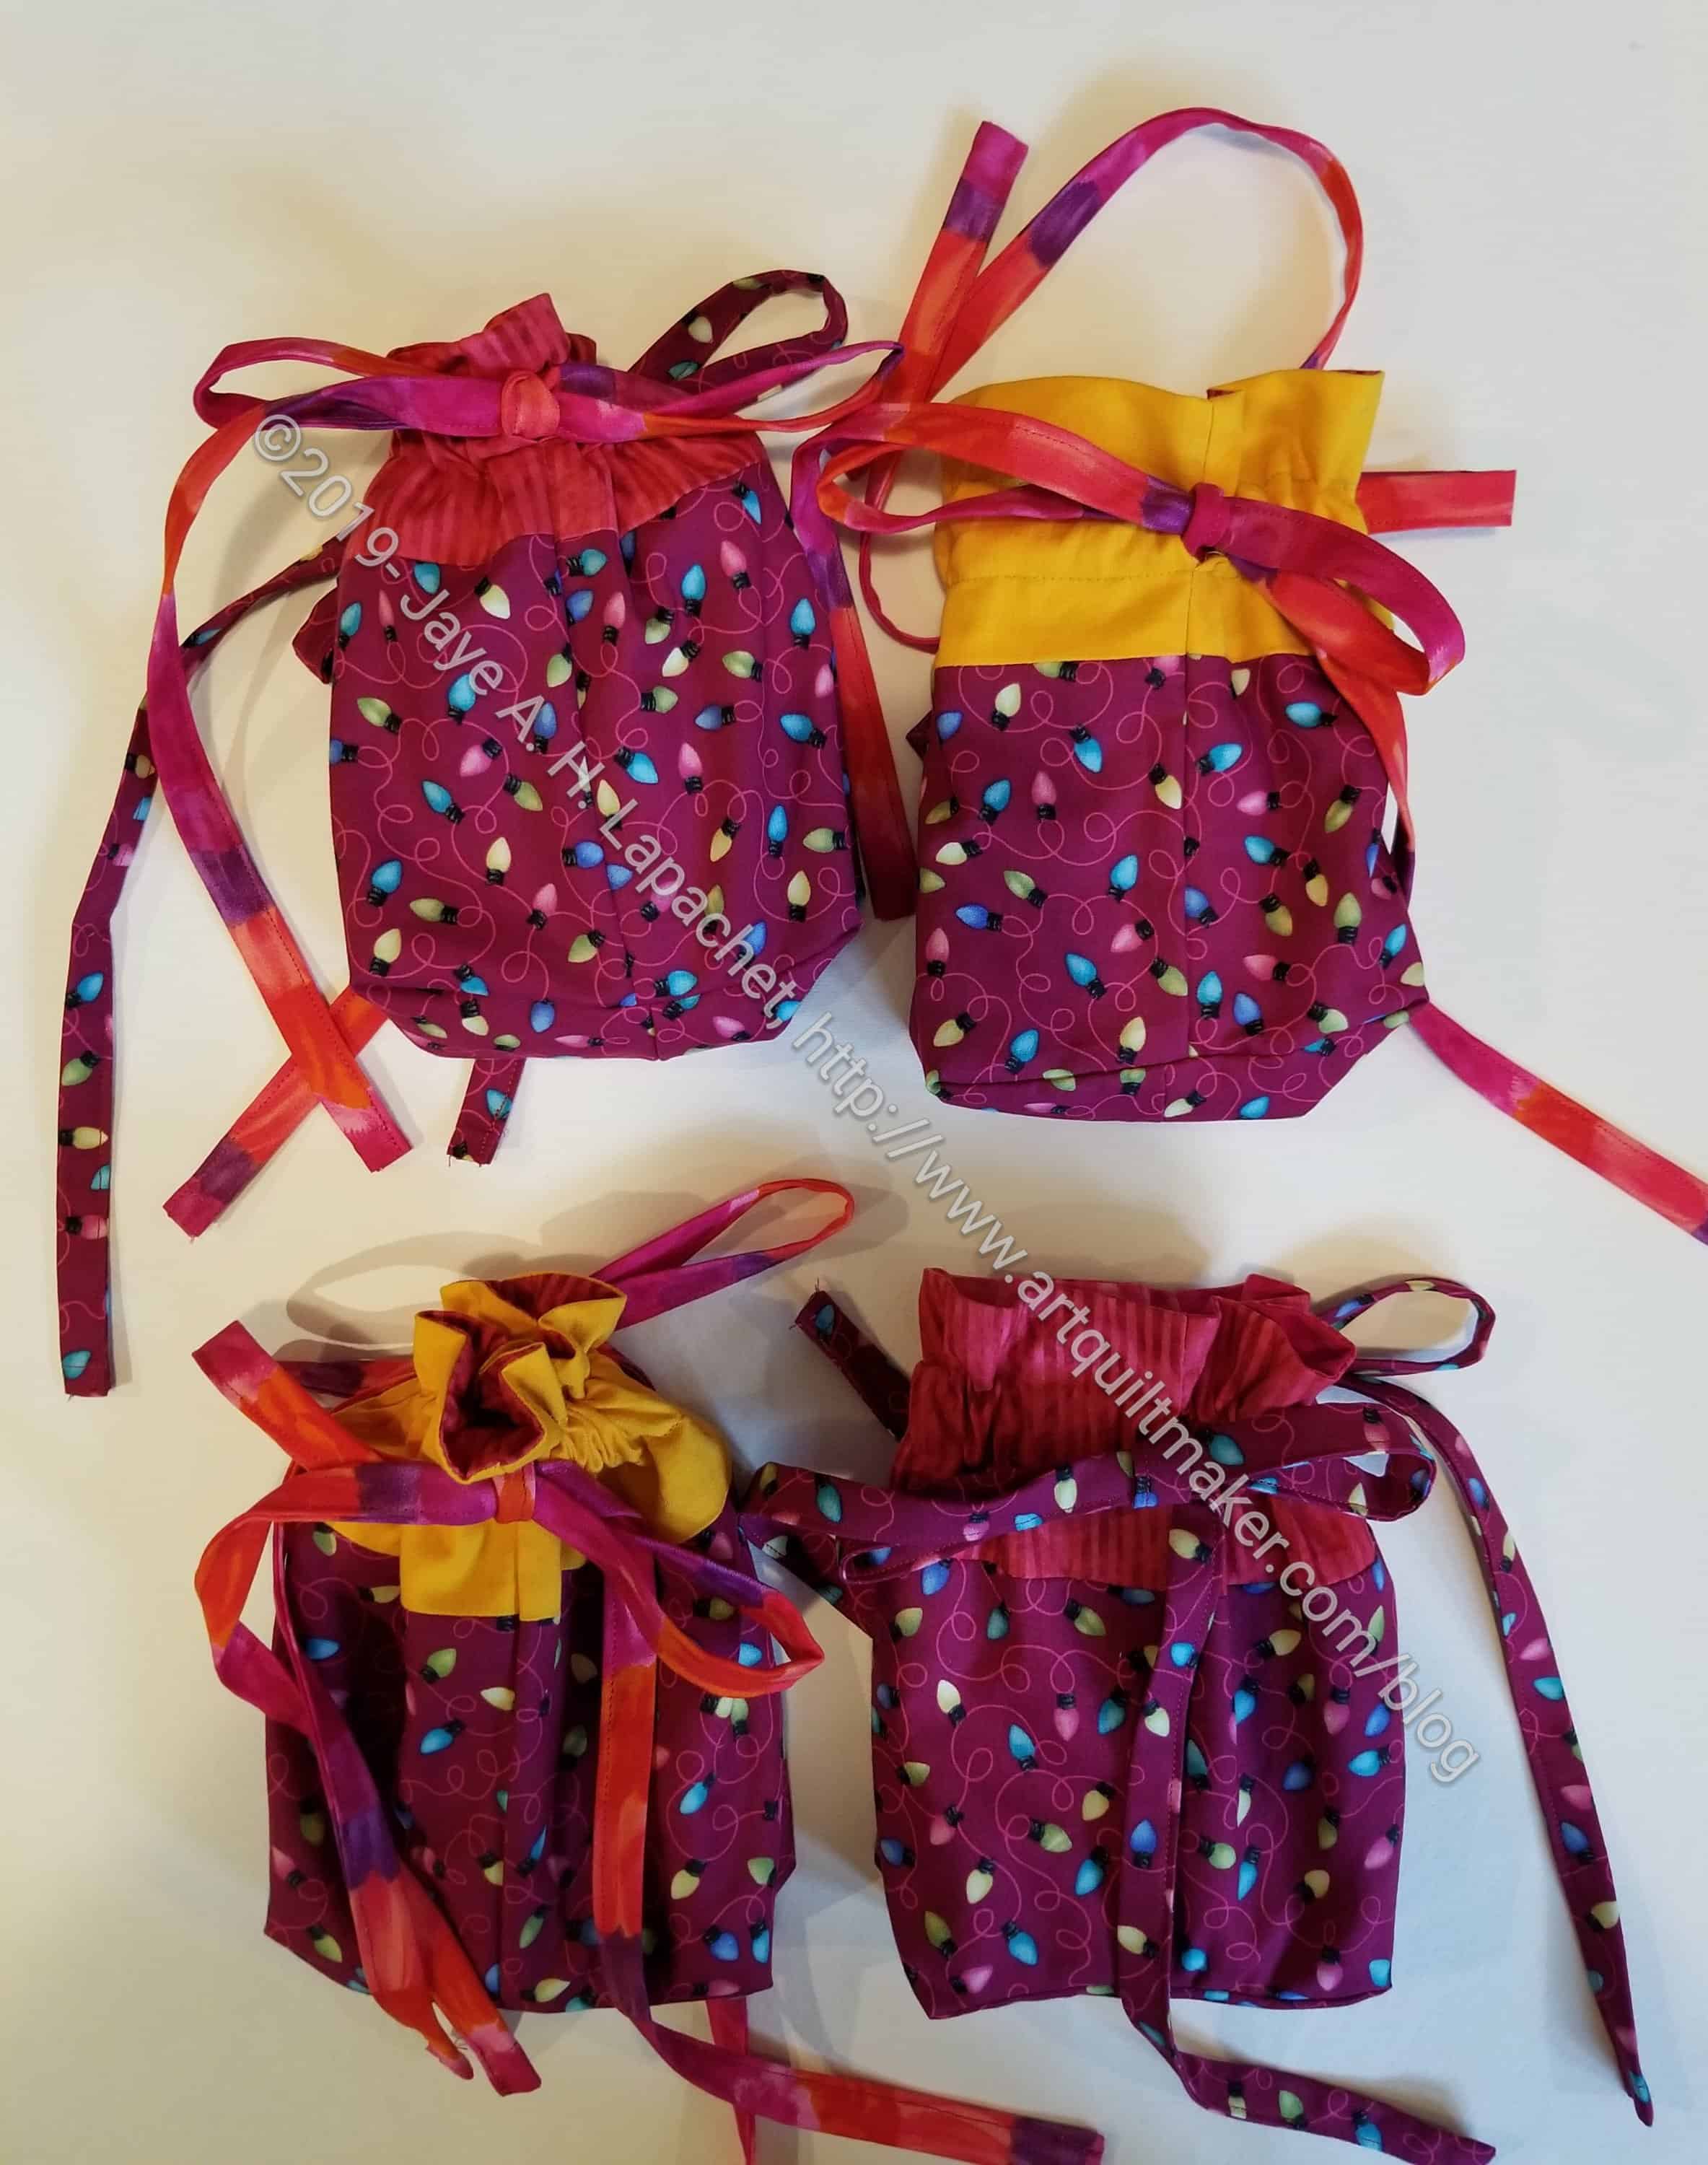
I finally finished all of the gift bags I started at Gerre’s house a few weeks ago. I know I showed one of them previously. Sometimes I just have to show progress in order to make it seem real. The gifts are in them and ready for Christmas.
Crazy, I know, but those gifts arrived late for Christmas 2018, so I’ll just save them.
I am not sure I will make more of these bags for gift bags as they take quite a bit of time. Still, I bought some twill tape so I wouldn’t have to suffer through making drawstrings and I want to use that up. We’ll have to see.
As mentioned previously, Jeni Baker sells the pattern, which includes multiple sizes including a laundry bag size which is good for those of you sending kids off to college.

The other week I went and had a sew day with Gerre.
I started to sew some drawstring bags to use as gift bags on the day I sewed with Gerre. I am trying to get the small gifts I purchase throughout the year wrapped as I buy them. As you know, I don’t like wrapping gifts and wrapping 30+ small gifts right before I went to Portland was my own special kind of torture. These bags, using Jeni Baker’s Drawstring bag pattern, are a start.
They have been laying around since the Sew Day with Gerre while I worked on other projects. The other day, I stitched a bit and finally finished one!!!! It turns out that I didn’t have much left to sew and doing several in a row really helped the process.
The size I chose (pattern includes multiple sizes) is a tiny bit small for the gift on which I planned to use them, but it will be fine. I can’t remember what I did with the drawstrings on the Juggling Balls bag, but I need to figure that out as the strings on this bag are definitely not acting like drawstrings.
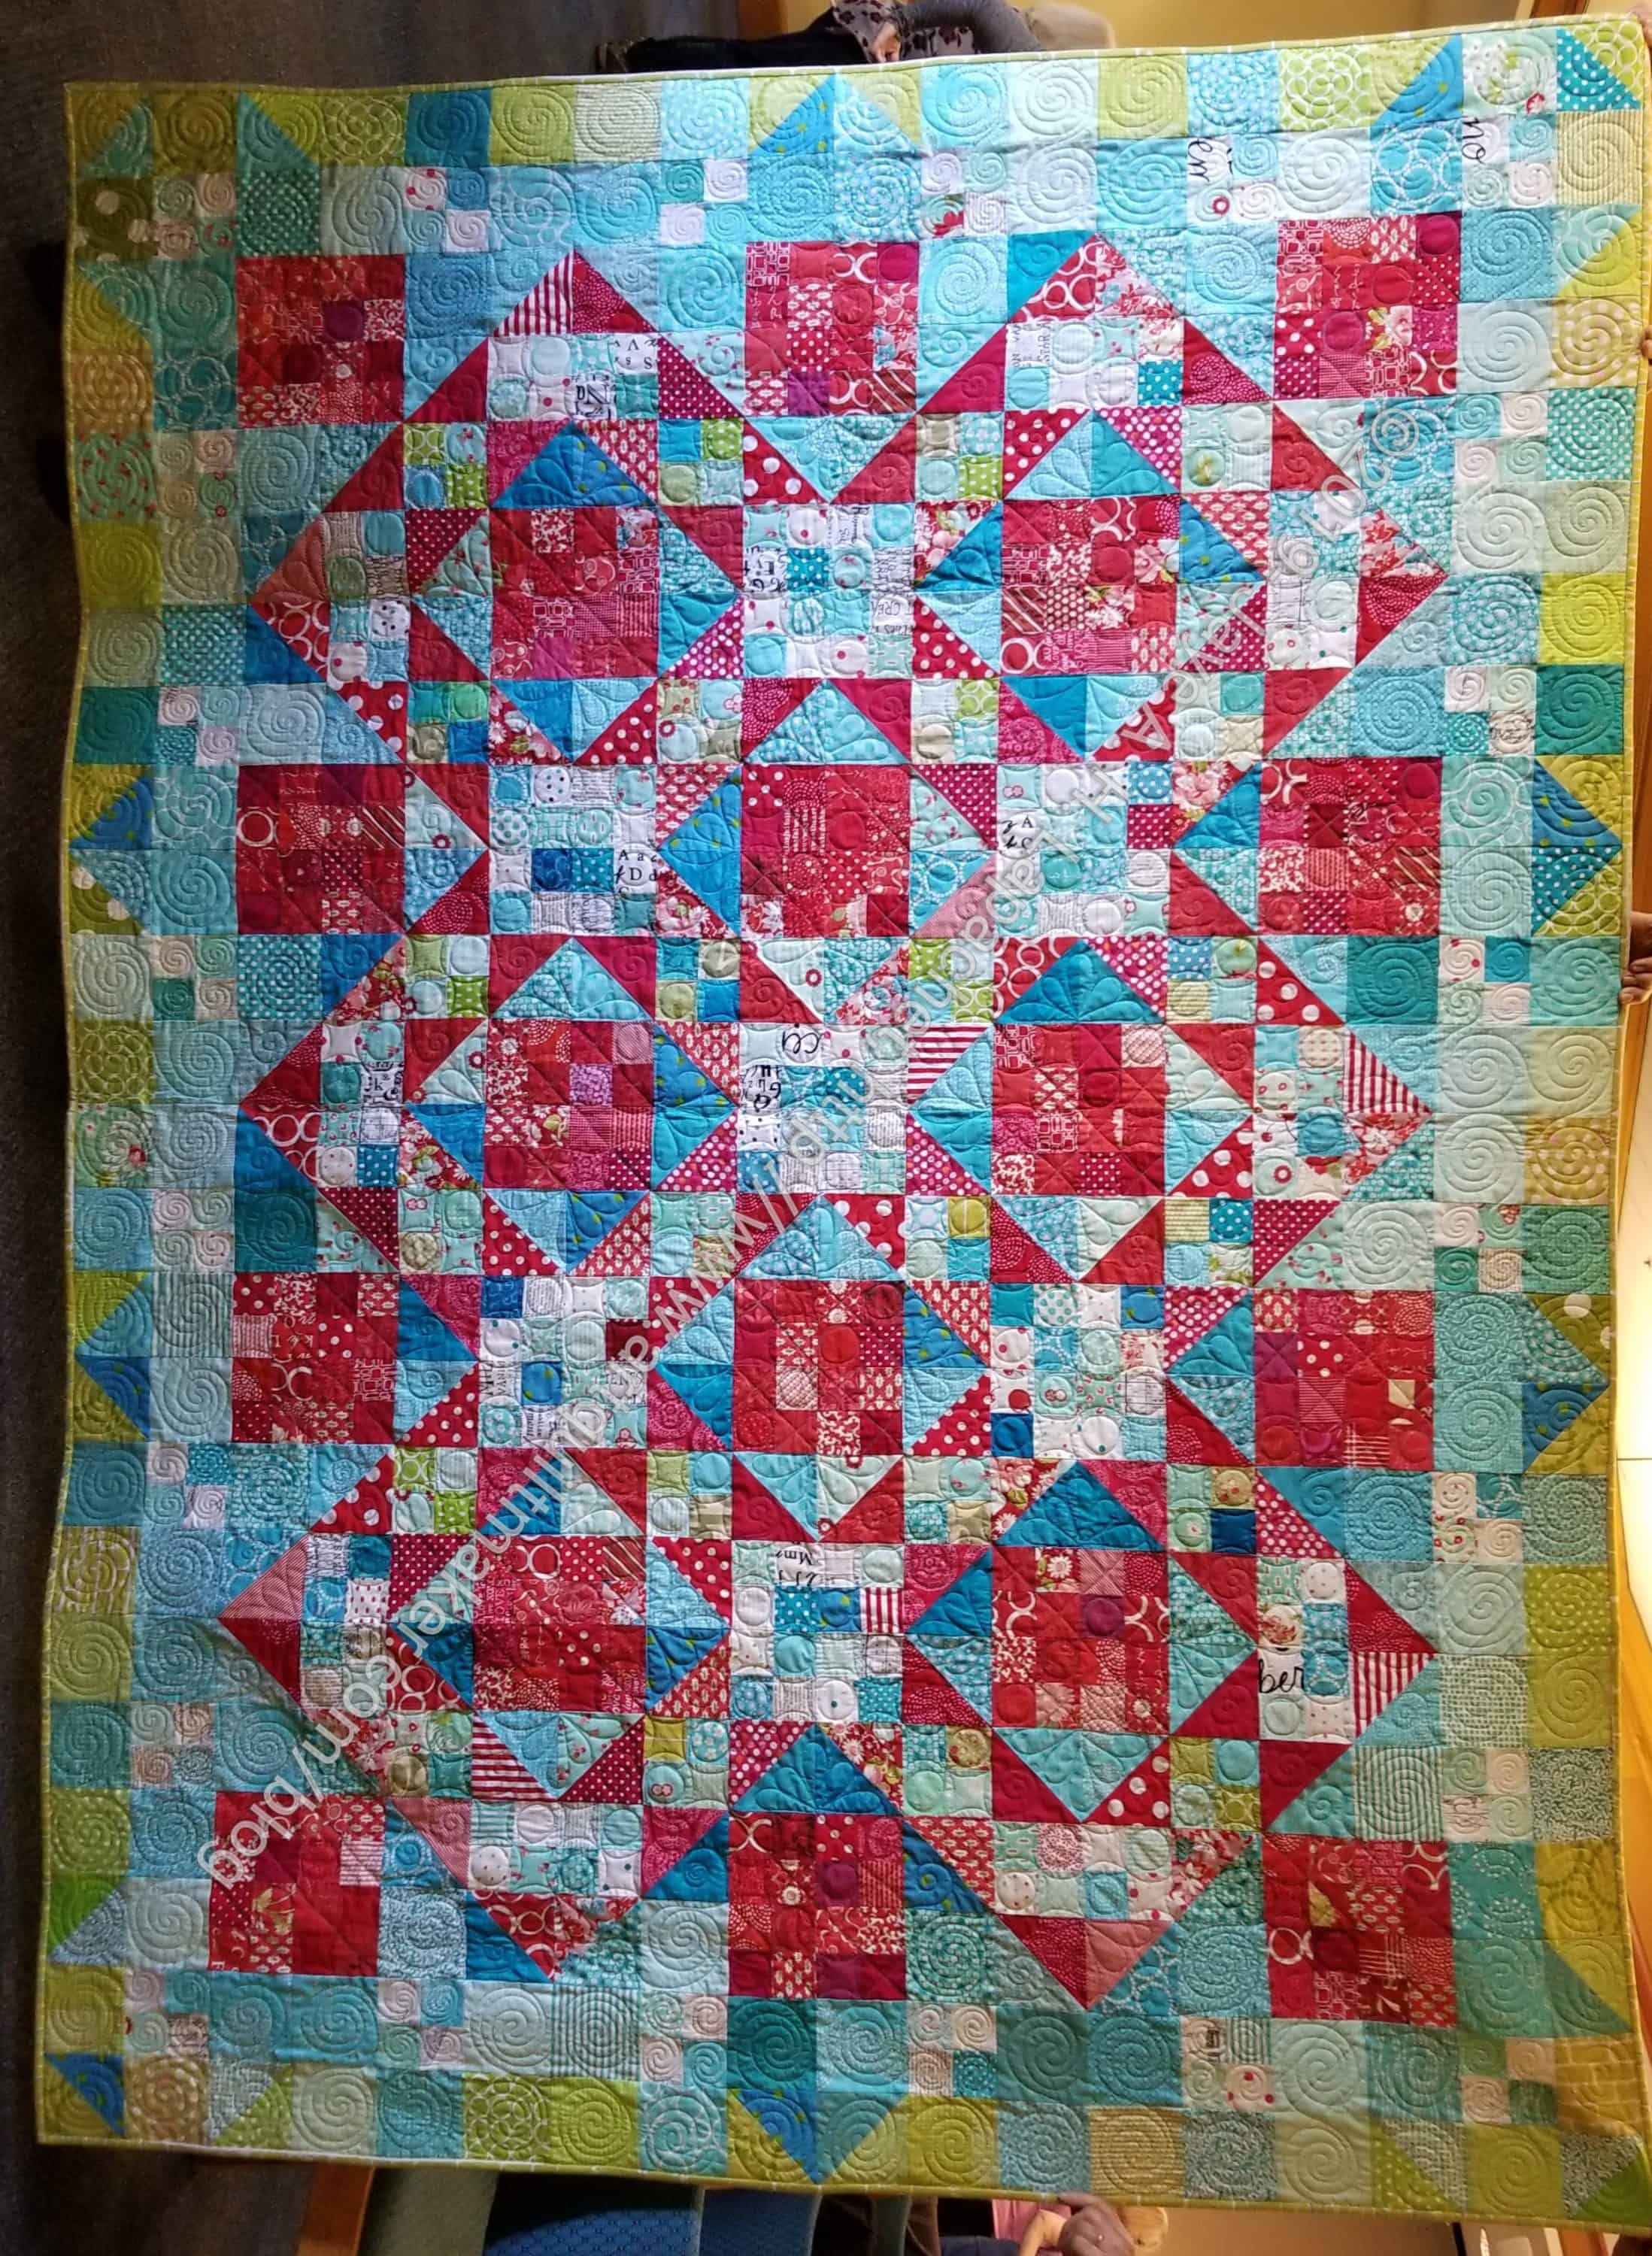
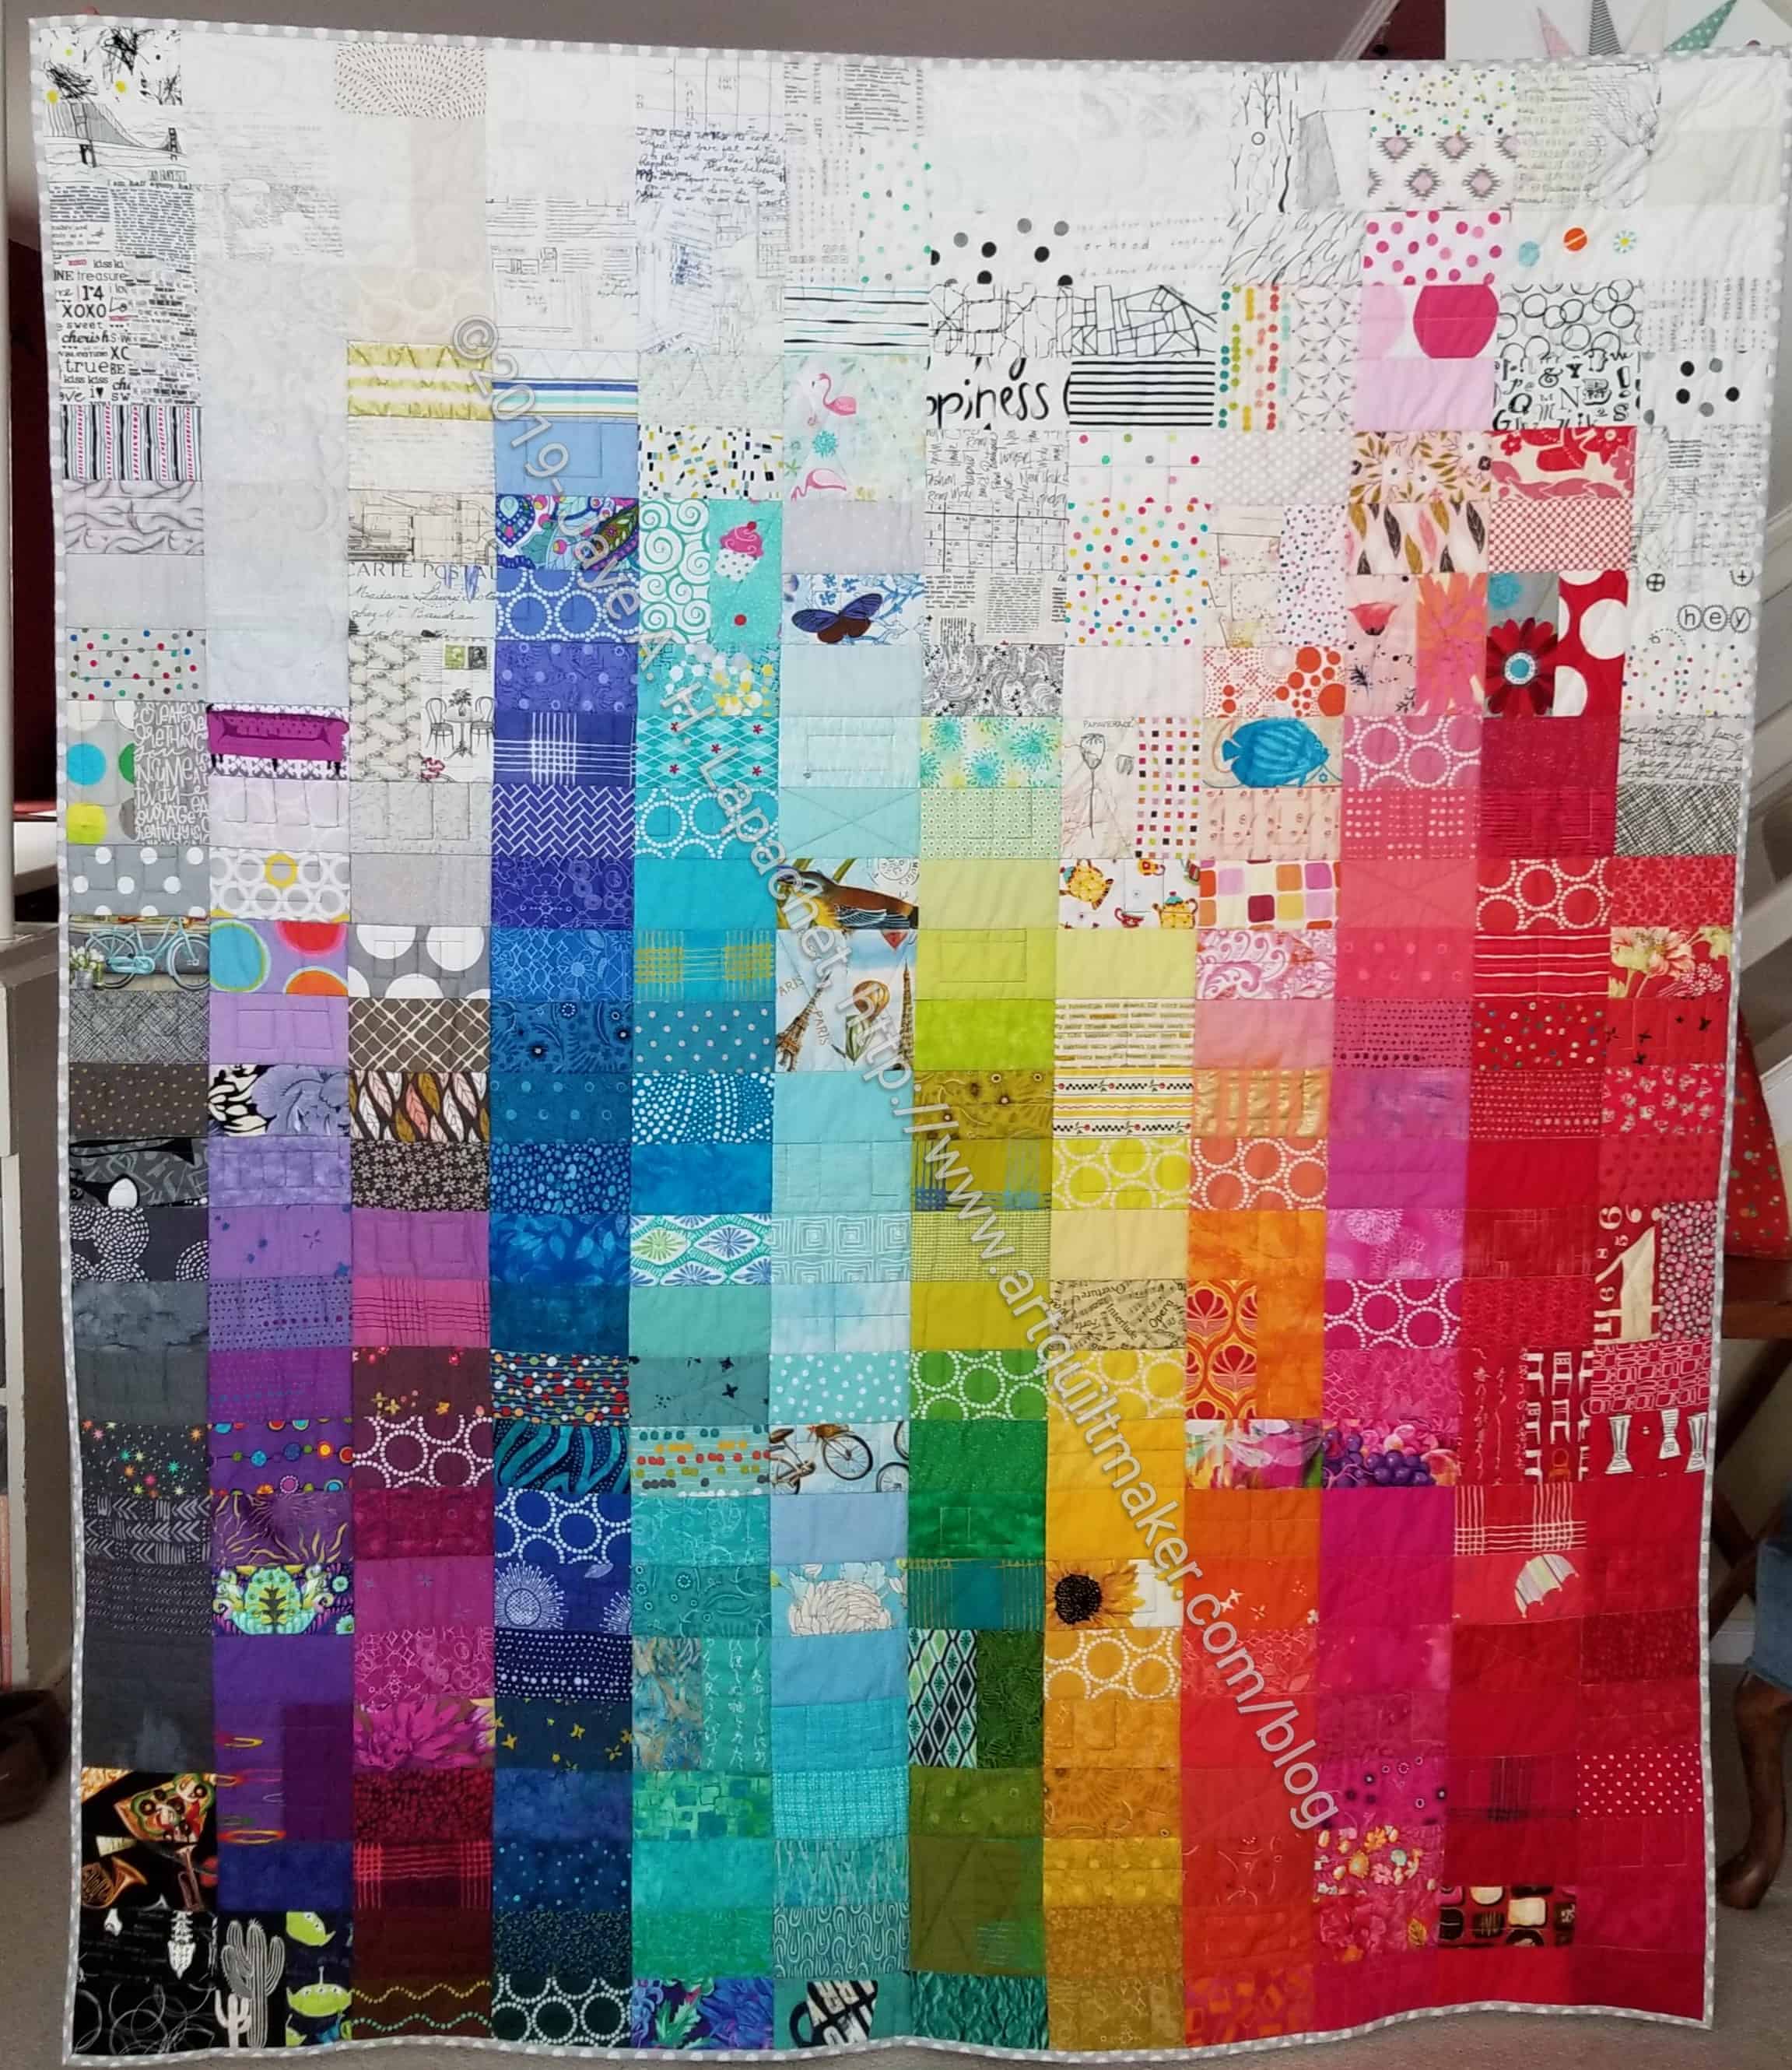
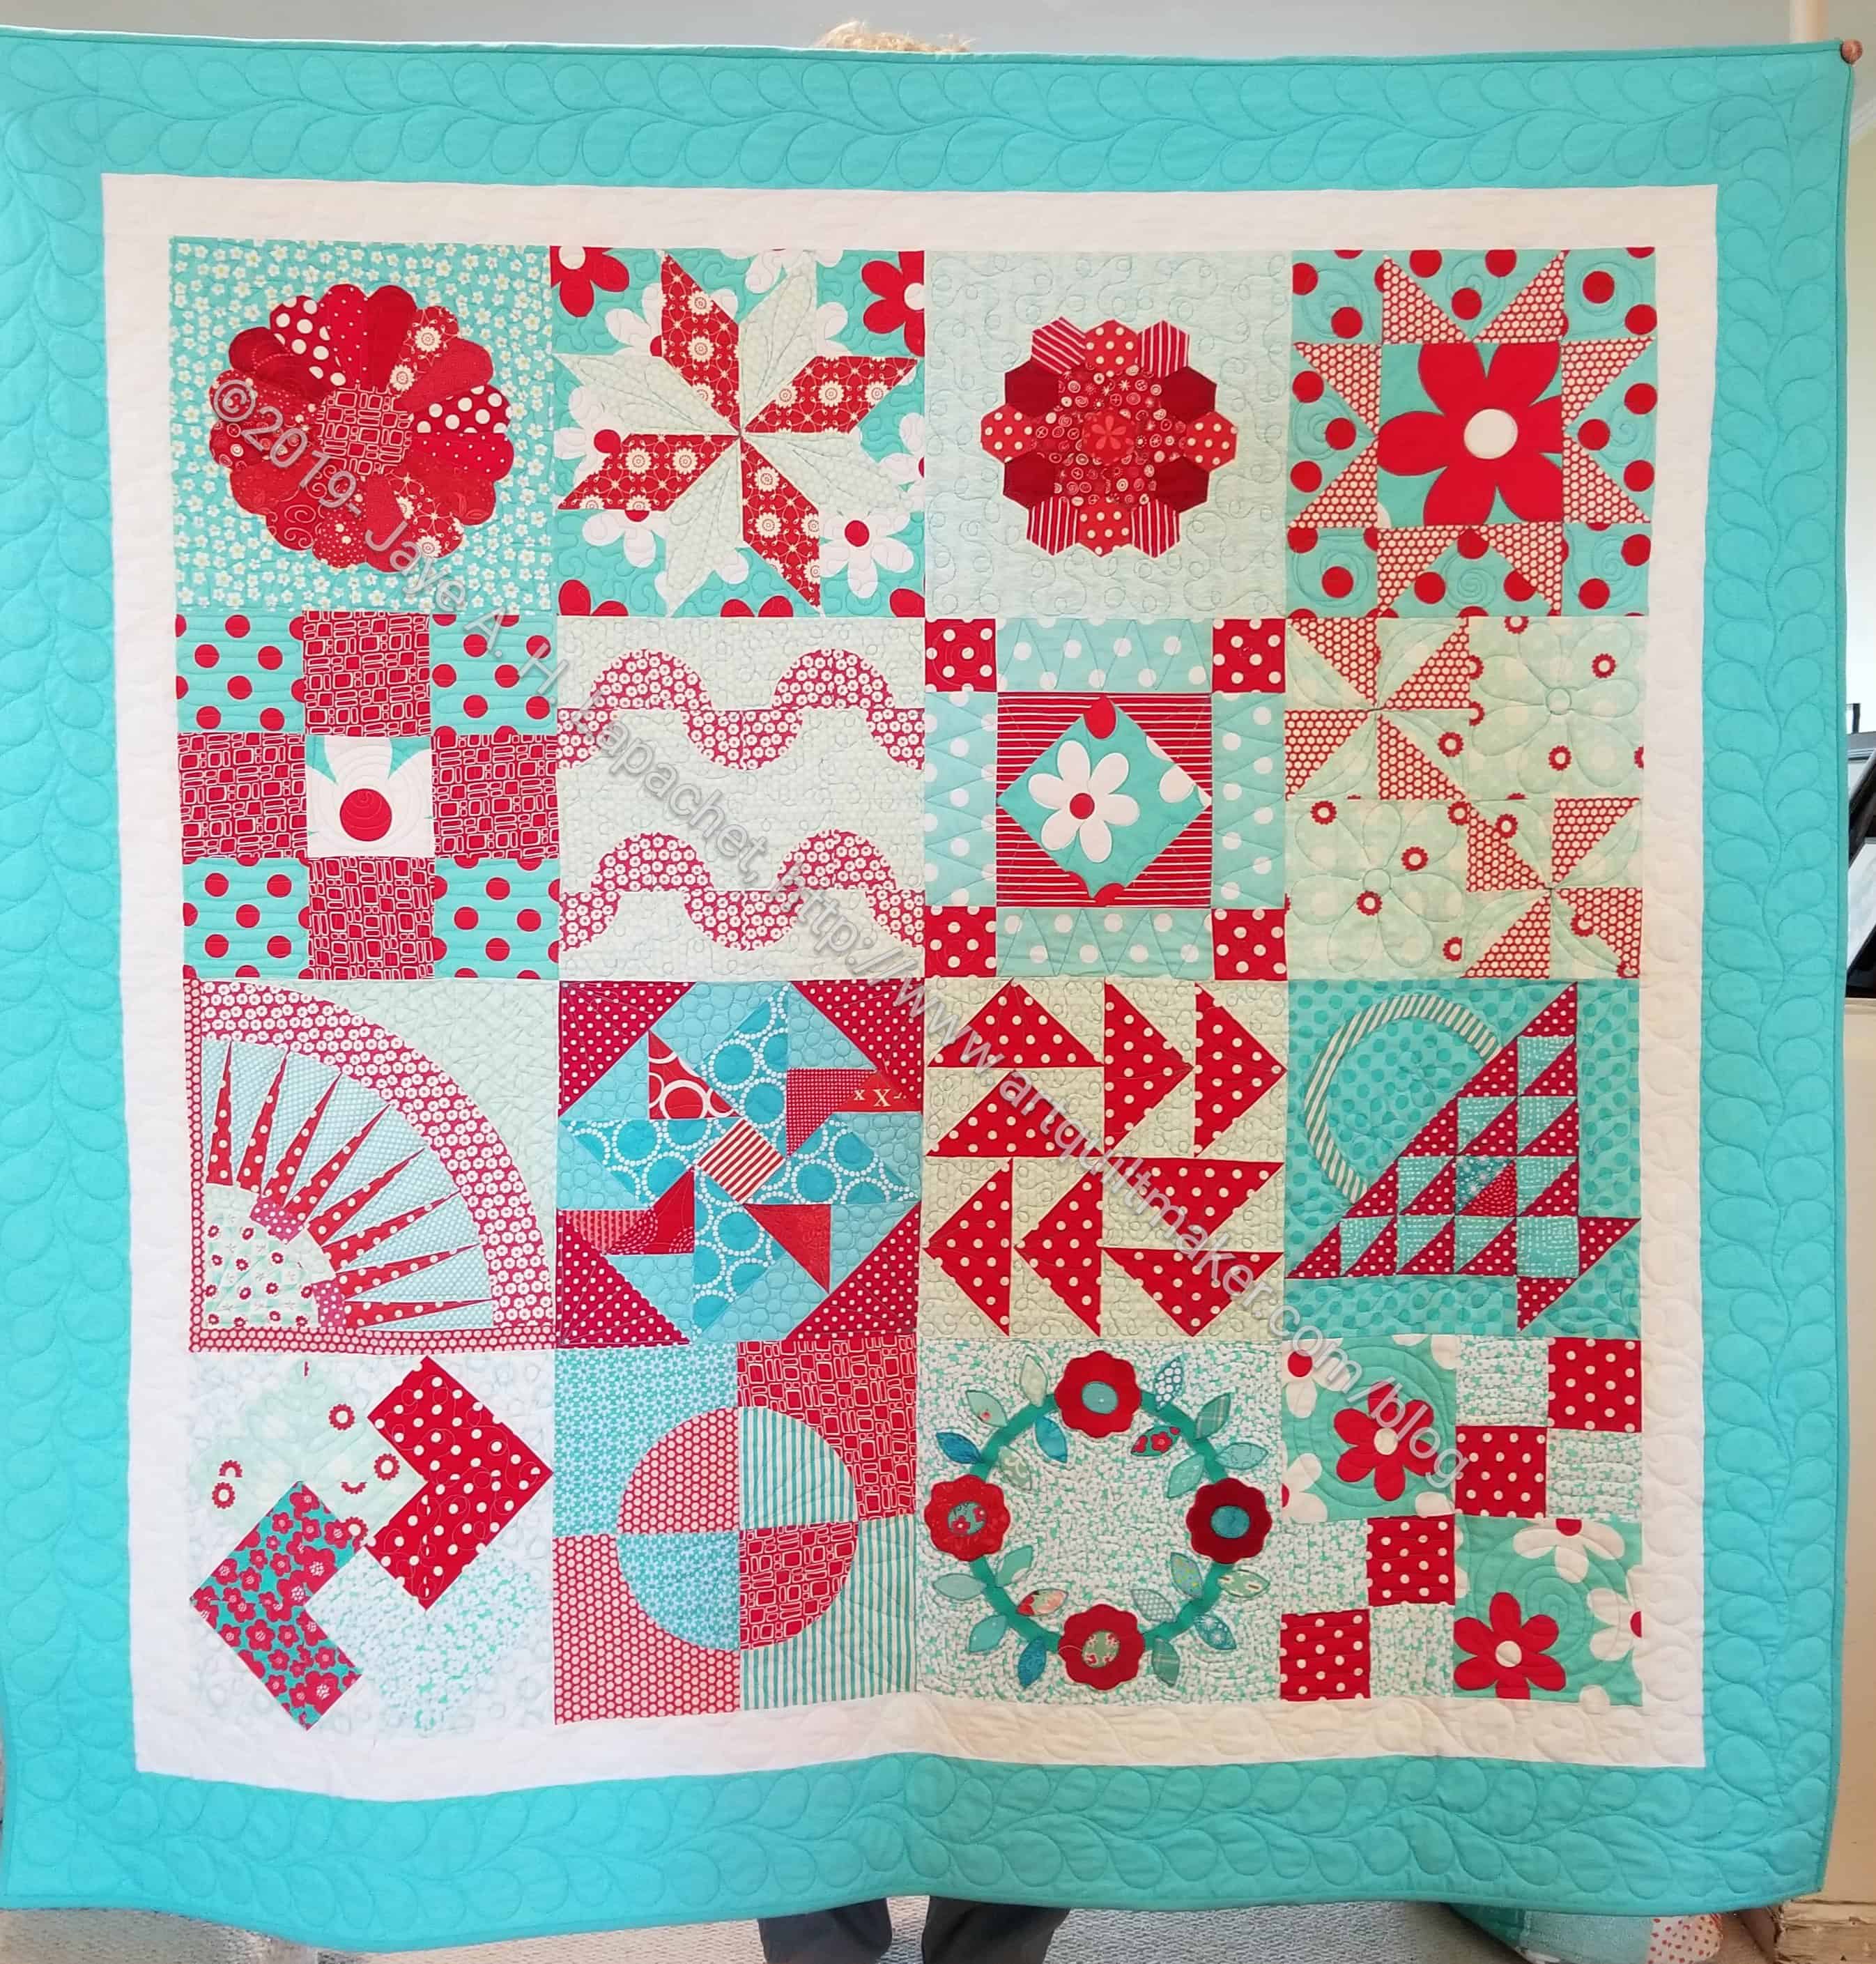
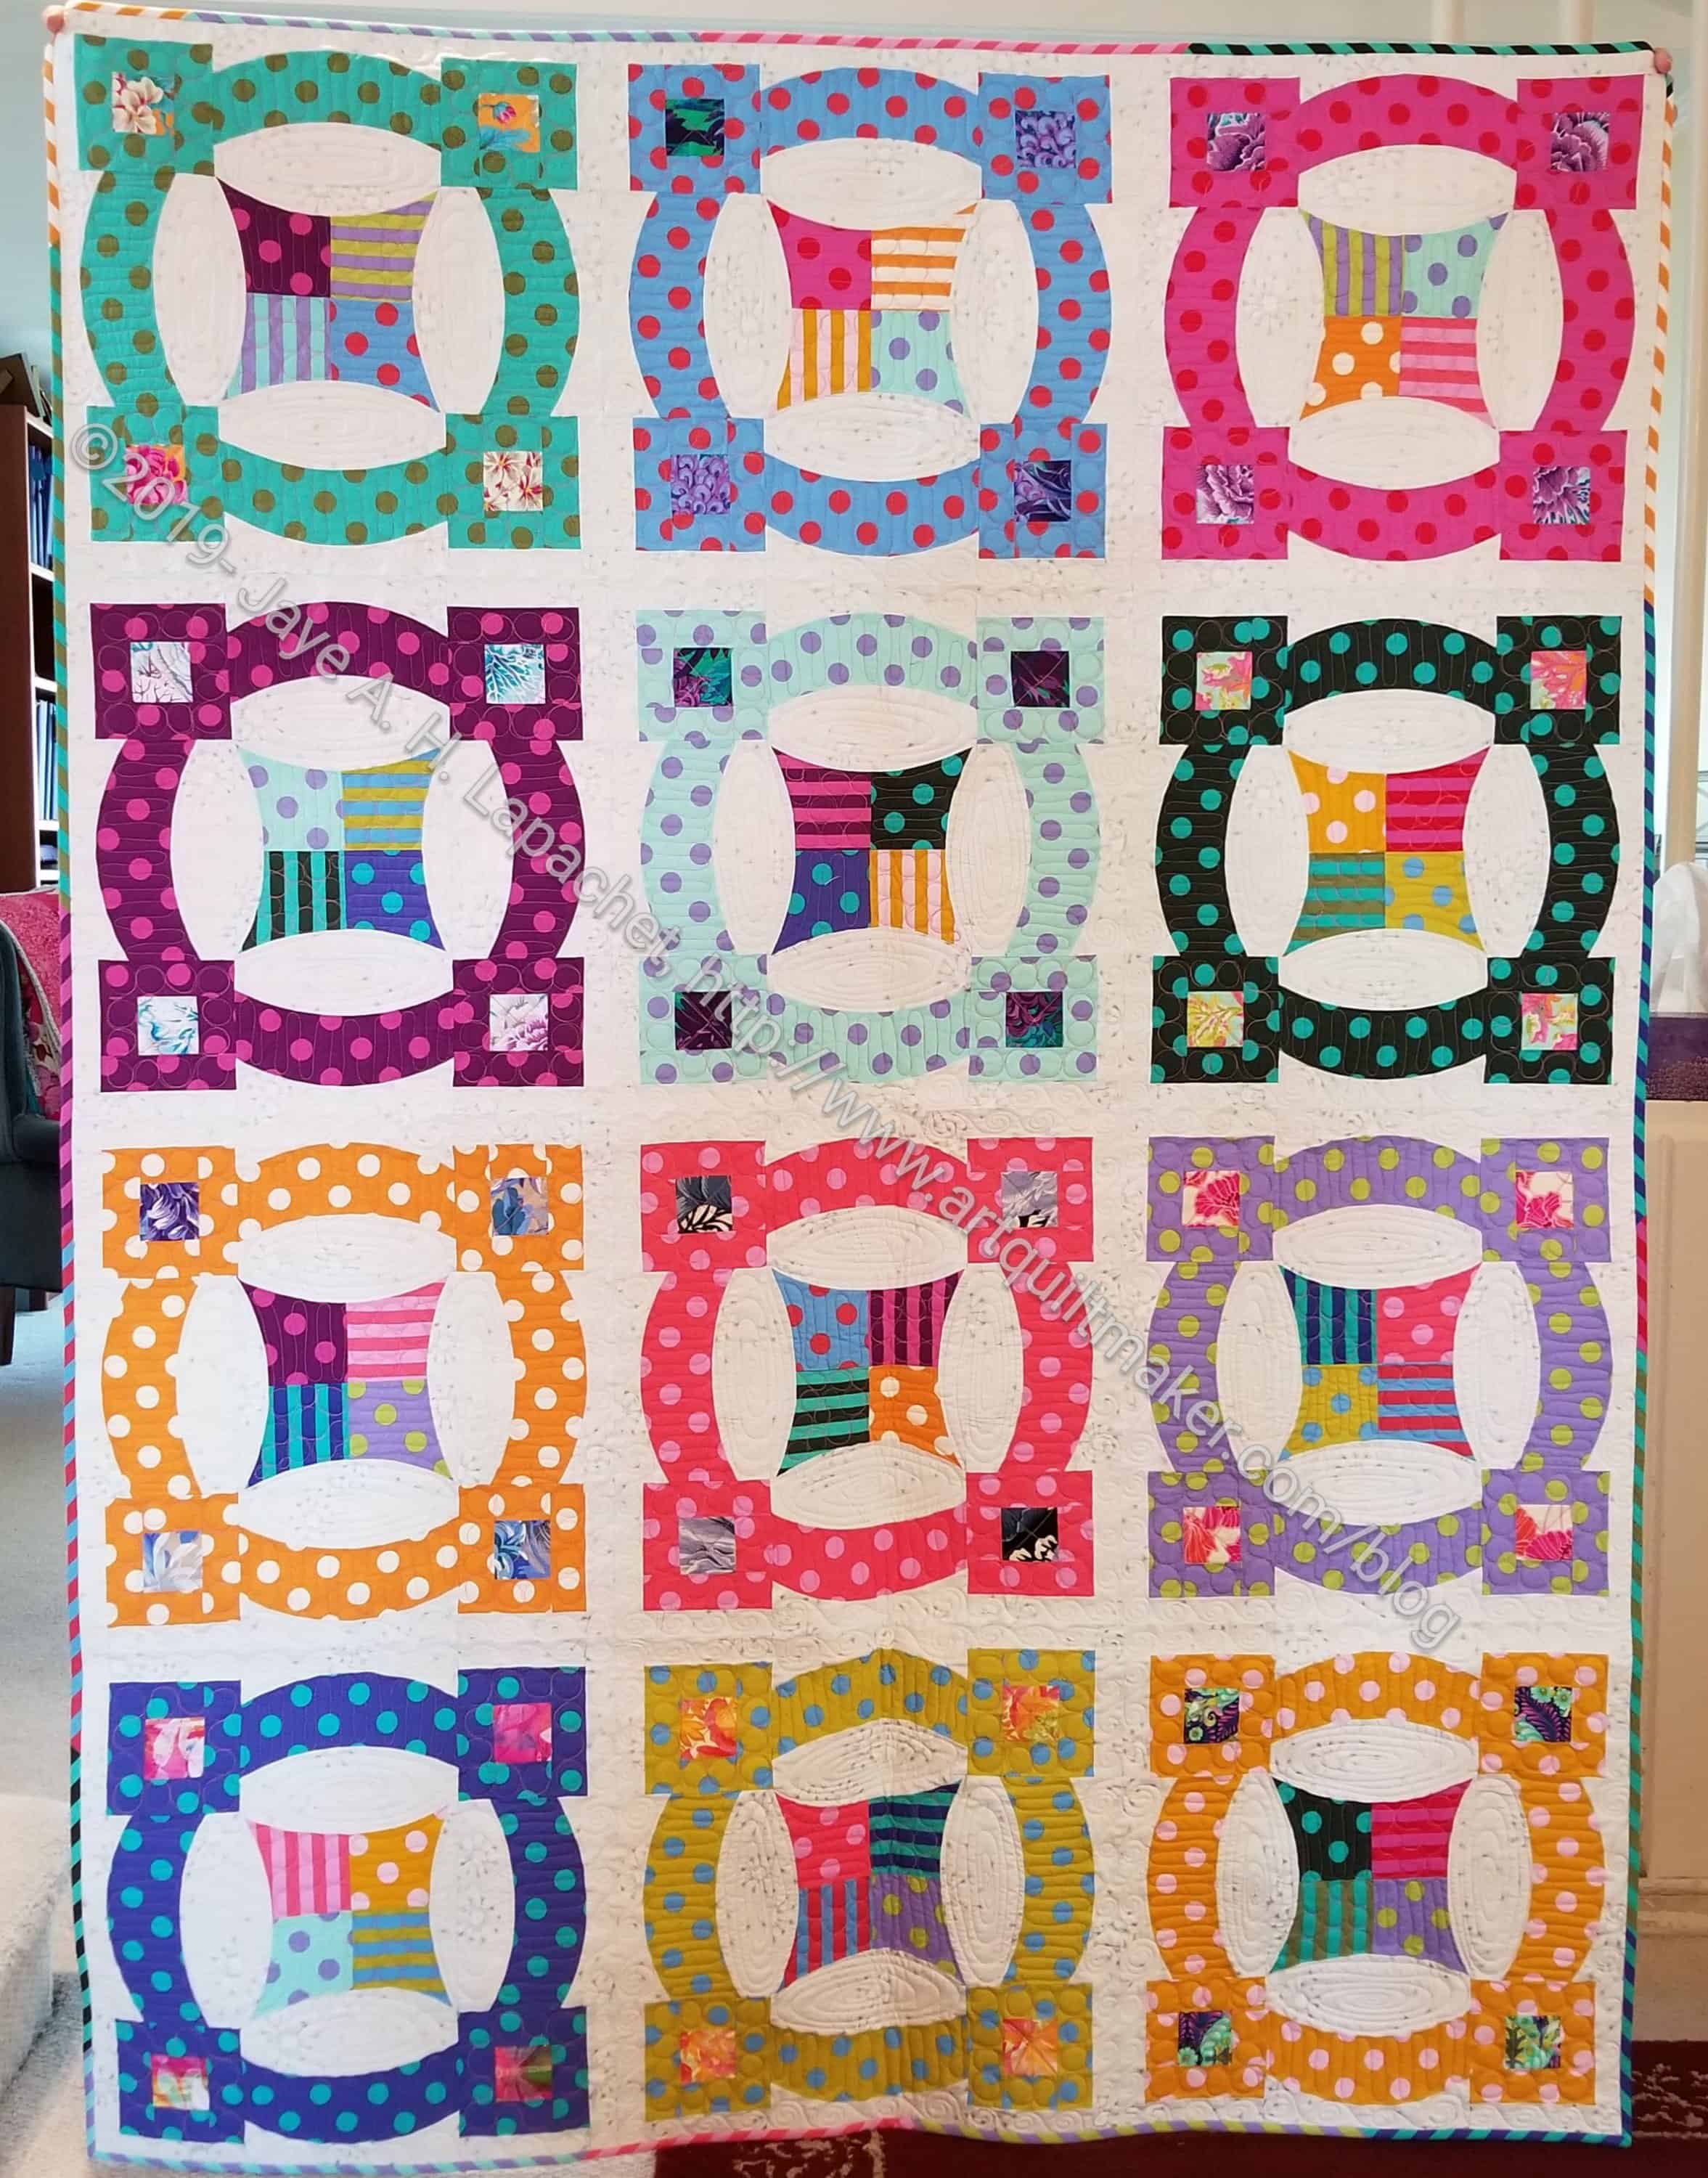
I meant to drum both of my quilt hangers into service for this huge monster, but, sadly, the YM left to go back to school before I could do it. Regardless, the Stepping Stones n.2 is finished.
Some guild pals helped me take the photos by holding it for me.
There are things I don’t like about it, mostly concerning value (or maybe contrast– I haven’t delved into the differences yet), but the overall look is good. I may not be done with this design yet, but we will see. I am not sure what I would do differently aside from changing placement of some of the fabrics or create a different border.
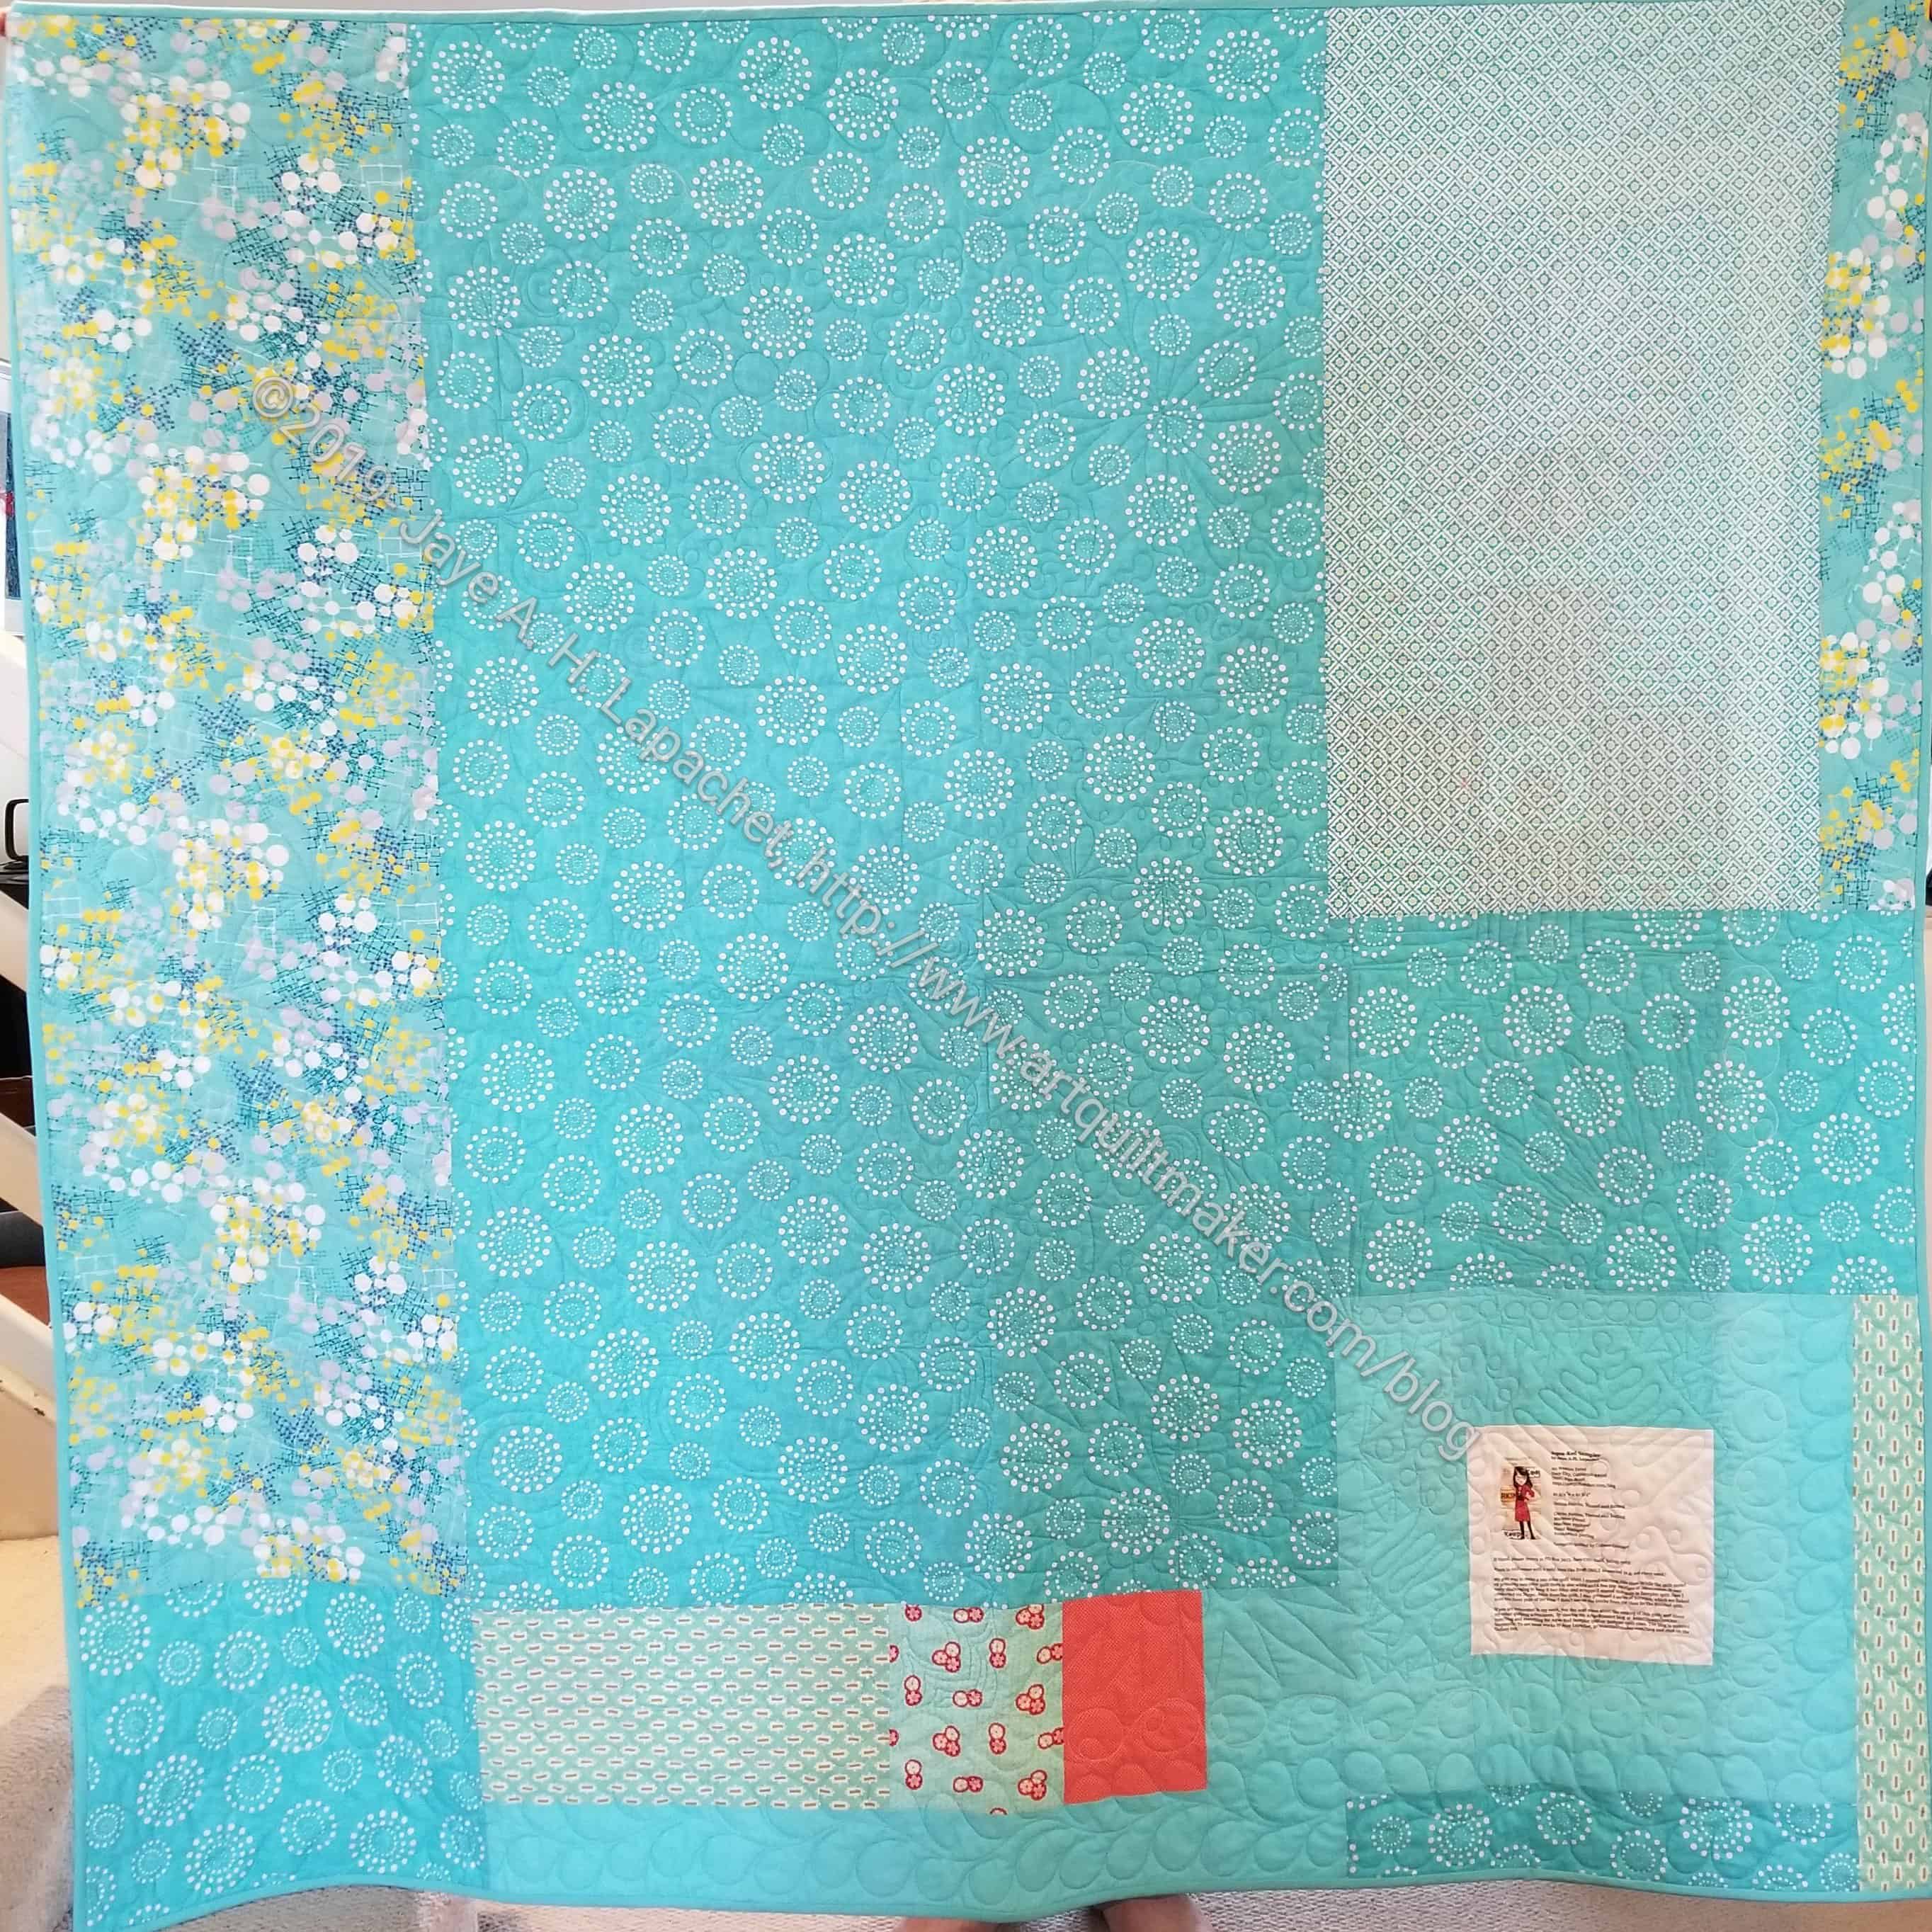
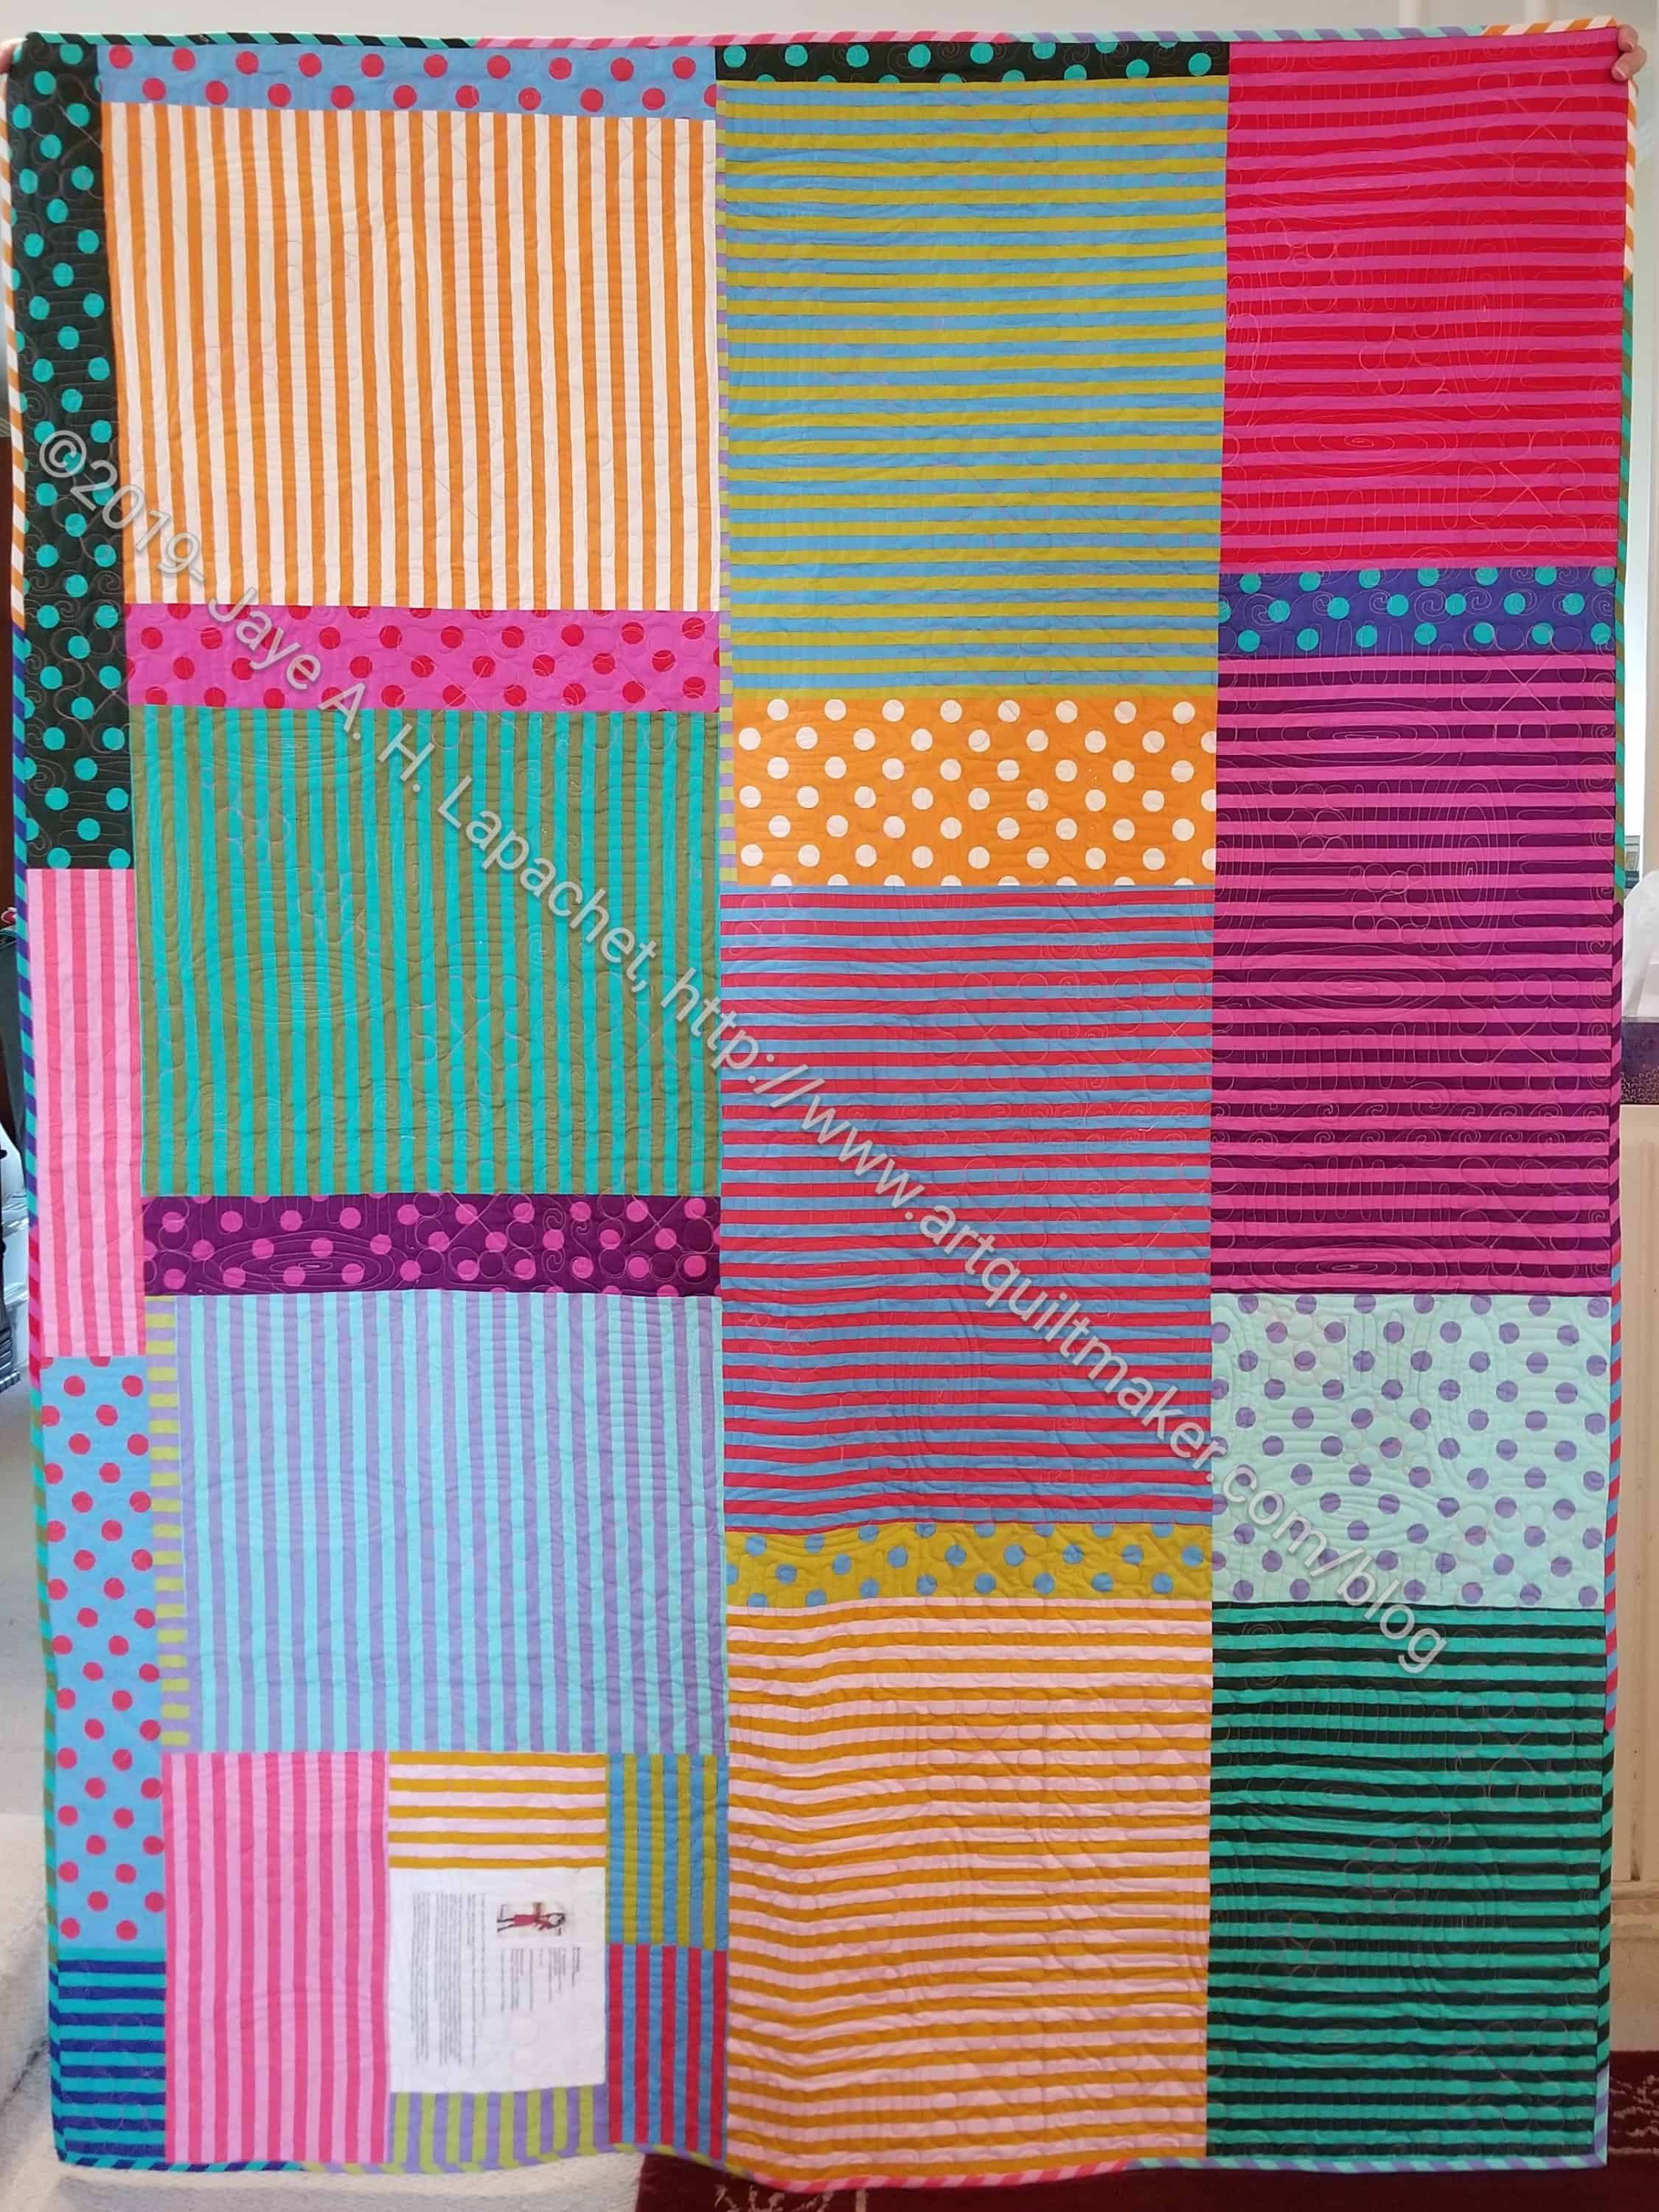
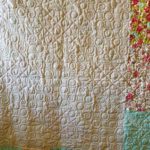
The quilting shows up really well from the back.
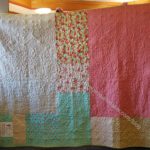

I will send it off to its new home soon.