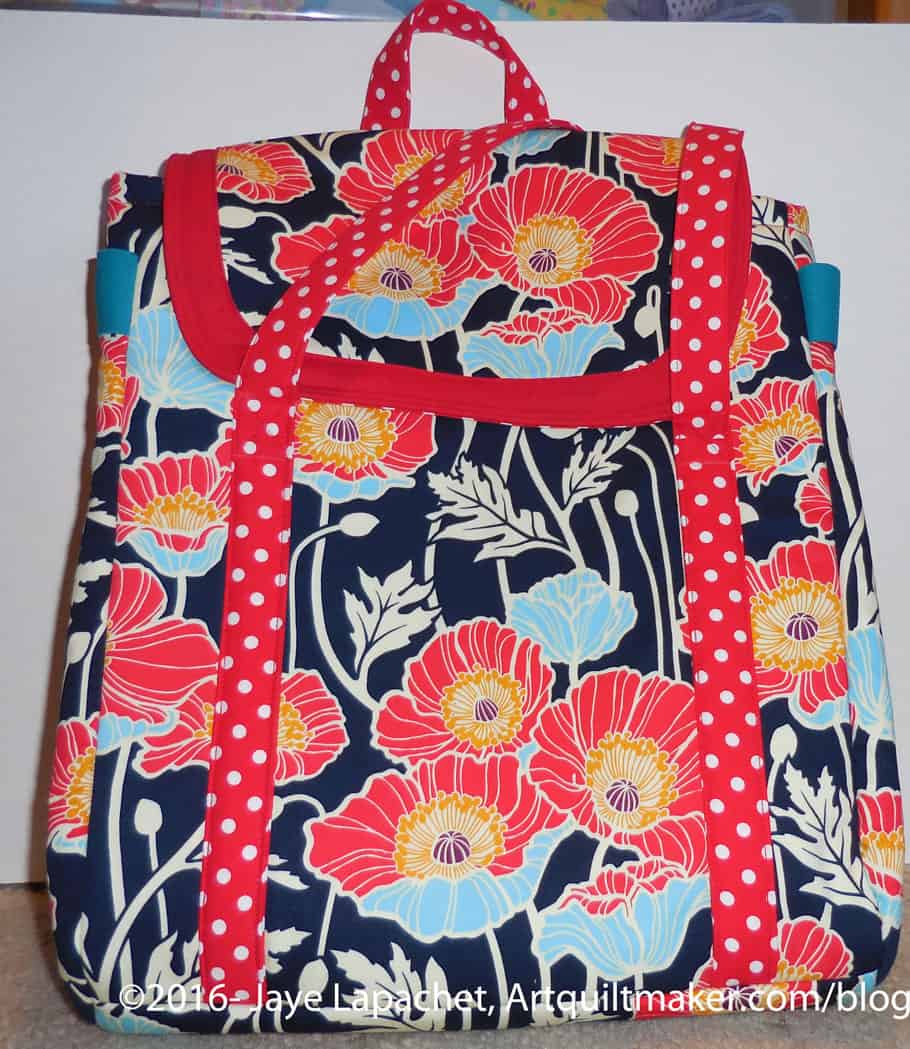
My third Petrillo bag has been on the To Do list for a long time. Before I went on my trip, I decided to sew it, as I mentioned when I enumerated the bag hacks. I also worked on it, because the Peacock was acting like a beast and I wasn’t feeling the quilt love, in general.
I really was almost done cutting it out. I felt kind of stupid the whole time I finished the cutting for letting it lie so long. It took me a few days to sew it, longer than it should have, because I had to rip a few seams and make a new main flap.
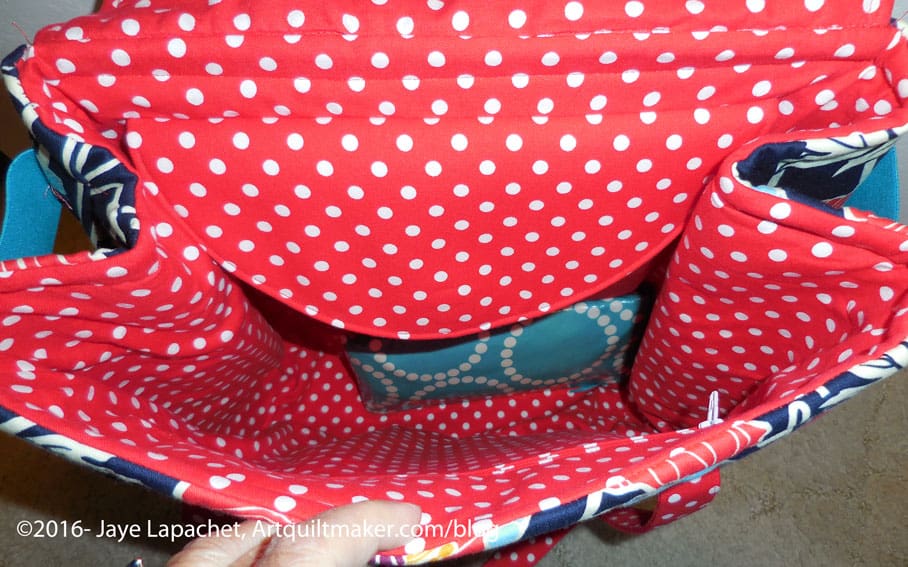
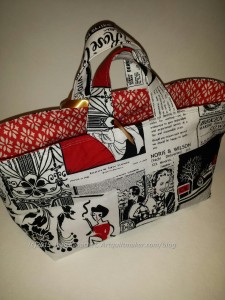
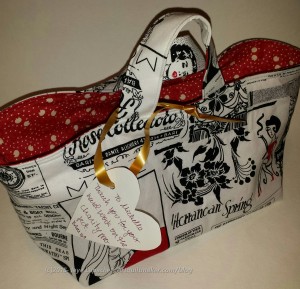
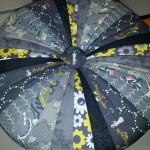
Petrillo Bag #3 Inside
I have used it a few times and am linking it. I haven’t filled it to overflowing, so I don’t know if it will really work for a long conference where I can’t easily return to my hotel, but so far so good.
The hack I sewed to the stabilize pocket makes a huge difference when I carry things around. The zipper pocket doesn’t sag. I am mad at myself for not adding vinyl to the bottom. I have to worry a lot more about where I set it.
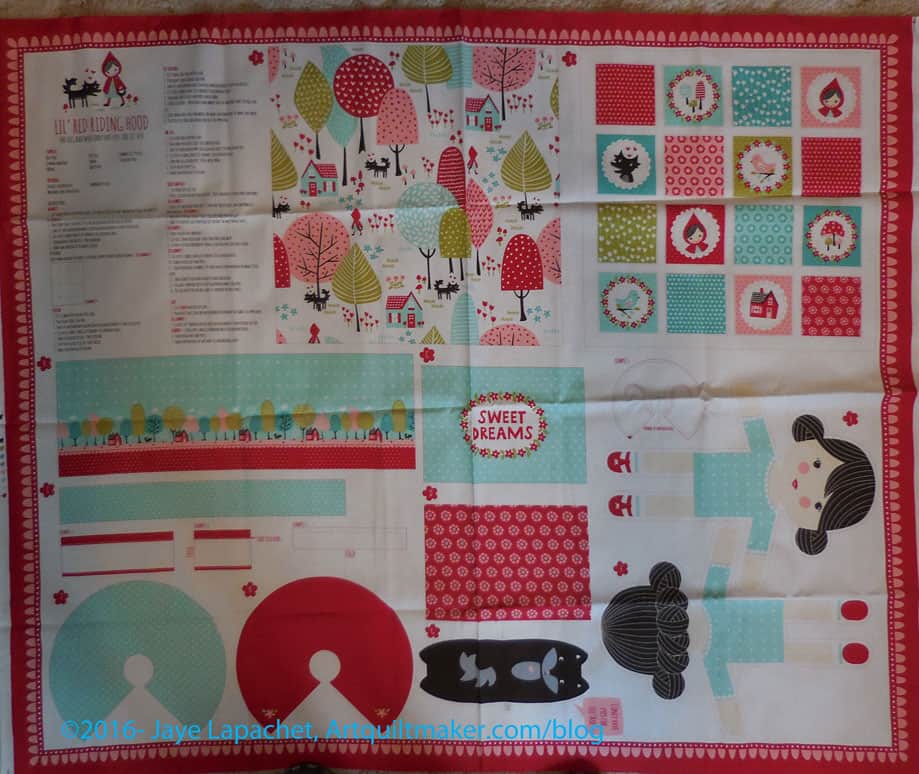
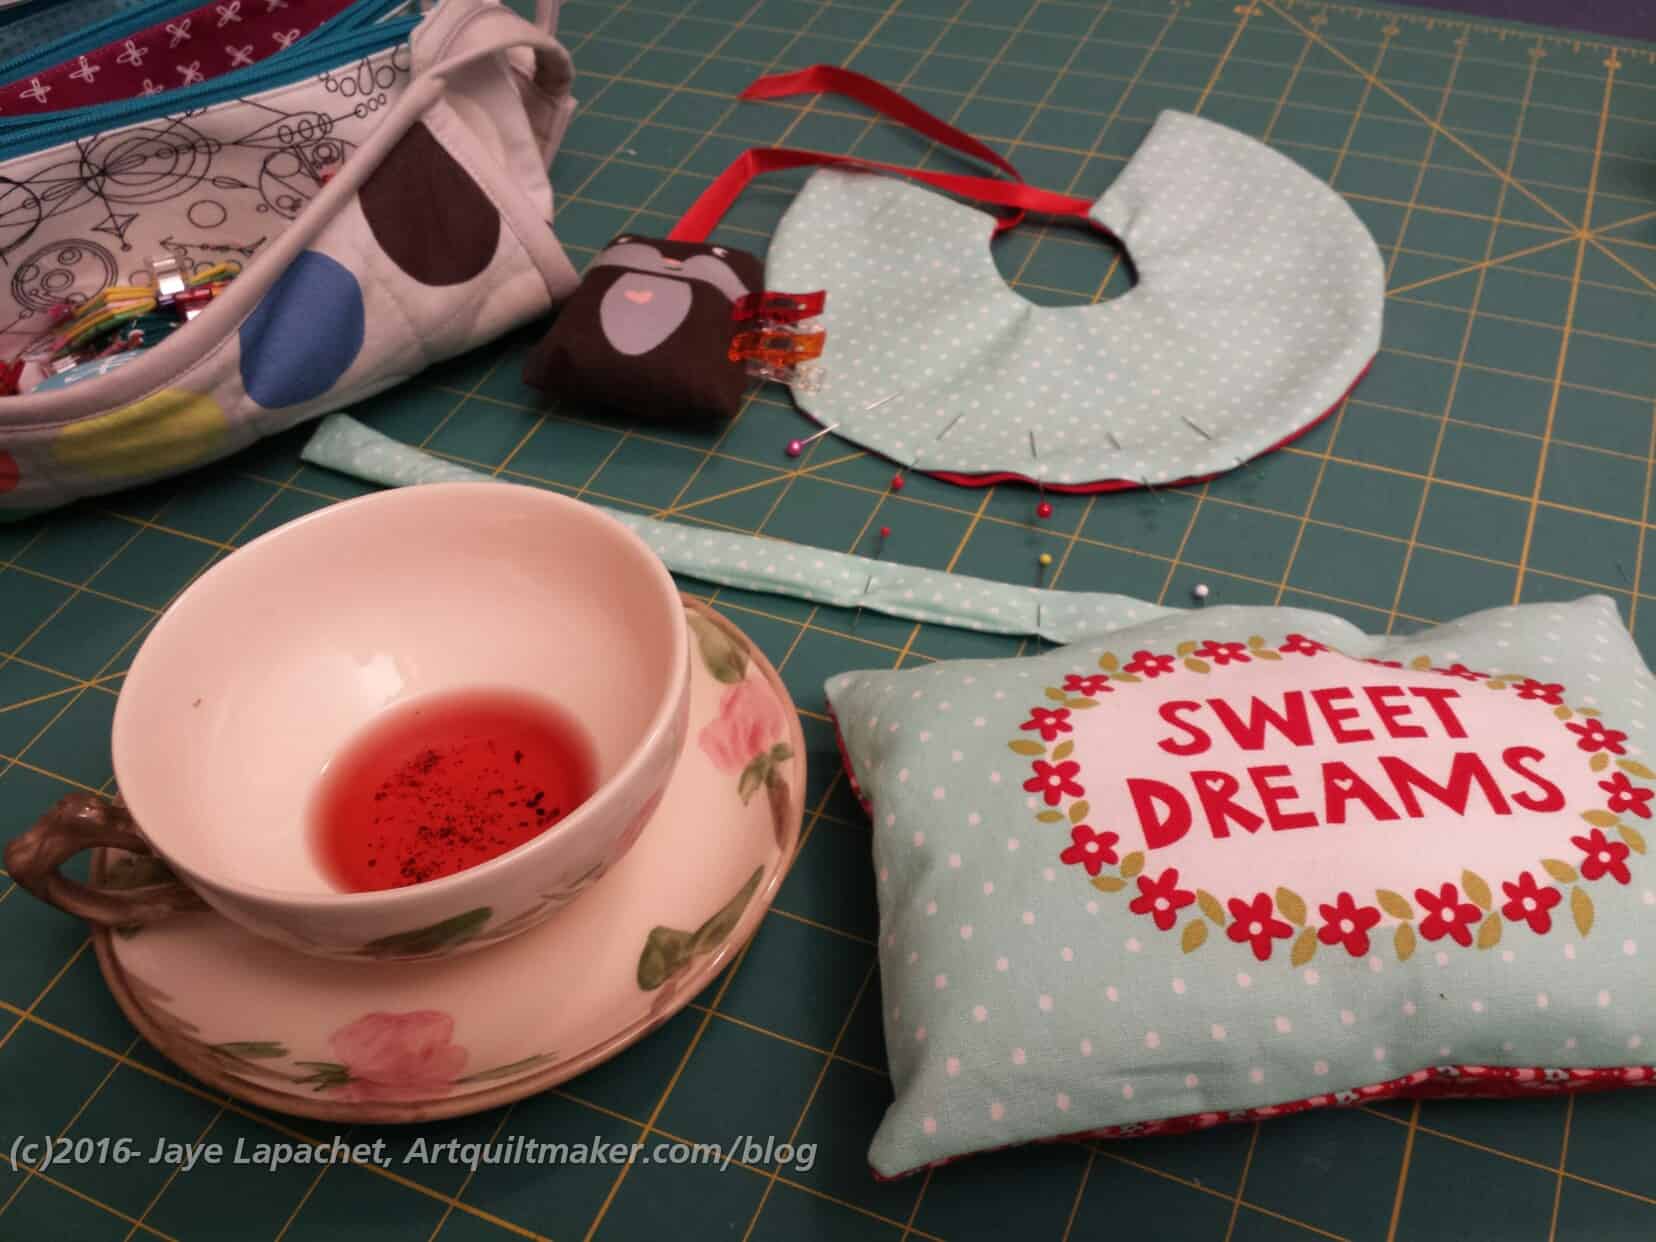
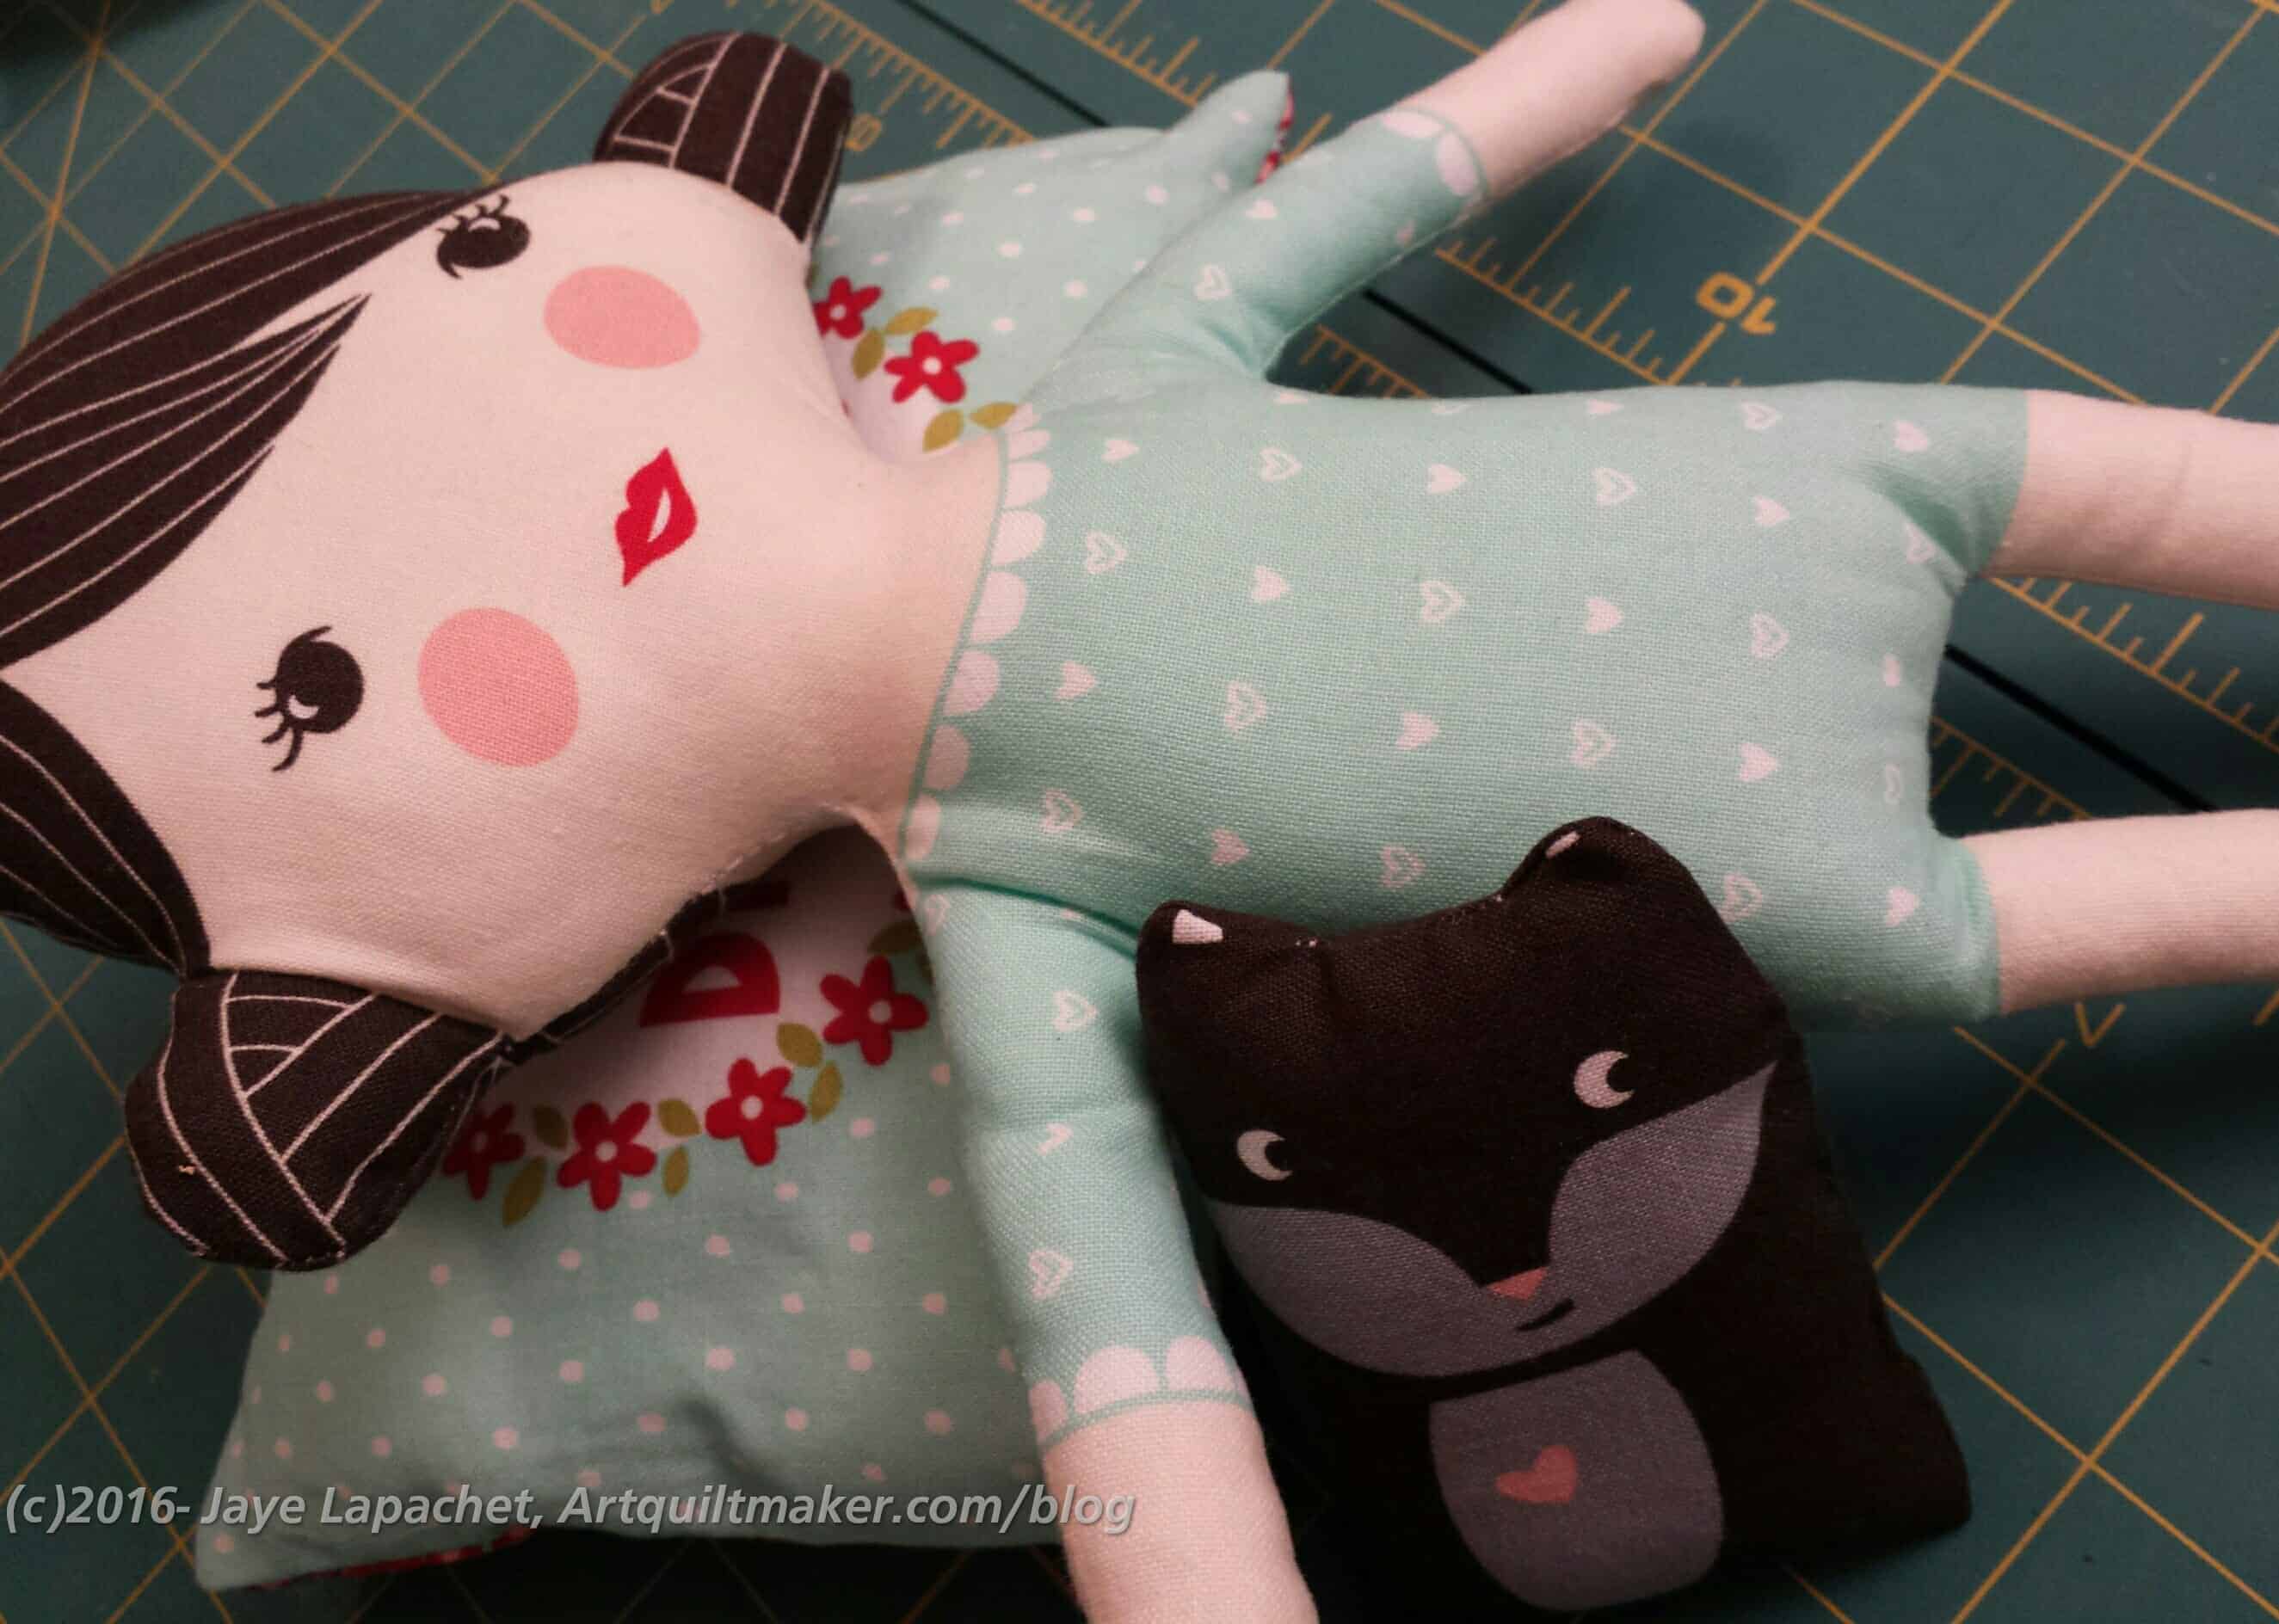
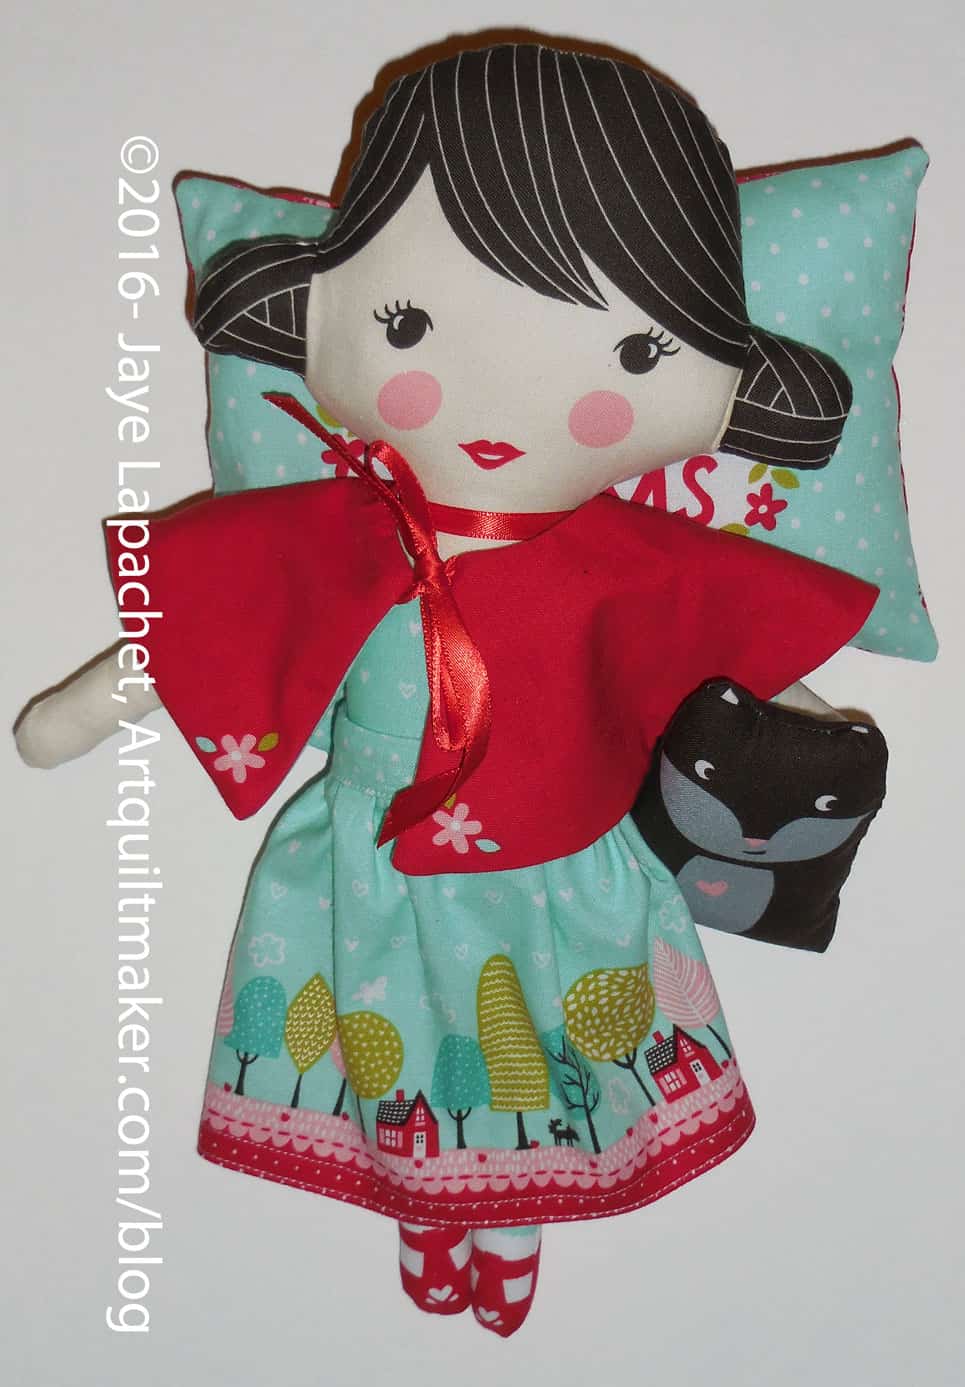
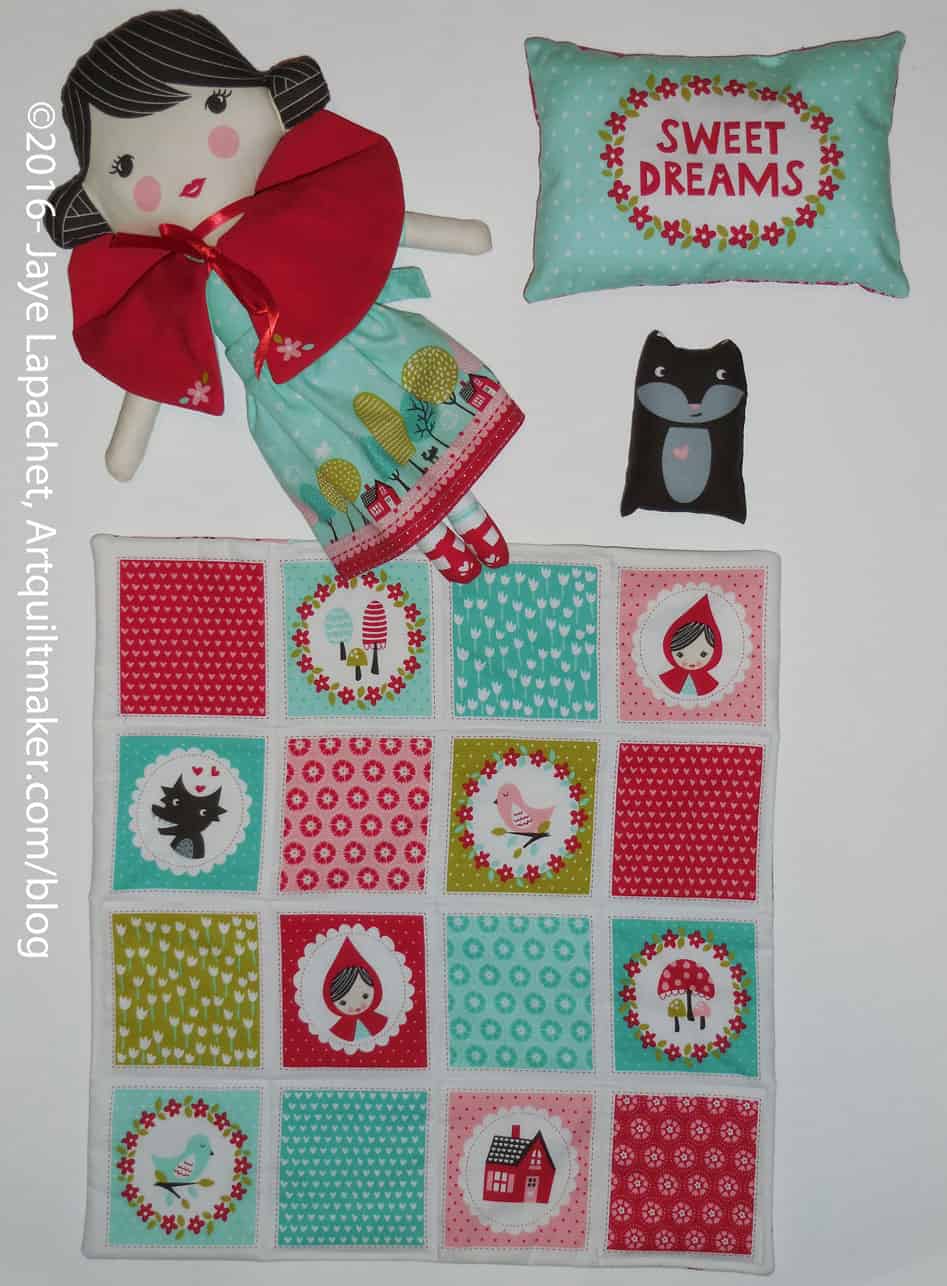
Little Red Riding Hood is finished! She went from a panel to a finished doll in not very long.
Craft Night Work
Red and Wolf
I did need some help. Mom helped with the gathering of the skirt, SIL #3 gave me some stuffing and SIL #2 offered various types of advice and some ribbon for her necklace. Group effort.
Red detailRed pieces
I am pretty pleased with how the whole group came out and I can’t wait to send it off and see what happens.
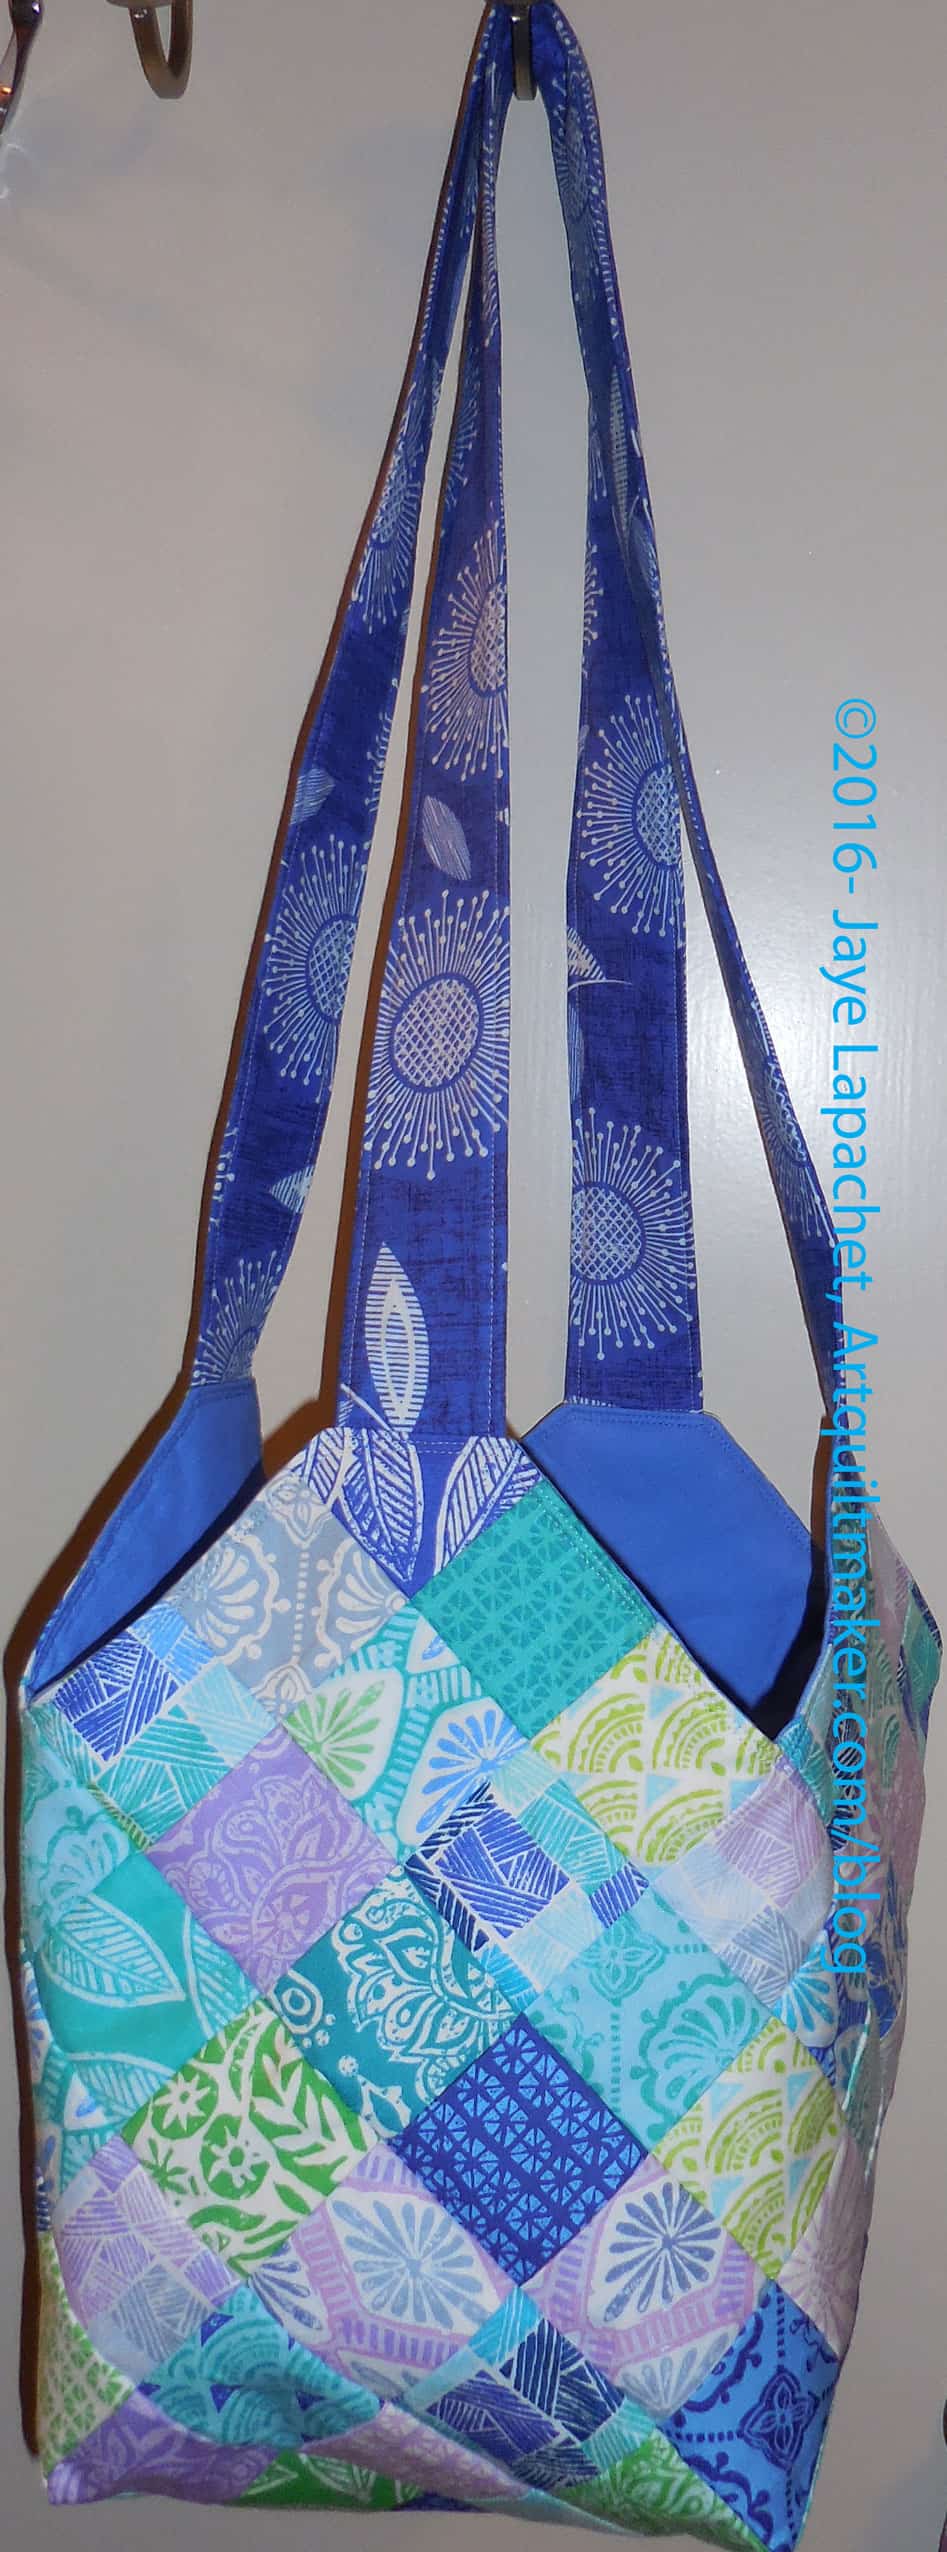
It has been over a month since I took the Midi Bag class, – WOW! time sure flies – but I finally finished the bag.
After the class, I only had to topstitch then close up the opening in the lining. I really just didn’t have a spare moment to sew those last few steps. It isn’t as though I have been sitting around, but the Midi Bag just did not come to the top of the list.
After finishing the Heart Bag, I decided to take a few minutes to finish the Midi Bag. I am really thrilled that it is done. The Memorial Day weekend unexpectedly turned into a few days of finishing. Although I had to go with DH for a little bit of #Politicalwifery, I was able to sew a lot and finish a few projects. It was so relaxing and I am so thrilled I got to all of the projects I was able to finish.
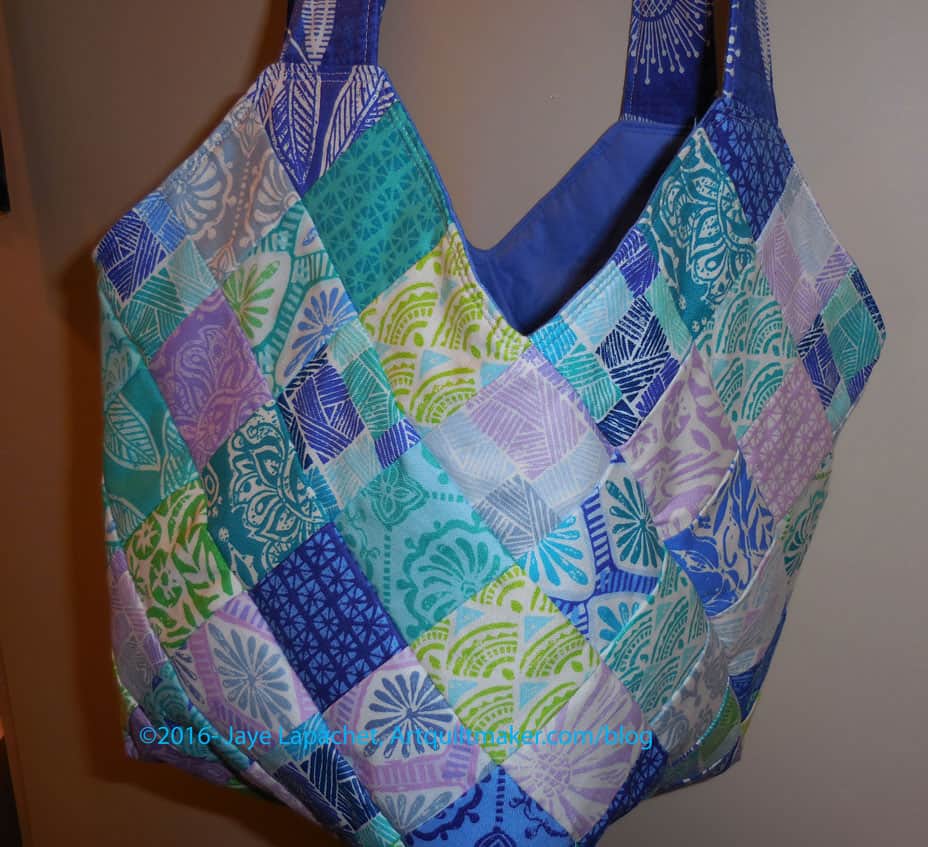
Midi Bag – detail
I really like the way the bag turned out from a fabric point of view. The colors are very appealing and it has a bit of a tropical/Hawaiian art feel. I used Horizon by Kate Spain mini-charm packs for the body, a random solid for the inside and more Kate Spain yardage for the handles. The color combination is really great. I especially love the fabric I used for the handles. There is something about that blue that is very appealing.
It is a very strangely shaped bag, however, and I am not sure of the purpose for which I would use it. Also, I feel like it needs some kind of closure. SIL and I talked about grommets and buttonholes. I am not a fan of grommets after the Scrap Lab Backpack, so buttonholes are more likely. We’ll see.
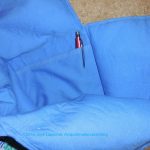
Pocket with pen
Pocket
The pocket came out well. I put a little decorative stitch on the edge and I am glad I did.
I still have a few of the same charm packs left and I might see about making this bag again in the Mondo size. Perhaps the proportions for the larger bag will be better and that one won’t look as strange. I am not sure I would be able to carry a Mondo sized bag full of stuff. I don’t that pattern and would like to use the second sheet of interfacing from the Midi Bag pattern before I buy another pattern. Nota bene: Each pattern comes with 2 sheets of interfacing.
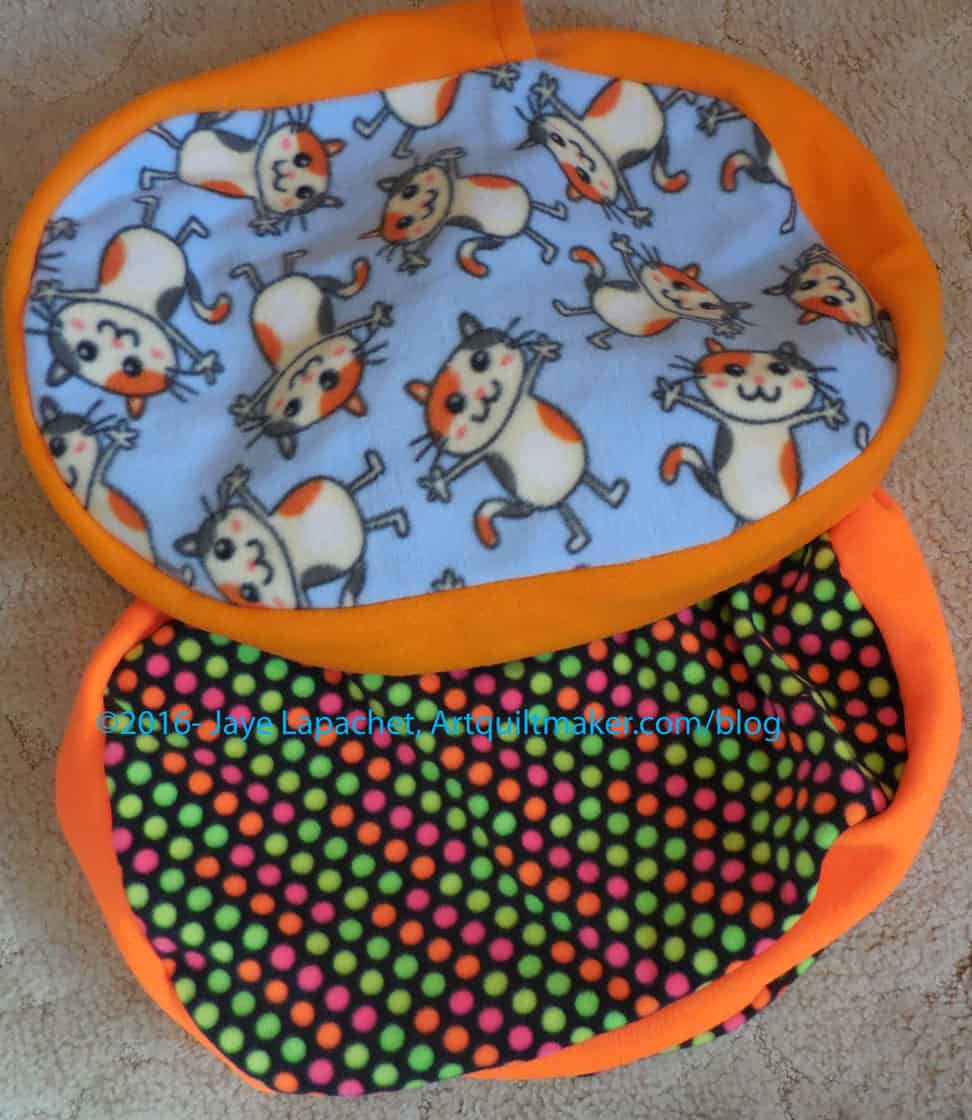
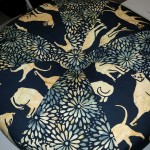
I have had some cat bed fabric waiting to be sewn since the BAMQG April meeting. I finally did it over the weekend, mostly to get the fabric out of my way. My horizontal surfaces are looking kind of full right at the moment.
I didn’t really realize how cute the top fabric was until I laid them down to take a picture. Don’t those cats look happy?
I get to count these as finishes, but I don’t get credit for the fabric since Amanda gave it to me. Oh well.
I got the binding on after Colleen quilted it and now it is done.
The binding fabric was a terrible choice. I bought it because it was 54″ wide or something. It frayed too much and was too loosely woven. I sincerely disliked it. I have to think more carefully about decisions and not just focus on how wide the fabric is.
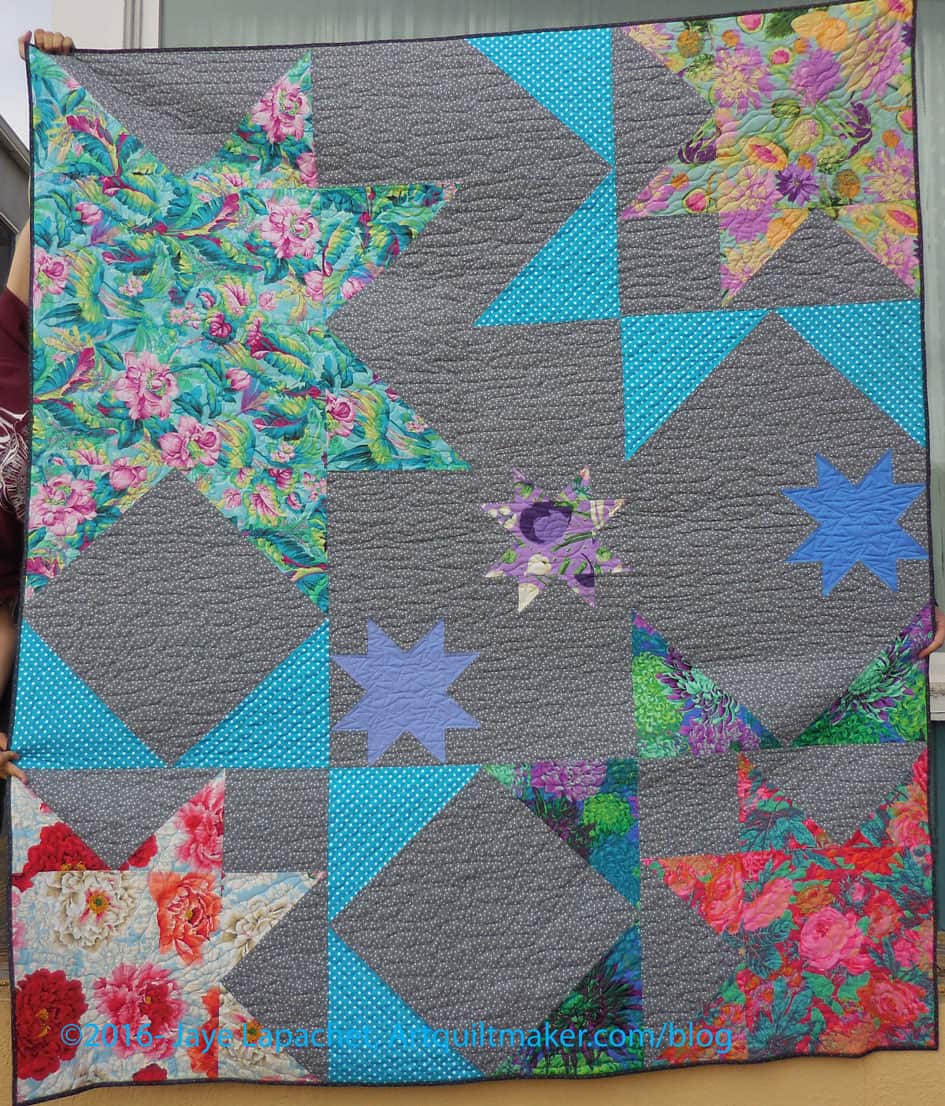
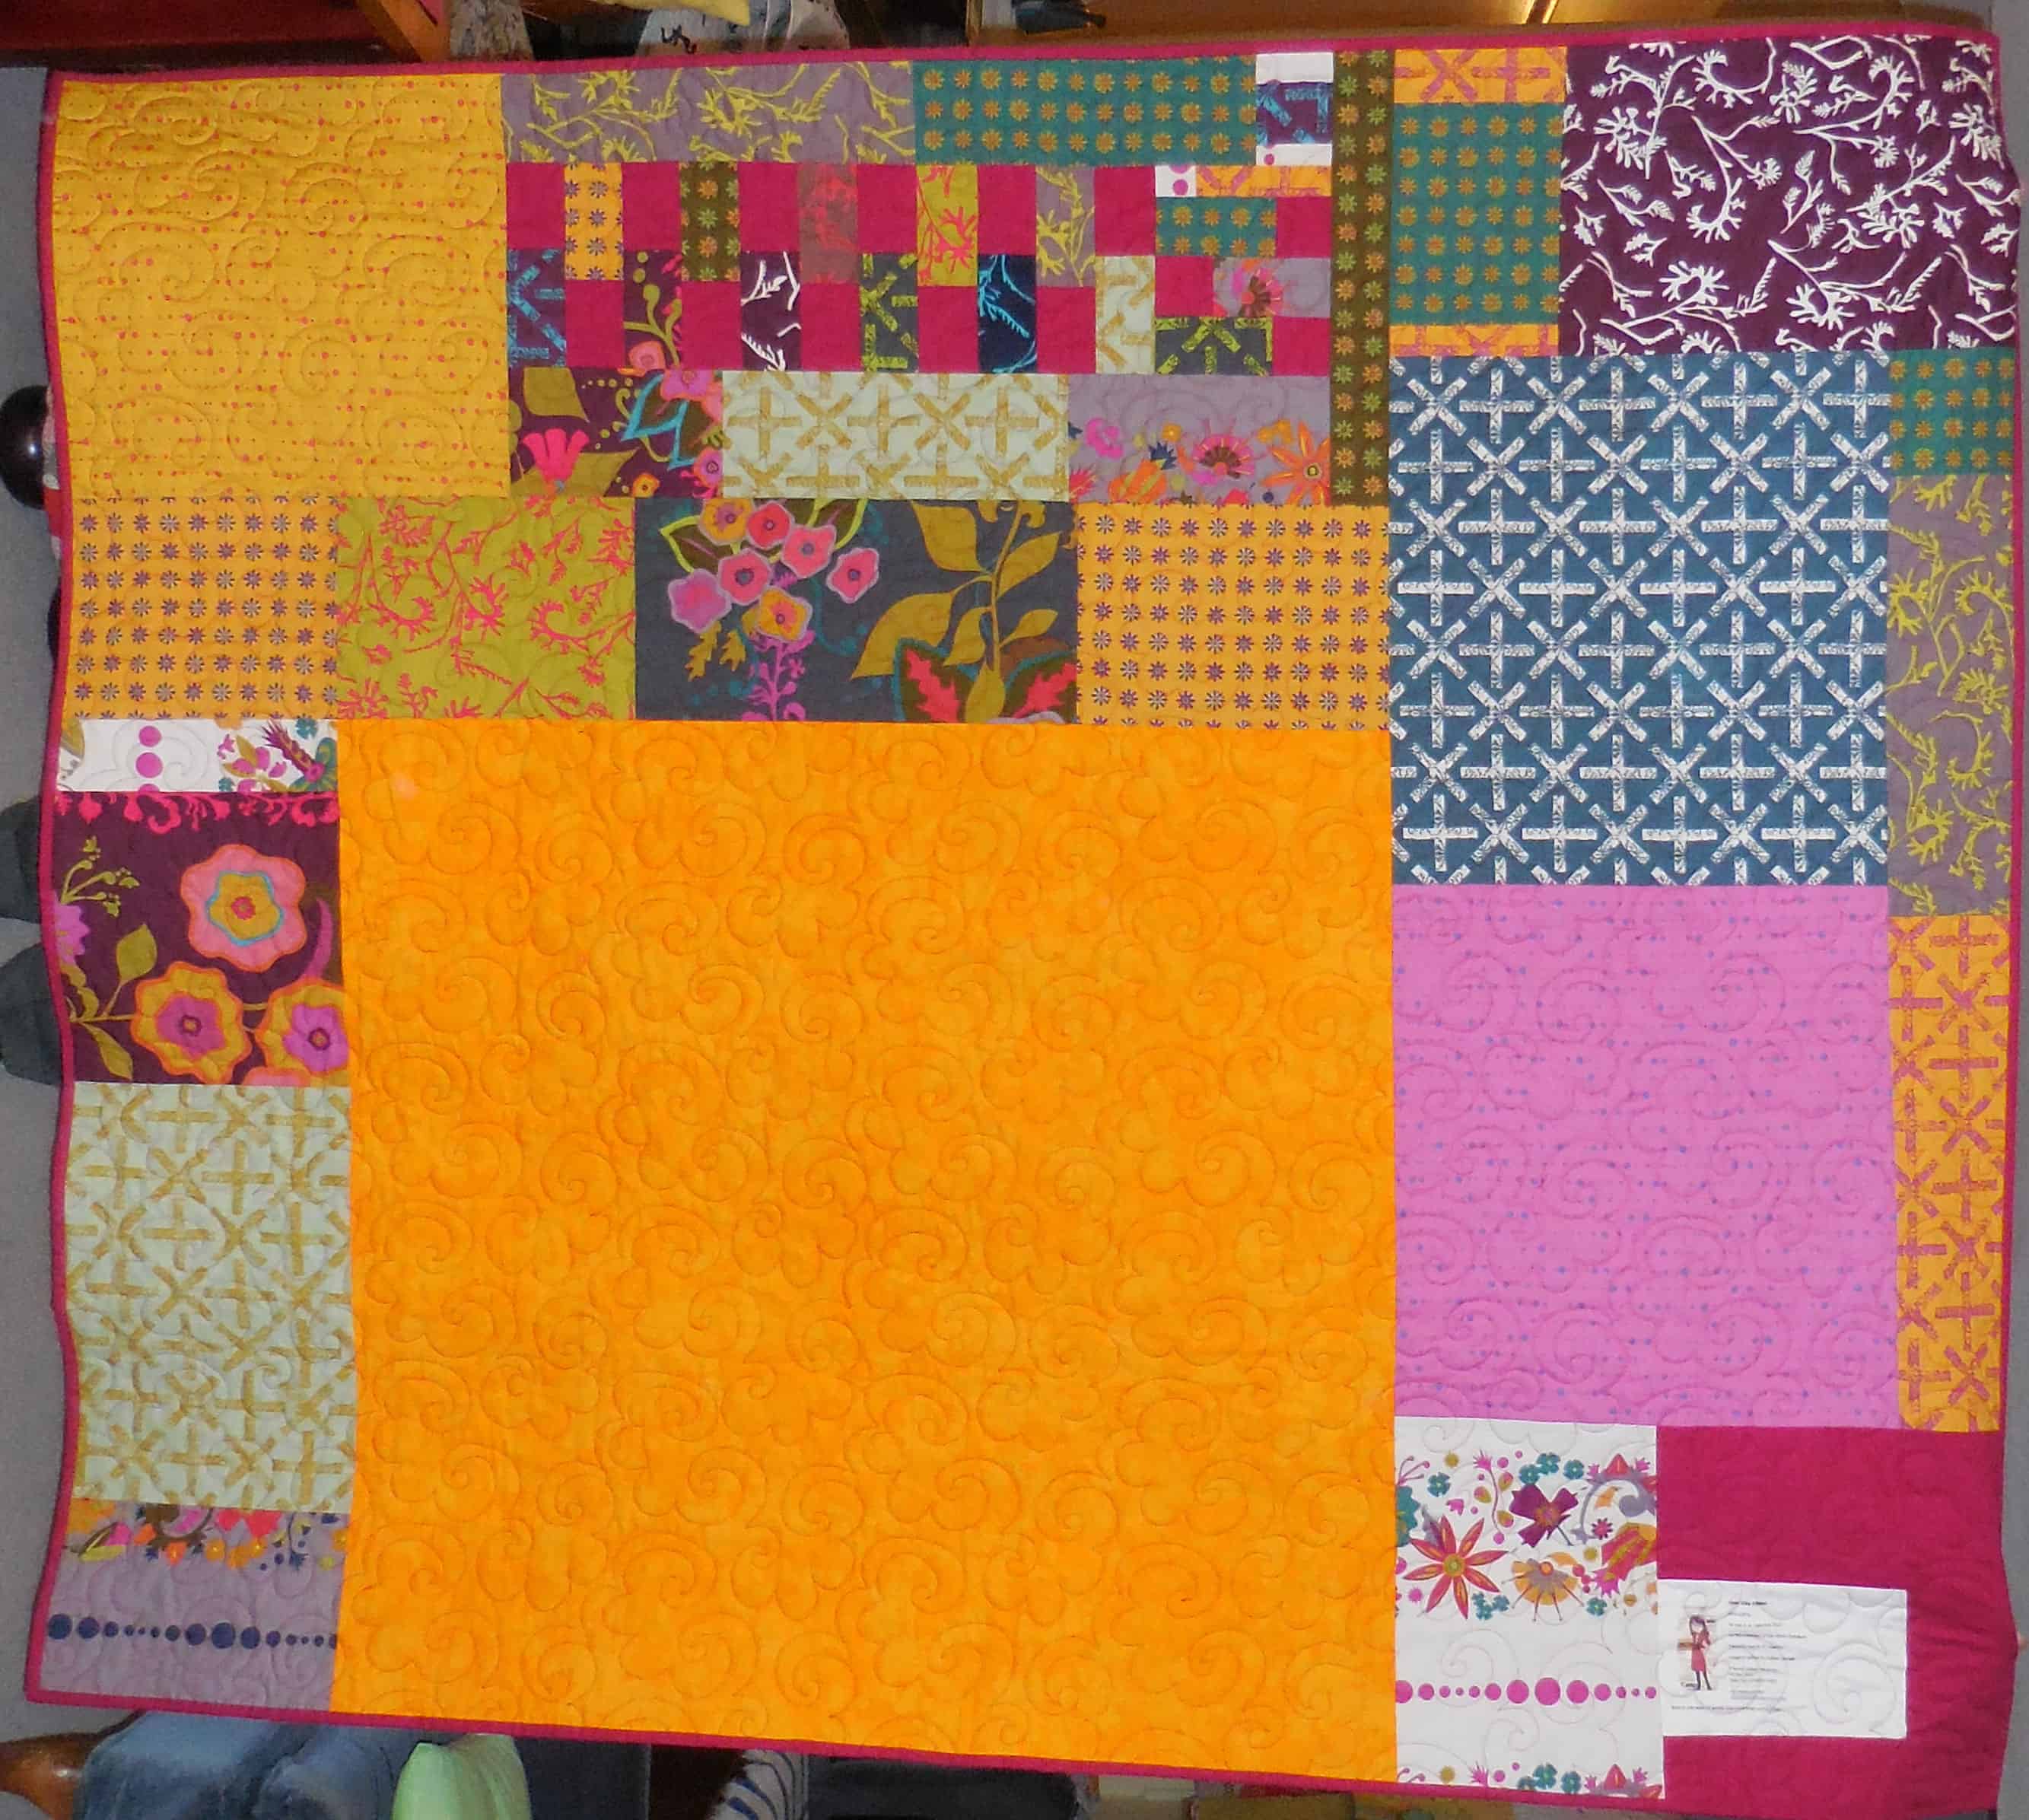
Flowerburst back
The quilt turned out well. I like the juxtaposition between the flowers in the stars and the grey background. It isn’t perfect, but it is very nice. I really like the way the big blowsy flowers are showcased in the large pieces. I should do more with the Philip Jacobs fabrics on the front.
The back is pretty great, though. I love the big amounts of Philip Jacobs yardage.
I am thrilled with how this came out. Yes, this is one of the niece-phews quilts. I can’t wait to see what my niece thinks.
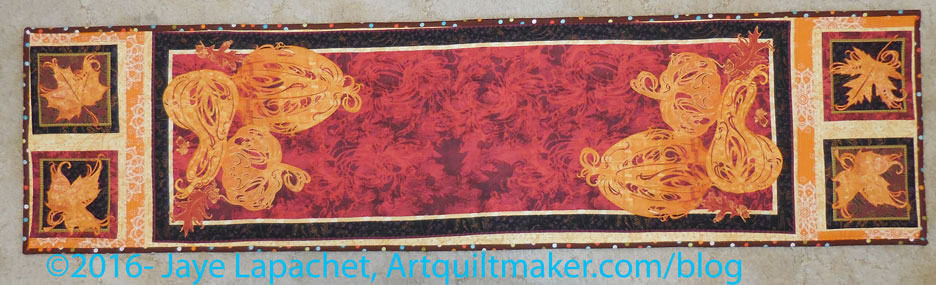
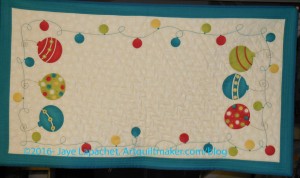
I finished the first tablerunner and was able to show it at the BAMQG meeting on Saturday. I am pleased with how it came out. I can’t wait to use it.
I did the (minimal) piecing and I did all the quilting. It was mostly straight line quilting or quilting with an applique’ foot. No free motion quilting on this one.
Thanksgiving Tablerunner detail
Thanksgiving Tablerunner detail
Thanksgiving Tablerunner detail
I didn’t put a label on this one, so I embroidered my name and the date and that will have to do.
This project has been on my to do list forever. Now it is OFF! It is complete. Finished. Done.
Yay!
So, the deal with this piece is that I got the panel somewhere. I think I may have been collecting opportunities to practice my free motion quilting at the time. (Stop laughing!). It hung around for a few years. At some point, I probably put it on the to do list when I cataloged my UFOs. It was on the to do list for a long time. At some point I decided to get busy and work on these languishing projects.
Back of Christmas Tablerunner
The only thing I might do is embroider my name on the back. there is no label on this piece and I don’t want it to be anonymous.
Yes, this is donation quilt week. I promise this is the last one I have for the time being.
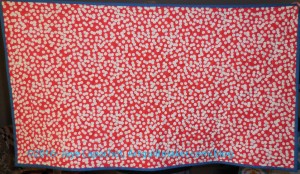
Last August, I talked about the Flower Sugar Donation top. I made the top out of leftover fabric from the Flower Sugar Hexagon (Attack of the Hexies) quilt. Gerre offered to quilt it. I got the finished piece back from her at the BAM meeting. She hadn’t completely done the binding, but had sewed most of it by machine. I had given her a piece of binding that was a bit too short, so I added to it. Then I sewed it the rest of the way on to the quilted piece then spent the time hand stitching the binding down.
Flower Sugar Donation back
I was feeling like a bit of a slacker, so I was glad to get this piece done. It felt like I had FINALLY finished something.
The fabric I used was, again, called Flower Sugar by Lecien. I still have bunches of it left even though I also used it for the back. I warned Gerre that she might be seeing another one with the same fabric.
I also used some Bonnie and Camille greys/taupes for the background pieces. They are from various lines. Compared to the cool greys I am using for the Flying Geese, these background pieces look really, really brown to me.
So, yay! A finished piece. I am so pleased it is a donation top.
We had the BAMQG meeting yesterday. As is our habit, people made bags and others brought gifts with which to fill them for the officers as a thank you for their hard work. It was a great success.
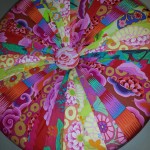
One Hour Basket #1
I, however, could not get the Charity Girls out of my mind. Michelle and Peggy have done such an excellent job of shepherding the Charity project along that I felt some thank you was in order. I tried not to do it, but I ended up making two One Hour Baskets, one for each. They were quick and look nice and I think Peggy liked hers. I still have to give Michelle hers as she couldn’t make it to the meeting, but I may see her next week.
I wrote a lot last year about the awesomeness of the Charity Program. You can also check out the BAMQG blog to see more about the Charity Program.
As before, I put the handles on the sides to make them more useful (IMO). This time I used fusible fleece, (Last time I used Soft & Stable) as the pattern calls for. I think I would put the fusible fleece on both the lining and the exterior, if I used it again. I think Soft & Stable is a better choice for more rigid baskets. Also, I didn’t use ShapeFlex this time and I would go back to using it next time as I like my baskets more stiff.
One Hour Basket #2
The pattern for the One Hour Baskets is on Craftsy. It was designed by Hearts and Bees. She blogs at KelbySews. I noticed that the “advertising” photos show the baskets filled with fat quarters.
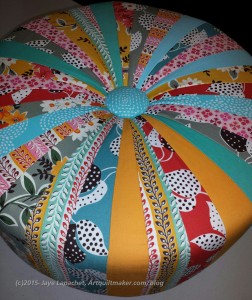
I went to class on Monday with Robin and finished my Tuffet. As I said the other day, I worked on making the cover at home by myself. I couldn’t do the other parts so off to the finishing class I went.
I had forgotten to do the drawstring, so I took my machine and did that part in class. It was fine and I helped another student who was on that step in class as well.
Tuffet #2 bottom
Robin had carpet tacks, or, probably, furniture tacks, this time and many of the people in the class used them to put down the bottom cover of the Tuffet. I did mine the same way I did the last one, which was to hand sew down the grey over the drawn up cover.
We also had a problem with my feet. I wanted the same feet as Tuffet #1. I put 3 feet on and found that the fourth was not the same style. Someone out there has a Tuffet with my last foot. I switched out the feet for a different kind. The new feet are the same color as those on Tuffet #1. No big deal.
The class was pretty full with 4 other people there, two of whom were making 2 Tuffets each! Two of the women making 2 Tuffets and one other woman were all making Tuffets for their children. I am not making one for the YM until he gets his own apartment and then we will see. He will have to ask VERY nicely.
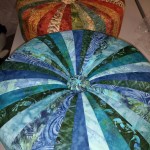
Kathy’s Tuffets
Grey Tuffet
Kaffe Tuffet
Katrina’s Tuffet
As usual, as soon as I saw the other Tuffets, I wanted those instead of my own. Everyone else said how bright and cheerful mine was.
I love the Kaffe Tuffet. LOVE it! Click on the photo and make it bigger so you can see how fantastic it is. I love the colors – they are bright and cheerful. I also love the juxtaposition of the fabric pattern motifs.
One thing that was different in this class is one student used one fabric per foundation (Katrina’s Tuffet, bottom right), which is a great way to showcase the fabric and makes the Tuffet-making go a lot faster.
Robin is still awesome and if you have a chance to take her class, you MUST! I had a great time chatting with her. I want to help her spread the Tuffet love throughout the world.
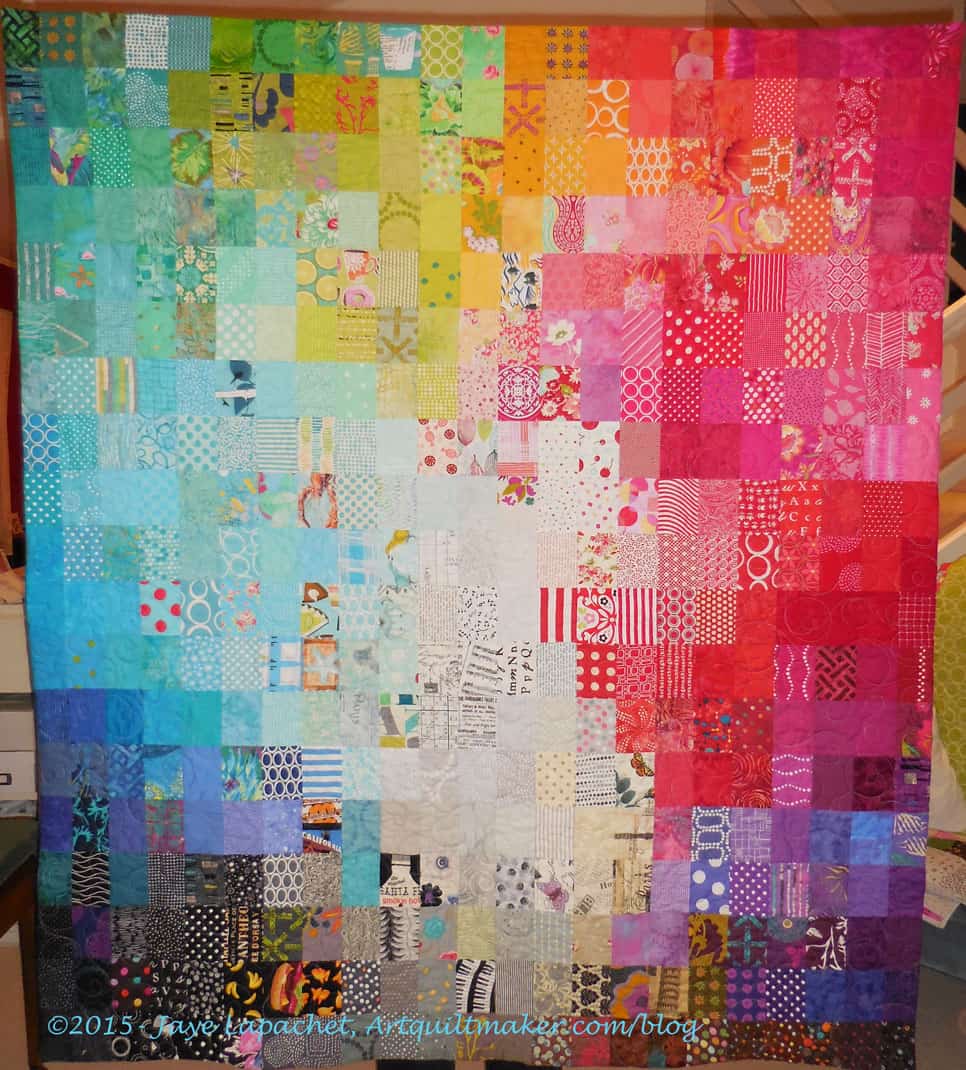
I finished Fabric of the Year 2014 yesterday. I had the quilt done, but took my sweet time in sewing on the sleeve.
It has some similarities to FOTY 2013, namely the light in the middle. I wanted to try to recreate that glowing aspect again.
The back was one of the easiest I have made. Almost no drama, especially since one piece of fabric made almost the entire back. I added the solid so that large motifs didn’t run against each other when I sewed them. I thought it would look too jangly.
Fabric of the Year 2014 Back – Completed
I liked pieced backs, but am very happy when I don’t have to piece too much.
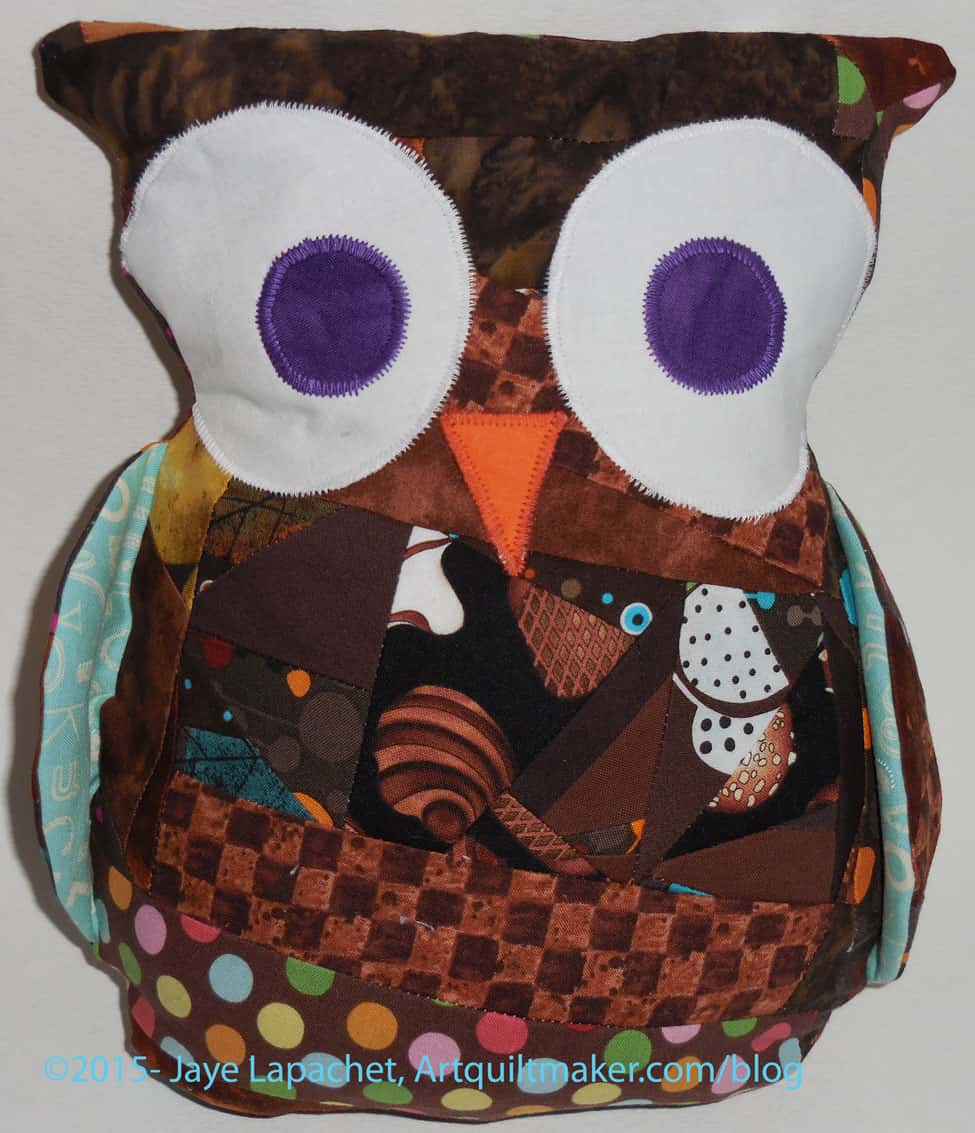
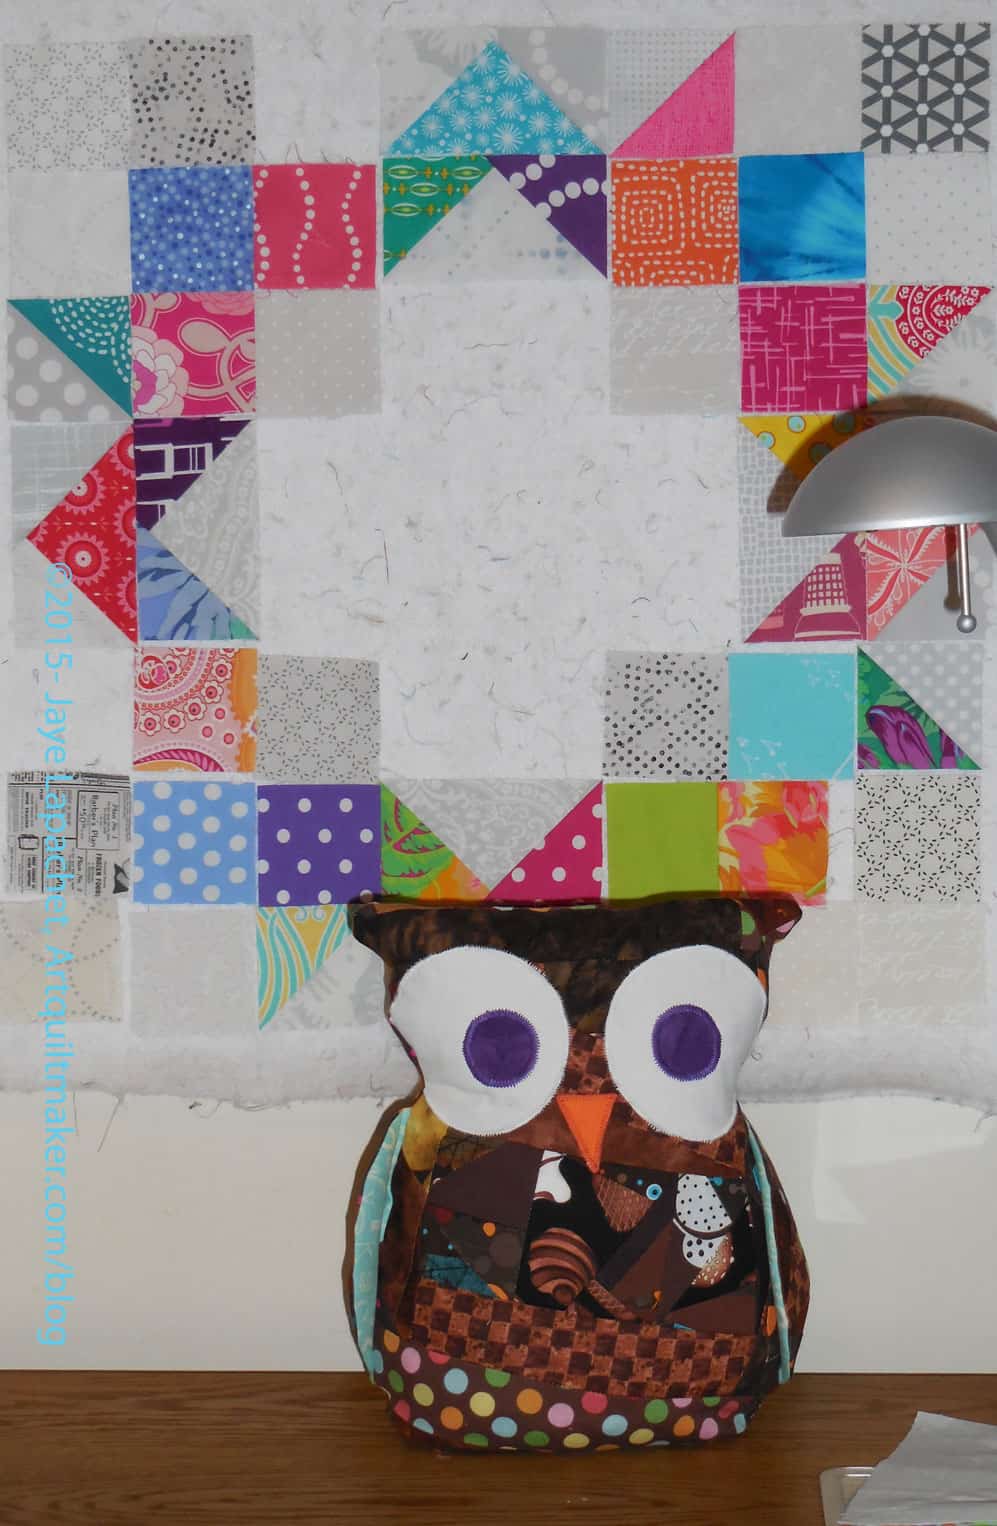
Yes, I have made another softie owl and also called him Henry. It could be confusing, but think of those Tudor Kings. There were bunches of them. Wait until I make a Henry VIII. I’ll have to put something on him to reference the old king.
There is something about these owls that makes me think of them as Henry. There is also something about these owls that I really like.
Henry IV – wings open
I had worked on the mosaic pieced brown for awhile and finally had a large enough piece to make another softie. On my Playday (what I am now calling the day I sewed the Carpenter’s Wheel) I also worked on Henry IV. It was just a whim and it panned out.
I am not done putting blue on the inside of the wings. Not sure why I like that so much, but it seems right.
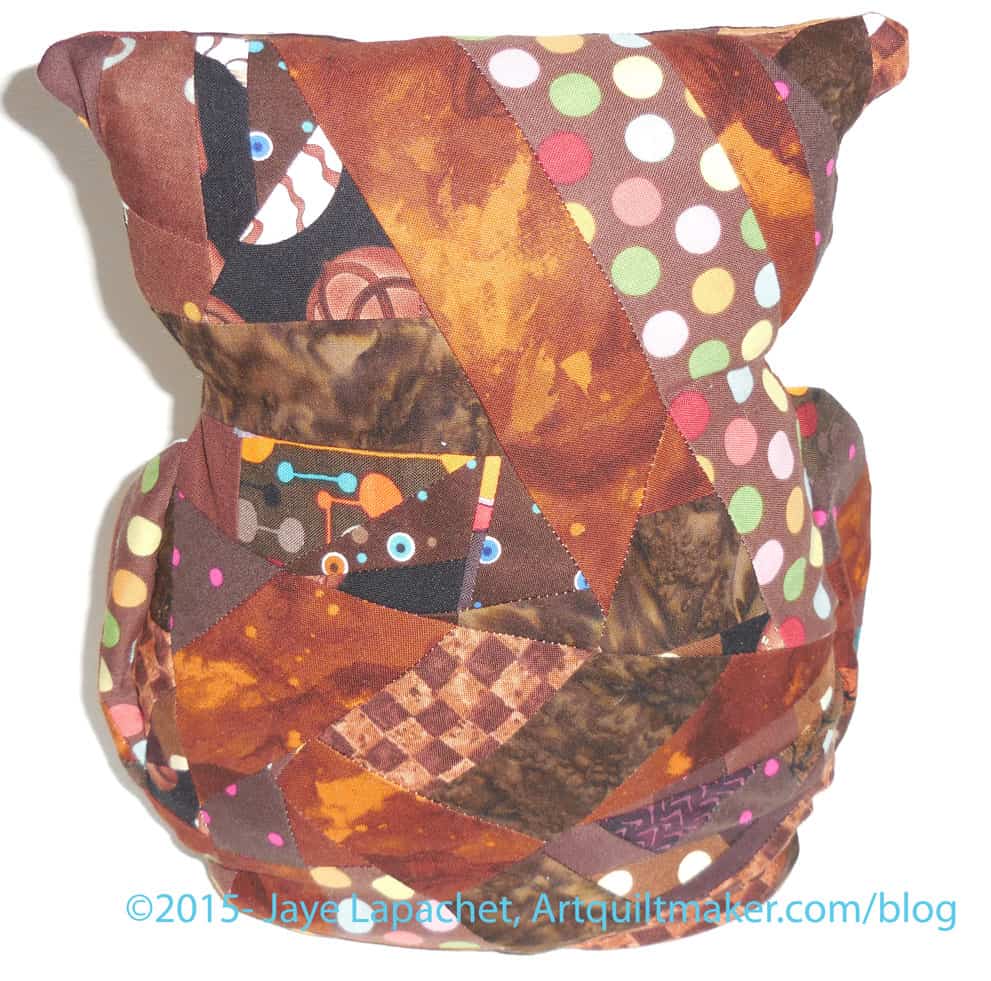
Henry IV’s backside
This time I had real problems following the directions. I am not sure why, but my Henry is together and sits up very well. I stuffed him with schnibbles again except for the weight that keeps him up.
This will also go to a friend after I am finished having him decorate my sewing table.
I did the last bits of the binding on Field Day Zipper on Friday Night. It is finished. I should hold it for the BAMQG meeting, but I want to get it off to the recipient. It is a nice quilt and I hope she will like it.
I showed it at CQFA and people really liked the Sangria background. I was and wasn’t surprised. I am pretty happy with how it turned out.
After a break to rest my arm, I needed to get busy with the last side of the Food Quilt #2. The YM’s friend headed off to college on Saturday and I wanted to make sure he took it with him. He won’t need it for a few months, but I’d rather he had it at school than sitting around my house.
Food Quilt #2: Finished
I brought the quilt over Friday night and the family held it up for me. They are not experienced quilt holders, but I am pleased I was able to get a photo. It is a large piece, but I tested it on the very tall recipient and it fits him fine.
I always think striped binding looks good, so I was pleased to see that it actually does look good on this piece. I always buy stripes for binding. Now I’ll have to remember to use it more often.
Food Quilt #2 Back
I have appliqued the recipient’s name on the back to prevent theft.
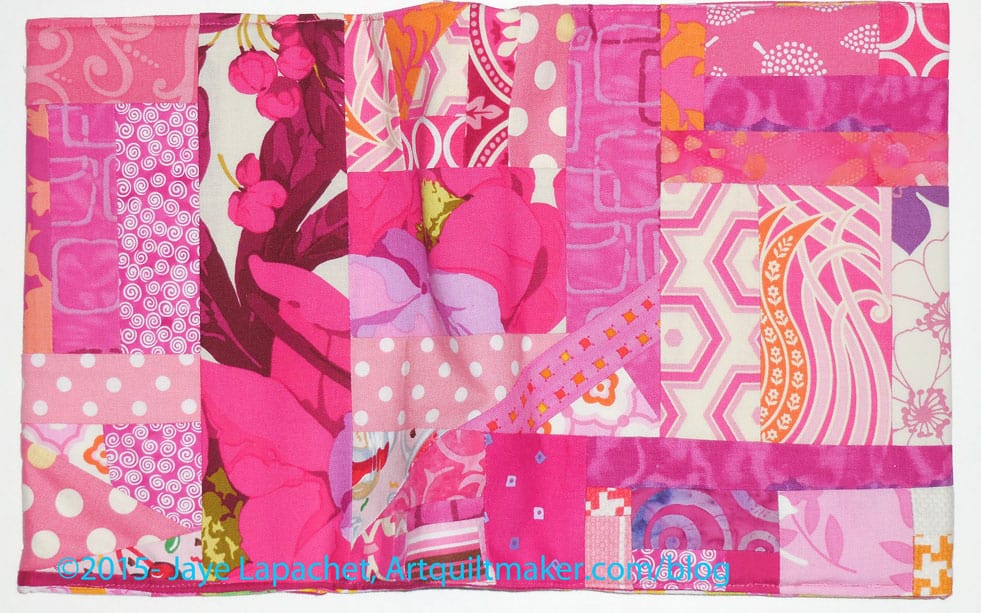
I finally finished Pinkalicious over the weekend. I am happy with the front cover and the overall look of the piece. I am not happy overall. There are small seams close to the edges and that makes pressing the edges into a crisp line. It also makes it hard to sew the edges closed.
I tried a lot of things when I made the Orange Crush Journal Cover and I guess I wasn’t thinking about the things I learned. I drifted back to small pieces and put them too close to the edge.
Sewing is like that. It takes awhile to get things down and in the case of mosaic piecing there is some reliance on the size of the available scraps.
Pinkalicious Open Back
Fortunately, these journal covers are a good way to practice mosaic piecing and a great leaders and enders project.
I don’t know what the perfect mosaic pieced journal cover is. I don’t if there is such a thing, but I will keep looking.