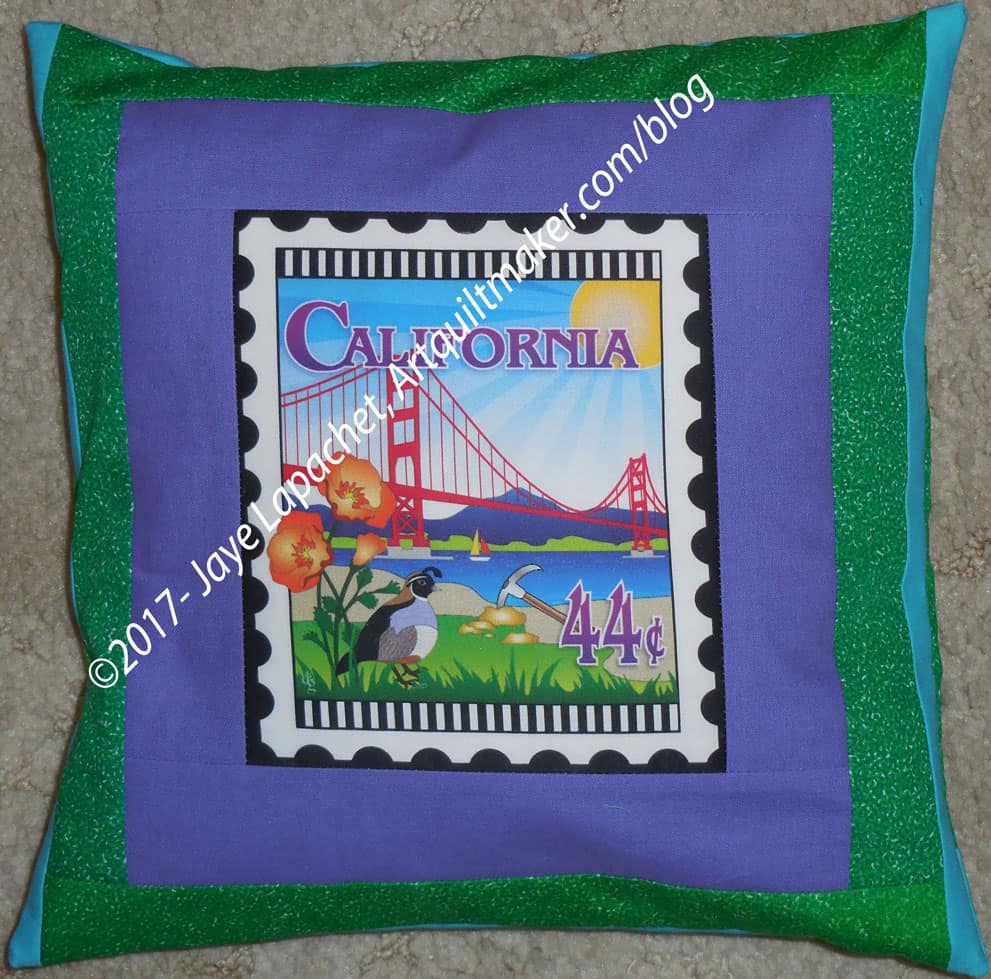
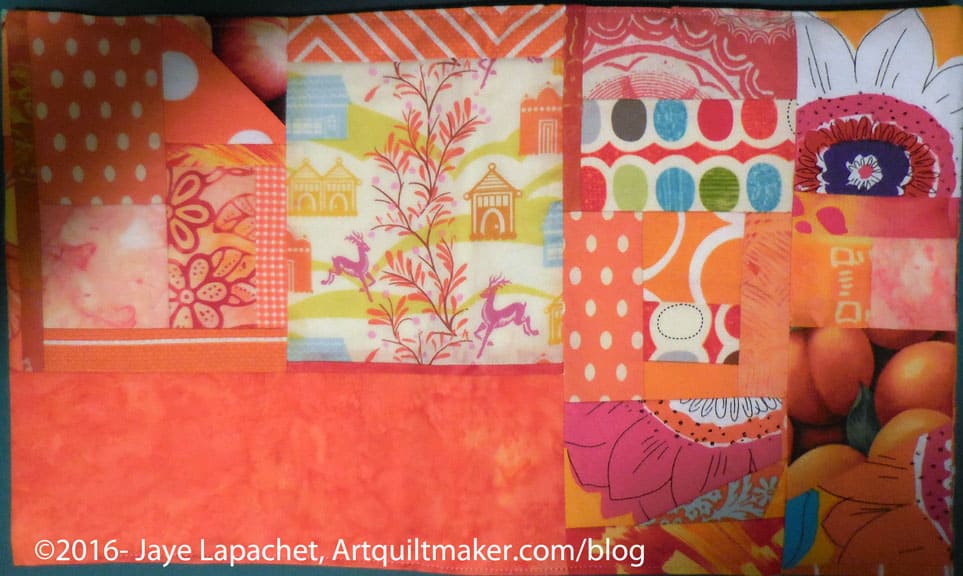
I finally made the pillow I intended to make from the panel Mrs. K sent me.
I feel like such a slacker. This panel has been hanging around since …. I don’t know…. months? I do keep sewing, so I can’t be that much of a slacker, right?
We do not have to raise money this year at Grand Parlor, so I made this pillow for one of our friends who does not get support from his Parlor to attend Grand Parlor. He is running for Grand 3rd VP and needs all the help he can get.
California Pillow back
Yes, I pulled out some Pointillist Palette fabric, after being inspired by my SIL. I can’t hoard it. I have to get the 4th Pointillist Palette quilt done and use this great fabric. Since I had it out to use for Kelly’s Color My Quilt piece, I decided this pillow would work as another effort at using it.
The back is pretty plain, but I do like that blue. I wish I had written down what it was (usually I write the brand and color on the selvedge) as I could look for more. I didn’t so, it will be a mystery.
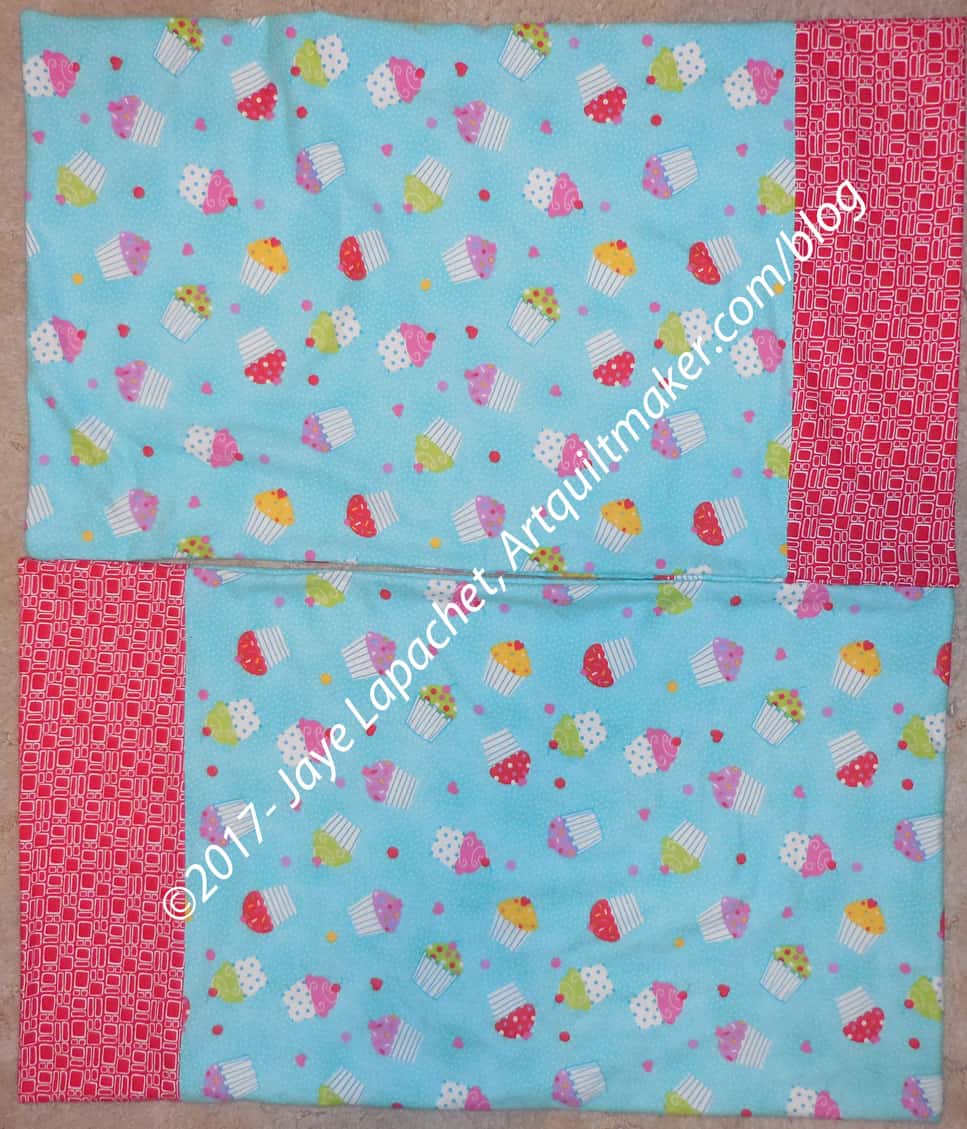
I bought some flannel cupcake fabric to make a pillowcase.
Then I saw some great flannel cupcake fabric at another shop and bought it to make a pillowcase. It turns out the two pieces were the same. If someone had bought it for me, I would have said “great minds think alike.” Since I just bought both pieces, apparently forgetting I bought it the first time, I have to wonder. I guess I really liked that fabric.
Cupcake Pillowcases
I have been on a near-frenzy lately washing fabric. The pieces of flannel got caught in the madness. Since I am trying to stay in the black in terms of fabric usage, I decided to make some pillowcases. They are a quick and easy yard of usage.
I thought I would give these to a niece who has recently become engaged. I am not sure she would like the colors, though, so I may give them to someone else.
Can a person ever have too many pincushions? This is the thought running through my mind as I decided what else to make for my second group of gifts.
Mary’s Pincushion/Wonderclip caddy
You might remember the Pincushion / Wonderclip Holders I made for the guild officers. I really like this pattern and decided to make another one to go with my gift grouping.
It is a useful item and I have a lot of Beanie Baby pellets to work through. It is a quick project, which is an added incentive to include it in the gift grouping.
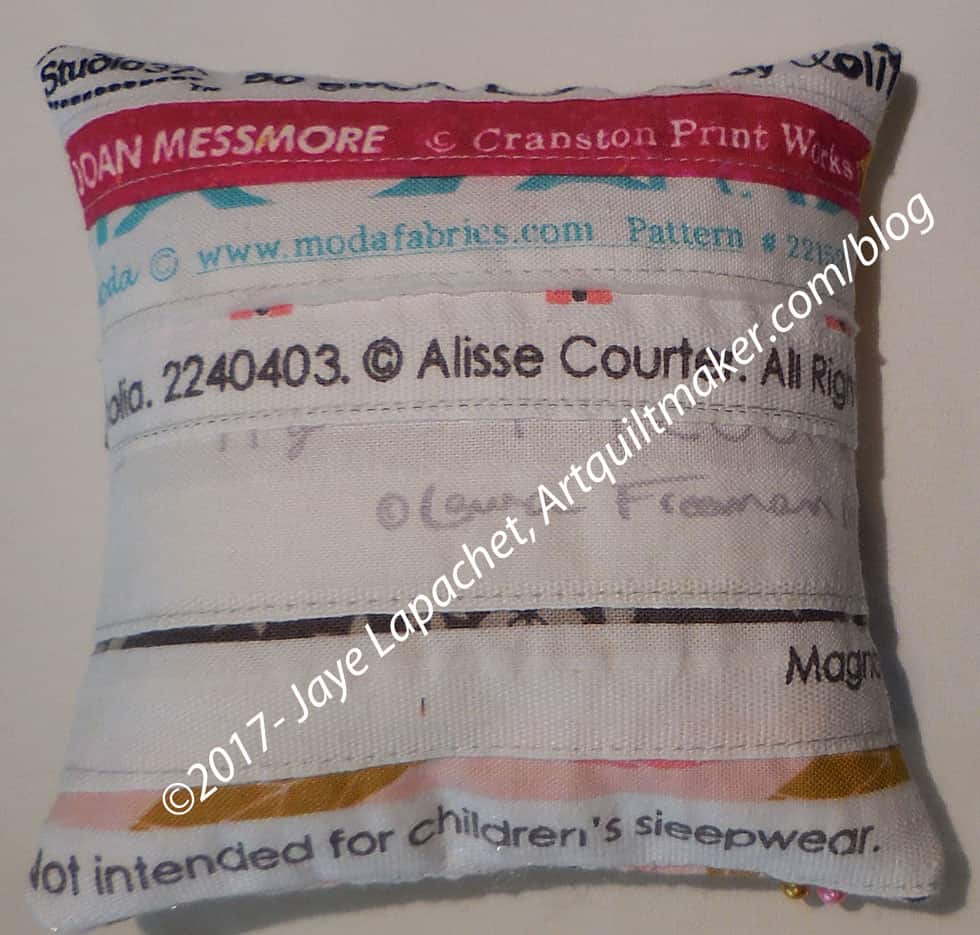
Mary’s Pincushion/Wonderclip caddy – back
I decided to continue with the selvedge back. It is interesting to look at and I have a surplus of selvedges.
The pattern can be found in Love Patchwork and Quilting, issue 39. It is available digitally in the Apple and Google Play stores.
I am still not done making gifts with the two stacks of fat quarters I received at the BAM retreat last Fall. As an aside, these small gifts are keeping me slightly ahead of the negative mark in my fabric purchases vs usage. No finished quilts this year yet, so I am still feeling behind. No huge buying binges, so at least I am not in the negative.
Anyway.
I am still making gifts. I took the opportunity to make the two bags I liked from the Make It, Take It book I received for Christmas. One was the The Big Patchwork Tote and one was the Little Patchwork Tote (pattern starts on page 32 for both).
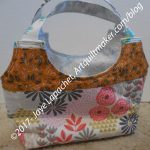
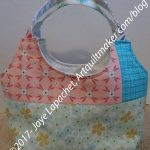
Little Patchwork Tote -1
Little Patchwork Tote -2
I started with the Little Patchwork Tote. When I hear the word ‘tote’, I think of a bag in which you can carry a bunch of stuff. That is not the case with the Little Patchwork Tote. It is basically purse sized. I should have known, based on the sizes, but I couldn’t put it all together in my head. I wanted something I could put a number of gifts in. I can put a few in this tote, but decided I would make the Big Patchwork Tote as well.
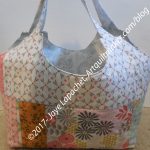
Big Patchwork Tote – 1
Big Patchwork Tote – 2
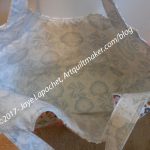
Big Patchwork Tote – inside
The Big Patchwork Tote is the size a tote should be. Whatever that means. 😉 It is the size in which one can put a number of necessary items. Using the directions in the pattern makes it pretty stiff, which I like. I will probably make this tote again. It might make good officer gifts and is conducive to using large-ish scraps.
Gifts in Big Patchwork Tote -in process
The Little Patchwork Tote fits easily in the Big Patchwork Tote along with Tooly McToolston. I am working on a pincushion/Wonderclip holder and a couple of other items.
I have to admit to using Leuchtturm journals lately instead of my favorite Miquelrius journals. The Leuchtturm journals are slim and fit in my handbag with all my other stuff. They don’t need covers. I couldn’t figure out why I was leaning away from the Miquelrius journals.
Finally, I realized, on Sunday when I needed a new journal because I had finished the old one what the problem was. I didn’t have any Miquelrius journals with the journal covers already made. As you may have guessed, I like to put journal covers on the Miquelrius journals, because the corners of the covers tend to poke me. I looked back and found that the last journal cover I made was the Orange Soda Journal Cover back in November (November seemed to be a good month for me). That was at least two journals ago.
I actually had a journal cover partially made. I hadn’t really worked on it in a few weeks. It occurred to me that it be an entry in the BAMQG scrap challenge. The donation blocks were giving me a bit of trouble (decision making not sewing), so it was an easy choice to switch projects. I used the journal cover pieces and parts as leaders and enders while I worked out my donation block issues.
Journal covers are not difficult (tutorial is posted -sizes are for the Miquelrius journals). The time consuming part is the mosaic piecing. Of course you can make the cover out of one piece of fabric for an even quicker and easier version. I rarely, if ever, do that, however.
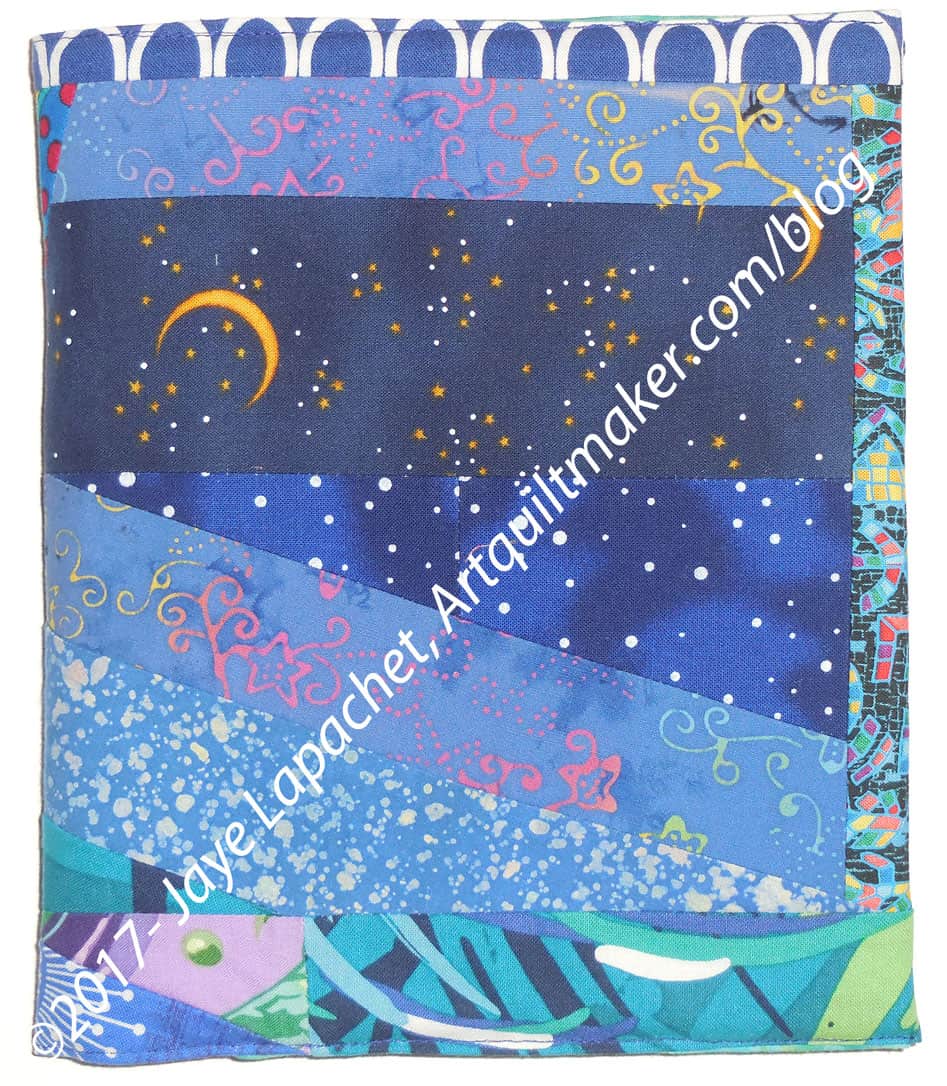
Dark Blue Journal Cover
Frequently, I start pulling out fabrics and stick to certain values in that one scrap drawer. I am not sure which fabric pieces I started with, but the first fabrics often set the tone for the entire piece. This one is a little darker than I usually like. I do like the monochromatic look, however, so I stuck with the darker blues.
Dark Blue Journal Cover – other side
I haven’t decided which side to use as the front. Since I don’t need it immediately, I don’t have to decide for at least three months.
I had some issues with the filling. I have been using flannel, but am just about out. I had some leftover bits of fusible fleece, so I stuck those to the back of the pieced front and filled the rest in with flannel scraps. Some parts are fluffier than I like, but it works and the project is done.
I started another journal cover with turquoise. Stay tuned.
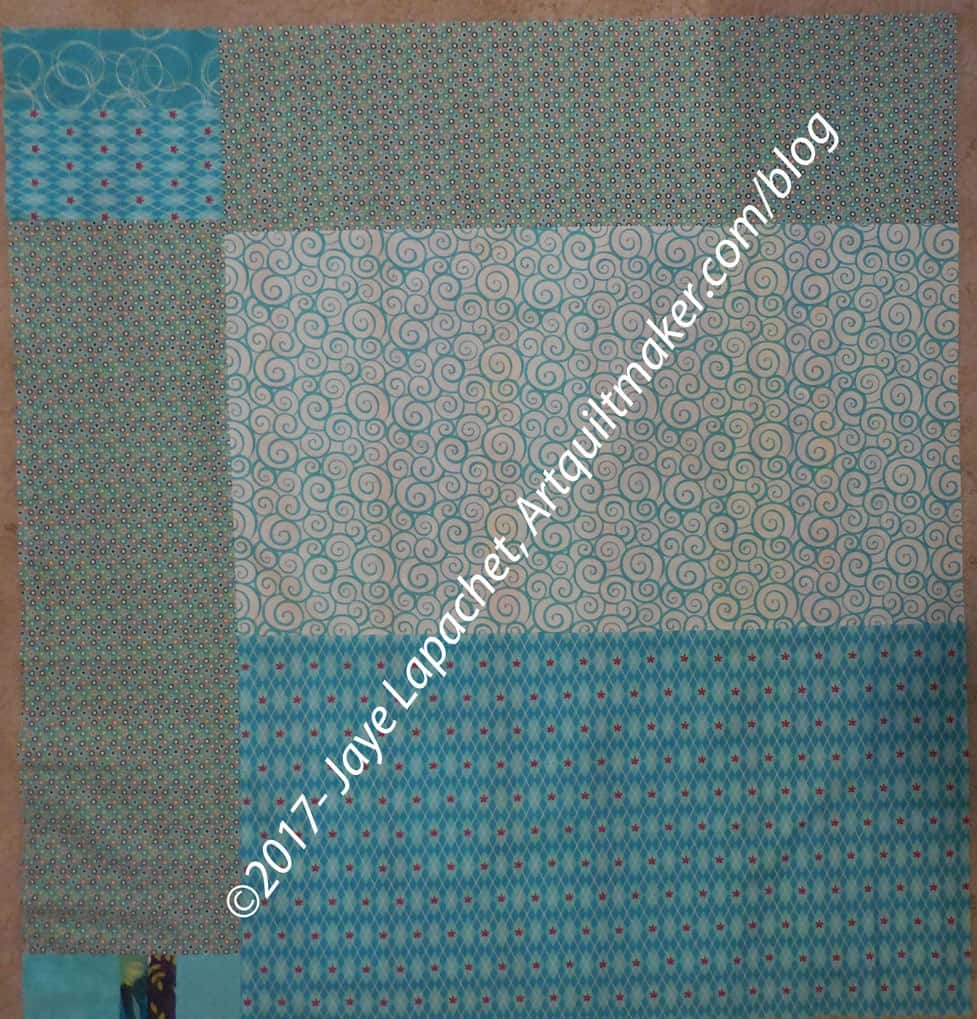
As mentioned, this top was sort of unplanned. It did, however, come together very well and last week, I was able to finish the top, back and batting.
I am a little sad to give it away as I really like it. Of course, I like most of the quilts I make as donations, but this one is particularly pleasing to me for some reason.
Ends Quilt back – March 2017
The back is fairly plain. Several large half yards of fabric and I was done. I also put the batting together with Heat Press. There might be more Heat Press than batting and I hope that the quilt won’t be stiff as a result.
I gave a group of gifts, as described in a recent post, to my friend Mary who is making a dress for me.
This is the first time I have followed my advice and given a group of gifts. I have made all of the items before; just never given them away as a group. I wouldn’t have recommended it to you if I didn’t think it would be a good idea. However I had to test it and I am pleased with how it came out.
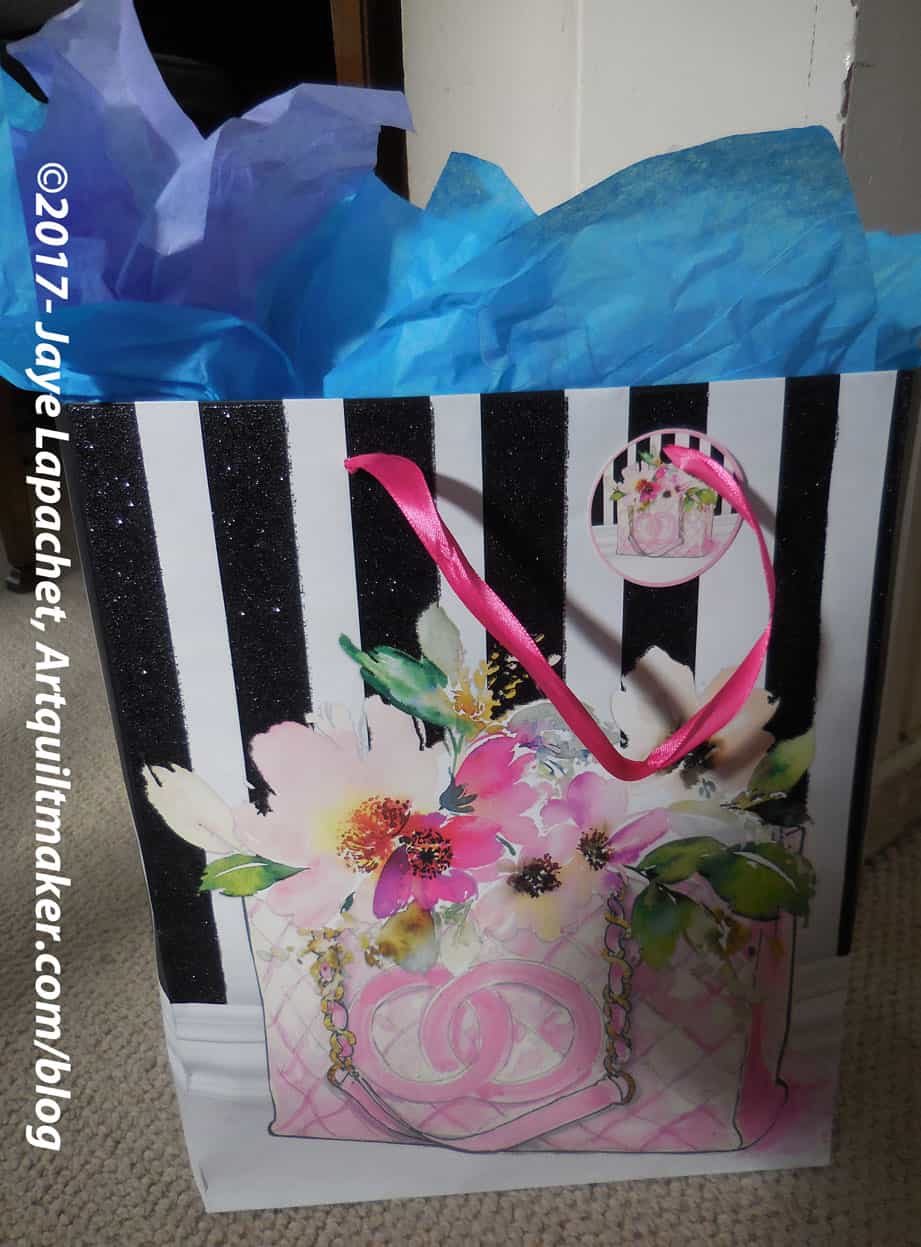
Wrapped Gift Group
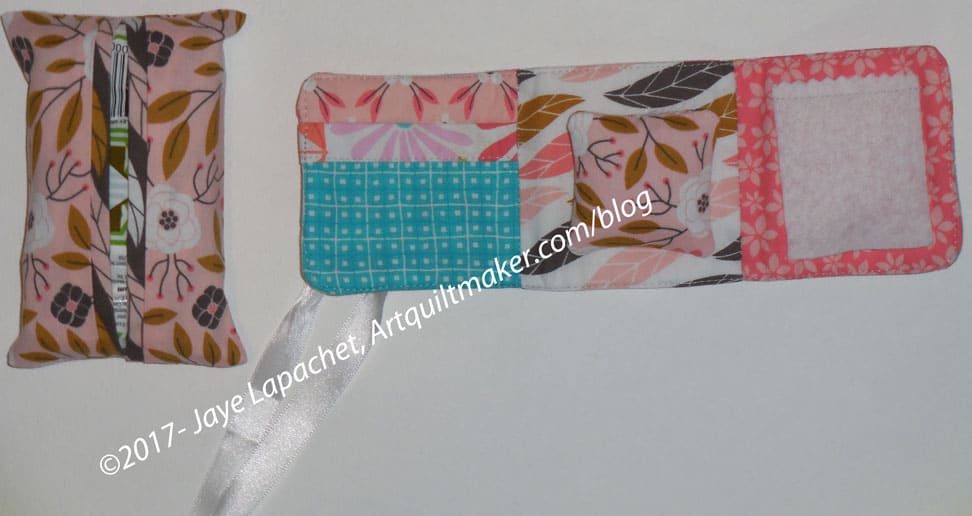
The One Hour Basket, which is the carrier, though I did wrap the whole thing, contains a journal cover (with journal), a pencil roll, on the go tissue cover, needle safe, pincushion, lanyard and scissor sheath. I think the mix of items is good, though I could have put a little tissue paper underneath to fill up the One Hour Basket some more.
I wanted the whole set to match, so I used pieces from two FQ bundles I received at the BAM Retreat. I have much more to use, so I can make more items, if I can think of what to make.
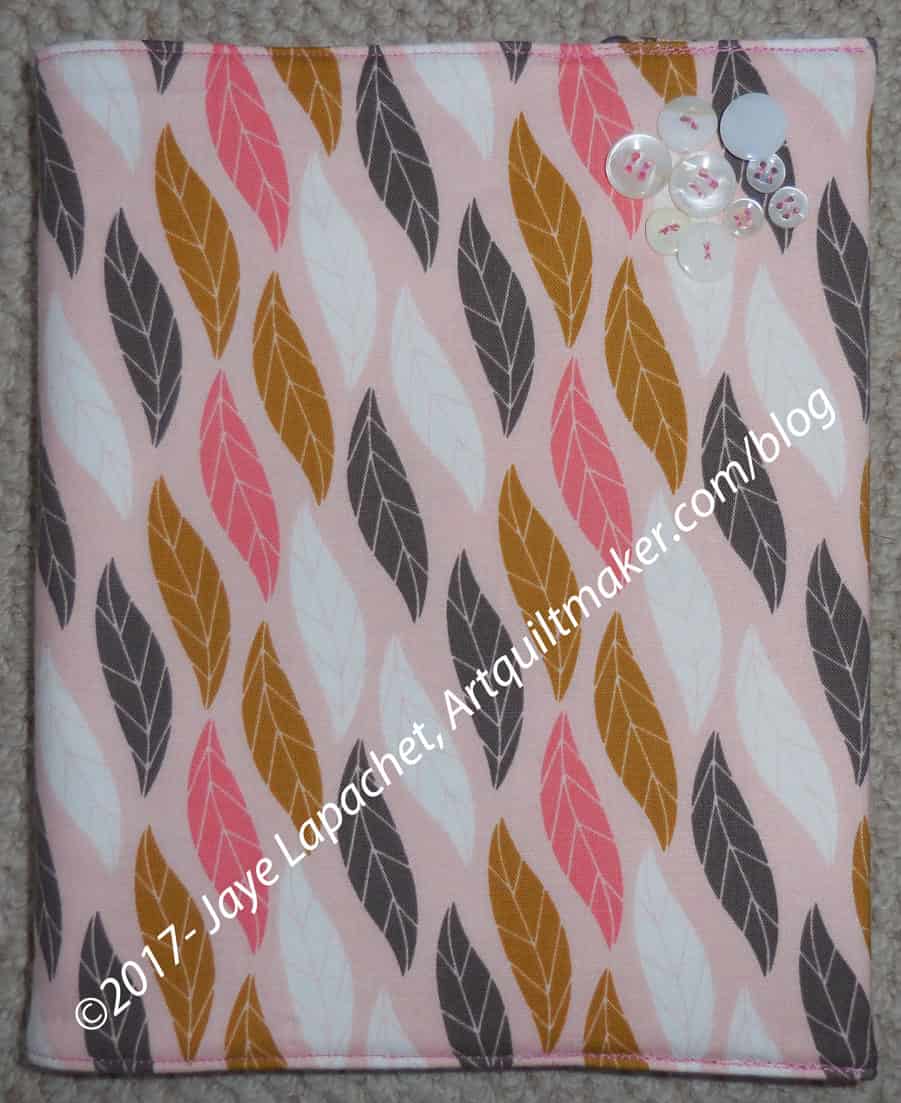
Mary’s Journal Cover
As you know I normally make journal covers using mosaic piecing. Mosaic piecing is good for using up scraps and for leaders and enders. Since I was using a constrained color palette, I used two fabrics and didn’t piece the front or inside cover. In order to make it less boring, I did embellish the cover with some buttons.
I used buttons TFQ bought for me at Road to California in 2012 and some colored thread. The embellishing is simple and I don’t think I have ever embellished a journal cover before, but I think it worked really well on this piece. Mary said that she could use it for committee work since the Miquelrius journals have sections with different colored page edges. I am thrilled.
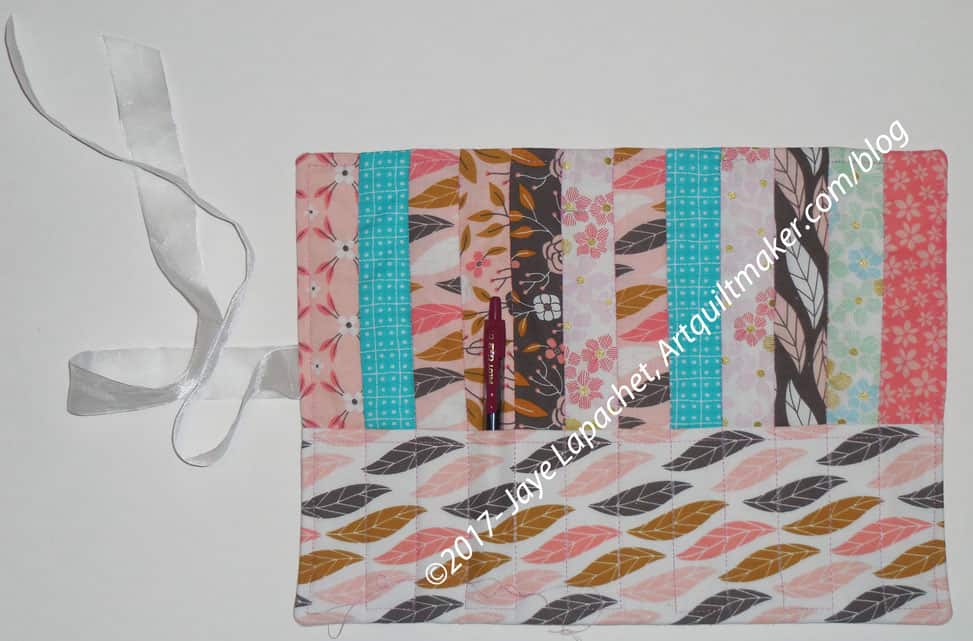
Mary’s Pencil Roll
As mentioned, I love the Pink Chalk pencil roll pattern. I am so sorry it is no longer available as I have made a number of them and it is a great gift. Try to find a used copy on Etsy or somewhere. It is well worth the hunt. Since I have the pattern I used it to make a 12 slot pencil roll for Mary. I always put a pen in so that people know its intended use. It is a good size for crochet hooks as well, though YMMV on those. I haven’t tried it.
Mary’s Pencil Roll back
This piece was GREAT for using up many of the different patterns in the fabric line (above photo). You can see all the different choices. I did use the turquoise more than once just to add some contrast. For the back I used a coordinating print from a different line. I wanted to mix the group up a bit so it didn’t get too monochromatic. There is a baby poop brown print in that line that I am sure would look fantastic, but I couldn’t bring myself to use it.
Mary’s Pencil Roll closed
Yet. I am thinking about what else I can make for Mary and it might come into play, but most likely not. I have plenty of other fabrics.
Mary’s Tissue Cover
The tissue cover seriously takes less than half an hour to make. I used the video mentioned in the Updated Gift Ideas post and it is so easy. I should have used a better contrasting fabric for the lining, but the fabric work well together. I don’t use one, personally, but I should. I am now out of travel packets of Kleenex which means I’ll have to get more. It is much nicer to put one in, as with the pens in the pencil roll, so people know what you have made. It prevents confusion.
Mary’s Needle Safe
I have a couple of needle safes that I use for various projects. This one has three parts: pincushion, needle holder and a section with a pocket where one can store a small needle threader, a pack of needles or one of those rubber circles used to pull the needle through thick fabric. The pattern for this project asks that the maker use fabric for the needle storage. I have always used felt. Wool felt is pretty good because the lanolin helps keep needles sharp. I don’t always have wool felt in the right colors, so I use what I have an cut it with a decorative blade.
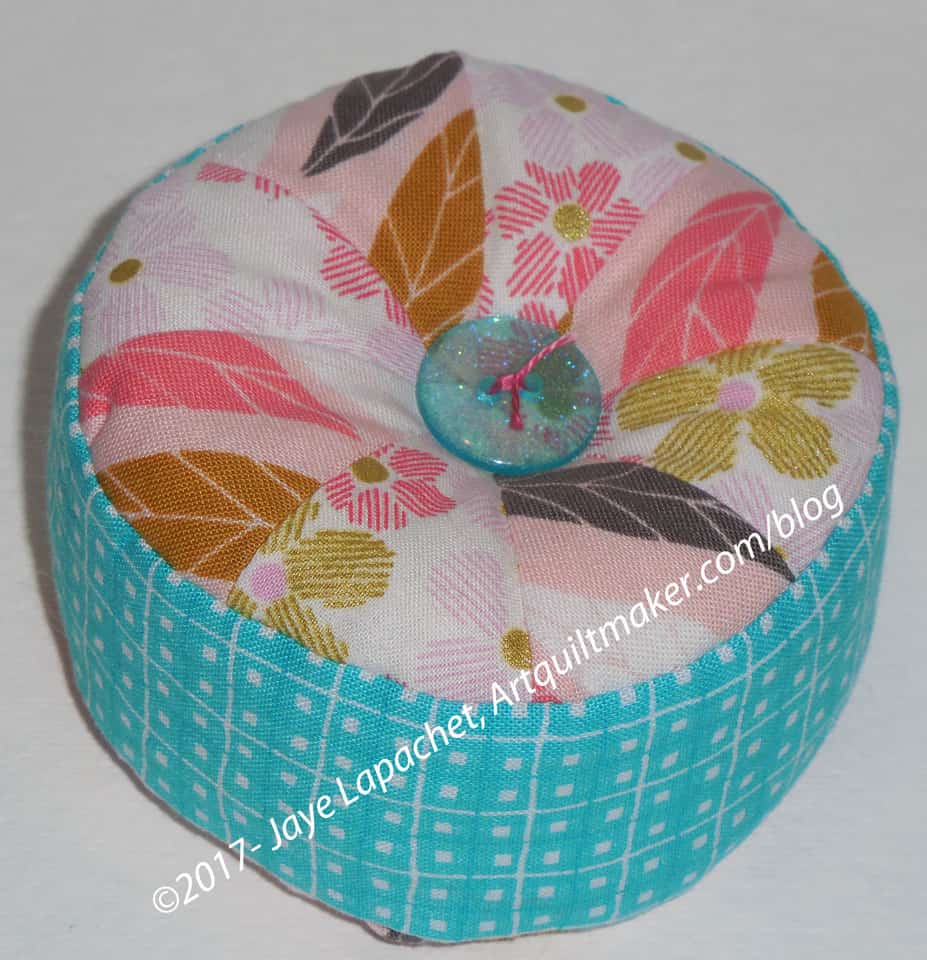
Mary’s Pincushion
The pincushion is just fun to make, for me. I love this Fig Tree pattern, because it looks like my ideal of a pincushion. I need to make a few more of these so I can get the contrast right. The colors and motifs on the fabric I used blend quite a bit. It is a nice effect, but I want to experiment with more contrast. I often have a hard time finding the right buttons. Yes, of course, I could buy buttons, but I prefer to use some from my button box. I found the perfect buttons this time. I love the see-through aspect and the color.
I am pretty happy with the filling. I use a combination of Craft (Beanie Baby) pellets and wool roving. The pellets give the pincushion some weight and the wool roving feels nice.
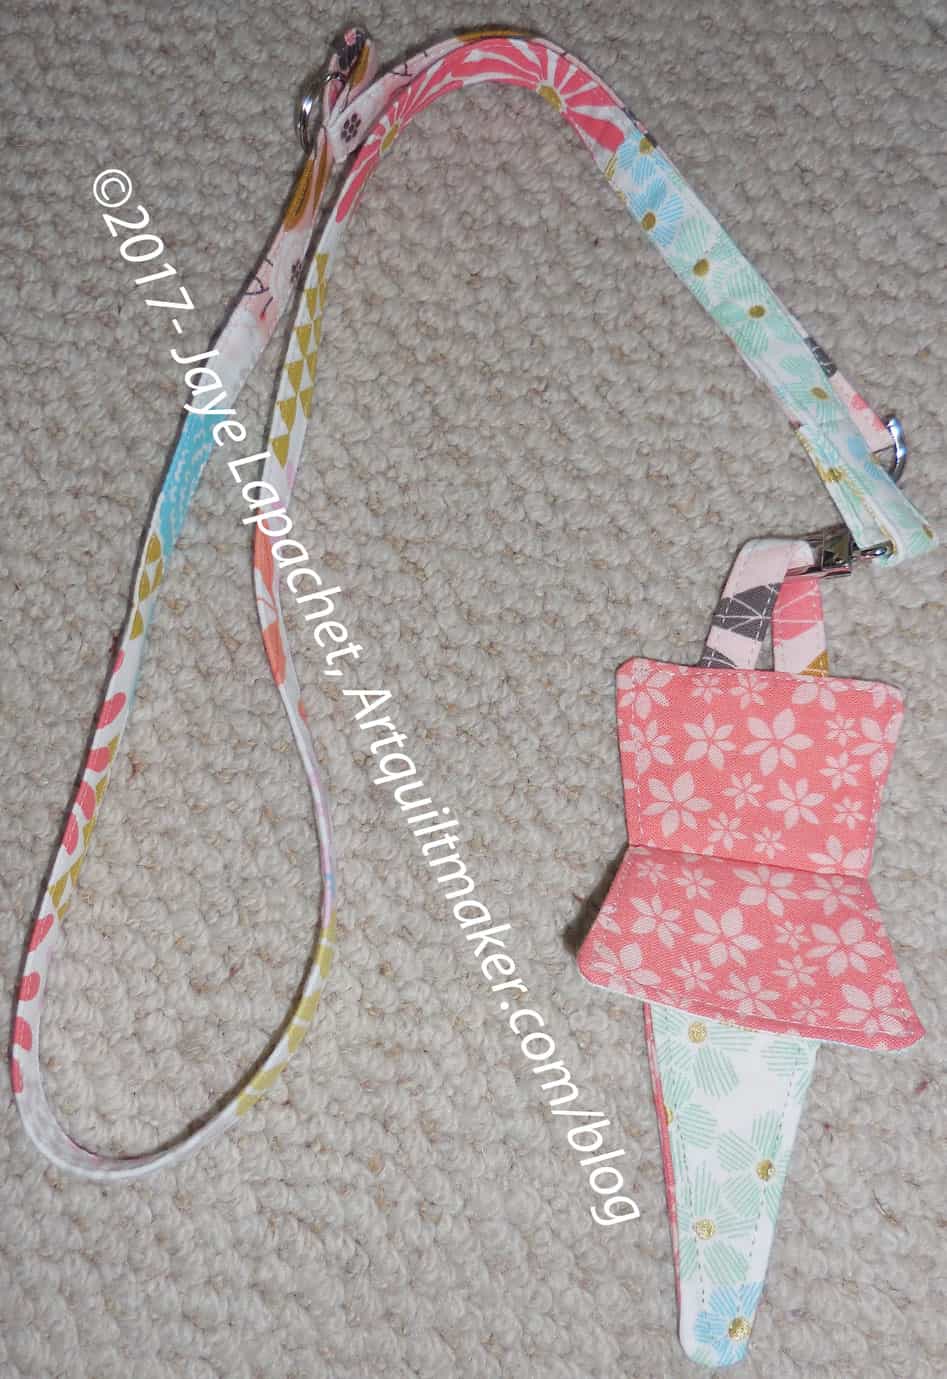
Mary’s Lanyard & Scissor Sheath
I was pretty happy with the items above. I decided at the last minute to add a lanyard and a scissor sheath. Why not? I was shocked that I couldn’t understand my own lanyard tutorial. I am sure the instructions made sense to me at the time. I had to rewrite them, so I did that as I went along. My machine was unhappy going through all the layers of lanyard as I finished it, so I had to be careful. Both are done and I think they add something to the whole gift basket.
None of these projects take very much time. I did multiple items in one day. Over the course of approximately 3 days, I was able to make everything including the handwork. Try out a similar project. You have a friend that would adore it.
Update: Check out Tooly McToolston, another gift I made for Mary C.
Last week I made myself a One Hour Basket. I needed something to corral some charm packs and mini-charm packs. I used The Dahlia print from the Classics Collection by Martha Negley (Rowan). This fabric was supposed to be a Schoolhouse tunic, but I didn’t quite have enough, so I will enjoy it this way – at least a bit of it.
I thought the glass brick fabric was a good companion to it.
I was very pleased to get these pre-cuts organized, then I found another stack. I have to stop. I really do. 😉
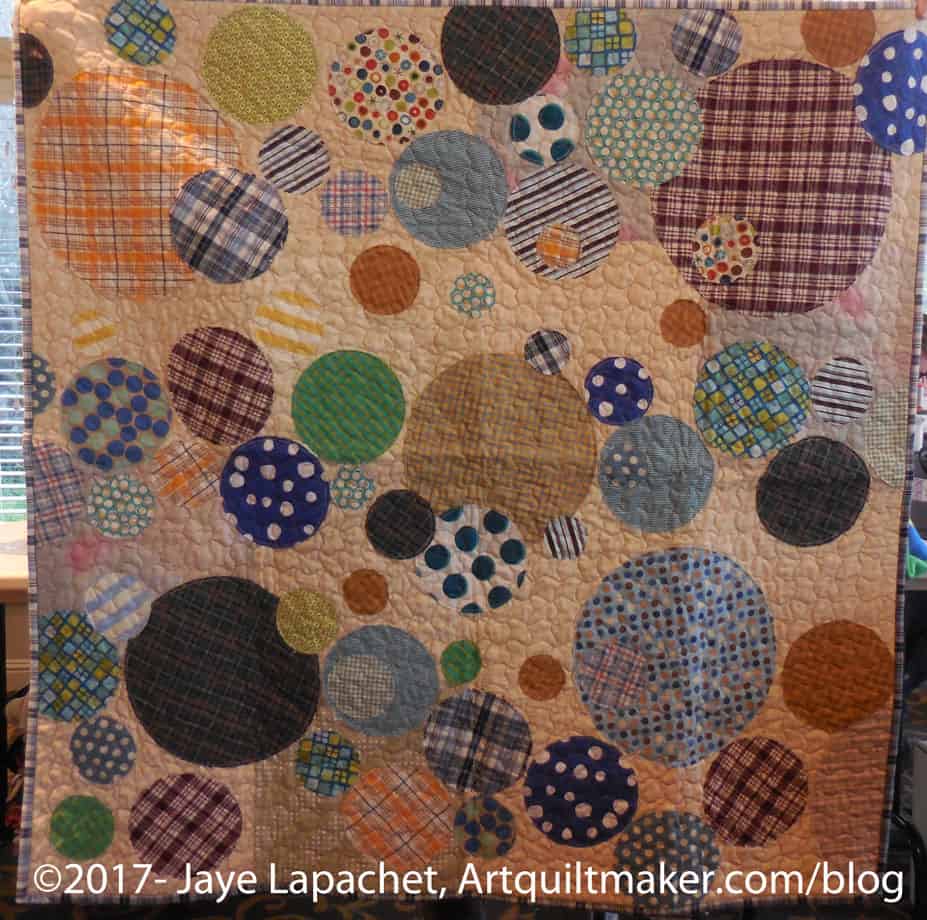
The Simply Moderne Bubble Donation Quilt is finished. Gerre had finished the binding for this quilt after the January Sew Day, but saved it so I could take a photo. I think it will be given in this weekend during the Charity Sew Day.
We started this quilt back in May. I have to say that I think Gerre did most of the sewing and she did the quilting. I did a lot of the cutting, sewed the background and the back and made the binding. Not sure if it was an equal division of labor, but the quilt is done and is interesting and will make a good ‘boy’ quilt. We don’t have our next donation quilt idea ready to go, but I think I will suggest straight piecing when we do decide what comes next.
I wasn’t be at the guild meeting yesterday, which made me sad. Kelly, of the Kelly bag fame, pinch hit for me with the officer gift bags. Thanks, Kelly.
Many guilds give their officers quilts as thank you gifts. I am of the mind that we all have enough quilts, but a tote bag (simple or complicated) full of lovely small gifts is great for everyone. Since I organize it, that is what we do. When someone else takes over they can do something else.
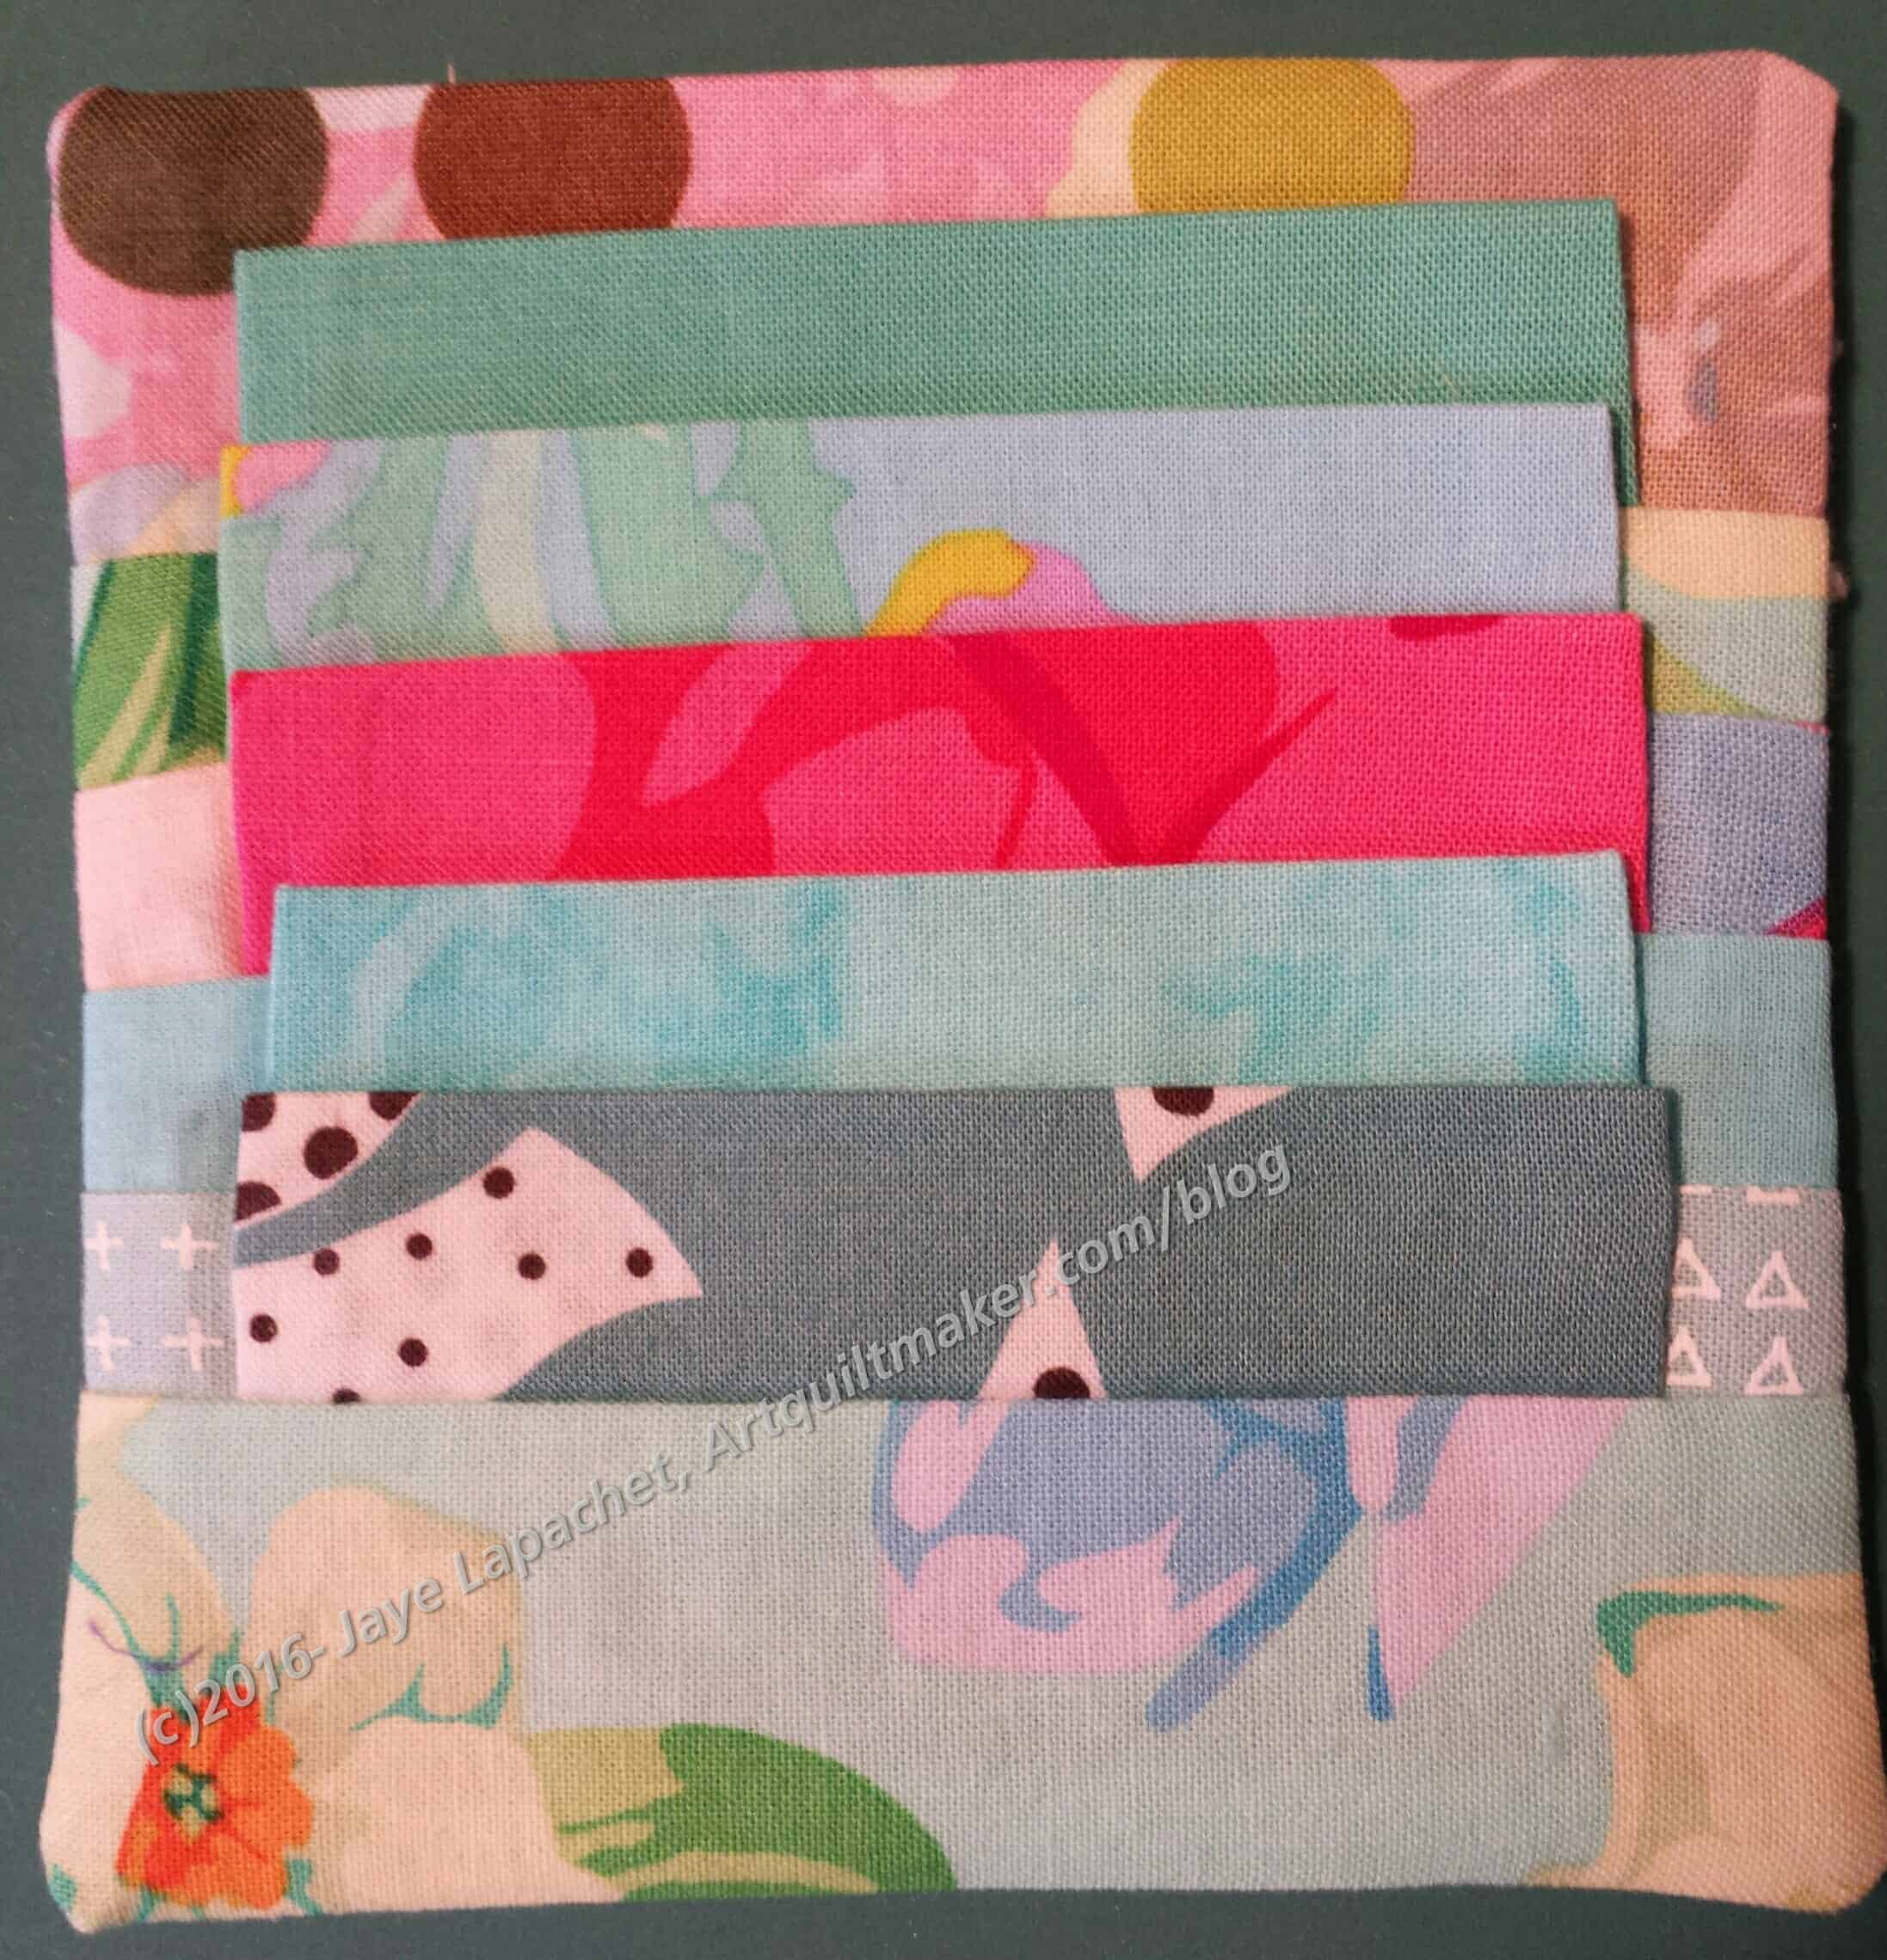
Pincushion Wonderclip Holder
I cut the pieces on that last Sew Day then worked on my gifts the day after. The cutting is always the worst for me. There wasn’t much so I can’t complain. The sewing went remarkably quickly – so quickly in fact that I felt like making half a dozen more.
As I mentioned the fabrics were all scraps except for the back (5″ square). I made fabric by sewing selvedges together. I am tempted to do that again, but will try to resist saving another thing. The other fabrics are heavily from the Kaffe Collective, especially my man Phil (Philip Jacobs) and Martha Negley. I know these fabrics aren’t everyone’s cup of tea, but I hope the officers like them.
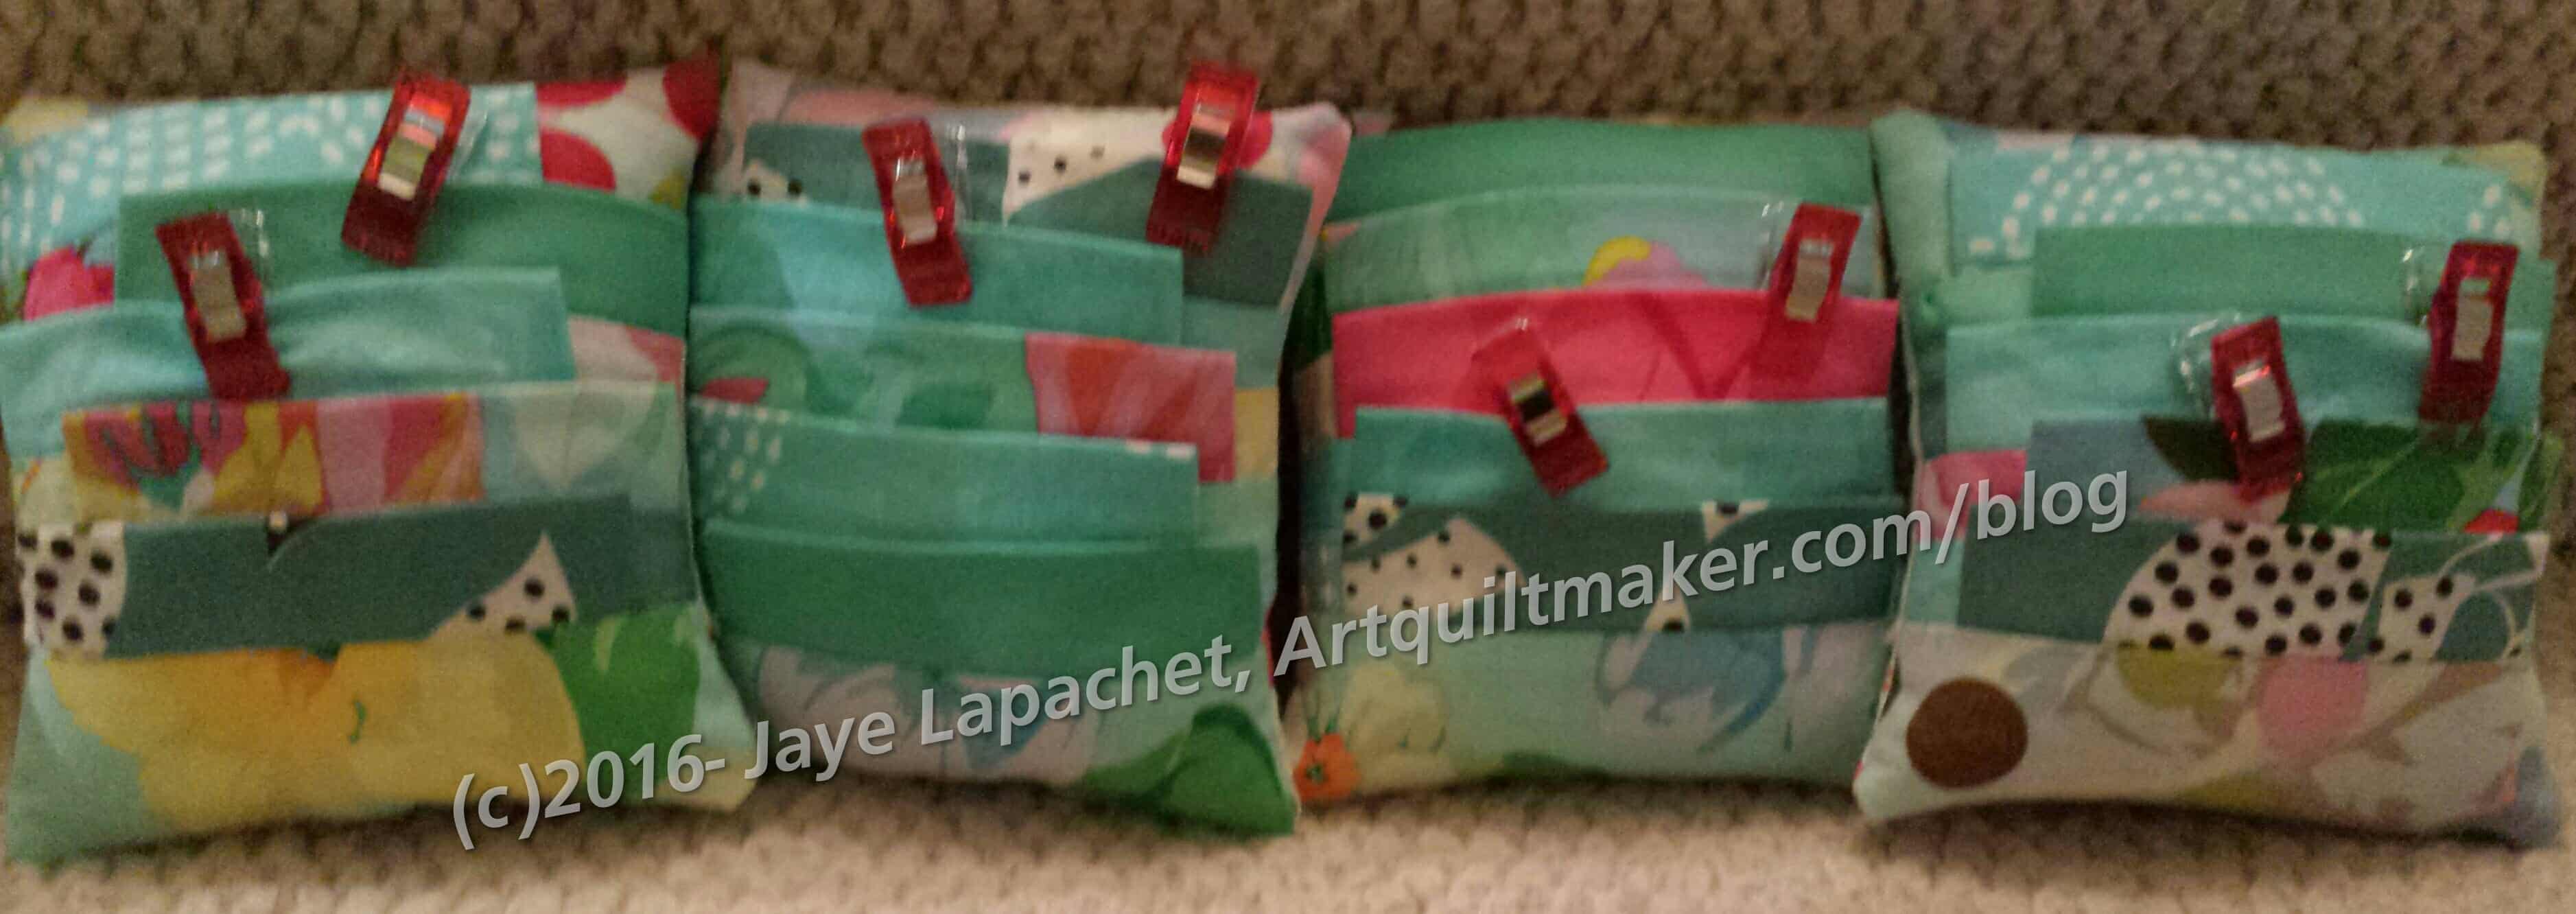
Pincushion gift pre-stuffing
The pattern says to line up the clip holders evenly, but I only did that for one. I thought the uneven rows would add interest, but I am not sure now.
I used some of my Beanie Baby beans and some stuffing leftover from Red and Coral. I hope it is good enough for its purpose.
The flaps you see are to hold Wonderclips (see photos above). My Wonderclips are holding the hole closed until I could sew it together. I plan to put a couple of clips and some pins in each one to show their purpose.
Finally, I sent them to Kelly so she could put them into the bags for me. I found the pattern in Love Patchwork and Quilting, issue 39. It is available digitally in the Apple and Google Play stores. It was a quick and satisfying project. I was able to make four of them in about an hour minus sewing the stuffing hole closed.
I think this will be on my list of small gifts to give to people for whom I want to make a quilty gift.
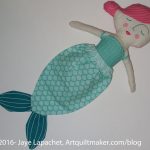
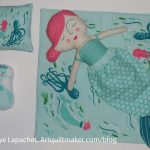
Coral is ready to be sent off to my little niece for Christmas. I showed her at guild on Saturday. I even have the perfect box.
This all came about because I finally decided that Coral the Mermaid is finished. What the means is that I am not going to make her skirt. The skirt directions are too complicated. She can share Red’s skirt.
I visited the Granary last week and found a new panel in this series: Hansel and Gretel. I didn’t buy it, but I was sorely tempted. It would be fun to keep sending the girly these dolls periodically. I’ll have to think about it.
I do wish Moda would come out with panels of clothes for the various dolls. It would be fun to give them a new wardrobe periodically, though such a project might be more than I am willing to tackle.
I have been in desperate need of leaders & enders lately. The crisis has passed since I got my order of Northcott Colorworks charm squares, though before it did a lot of weird pieces were sewn.
Orange Soda Journal Cover (closed)
I had some orange scraps that I had started to sew together, so I continued to sew and turned it into a journal cover. It is along the same lines as the Orange Crush journal cover and the scraps may have been from that piece.
I am really pleased with how this one came out. The front cover is really well placed. The scraps aren’t too small, which always causes finishing issues. It is also bright and cheerful. I need bright and cheerful right now.
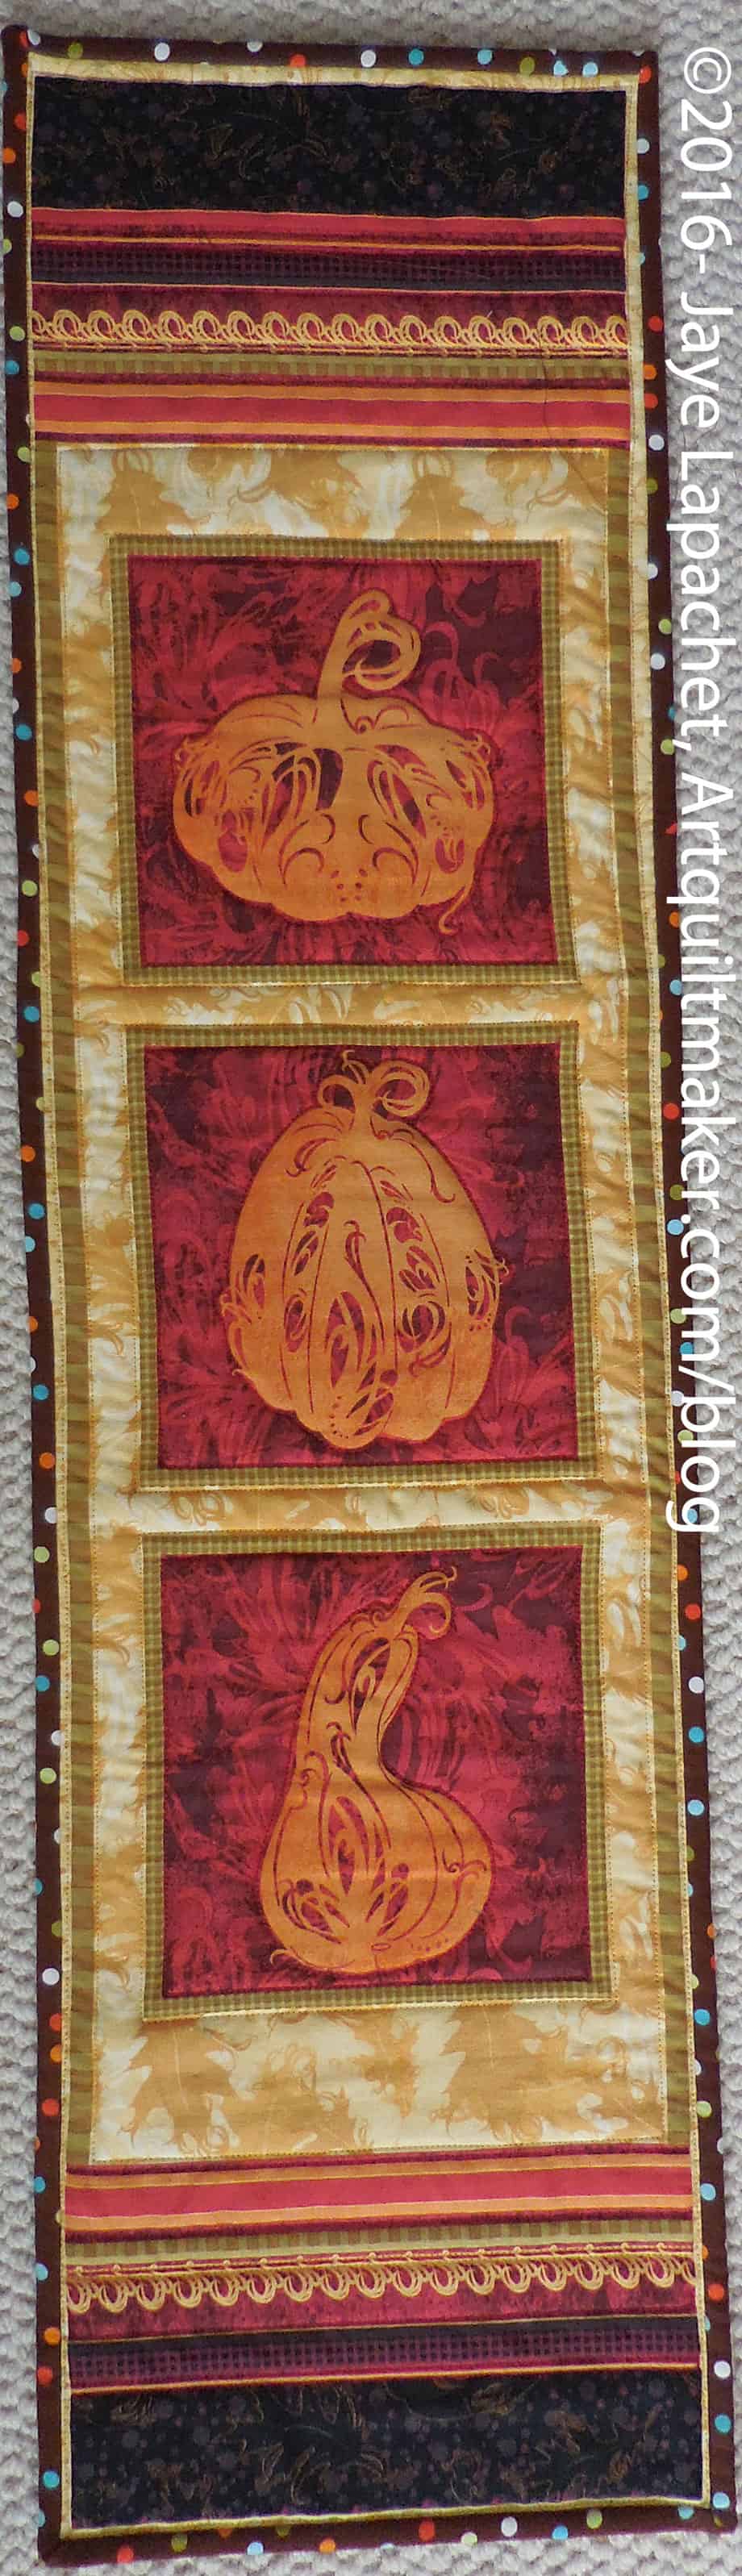
The tablerunners are ready for their first outing in a couple of weeks. I have no illusions about finishing the tablemat, but I am pleased with my efforts thus far.
The first one I finished is shown on the left. I really like this one and kind of wish I had bought more of these panels, so all of the runners could match. I didn’t and I am not making more.
Tablerunners #2 & 3
I did very simple quilting, for the most part, though the quilting ended up being much more complicated on the alternate design just because of the fabric motifs. I did a lot of outline quilting of the leaves and such, so it took more time.
I think, depending, that I will plan to take the tablemat to the next quilt retreat. I get a lot of blocks made at retreats, but quilting is also a good task for a retreat.
Someone asked me why I finished FOTY 2014 in 2015 instead of in 2014. This was before my trip, so the comment annoyed me. Now that I am much calmer and have had time to think about it, I realized that some people may not understand the concept. Don’t worry I am not going to rehash it here, but you can see a detailed explanation of the concept on the Works in a Series page about the Fabric of the Year quilts.
Fabric of the Year 2015: Finished!
I finished FOTY 2015 last week (or perhaps the week before). I was still sewing on the sleeve when I took it to BAMQG last weekend for show and tell.I needed DH to help me photograph it and that didn’t happen until last night.
I am pleased with how it came out. I really like the layout using rectangles and squares. The two different shapes add interest, I think.
Fabric of the Year 2015 Back: Finished!
I used large pieces for the back, which should come as no surprise. I have been trying to minimize the fiddly little piecing I can get into for backs. I like large print fabrics and the ultimate goal is to get backs done. I need more of that yellow fabric as I used the last bit for the EPP Stars and was short one leg of the EPP stars.
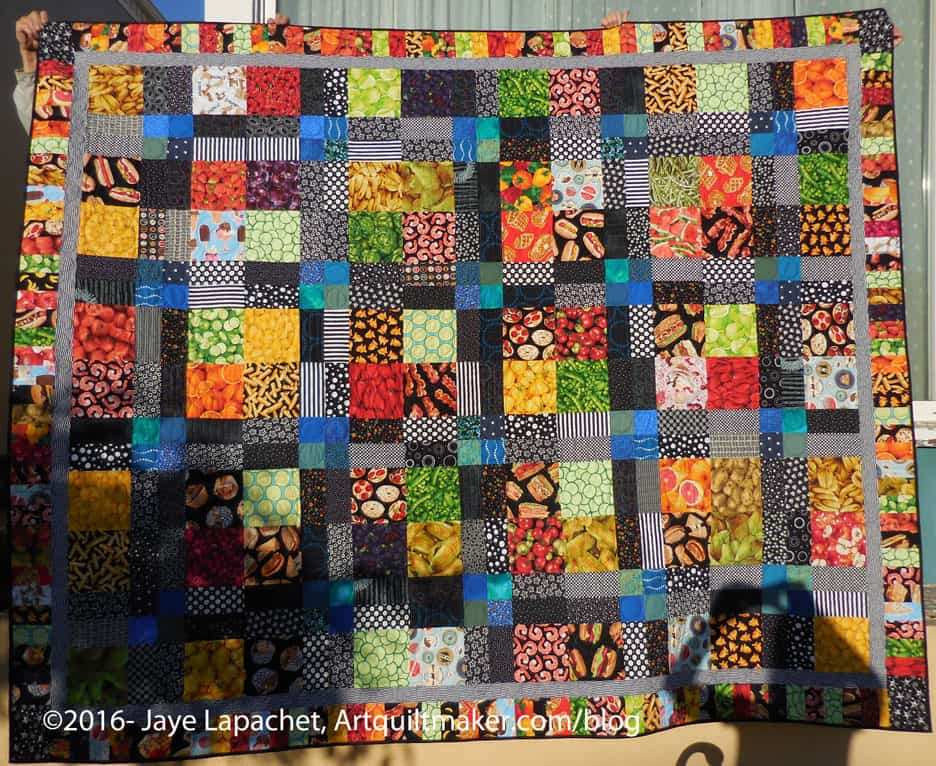
I finished this quilt at the Labor Day Craft Night. This shows the power regular sewing with people who are expecting you to be there.
This quilt is for my nephew who is now a freshman at the University of Michigan. He will need it when winter sets in, California boy that he is.
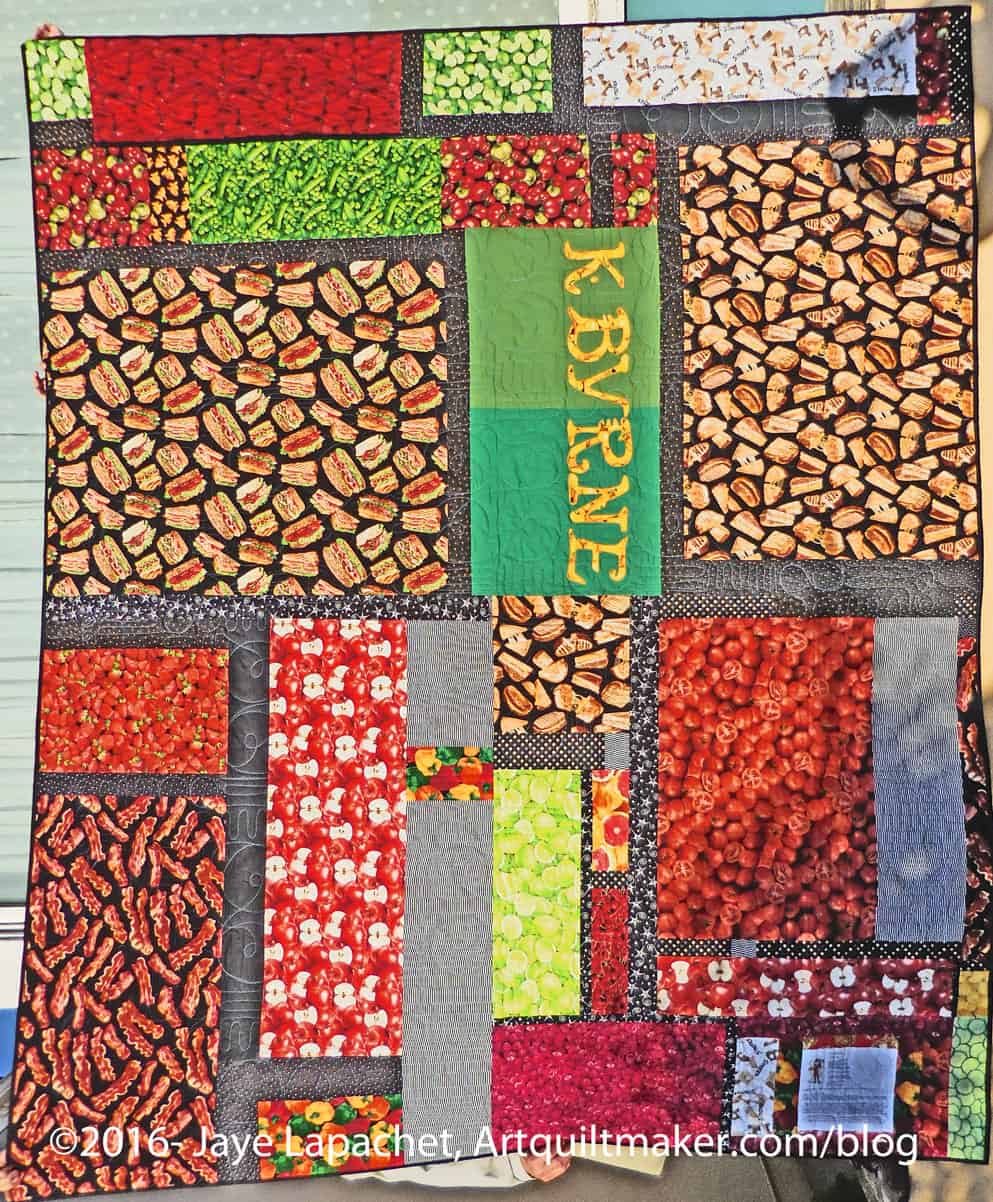
Food Quilt #3 Back
I am pretty sure I am done with food themed quilts. I made an effort to use most of the larger pieces on the back and think I just have a few smallish (up to fat eighth size) left. Someone at the guild asked for the scraps and I may give them to her. I have a few years before the next batch of nephews go off to college and all of them already have quilts, so I don’t feel obliged to make another. However, an excuse to make a quilt is always tempting. For now, I need to focus on the nephews who don’t yet have quilts. One in particular is ripe and I have no idea what to make for him.
The photo isn’t great as I had to take the photo outside late in the day, so the shadows disrupt the look.