I have been working on donation blocks in between the other projects (like FOTY 2016). They are stacking up and I can’t wait to bring a bunch to the guild meeting next time.
Commentary about works in progress, design & creativity
I have been working on donation blocks in between the other projects (like FOTY 2016). They are stacking up and I can’t wait to bring a bunch to the guild meeting next time.
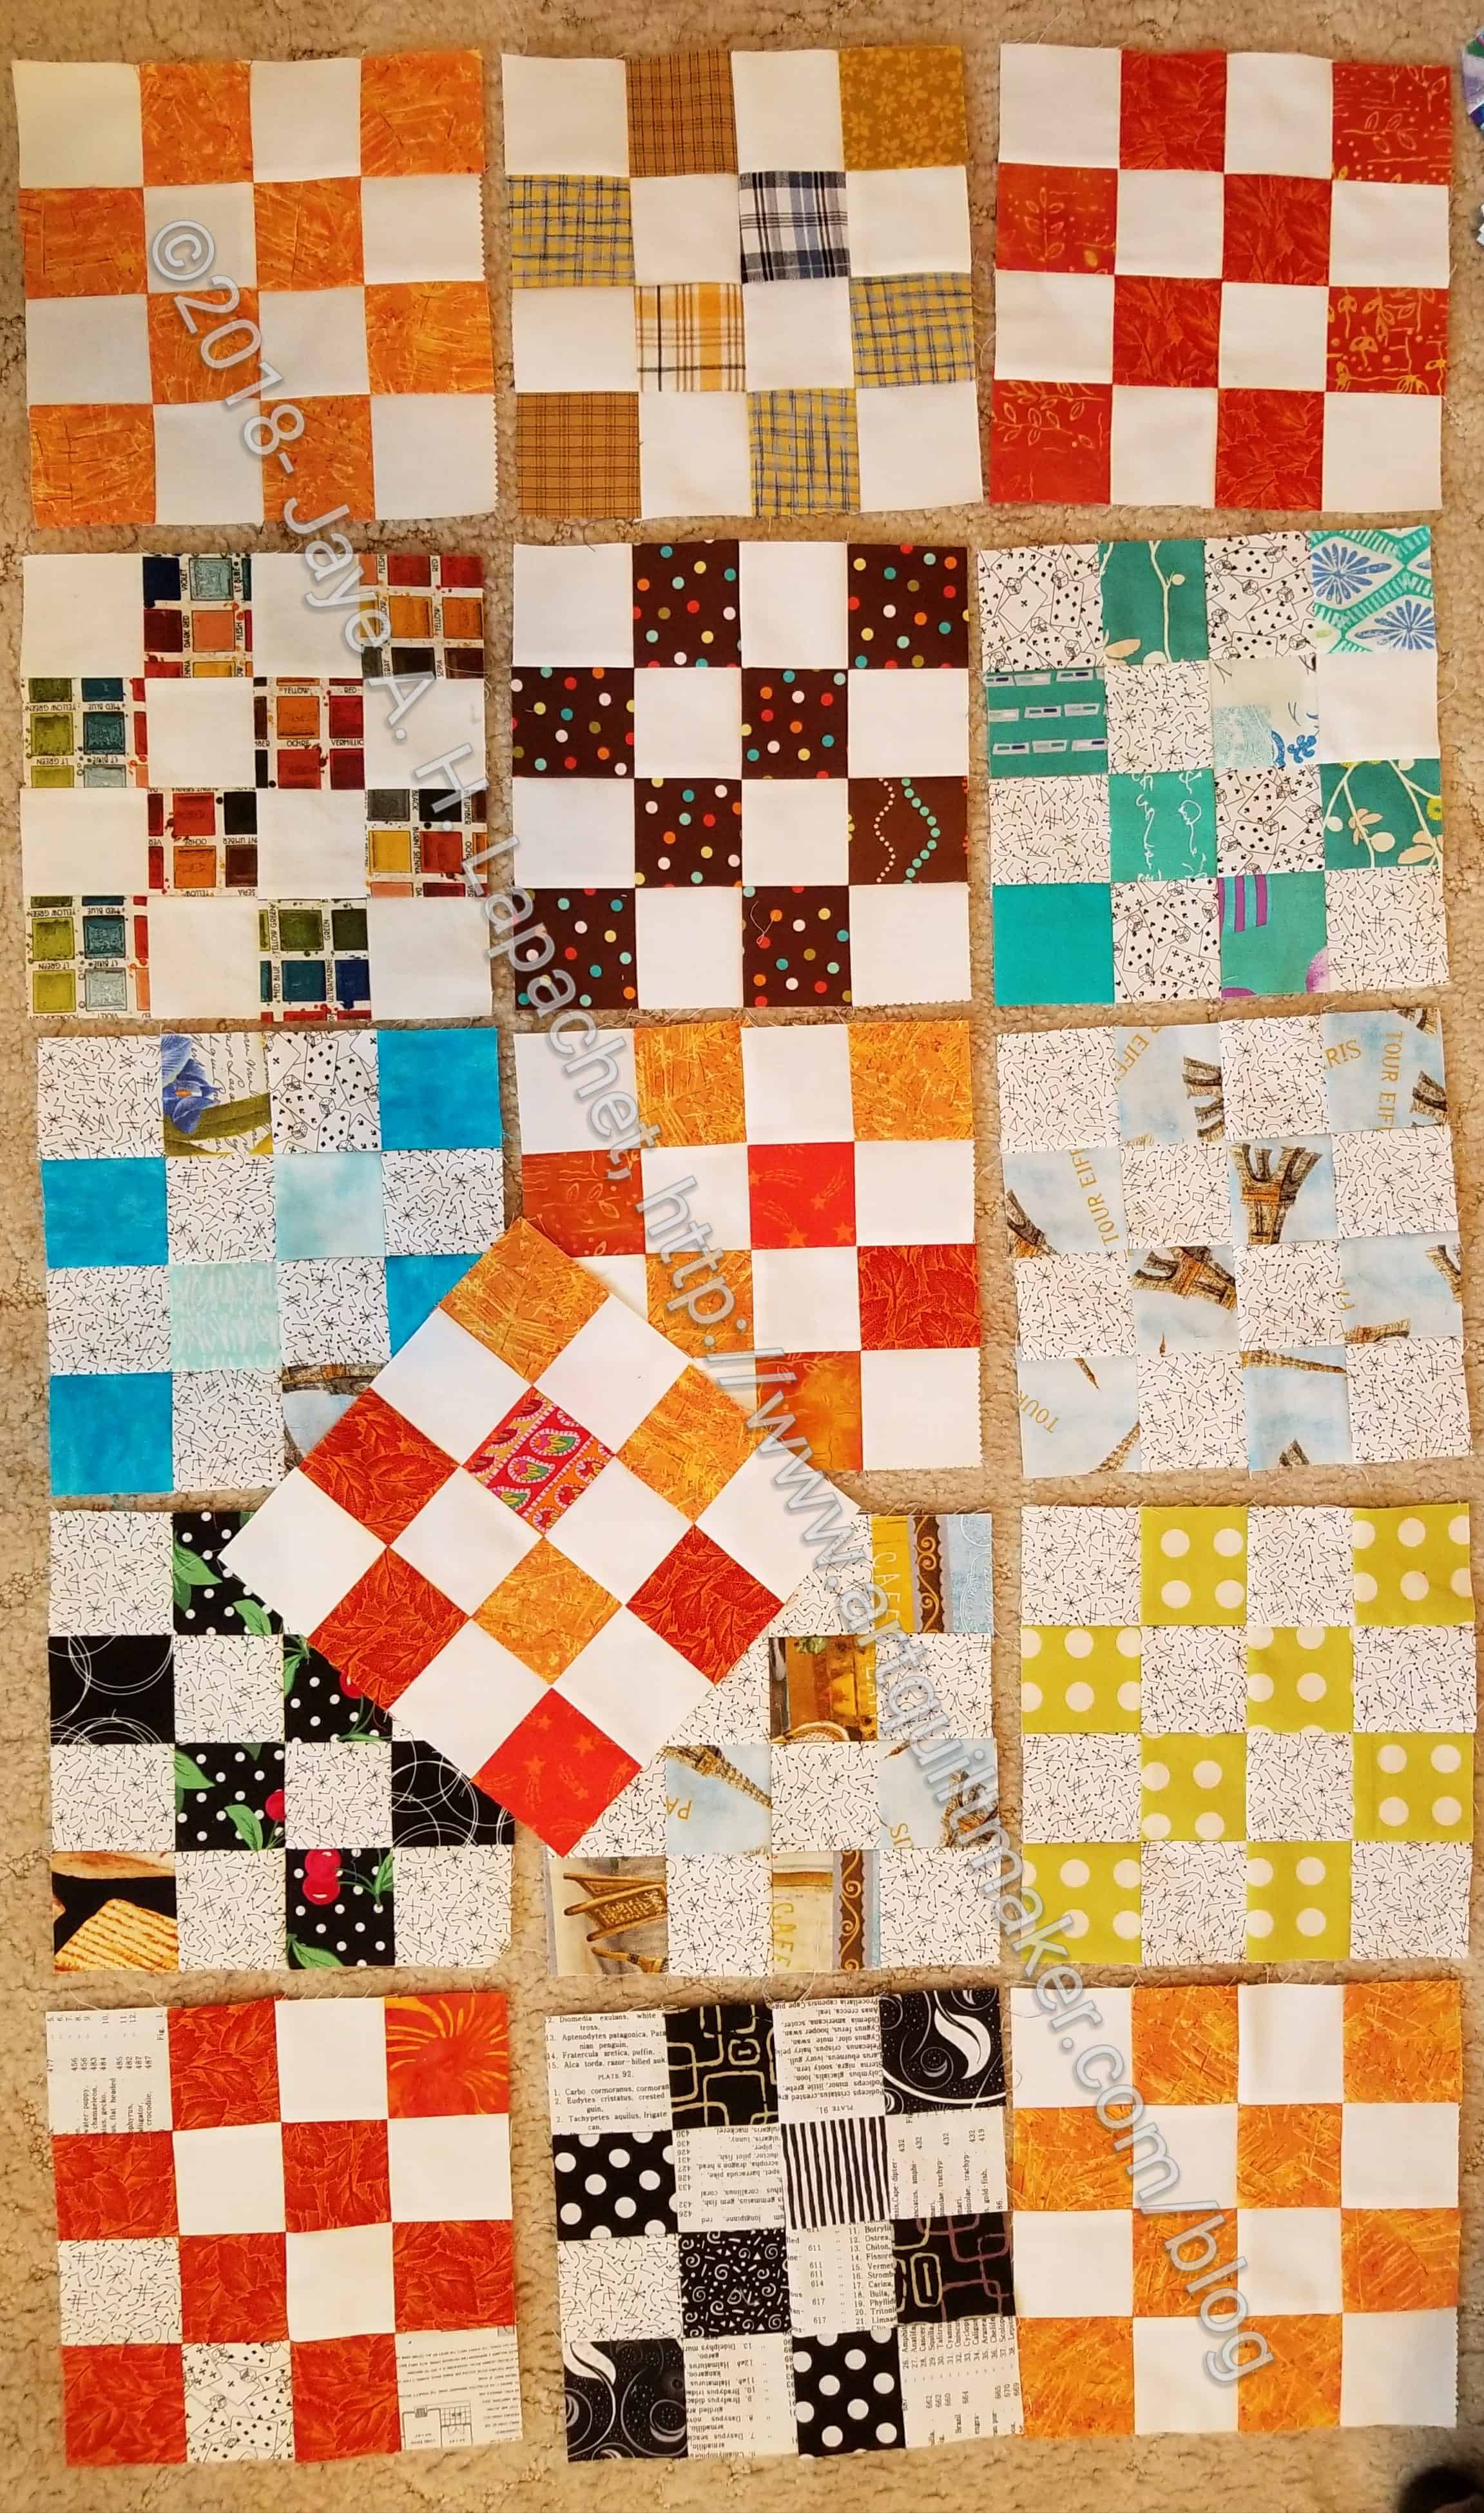
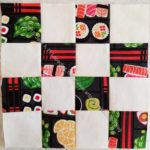
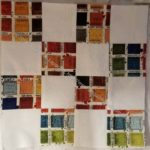
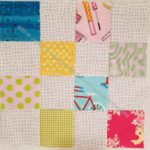
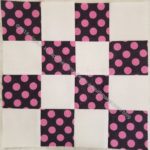
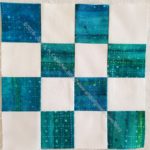
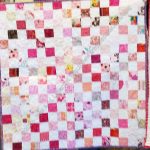
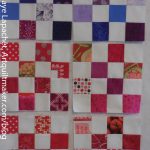
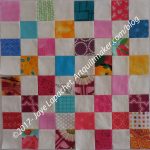
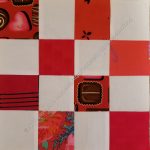
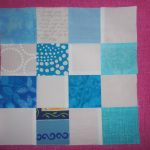
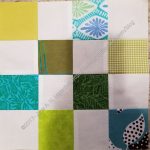
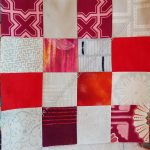
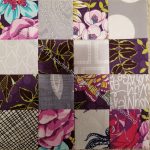
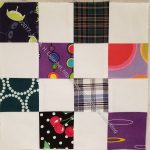
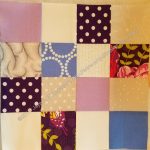
Here are more blocks from January. I think my total for January was 25. I would have loved to get to one per day, but 25 is not shabby.
While I did cut a few new fabrics, this group represents blocks made from the last dregs of my donation bin.
After using up all that I could, I got out the Acuquilt and my new 2.5″ die (Christmas gift) and cut a bunch of new squares from scraps on my cutting table. There will be some duplicate blocks, but I am back in the business of making donation blocks.
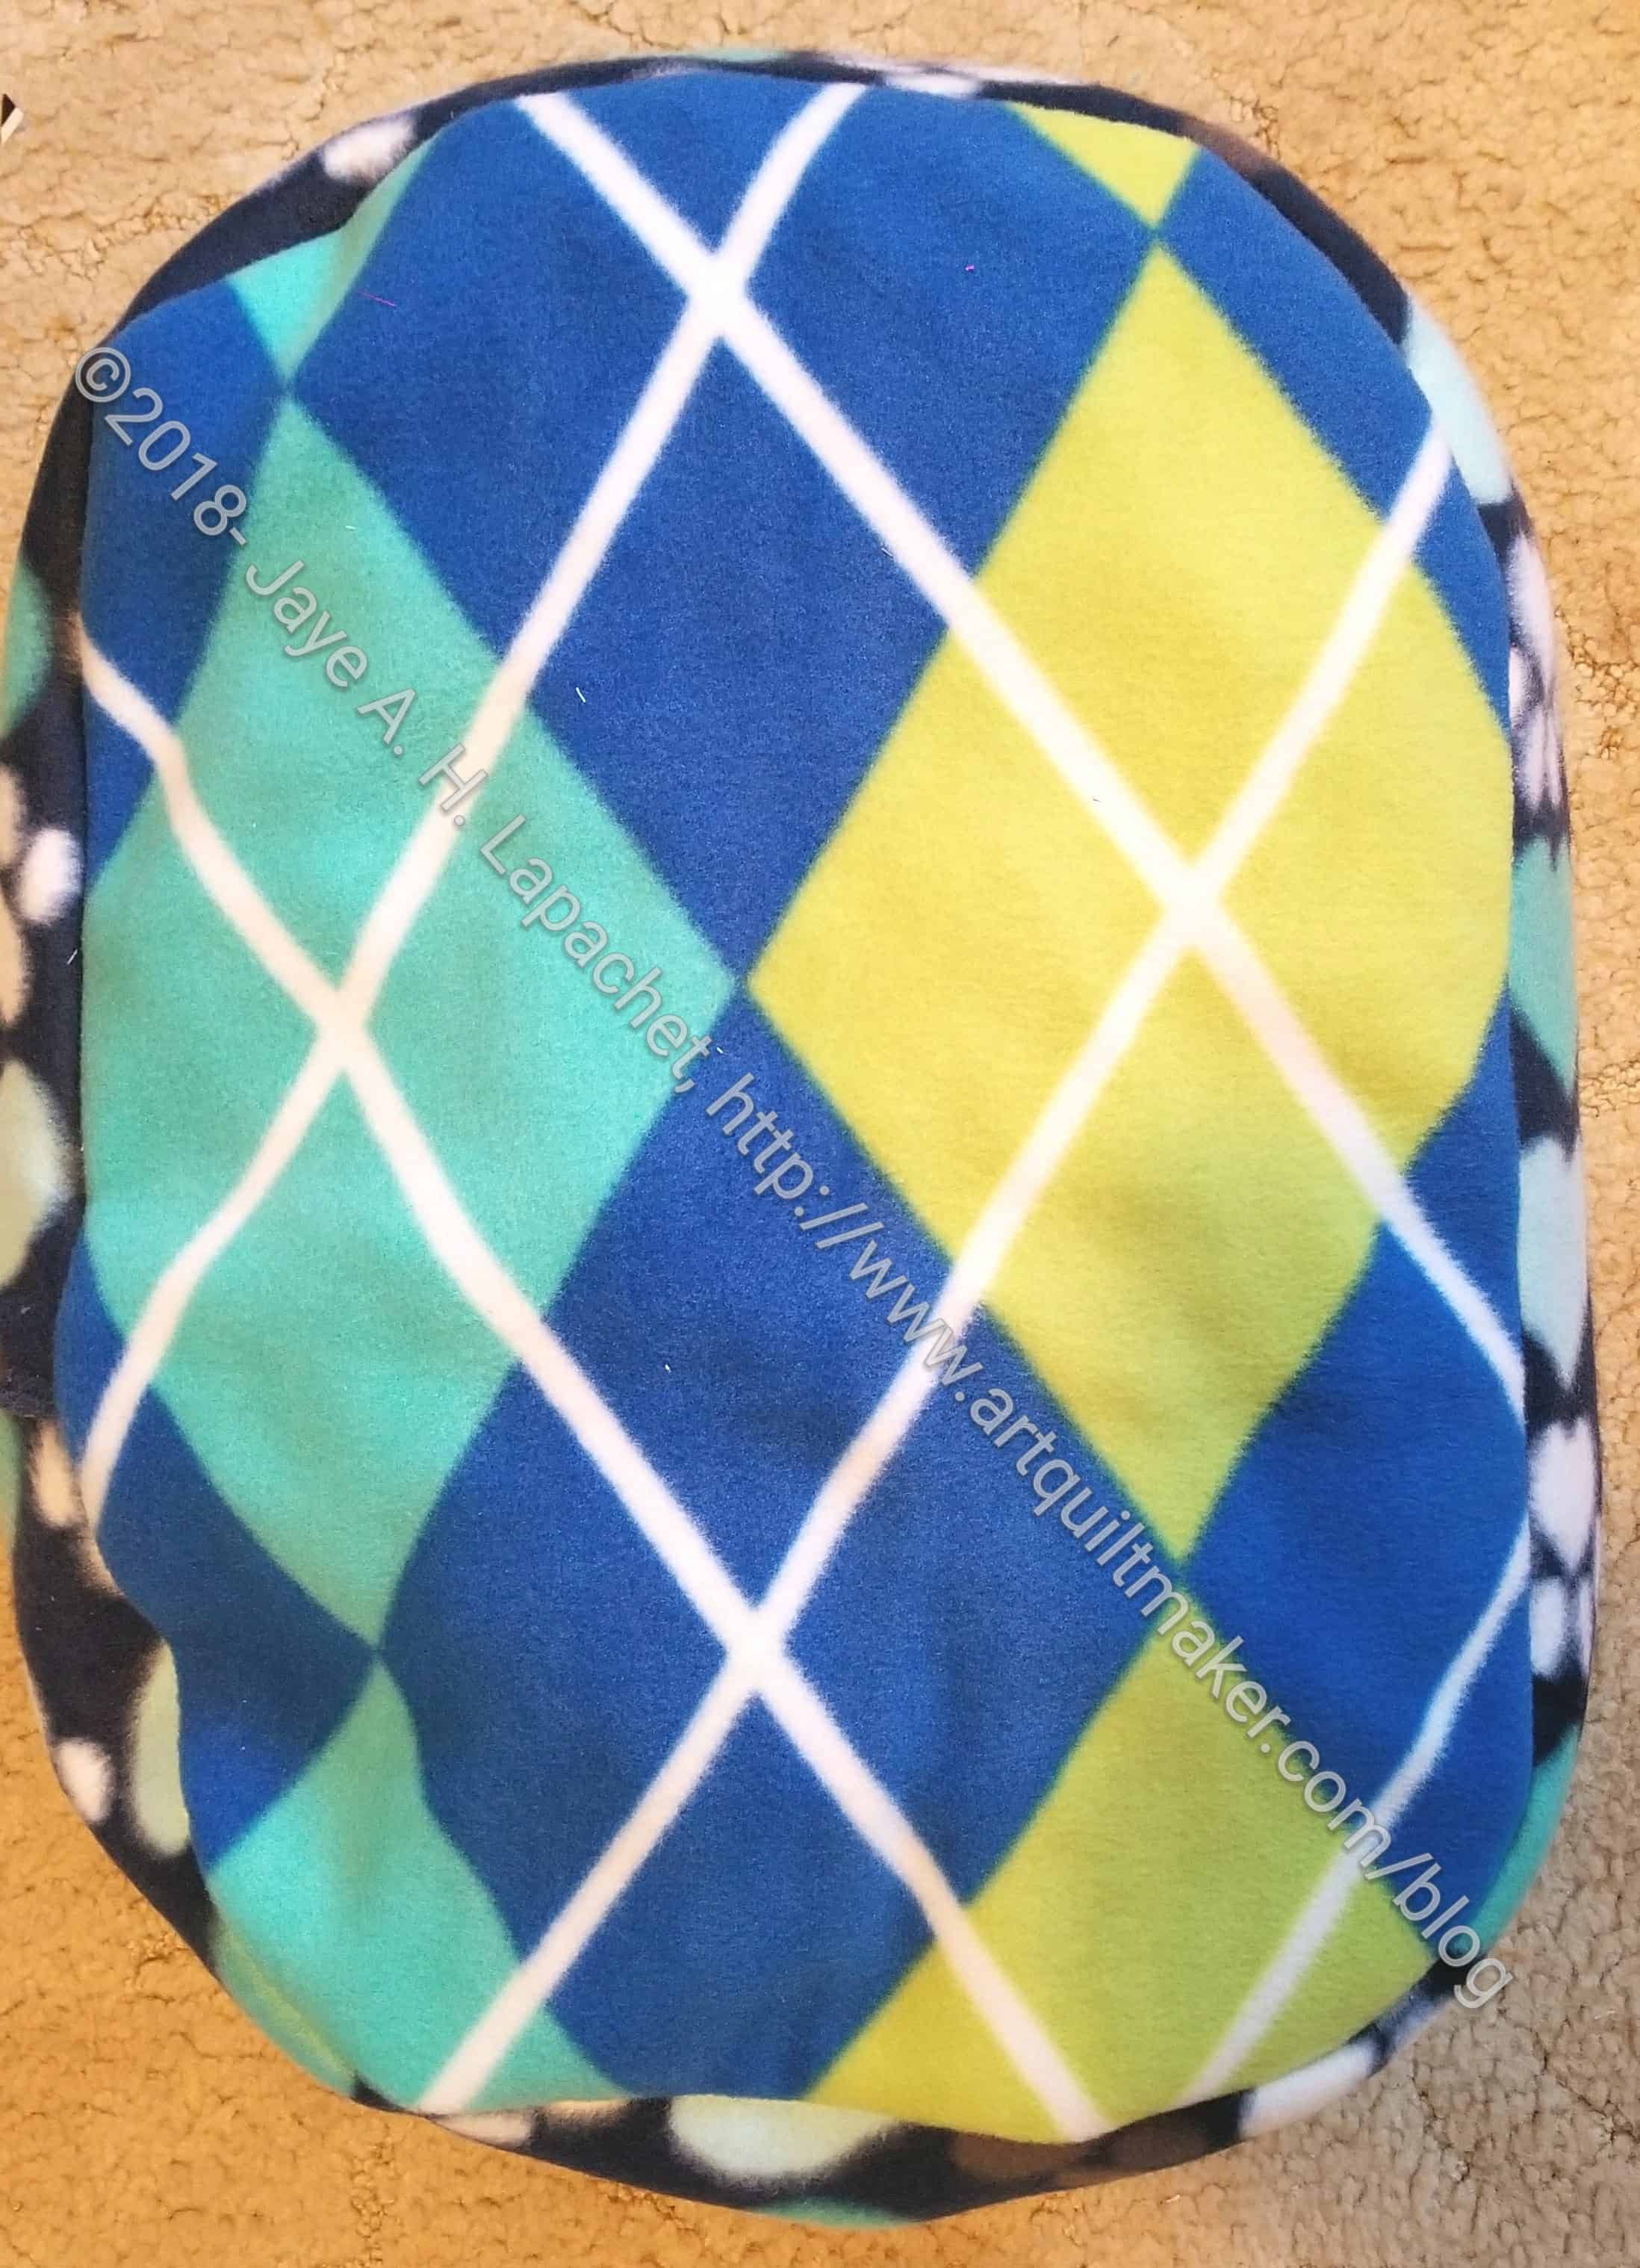
My scrap bag was about to fall and spill all over the floor. Not only that, but every time I walked by shards would attach themselves to my pants and come along for a ride. To battle these dueling demons, I whipped up a pet (cat) bed to secure the scraps.
I had the fabrics to make the bed for awhile and had just been avoiding the task. It was a quick task and my scrap bag now has space to slowly fill again
I spent some time last week sewing like a demon. It was a stressful week and the only way I could keep from yelling at fewer people was to hide in my workroom and sew.
It really was that bad, but we all have weeks like that and things are improving as they do.
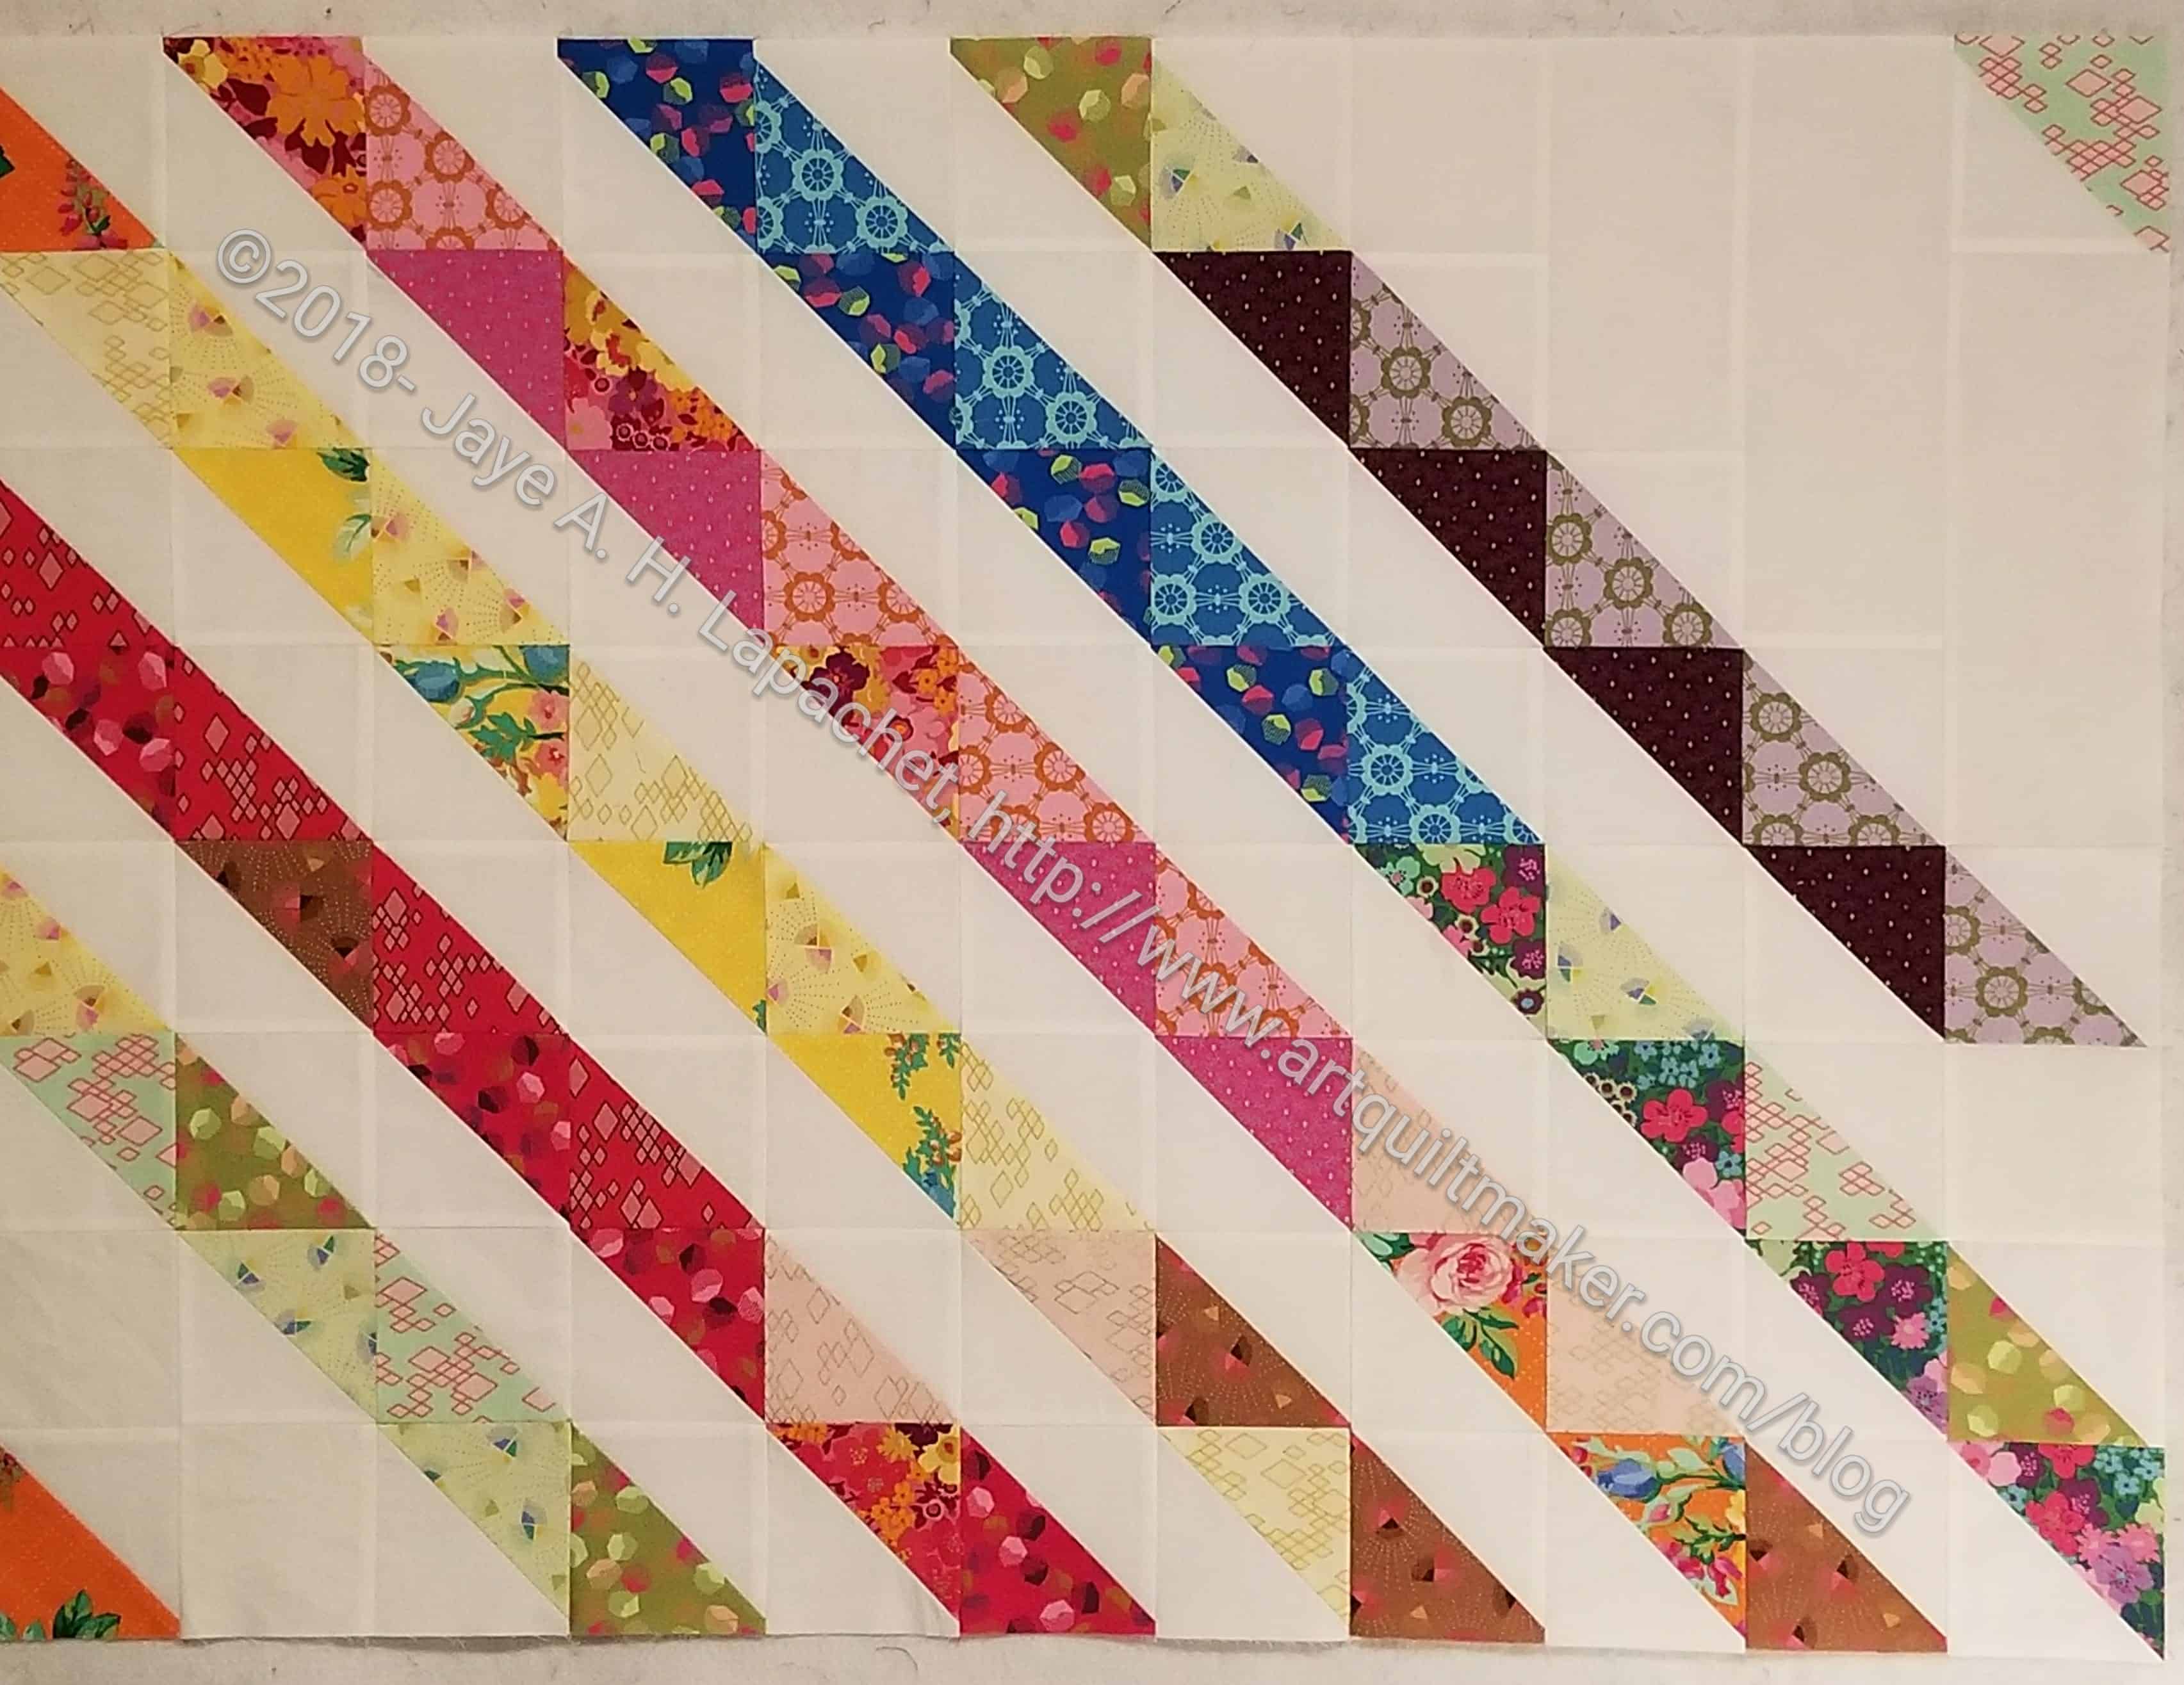
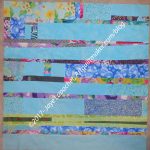
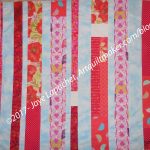
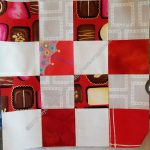
This piece was on my small design wall and I really didn’t know what to do with it. It was a freebie, as I mentioned, but I didn’t want to waste it.One problem was the size. For a nephew’s quilt (all the nieces have theirs), it would need to be bigger. The Ta Dots and Stripes quilt is probably the smallest I can get away with for an actual adult person. That would mean more fabrics. I didn’t want to buy more Mostly Manor fabric and I probably have fabric that would look fine with the line.
I found a print that would go with the reds that I could use to make that one line longer and that was hopeful. It turned out, however, that I wasn’t in the mood to try and find other prints that would also work. I finally decided that I would turn it into a donation quilt. That meant the size was fine, I could sew it together, make a back and hand it off.
I sewed it together as leaders and enders and then found a piece of batting the right size. I hacked off a piece of one of my background fabrics and voila! Done.
Tim and I had lunch and I handed it over to him to quilt. He has a mini quilt pileup, but will get to it soon. Another project off the list.
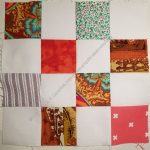
I am making some donation blocks, but not as many as I had hoped so far this month. I am still working through the dregs of my box of 2.5″ squares and that is uninteresting. It will be good to get the dregs out of my life, though, so I am determined.

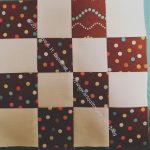
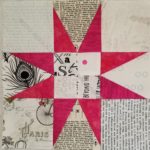
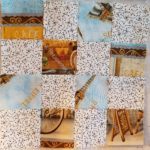
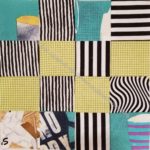
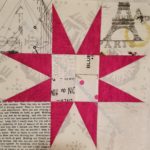
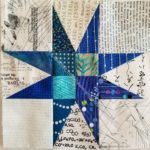
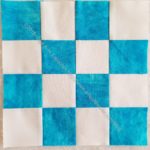
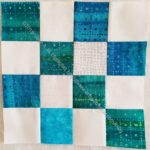
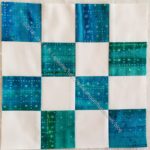
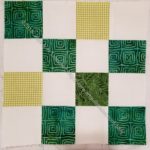
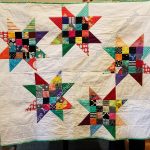
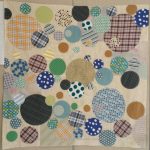
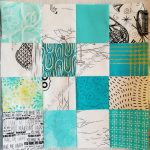
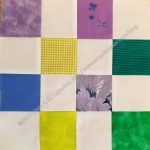
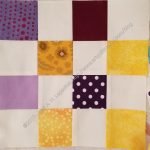
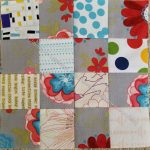
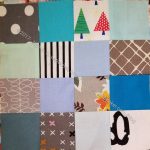
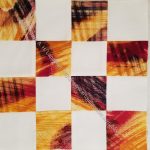
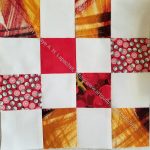
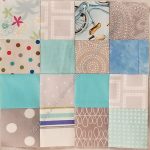
These are really different from those I made earlier in the month.
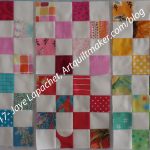
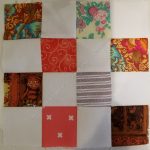
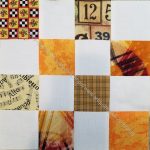
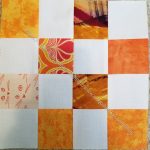
I started in on some new donation blocks for the guild.


I am still working through the dregs of my donation bin patches, so some of them are a little strange, but I am committed to using the fabrics I have cut before I cut more.
Not sure how many more I will make before the meeting, but I will try to make more.
Tim is quickly becoming a quiltmaking rockstar. He got his new longarm and is back in the saddle. He seems to have found his place in quiltmaking. I think he is a quilting savant! If he isn’t at this moment, he is quickly working his way to that level.

He brought the Terrain donation quilt to Sew Day on Saturday and it really looks great. He quilted the sashing differently than the blocks. The sashing has the feathery swirl-like things and the blocks have a sort of cathedral window design. I commented on that style the last time we talked about quilting and the way Colleen quilts my quilts.
He decided to try it out. I am so impressed with how well he did the first time he tried it. He said that it took much longer than an all over pattern, but was pleased with the results.
He trimmed and applied the binding to the quilt at Sew Day, using the leftover backing to make the binding. It is really great to collaborate with him! I just have to piece donation quilts faster. 😉
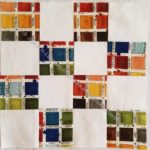
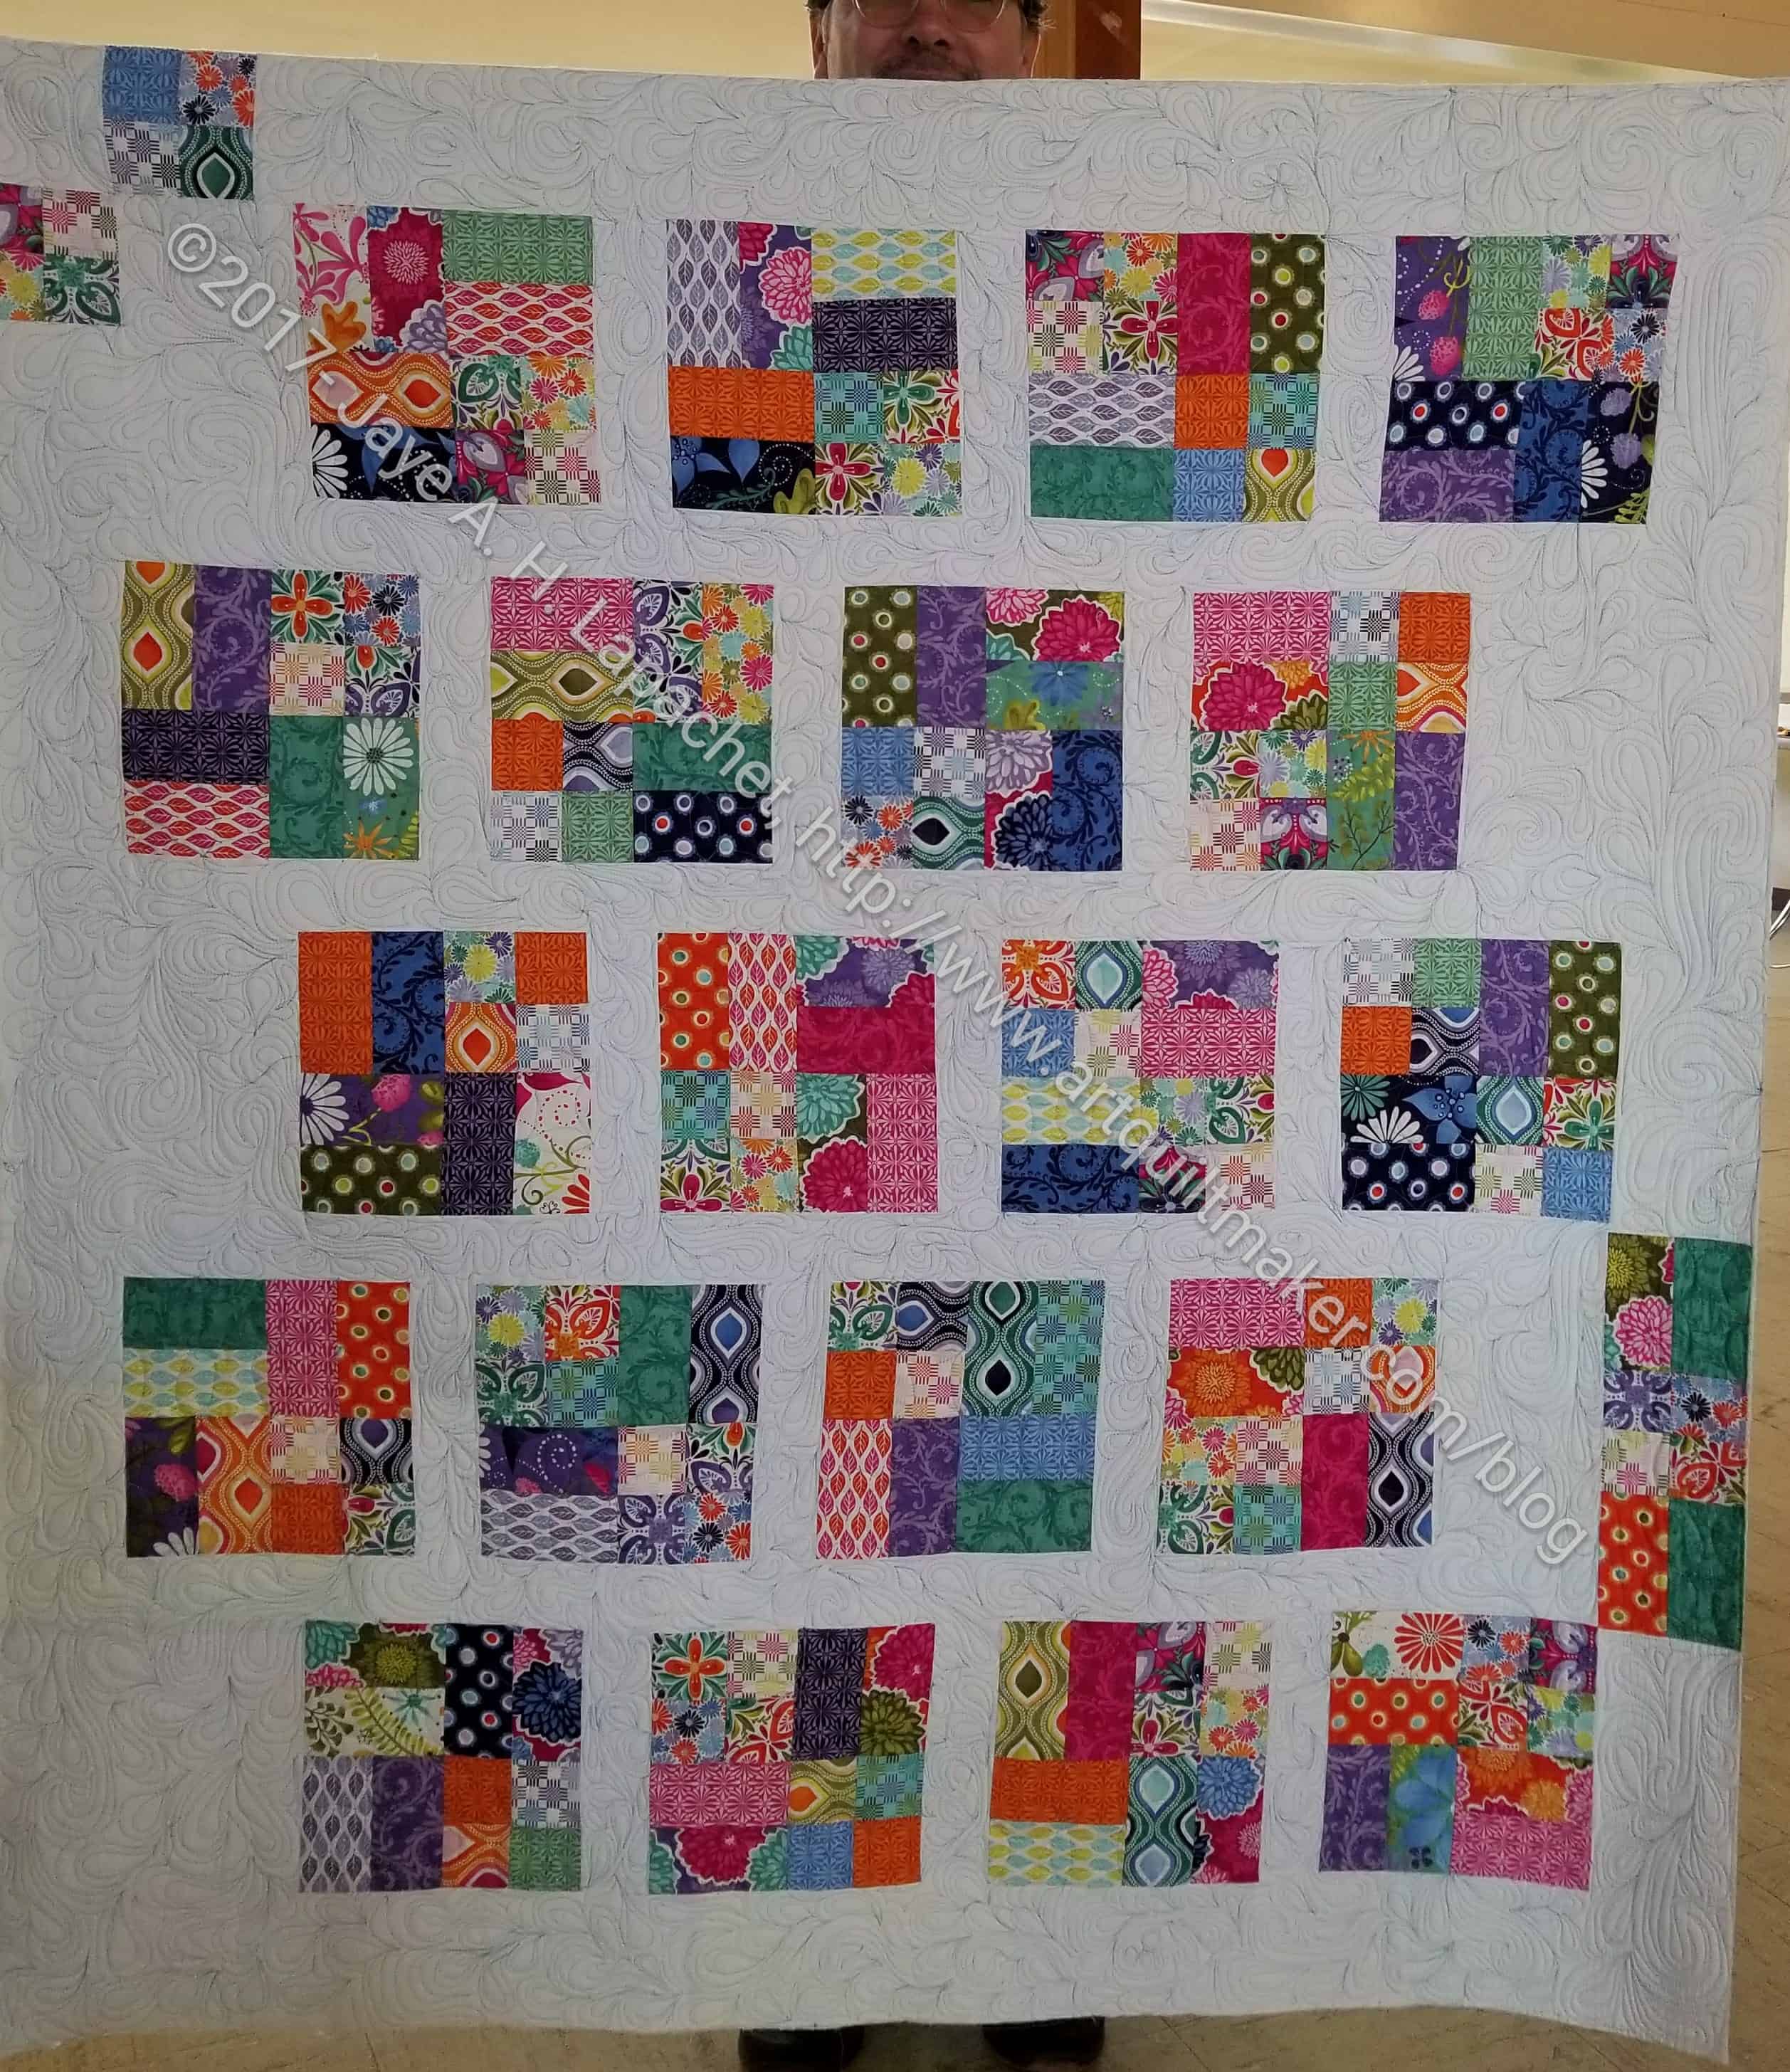
After yesterday’s post, I wanted to see all the donation quilt tops I have made in 2017 all in one place. I cannot take all the credit as Gerre, Tim, Erin, Cyndi and others have quilted my creations in a collaboration in which I revel. Quiltmaking is a collaborative exercise and making these donation tops in collaboration with someone who quilts them is a wonderful experience.
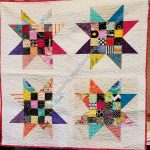
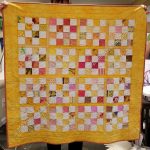
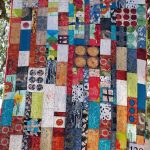
The above are not in any special order. Also, not all of them are finished.
Again, I thought I had made more. I do have to give myself credit for making my part of this many quilts. They aren’t large or complicated, but they do provide something and I can honestly say that I am contributing something to the world in exchange for all that I have been given.
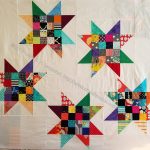
I thought about making one post for all donation blocks and quilts for next year. When I mentioned it, at least one of my dear readers commented that they liked seeing the donation blocks throughout the year. I decided that *I* wanted to see how many donation blocks I had sewn in 2017, thus here is a visual list of all of the donation blocks I have made for my guild.


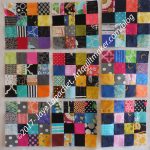

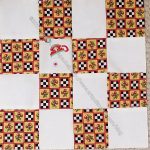

The count above looks like about 54. Some were made into tops, like the black ones. Frankly, I thought I had made more. I think I will have to catalog the quilt tops I have made as well, just to make myself feel better. There is certainly nothing wrong with these and every little bit helps, but the words of the NICU nurse who runs the program at Stanford ring in my ears. Now with the people who lost their homes in the Wine Country fires, there are not enough hours in the day to fulfill all the need.
Of course, I have to remember that I didn’t start this post early in the year, so I can’t possibly expect to capture all my work. I may do it again next year and will be more organized.
At the meeting on Saturday, Michelle reported that the guild had donated 175 quilts to various organizations. I can’t tell you how amazing that is. That is about 2 1/3 quilts per member! It is really a great team effort.
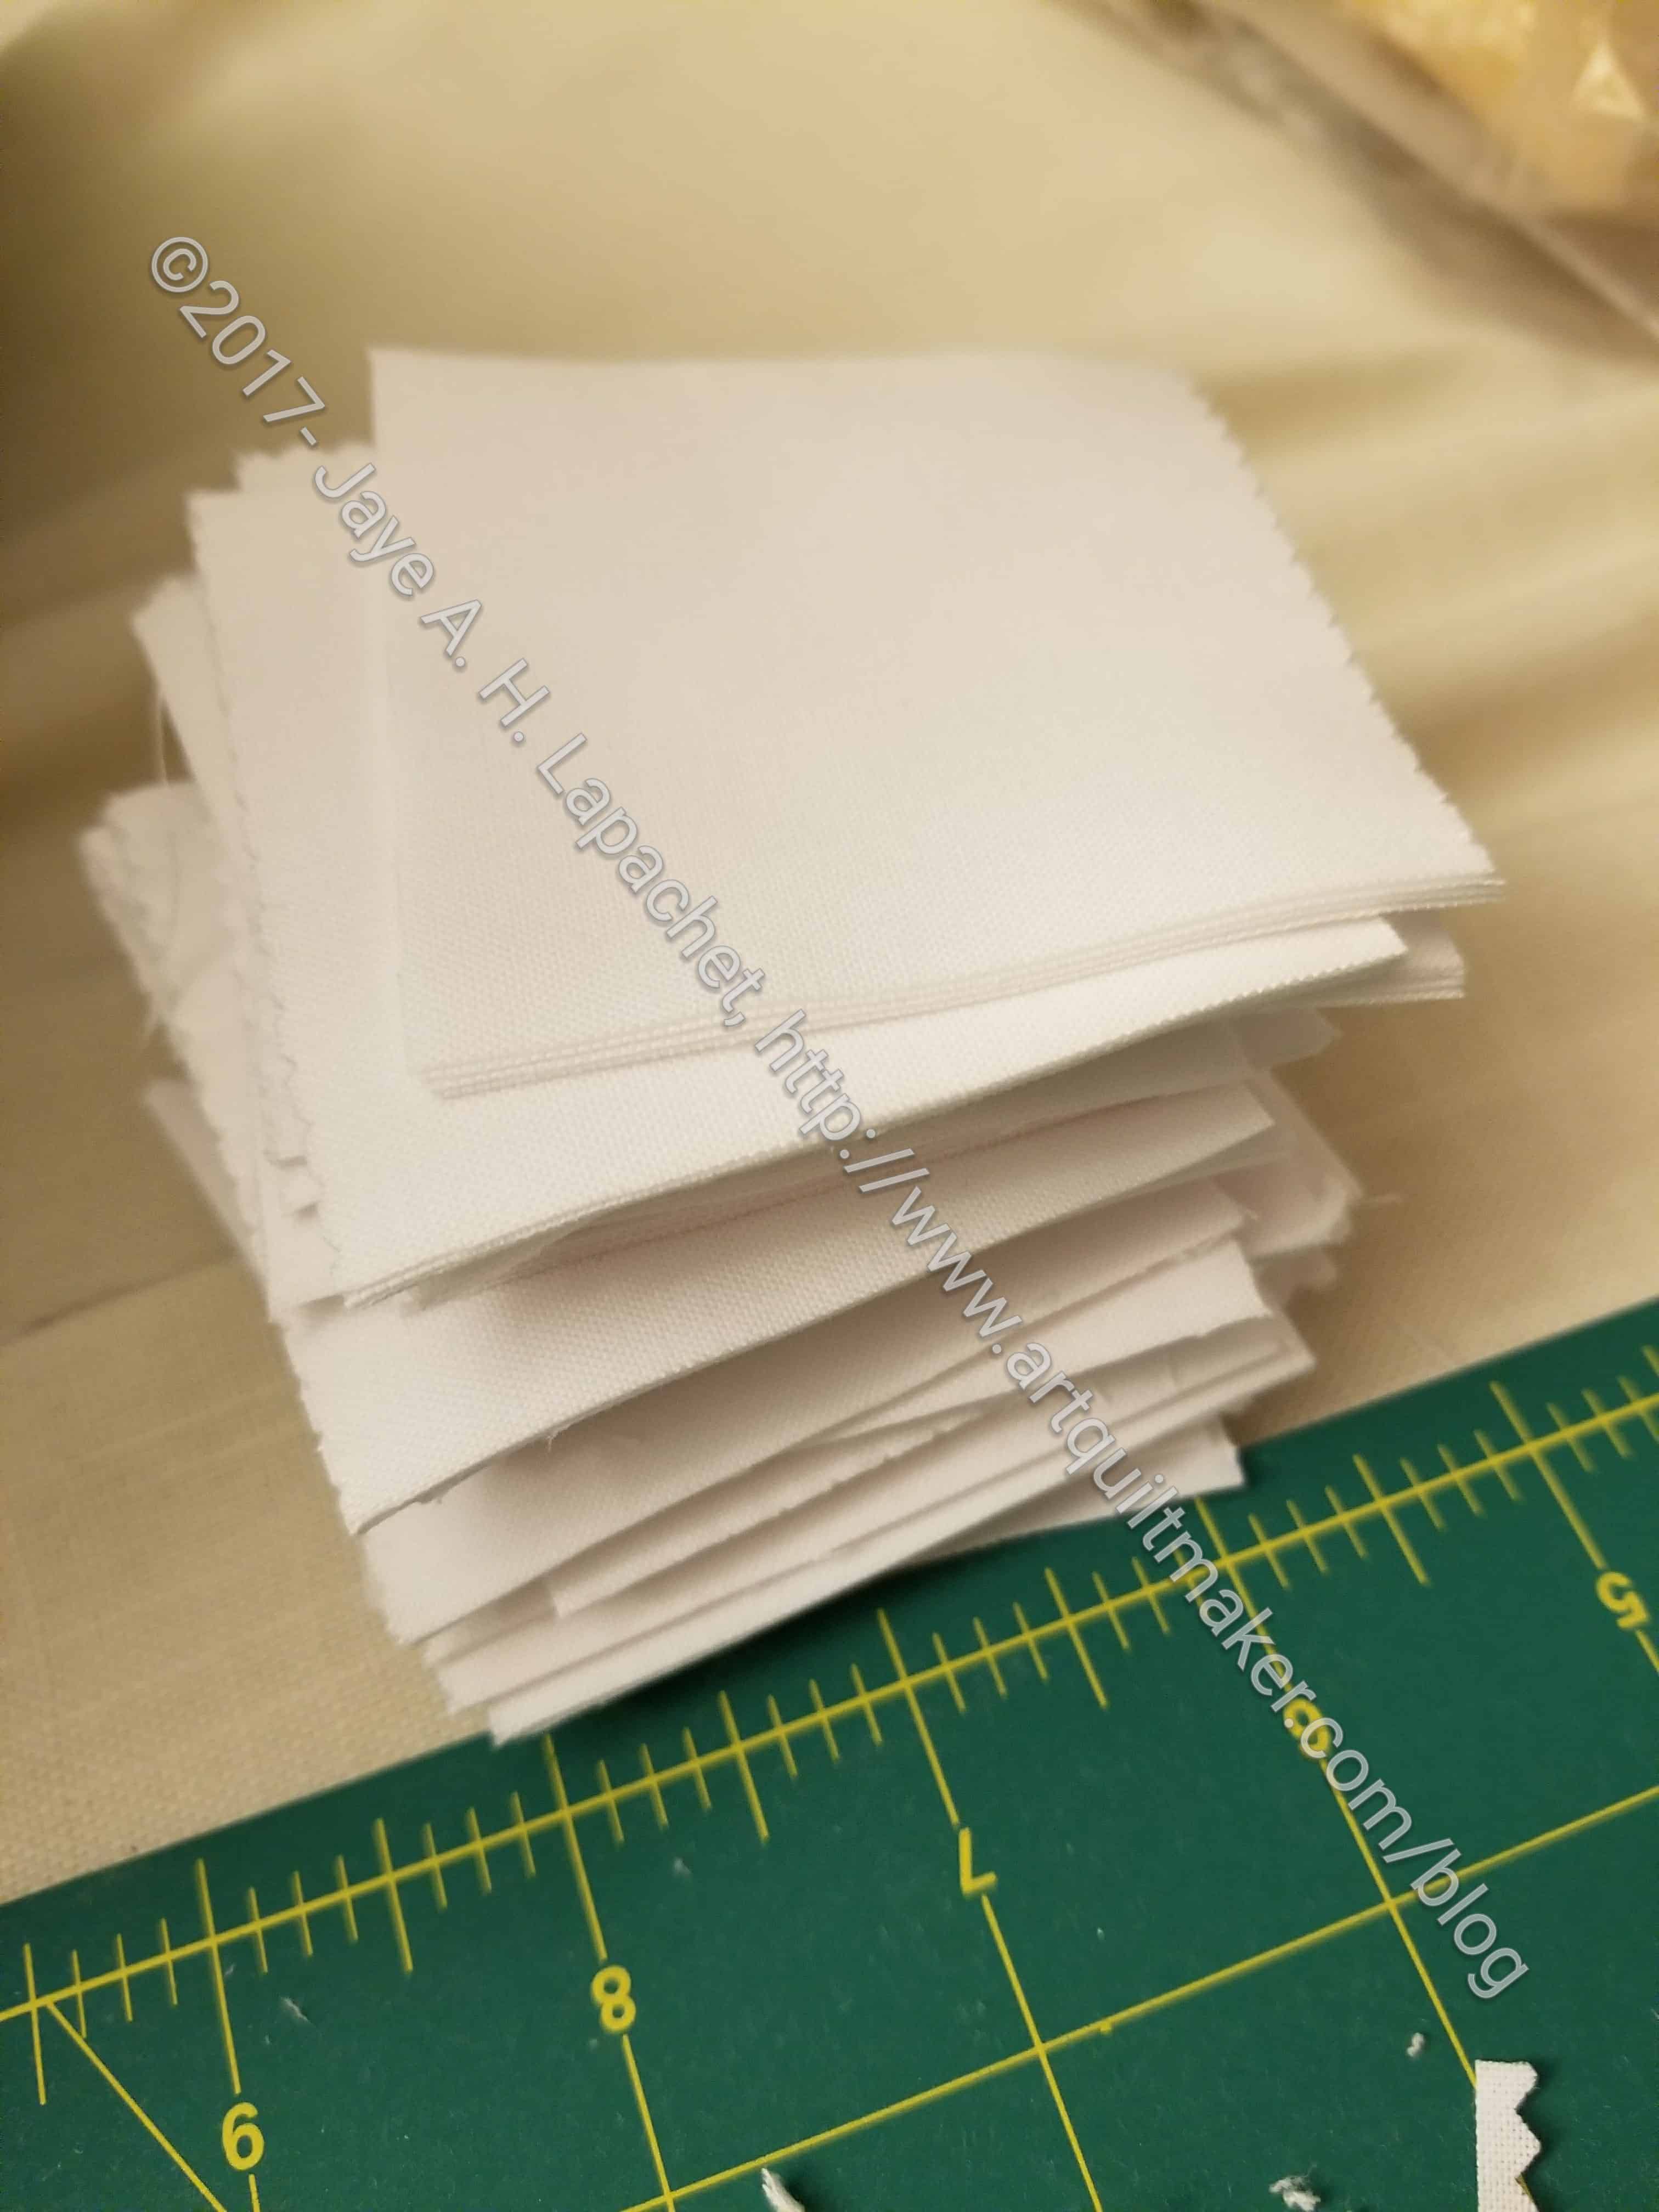
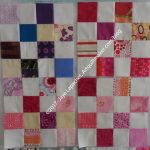
After my last post about donation blocks, I had to do some prep to be able to make more. The first thing I did was cut up some charm squares of white. At first, I just cut a few, then on a recent Craft Night, I cut up the entire pack and now have a ton of backgrounds.
I have not yet cut more foreground fabrics. I really want to use the dregs. I know I am not a fan of them, but they are perfectly fine fabrics that need to be used.

I made one more block before the meeting, bringing my total since the last meeting to 21.
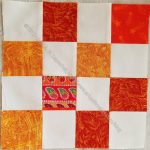
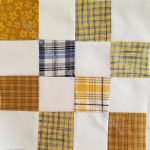
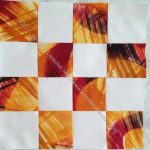
I also checked out my bin to see what was still left. I have some plaids that I will put into a block together. I also have those sunset kind of fabrics. I cut many, many squares from them and will have to just suck it up and make a bunch of blocks from them. They will look good together and I might have enough for a whole quilt.
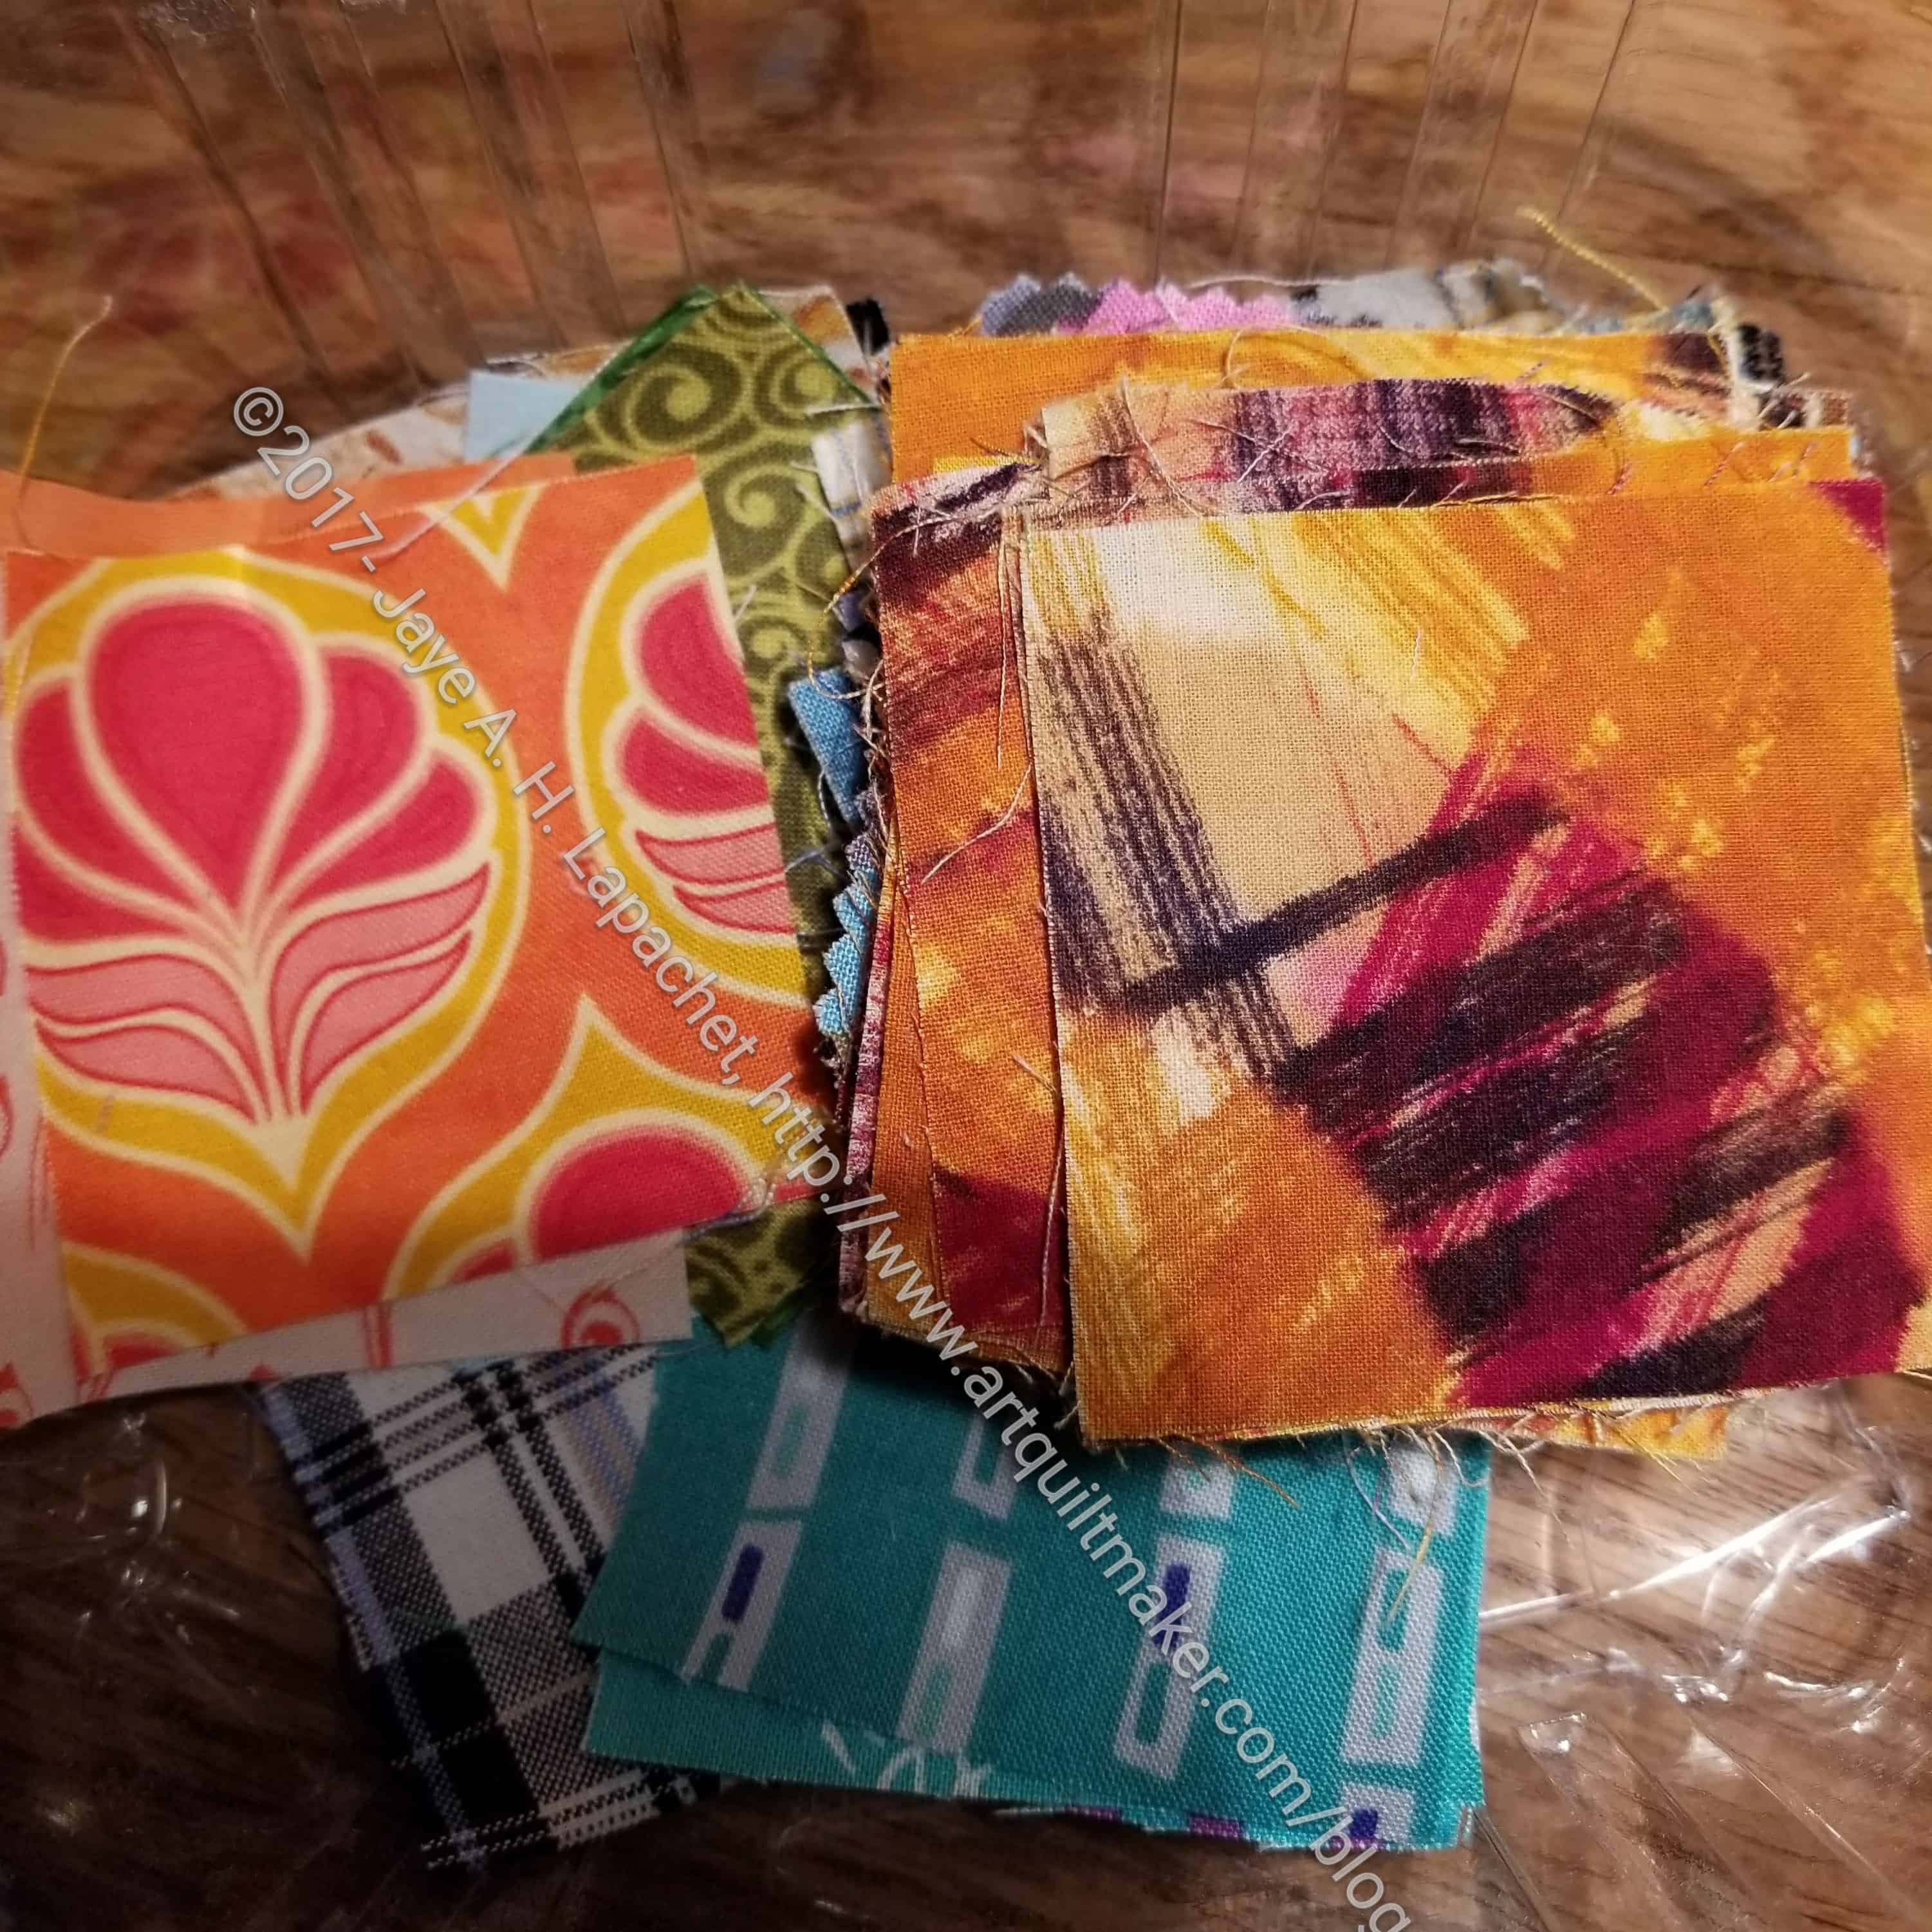
My little bin of donation patches is pretty empty. The top fabric is the sunset fabric. We’ll see what I can make from this weird assortment.
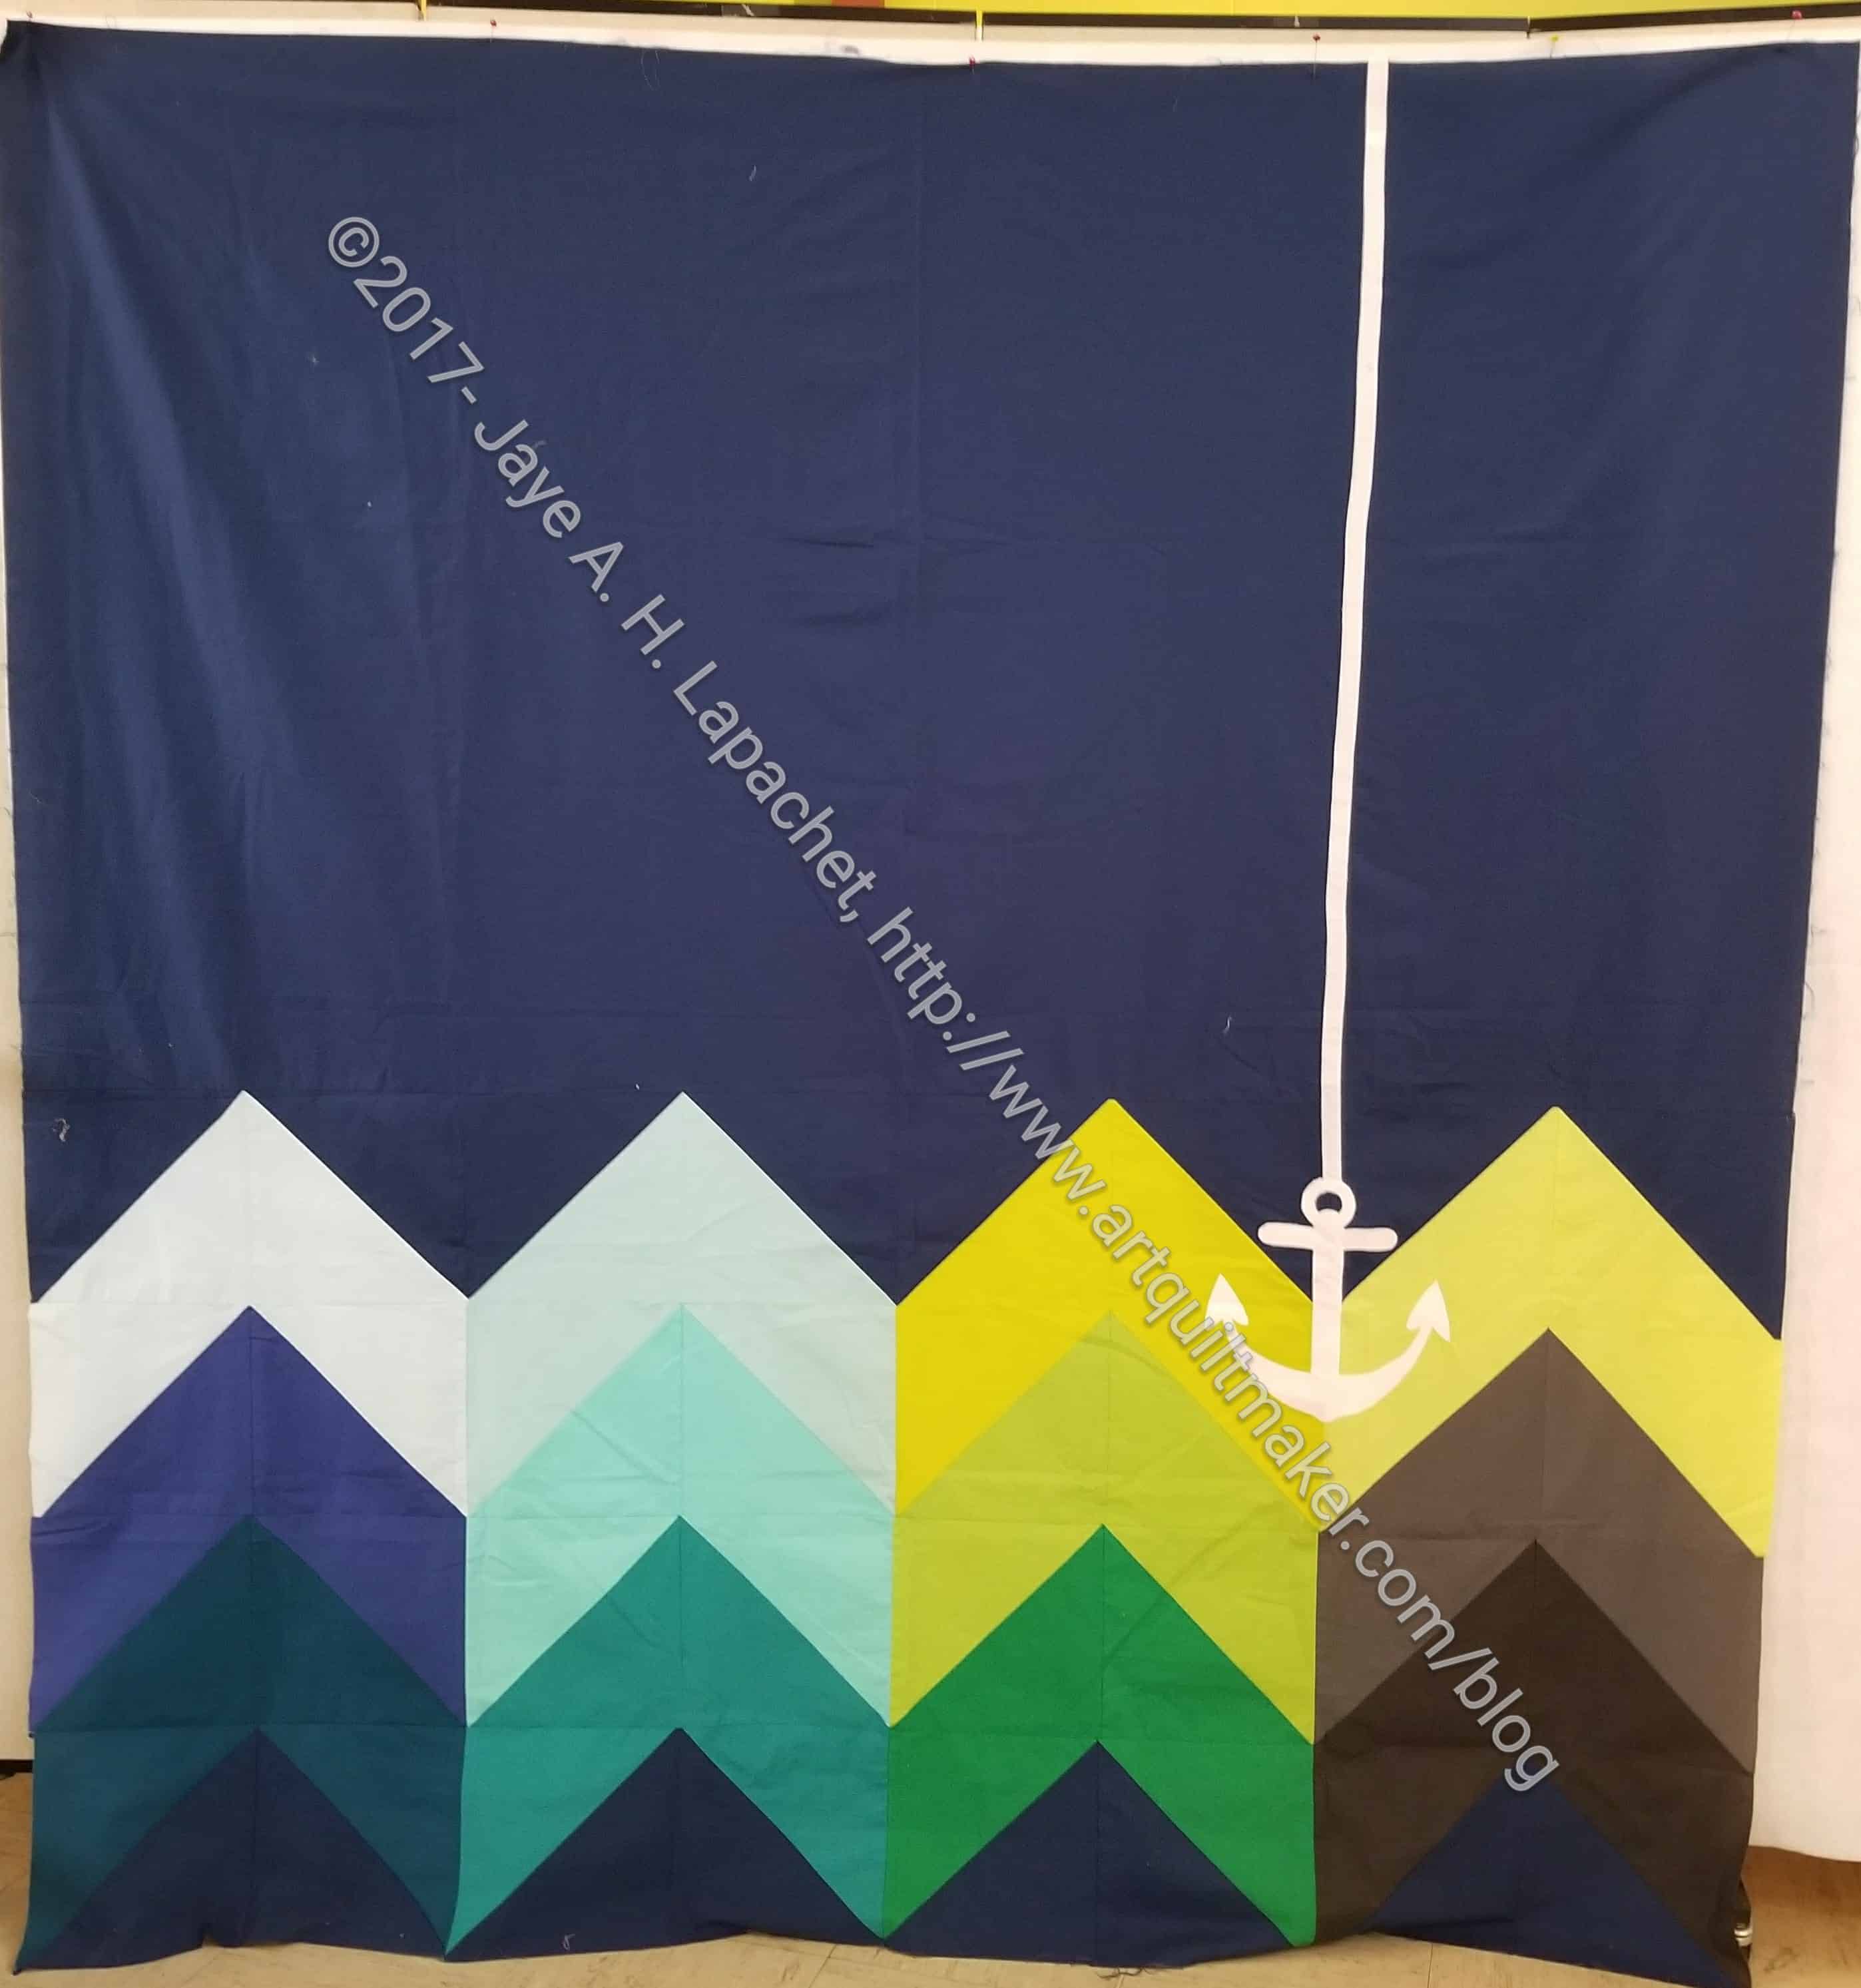
Tim and I worked on the Anchor quilt on Saturday. This is a true group project. Gerre organized it. Christina did the piecing. I appliqued on the anchor and Tim will do the quilting. The last time I talked about this quilt was back in June and it has been languishing. Now we are back on track!
Saturday, he did everything and I just stood there and helped him pin and gave my opinion.

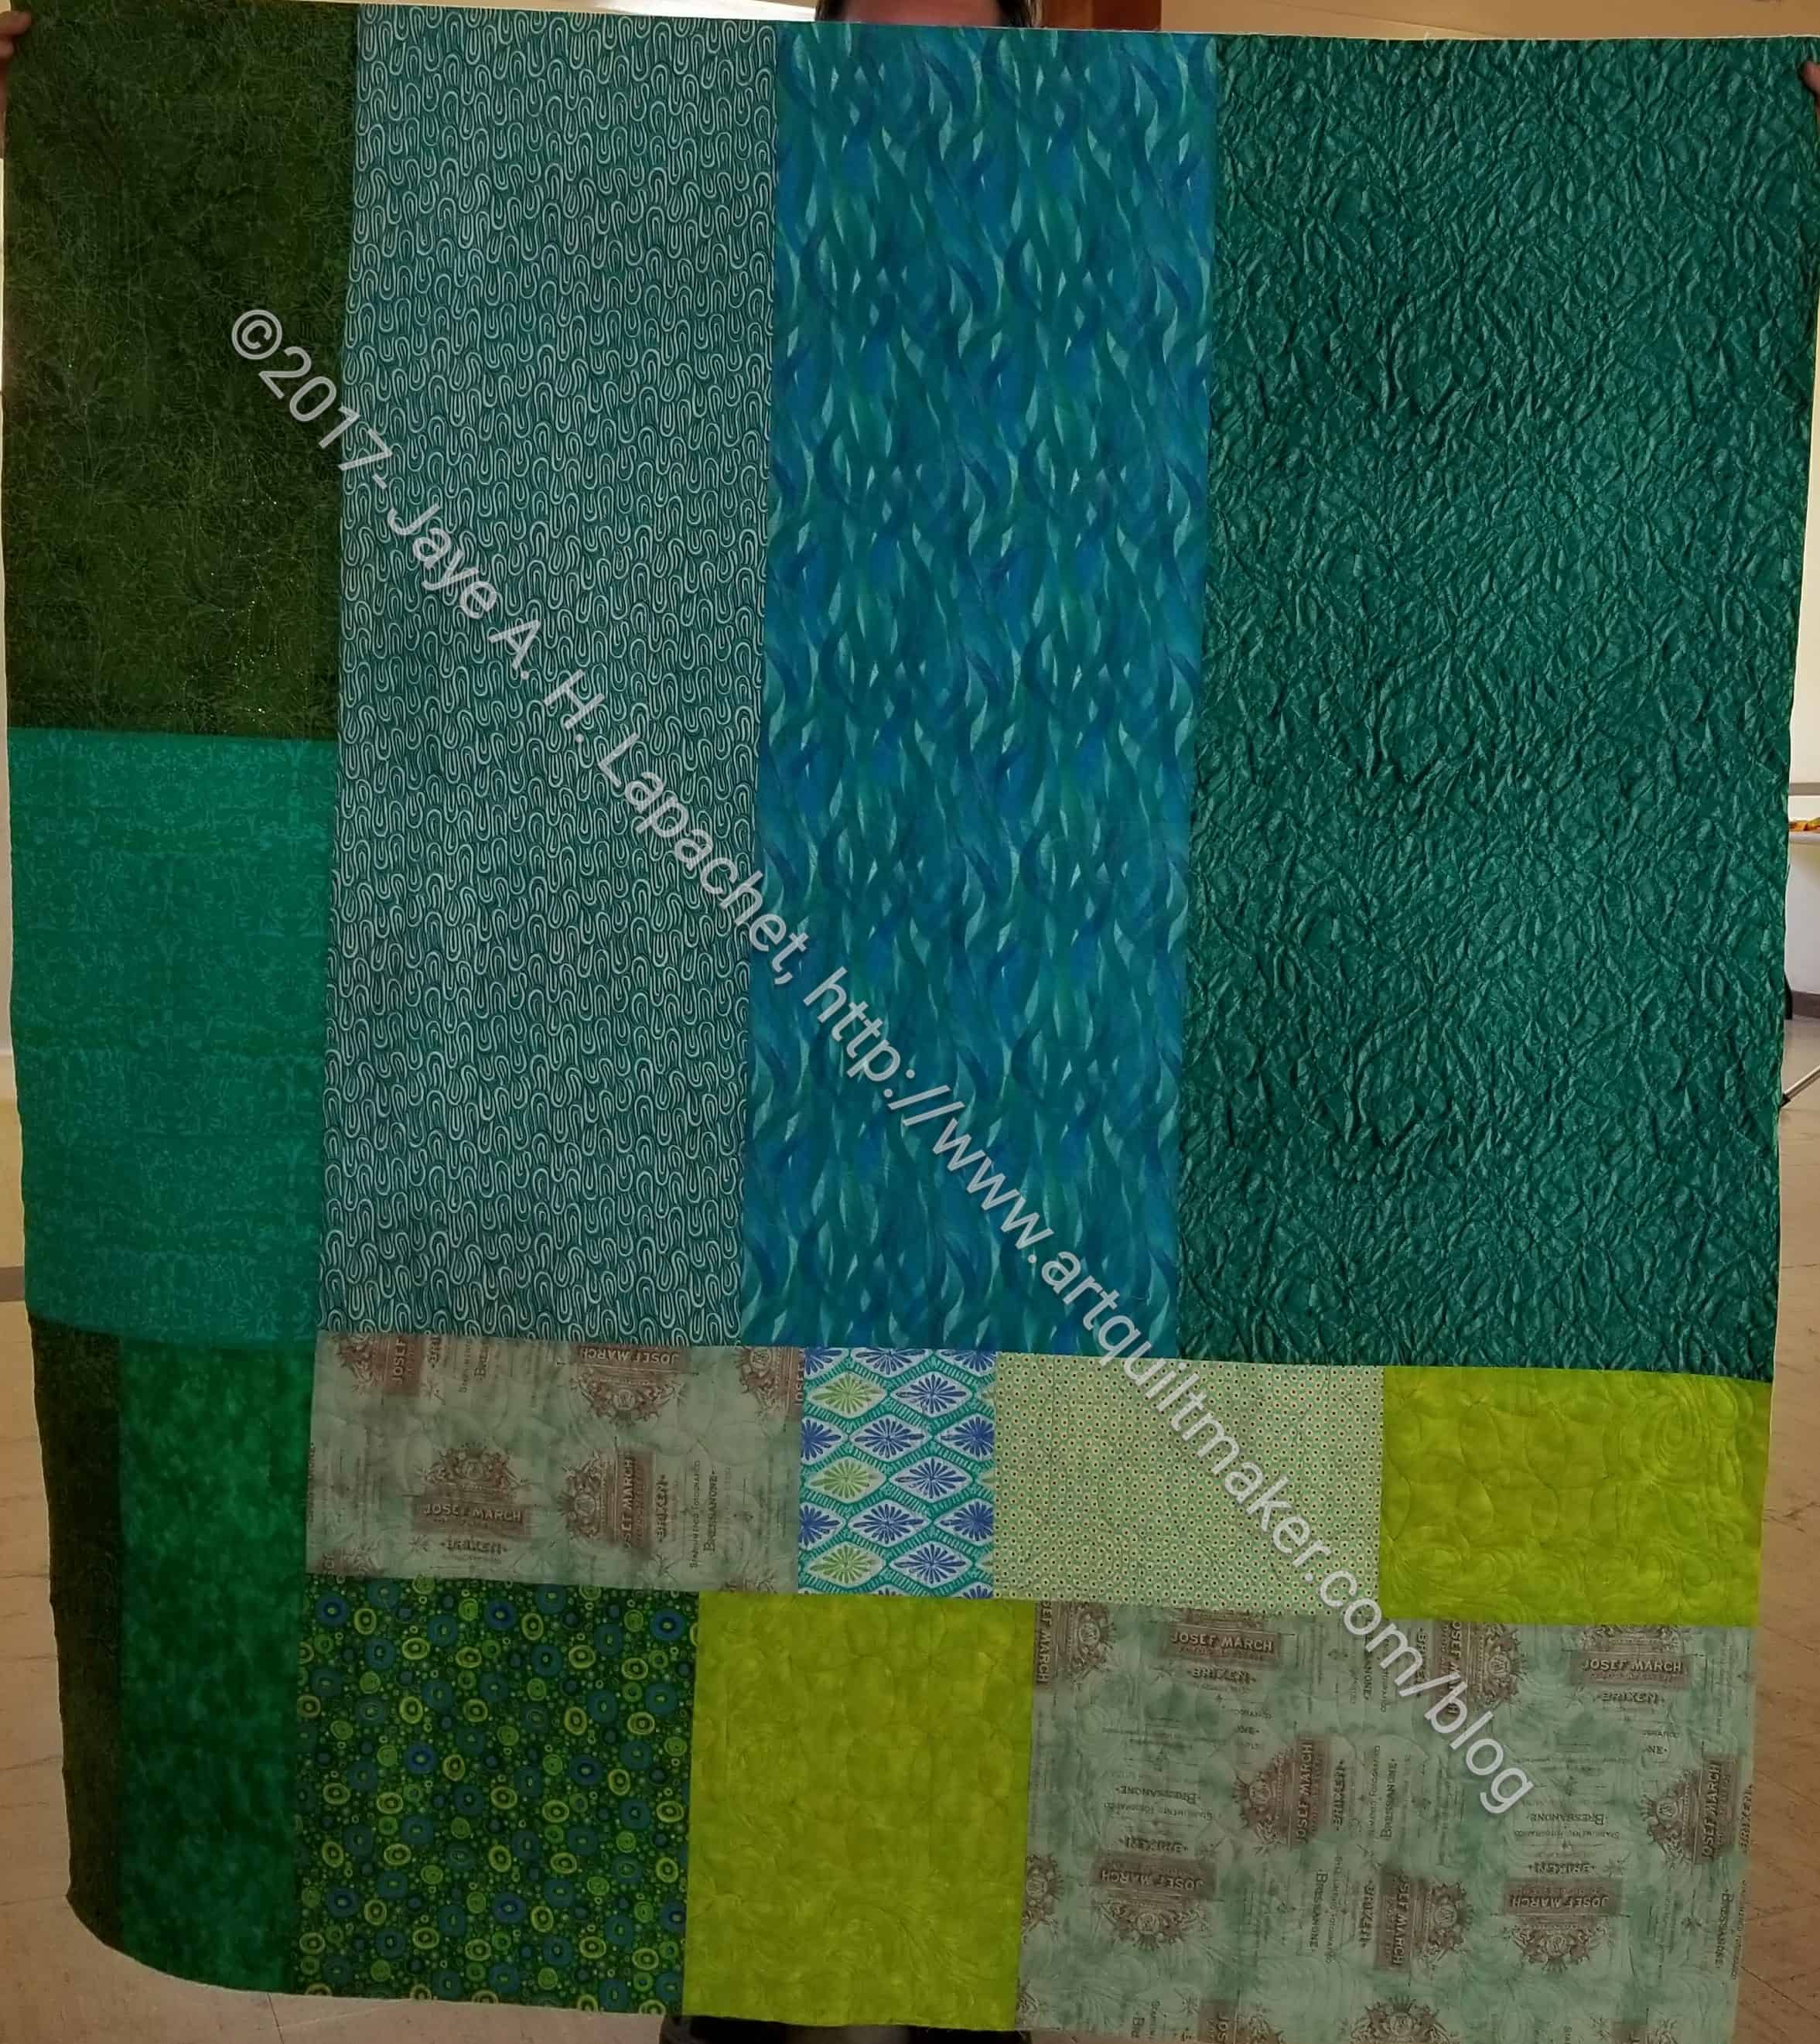
We had to work on the back a little bit. The back was two large pieces and the big area of white was bugging Tim. We talked about different things we could do and finally decided on adding a piece that Christina had started sort of 1/3 of the way down the quilt. I think it broke up the white enough for comfort.
We also looked at quilting ideas. Tim had some ideas in mind and they were good. We found a couple that we thought would reflect the them and he will do the quilting soon.
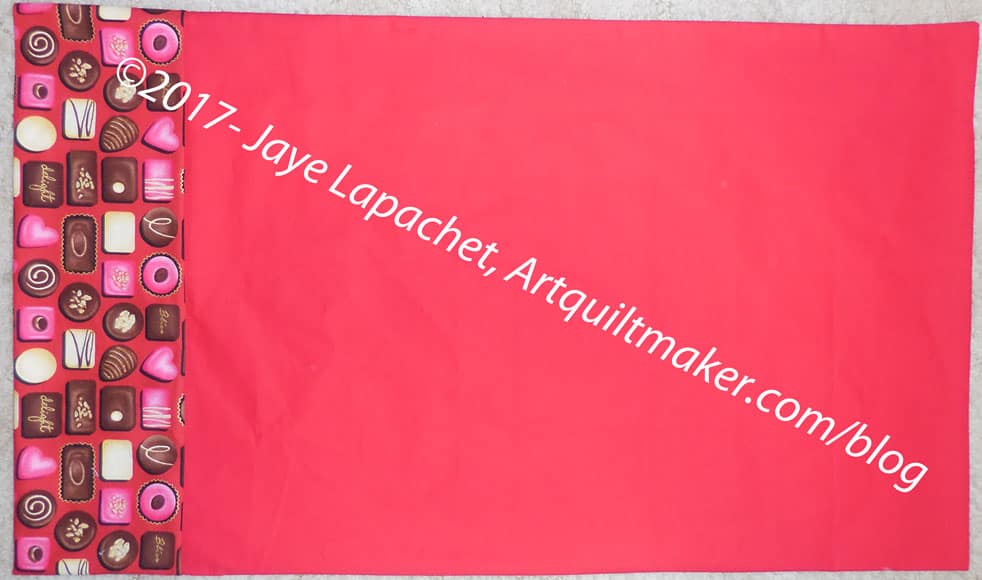
We are wrapping gifts for today’s party in pillowcases, which will be donated to Wine Country Fire victims. Mine is the opposite of the one I made for Maria, the YM’s roommate.
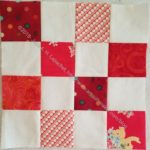
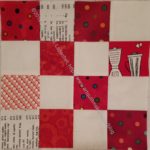
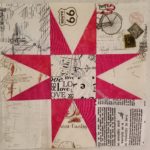
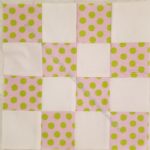
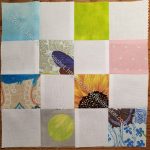
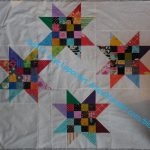
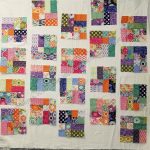
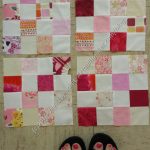
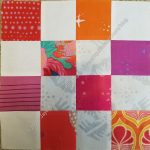
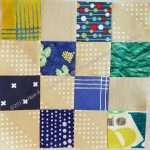
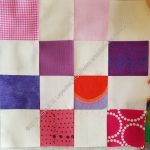
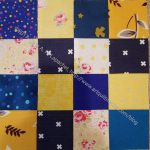
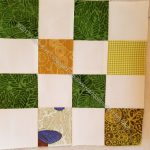
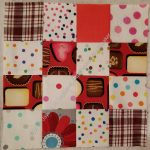
You must be getting sick of my donation block craze. I really do want to add more blocks and quilt tops to my 2017 list, so I made 5 more blocks on Sunday.
I worked on them while I was piecing the last quarter of En Provence. The blocks seemed to fly out of my machine despite the fact that I was really struggling to find backgrounds.
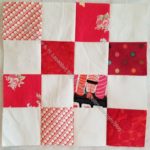
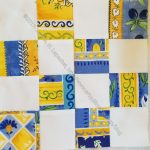
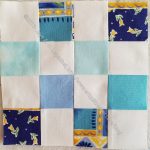
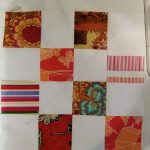
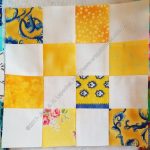
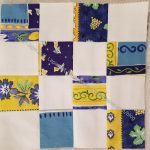
I have been working through my little bin of donation patches since I started on this binge. After 20 blocks, I have few backgrounds and a lot of fabrics that I am tired of using. Still, I was determined not to cut more backgrounds until I absolutely had to. I decided, after I made the Cal block (blue and yellow) that I needed to see if I had some charm packs.
The blue and yellow block as well as some of the others will be difficult to use with the standard blocks others make. There is some thing about using up as much as you can before you have to cut more background.
Eventually, I went to my tote of charm packs and found two of white fabric. I started cutting up one of them, so my next batch of donation blocks will be pretty standard.

Although I had a lot of other projects to use as leaders and enders, I really made a lot of donation blocks throughout the weekend as well.
I have used a lot of 2.5″ squares this weekend and I am kind of scraping the bottom of the barrel. It is not a bad thing as I am using up pieces I might not normally use. I’ll have to cut some backgrounds soon, but I hope to work out some piecing so I can use some donation blocks from last year to make a new top.

You’ll notice that this post is not about the #OnRingoLake mystery quilt project as you will find on many other sites today as people show their progress on Bonnie Hunter’s new mystery quilt.
Since I am still working on En Provence, I thought it was prudent to finish that before starting another mystery. I am reading and collecting the clues in case I change my mind.
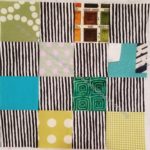
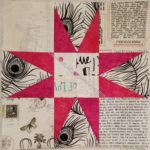
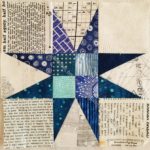
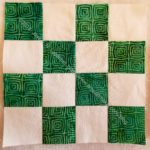
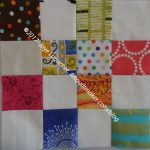
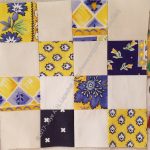
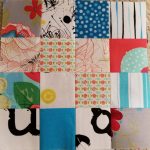
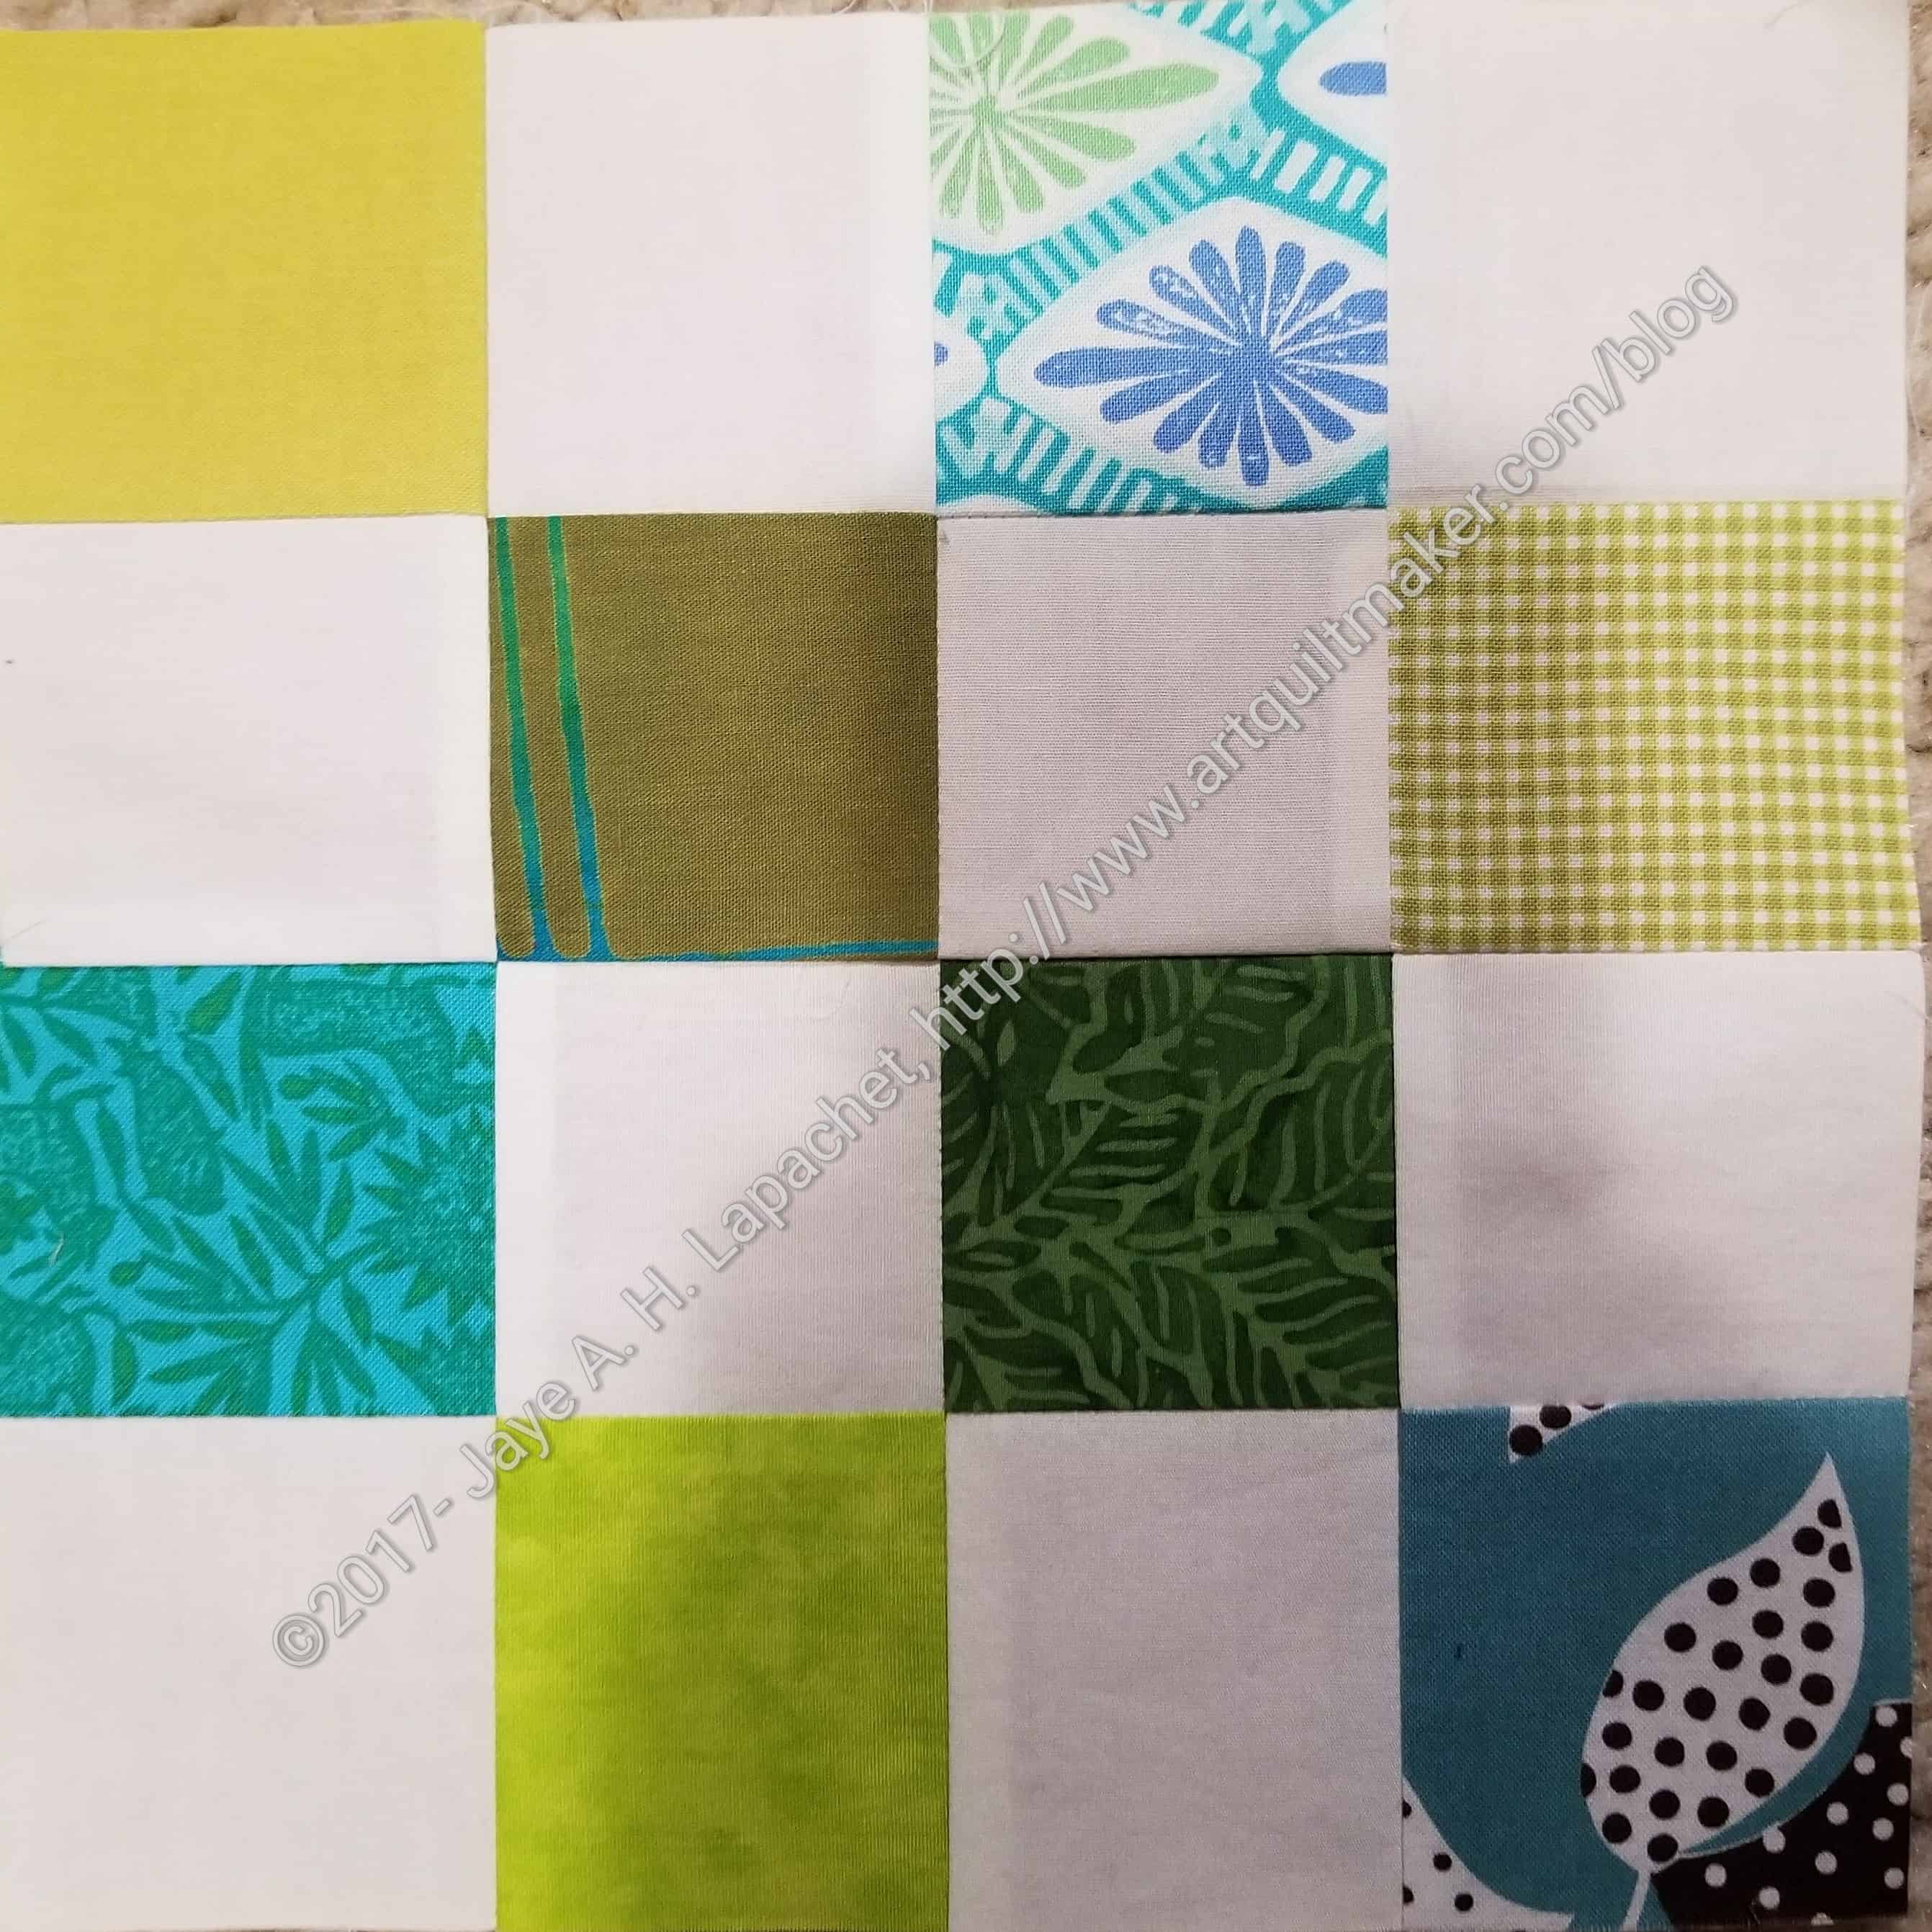 While I was working on En Provence on Friday, I made some more donation blocks. I used the donation blocks as leaders and enders, of course.
I figured out that each donation block has 15 seams. I made about 6 in the course of several hours of sewing, which means I sewed somewhere in the neighborhood of 180 seams total. That is between the En Provence pieces and the donation blocks. I did a couple of other things in between as well, so my total is probably a few more.
Of course, the seams are short, which means they are quick, but I am making progress.
I am feeling like I am running out of 2.5″ pieces in my donation bin from which to choose. I think it is just that I don’t have enough to make blocks from one color. I also think that some of the choices are not my favorites. I have a number of pieces left and will make an effort to use those up before I commit to cutting more.They are not ugly and someone will like them, so I will need to use them.