Gift Post #10: Alison’s Bag

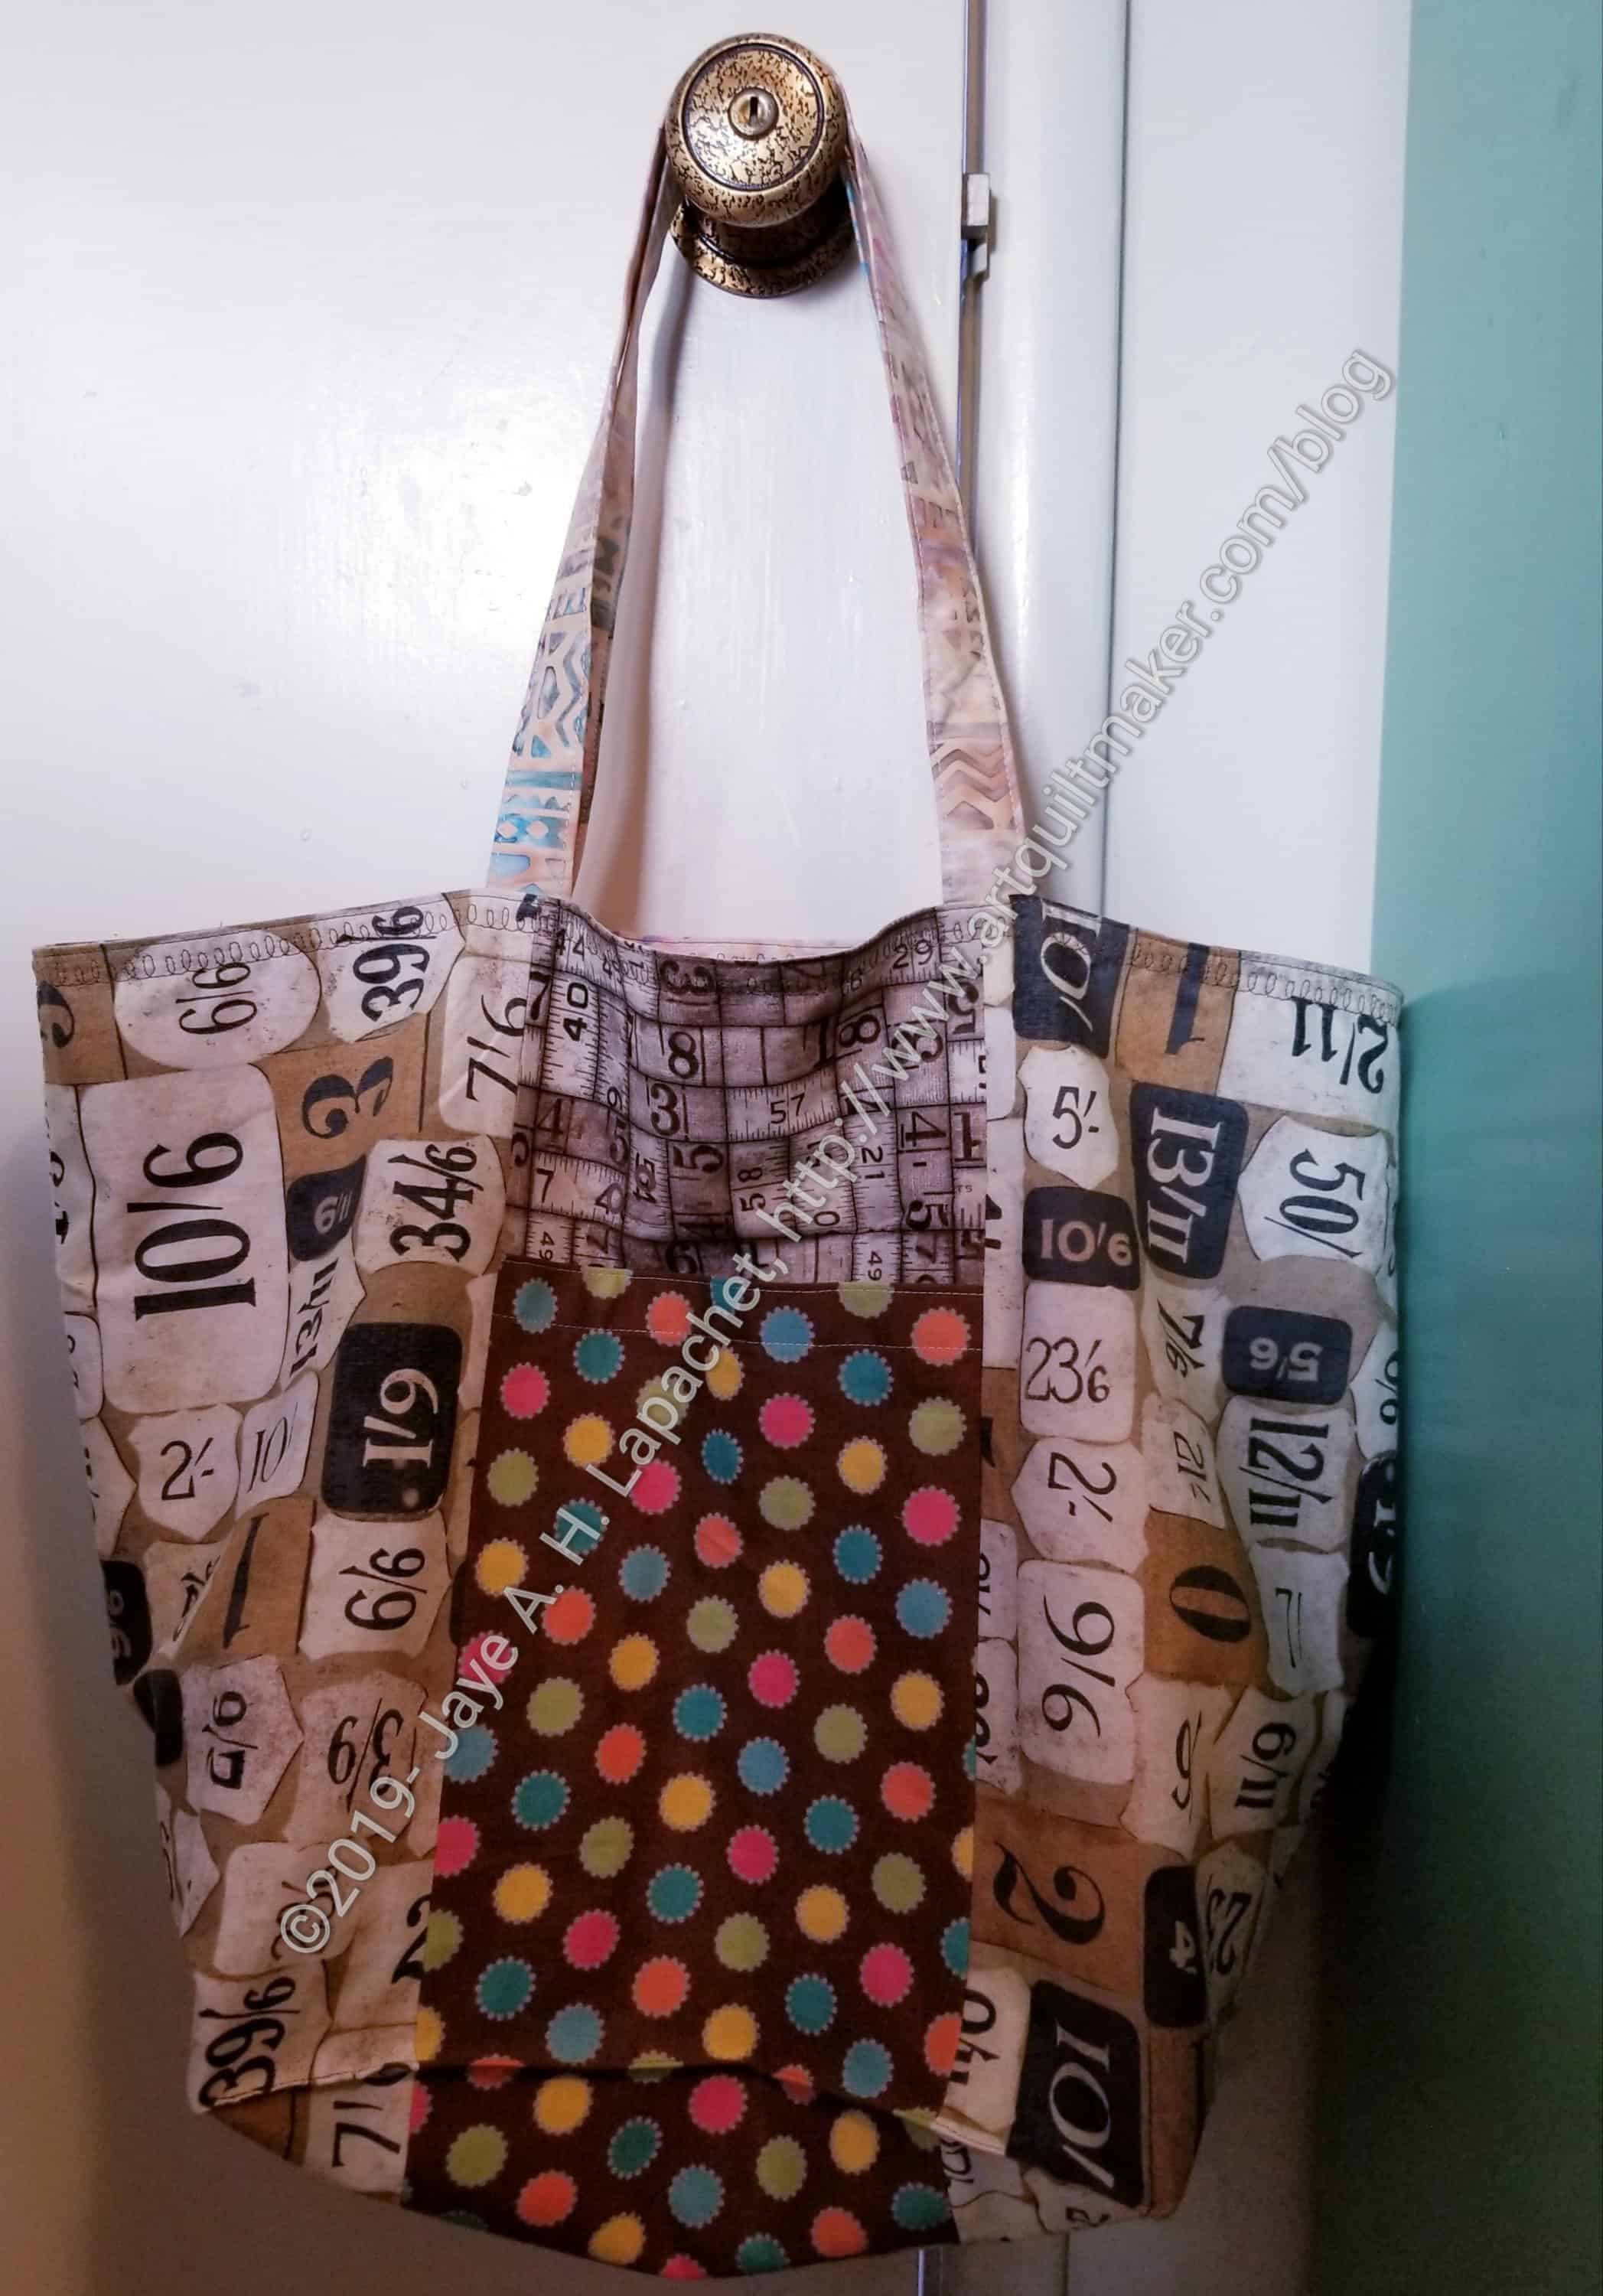
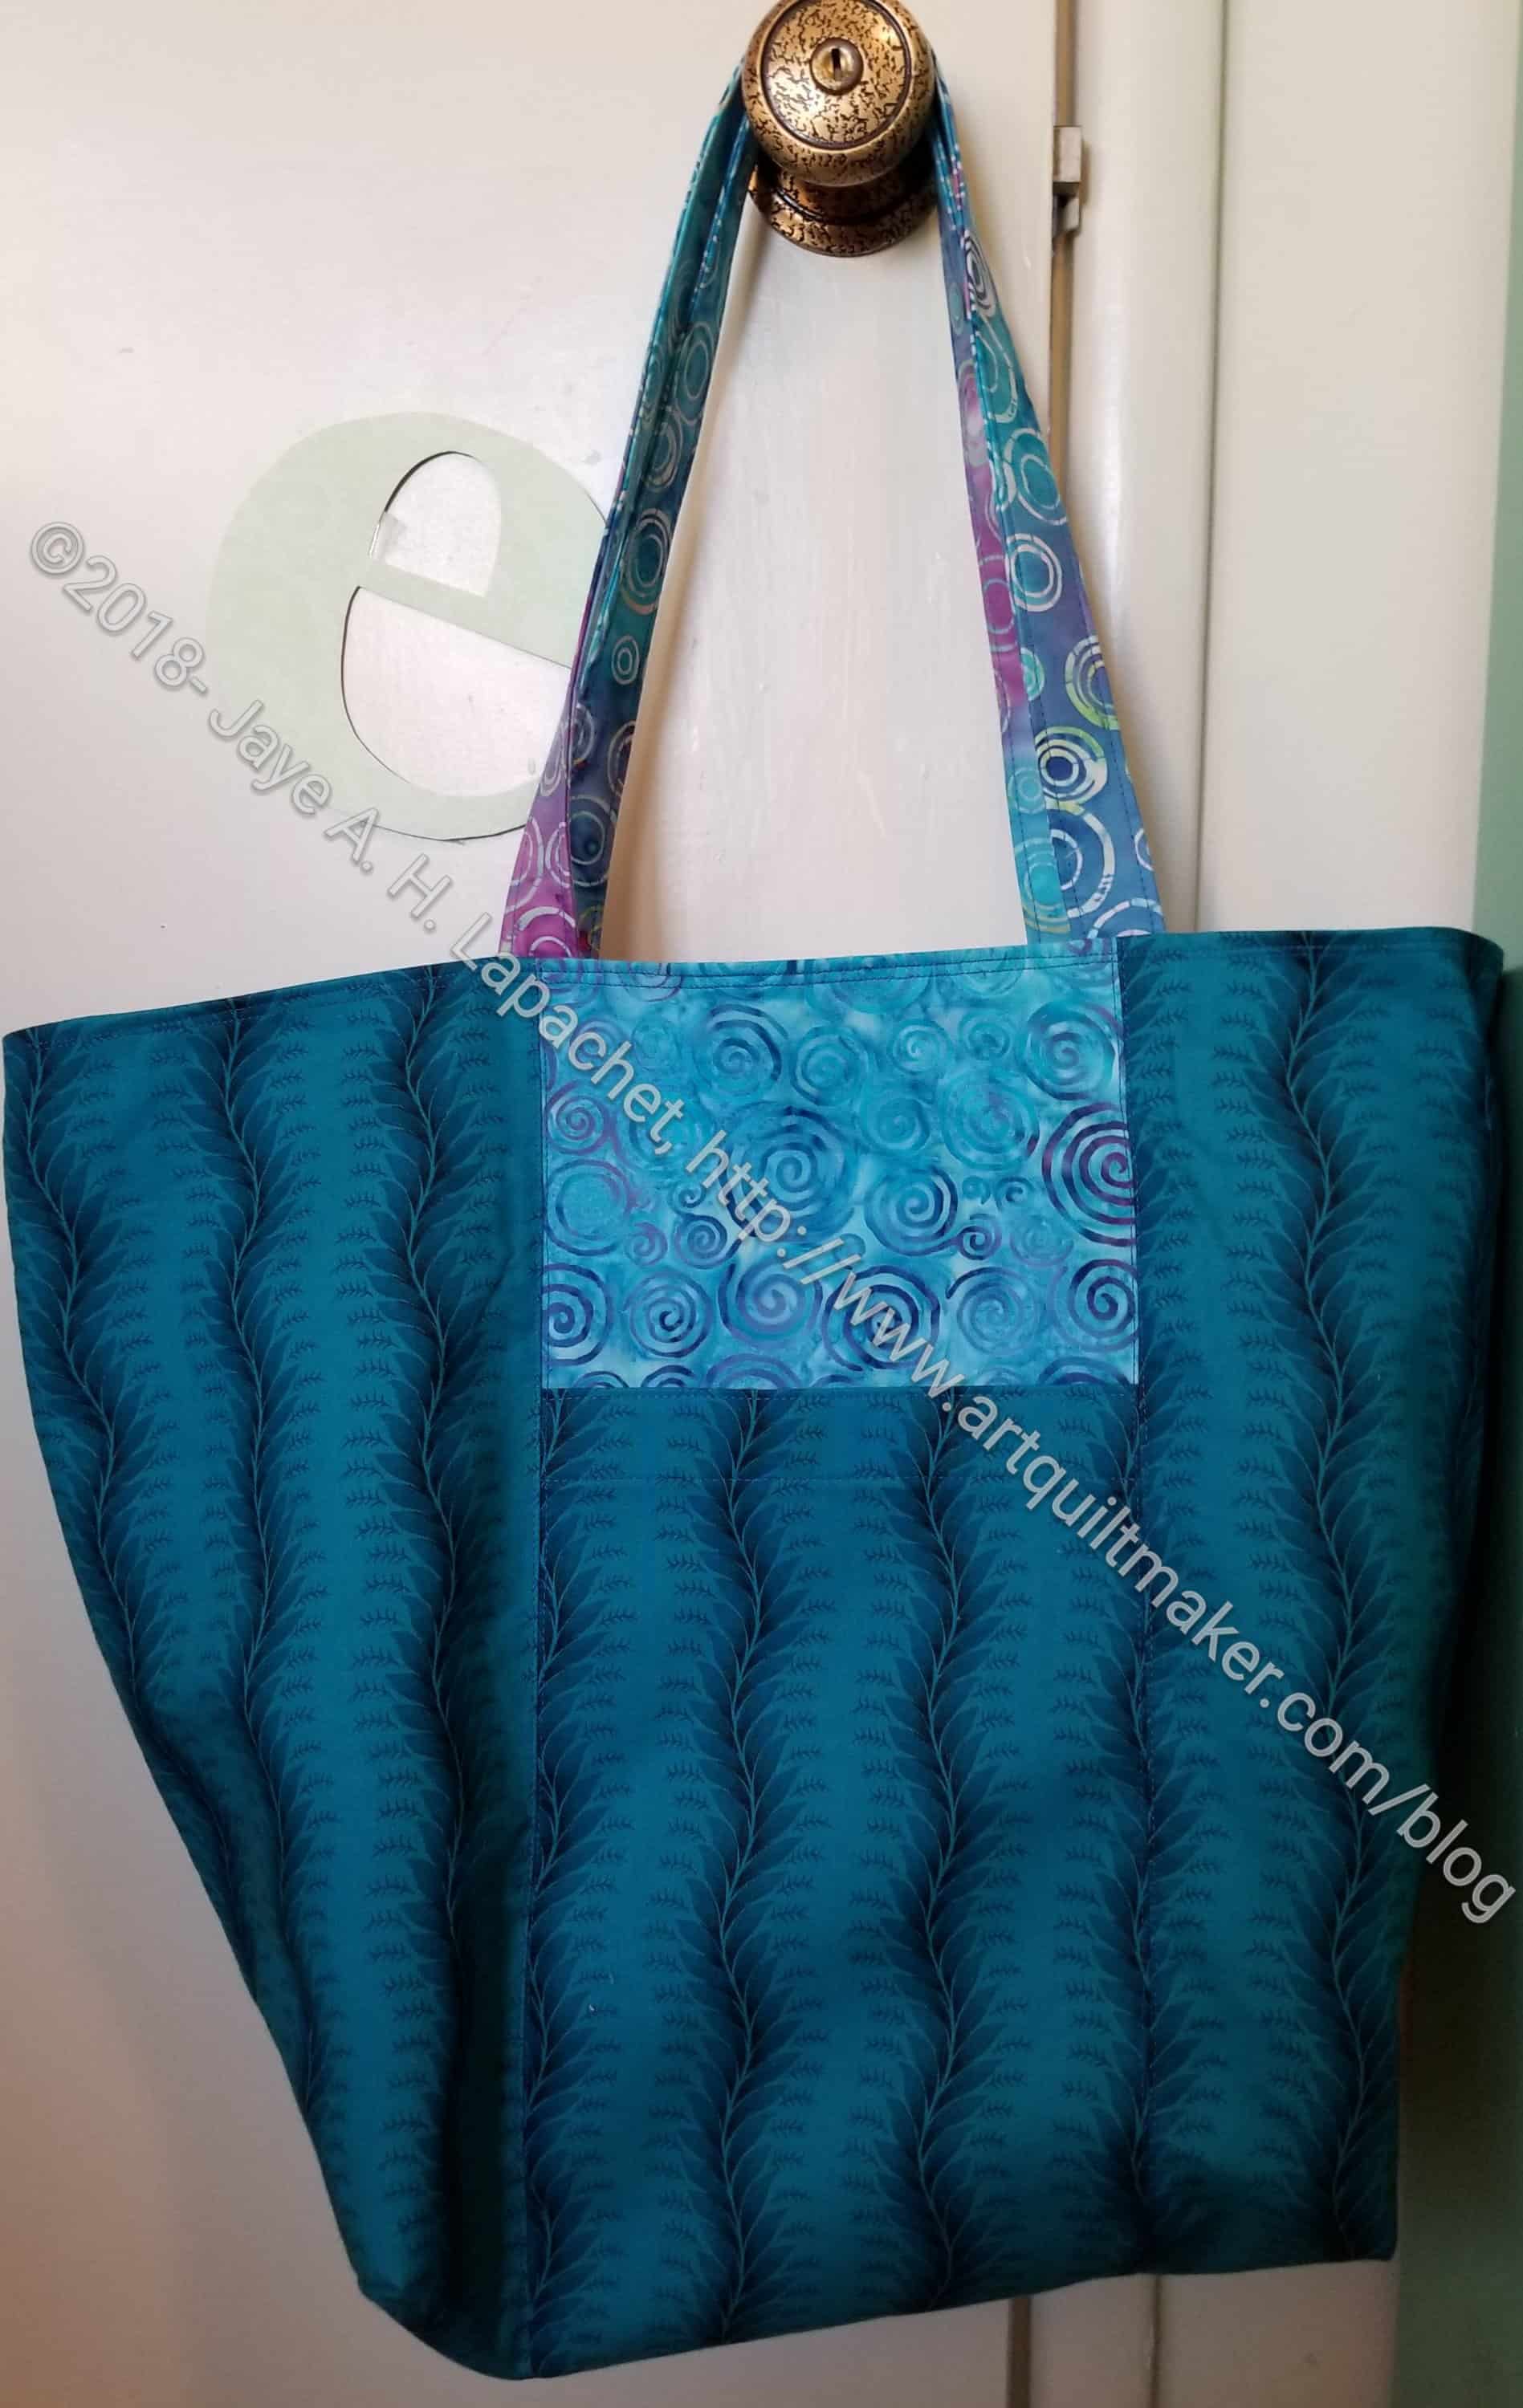
As you know, members of my guild make bags and then the rest of the members bring small gifts/goodies with which to fill them. This time we had a new position for which to make a bag. The Member-At-Large position was somewhat undefined, so there was some discussion about whether the job that had been done was bag worthy. I felt bad not giving a bag to a board member when, despite her work, everyone else on the board was getting a bag.

Allison's 2018 Bag
Allison’s 2018 Bag

As a result, I pulled fabrics and made a Jane Market Tote. The hardest part of these bags is the cutting. I always forget how many pieces I need to cut. I take responsibility, because I have such trouble understanding patterns. I’d love a system where cutting was uniformly described across all patterns. If wishes were horses…. Still, once cut, this bag goes together easily.

I add interfacing to the outside pieces, which makes the bag pretty crisp, though still foldable.  I also set the straps in the top seam rather than sewing them to the outside. This means that three seams cover the straps and provide security.

Gift Post #9: Juggling Balls

Three juggling balls
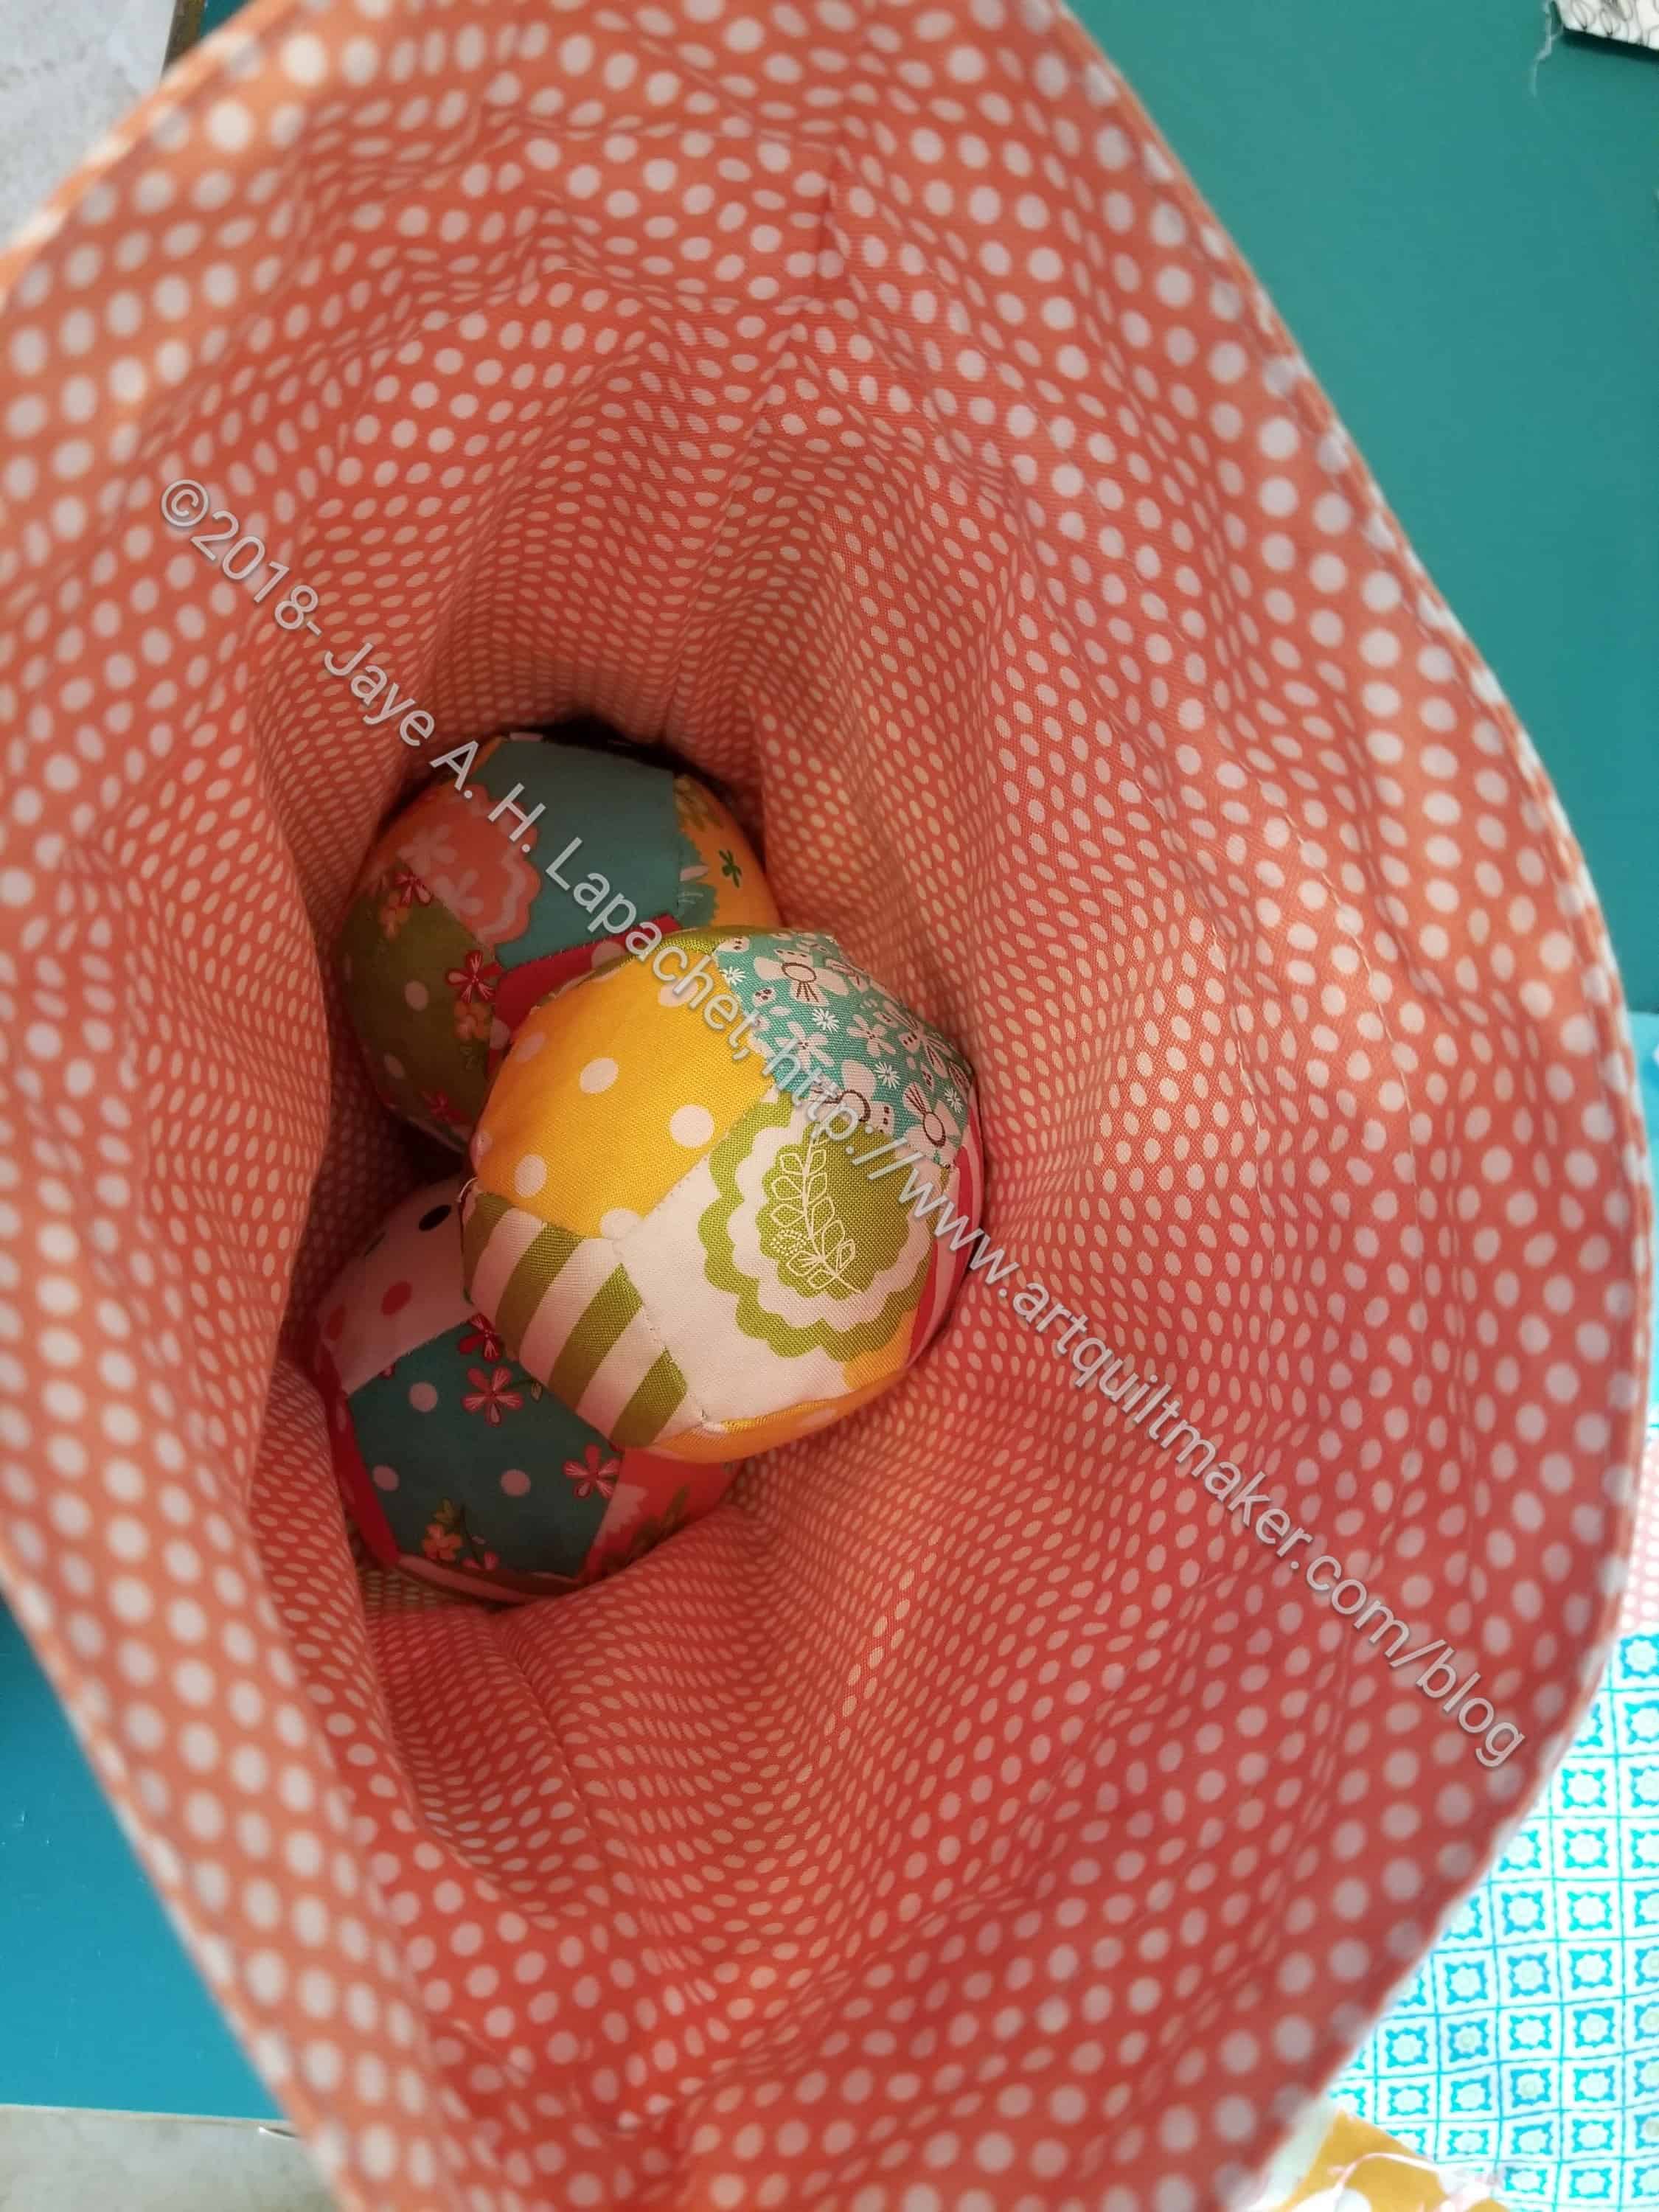
Juggling Balls in the drawstring bag

You have seen a few posts about these juggling balls in the past few weeks. Well, I finally finished them. I didn’t get them done in time to give them to my niece for Christmas, but oh well. I am still pretty pleased with the way they came out and I am thinking about making another set.

As previously mentioned, I got the idea for the balls from All Points Patchwork, a comprehensive guide on English paper piecing. I wrote a review about it recently.

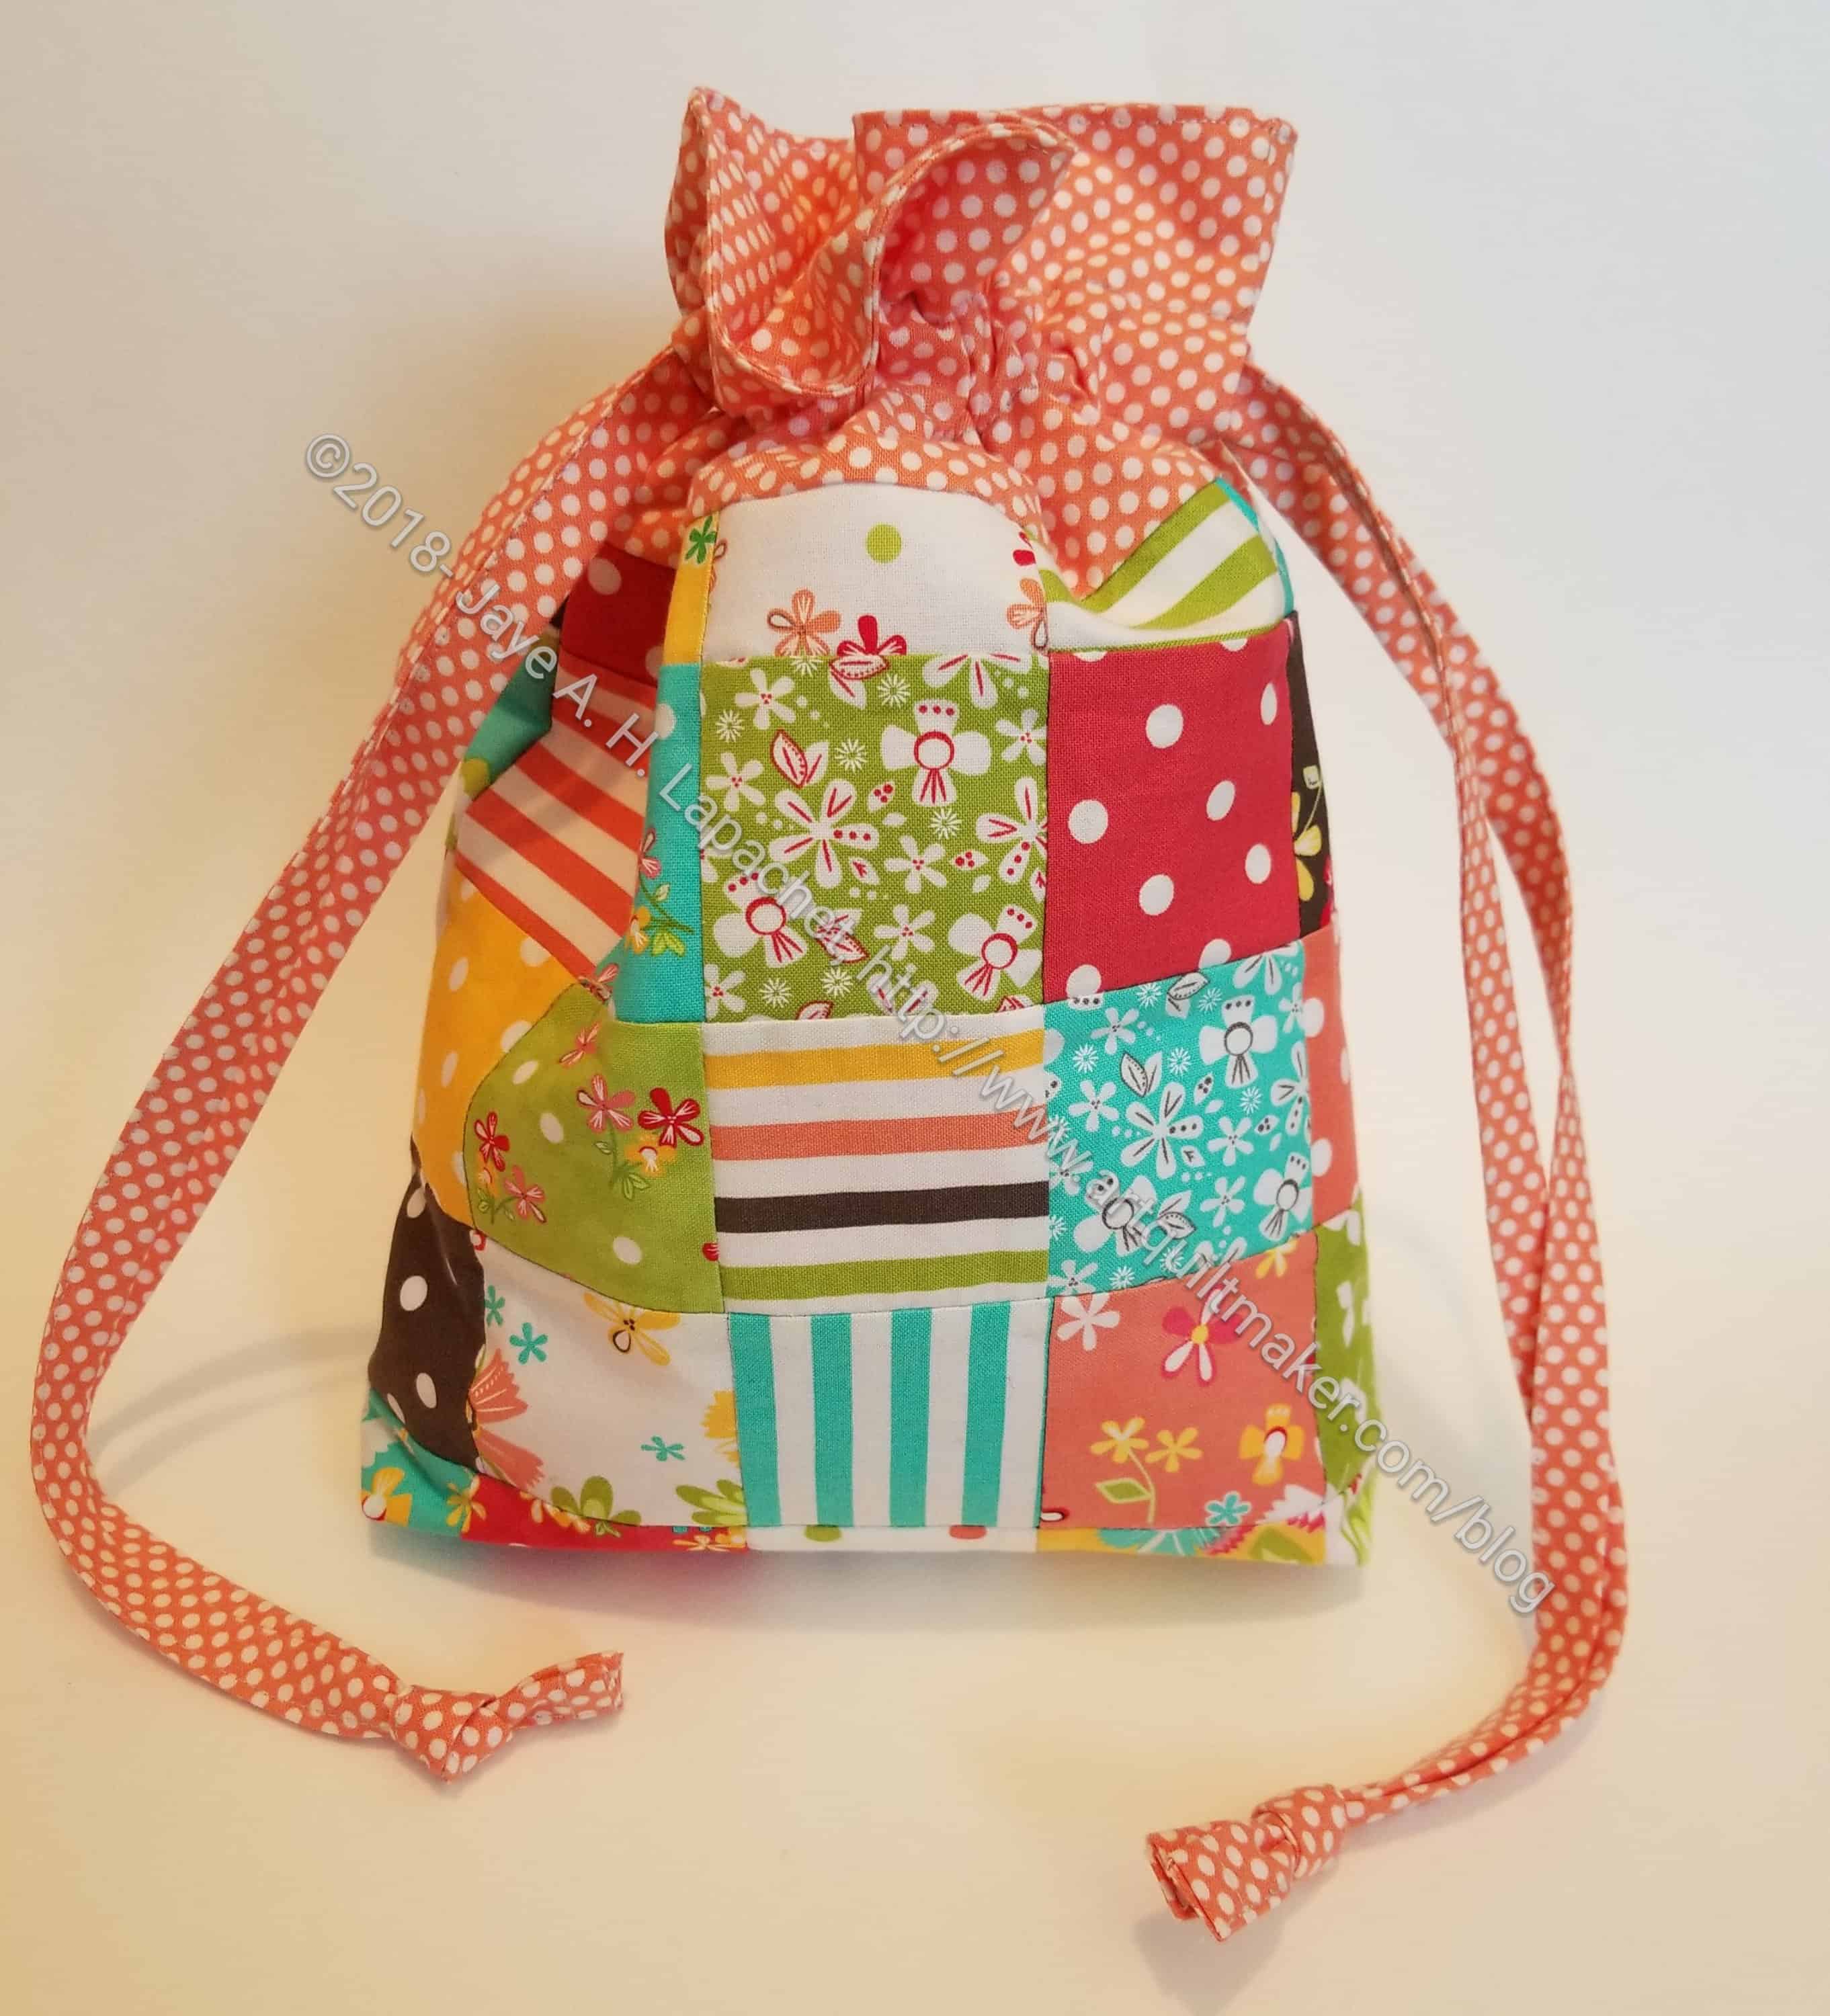
Juggling Balls drawstring bag

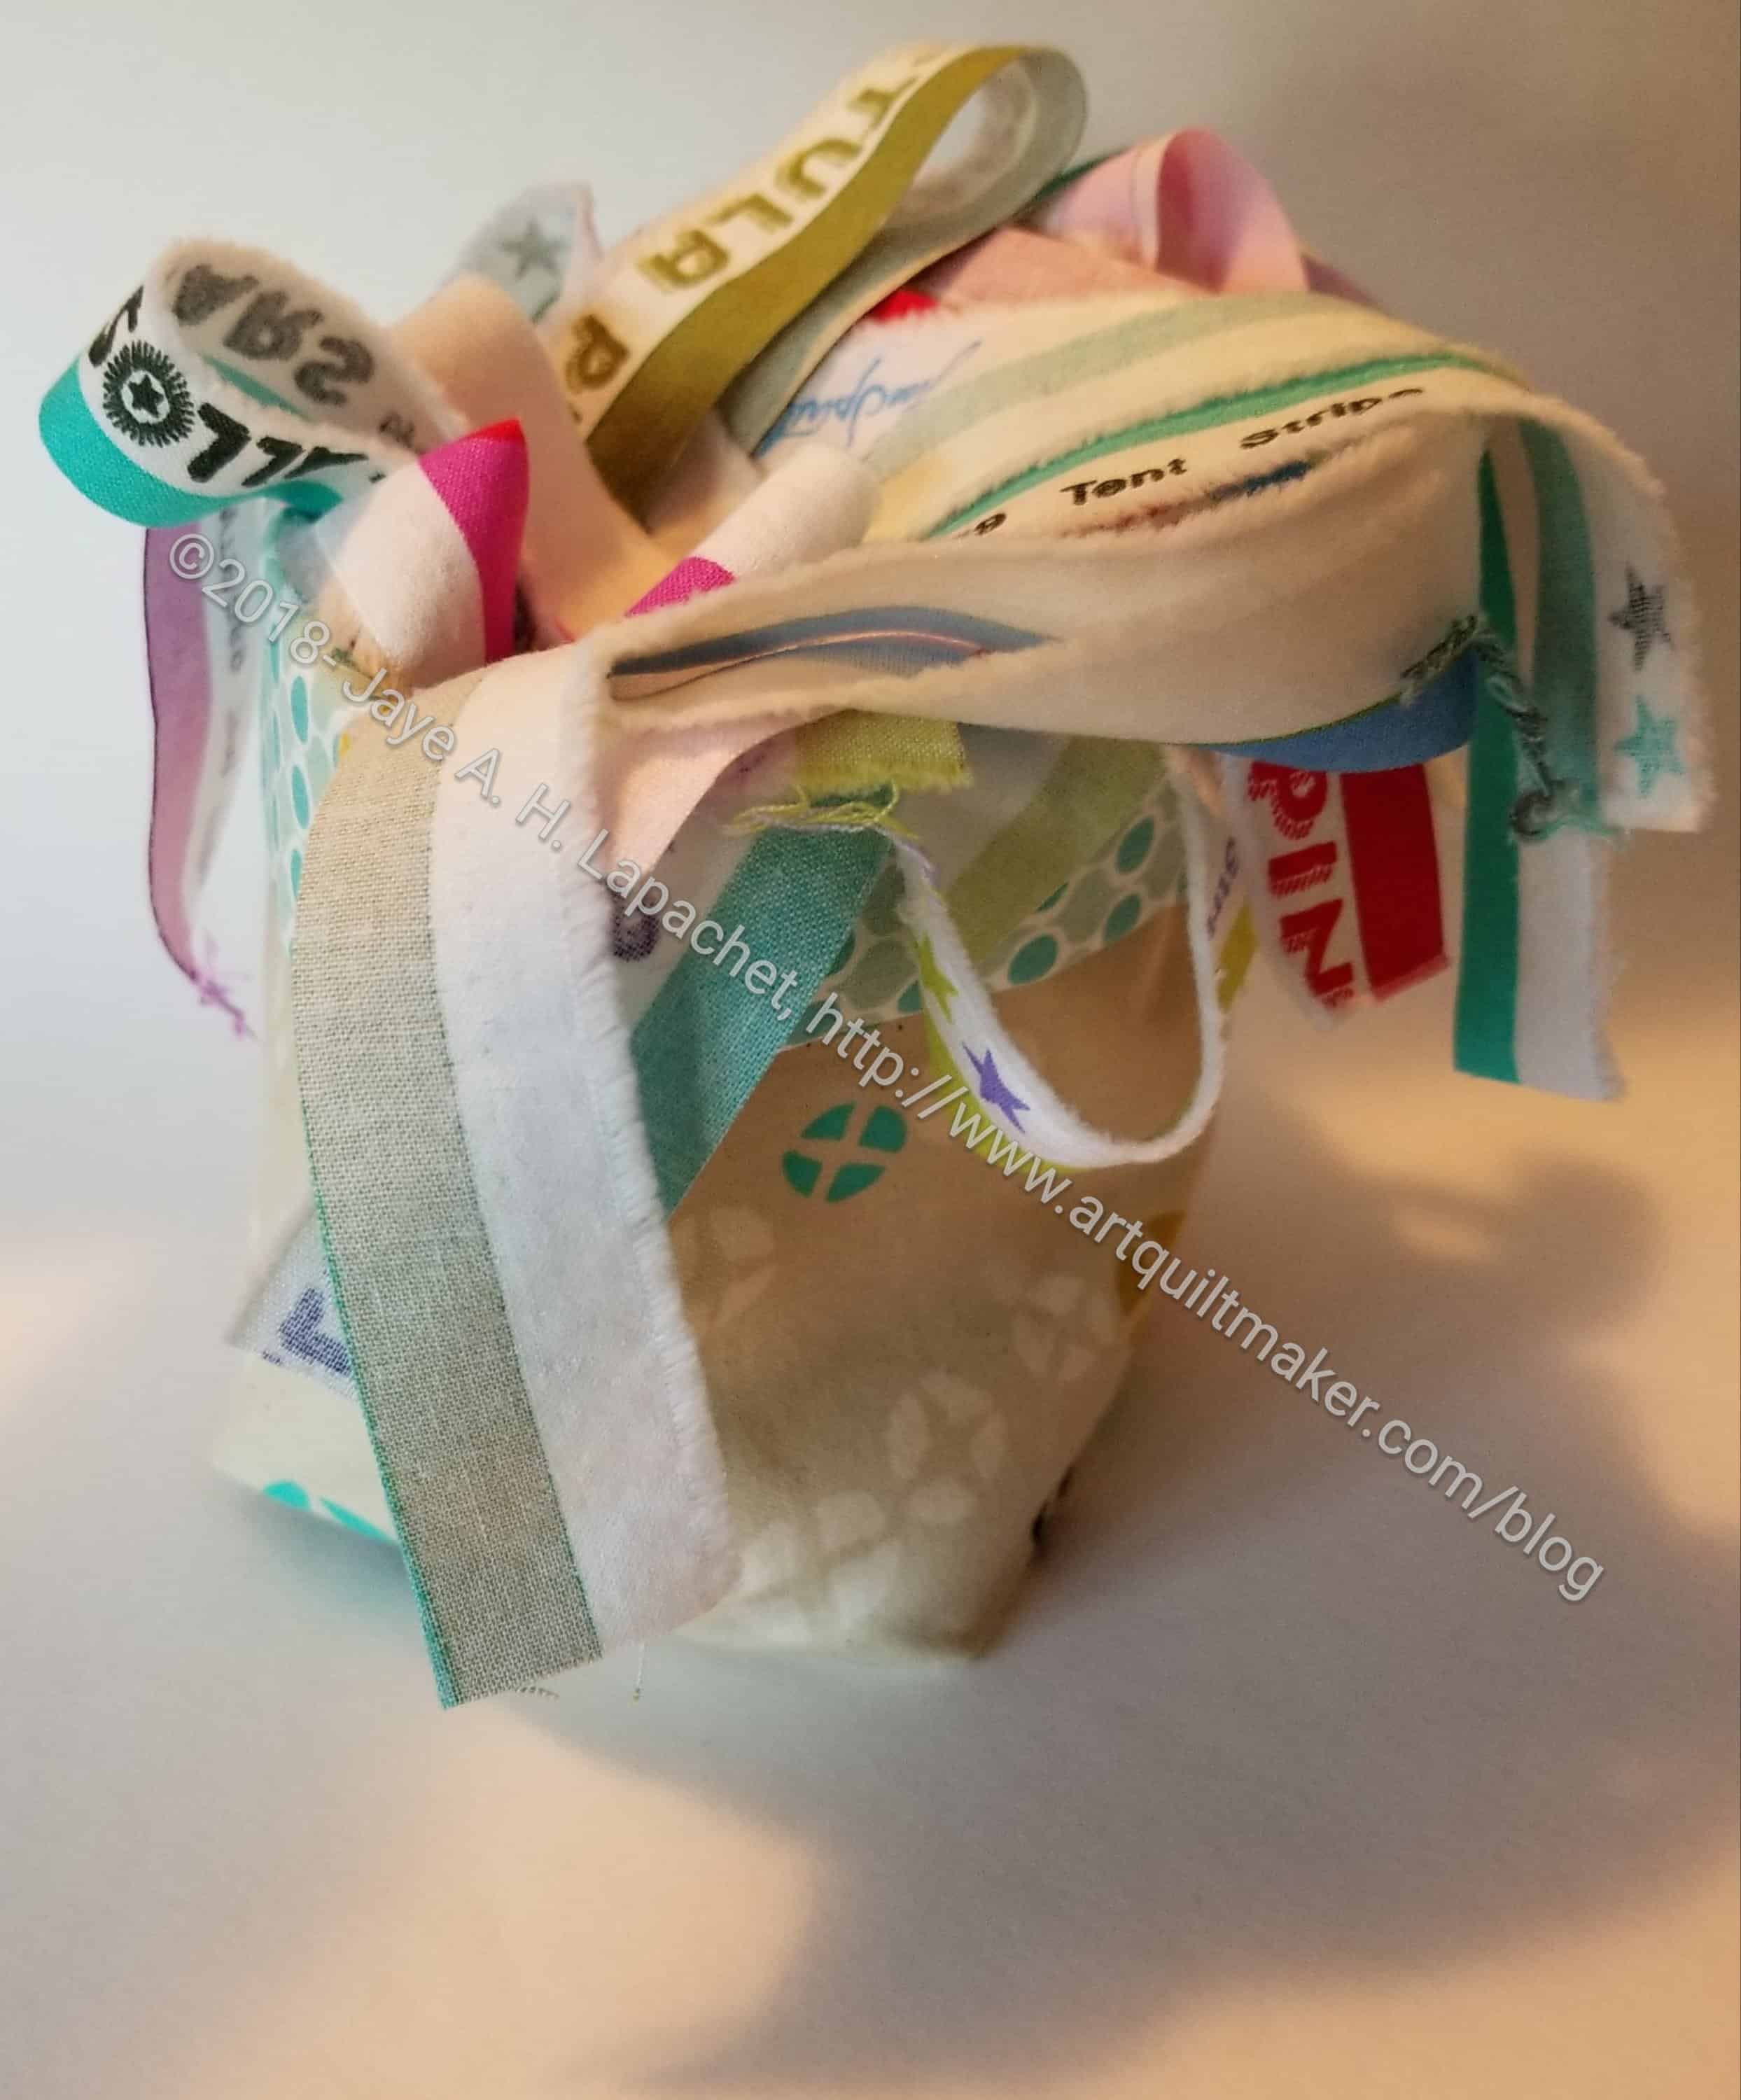
I didn’t want to just hand over 3 balls, so I looked for a bag to make in which they could be stored. Quickly, I remembered the drawstring bag by Jeni Baker of In Color Order. I found the tutorial, but after working through it a little I found some missing information. After some investigation I was forwarded to another version of the tutorial. In fairness, Baker sells a pattern for this drawstring bag with several size variations. I believe I bought it at one point, but wasn’t able to put my hands on the pattern quickly. The size (approx 10.5″ x 8.5″) in the tutorial was fine for my purposes. Perhaps a little big, but fine.

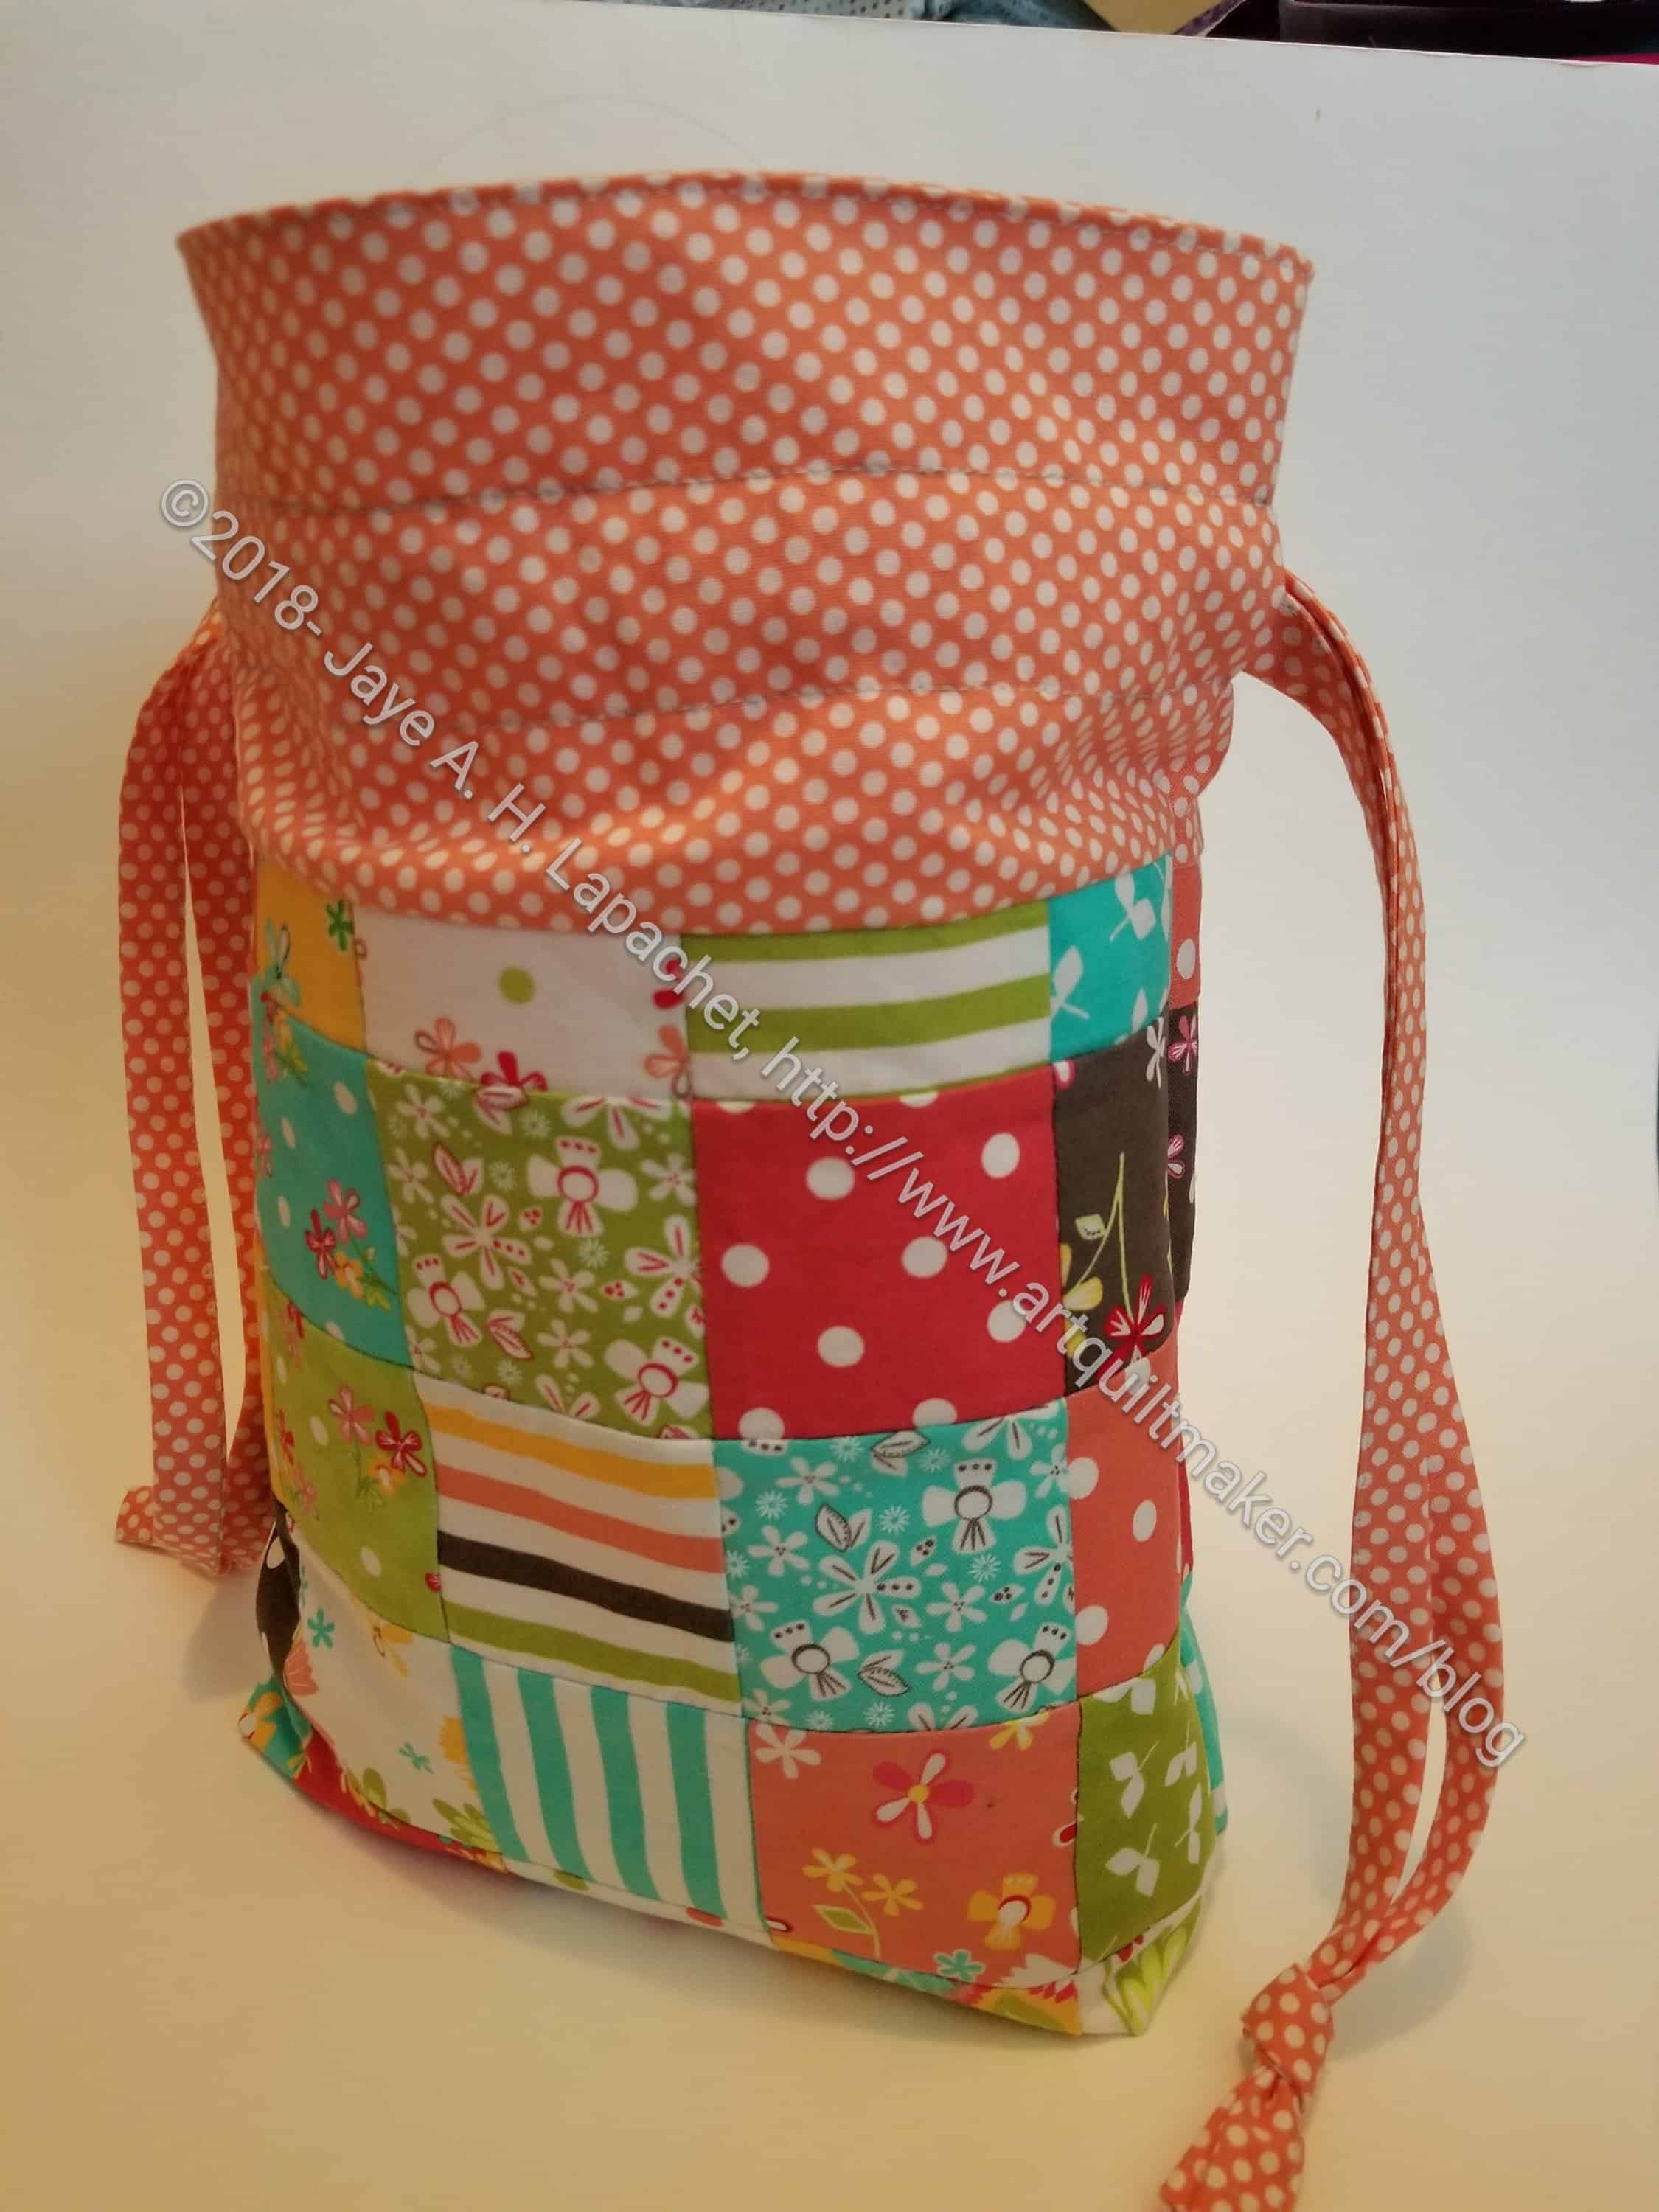
Juggling Balls drawstring bag-3/4 view

I had a bunch of the mini-charm packs of Prairie by Moda, which is what I used to make the juggling balls. I used more of them to make the bag with a Barbara Jones peach dot print for the accent and the lining. I am not sure I would make patchwork again for the bag, though if I had some orphan blocks I might use them. It would be quicker and more elegant to use two or three fabrics. Still, what I made is kind of cheerful.

Gift Post #8: Pillowcases

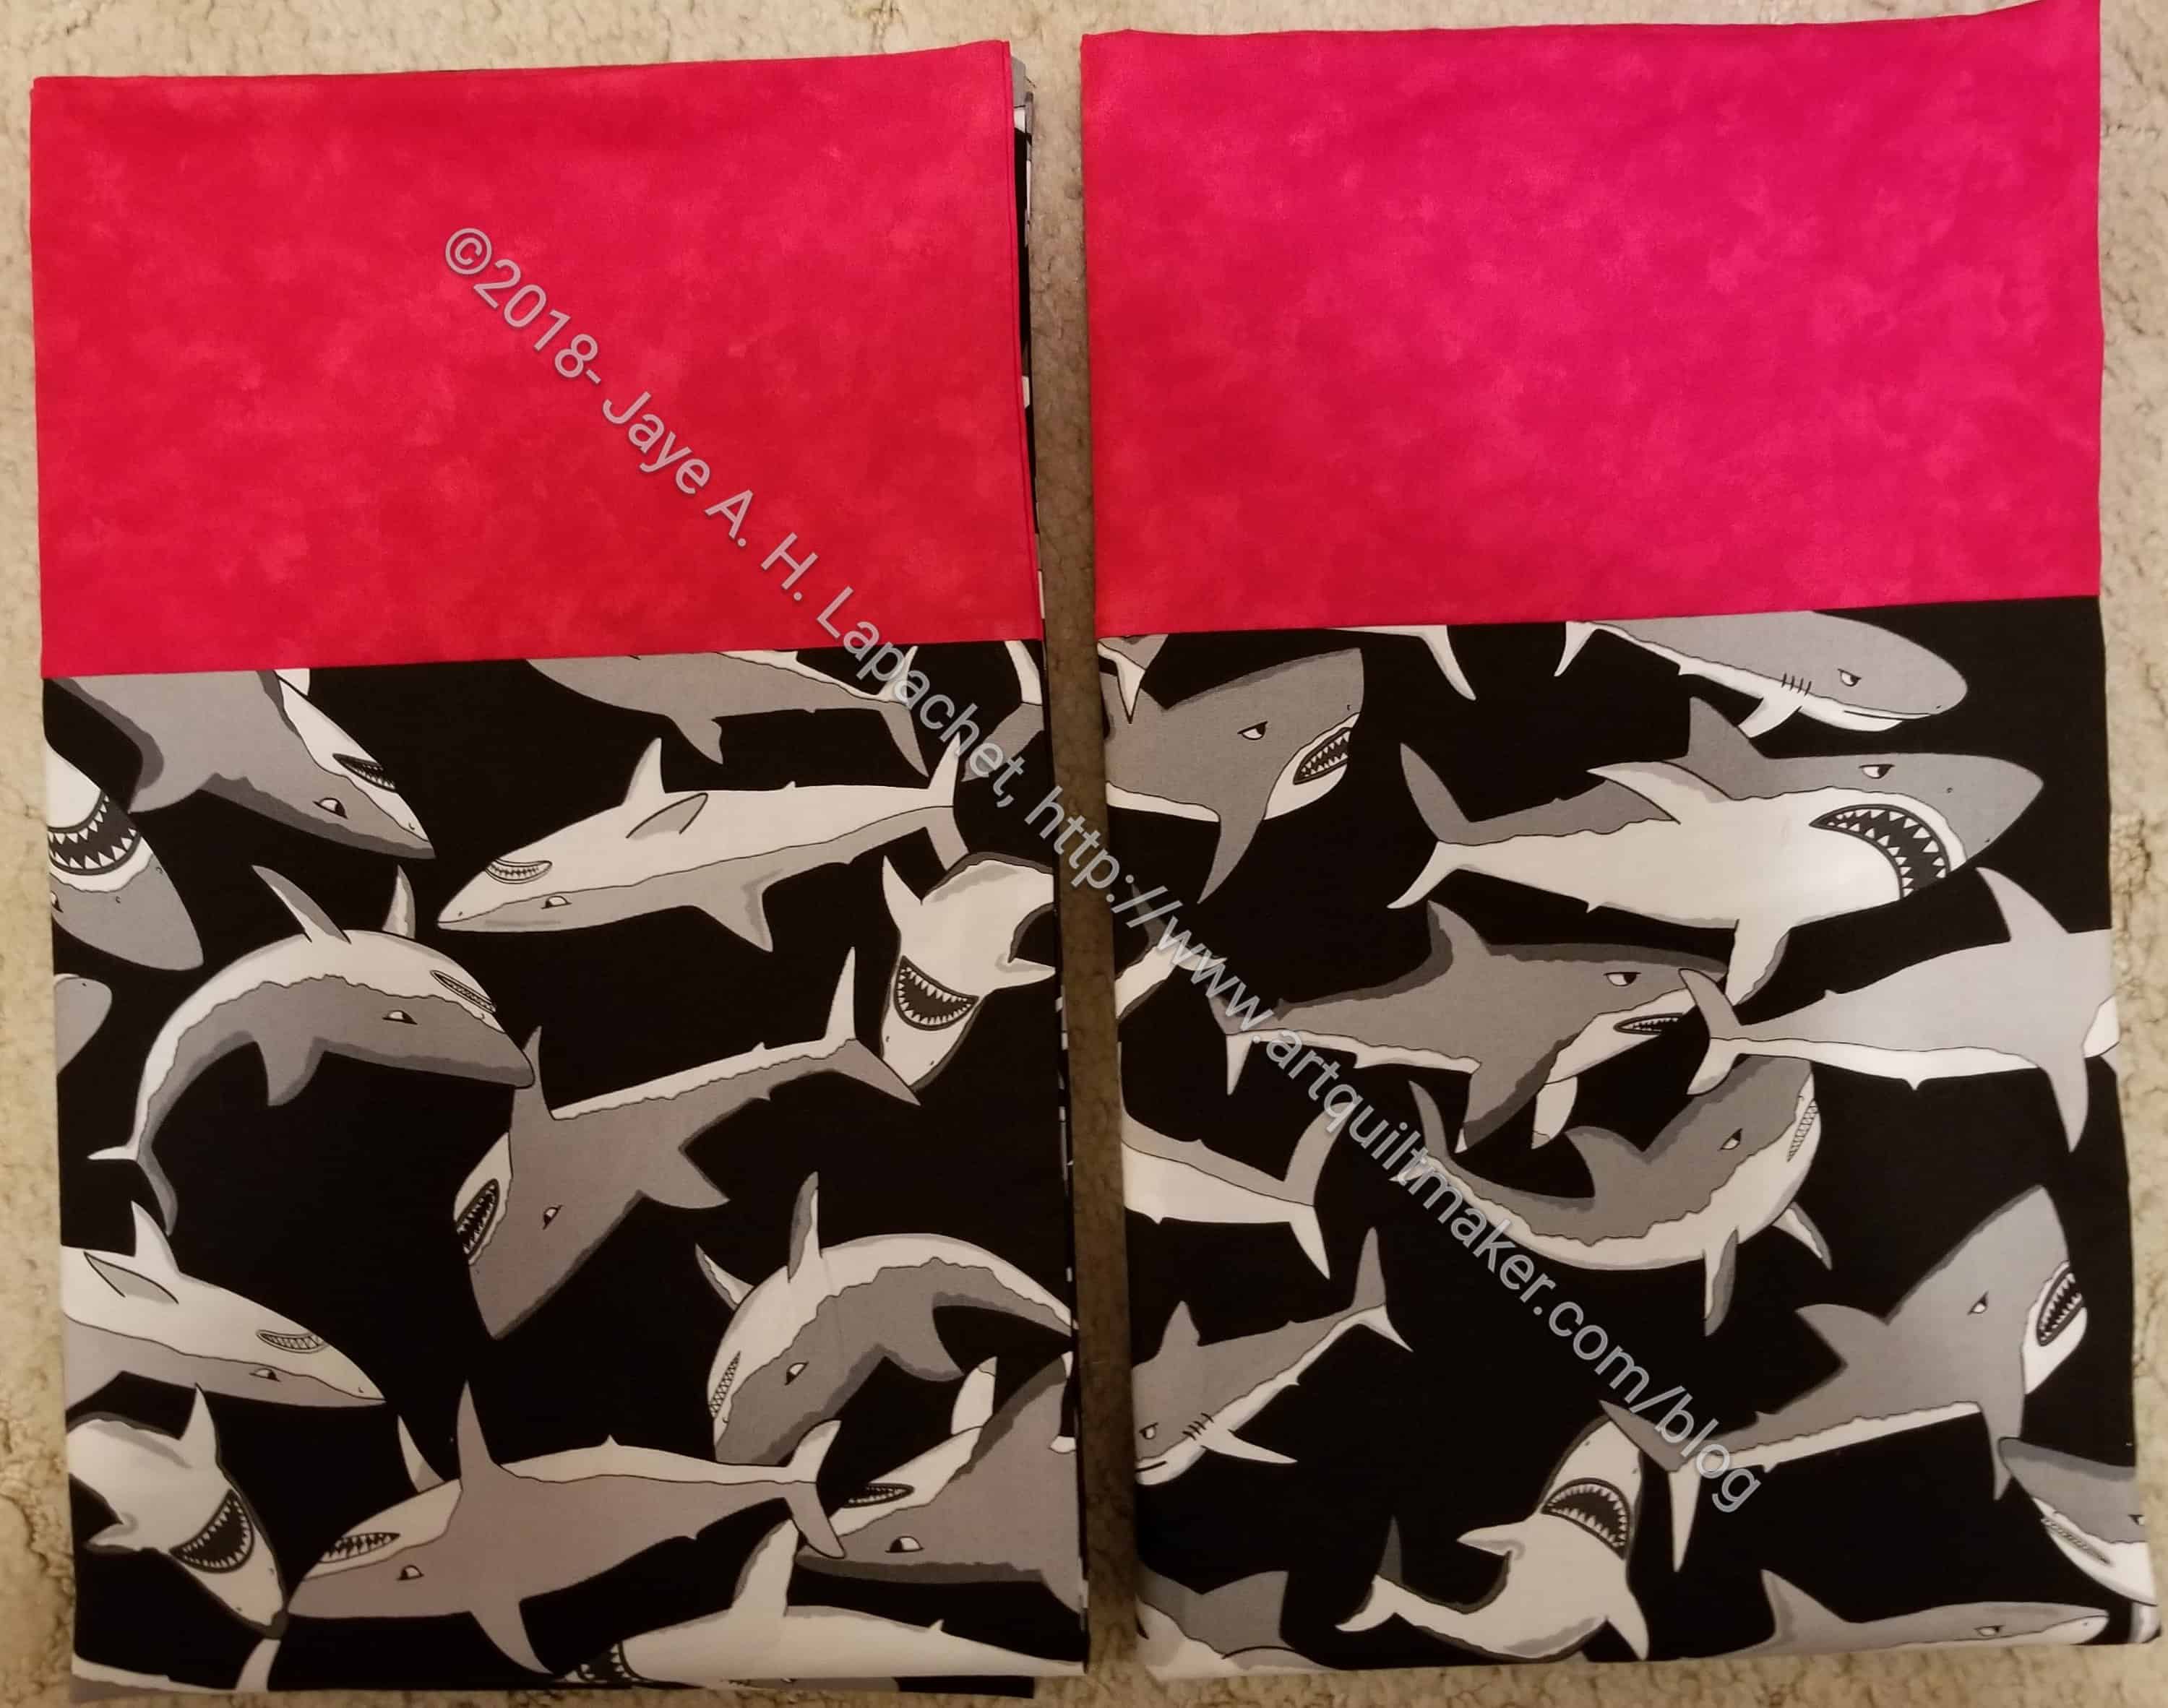
Shark Pillowcases
Shark Pillowcases

I started out making these for the YM. Then I decided that I would give them to my cousin (he is a few years older than the YM and more like a nephew) instead. I don’t usually get an acknowledgement of gifts I send, so I have no idea whether or not he liked them. *I* like them and that is what is important to me.

I put the cuff on the wrong way on one of the pillowcases. I had no idea there was a right way and a wrong way on that shark fabric, so he probably won’t notice.

The Friday Creativity posts will return soon.

Gift Post #7, Apron n.5

Dee's Apron - Christmas 2018
Dee’s Apron – Christmas 2018

This is the last apron I made from the marathon of cutting I did at Sew Day way back in August.

It took me time to make them all, but repetition is good for projects like this.

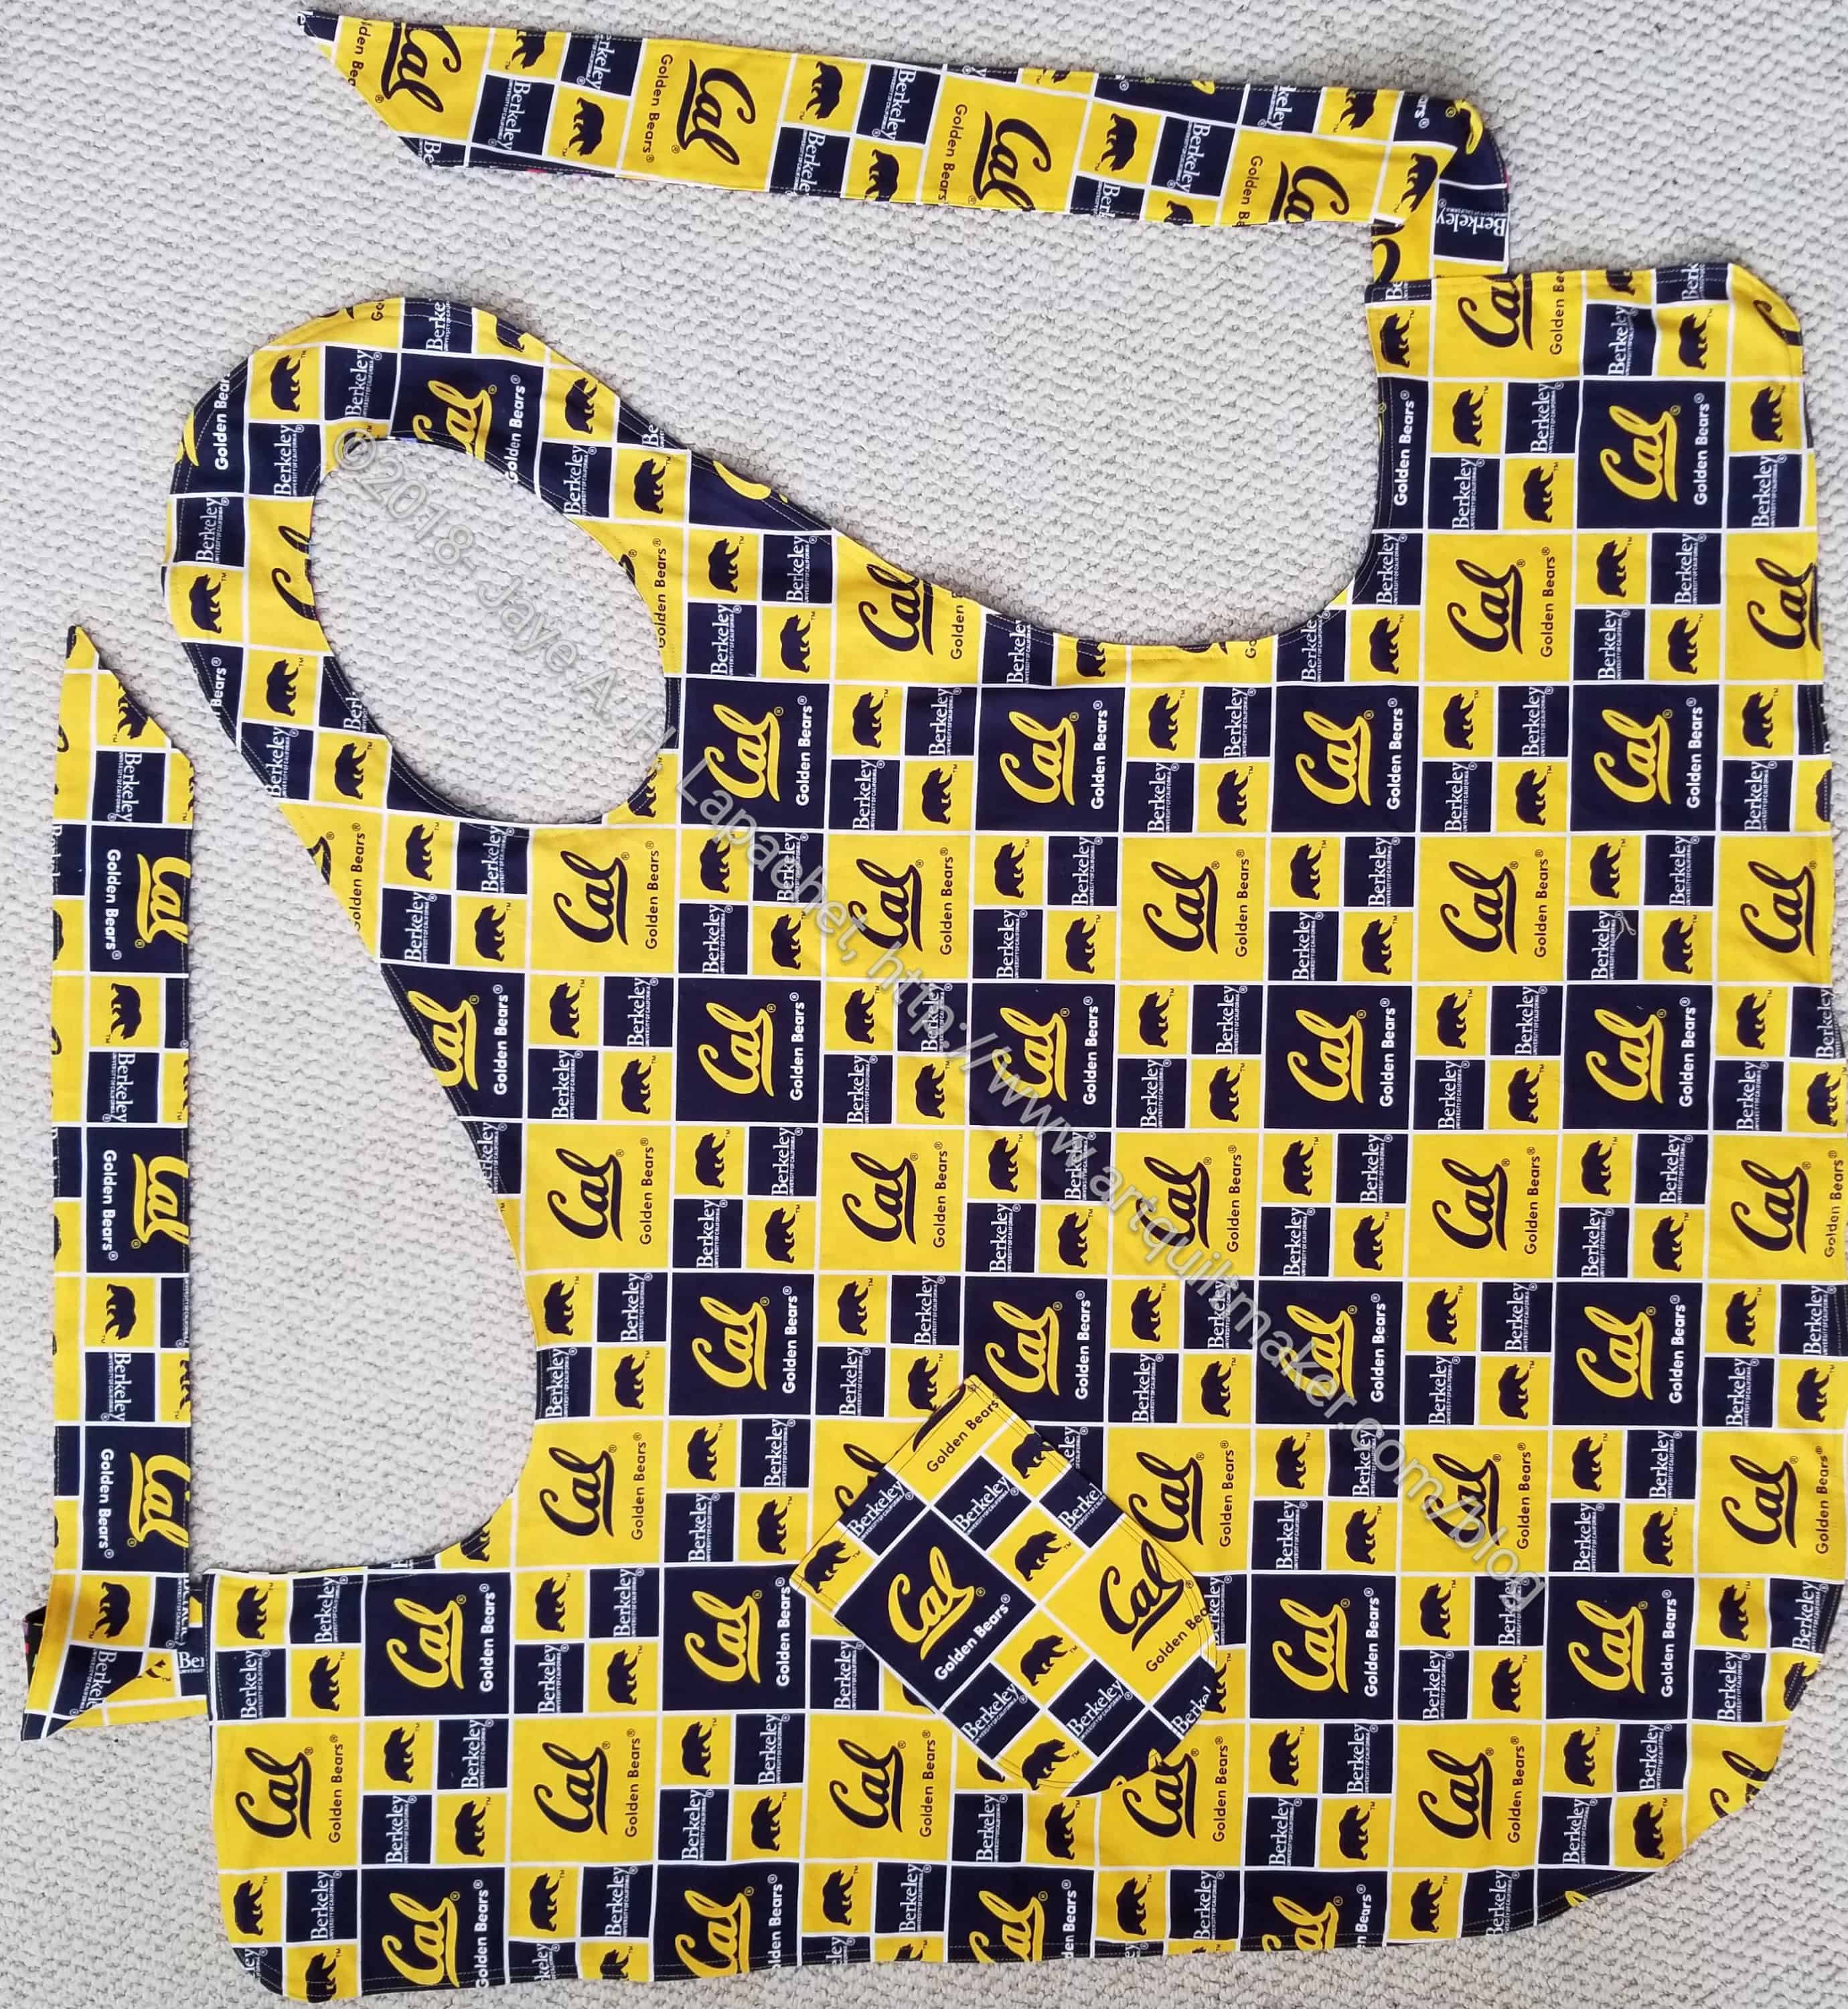
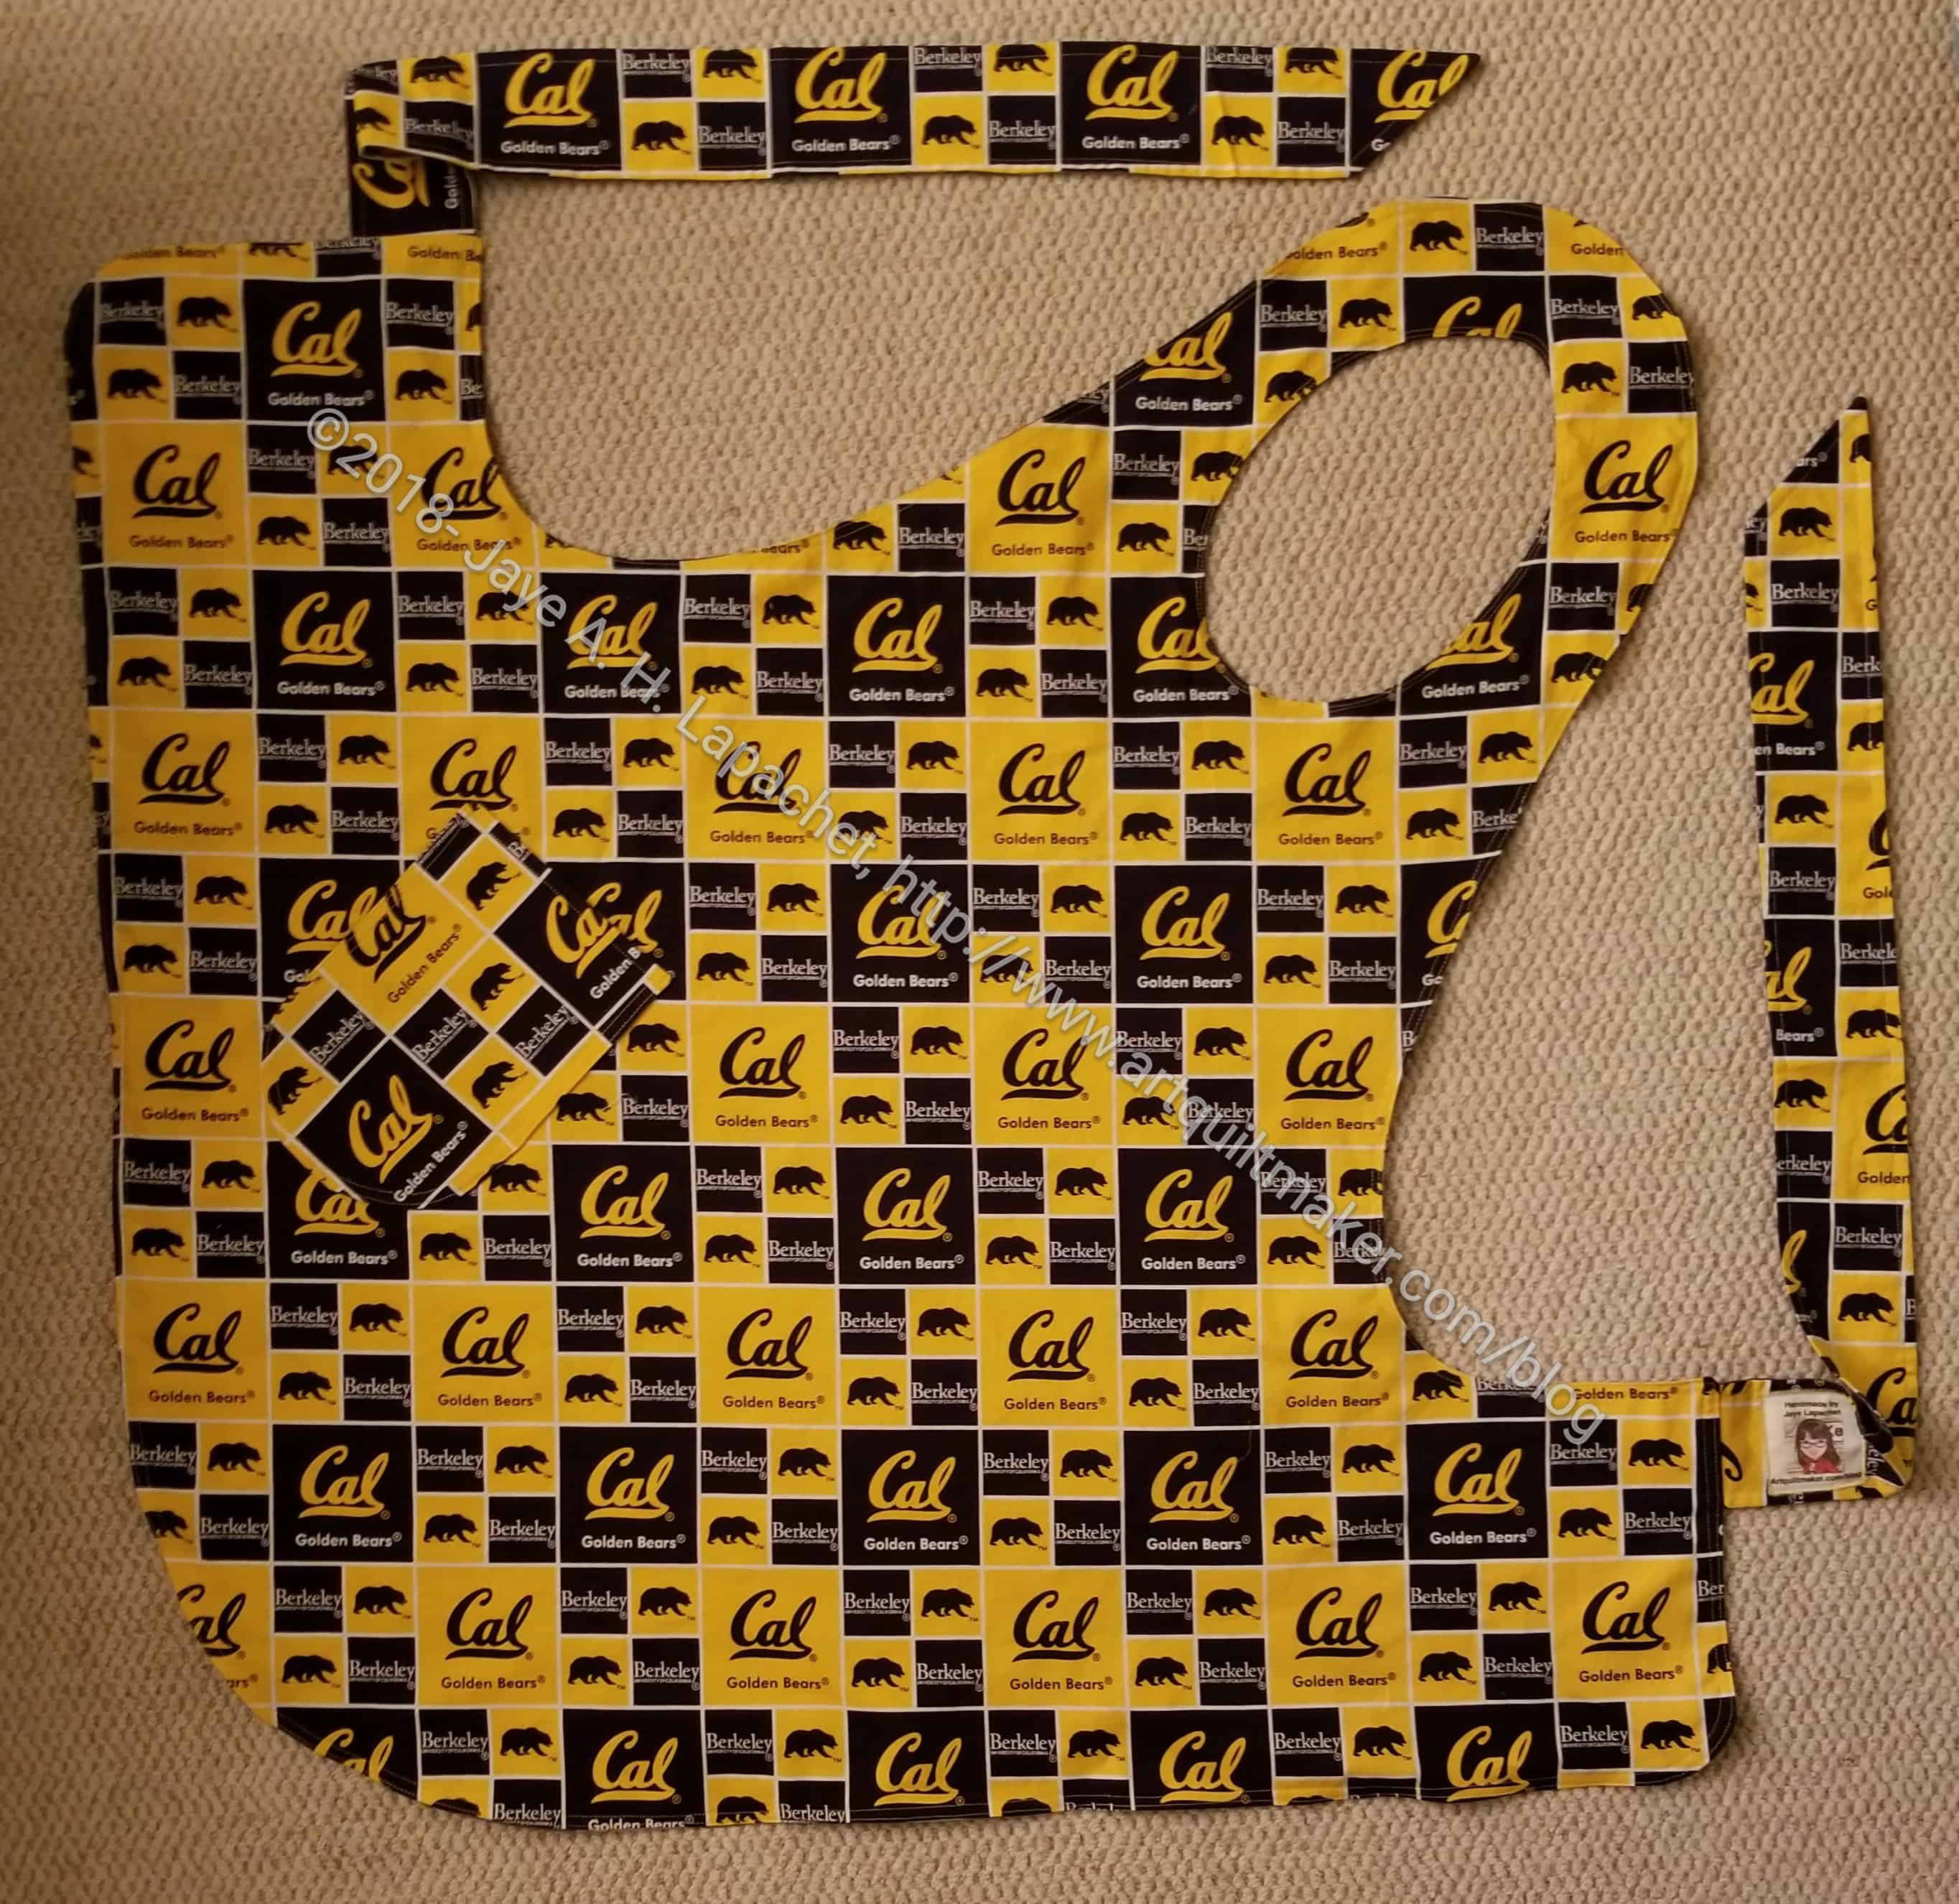
SIL #1 is also a Cal fan and a Cal graduate who attends football games regularly. She got the last of my Cal fabric.

Dee's Apron, front - Christmas 2018
Dee’s Apron, front – Christmas 2018

I learned that the pattern prevents the maker from laying out directional fabric in a certain orientation, but I am ok with the logo being on the diagonal when it is worn.

The front looks good and I hope it won’t show the dirt.

Gift Post #6: Apron n.4

May's Apron - Christmas 2018
May’s Apron – Christmas 2018

I was pleased to finish the last apron well in advance of Christmas. I didn’t work on any of them in a particular order. I picked one up and went to work finishing it and they were all done in time for Christmas.

May's Apron, reverse - Christmas 2018
May’s Apron, reverse – Christmas 2018

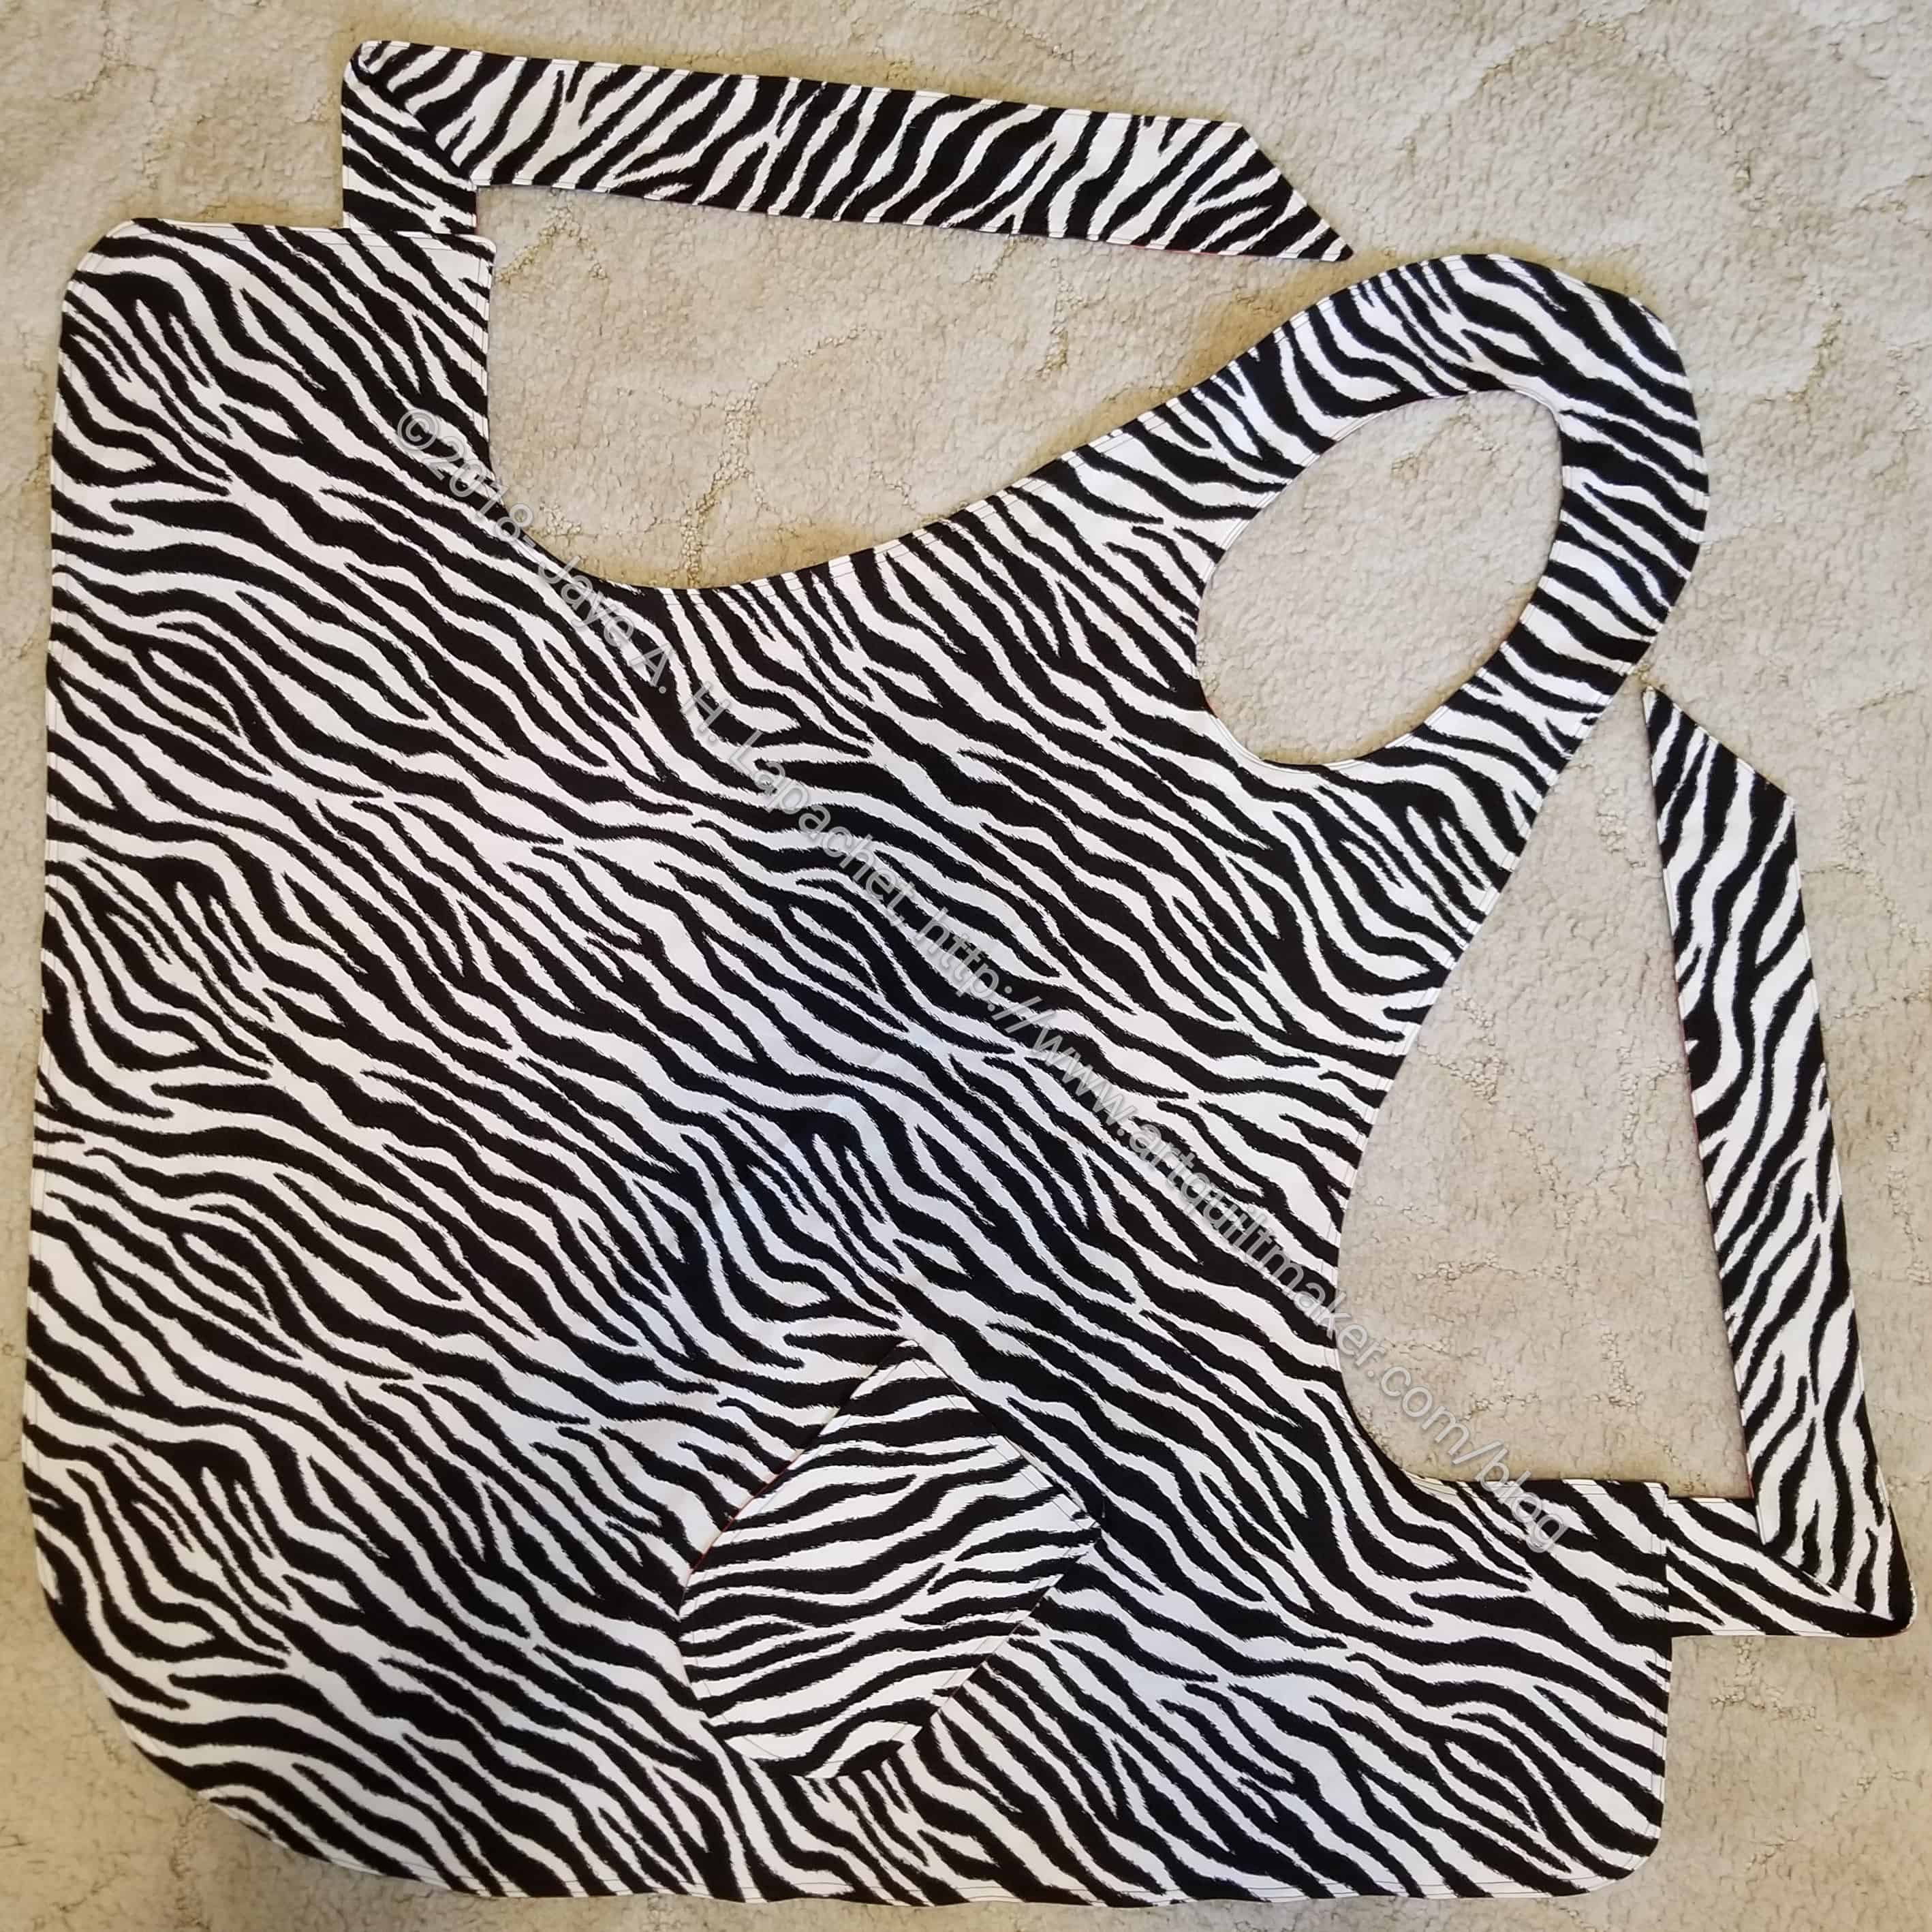
The flowers on this one are really vibrant and I hope SIL #3 likes it. The reverse side is more her style.

Gift Post #5: Apron n.3

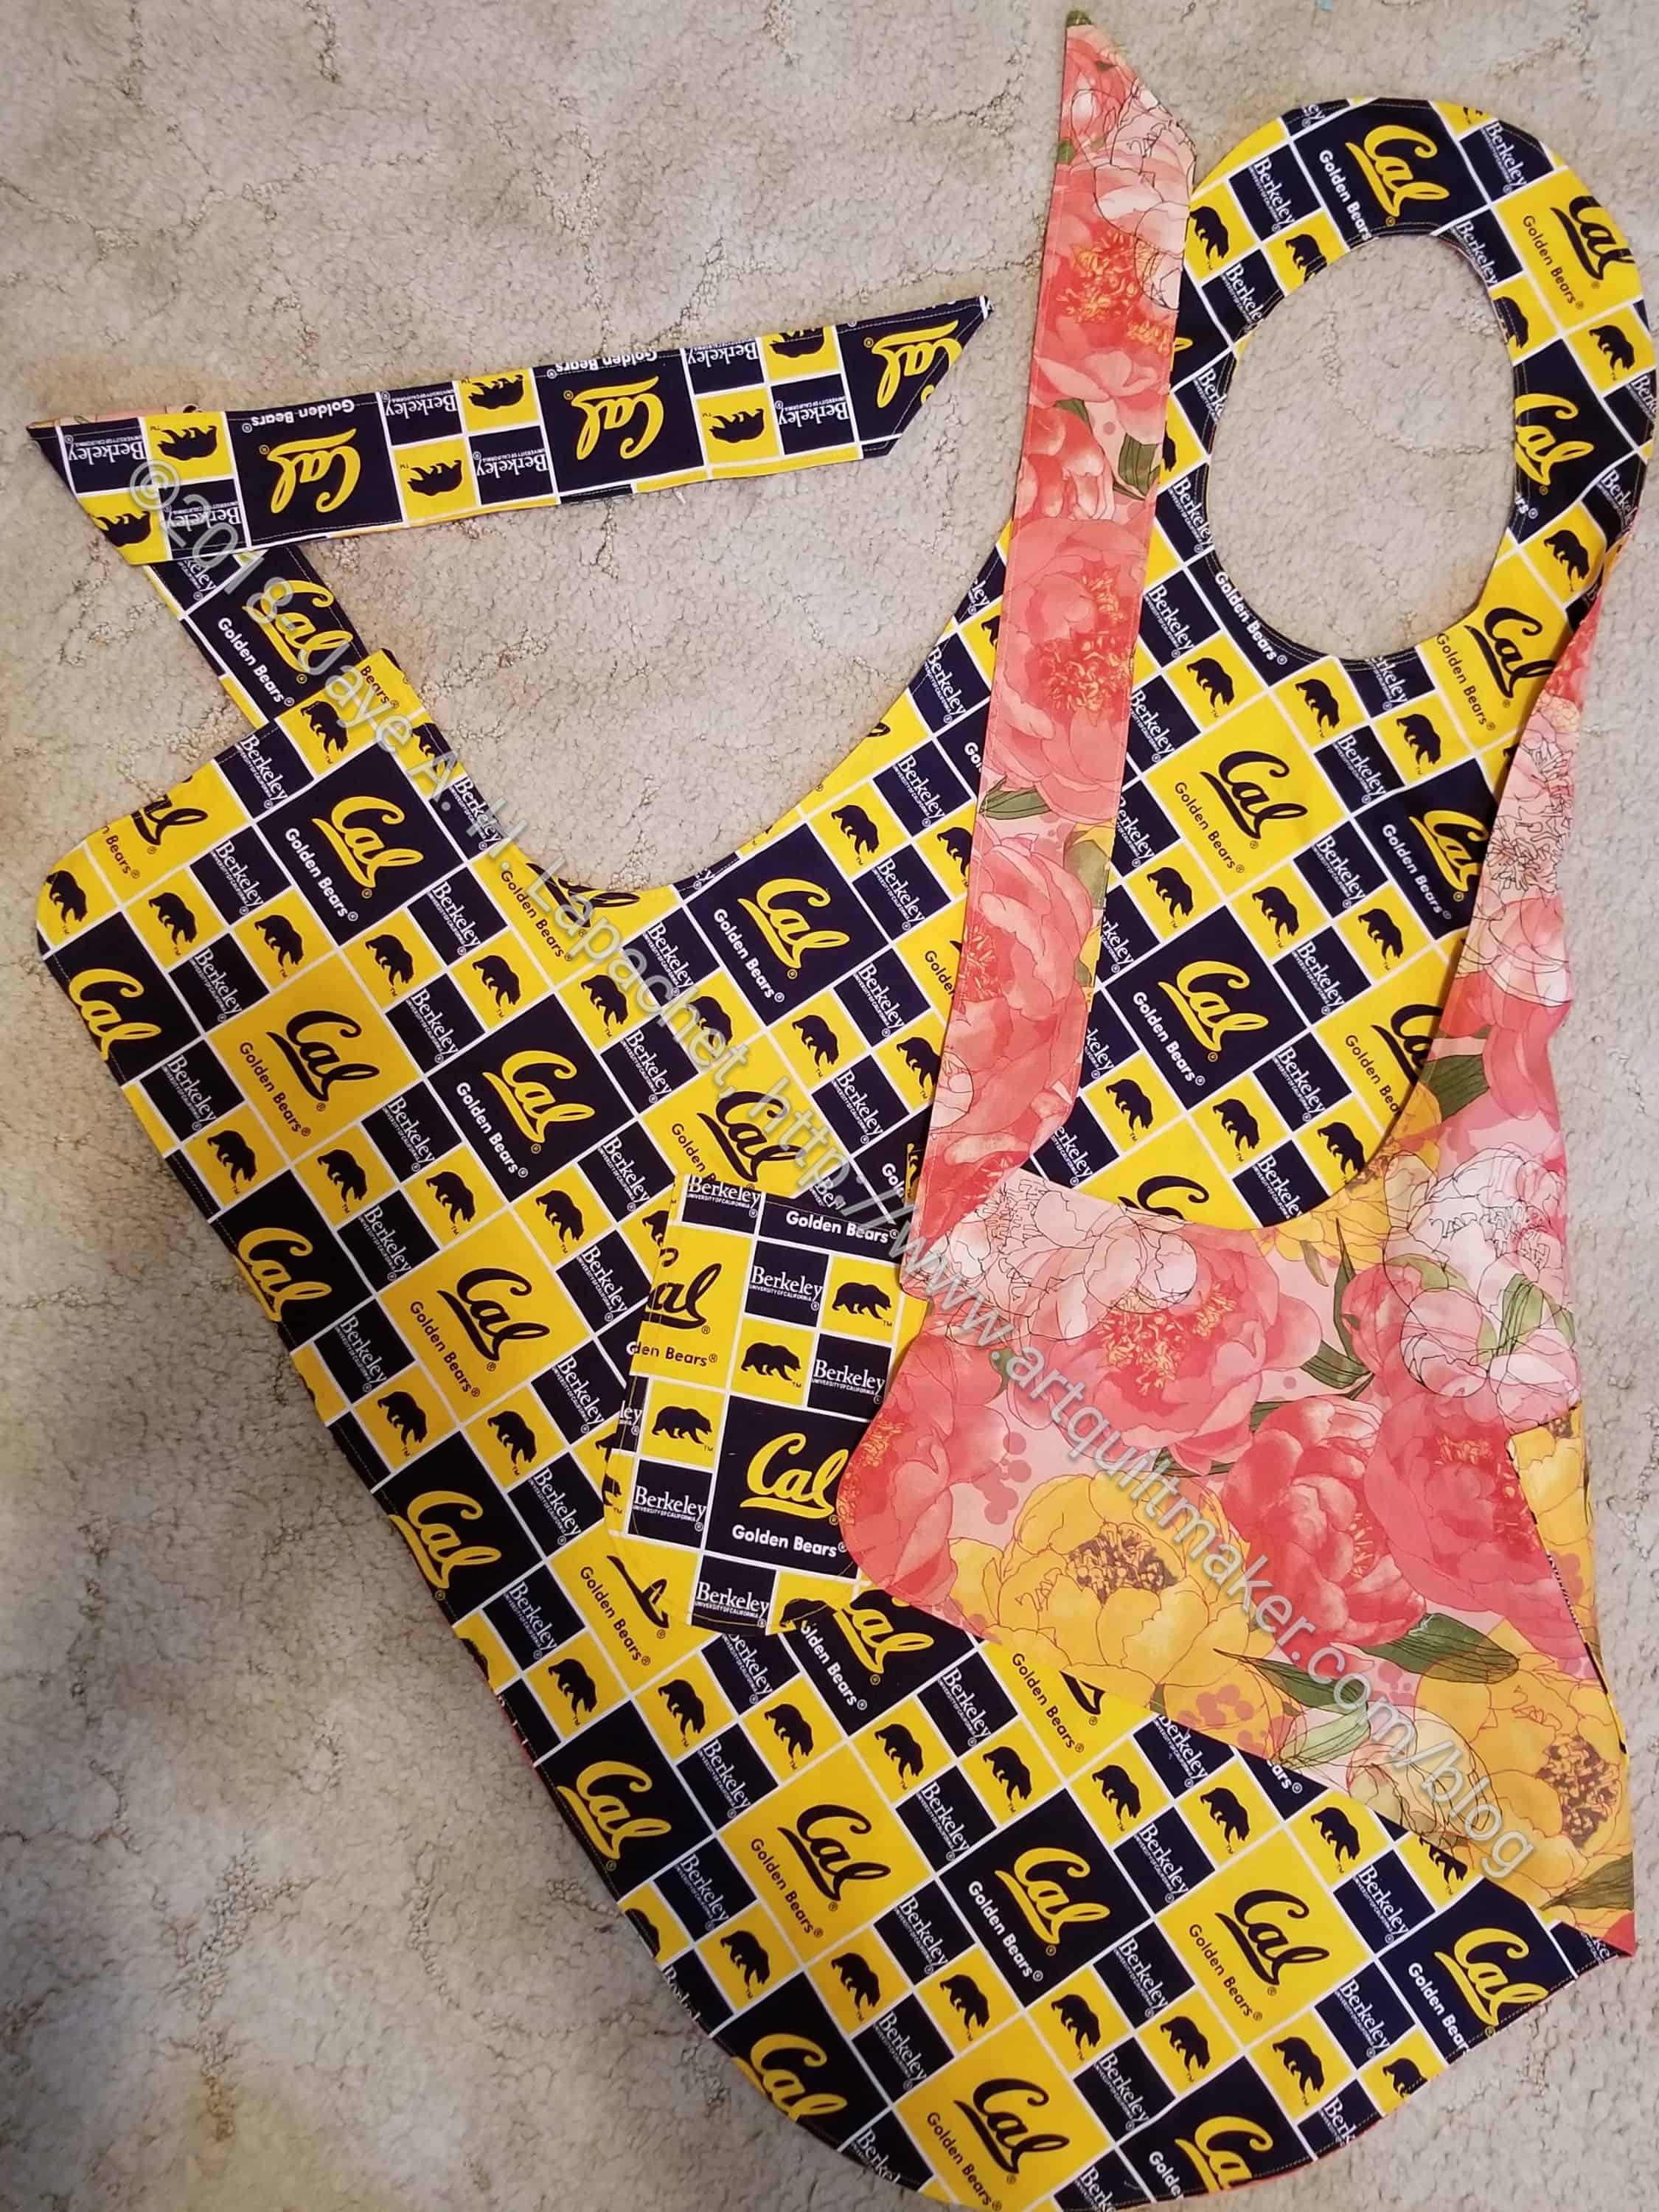
Beth's apron - urban chic
Beth’s apron – urban chic

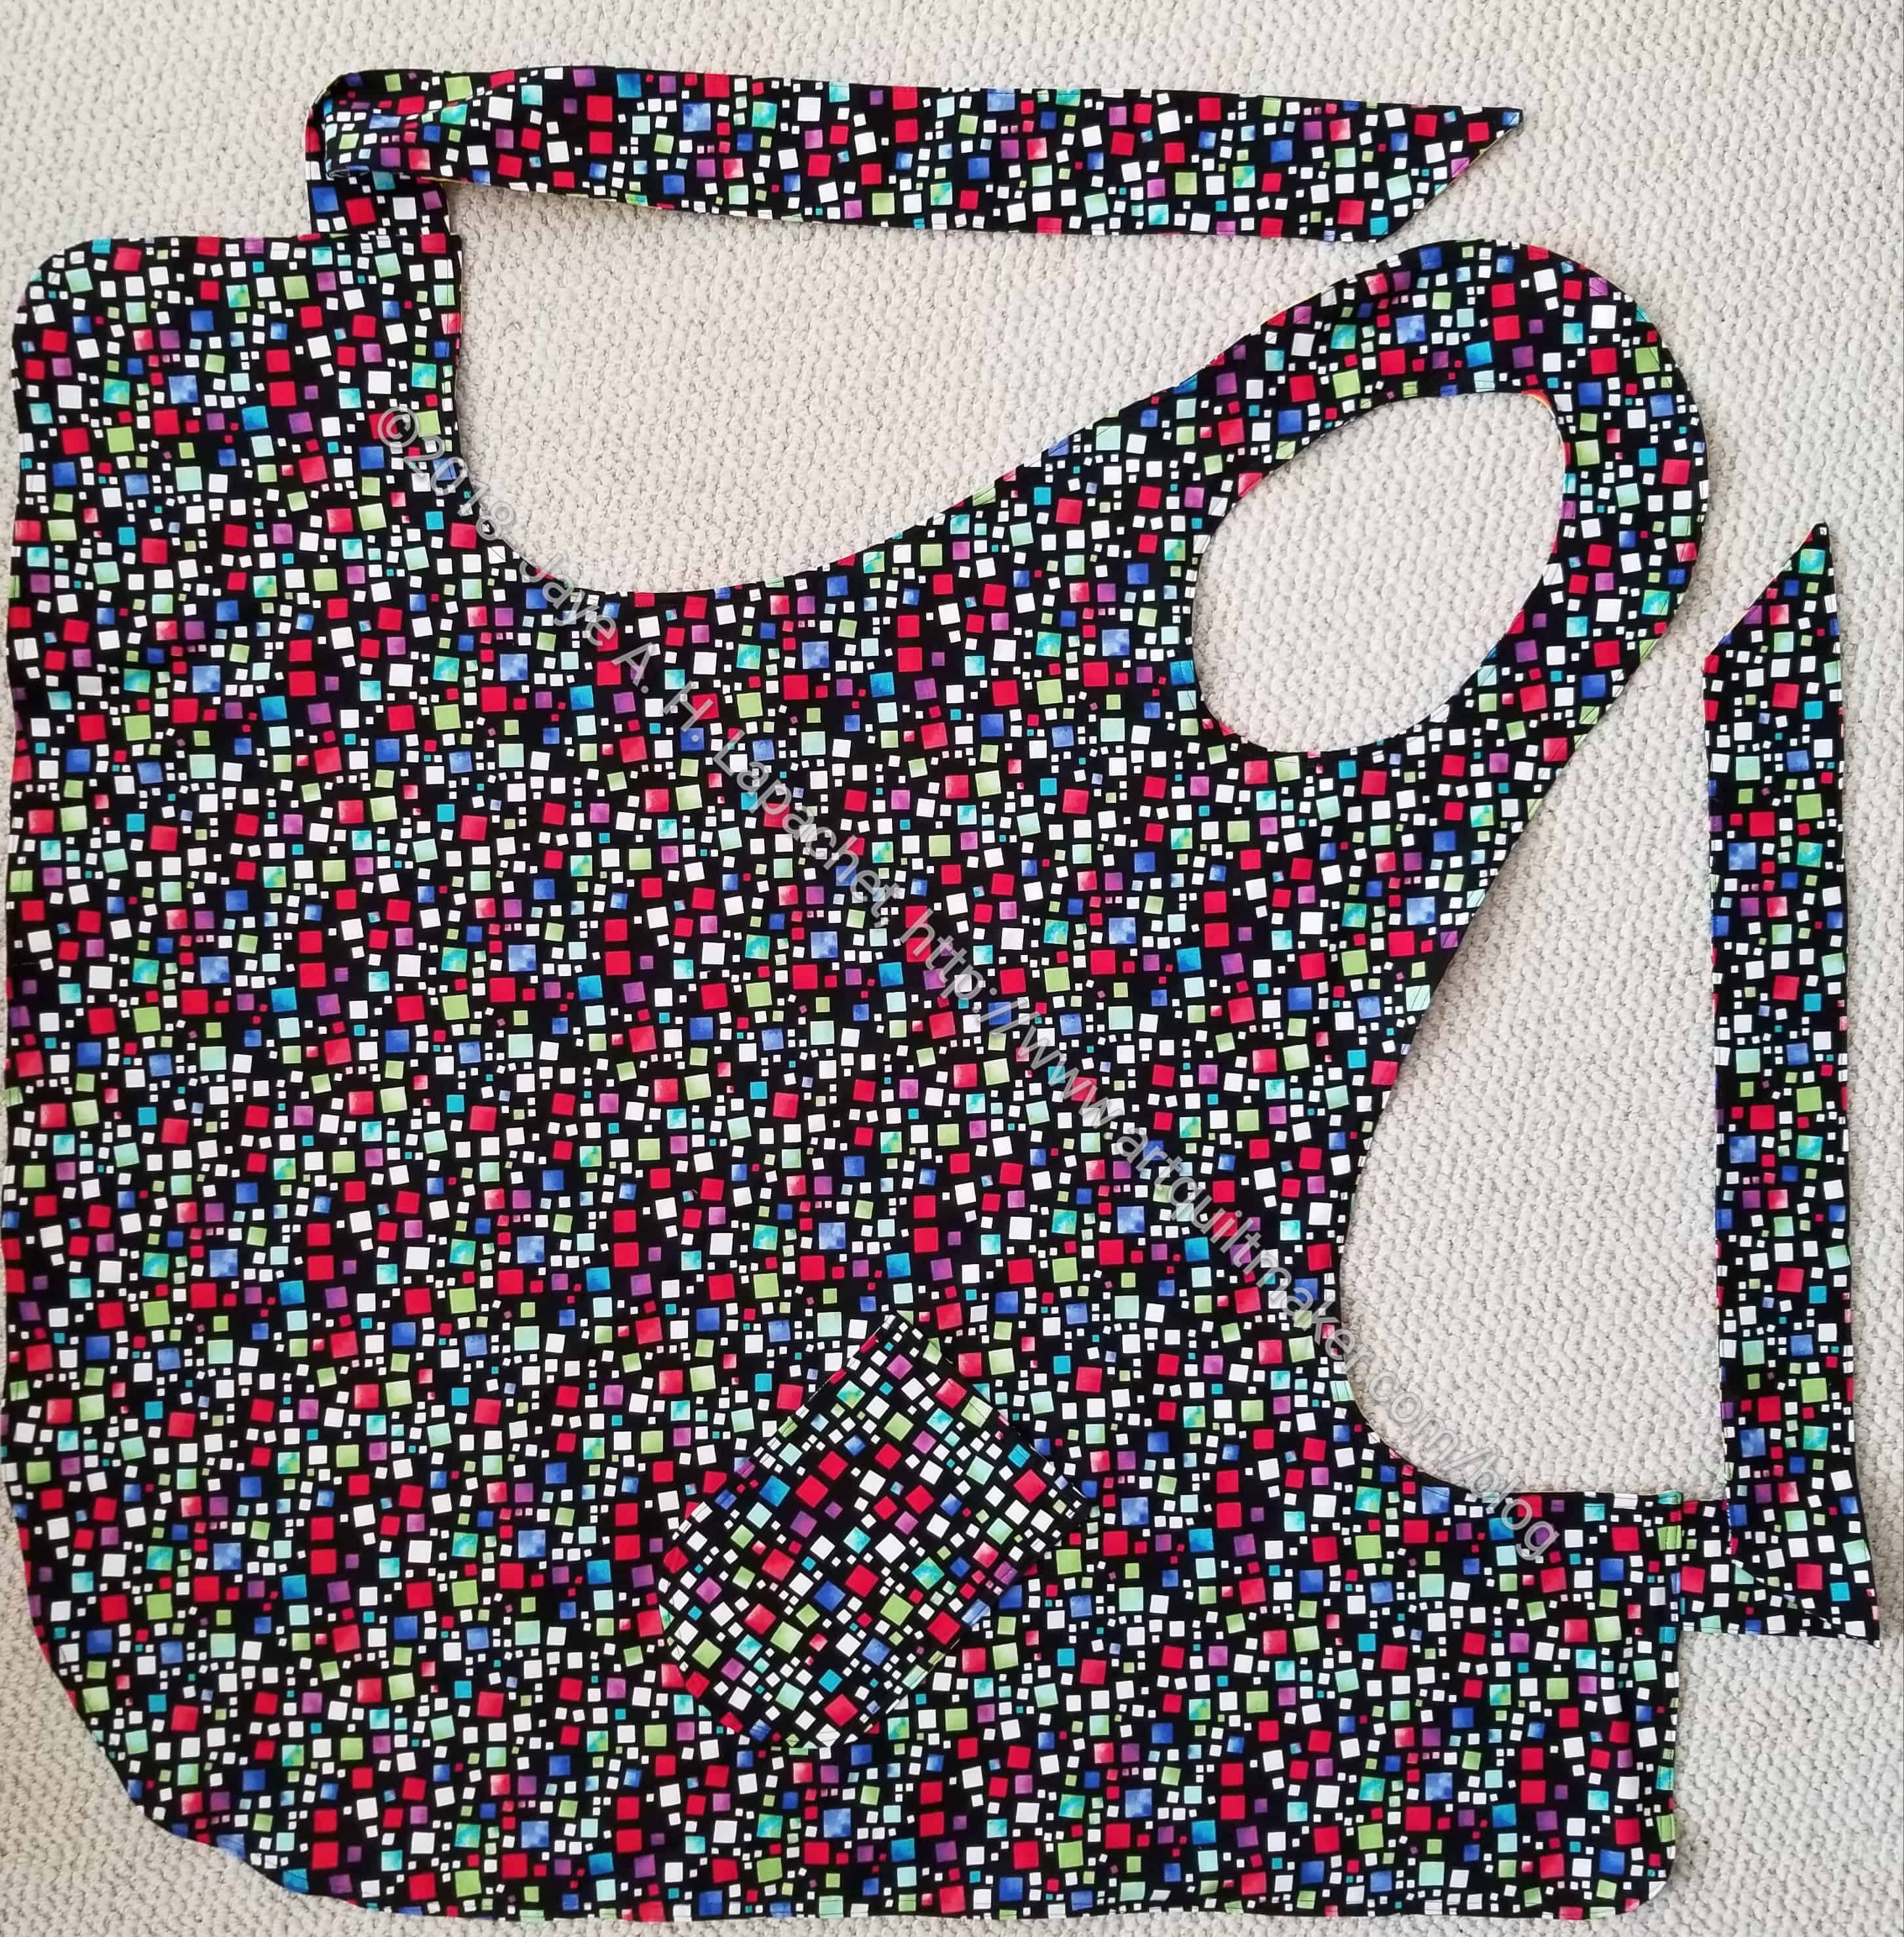
This is the urban chic + Football crazy version of the Flapper Apron. It is for DH’s youngest sister and I know she will love the Cal side. The urban chic side was hard to choose, so I picked something that I liked and thought had a good chance of being on target. I bought the Marsha Derst fabric in Portland at Pioneer Quilts.

I am not sure which side will be the front. I wear an apron often when I am working in the kitchen and I tend to always wear the same side as the outside.

Beth's apron - Cal side
Beth’s apron – Cal side

I have to say that I was annoyed with this pattern when I first started finishing up this project, but as I finished them up, I started thinking of making two more – one for another friend and another for myself.

One thing about this pattern is challenges with directional fabric. I couldn’t make the fabric line up properly to be read horizontally while it was being worn. It can still be read, so I am not too worried, but it would have been nice. Perhaps the slightly off kilter nature of it will look edgy?

Gift Post #4: Apron n.2

Steph's Apron- front
Steph’s Apron- front

After Thanksgiving, I worked on the group of aprons I wanted to give to my SILs as gifts. Since some of my SILs read here, I couldn’t post until after Christmas. I was also working hard to get to a 100 yards used and each of these aprons is 2 yards.

I fumbled around quite a bit on the first one in this group.  I had already finished one a few months ago, which I posted about a few days ago. I finally got the hang of the process, put all the small pieces together and was, eventually, able to zoom along.

Steph's Apron- back
Steph’s Apron- back

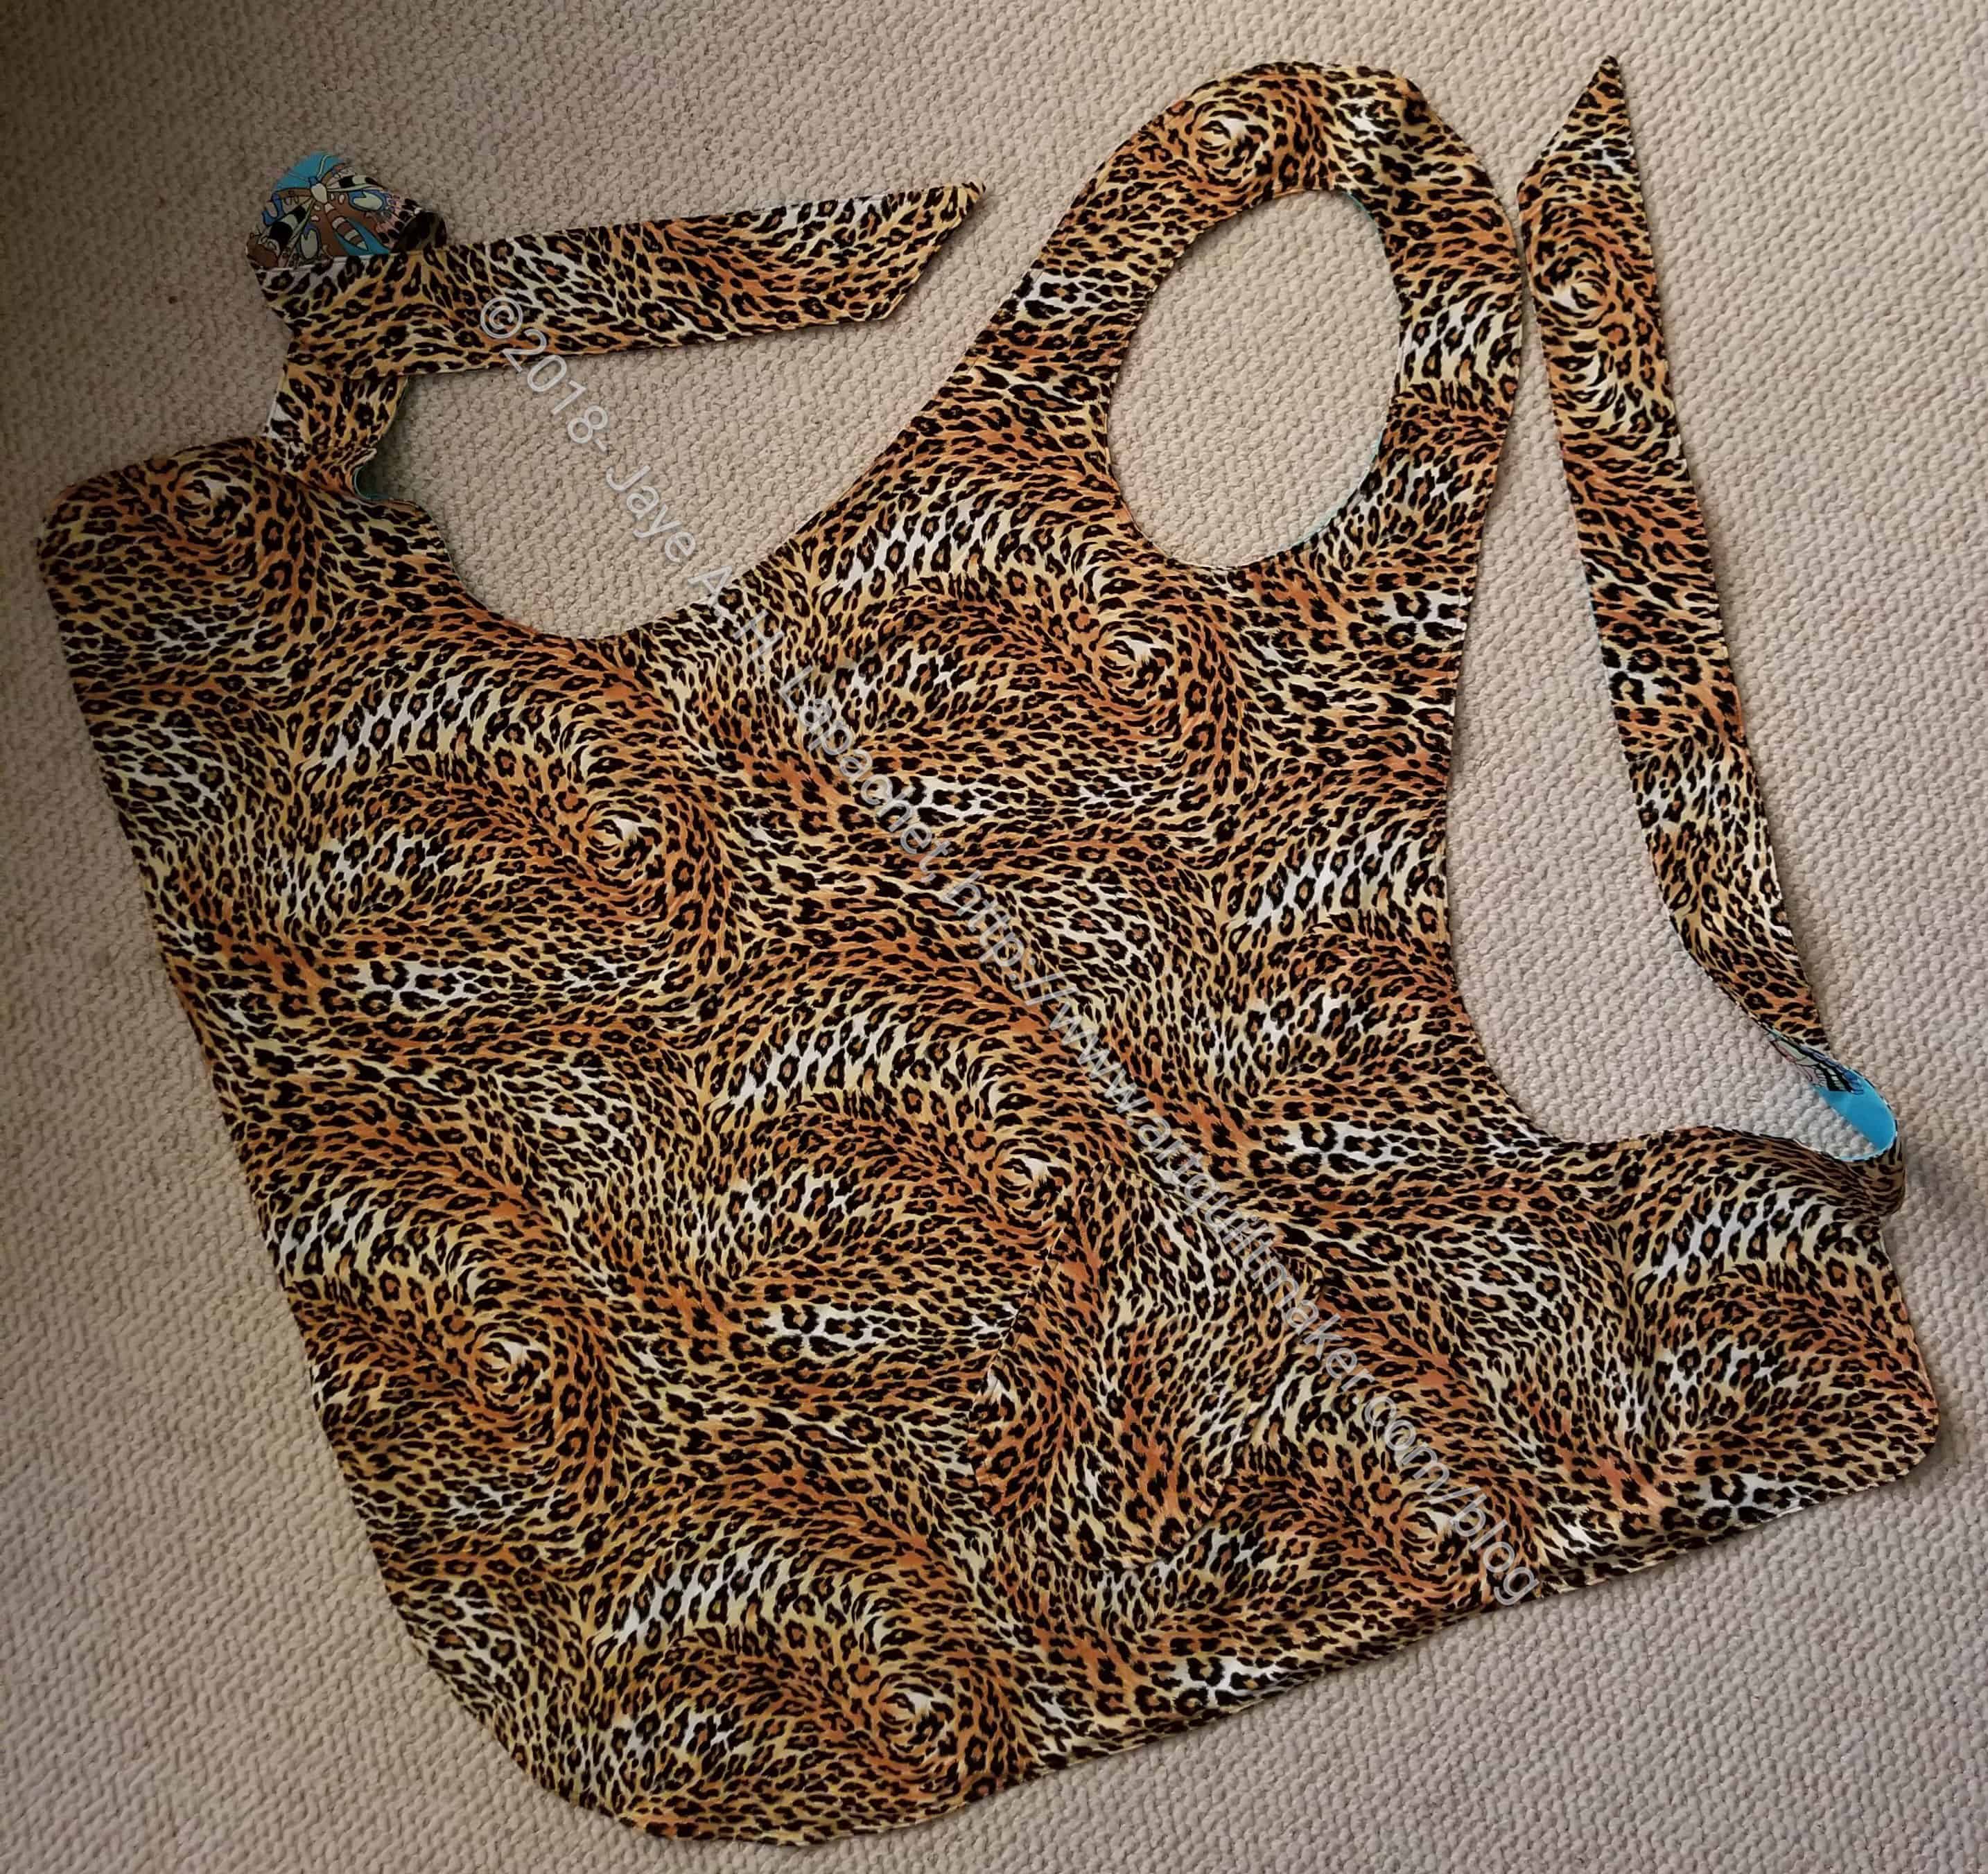
The pattern says “finish the neck as desired,” which is about as useful as ‘quilt as desired’ in quilt patterns. I ended up folding the neck by hand and trying to match both sides so the other side wouldn’t peek through. I decided to double top stitch around the neck and the outside to make sure the raw edges, even inside, were sewed down.

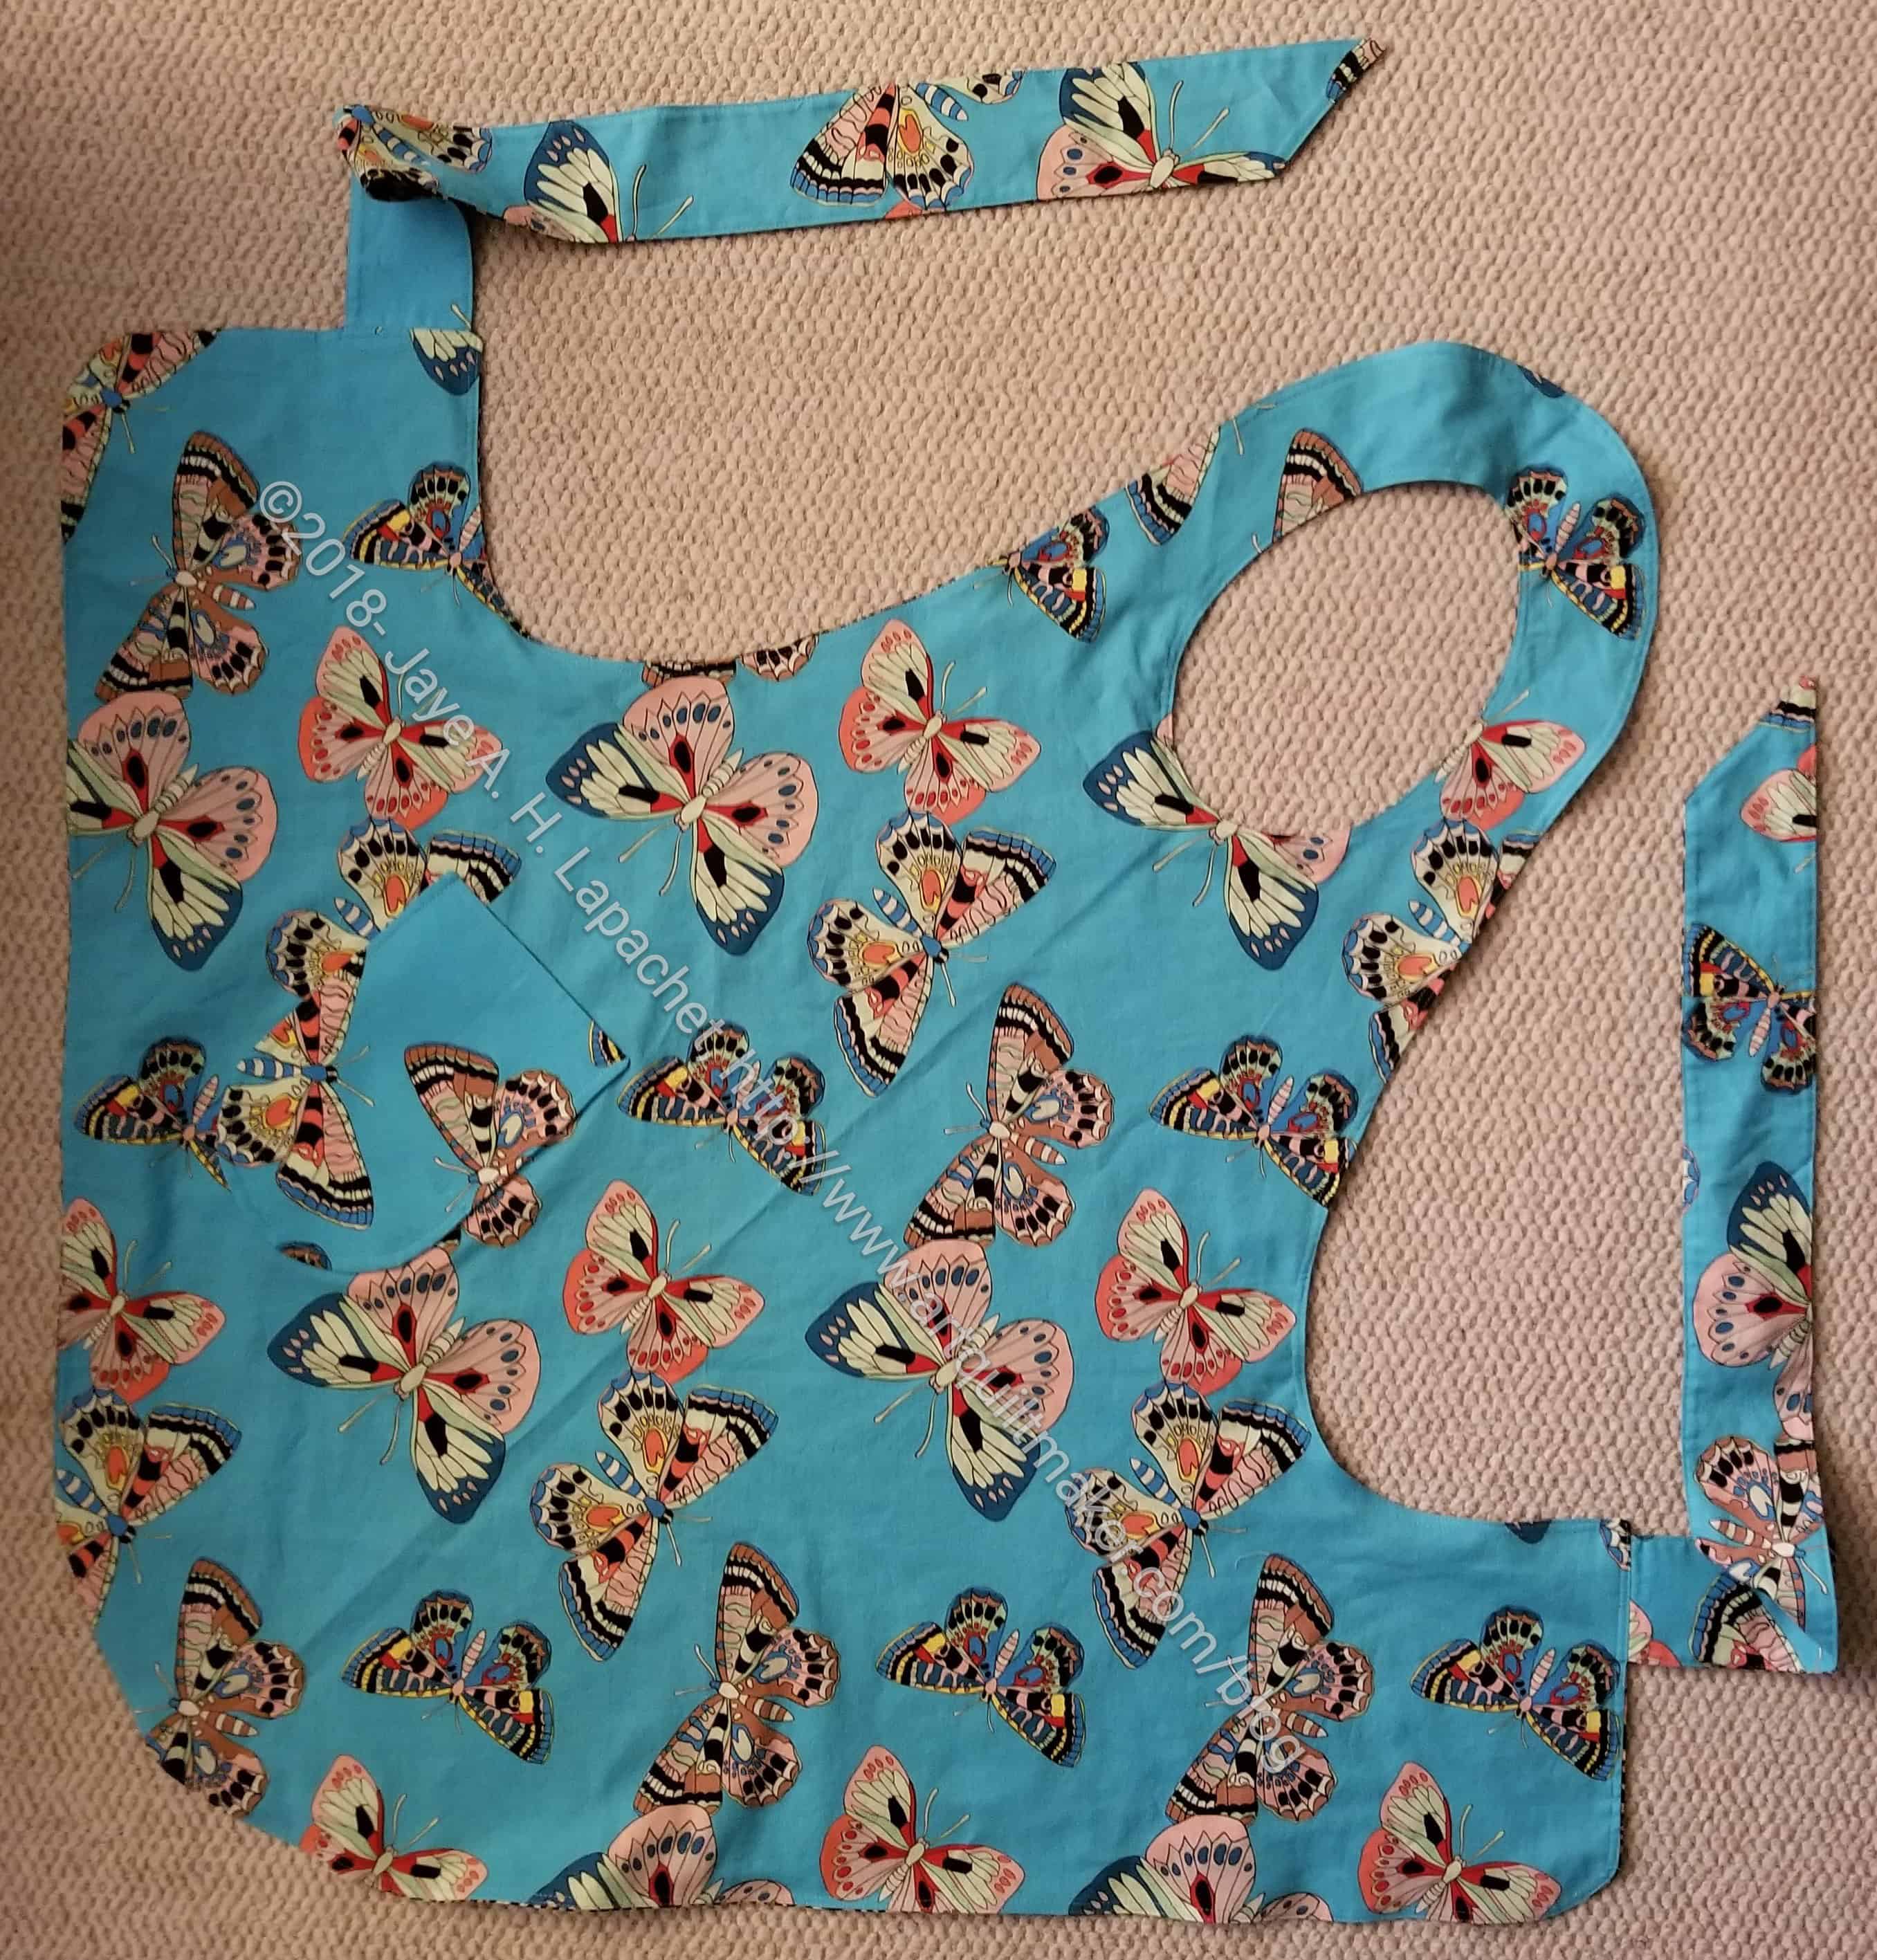
I wasn’t sure what fabrics to choose for this apron as I don’t know very well what motifs this SIL likes. Brown and turquoise go together and who doesn’t like butterflies? This is an apron, not a dress, so I am not going to worry too much. I am pleased with how this one came out.

Gift Post #3: Le Cafe Pillowcase

Le Cafe Pillowcase 2018

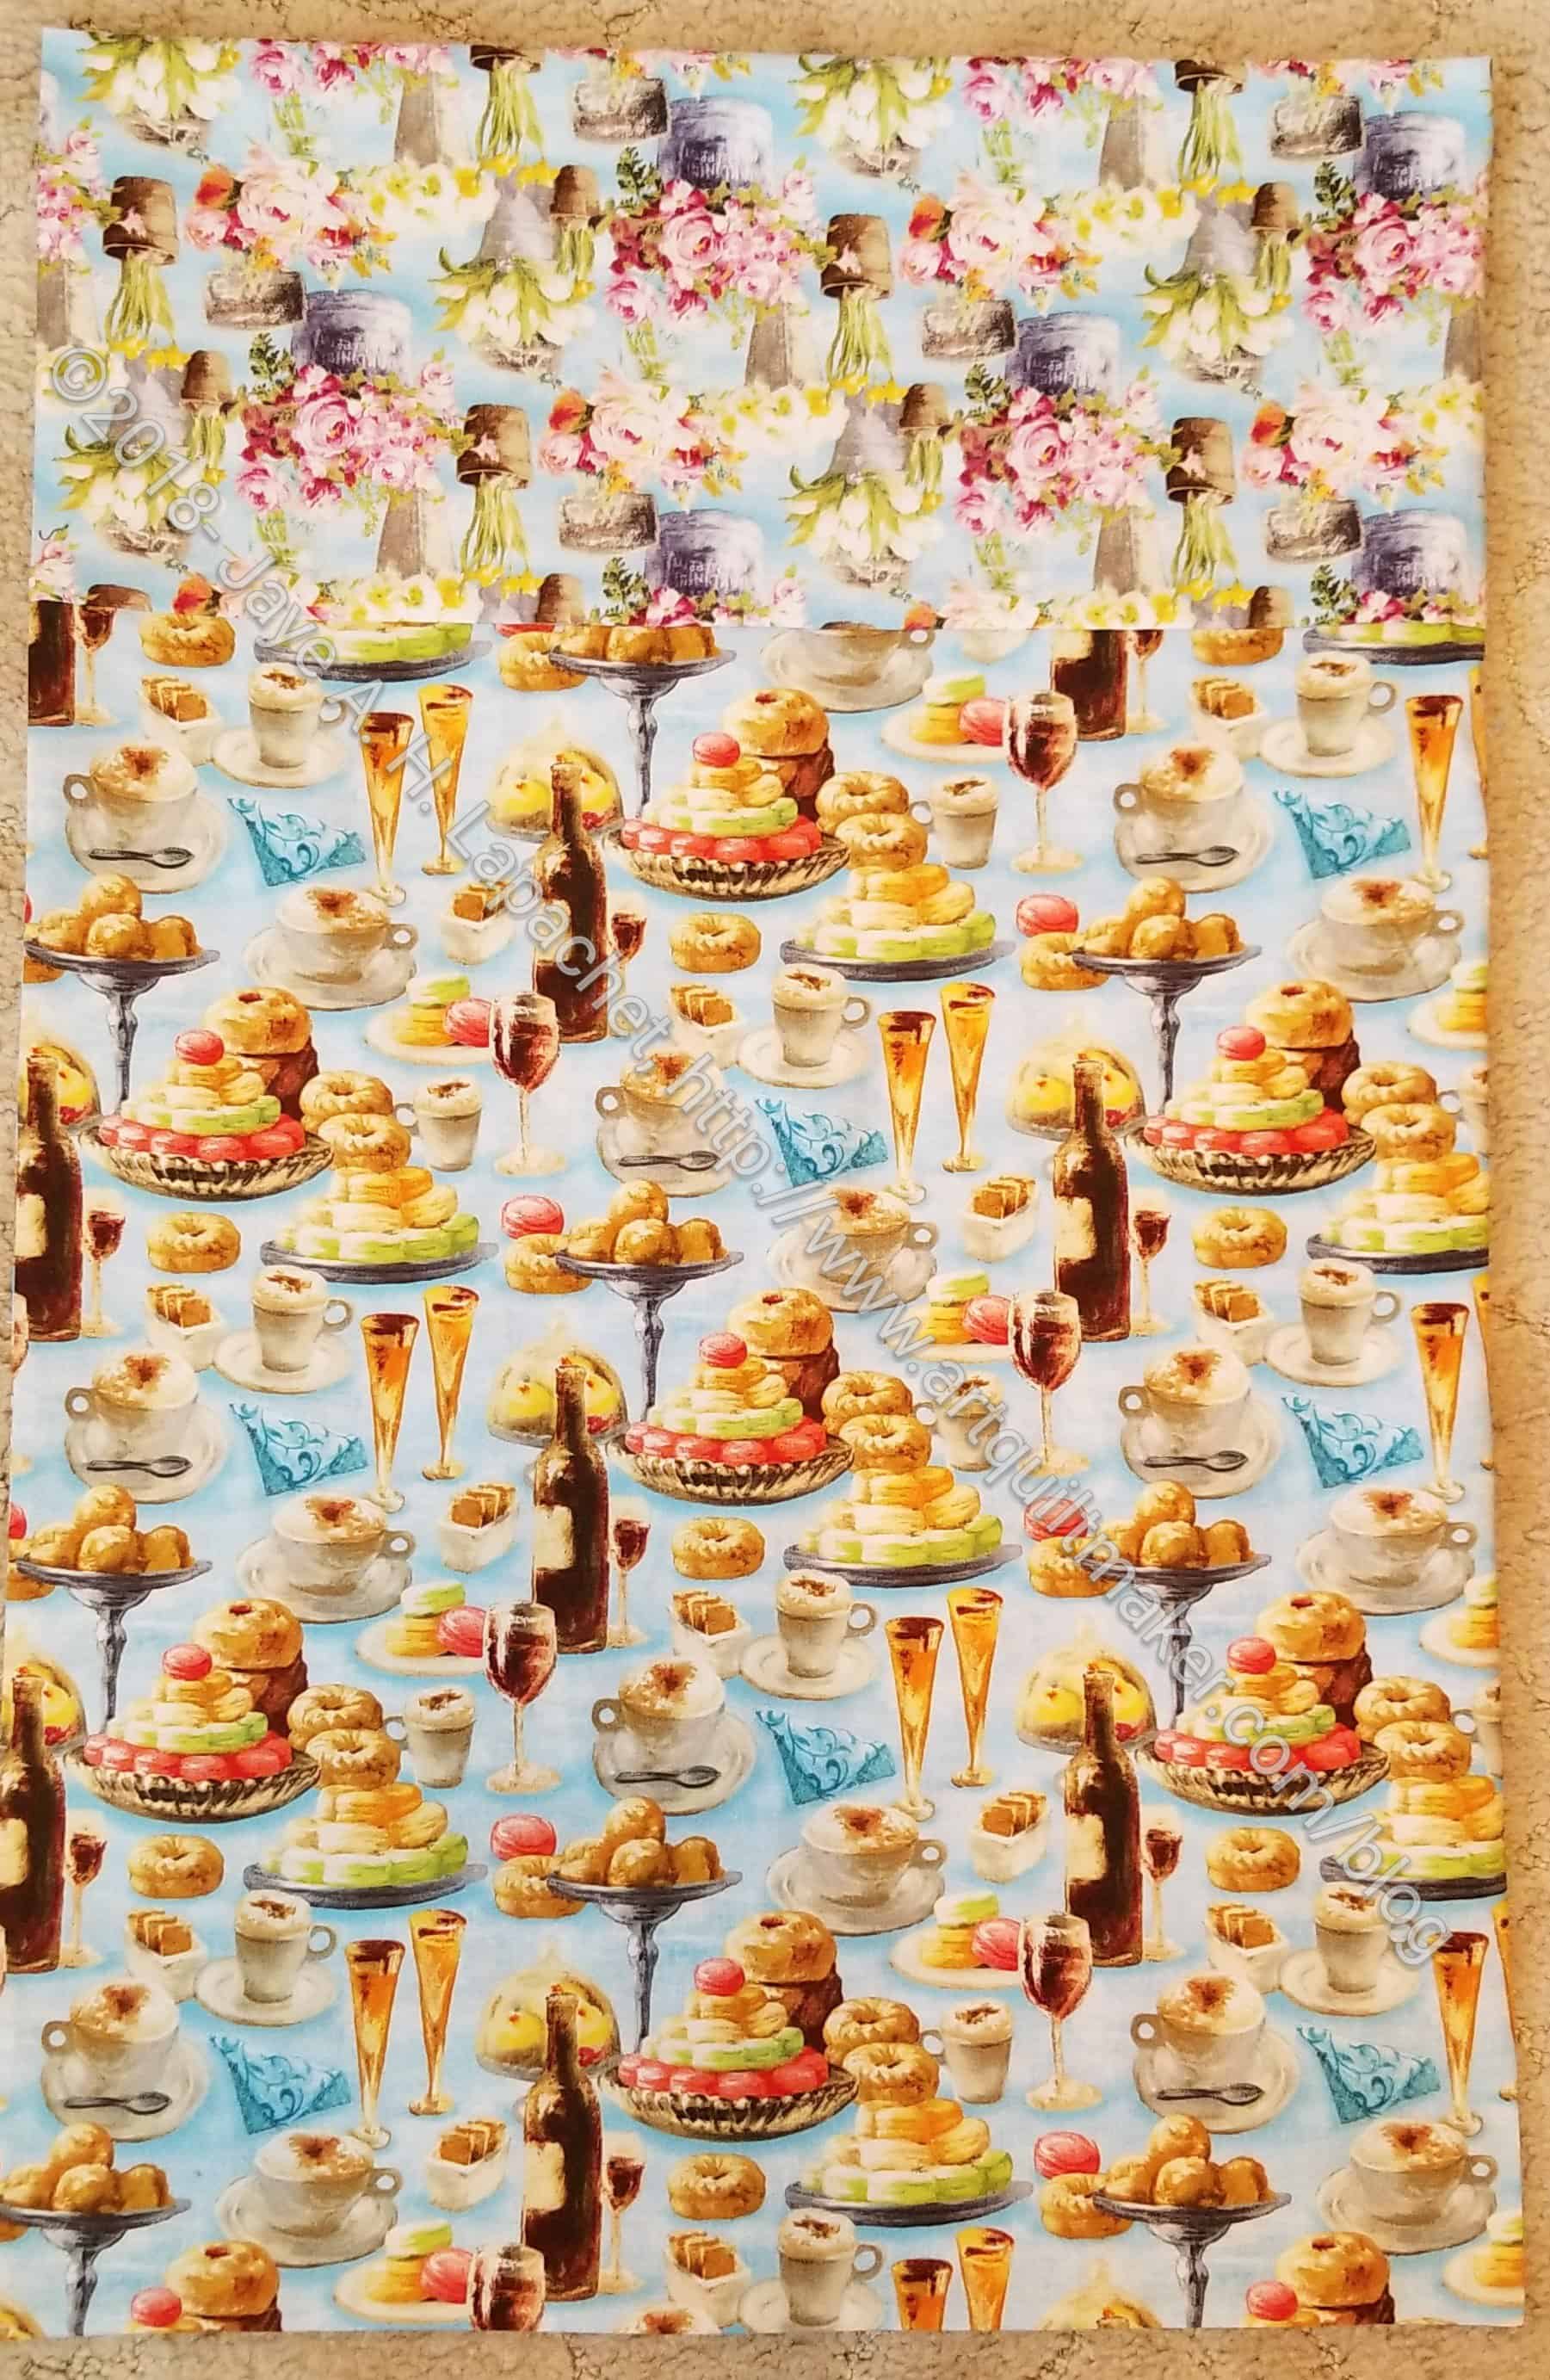
I made some Le Cafe pillowcases for my sister awhile ago. In October, I was rummaging through the fabric on my ironing board and I found some more Le Cafe fabric. I didn’t remember why I didn’t use these the first time around, but I decided to make her one more pillowcase for Christmas this year. I made it really fast and it looks good.

There isn’t as much contrast with this one as with the others, but it is still nice looking.

Gift Post #2: Sewing Machine Mat

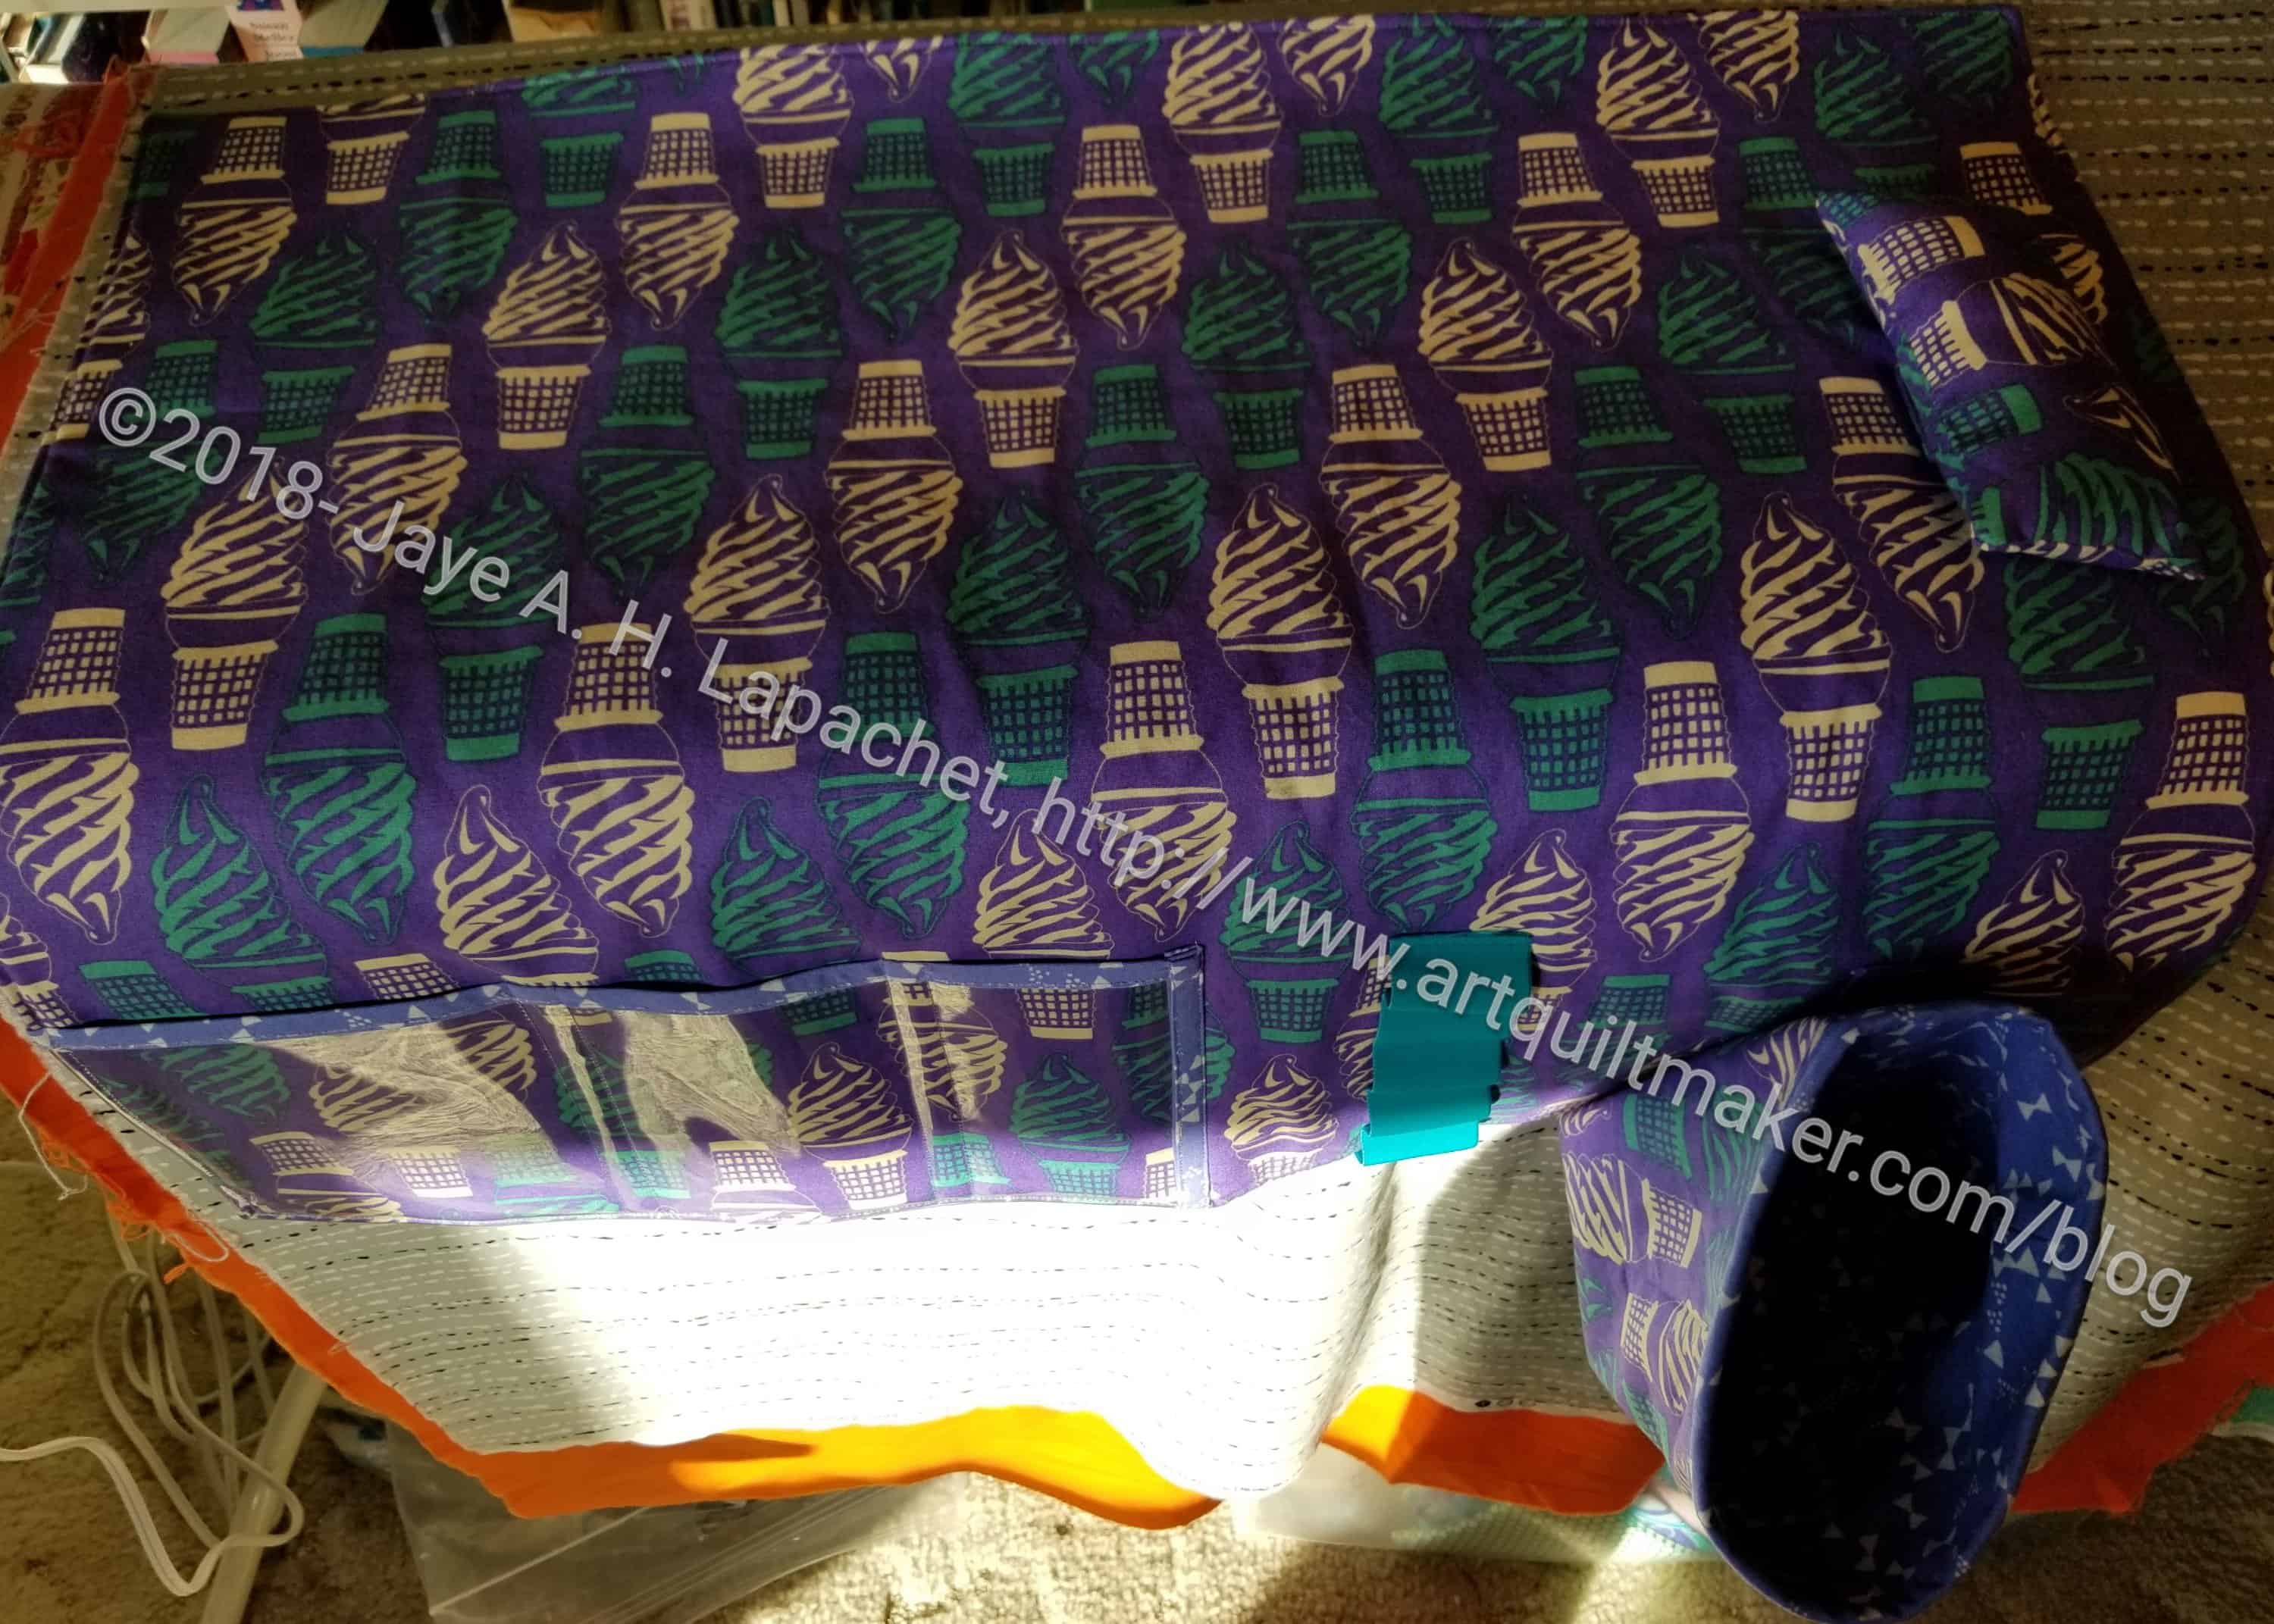
Sewing Machine Mat from above

You might remember this mat from back in May?

I gave it to Gerre for Christmas so she can use it for retreats. I sent it to her the week before I went to Portland. I made her wait until Christmas to open it, though I really had no control. She told me she really likes it and that makes me happy.

Sadly, the photo (above) is the best photo I have of the mat. I’ll try and take a better one when I see it at Sew Day.

Gift Post #1: Apron n.1

SIL #2 Apron
SIL #2 Apron

I made this apron back in September. I couldn’t show it because it was a gift for one of my SILs.

I cut 5 aprons out at Sew Day. You know I love to cut things out on Sew Day. I cut it out in August and thought it would be hard to get them sewn for Christmas. Over Labor Day, instead of making the binding and sleeve for the Aqua-Red Sampler, I finished one of the aprons.

SIL #2 Apron - Cal Side
SIL #2 Apron – Cal Side

I was so pleased that I got one done. One down four to go.

I used the Flapper Apron pattern I bought in Portland with Amanda. I like this bias pattern and the fact that a person can make it with one yard of fabric. I make mine with a yard and a quarter, because a yard and a quarter folds into a square and it is always good to have a little extra. 😉

All of them will be two sided. These fabrics don’t necessarily go together, but it is hard to find something that goes with Cal fabric. I decided to make a two sided apron that had two personalities. When wearing it people won’t really see the other side from the front. Of course, other people will see the other fabric on the ties.

BAM Swap Gift

BAM Winter Extravaganza Gift by Mary

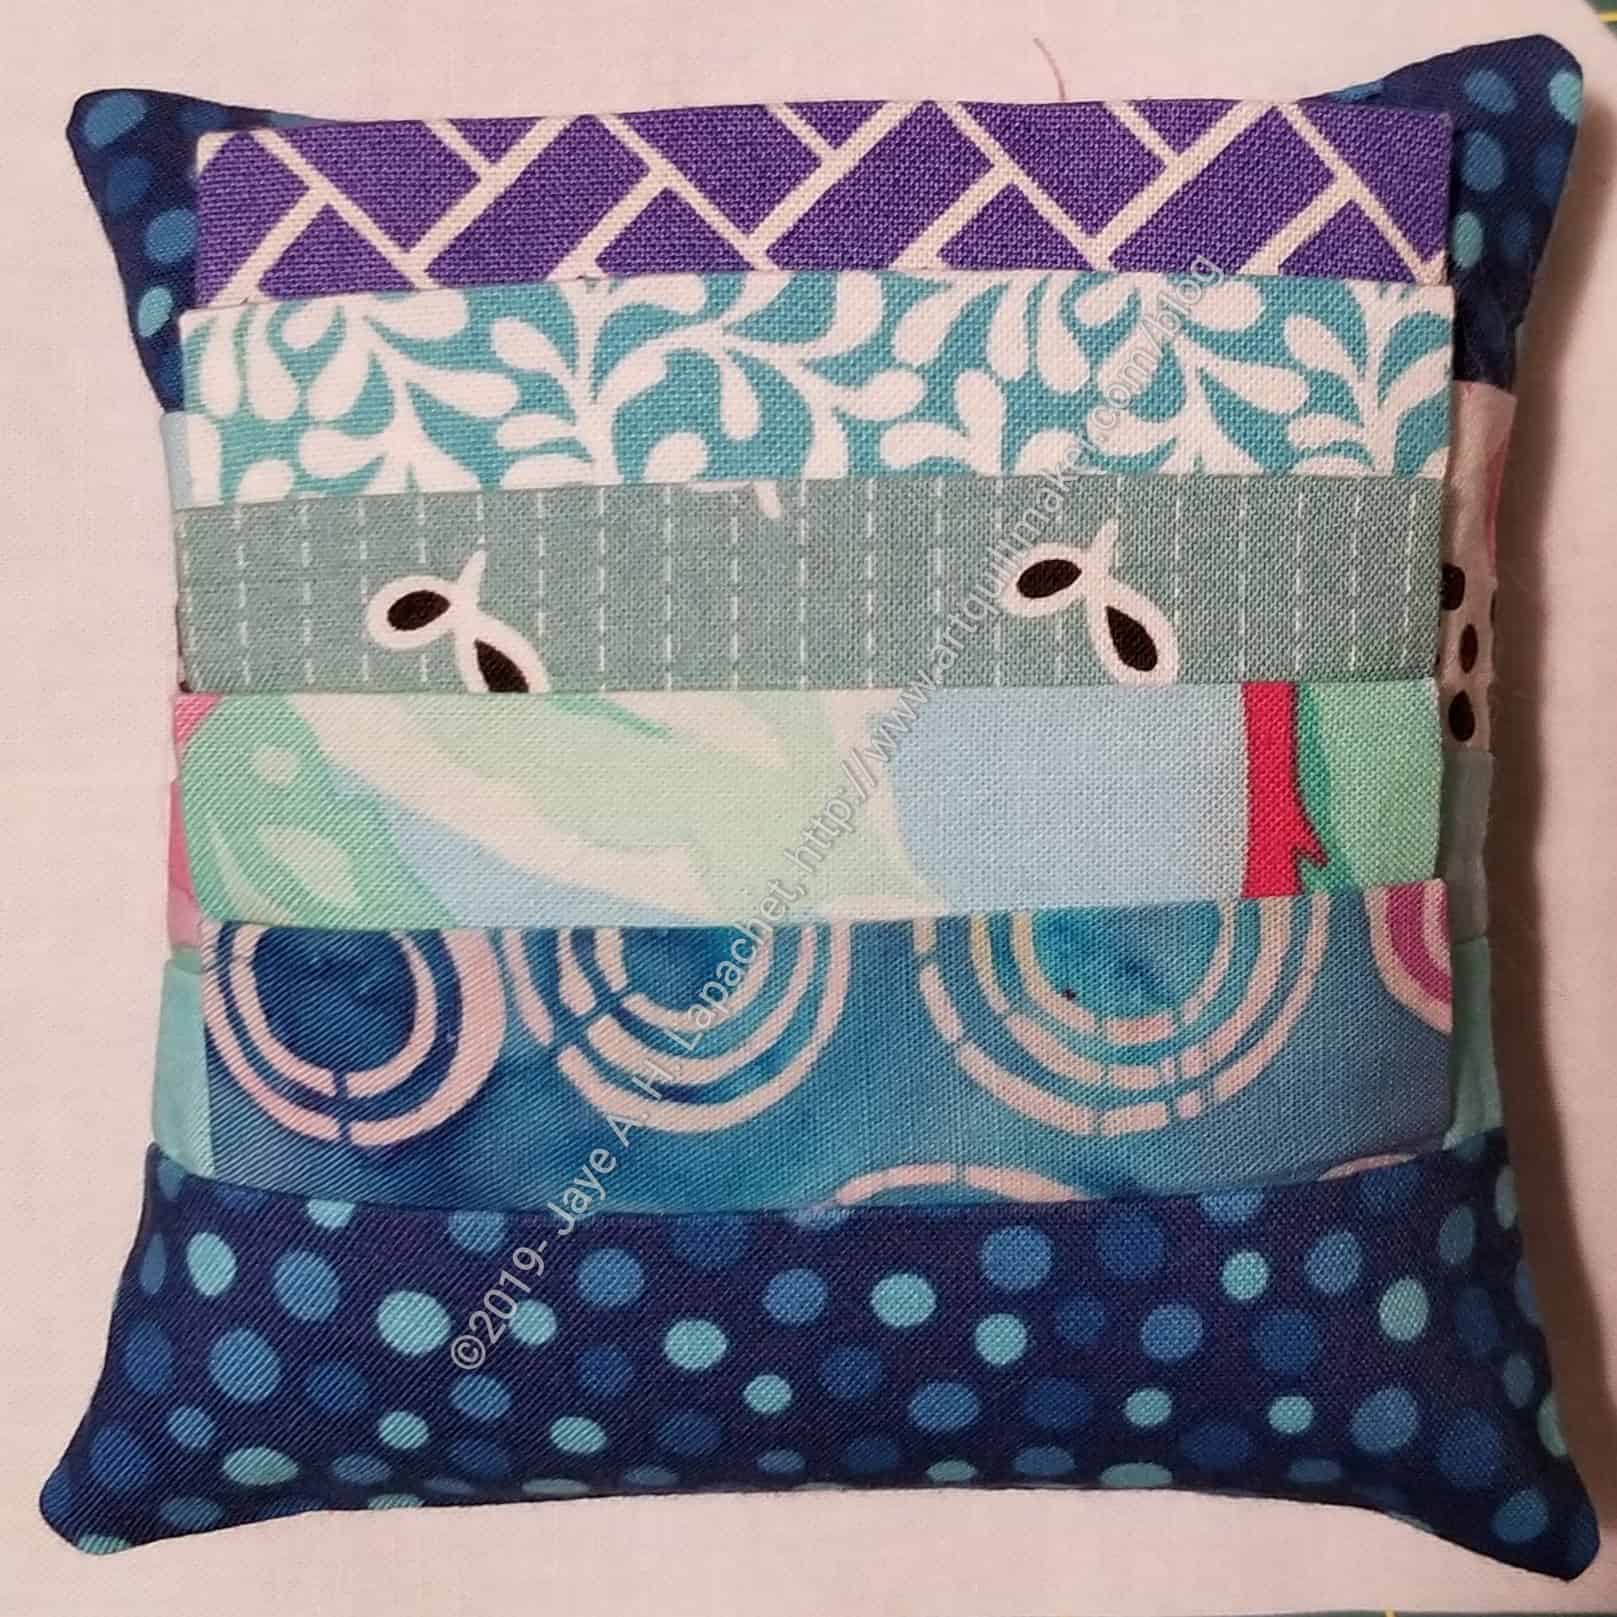
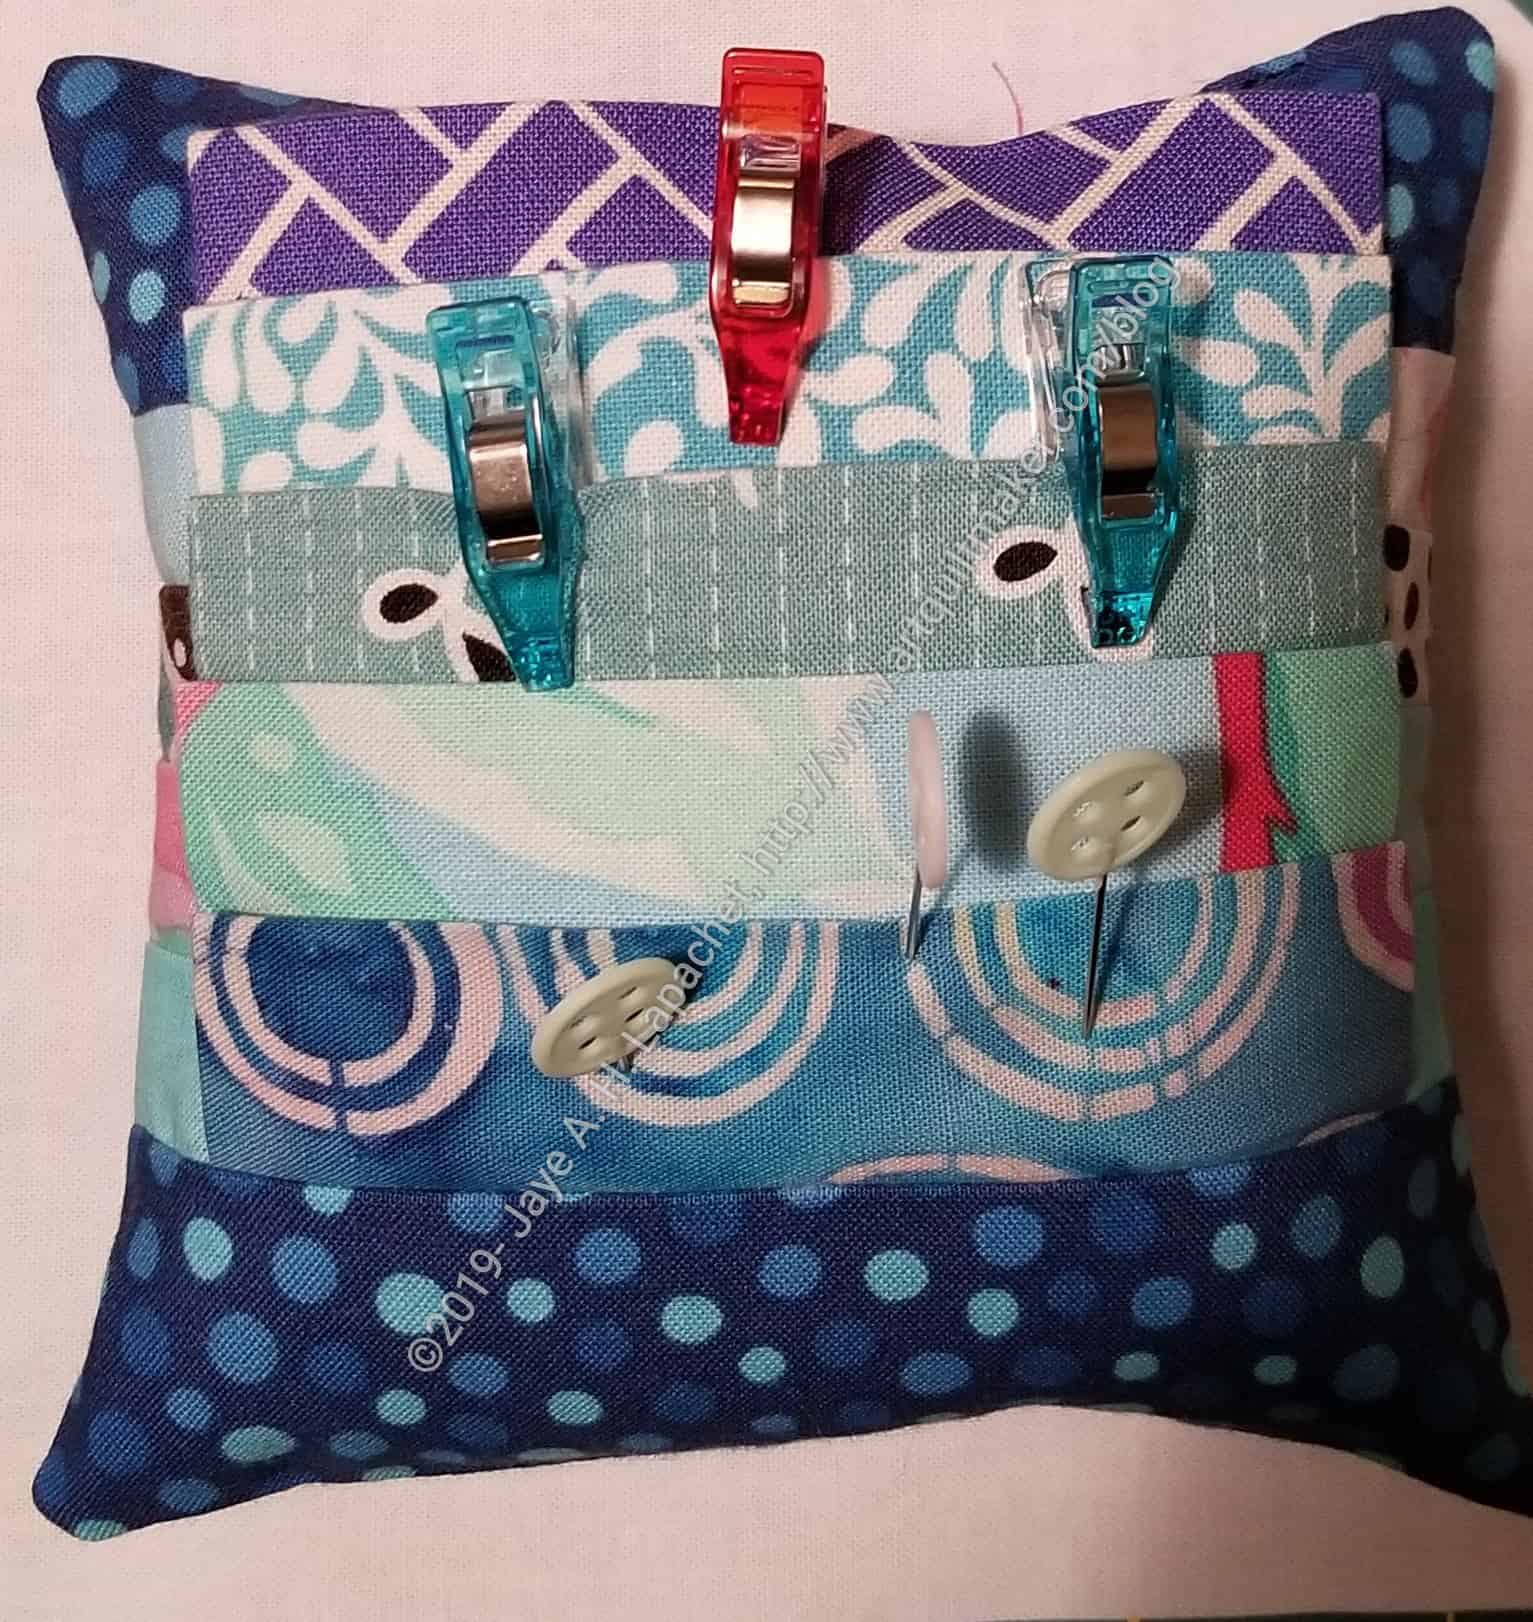
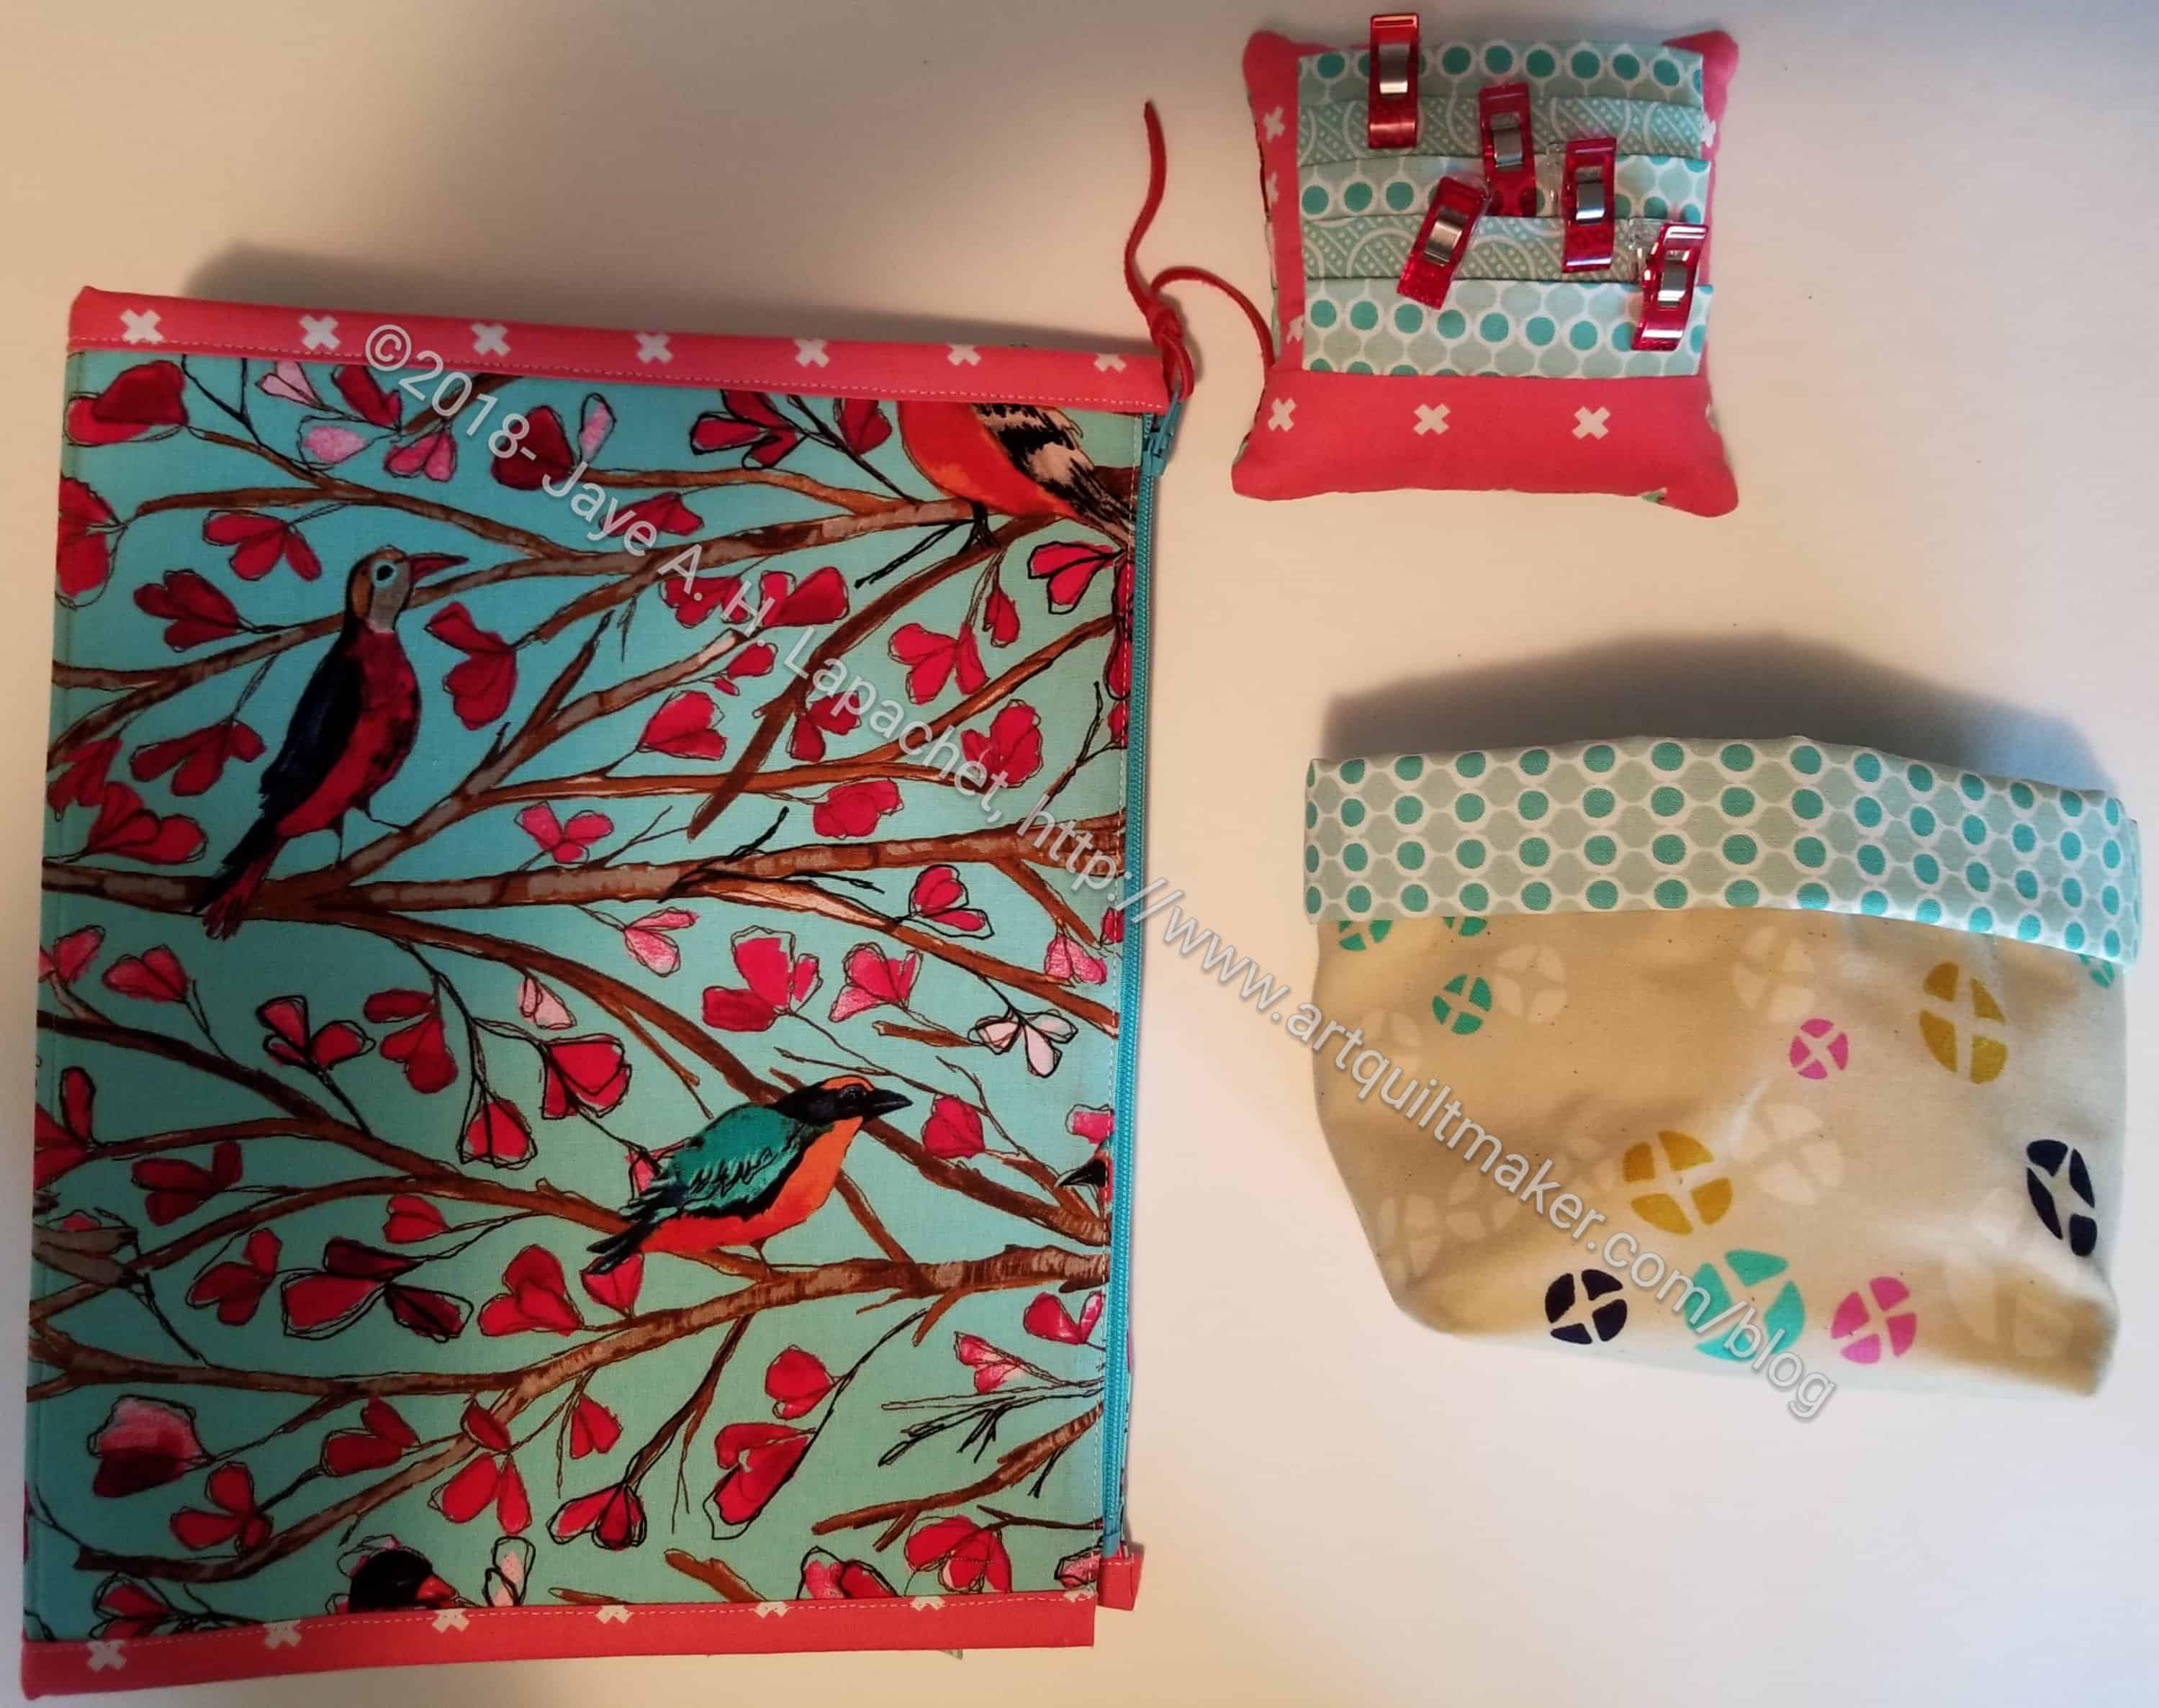
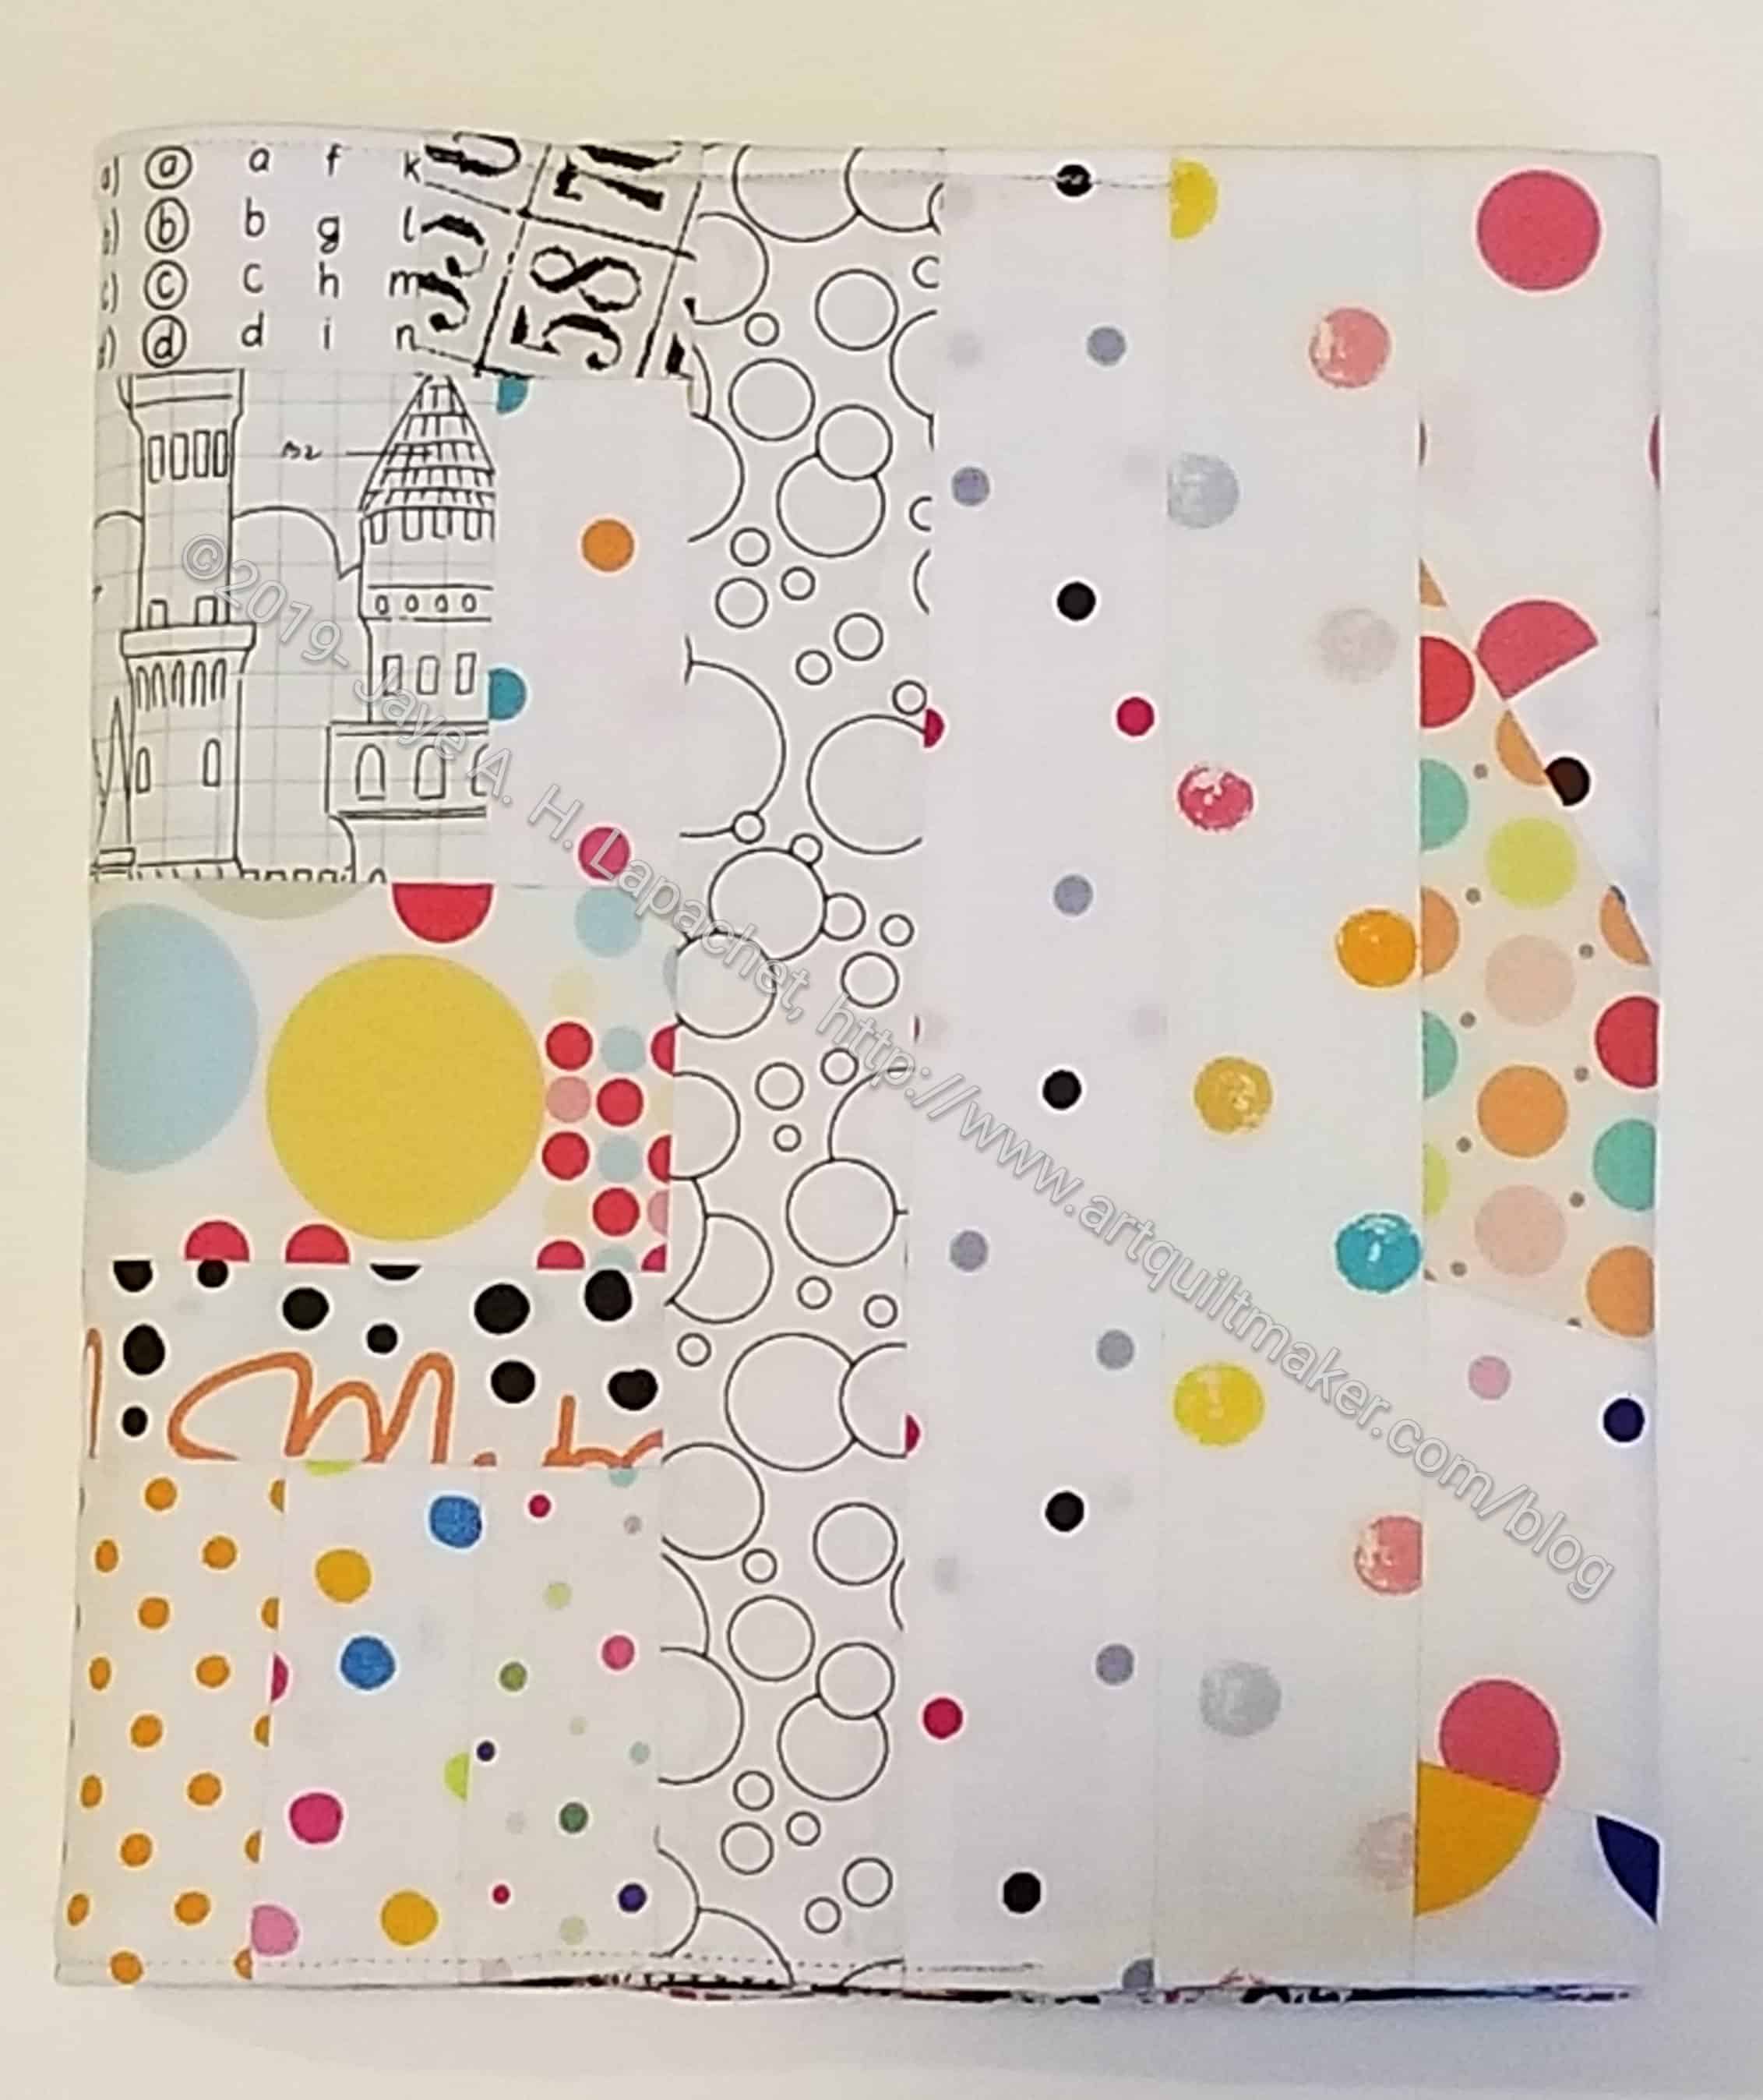
I also received a gift at the guild Winter Extravaganza. I was so pleased to get a gift from Mary! She went above and beyond by making me a very cool portfolio, a little basket and a pincushion.

As soon as I opened the package, my mind started whirling about how I would use all of them.

Mary's Little Basket in use
Mary’s Little Basket in use

I have already put the little basket to use as I worked on the back for the MetroScape quilt back. It is now designated for selvedges, though I have already filled it up.

I am thinking that the portfolio will be put to good use for English Paper Piecing fabrics and papers. I use my first Sew Together bag for needles, pins, thread, scissors, etc, but I don’t really have a good place for the papers and the fabrics I have prepared. This might do the trick.

I laughed when I saw the pincushion. As you may remember, I have made this style of pincushion for others in the guild. I never made one for myself, so Mary did it for me!

BAM Swap Bag

I signed up for the BAM swap and received Lindsay. I don’t know her very well. I talked to her briefly at a recent meeting as she rummaged through a stack of donation blocks I had recently donated. You know I love it when people use my blocks. 😉 It is such a great feeling of collaboration.

I kind of like doing the swaps,though this one was hard. I kind of gave up on the theme, though Rhonda, the organizer is pretty lax about sticking to the theme. I have to learn to be more like her.

Classmate Bag by Terry Atkinson

I went through my patterns after I saw that Lindsay requested a bag. I have a lot of bag patterns and need to start plowing through them. I came up with the Classmate Bag by Terry Atkinson. It is not a large tote sized bag, but I thought it would be useful for going to class.

I have heard good things about Atkinson designs patterns and the company certainly has a lot of patterns out. I can’t remember ever making something from their line.

This bag went together pretty well, especially when I was able to concentrate after Thanksgiving.

Classmate Bag for Lindsay - BAM Swap
Classmate Bag for Lindsay – BAM Swap

The problem I always have for these types of swaps is fabric. I don’t buy a lot of the lines that modern quilters seem to swarm over. I chose some leftover Tula Pink fabric from a project for which I made a block for Kelly.

It looks pretty good on the outside, I think. I am surprised to see how well the pattern of the fabric matches up. That was a happy accident.

Classmate Bag for Lindsay -open - BAM Swap
Classmate Bag for Lindsay -open – BAM Swap

This was a good enough pattern to make me think that I might make this bag again for another friend. Stay tuned.

Russian Rubix’s New Home

Markus, Lukas and Anja with Russian Rubix

A month or so ago, I sent the Russian Rubix off with a friend who sent it to Austria from Zurich. It is better to send packages from within the EU, but beggars can’t be choosers. It is much less expensive to send quilts within Europe. Whenever I find a willing friend, I ask them to send quilts. When I can, I bring quilts with me on trips. Fabric is heavy, so neither option is ideal.

Markus is my ‘ehemalige Papa’, a very good friend who took good care of me when I lived in Austria. We have been friends and in touch since then. I last went to visit in 2016 and realized my Austrian friends needed some quilts.

Monika with Russian Rubix

I didn’t know his wife Monika when I lived there, but I got to know her in 2016 and like her very much. She made me feel very welcome when I last visited.

I didn’t really get to talk to them about the quilt, but will soon. They seemed very appreciative.

Gift Post 2018: Sew Together Bag n.3

SIL n.3's Sew Together Bag
SIL n.3’s Sew Together Bag

Finally, I can show you the third and final Sew Together Bag. My SIL n.3’s birthday is today and I already gave her the bag. She is not a quiltmaker, but I am sure she will use it for something.

Sew Together Bag for SIL #3

I am really pleased with how this one came out. I think it looks really great. I am tempted to keep it. I won’t, though.

With this STB, I have made a total of 7 Sew Together Bags. I am not sure I will make any more, though there is talk in the guild about making more for gifts. And the Crafty Gemini Organizer Club has a project that looks suspiciously like the Sew Together Bag. Sigh.

FYI: To see the All Rolled Up Tote, you can take a peek on the Organizer Club site or on Craftsy, as it is the design of someone who is not the Crafty Gemini and available there for purchase. If you want the video tutorial, Crafty Gemini is your best hope. I haven’t made it yet, so I can’t give you anymore details.

Anyway, I am taking a break from Sew Together Bags for awhile. I may be completely done. We’ll see.

Beth's Sew Together Bag
Beth’s Sew Together Bag

I really like the yellow binding on this one. SIL #4 likes yellow so I distinguished this one from the other Cal version with yellow binding and more yellow fabric.

I included another fussy cut pincushion as well as a variety of blue and gold zippers.

As a reminder, I used the Quilt Barn Sew Along Tutorials to clarify points around making these bags. These posts are critical to my success with this project.