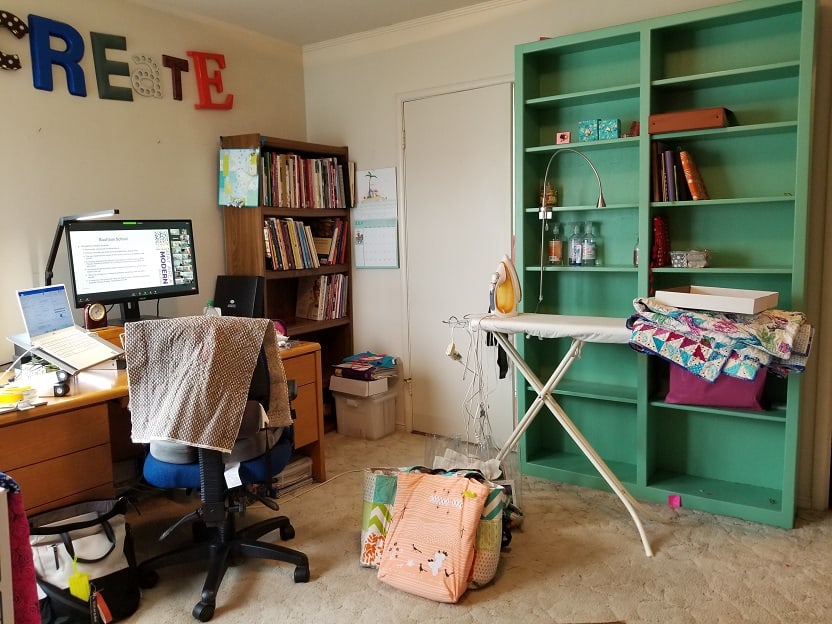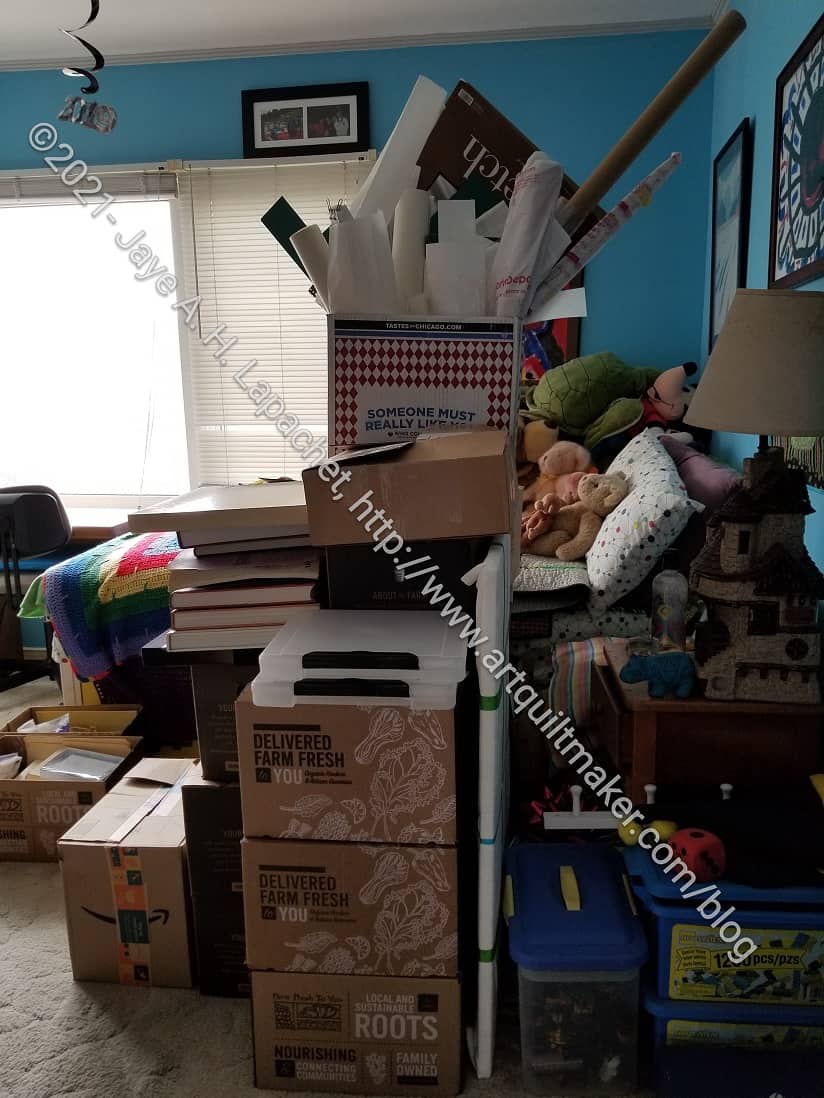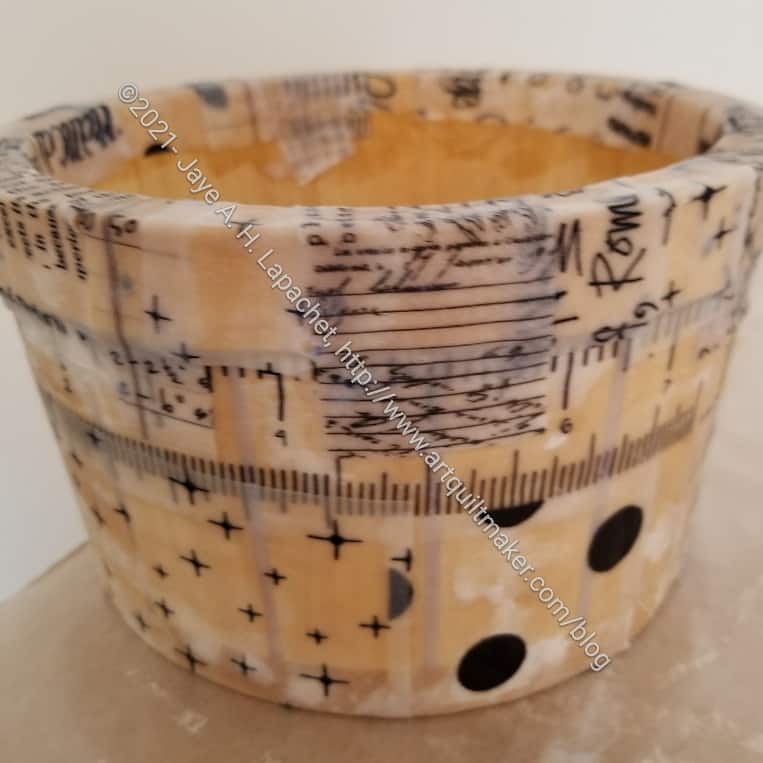
I want everything to look good in my refreshed workroom. This is a tools bucket I use. It sits next to my sewing machine.
I thought Collage Pauge** would work. I pasted (painted??) fabric on to the outside of the bin. While the fabric was hard as a rock, the look was not ideal when it dried. It was too see through. That was not the look I wanted.
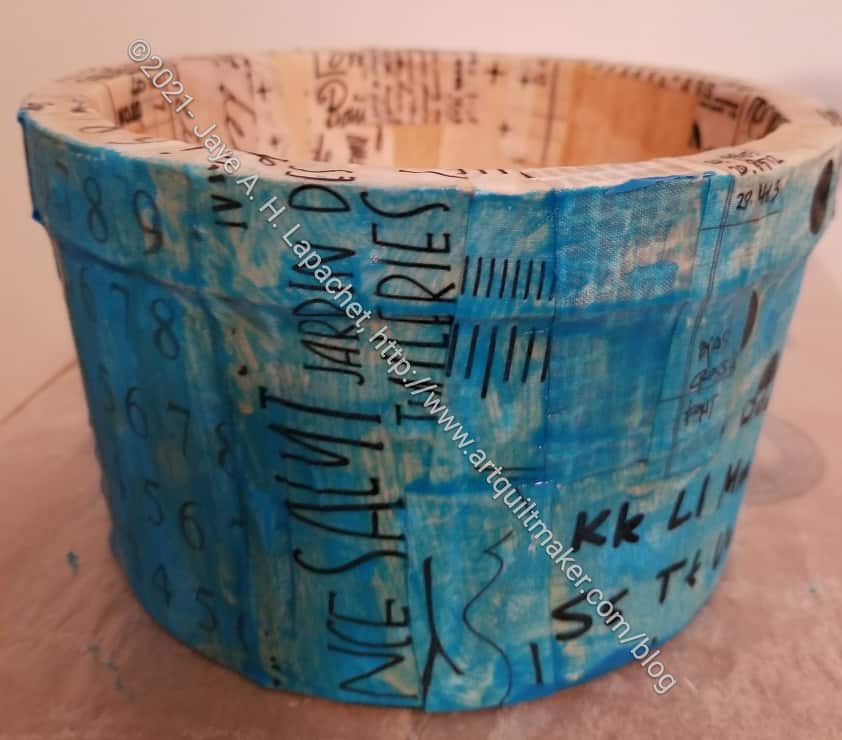
Lil Sissy suggested I mix Collage Pauge** and white paint. I didn’t have white paint so I used turquoise. It didn’t work. I should have gone and bought some white. Thus: I still don’t like it.
I am not sure what is next, but I may collage over it with some text paper. Collage Pauge** is really made for paper and covering what I have done with paper might be the best thing.
**I use affiliate links and may be paid for your purchase of an item when you click on an item link in my post. There is no additional cost to you for clicking or purchasing items I recommend. I appreciate your clicks and purchases as it helps support this blog.