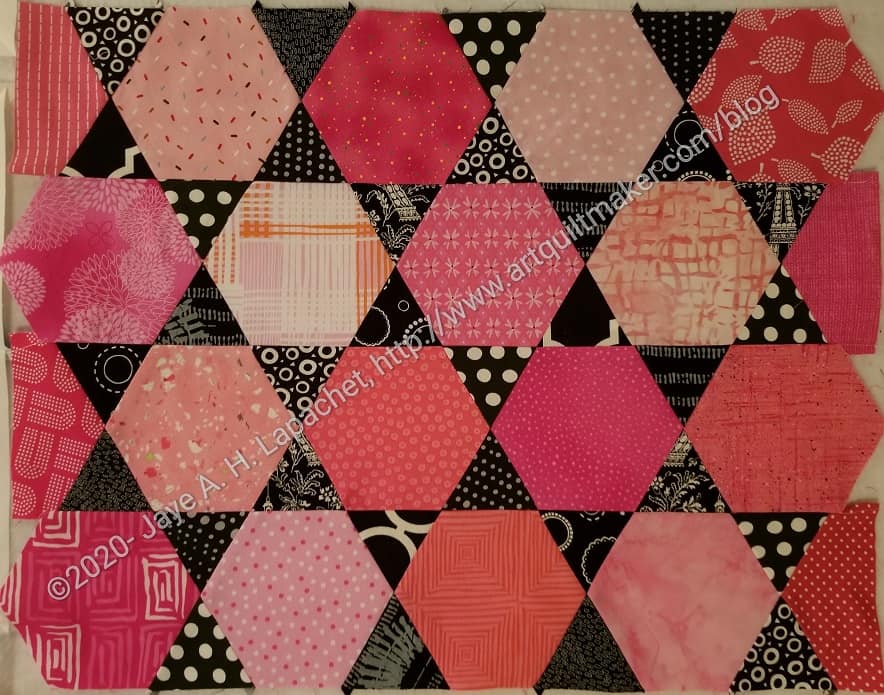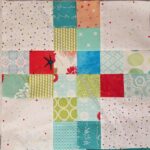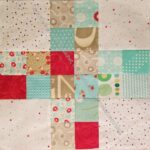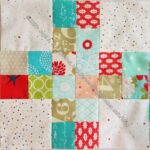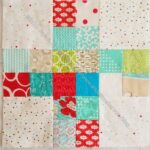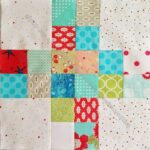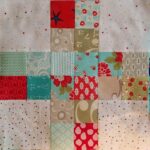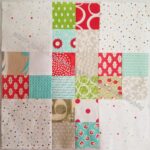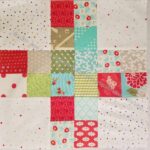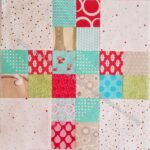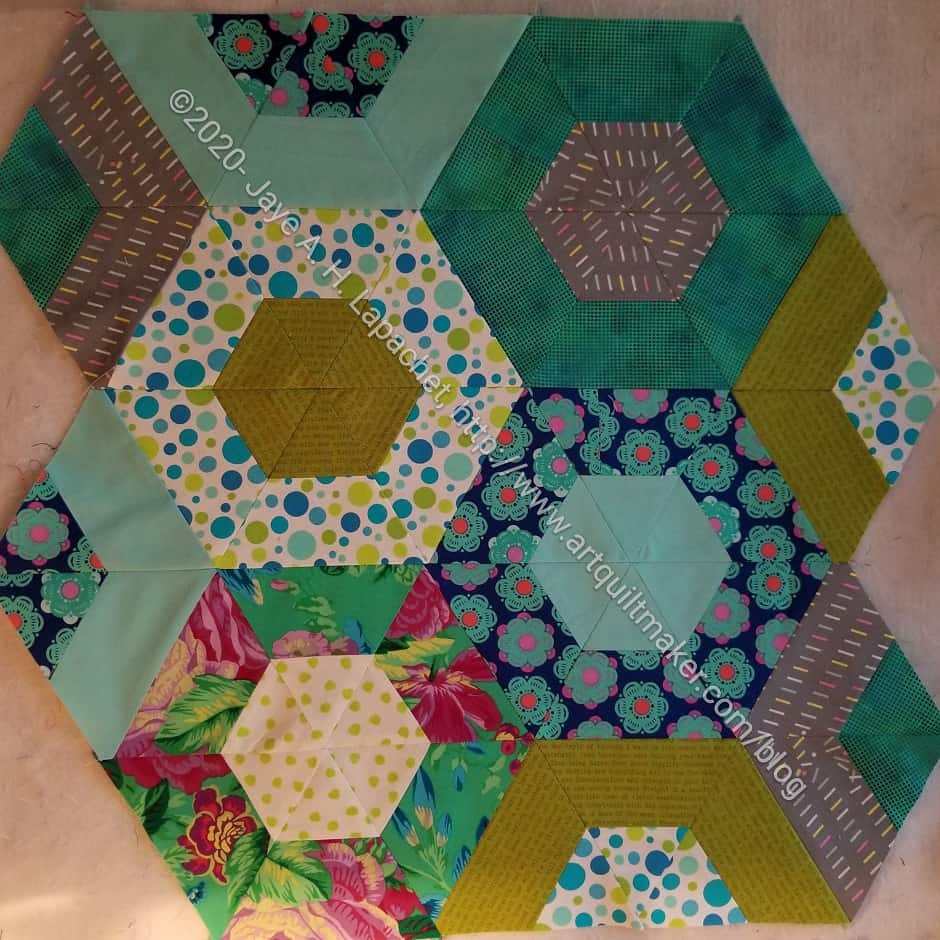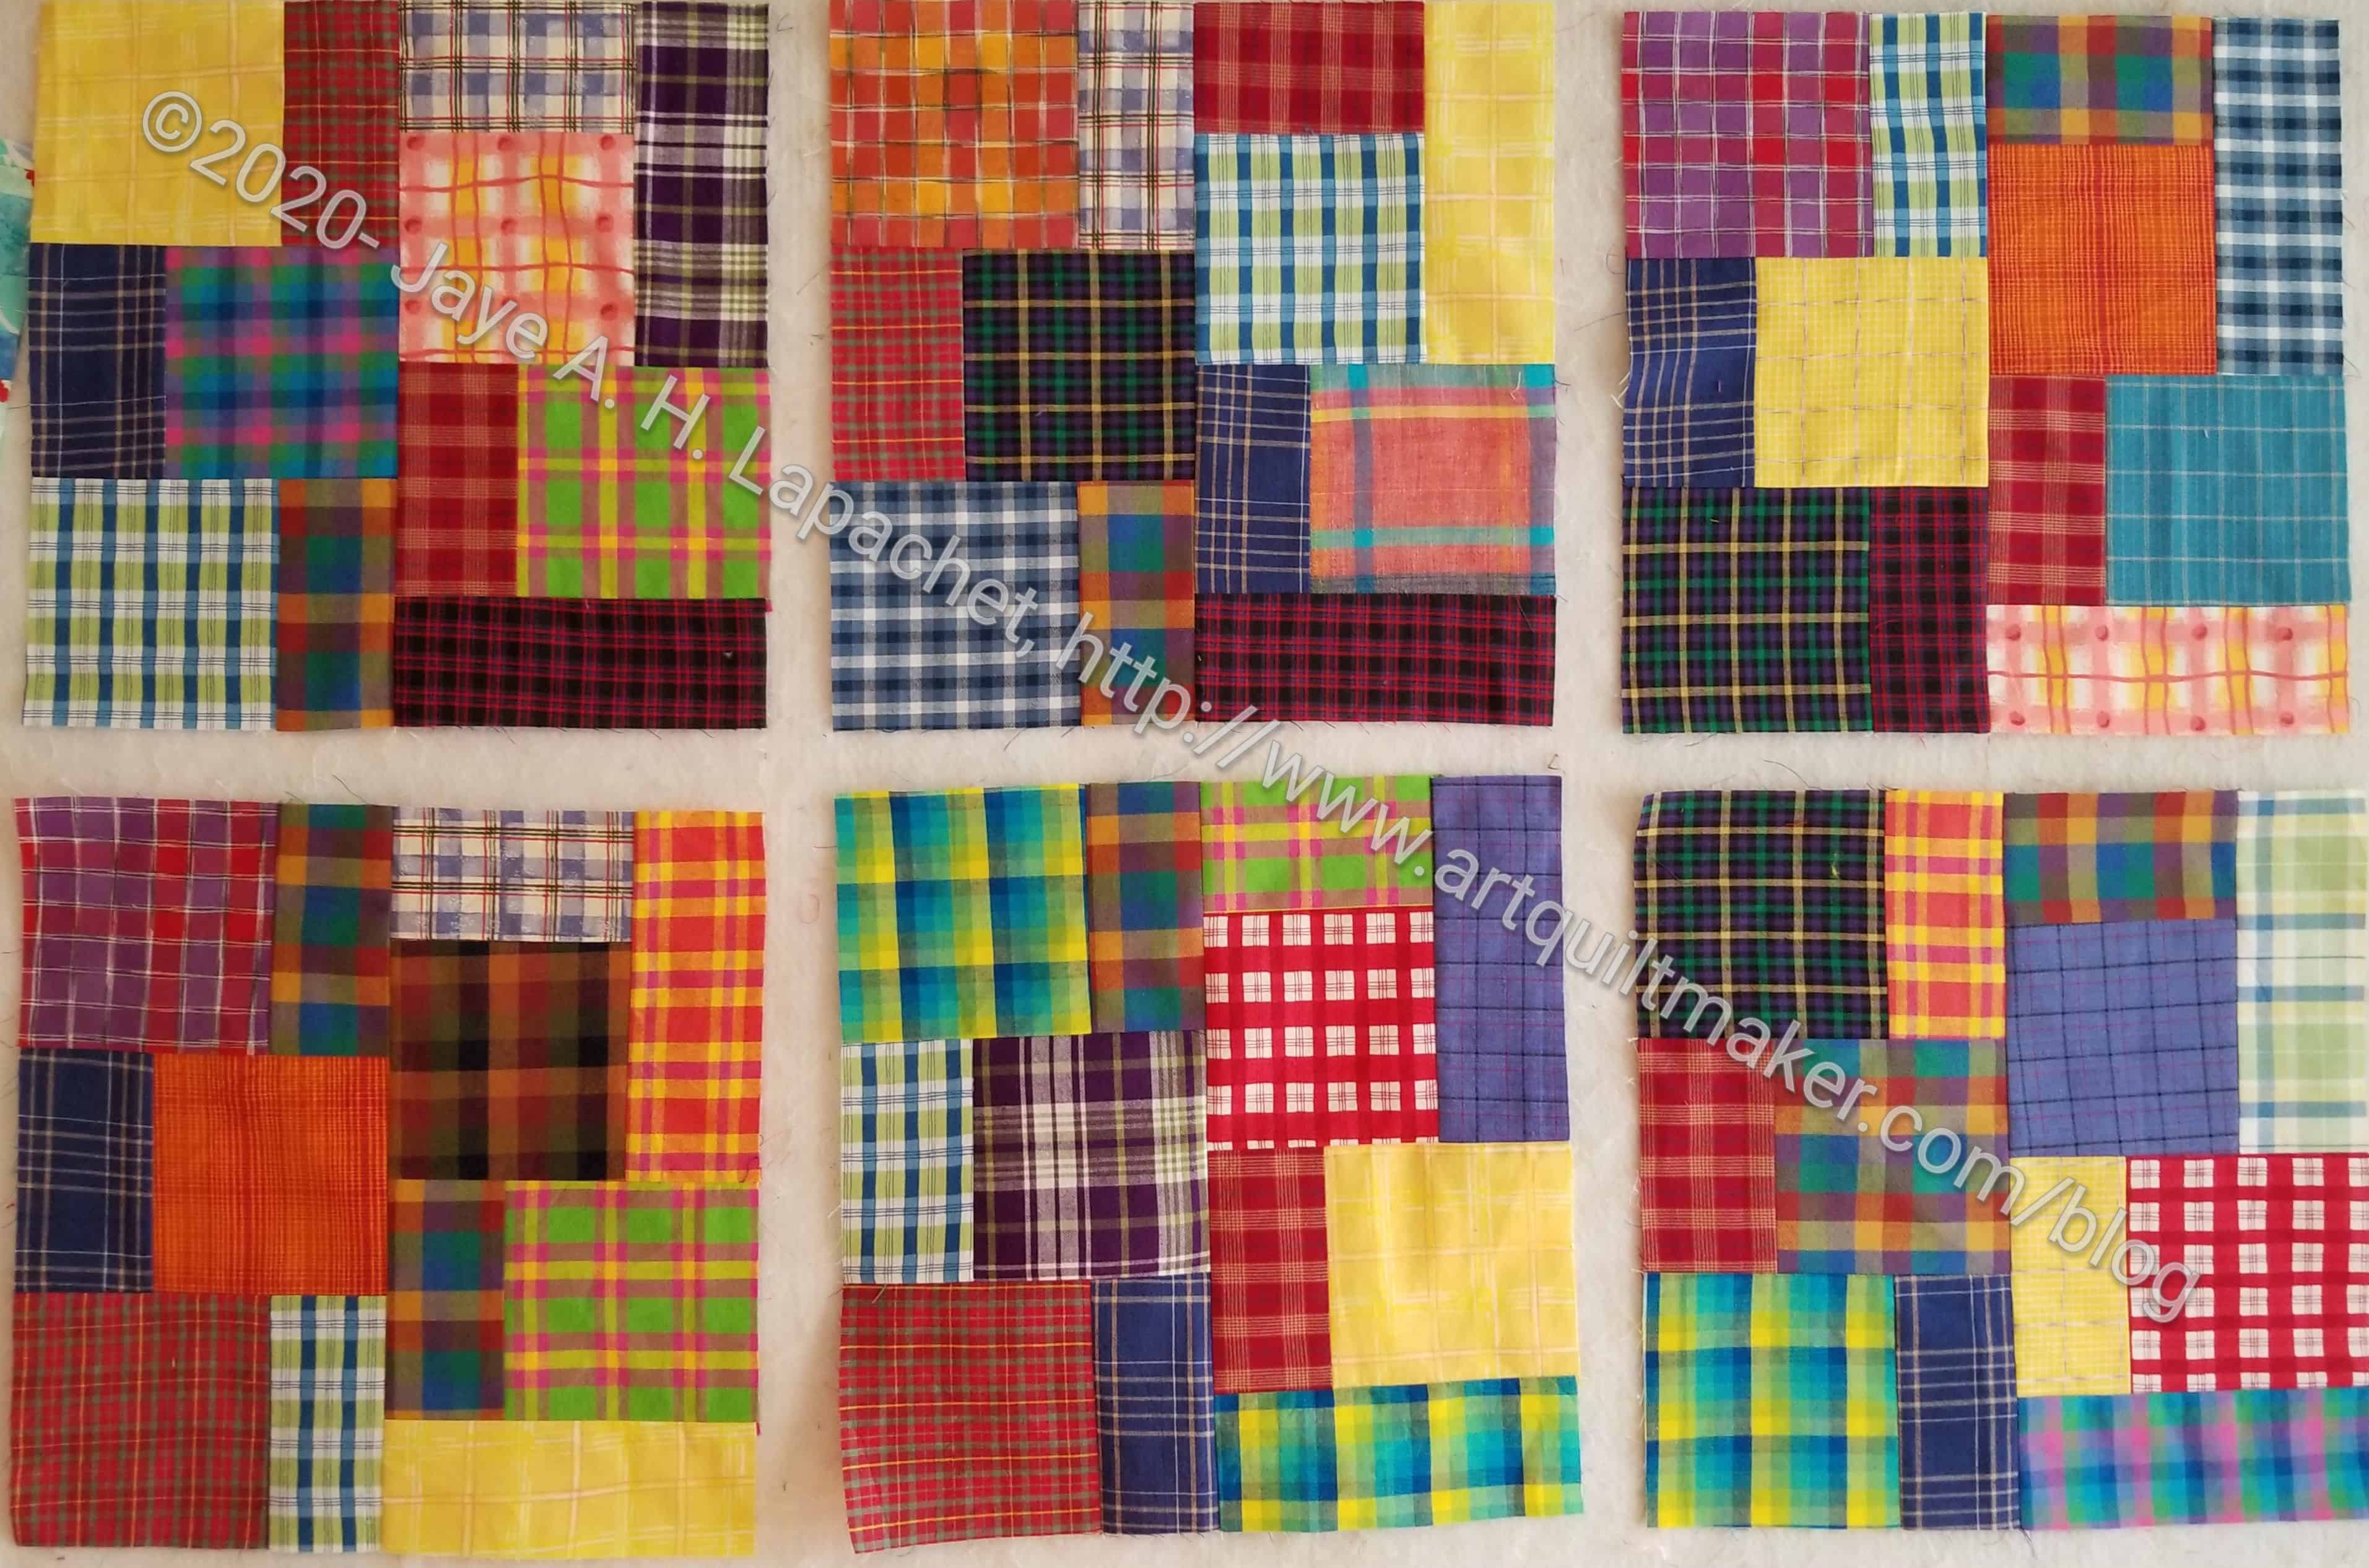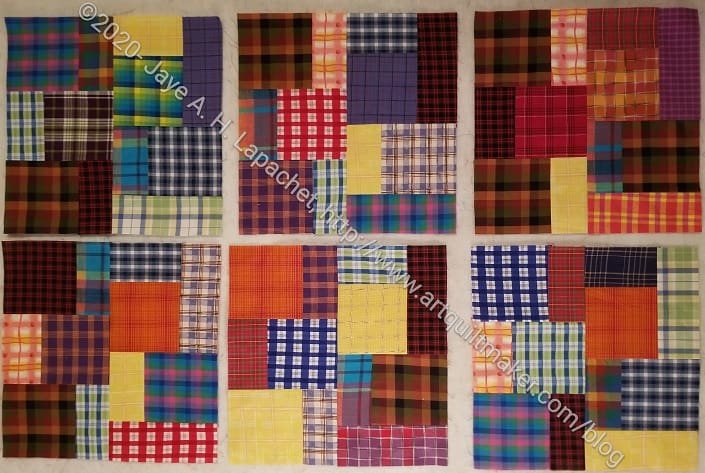
I have all of the Traffic Jam #2 blocks done. That doesn’t mean I am able to show you them all, but most are available for viewing. Somehow I am missing 5 of the blocks
Traffic Jam 2- Block #11
Traffic Jam 2- Block #10
Traffic Jam 2- Block #9
Traffic Jam 2- Block #8
Traffic Jam 2- Block #7
Traffic Jam 2- Block #4
Traffic Jam 2- Block #5
Traffic Jam 2- Block #6
Traffic Jam 2- Block #3
Traffic Jam 2- Block #2
Traffic Jam 2- Block #1
Now I need to find some sashing fabric and put the top together. I think I’d like to try making one of these tops with a darker background. Not necessarily black, but with a color rather than just white.
I worked on the Jawbreaker pillow top over the weekend in between working on my donation projects. The Journey2Nebula video for this week’s piecing is available. I didn’t wait for it as I had time and want to keep progressing. Also, I have done this kind of piecing before and will do it when I eventually make the Spin Wheel quilt. I have done this kind of piecing before.
Jawbreaker pillow top
I should have pressed the way I normally press rather than pressing open partly and pressing to the side partly. I worked out the issues, but bouncing between the two methods wasn’t helpful. My fault.
I think the piece looks good and I will probably be able to finish it this weekend, so I can stay on track with the series.
I was annoyed again at the partial blocks, but watching the video made me understand Julie Herman’s thinking about the design choices. I may even follow the rest of the pattern!
I worked over the weekend on getting the rest of the blocks made so I could start to sew the piece together.
I admit that some of the greys used as foreground (not-black) are too close in tone to the blacks to be true backgrounds. I am going to leave them to add to the mystery of the pattern, if there is a such a thing.
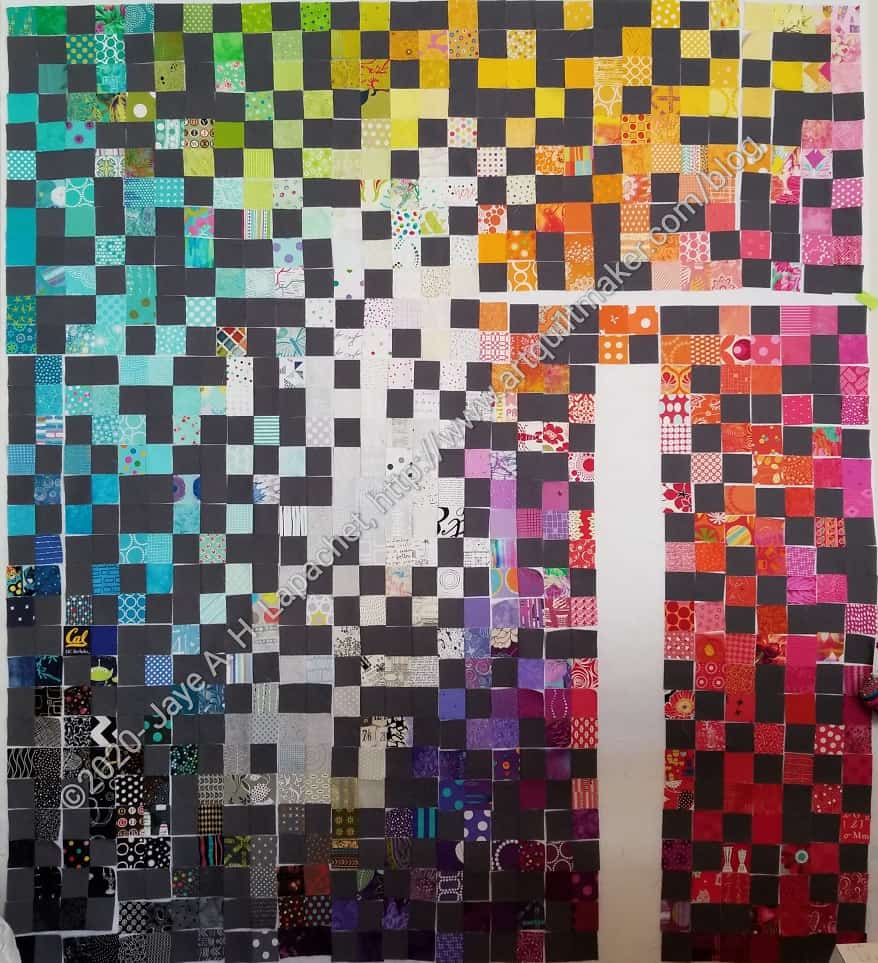
I haven’t worked on this piece since July, because Red Scribbles was on the wall and red thread (for the applique’) was in the machine. Now grey thread is back in the machine and I am putting the piece up on the design wall.
I am thinking of calling this Black Windmill. I don’t really like the name that much, but there are more than cool colors in the foreground, so Cool Windmill n.2 doesn’t work either. It is looking good, though I have a lot of rearranging work to do before I can start piecing.
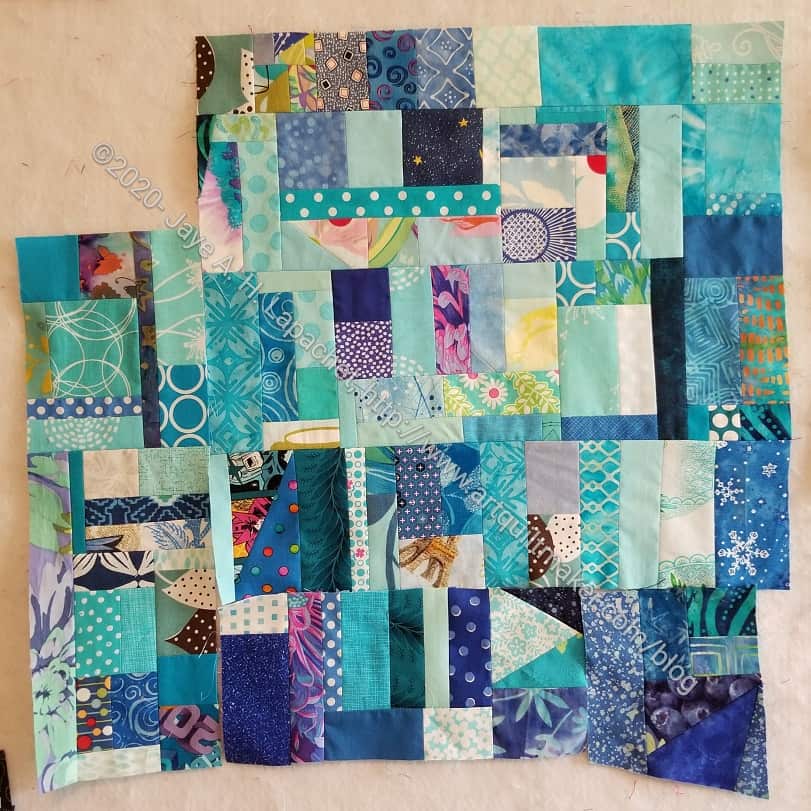
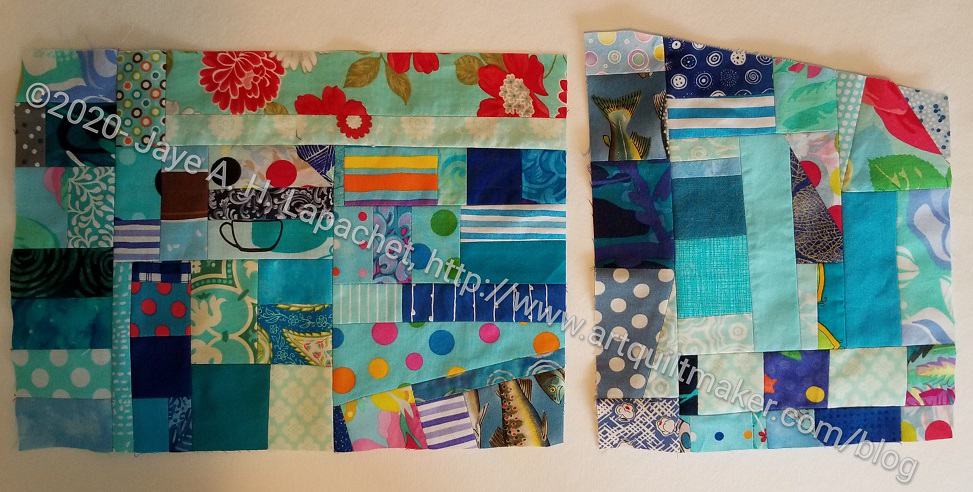
After making the most recent journal cover, I continued piecing together my blue scraps. One good thing is that I am also unearthing more strips, so there may be another Blue Strip donation top in my future.
I haven’t yet made a blue improv donation top, so I decided to just go forward with that project rather than making another journal cover. I am sure I will have plenty of scraps to make another one when I am finished!
I am finding scraps from older projects, which is interesting. It is fun to contemplate what I was thinking when I bought and used those scraps. Some are a lot darker than the fabrics I buy now.
I am also finding (this drawer is STUFFED!!!, though getting better) some pieces that have already been pieced together, so those are also useful
In between working on the applique’ for Red Scribbles, I have been piecing blue scraps in an improv style. I am vaguely thinking this is the start of the next Color Improv quilt, but we’ll see.
I am working very hard at not using a lot of strips that I can use for more of the strip blocks like I made for Blue Strips #2. It isn’t working 100% as I do resort to using some occasionally.
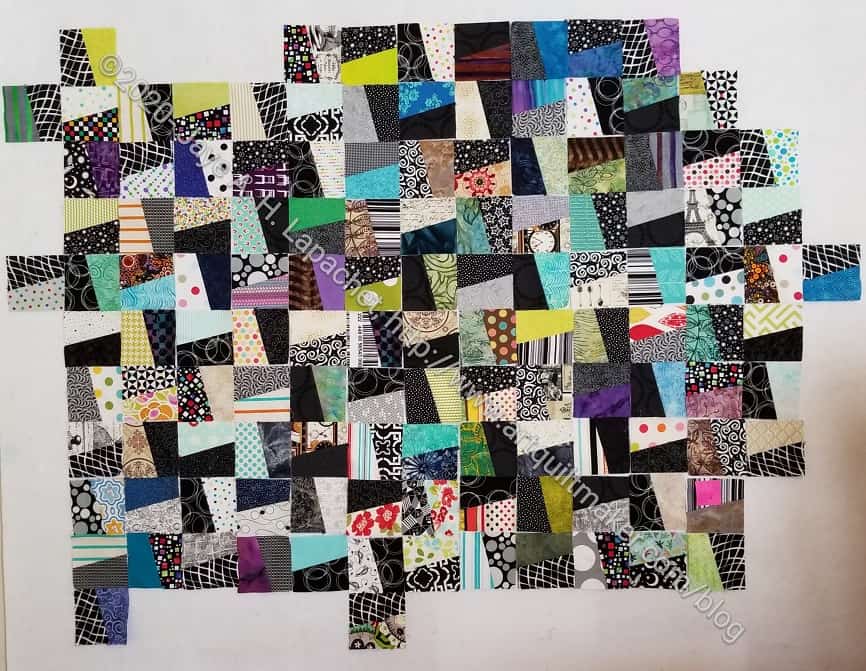
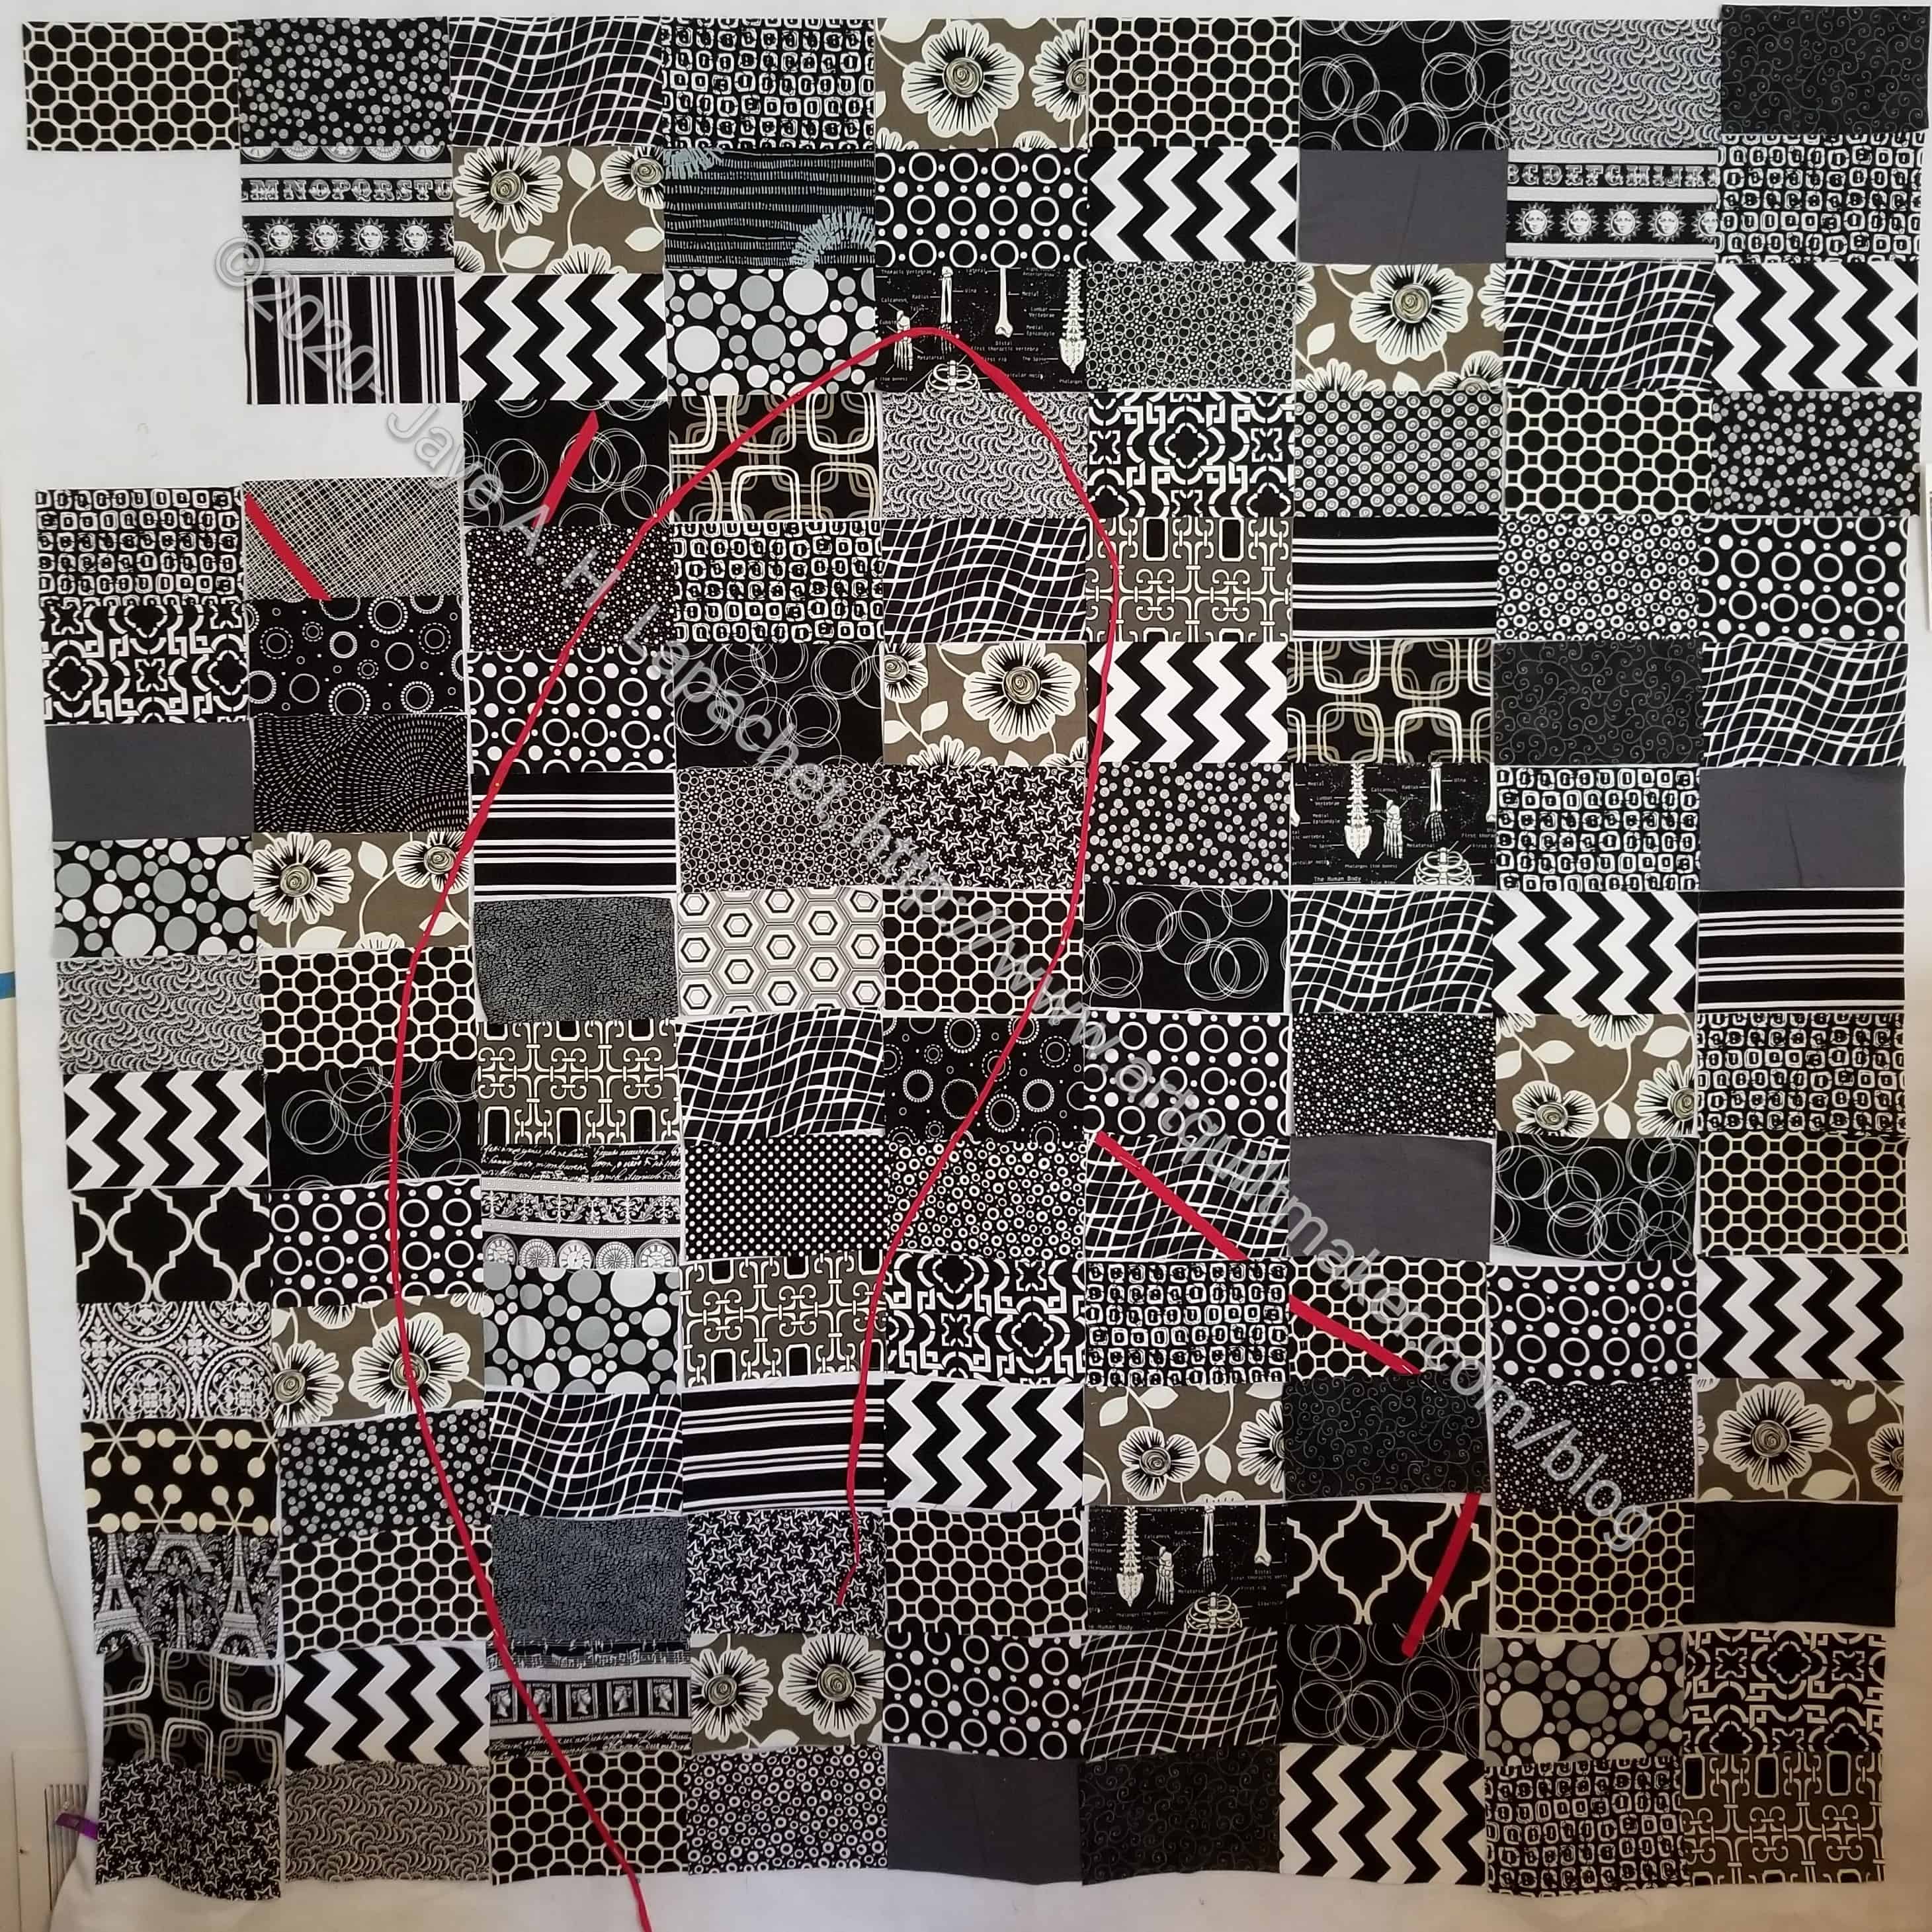
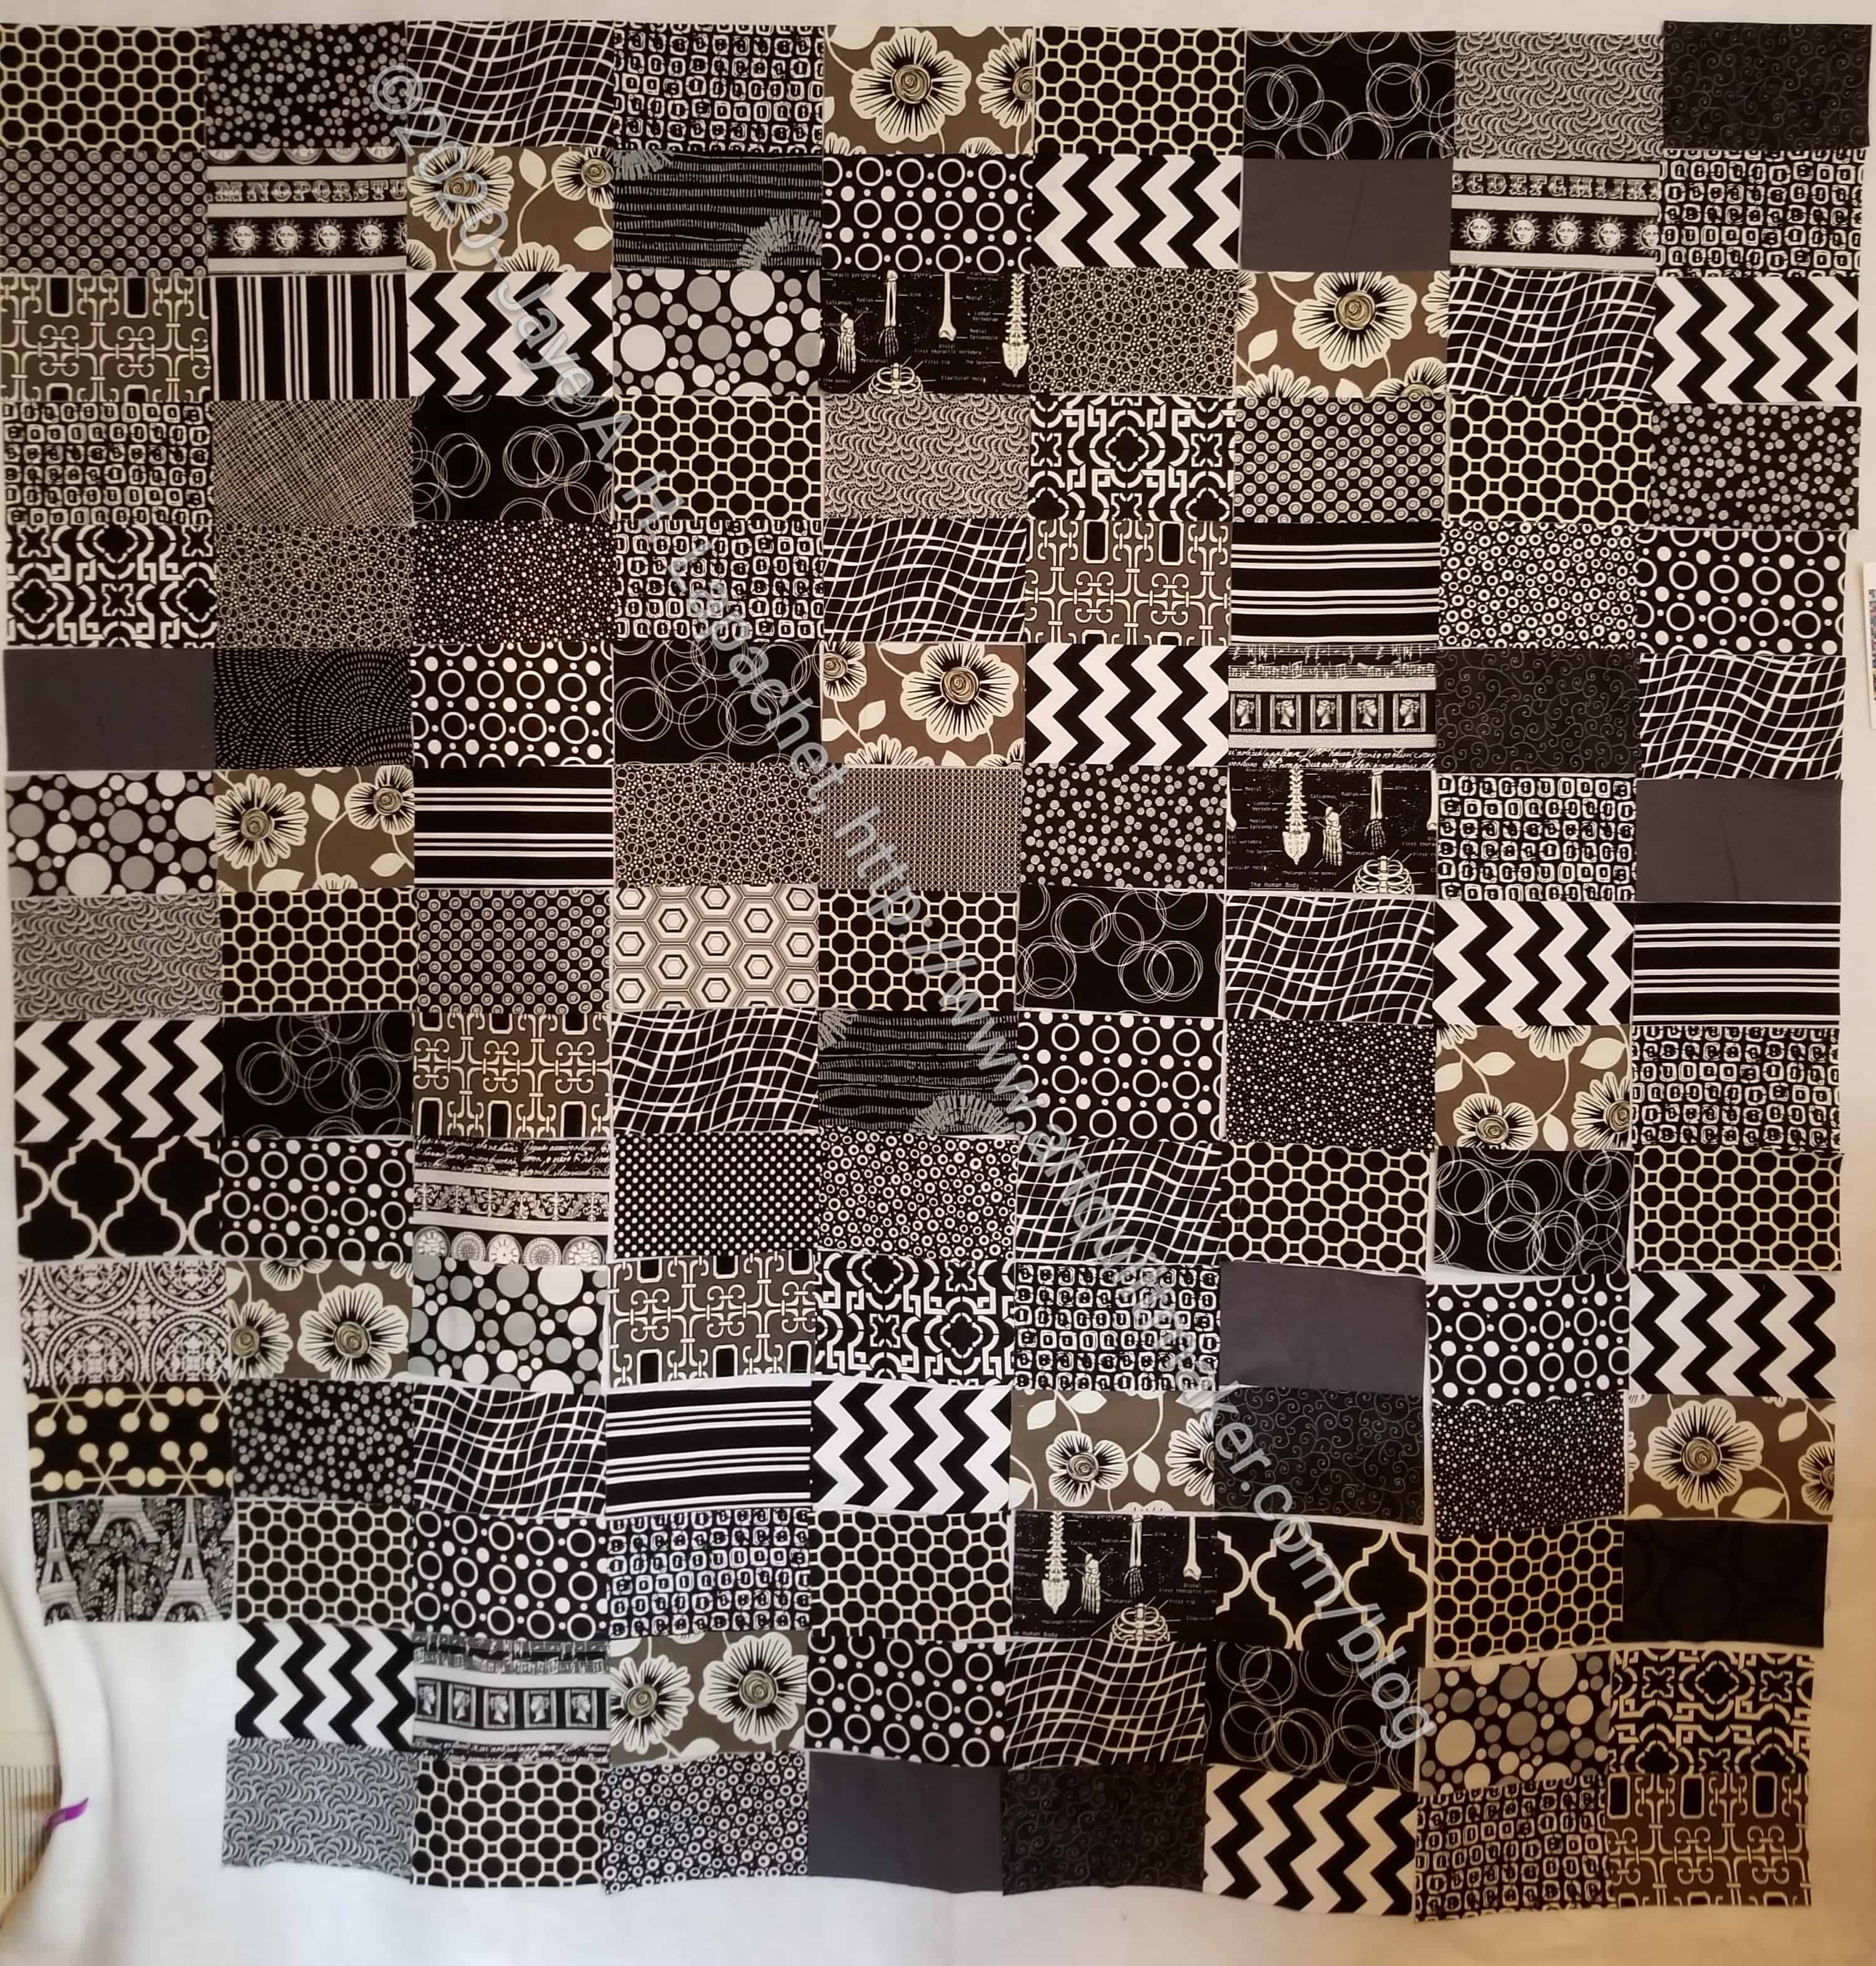
I spent some time on Sunday working on the Black & White with Red quilt. I wasn’t sure what I would do, but I just started sewing rectangles together first.
Testing Bias Tape
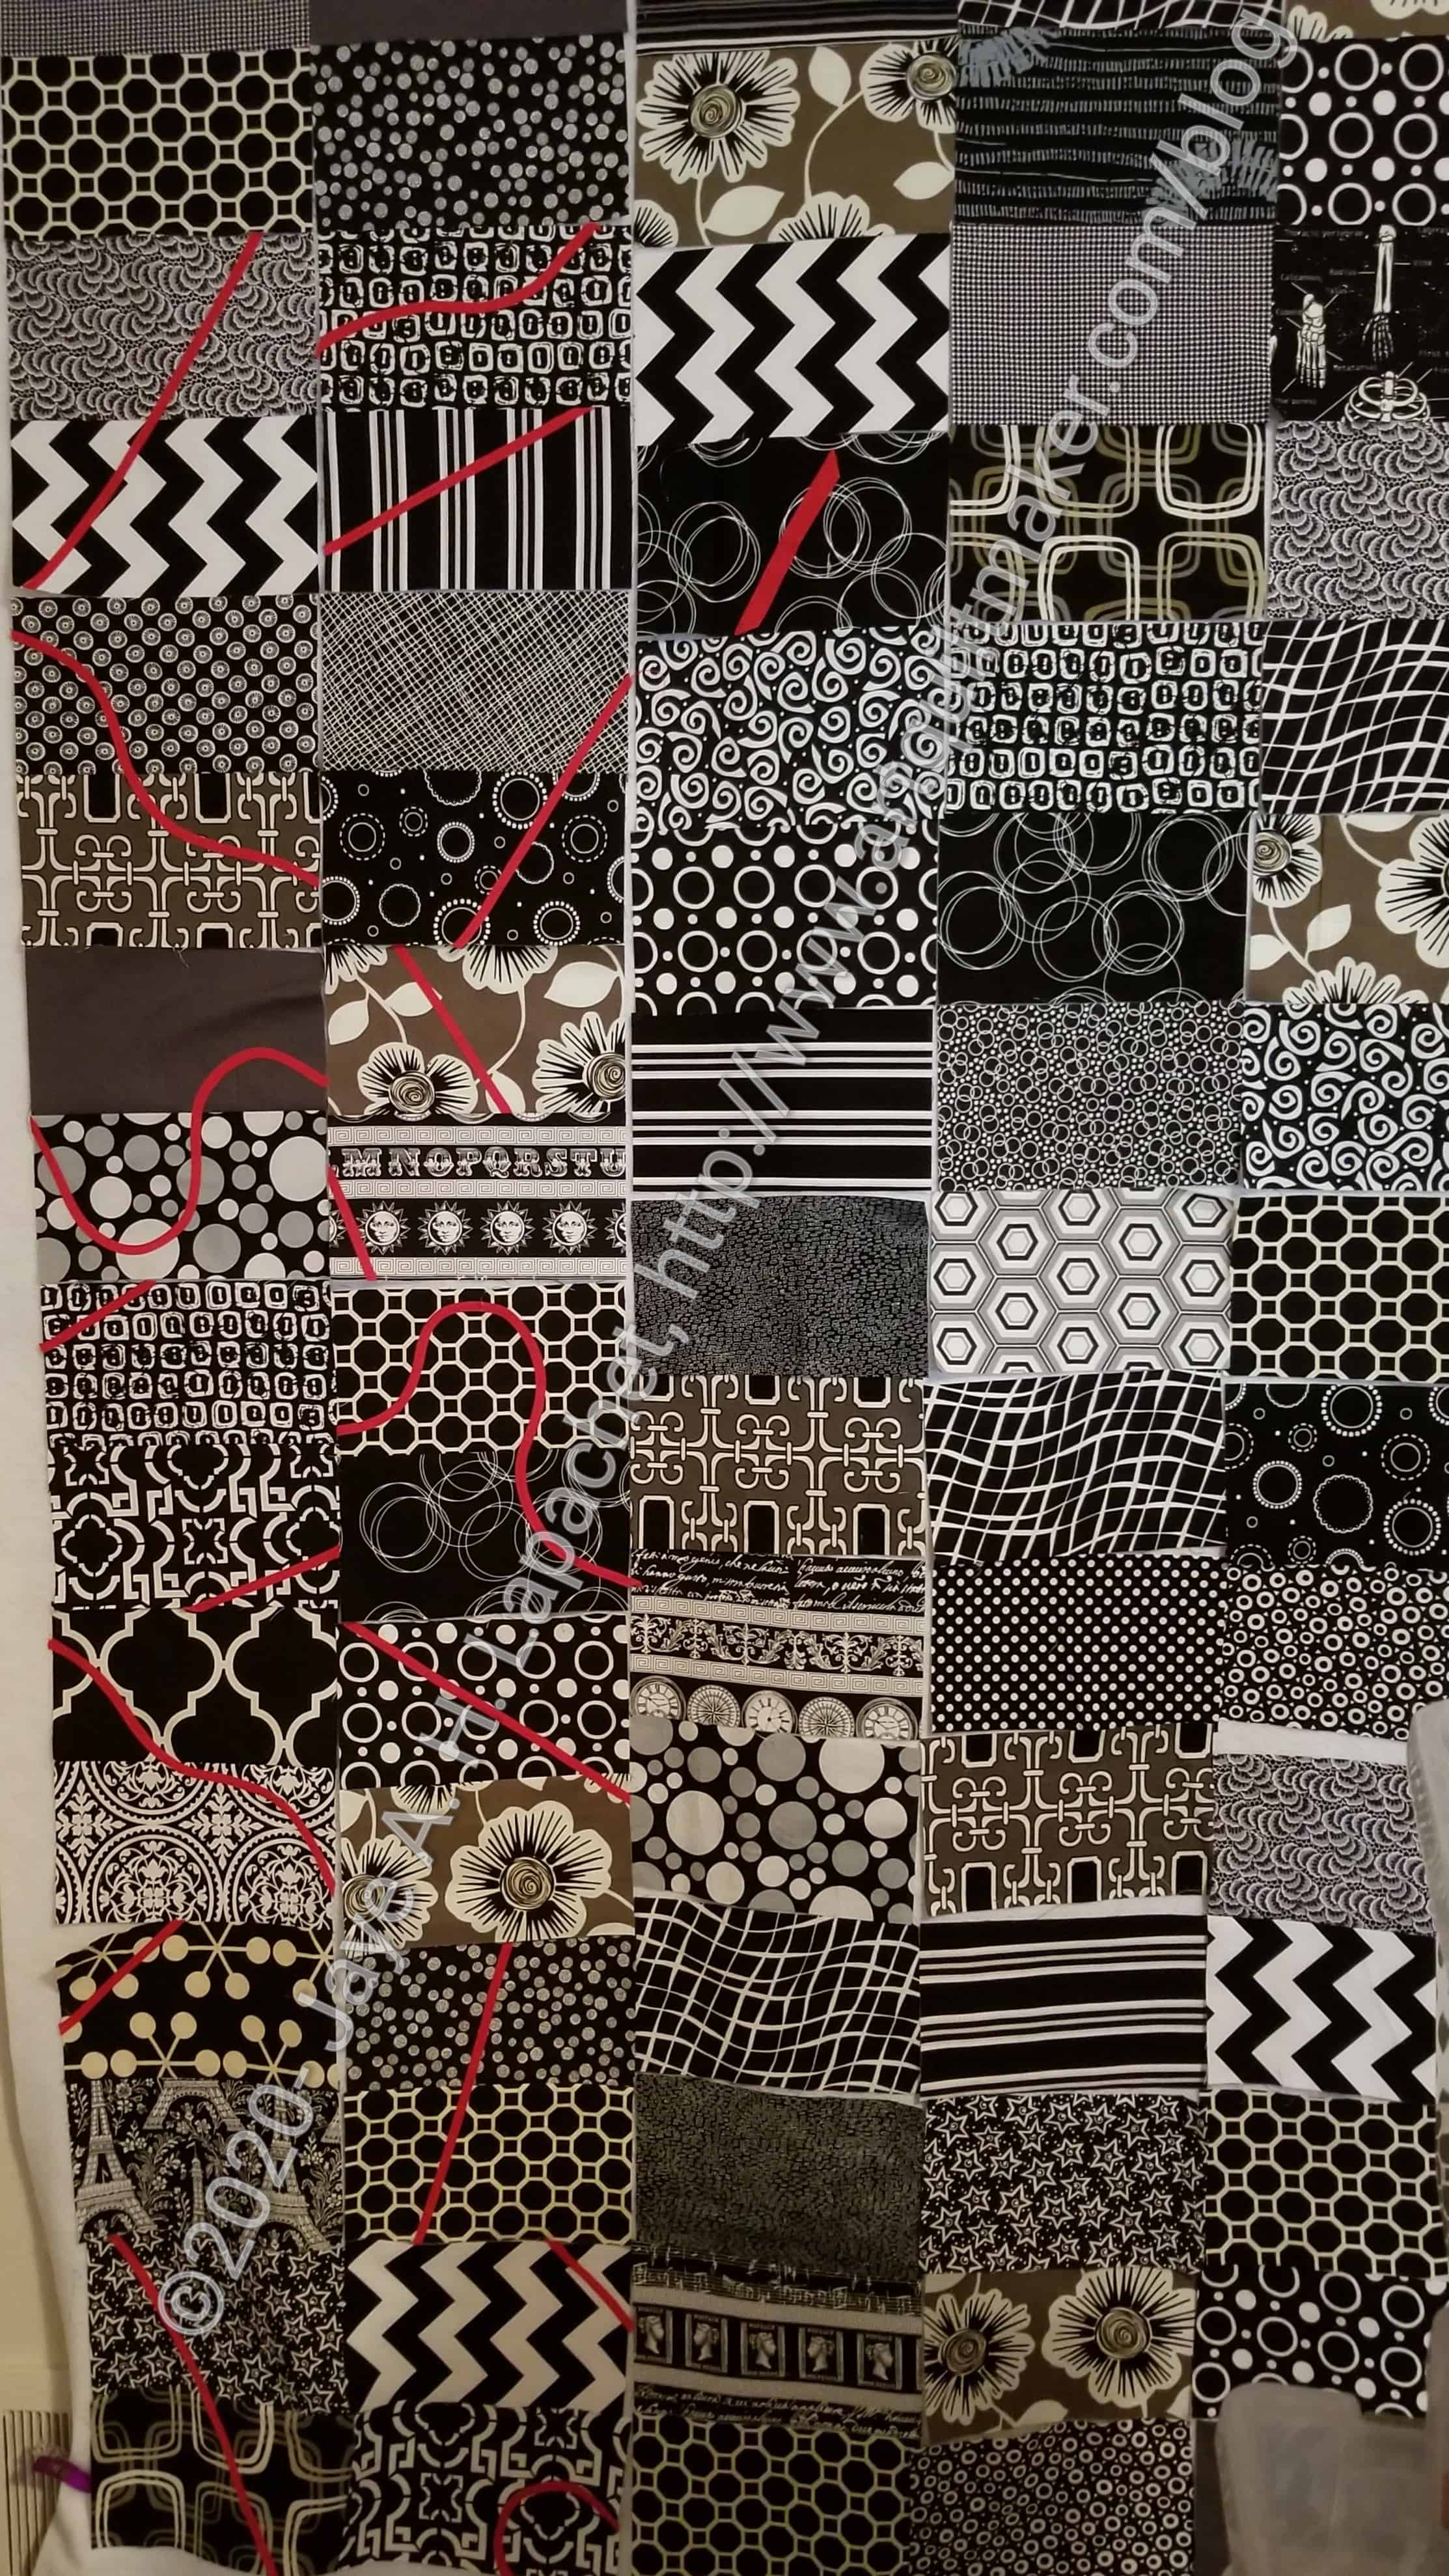
Per my rule, Make Visual Decisions Visually, I pinned up some of the bias tape to see what the piece would look like with the bias tape applied.
I am not happy with the look of the bias as applied in the photo, but I do think putting a larger piece over the whole top is a good idea. I don’t want it to look like a giant *enis so I have to make sure about that.
When I pinned that long piece of bias tape on the top, I hadn’t done any sewing. Now I have sewed shorter pieces of bias tape to smaller sections and now I am much more confident and have a better idea of how the bias tape works.
Black & White quilt with some red
I am really liking the bias tape. It is amazing how the curves work! I am getting much better at sewing them down flat and I am testing how tight I can make the curves. I think I have to do something else with curves. First I have to find my bias tape makers
I cut up the fabric I found the other day into sashing strips and had been waiting for some miracle to sew them together. I found another piece of a similar colored batik and was able to move forward yesterday. I sewed sashing pieces to the tops of all of the blocks and am now sewing the blocks together into rows. I am not adding corner stones so I am not chunking.
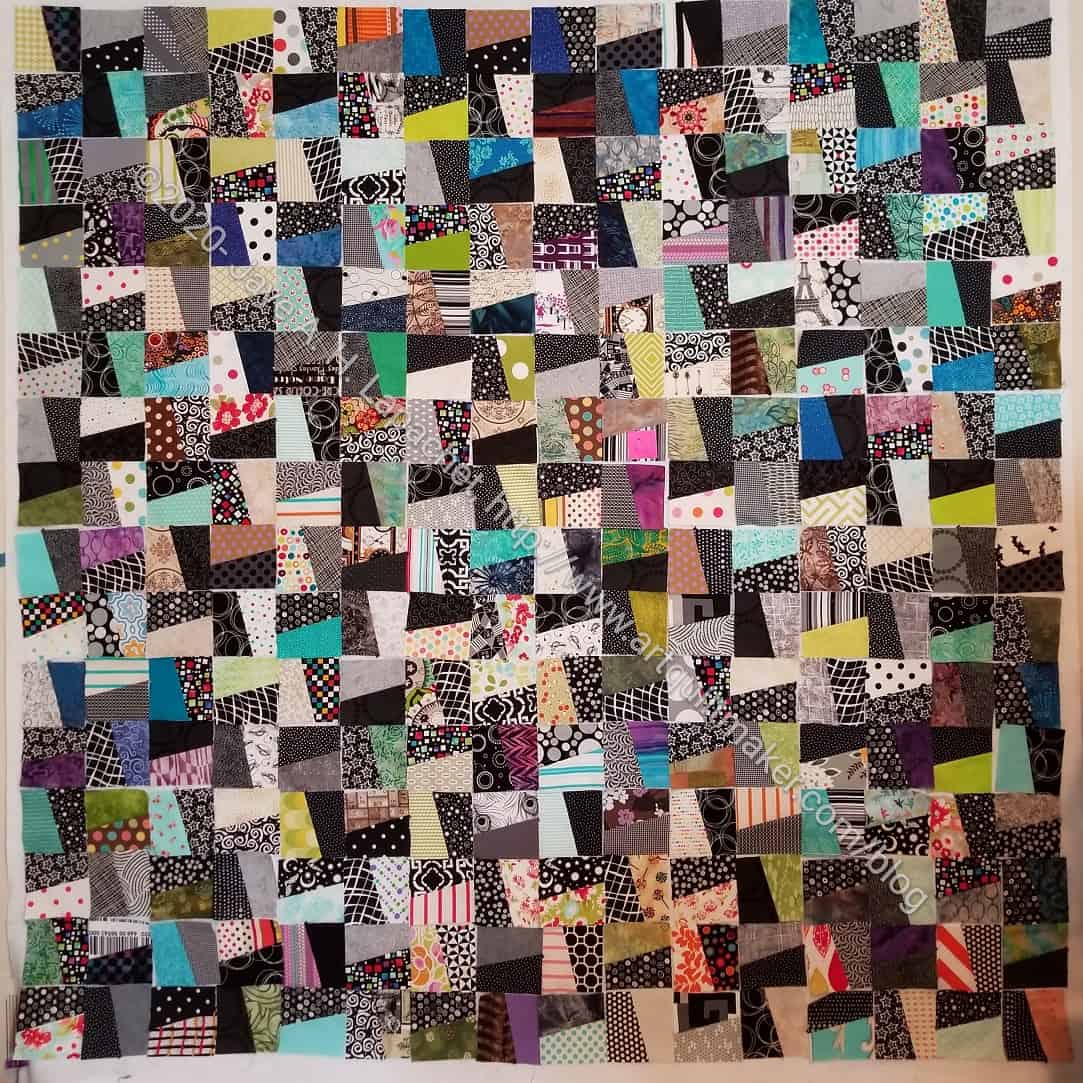
This quilt does not yet have a name. Black & Red Quilt doesn’t seem useful or interesting, somehow.
This photo also does not seem interesting. Trust me, the piece looks a lot better on my design wall. Clearly, I need better lighting for photographing monochromatic quilts.
The shifts in fabric/tones & shades are subtle. This is more like a pushed neutral background than anything. There won’t be much of a foreground, however, as my idea is to use the 3,000 yards of bias tape I made in the January Challenge for the Mighty Lucky Quilting Club. My original idea was to applique a small strip to each rectangle at a different angle, then sew the rectangles together. The other night as I was going to sleep, I thought about sewing the bias tape to the quilt as one long piece in large arcs or swirls. I am eager to sew the rectangles together, but the new idea would mean maneuvering the large top around my sewing table rather than the smaller rectangles. I’ll get the red bias tape out and see what I think.
I spent some time working on sewing the plaid blocks together. I was able to finish the top with only a minimal amount of irritation. There are a few places where I would have changed the blocks if I had been able to see them on the design wall, but didn’t and am not unsewing.
In general, I am pretty pleased with how the piece looks. The yellow is pretty well distributed over the top, so it helps the eye to move around. Now on to back and binding!
I had 4 days off over the weekend and it was great to cross some things off my To Do list AND get some chores done. I have a number of bags and a swap gift on my to do list, but after 3 hours worth of video chats and an hour on the phone with the YM, I really only had time for the plaid blocks. I did press some new-ish fabric, though and found some pieces I’ll use for the swap gift.
I now have 25 blocks, so am definitely on the downward slope of block making for this piece. I ordered the felt for my design wall yesterday. I have little hope of it arriving today, but I am hopeful it will arrive int he coming week. I want to get these blocks up where I can see them all before I start sewing them together.
I consulted with a friend who said this block is called Block Party. I did a search and found some instructions on a guild community service site. The instructions are in PDF, which is handy. I wasn’t able to find anywhere else to confirm the name.
6 more Plaid Blocks
I added another few blocks to my total during the week and am now up to 15 blocks. My first plan is for 36, which means 21 more to go.
I cut up a few more fabrics so there are some new ones included. Since I am working without a design wall, mostly, I don’t know if I am duplicating layouts. I don’t think it likely, but I also don’t think it will matter if I am.
I had to get the Warm Windmill n.2 off the design wall by the end of the weekend. I sewed a little each day at lunchtime last week and also a little after work. I finished sewing the whole piece together on Saturday, including sewing around the outside edge.
I pulled fabrics for the back on Saturday evening, but didn’t do any sewing. After sleeping on it, I remembered to look at my back fabrics and found the leftovers of a#politicalwifery dress that formed the backbone of the back.
Warm Windmill n.2 back ready for quilting
This is quilt #2 that is ready for Colleen.
I am going to make some bags and more face masks and some smaller projects while I work on a new design wall.
I am working hard at making this a top not because I want a product, but because I need to free up the design wall. I am still being careful about the colors.
I spent several lunch hours and time after work sewing to get this done. From what you see in the photo, I need to finish sewing all the blocks together.
I found a GREAT binding fabric by chance and am excited about that.