Roadtrip / I-Spy

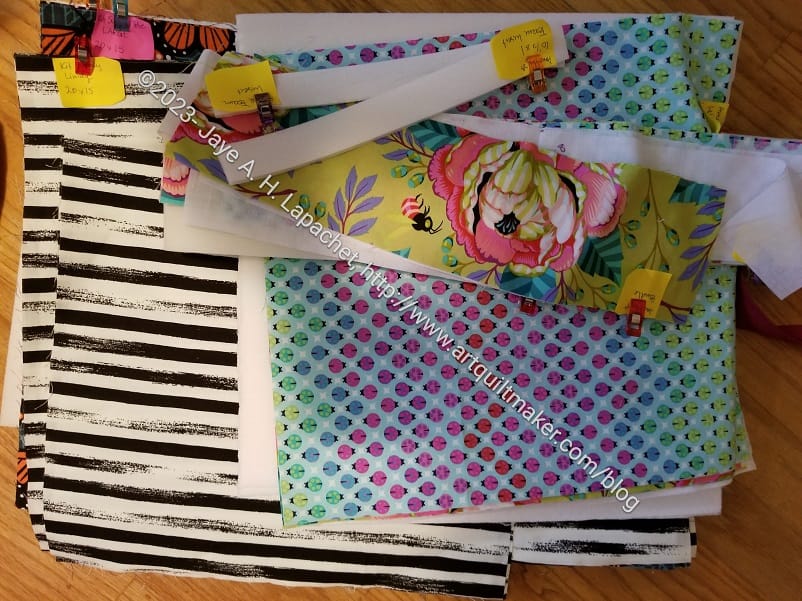
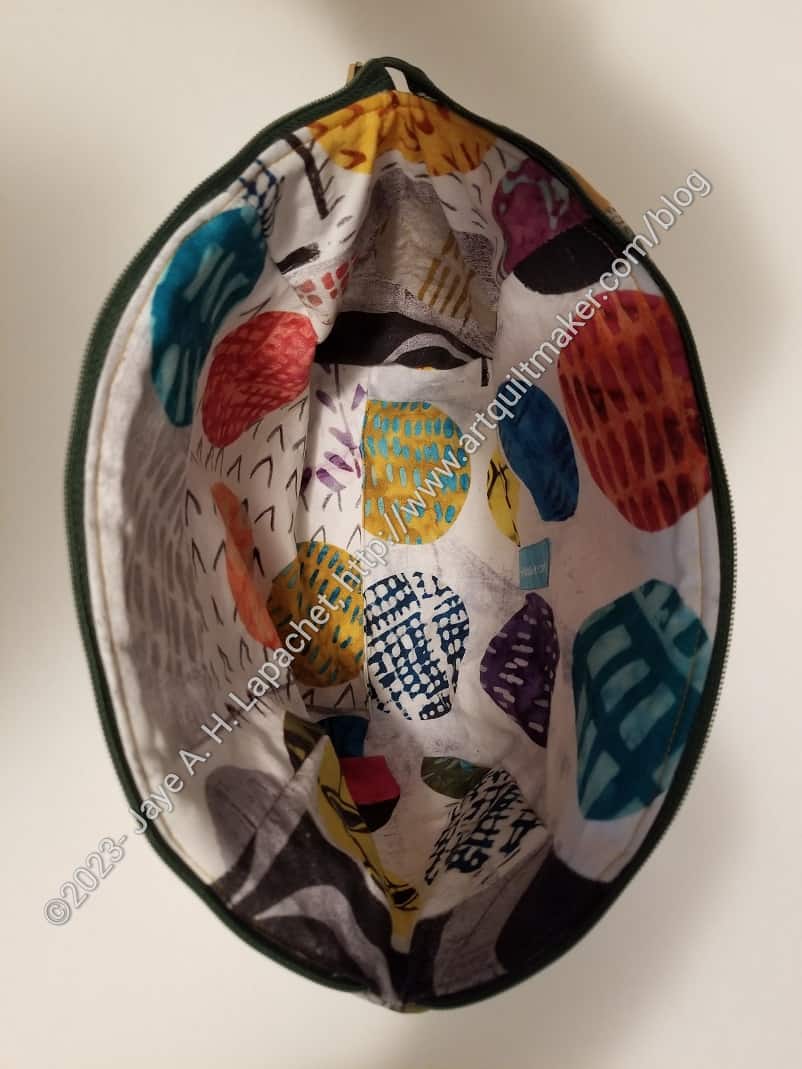
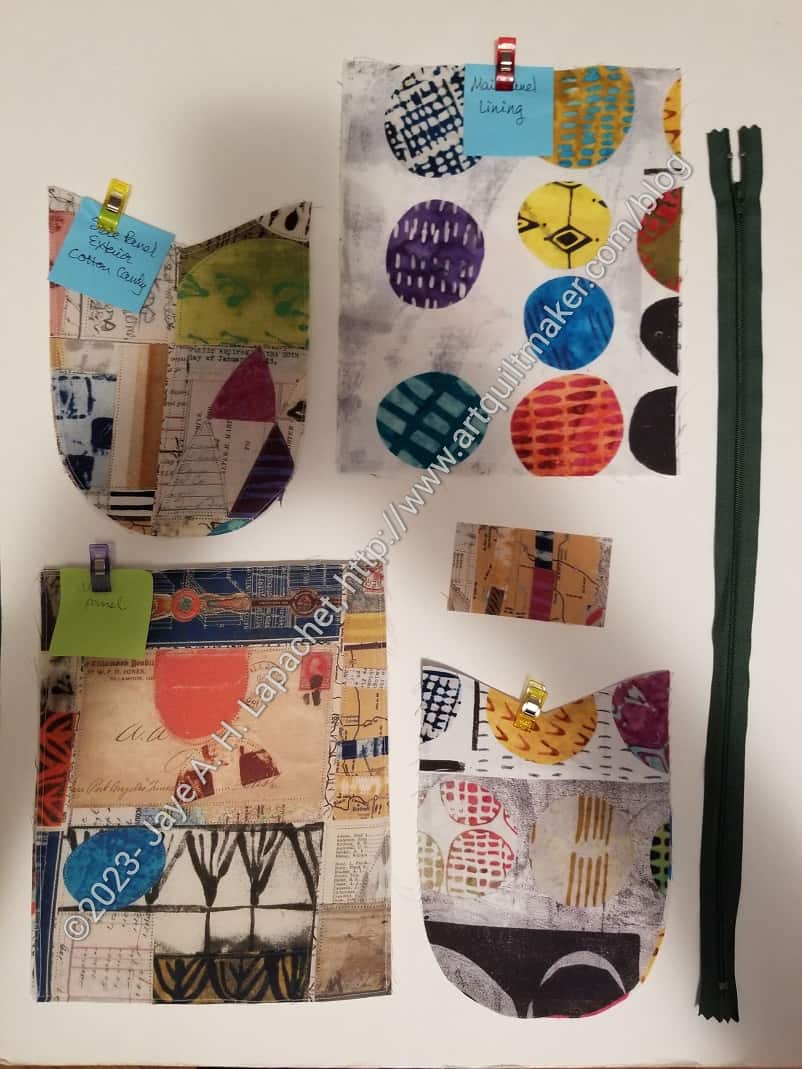
I went on another organizing rampage this morning. I decided to gather all the fabrics and supplies for several bag projects I have planned. This task has been on my list for awhile, so I decided today was the day. In the course of this effort, I tidied up some project bins that were stuffed full of fabric, patterns, etc.

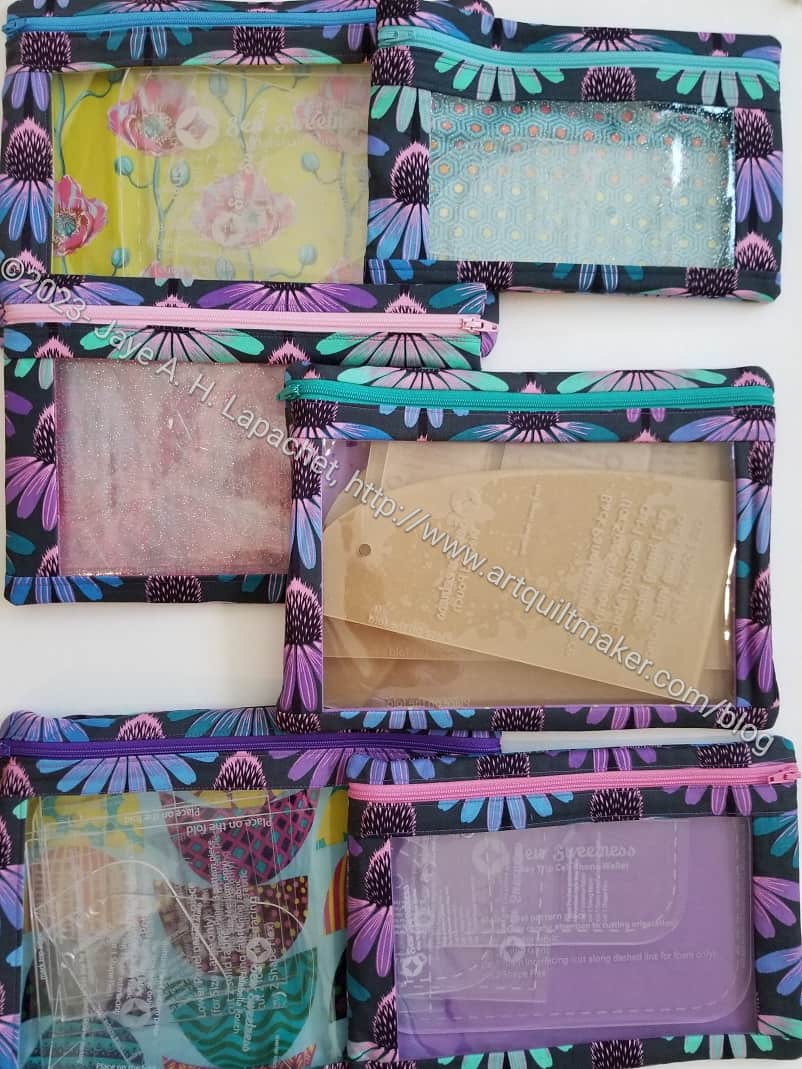
I-Spy / Roadtrip pouches

In one of the project bins I found two of the smaller, completed Crafty Gemini Organizer Club projects. I know I left them there so I could put them together with the last two projects. The last two projects, the Retreat in a Bag and the Ultimate Project Bag have not yet been made, but are on the list. Thus, they were two of the projects for which I gathered supplies and materials.

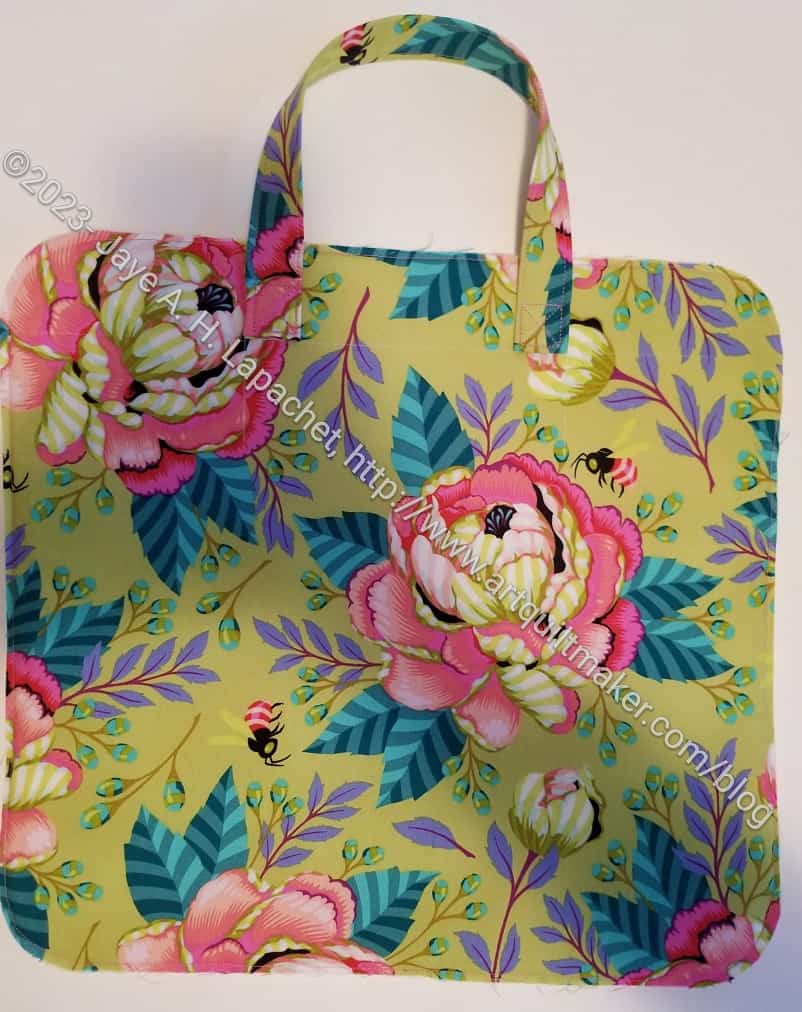
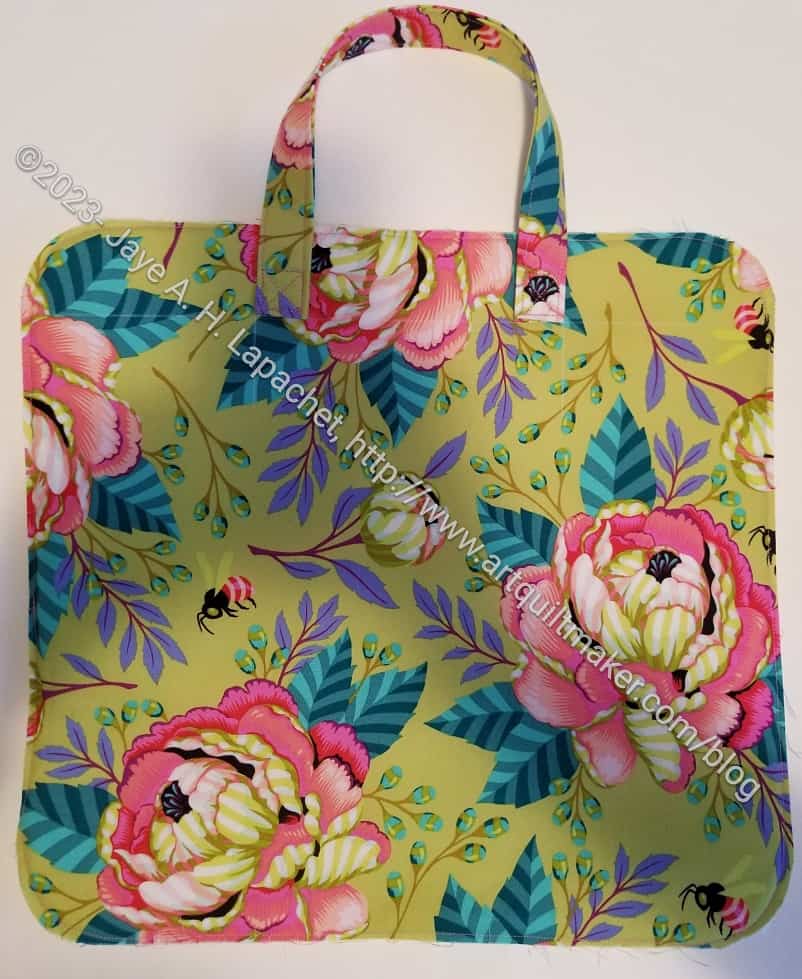
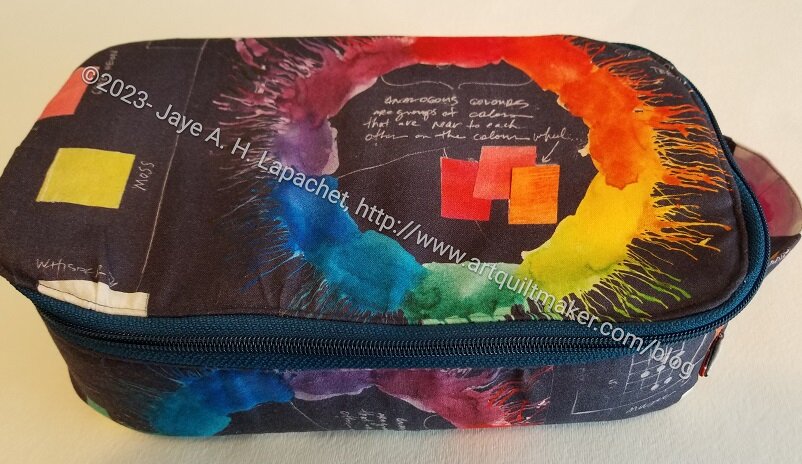
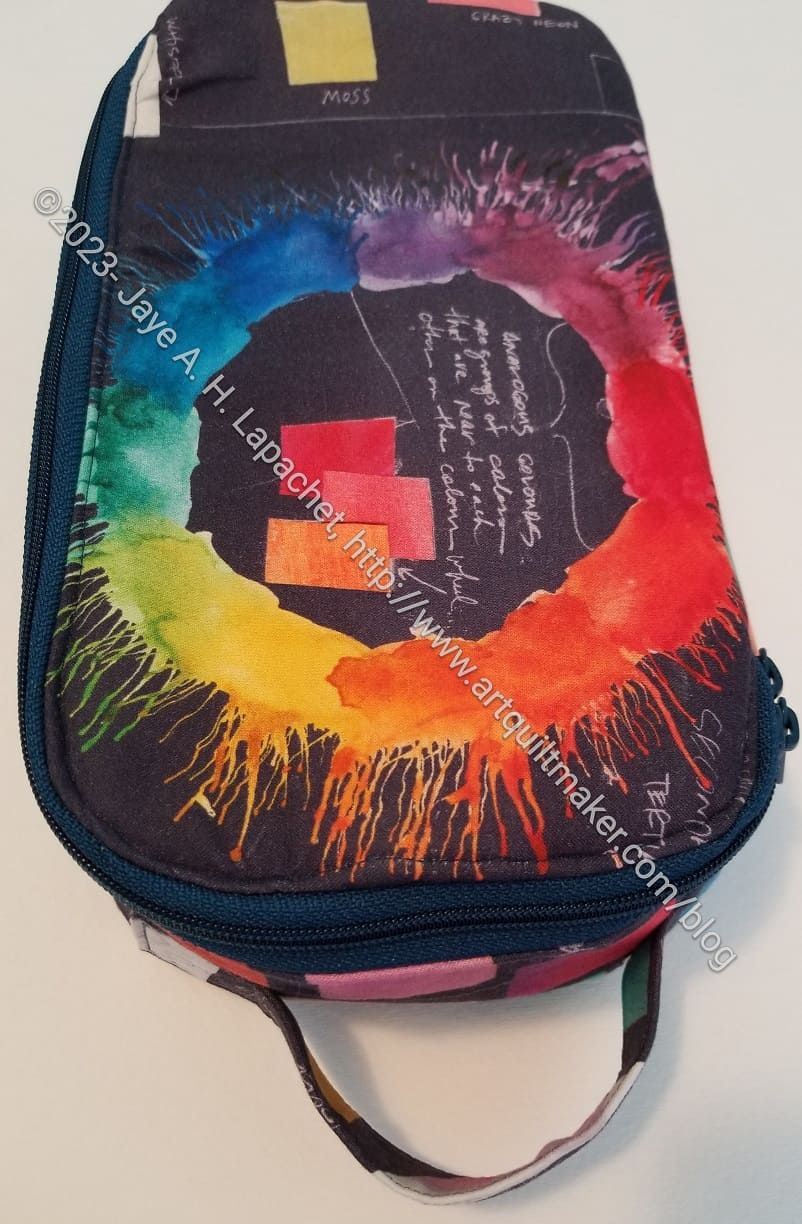
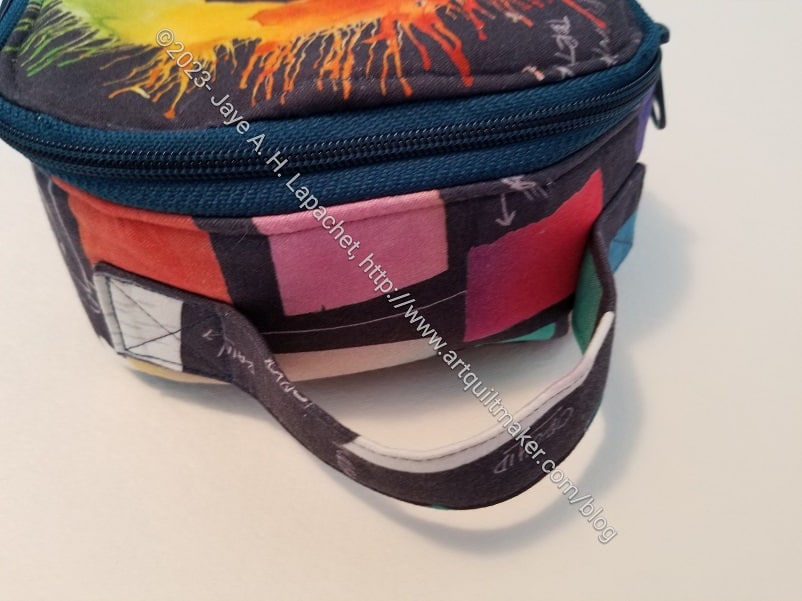
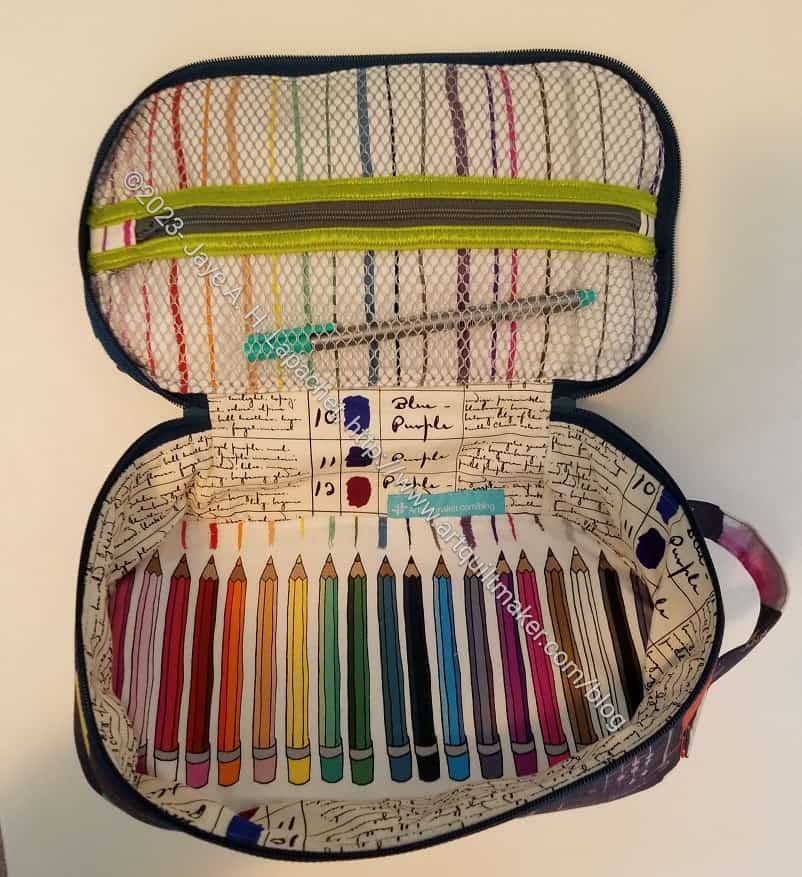
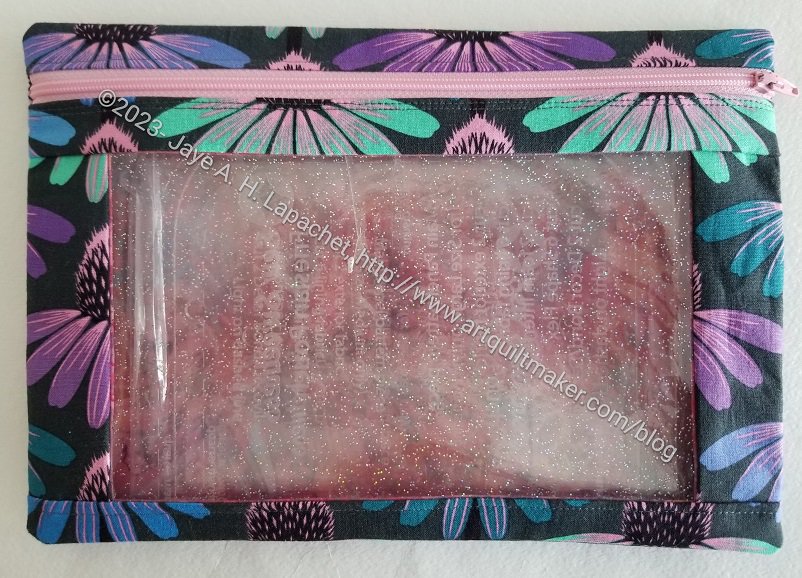
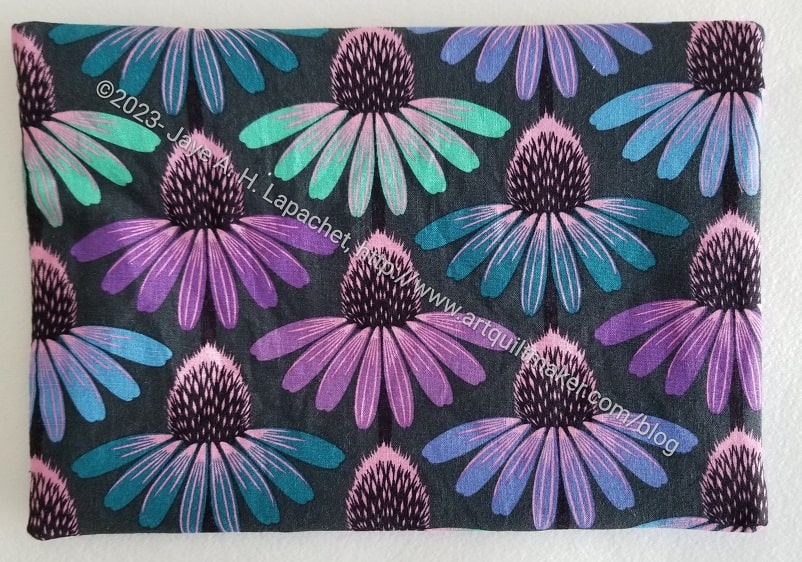
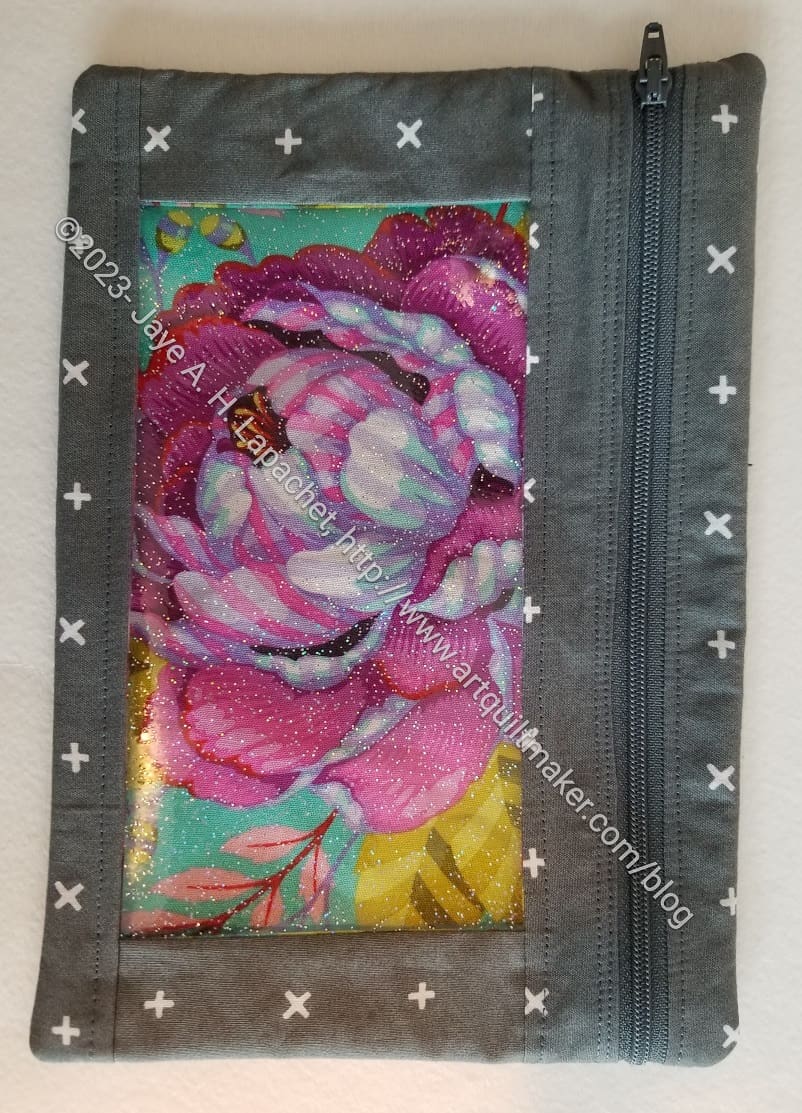
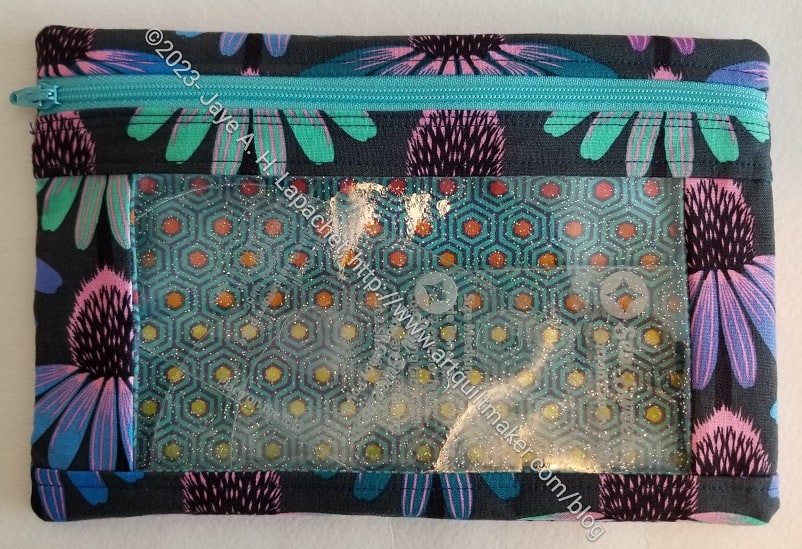
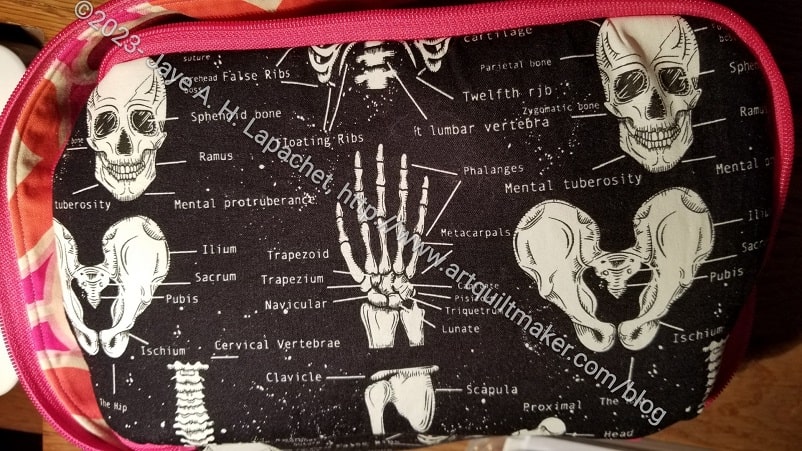
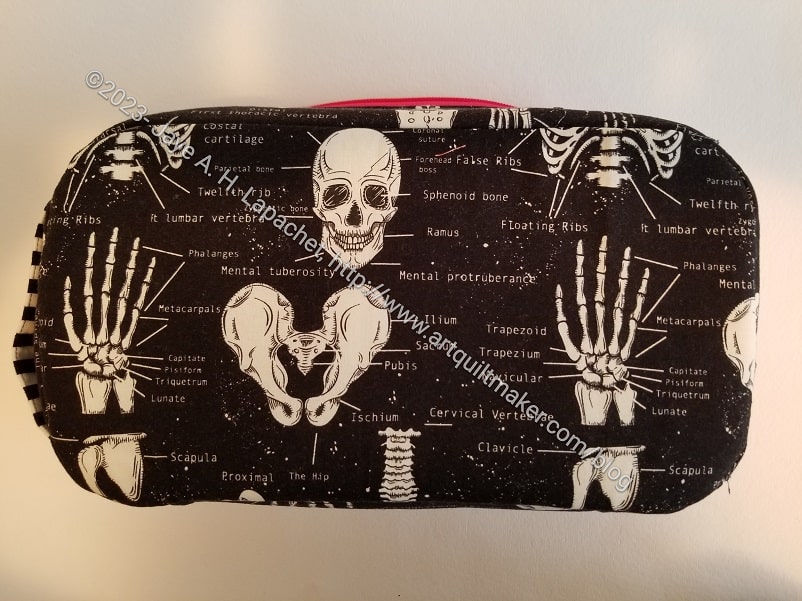
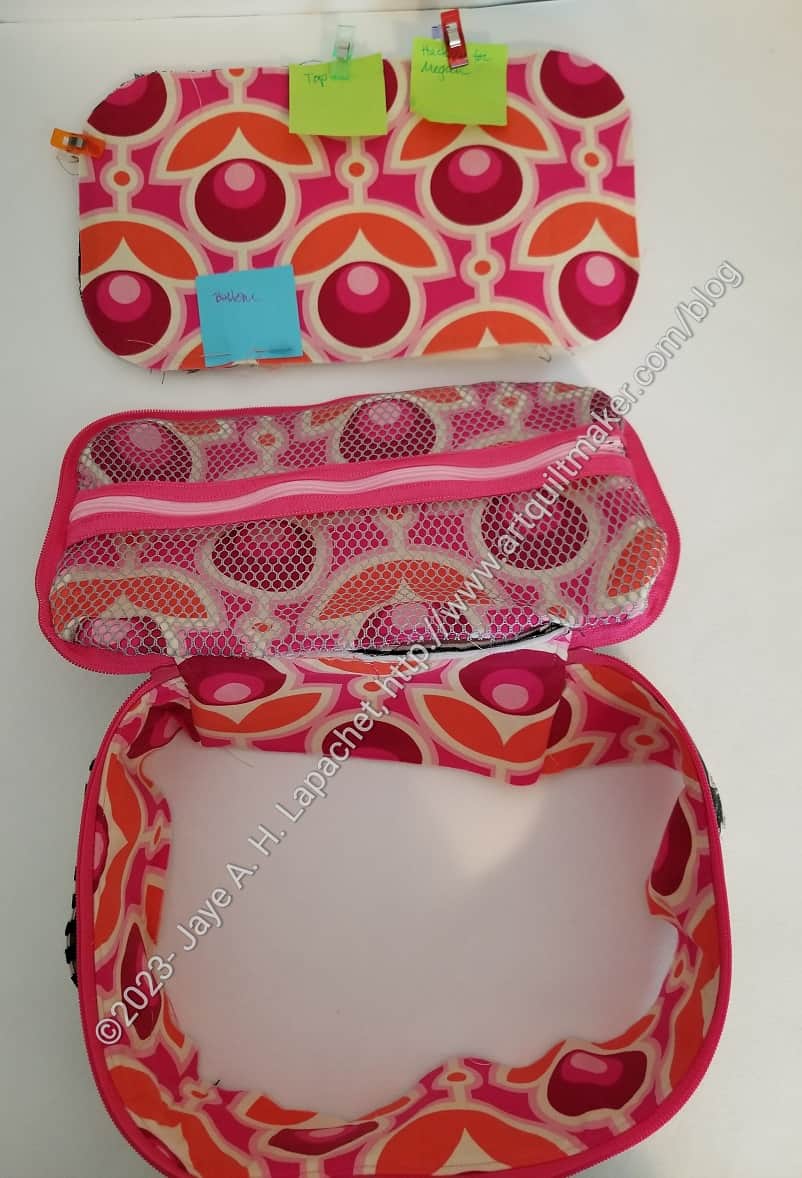
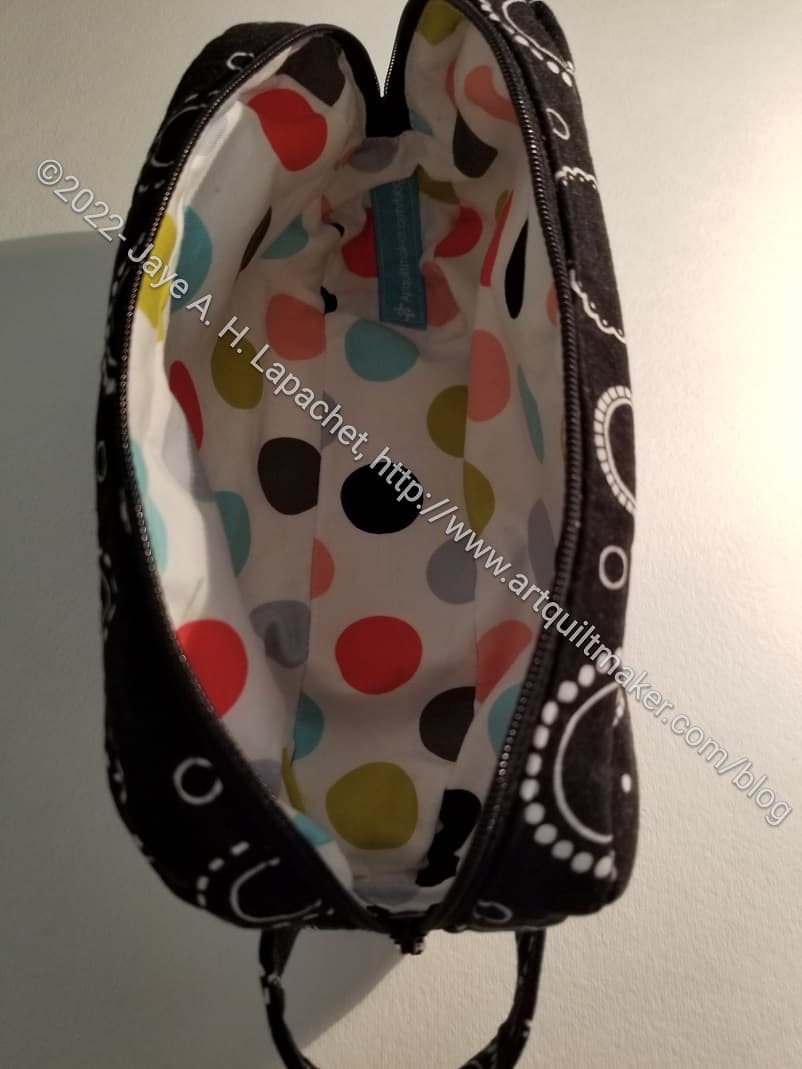
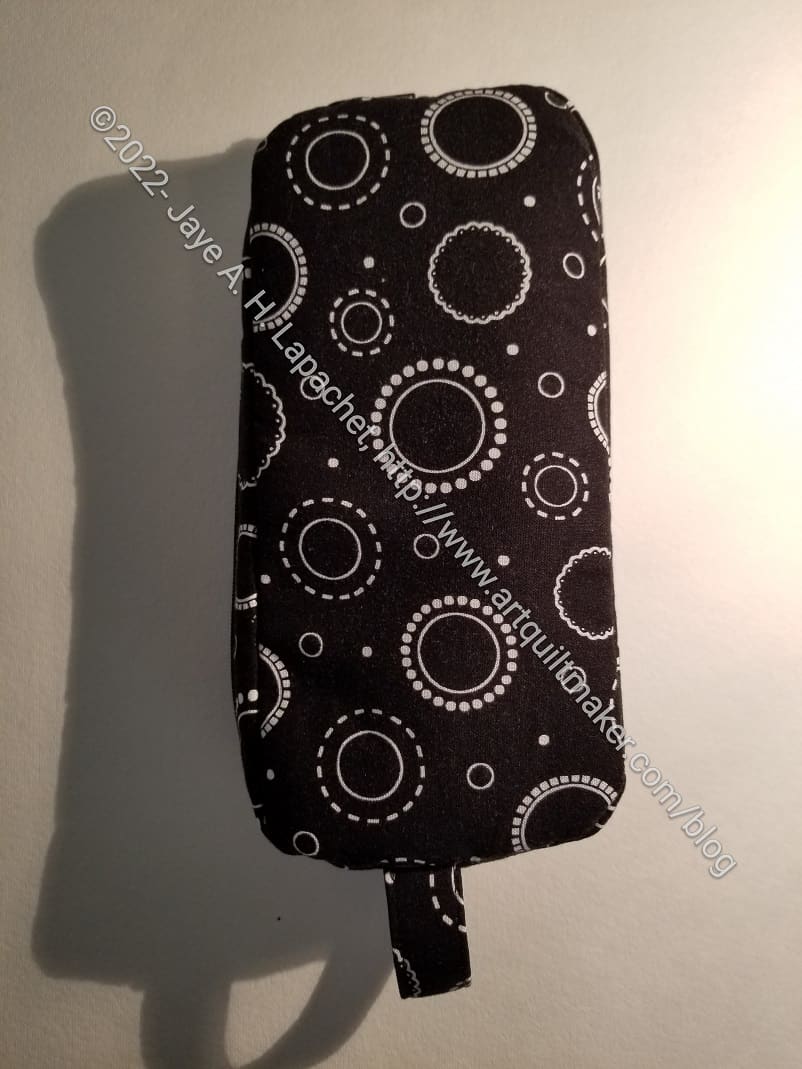
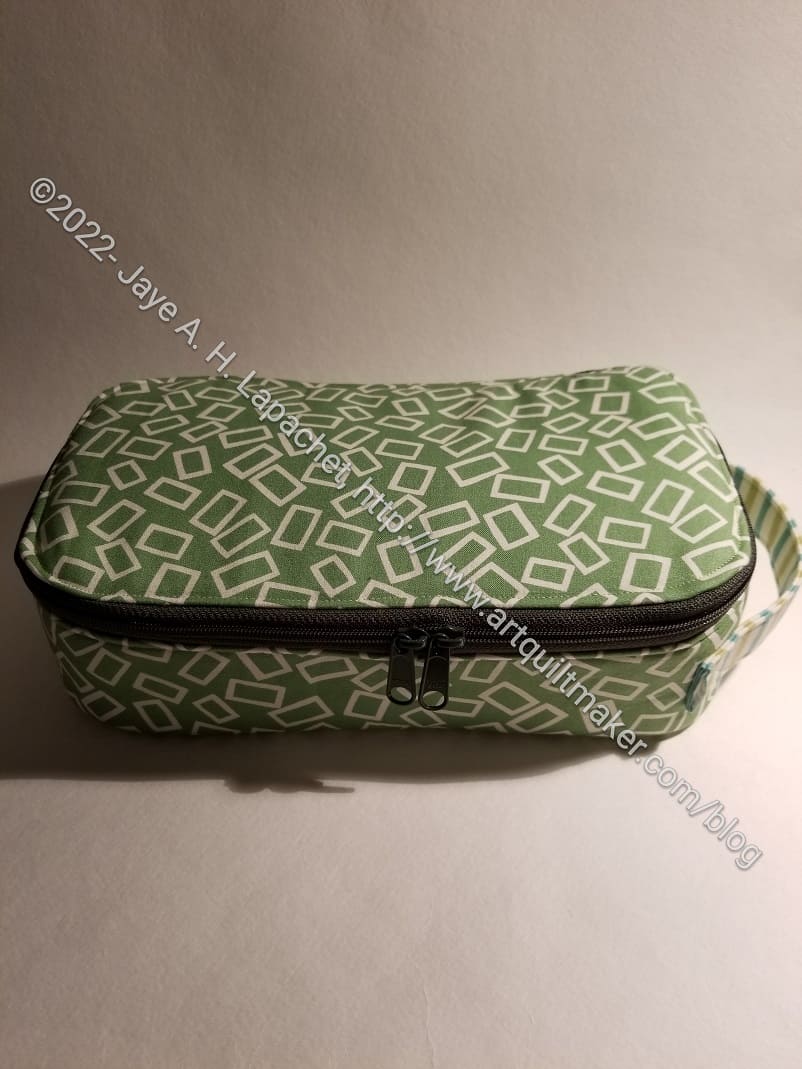
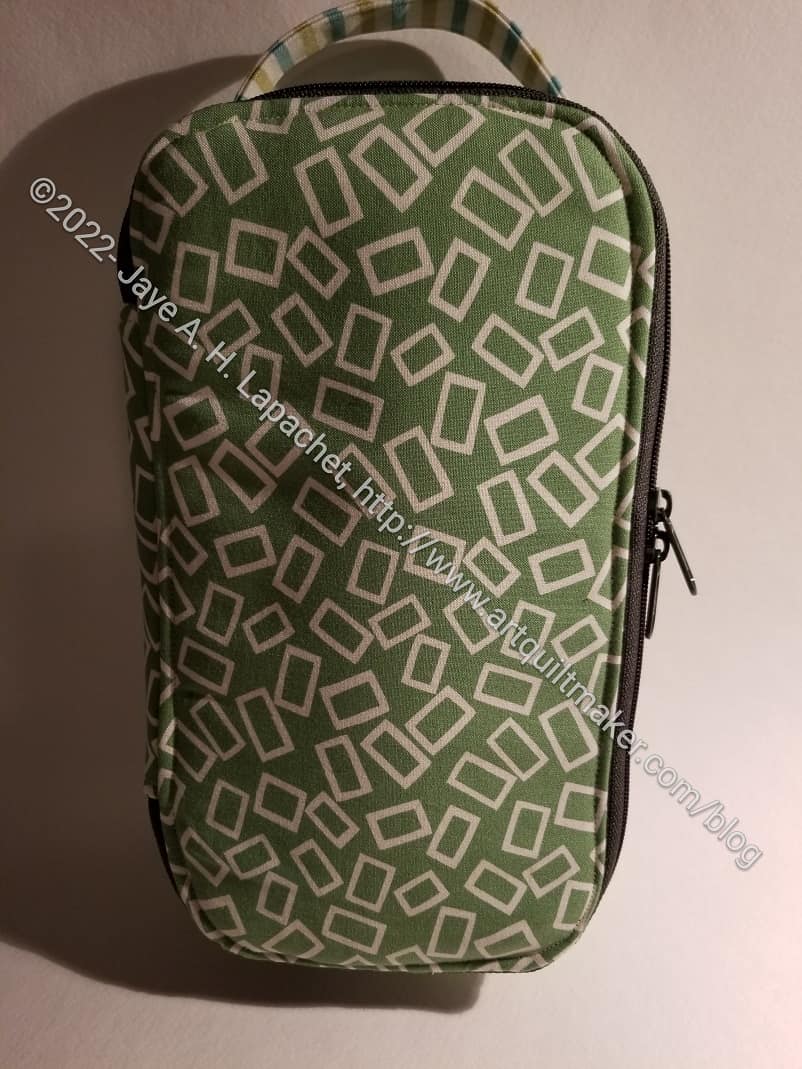
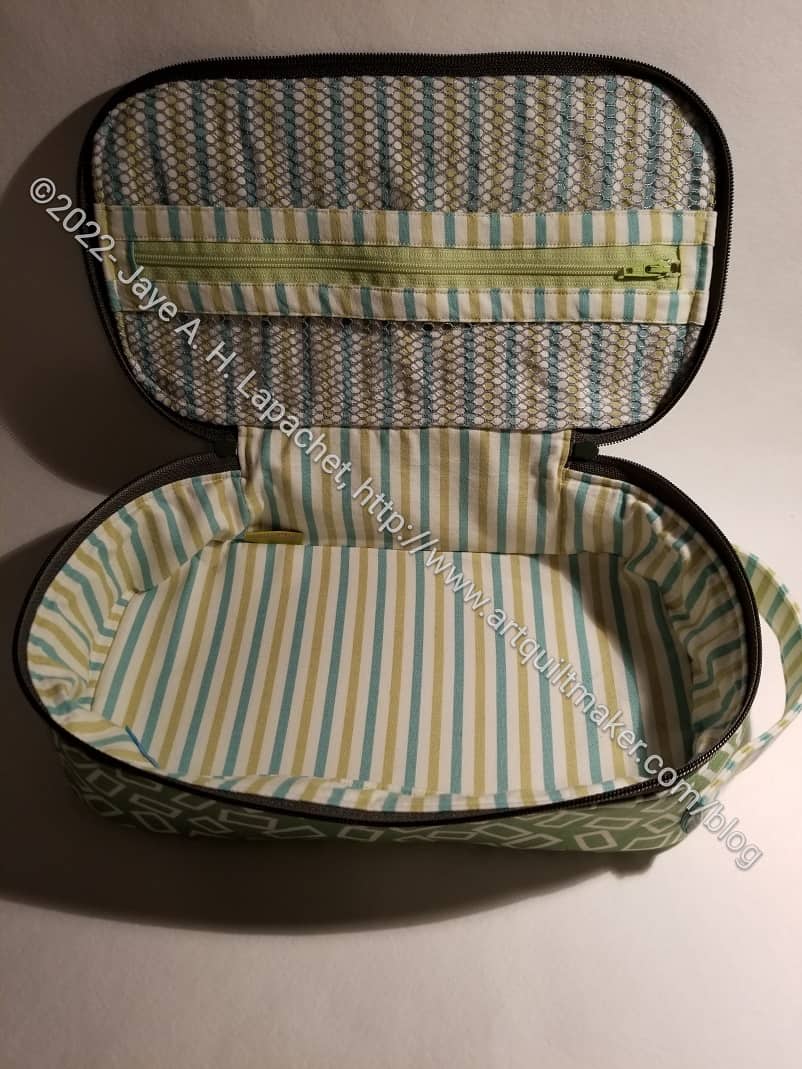
One of the projects I found, which will be clipped into the Ultimate Project Bag was the Roadtrip bag (right, photo above). Seeing this project again made me think of the templates for which I made a number of pouches.

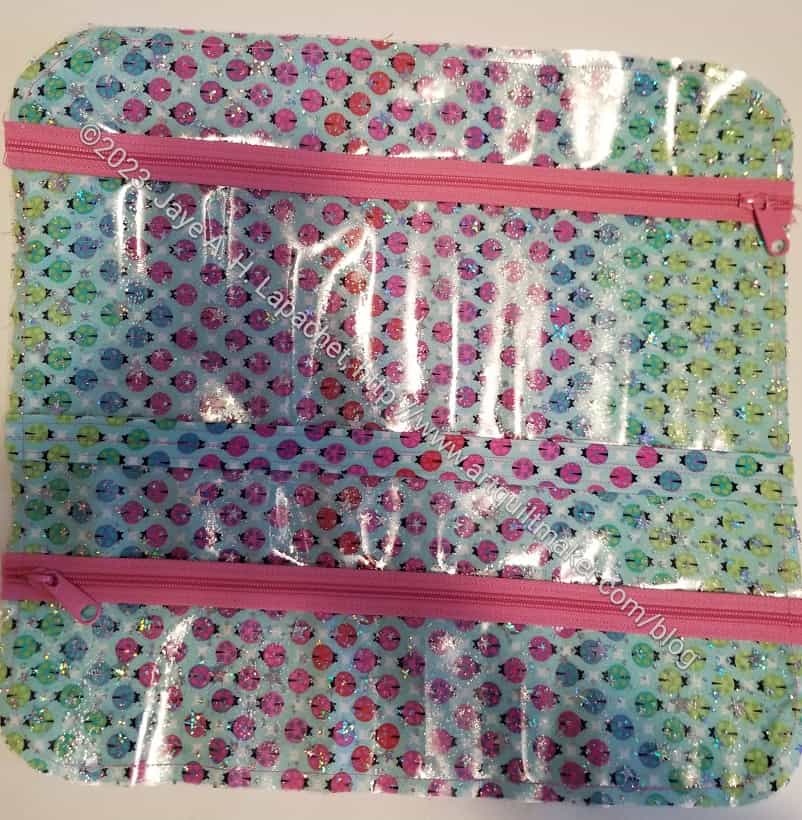
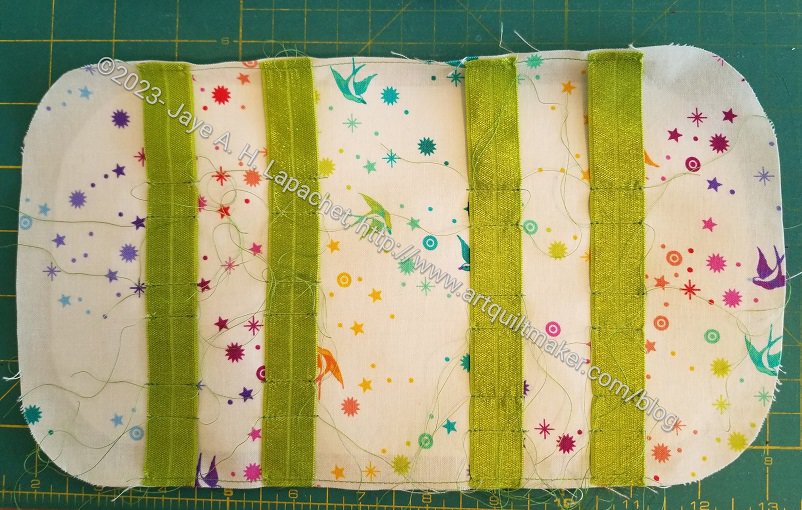
The Roadtrip bag (pouch) was not used for the templates, but it could be. It looks very similar to the I-Spy pouch by Sew Sweetness (left, photo above), which I did use for the templates. Not counting the size differences, the main difference is the side strip on the Sew Sweetness bag. I made several of the I-Spy pouches for acrylic templates.

The reason I am talking about these is that I thought I would make a larger one, adjusting the size, to suit two sets of templates which don’t fit in the sizes given in the pattern.

The Sew Sweetness I-Spy pouch comes in 3 sizes. The largest size is 10.5 in x 8.5 in high, which is great except that it will not fit the larger templates that need a home. I want to make a pouch for the Chickadee Backpack templates I bought last year when the pattern came out. The templates need a pouch that is about 8 in by 19 in.

Yoko Saito's Natural Patchwork bag
Yoko Saito’s Natural Patchwork bag

I know I talked about the bag from Natural Patchwork**, which I still want to make, but I don’t think today is that day. I do like the idea of handles (makes me think of the Grab & Go pattern, also from the Minikins patterns) and I may use foam instead of batting since the templates are quite large and I don’t want them to break.

What did I gain by today’s organizing effort? 1. I have everything ready when I decide to cut new projects out; 2. I have zippers on order, which weren’t already in my bin of zippers; 3. I have more of an idea for securing some templates; 4. Bins with less junk in them.


**Obviously, you should shop at local quilt shops. However, if you are too busy or can’t find what you need at quilt shops, I use affiliate links and may be paid for your purchase of an item when you click on an item’s link in my post. There is no additional cost to you for clicking or purchasing items I recommend. I appreciate your clicks and purchases as it helps support this blog.

Gift Post #6: Skeleton Hackney

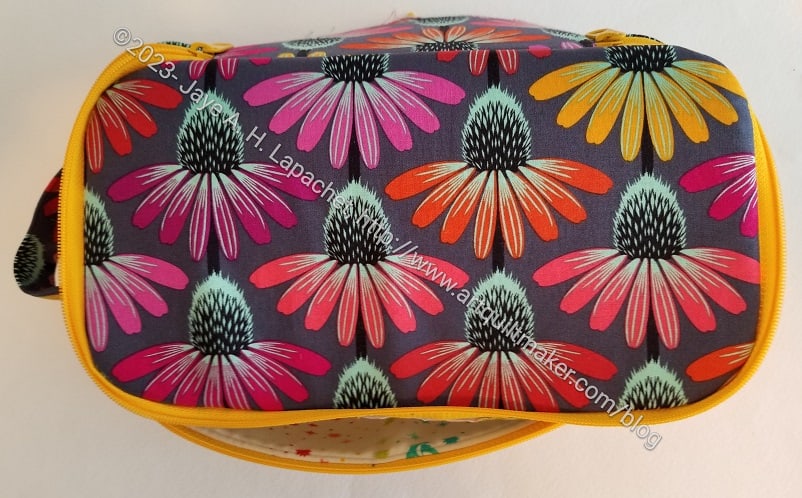
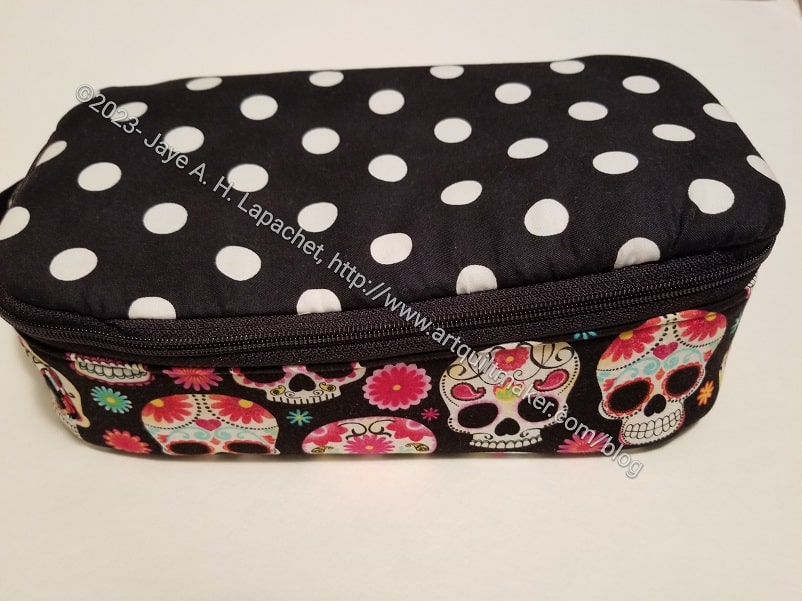
Skeleton Hackney closed

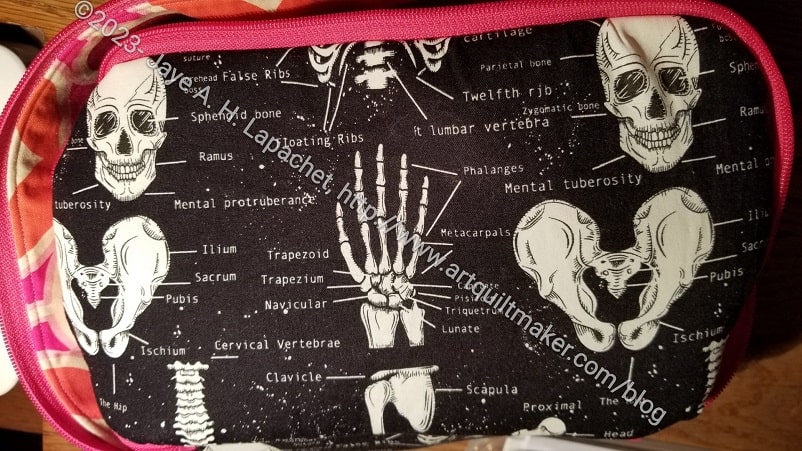
As briefly mentioned when I posted about the Minikins Season Three patterns from Sew Sweetness, I made a Hackney pouch as gift for the YM’s girlfriend/partner. She works as part of a forensics team and loves skeletons. This Timeless Treasures fabric is perfect for gifts for her and I still have quite a bit.

I made her a Sidewinder pouch a couple of years ago, but that had no skeleton fabric. I used a bit of skeleton fabric for the pincushion in the Leaf Sew Together Bag I made for her last year.

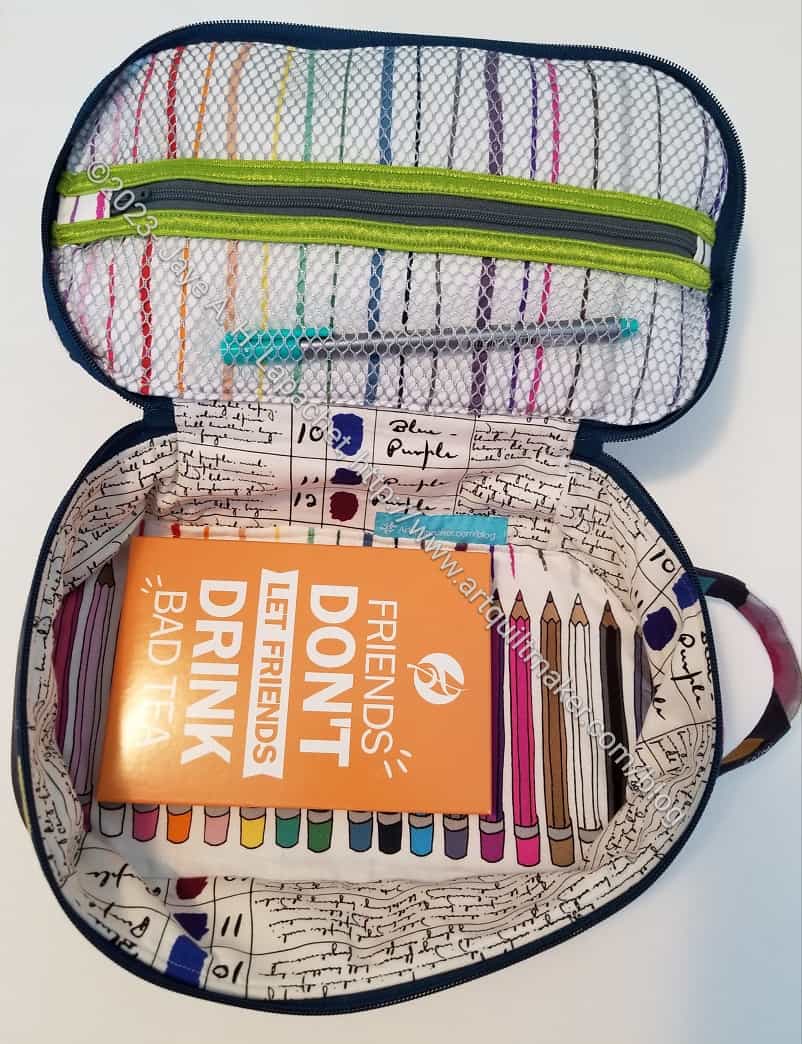
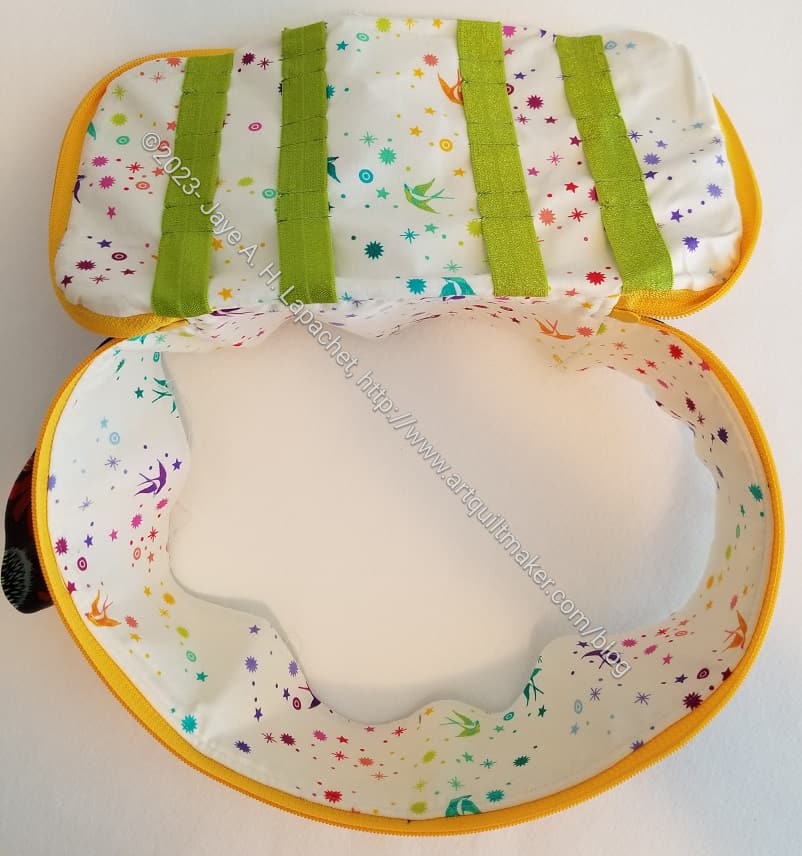
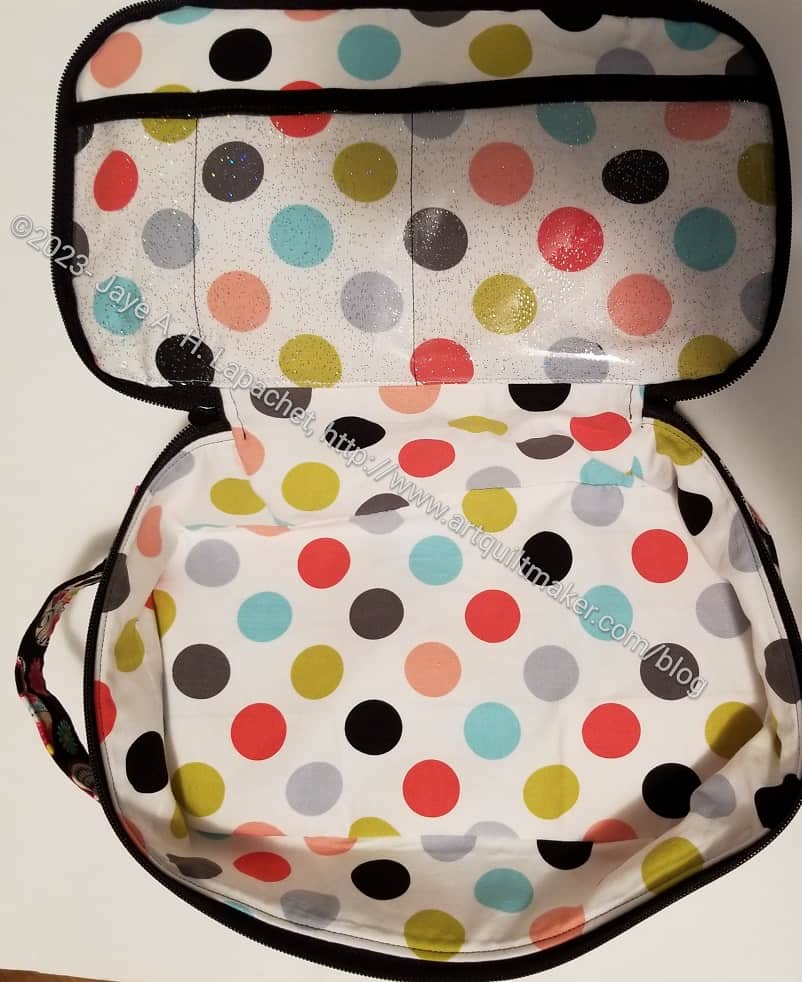
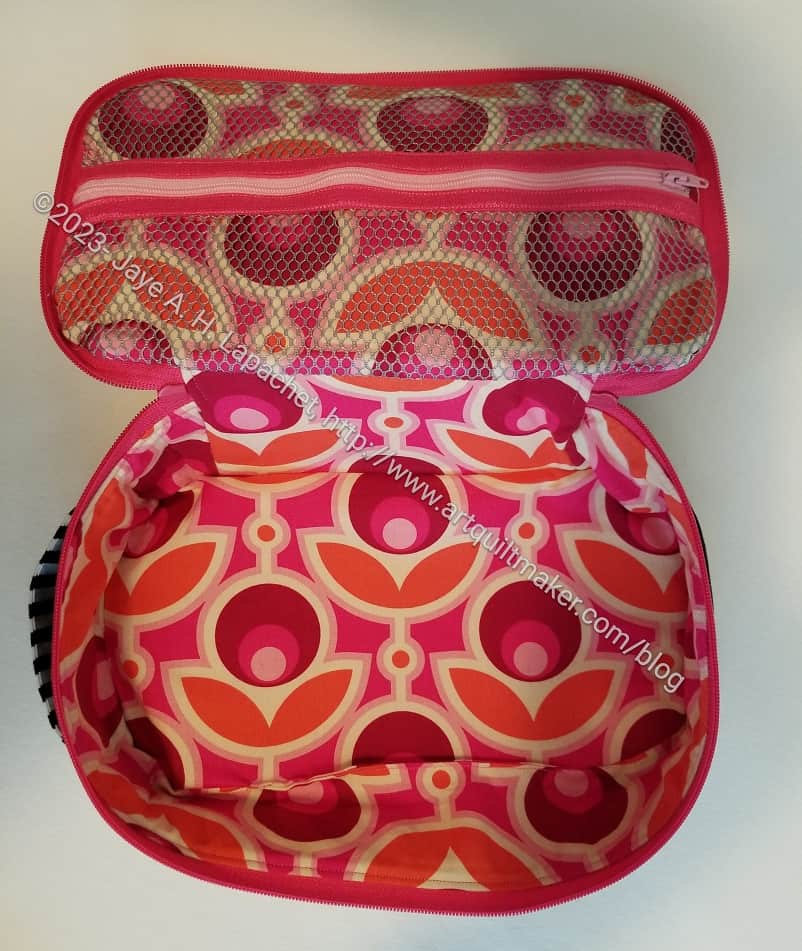
Skeleton Hackney open

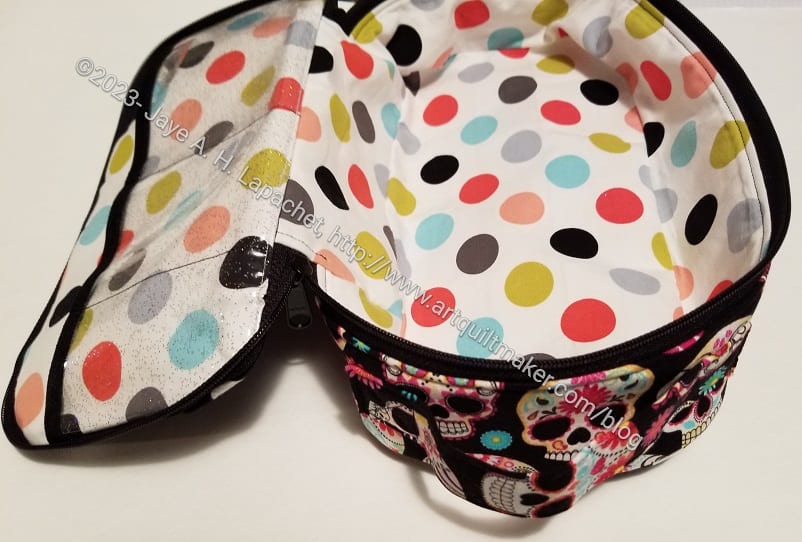
This turned out to be all skeletons all the time, though not the lining. I can’t get away from light colored linings.

I think the center looks super cheerful and people using it can see their stuff.

This was my first try at the Hackney pattern, but I like it as a bag. These are quite large (I made the large size), so not really a pouch, but a small bag. I really want to know if it fits a Switch**. I’d like to see a photo of the large Hackney with a Switch inside it.

I plan to make a few more for more gifts, but also one for myself. I need to think of what to put inside before I make one and have it hanging around.


**Obviously, you should shop at local quilt shops. However, if you are too busy or can’t find what you need at quilt shops, I use affiliate links and may be paid for your purchase of an item when you click on an item’s link in my post. There is no additional cost to you for clicking or purchasing items I recommend. I appreciate your clicks and purchases as it helps support this blog.


Gift Post #5: Pink Moto Pouch

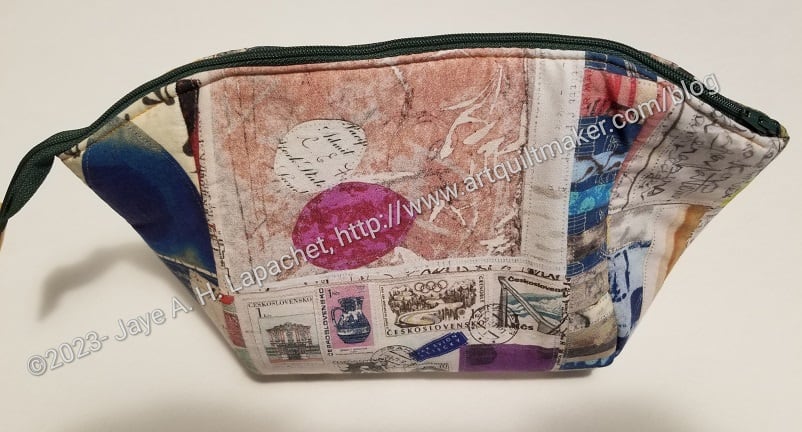
Moto Pouch side view

I finished the Moto Pouch not long after my last post. I like this pattern despite the drop-in lining. I think I have figured out a way to deal with the lining that looks good and isn’t terrible to sew.

Moto Pouch open view

Whether I need that knowledge, we’ll have to see. I don’t know that I’ll make another one. I do know that there are other patterns with drop-in linings. I can use what I learned there. I should make another pattern with a drop-in lining in order to cement the techniques in my mind.

I put the zipper on the side without the handle, but I think that was a bad choice. The handle acts as an anchor for pulling the zipper. The directions are clear and I put in on the handles side on the other one I made, but didn’t understand the reason until I made this one. Live and learn.

Gift Post #3: Percheron Pouch

Percheron Pouch for Kim

The Percheron Pouch ended up very well. Despite my despair when I was finishing it, it turned out fine.

Although I am not a fan of brown and beige, I think the brown and beige handbag zippers work with the Paris fabric.

Percheron Pouch: bottom has OdiCoat

There is a little bit of turquoise in the fabric to liven up the bag. I fussy cut the top so that the Paris motif shows, which means that most of the turquoise is on the bottom.

I was also able to fussy cut -sort of- the Paris motif on the back panel. The back panel makes up the hinge assembly for this bag.

As you might remember, I put Odicoat on the bottom to help keep the bag clean. You can’t really tell that there is anything on the bottom.

I chose a dusty turquoise for the inside or lining fabric. The lining is a little baggy so I need to work on that on the next one. Without putting Odicoat on the inside I am not sure how I would use one of these. I’ll have to think about it since I may want to make another for myself.

I still plan to make another since I figured out why the thing was so hard to put together – and I want to get it right. This is an interesting bag and I think it makes a great gift.

Minikins Season Three Projects

After writing about the Hackney on Sunday, I looked back at the patterns I have made from Minikins Season Three* and decided I wanted to see them all together. The Minikins patterns are bundles (12ish different patterns) of small project patterns from Sew Sweetness. So far, I have purchased all three bundles.

Here are the projects I have made from Minikins Season 3 patterns:

It’s kind of fun to see them all together, isn’t it? Not sure the designs really have a theme, but it doesn’t matter.

I haven’t made all the patterns, but I will some day. they make great gifts and I am constantly thinking of new ways to use the designs and new people to whom to gift them. People in the Sew Sweetness group complain that they don’t want all the patterns and want to buy them singly. I think they should just shutup and let Sara run her business the way she wants.

Check out the full Minikins page.

*no affiliation, just a happy customer 

Another Hackney

Green Hackney parts
Green Hackney parts

I liked the first Hackney so much that I started another one. I wasn’t 100% satisfied with the first one and wanted to try again.

This is another large size.

I also plan to put a handle on the end, like someone did in the Sew Sweetness group. Right now I am trying to figure out WHEN to put it on. I have asked the question in a couple of different ways, but think I need to get all the pieces out and try out what they said. Theoretically I am not understanding.

Green Hackney gusset

The second one has been going faster than the first one. That is one of the reasons I made the second one right away.

The zipper on this one looks brown, but it is kind of a browny-olive. Not a very attractive color, but I didn’t have a better one.

I think the outside and lining fabrics look good.

Hackney Pouch Almost Finished

Hackney Pouch in process

It is so strange to think of these bags as pouches. I really think of pouches as the one zip things like the Cotton Candy Pouch pattern. Still, Sara at Sew Sweetness calls these pouches. She is way more experienced than me.

This is another one of the Minikins Season 3 patterns from Sew Sweetness, like the Percheron and the Piebald Pouch. People tell me it will fit a Switch gaming device, which is why I chose the large size. Also, for my first go round, it is easier to make.

I struggled with not having a free arm on my machine., as I did with the Moto Pouches. I need to think about that and whether it is time to upgrade my machine. I am ready for a fancy machine again, but I am not sure I want to spend the money.

I am planning to make another one of these pouches for a Christmas gift. First, I need a gift and the recipient will appreciate the complexity. Second, I want to try again.

I still need to sew up the lining and fix one problem, but I’ll be able to finish today.

Moto Pouch in Process

Moto Pouch #1 in process

I have a couple of nieces who have recently joined the family. I decided to make them each a pouch. I like to make some gifts “from Santa” for newbies in the family. It gives me an excuse to make more pouches and adds to their often anemic gift pile a little.

Eventually I decided on the Moto Pouch from Sew Sweetness. The Moto pouch is part of the Sew Sweetness Minikins Season 1. I cut the fabric for both pouches out at the same time, but I didn’t sew them at the same time, for some reason. Only one is in process at the moment. I’ll have more experience when I start the next one.

This pattern has a drop in lining, which people on the Sew Sweetness FB group don’t like as much.I am struggling a little as well.

The construction is similar to the Sidewinder pouches I made in 2020. The design itself is remarkably similar, though not exactly the same.

Percheron Pouch Nearing the Finish

The Percheron (part of Minikins Season 3) by Sew Sweetness is classified as a pouch, but it is definitely larger than what I would consider to be a pouch. Remember I made one of these before? I wanted to make it again since I struggled with Mom’s. As mentioned, it was going very well and I think I mastered the hinge, which was one of the steps that caused me a headache.

Percheron assembling

It isn’t going as well as it was before. I am not quite sure what went sideways, but I have been really, really struggling with putting the whole thing together.

I know the picture of the whole thing makes it look very sad. I think I was in a rush. I don’t have to throw it out, don’t worry.

Percheron #2 lining
Percheron #2 lining

I just really fought and fought with the lining and the assembly. It looks really ugly in this picture. The saving grace is that I haven’t finished the last seam by hand, so there is hope that I can save it. I really don’t want to unpick it.

I can also give the thing a good press (this is where my small Oliso comes in very handy) and I am sure that will help, too.

Percheron #2 lining (bottom)

Is there always a point in my bag making where I despair completely?

Now I need to remember to sew a Wunderlabel in it.

Ridiculously Pleasing Percheron

Percheron Pouch (top) in process

I am ridiculously pleased with how this Percheron Pouch (part of Minikins Season 3) is turning out.

The photo, left doesn’t show much to you, but the top has nicely fussy cut fabric and is pleasingly stiff. Granted, there is a lot of interfacing in the top. Still, I am super happy when it all works out.

I started working on this just to get a break from the Tarts. I didn’t expect much progress. When I made this pattern before, I just remember struggling. Still, I couldn’t get the pattern out of my mind and decided to make another one as a gift. Since I needed to rest my body from quilting, I thought it would be a good time to make a start. I had cut out all the pieces previously, so was ready to go.

Percheron Pouch: top is 3D

I worked along slowly, listening to my book and alternately ironing fabric for Stay Tuned. Suddenly, the top was made!

I am so pleased with how it came out. It is really 3D! The fussy cutting looks great and even the (IMO) ugly zipper fits really well with the fabric.

Petrillo Then & Now

Petrillo Bag Complete

I love it when people use and love the items I make for them.

I went to a conference recently, as mentioned, where SIL#4 and I shared an apartment at the resort. She brought the Petrillo Bag I made for her back in 2013.

The bag was beautiful and pristine in 2013. It was probably the first Petrillo Bag I made and may have been the first Sew Sweetness pattern I made.

I was reminded that I am a good bagmaker and the bag looked great when I gave it to her.

Petrillo Bag in 2022

The bag is now well loved and well used. It has been to Australia at least once and maybe even to to Europe. Not sure. It has been through the wash and SIL even Oxycleaned it when the dirt from carrying it on trips got to much.

I am tempted to make SIL#4 another one. I don’t know if I still have some of the same fabric, but I think I might.

French Cotton Candy

French Cotton Candy pouch

I quickly made another Cotton Candy pouch for my sister for her birthday. I am running out of Paris/France themed fabric, so I may have to do something else for her in the future. She likes the turquoise and brown combination and there is no shortage of turquoise around here.

French Cotton Candy pouch open

I have made this pouch a number of times, so it went together quickly. I still had to watch the video for installing the zipper, but for everything else I knew what to do. Something clicked in my mind with this pouch, which is a great feeling. I am very tempted to make some more of them just to cement the knowledge in my mind and to get some gifts for the latter half of the year out of the way.

French Cotton Candy pouch zipper end

One of the things that clicked was the end of the zipper. I understand more about the placement of the veering of the zipper. In this pouch, I didn’t get the ends close enough to the center of the side panel. The pouch is definitely still usable, but that is something I would like to fix in the next versions I make.

Now I have to find something to put inside the pouch and send it off, though by the time you read this, Lil Sissy will have this in her hot little hands.

Andalusian Pouch Finished

Andalusian Pouch Finished

I was able to finish the Andalusian Pouch over the weekend.

It went together amazingly well. I barely used my seam ripper at all.

Andalusian Pouch- open/side view

This pouch started because I had a fat quarter, cut a few pieces then put them away for later. I got more of the Anna Maria poppy fabric and decided to make the pouch for a friend who has been super helpful at work. I used one of the new True Colors fabrics for the accent fabric.

This pouch has rounded corners and those rounded corners made it so easy to put together! It was really a dream, which makes me want to make another one TODAY.

Andalusian Pouch- open/top view

The pattern is from the Minikins 3 series by Sara Lawson of Sew Sweetness. It comes out looking more like a man’s shaving kit when closed, but when open, it would be great to carry sewing supplies (one track mind, I know, I know!) to Sew Day.

The man’s shaving kit shape is a little weird, but I really like the open wide mouth that the frame provides. I like being able to see all of my stuff.

I am super proud of the way the zipper came out. Both ends of the zipper look like they are supposed to look.

The start of the zipper had the ends sewn at 90 degrees and it looks so finished. I really like it.

The end of the zipper required veering at the end. I think, after much practicing, I have finally gotten the hang of veering the zipper. I have to admit that I did watch that part of the video and followed the directions multiple times. I am still a little unclear on the exact purpose of veering the zipper. I plan to keep practicing so it will become second nature.

Andalusian Pouch - side zipper
Andalusian Pouch – side zipper

My careful fussy cutting didn’t work 100%. I have never made this bag before so that was part of the problem/issue. The accents covered up some of the flowers. I knew there were accents were part of the bag; I just couldn’t judge where the flowers would end up. Still, I think it looks nice. I hope that my friend likes it.

I think if I make this again (and I do have another frame) I would use a fabric with an all over pattern, then use cork or vinyl for the bottom accents and the bottom of the bag. Sara has  some turquoise cork that I have had my eye on.

Andalusian Pouch Progress

Andalusian Pouch in process with grab handle

I am making good progress on the pouch. I think I overestimated the time it would take to finish in a recent post. I made good progress, but the last parts seem to take longer than I usually anticipate.

I had to put the Zipper Panel pieces that hold the frame and the zipper panel together. These were a bit fiddly, but not too bad. I was in a good place when I decided to work on this project and it wasn’t too late in the day so I wasn’t tired.

I also ended up putting the grab handle on. I hope the thinness of the handle doesn’t prevent it from being useful.

I feel like I am making good progress and will be done soon.

Andalusian Pouch Start

Anna Maria Horner Bossy Poppy

Some weeks ago, I cut a few pieces of the Andalusian Pouch out of a fat quarter of Anna Maria Horner’s Meadow Bossy Poppy. I got the fabric from one of the Quilty boxes.

I was cutting something else out and decided just to use up the fabric. Of course, that was a boondoggle as I didn’t have quite enough to finish cutting out the exterior of the pouch so I ended up buying more.

Andalusian Pouch start

Over the weekend, I decided to make that pouch for a friend and I got to work finishing the cutting. If I hadn’t had to cut all of the pieces out, I would have finished the whole pouch. As it was I was just able to get a solid start.

I was able to get the pouch’s four sides sewn together as well as the side zipper installed.

I had some trouble with keeping the zipper in place and really should have used some washaway tape**. I was just lazy.

Andalusian Pouch with side accents

This pouch, one of Minikins Season 3, has some trim on it, which I think would be better in cork or leather or something heavier. As it happens, I didn’t think to use the faux alligator I used on Mom’s UCAB, so I just used some of the True Colors I received the other day. I think it looks good, but I wouldn’t add the side accents again If I have carefully fussy cut some great fabrics, because the motifs get covered up.

I hope I don’t jinx myself, but this is going together really well and I would consider making it again.


**Obviously, you should shop at local quilt shops. However, I use affiliate links and may be paid for your purchase of an item when you click on an item’s link in my post. There is no additional cost to you for clicking or purchasing items I recommend. I appreciate your clicks and purchases as it helps support this blog.