Mustang Purse Organizers Finished

Mustang Purse Organizers

I finished these organizers at the end of April, but I couldn’t show you until today. They are gifts for my mom for Mother’s Day. As I mentioned yesterday, she opened her gifts early when I saw her on Friday. Good thing I got them done early!!!

Purse Organizers were a special request. As I said, I was showing her the new Minikins Season 3 patterns and she immediately saw these and loved them. I had already made her a gift, but I have put that item aside for her birthday.

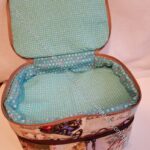
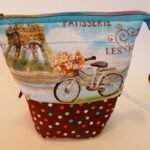
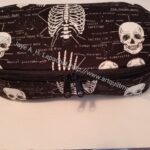
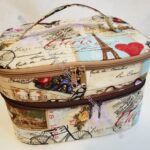
Large Mustang front and top

There are two sizes. She can choose the one that works best for her handbag or tote bag. She already has an idea of how she will use these. Someone said that using these for a tote bag would be a good idea. It never occurred to me, but I have to agree. How often do you scrabble around in your tote bag for whatever it is you need. I’ll need to think about whether one would work in the bag I take to quilt shows.
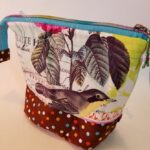
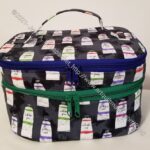
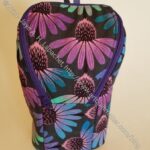
Small Mustang front
Small Mustang front

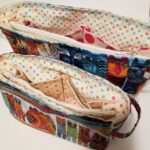
For these pouches, I used Laurel Burch fabric that I purchased to make items for Mom. I know it doesn’t go with the Artist Paint tube fabric, but these won’t be with the items I make for her to take to Sew Day. I made an effort to fussy cut well so the cats faces would show. The fabric has two sizes of cats, so I used the small cats on the small pouch and large cats on the large pouch. I am pretty happy with the fussy cutting.

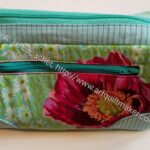
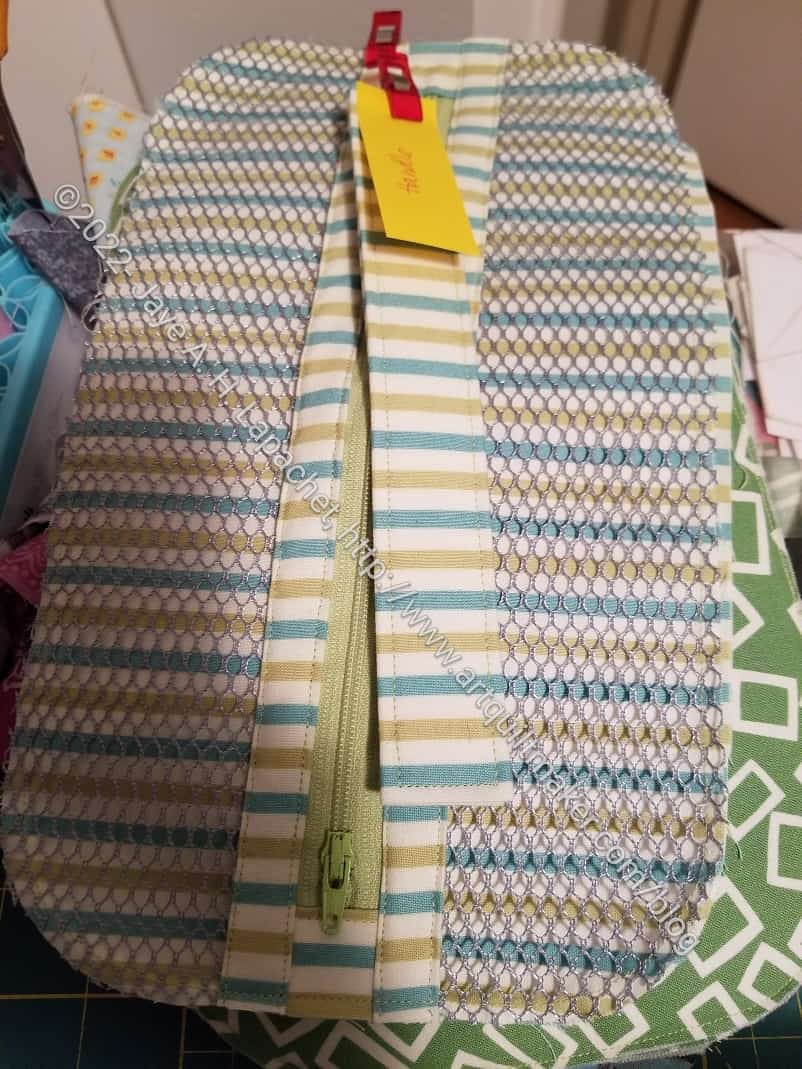
Small Mustang -mesh pocket

One thing I didn’t think about was the outside pockets. I realized that the outside pockets would cover up the cats, so I omitted them. It means fewer pockets. I made a note on my pattern and will use the main fabric for those pockets next time.

Large Mustang -mesh pocket

One side of both pouches already has mesh, which obscures the cats, but doesn’t cover them up completely. In my large version, the cats look like they are peeking over the edge of the mesh. Total luck, but cute, don’t you think?

A lot of people don’t like mesh pockets, because items get caught. I don’t mind them. One has to pick carefully what to put in them.

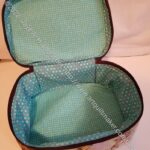
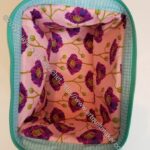
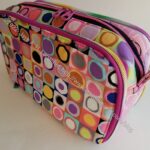
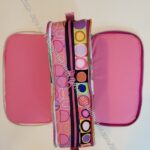
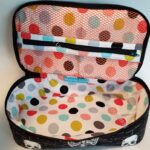
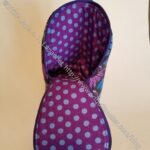
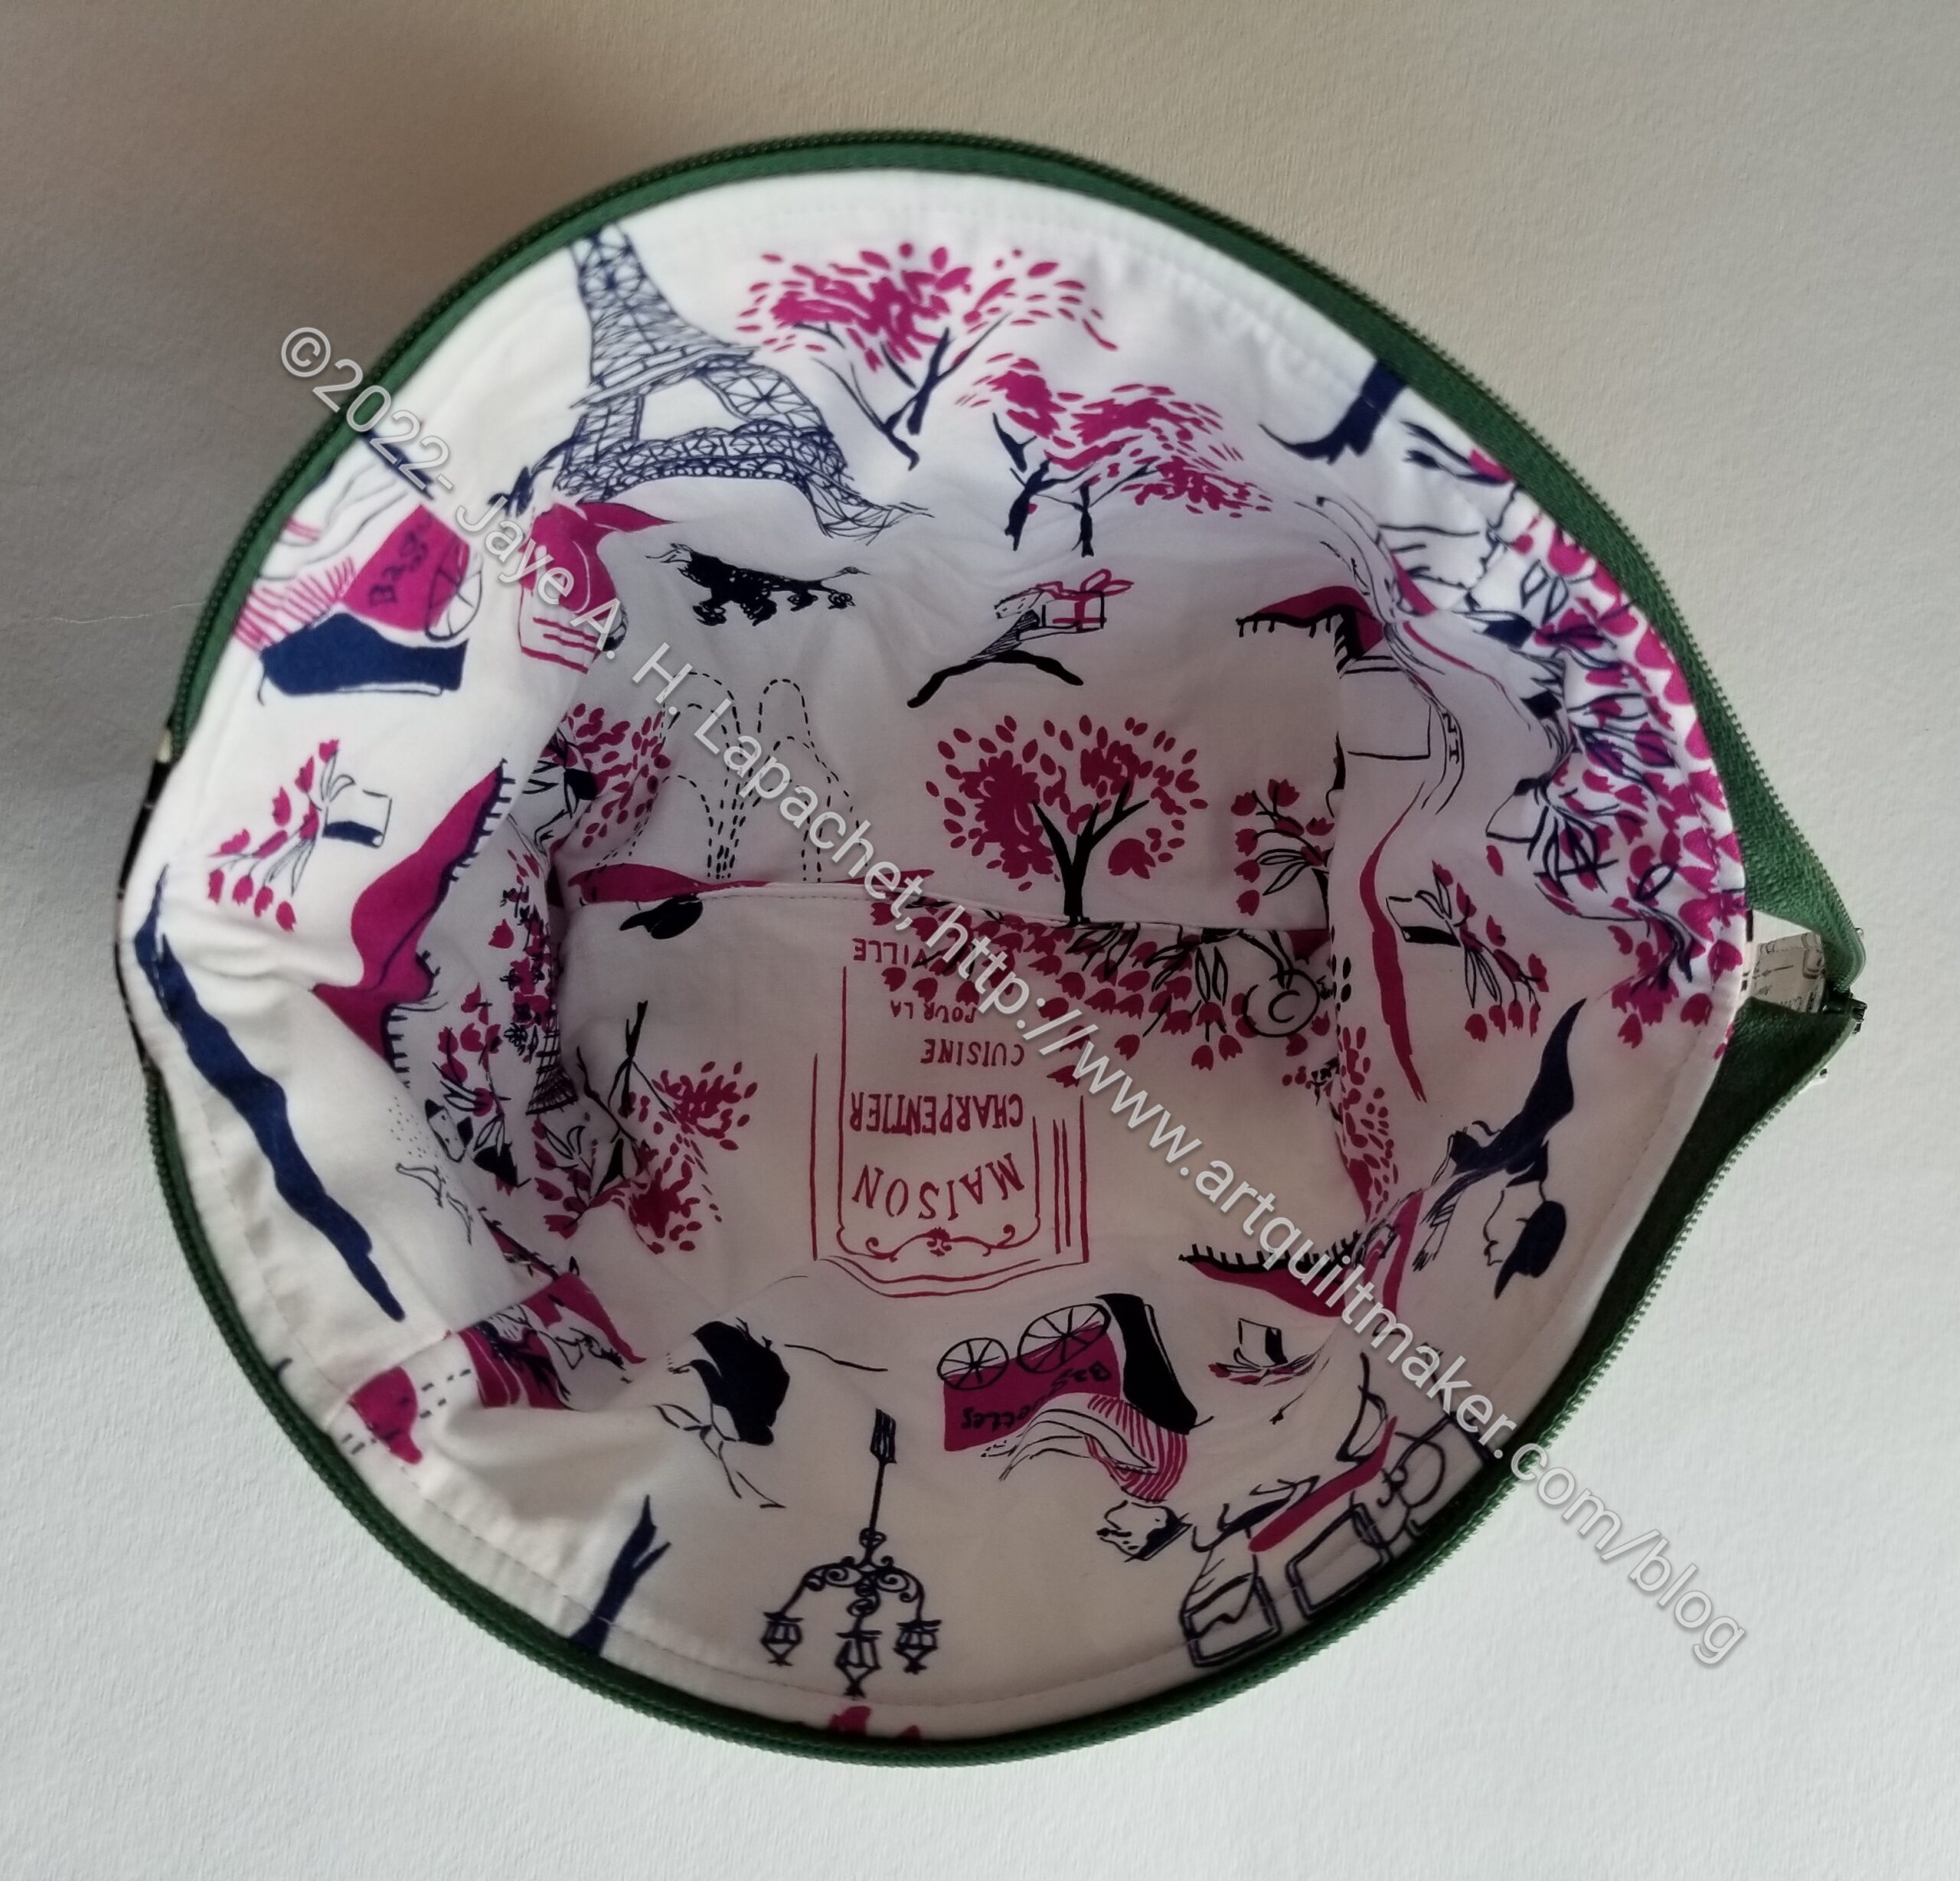
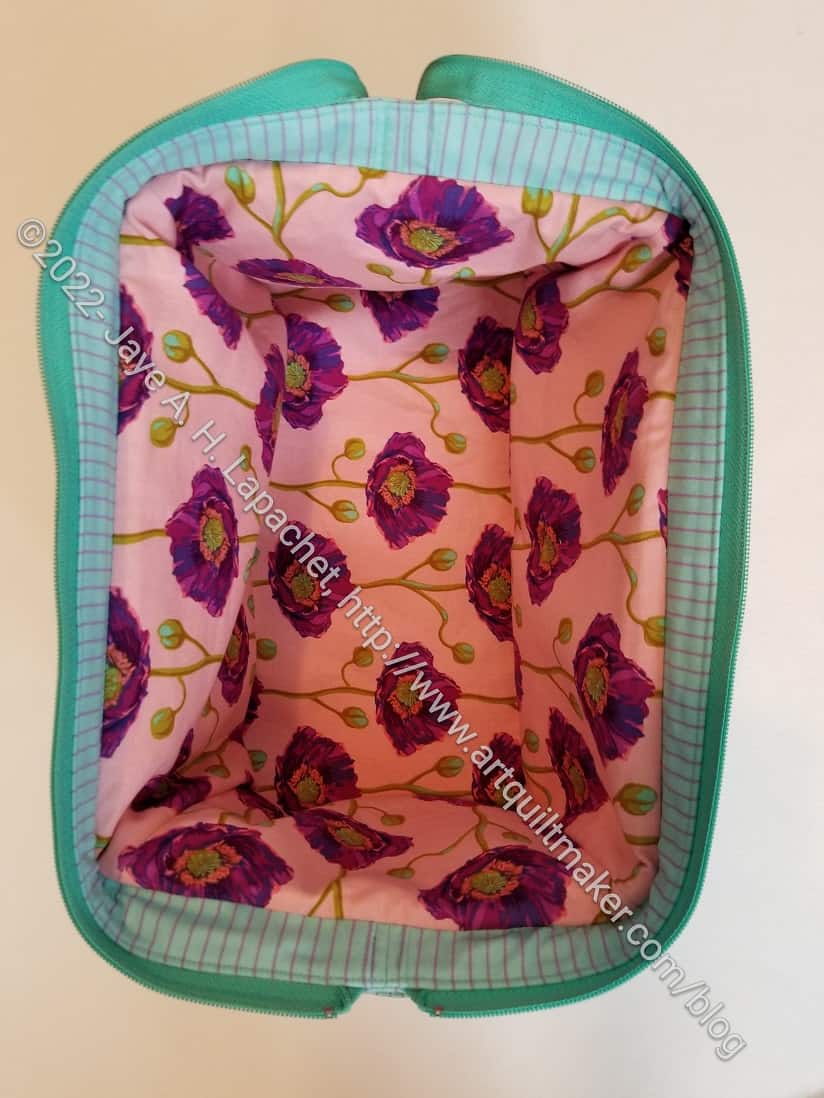
Large Mustang - interior
Large Mustang – interior

Even without the outer slip pocket, these bags have a lot of pockets. In addition to the mesh pockets, there are two slip pockets, a zipper pocket and two pleated pockets.

I am a little concerned about how much can be put inside as the Organizers look so slim, but I hope Mom can put enough in to make them useful.

I am also ridiculously pleased with the grab handles. Aren’t they cute?

There is no top to this pouch, so everything will fall out if it is tipped over. I hope Mom likes these pouches and they work for her.


More Mustang Purse Organizer

I am making two of these purse organizers because I am not sure of the sizes. I made good progress over the weekend, after I was finished with the Rings top.

Zipper Pocket- Mustang

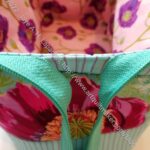
I am enamored of the way this bag goes together. The photo above shows the center of the pouch. Unlike the Sew Together Bags and the All Rolled Up Tote, this zipper pocket is fully enclosed. The edge of the zipper pocket, however, is not enclosed in the seam allowance so there is less of an issue with layers being too thick to go through the machine.

I haven’t put the whole thing together, but that is the next step.

Many of the Minikins patterns come with multiple sizes. This one comes with two sizes and I am making both at once.

Mustang Purse Organizer

Cutting out the Mustang Purse Organizer

The Mustang Purse Organizer is another project from Minikins Season 3. I decided to try out the pattern to give as a gift. I am making both sizes so the recipient can choose which works best in her handbag.

I started cutting them out at Craft Night earlier this week. I had other things to do, so didn’t get to spend the whole time on this pattern. I was able to cut out and interface the main exterior panels. I also cut out grab handles for both sizes.

There are so many great patterns in Season 3 (no affiliation!). There are really interesting shapes. It is also interesting to see how the different sizes of each pattern sew up.

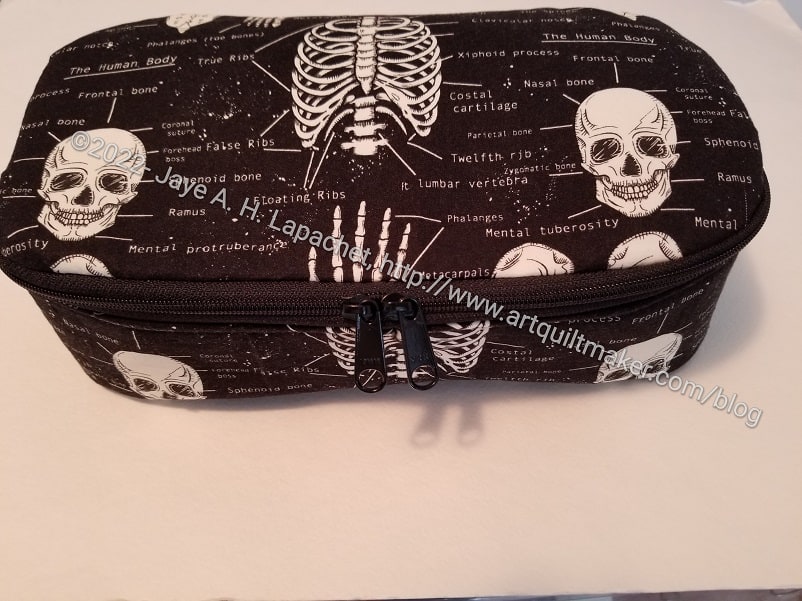
Piebald Finished

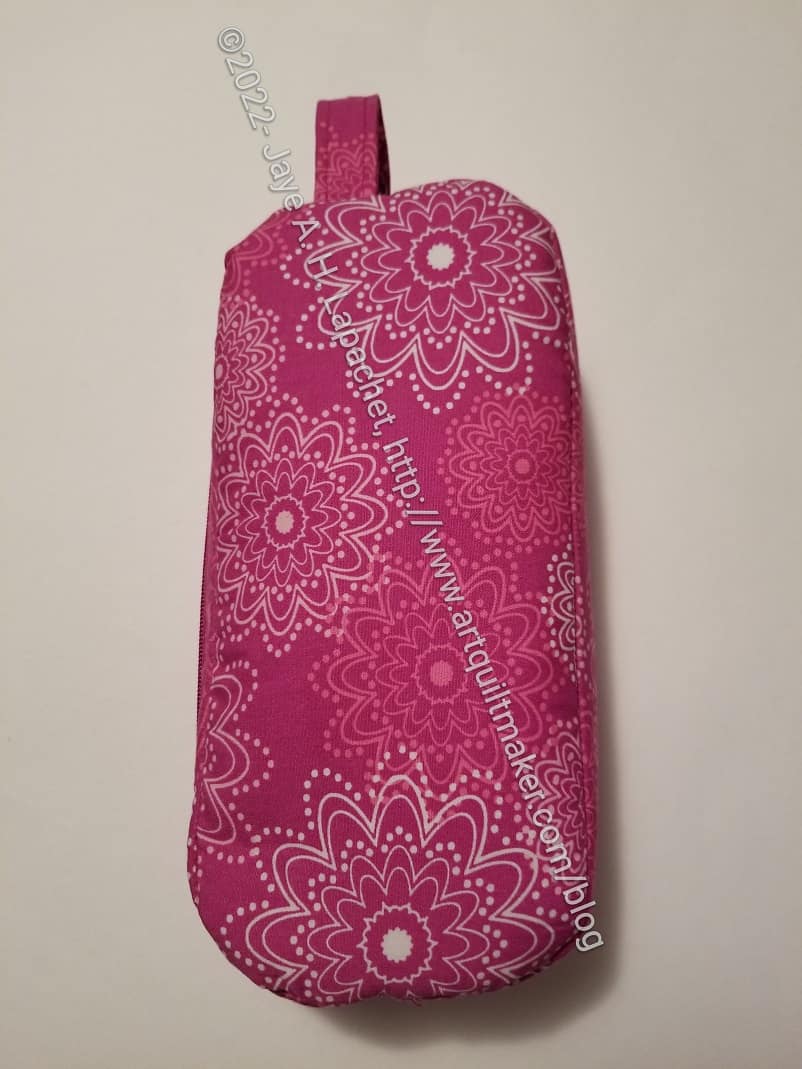
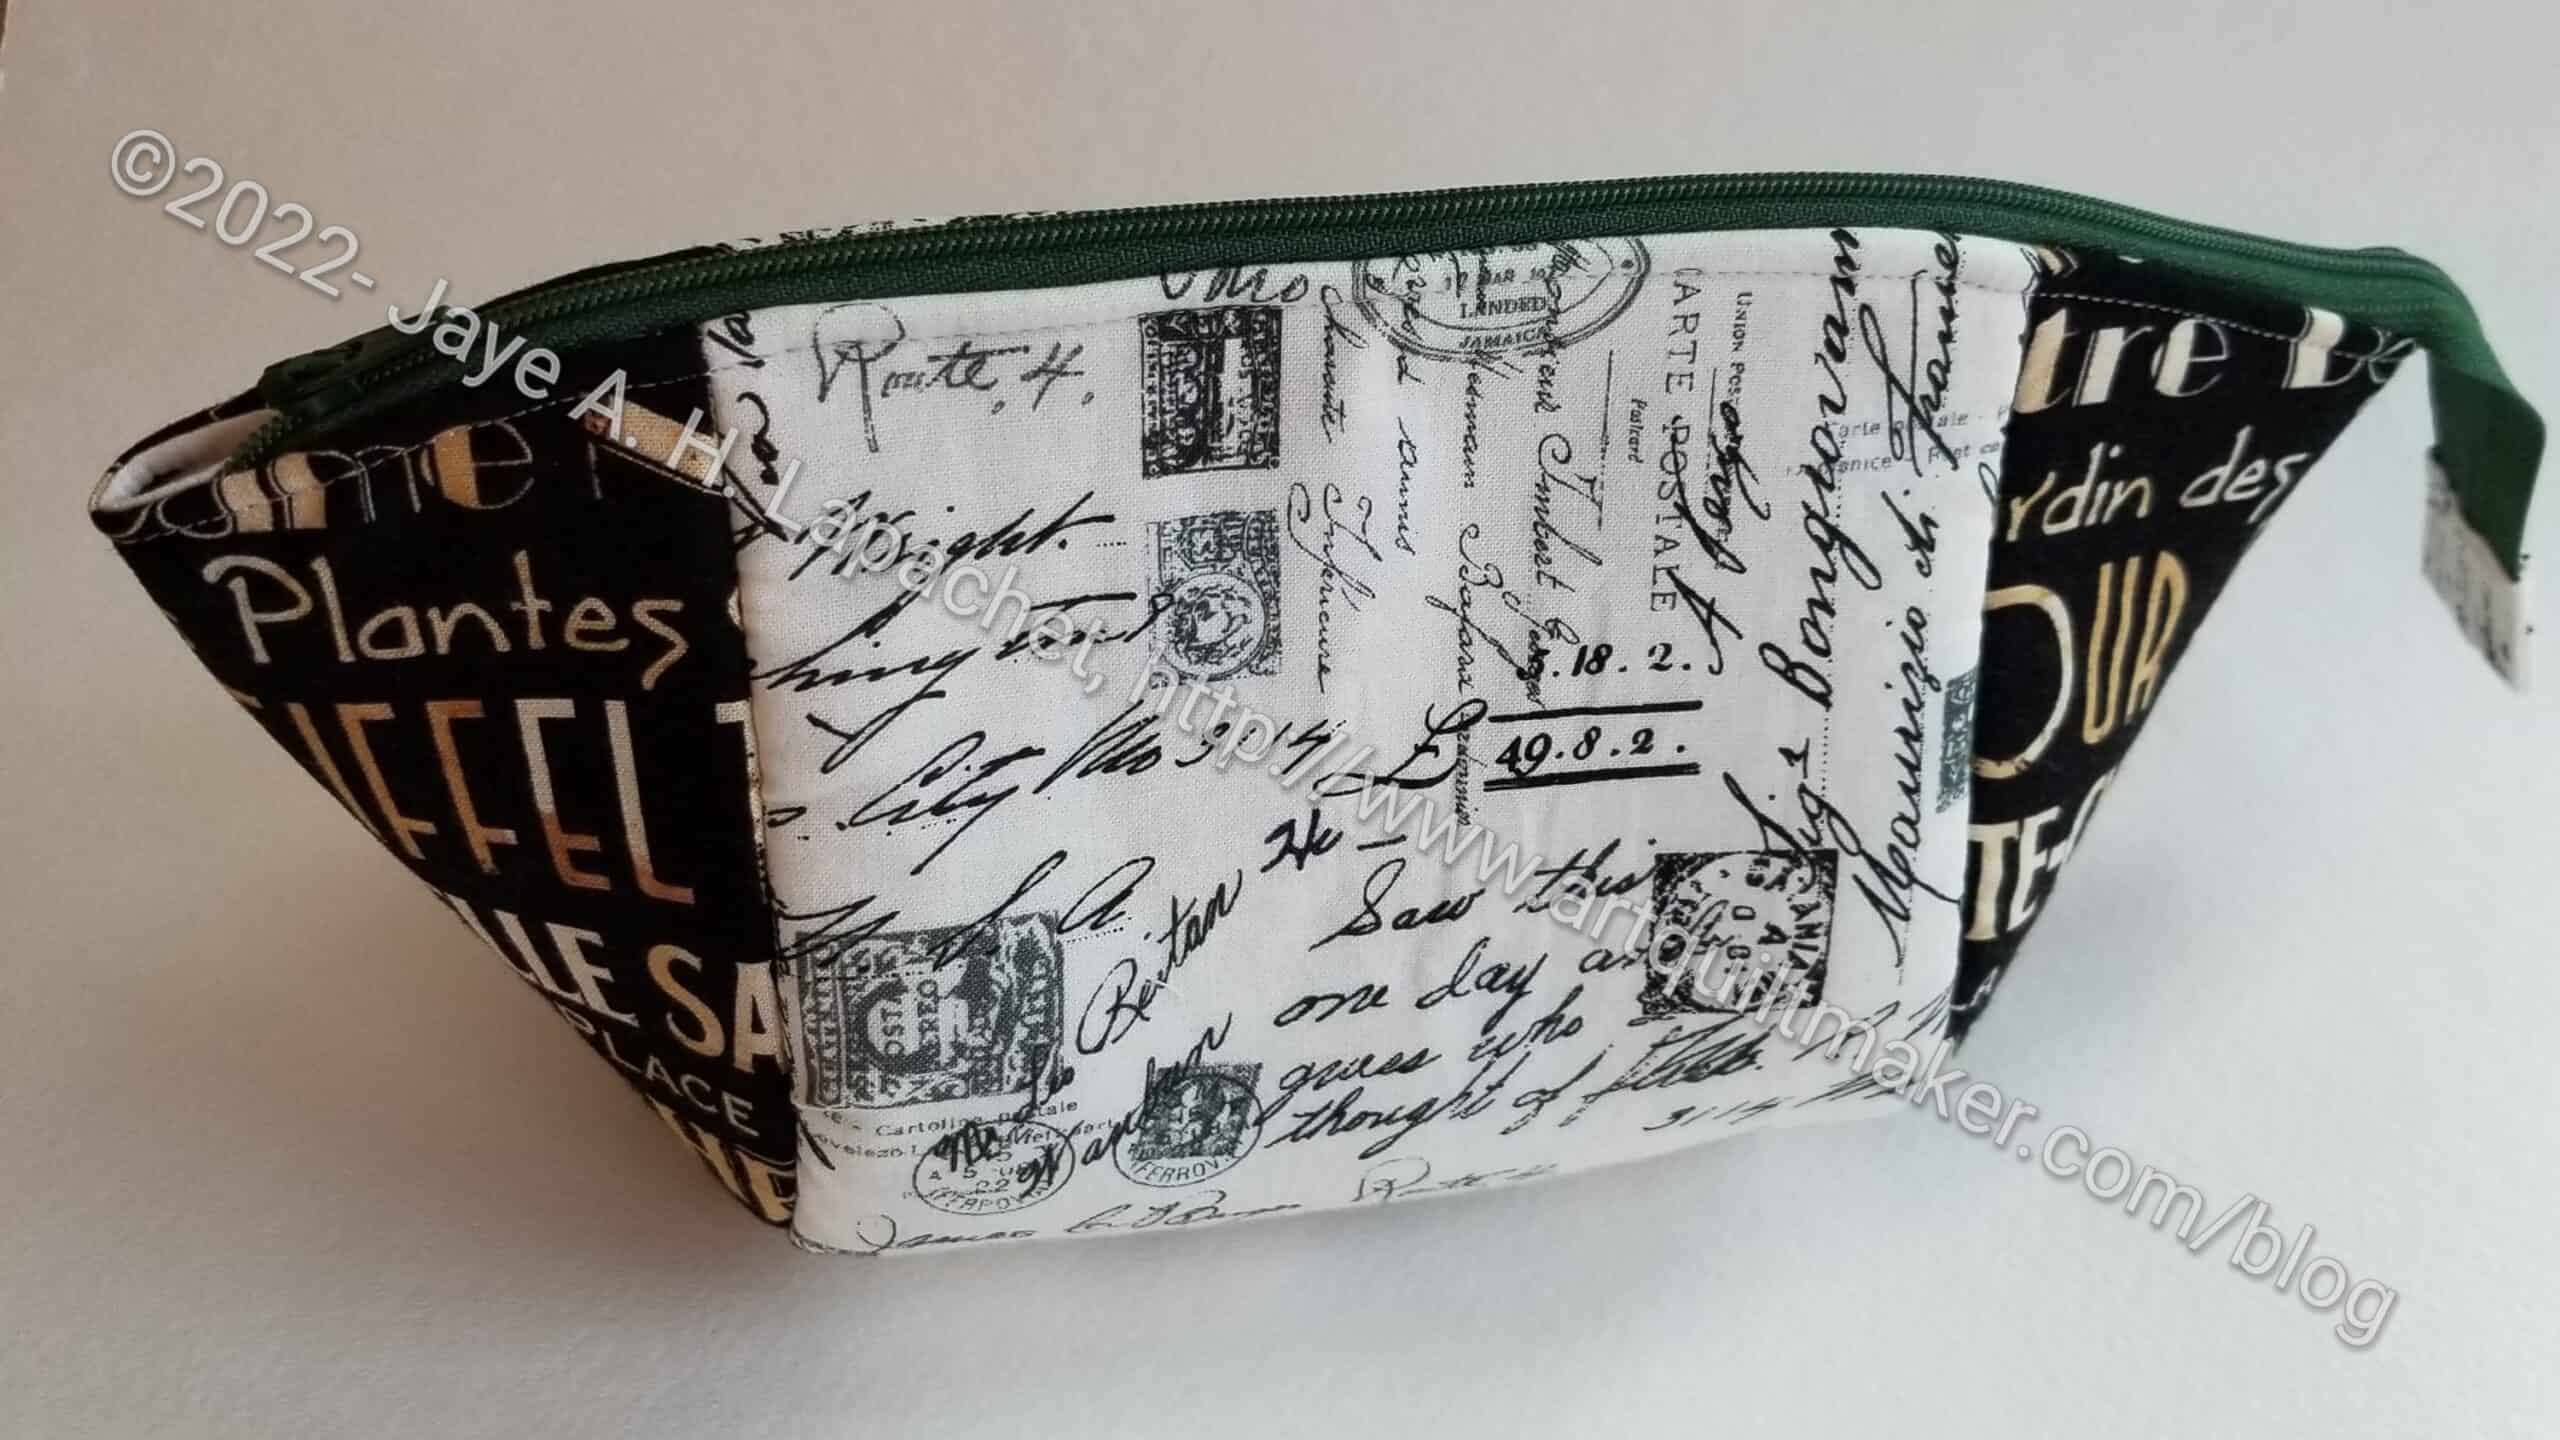
Piebald Pouch - closed
Piebald Pouch – closed

I have undoubtedly become a Sew Sweetness groupie. I want to spend time making all of the projects I have in my library.

The Piebald Pouch is my first finished project from Minikins Season 3. I have to say that it went better than many of my other pouch and small bag projects. For whatever reason, all of the pieces and parts went together smoothly and I had very little trouble.

Except for the front panel. You can see that I didn’t line up the flowers properly, so the ones on the front panel are sideways. I still like it.

The pouch is a little bit of an odd shape. This one is for me and I am not sure how I will use it.

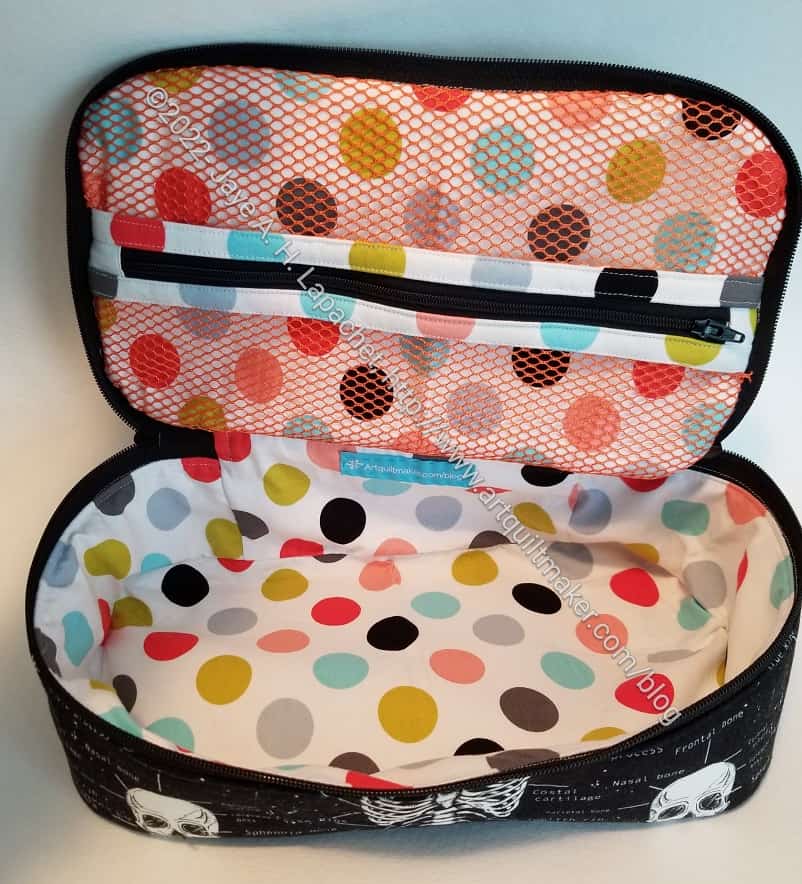
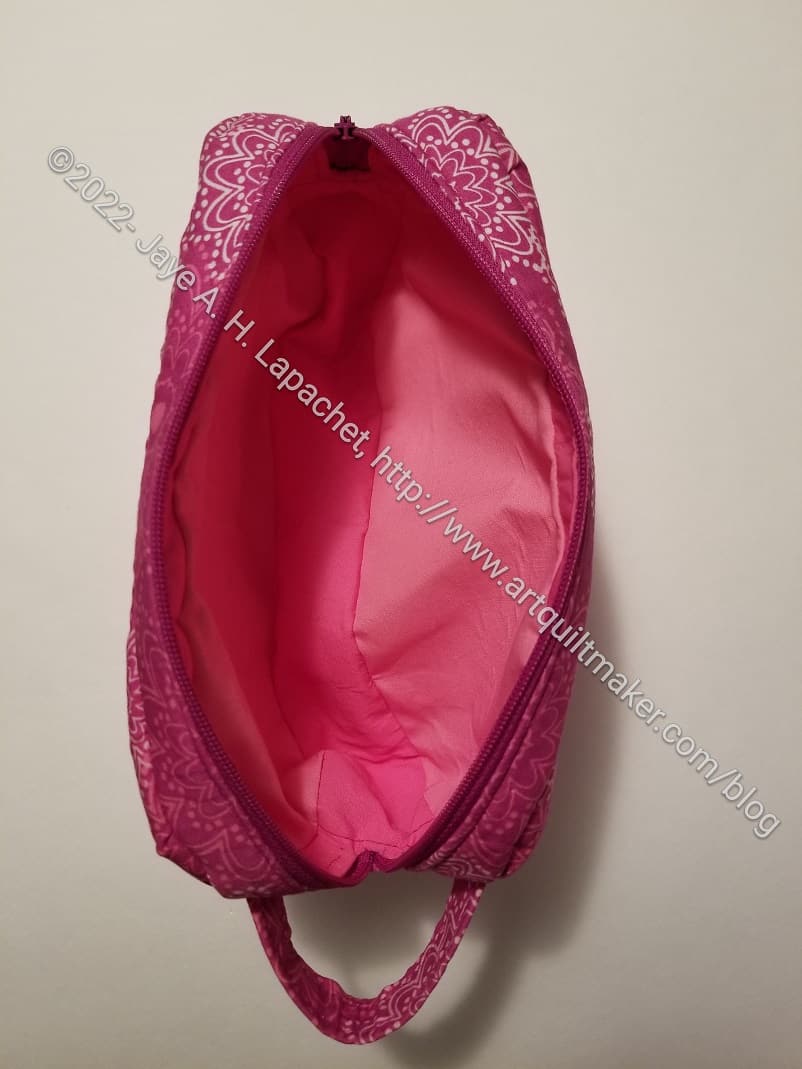
Piebald Pouch - open
Piebald Pouch – open

This was a fairly easy sew. I started it last week and would have finished it sooner, but have been so swamped that I just didn’t have a moment. It was fun and a charge to finish it on Sunday.

Piebald Pouch Progress

Piebald Pouch in Progress

I started my first project from Minikins 3, the Piebald Pouch. I like the shape. I know you can’t tell the same from these weird pieces. Upper right hand corner holds the top.

Despite the plethora of zippers I have, I didn’t have one for this pouch. I will soon, however. In the meantime, I am making as much progress as I can.

My idea is to update SIL’s yarn minder with this pouch.  This version is not it. I want to make it for myself first, then hack it. The yarn minder version will include a shoulder strap and a double head zipper.

Check out the finished project on Sara Lawson’s Minikins page.

I-Spy Pouch Finished

I-Spy Pouch Finished

I might be having a fit of reorganization. At least you might be thinking that after seeing yesterday’s post and reading today’s. I am sort of.

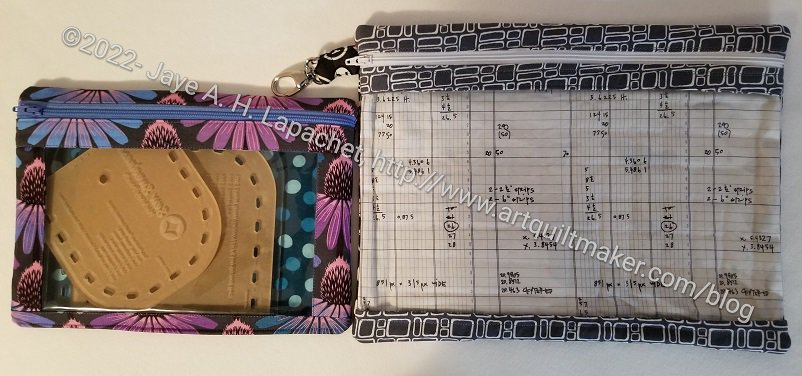
I have a number of acrylic templates for various projects. Many are for pouches and bags that I will make over and over. They come in thin plastic bags. Ideally I would like a set of map drawers in which to store them. Until I can take over the entire house, that isn’t happening. I have been looking at various bag patterns for ideas on how to store them.

I-Spy Pouch Finished with templates

This is my first attempt. The I-Spy pouch from Sew Sweetness’ Minikins Season 1 fits my templates for a Minikins Season 2 project called the Day Trip Wallet. Not all of my templates will fit in the various sizes of the I-Spy pouch, but some will and that is a start.

The pattern comes with 3 sizes (this is the medium size). It is a very quick sew, so I can look through my other templates to see which will fit in the various sizes. I am thinking I can easily adjust the sizes to fit other templates. Finding the right-sized zipper will be the challenge if I change the size. I have a bunch of different sizes, so I should be able to manage.

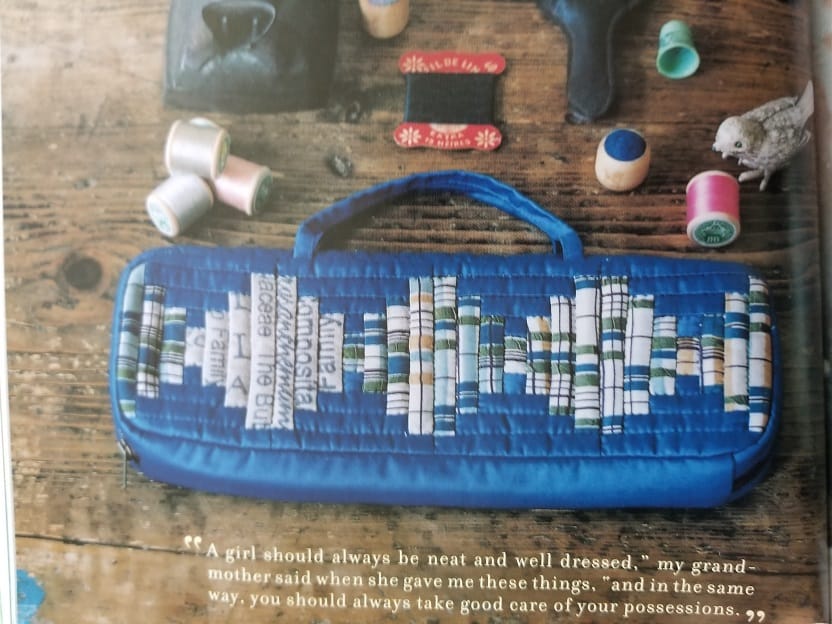
Yoko Saito's Natural Patchwork bag
Yoko Saito’s Natural Patchwork bag

I am still looking for a bag pattern with slots in different sizes that I can just slide the templates into and not worry about resizing. I have been looking at Yoko Saito’s bags, especially this rectangular bag from Natural Patchwork. It might be too small, but I like the shape. I’d have to make different blocks for the front.

Superbloom Finished!

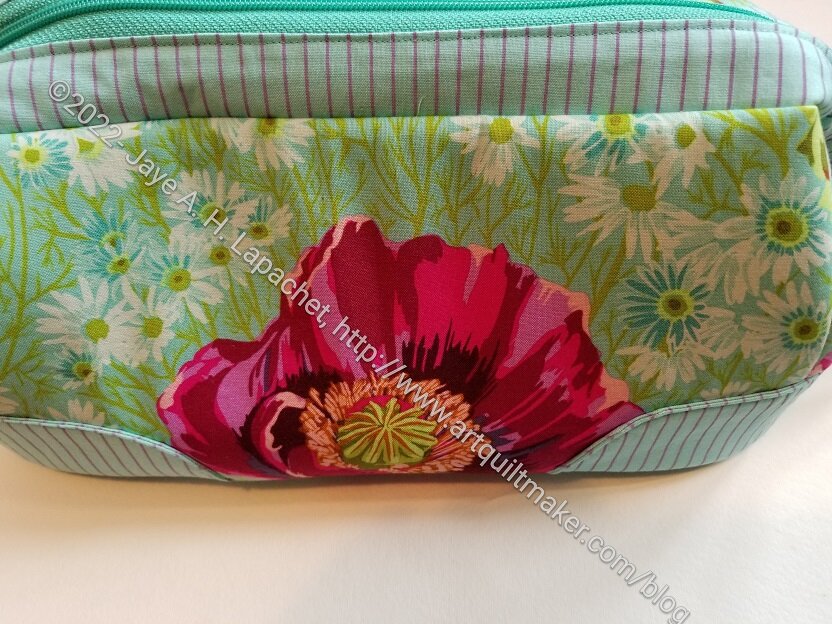
Superbloom Finish
Superbloom Finish

I am really thrilled with the Superbloom finish!

First I am excited with how well the bag came out.

Next I am excited at how well the fussy cutting looks.

Third, I am thrilled with how the Linework print and my strips fit together.

Superbloom top closed

Fourth, I am ridiculously happy about the top zipper placket. I don’t know why this bit of a bag makes me so giddy. I don’t think I have ever done one before, so that may be part of it. I’ll probably come down off my cloud tomorrow.

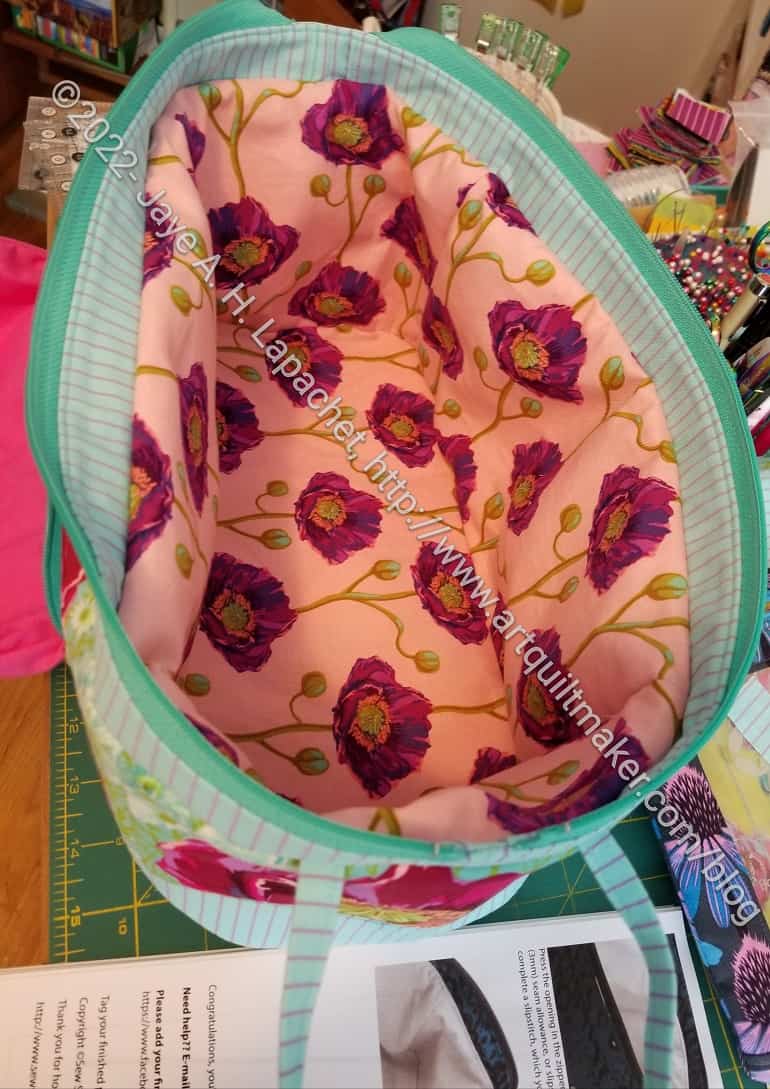
Superbloom open
Superbloom open

Finally, I just love those turquoise zippers. Could they be any better? They add such a spark of color.

The lining is a little baggy even though I followed the directions and used different seam allowances. Not sure what that is about, but I will do better next time.

I was surprised at the size of the bag. I thought it was much larger. It isn’t a stupid size or anything. It is a reasonable size, just smaller than I thought. I really like the angled shape, though I don’t know if you can tell that from the top photo. I forgot to put a D-ring in it, though I know where I will put one next time. I plan to make another of these, especially since I bought the templates. So many bag patterns…so little time.

Superbloom Returns

Anna Maria Honorable Mention

My first attempt at putting the exterior of the Superbloom Tote together was unsuccessful. I was disappointed and distraught. I left the bag for much too long and considered not finishing it.

Briefly, I thought about quitting.

This was a terrible idea, because I have other fabric that I want to use to make another one. AND the fussy cutting I did with the Linework fabric is fantastic. The fussy cutting on those side pockets was fantastic. Finally, after mulling a lot, I realized that I had been working on the bag without the benefit of the video. Many of Sara Lawson’s pattern packs come with the pattern and a video. The video is very helpful. She has improved the videos by tagging them to steps in the pattern. I was able to navigate right to putting the exterior together easily.

Superbloom Exterior
Superbloom Exterior

Watching the video really helped and I was able to get over the hump of adding the side pockets and the straps to the exterior. There was one step I did a little wrong, so I had some ripping to do, but it came out really well.

I am well on my way!

Next is the lining.

Superbloom Side Pockets

Superbloom Side Pockets

I spent some time on Sunday sewing the Superbloom tote. I am particularly happy with the Side Pockets.

First of all, I always forget how easy those internal zipper pockets are. They really go together smoothly. I always wonder why I don’t just add them to every bag. I should.

Second, I am super happy with fussy cutting. I basically lined up the motifs with the template pieces. My one issue is that the swans heads got cut off when I added the zipper. I plan to add some markers on the template where the zipper is so I know where the zipper for the next time I make one of these.

I started putting the bag together and am excited to see how it will look.

Superbloom Tote Start

My YM’s girlfriend (YMG??) has a birthday at the beginning of January. I thought I might be a week late in getting her a gift, but here it is a month later and I have not made progress on the tote.

Linework Superbloom Tote pieces cut out

I decided to make her a Superbloom tote. I wanted to try this pattern and her birthday seemed like a good opportunity.

I used some of Tula Pink’s Linework fabric for the outside. YMG likes dark green, which is not a color of which I own a lot (shocking, I know), so black and white it is.

This is a Sew Sweetness pattern (one of the new ones) so I have every confidence that it will go well.

As you can see, I haven’t gotten very far. I still need to get beyond the cutting and hope to work on it this weekend.

Gift Post #4: Sheffield Tool Bag

Sheffield Tool Tote - back
Sheffield Tool Tote – back

As I said earlier this month, I finished the Sheffield Tool Bag the week before Christmas.

I am usually pretty pleased with the Sew Sweetness patterns, but I found this one particularly easy to put together. The ease of putting together this bag was in direct contrast to my memory of putting the Quilt Illustrated Tool Tote together.

Sheffield Tool Tote - top
Sheffield Tool Tote – top

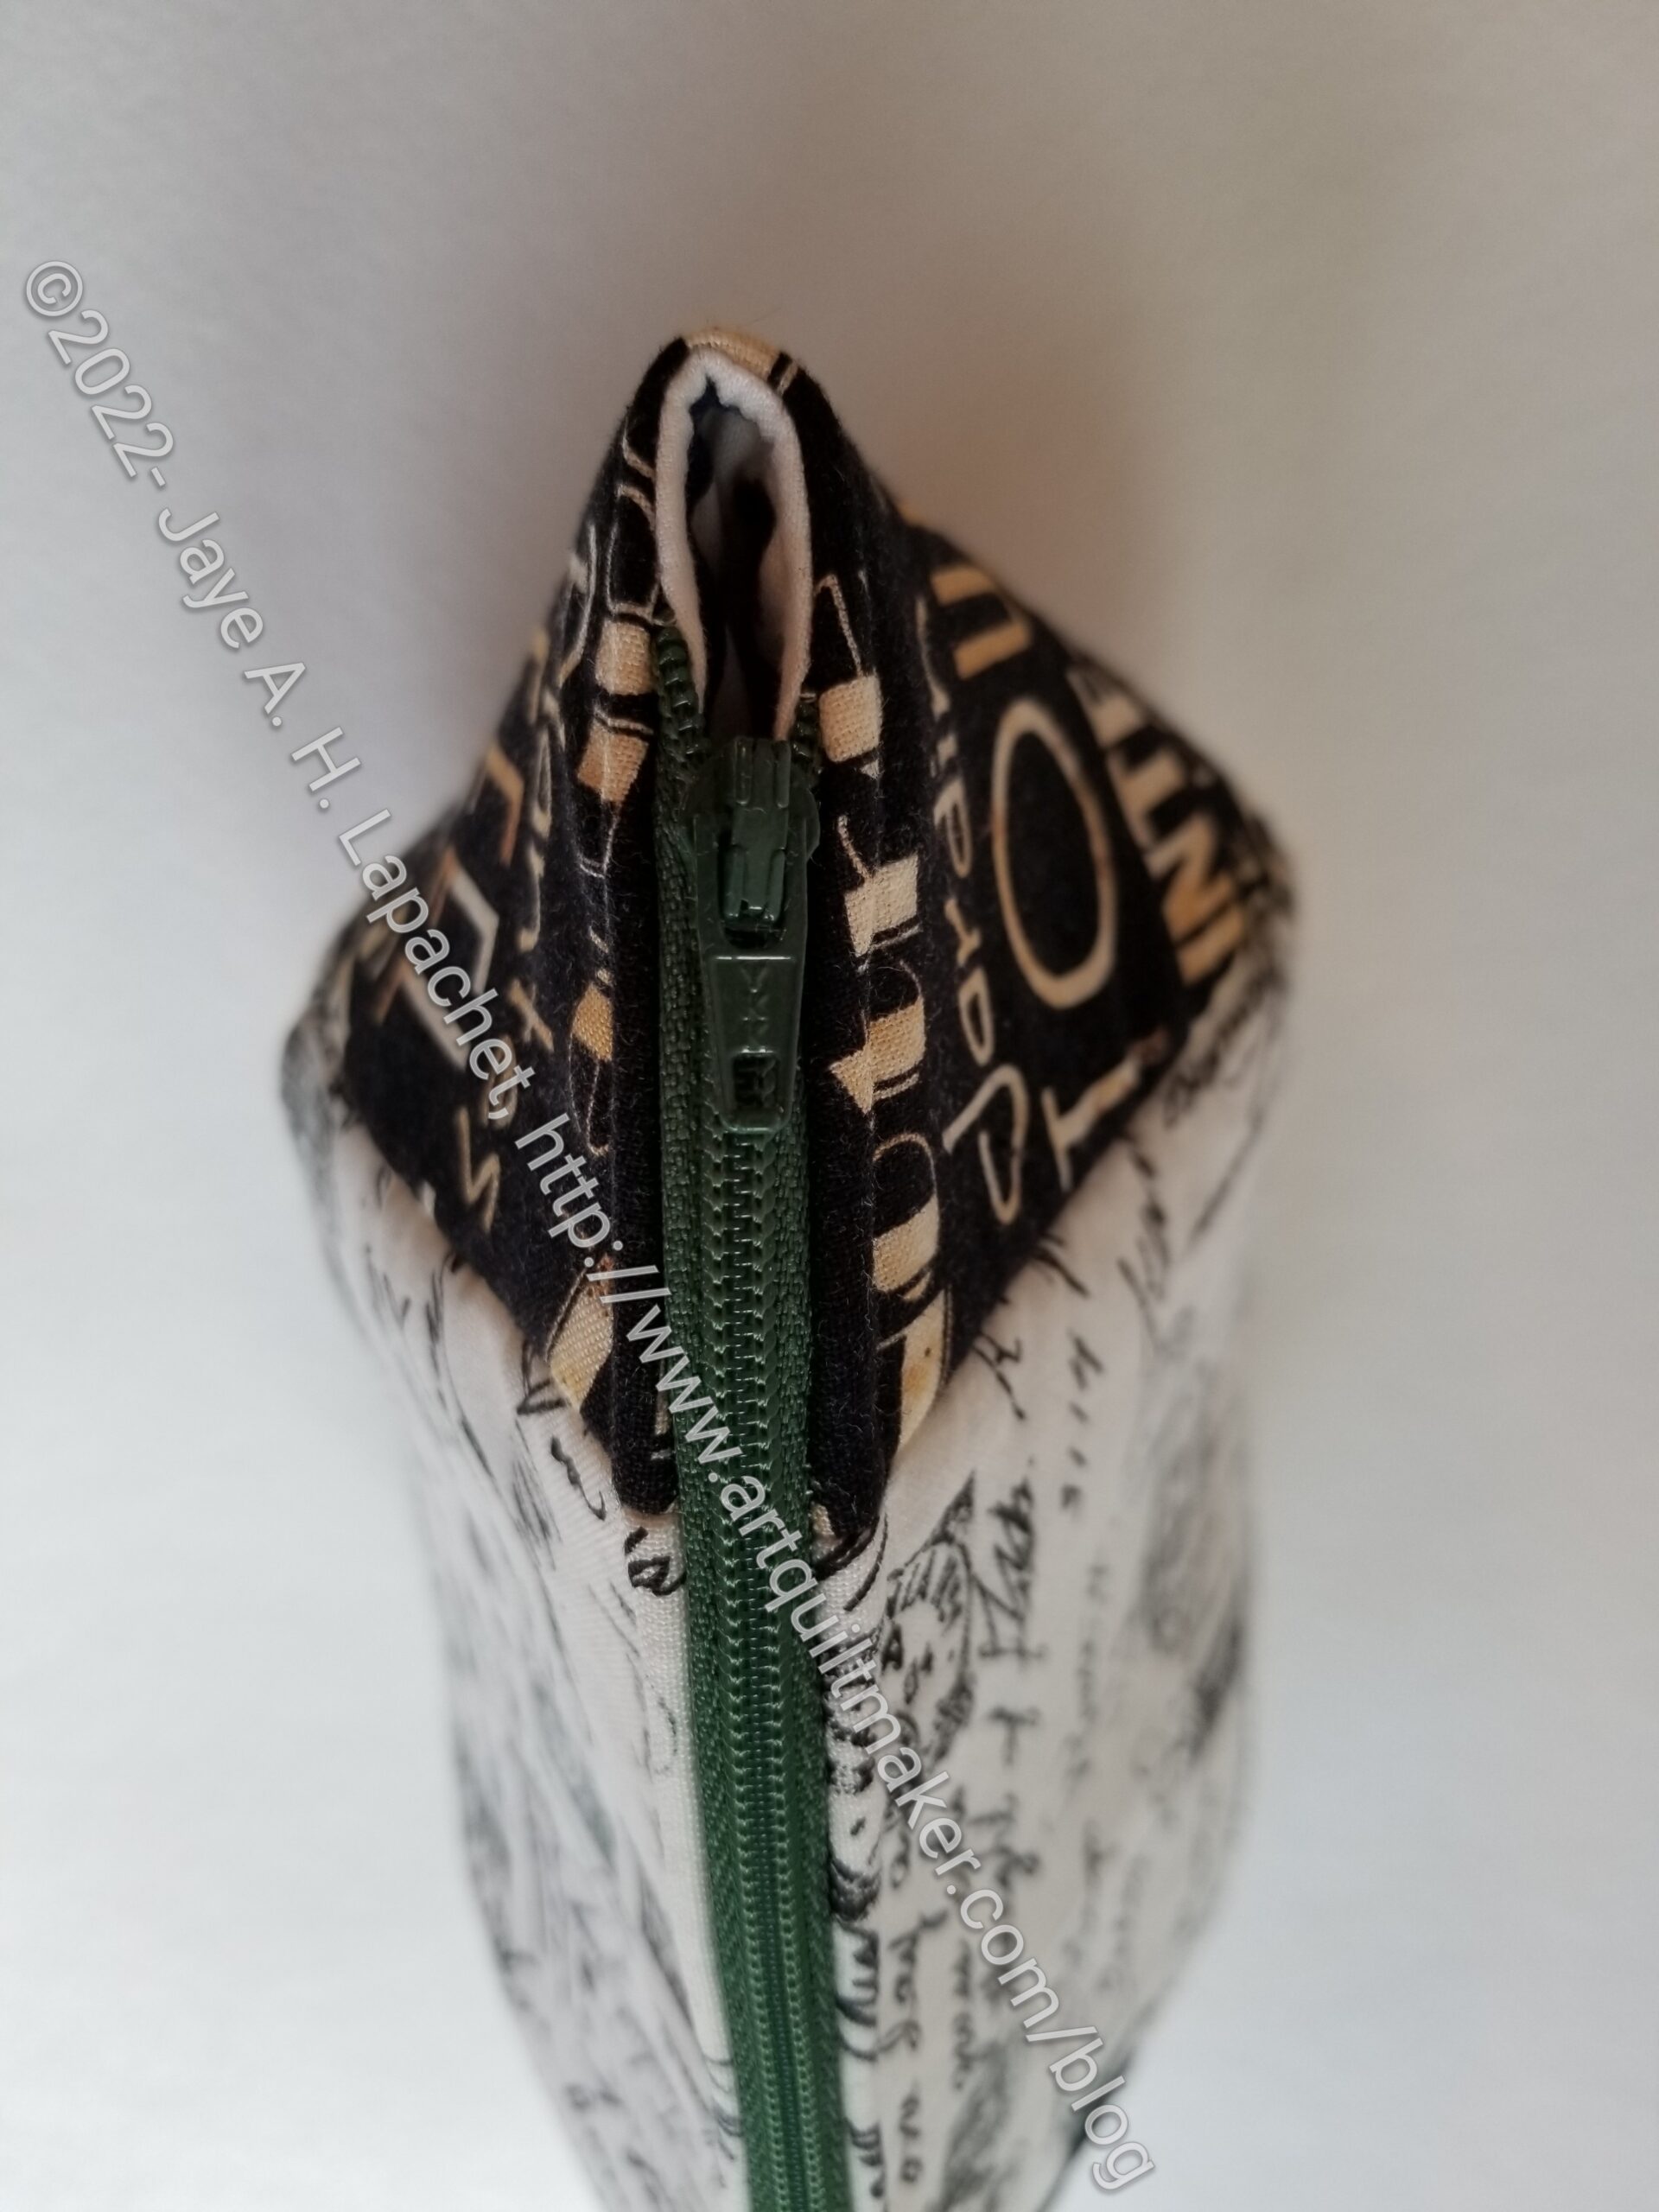
I found two tricky parts and the zipper was involved with both. First was the zipper panel and the video remedied my confusion. The second was the other/non-zipper tab end of the zipper and I am not sure how to remedied that beyond using a matching thread to the zipper and hoping for the best. I’d like to put a zipper tab on instead of folding over the ends of the zipper on that one end. I’ll think about that for future versions. I’d like to make another one of these bags.

On the bright side, I feel like I finally got the concept of ‘veering the zipper’. I talked more about this during the making of the Pink & Green Cotton Candy pouch. There is something about the way it was presented in the Sheffield Tool Bag video that fixed the concept in my head. Yay!!

It has a different feel than the Quilt Illustrated Tool Tote, though I believe the supplies were similar. I haven’t checked the Quilt Illustrated pattern recently, however, and I know I quilted the outside of the QI Tool Tote, though that is an option for the Sew Sweetness pattern as well.


Sheffield Tool Tote - inside
Sheffield Tool Tote – inside

I am particularly fond of the inside. Despite being canvas and VERY loosely woven, I love the design motifs of the fabric I used for the lining.

Now that I know where all the pieces are going to be used, I would make different fabric choices for future versions. Still, I believe the white fabric makes the inside light enough to see all of the supplies (and stuff) that would go inside.

Sheffield Tool Tote - front
Sheffield Tool Tote – front

I didn’t have enough fabric for the slip pockets to be the same on both sides of the bag, so I used similar colors, but different fabrics. I think they look ok. The ice cream fabric was used so that it goes with the Classmates tote I made last year.


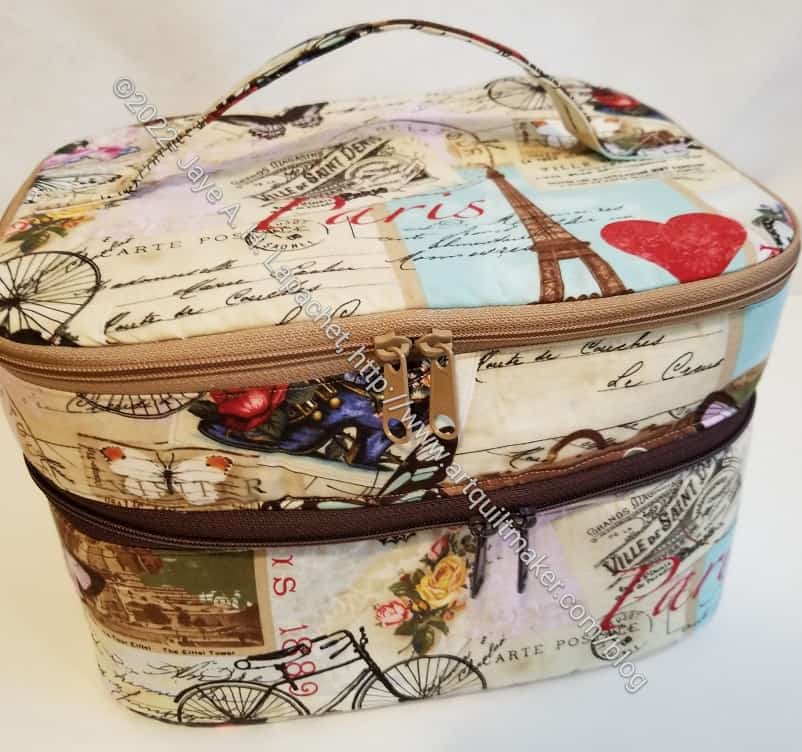
Butterfly Cotton Candy Pouch

Butterfly Cotton Candy pouch started

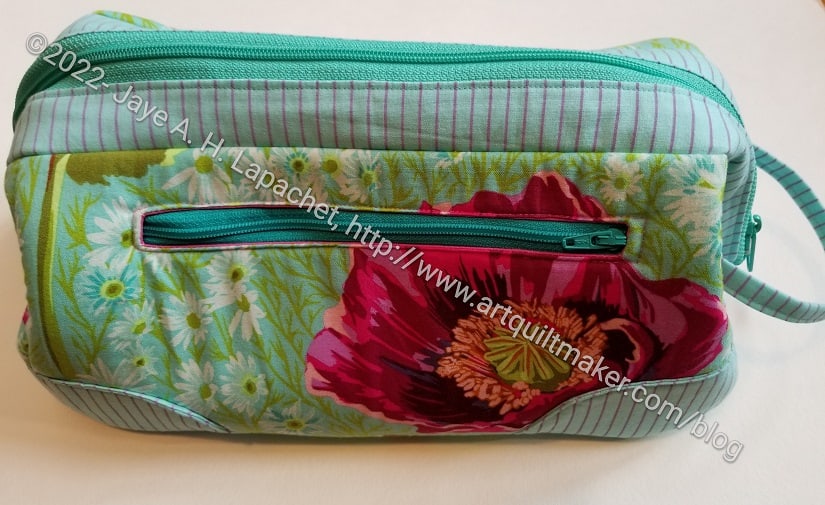
We draw names at Christmas, so we can get a nice gift for one person rather than a bunch of small gifts for everyone. I usually purchase something off of my giftee’s wish list, but occasionally I like to make something as well. This year I got one of my SILs and really wanted to make something.

The Cotton Candy pouch is still a favorite, soI started another one on Friday as an additional gift. I used a similar fabric as I used on an apron I made for her a few years ago. I forgot that I used the blue instead of the purple. Oh well. I hope she likes purple.

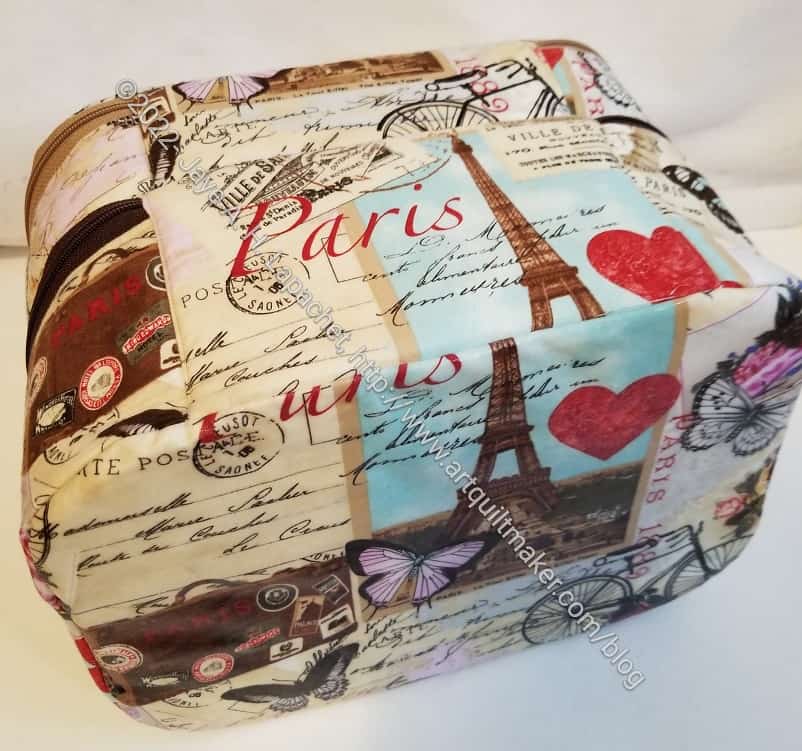
Butterfly Cotton Candy pouch side view in process

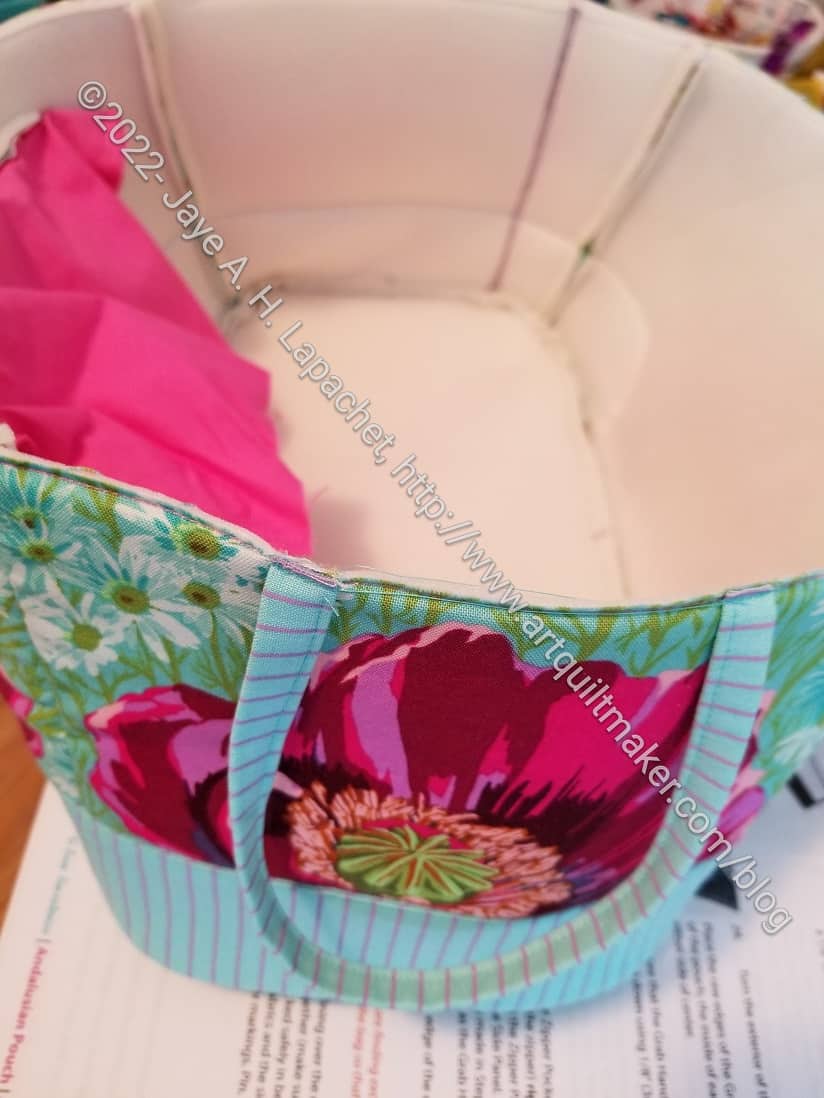
I am still struggling a bit with this pattern. This time the side panels were MUCH larger than the main panels. I checked the measurements multiple times, but still can’t figure out why the side panels don’t match. And this time they are WAY off. Regardless, I can still make it work.

On to veering the zipper!

Sheffield Progress

Sheffield Bag Exterior in process

I made good progress on Sunday on the Sheffield Bag. There was very little ripping until I got to the zipper installation, which was all ripping all the time.

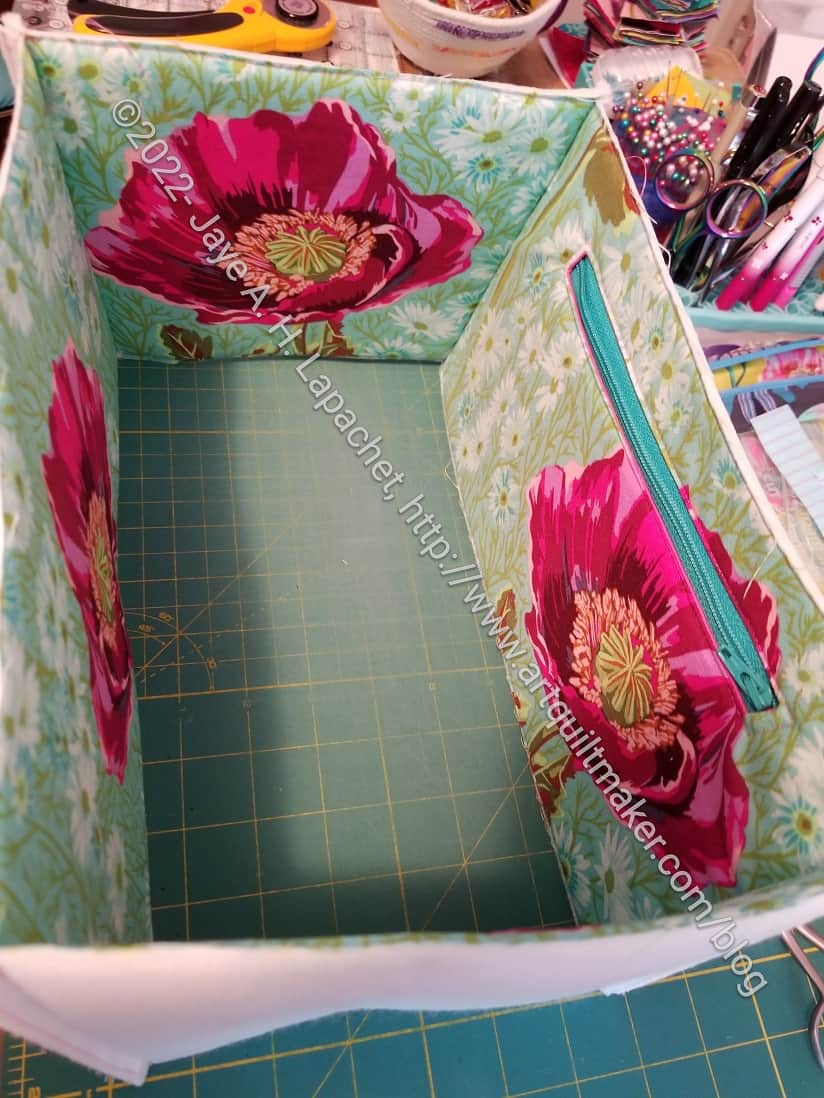
I have the handles clipped so they are out of the way. You can see a good view of the various pockets. I think the pocket construction on the gathered pockets would be much easier than the similar pockets on the Oslo Craft Bag. If I make the Oslo Craft Bag again, I will use this pocket construction.

I am kind of on a Sew Sweetness binge lately, aren’t I? Oslo Craft Bag, Sidewinder Pouches and the Sheffield Bag all within a month. I do have quite a few of her patterns and feel like I need to make my way through them.

Sheffield Tool Tote Begins

I started cutting out the Sheffield Tool Tote last week during Sew Happy Hour. I really got busy on it Friday, which is when I finished the cutting and, then, yesterday I started the sewing. Cutting out projects really makes me feel like I am getting nowhere so making pockets and the exterior made me feel like I was making progress.

This is a pretty structured bag by Sew Sweetness. It is similar to the Quilts Illustrated Tool Tote I made a few years ago (?). I bought it as part of the His, Hers and Furs bundle when that bundle was on sale (no affiliation). This is the first project I have made from that bundle.