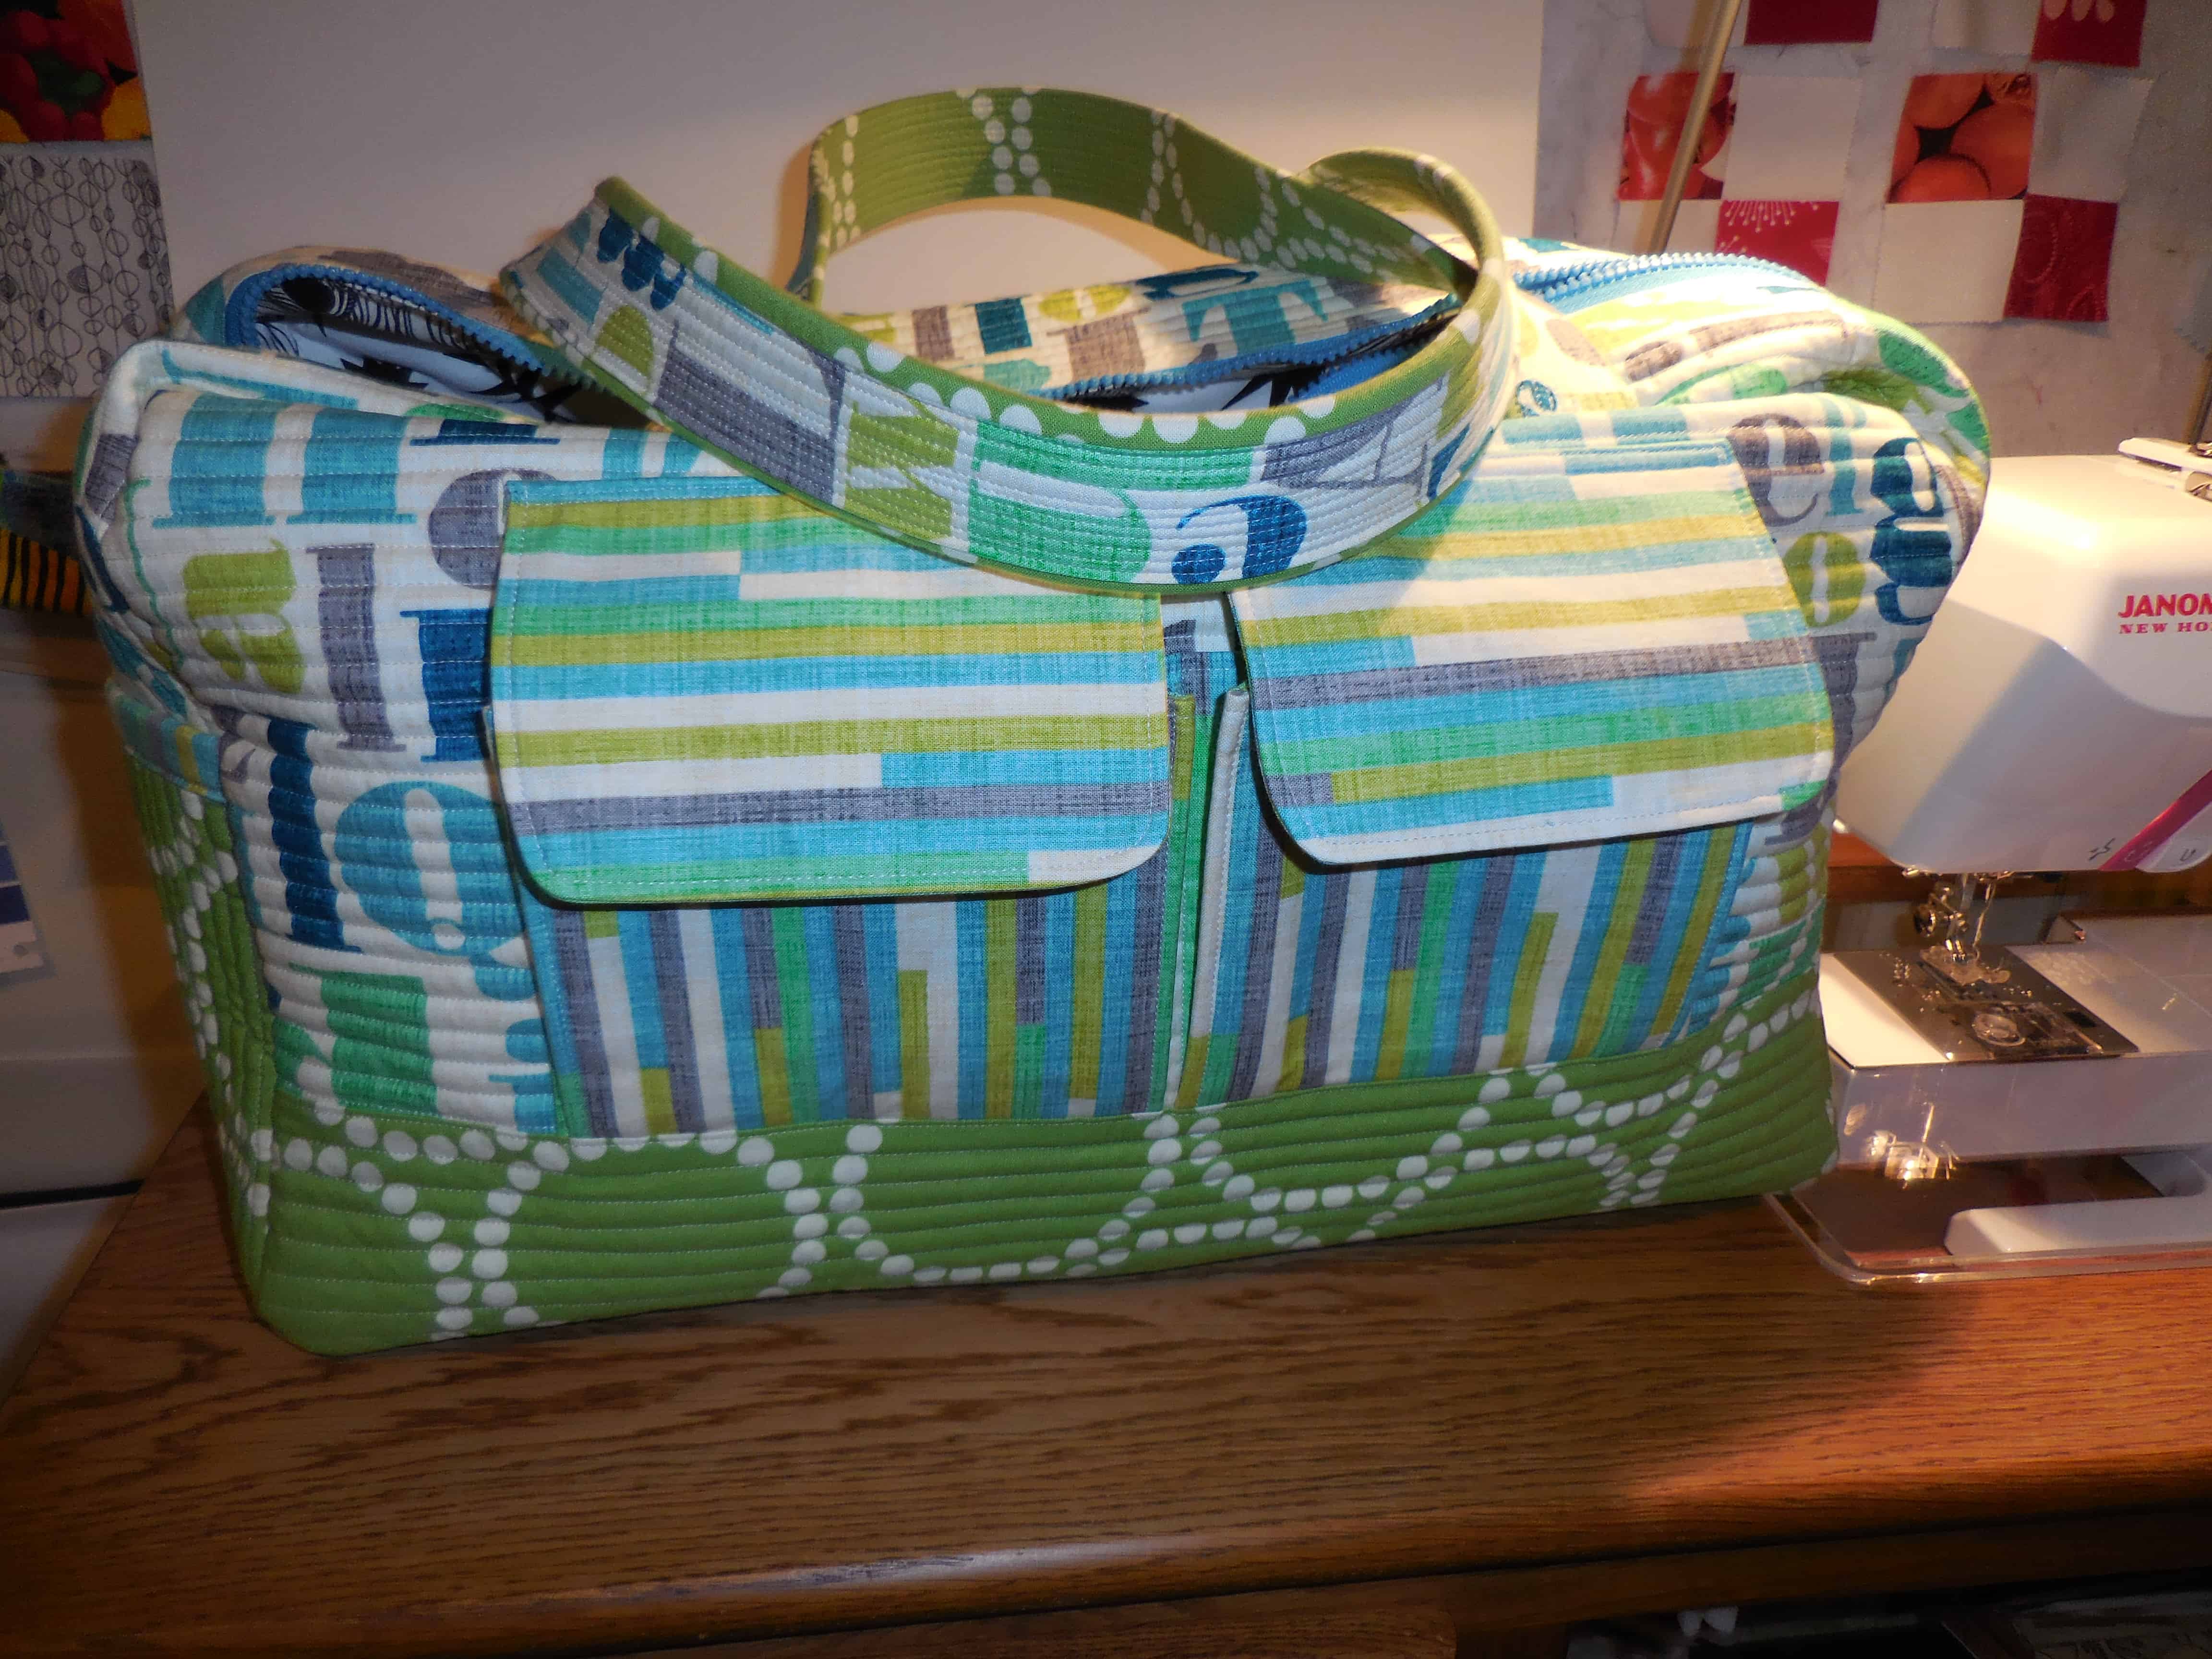
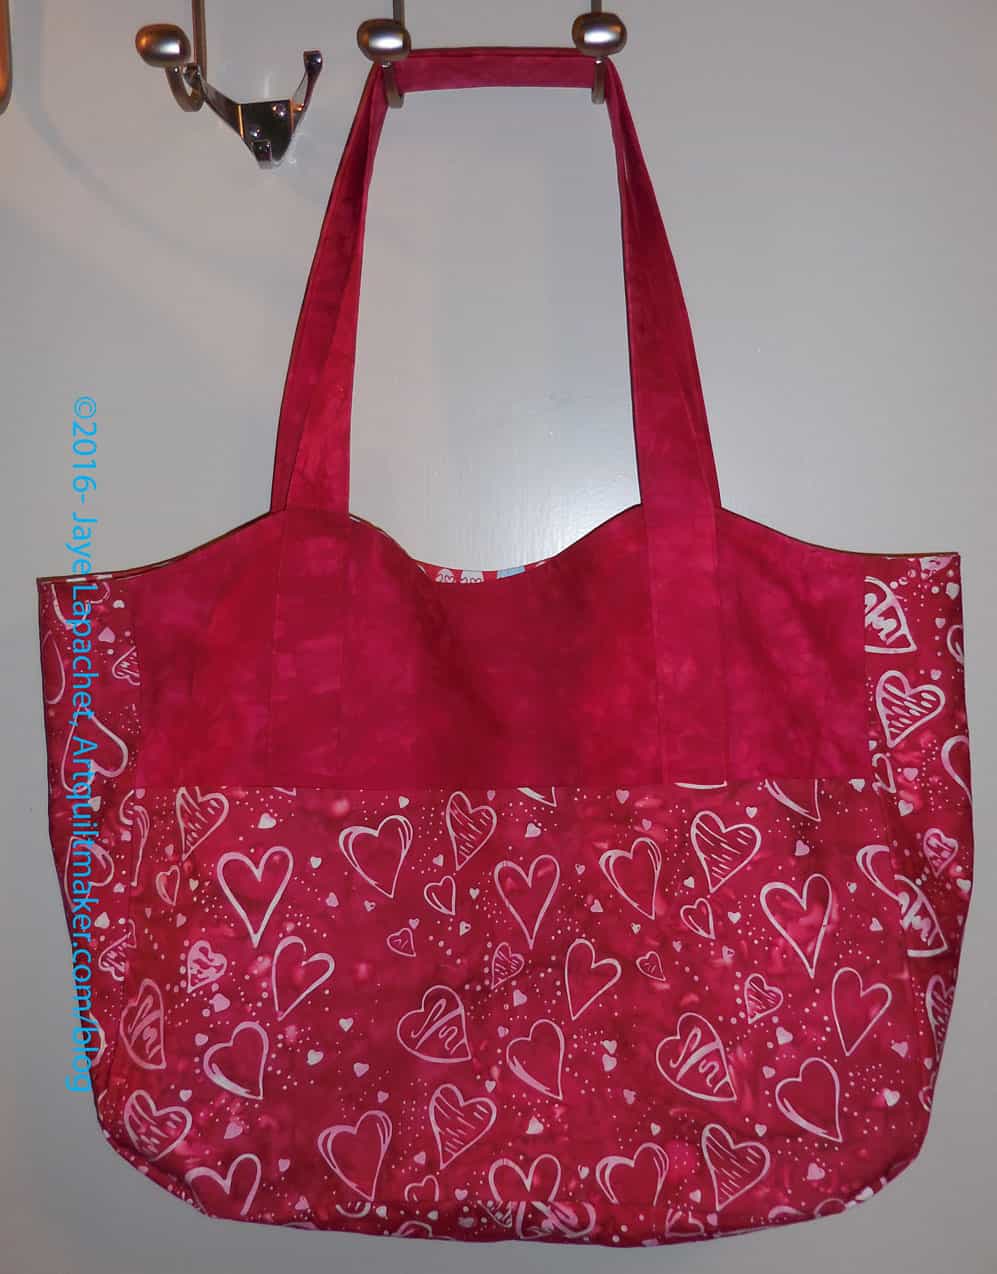
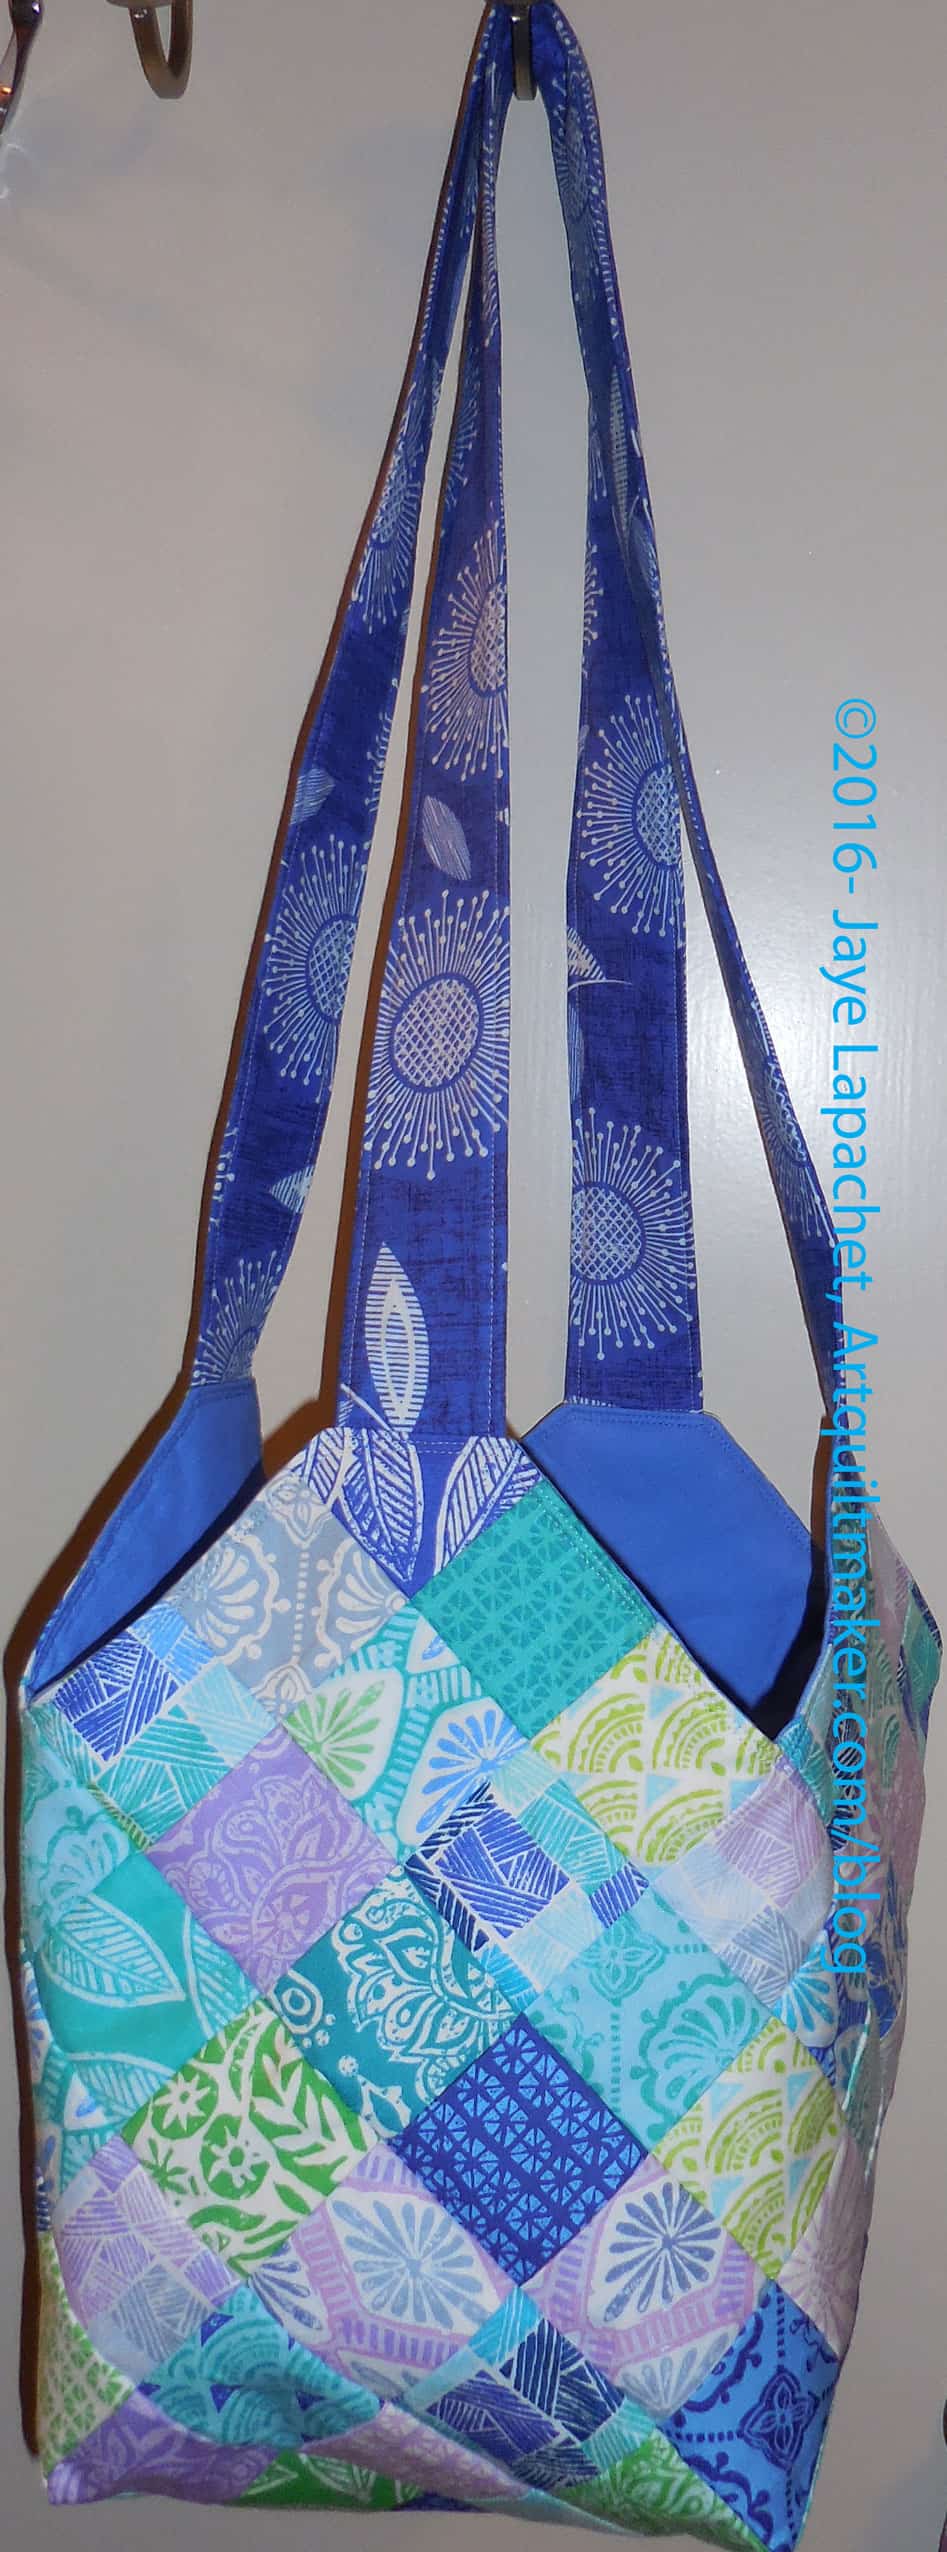
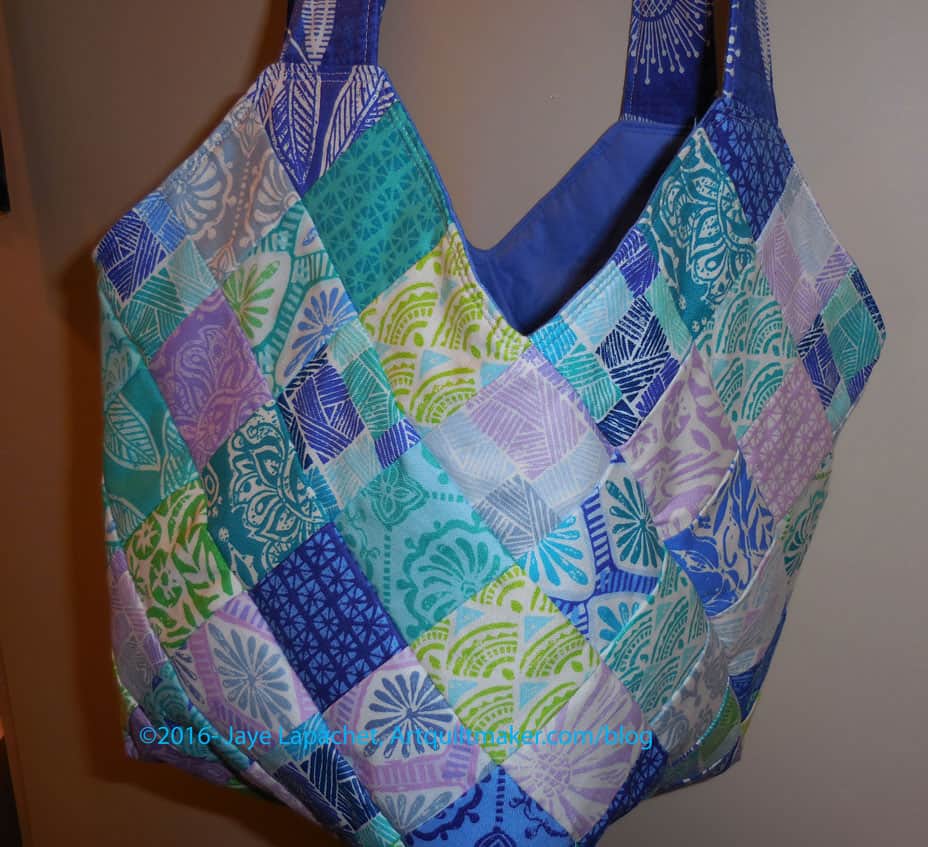
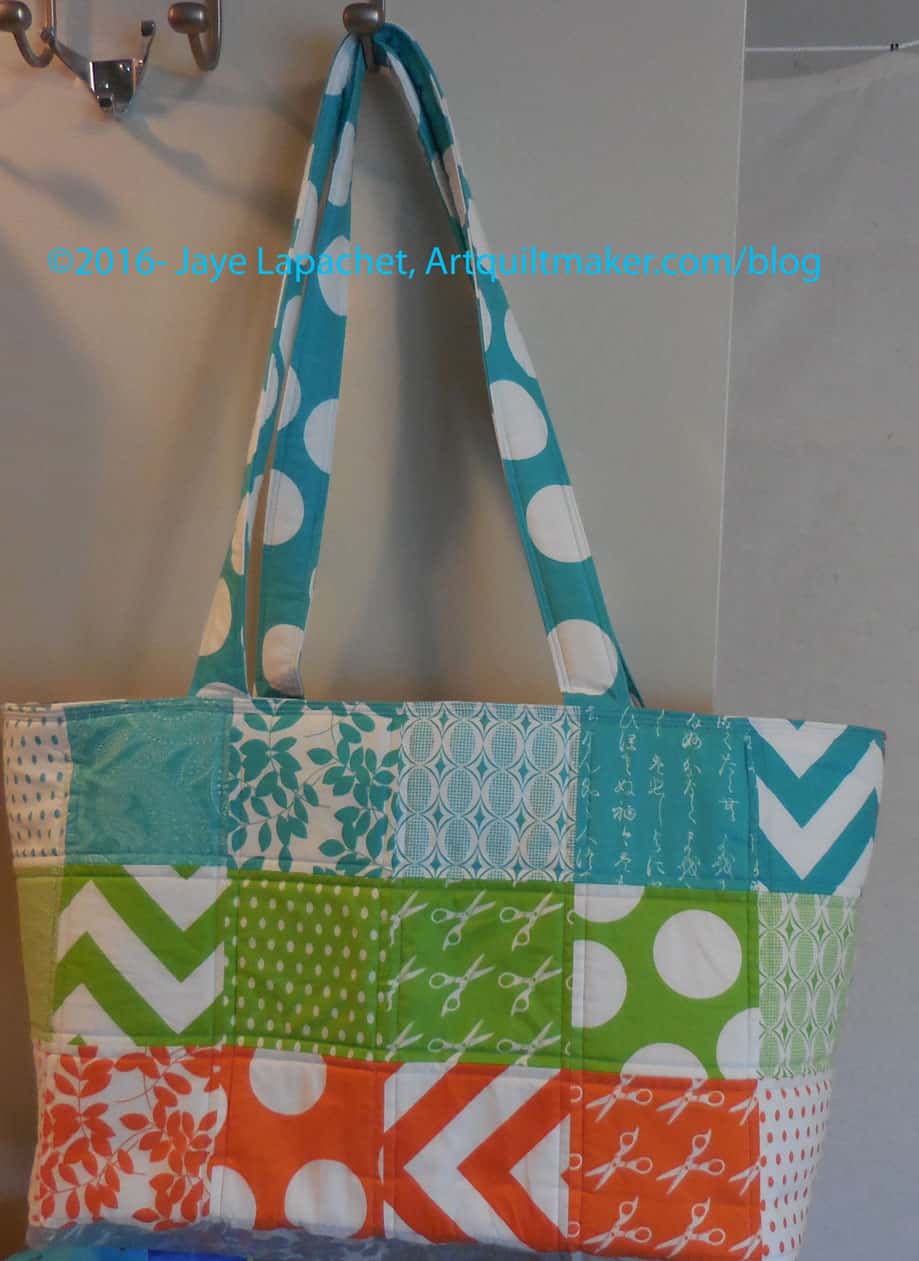
I spent some days on the weekend finishing the Petrillo Bag #3 (Buy the pattern from Sew Sweetness). I have a few threads to weave in before I can say DONE, but it is close.
In this bag, I made a few more changes to the original pattern.

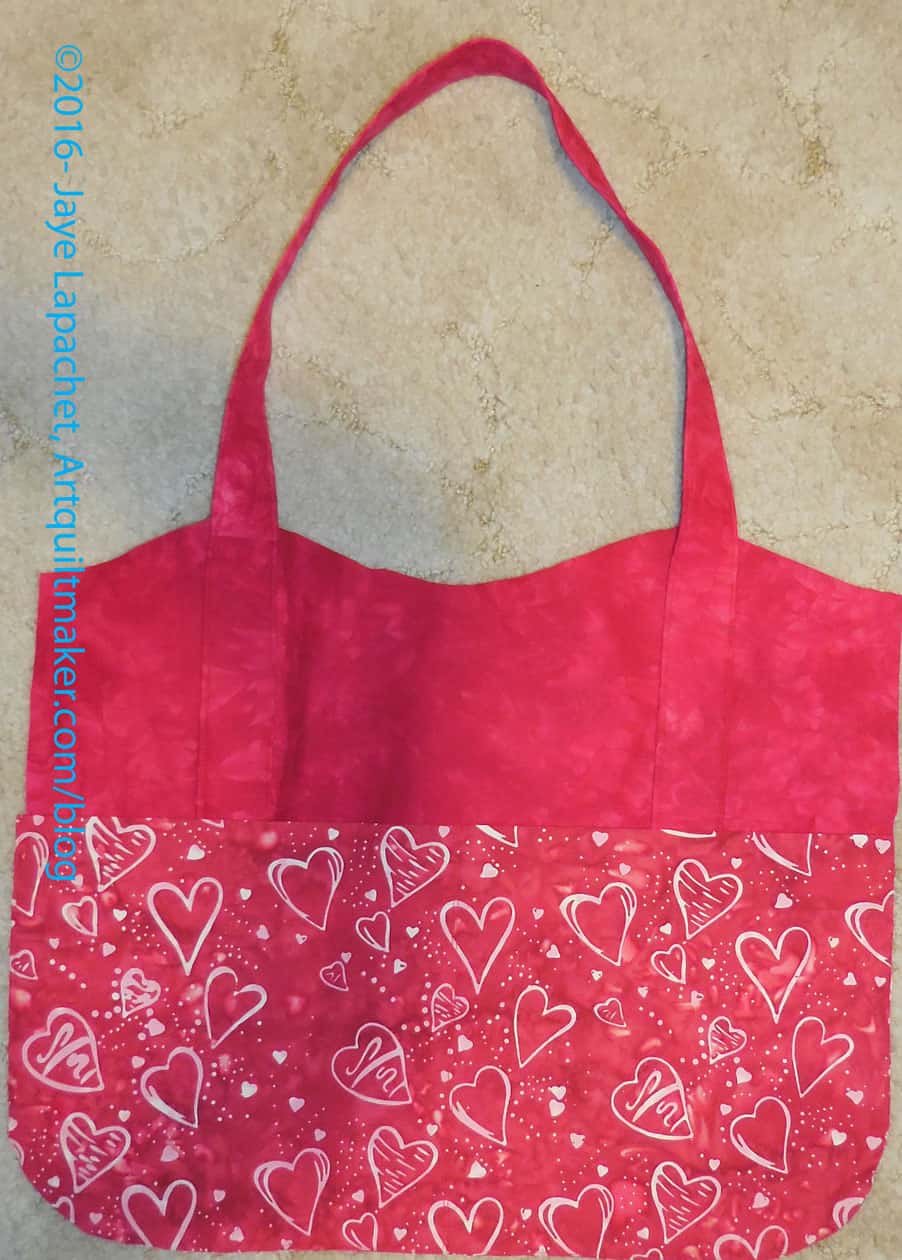
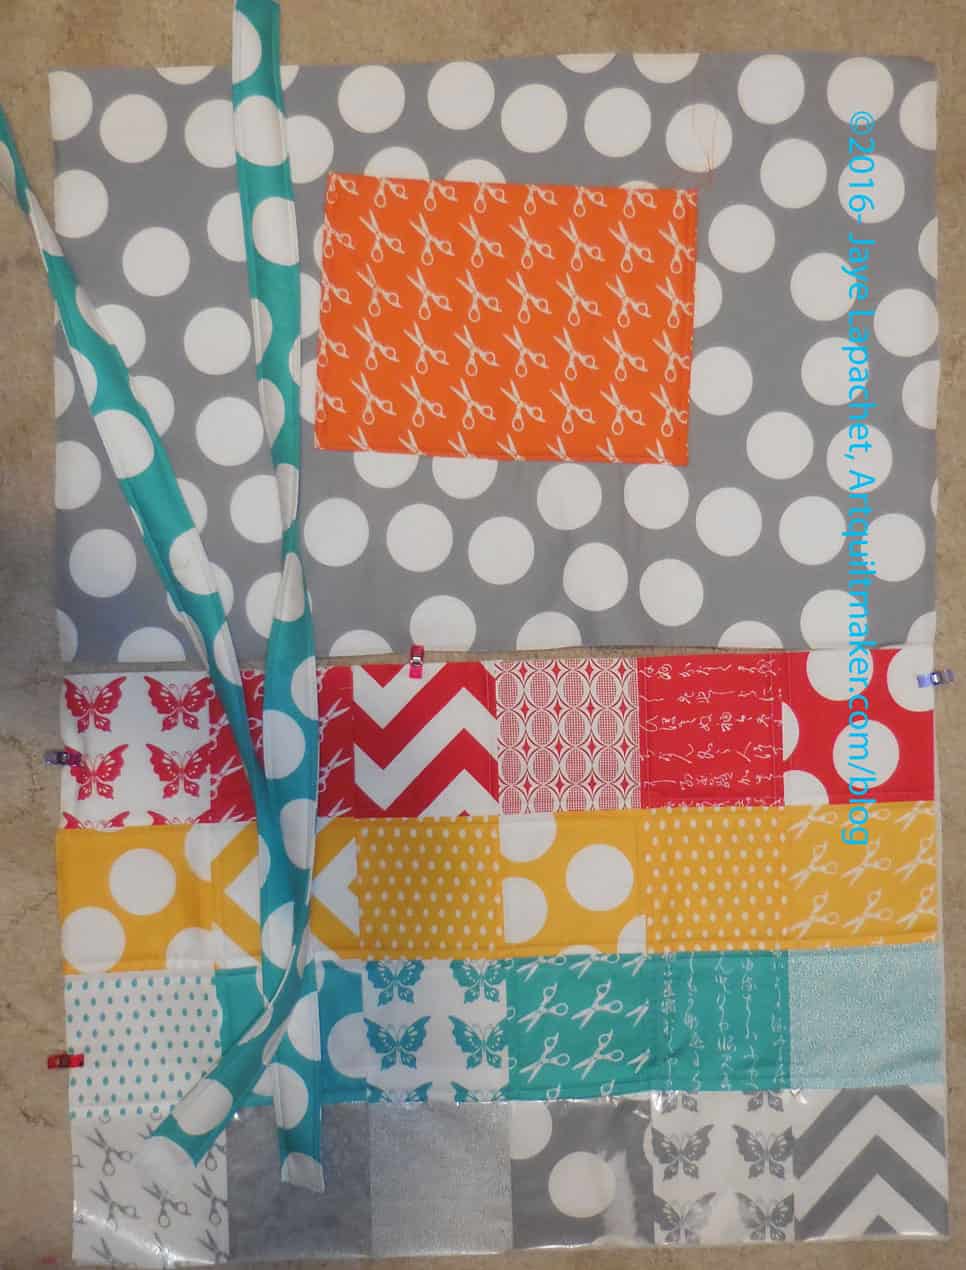
First, I made the bag larger again, but instead of using clips like last time, I bought some wide elastic and used that. The reason I need to use something rather than let the bag be free is because I want the front closure to still work. It is a magnetic closure and probably wouldn’t be strong enough to keep the bag closed if the shape weren’t similar to the original bag. I want it bigger to be able to get stuff out easier (this bag is GREAT for conferences) and be able to stuff a sweater in for cold conference rooms.
I didn’t have enough of the sew-in magnetic closures that Sara of Sew Sweetness recommends, so I bought one more at Joann. Big mistake. Use the ones that Sara recommends; they are MUCH better.

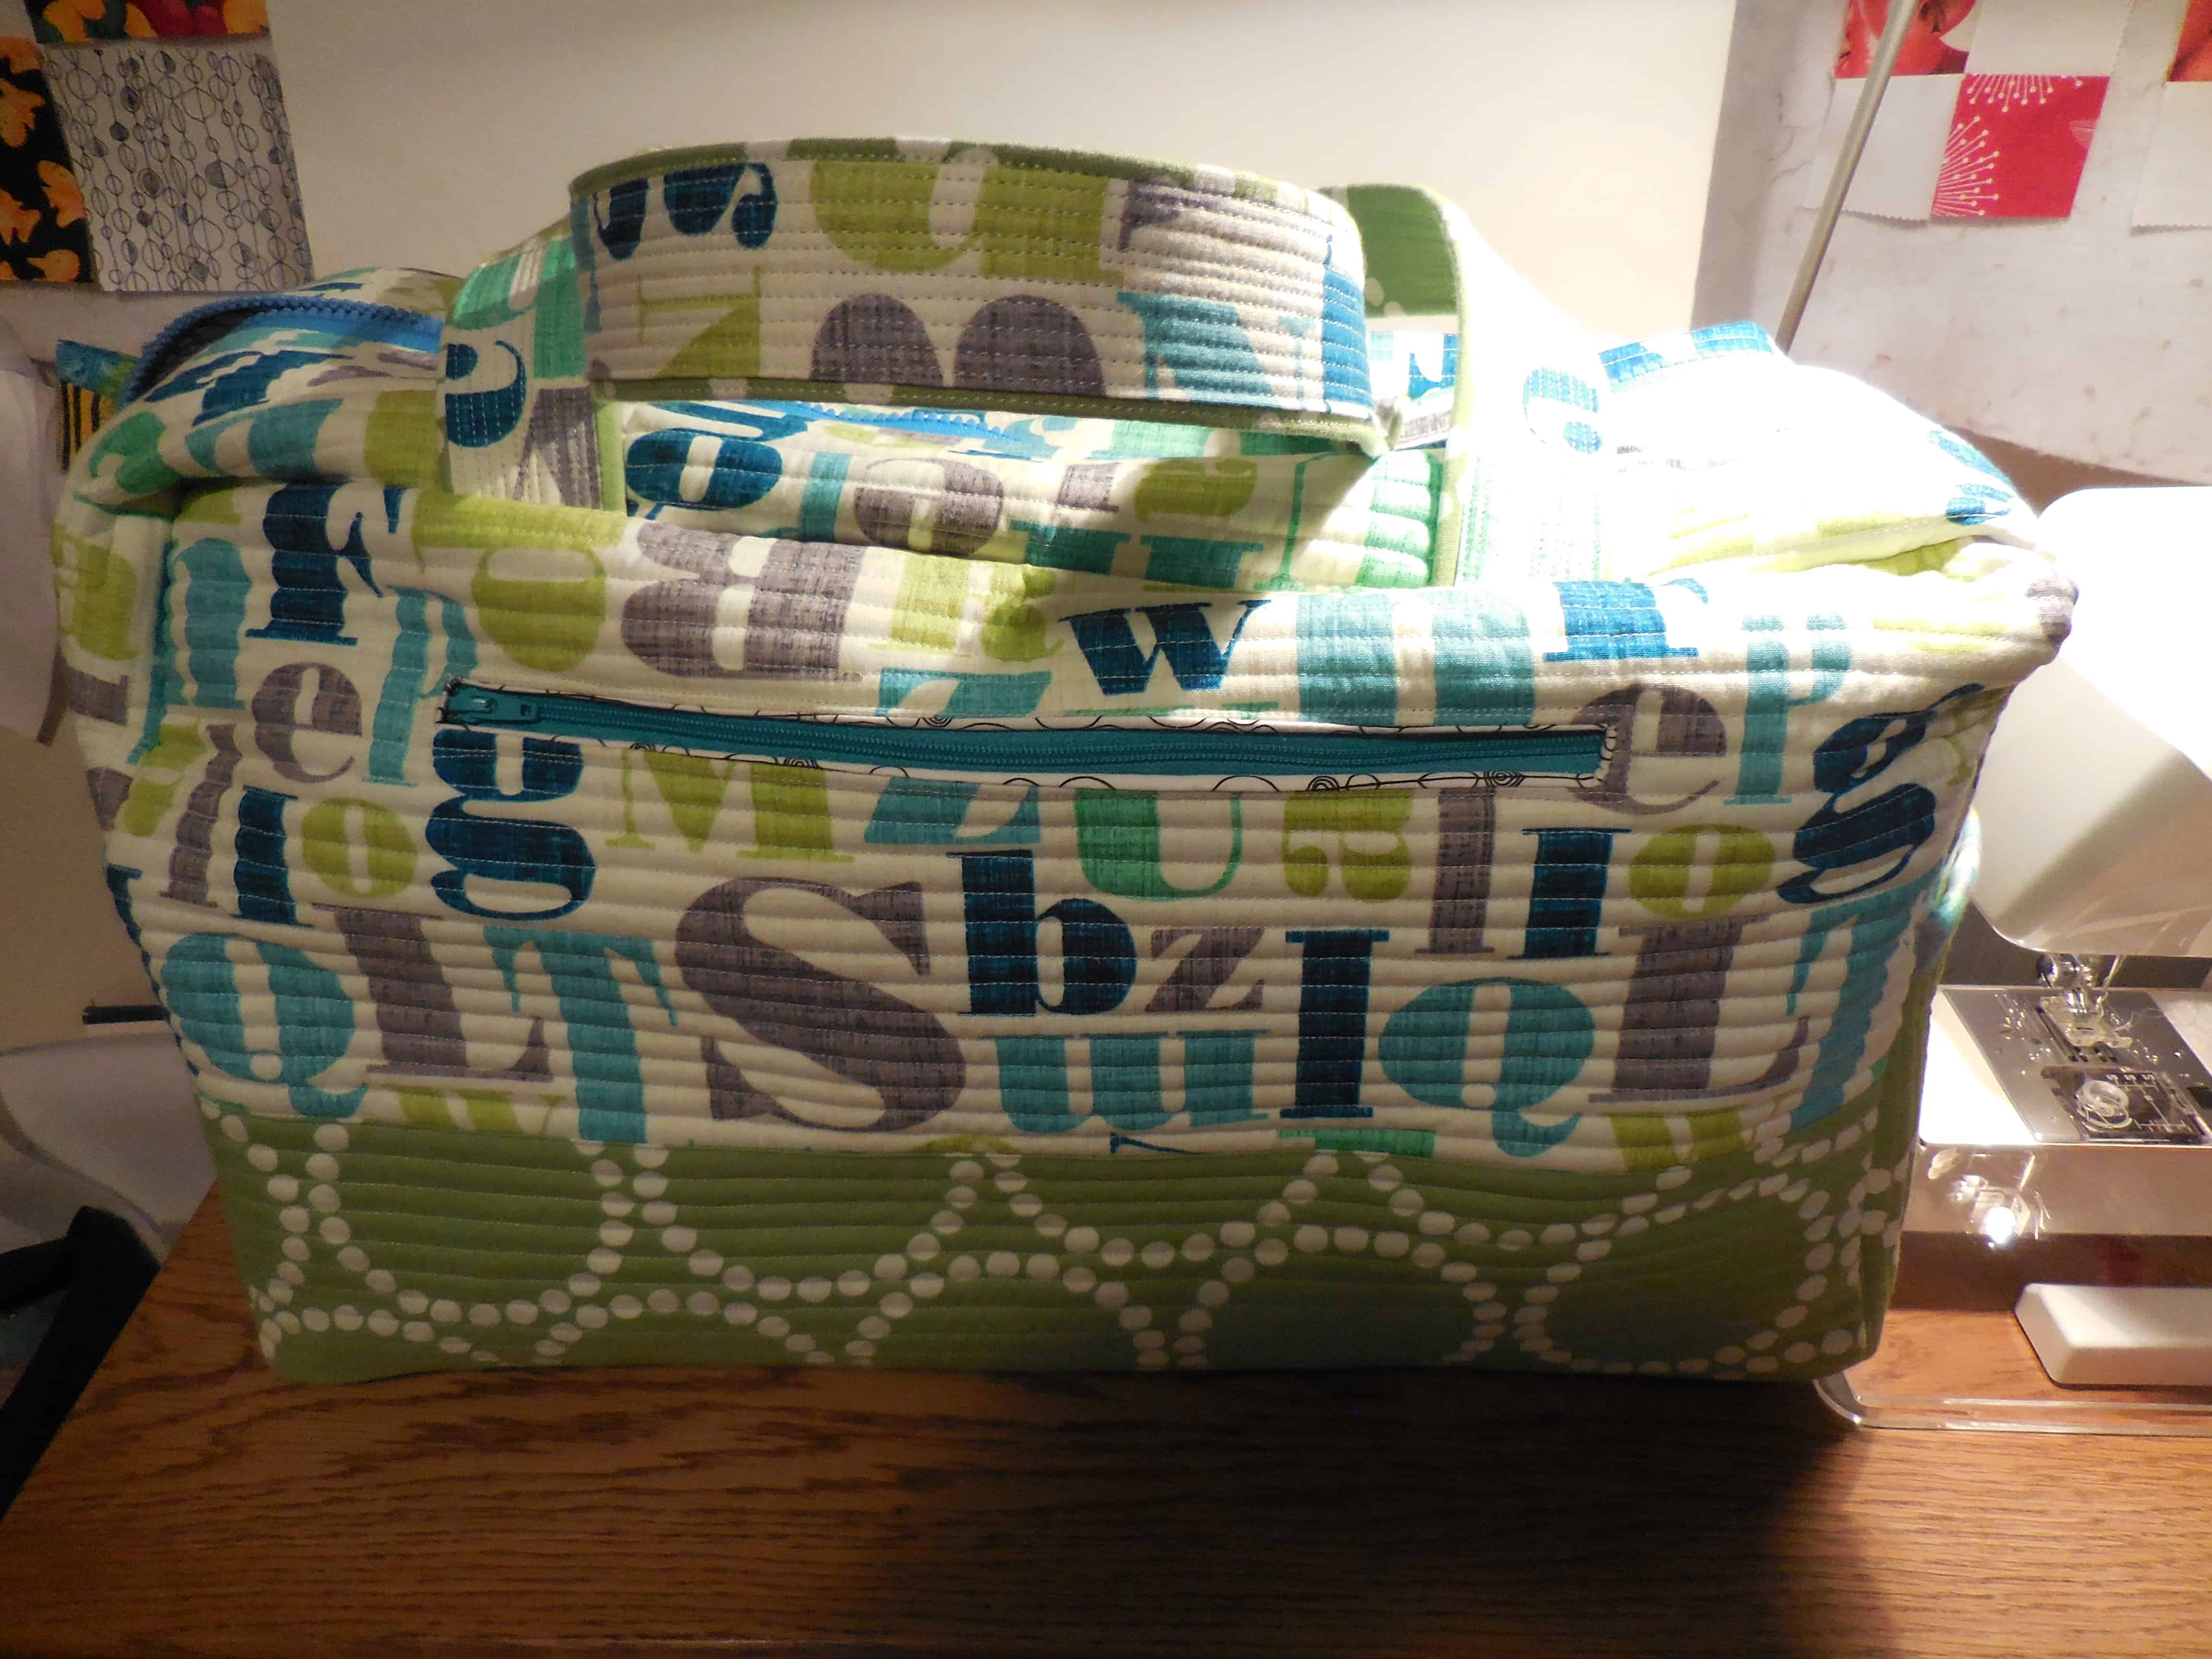
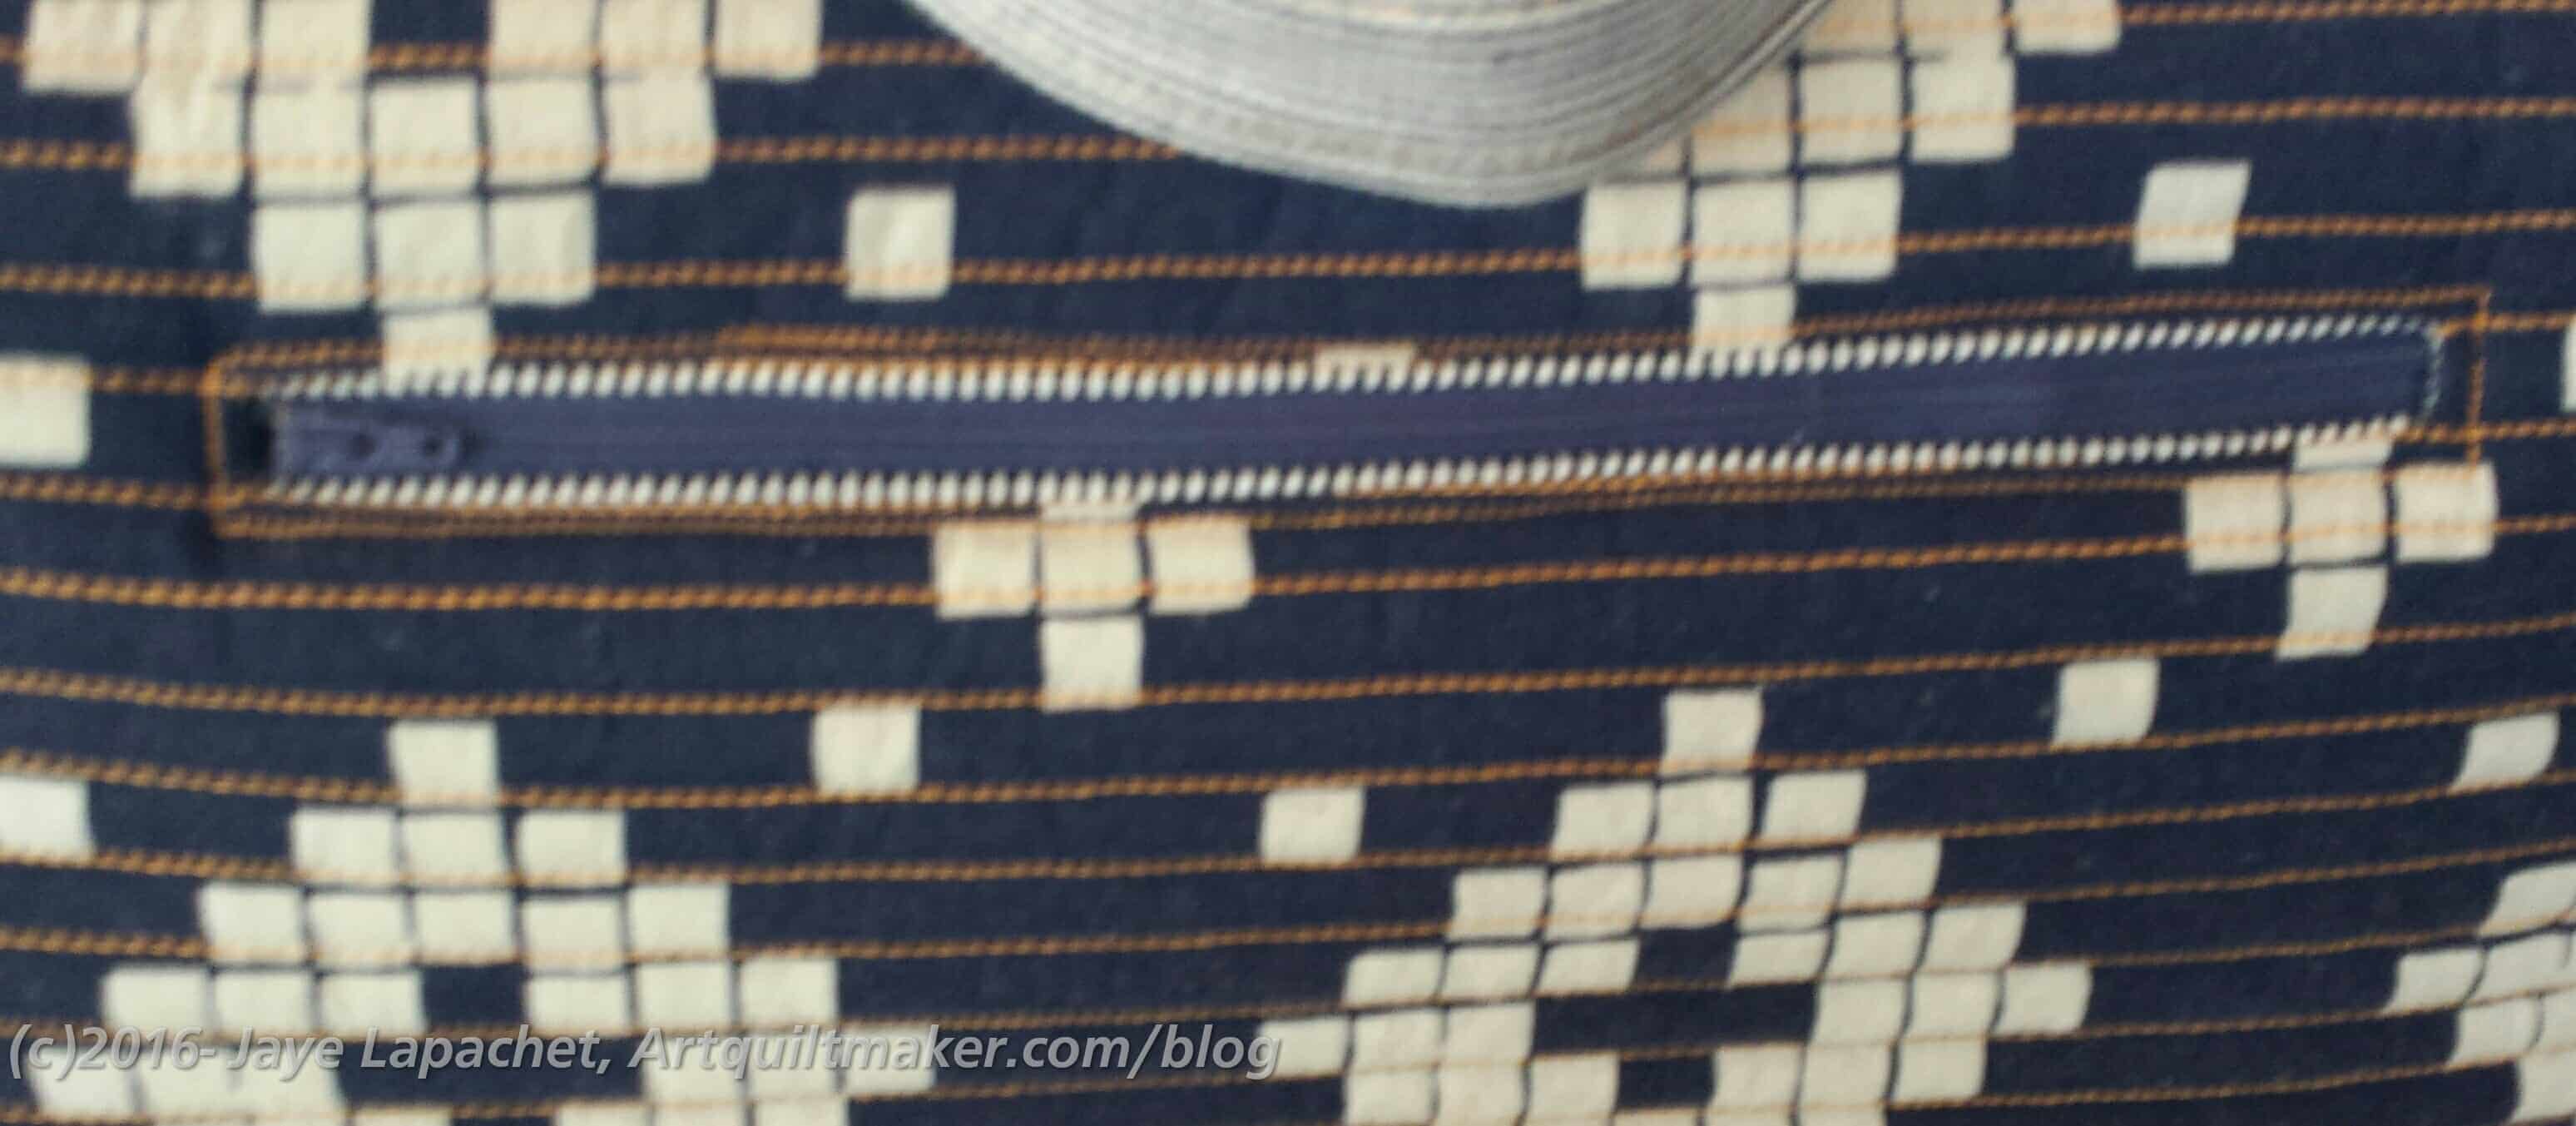
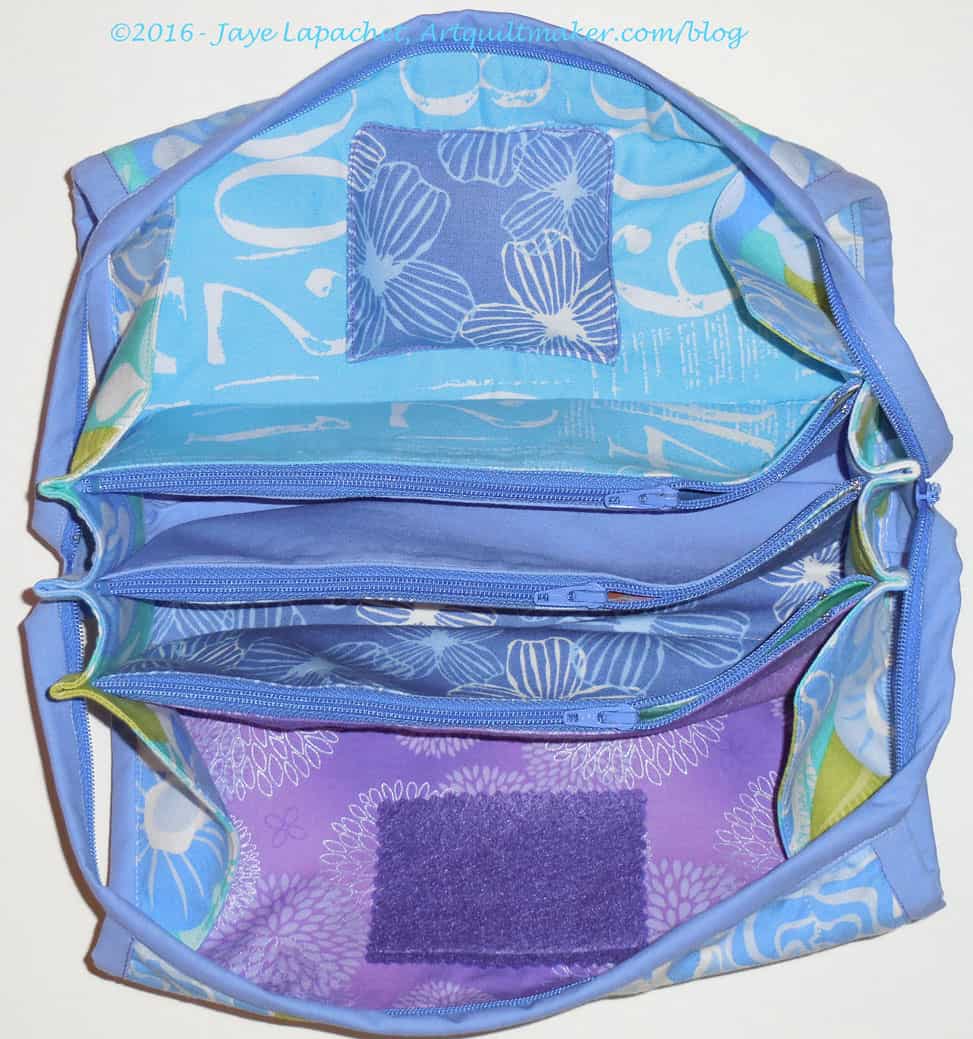
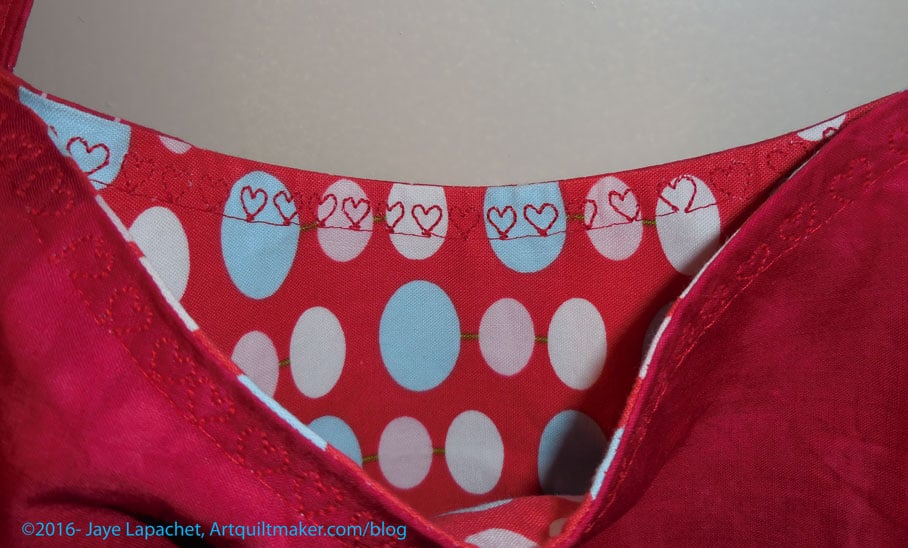
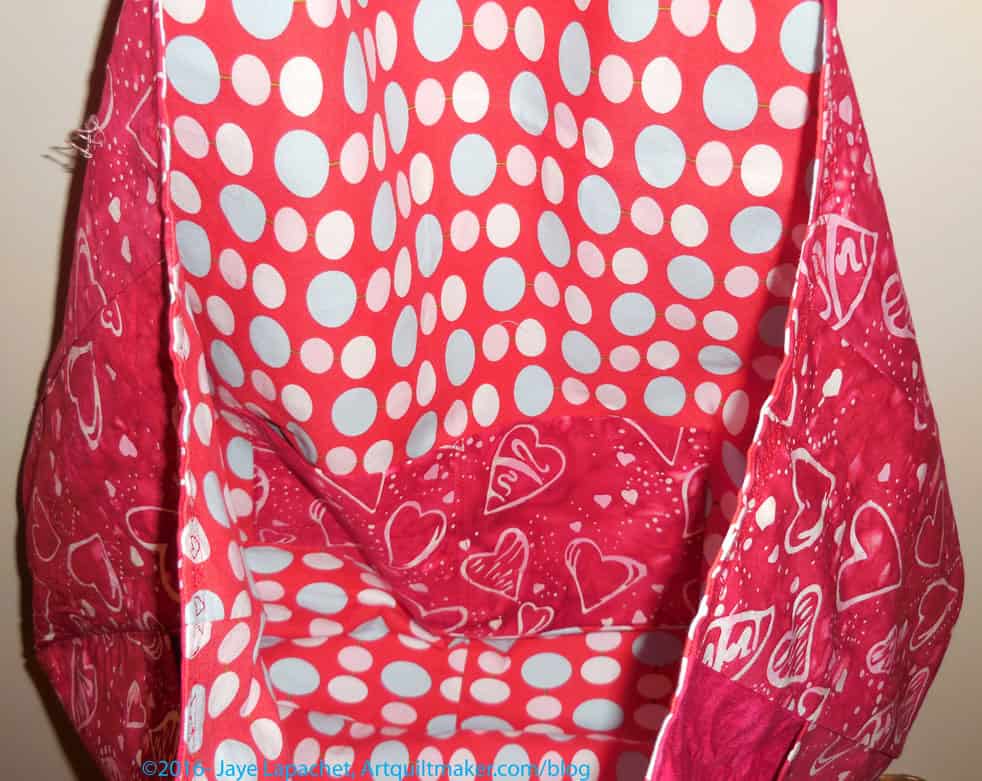
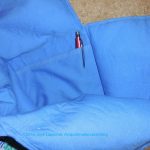
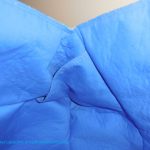
Next, I needed a way for the interior zipper pocket to be stabilized. I use the zipper pocket a lot and it was completely saggy. You can see the outside folded over to the inside from the weight. One solution was to lessen the amount of stuff in the pocket.I do like my stuff so I sewed close to the edge on the top of the pocket as one possible solution to keep the pocket stable.
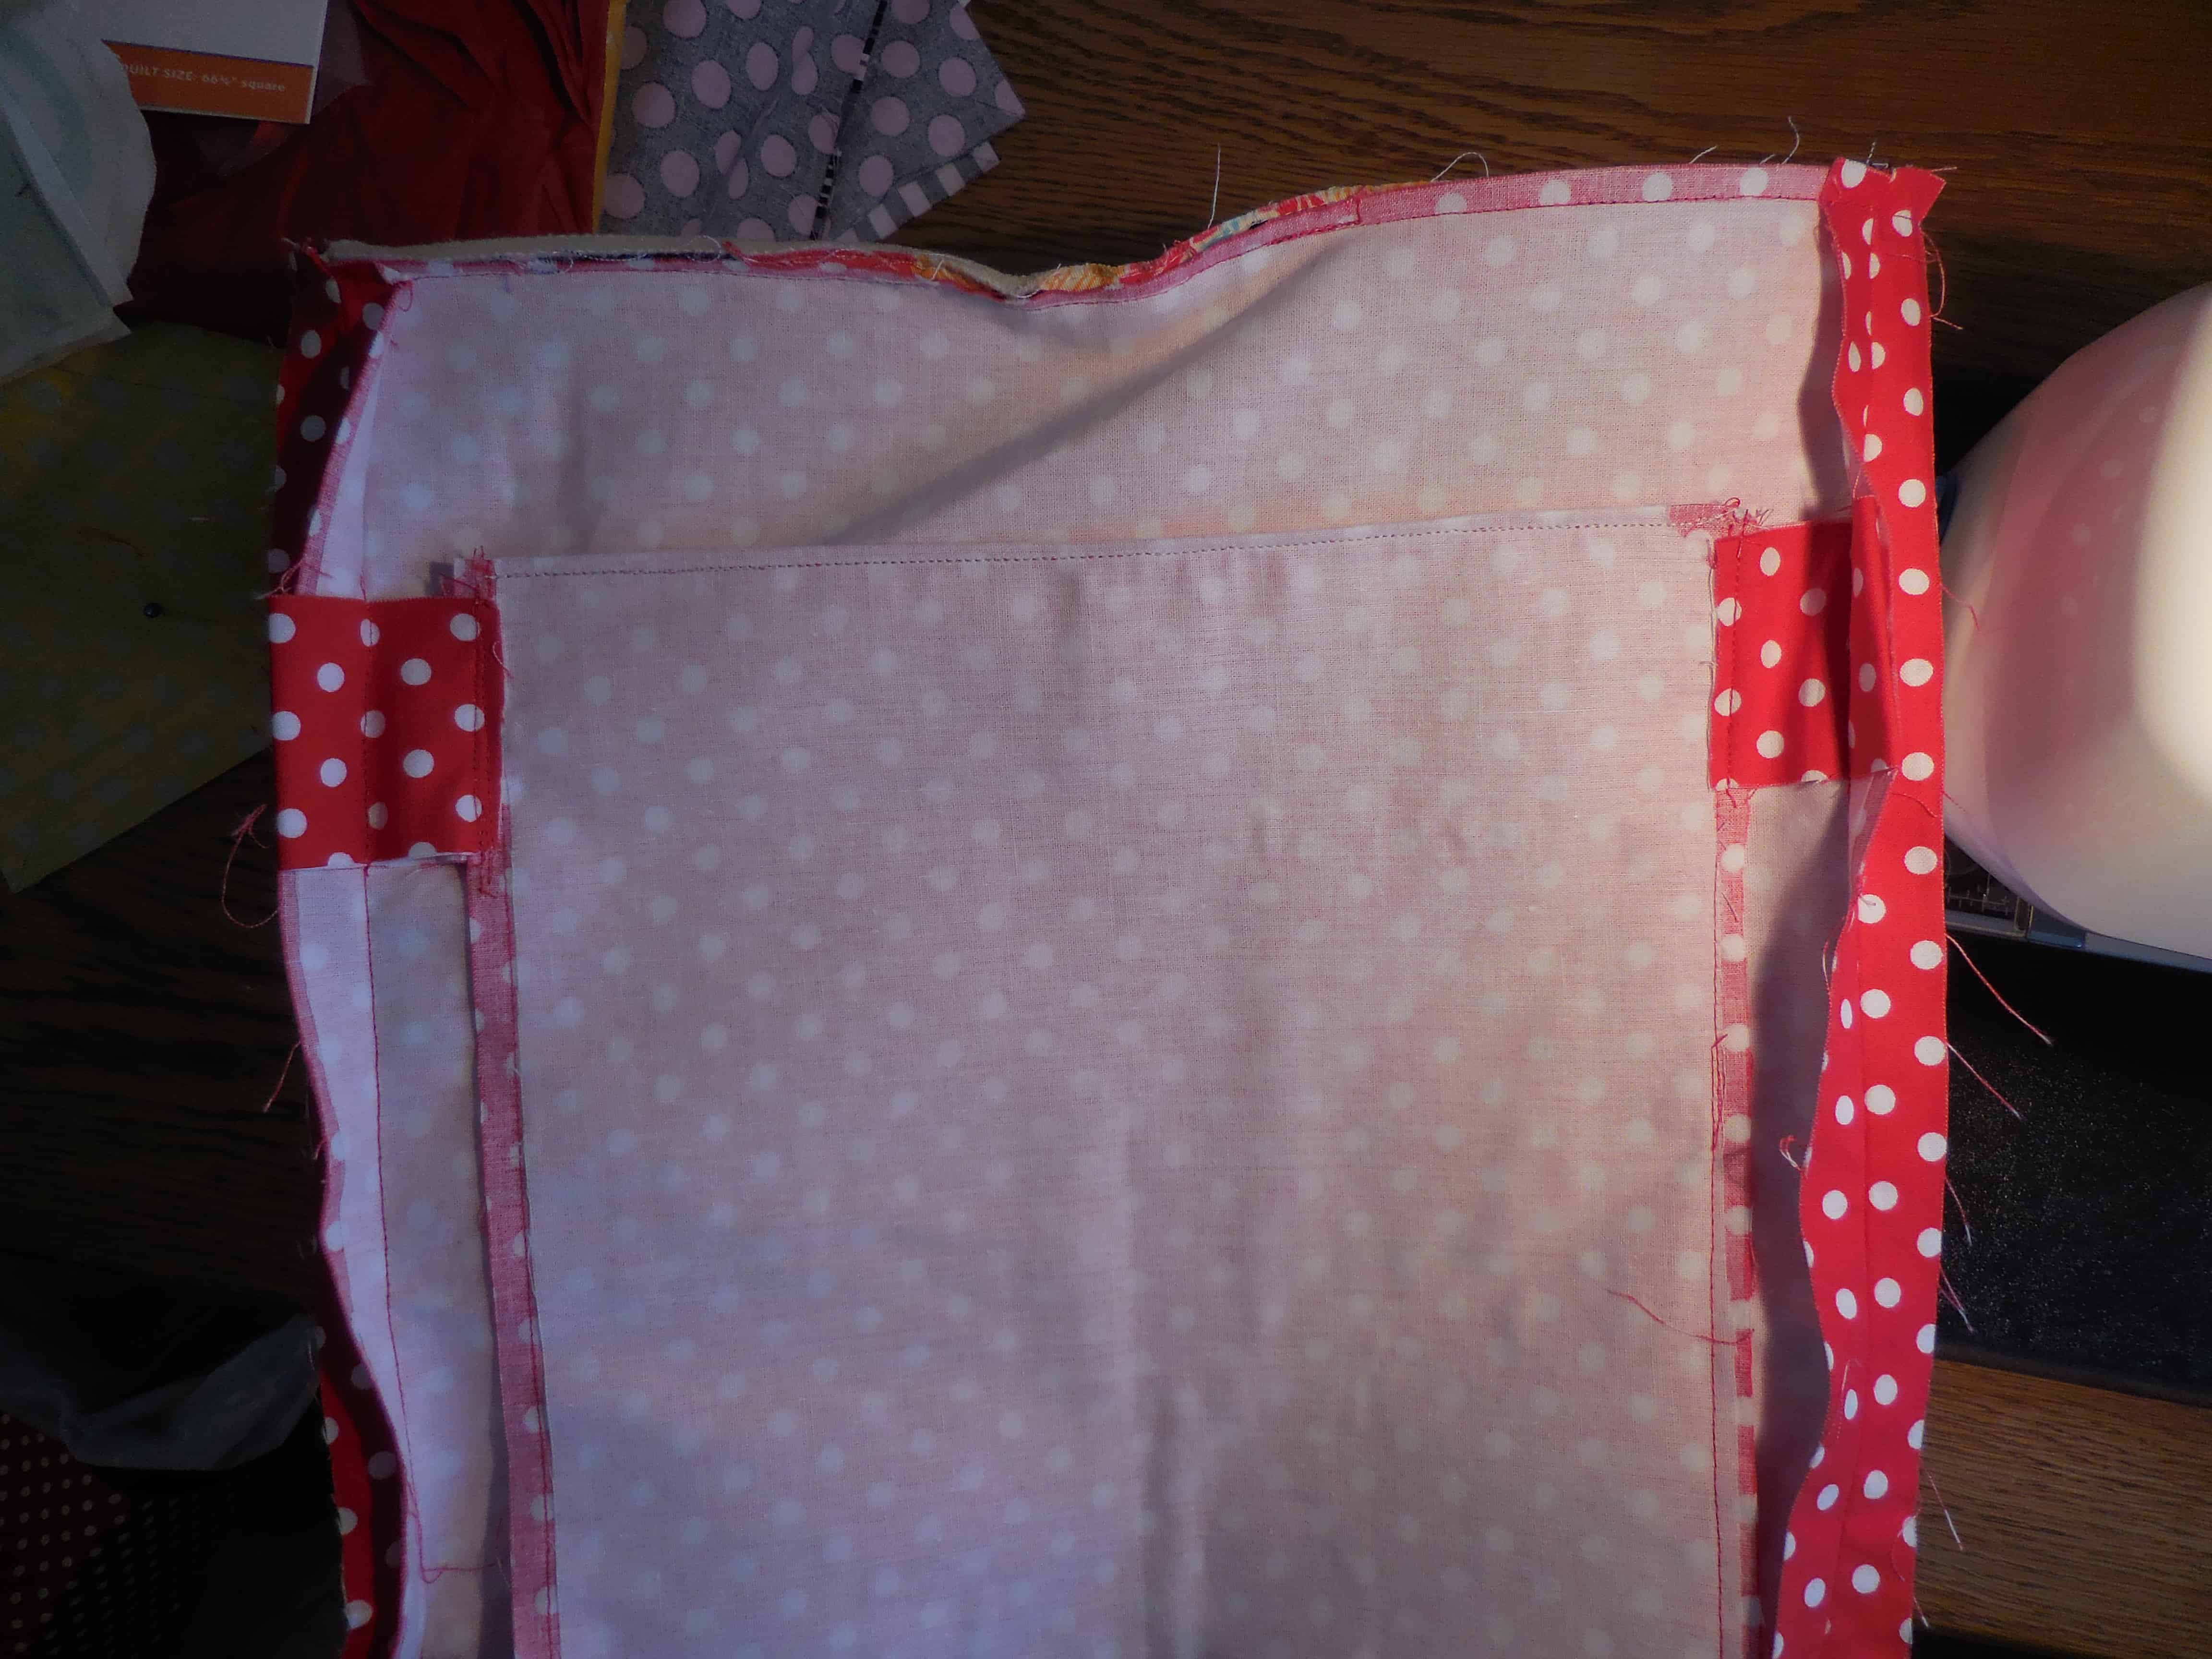
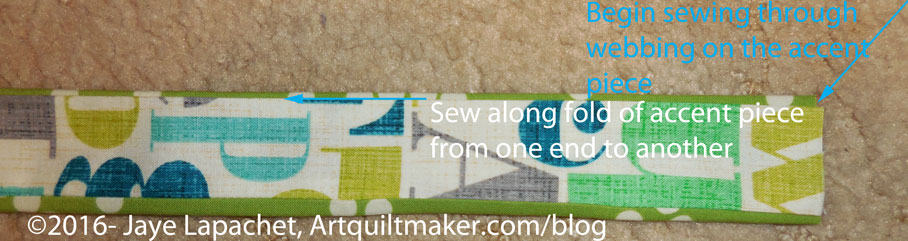
However, I thought of a solution that would allow me to keep the same amount of stuff in the pocket and not be saggy. I thought of this at the last minute when the bag was almost completely together, so my options for making it super nice were limited. I sewed tabs on to the ends of the zipper. They were sticking out just enough to allow me to do so, then I sewed the tabs into the side seam.
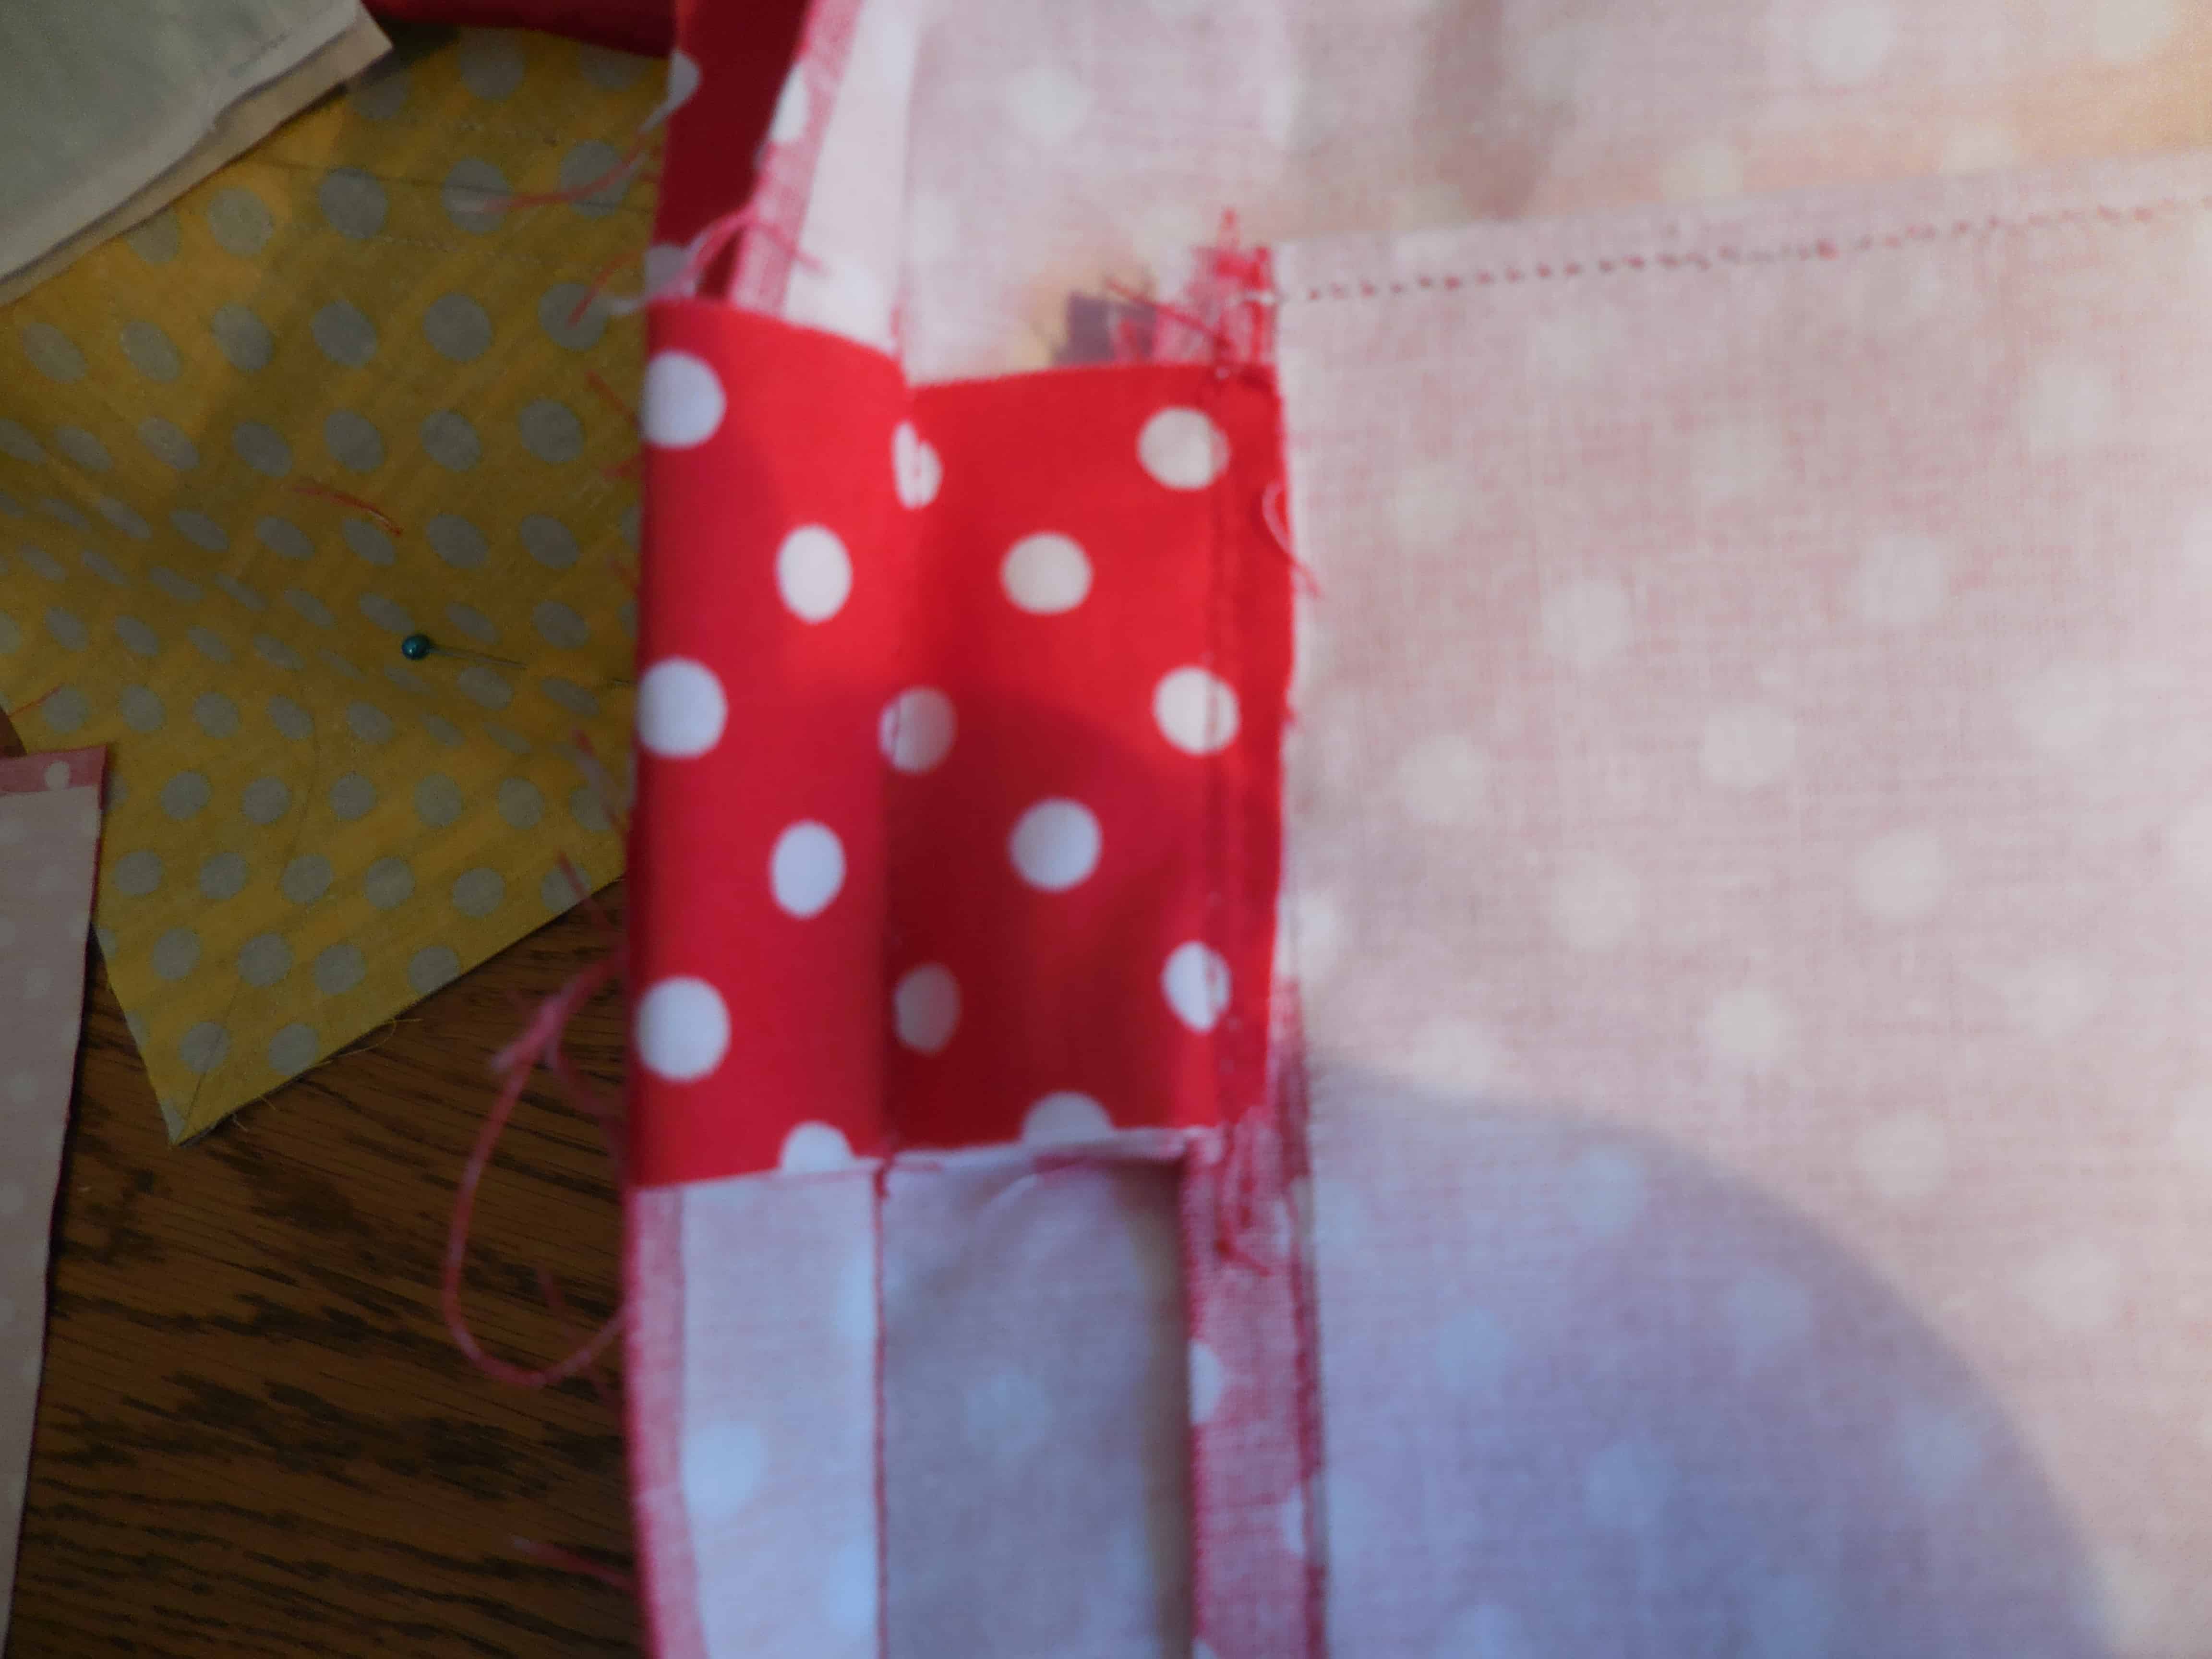
I didn’t finish the tabs, but I figured it wouldn’t matter much since the stablizers were on the inside. I would finish the edges and make real zipper tabs if I were making the bag again.
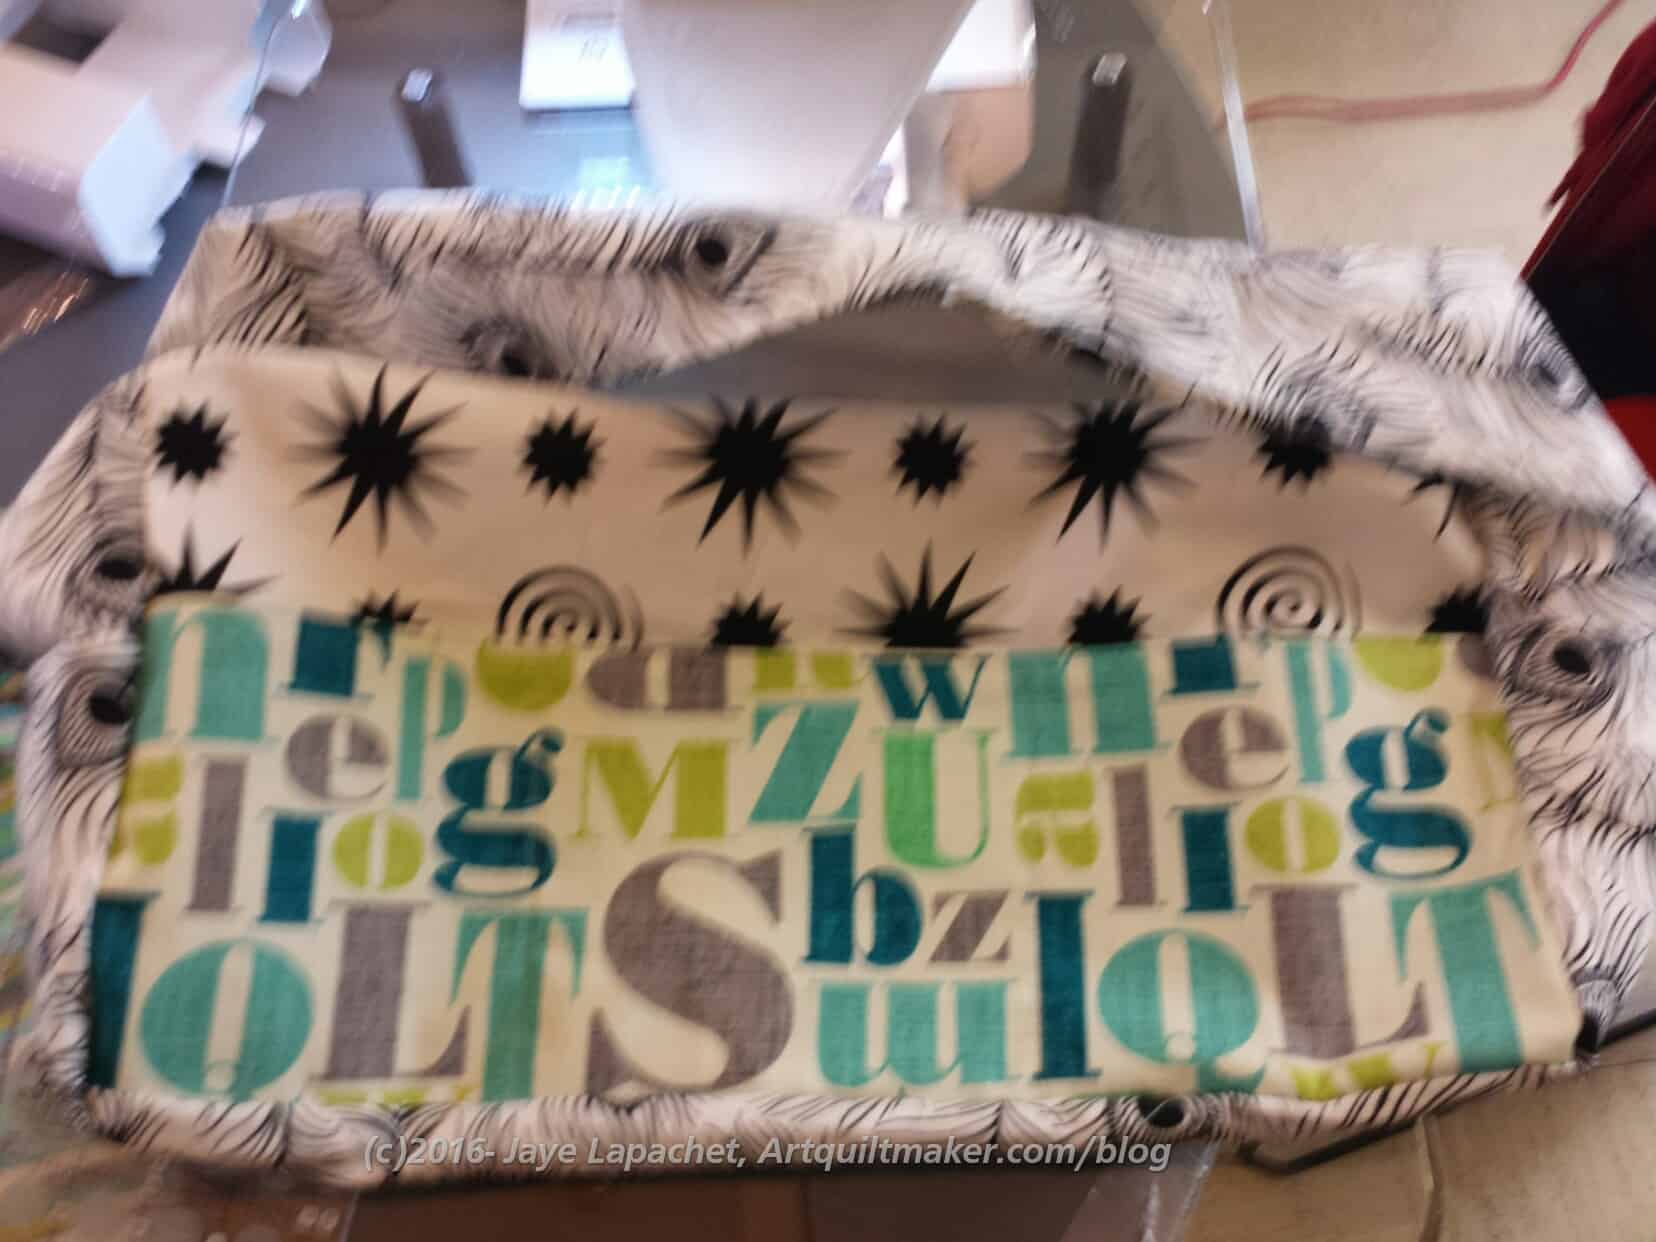
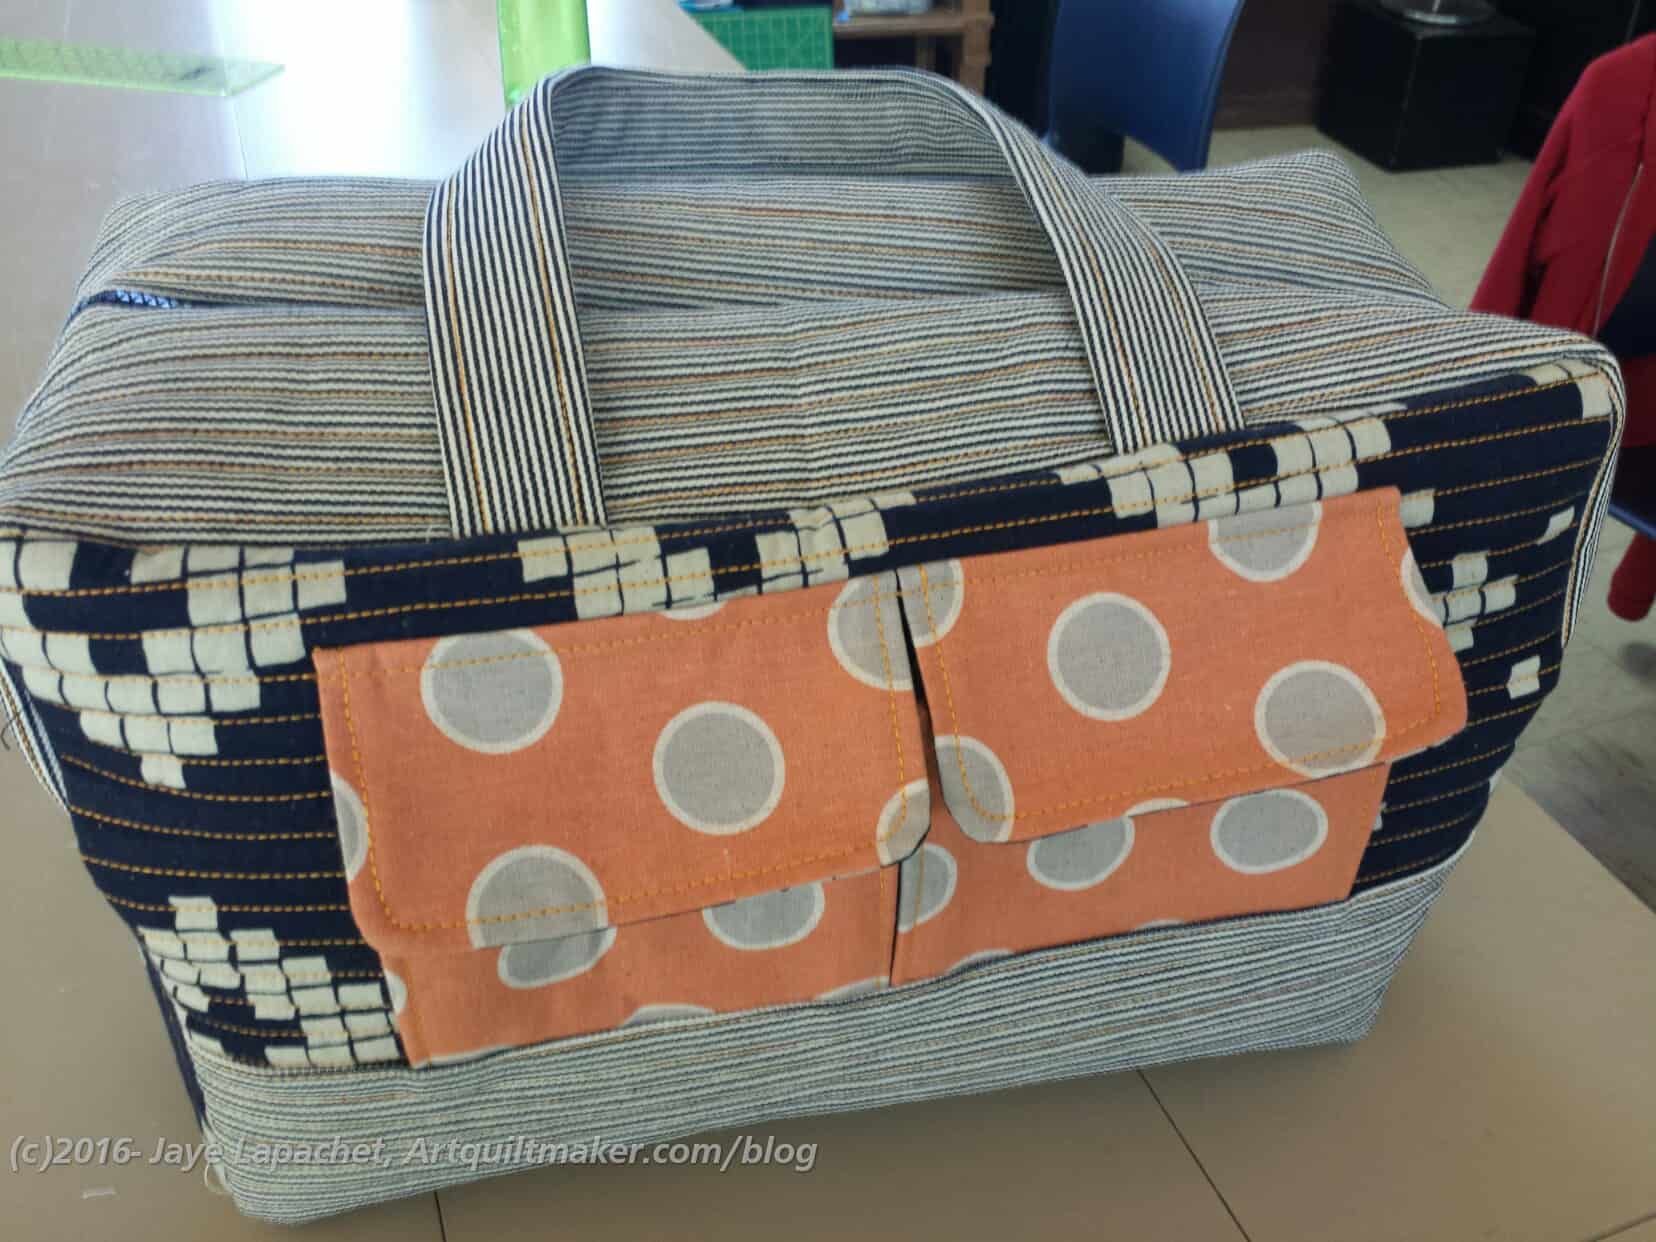
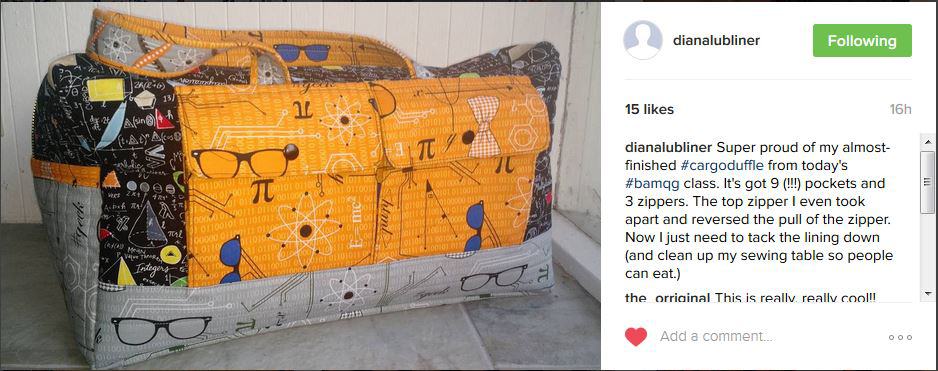
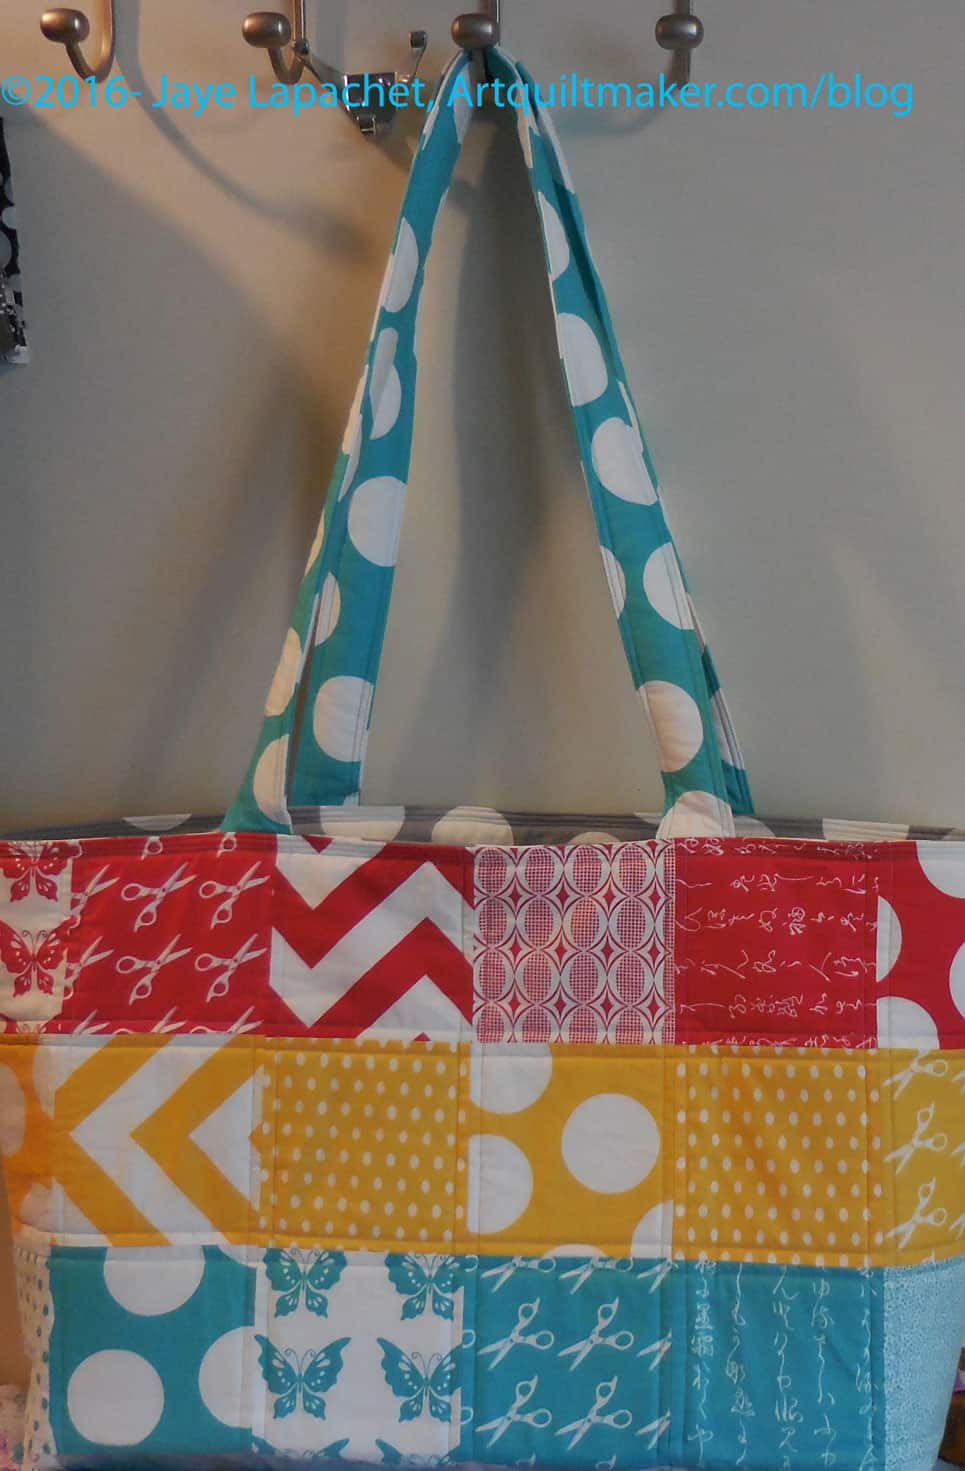
In a further effort to stabilize the interior zipper pocket, I also added a slip pocket to the outside of the padded pocket. I got this idea from making the Cargo Duffle. I hope to put the pens in this pocket instead of in the zipper pocket, which should help the stabilization. I divided the slip pocket into two sections using my phone as a guide for size.
The slip pocket isn’t in exactly the right place. I should have put it down a little further, because in its current location, it interferes with the padded pocket flap. Thinking about this made me realize that I probably don’t need a flap over the padded pocket.
I think I will have to make this bag again with further refined hacks.