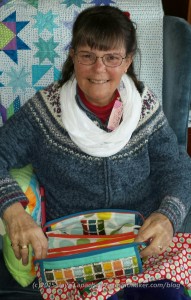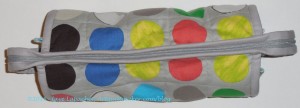
Finally! I made a Sew Together Bag for myself. I haven’t filled it up with my English Paper Piecing materials as of this writing, but I will have done by the time you read this.
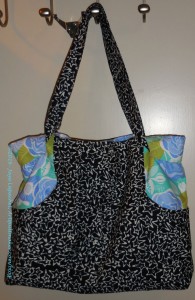
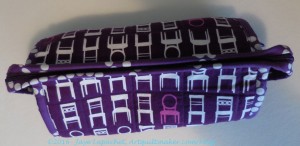
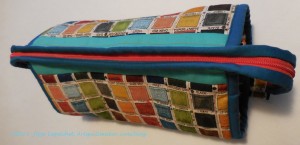
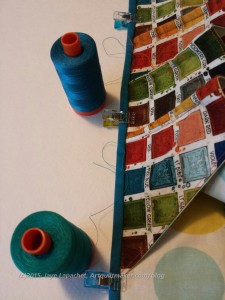
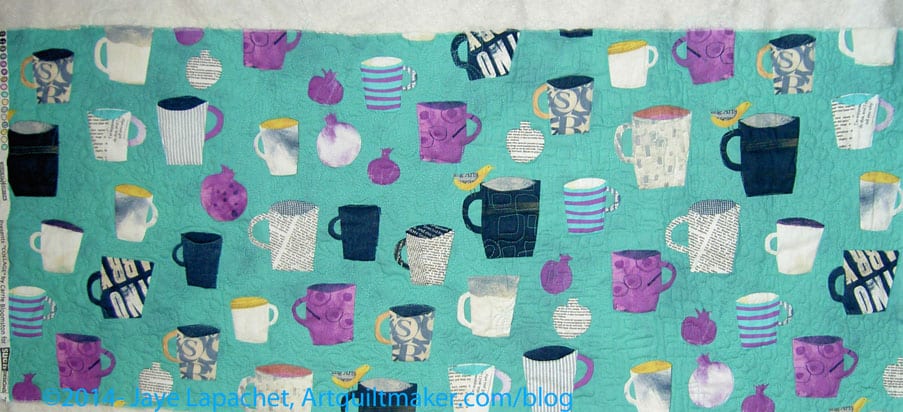
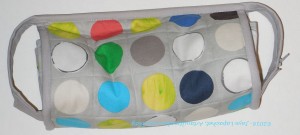
I am not sure why I chose the paint can fabric for the outside. It was waiting to be ironed and it kept beckoning me. I couldn’t resist and it was perfect. It feels like a good outside for a working bag. I also think I won’t wonder why I chose it.
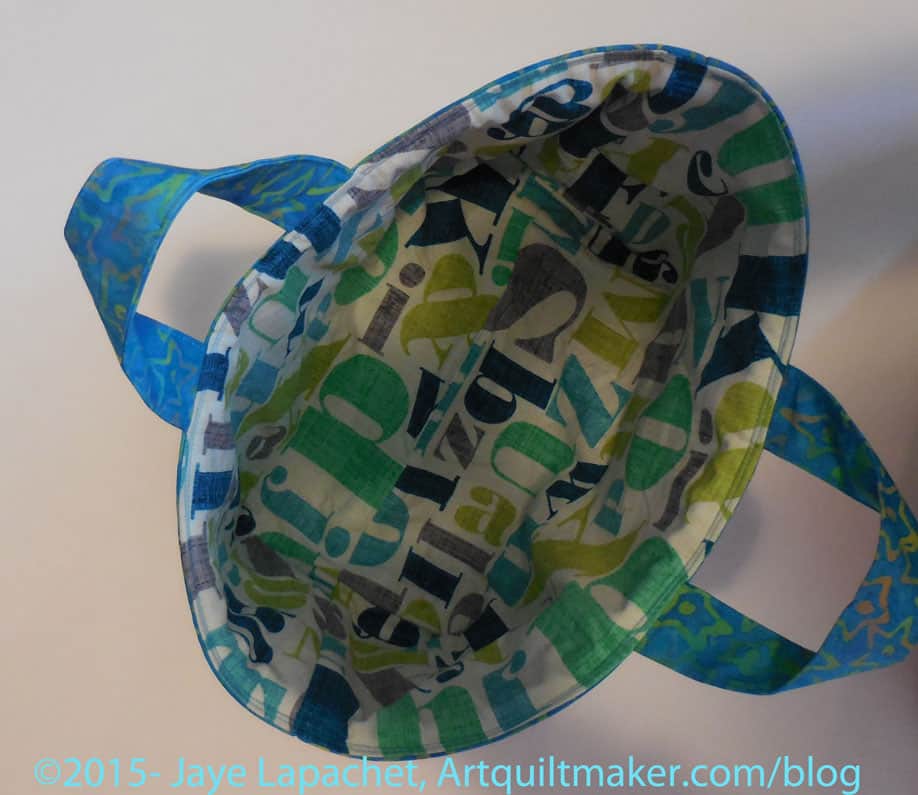
I didn’t mean to match the top, but I did a pretty good unintentional job, don’t you think?
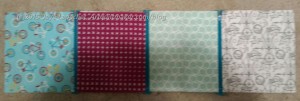
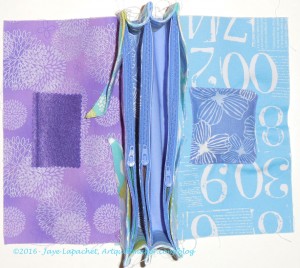
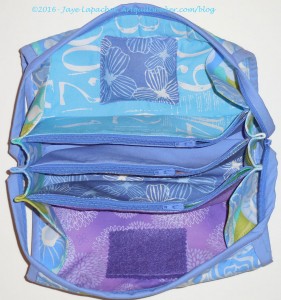
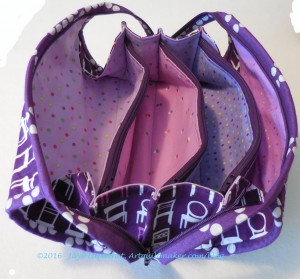
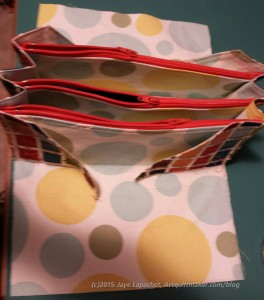
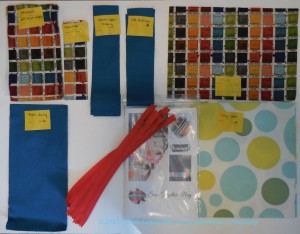
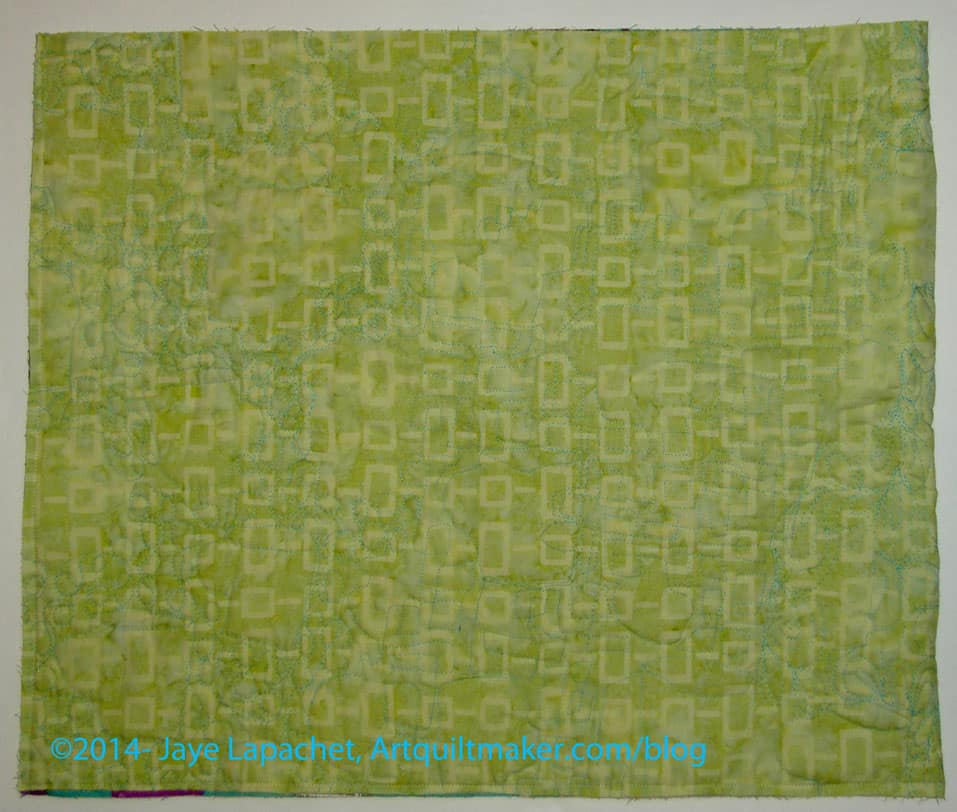
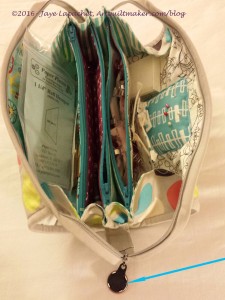
I chose the inside fabrics very carefully. I wanted fabrics that I loved. A lot of these are new or new-ish fabrics, but have the feel of old favorites. All the choices has to be light for the inside so I can see the tools that fall to the very bottom. I did choose one dark violet/magenta Karen Lewis fabric. It isn’t light, but I think it will be fine.
As I mentioned the other day, I made this one at the same time I made TFQ’s. After I cut all the pieces I sewed the steps for one and then the next until the end when I had to get TFQ’s done because she was coming to visit and I needed to gift it. I finished mine in a few quiet half hours over the weekend after the fun and games with TFQ.
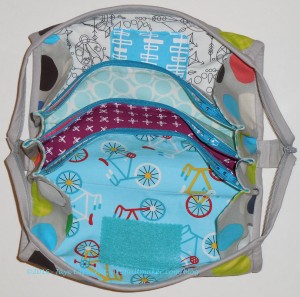
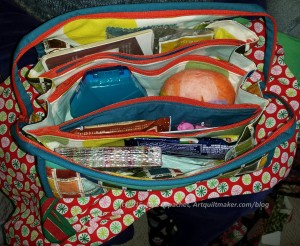
I added a couple of pinks for the inside of the pockets, but they are hard to see unless you have the bag with you.
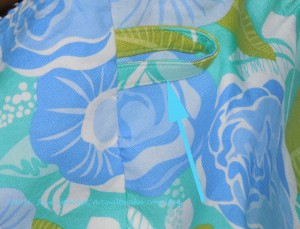
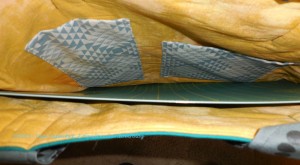
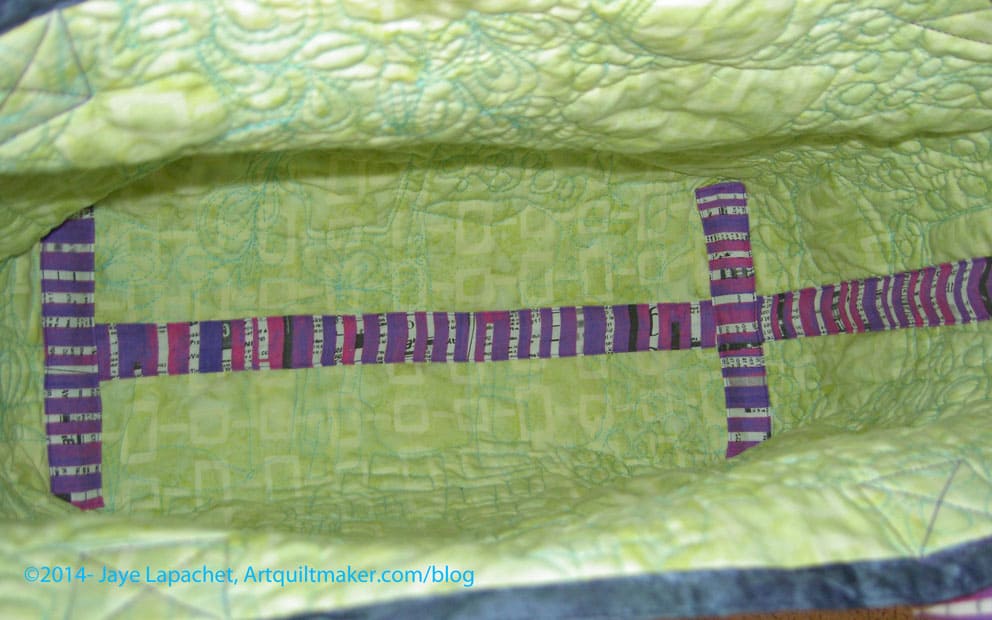
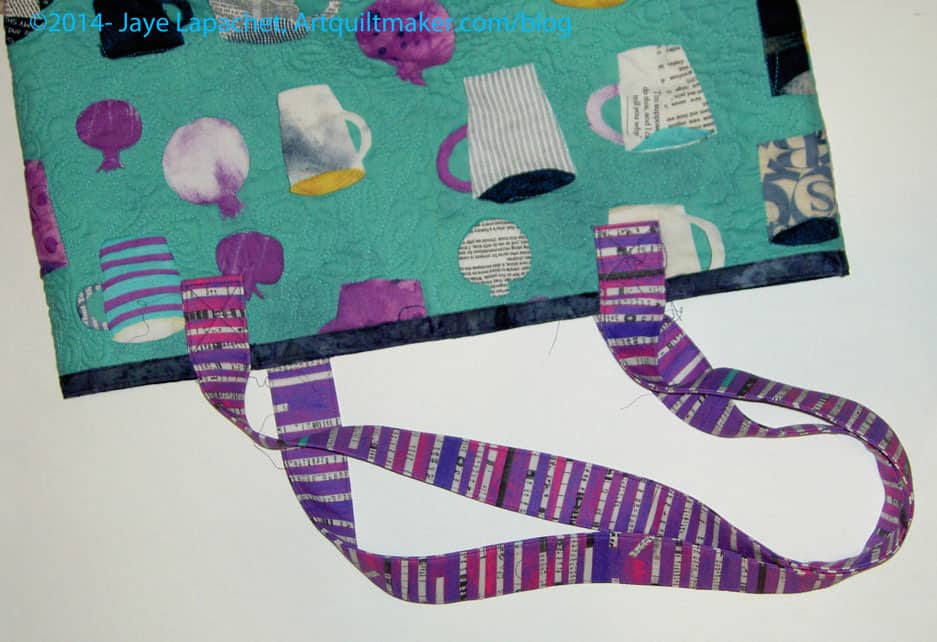
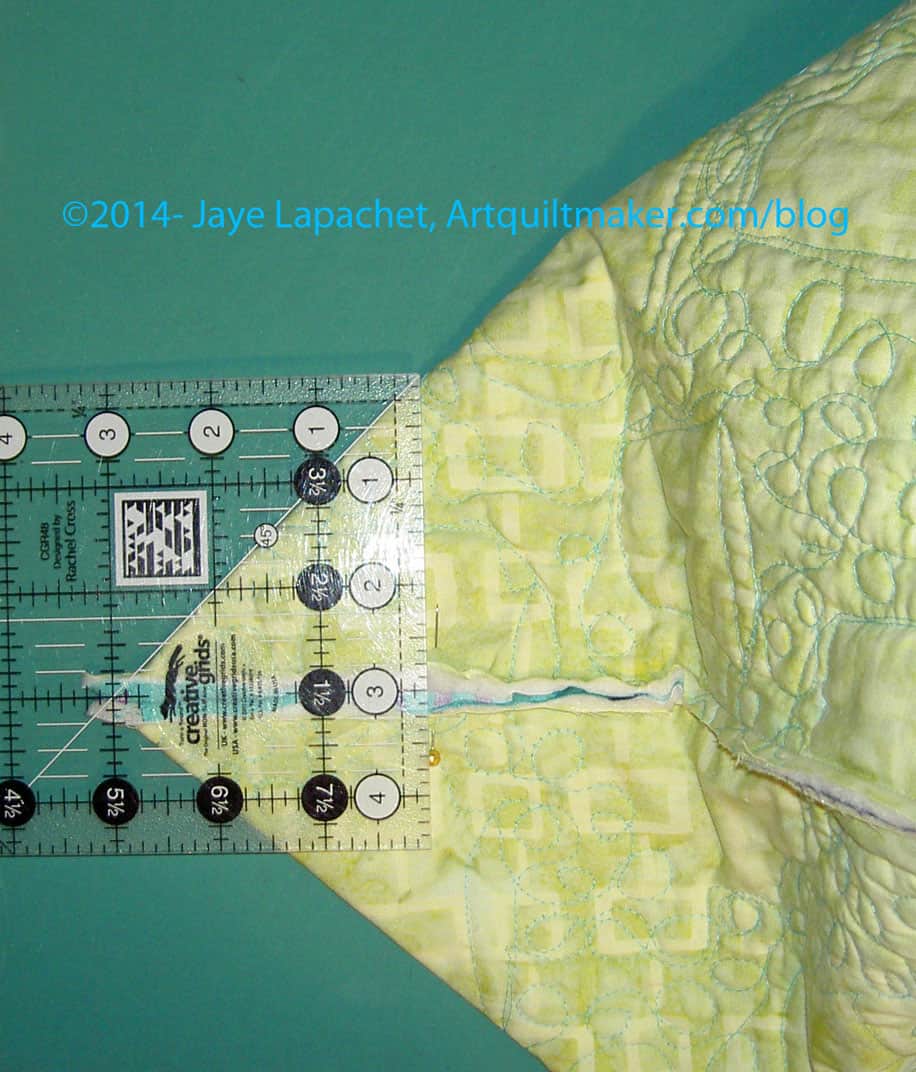
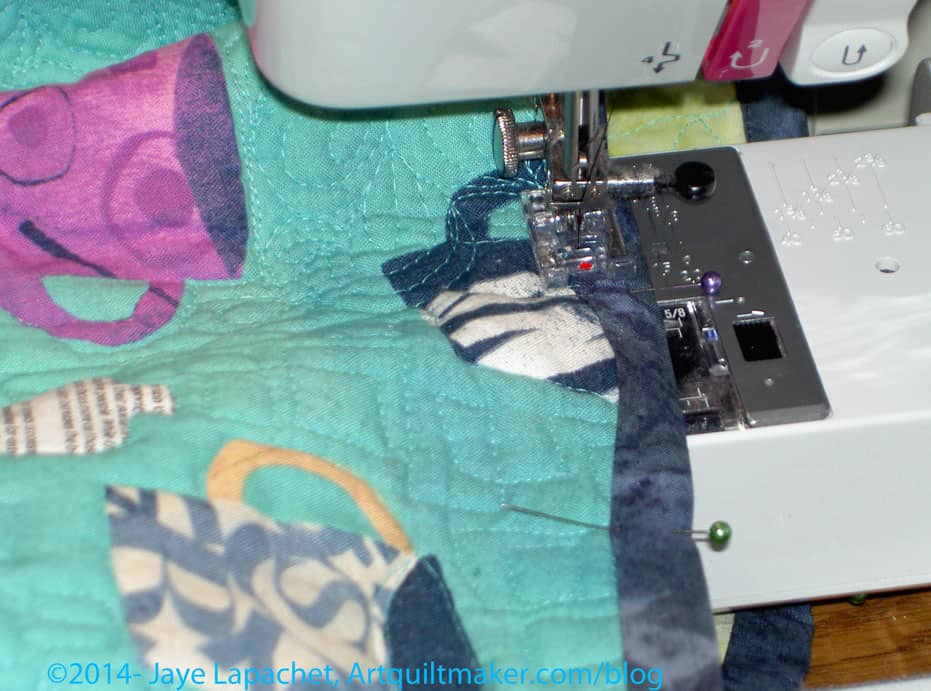
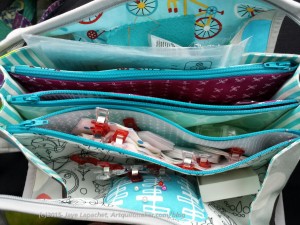
I tried one thing on mine to try and cover up the stitching of the side panels to the lining. (If you look at the photo above, the area I am talking about is a vertical line of binding on the ends just in from the curvy handle). At the end of the process, when I was putting on the binding strips, I sewed the binding to the bottom first then wrapped it around to the top. I still had to deal with the thickness, but I was able to see where I had stitched and could make an attempt to cover it.
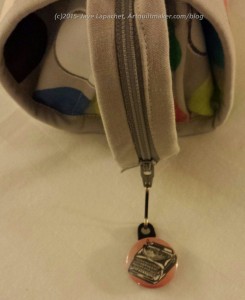
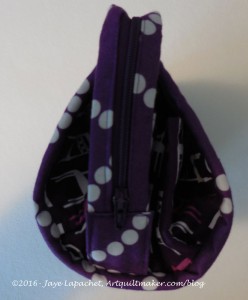
I received a zipper pull for Christmas and decided to put it on the bag. Why not? I had it. It would make the long zipper easier to pull and it would look cool. Also, I wouldn’t have a random zipper pull floating around the house.
It fits perfectly and looks cool (at least to me!). One problem is that the zipper pull is one sided. When I open the long zipper to access my EPP materials, the zipper pull ends up on the other side of the bag upside down. I know this is silly. It would be better to get a two-sided zipper pull. Since I already had this, I am going to continue to use it but I would advise you to get a two sided zipper pull if you are out buying one.
I have an idea of making one using beads for the next STB, but we will see.
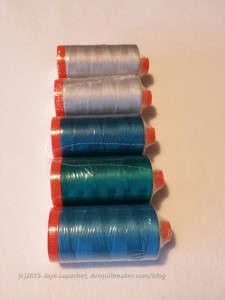
I filled the bag on Friday. I took my regular handwork bag and put some items from that bag into my new Sew Together Bag. I took all of the stuff I might need for English Paper Piecing. I may have mentioned that I intended all along to use this for my English paper piecing project. Two problems I had in the filling: would I get a second pair of Gingher snips to put in my regular handwork bag? I also forgot thread. I meant to go upstairs and get another spool and I just forgot, or got distracted. That forced me to go to quilt shops over the weekend. 😉
In using the bag in the car, I found the best part to be the ‘tray’ that the bag formed in my lap. With my old handwork bag, it didn’t open as far as this one so my lap was my tray. Also, everything was sorted into pockets. As I got used to where my tools and supplies were located, I found I could work relatively quickly. I finished on two EPP stars in the car, placing the bag with the pincushion towards me. I found it to be very useful and convenient.
Some Observations
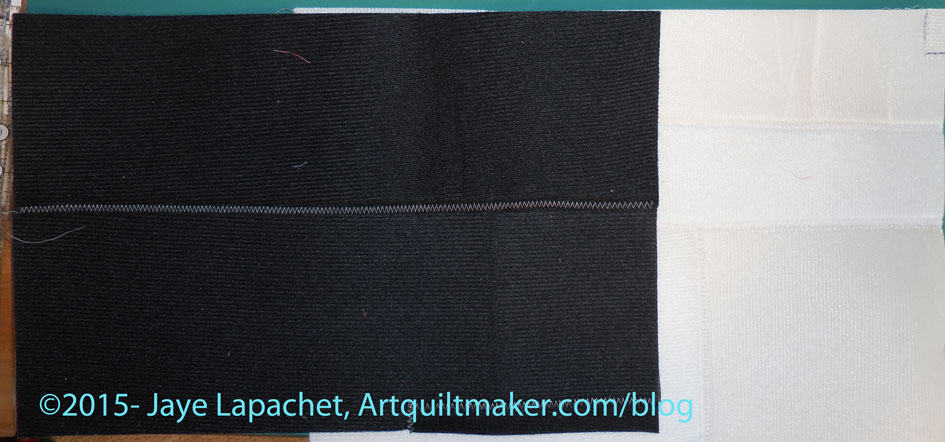
- I think the strips for the long zipper would lay better if they were on the bias.
- The bag needs some feature to which Wonder Clips can be clipped.
- I tried a few different things and cannot get the top stitching to look good where there are many, many layers.
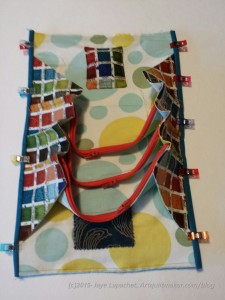
- WonderClips are a godsend for making this project. I used about 12. They are not listed on the supply list, but I think they are essential for this bag.
- Make the pincushion (mine is a little too large on this one) and the exterior at the beginning of the bag making process. It is such a hassle to stop and do the fiddly bits when you are so close to finishing.
- Use a two sided zipper pull
I have an idea for one more that I want to make, but it isn’t a requirement and I think I will let the feeling lie for awhile.
After making this bag 4 times, I am tempted to try the Bionic Bag just to see the differences. I am trying to restrain myself. I need another bag pattern like I need a hole in my head.