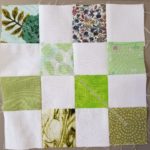
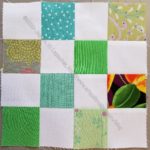
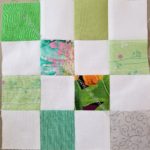
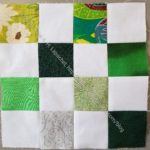


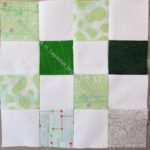

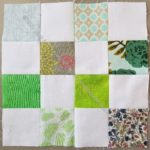
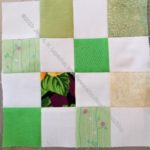
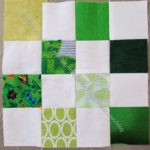
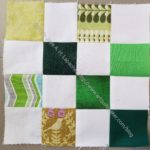
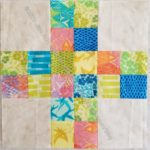
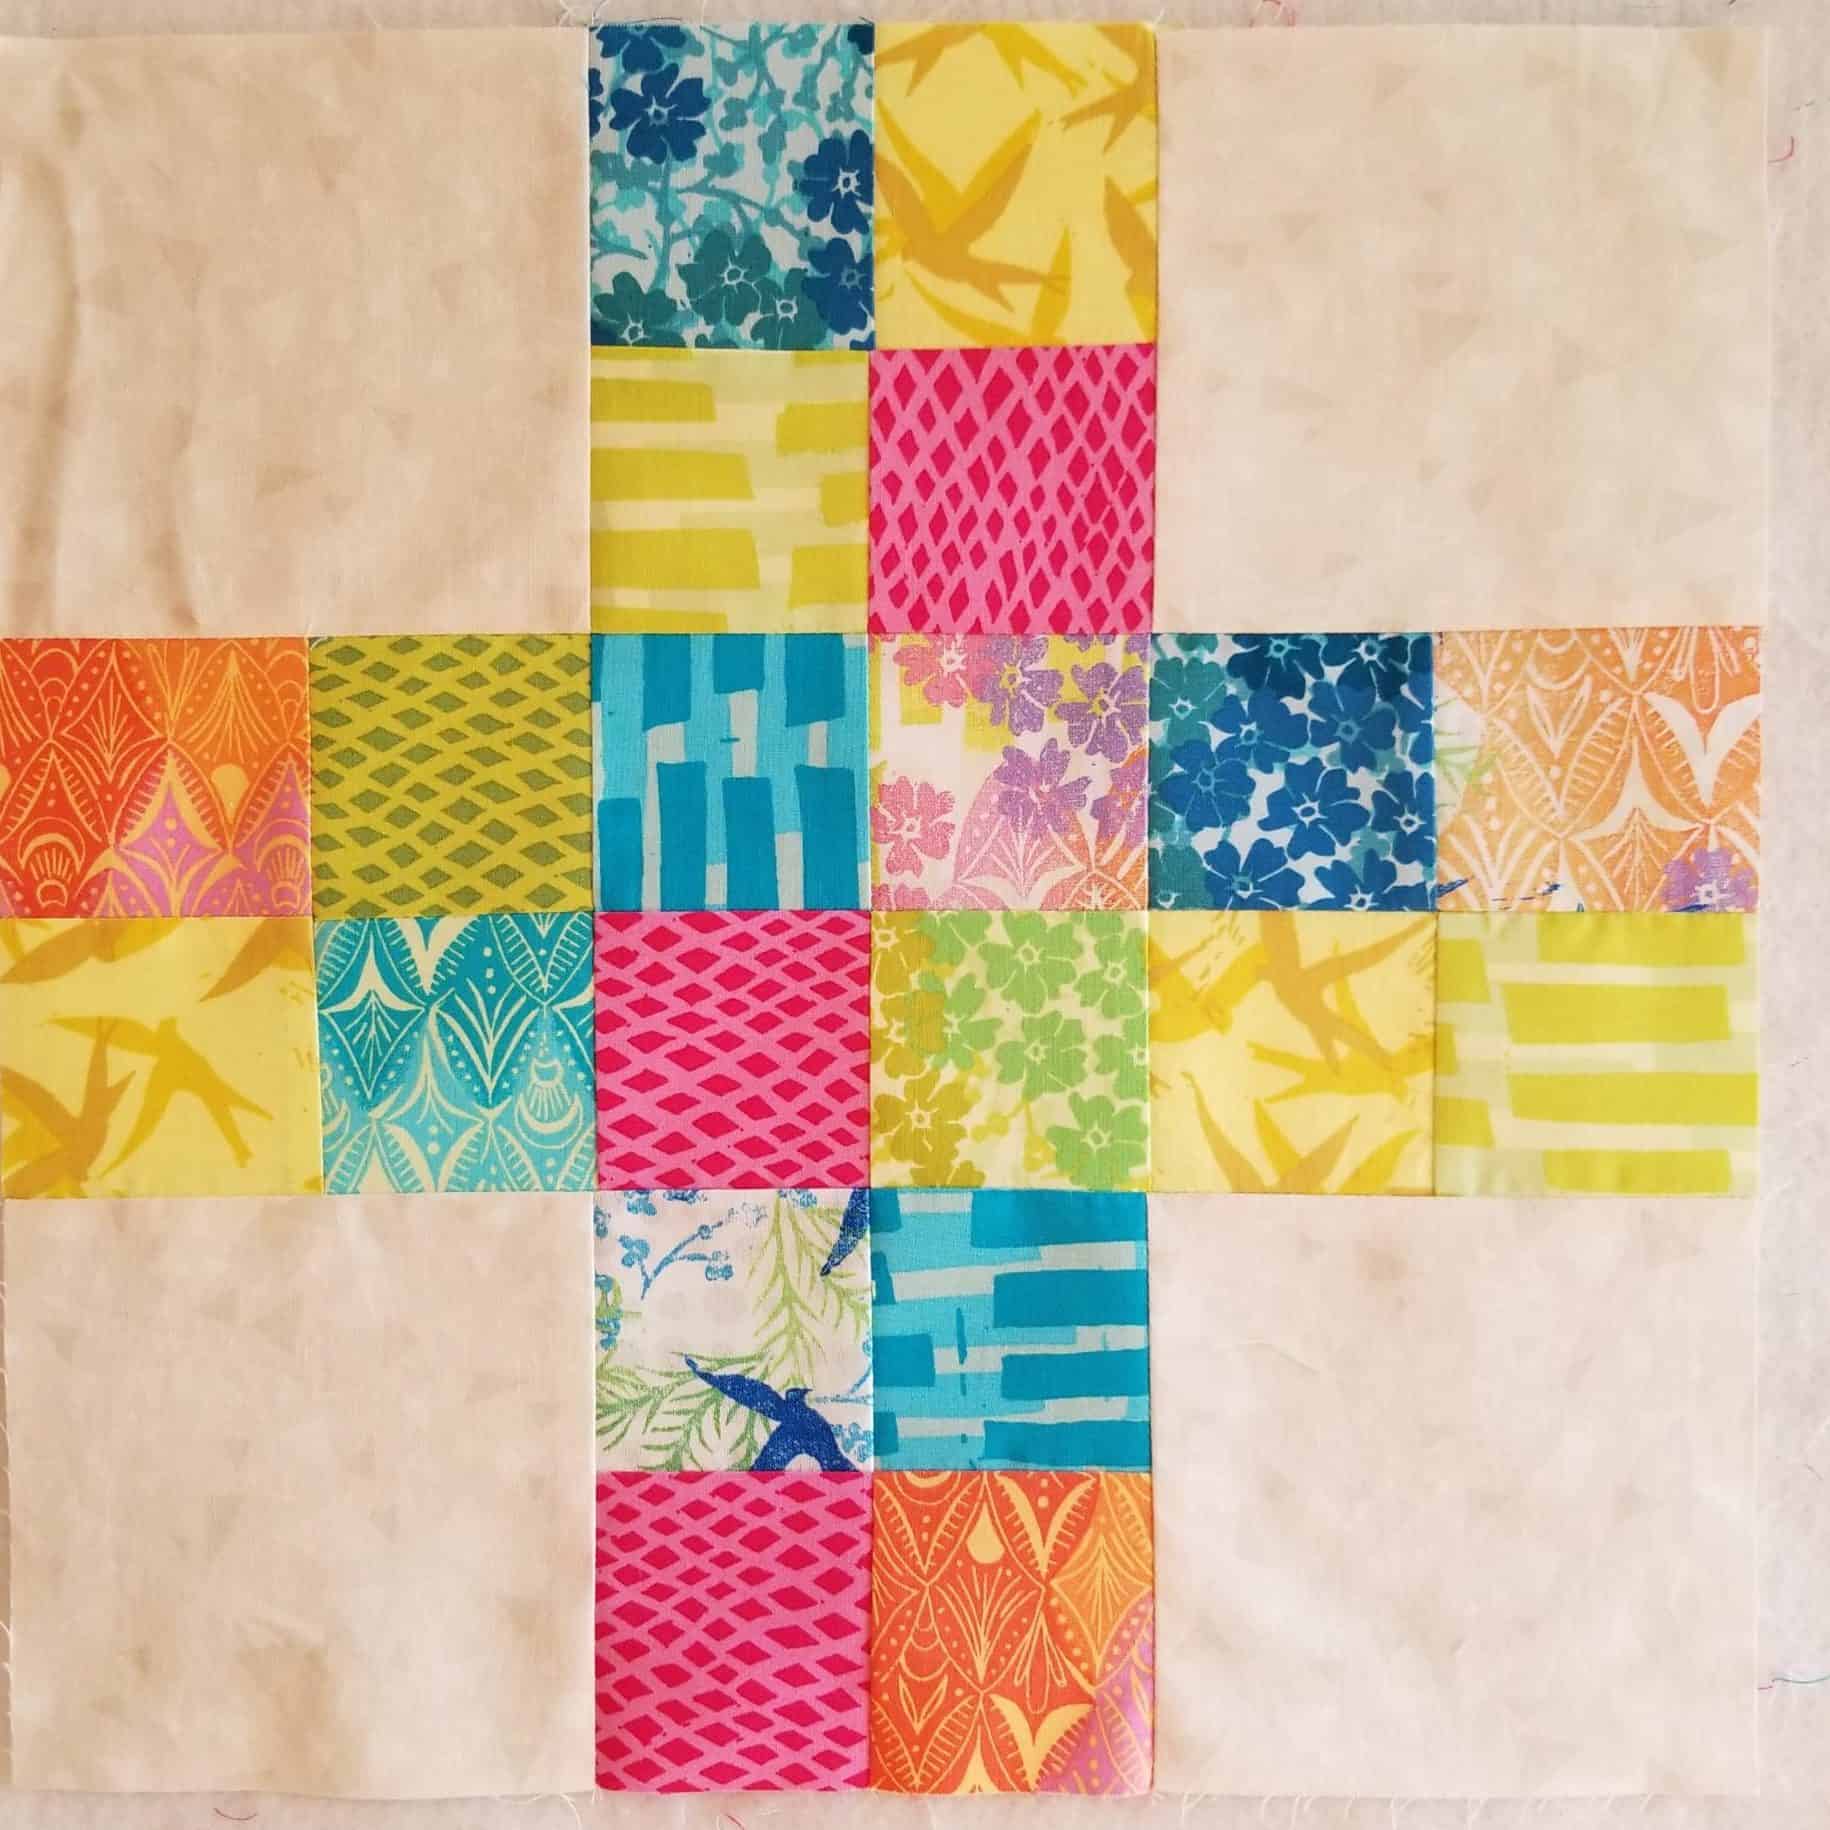
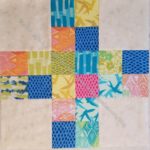
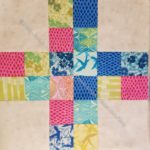


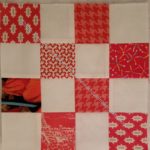
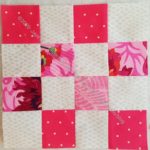
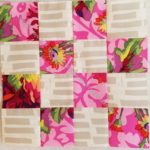
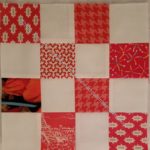
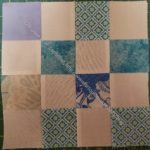


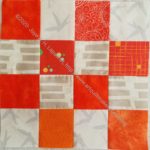
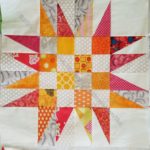
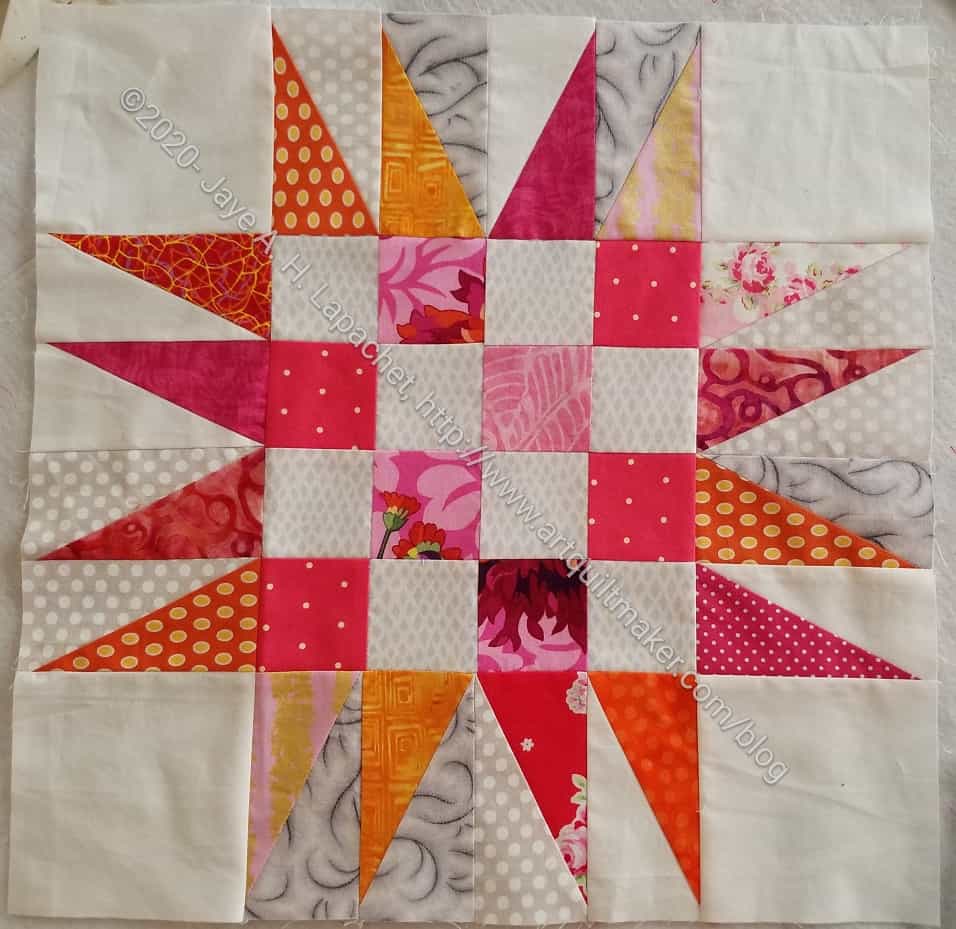
Here are some blocks I made in March. I made the 30 in a month I set as a goal last year. I think it might be the first time. Yay!!
Commentary about works in progress, design & creativity
Here are some blocks I made in March. I made the 30 in a month I set as a goal last year. I think it might be the first time. Yay!!
As I said the other day, I am working with HRTs again. After getting re-oriented to the Split Recs ruler (By Deb Tucker). I followed my own advice (for once) and watched the video, which told me what I needed to know to get going.
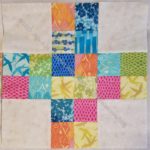
I am using these as leaders and enders, though I also seem to be sticking in some regular 16 patches as well, while I work on the Frolic!
I am really loving these warm colors, which is an antidote to staying home most of the time and the rain (no complaints; we need it). They look so happy. I have used 5 blocks to make a quilt in the past, but might try 4 this time. It will be easier to make the corners.
**I use affiliate links and may be paid for your purchase of an item when you click on an item link in my post. There is no additional cost to you for clicking or purchasing items I recommend. I appreciate your clicks and purchases as it helps support this blog.
I turned a corner on Frolic! the other day. Literally. I finally figured out how to piece the corner. It was all about wrapping my head around what pieces I still needed to cut since I hadn’t following the directions. That should teach me, but it probably won’t.
I actually pieced one, too. I may have also figured out how to piece the half blocks, but I haven’t tried yet.
In 2015, I was in the thick of preparing myself for DH’s organization’s Grand Parlor, where he would be installed as a Grand officer. In that post, I talked about the Marbella dress pattern and getting the dresses made.
I know some of you followed our adventures as we traveled around the state as DH moved through the offices of the organization. One thing i did not do was post about the other dress style that I had made. I went searching for photos of the dresses yesterday and was shocked that I had never posted any.
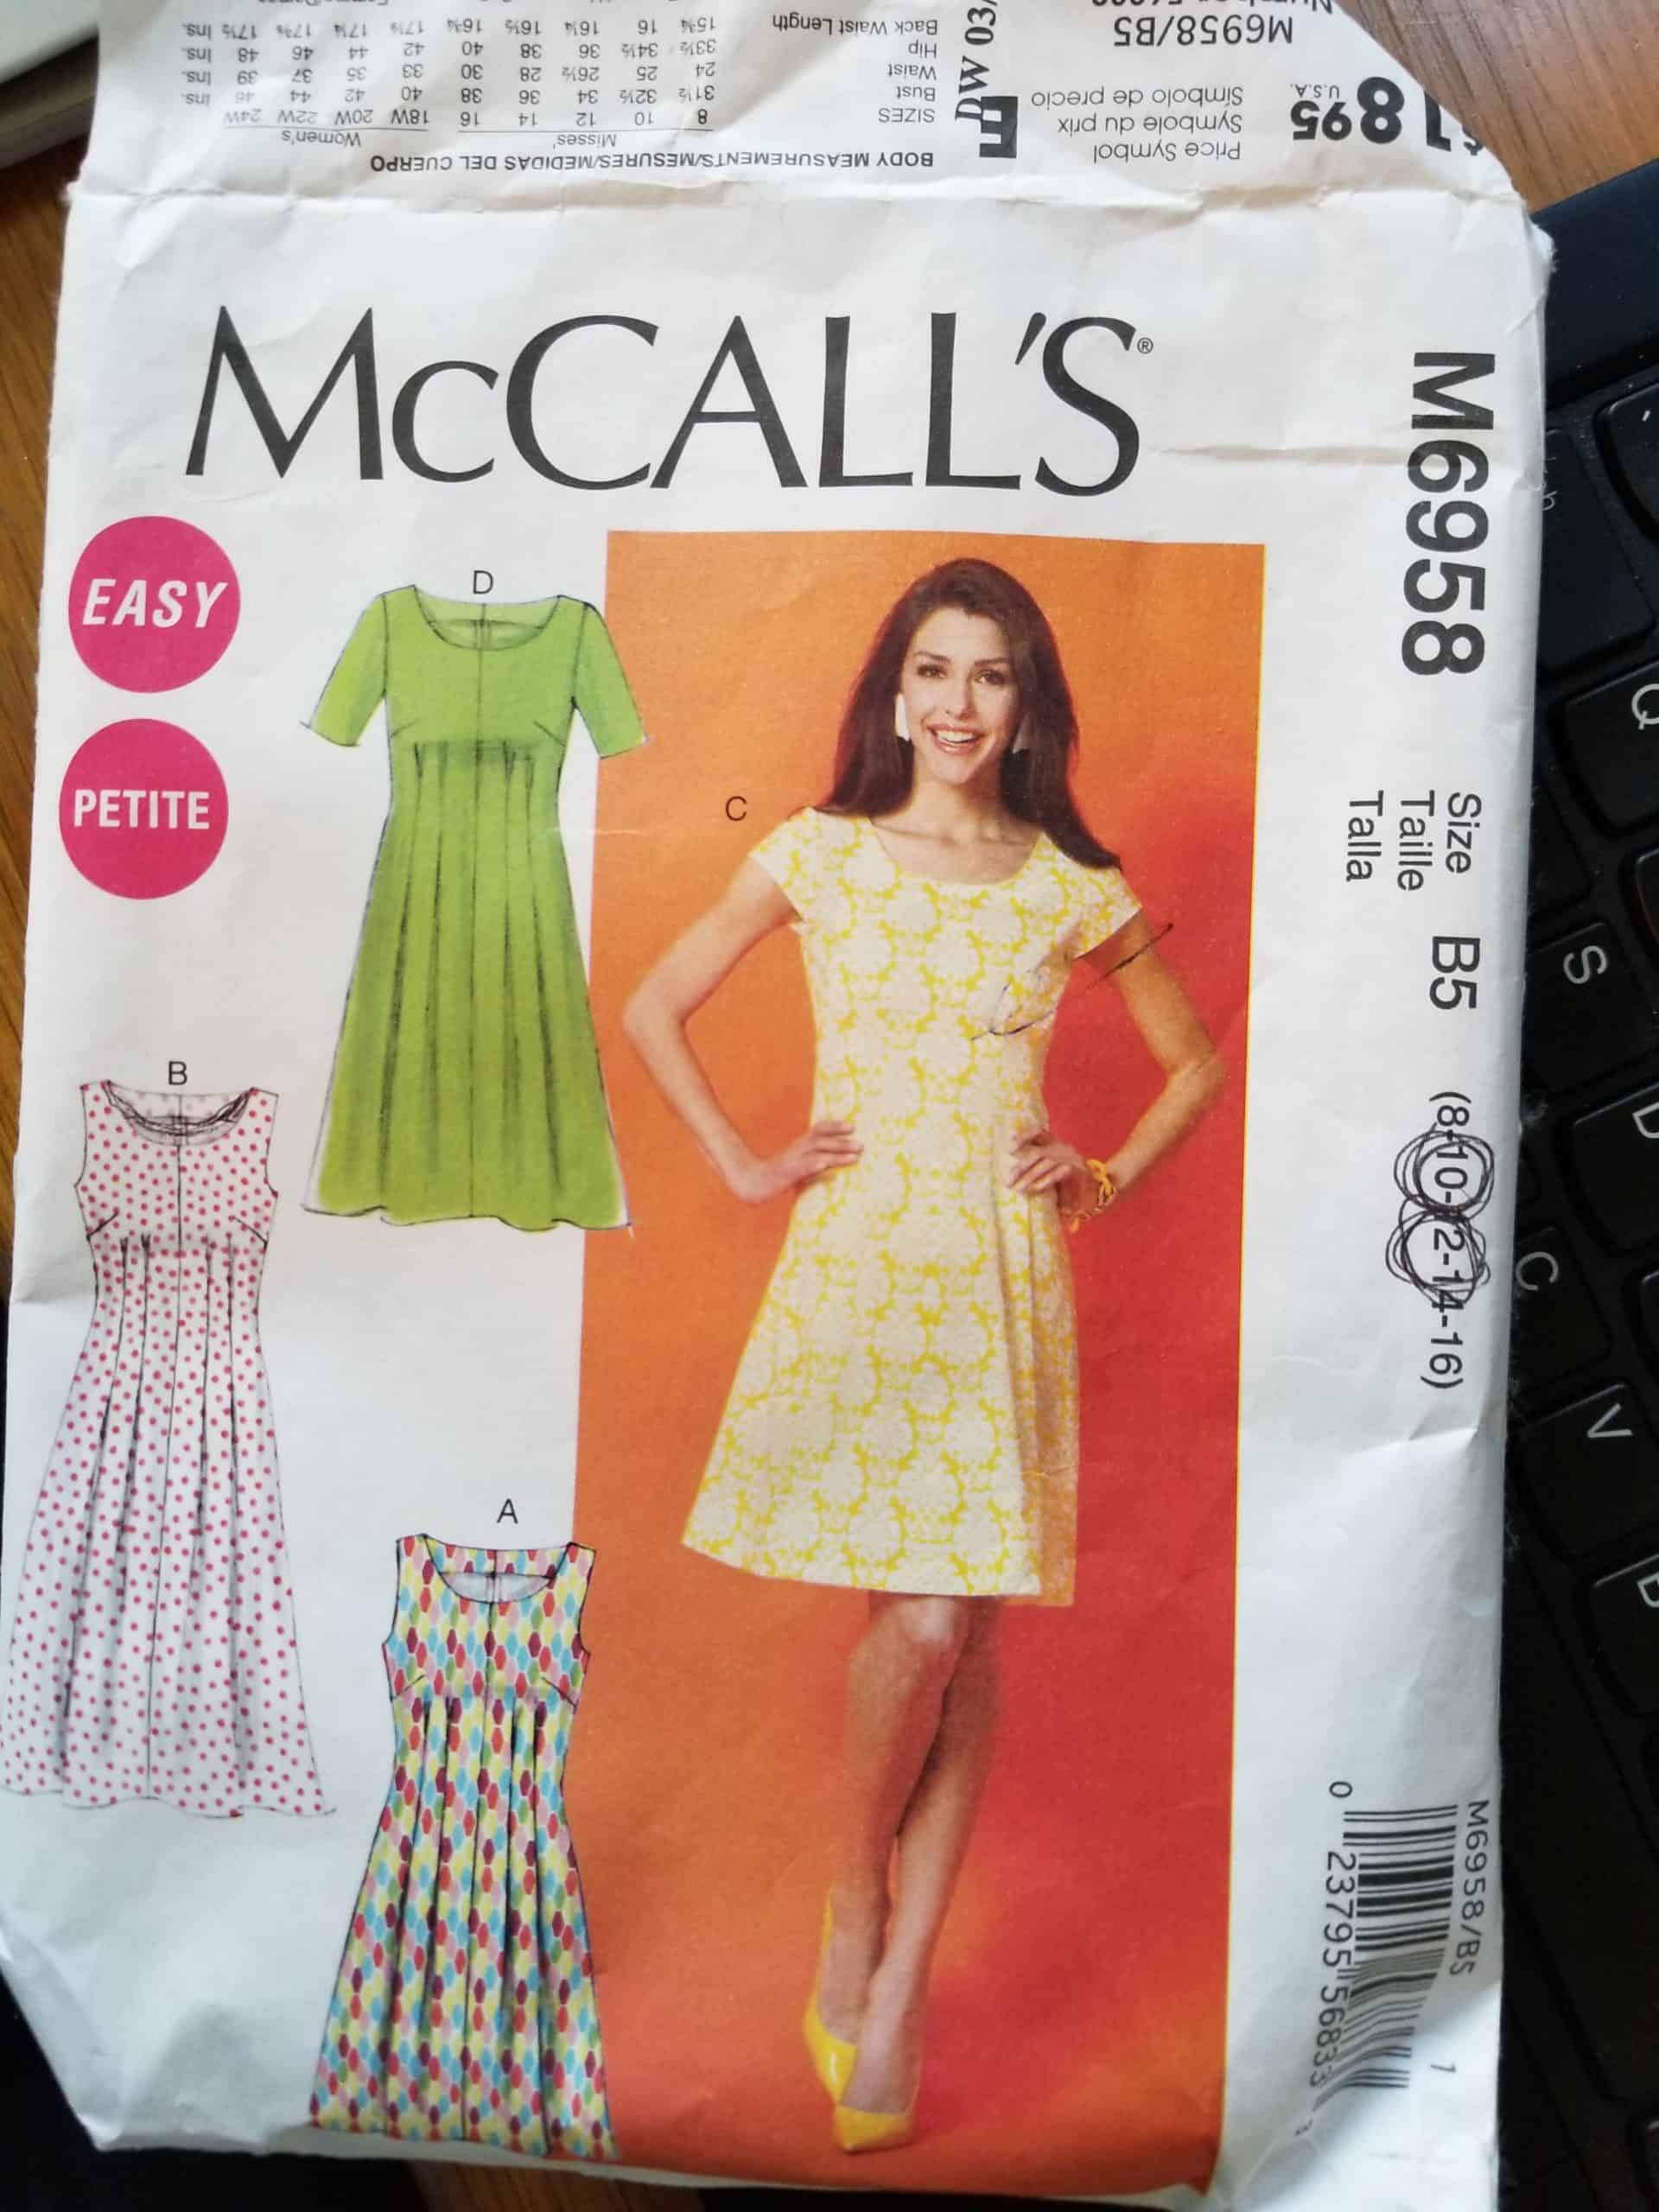
The pattern is McCall’s M6958. I have no idea if it is still available or still available under that number when you read this. As i write this in 2020, it is available.
I bought the pattern, because I thought I would be making the dresses and I needed something easy and flattering. As it turned out, I found a dressmaker and didn’t have to make any of the dresses.
The bad part of this pattern is that it has no pockets. I made the Little Cell Phone Wallet pattern** by Valorie Wells so I would have a pocket for cell phone and hotel room key. I thought the cell phone wallet would make up for the lack of pockets.
The good part of the dress pattern is that it has a flat front, which is pretty flattering. Most of the ones I had made had the cap sleeves.

To fill out this post, I looked through all the photos I have of the last 8 years of Native Sons events. I found one picture of me in one of the dresses. You can see that I routinely wear it with leggings.
I wear the dresses often. Also, Grand Parlor is coming around again and I’ll probably bring 1-2 along to wear. I think they all need a good press and starch/Mary Ellen’s Best Press**. I might as well do it myself since the dry cleaner is closed.
**I use affiliate links and may be paid for your purchase of an item when you click on an item link in my post. There is no additional cost to you for clicking or purchasing items I recommend. I appreciate your clicks and purchases as it helps support this blog.
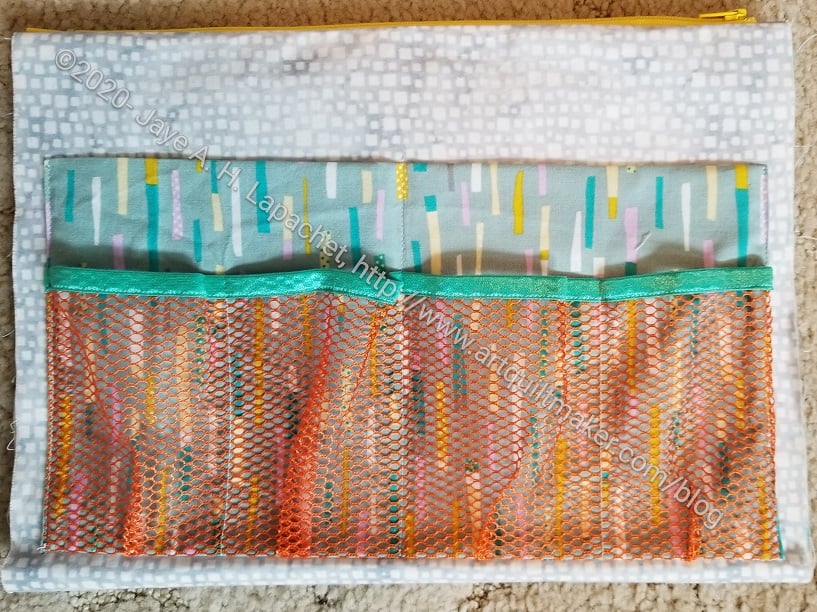
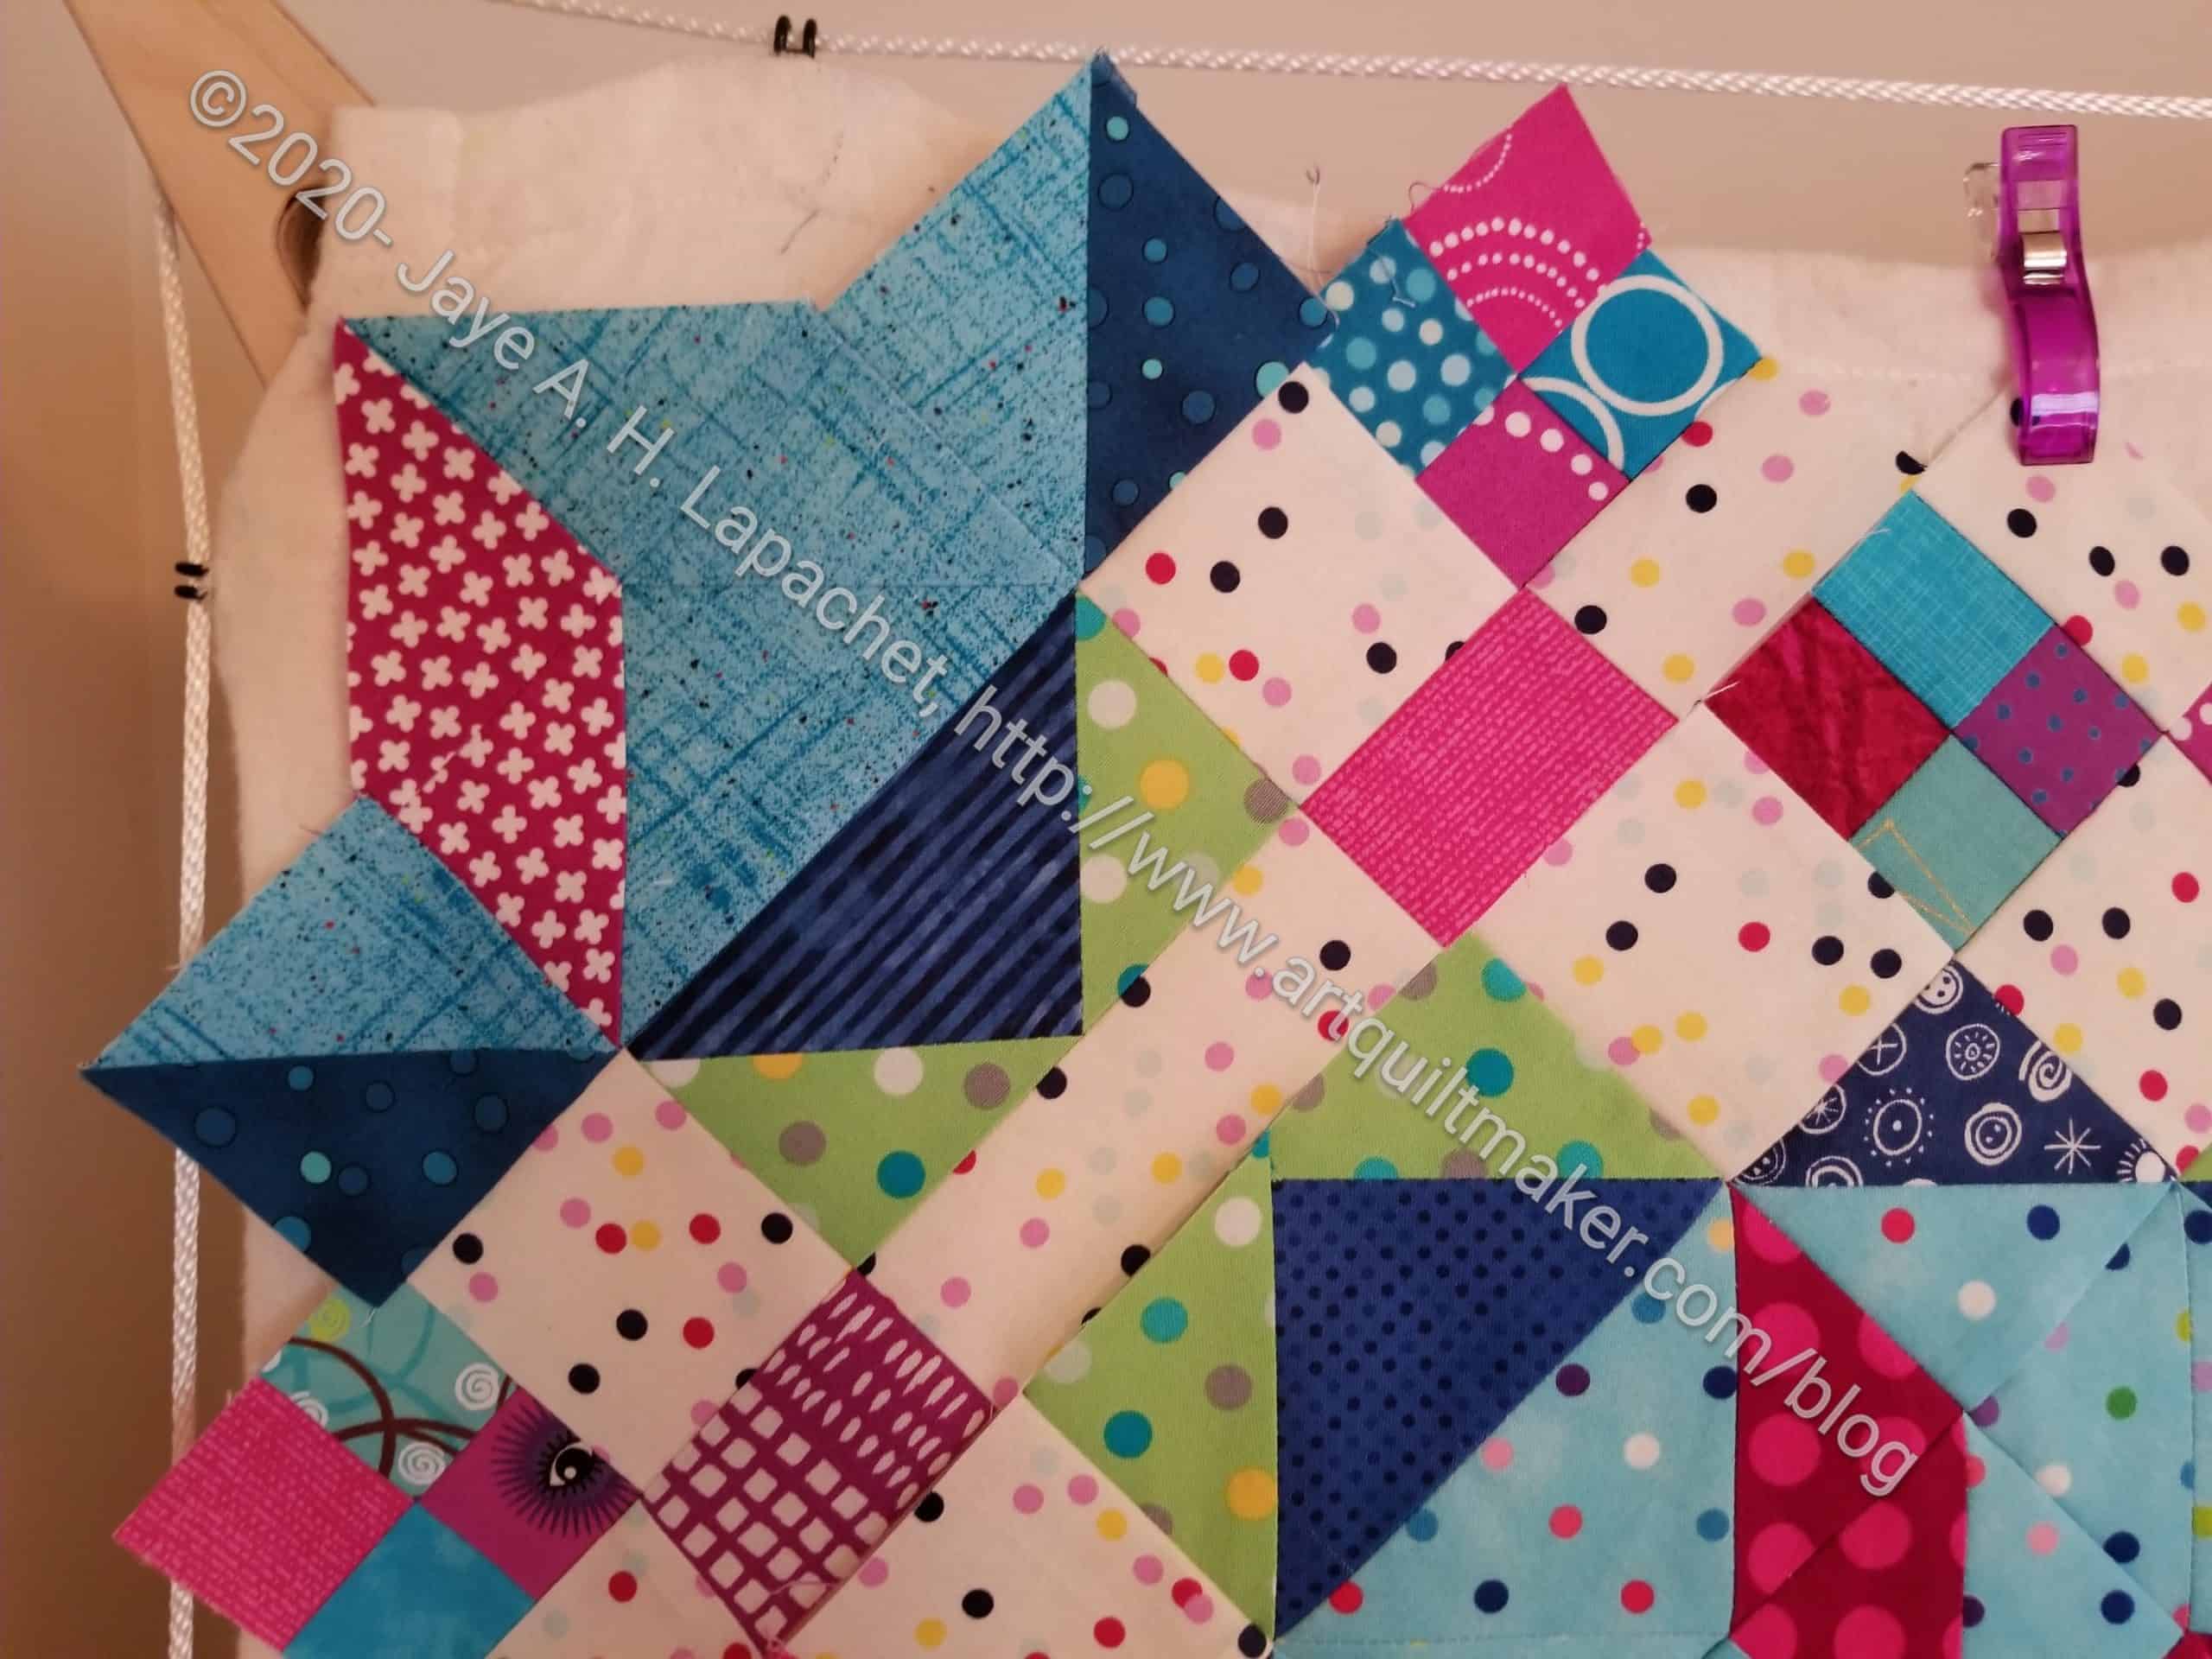
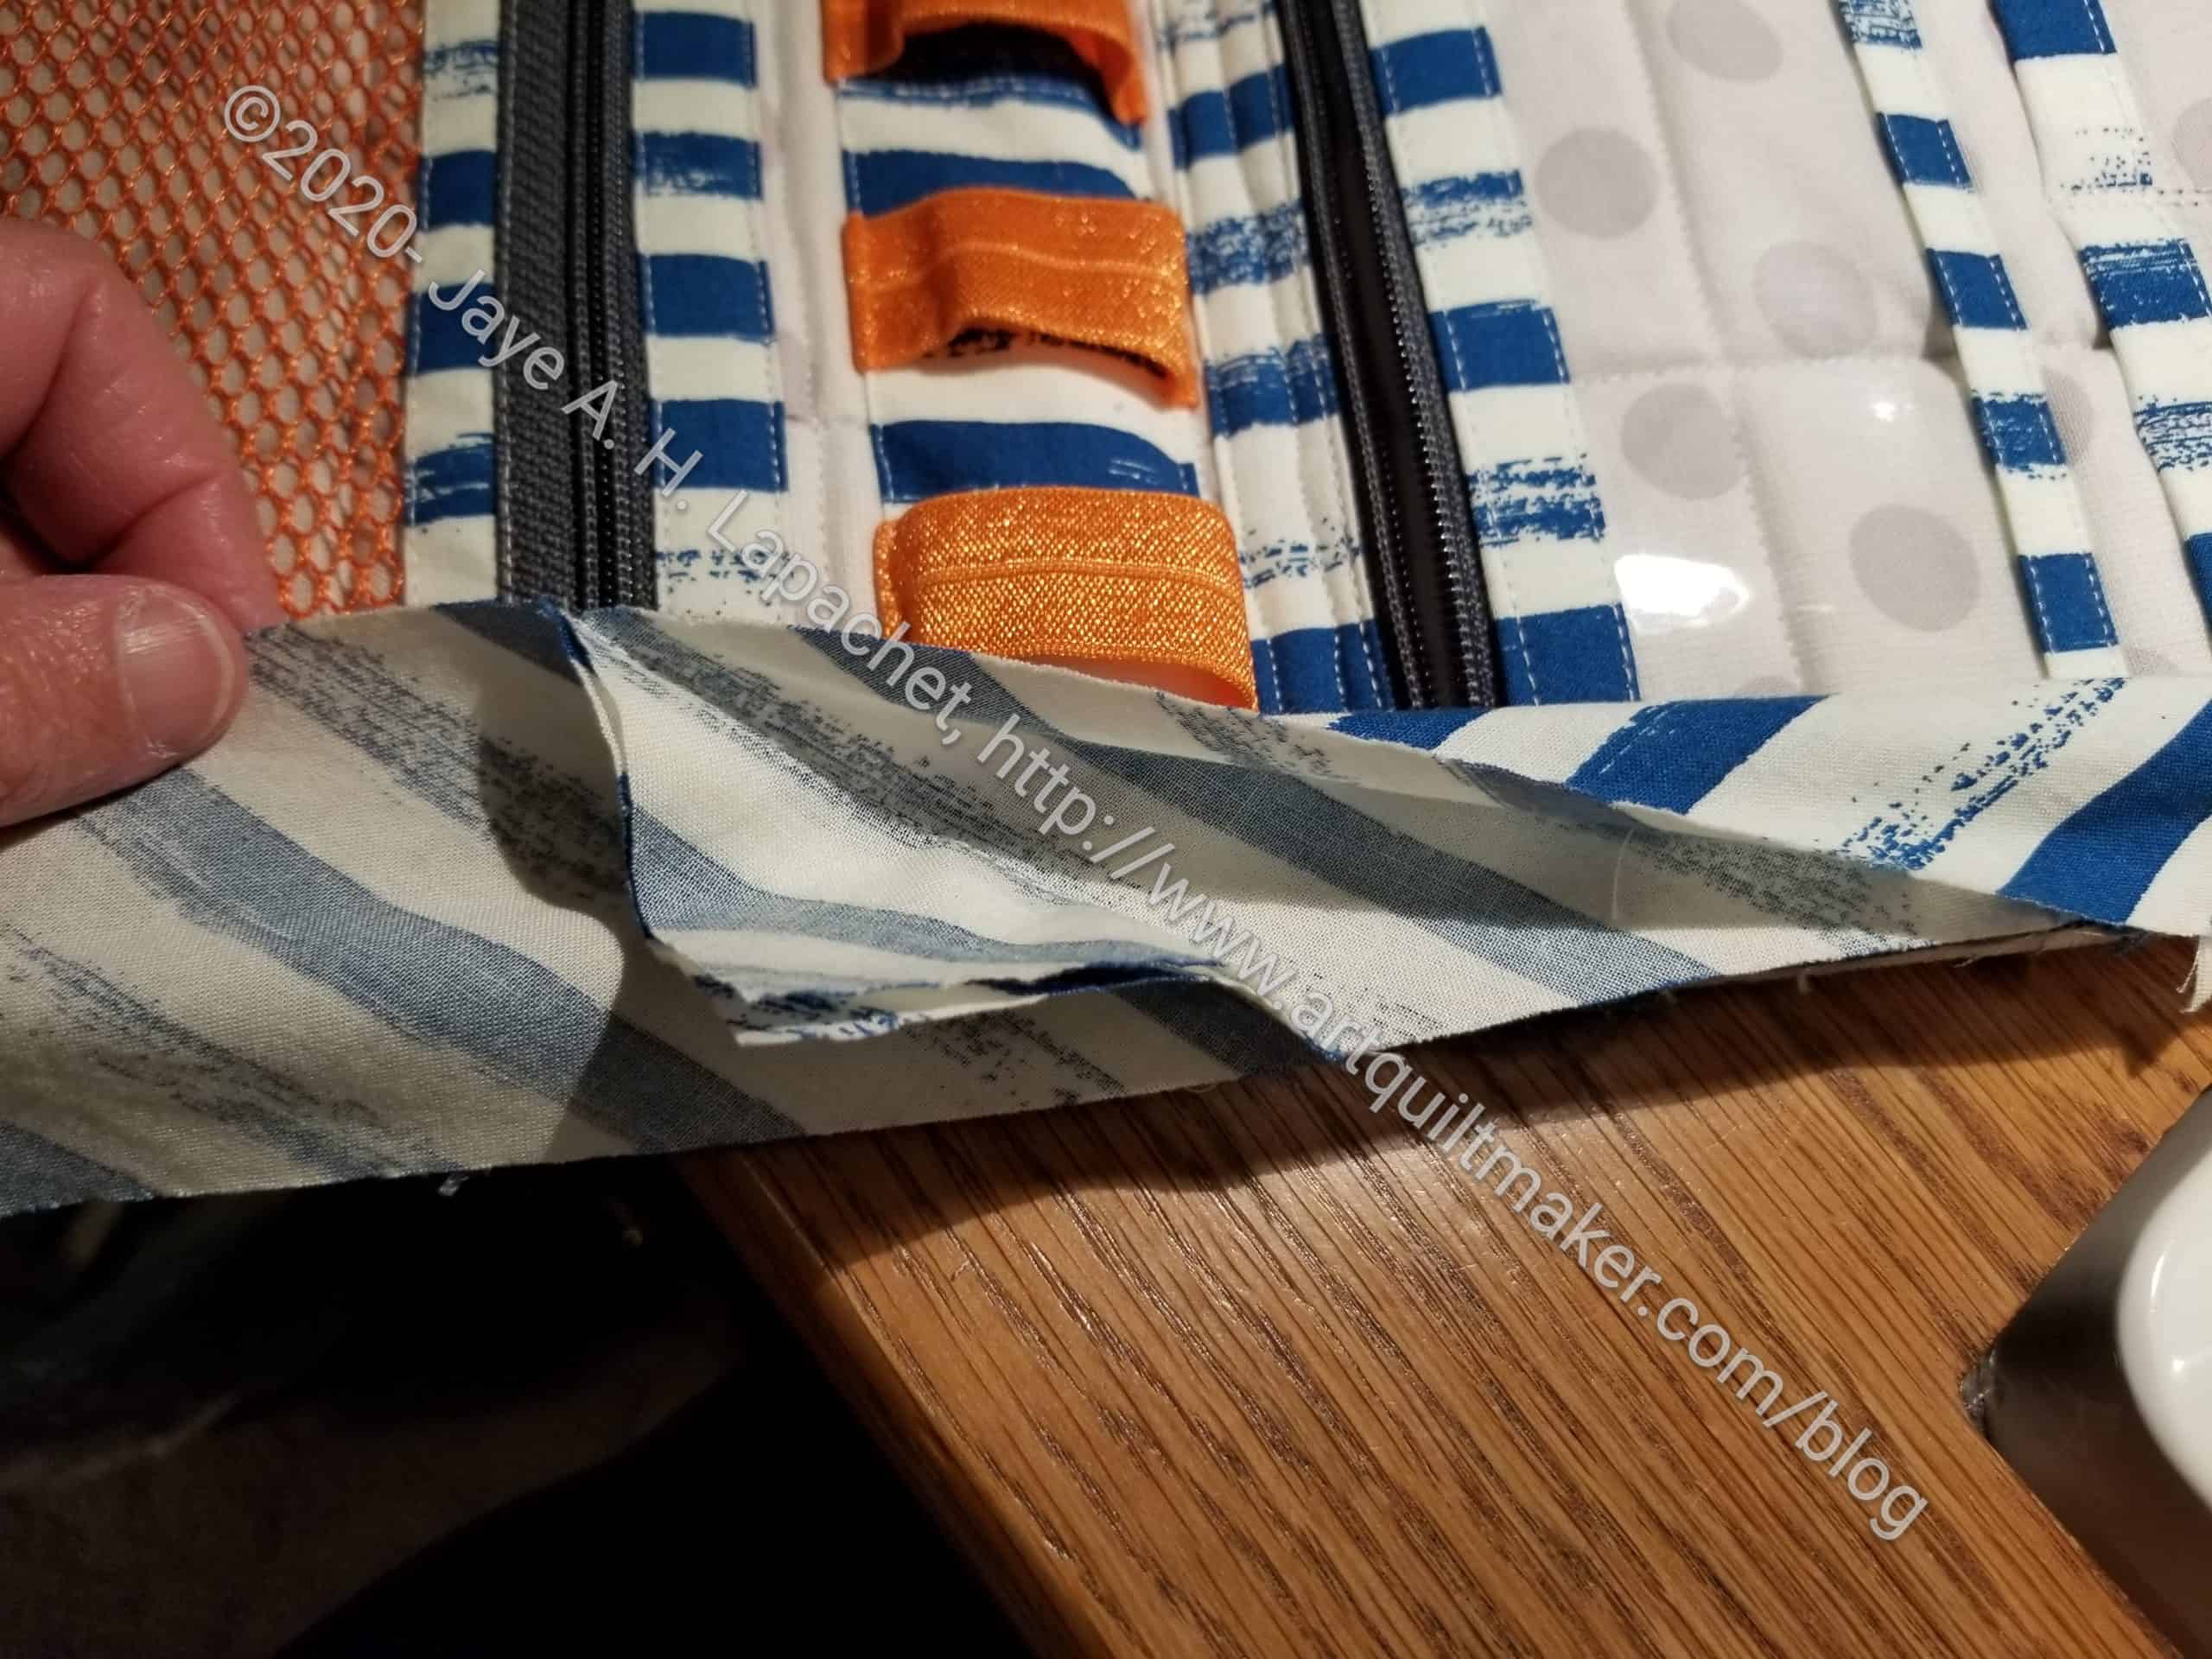
I spent the weekend working on my Ultimate Carry All Bag. I really needed to get on it since a few people have already finished it, like Cyndi. I am supposed to be one of the leaders, after all!
I already made the small front pocket, which is actually the third sewing step. As I think I mentioned, I don’t recommend skipping steps, but I needed to create the tutorial. Needs must.
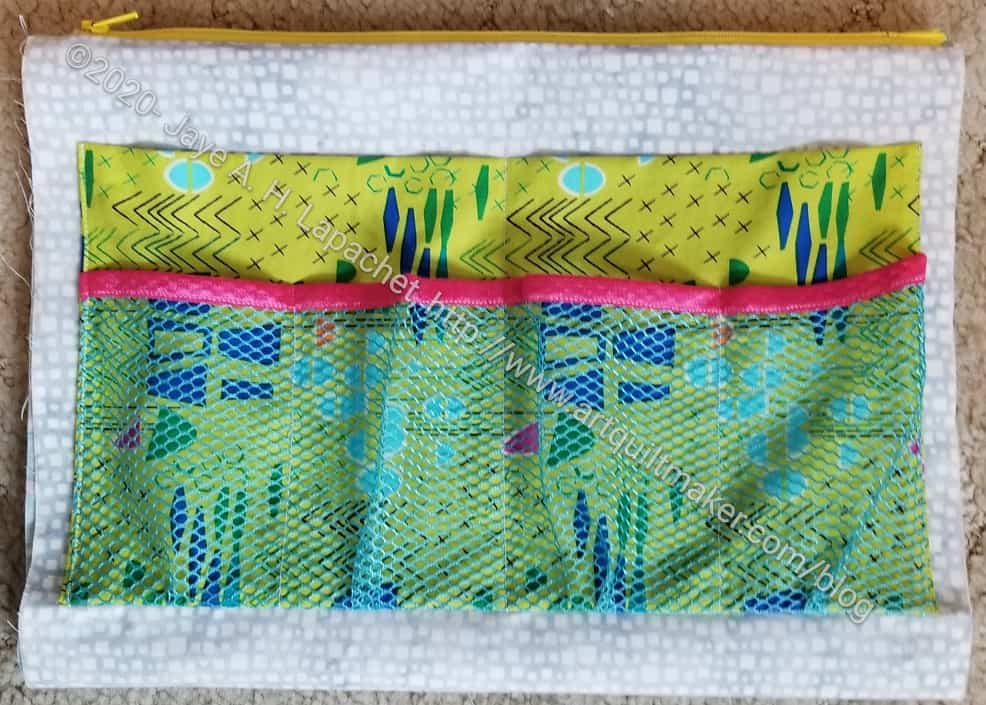
With the small front pocket done, I only needed to create the two larger pockets. The one shown above is pocket #1 and is almost finished. I haven’t sewn up the sides or made the pleat in the bottom.
The green pocket with the pink binding on the mesh is the back of pocket #1. This is a hack I added. There was nothing on the back of this pocket. I know I might put stuff in it and forget about it. Still, why not have more pockets? More pockets are better IMO.
Pocket #2 has the pen holder. I don’t like white elastic, so I used more of the ByAnnie double fold elastic. I like the variety of colors and the elasticity. I wasn’t sure I would put the pen holder elastic on, but I did. Actually, I shortened it and added another Clippy pocket I thought it would be useful.
I made a ton of t mistakes and a lot of ripping went on over the weekend. These pockets are not difficult, but the instructions are unique. Also, I am experiencing a low level of anxiety generally and that is making it hard for me to focus on something as complex as bagmaking. Working on the HRTs is satisfying and not too difficult.
The other day I talked about making some HRTs with the intention of making a new donation top. I got inspired by some 16 patches that I made while my subconscious worked on Frolic! I also have the Warm Windmill on my mind.

For the past few days, I have been cutting and sewing HRTs and trying to relax. I am coming up with a quilt top that I really like.

The other night we tried Virtual Craft Night. I think it worked pretty well and I got some cutting done. Usually, we do handwork, but I wanted to get those Frolic! pieces cut. Since I was in my workroom with the computer, I decided to rotary cut. I balanced the computer on my cutting table and cut away.
The blue pieces are sets I need for the Frolic! half and quarter blocks. I still have to figure out the last few pieces. There are some blue and pinwheel pieces I need to cut as well; I am just not sure what exactly I need to cut.
Bonnie‘s directions are great; the problem is that I have already done part of the cutting for the full blocks. This means I need to figure out what I have left to cut. I couldn’t do it while on the virtual session with my friends. I had to think and that requires being alone.
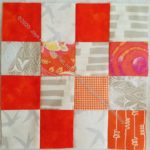
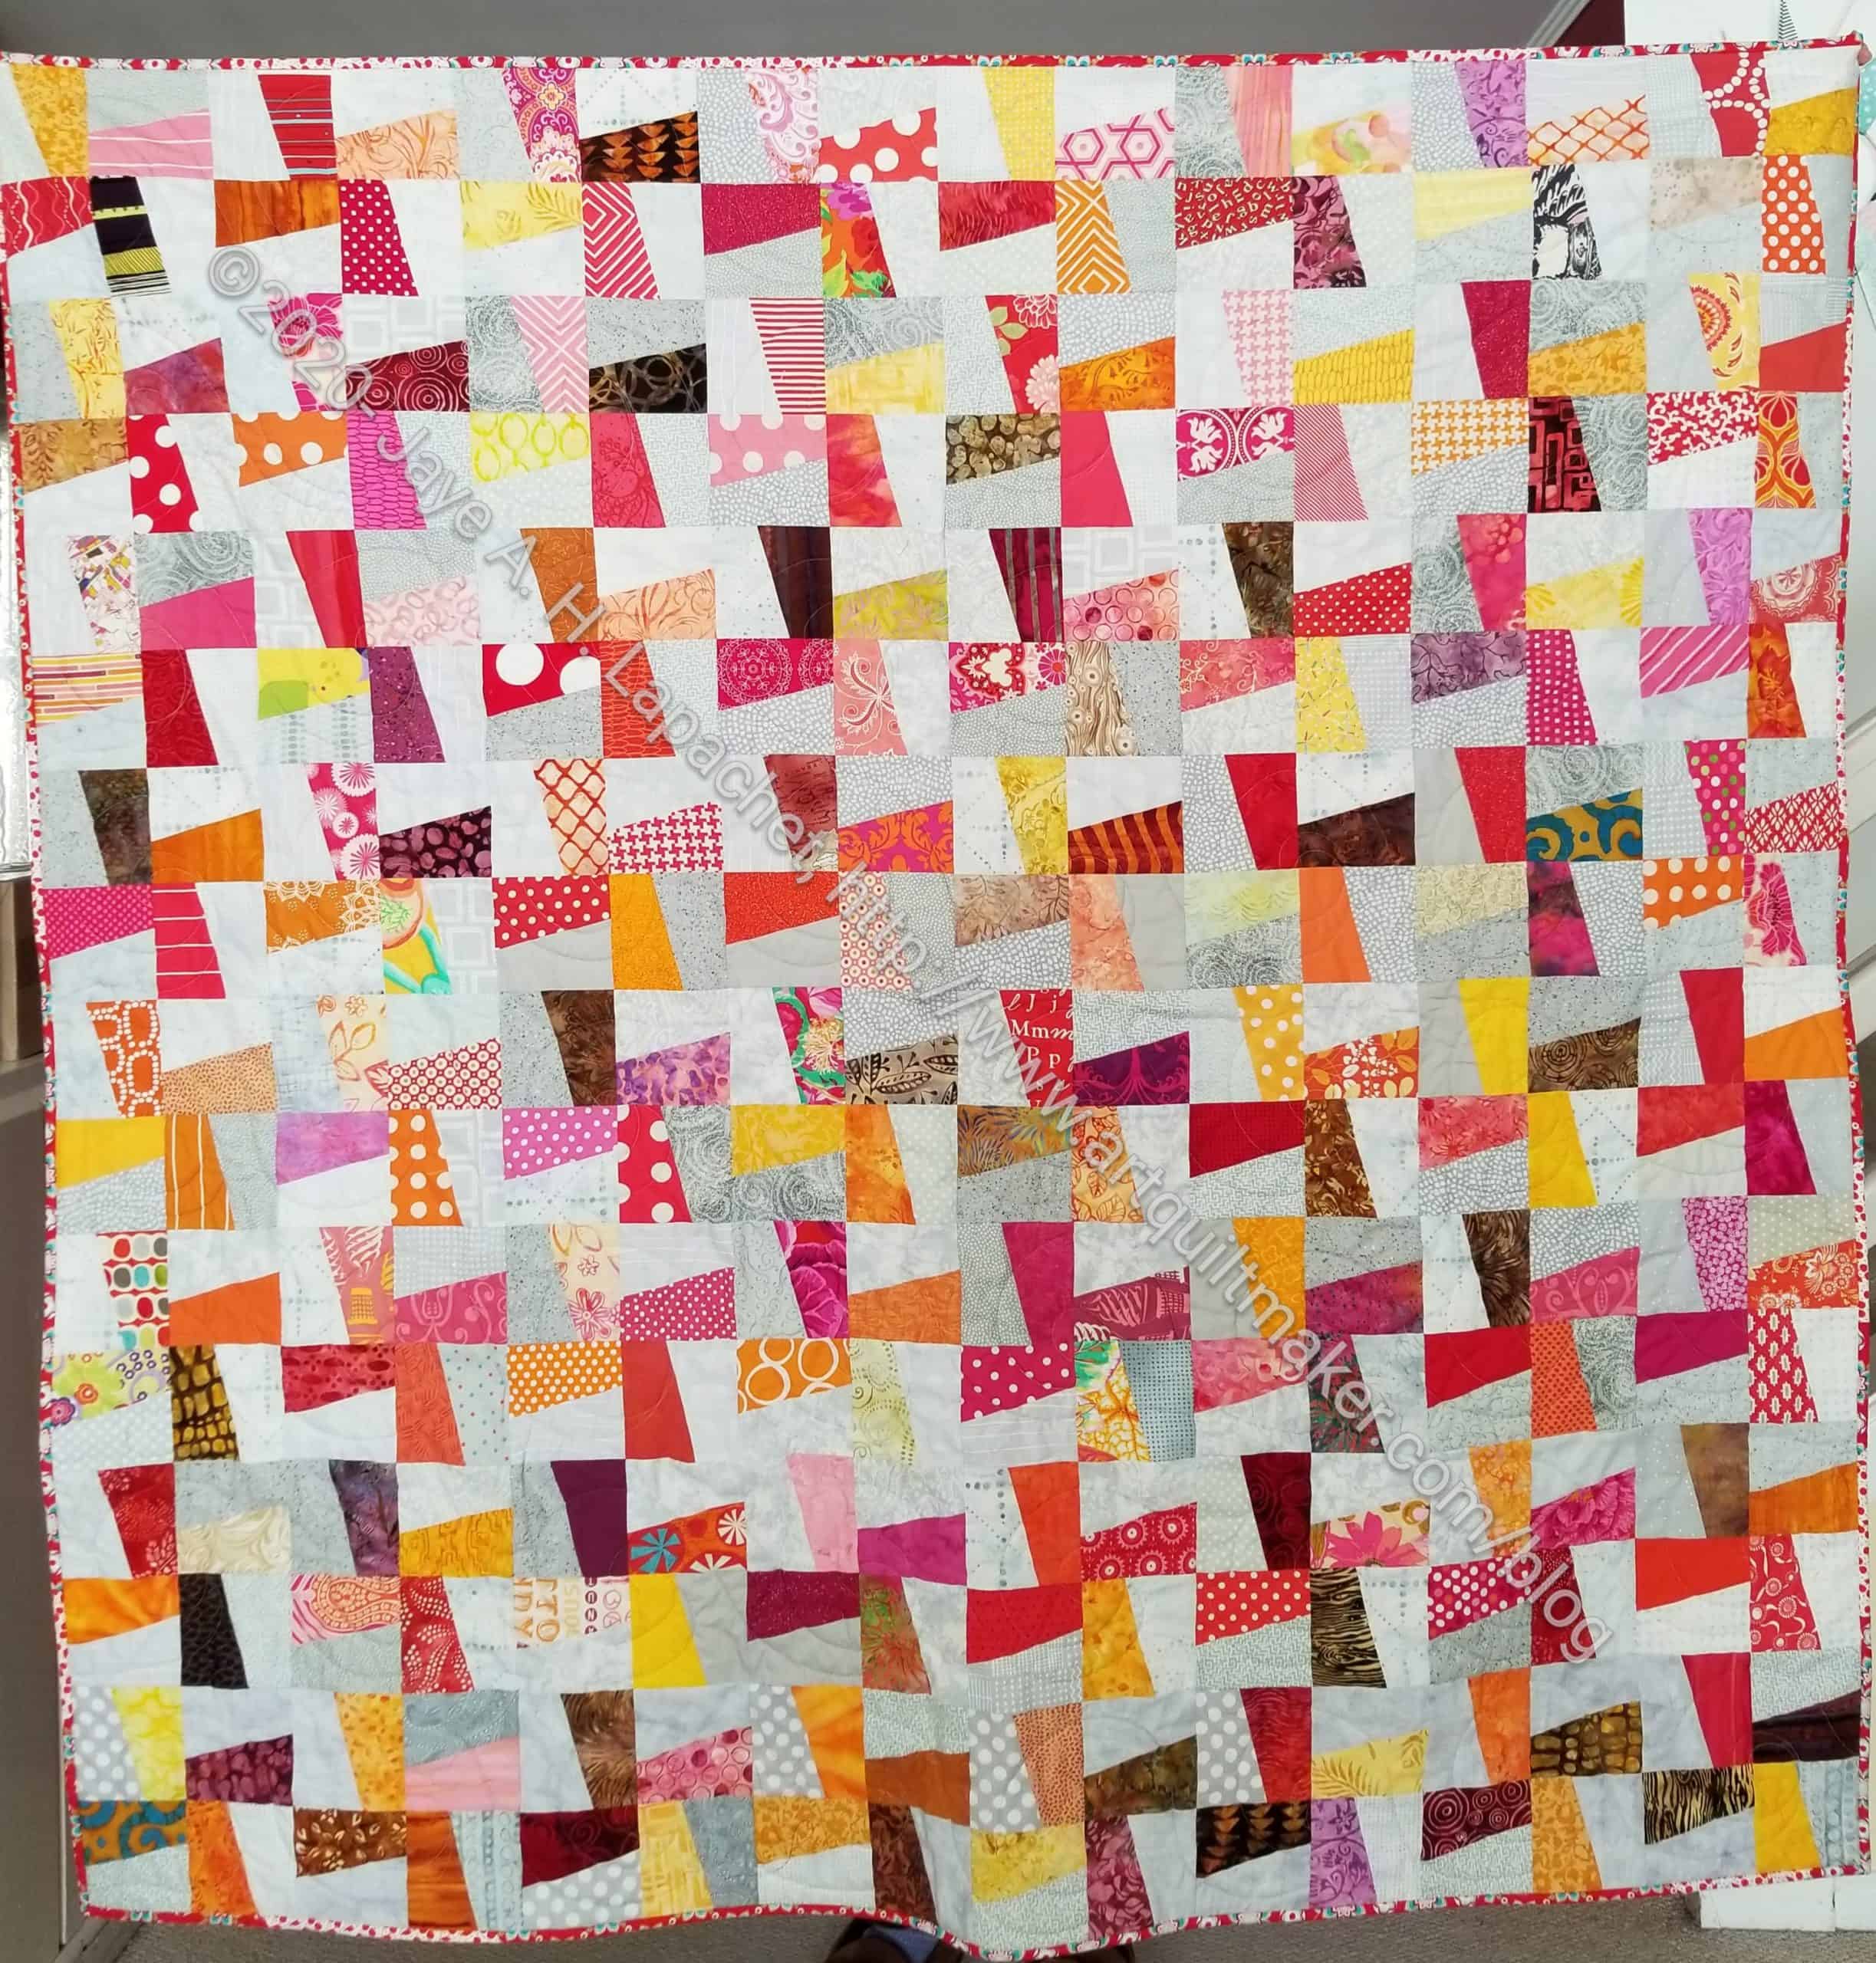
The beige and orange pieces will be used to make another Spiky 16 Patch quilt. Yes, this will be another another non-Color Strip donation quilt. Some recent orange and red and pink donation blocks inspired me. I had to figure out how to cut those spiky rectangles all over again.

I finished Traffic Jam. This was an easy pattern and the quilt really went quickly, much more quickly than the Color Strip quilts.
This doesn’t mean I am giving up on those Scrap quilts. They are clearing out my scrap bins for something good. I just needed a break and wanted to play along with Vicki Holloway.
I made a back as well, so I get more fabric usage on my spreadsheet.
.
I have been sewing a little each day on my lunch hour (who needs to eat?) and after work. It is keeping me sane while I help DH get used to working at home. A few seams a day really does make a difference.
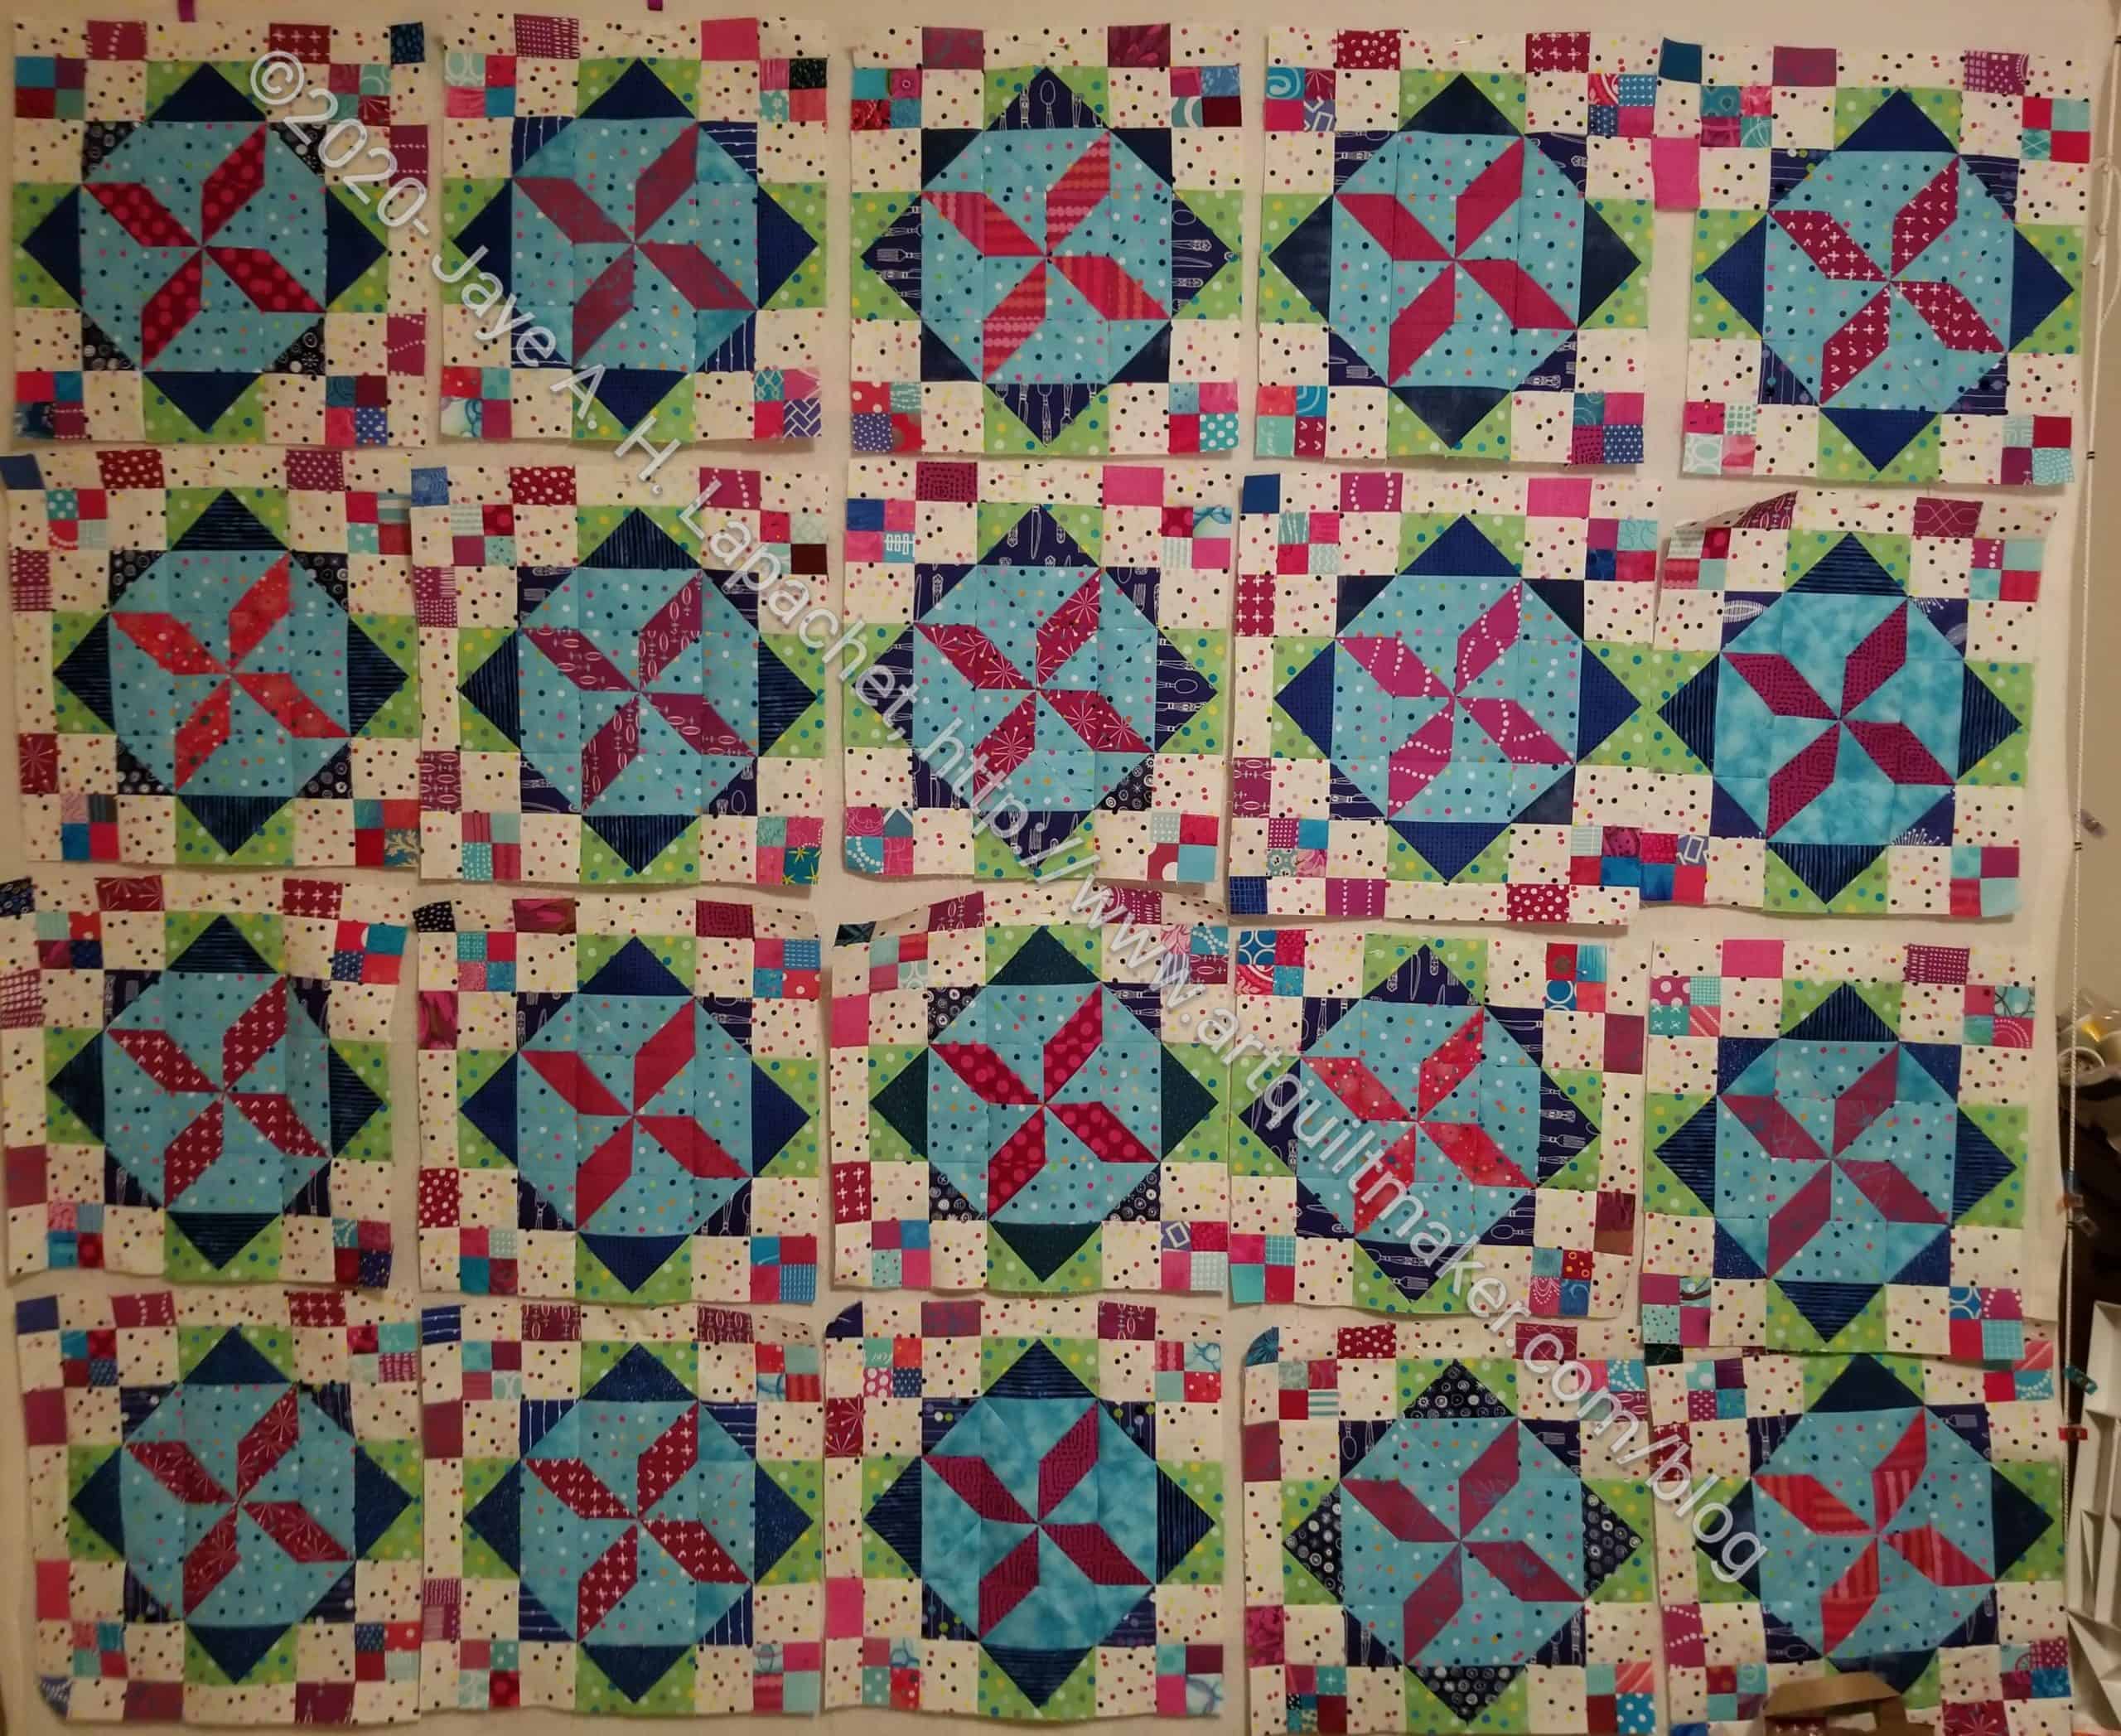
Now I am finished with all of the whole blocks. The next step is half and quarter blocks. Yes, I am going to make them.

No, I didn’t forget about this quilt. It’s just taken me awhile to get the photo taken and up here.
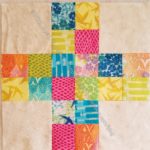
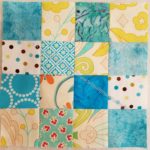
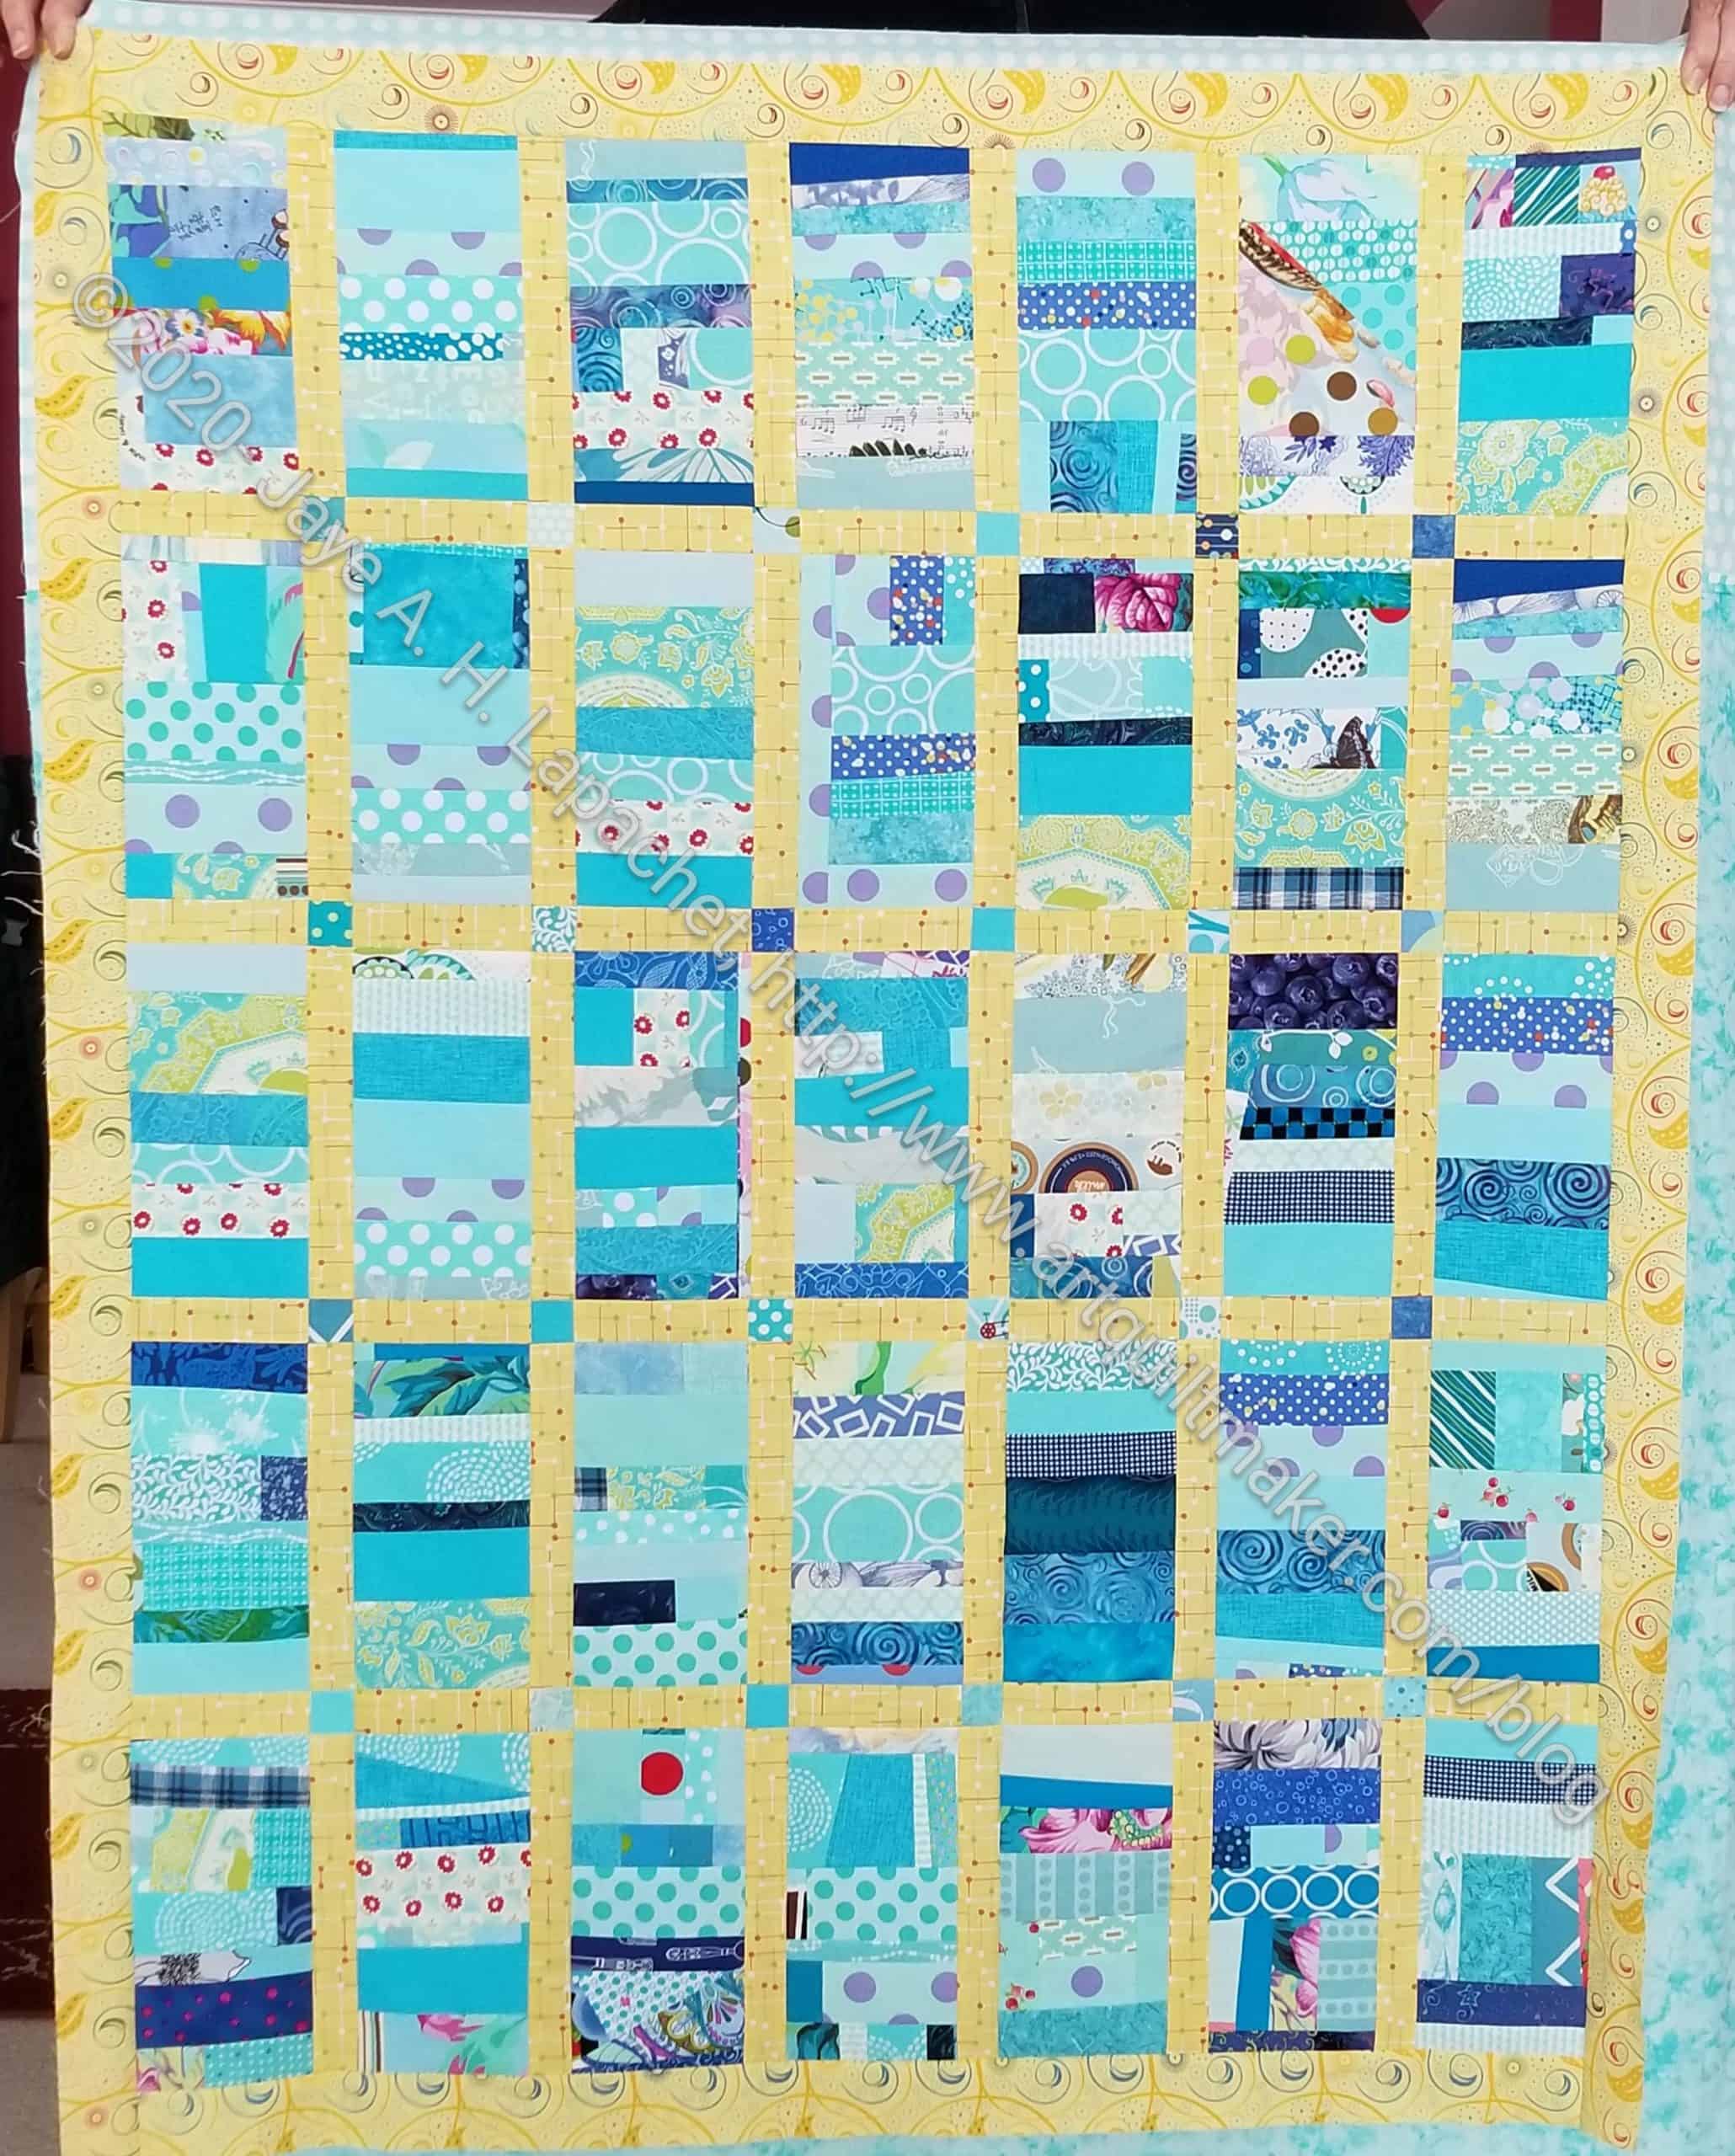
This is the last group of squares for FOTY 2019. Alot of these fabrics are from various scrap projects.
On to sewing. Soon.
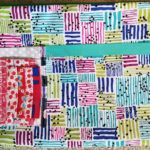
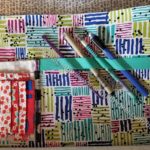
I am working on another Running with Scissors tote. Yes, I am a glutton for punishment.I am trying to get my head around the process.
I was able to get the stripes in order this time, which was great.
I also did the binding really well. I am pretty pleased with how it looks.
This time I did better , thought I still don’t have a handle on the process. It is as foreign to me this time as it was last time. I think this might mean I have to make another one. 🙂

As you know, I have been working on the Traffic Jam pattern. I am using Mini-Charms that have been laying around for awhile. One thing I know, but came to my attention again was that Mini-Charms are not 2.5 inches square. they are about 2.5 inches square, but not exactly.
I decided to ignore that fact on the first block and found that the 4.5 inch corner pieces didn’t fit. It should come as no surprise, but sometimes I need to see for myself. Sigh. Also, I often hope for a little magic. There was none to be found.
After taking apart the parts of the block I had sewed, I decided to trim the 4 patches. This can be tricky, so I took pictures of what I did.
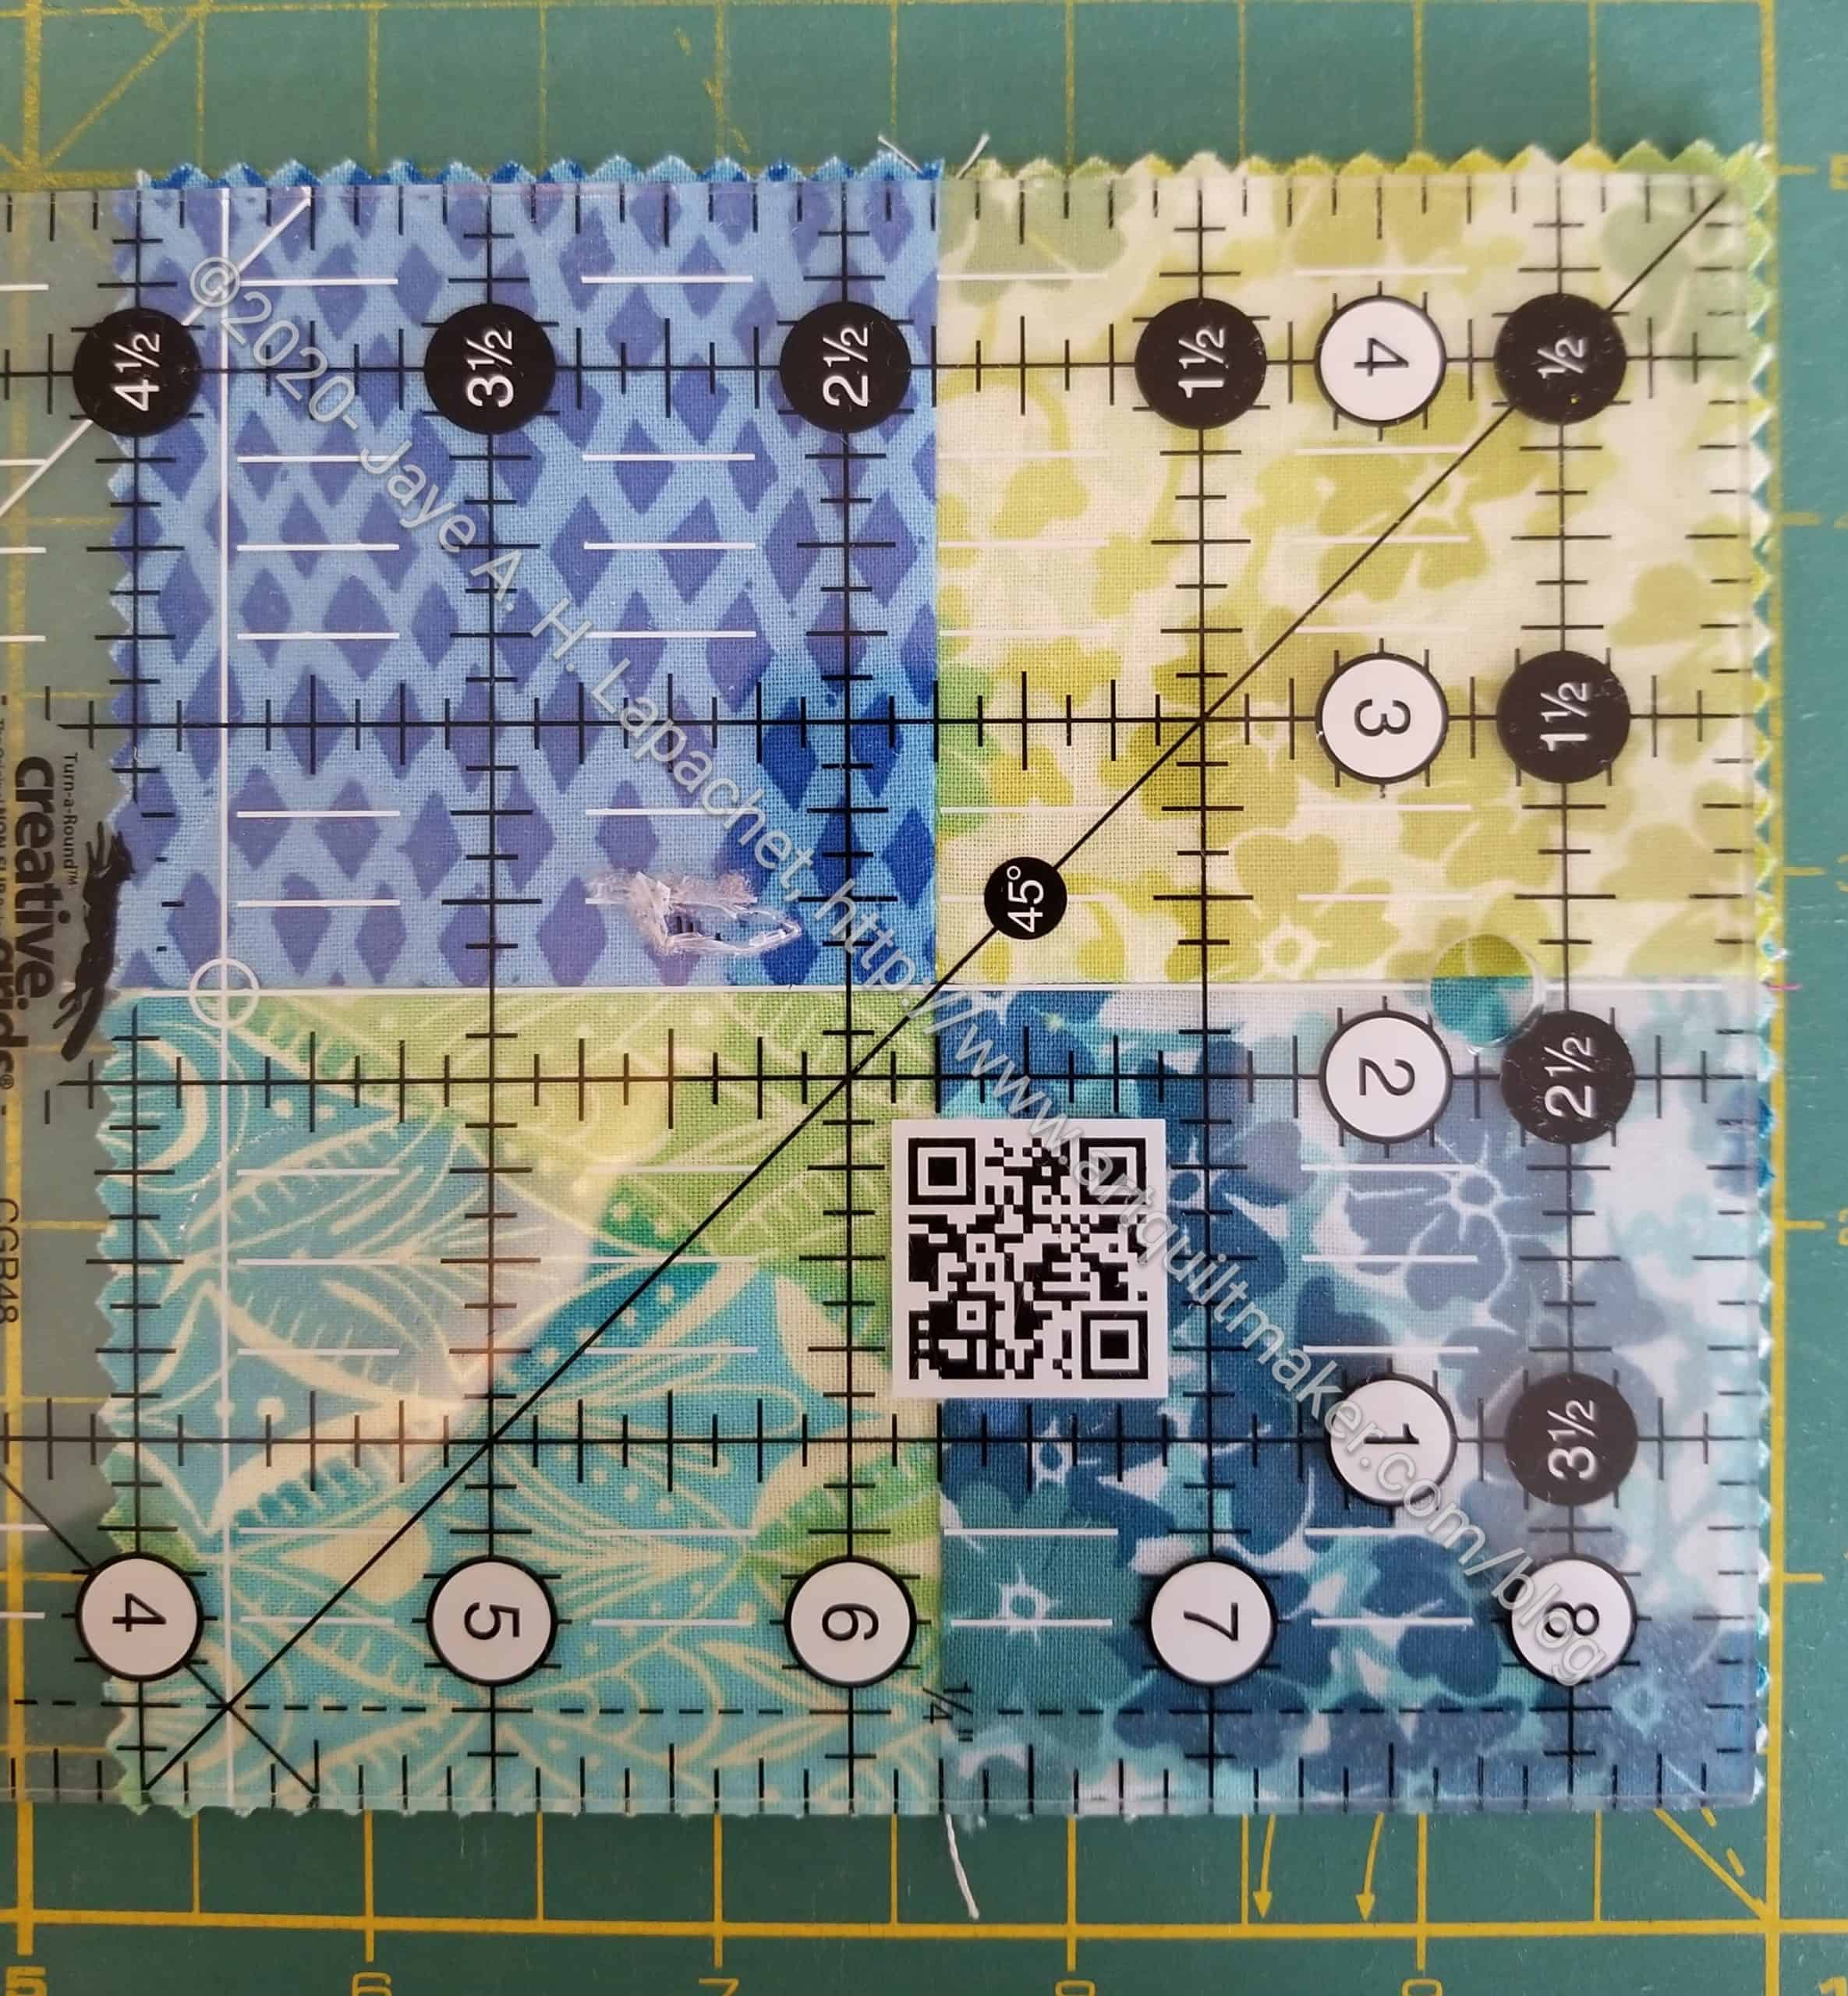
First, I centered the ruler over the 4 Patch block.
I have the 4.5 x 8.5 inch Creative Grids ruler** that fits my hand very well. I use it all the time so I also know it very well. By focusing on the total size of the 4 patch(4.5 inches), I was able to find the center of the block on the ruler.
You can see by looking at the 4.5 inch square that there are pinked edges outside of that line.
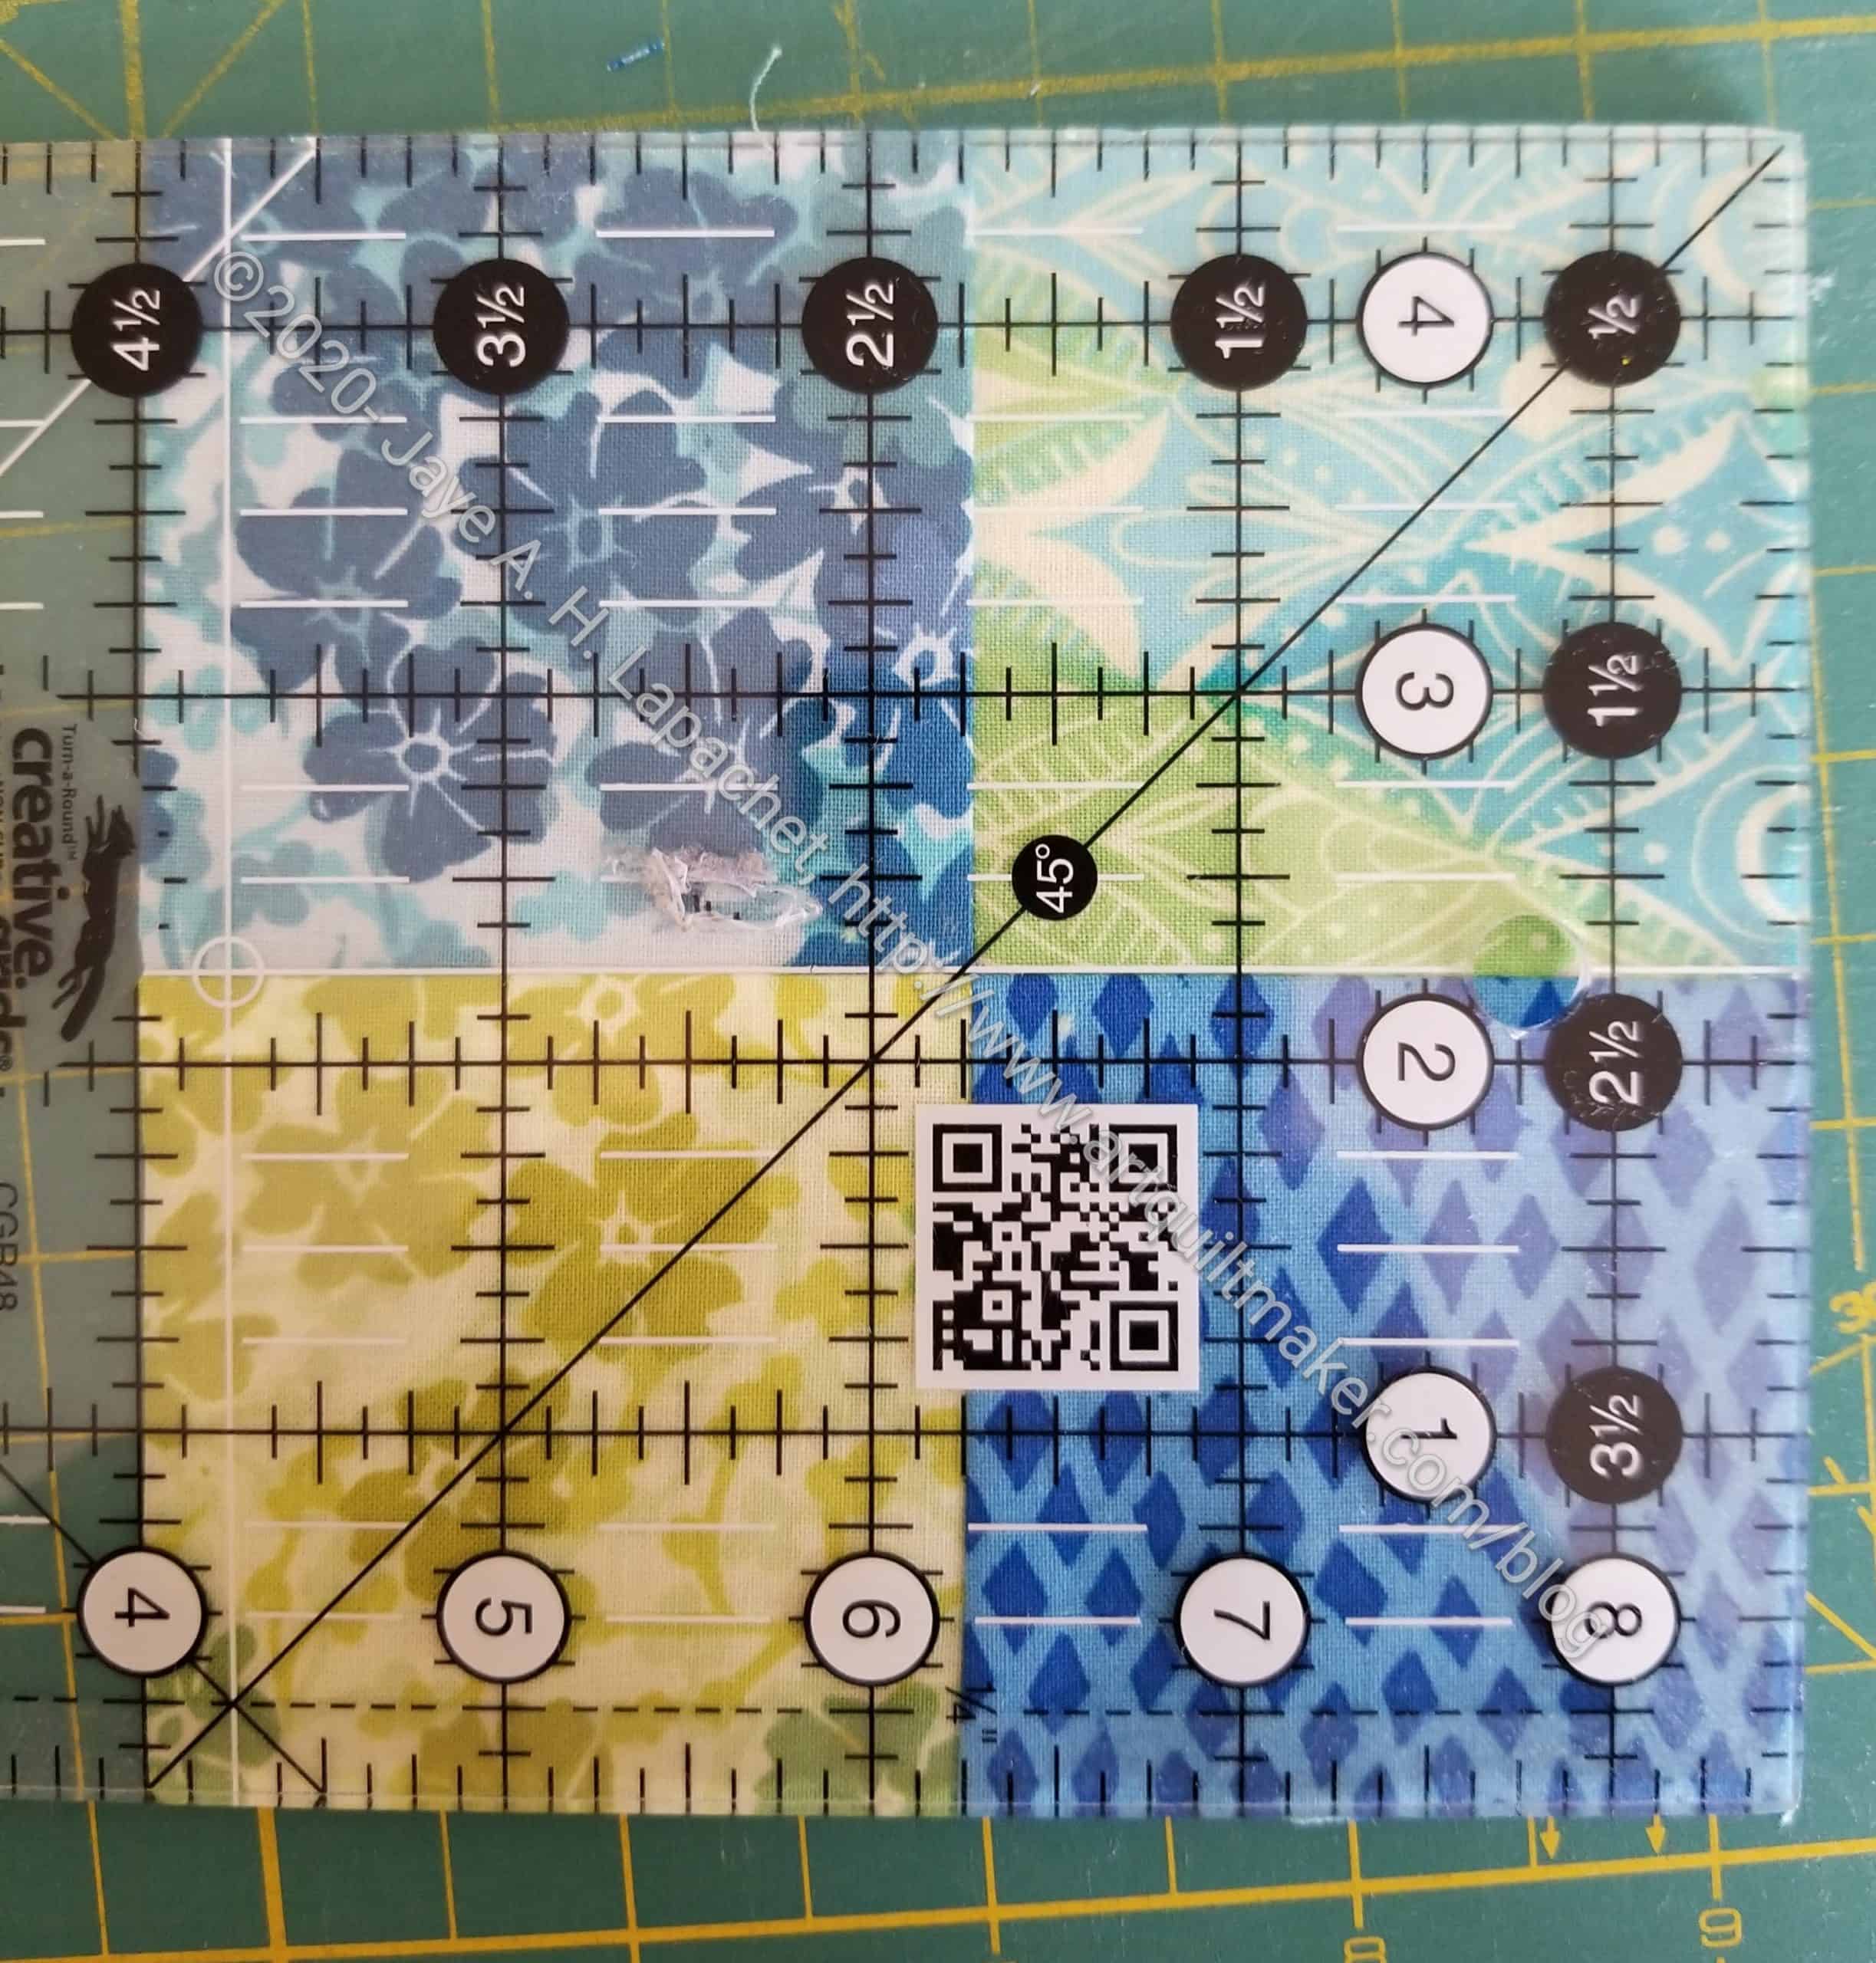
Next, I trimmed two sides and flipped the block around.
In the picture on the left, you can see that I have trimmed all four sides of the 4 Patch and it is exactly 4.5 inches square.
Also, I don’t have those pinked edges. This is now the perfect size and will fit with the 4.5 inch plain squares in the block above.
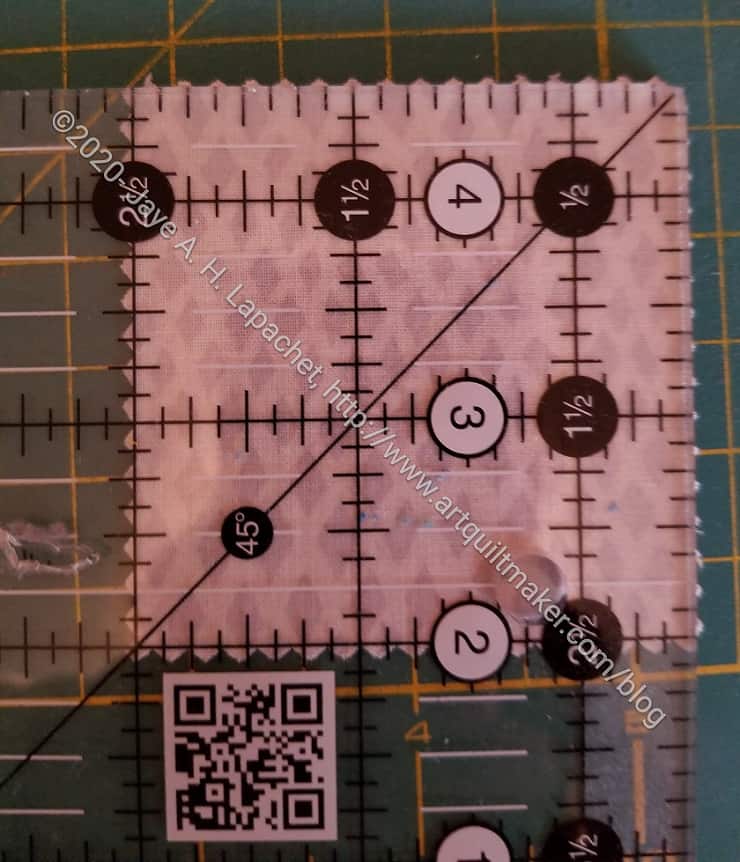
While I am on the subject, this concept applies to the single mini-charms as well.
You can see that the mini-charm is not exactly 2.5 inches. It needs to be trimmed. I trim all of my extra mini charms, so I have fewer problems when I put donation blocks together.
Don’t assume your patches are the right size. Measure and trim as needed.
**I use affiliate links and may be paid for your purchase of an item when you click on an item link in my post. There is no additional cost to you for clicking or purchasing items I recommend. I appreciate your clicks and purchases as it helps support this blog.
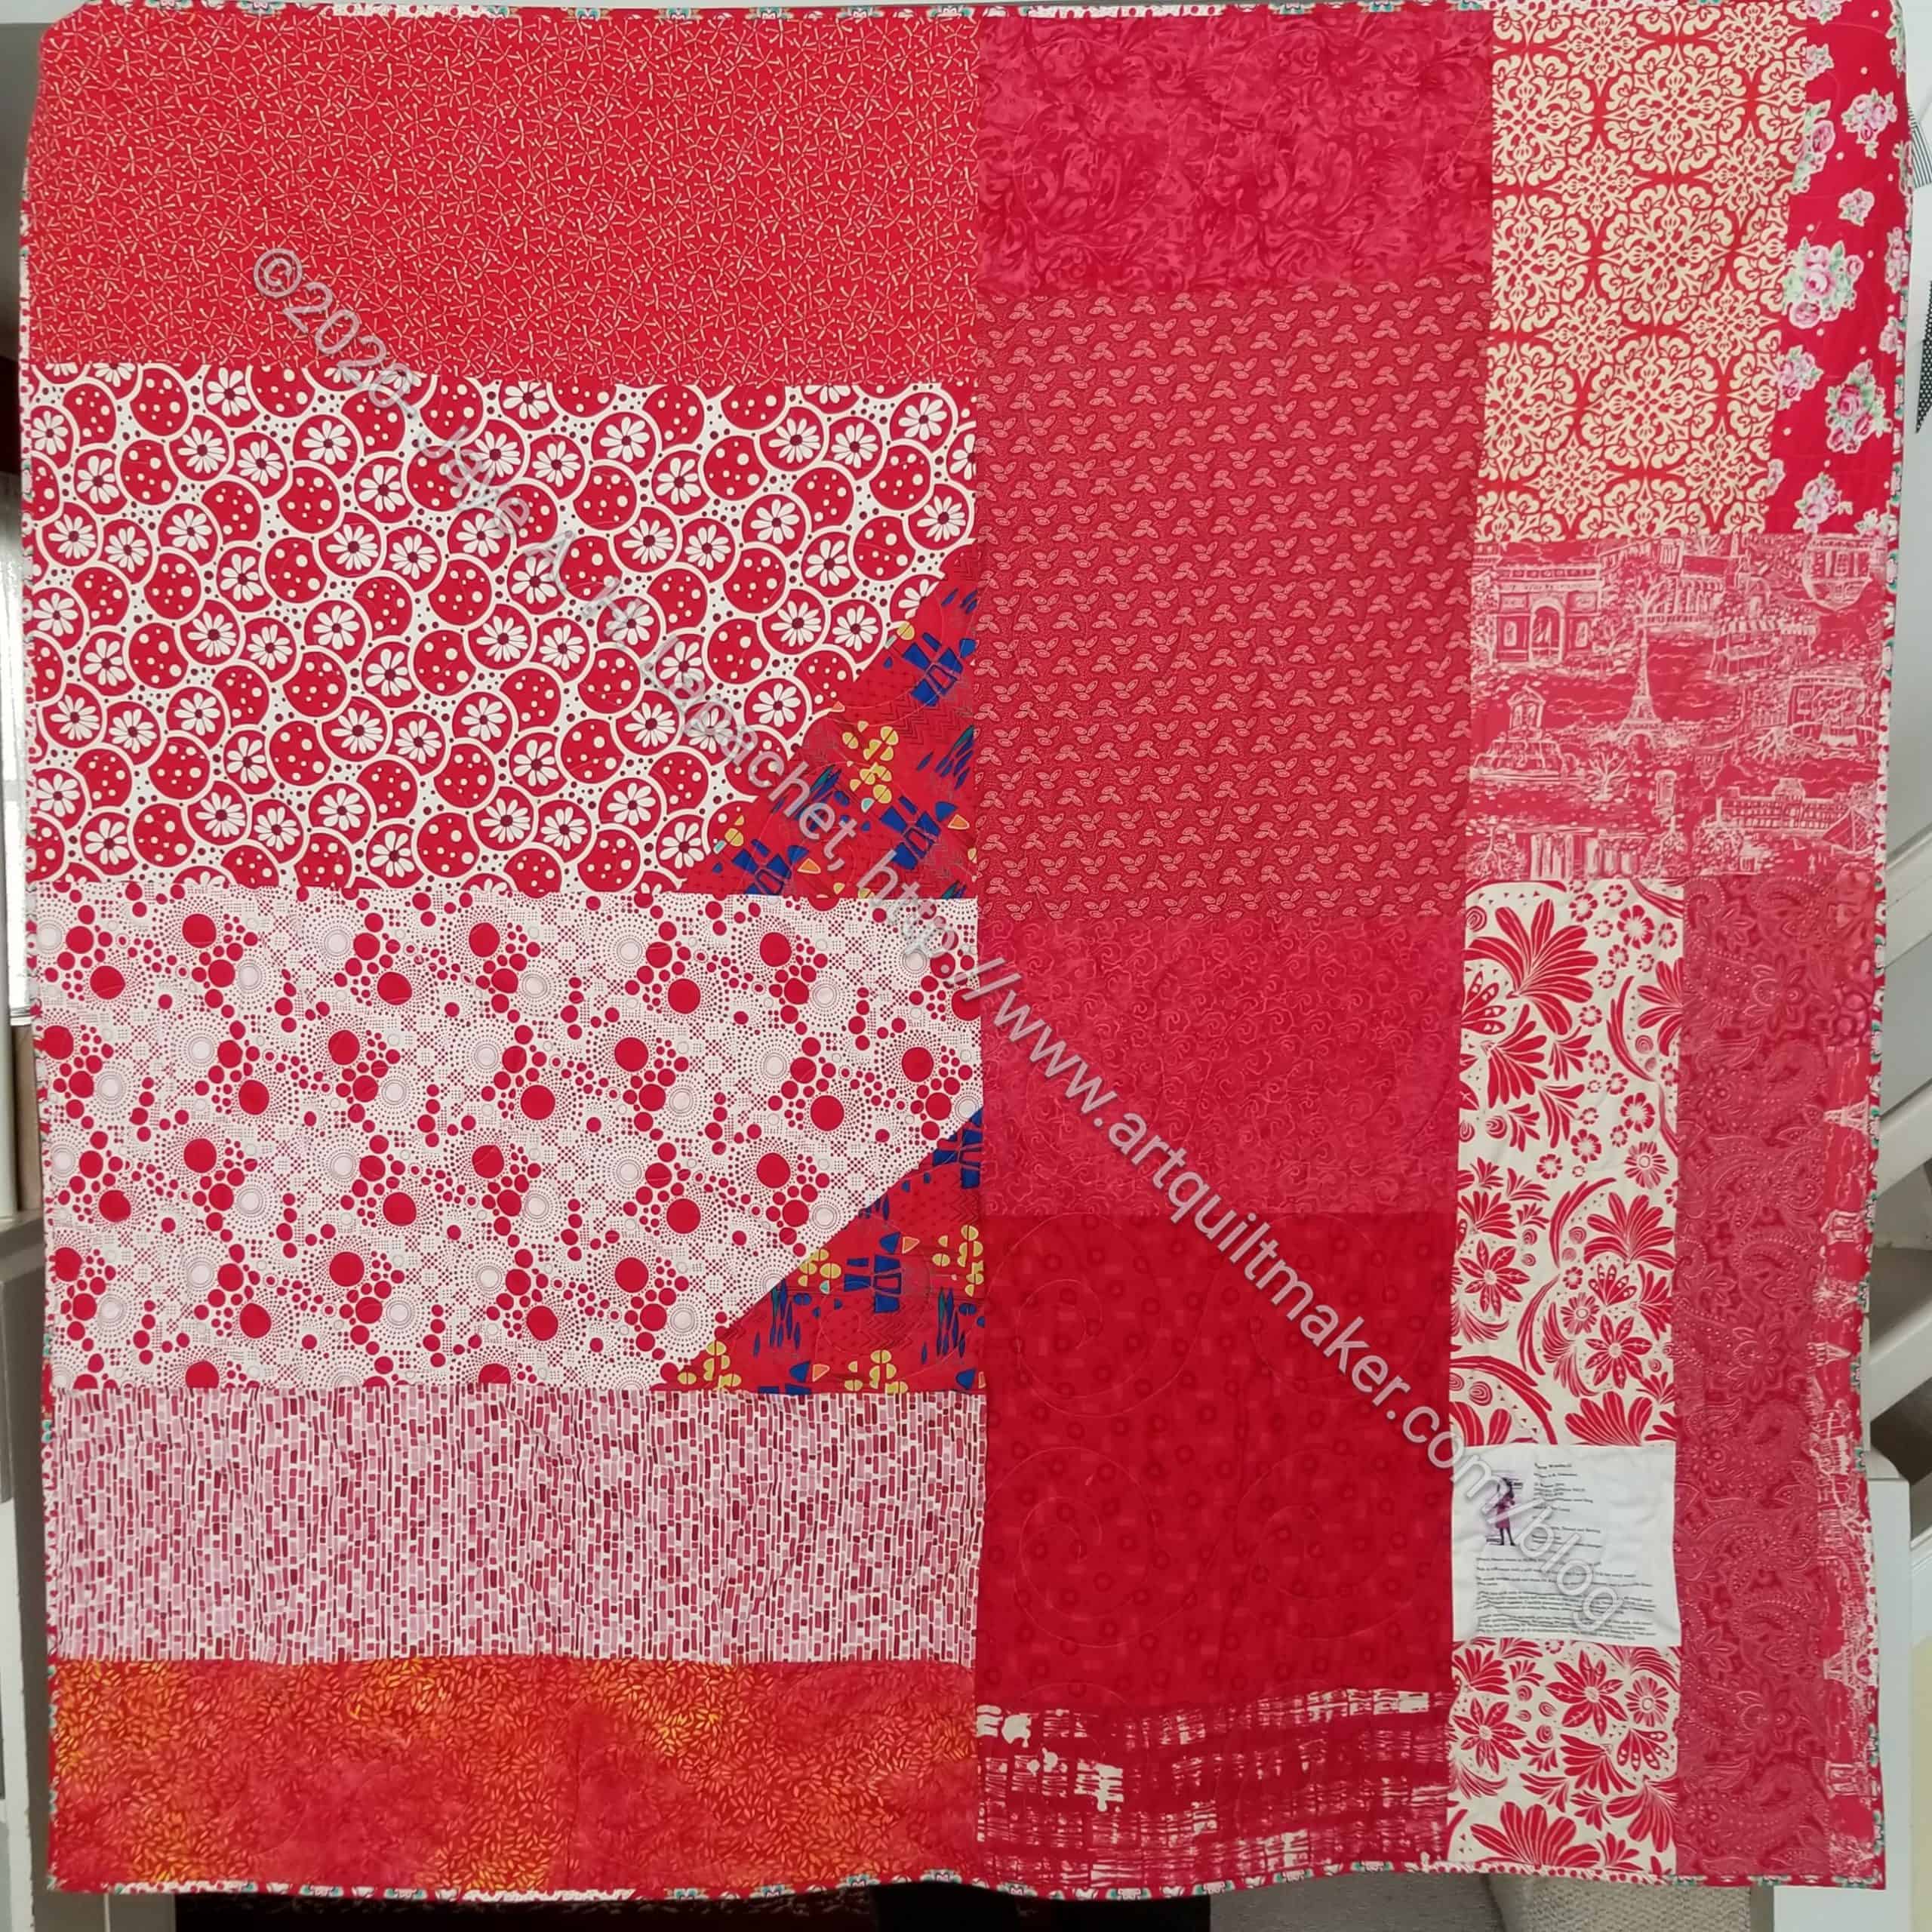
Last Friday, I think, I finished the top and back of the Blue Strip Donation quilt. the piece is going in my bag to take to guild if the meetings ever start up again. I am feeling a bit lonely today. I know the social distancing is important for the health of the country, but I need a little more interaction than I am getting.
Anyway.
I am really pleased with the way the top came out. I had a half yard of two different yellows. The one I used on the border is Califon by Mark Lipinski. I like it, but it was languishing, so I thought I might as well use it.
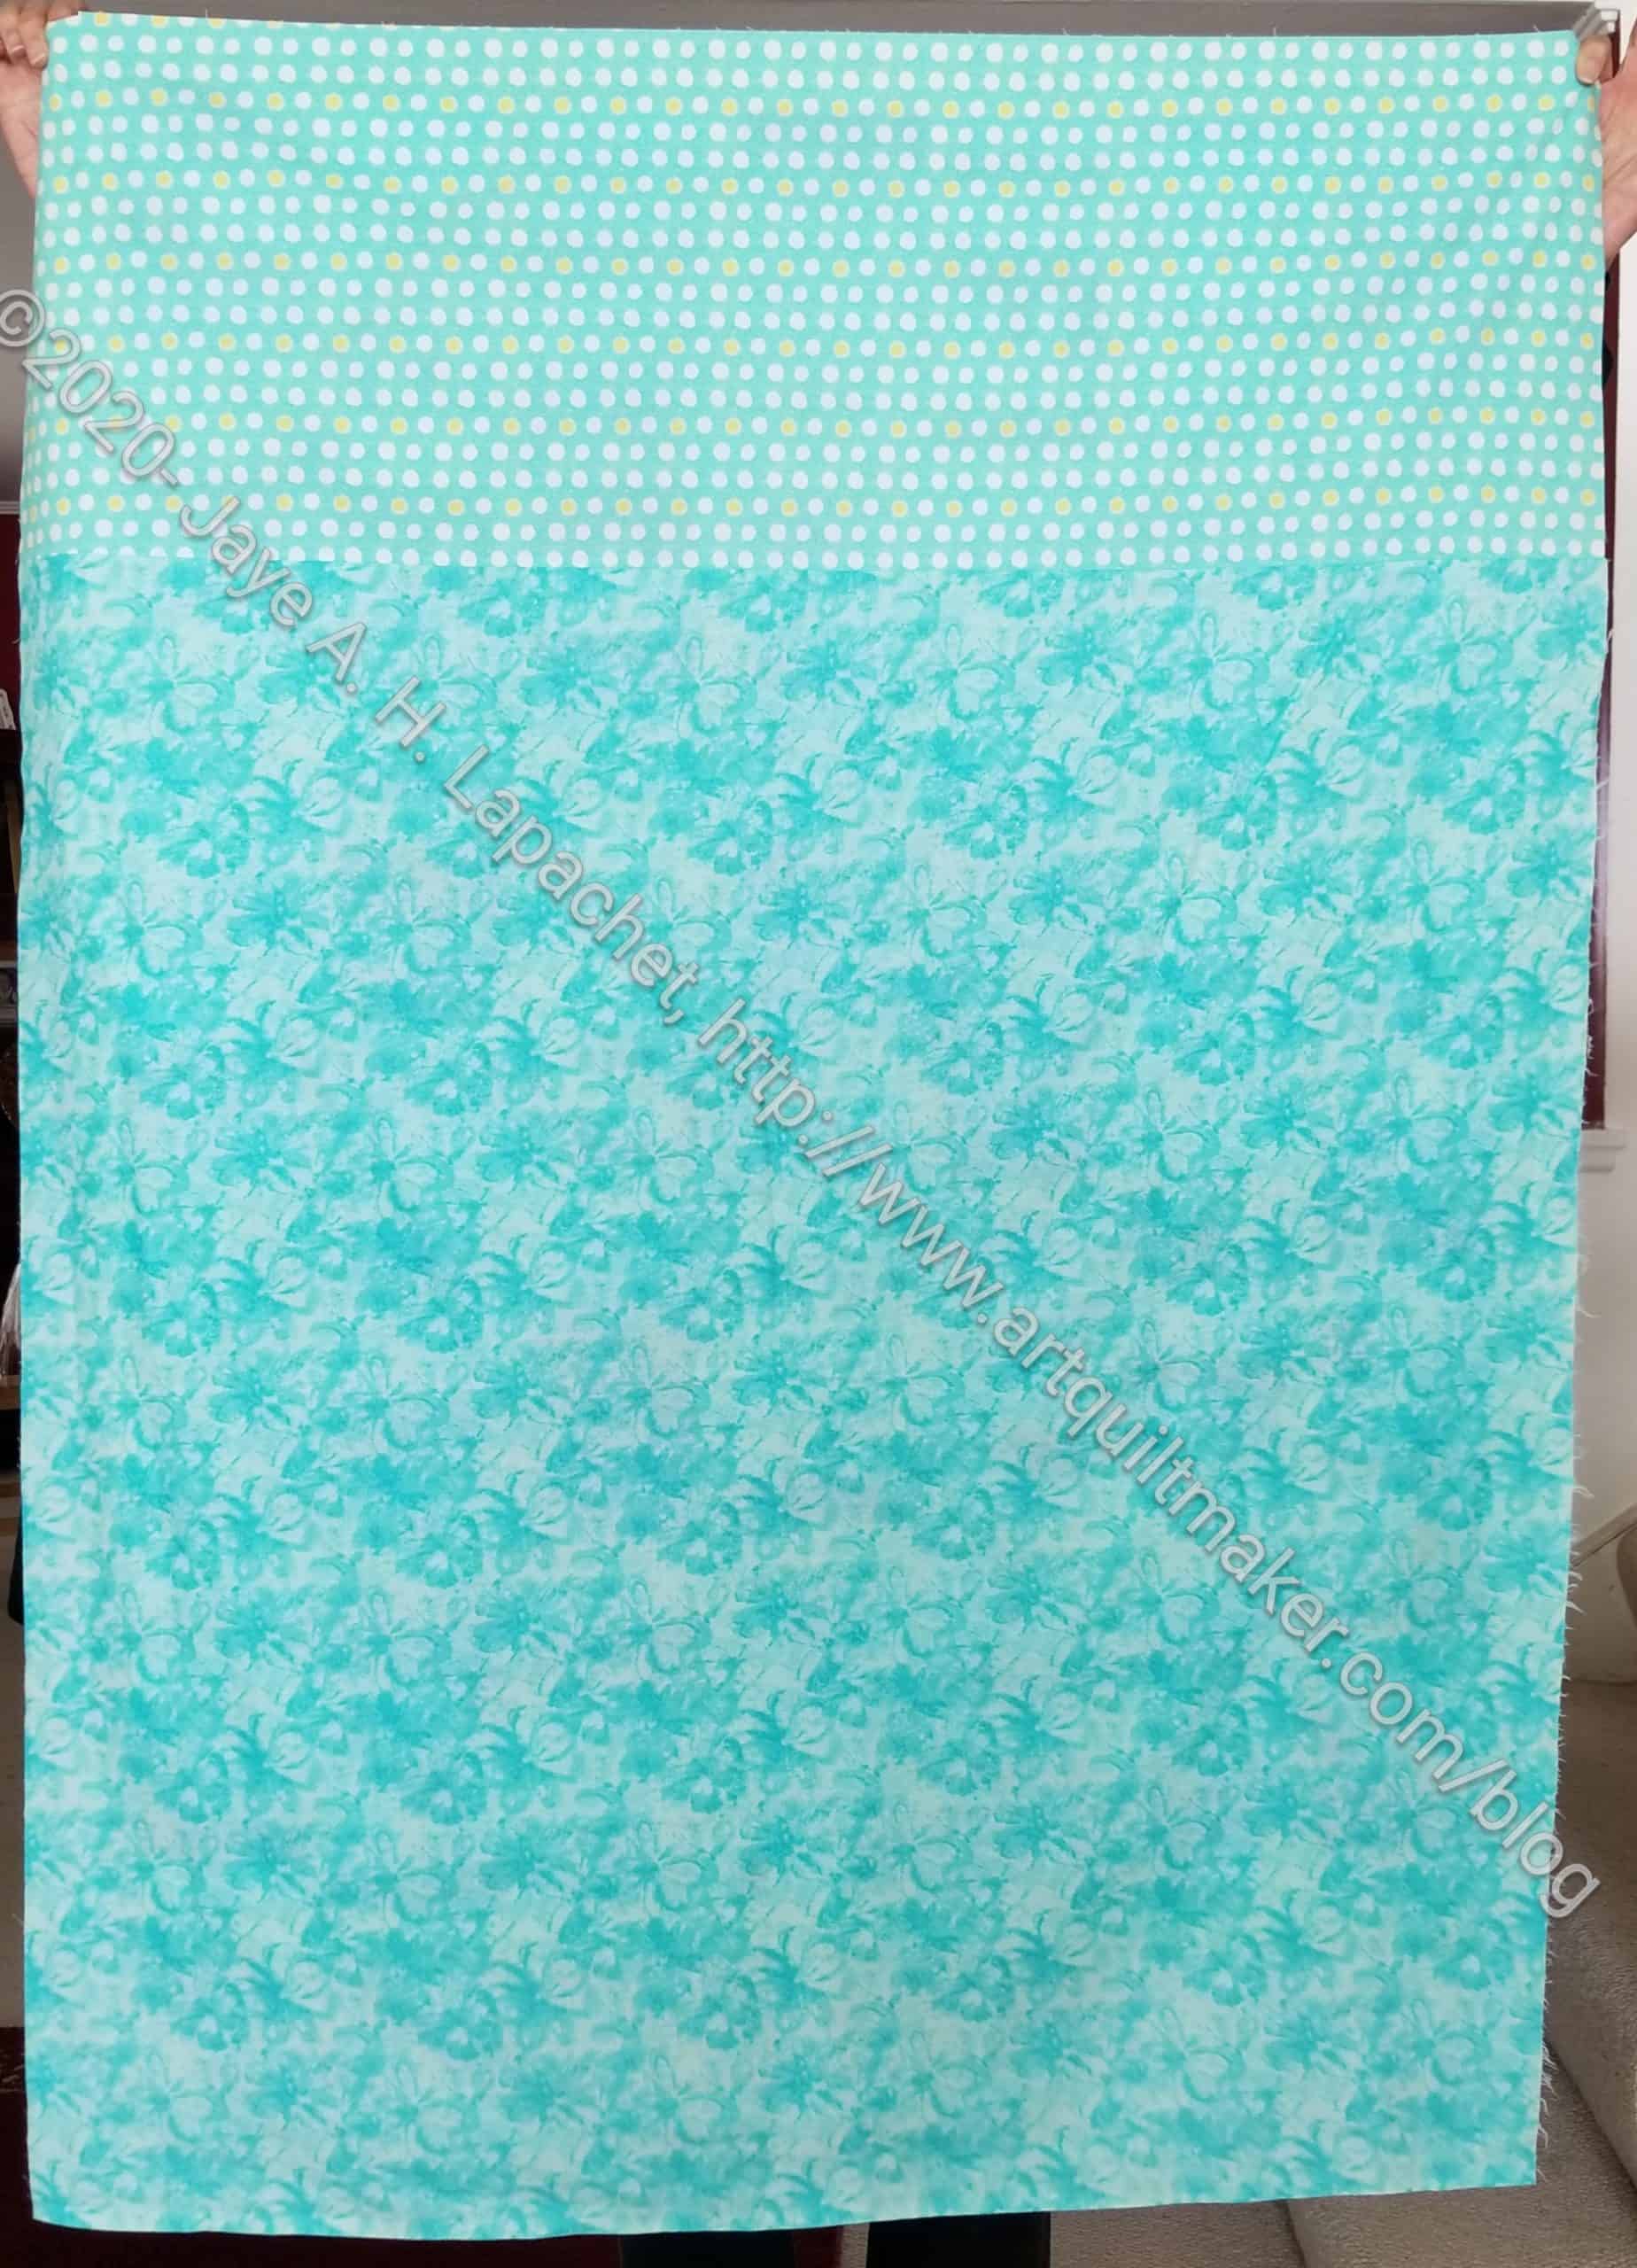
The back was super easy! I had one large piece of blue and just needed to add a little bit to make it bigger. WHEW! No back drama this time.
The Warm Windmill is finished. I think I already added it to my spreadsheet, so no additional fabric usage. I am pleased with the way it came out.
I need to figure out if I am going to keep it until I can show it at a guild meeting. I am getting a pileup of quilts around the house, so I am inclined to send it along to its new home. We’ll see.
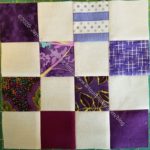
No pinching the blog! There is green in these blocks. 🙂
In between piecing Frolic! over the weekend, I used the Traffic Jam pattern as leaders and enders. I used up my stash of Marmalade Dreams mini-charms as well as two other packs of mini-charms. I had to scrounge for additional mini-charms, because I was a little short of the Marmalade Dreams I needed to make a small donation quilt. I think it will be fine once it is finished.