Since I am working on a Bullseye project, I thought it would be a good opportunity to write some tutorials about the process. At the moment, this will not be a full set of step by step tutorials. You’ll have to use the skills you have gained from my Quilt Class tutorials to extrapolate the rest of the process.
This tutorial assumes that you have cut your backgrounds and appliqued your circles to those backgrounds.
Supplies
- Bullseye blocks
-

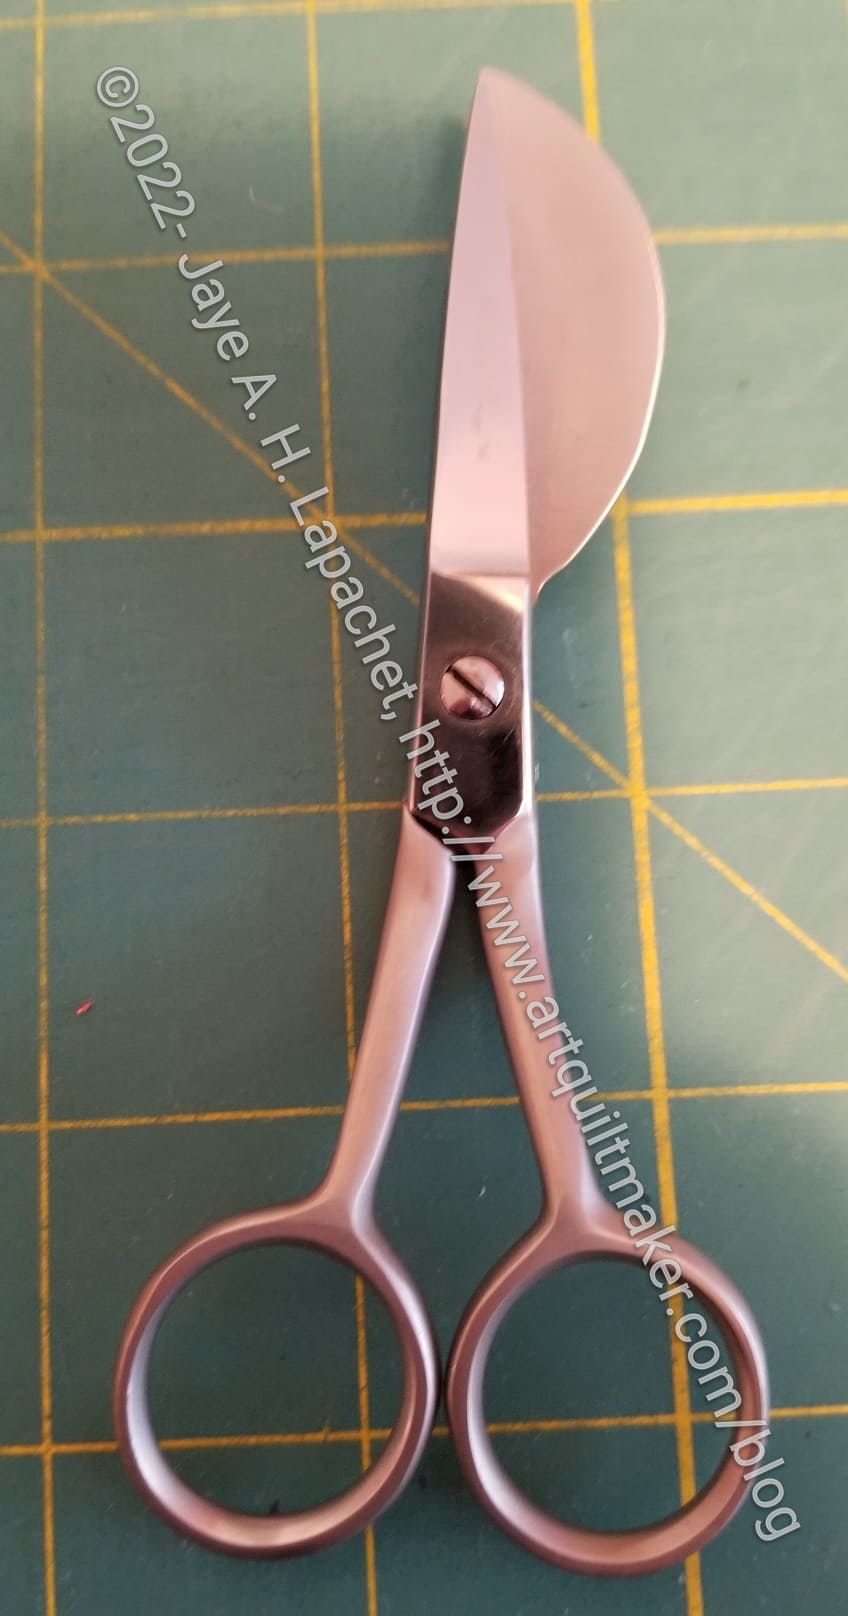
Inspira duckbill applique’ scissors Applique’ scissors** – I have two pair. One is by Gingher, which I have had since the dawn of time. These are maybe 10 inches, but probably 8 inches. The other is a much smaller pair (6″) I bought last year at Cottage Quilting in Medford. The brand is Inspira and they are shown on the Husqvarna/Viking website. I thought they were super cute and I had never seen a pair this size before.
- Cutting mat**
Optional Supplies:
- Chalk** or Air erasable pen**
Steps
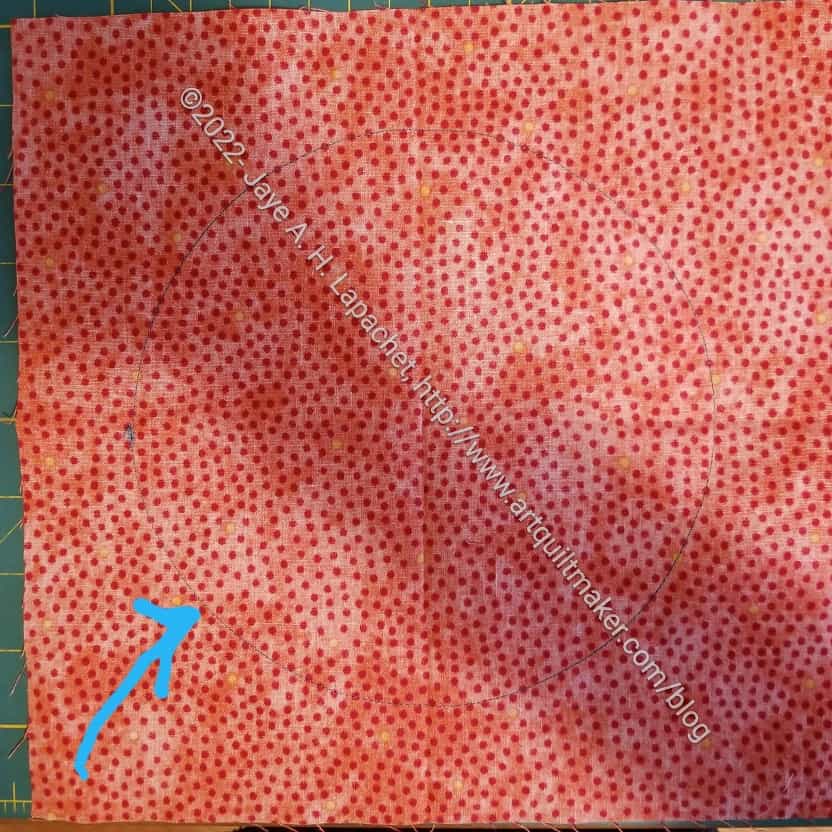
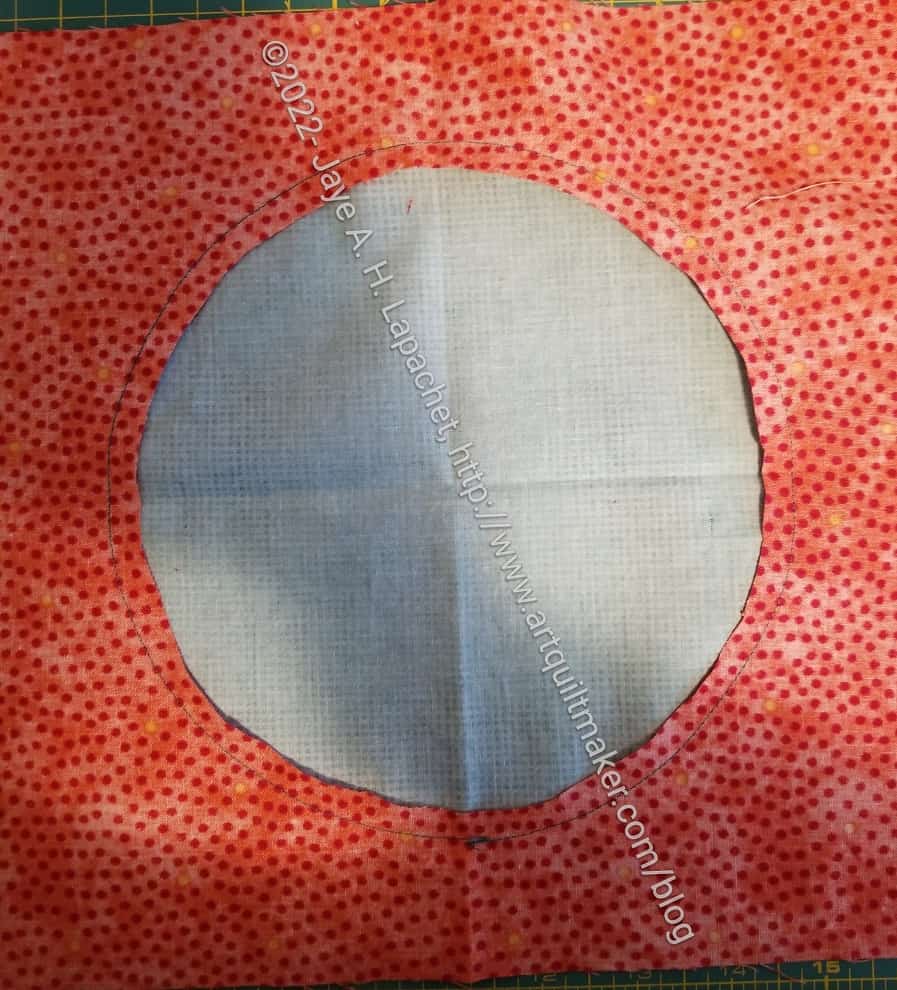
First, take one block and lay it face down on your cutting mat.
The picture shows the sewing line (arrow is pointing to it; you may need to enlarge the photo). Use the sewing line as a cutting guide. If you want, you can draw in an erasable line to follow for cutting. You don’t need to do that, though. Just eyeball one quarter to a half inch.
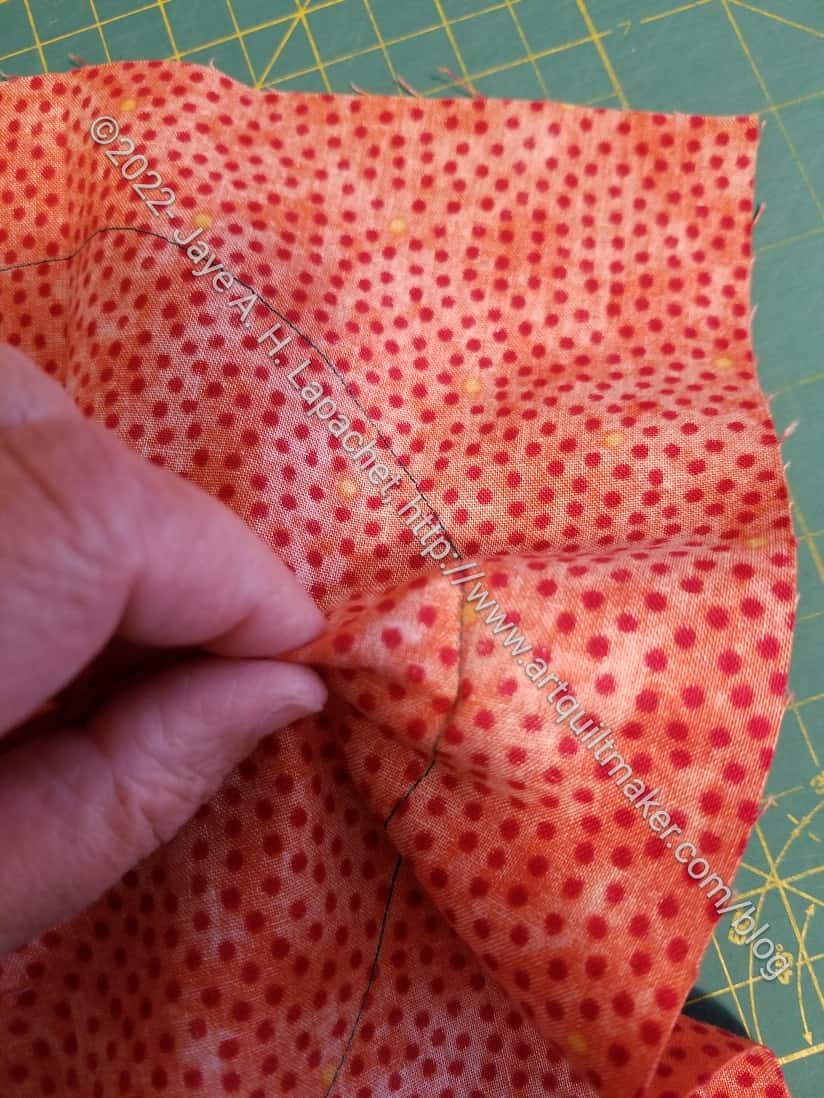
Pinch the background fabric layers away from the front/circle fabric layer. Your fingers should be about half an inch away from the seam line, as the photo shows.
This is usually a two handed process and you will need to feel around to make sure both layers are well away from each other.
Your goal is to be able to cut a circle out of the background fabric without harming the front circle.
Second, cut a slit. (no photo) You will need to continue pinching the background layer of fabric away from the front circle. The slit should be cut straight down. If it is angled, you will see it right away. It’s no big deal, but try to keep it straight so it is parallel to the sewing line.
Third, let the fabric layers go back together, e.g. they are not pinched anymore, but, again, laying flat on the cutting mat.
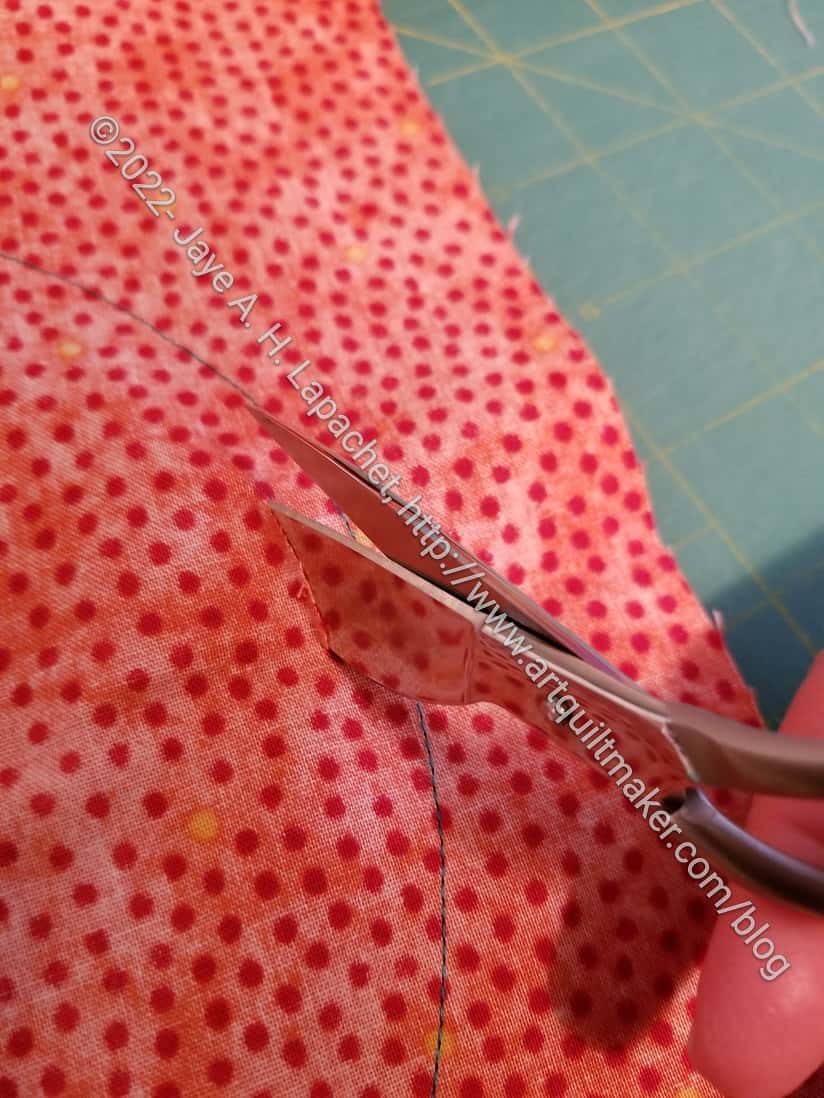
Fourth, carefully stick the duckbill tip of your applique’ scissors into the slit and start cutting away the background layer. Cut one quarter to a half inch away from the seam line.
Be careful to only cut the background layer. The duckbill part of the scissors should help keep you from cutting the foreground. This doesn’t mean you don’t have to be vigilant. You do!
If I sound like a militant dictator, it is because I have cut through the fronts of appliques and had to do them over.
Be vigilant.

Fifth, continue cutting carefully around the whole circle. I keep the circle out of the way of the scissors to try and preserve as much fabric as possible. I can cut some of the shapes I need for other projects from the leftovers.
This part of the process becomes easier once you have cut a large enough slit so the front circle fabric shows.
In the photo, left, you can see how the duckbill rests on the front/circle fabric.
When you have cut the whole circle out, you will have a back view to the front fabric.
Repeat for all blocks.
**Obviously, you should shop at local quilt shops. However, I use affiliate links and may be paid for your purchase of an item when you click on an item’s link in my post. There is no additional cost to you for clicking or purchasing items I recommend. I appreciate your clicks and purchases as it helps support this blog.