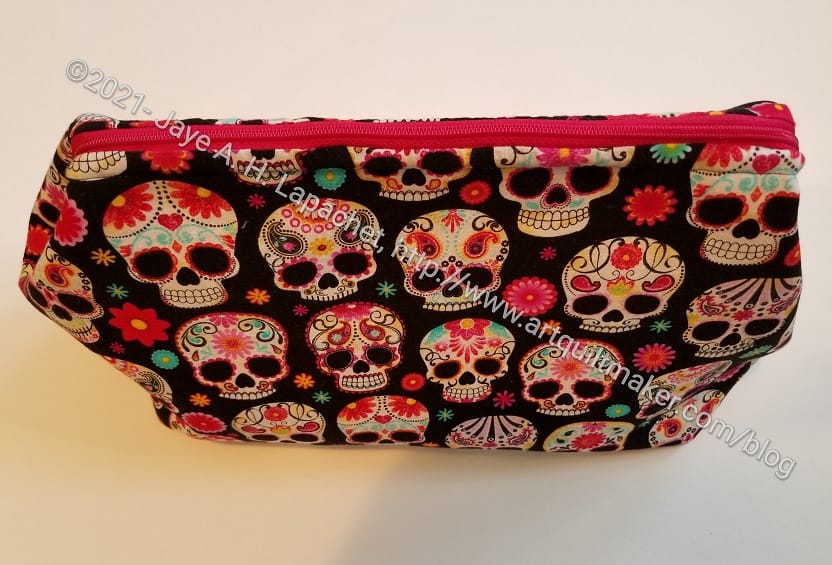
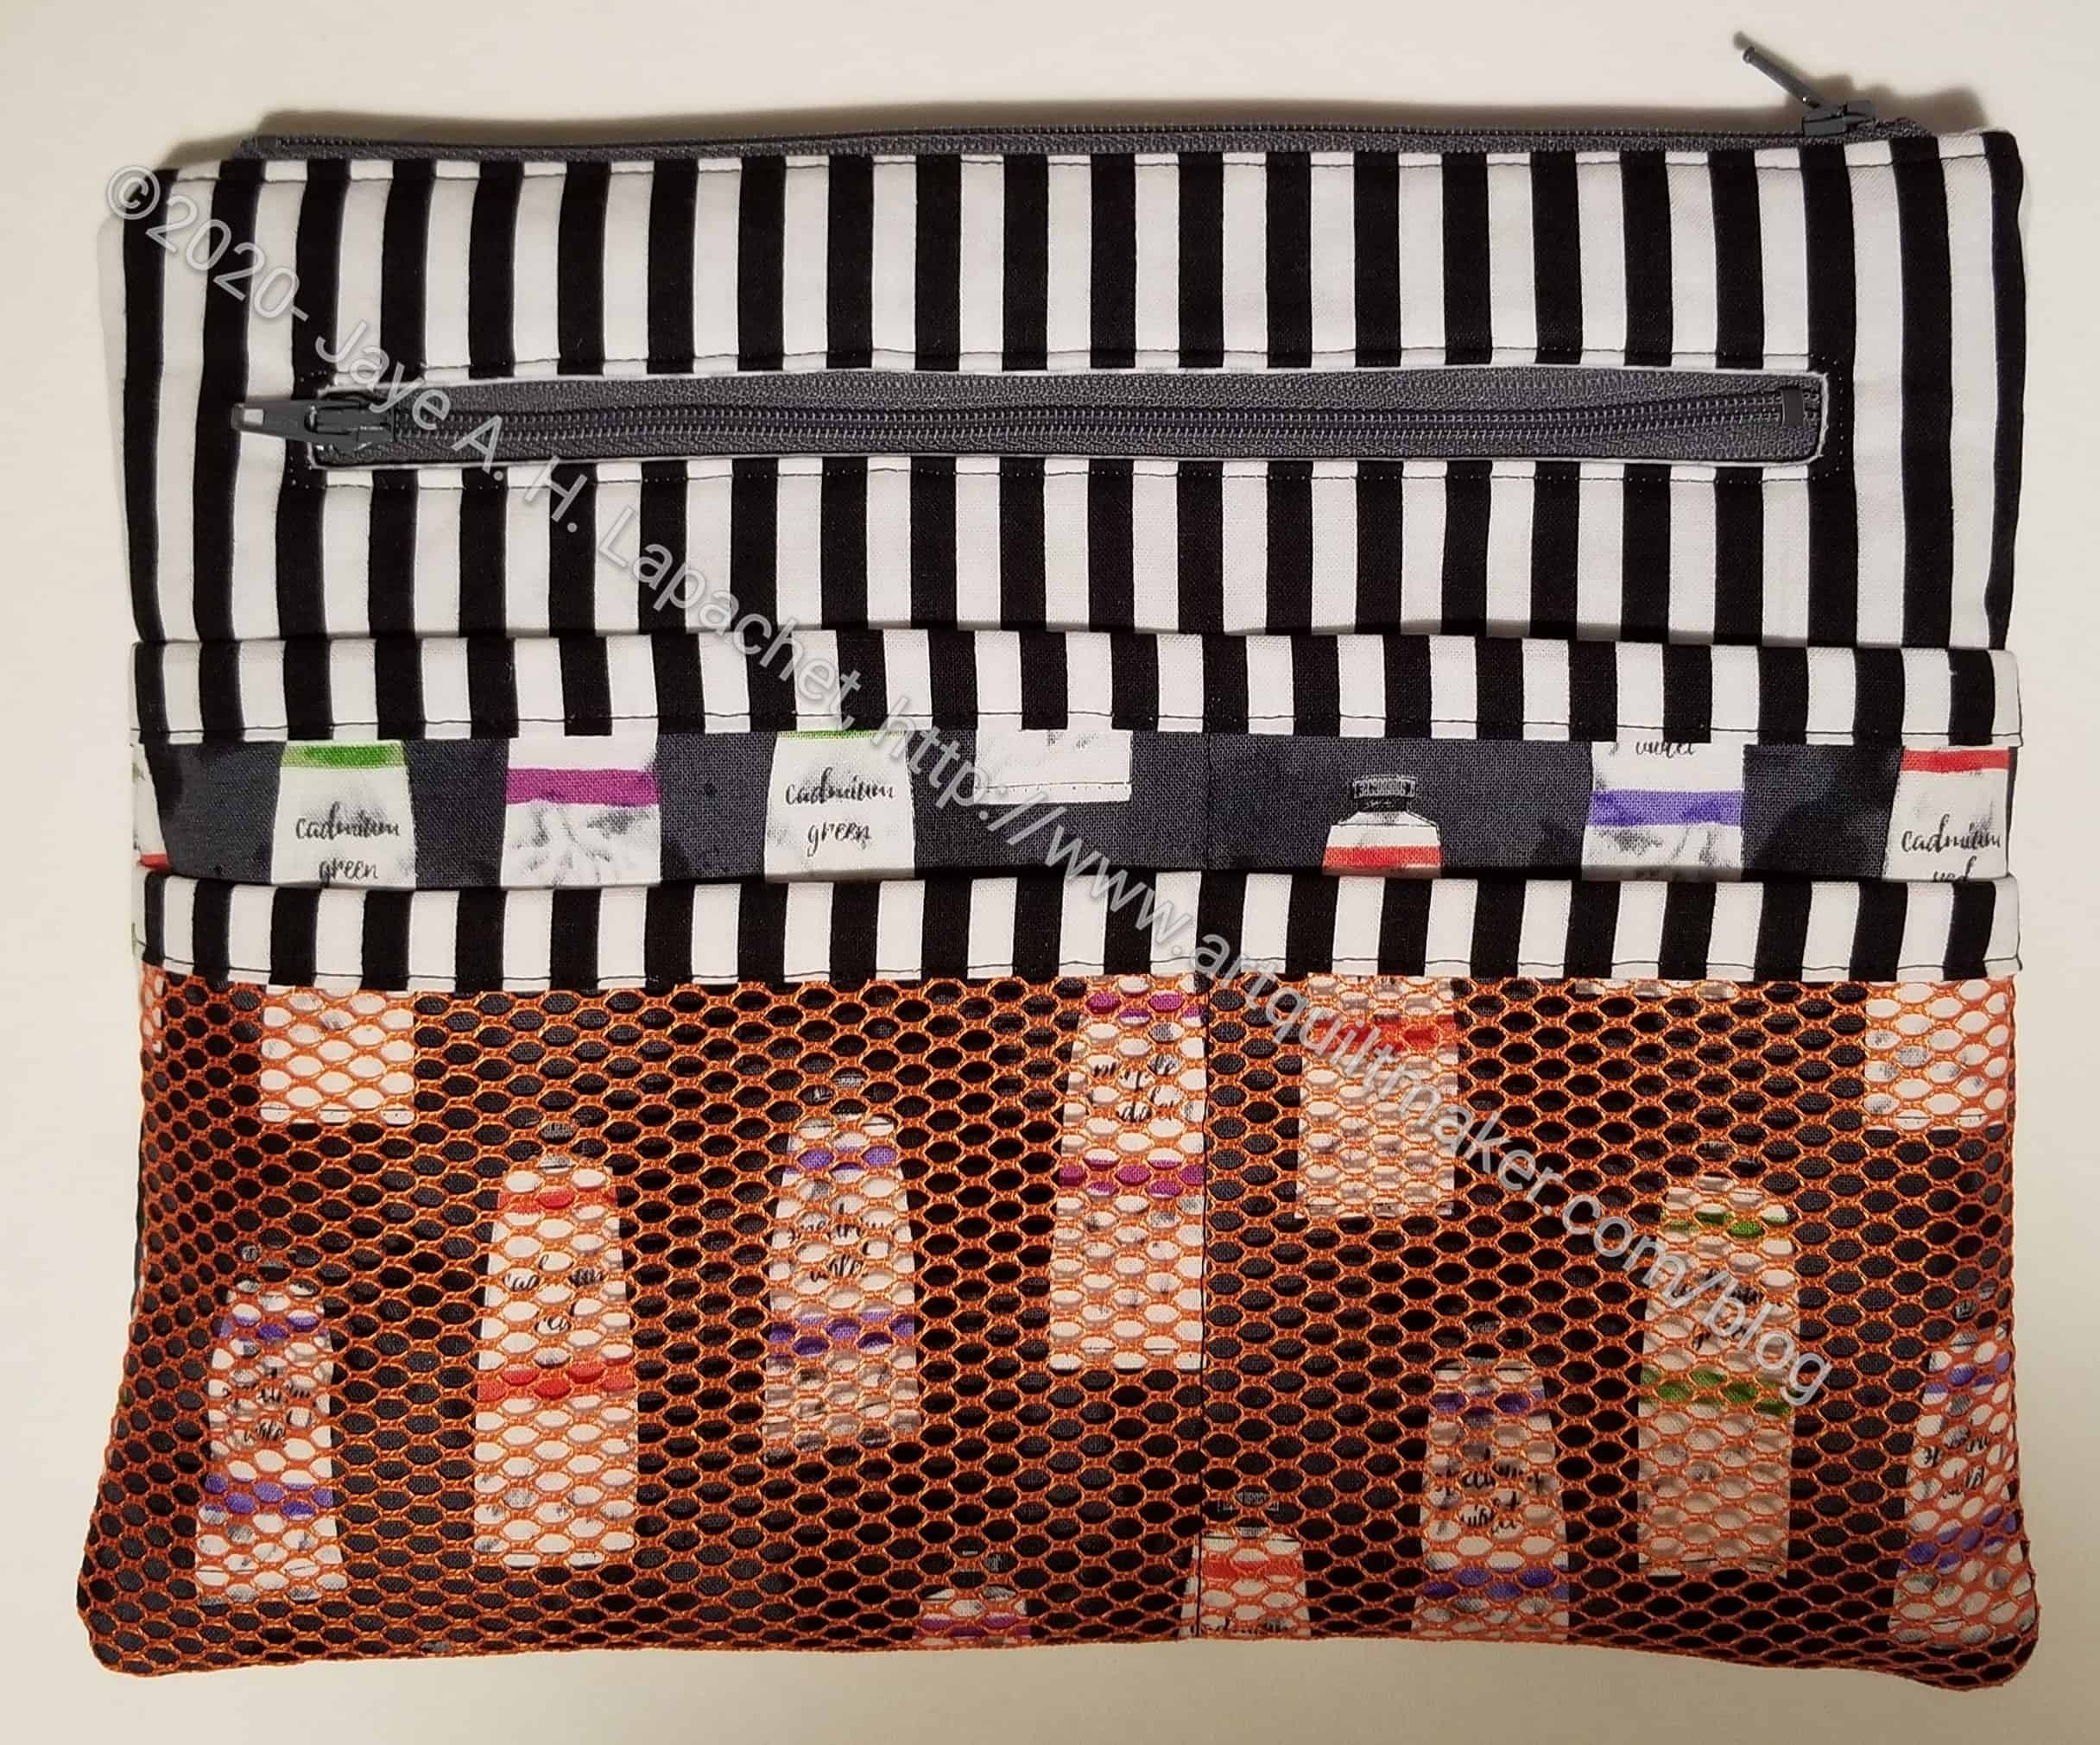
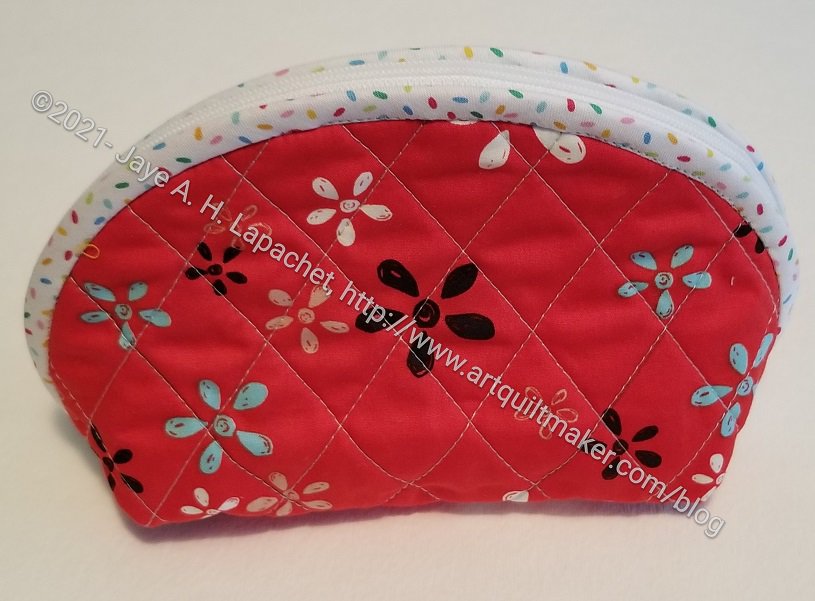
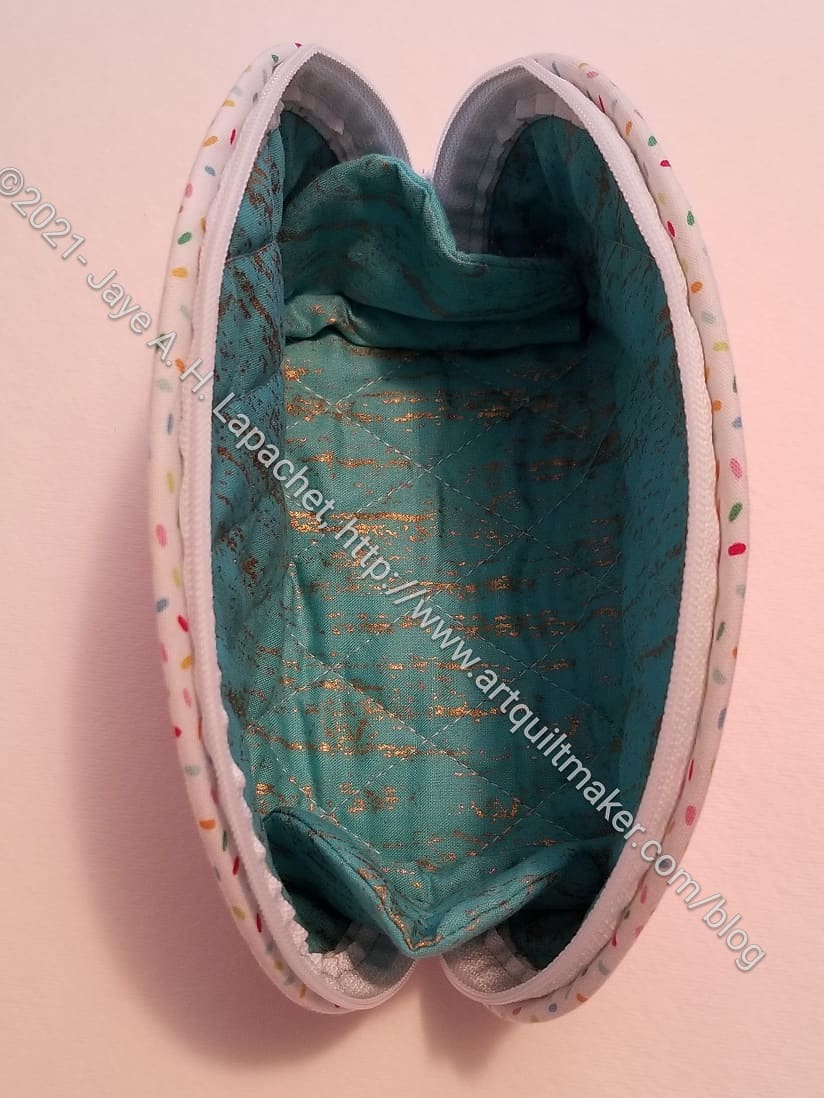
This was the other Large Retreat Pouch I completed over the Halloween weekend. I sent it off to Gerre for Christmas and am assuming she liked it.
The Retreat Bag is a free pattern from Emmaline Bags that requires a frame. The frame is not free, but also not very expensive. The frame allows it to open all the way, providing easy access to the contents.
I ran out of the ice cream fabric I used for her other gifts. I bought this, because I thought it was fabric she would like. I made some pillowcases out of the fabric and she told me she really liked them. I don’t really like it, however. I only had a yard of it, so I will use the rest of it for smaller gifts and then find something else that will work for future gifts.
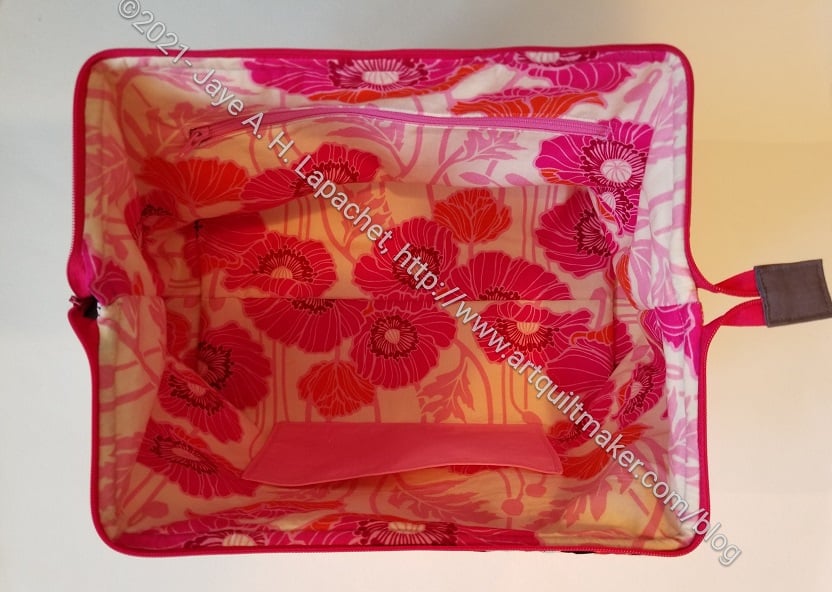
Sugar Skulls Retreat Pouch open
I didn’t use the Sugar Skulls for the inside, because I always like a light inside for bags. As I have said a million times, it makes it easier for me (and people) to find things at the bottom of the bag.
I used a Joel Dewberry Notting Hill poppy print. I have had this laying around for a few years and am so glad I used it. The inside is so pretty!
Sugar Skulls Retreat Pouch zipper pocket open
Sugar Skulls Retreat Pouch zipper pocket open detail
As mentioned, this is the pouch in which I put an inside zipper pocket and needed to consult with Tim as well as watch the video. I also made a slip pocket, which is included in the pattern, but I don’t like it as much in this iteration. It will be fine, but I’ll do it differently, if I made this size again.
Sugar Skulls Retreat Pouch closed detail
I had some zipper pulls and decided to use one on this bag. I got these on sale at Michael’s, I think, and always forget I have them. I have been going through my hardware bag regularly. I remembered and thought one would be a great addition.
I bought this Purse Organizer pattern from Sotak Handmade sometime in December 2020 when she was having a sale. It was an impulse buy. I thought that the bag would be useful in my work laptop bag for carrying my wallet and some items I would normally put in my purse. When you don’t have a desk, everything has to be portable and carrying a purse in addition to a laptop bag and a lunch bag makes me feel like a small pack animal.
I cut out this pouch on New Year’s Eve eve 2020 and sewed it together on New Year’s Day 2021. Once cut out, it was an easy project.
The excellent thing is that I was reminded how easy Zipper slip pockets are to add! Tim and I have talked about these types of pockets, but I was reluctant despite the cool zipper ruler I bought. This pattern got me back into the swing of those zipper slip pockets and I feel more confident that I can put them into any bag. I did have trouble keeping the zipper straight as I sewed it, so that is something to work on.
I also should have clipped the corners of the bag before turning it as I couldn’t poke the corners out and make them look sharp.
I decided to make this as a gift for my mom for Mother’s Day, but ended up giving her something else, so it was a Christmas gift.
I am taking the day off to celebrate with my family. For those of you who celebrate, I hope you have great day. For those of you who do not celebrate, I hope you have a peaceful day.
I have visited Wooden Gate Quilts out in Danville many times. The store was small, but had really good items and great fabric. They crammed a lot into a small space. I first talked about it in 2010! It is great to know that the shop has been there that long.
Mom and I have a routine when we meet. We meet at Starbuck’s since traffic is unpredictable, then go to the quilt shop, then have lunch at the gluten free cafe. When we got together the other day, the only thing that worked was Starbuck’s!
We chatted for while at Starbuck’s, then headed over to the quilt shop. It was GONE!! I couldn’t believe it. Fortunately, my phone came to the rescue and we found that it had just moved. We rearranged and headed for the gluten free cafe. Closed. 🙁 They are now only open Thursday-Sunday. I checked, but missed that tidbit. I had planned to pig out on GF pastries, so was disappointed. We went and got GF pizza. It was good, we could eat inside and the place wasn’t crowded. It was a longer walk than Mom had planned so she skipped the quilt shop and I went looking for it later.
Wooden Gate: fabric shelves
The inside of the shop is just how I would decorate: bright white everything with the fabric highlighted.
As you can see the shelves were 3 high, which I thought was not too tall, but provided a lot of space for bolts. All of the shelves were full, but I didn’t think they had tons of the fabric.
Wooden Gate: fabric shelves
I liked the selection, which included some of the new Tula Daydreamer line. The shop used to have a good selection of Michael Miller solids (Cotton Couture???), but I didn’t see them this time. I think they might have switched to Bella solids.
I wanted to buy some neutral charm packs to make more half triangle squares for Peggy, but no such luck. I’ll borrow SIL’s 5″ die and cut some myself. I have plenty of white, which should surprise nobody.
Wooden Gate: front of the store
I think their notions area is a little smaller than before. Still, they had great notions. They have all of the Quilter’s Select tools by Alex Anderson- rotary cutters in two sizes and a variety of ruler sizes.
I thought about buying one of her rotary cutters to try, but it was nearly $60. Well worth it, I am sure, but too much for me to give it a try. I have plenty of rotary cutters and am happy with my squeezy handle cutter**. I’ll look for deals. You never know.
Wooden Gate: front of the store
The lady working told me they have twice the space. I believe it. The shop had a classroom before, but this one was nice and big. My back is to the class in this picture, so you’ll have to go visit the shop to see it.
I think the floors were the same as in the previous location. I don’t know that I would choose them, but I think they add warmth and keep the white walls and shelves from being too stark.
Wooden Gate: cutting table
They had a large cutting table before and this one might be the same. I didn’t buy any fabric (have you seen my statistics? Abysmal for 2021!!) though I covet that cutting table. If I had space, I could cut more than one project at a time, have a place for scraps, etc.
Wooden Gate Quilts -purchases
I only bought a couple of things, including a new thimble to try. I couldn’t find any of the light grey (Aurifil 2600) when I made a purchase at Pink Door‘s sale. I saw the right color, so I picked up a spool.
The shop is in a mall called The Livery. The mall or group of shops has beautiful old trees, which enhances the appeal. Parking is good.
Wooden Gate Quilts
310 Sycamore Valley Road
Danville, CA 94526
**I use affiliate links and may be paid for your purchase of an item when you click on an item link in my post. There is no additional cost to you for clicking or purchasing items I recommend. I appreciate your clicks and purchases as it helps support this blog.
I updated my Sampler Quilt Class page so that the blocks are also listed in the order I teach them. It’s a good time to revisit your skills or learn something new.
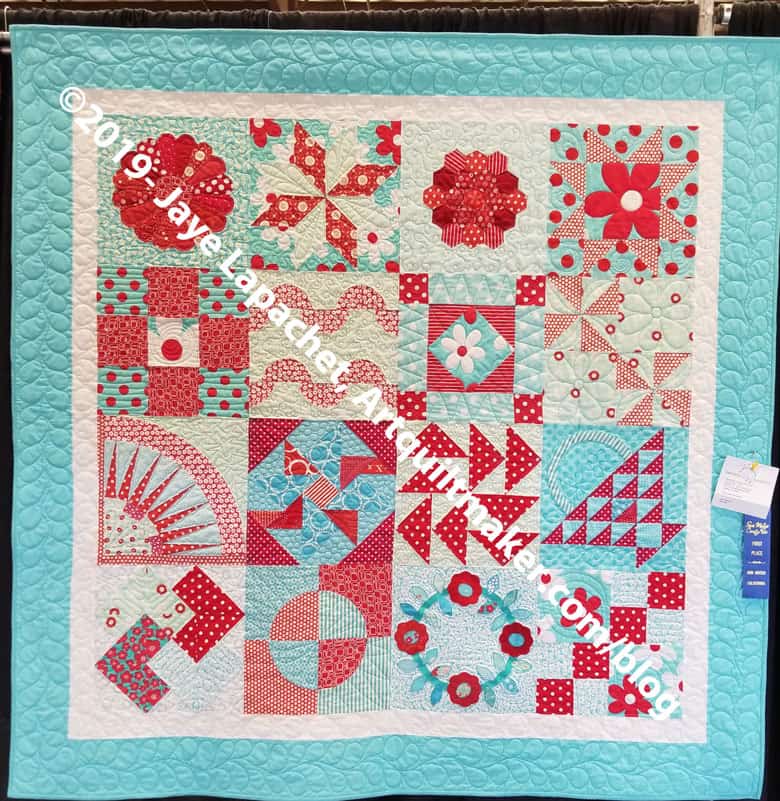
Last time I taught, I used the quilt below as an example. If you want me to teach you and your friends via Zoom, get in touch.
As mentioned, I have been working steadily after dinner on La Pass. As a result I am making progress.
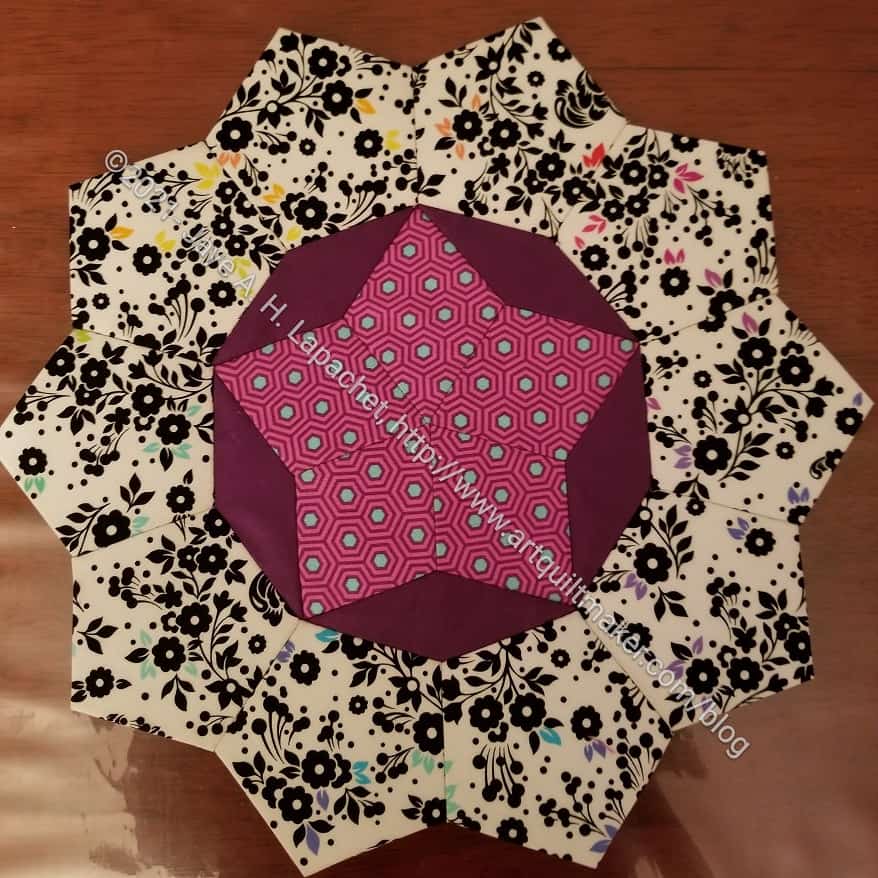
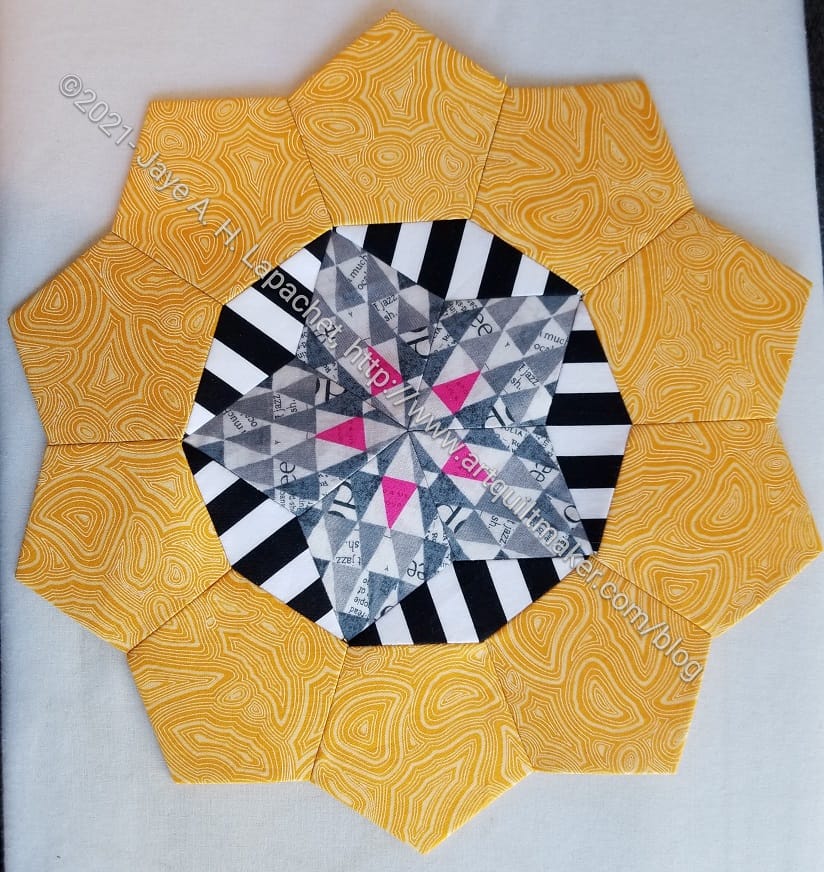
This rosette is half of the work I need to do for month five. It is the smaller of the two rosettes.
I like the way this one turned out. The center is outstanding.There is an unexpected interaction between the very center and the black & white stripes. I really like it.
Where the pink triangles are placed should have been orange. The pink goes well with the pink triangles in the center. Oh well, design choice!
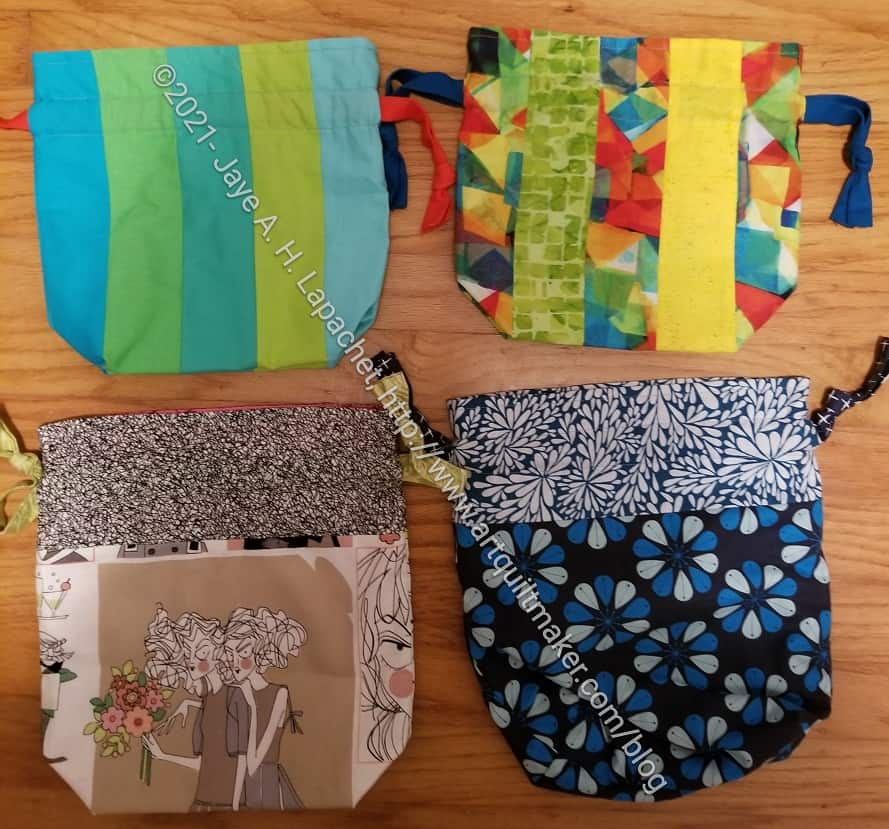
I received a small shipment of various items for the BAM 2022 door prize bags. Sue chose the In Color Order Drawstring bag pattern I have mentioned a few times and made some bags. We can use them for the door prize main bag or for holding smaller items.
I love the way Sue pieced some of the bags and also her fussy cutting. She said she will work on other projects for the door prizes in January.
I have to get myself together to organize the bags for the year. At the moment I have very few items to give away, but I can scrape together a bag for January. Then I’ll have plenty of time to worry about the rest of 2022.
Joelle described the construction and it seems a little different from the Persimmon Dumpling Pouches I made. This pouch has little shield in the bottom to keep things from falling out, I guess, which is clever.
Joelle said she didn’t like the way the zipper was put in. The technique leaves part of the zipper exposed. I can see what she means, but Joelle did a great job being precise about inserting the zipper so it looks nice and even.
Swap pouch from Joelle – zipper
Also, you can see in the interior view that the exposed zipper is not that noticeable.
I haven’t decided how I will use this pouch, but I have some hardware that might need a home.
Part of M3 included Tula’s Skunk fabric. As cute as those skunks are, I am determined not to have animal faces looking at me from La Pass. Still, I want to use the fabric that comes with the Block of the Month since I am paying for it.
One person used the tails, which looked fantastic. I didn’t think of that before I cut my pieces. I decided to use all of the flowers and arrange them in kind of a rainbow. The colors are subtle., so it doesn’t scream rainbow.
I still have some other pieces to sew on to this rosette, but will finish M5 first.
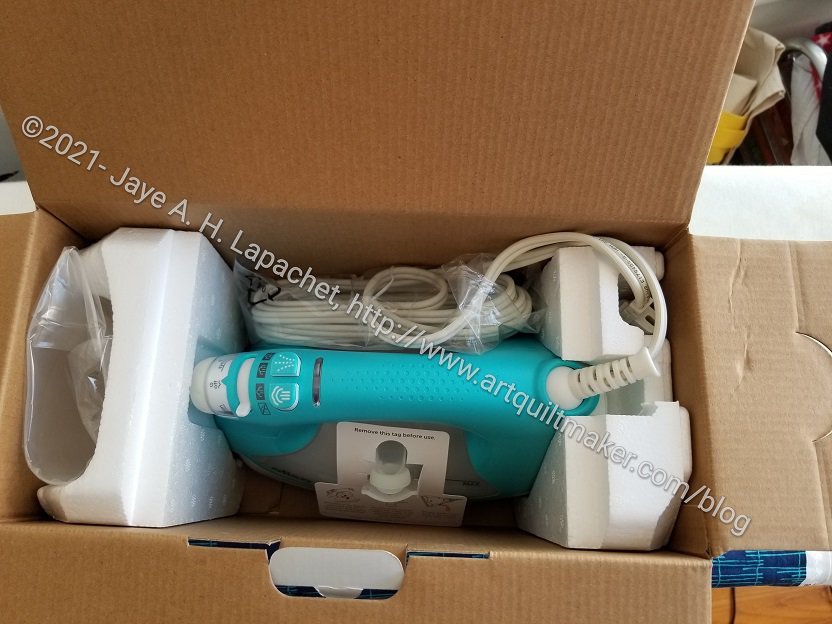
When Oliso came out withe a turquoise model right at the time I needed to replace my old Oliso, I hopped on the bandwagon.
Turquoise Oliso
The supply chain problems have affected me in various ways. I mentioned the bookcases for my workroom refresh. The iron has been delayed for months, but finally arrived last week.
Oliso actually air freighted some of the irons because of the delays and mine was one.
I can’t tell you how happy I am to have the consistent steam, the up and down feature and the longer ‘on’ time. Of course not having to set it upright is great, too. Not knocking the iron off my ironing board is a bonus. I really like these irons.
As you saw from the other post, I was able to get this rosette together, but I did really struggle. I couldn’t get the points of the various sections to line up. I am not sure what the problem was.
Yes, I know if someone can’t see it from a galloping horse, I shouldn’t worry about it and, ultimately, I accepted my fate and just did the best I could.
The whole point of EPP, however, is that it is possible to line up complicated designs because all the fabric is stabilized and there is no bias stretch to worry about.
Sections of M5 Yellow/Grey Rosette
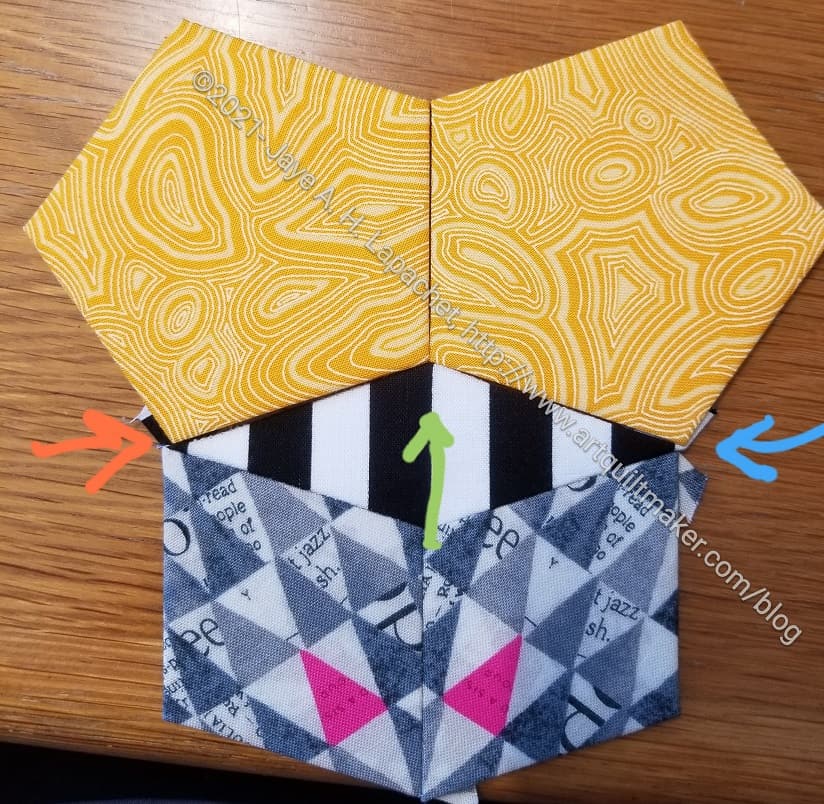
The papers are die cut. I am using quilt shop quality fabric and I wash and press all of the fabric. Still, when I put the first section of the yellow and grey rosette together, the points were off.
I wasn’t as worried about the center point (yellow meets stripes) as I was about the edges (see orange and blue arrows). If there are gaps there, there will be a gap between yellow pentagons.
Sections of M5 Yellow/Grey Rosette round 2
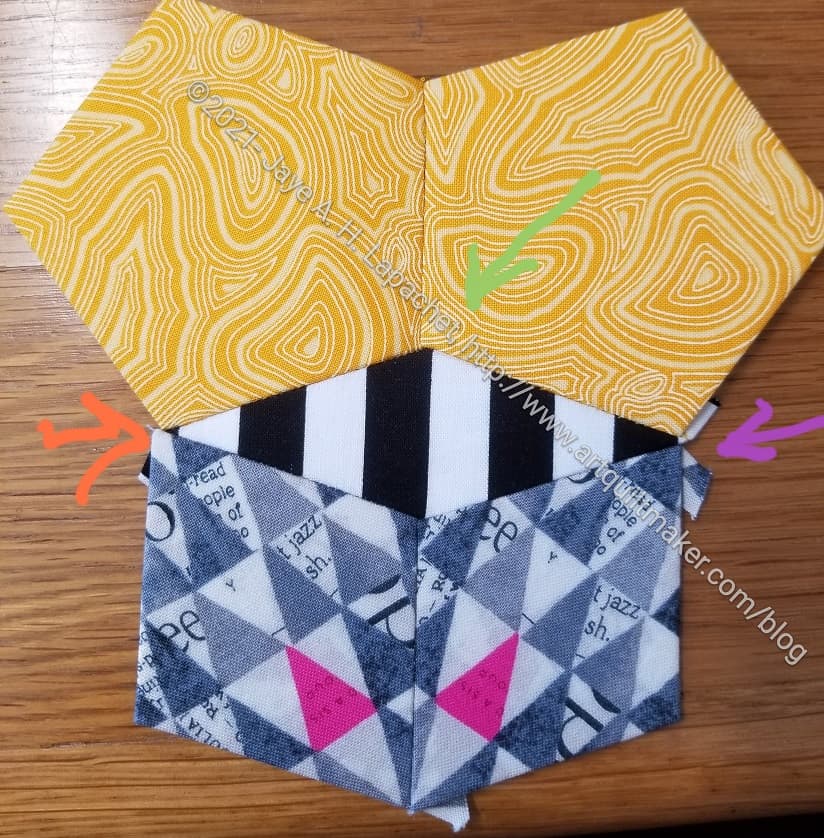
In order to try to get the pieces in better alignment, I unpicked what I had sewn and tried again.
I was able to re-center them a little bit so the future gap on the side would be more evenly distributed, but I wasn’t able to get them lined up as perfectly as I would have liked.
Still, I think the Rosette looks good and adding other pieces doesn’t seem to be a problem.
Even during the holidays, when it is busy, I make gift bags. The other day I went hunting in a ‘gift bag fabric drawer’ I have and pulled out some fabric I have saved for gift bags. There was a lot of birthday gift bag fabric in the drawer, but also a couple of pieces of Christmas fabric I could use.
I keep my gift bag fabric separate because I don’t wash it. The sizing helps keep the gift bags looking crisp and reminds me to wear a mask when I iron them during the construction process
This candy cane heart fabric has been around for a long time. It is cute so I don’t know why I didn’t use it sooner. I had a yard, so I made two bags.
Debbie Mumm Plaid gift bag
Debbie Mumm Toaster gift bag
I had some old Debbie Mumm fabric. The fact that I have this fabric at all is a testament to 1) how long I have had it and 2) how little fabric there used to be to buy. Since it is unlikely I will use this for anything else, the fabric has become more gift bags.
In between sewing other projects, I have been making gift bags.
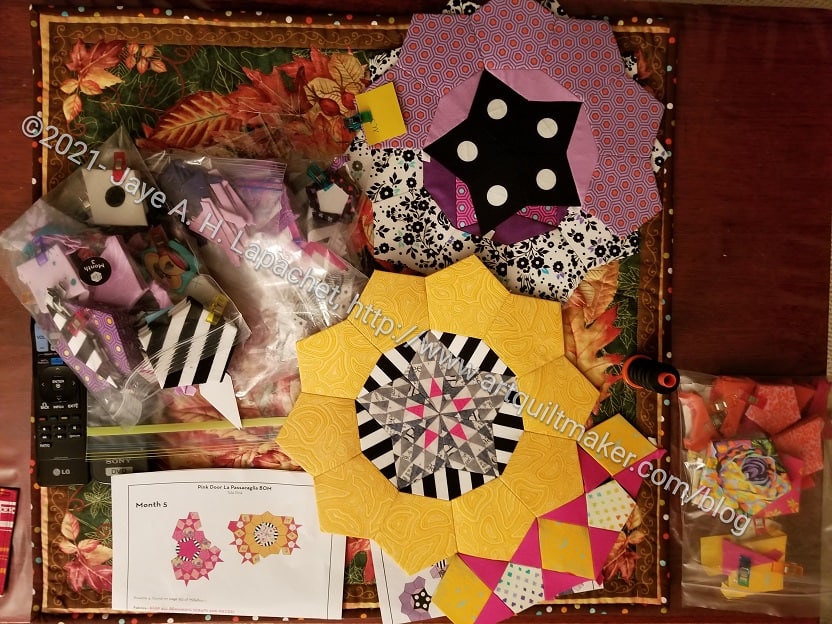
Now that the giant puzzle is put away, I have moved my EPP work back to the living room for after dinner stitching. I am making much more progress. Of course, the living room looks a little messy, but not as bad as it did.
EPP Workspace – Thanksgiving edition
I have all of my pieces laid out on the coffee table so I can just start stitching as soon as I sit down.
I haven’t quite put away Thanksgiving, so you can see the Thanksgiving tablemat I made a few years ago underneath everything.
In this picture, there is a jumble. I am still working on M3 intermittently between finishing other months. Since I am able to spend more time working more on the project, I expect I will be able to finish it in a couple of months. I think I will have a little time work on it once I finish M5, which you can see on top with the yellow ring.