Short version this month.
Projects, Classes, Patterns, Techniques & Tutorials
The other day I shared a top that AngelaB made. She shared the source, which is great, because there are several other free patterns there that would be great for donation quilts.
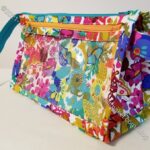
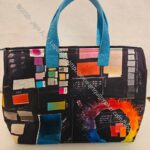
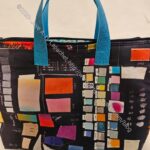
As mentioned, Lynette gave us a bag trunk show at our recent meeting, which was great! I loved seeing her bags. I always love talking to Lynette about bags. She shared a couple of designers she likes. One was Minki Kim. I have heard of her, but I took some time to peruse her website. There are a couple of patterns there I might like to try. One of the patterns in which I was interested was the Crepe Case for Scissors. I like the idea of a small handle on the case.
Most of the links to her shop seem to be broken, but if you go to the Sewing Illustration, there are a lot of patterns, including Minki’s to look at. The double pocket folder is a really interesting design. I looked at the free patterns, but wasn’t interested in any of them.
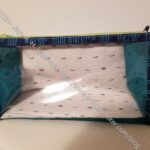
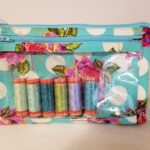
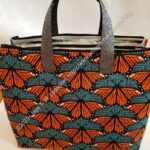
I bought the Joni tote on a whim. It is from Sew Hungry Hippie and I really like the shape. It comes with a video as well.
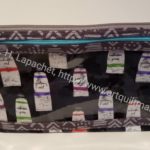
Another site that Lynette mentioned was Geta Grama. I took a look at the free patterns and was pleasantly surprised to see some interesting ones. I thought the heart pouch had interesting construction. If you need some easy zipper pouch tutorials, I saw two there. I liked the Chic Bin pattern, but decided I would sew a couple of patterns I have bought recently before I buy another one.
Exhibits and Organizations
Pantone released the winners of their color of the year quilt challenge.
**N. B. : Obviously, you should shop at local quilt shops and small businesses. However, if you are too busy or can’t find what you need there, I use Amazon affiliate links and may be paid for your purchase of an item when you click on an item’s link in my post. There is no additional cost to you for clicking or purchasing items I recommend. I appreciate your clicks and purchases as it helps support this website.