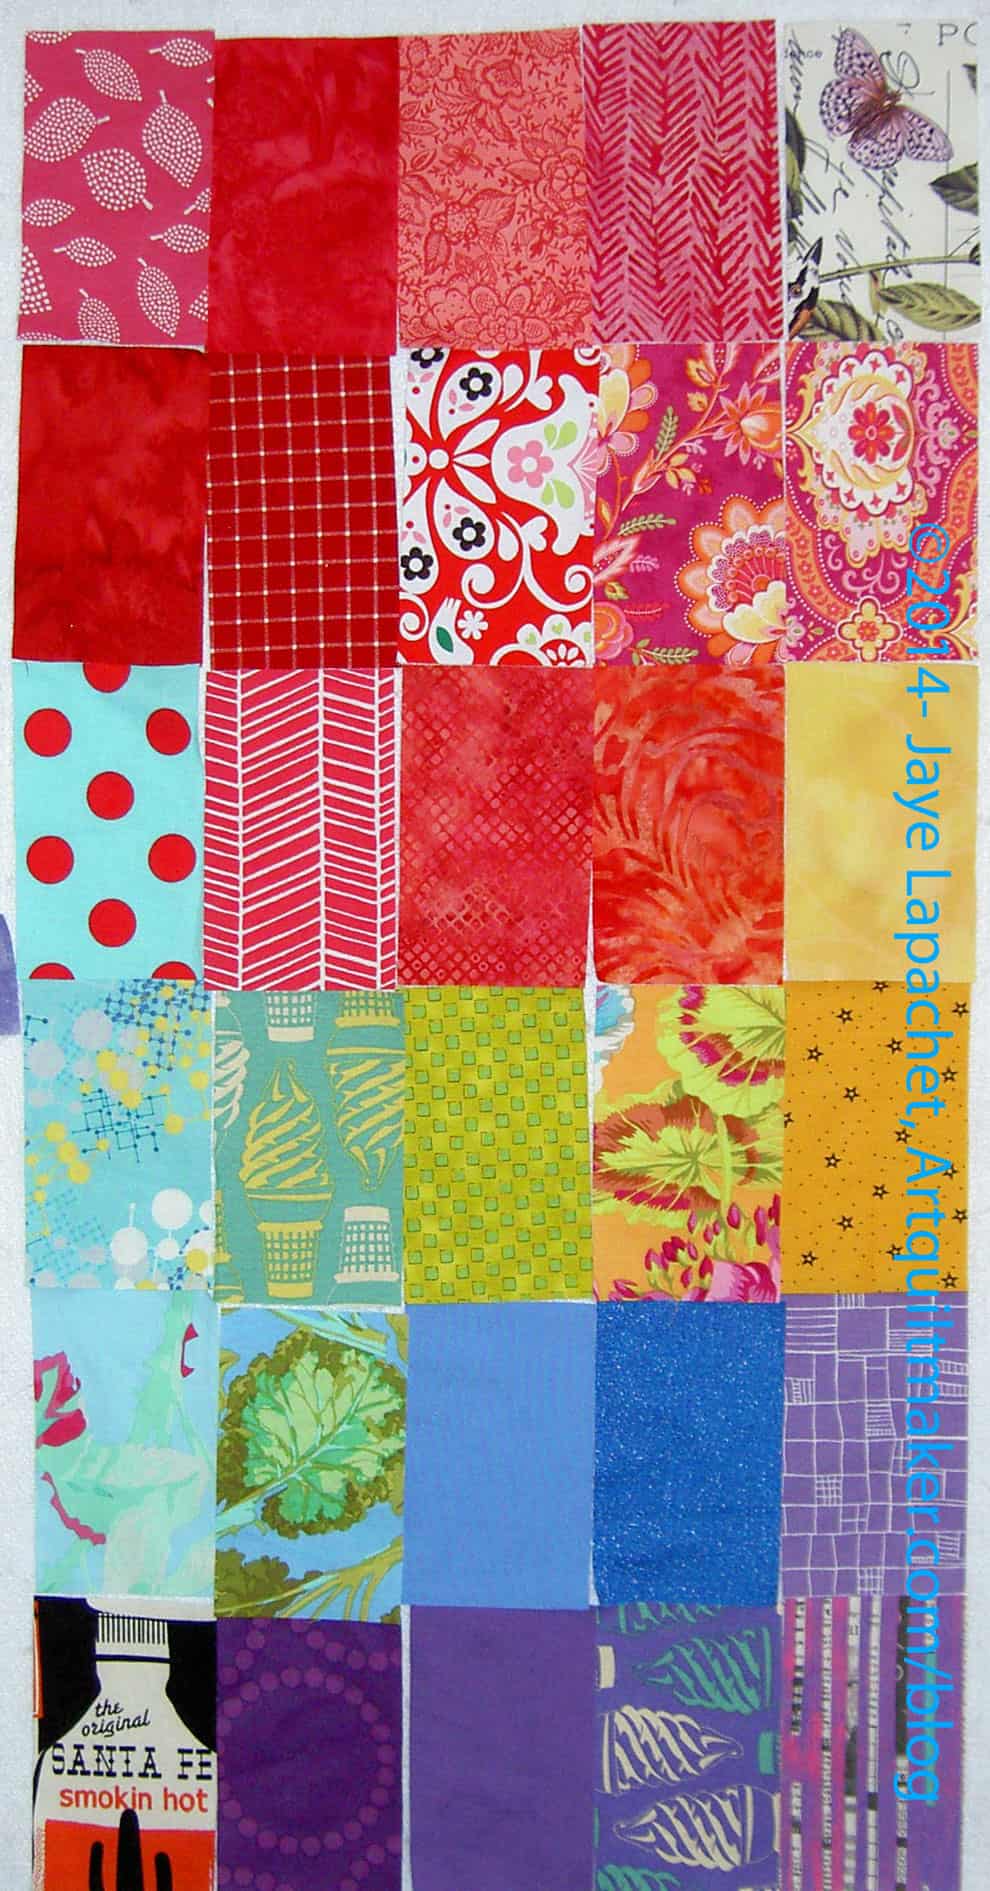
Wash fabric AKA The Great Unwashed (I am guessing this will never be off the list, but a girl can dream) – I washed and pressed another bunch of fabric. It made more of a difference than I expected and I had some fun doing it. I still have a lot to do.
Make stiff bucket or box for TP in main bath
Make stiff bucket or box for TP in second bath
Dragon Box (gift)
Anna Maria Horner Multi-tasker tote (gift-due Holiday 2013- oops)
I went on a fabric pressing binge and now have at least one post as a result.
I don’t know what is wrong with me, but I couldn’t seem to get my act together to sew last week. I have spent a couple days on the computer tweaking my blog and reading other blogs, but no sewing. Bleah. I think the machine problems are getting to me.
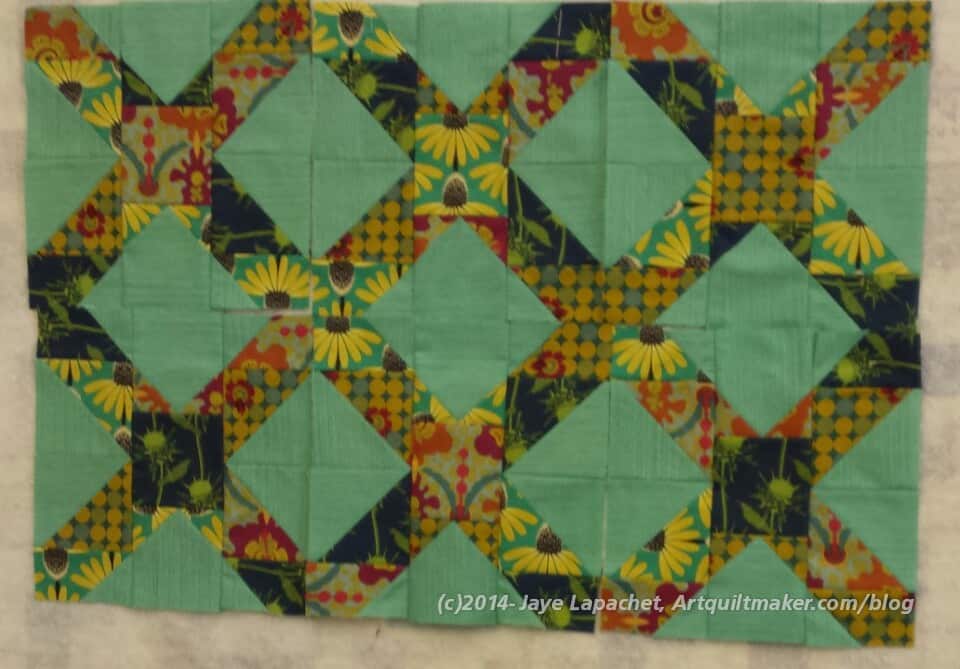
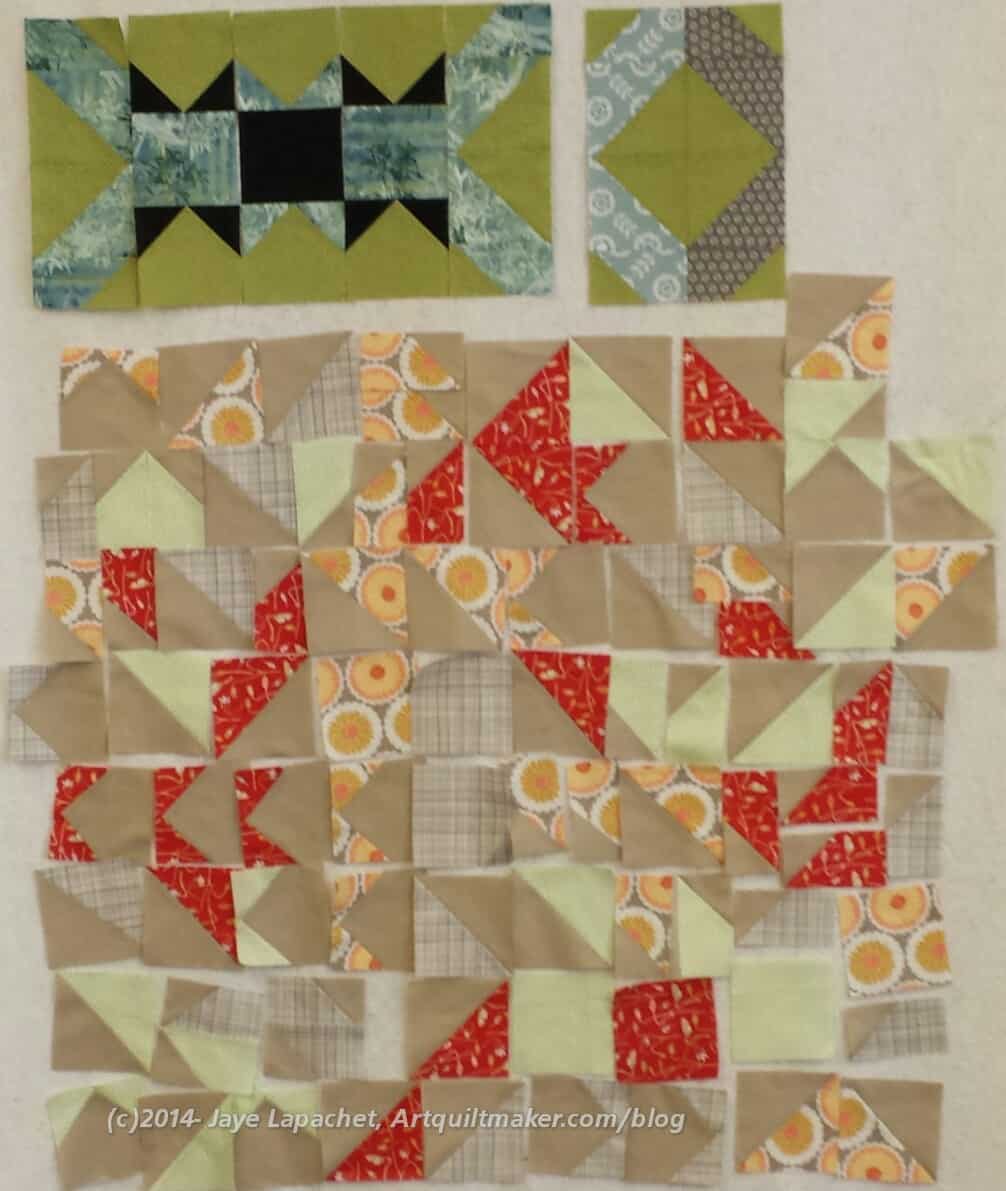
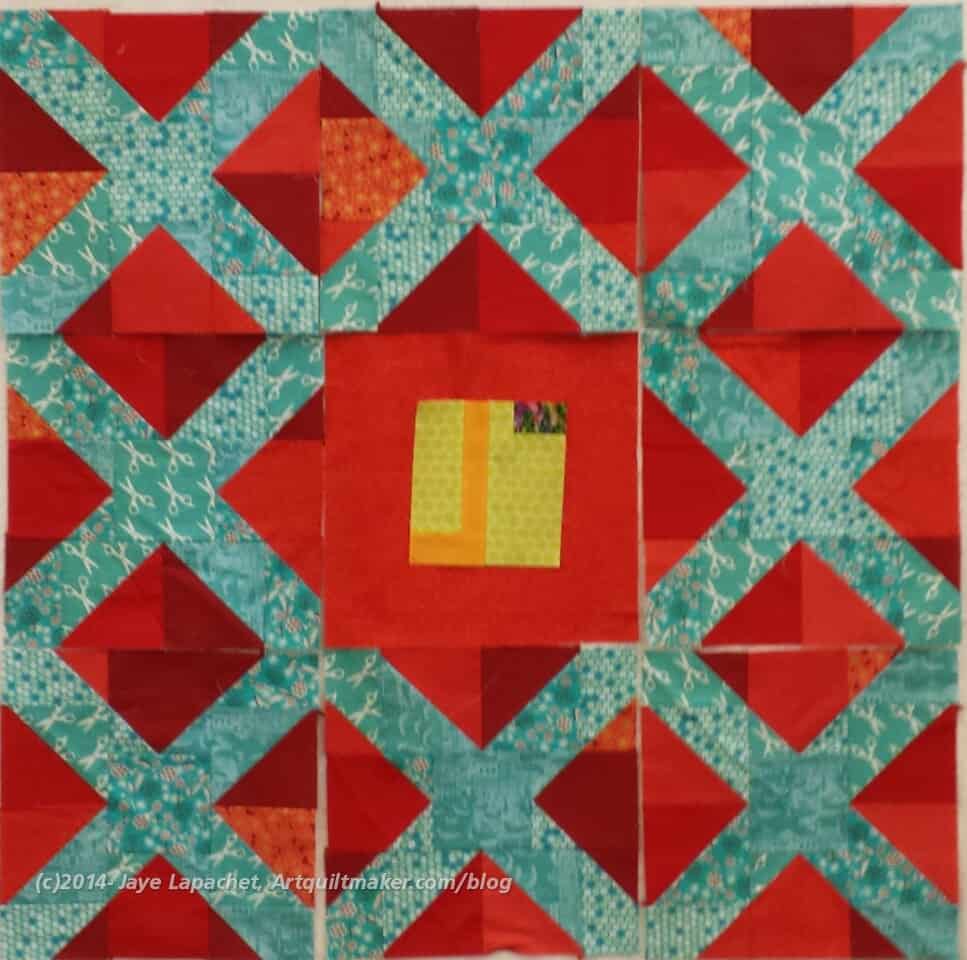
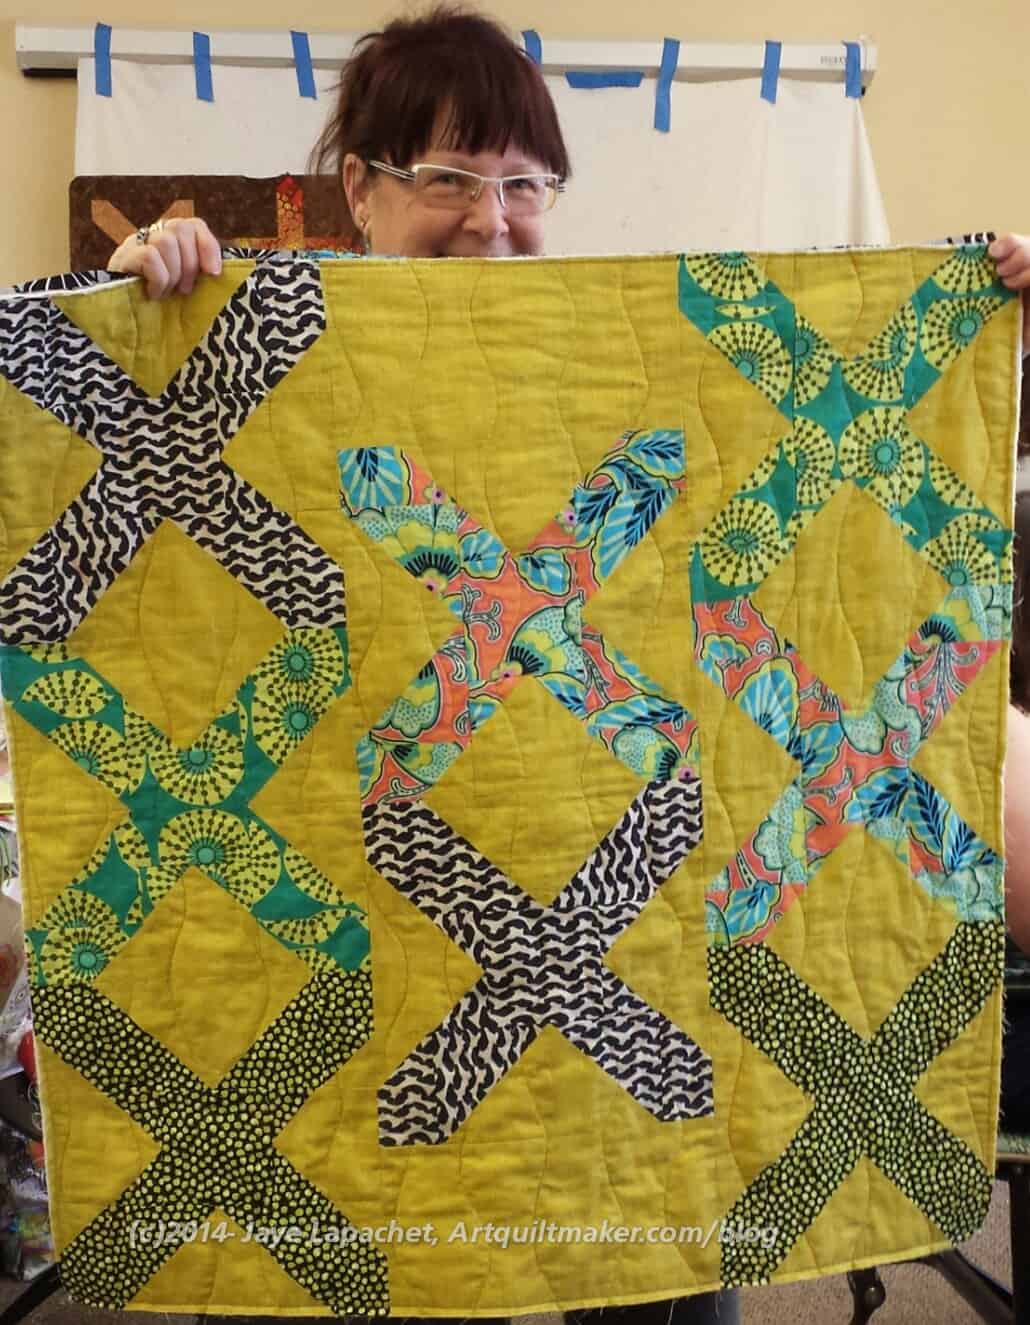
Pressing fabric seemed my best bet. Aren’t these fabrics pretty? They make me happy. And forced me to sew on Saturday and Sunday. That was a good thing.
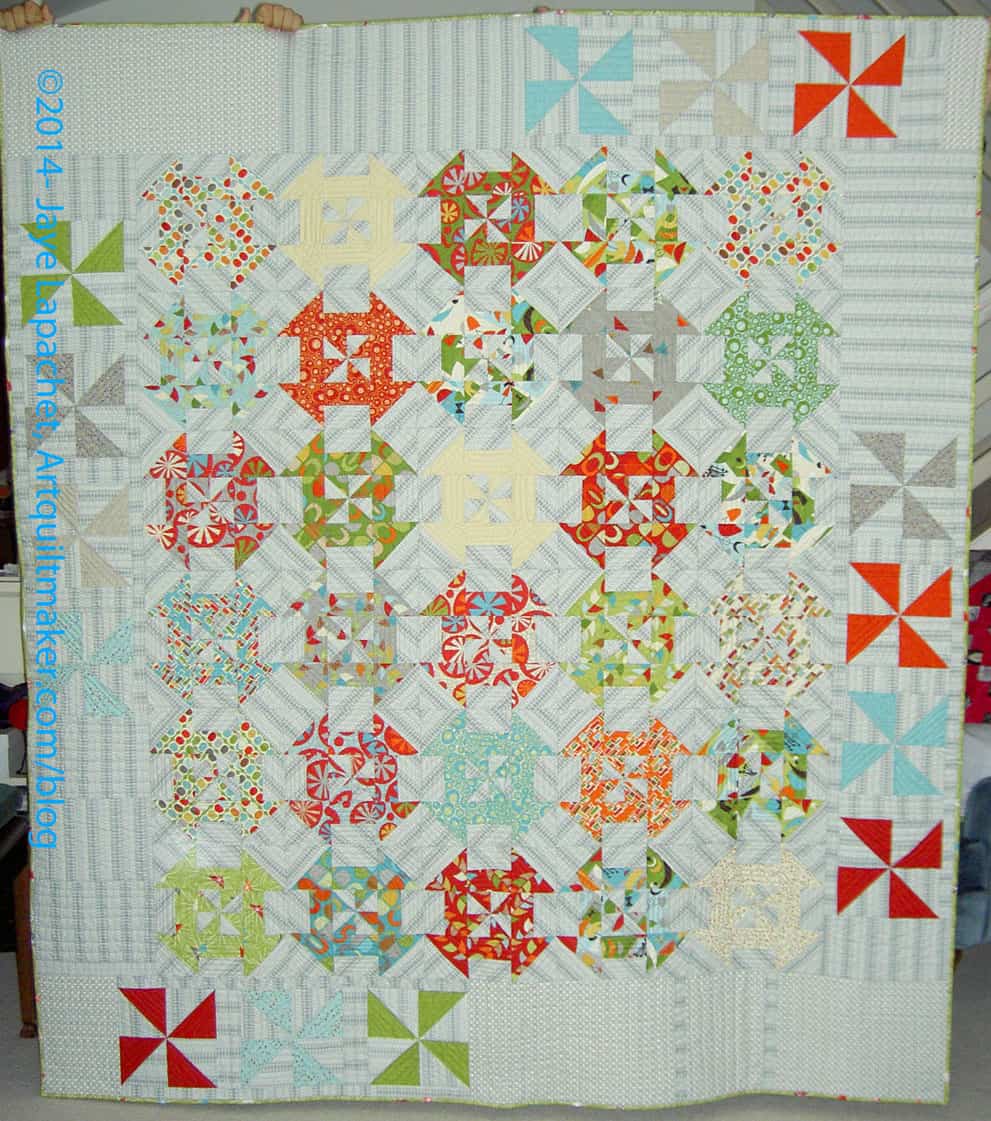
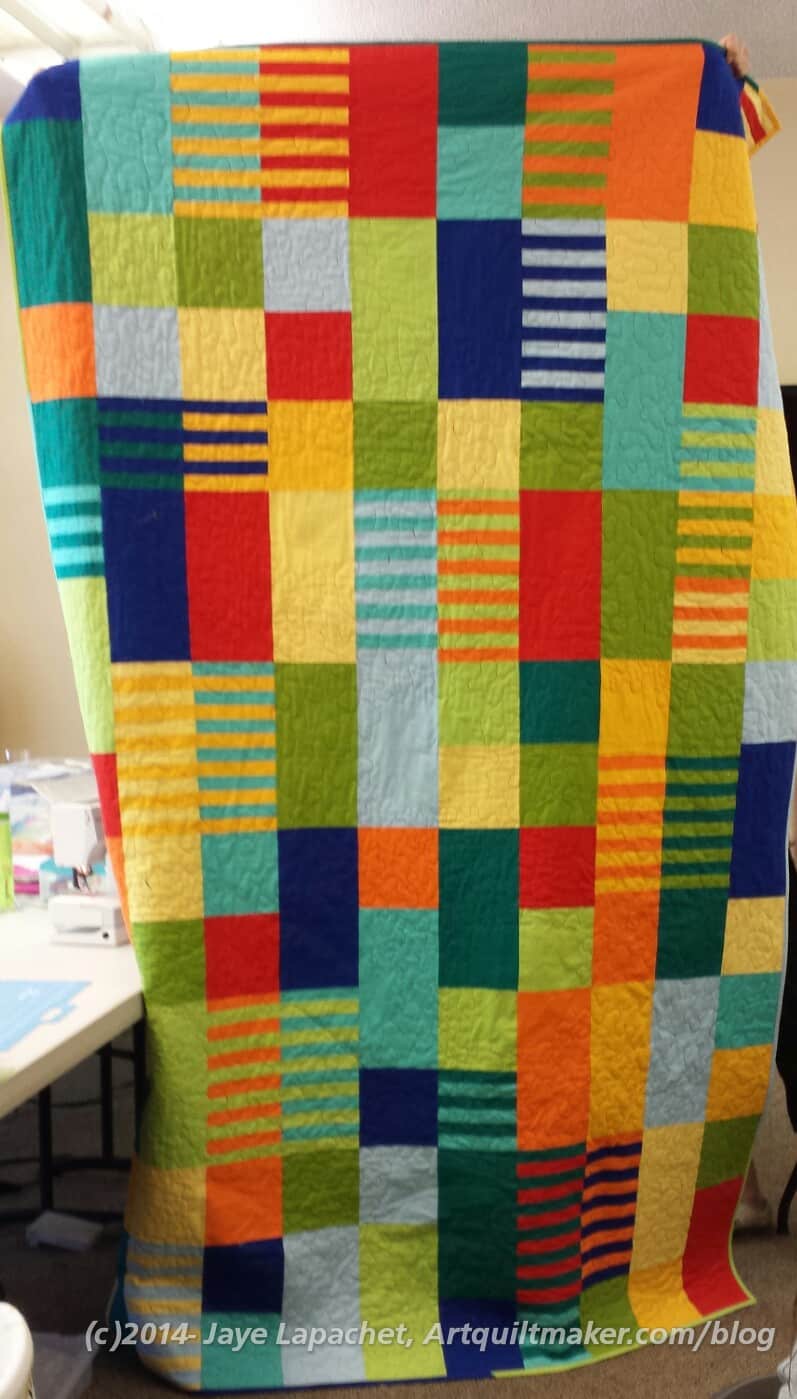
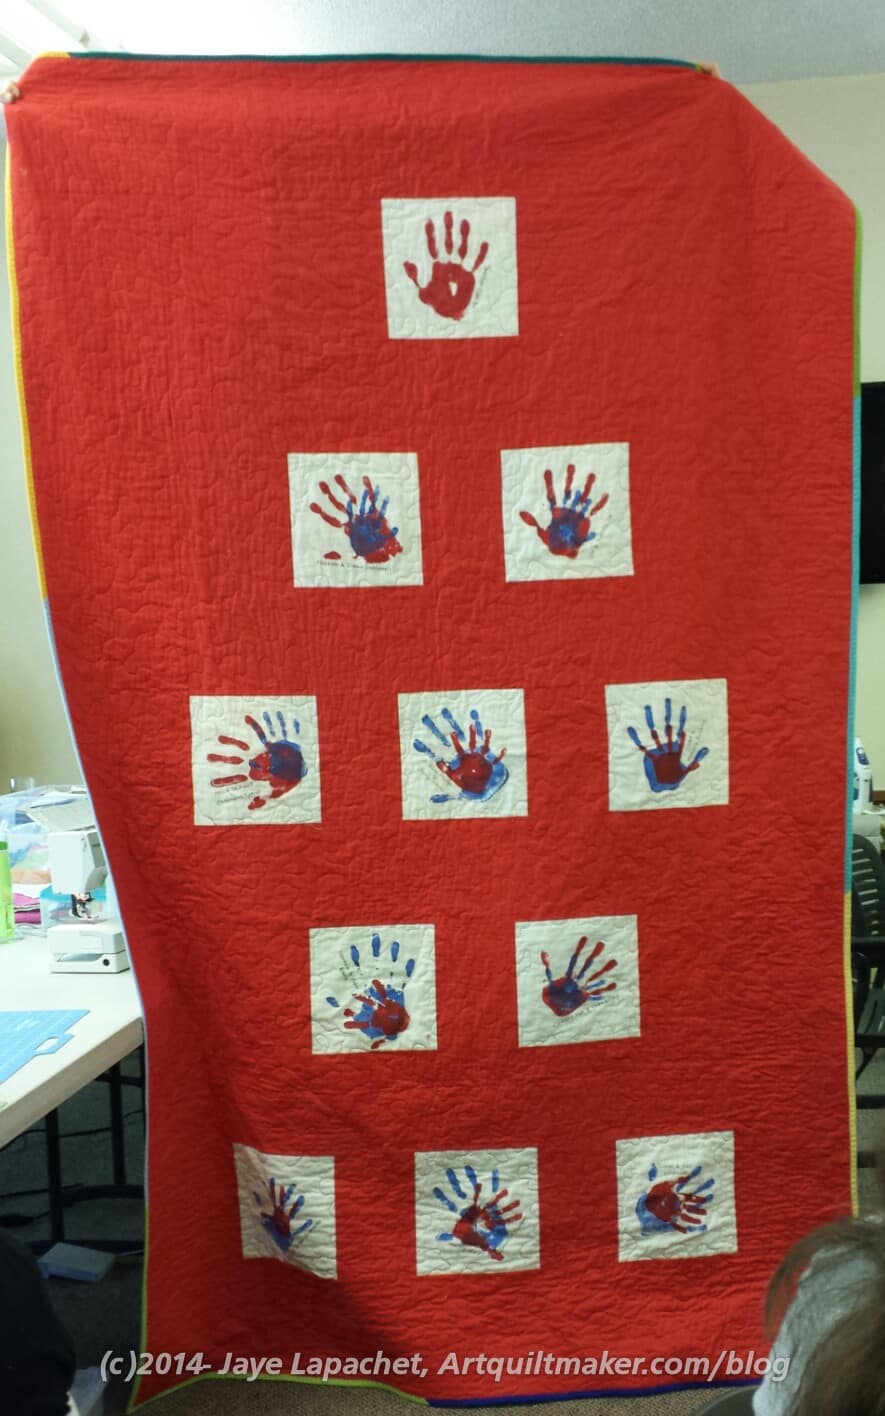
I thought of waiting until next week to post this, but I just couldn’t wait! Last night I finished the binding on the Disappearing Pinwheel. Hooray!
That means that another project is finished.
This is probably the fastest that I have completed a project of this size in a long time. I started it in January and here it is barely June and the entire quilt is done. A new era of completion? Perhaps. I have to acknowledge that Colleen is back on her gamenow and that helps.
This quilt is part of the Niecephews series and will go to one of the small nephews. I have to finish his brother’s quilt first and hold off sending off either quilt until I show them at my guilds.
If you want to see how the retreat was set up, some in process and fun shots, check out the post I wrote a few days ago.
Mystery Quilt
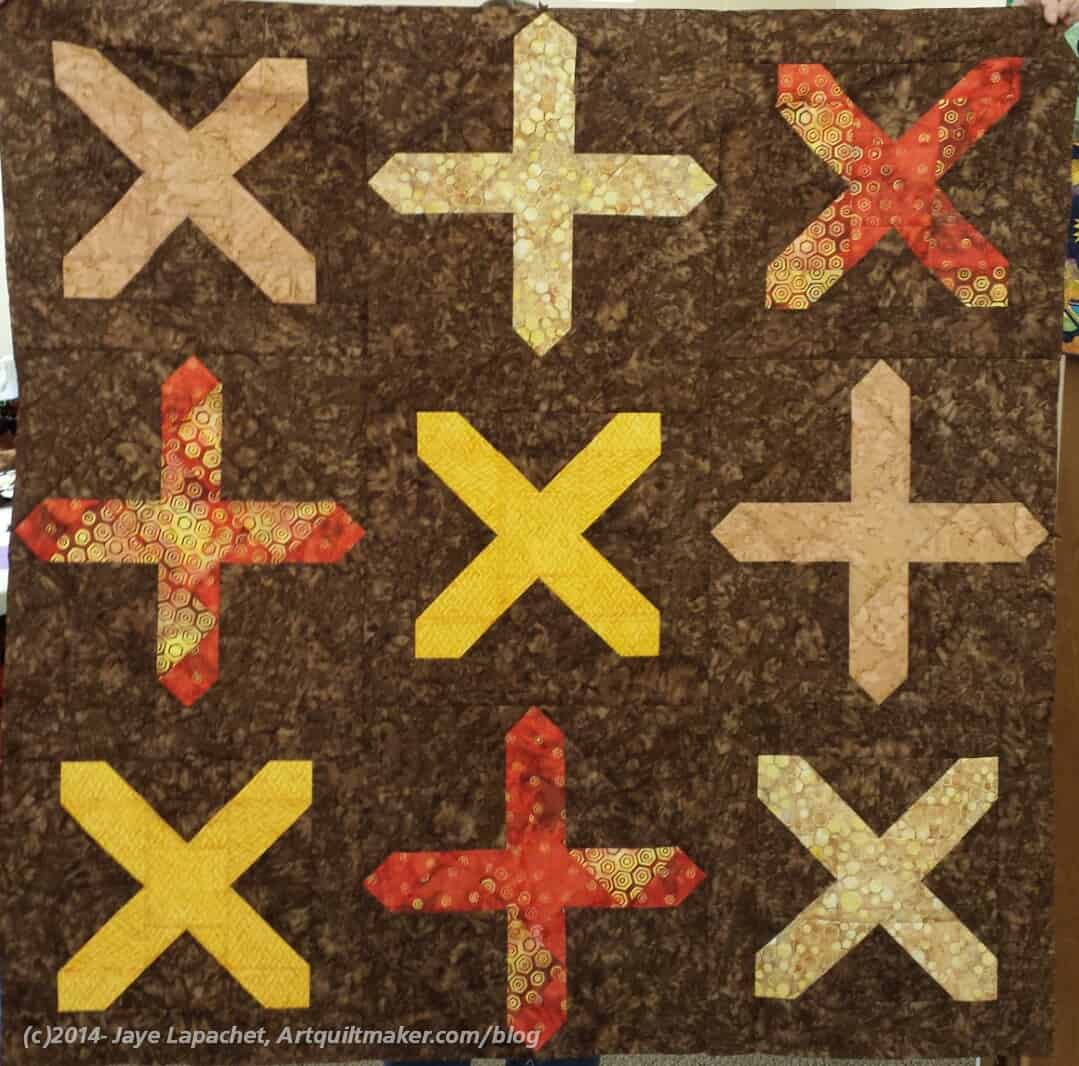
I won’t tell you what mystery quilt we did, in case your guild does it. I don’t want to spoil the fun for you, but I will show you some of the examples of what came out of the blocks. Please note that most people basically threw the last two clues (after the blocks were made) out and did their own setting. They did great. All of the tops are really their own. The mystery quilt designer might have a heart attack, but I love the diversity and the creativity. The most of the mystery quilt was that everyone was working together on the same project.
Kelly
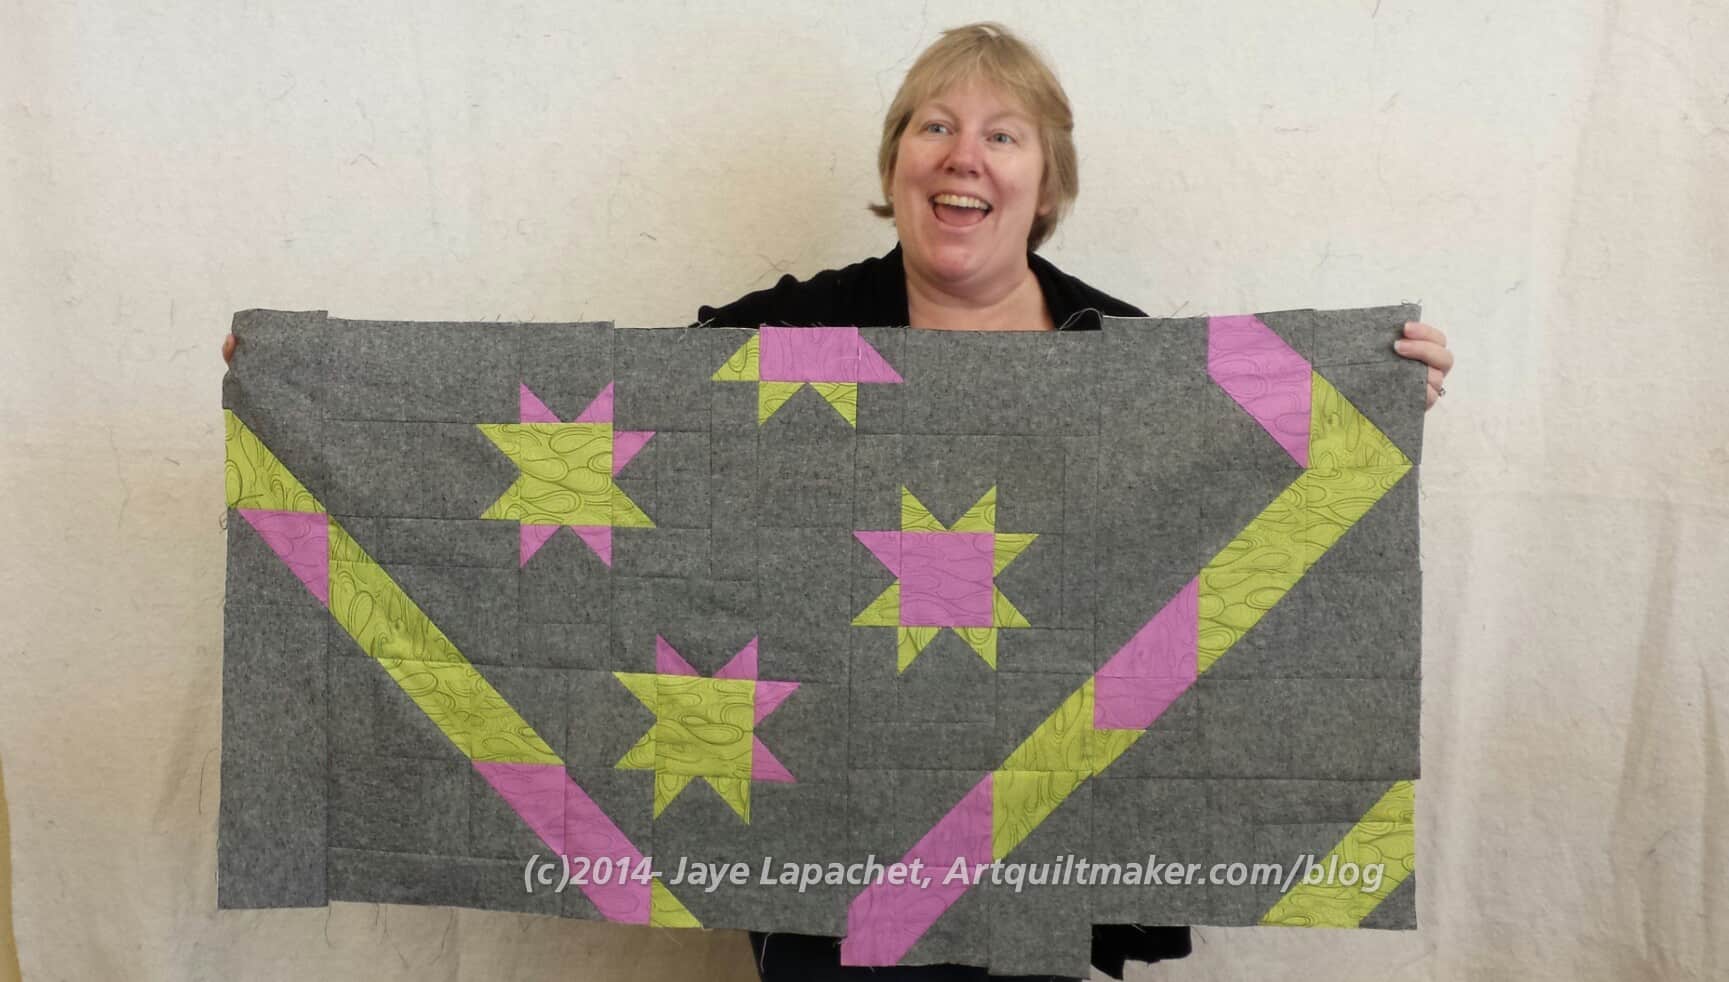
The Boss took all of her blocks apart and rearranged them into this piece. She had to add fill-in pieces to complete the background.
Amanda and Cheryl
They became the retreat twins in my mind. They sat across from each other (behind me) and it was fun to see them bounce off each other. Cheryl was the fantastic retreat coordinator and she actually got work done. I borrowed pins from her since I forgot my pincushion ALL THREE DAYS.
Lynnette’s blocks (no layout yet)
It was pretty amazing how Lynnette used different fabrics, but they are really cohesive. I didn’t think they were a line, but I could be wrong.
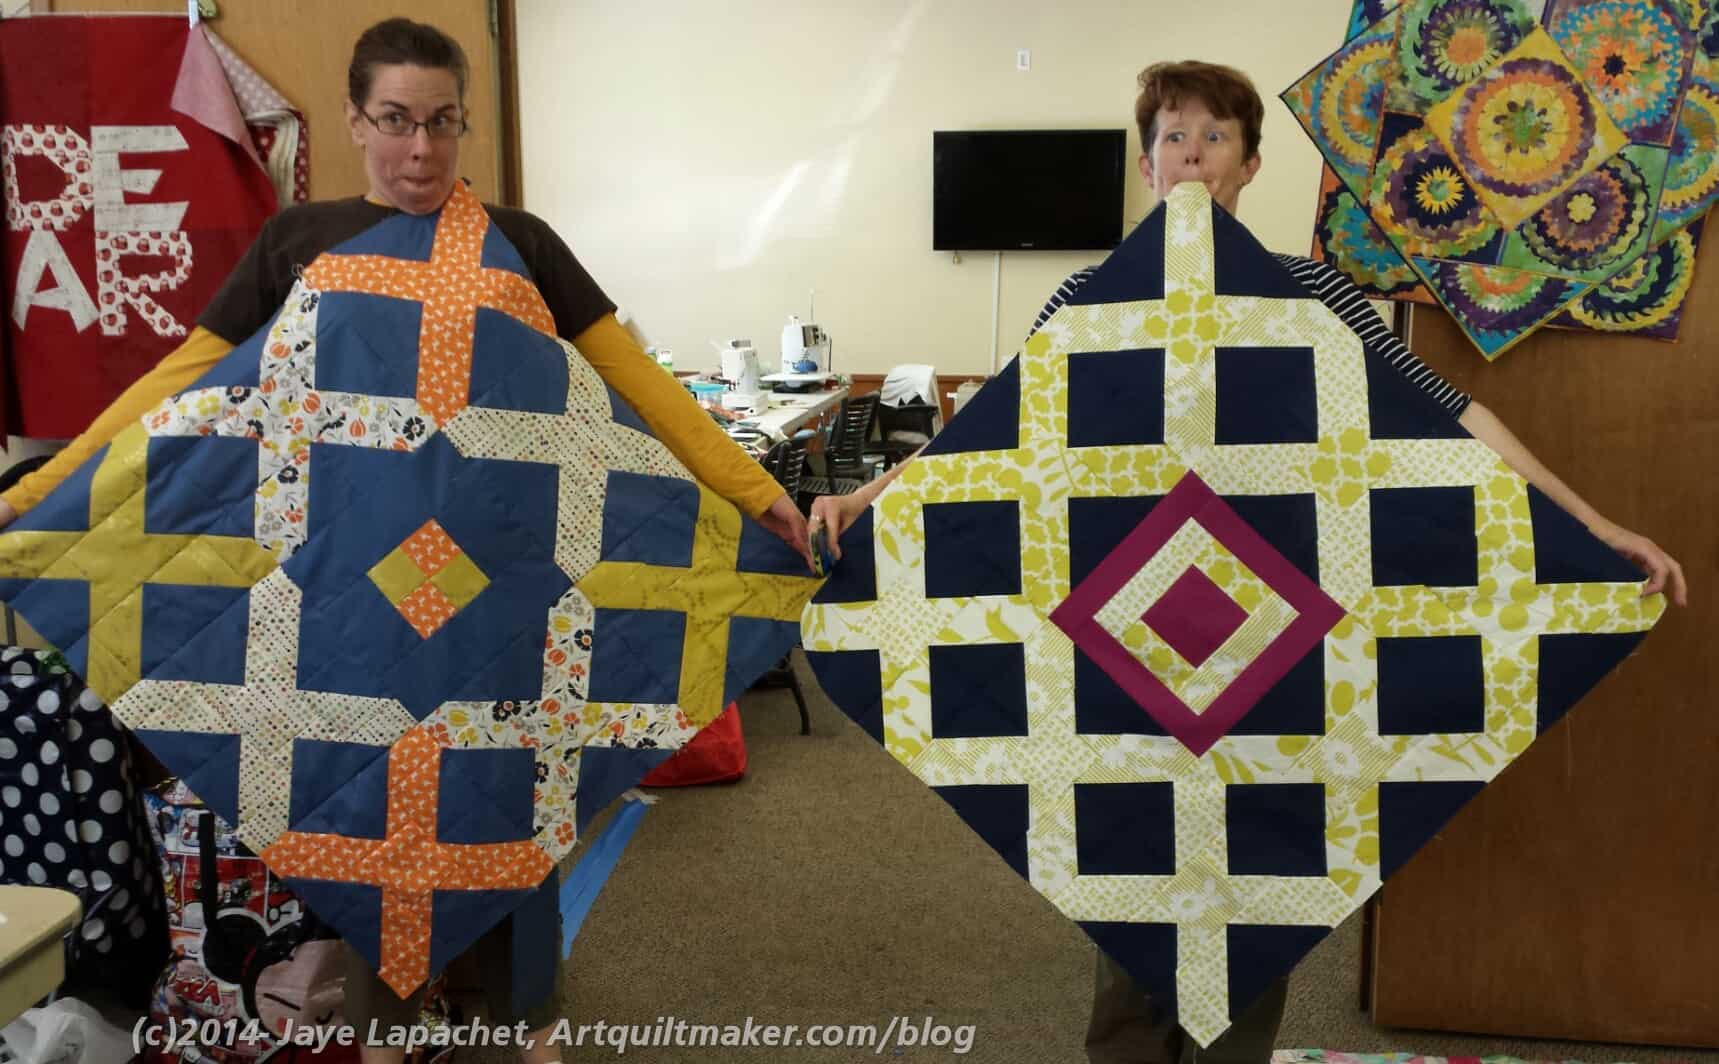
Ruth & Rhonda
I am not sure Rhonda actually put hers together like the photo, but I wouldn’t be surprised. There was a quite a lot of hilarity going on and the above photo might have been part of the hilarity.
Ruth‘s piece is on top and she did a fabulous job with her final result. I wasn’t fast enough to get a photo.
Michelle’s Mystery
I can’t even believe that Michelle made this quilt out of the mystery pieces.
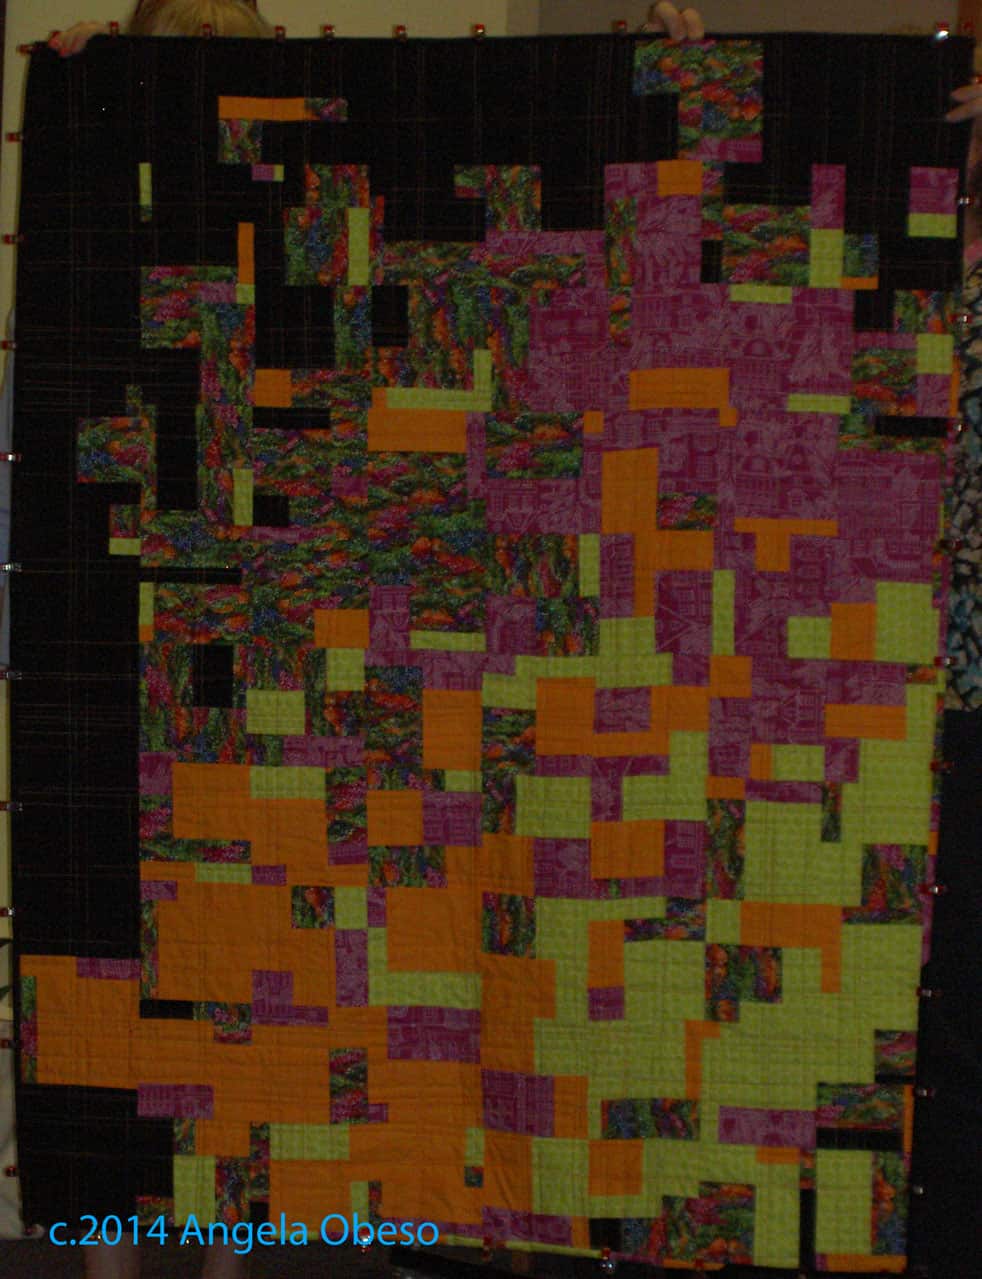
Angela
Angela would not give me her quilt even though it is in my colors. I was mad at myself for not thinking of this color scheme. I love what she did and the photo doesn’t do it justice. The blues are more turquoise.
Gerre
Gerre started and got this whole piece quilted. She only lacked a binding and a label. Amazing!
Diana
Diana was working on a couple of different projects and the ones I saw were made from Autumn-y colors. Isn’t this version cool?
Buff
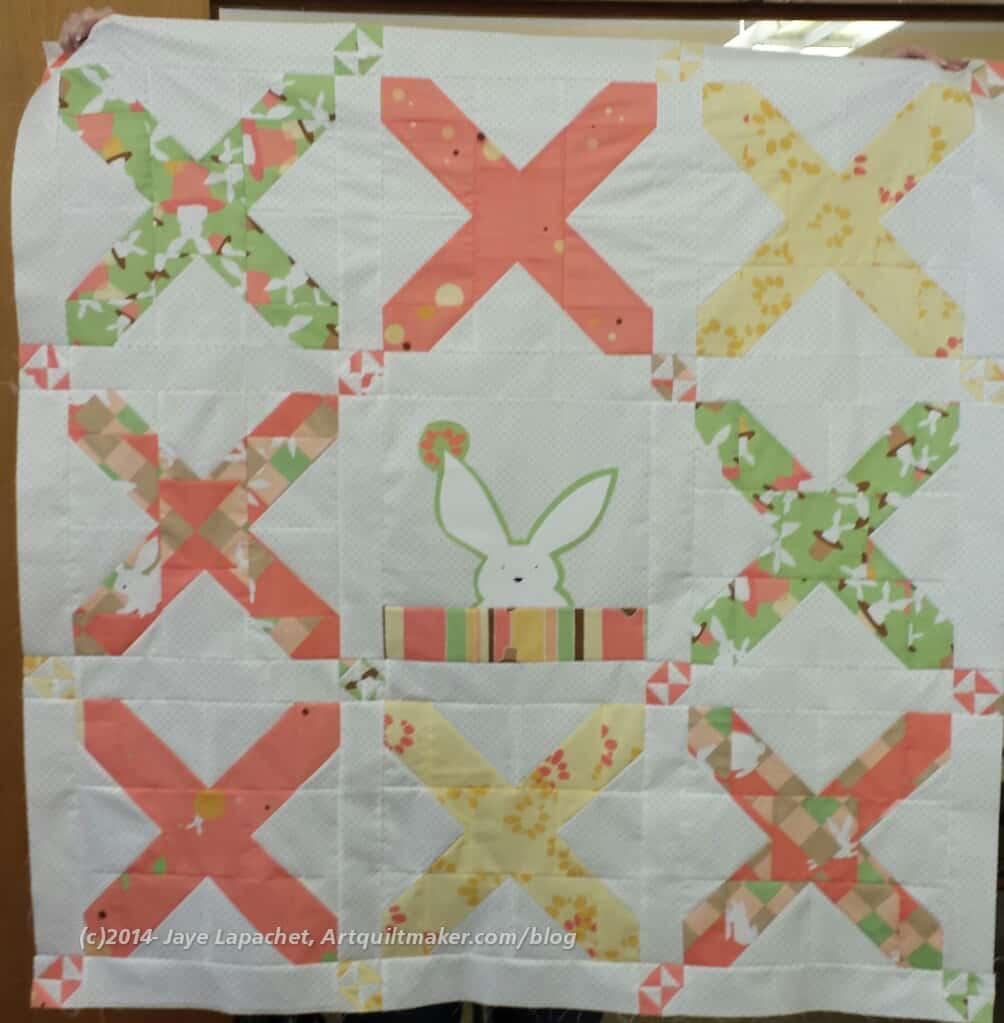
Buff made this adorable baby quilt. I love the bunny peeking out of the top of the fabric strip.
Charity
Donation block
People worked on donation blocks as well.
To the left is the only donation block I finished, but I had half of another parts of two others done as well. I’ll finish them this week.
Piles of donation blocks
My block is only one of a giant stack of blocks that piled up throughout the weekend. I was amazed that every time I went into the cutting room, more blocks were in the pile.
The great thing is that people just did them. There was no big drama; they just did them and the pile grew.
Peggy’s donation top
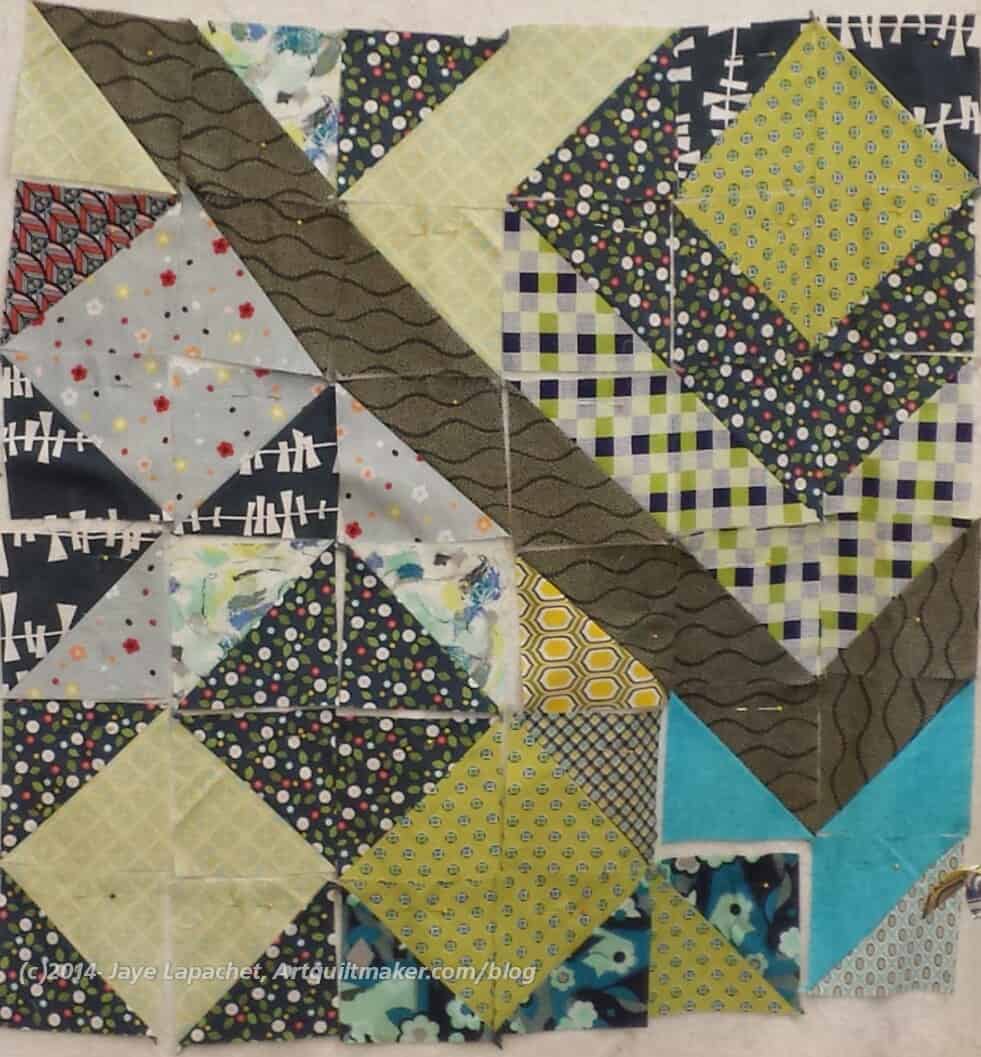
Peggy is working on a series of half square triangle quilts. Her latest top was finished at the retreat. She said she is enamored with the diamond offset on the top. I am really glad she is playing with the blocks. It makes me happy to see people having fun.
Donation Fish Blocks
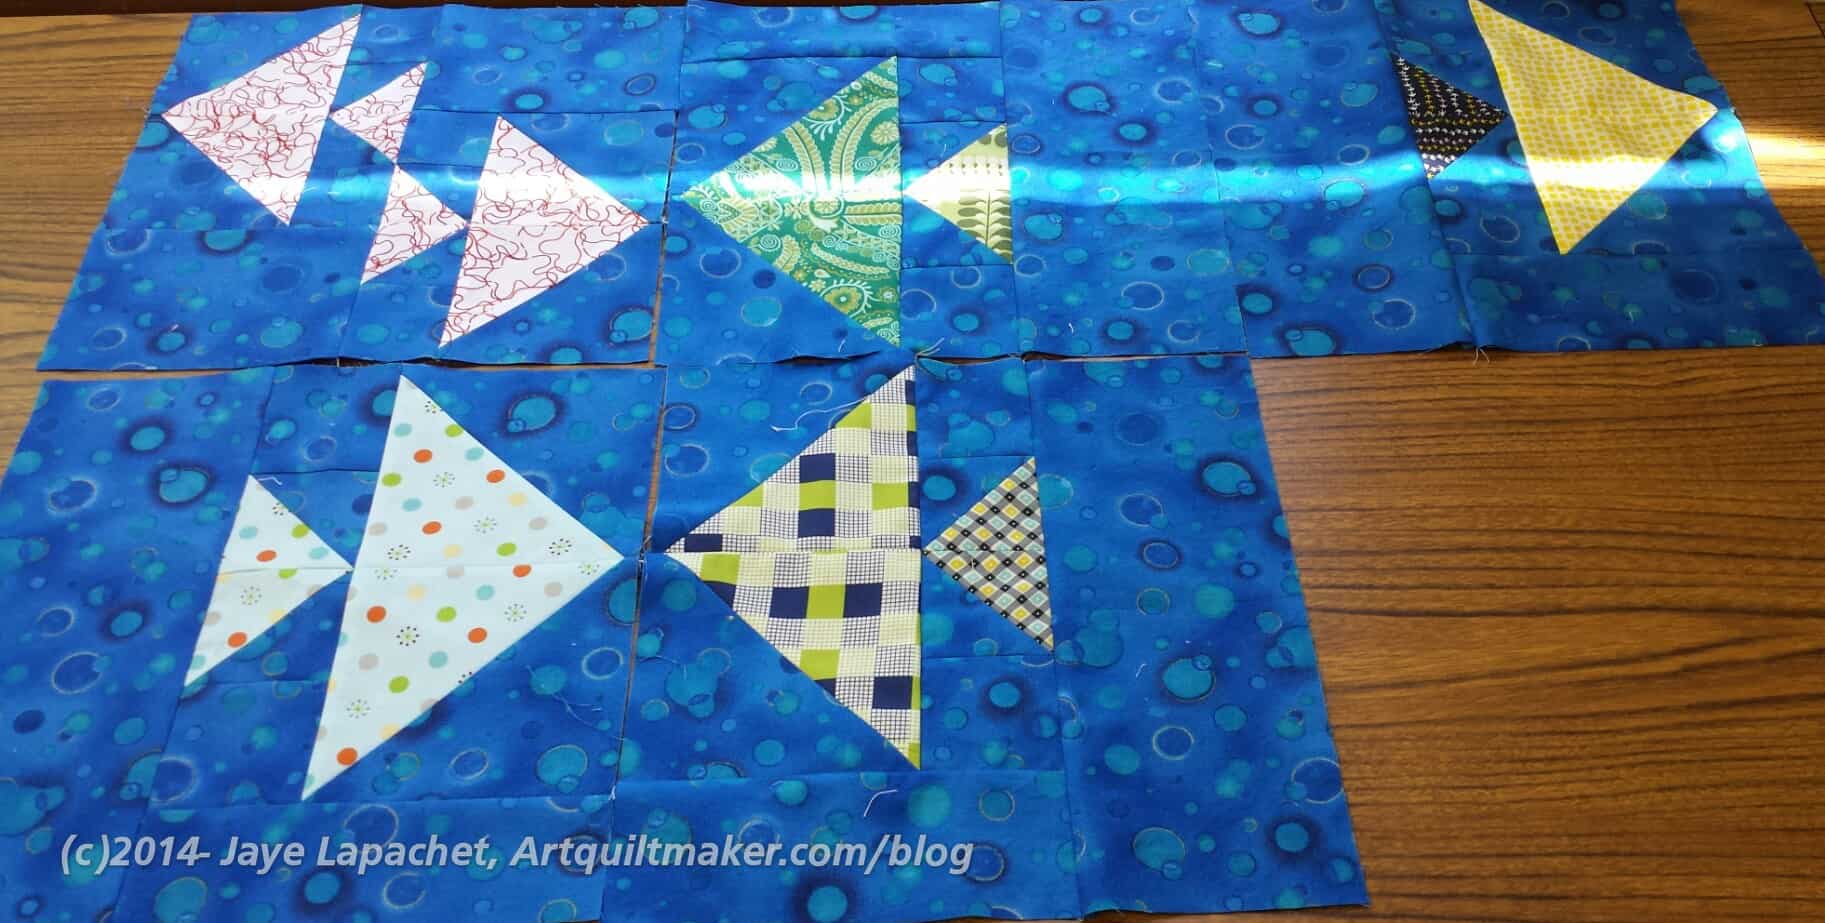
I saw that a few fish blocks were made as well. There were a lot of kits available for those. I couldn’t make any as I didn’t bring any blue fabrics that would have been suitable.
Did you see the patterns for these blocks? If you want to make a small quilt and donate it, please do. The guild will be happy to accept it and I am happy to facilitate. They would make a fun baby quilt as well.
Personal Projects
In between the charity quilts and blocks and the mystery quilt, people worked on their own projects. There were finishes (Gerre, Bonnie, Angela, Diana, etc) and major progress that happened. It was fun to see all the projects where people made major progress.
Angela finished her mom’s Mother’s Day quilt. She did some lovely embroidery on the back as her label. You saw the quilt on the post where I talked about the BAMQG meeting.
Diana finished an auction quilt. It is a good thing as the auction already took place and she just needed to finish the quilt! What a hero for making such a big project for a school auction!
Diana’s Auction Quilt -front
Diana’s Auction Quilt -backRhonda’s Round Robin
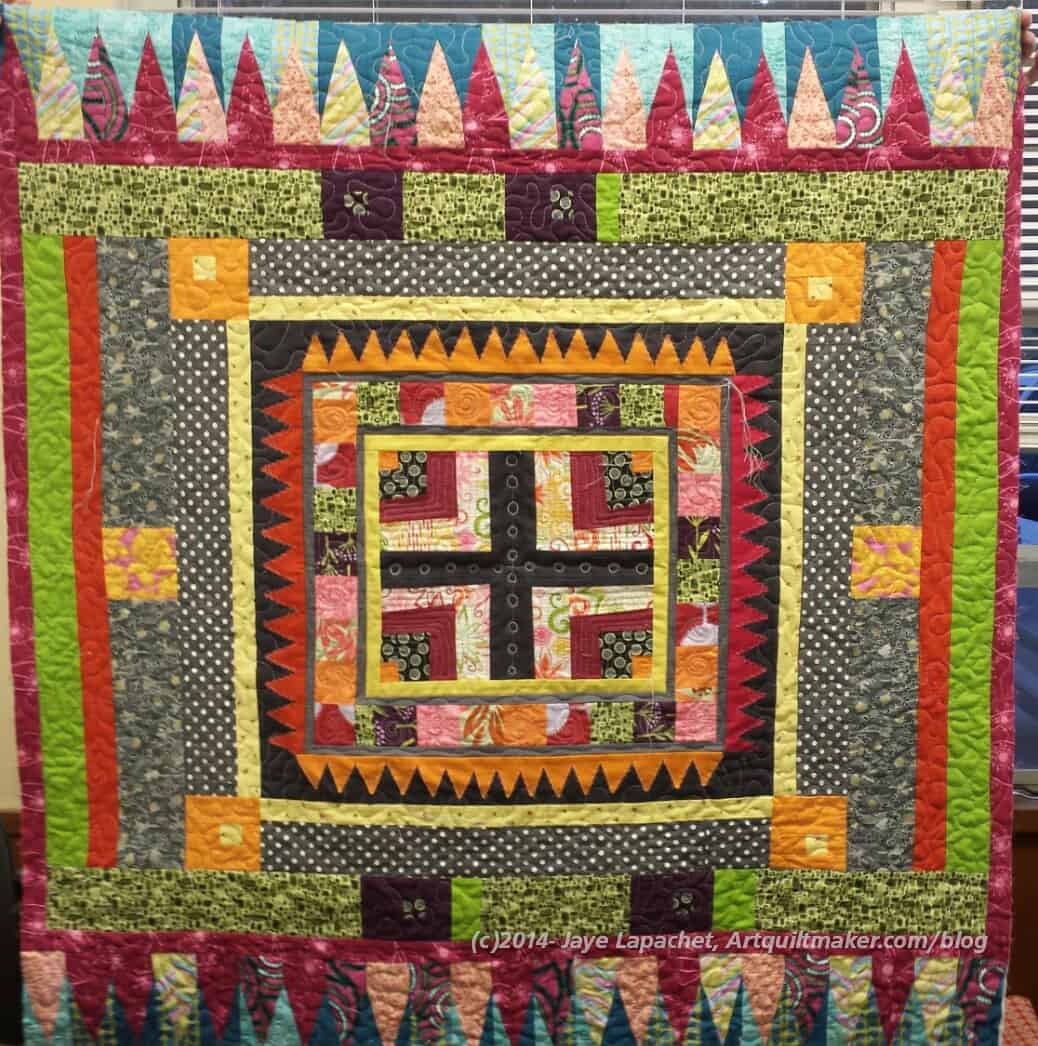
Rhonda worked hard on quilting and binding her Round Robin piece. I love the spiky border on this one. The quilt is actually a lot brighter than the photo shows.
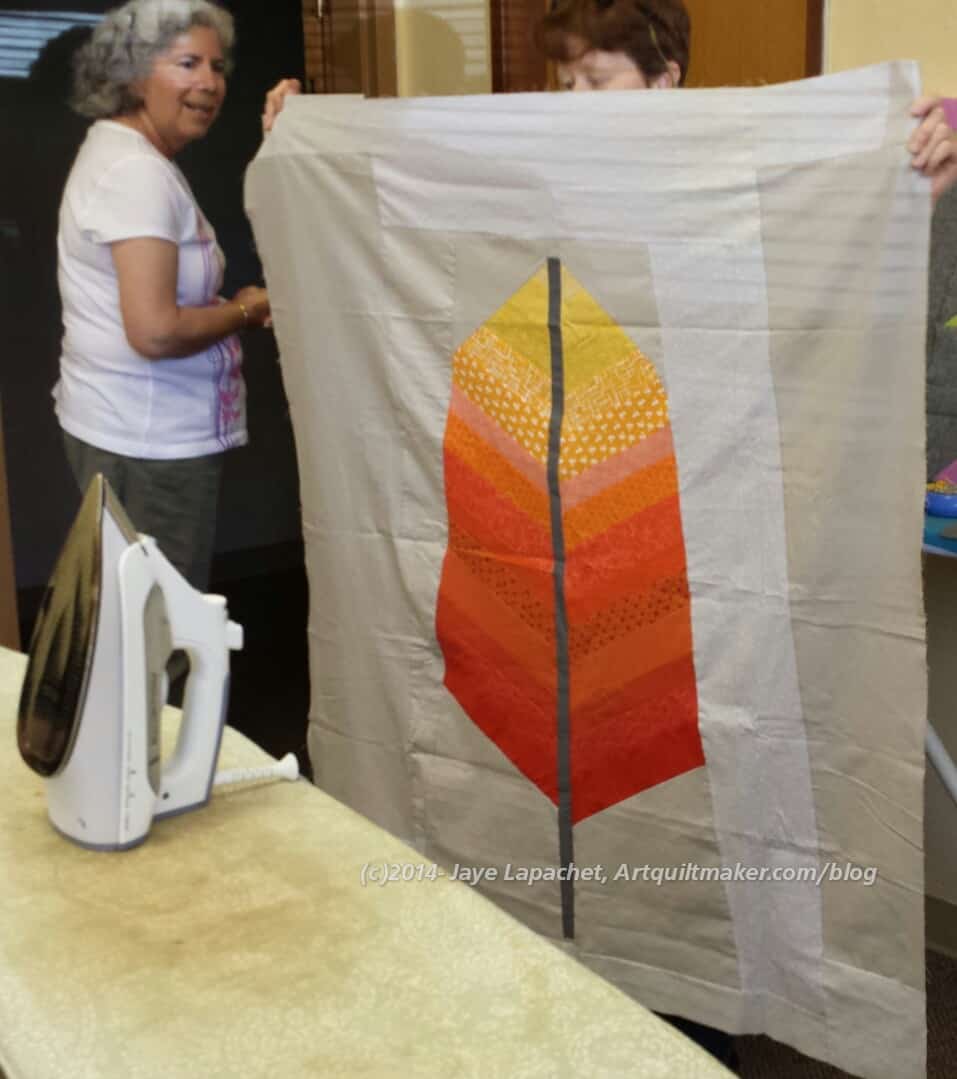
Cheryl’s Giant Feather
Cheryl brought out a giant feather quilt. She said that she wondered what the Anna Maria Horner feather would look like super sized. If you were wondering that, too, now you know. Isn’t it cool? I almost want to make one of those feathers (in a much smaller size)!
Cheryl’s Table Runner
Finally, Kelly made a thank you for Cheryl while at the Retreat! It uses Cheryl’s favorite Tula Pink fabrics.
Definition: “Jellyfish or jellies[1] are the major non-polyp form of individuals of the phylumCnidaria. They are typified as free-swimming marine animals consisting of a gelatinous umbrella-shaped bell and trailing tentacles. The bell can pulsate for locomotion, while stinging tentacles can be used to capture prey.
Jellyfish are found in every ocean, from the surface to the deep sea. A few jellyfish inhabit freshwater. Large, often colorful, jellyfish are common in coastal zones worldwide. Jellyfish have roamed the seas for at least 500 million years,[2] and possibly 700 million years or more, making them the oldest multi-organ animal.[3]” (Wikipedia)
moon jelly
In the heart of Chicago’s Gold Coast neighborhood, Jellyfish, an intimate pan-Asian restaurant and lounge
Post the direct URL (link) where your drawing, doodle, artwork is posted (e.g. your blog, Flickr) in the comments area of this post. I would really like to keep all the artwork together and provide a way for others to see your work and/or your blog.
We are also talking about this on Twitter. Use the hashtag #CPP
The Creative Prompt Project, also, has a Flickr group, which you can join to post your responses. I created this spot so those of you without blogs and websites would have a place to post your responses.
jellyfish sting
Jellyfish and comb jellies are gelatinous animals that drift through the ocean’s water column around the world.
JELLYFISH is a tool for fast, memory-efficient counting of k-mers in DNA.
Meduzot (2007 movie)
Jellyfish is a global boutique intelligence firm that combines on-the-ground intelligence collection and analytics with an unprecedented country-to-country economic diplomacy program that helps governments, corporations, institutions and private individuals forge secure partnerships, discover new opportunities and mitigate operational risks.
Jellyfishbuzz- Whether you’re looking for a new case, headsets or even a charger, jellyfish brings accessorizing to a whole new level by offering a mix-and-match collection of products in four delicious colors. So show off your style, get noticed and change it up!
Jellyfish Eyes: the debut film by Takashi Murakami. A big screen tale of poignant memories and wondrous dreams.
Jellyfish Recordings is a Vancouver based record label
I am not sure if I will get through all of the retreat info in one post. It might just be too much. We’ll see.
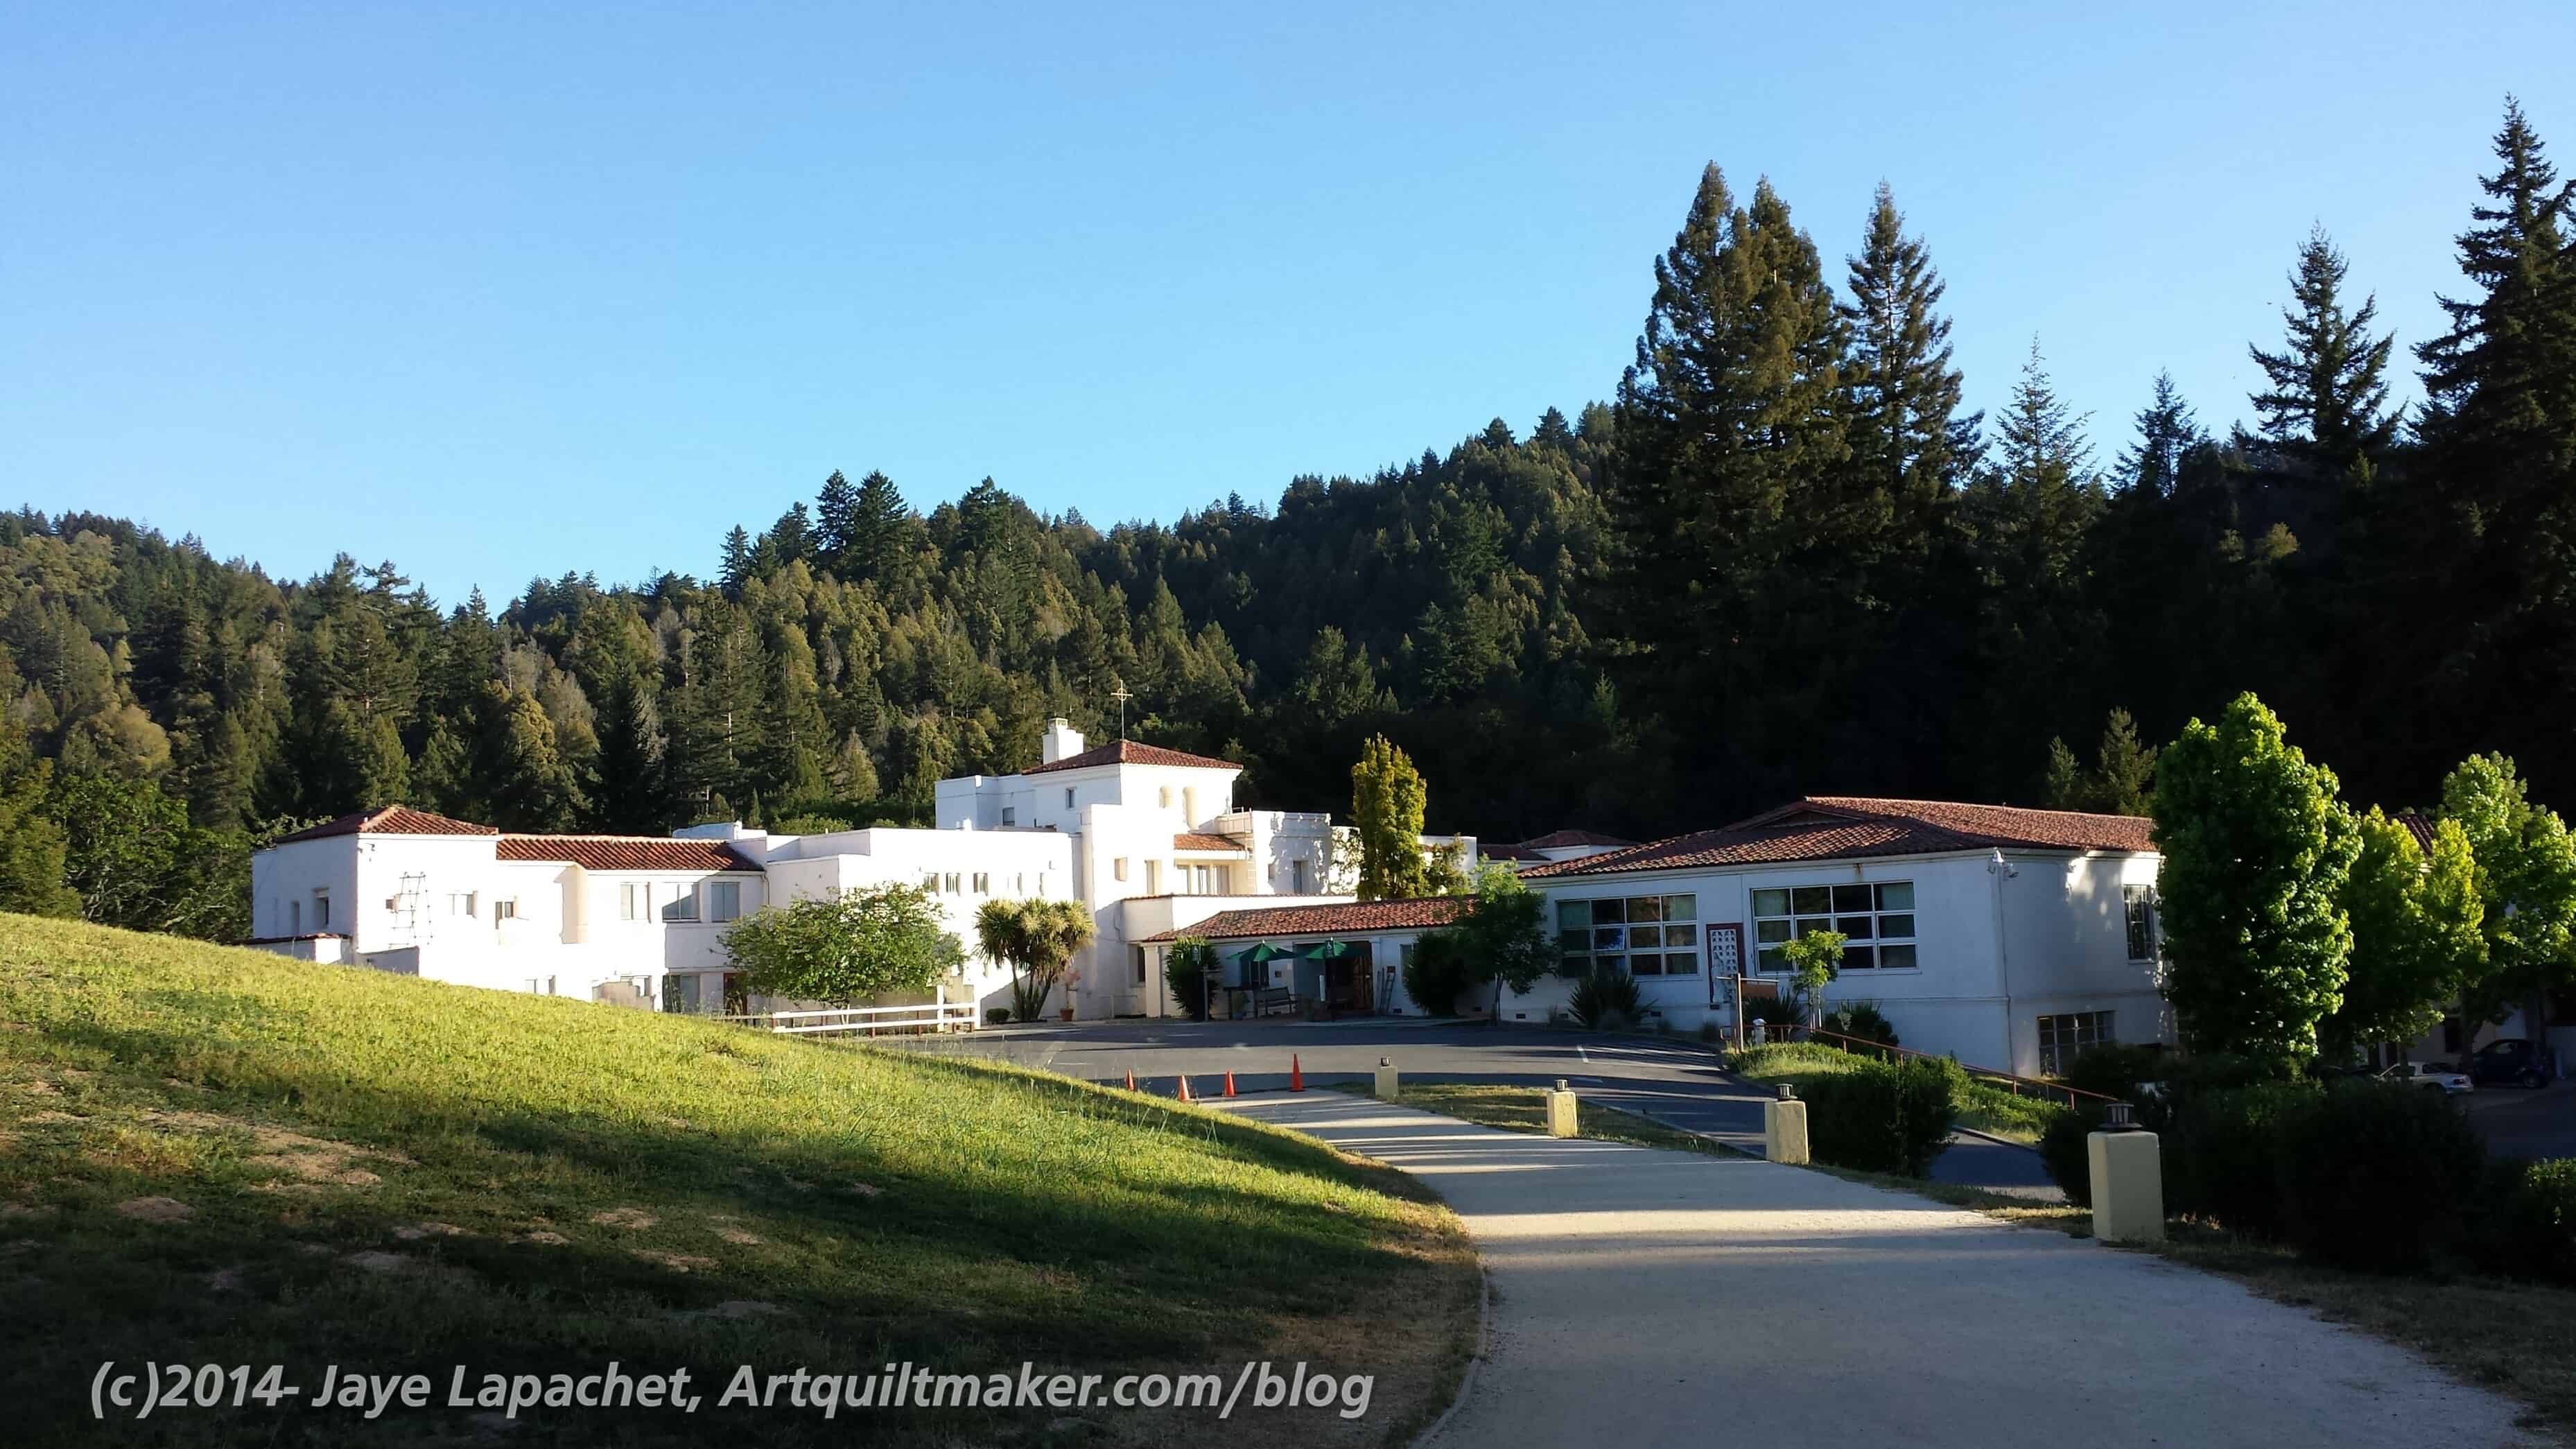
Retreat Location
The retreat started on Friday, but I didn’t get there until mid day on Saturday as we were traveling for the Native Sons back from Grand Parlor. I was a commuter, so I drove back and forth. It is about an hour each way, but after the intense people time of Grand Parlor, some quiet time in the car made me more human at home and at the retreat.
Two things that happened right as I got there, practically before I got set up, was that I got a bag of goodies and I won a prize! The CQFA Retreat does not include goodie bags or prizes (someone has to organize all that). It was fun.
Mystery Quilt in process
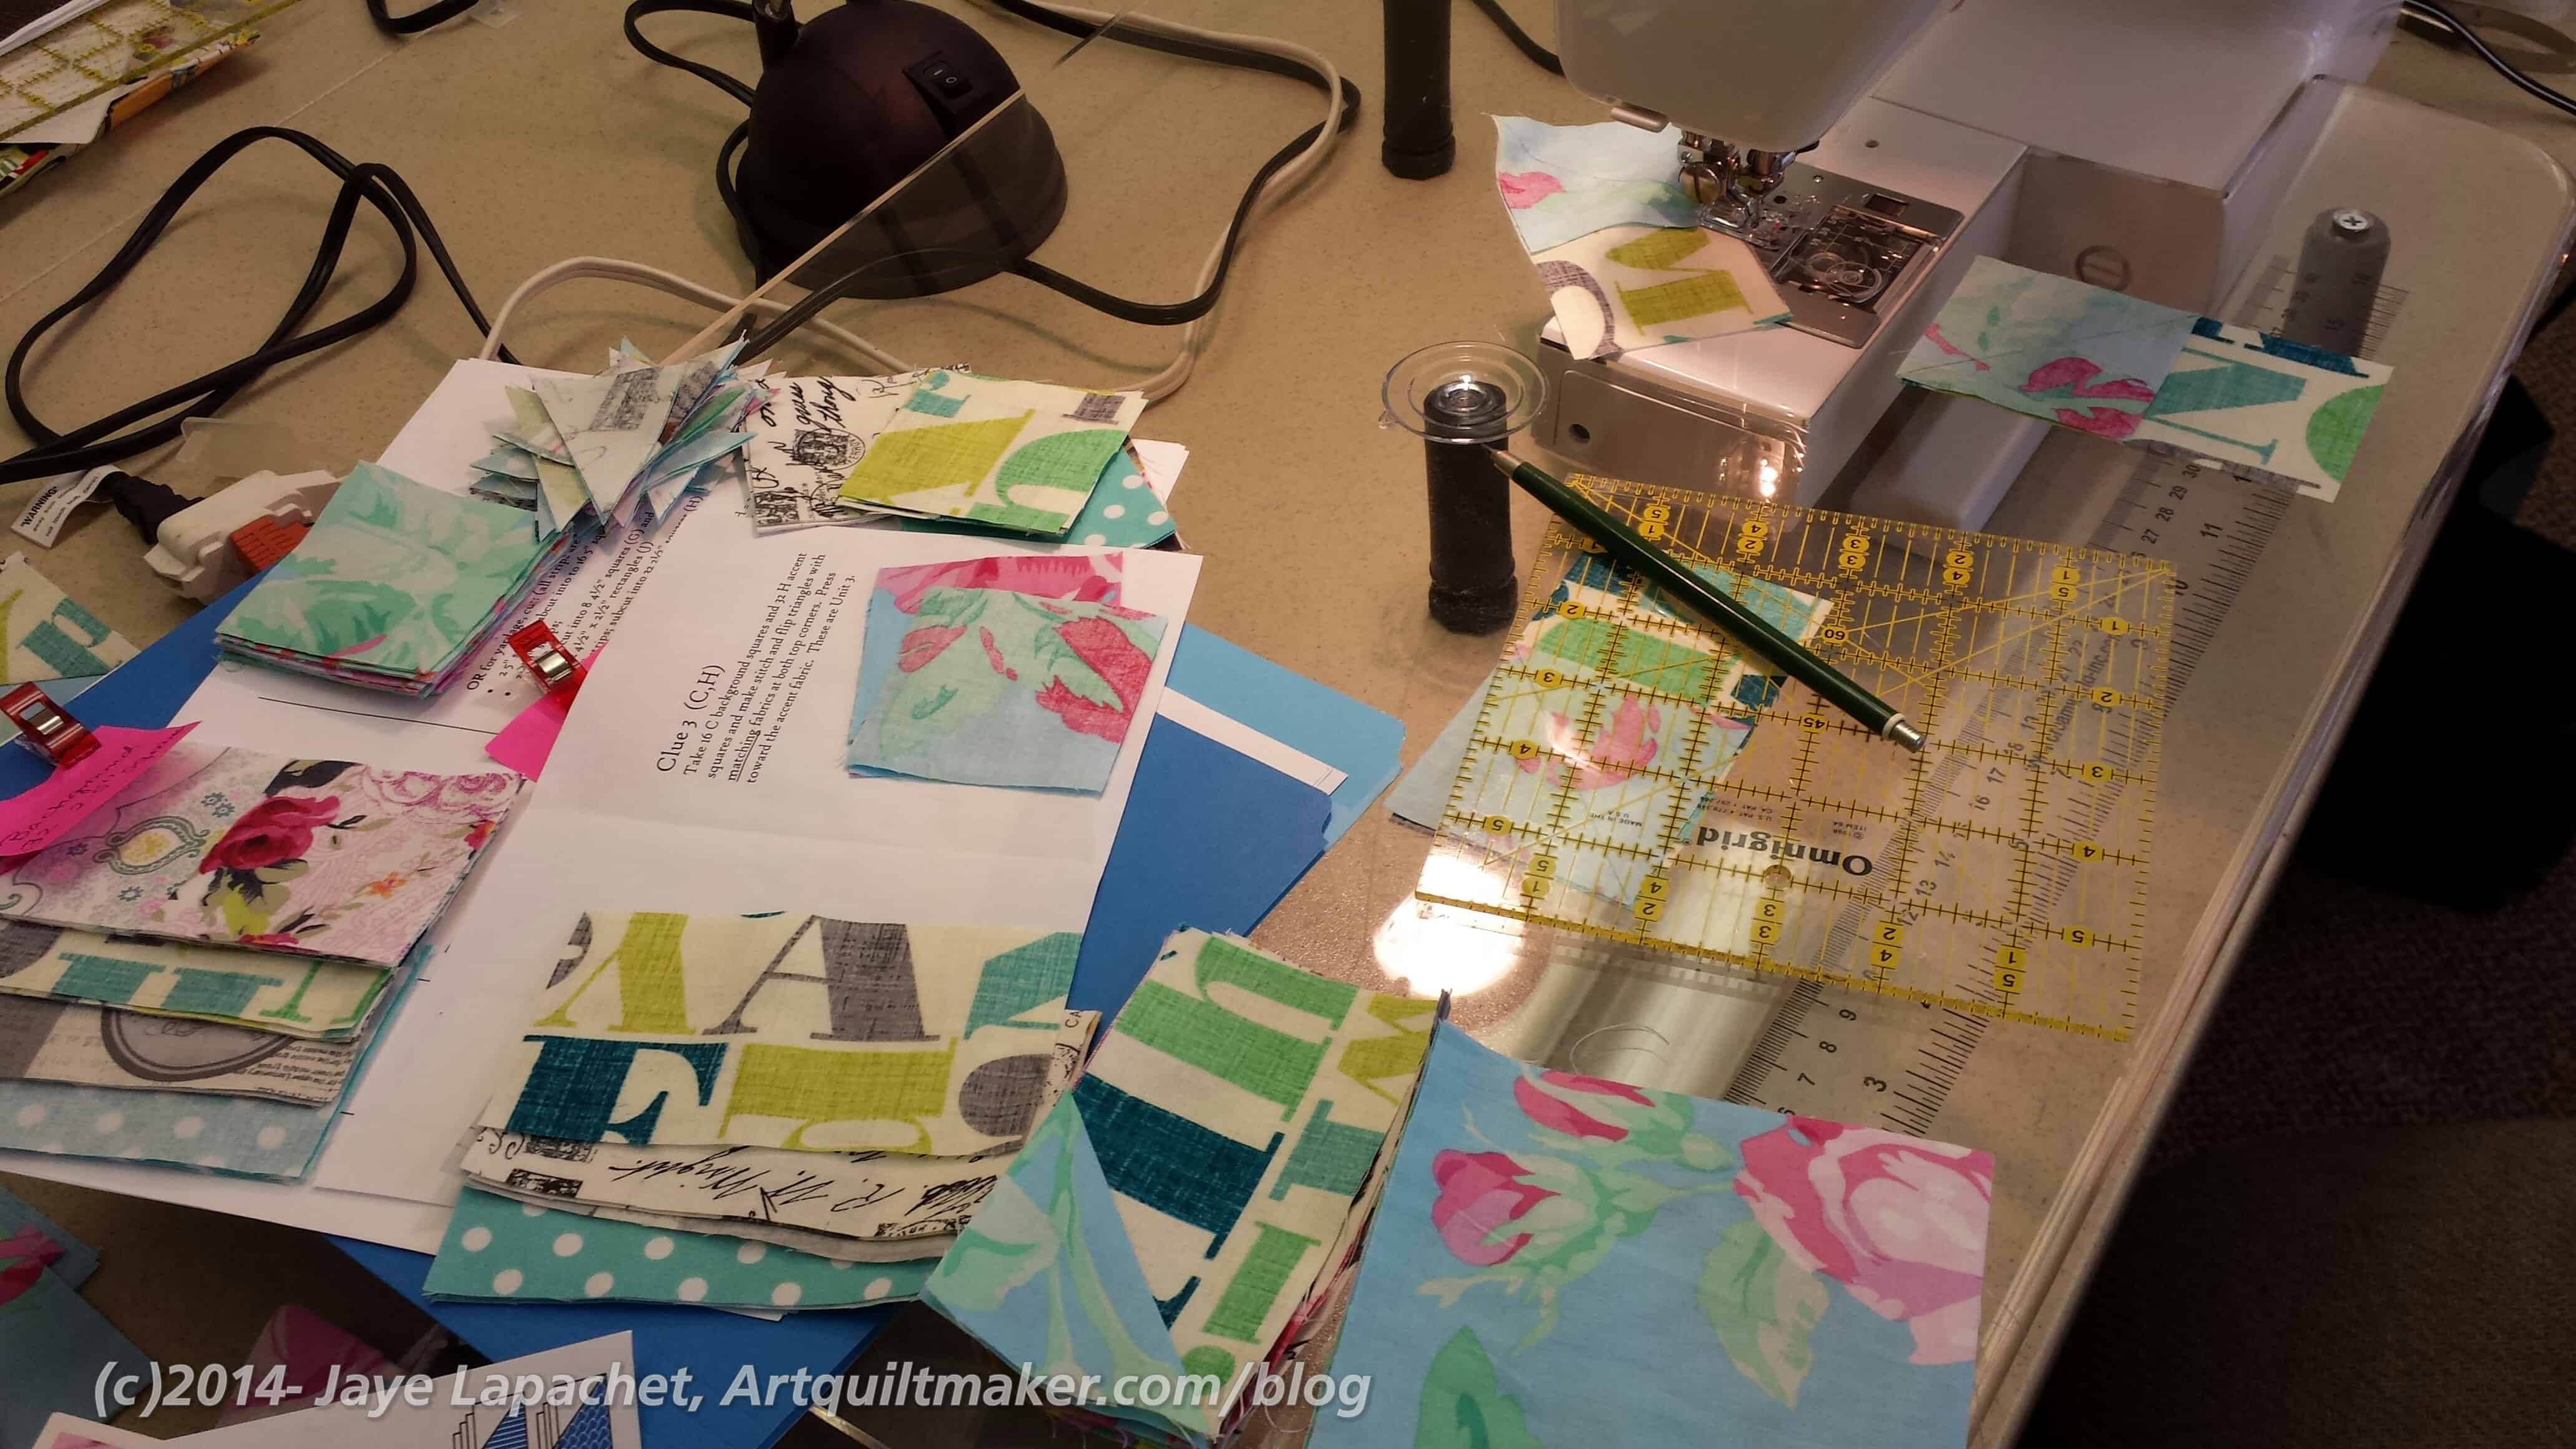
People were working on the mystery quilt and I was 3 clues behind, but they had just gotten Clue 3 when I arrived, so I made those units and used Clue 1 as leaders and enders, so I had most of Clue 1 done as well by the time I got finished with Clue 3. I had my fabric and I had cut out all the pieces, thus I was ready to dive right into sewing, so I got busy on that.
I really liked all of the different fabric choices that people came up with for their mystery quilts. People admired mine, but by the end I wasn’t liking the combination very much. the funnest part of the mystery quilt was working on the same project as everyone else. I enjoyed that with Scrapitude as well.
I have only been on CQFA retreats, which are very basic. This retreat was kind of the deluxe edition!
Cutting Room
There were 3 rooms we could work in. One room was set up as a cutting and ironing room. We also gathered there for Clues and prizes and the donation blocks were as well. People put their finished blocks there and kits for blocks needed were also available there.
It was great to have those high tables for cutting out large pieces. I used them when I was working on my bag.
Hard at Work
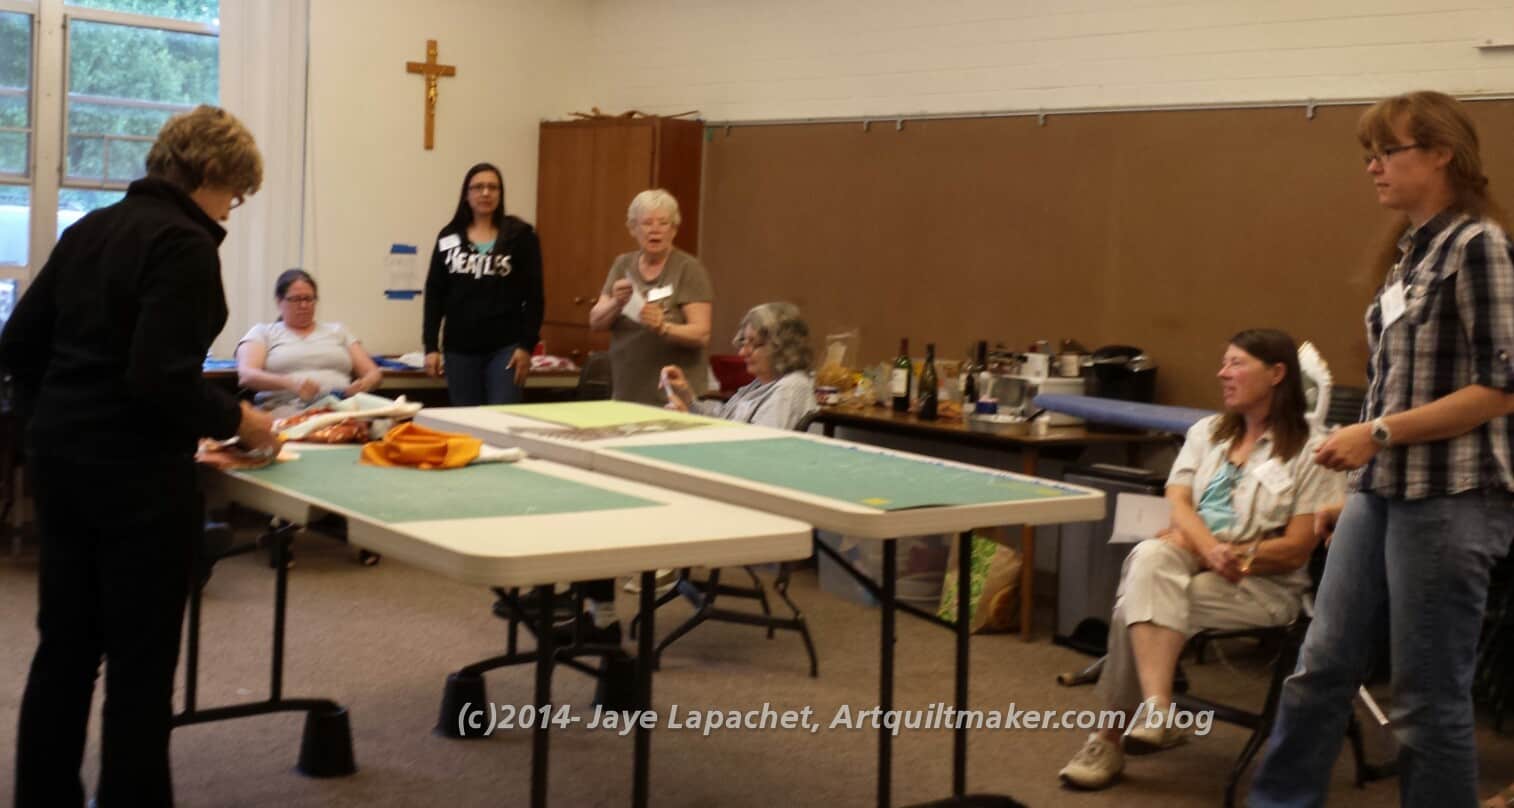
There were 6 tables set up on each side of the two rooms (room were linked by a very large opening). Ruth set up a design wall at the end of the room (I believe the Steampunk blocks belong to Cheryl). My spot was the spot from where I am taking the photo. People were pretty diligent, but there was a lot of laughter as well. Some of the laughter was fairly crazy.
Design Floor
I sat across from Corky. I don’t think Corky and I had had a chance to talk at a meeting, but we were chatting and borrowing tools like old pals. It was nice to get to know her a little better.
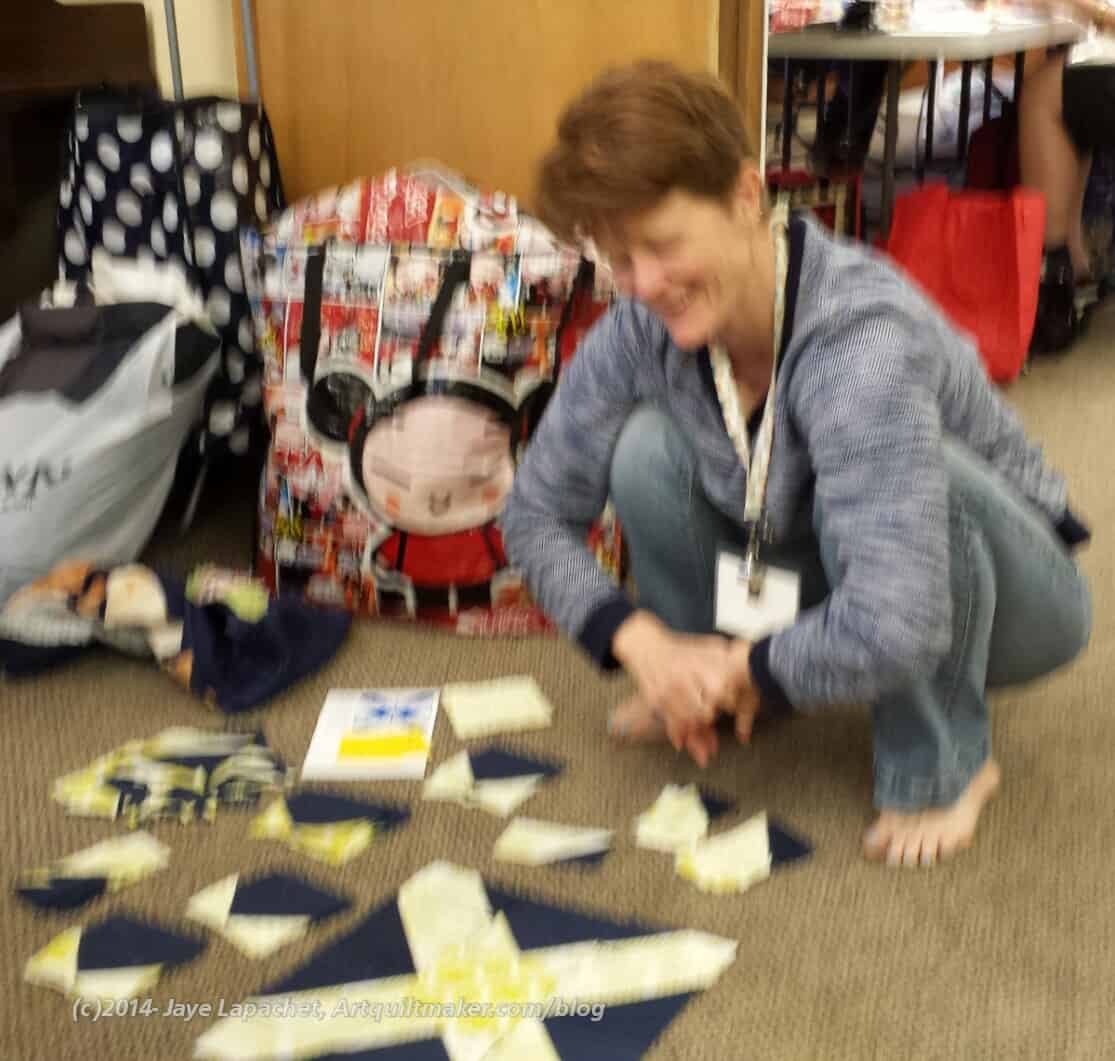
Quilts and quilt parts were everywhere. Any open space was fair game and people just hopped over them and continued on their way. It was awesome, in a way, that people would just take it in stride that quilts were everywhere.
I had my mystery quilt on the floor for awhile while I laid it out.
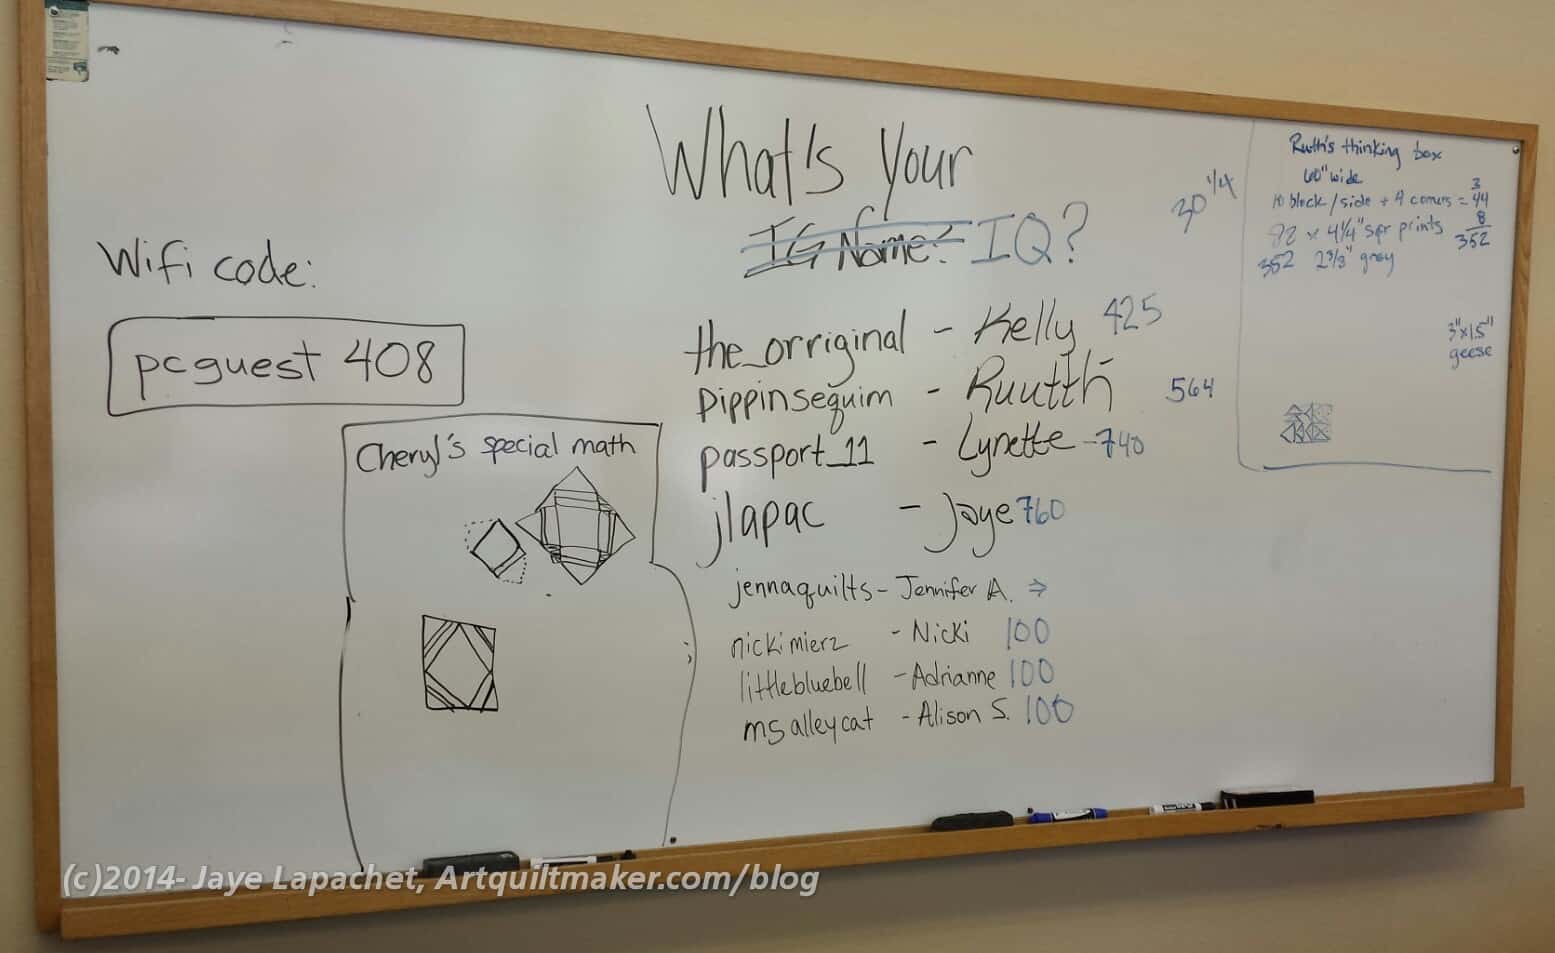
Special Math
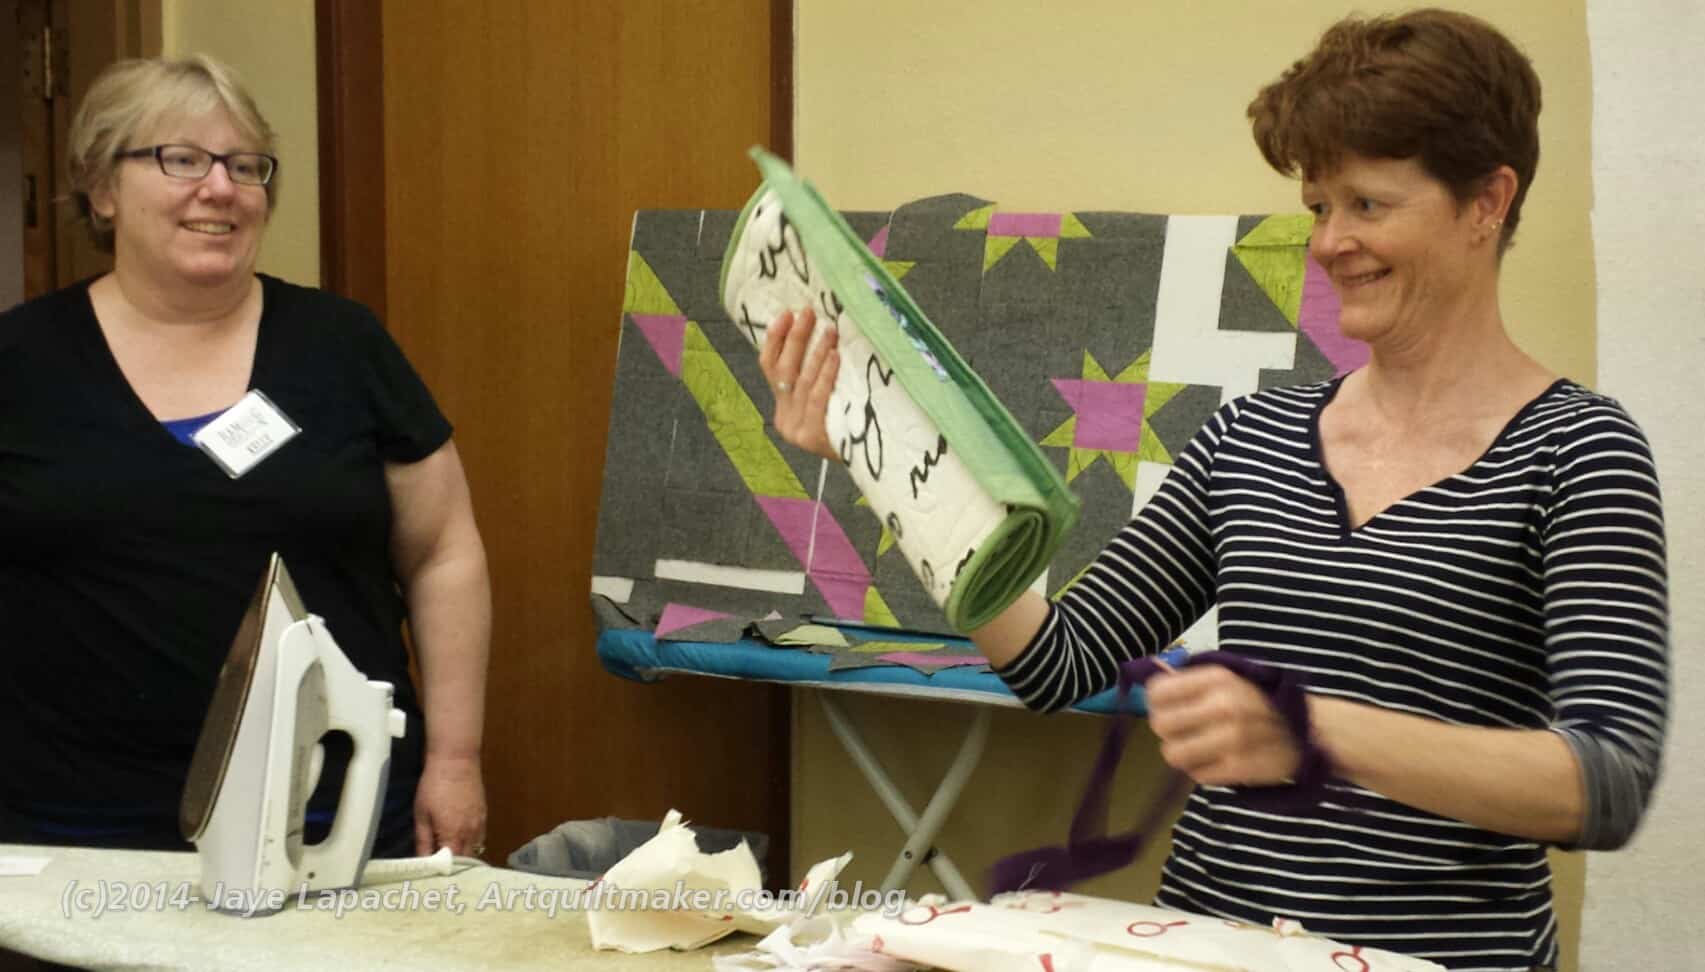
The whiteboard was right across from my workstation. Right after I arrived, Kelly added me to her list of Instagram names. Somehow after that, the Instagram names morphed into IQ. I didn’t say anything about my IQ; I just watched the points increase.
Peggy & Amanda
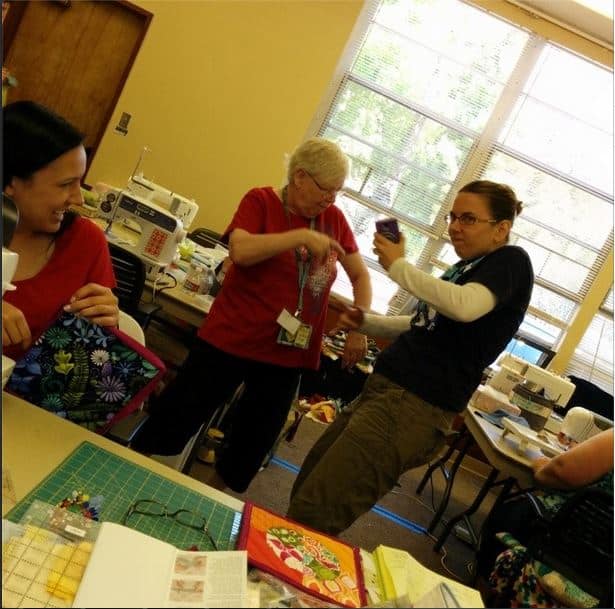
I couldn’t sleep and got up at 5:30. After doing a few of my morning things, I got on the road and was at the retreat by about 8:30. Monday morning found us all a little more punchy than the previous 2-3 days. References to music started coming up and Amanda played songs for us on her phone. One got Peggy and Amanda up and rapping together.
Anyone who thinks that Modern Guilds are for young people only should meet Peggy. Peggy is the most ‘modern’ of anyone in the guild and she has only been quilting for about 5 years. She has a great and inspiring and practical attitude and is also the most prolific charity quilt maker. I would do well to take after Peggy.
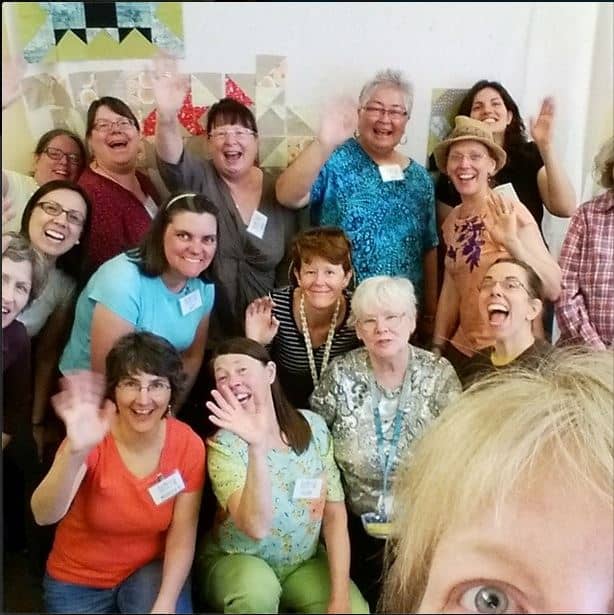
BAMQG 2014 Retreat Group
We took a group shot. I am pretty sure not everyone was in it, as ‘everyone’ was hard to wrangle. It was a fun shot, especially that Kelly got herself, or part of herself in it. I stole this version from Kelly’s Instagram.
I am always on the lookout for inspiration and I have to say that I was overwhelmed by my choices. there are so many creative people in the group that everywhere I looked, there was something I wanted to try or make or know more about.
I’ll write about actual projects in another post. This one is long enough. I would love to hear about retreats you have attended.
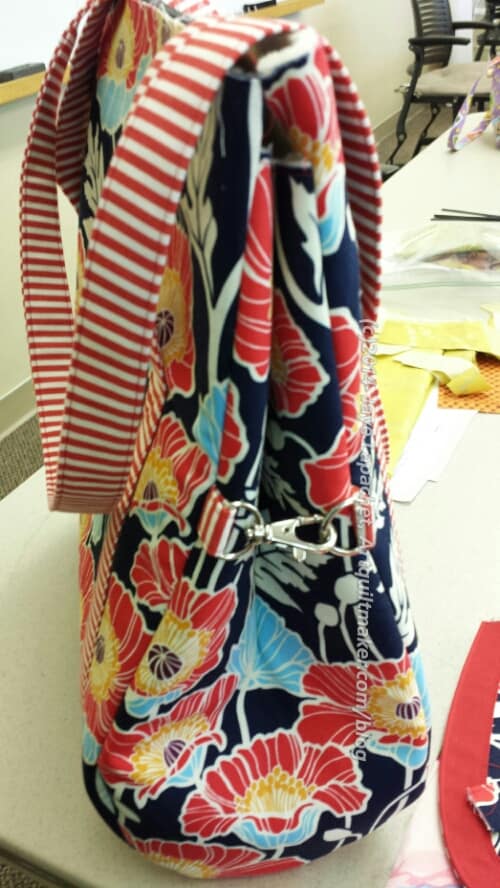
Detail of Gusset I added to make the bag bigger, if necessary
The BAMQG retreat was over Memorial Day Weekend. I wasn’t able to attend on Friday, but I had been cajoled for a couple of years and decided to join as a commuter this year. I really had a good time and will post some more of the fun in a different post. Short bit of advice: if you have the opportunity to go on retreat, GO! You get a lot done and really get an opportunity to get to know your guild-mates much better.
After working on the mystery quilt, I switched to working on the Petrillo Bag. This a Sew Sweetness (Sara Lawson) pattern. Pam and I worked on a Petrillo Bag-along last year. Since then, I had wanted to make another with some changes.
Since I commute to work by train and do not have a car at work to store stuff, I have to carry my stuff or leave it at work. Thus, I have developed very specific ideas about what I like in my bags.
Part of what I like in a bag is security. I don’t want people reaching into my bag and grabbing stuff out. Thus, the bag has to have some kind of flap and closure. I also like lots of pockets and a light colored interior so I can see all the stuff inside. Easy, quick access is also a must.
One of the things I didn’t like about the Petrillo Bag, as written in the pattern, was the skinny top. I liked the look a lot, but the functionality needed to be improved for my use. The side panels are shaped like ice cream cones. After you insert them the top access is very thin. This does help with security, but it makes it hard to stick stuff in and pull it out.
I had been thinking about changes to the pattern in my mind for awhile and had started cutting out pieces several months ago. As you know this bag has been on my to do list for awhile.
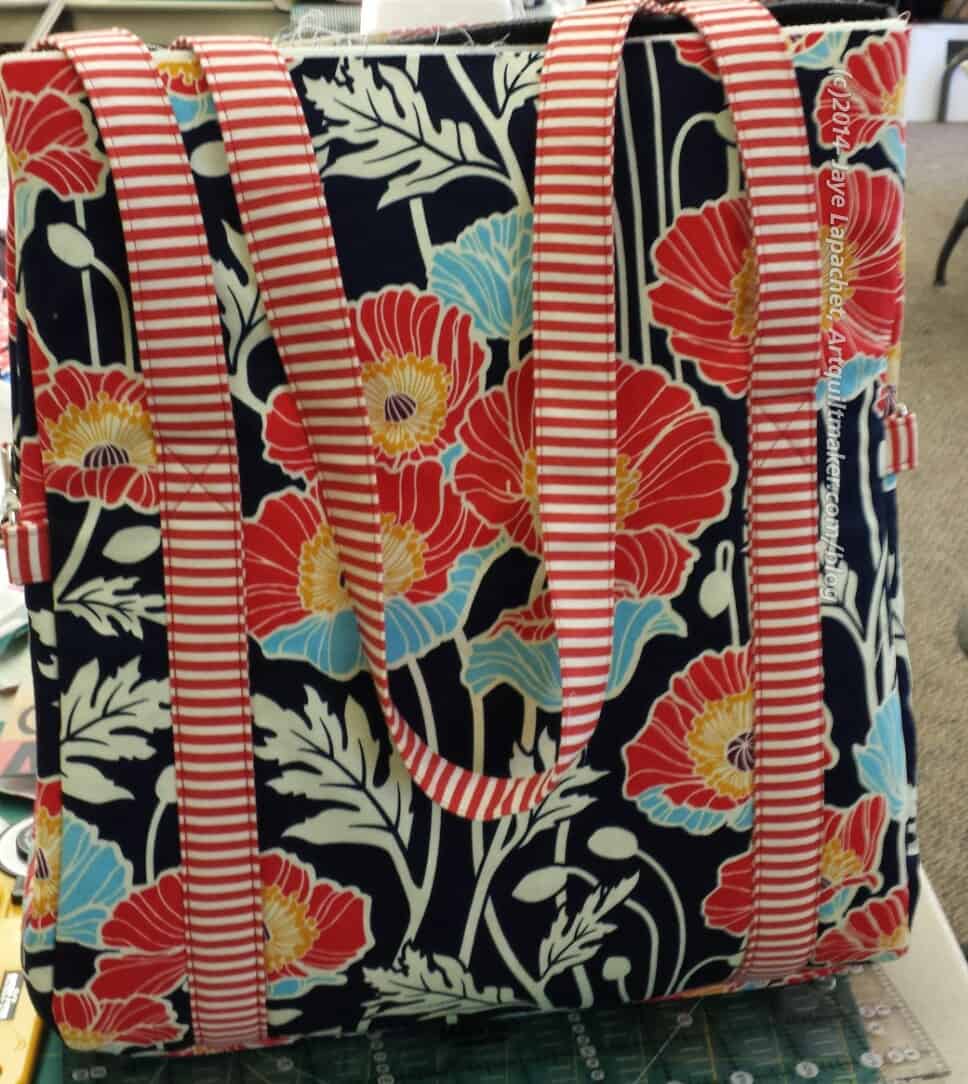
Petrillo Bag back
After being frustrated with another project, I started working on this bag and was able to get most of the outside done on Sunday, late, and Monday at the retreat. It is a good thing I was commuting, because I switched lining fabric midstream and was able to get some Michael Miller red with white Dumb Dots from home and start recutting lining pieces. I’ll use the previous lining choice for another bag.
I got to the point Sunday night that I was ready to construct the gussets and on the drive home, I turned over the process in my head, so I really felt ready to tackle it on Monday when I returned to my sewing machine at the Retreat.
A number of people at the Retreat had never heard of Soft & Stable, so we had a little talk about that. Many are not bag makers and since I never heard of it before the Petrillo Bag pattern, I wasn’t surprised.
When I got home I worked on the lining and, as of this writing, I am ready to start putting the lining together. I am not sure what I will do about the side panels of the lining. I don’t want to put another set of clips on the inside. Elastic, maybe?
I don’t know if this will be the perfect bag as I have just realized that I forgot to put on side pockets for a water bottle or my cell phone, but I will try it out and see if I like it enough to use it or if I will give it as a gift.
I had a great time at the meeting Saturday. People showed some really great work and everyone seems to be looking forward to the Retreat.
The next Sew Day is June 7, 10am -11pm. Once again, I can’t make it as I will be in Vancouver for work. My trip will be fun, but I’ll miss Sew Day.
I will also have to miss the next general guild meeting, which is on June 21, as I just made plans to go to Disneyland. Shhhh! Don’t tell.
Angela’s Quilt
Show and Tell is my absolute favorite part of the meeting and I wish that people would bring more stuff to share. Angela showed a great quilt from a workshop with Joe Cunningham and I just love it! It isn’t gradated, but it really gives the impression of being gradated. She was finishing up the binding so she could give it to her mom for Mother’s Day. She said that her mom loves it.
I showed Fresh Fruit and Fabric of the Year 2012. that was an exciting experience as people wanted me to tell the story of doing a quilt every year again for newcomers. I was a little embarrassed. Allison asked if I would bring all of the FOTY quilts sometime. As I said, I would love to have an exhibit of all of them, but, perhaps, showing them off to an appreciative audience would be the next best thing?
San Mateo County Fair: Lynnette kindly offered to take our quilt entries to the San Mateo County Fair intake day. She left with a pack of quilts. We will arrange pick up at a later time. I had a crazy morning when I realized that the Whole Cloth Quilt, which I entered without looking at it, didn’t have a sleeve!!!! I quickly made the sleeve using Robbi Joy Eklow’s directions in her Free Expression book (a book which you should have if you don’t already!)
I am really slow at putting on sleeves and the two recent quilts, Fresh Fruit and FOTY 2012 took me forever. I didn’t have confidence that I would have the sleeve done by the end of the meeting, but I worked towards that goal. The sleeve was pinned on to the quilt when I left the house and I started sewing as soon as I sat down. I did get it done! I sewed on the entire sleeve, gave the quilt to Lynette and home I will see it at the county Fair.
The group will be participating with other Bay Area Modern guilds in an Amish Exhibit: November 2014 at SJMQT. Joe Cunningham will do jurying. Entries are due October 1, but I don’t think I will apply. I am not inspired. Kelly decided to organize a small group to encourage people to work on their projects and get them ready for the exhibit. I don’t know how she will split herself between the Tula Pink City Sampler group and the Amish Exhibit group.
Jackie Gehring Workshops: July 26, 27 – there are still spaces available, so if you want one for a friend or haven’t signed up yet. I am surprised that these are not full.
Charity Block
Charity: I have been kind of a charity slacker lately. I haven’t worked much on the black and grey donation quilt, though I have also not abandoned it. I don’t know why as I got a lot accomplished last year and was busier.
It could be that all the other projects have been overwhelming me. Michelle, one of the Charity Girls has designed a new block for this quarter – the fish block. There are actually 3 fish blocks (Block A, Block B and BBlock C), which are the same parts in different configurations and sizes. Directions and handouts have been posted to the BAMQG blog. Take a look, because the blocks would make up cute baby quilts as well.
Enough about me and my excuses. Despite my slackness, 60 finished charity quilts will be taken to the NICU at Stanford this week. Peggy finished a number of them since the last meeting, using some time on the last charity sew day.
From the Cat Bed department: Amanda couldn’t make the meeting, which was a shame, because I couldn’t get any cat beds to sew together. Next time.
Small Groups:
Hand quilting and hand piecing – the group has been expanded to include other kinds of handwork. Angela worked on a binding while Rhonda stitched hexagons together using the English Paper Piecing method. She bought a Tula Pink kit to get started. Perhaps I will try to remember my half hexies to bring a long and work on.
Jaye brought blocks for the Tula Pink City Sampler small group, but the rest of the members were curiously absent.
We saw Nicki’s finished Round Robin and Cheryl’s almost finished Round Robin in Show and Tell, but no groups met.
Nobody in the Color groups met.
I did not do the Personal challenge for this month, which was to make a tote bag using Kelly’s directions (or others as desired) out of the piece I free motion quilted last month. Next month we are supposed to bring a hand quilted or hand pieced project to the next meeting. I am thought of bringing the Sampler, but I won’t be there.
BAMQG and the St. Louis Modern Quilt Guild are participating in the Swap Challenge Swap Extravaganza. I decided to do it, even though I didn’t know anything about it until I showed up at the meeting with an orphan block. People who brought orphan blocks could sign up to make something that will be exchanged with someone at the St. Louis Guild. All orphan blocks were turned in. They will be doled out by Angela to anyone who signed up. People will not get their own block back, but will receive and need to make something out of someone else’s orphan block. Then the projects will be turned in and sent to St. Louis and the SLMQG will send us a package back and those items will be doled out. We can make anything and Angela solicited ideas, some of which are:
Last month I said that I wasn’t sure I would finish as many quilts in 2014 as I did in 2013. Famous last words. I finished two quilt this month! I am still reminding myself that it is about the process and also about what I am learning, and sharing with you.
Aqua-Red Sampler – Frances and I are back at it regularly and I give Frances full credit as I have been letting her “drive the bus.” I did work on the hexagon tutorial as promised. It is ready to post, but I could have taken a few more photos and might still do that. If you look at it and think there are a paltry number of photos, check back.
The Tarts Come to Tea: I still haven’t worked on this since April 2011, though, periodically, I think about working on it.
Pointillist Palette #4: Fourth is a series of 6 quilts; needs tiny square patches sewn together. I still haven’t worked on this, though, I did find a bunch of squares already made. That makes me hopeful.
Self Portrait: started in 2006 at a class at Quilting Adventures in Richmond, Virginia. I like the piece, but don’t know where to go from where I am. Mouth? Hair? The attitude I need to have is that I can’t ruin it; there is always more fabric. Possibility for abandonment.
Under the Sea: class project; like the design, but not the colors much. Possibility for abandonment. I have to face reality.
Ready for Quilting
Wow! Everything on this list is new.
New:* Wonky 9 Patch: needs quilting and binding. I am thinking about quilting this myself and I am thinking about it more and more. I am wondering how far apart I can quilt it so that it has some drape? (Not on original list)
New:*Star Sampler: Top finished, back and binding finished; at the quilter. (not on original list)
In the Finishing Process
See: I have quilted about a third of it. Needs facing and sleeve
Flower Sugar Hexagon / Attack of the Hexies – Top finished 1/12/2014: back from the quilter.
New: * Scrapitude – Top, back and binding finished 2/24/2014: back from the quilter.
In Process
I decided that I had better put in an ‘In Process’ category. The difference, at least in my mind, between ‘In Process’ and ‘UFO’ is that I am actively working on a project that is “In Process.”
Spin Wheel: really not started, but supplies gathered. I probably have enough fabrics and just need to decide to start.
Windmill quilt: Still hunting and gathering. I will use a grey for the background, because if I use more of the cut fabric patches, the pattern will be lost. The pieces are too oddly shaped and I don’t want to lose the pattern in a mass of scraps.
Stepping Stones #2 using Bonnie & Camille fabrics Bliss, Ruby, Vintage Modern: made two test blocks, but still in the thinking stage while I decide on the background colors. I want the contrast to be good.
Super Secret Project #3: working on color choices.
Abandoned
Nothing so far for 2014
You can find the latest update for the Current Projects list provides a good comparison to this month.
I thought you might want to take a look at the first list I made, the one with the 26 Projects. I started the list in October 2011. I have made progress. I am still planning to stop this post when I have no more projects from the original list to write about, but it is so useful to keep track of all of my projects.
*New – Project started after I started working on the 26 Projects list
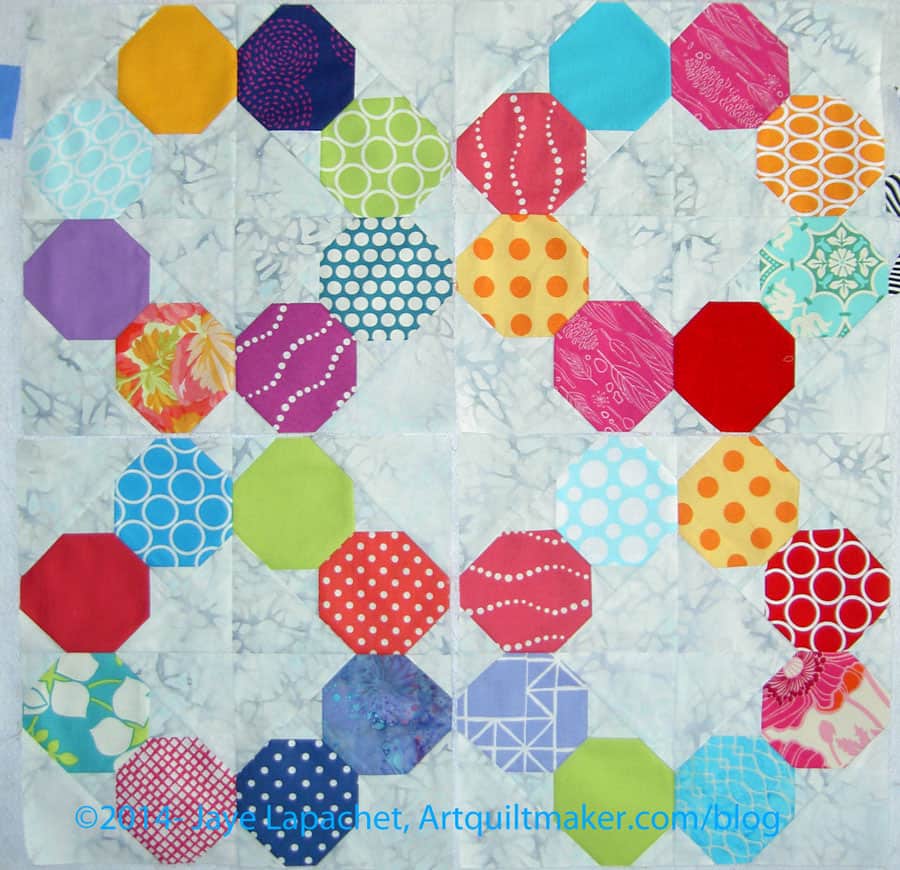
I have been piecing parts of the Russian Rubix blocks together, but not putting as many blocks together as one might expect.
I am trying to sew grey to all of the octagons, so I have a lot of choices when I go to make the blocks. It is a good plan, but doesn’t always work, because I get bored and want to make blocks.
So, I make a few blocks then admonish myself for having no self control and go back to making the pieces and parts for awhile.
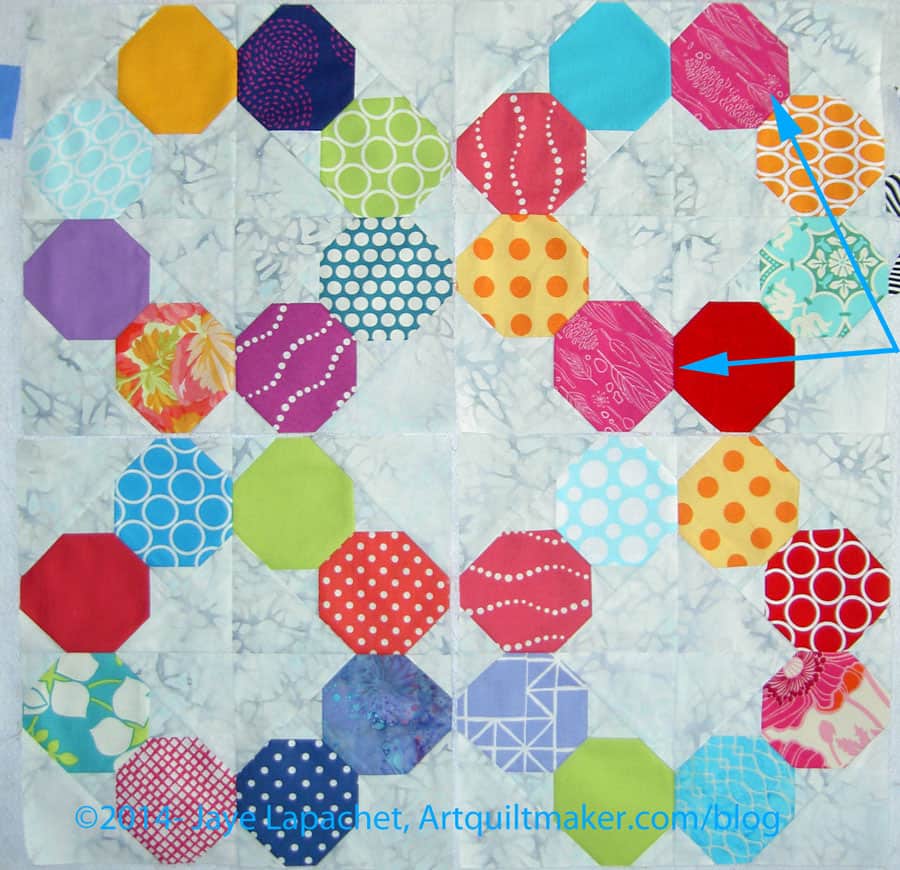
Russian Rubix Booboo
I am pleased with the group of fabrics I put together. It is fun to see the different fabrics next to each other and in different combinations. I made one small booboo on one of these blocks: I put the same fabric in one block twice.
In the grand scheme, I don’t think it will matter since there will be several octagons next to each other and the different quarters of the blocks will create new rings when they are put together. Still, I want you to know that mistakes happen and life goes on. I did consider ripping it out and putting in a different quarter block (2 octagons). I may still, but for now I am going to leave it. I really don’t think people will notice much.
Also, SIL said that the light blues dropped out because of their value on the grey. She was right, but there is something in leaving them in that creates a bit of movement. I plan to space them away from each other, if I can, when I lay out all the blocks.
I had three of the four shown finished for a long time, but I couldn’t seem to get the fourth one finished. Finally, I did and wanted to take a photo so I could remove these blocks from the design wall and fill up the space with new blocks.
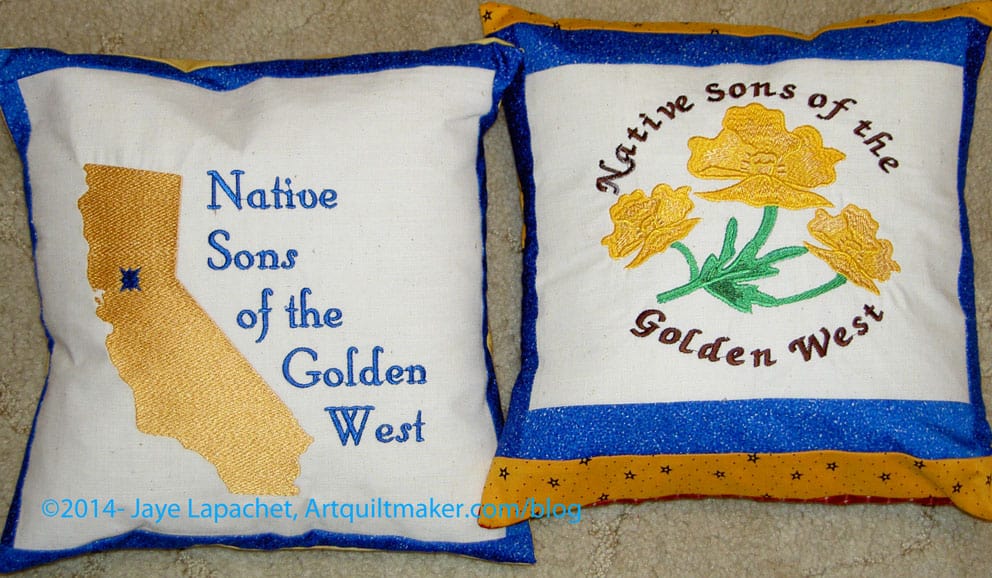
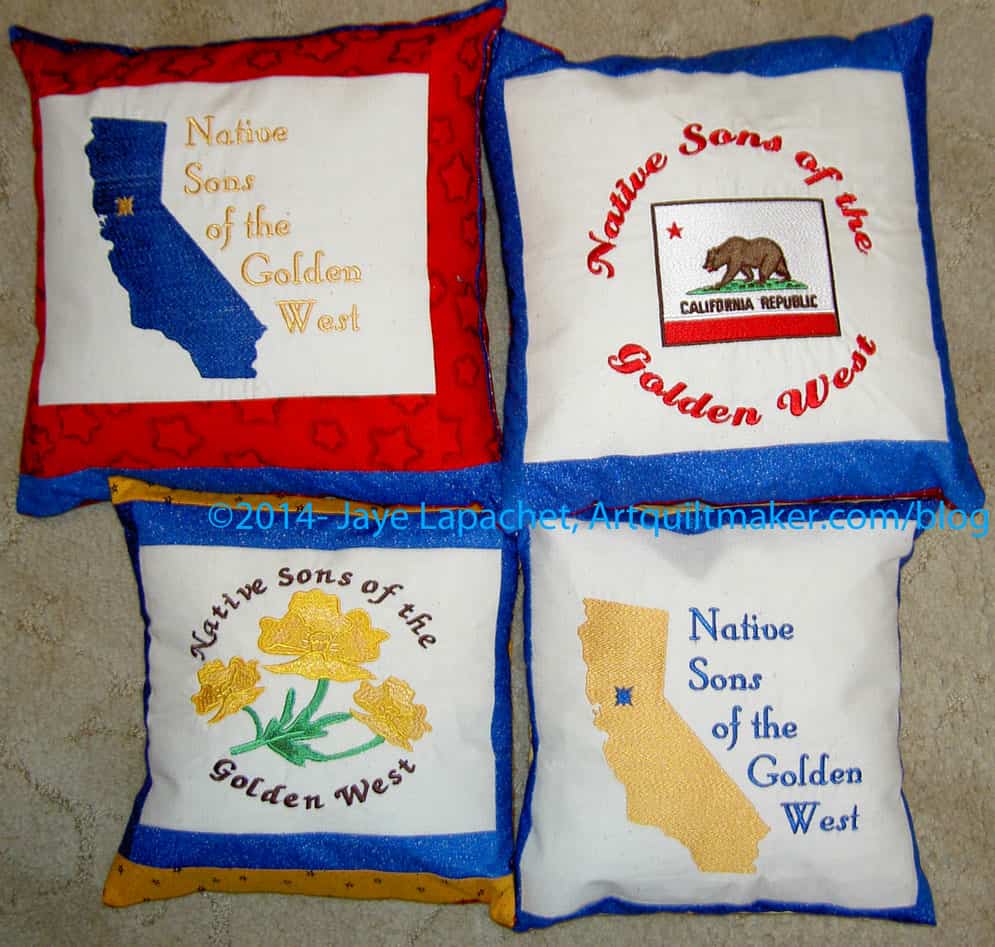
As you read this, I have hopefully just returned from another Grand Parlor. With any luck, I did not say something stupid and embarrass DH. With a little more luck and some preparation, I looked nice and people spent a lot of money for Cleft Palate buying raffle tickets to win the pillows. I am writing it in advance so I don’t have to worry about posting wearing high heels and lipstick. 😉
These were on my radar. Really they were. My BIL asked me to make them in plenty of time and I agreed. I really had no mental problem making them. Not much of a problem anyway. I don’t like making pillows and I always seem to have some problem making them. I just didn’t start them.
Eventually, the pillows really and truly entered my consciousness. I asked DH when we were leaving for Grand Parlor. I have been having a problem lately fitting where I am in space and time with the actual days of the week. I am not sure what that is about. I blame the months and a change in schedule. They seem really long lately. Anyway, I asked DH when we were leaving and he said May 18. I realized that I had a week (Yes, 1 week!!!) since we were talking on the Saturday before Mother’s Day.
So, I got started. I spent most of the day on Sunday (Mother’s Day) making pillows.
Fabrics for Pillows
First things first, I got DH to approve the fabrics. These aren’t what I would have chosen, but he knows the constituency, so I trusted his judgement.
He wanted a color scheme of blue and red and another of blue and yellow. I thought about making sets of two, though I don’t know if that is the way the pillows will be raffled.
Mrs. K. saved my bacon by sending me more of the Pointillist Palette blue. I know she didn’t even intend to send it for the pillows. It is an old fabric and one that got me hooked on quilt fabric and building a stash. She sent me some reserves recently, I think, as a subtle way of encouraging me to finish the series of Pointillist Palette quilts. 😉 [As an aside, I found some of the blocks for the next in the PP series of quilts which means I can get started on them again.]
She saved me, however, because I am mostly out of dark blue prints. I don’t buy or use them much and whatever I did have I used for the Stars for San Bruno quilts. I didn’t think I had any dark blue and then I saw the one on the top in the above photo. It is perfect and DH approved.
Tension Problem
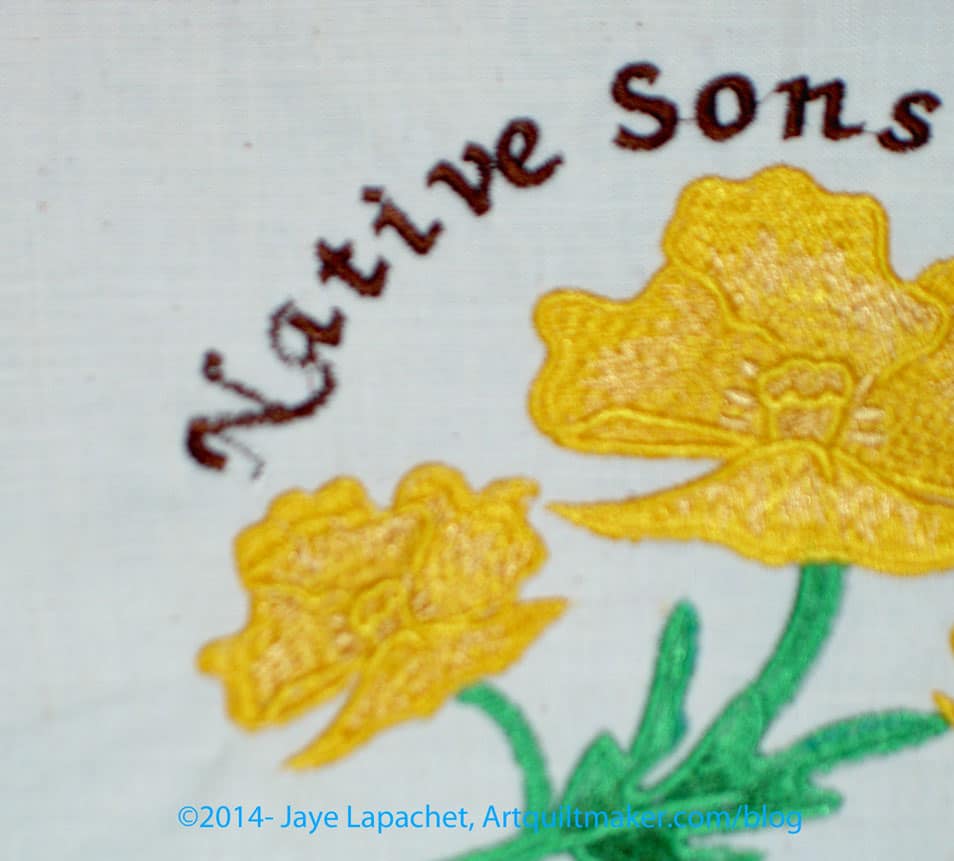
I noticed that SIL had a tension problem on one of the embroidered panels. Tension issues happen, even in the best of circumstances. We all know that. I didn’t think that people would notice immediately, but I also didn’t want any awkward questions later.
I had recently used my fabric markers, so I pulled them out. No brown. A number of them had dried up and had to be thrown out. The brown must have been among them. I have another set, but I couldn’t find it, then I remembered the Staedler set I received for my birthday a few years ago.
I carefully colored over the parts of the N (see above in the poppy panel) and the A with the brown. If you look closely you will see that the brown of the thread and the brown of the marker do not match. It is a very slight difference and I don’t think the Muggles will notice.
Then I just started sewing. I forgot to use batting, so the blocks are a bit thin, but I think they will be ok. I’ll try to remember for next time.
Yellow & Blue NSGW Pillows
One issue turned out to be that I didn’t have the forms. My SIL bought the forms and originally I thought I would just give her the cases, she would stuff them and all would be well. I got nervous, though and worried that they wouldn’t fit. I needed to check the sizing to be sure they weren’t saggy or too small.
To alleviate my fear, she brought them over and, fortunately, the forms she bought worked with the pillow covers I made. I didn’t have to make any adjustments.
Red & Blue NSGW Pillows
I really had to sew a lot less than I thought. I did a good job cutting the embroideries apart so they were fairly close to the finished size of the pillow forms. I had way more fabric than I needed.
I finished the last bits, stuffed them and took them to Grand Parlor where I told the boys to charge a lot for the tickets. The proceeds of the raffle went to the Charitable Foundation. We had a separate sale of pins and bracelets for Prostate Cancer Awareness (BIL has it).
2014 NSGW Pillows Complete
You can see photos from the event on Flickr or read more about the event on another blog.
The weather has been hot for us and for some reason the ‘crush’ has been on my mind. The crush is when grapes are harvested in the Napa Valley and, probably, other wine growing regions. Odd what comes to mind…
Post the direct URL (link) where your drawing, doodle, artwork is posted (e.g. your blog, Flickr) in the comments area of this post. I would really like to keep all the artwork together and provide a way for others to see your work and/or your blog.
We are also talking about this on Twitter. Use the hashtag #CPP
The Creative Prompt Project, also, has a Flickr group, which you can join to post your responses. I created this spot so those of you without blogs and websites would have a place to post your responses.
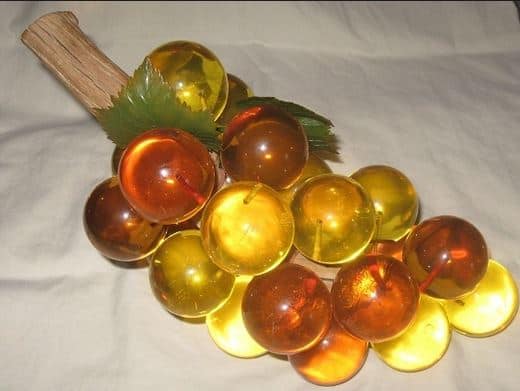
Did your elderly auntie have a decor item of glass grapes in an amber color?
grapes runescape
growing grapes
Cesar Chavez
Gallileo Gallilei quote -“The Sun, with all the planets revolving around it, and depending on it, can still ripen a bunch of grapes as though it had nothing else in the Universe to do.”
white grapes
grape juice
grape (color)
Grape (The Groovy Adaptable Packaging Engine or Groovy Advanced Packaging Engine)
Sour Grapes (1998 movie)
Good for Grapes (folk band)
bunch of grapes
grapevine
The 1965-1970 Delano Grape Strike and Boycott On September 8, 1965
table grapes
purple grapes
organic grapes
California Table Grape Association
sour grapes (phrase)
Quote by Kathleen Mifsud– “Men are like a fine wine. They all start out like grapes, and it’s our job to stomp on them and keep them in the dark until they mature into something you’d like to have dinner with.”
Some theatre we visit occasionally has a “First Look” feature. It is one of the half hour’s worth of ads that plays before the movie actually starts! This is your first look at Fabric of the Year 2013.
I want to stress FIRST look. I have a long way to go to get this quilt top pieced. There is a lot of rearranging that needs to happen.
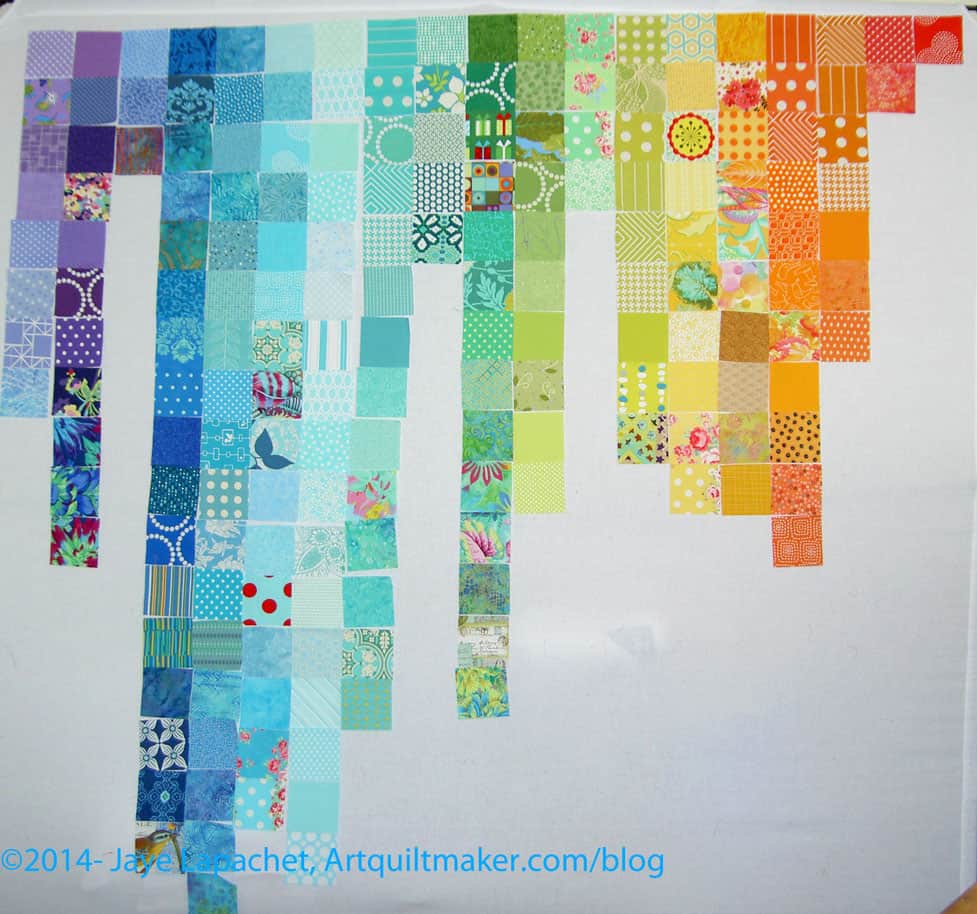
The first step to get to the first look was that I had to get the squares out of the Fabric Closet. That was pretty easy, so I sorted them into rough color piles, e.g. ROYGBIV plus grey, black and white.
Pink Chalk Fabrics sends a post card with an order. It has some gorgeous piece on the front and sizes of quilts on the back. I saw the lifestyle shot on a post card I received from them. After getting FOTY 2012 back, I knew I needed to do something a little different. How could I compete with that quilt? At some point in the FOTY 2013 cutting process, I put the squares and the image on this postcard together in my head and decided to arrange the piece in a similar fashion.
Then I got out the post card that is inspiring this piece and started putting them up on the design wall. I just slapped them up, only further sorting roughly into light, medium and dark.
First observations:
The picture above may not even begin to resemble the finished quilt.
I couldn’t fit the pinks on the design wall
Even though the Basic Textures by Patty Young (used on Fresh Fruit) are all the same value, they can’t all be next to each other.
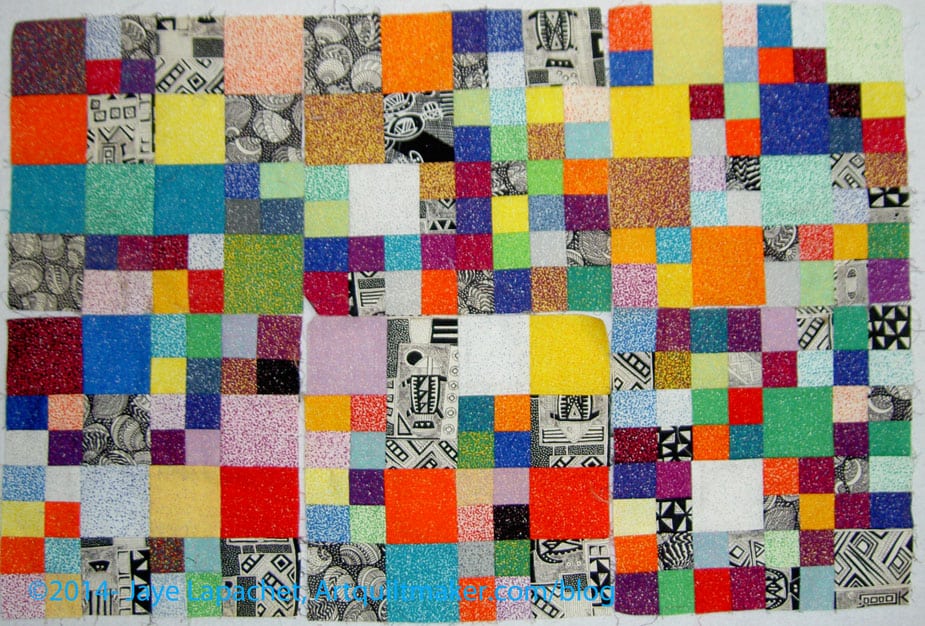
I don’t really even remember when I finished the last Pointillist Palette quilt. The late 1990s? It had some reproduction fabrics in it by Jinny Beyer, maybe? there are 3 quilts in the series and I think I had planned 6. I don’t know if #5 or #6 will ever be made as the bloom is somewhat off the rose after all of the these, but I am more interested in finishing #4 now that I have found some blocks.
Pointillist Palette #4 Blocks
Fortunately, the fabrics have held up well and are somewhat timeless.
This quilt in the series is called night and the black and white fabrics in it are supposed to represent that. I took apart a back of #2 or #3 so I could use the fabrics in this quilt. TFQ thought I was insane and I probably was since I didn’t actually finish the quilt…yet.
 – I washed and pressed another bunch of fabric. It made more of a difference than I expected and I had some fun doing it. I still have a lot to do.