Updated 2026 – This update uses two different projects to illustrate the process.
I started out with Jeri Riggs’ directions sometime in 2009, which Maureen pointed out to me. You need those directions. I made changes to her process. My additions to Jeri’s post comprises the info below.
You need to know the length of each side of your quilt before you start.
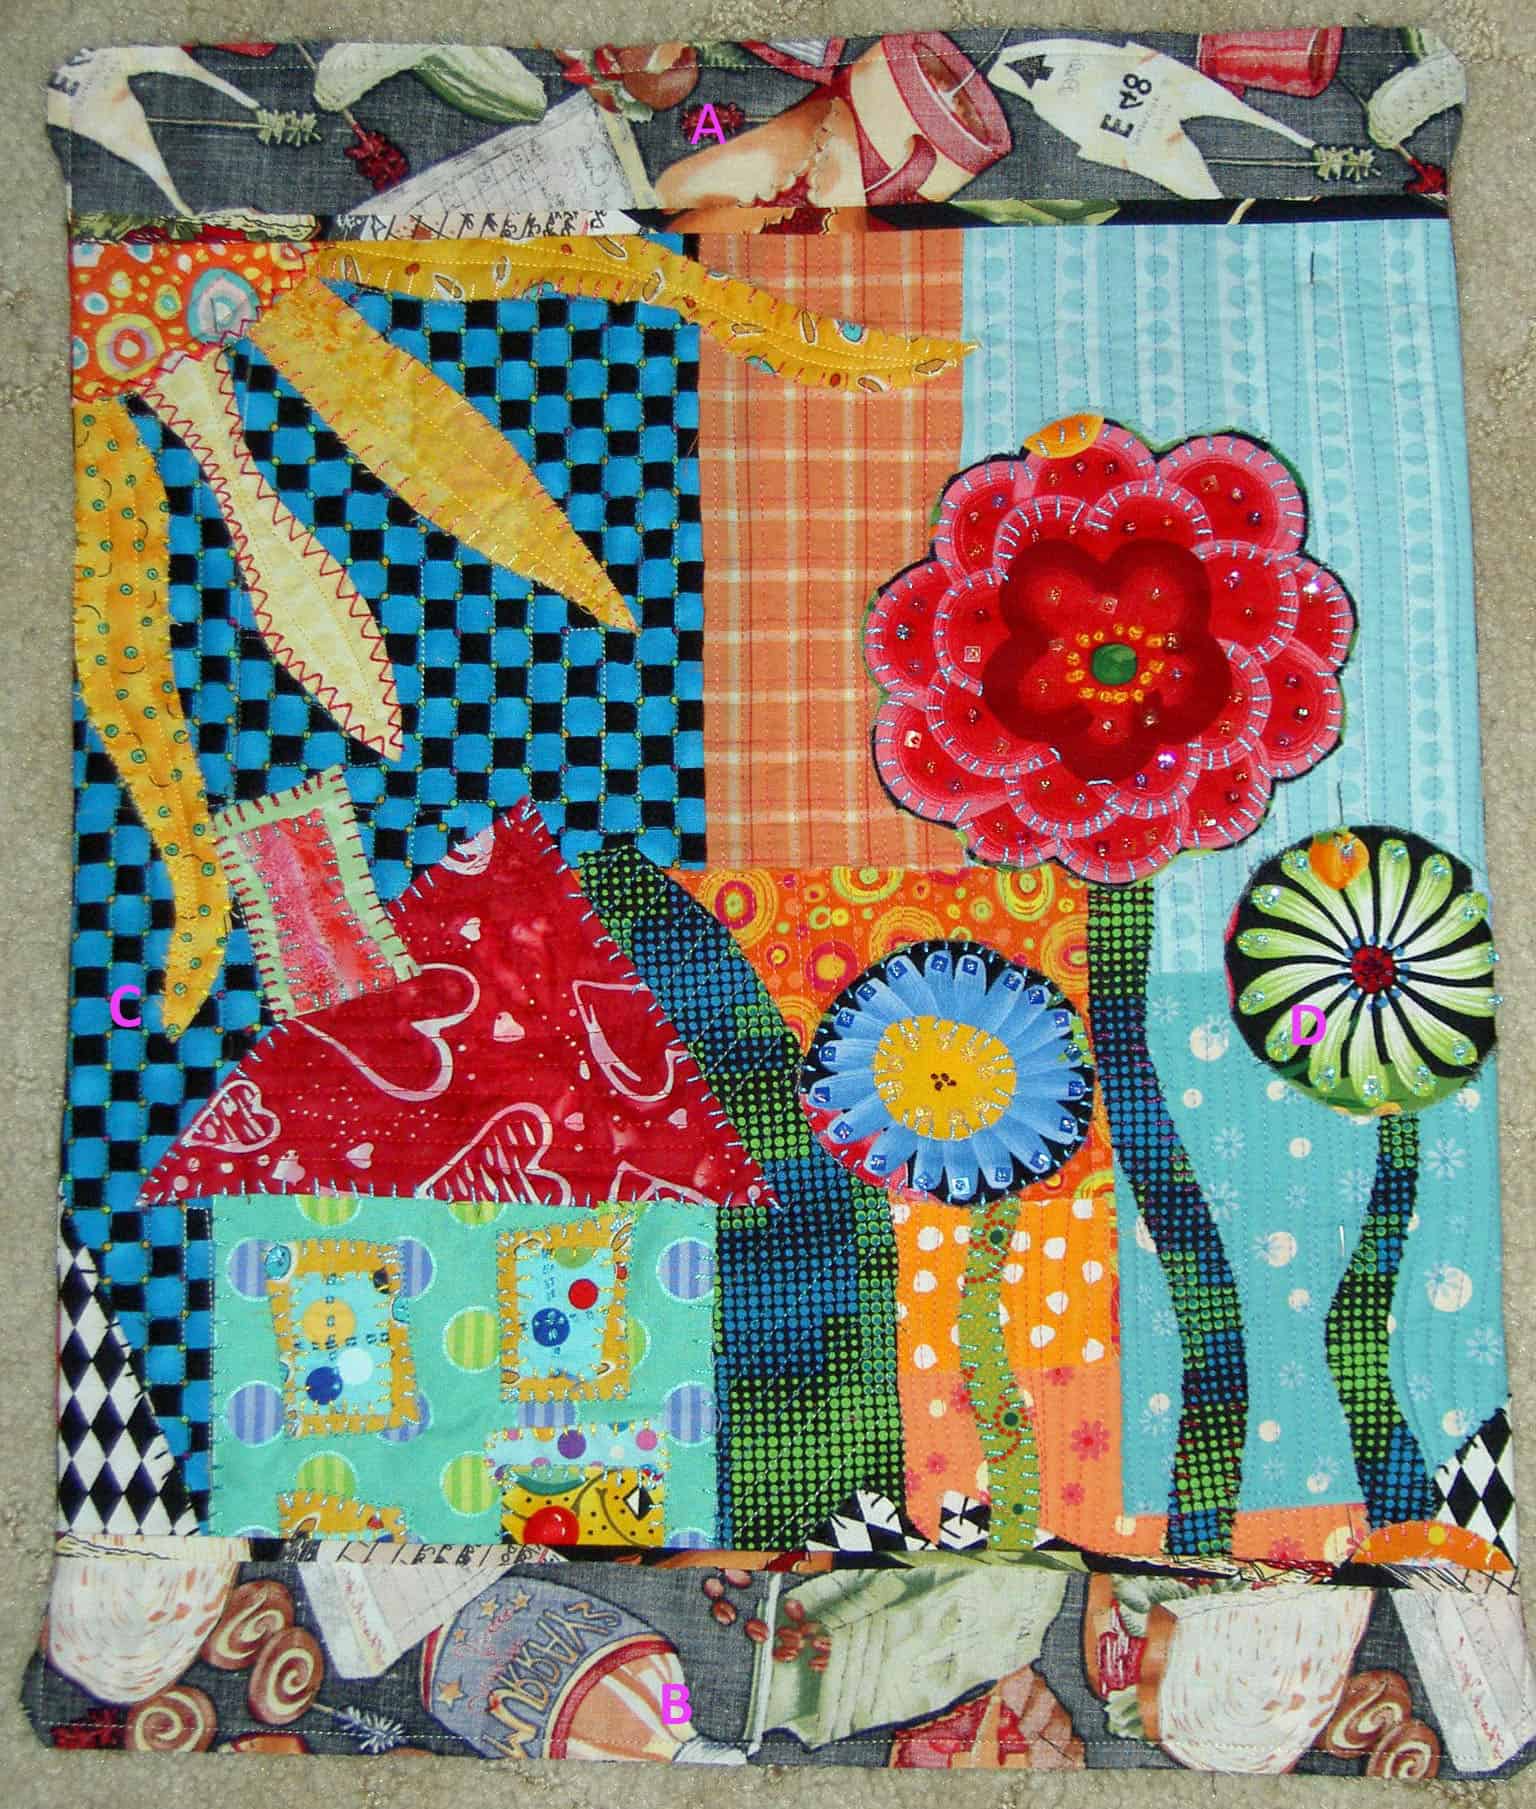
A=Top of quilt
B= bottom of quilt
C/D= sides of quilt
Enlarge the photo below to get a visual of which side is which.
Cut your facing pieces as follows:
A: 4-5 inches x width of quilt
B: 4-5 inches x width of quilt
Jeri uses 2.5 inches for her width and presses in a hem. I didn’t want to press a hem, so I doubled the width of the facing (the 4-5 inches number) so I could fold it in half and wouldn’t have to press a hem. This also means the raw edges are secured under a machine seam. You can do it either way.
You can also change the 4-5 inches size of the A/B pieces depending on whether you have a large quilt or a small quilt. I used 5 inches on my 1-2-3 Mosaic table runner and it felt really large. If I were doing it again, I’d use 4 inches.
-
-
- 5″ is my starting point and I look at the size of the quilt and adjust from there.
- You want to be able to double the fabric so you don’t have to make a hem, as mentioned.
- You also do not want the two hems of the facing to meet each other in the center of the quilt, which could happen if the quilt is small.
-
C: 5″ x width of quilt minus 3-4 inches
D: 5″ x width of quilt minus 3-4 inches
One of the things I really had a hard time understanding in Jeri Riggs’ tutorial was the difference between what I needed do on the top/bottom (designated as A and B) versus the left/right sides (designated as C & D). The whole idea for the different facing sizes is to reduce bulk in the corners.
Make the C/D pieces shorter because you want to reduce the bulk in the corners. The C/D pieces need to be covered by the A/B pieces, but only by enough so there are no raw edges. Before sewing, the C/D facings will be positions on top of the A/B pieces.
Cutting facings: For the A/B (top/bottom) of the quilt cut a facing rectangle that covers the entire top or entire bottom from side to side and is your preferred width. I cut mine, as noted above 4-5 inches for large quilts multiplied by the width of the quilt. Adjust as necessary.
-
-
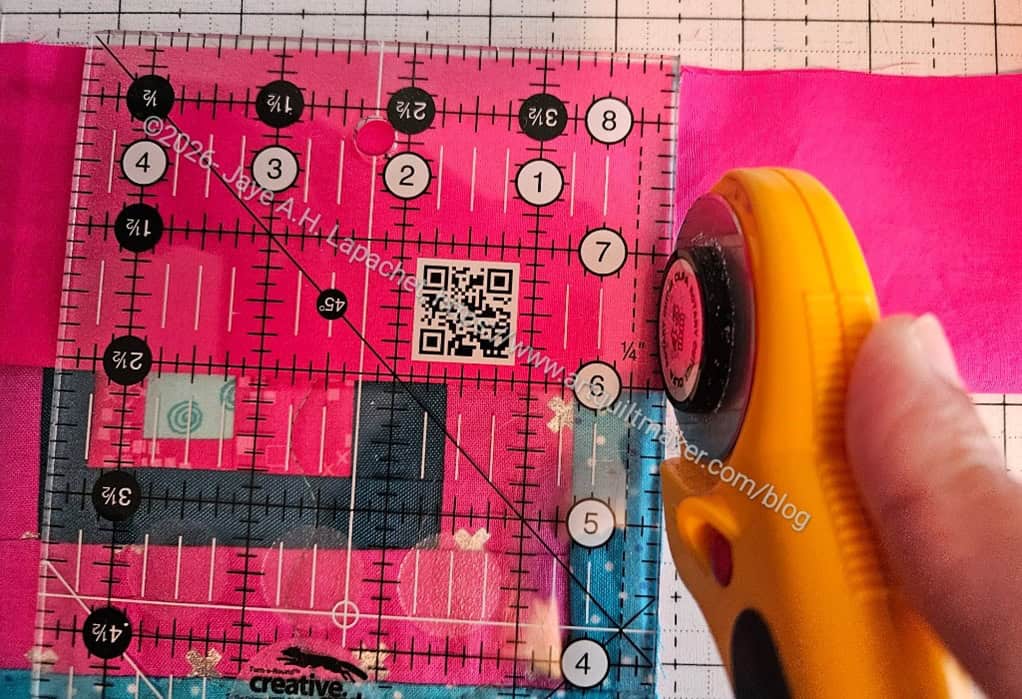
- I cut the A/B pieces a little longer (mostly because I am too lazy to measure more than approximately unless I MUST). Trim off most of the excess after pinning the facing to the top and bottom. Instead of following Jeri Riggs’ directions by pressing a 1/4″ on the long side of the facing, fold your strip in half and pin the raw edges side to the edge of the quilt.
-
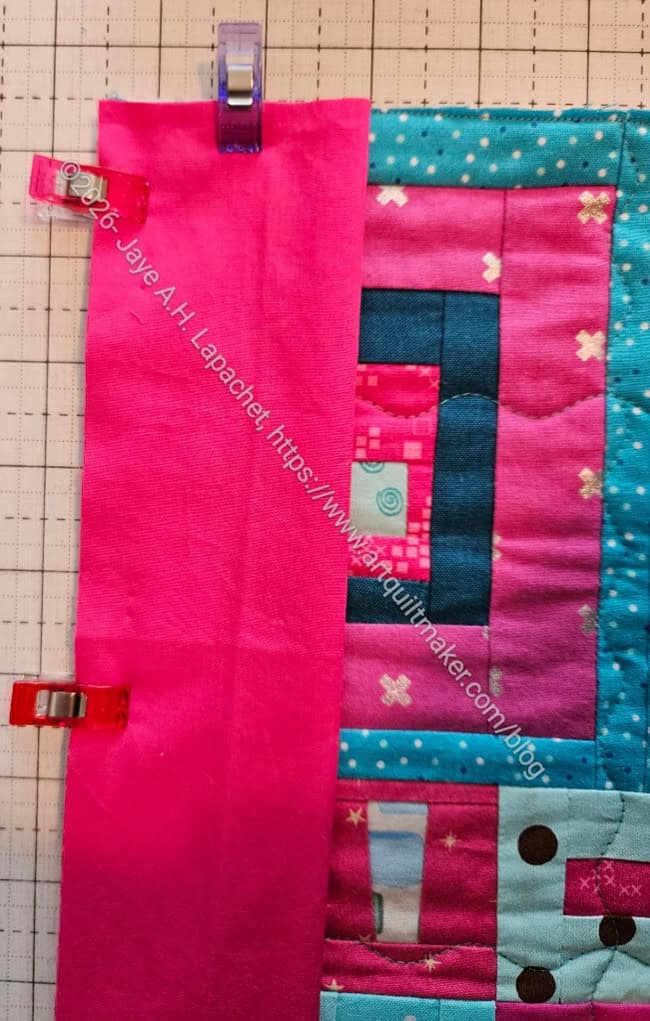
The photo, left, shows the trimmed long (edge to edge) facing clipped to the side of the quilt.
Sewing

Once the facing pieces are laid out, trimmed and pinned, I machine sewed one facing to the top (A) and the bottom (B).
-
-
- Note on the sewing: The key is to sew starting on the short side of the A/B facing starting at the edge of the shorter facing. Above you can see the stitching starting about half an inch before the edge of the short side.
- Sew around the corner like you are sewing on a binding.
- Continue on the long side (very top of the quilt t0 Side A), go around the corner and continue along until you reach your starting point.
-

Nota bene: The only reason I flipped the bottom of the quilt over (photo right) is because I have a small sewing table. You don’t need to do this. If you have a large sewing table, you only need to flip it if it is creating drag on the quilt as you sew it.
Nota bene: This is a small piece and I would recommend trying the process out on a small piece so you get the feel of the process. If you have an unused machine quilting test piece, it would be a perfect piece to use to try this technique out.
On Sides C & D, only sew along the long side of the facing. The raw edge of the short side of the facing will be covered by facings on Sides A & B once you flip the facings to the back.
Now the machine sewing is complete and you are ready to flip the facings to the back of the quilt.
Optional: trim diagonally across the corners
After you complete the machine sewing you flip all the facings to the back.
Press the edge of the facing (where you machine sewed) so that the facing stays on the back.
Poke out the corners .
If necessary, pin the facings to the back of the quilt. This keeps it in place until the hand sewing is complete.
Hand sew the facings to the back of the quilt.
-
-
- Keep the facing in place with your hand, as needed.
- Watch out for pins as you sew. I seem to scratch myself if I am not careful.
- Avoid sewing all the way through the quilt.
-

The picture to the right shows the quilt after I flipped Sides C & D. Look at the bottom right hand corner (by the green olive) and you can see the seam with the batting.

The picture below shows how the piece looks after you flip all the facings.
The picture above also shows how the quilt looks when the facing has been completed.
One thing about this process is that the facing becomes a design element on the back depending on what fabric you use. In House & Garden, above, I used the same fabric for the facing that I used for the back, which made it less obtrusive.
Thanks for posting this helpful tutorial. I know when I get ready to try it, I’ll come back to read it again!
Beena: Do try it and let me know how it works for you. I already got some feedback on a part I need to clarify, so I will do that.
Hi Jaye! I’m glad the instructions worked so well and enjoyed seeing your discussion of facings. It is really easy once you get the hang of it! Be sure to clip the corners for the sharpest finish. I used strips of Wonder Under to hold the facings in place before hand-sewing, but some braver souls dispense with the hand sewing and just fuse. It is up to you!
Thanks for the mentions!
Thanks for reading, Jeri. I did clip the corners and will make sure I mention it to my readers. Where did you learn to do this? Did you make it up? It kind of reminds me of stretching a canvas.
Hooray, it works! I just tried it and love how it looks. Thanks for the help with the directions.
Oh! I am so glad. Do post so I can see what you did. How do you like the look?