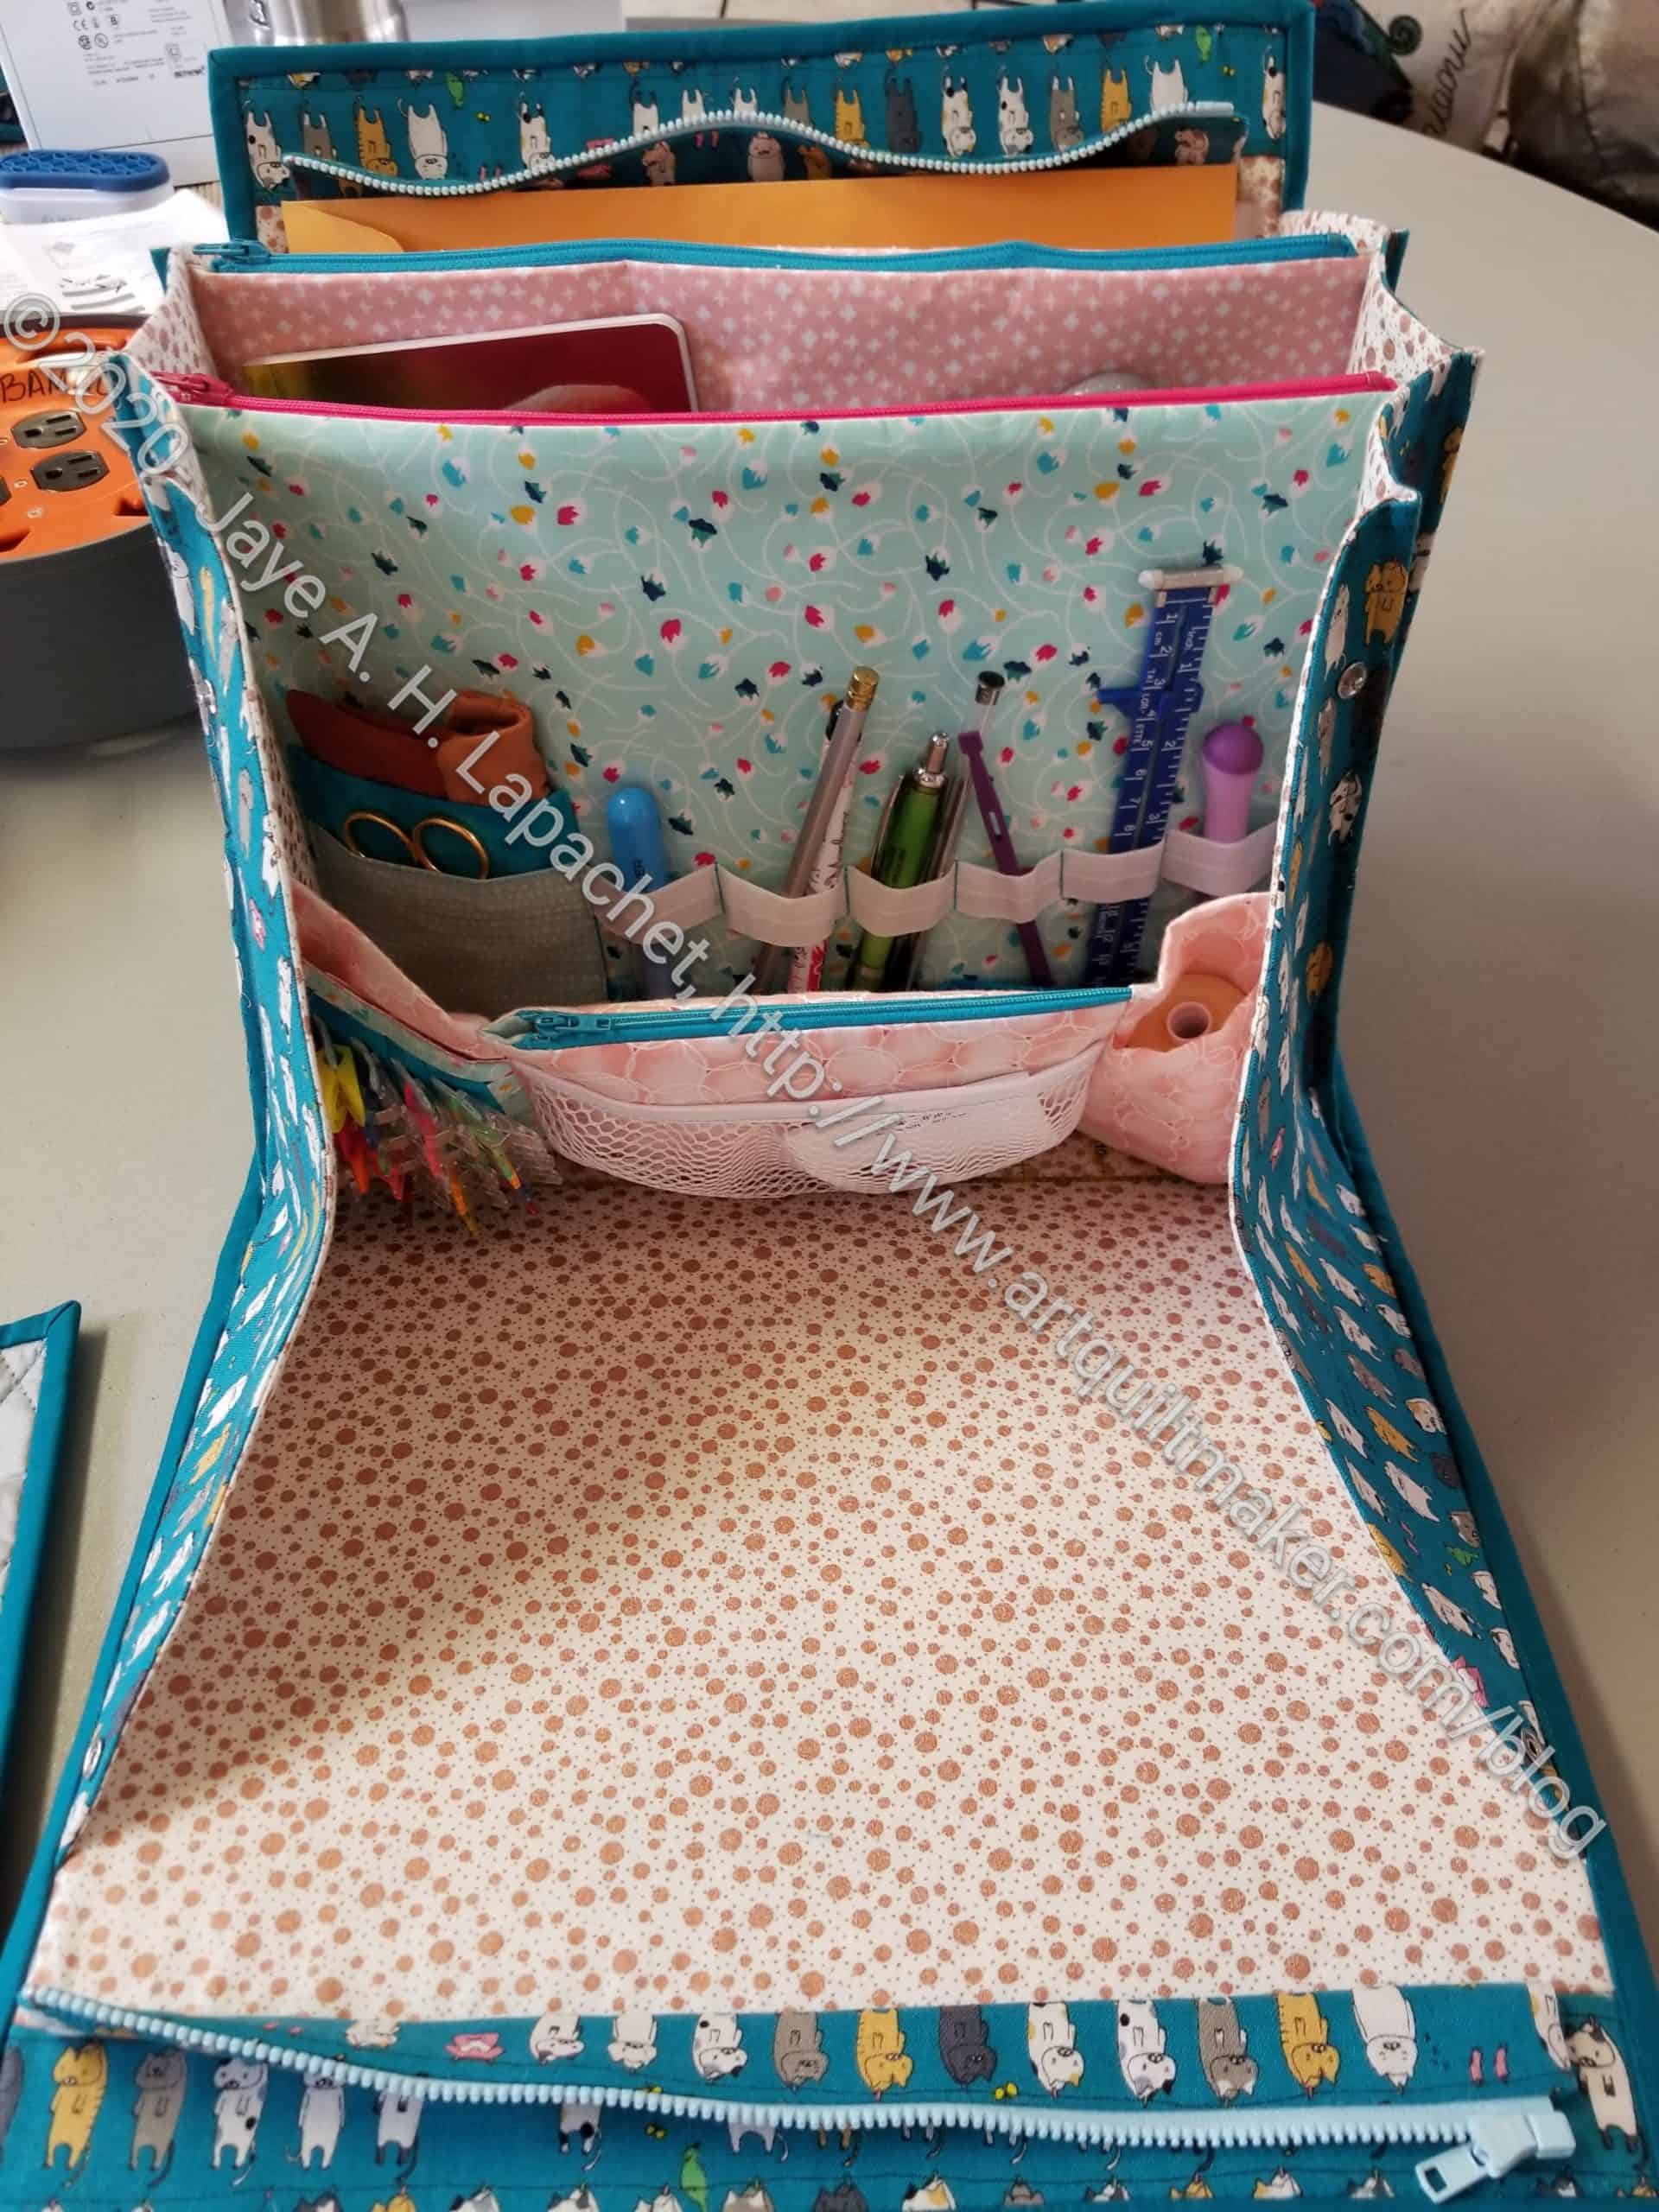
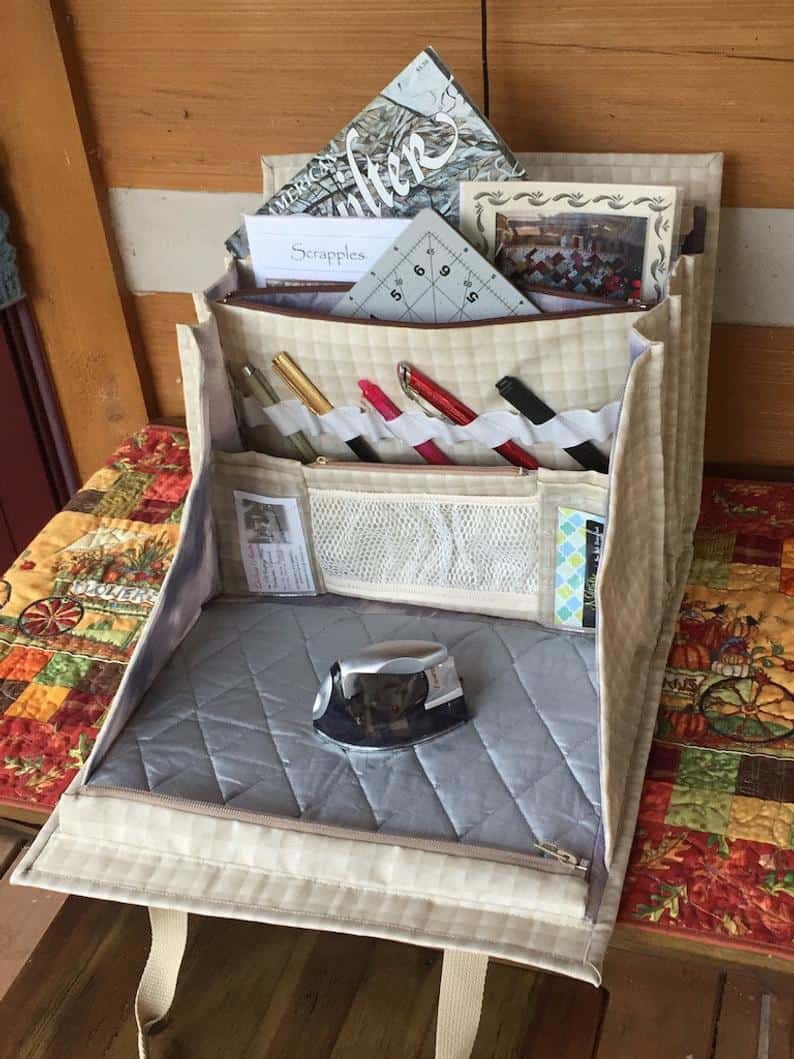
Last year at the guild Lynette and I started leading a sew-along with the Ultimate Carryall Bag pattern from Natalie Patton. The pandemic kind of blew the idea out of the water in the sense that we had thought about it. I decided that we needed to get back on track, because people had bought the pattern and cut out the pieces. On Sew Day earlier this month, I went into a Zoom breakout room and gave people a tutorial on making one of the large pockets.
In order to sew along, you will need:
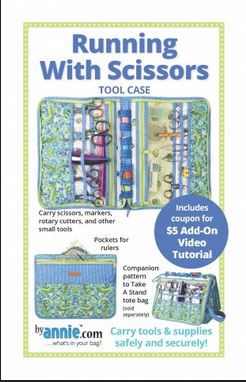
- Purchase the pattern
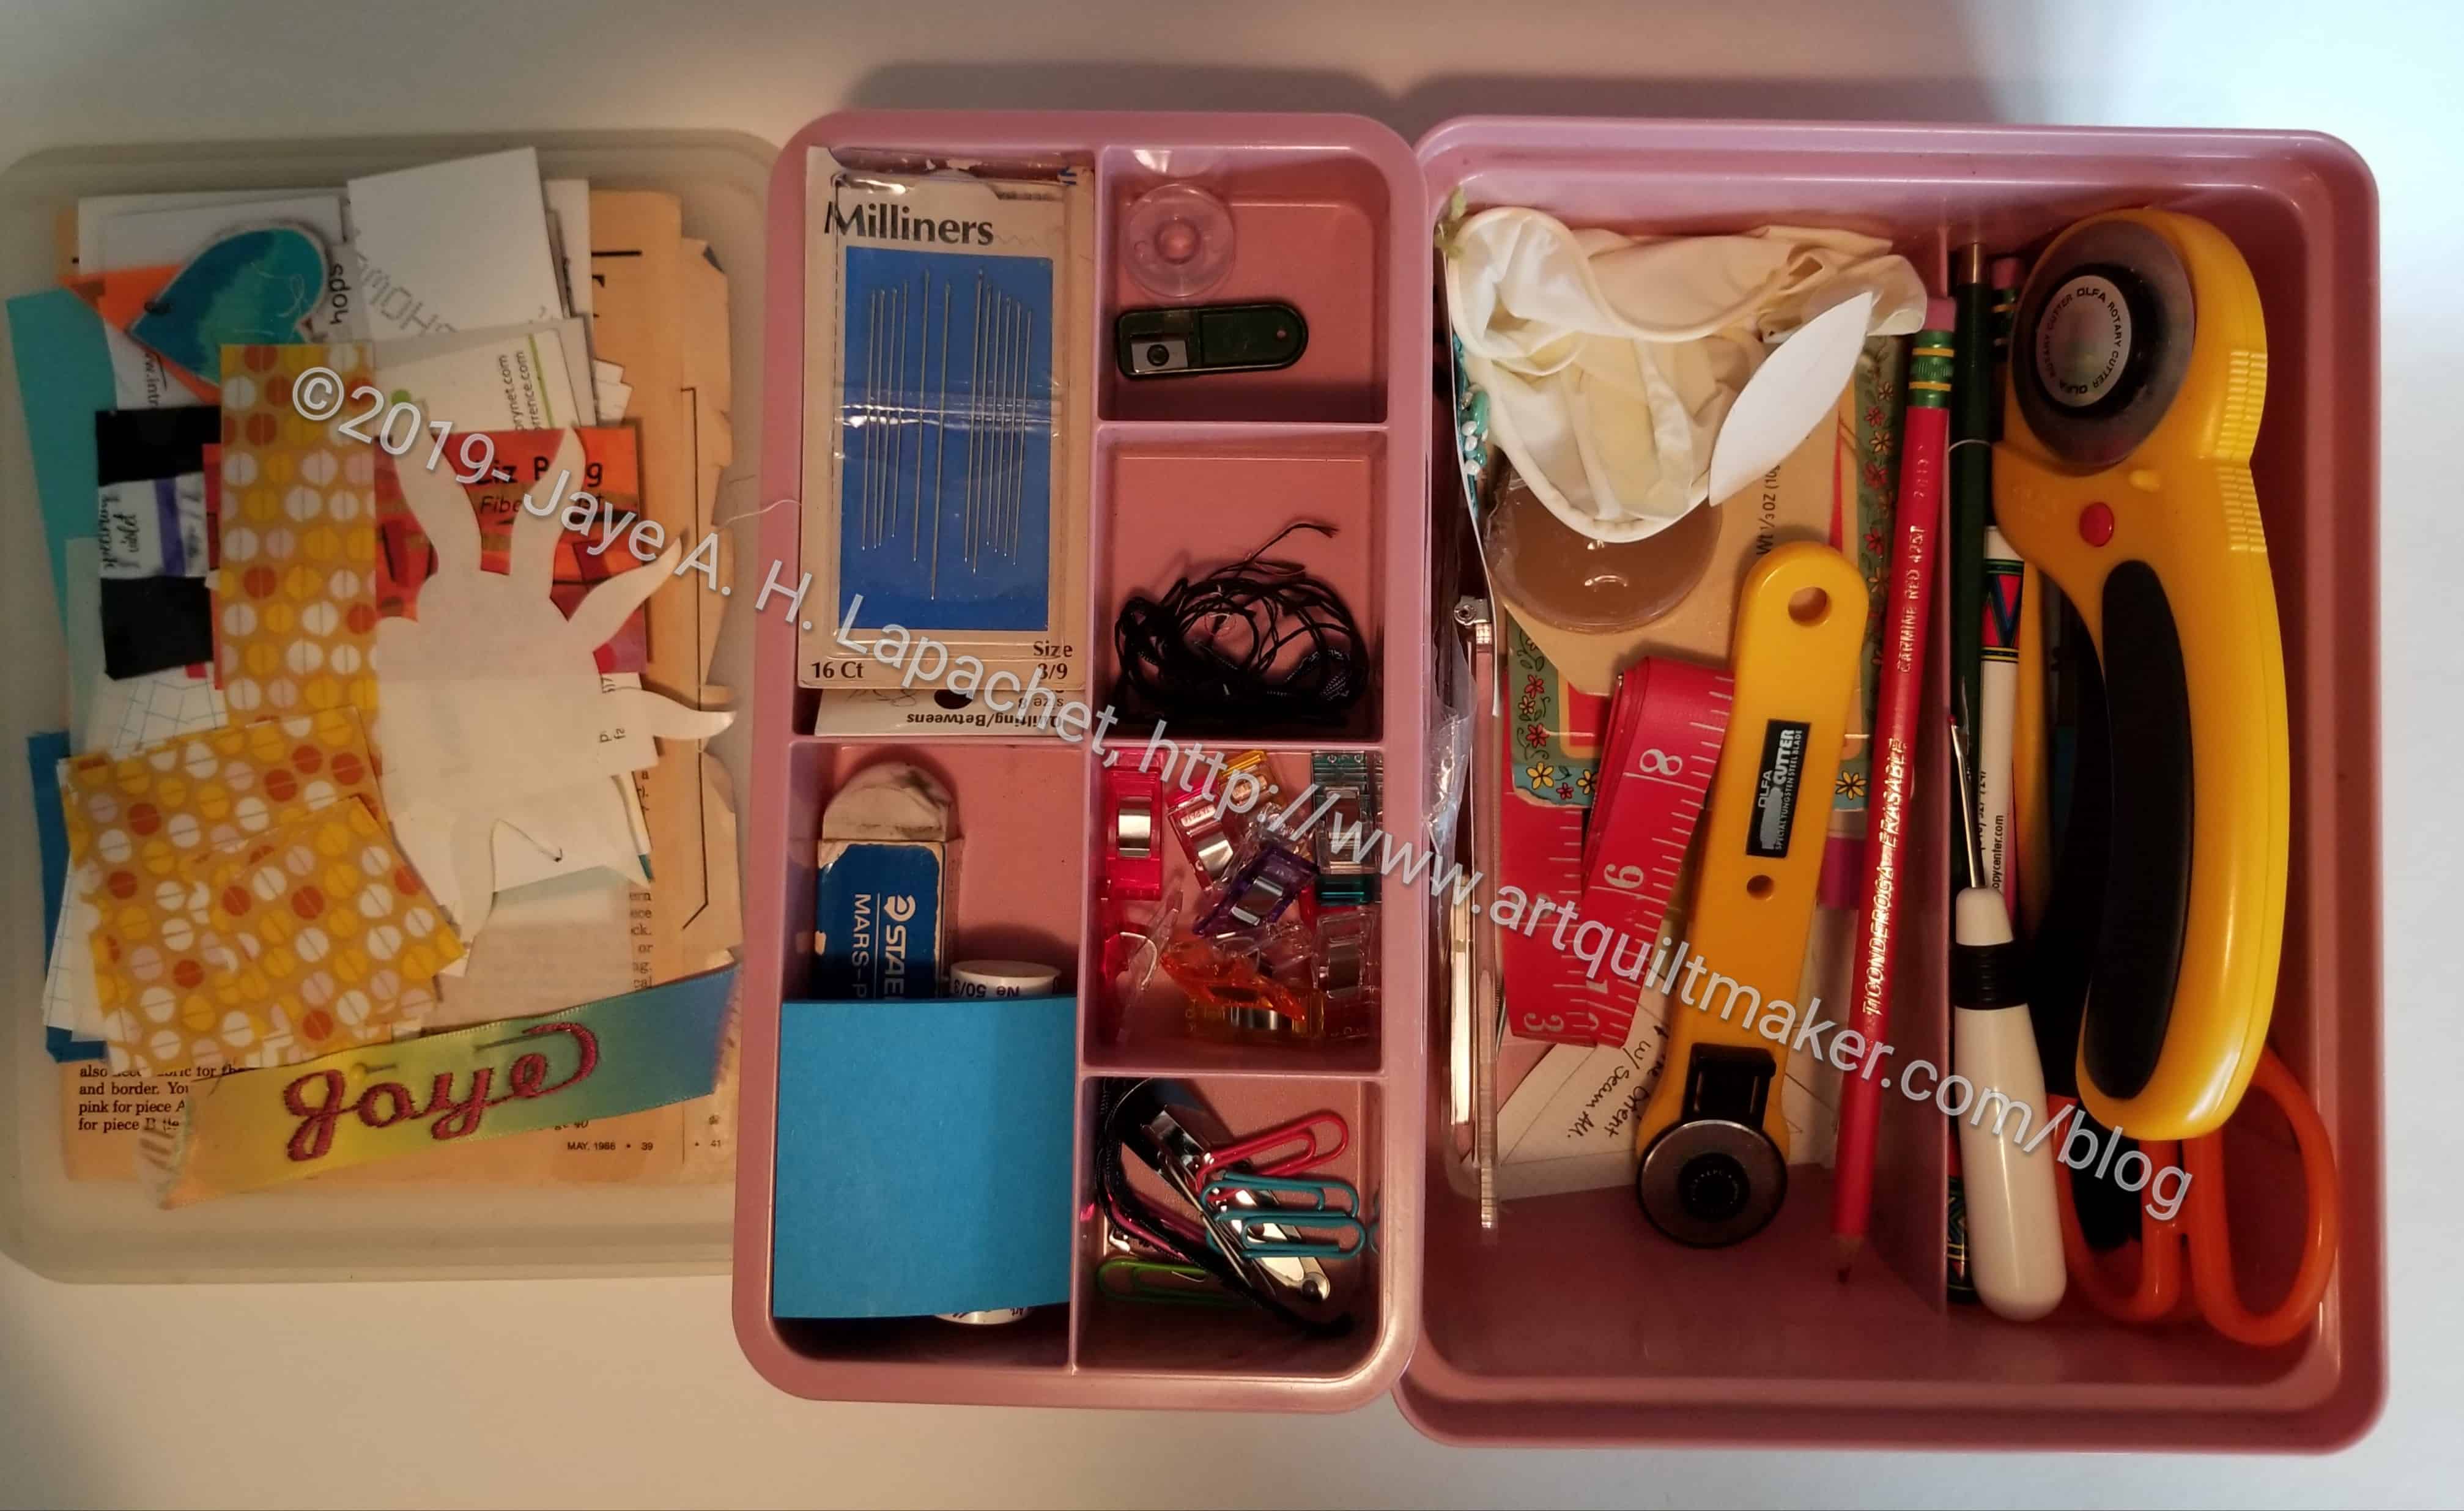
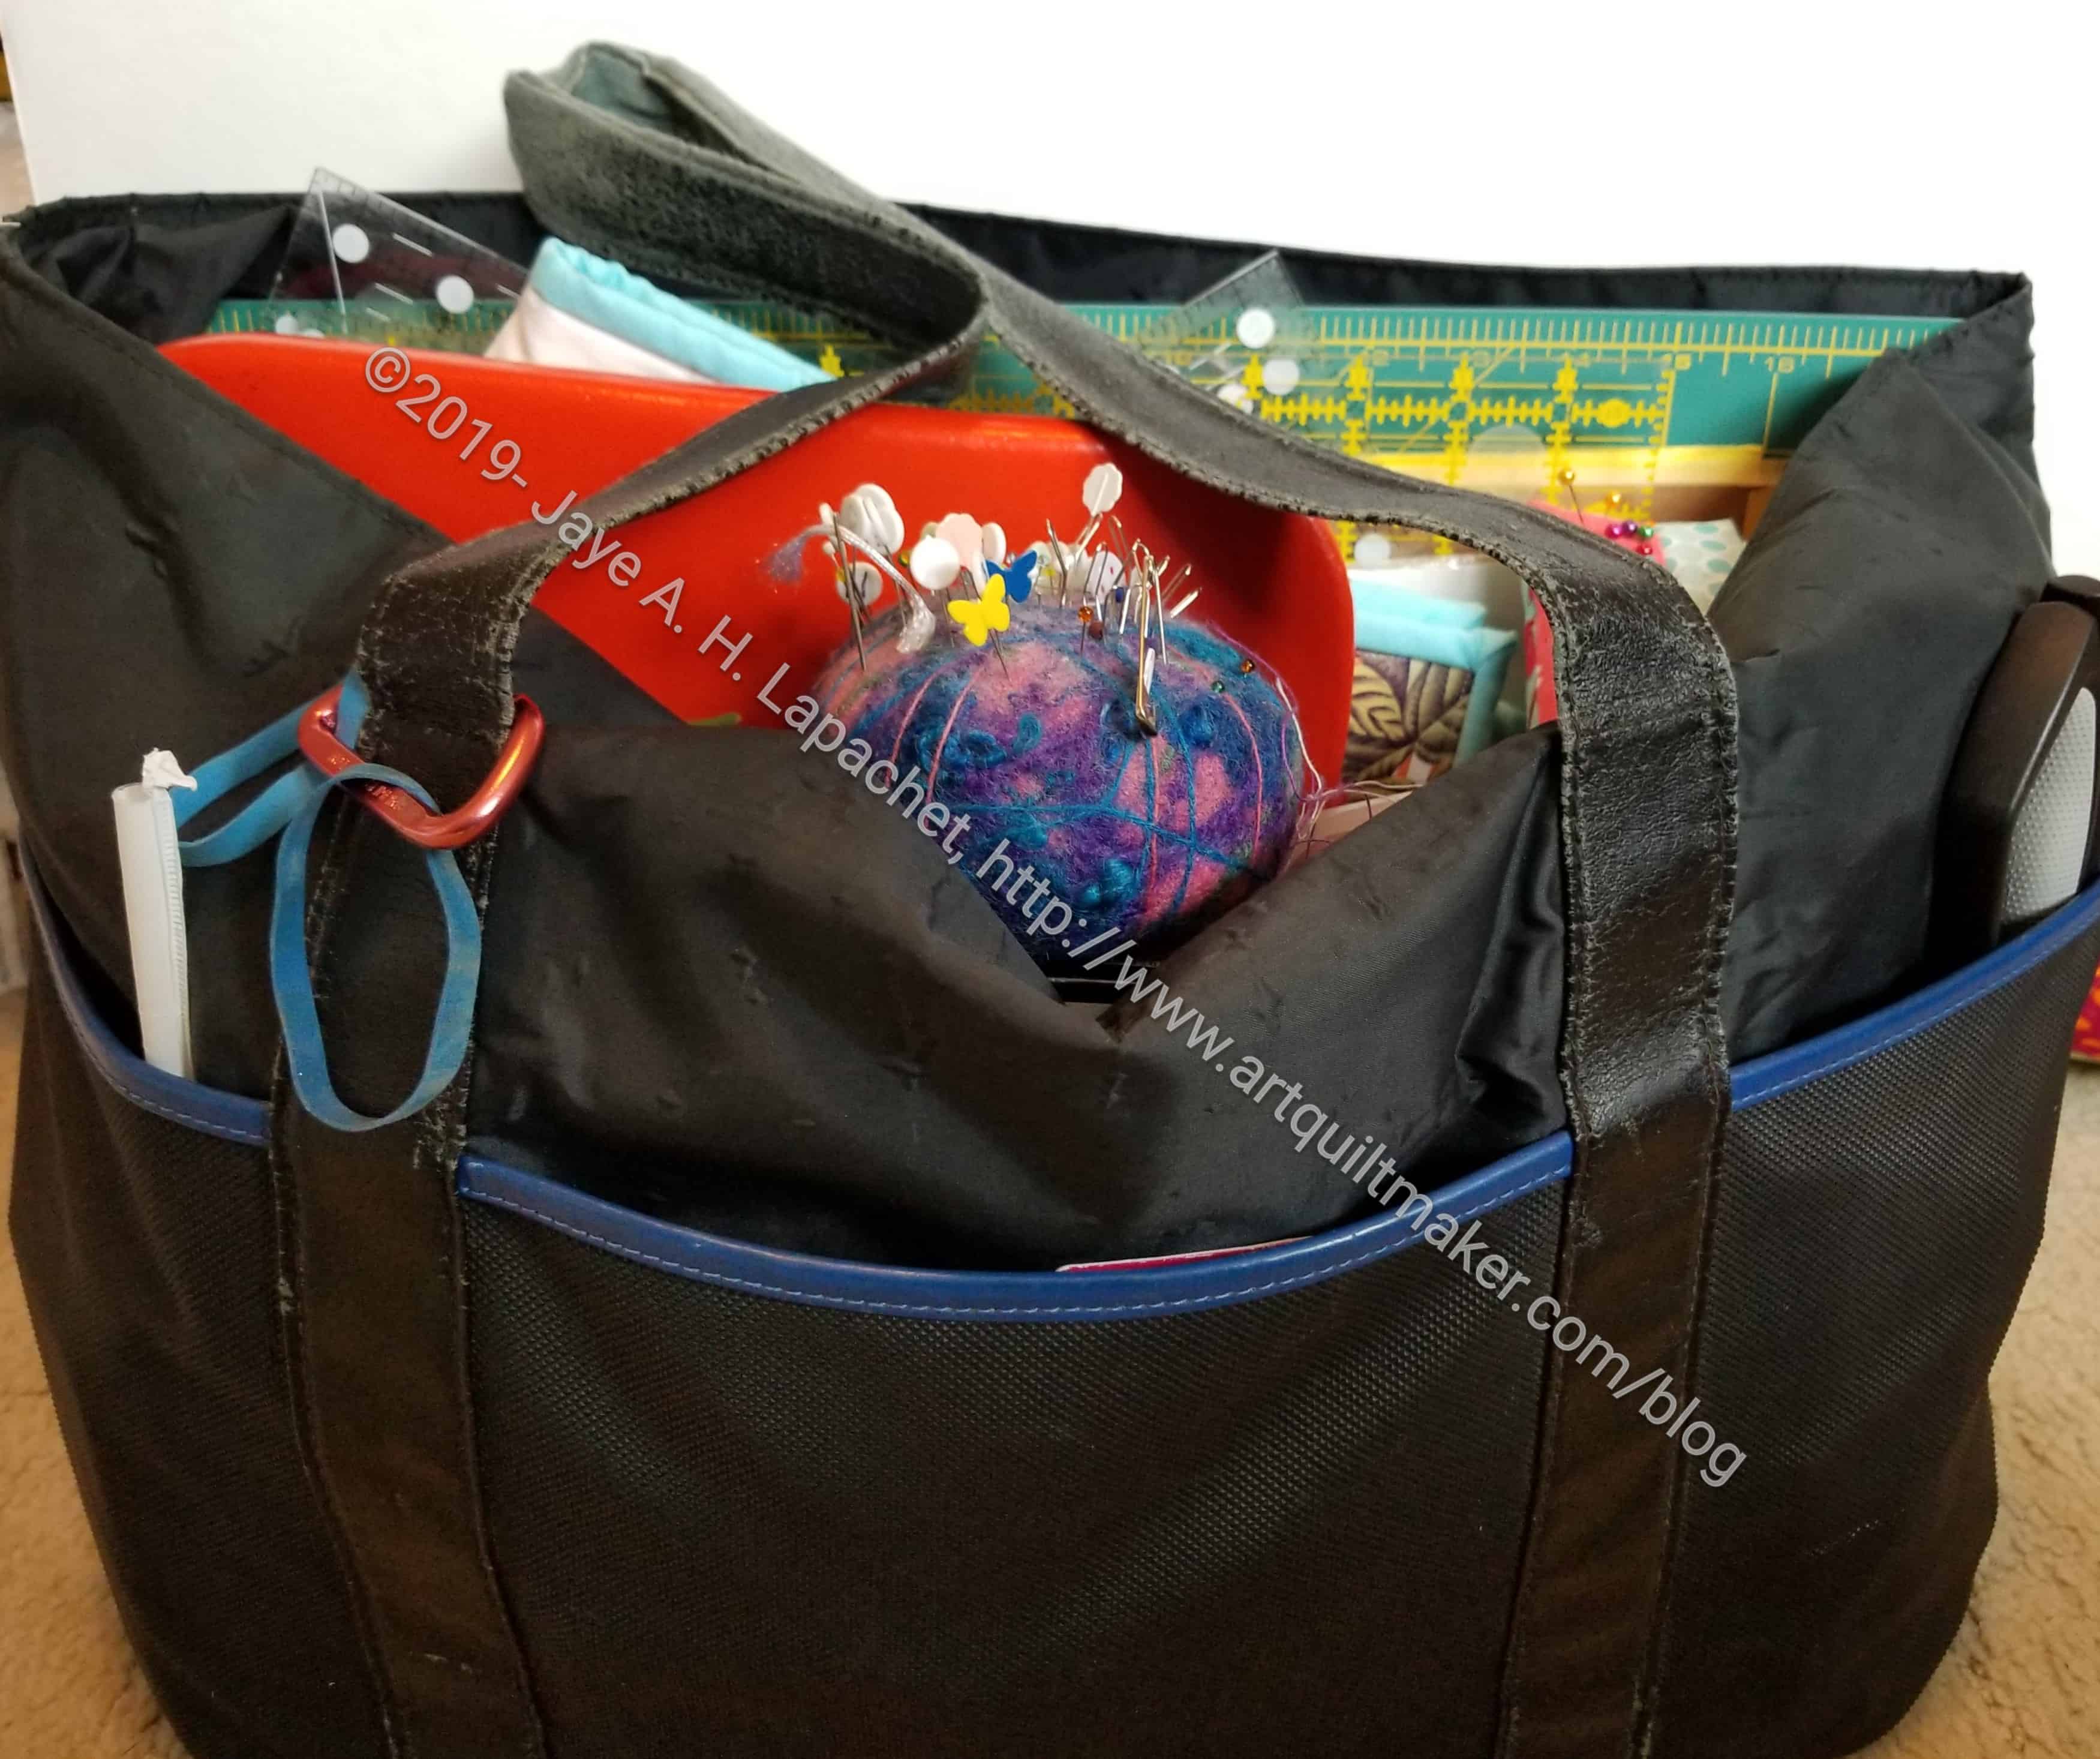
- Gather your supplies
- Cut your fabric
You can find more information at the following links:
- Tour of the bag -Instagram
- Bag-a-Long project post – 9/27/2019
- Thoughts behind the bag – 8/7/2019
- Find all posts about this bag by using the hashtag, Ultimate Carry All Bag
Today we are starting to make one of the large pockets. We will work on the front pocket.
Tutorial:
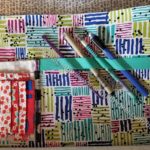
First, mark all of your pieces using the tags that Lynette made.
Next, go through your pattern and mark all references to cut pieces with the numbers Lynette created. If you don’t do this, you will have no idea which pieces I am talking about.
N.B. I am using two different pockets, which use different fabrics, to illustrate this tutorial.
Supplies for this step:
- Basic Sewing Kit
- Foldover elastic / double fold elastic
- Mesh
- Sewing machine
- Thread to match mesh binding
- WonderClips
- 12″ Zipper
Note: I am just calling out a few supplies. You will need to check the pattern for a full list of supplies
With everything assembled, you should be ready to sew.
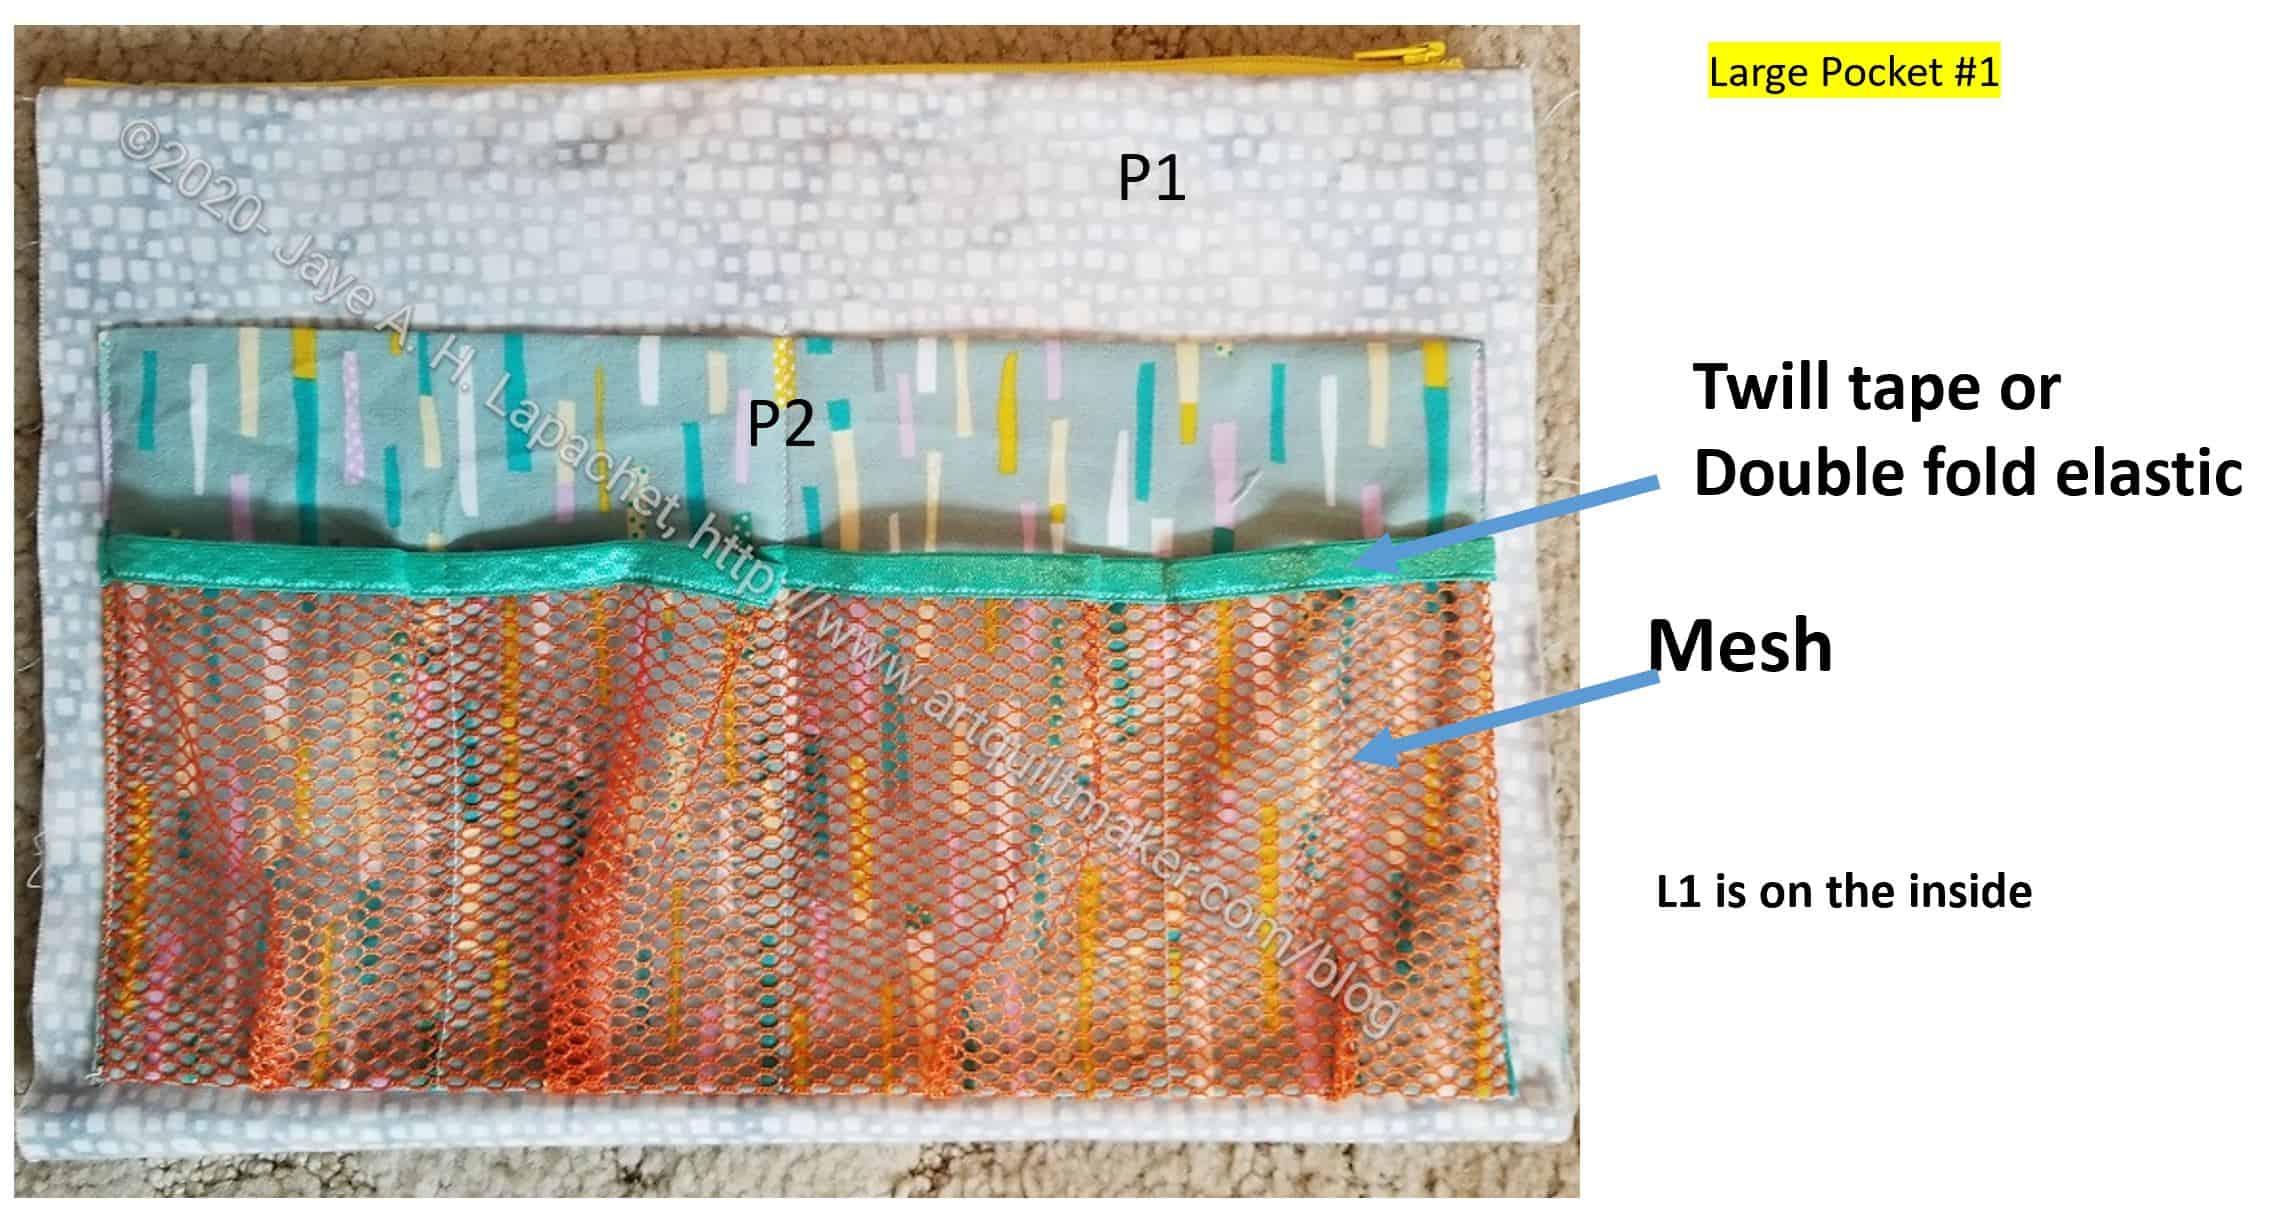
N.B.: instead of twill tape, I use ByAnnie’s double fold elastic (AKA fold over elastic). I like the way it matches the mesh and I like the way it folds over exactly in half so I can machine stitch it. If you are using Twill Tape, you will have to bind the mesh in best way you know.
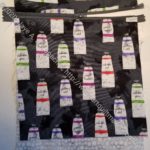
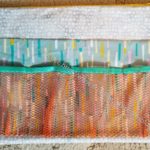
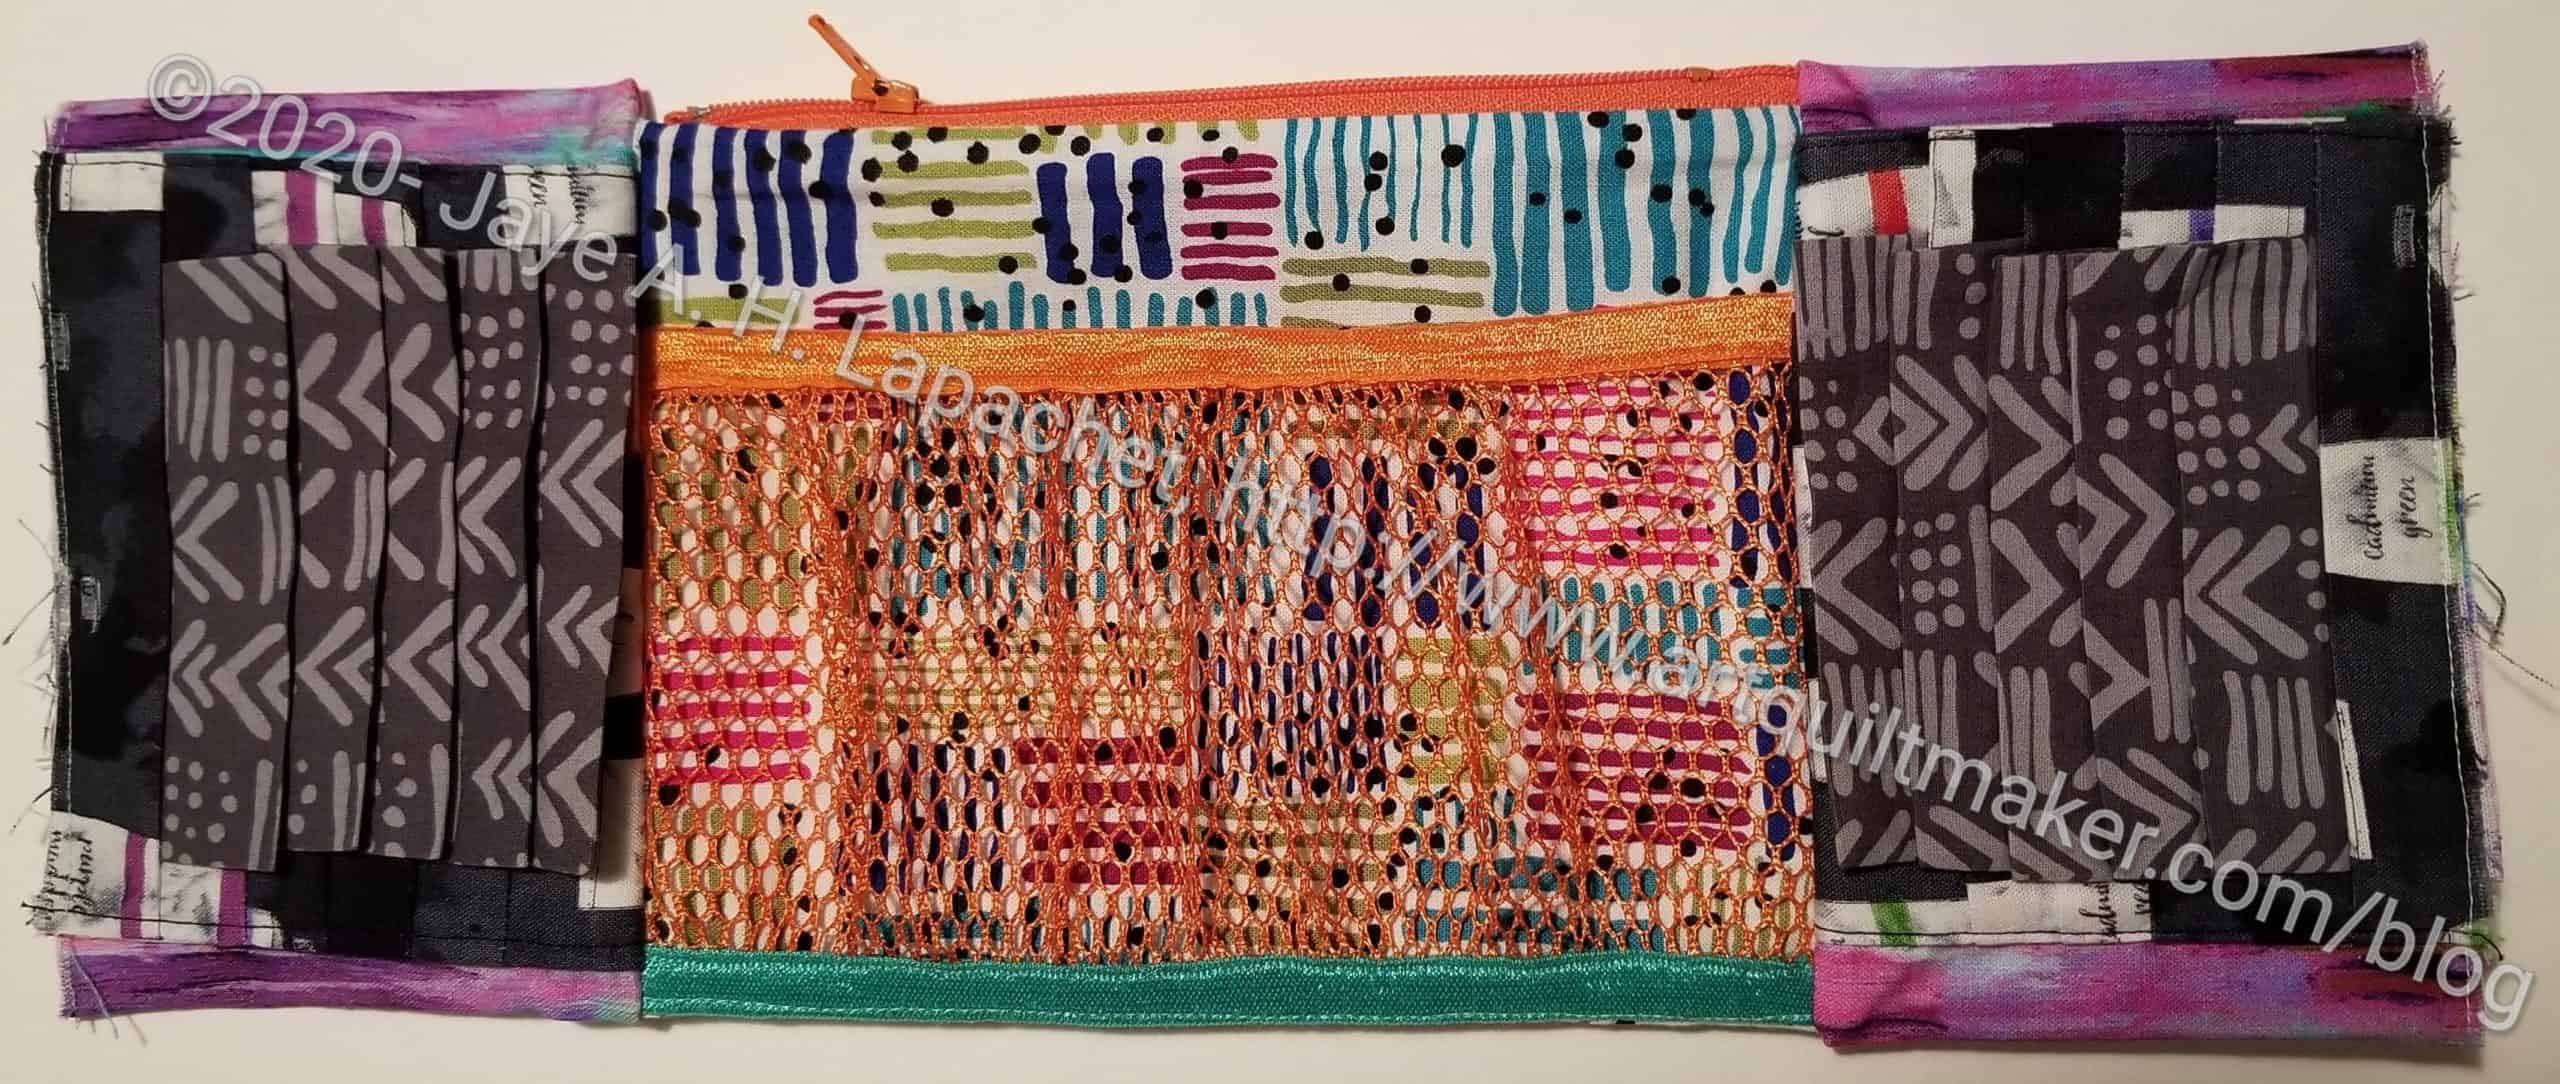
Mesh Pocket
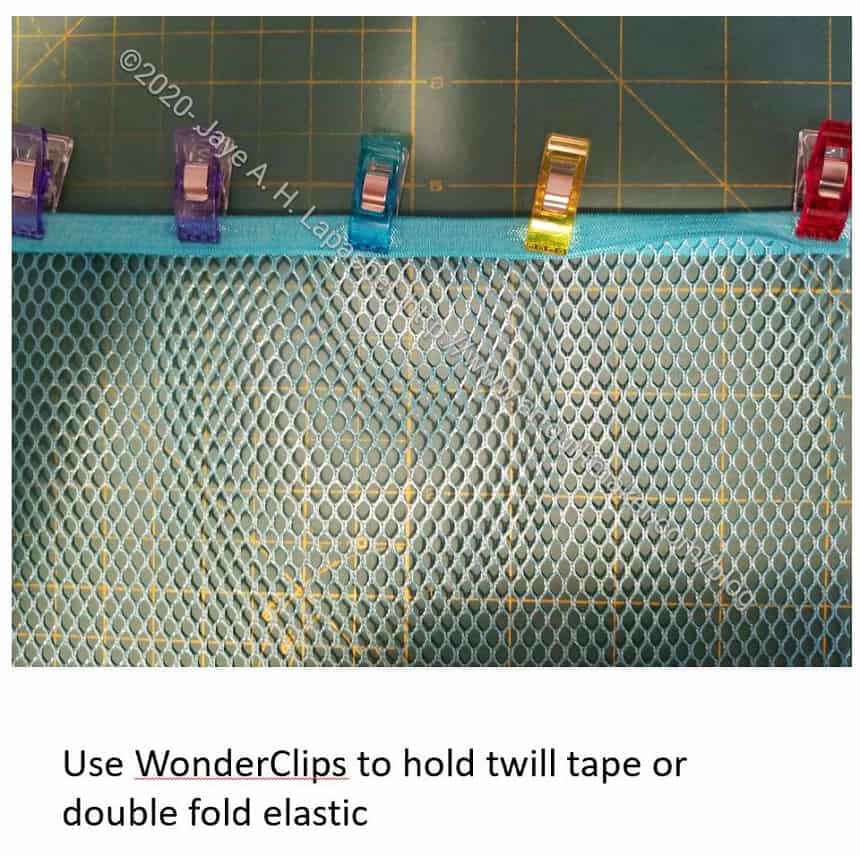
The first step is to bind the top of the mesh pocket. Take the fold over elastic and fold it in half. Use WonderClips to hold the elastic in place.
Using matching thread, sew along the edge of the binding closest to the mesh. I used a straight stitch.
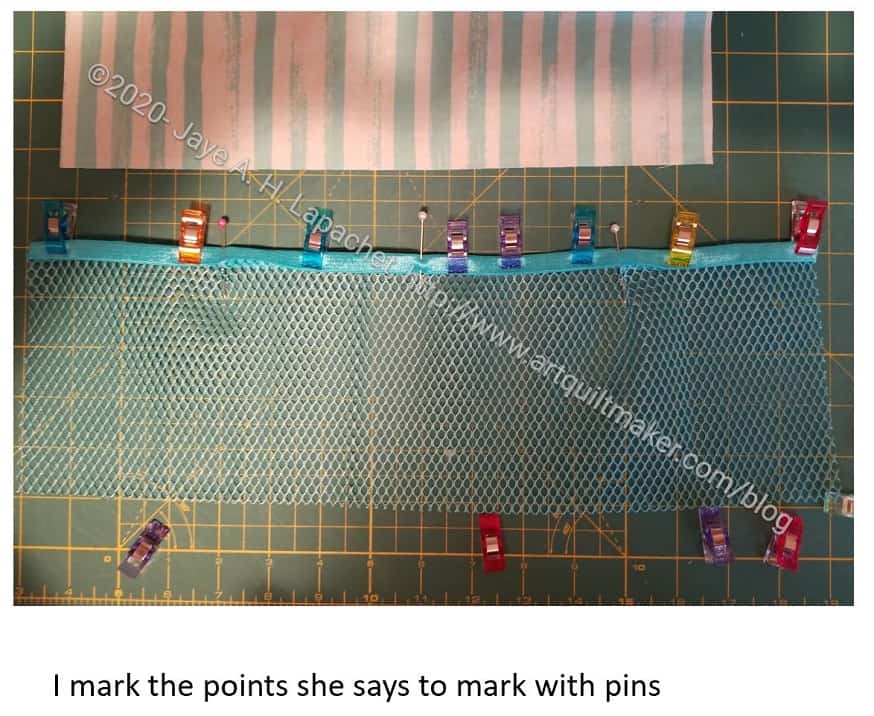
Once that is done, mark the pocket in half and in quarters. I used pins.
N.B.: In the picture on the left, I have marked the mesh pocket in halves and quarters with pins, but I have not yet bound the mesh with the fold over elastic. Ignore the clips in this photo.
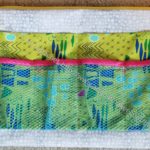
Add Mesh Pocket to P2
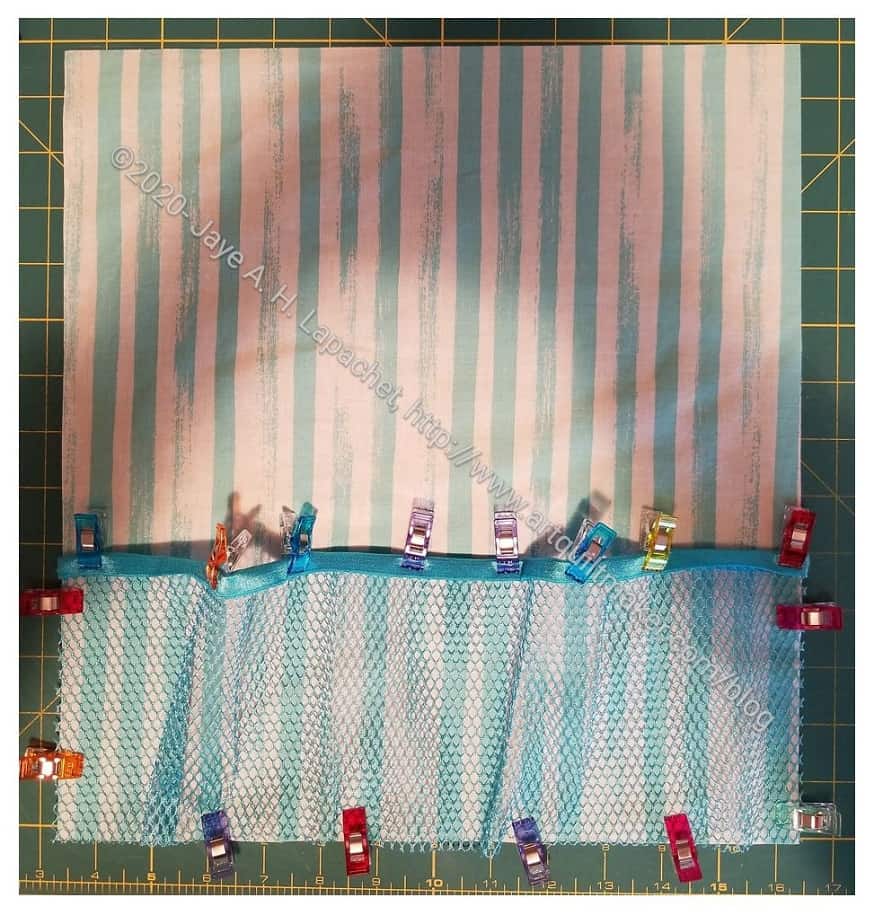
Clip the bound mesh pocket to the bottom of P2.
You will need to ease the excess mesh fabric into pleats at the bottom of P2.
I used as many WonderClips as I needed to keep the mesh in place. It is a little bit challenging to keep in place. It isn’t exactly slippery, but it doesn’t stick to the quilting cotton like another quilting cotton would. Sew the bottom of the mesh pocket to P2, sewing the pleats you clipped in place as you remove the clips.
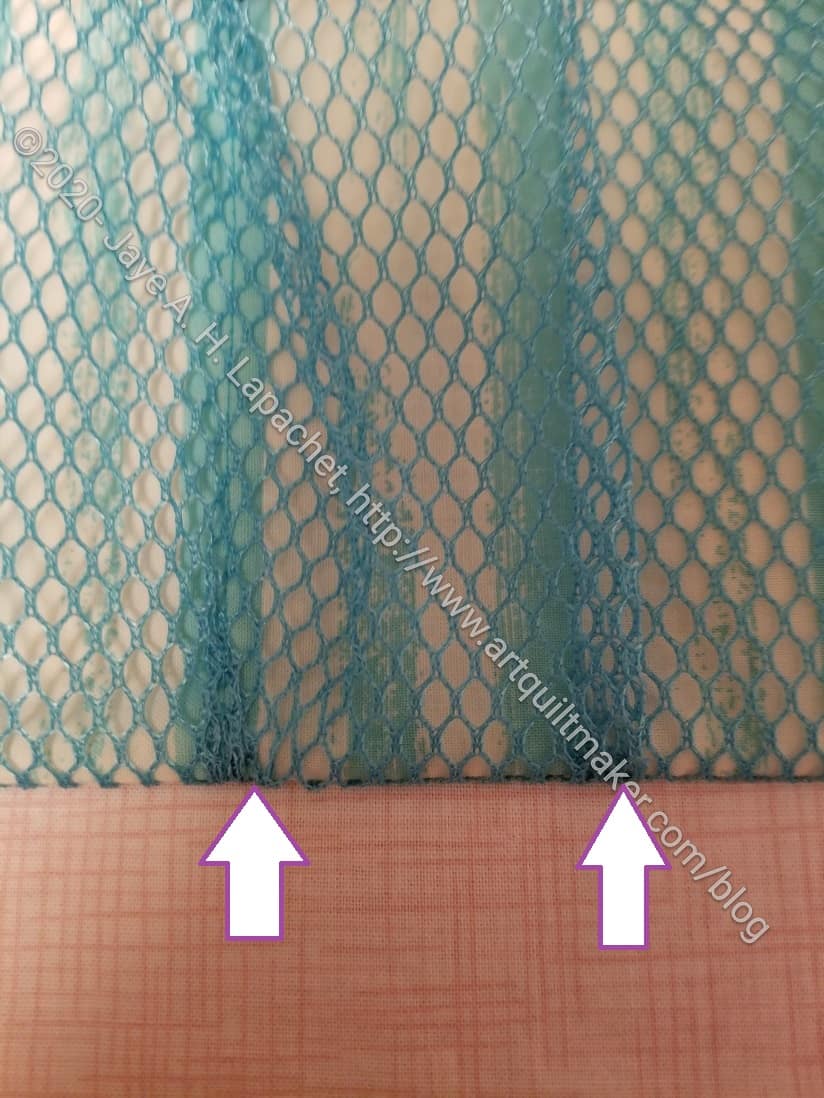
After you sew the bottom of the mesh pocket to P2, you will notice that the mesh will look like the picture on the left on the bottom where you have pleated the mesh. This was a little bit of a challenging concept for me to understand. I don’t make many garments, as you know, which may be the reason. Also I had to figure out why to pleat. The pleats give the pocket dimension so you can use it for things that are not flat. You could also make this pocket with vinyl instead of mesh, if you want. I don’t really talk about that in this tutorial, but make the pocket the same width as P2 as bind it with quilting cotton rather than fold over elastic.

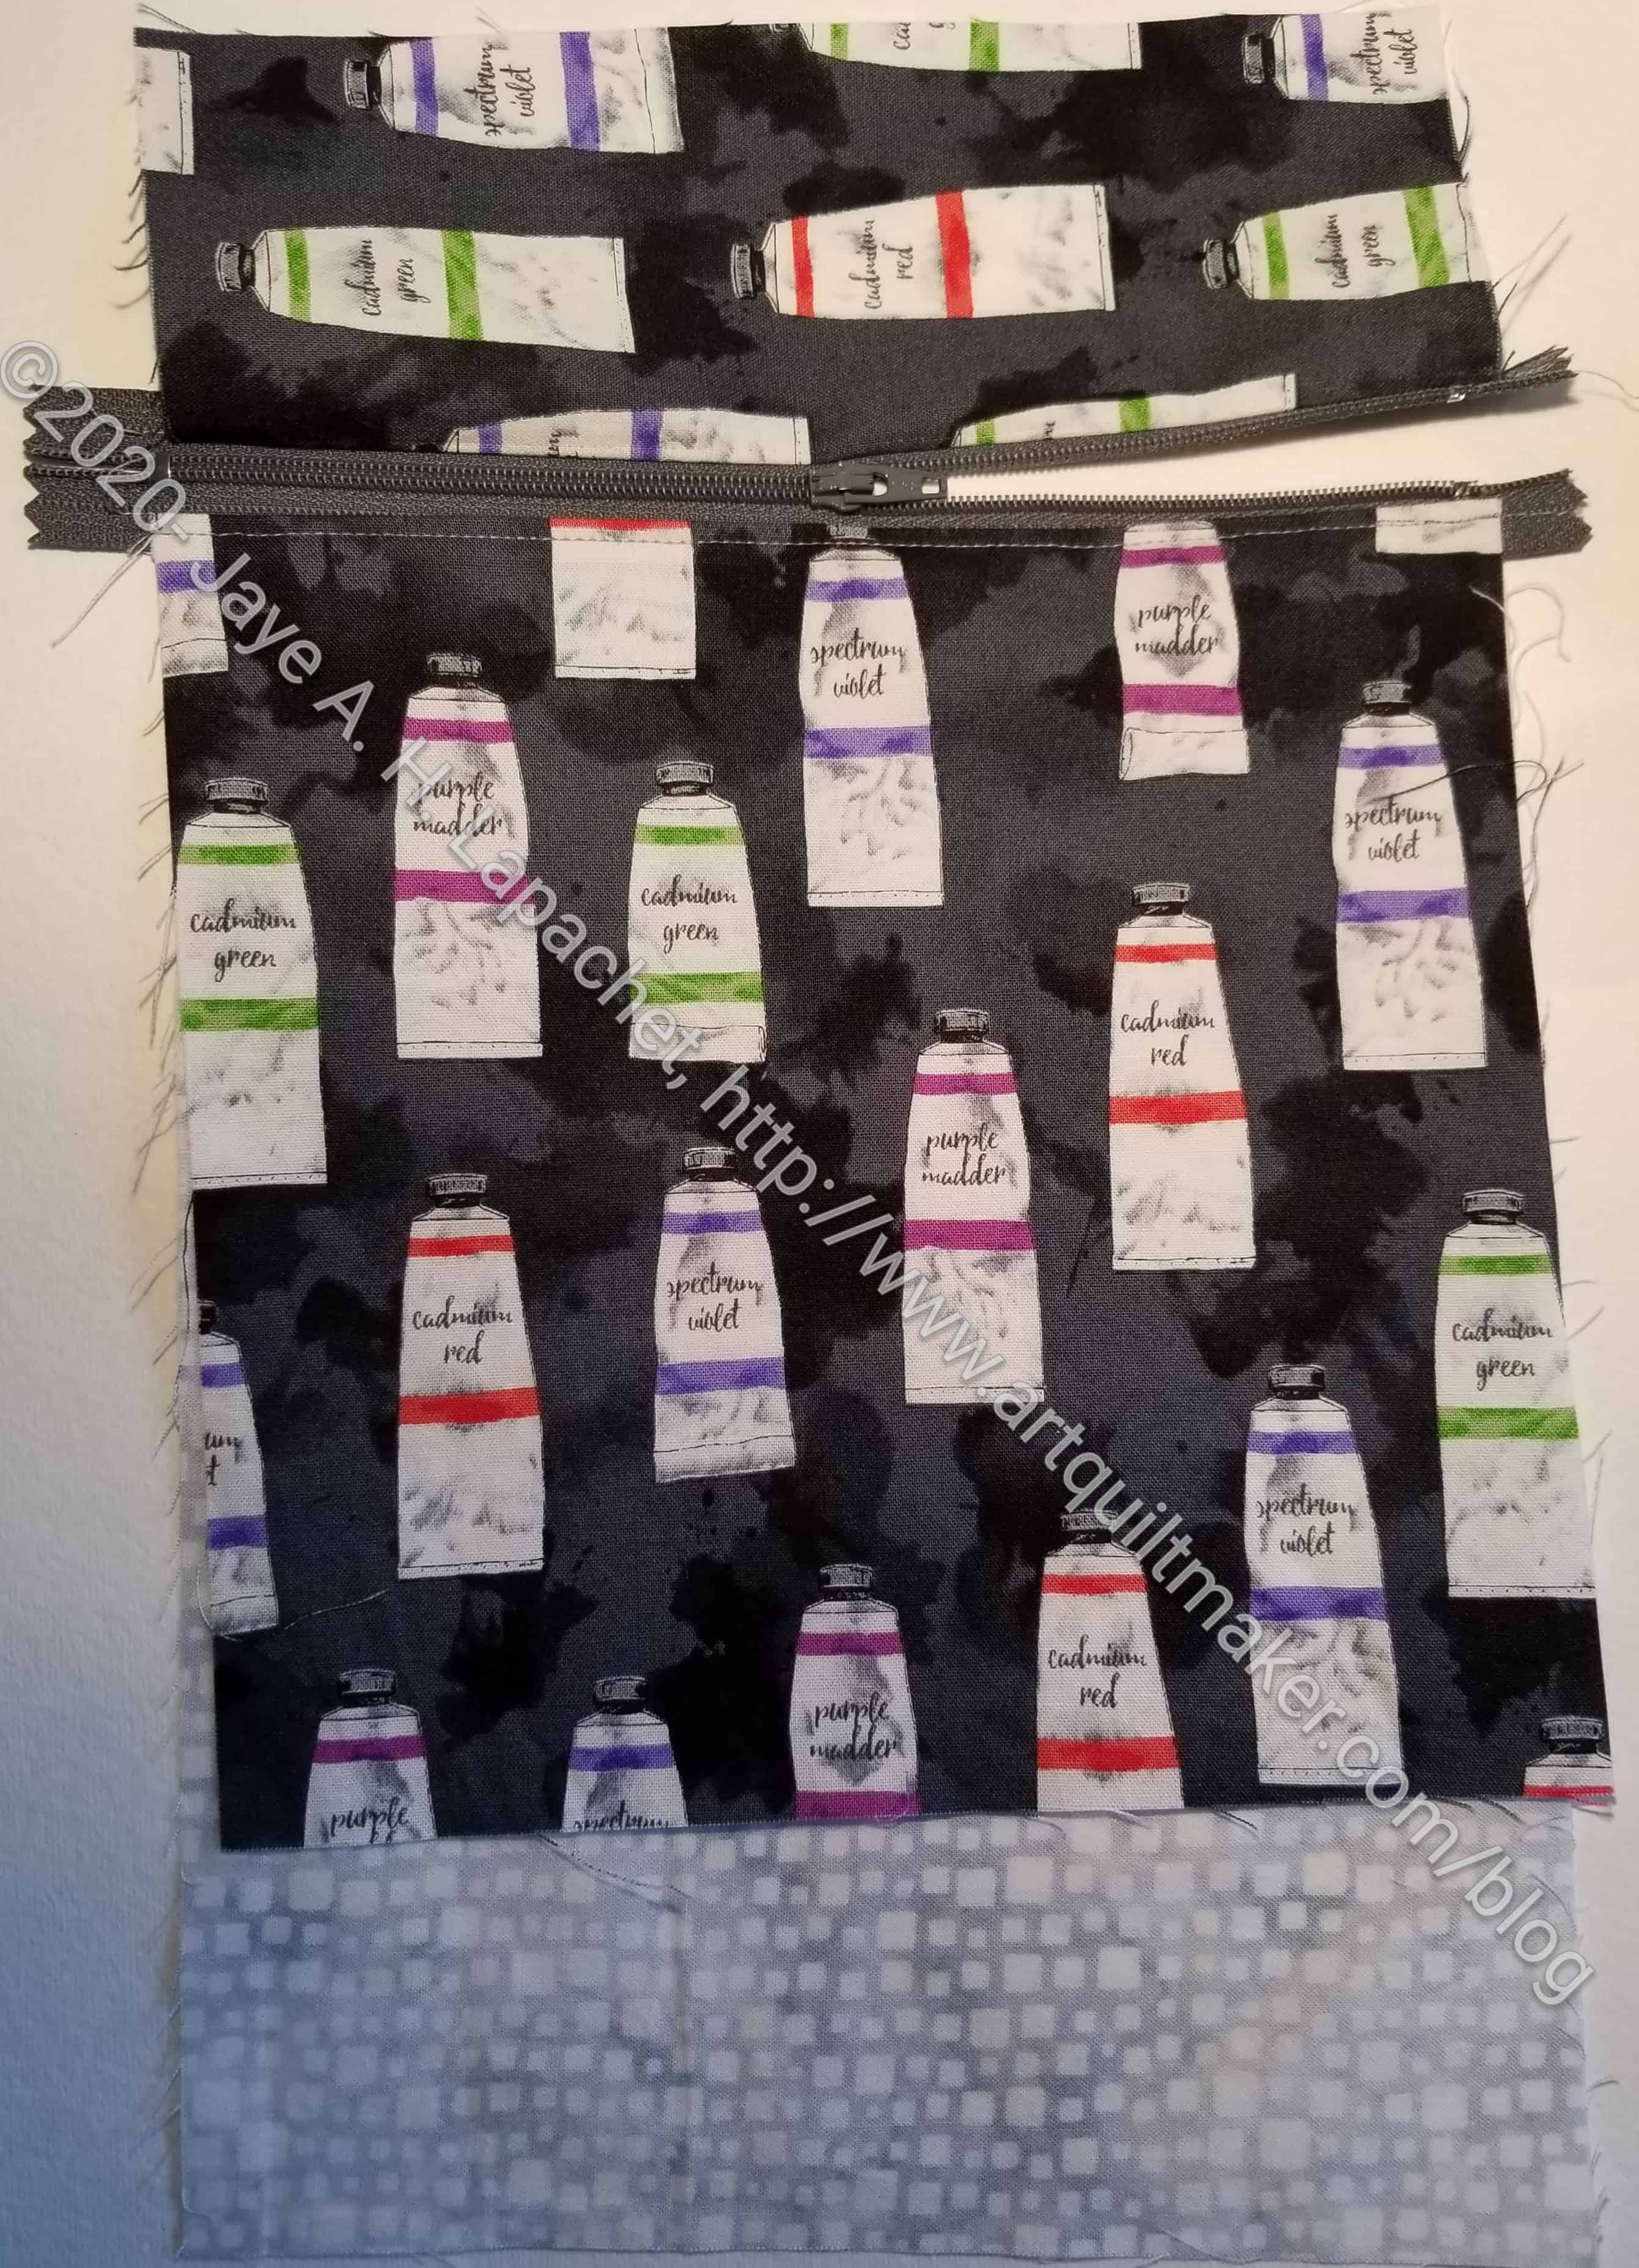
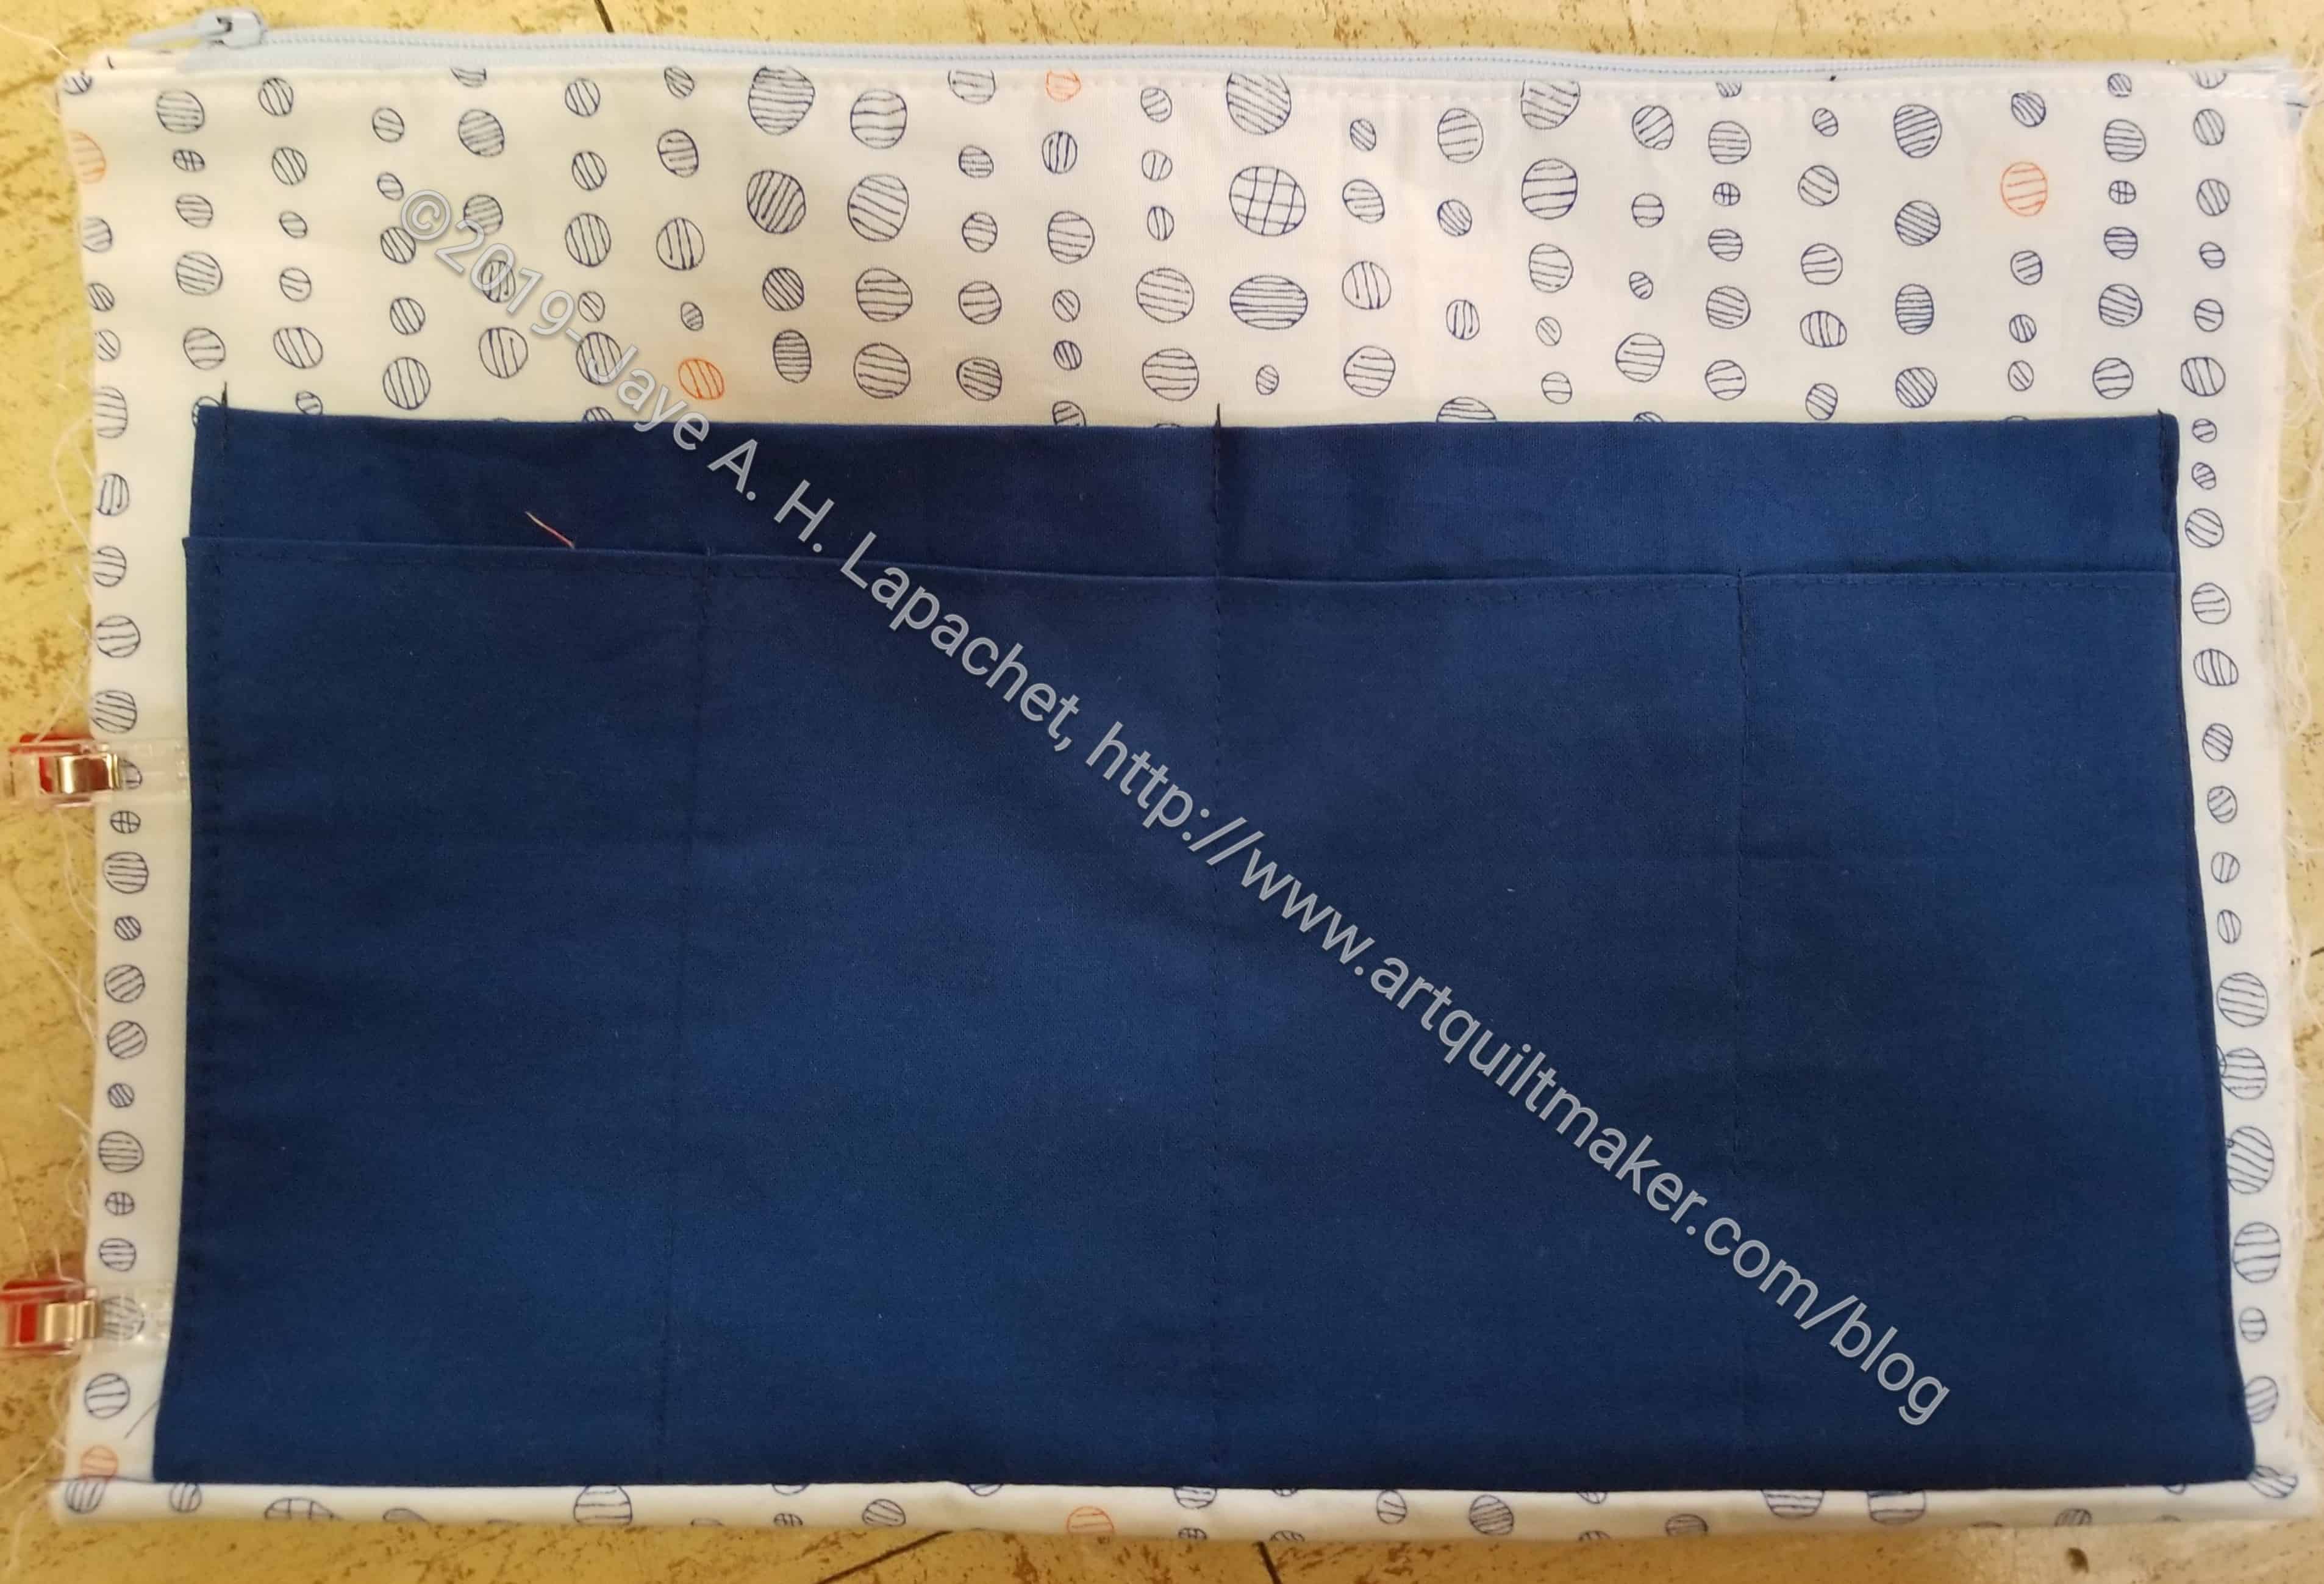
Fold P2 down towards the bottom RST. The top of P2 will cover the mesh pocket.
Clip or pin the sides in place to secure. Watch out for the other Wonder clips that you used for the mesh pocket. It would probably be bad if you sewed over them.
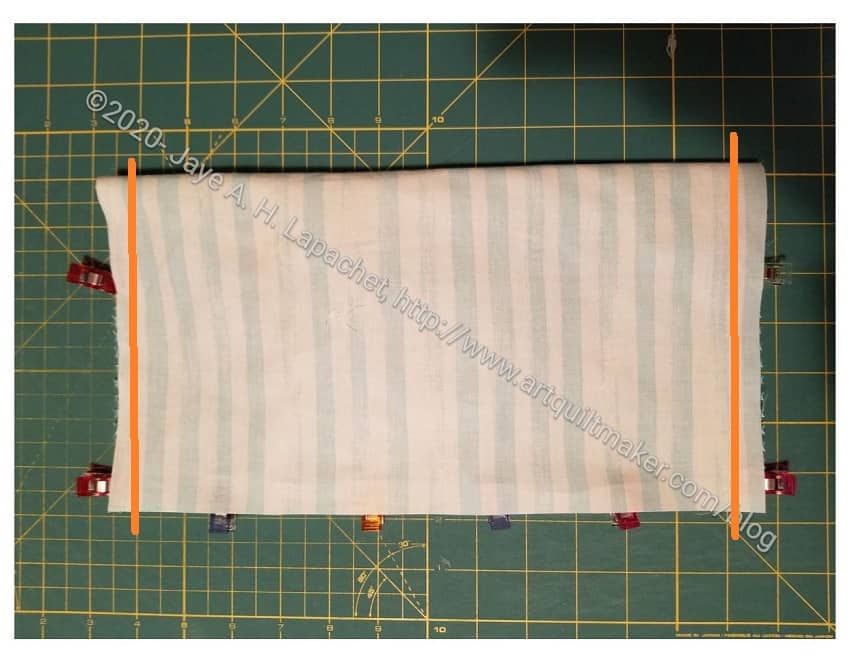
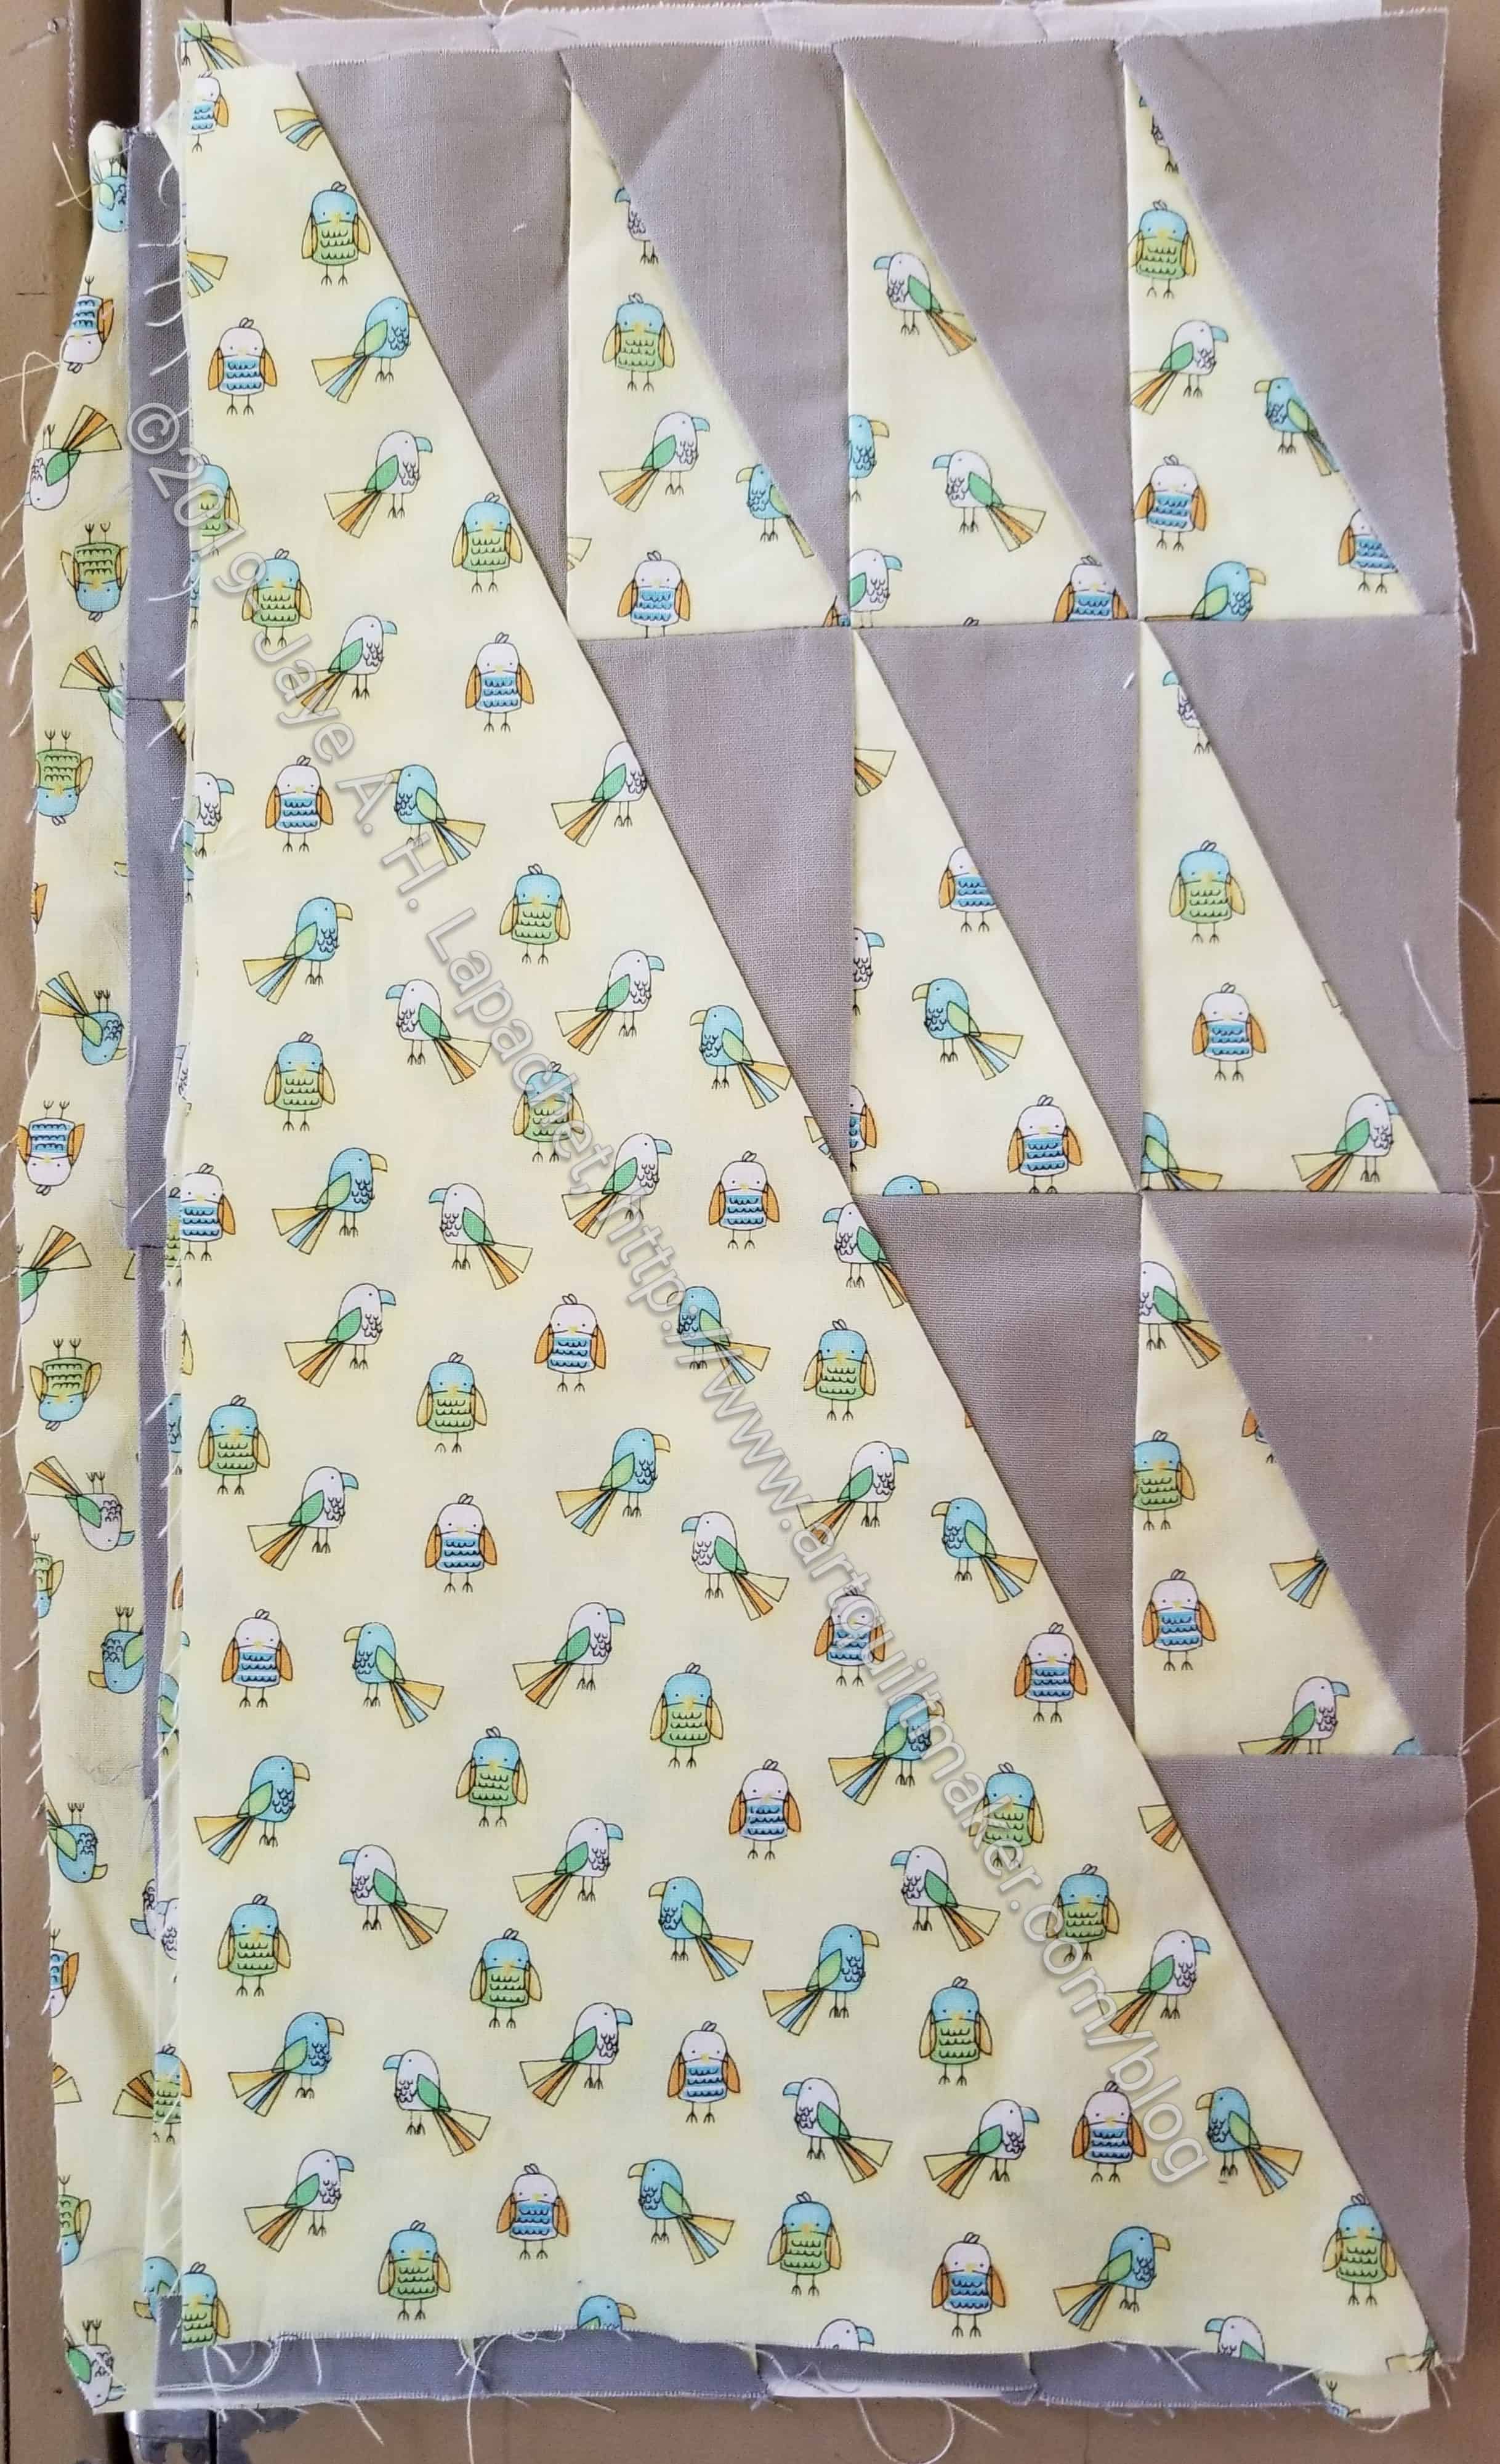
Sew down sides of P2 only. The orange lines in the image on the right indicate where to sew.
Backstitch at the top and bottom to secure.
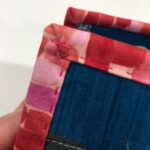
Before turning, I pressed the seams on the sides open, being careful about the mesh. I was also careful not to press the top fold yet.
Turn P2 right sides out.
Press again, watching out for the mesh. ByAnnies mesh doesn’t seem to melt when pressed, but I was still careful.
Also, now press the top fold.
I pressed the bottom seam allowance inside the P2 pocket and sewed it closed when I sewed P2 to P1, which I will talk about in the next tutorial.
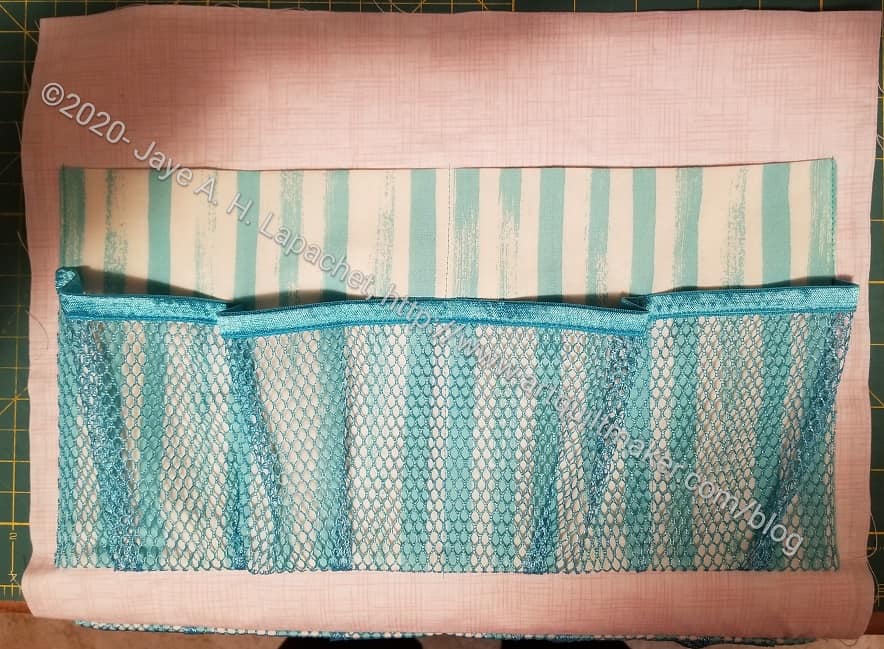
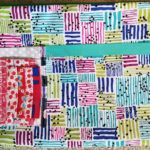
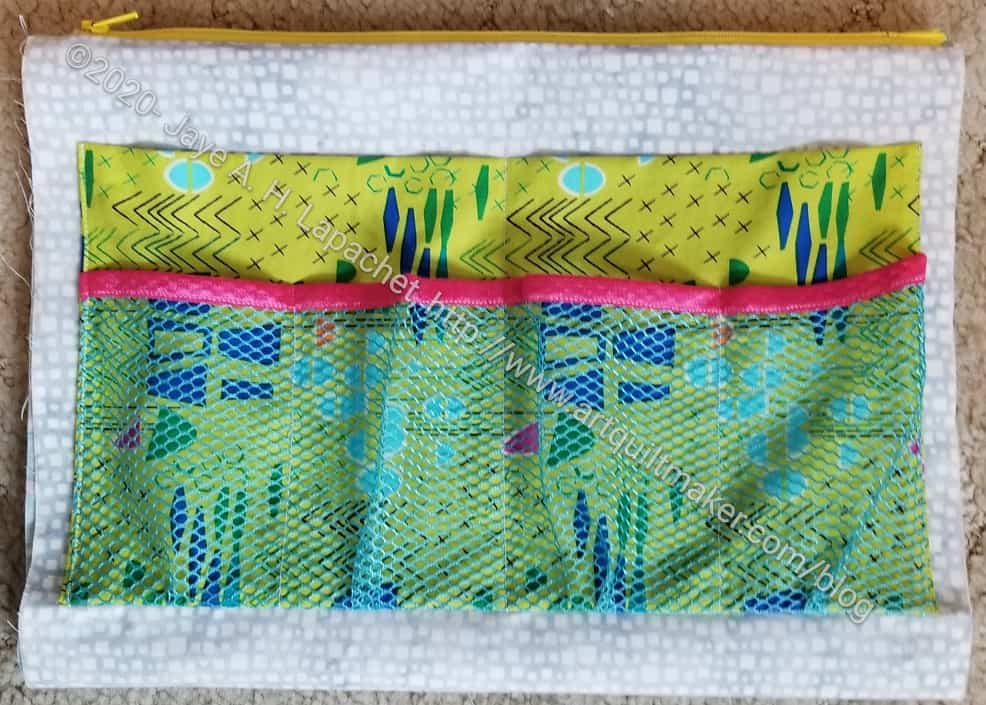
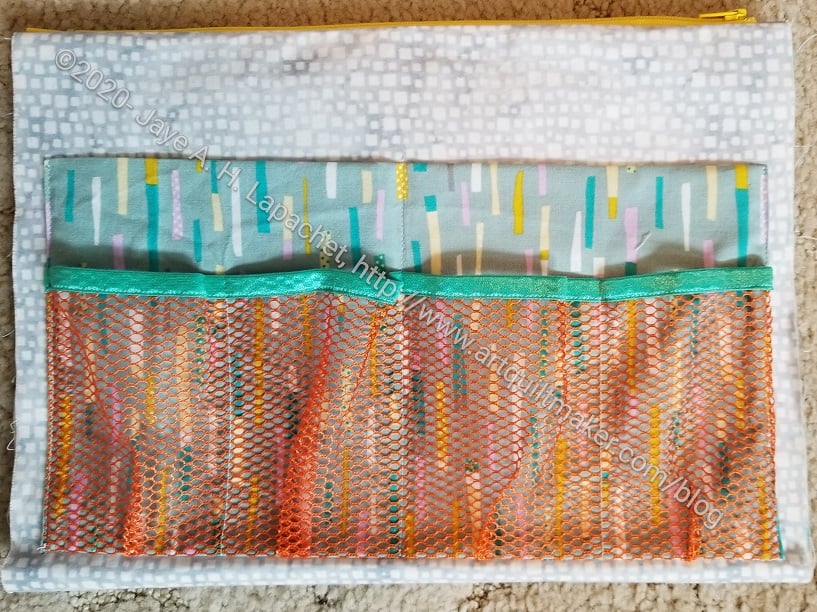
P2 is now finished. In the photo, I have already sewn it to P1, but I will talk about that next time.
Use the seam allowance indicated in the pattern. Tip: Natalie, the designer, sometimes switches seam allowance sizes so pay attention to those directions.
I made two of the P2 pockets and put them on both sides of this large pocket, using the same directions. In the next tutorial, we will sew the P2 pocket to P1 and add the zipper.