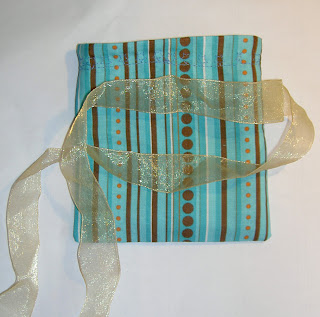
I have mentioned dozens of times that I have been working on and off on the FOTY project all year. That is sort of the idea of FOTY (Fabric of the Year). You work on it all year, especially cutting fabric. In my case I also sewed some of the patches together. Now the top is finished and I will soon be moving on to FOTY 2009.
Basics of the project:
2.5″x4.5″ rectangles
Cut one patch from each piece of fabric purchased in 2008.
I did find one fabric that was missing and that was the purple vegetable fabric I used to make the eggplant/lemon tote. I have a little piece of the veggie fabric that I will put on the back, but I would like to make another tote with that fabric as the one I made didn’t quite come out the way I wanted. Sadly, I don’t have a large enough piece. Gladly I will be able to admire it on the back of the FOTY 2008 quilt!
This project was a joy to work on during the retreat weekend, as I may have mentioned. I didn’t realize how much fun it would be. Partially, it was one project to work on so I could focus that alone. Partially, people made really wonderful comments on how cheerful it was and what a good job I was doing, which boosted by ego a bit.
One of the huge things I decided not long before leaving for the retreat was to change the direction of the project. I started out with the idea that the patches would be oriented in a rail-fence type setting, like I show in a post from August 18, 2008.
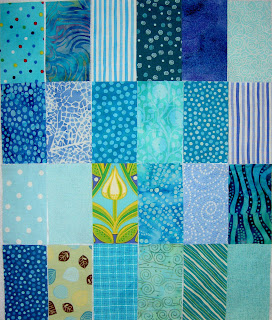
After playing around with that stack of blues over the holidays, I was really inspired by the different blues next to each other. I played around with the unsewn patches I had madly cut in January. Trying the layout of the patches out the new portable design wall sealed the deal. I decided to work on more of a blended / color wheel type look to the quilt. That is what necessitated all that ripping. Three days worth, to be exact, though to be honest, it was all day, every day.
That brought to mind the challenge of the FOTY projects. The fabrics purchased during the year may not necessarily go together and there has to be some way to make a cohesive project. At least for me, as I didn’t want to make a project with no design cohesion. TFQ solves this design challenge by adding in other fabrics for the background.
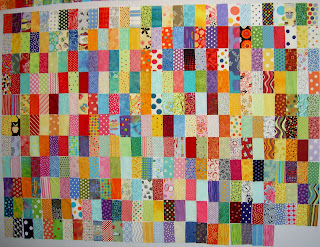 Above are all the pieces that were not sewed together. I put them all up on the portable design wall to look at them. It looks like a jumbled mess here, but that is part of the design process. 😉
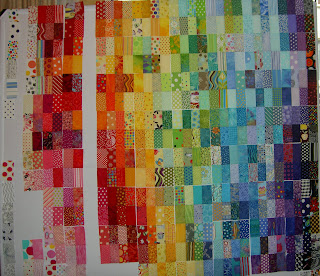 The above is an in process photo. I don’t, wherever possible, like to sew tops together in rows. The seams never seem to line up and that frustrates me. Good technique and well sewed quilts are important to me. It really depends on the piece as to how I end up sewing it together. Generally, I go for chunks, as TFQ calls it. She suggested the technique to me and I have embraced it. On this piece, I started in the upper right hand corner and sewed two rectangles together and did that all the way across the quilt. One thing that always fascinates me is the way the top shrinks as I sew. I know it is the seam allowance, but to see the big space appear as the piece goes together just amazes me for some reason.
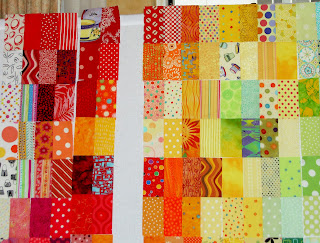 Above I was working my way across the quilt sewing 2 sets of 2 rectangles together to make a chunk of 4 rectangles.
 In the above photo, you can see that I have made larger chunks. Eight pieces are sewn together by now.The process was:
2 rectangles sewed together
2 sets of 2 rectangles sewn together = 4 rectangles
2 sets of 4 rectangles sewn together = 8 rectangles (like the above photo)
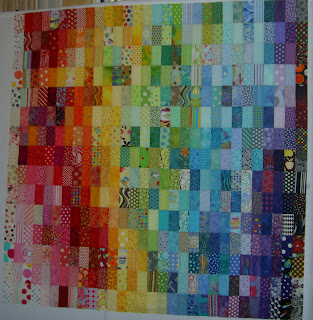 So, the top is complete. I am feeling like I can plow through some backs this weekend, so making labels is on my list. I am thinking that this might be a quilt that I can machine quilt on the longarm. I’ll let you know after Friday’s session.


