We are nearing the last part of the foundation piecing class. I know this is a long tutorial, but there are a lot of steps and it is difficult to explain when I am not in the same room with you. I also don’t have a crew, so photographing every single step with only two hands can be a challenge.
Mostly this segment discusses getting ready to sew the major parts of your block together. Yes, there is more prep before you can sew your blocks together. I will give some template tips as well. In order to get to this point, you should have completed parts 1, 2 and part 3. All of the supplies are listed in part 1.
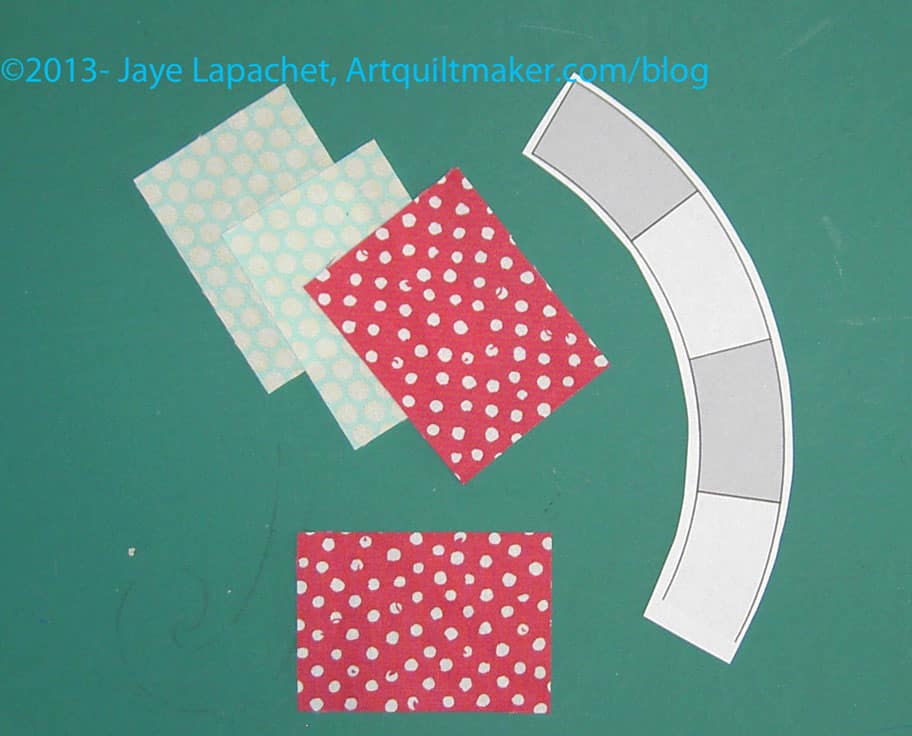
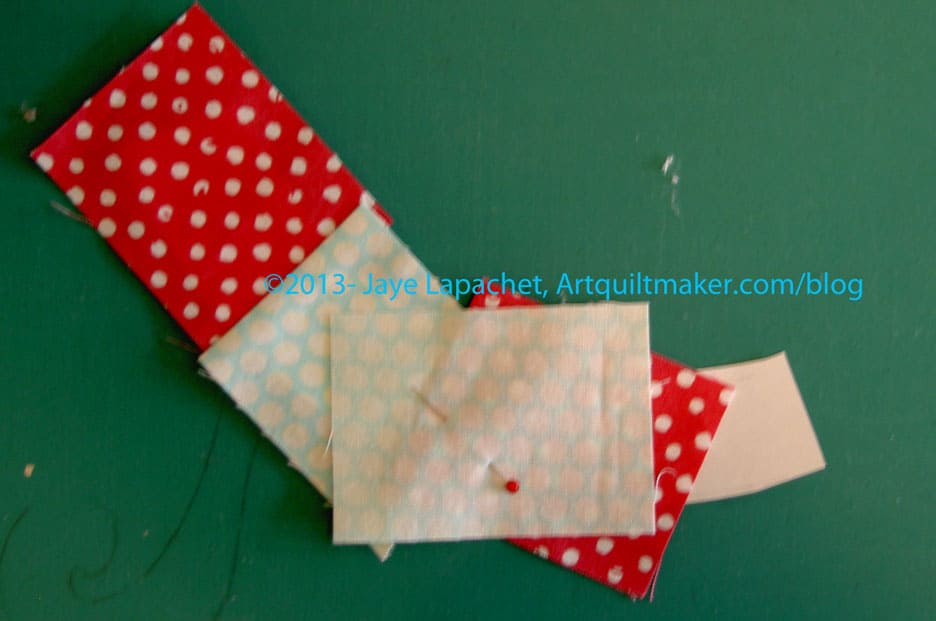
Like all other parts of piecing, your goal is to sew smaller pieces together to make larger pieces. First, inventory your templates and make sure you have a fabric patch for each template.

For any templates that do not have matching fabric patches, cut your fabric.

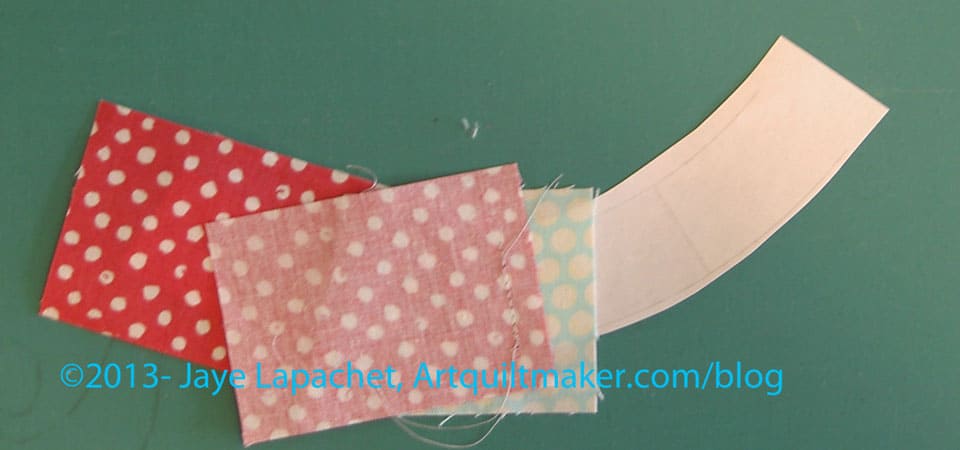
Based on the photo above, I need to cut 3 pieces. In some New York Beauty related patterns, these are pieced, but in ours we are using one fabric. You can certainly modify any of these pieces to do more foundation piecing.

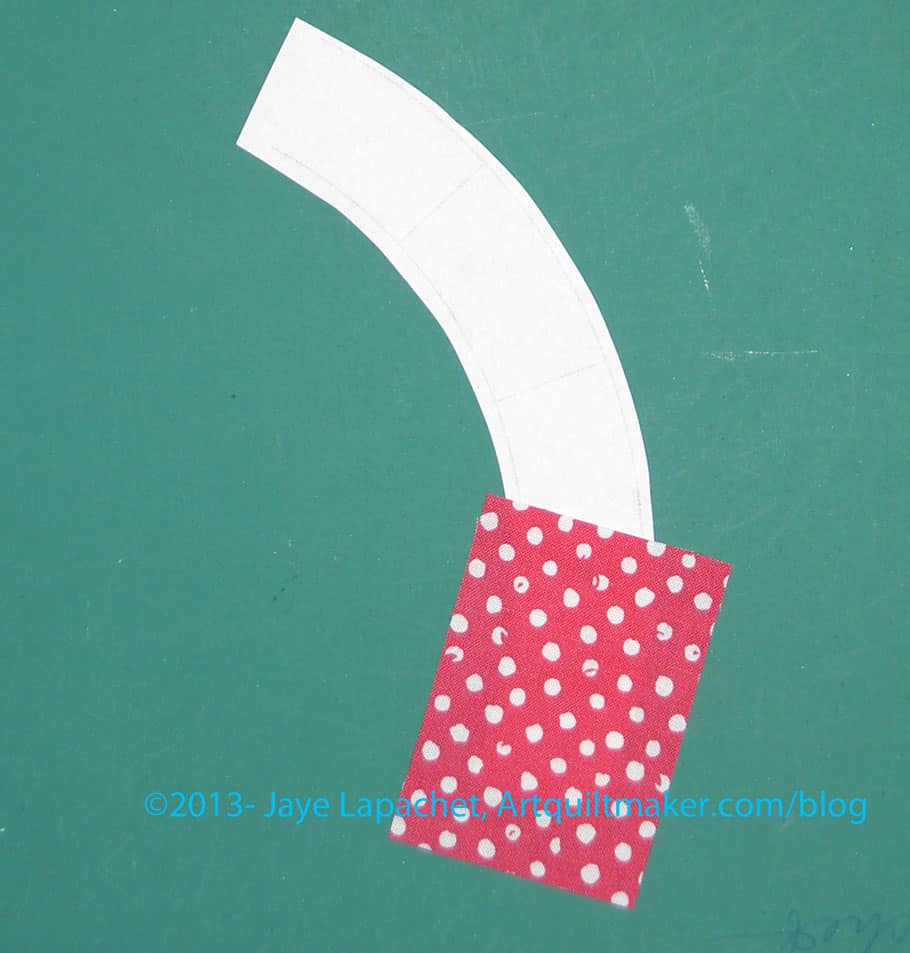
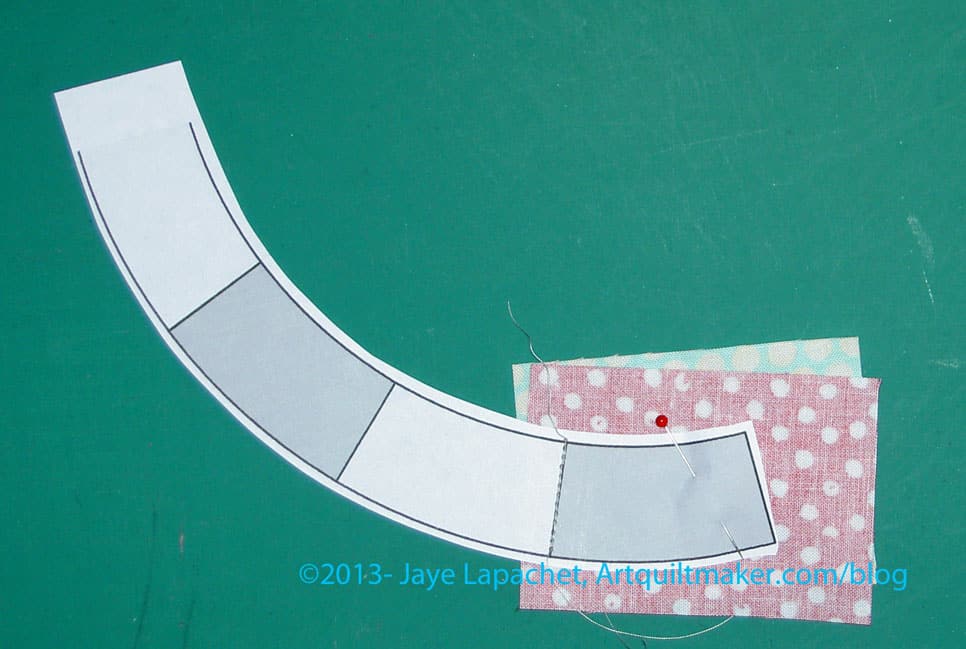
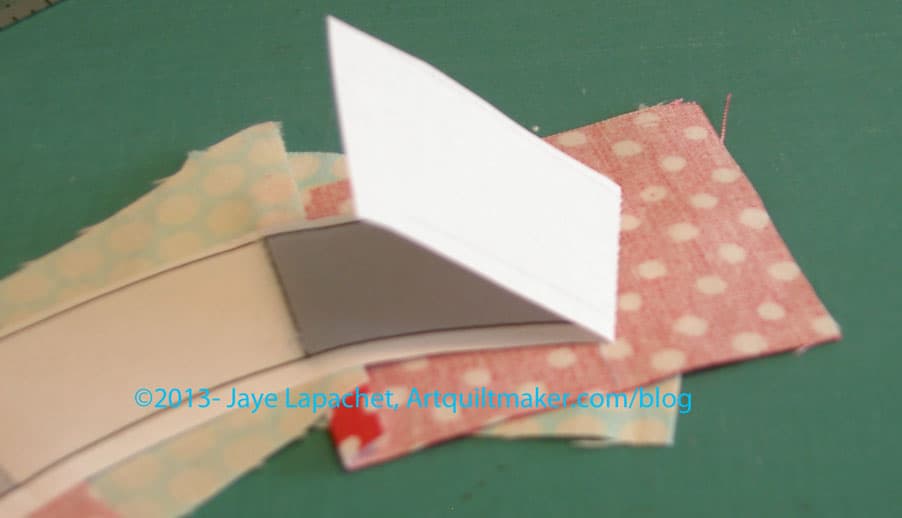
To cut out these templates, I place my fabric right side down and the template right side down and draw on the back of the fabric. This is the same for all three of the templates.

Your patches should look similar to your template once cut out. All of these templates have an element of bias, so handle them carefully.

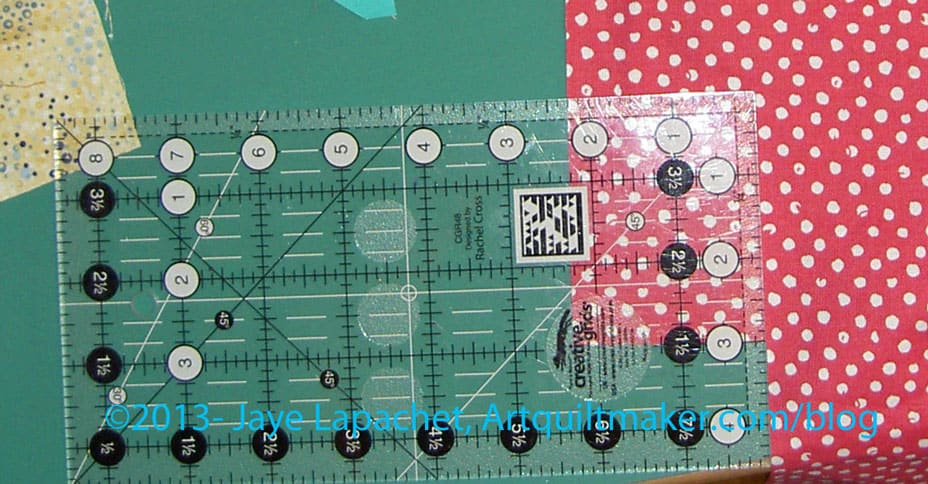
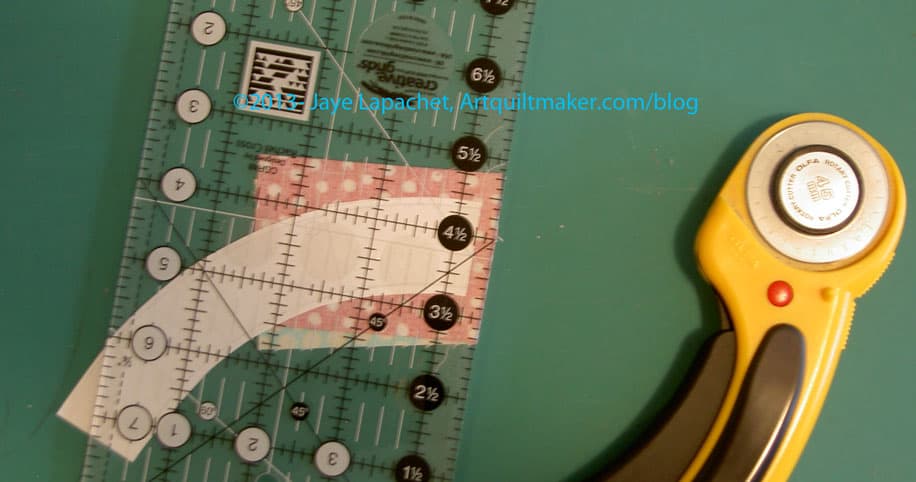
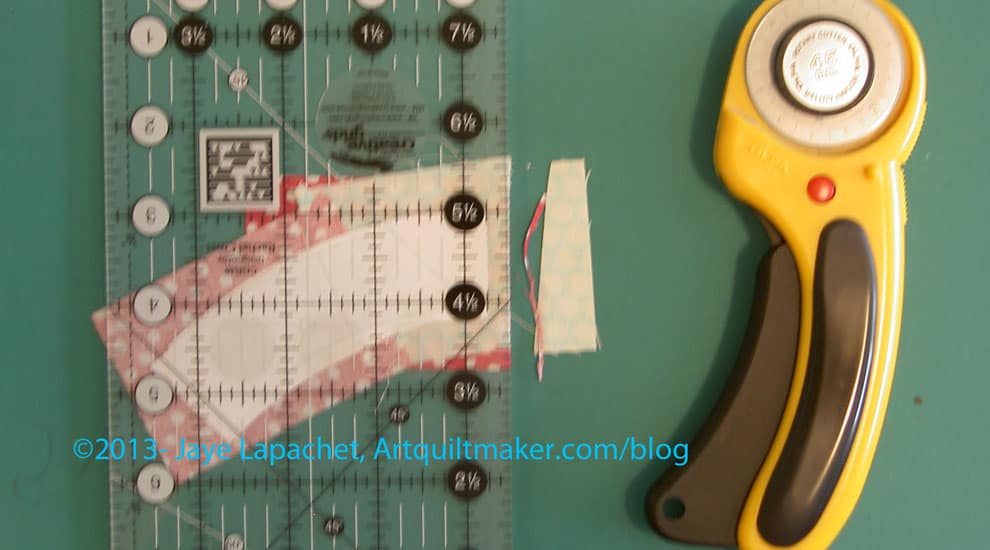
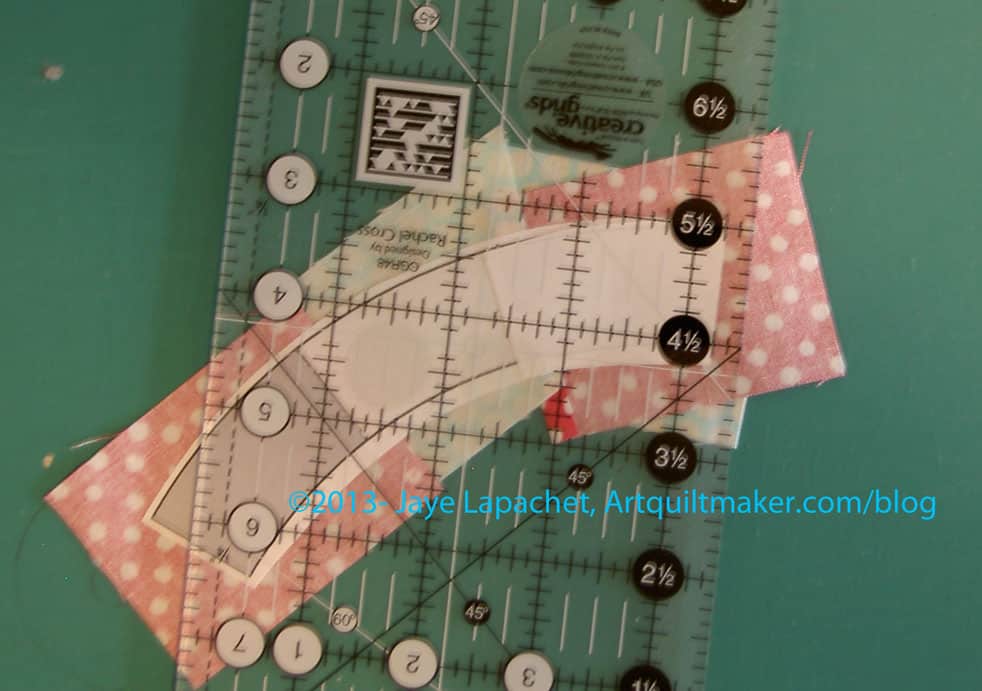
Once you have drawn your template shape on the fabric, you can cut it out. Where possible, I use a rotary cutter and ruler. If I cannot use those tools, e.g. for the curves in the pieces of this block, I use very sharp scissors and cut slowly and carefully. Above you can see that I have cut as many parts of the patch as possible with my rotary kit and am ready to cut the curve with scissors.

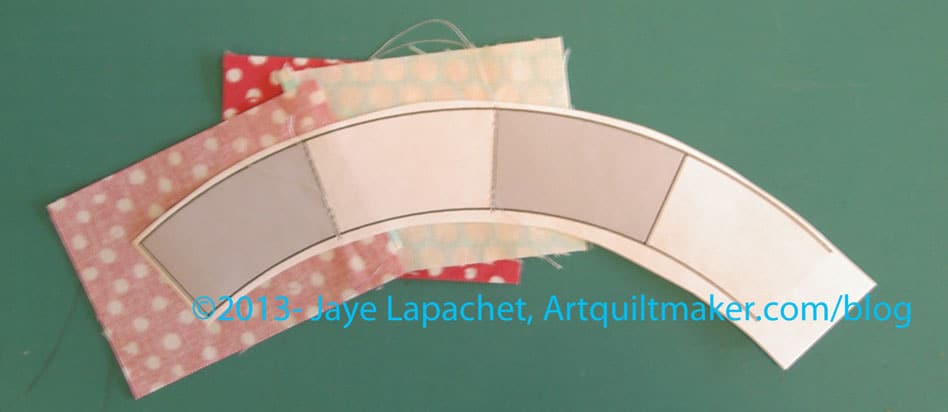
Lay your fabric right side down and place the corner template on top, also face down. Draw around it with a Pigma Micron, or similar, pen.

Once you have drawn carefully around the template, remove it and make sure your line is continuous. If it is not continuous, carefully replace the template and fix the missing segments.

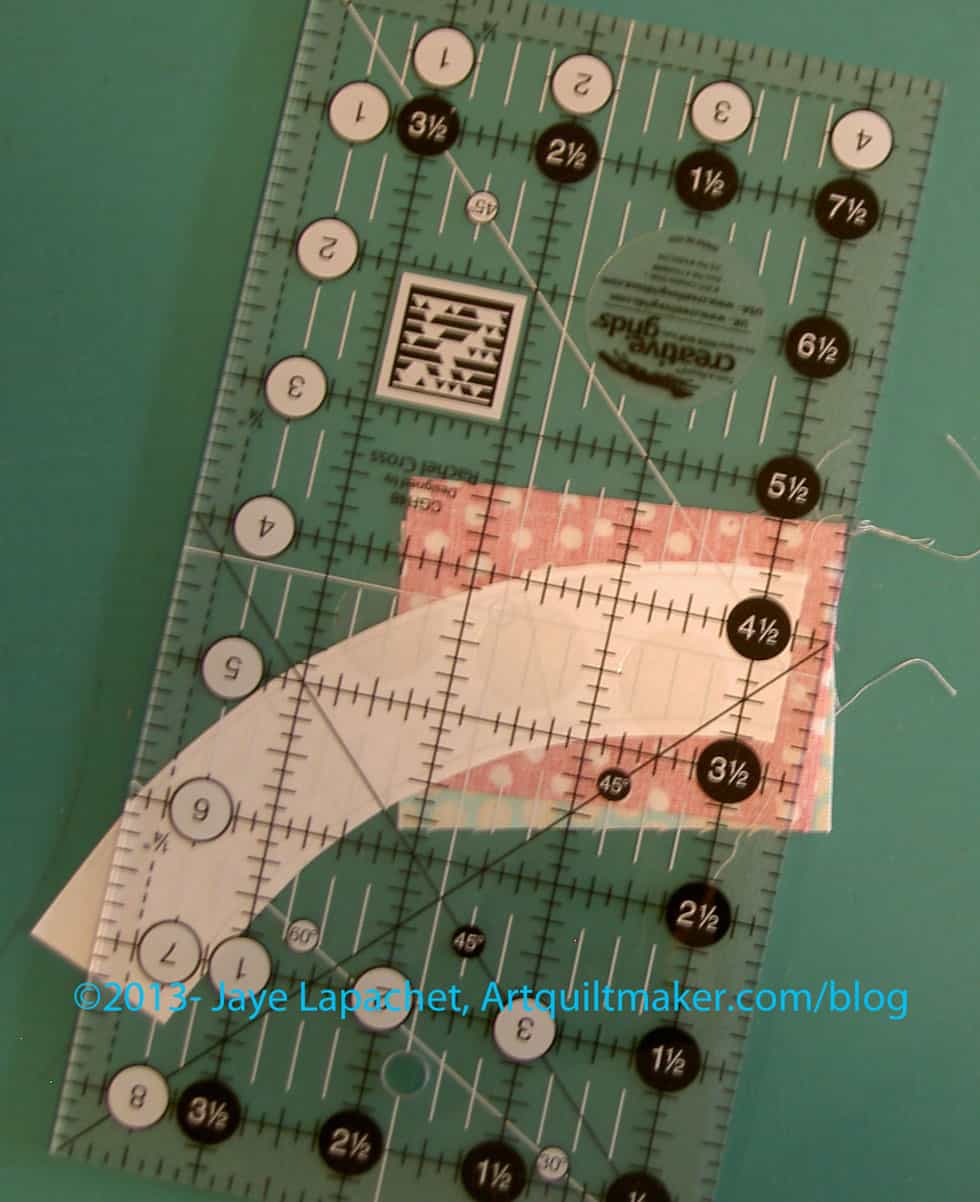
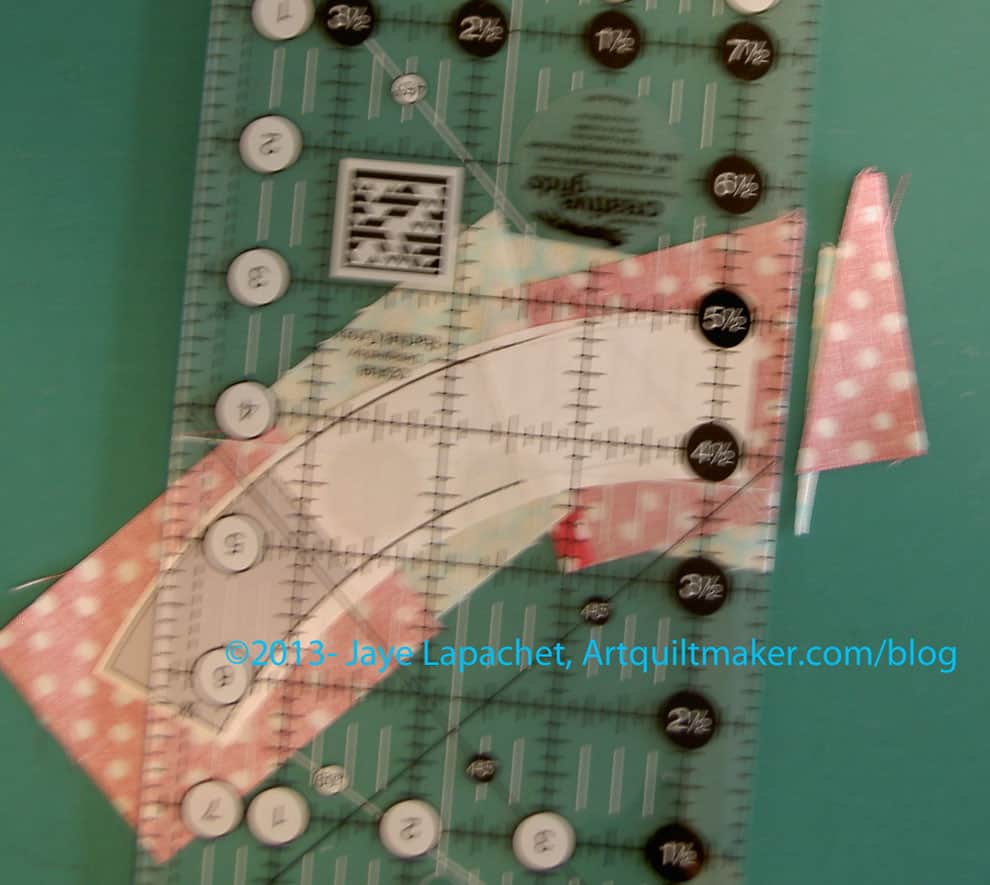
Line up your ruler with the corner of the fabric patch. You may need to rough cut your fabric first, if there is too much yardage skewing the fabric as you try and cut.

The corner quarter circle template has a quarter inch seam allowance, so you don’t have to do anything, but cut the line you drew (and all the fabric on the other side) off. You will want to cut so that the line is cut off, but you need to cut ONLY the line off.
Also, these pieces are large, so make sure you can hold your ruler down tight as you are cutting. You want to avoid ruining a whole large piece of fabric because your ruler shifted.

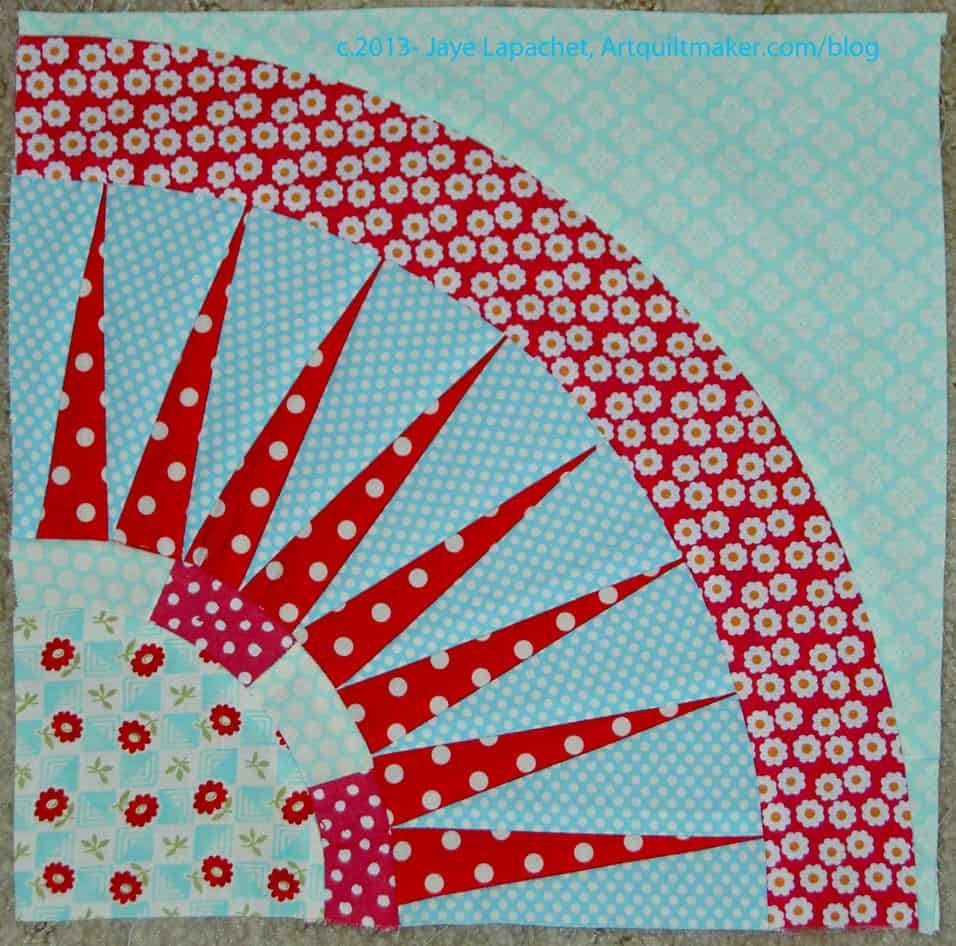
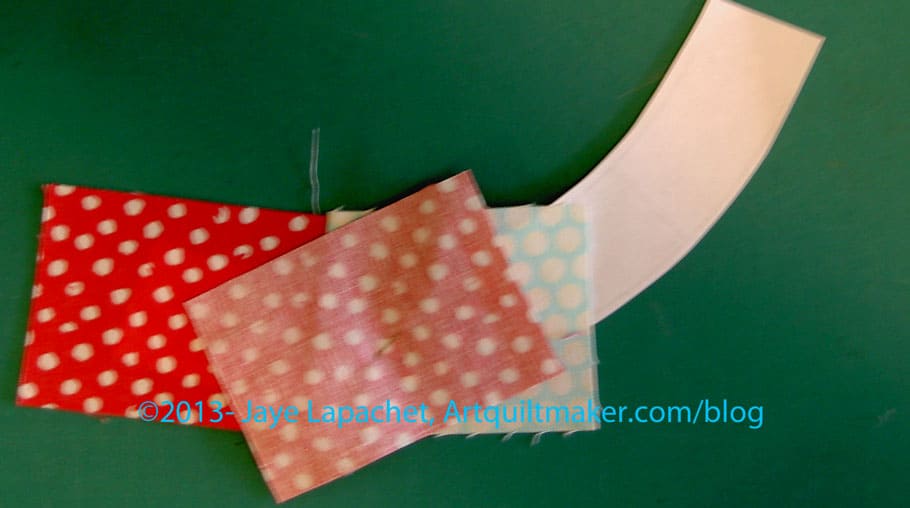
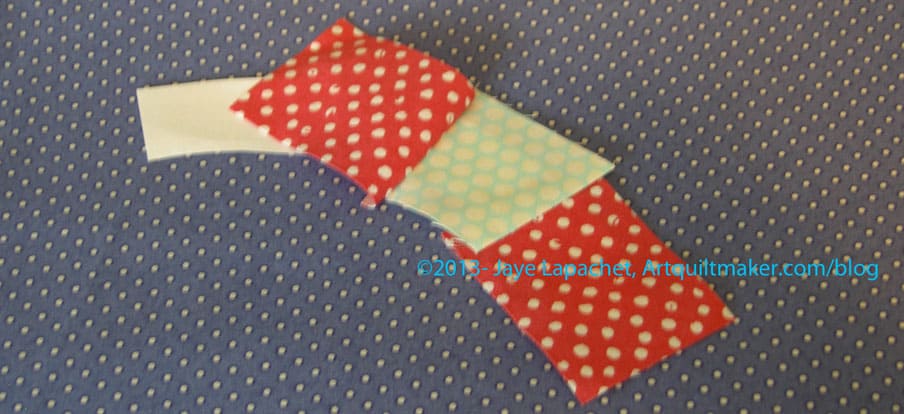
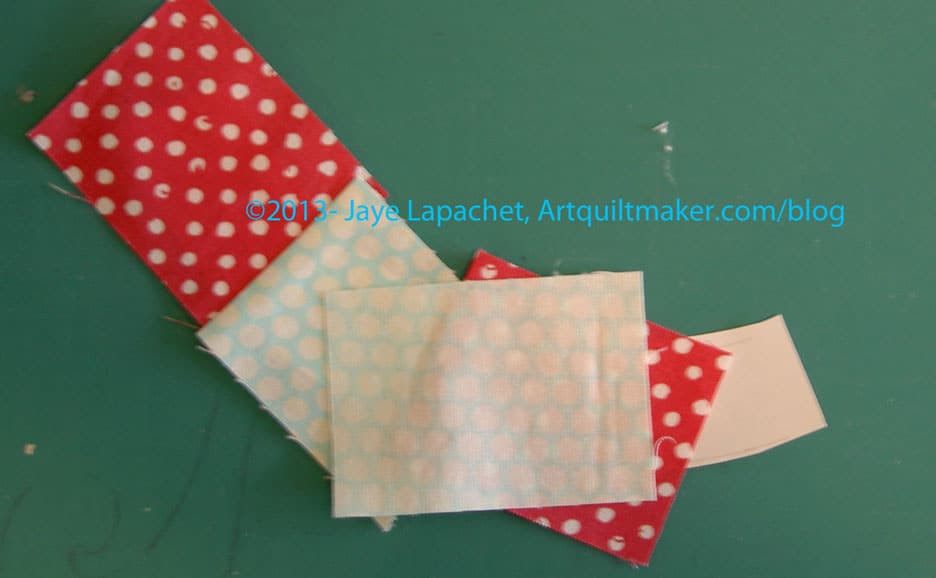
Once you have cut out your fabric patches, you will have pieces that look like those in the above photo.
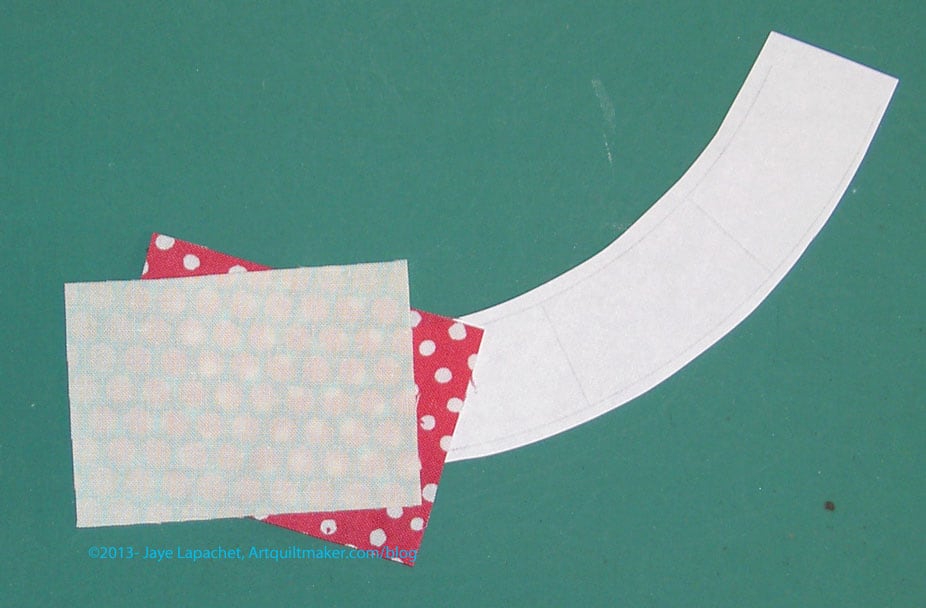
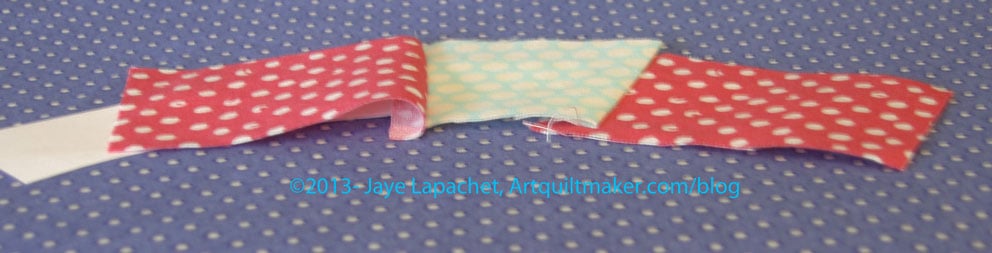
After seeing the above patches laid out, I decided to sew the two outer pieces together first. Again I want to join smaller pieces into larger sections. Also, the very outer piece has very skinny ends. I want to stabilize them a bit by sewing them to another piece before sewing them to the foundation pieced Section C.

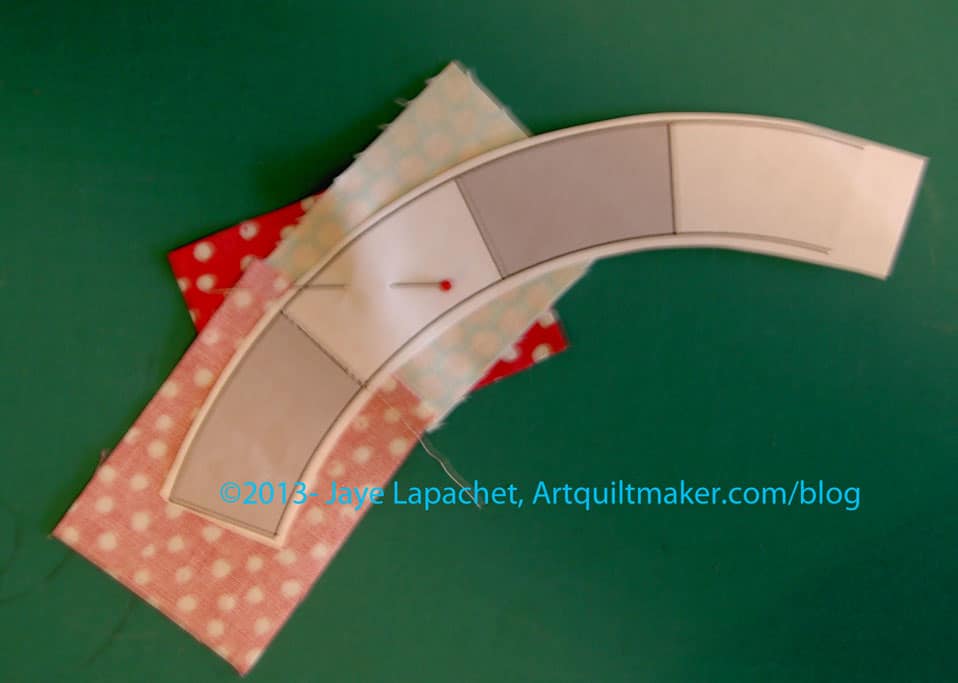
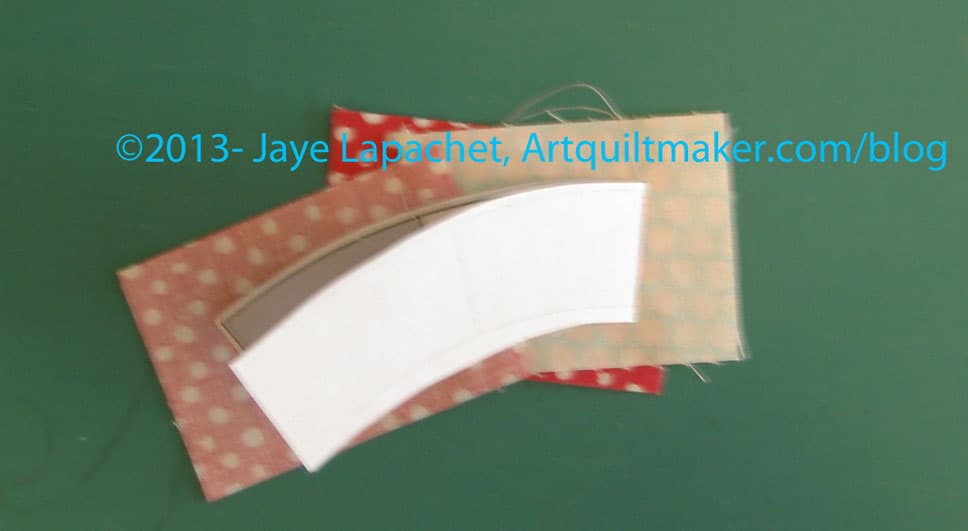
The first order of business is to pin them together. I apply horizontal pins on the ends and a lot of pins in the middle. My goal is to make the seam smooth. You are working on the bias, so don’t yank too much.

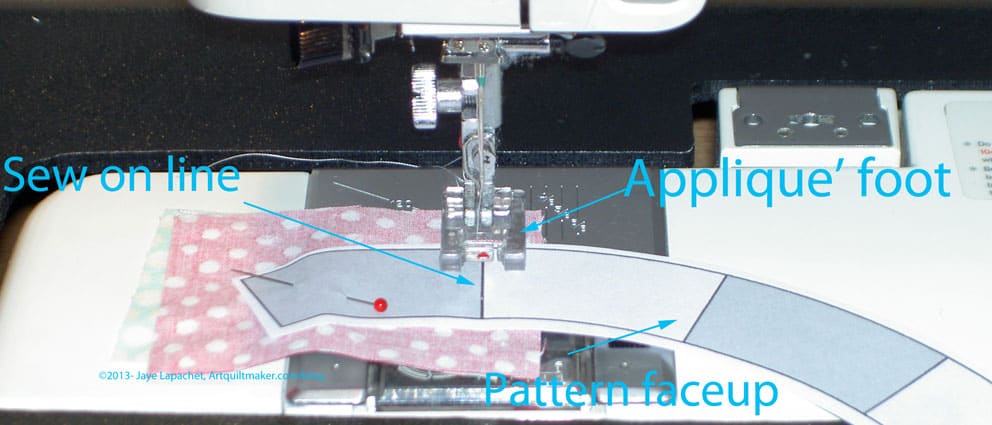
For my advanced students: if you put the horizontal pin in the two fabrics as shown above, the horizontal pins on each side should be out of the way of your 1/4″ foot.


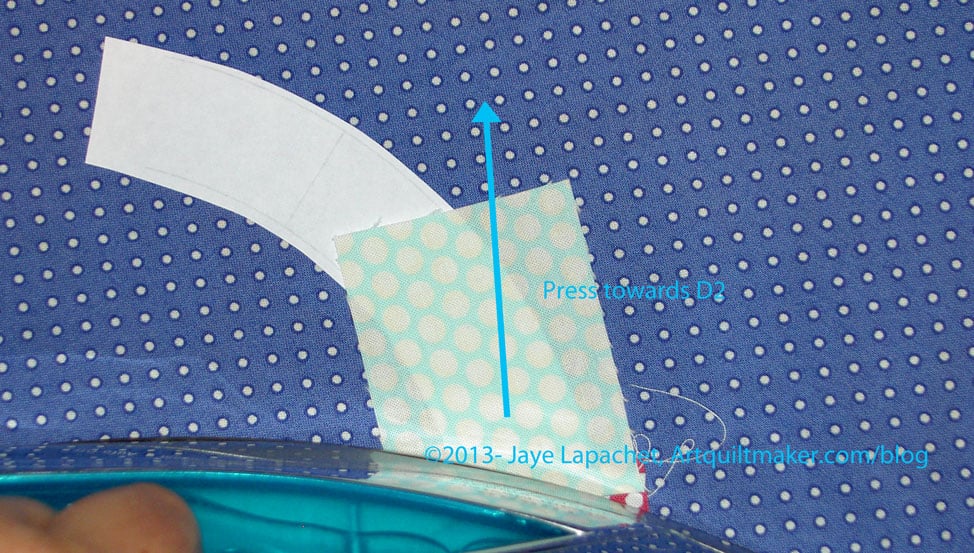
It is not quite as smooth on the other side, but that is ok. Set this piece aside for now, but remember that when you are ready to sew, sew slowly and carefully. Next, we will sew the corner section (quarter circle, Section D) to the small pieced strip.
If you don’t know how to sew curves together, check out the curves tutorial.
Nota bene: if you did not foundation piece the small strip, follow the directions in part 3 or above to do so. If you haven’t done any foundation piecing before you might want to start with this piece as it is smaller and less complex than the pointy triangles section (Section C).
I use a lot of pins and I know there are other tutorials that are pinless or use minimal pins. Put these two pieces together the way it works for you.
Now you are ready for part 5, which is the last part, I promise. 😉
Tips:
- If you have to rip out stitches, rip them out from the fabric side, not the paper side.
- Pay attention to putting the next fabric piece on the foundation.
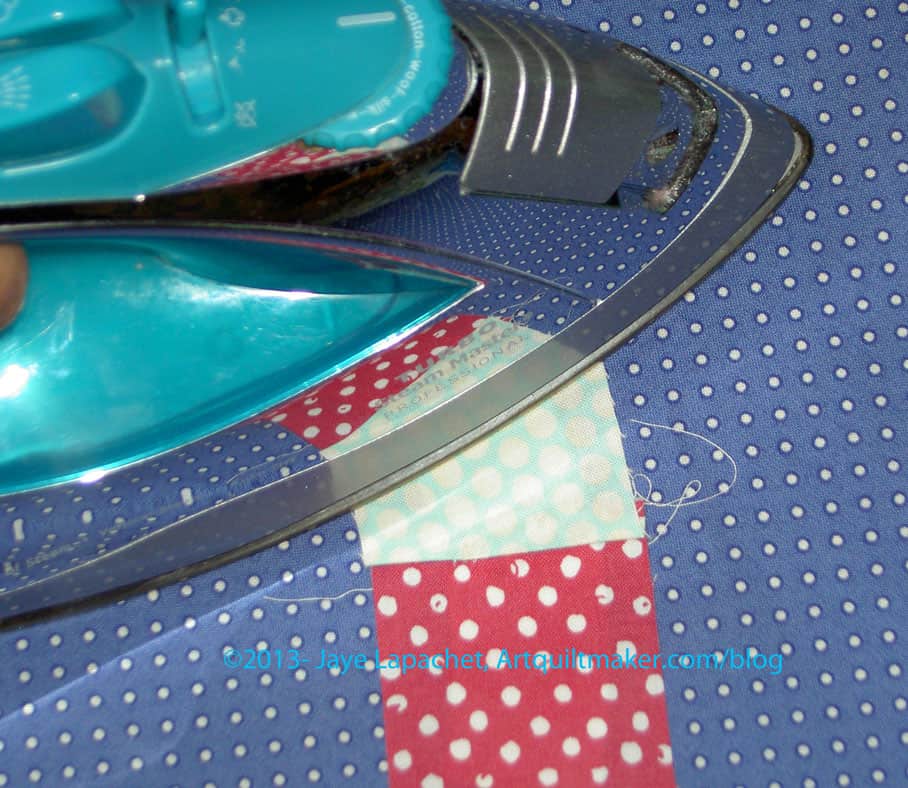
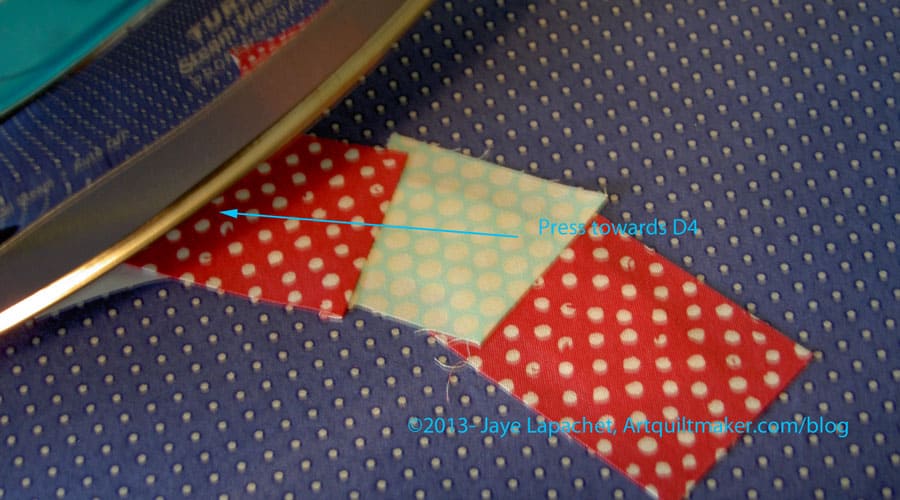
- Avoid the bump by pressing!
Resources:
- Christine Thresh’s Paper Piecing Primer
- Cindi Edgerton’s How to Foundation Piece instructions
- Foundation Piecing video
- Paper Panache’s Foundation Piecing Instructions
- Paper Piecing the Carol Doak way
- Johanna Masko’s Flickr-based Machine paper piecing tutorial