A little while ago I participated in Kelly’s monthly BAMQG Challenge, which was to quilt a half yard fabric sandwich. The goal ended up being to make a bag from this piece. I wasn’t entirely happy with the quilting, but I didn’t sincerely dislike it either. The quilted piece laid around for awhile, but it was on my mind. It is only recently that I made time to start the bagmaking part. Part of the delay was because I couldn’t understand and extrapolate out from Kelly’s excellent directions. You know me. Sometimes I can read and read and the words look like gibberish. She was very patient with me and agreed to give me one step at a time. Broken down I could do it.
Supplies:
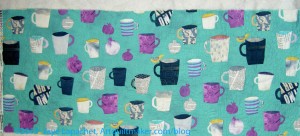
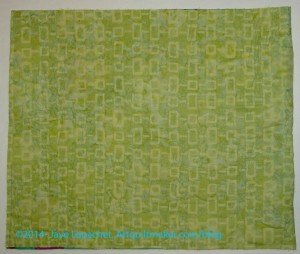
- 1 yard of fabric (2 different half yard pieces will add interest)
- 1/2 yard of fabric for straps and other fiddley bits
- 12″ x 42″ (or WOF) ShapeFlex
- 12″ square of coordinating fabric for binding
- batting slightly larger than 18″ wide to accommodate the half yards above
- Sewing machine and supplies to machine quilt/free motion quilt
- Rotary kit
- Judy Martin Point Trimmer ruler
- Optional: Timtex or Soft & Stable
Here are the directions with some illustrations:
- Layer and sandwich 2 half yards of fabric with batting
-
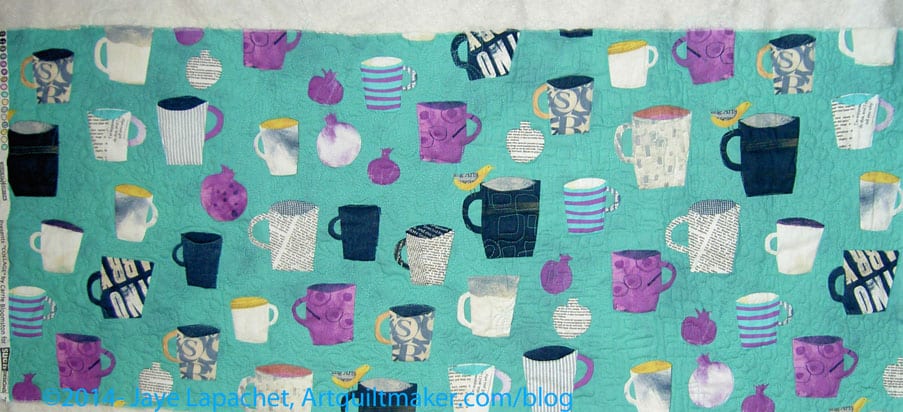
Full Piece Quilted Free motion quilt piece as desired. Shown is the piece that I did back in April. I know pieces of fabric don’t magically quilt themselves and I am not saying they do. It took me some time, but it is good practice and this is a good use for those practice pieces. Go back to the previous post and look at the different quilting designs I used.
- Kelly didn’t have me make the straps until after the bag was put together. I like to make all the fiddley bits first, so they are ready to go when I am on a roll making the bag and ready for them. That means: make the straps whenever you want. You should make them your favorite way. Here are the directions for making the straps that I used for this bag:
- Cut 2 strips 6″ wide by WOF. You could make them 5.5″ and they would be a touch skinnier.
- Cut 2 strips 5 3/4″ x WOF from ShapeFlex (If you make the straps skinnier, you need to adjust the size of the ShapeFlex. I cut it smaller to reduce bulk in the seams, which can get quite hefty without trying.
- Press ShapeFlex to wrong side of fabric, following the manufacturer’s directions.
- Fold each 6″ fabric backed piece in half and press well.
- Open the pieces you just pressed and fold raw edges to the center.
- Press folded edges.
- Fold entire strap on original center fold again. Raw edges should be inside and strap should measure about 1.5″.
- Optional: Depending on what you want to use the bag for, you can further line the straps with something like Timtex or Soft & Stable.
- Topstitch along both edges very close to the edge. You can use a decorative stitch or two lines of straight stitching to add interest
-
Squared up Quilted Piece Square up your quilted piece by trimming the excess batting and raw edges.
- Fold trimmed piece in half RST* and sew along side and bottom edges ONLY. Only the top will be open. You will have a flat piece that looks like an oversized iPad cover.
-

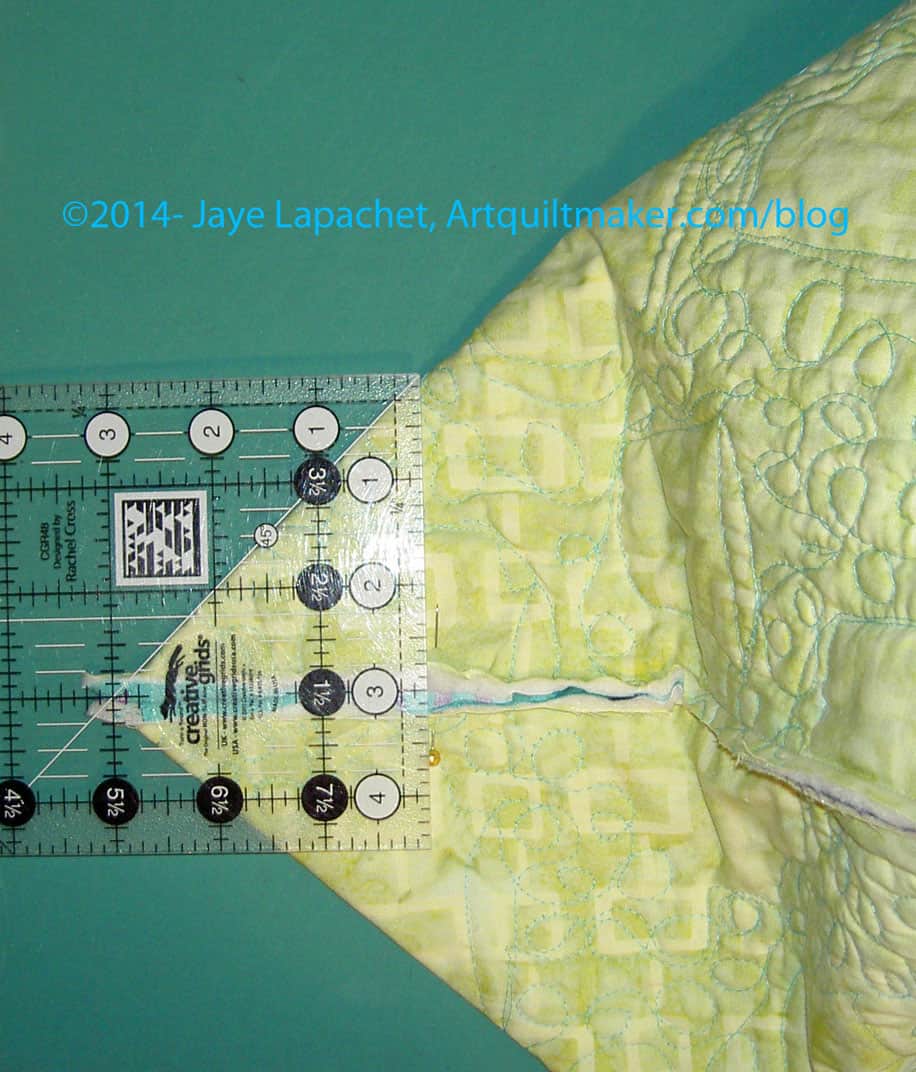
Measure to Box the Corners Box the corners. Kelly does a minimum of 2″ from the side seam. FYI: there is no seam on one side, so I pressed the fold and treated the folded part as a seam. I used my Creative Grids 4.5″x8.5″ ruler to try out different corner sizes. I ended up doing a 3″ box, using pins to try out the size and see what I liked. You can see in the photo that I was able to use the side and bottom measurements to help decide. I had to see how big the bag would be and how it work as a bag I actually used. Once I decided on the size of the boxed corner, I drew a pencil line across the corner to know where to sew. I placed a couple of pins across the drawn line to hold the bottom in place. Then I sewed on that line to make the box. in the picture, I sewed along the short end of the ruler from diagonal line to diagonal line using the center seam as the straight line.

Corners Boxed - Optional: Trim off the excess corners to reduce bulk. I like to do this because I don’t like the excess to interfere with my stuff once I start using the bag. Also, small stuff that migrates to the bottom of the bag gets tangled up with them. Since this bag doesn’t have pockets, small stuff will migrate.
- Press raw seams open. You’ll have to stick the iron inside the bag.
- This is the point where, when I make the next version, I will sew binding over the raw seams. If I knew someone with a serger, I would serge them, but I don’t, so binding it is. I could just leave the raw edges, but that just seems wrong. On this version of the bag, I did this step later, but it makes sense to do it after the corners, so there is not a lot of other stuff to worry about and you won’t have to fold the ends of the inside binding over, because you can cover the raw edges of the inside binding when the top binding is sewn.
- Make a bias binding like you would for a quilt. You will need about 50″. I cut my square (see list of supplies) into 2.25″ wide strips on the diagonal. The Judy Martin Point Trimmer ruler makes it really easy to sew the strips together. I suppose you could use straight of the grain binding, but I think a bias binding works well.
-

Add binding Bind the top, covering the edges of the binding that covers the inside raw edges (step above). I sewed along the bottom first, making sure I caught the underside as well as the top. When I finished I sewed along the top of the binding as well. I thought it made the bag look more finished and added some interest (must be my favorite term today). I used an extra piece of binding leftover from the Spiderweb quilt and I am glad I used something that mostly matched. On another version, I would plan ahead better and use a coordinating fabric or the strap fabric.
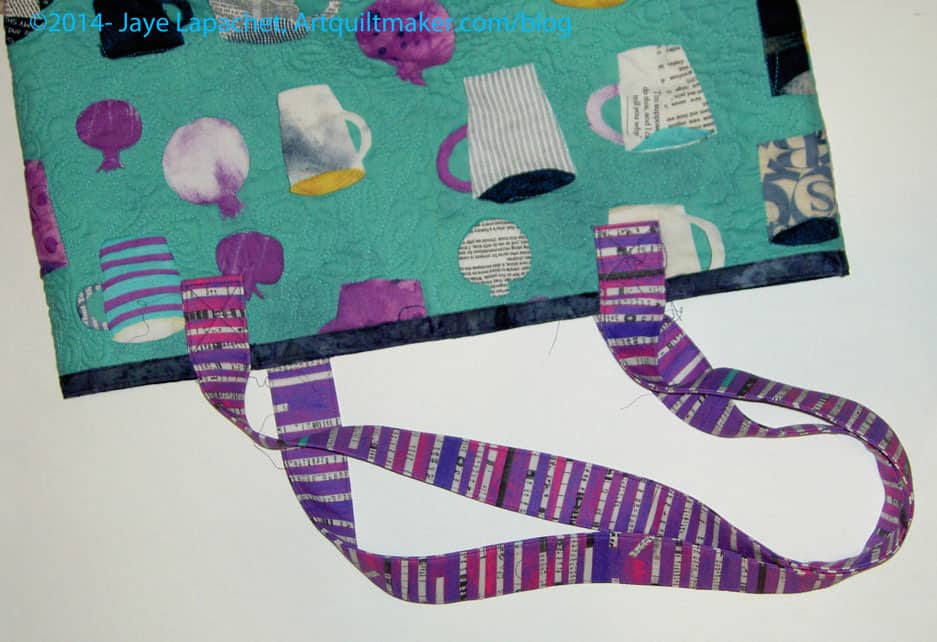
- If you haven’t made your straps, make them now.
- Test the length of the straps until they are right for your height. I used WonderClips at different lengths to find the right length, then I trimmed the original length to my custom length, which was about 36″.
- Flatten the bag carefully so the edge of the side is folded. This means that the edge of the side measures an equal amount from the side seam to the edge of the side as is the top. Measure two inches from this fold.
- Place a pin at 2″ that you just measured.
- Measure 2″ down from the top and place a pin parallel to the top of the bag. This makes a half square where you will place your strap.
- Fold the end of the strap 2″ up and place the folded edge right beneath the bottom of the binding.
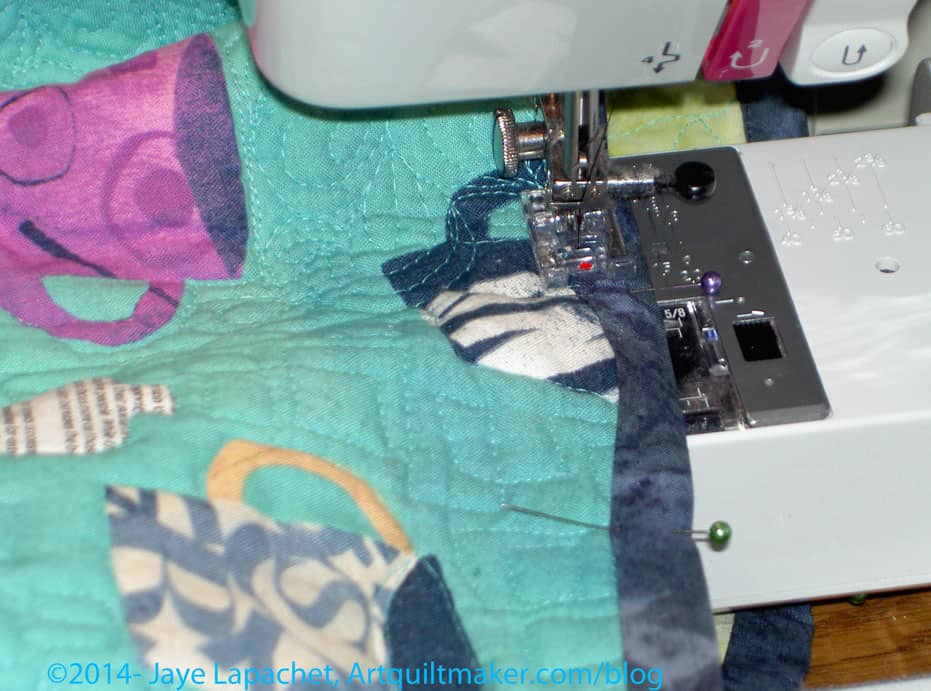
- Sew the straps to the bag, making a box with an X in the middle. Go around the edges and the X a few times.
- Optional: After you sew on the straps, sew along the fake edge of the side (see step 14) from the top to about 4″ from the bottom. Do this on all sides to make the bag into a box.


You are finished! You have made the bag. Hooray!!!
A Variety of Notes:
Crazy as it sounds, I am now thinking of fabrics I can quilt that would look awesome in bag form. I know. I think I have lost mind.
I like my bags to have pockets, but I also don’t like the stitching to show through, so I didn’t put any in this bag. You could make a lining and add it before you sew on the binding, then you wouldn’t have to cover the raw edges with a binding. You could sew the pockets to the lining. You’ll have to figure the measurements out yourself. Of course, your beautiful quilting would be covered.
*RST – right sides together
*WOF – width of fabric (usually about 42″-45″
Nice job Jaye!
Another option for a pocket would be to make a separate pocket, and baste it on at the center of the top edge. When you add the binding, you’ll secure it. Think loose/hanging pocket. It could be hand stitched to the lining, the way you’d hand stitch a binding, too, if you’re morally opposed to loose pockets. lol
I’ll come back and clarify that tomorrow (or some time “soon”) if needed. My brain isn’t fully functioning — thanks to allergy meds.
Thanks! Hope I made it clear you were the designer. I was thinking of ways to add in a pocket. I like your idea, but was thinking that matching the outside fabric and then machine sewing a pocket might not be so bad since there is already a lot of stitching. Something to contemplate.