Speedy Pouches

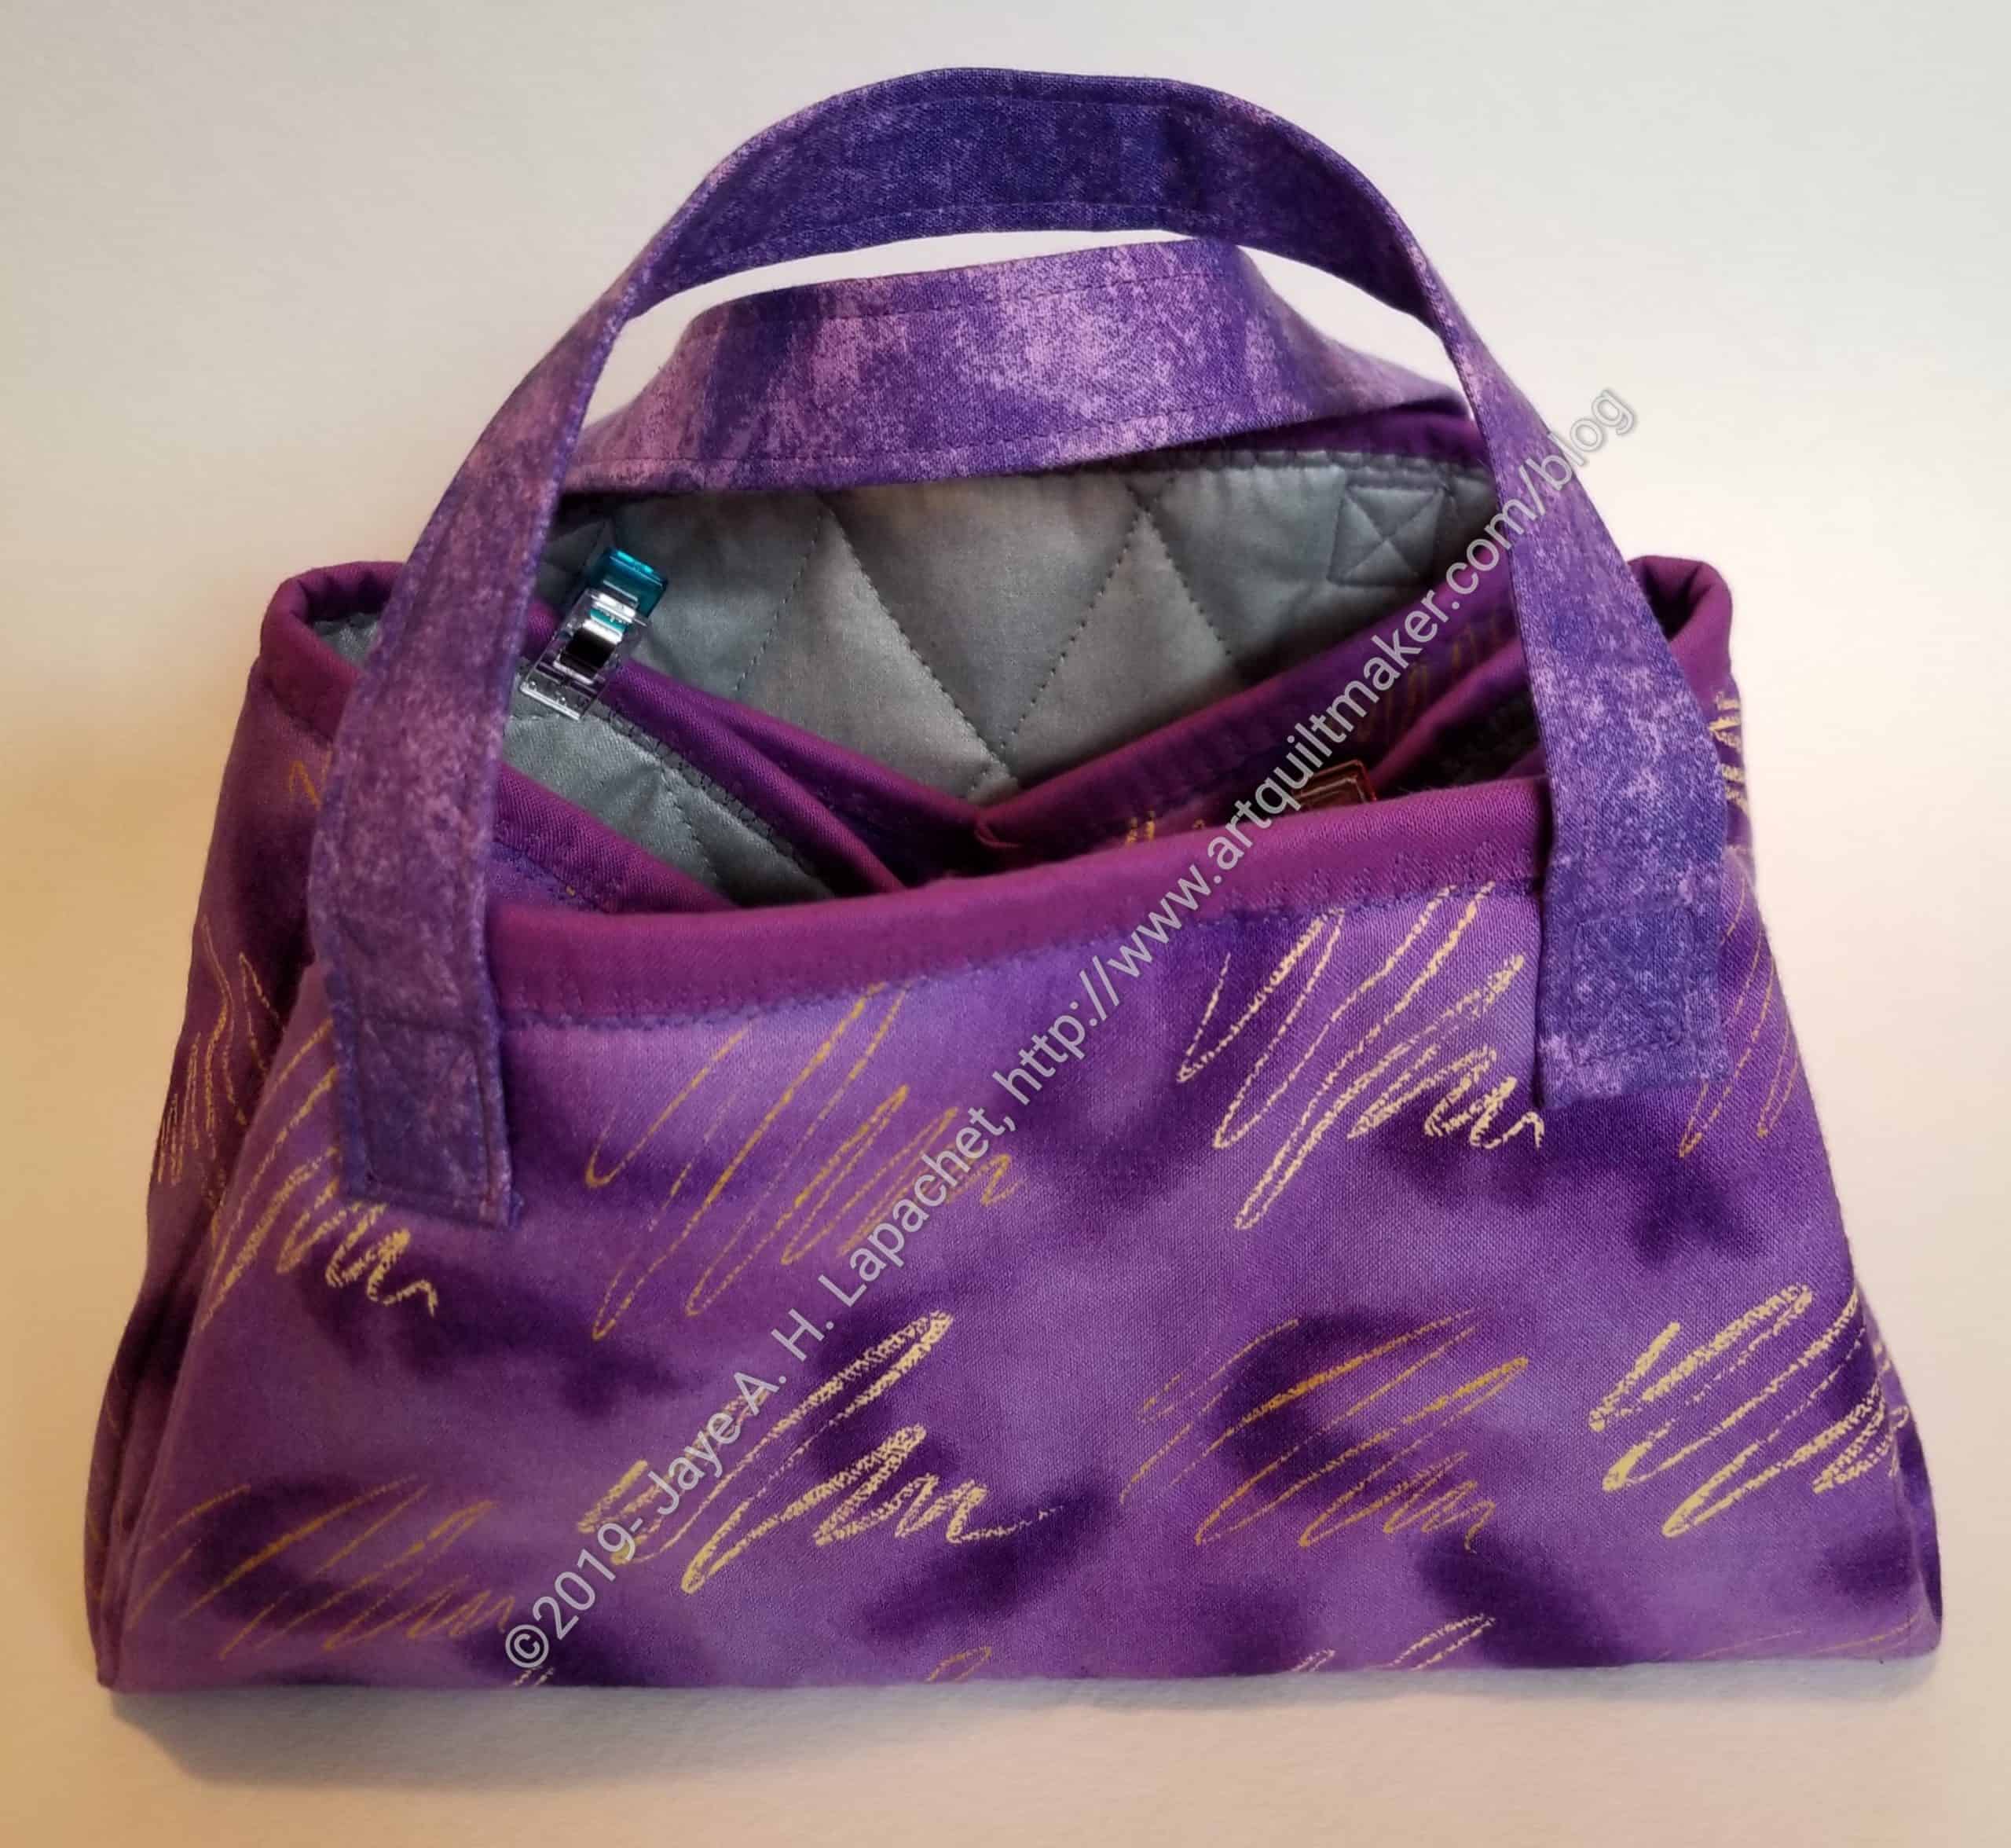
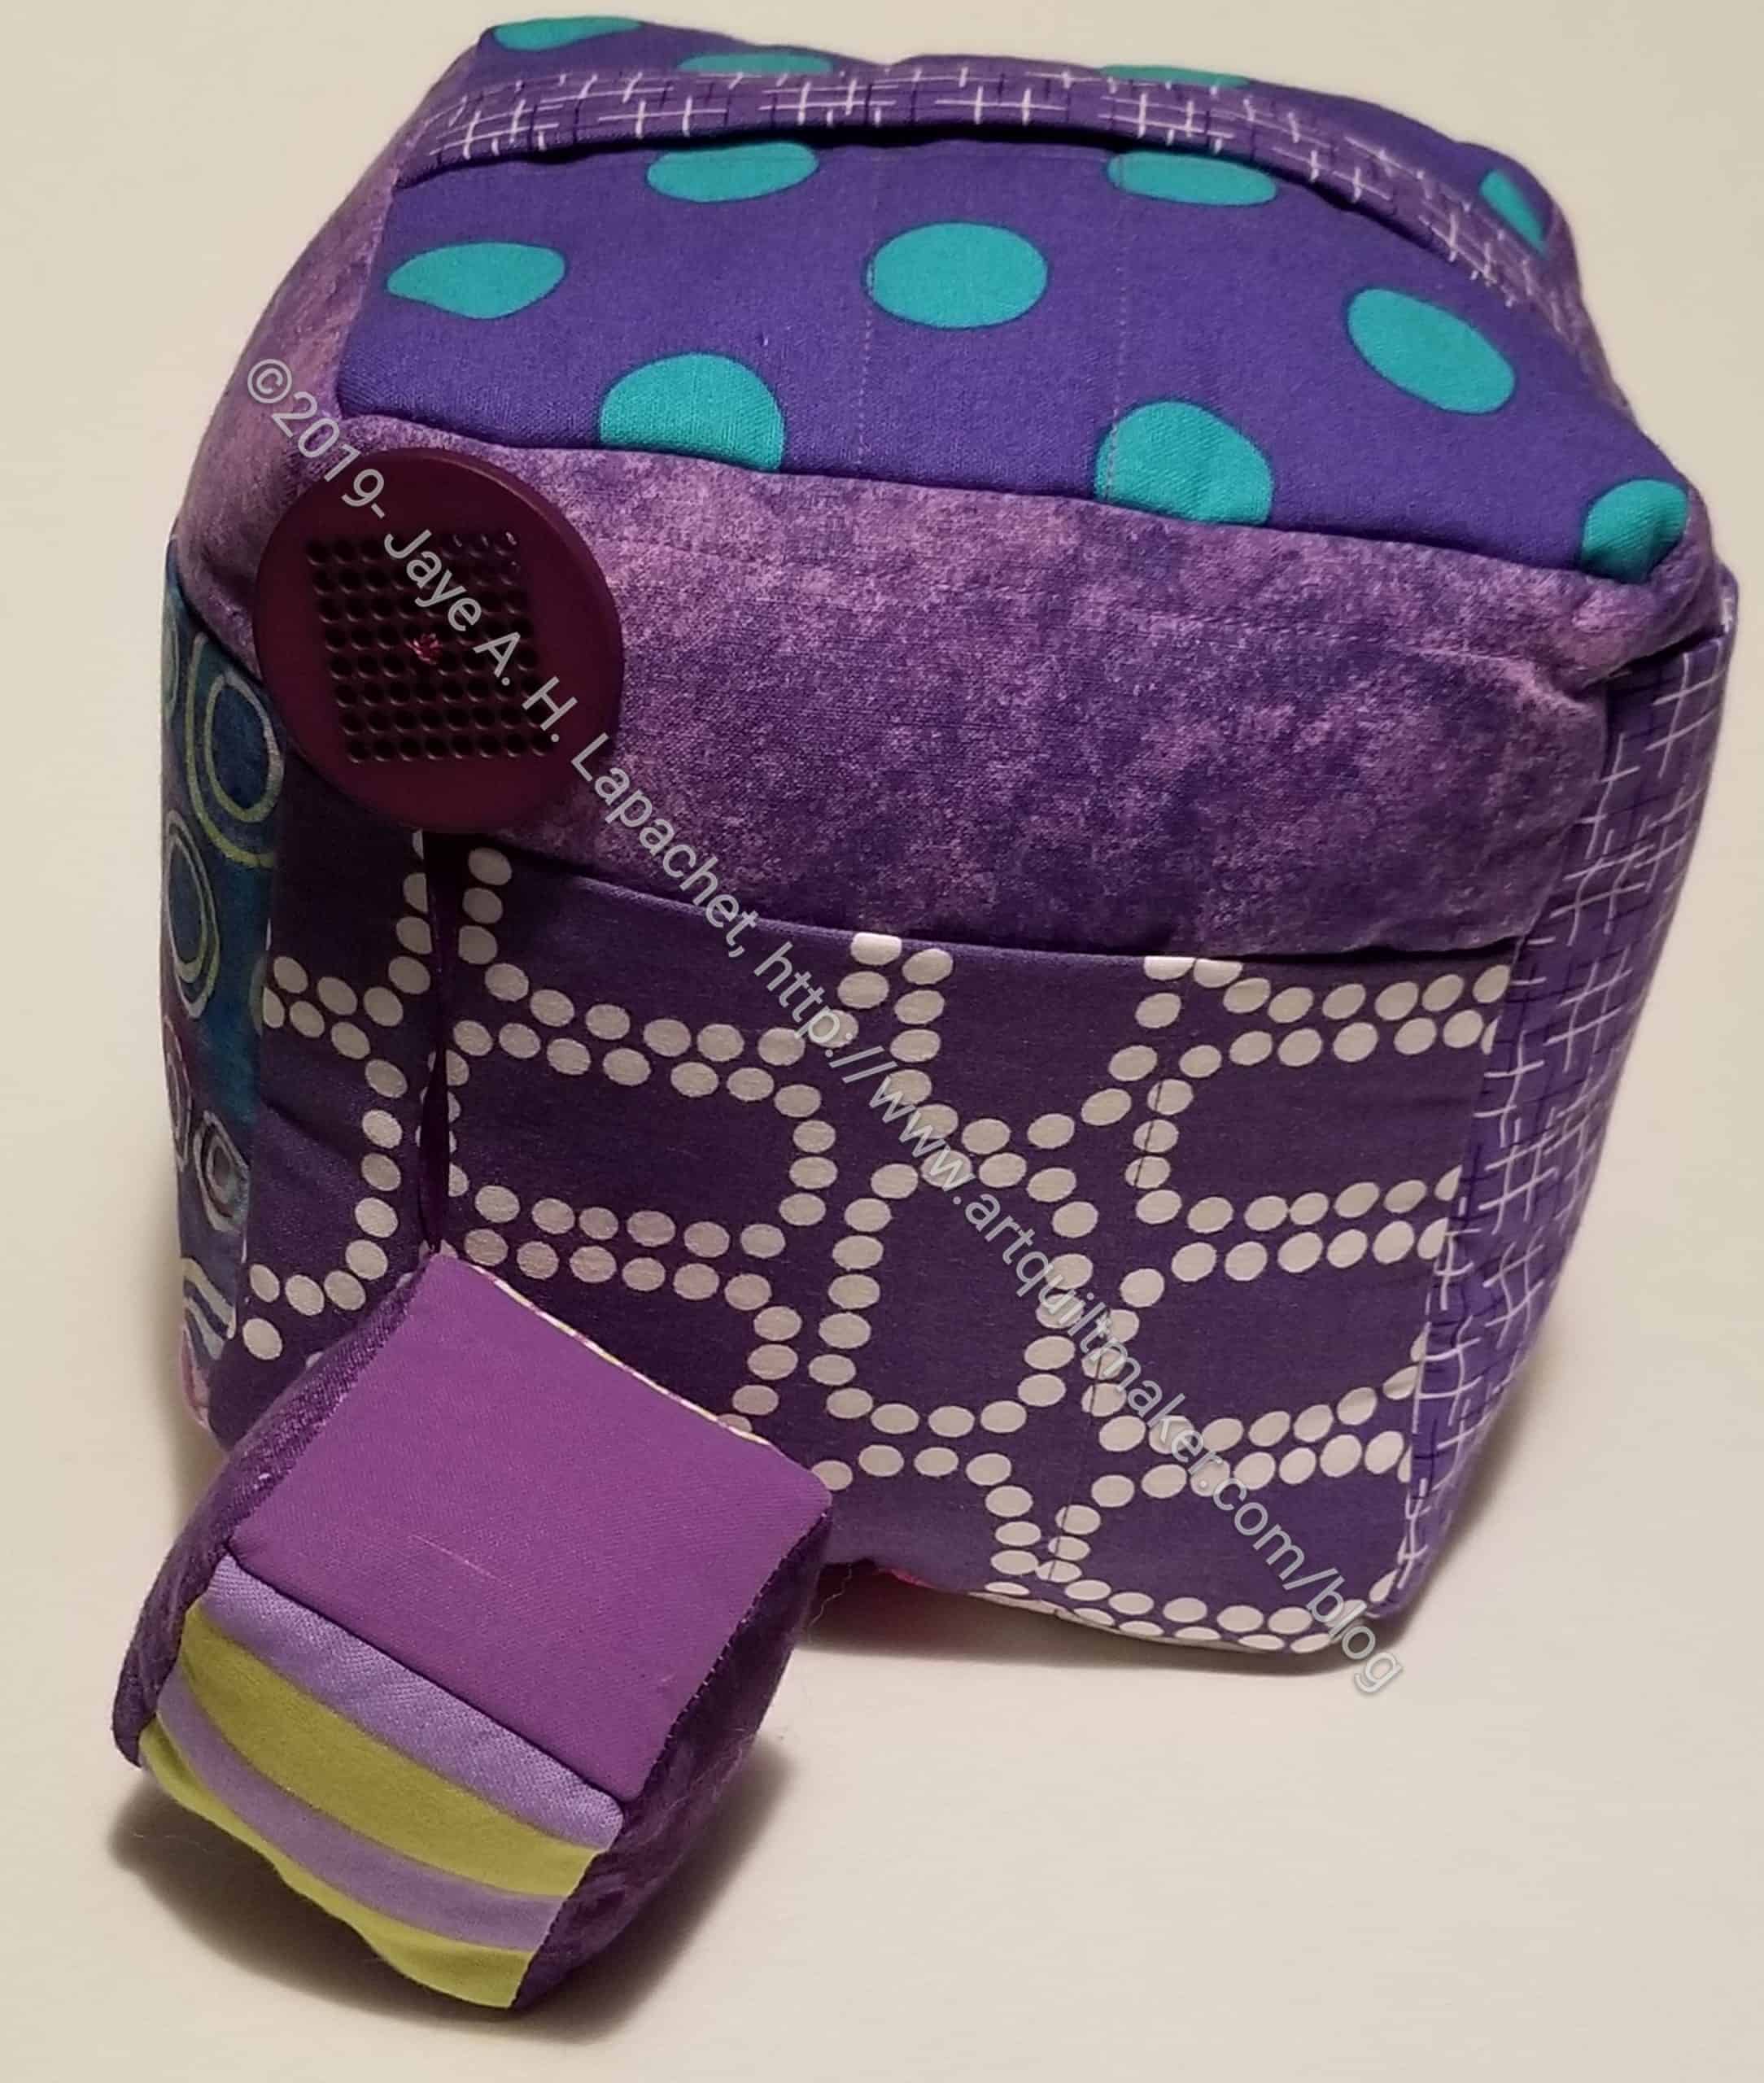
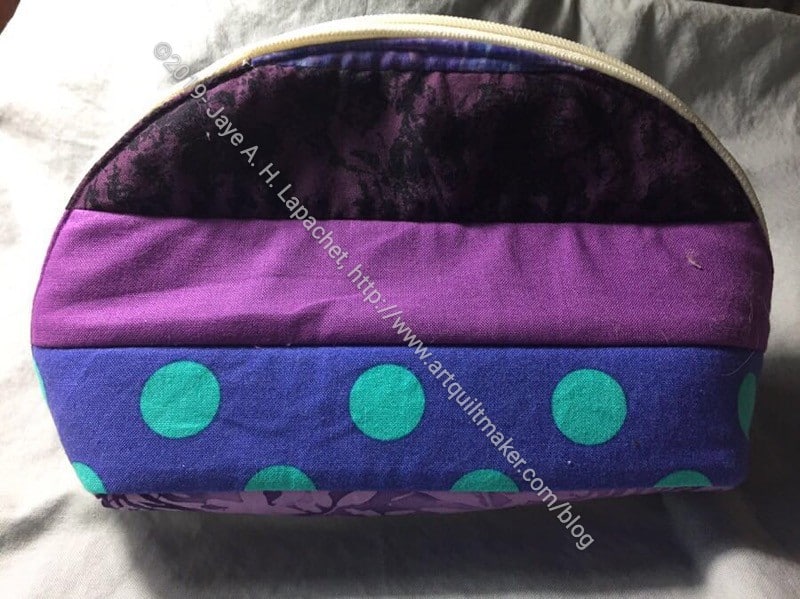
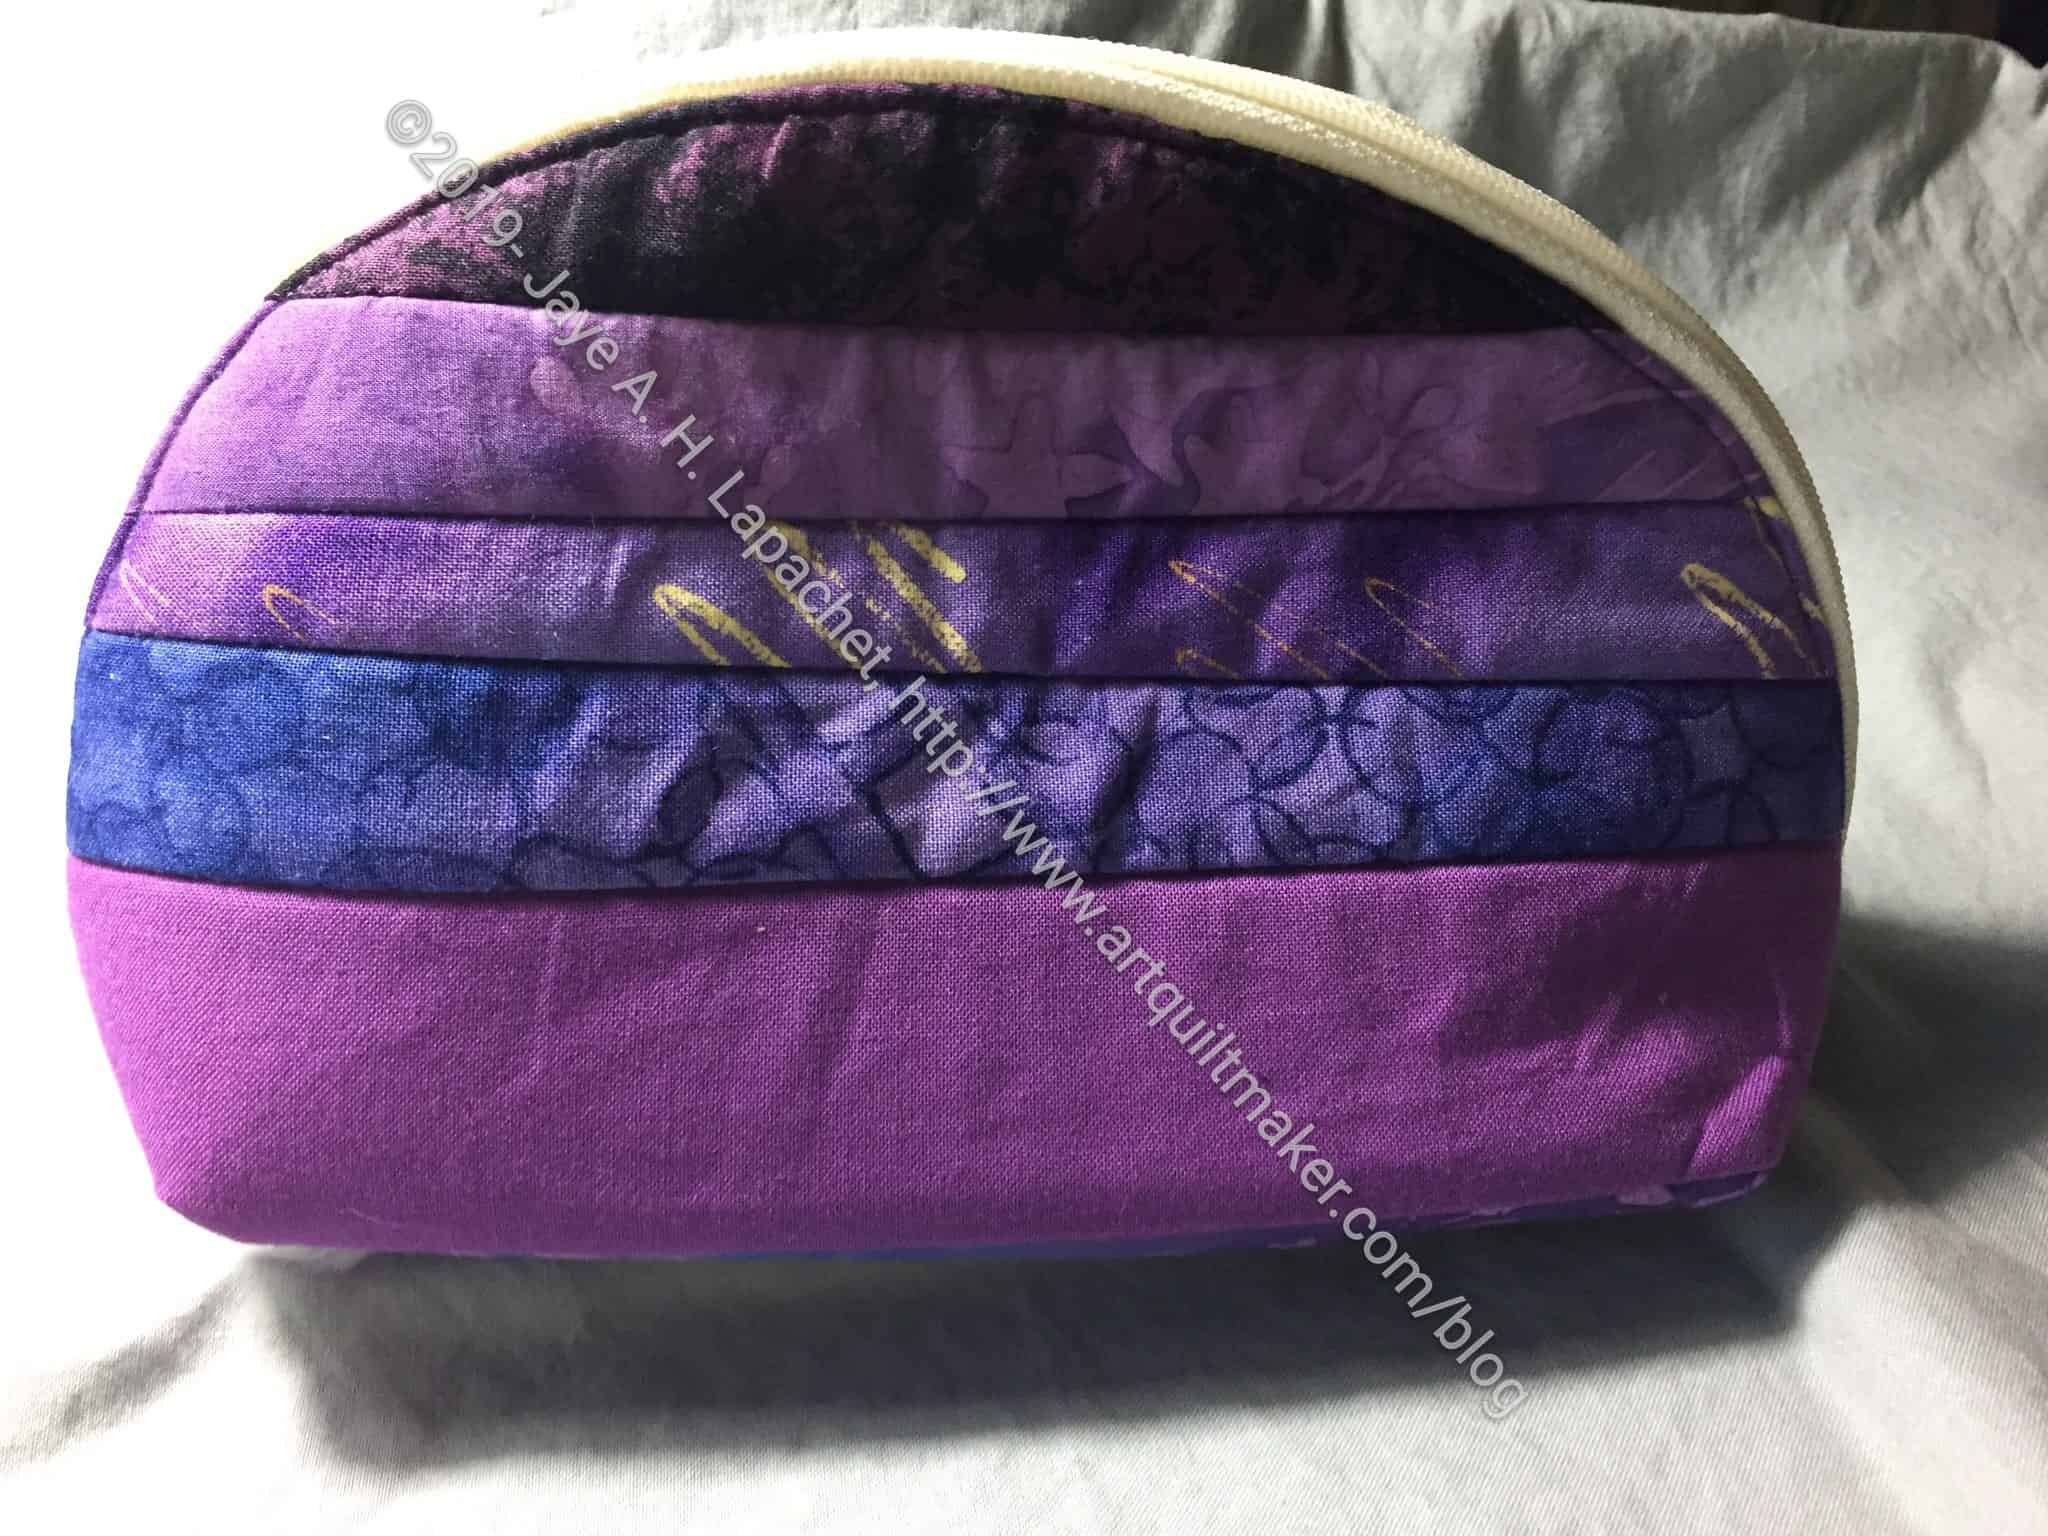
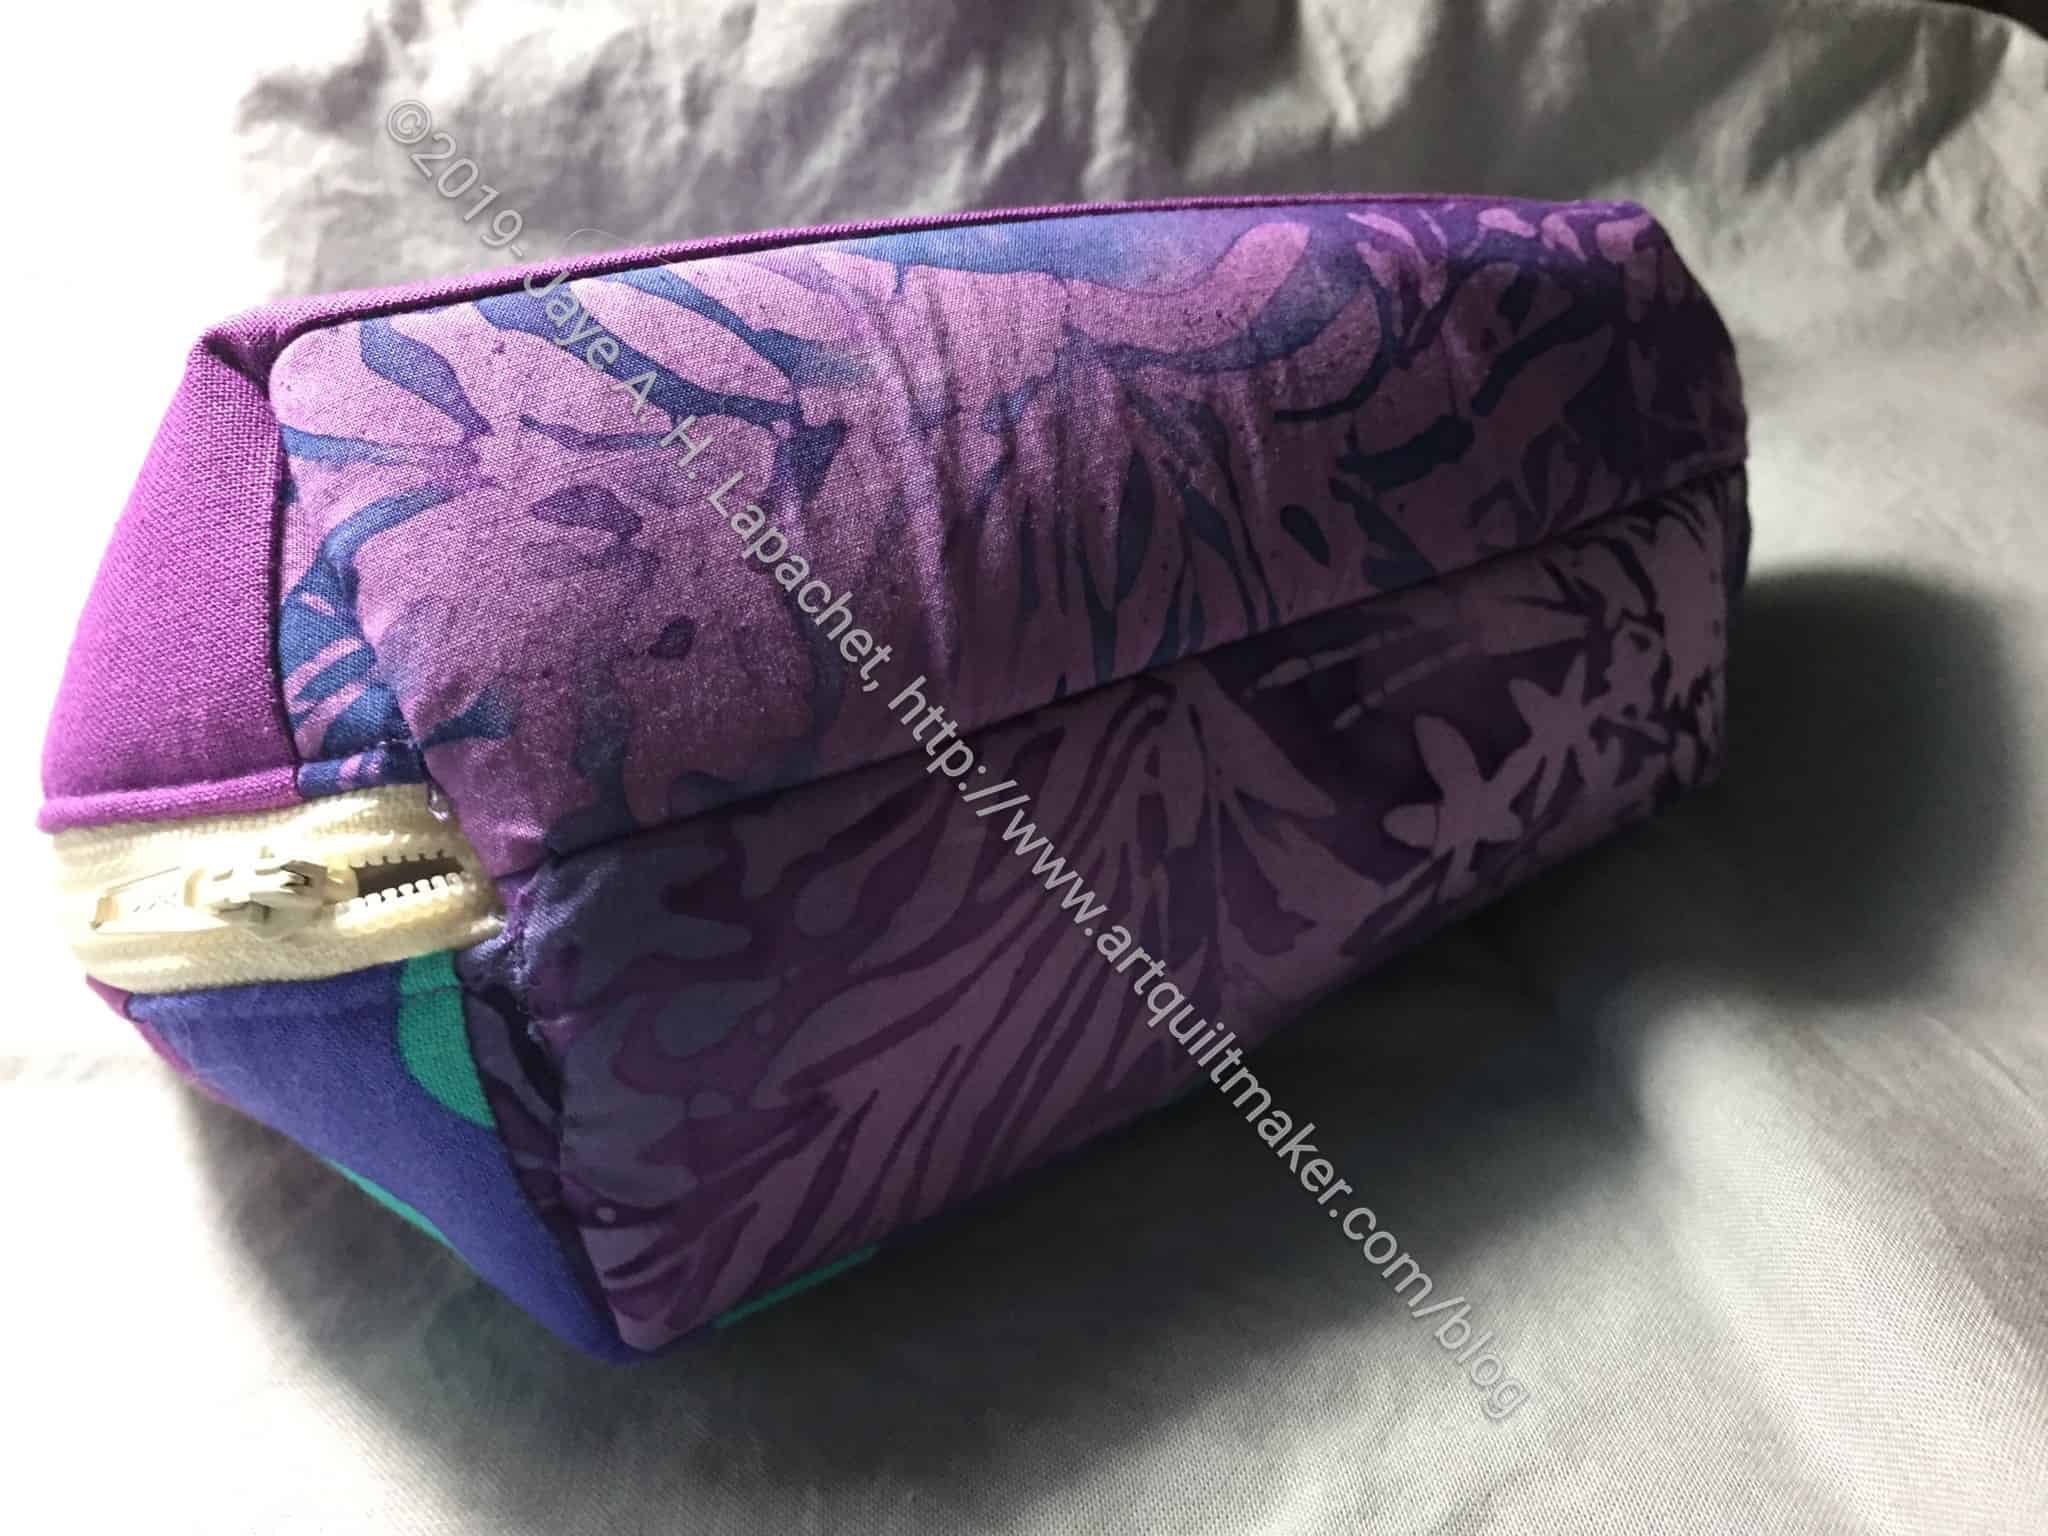
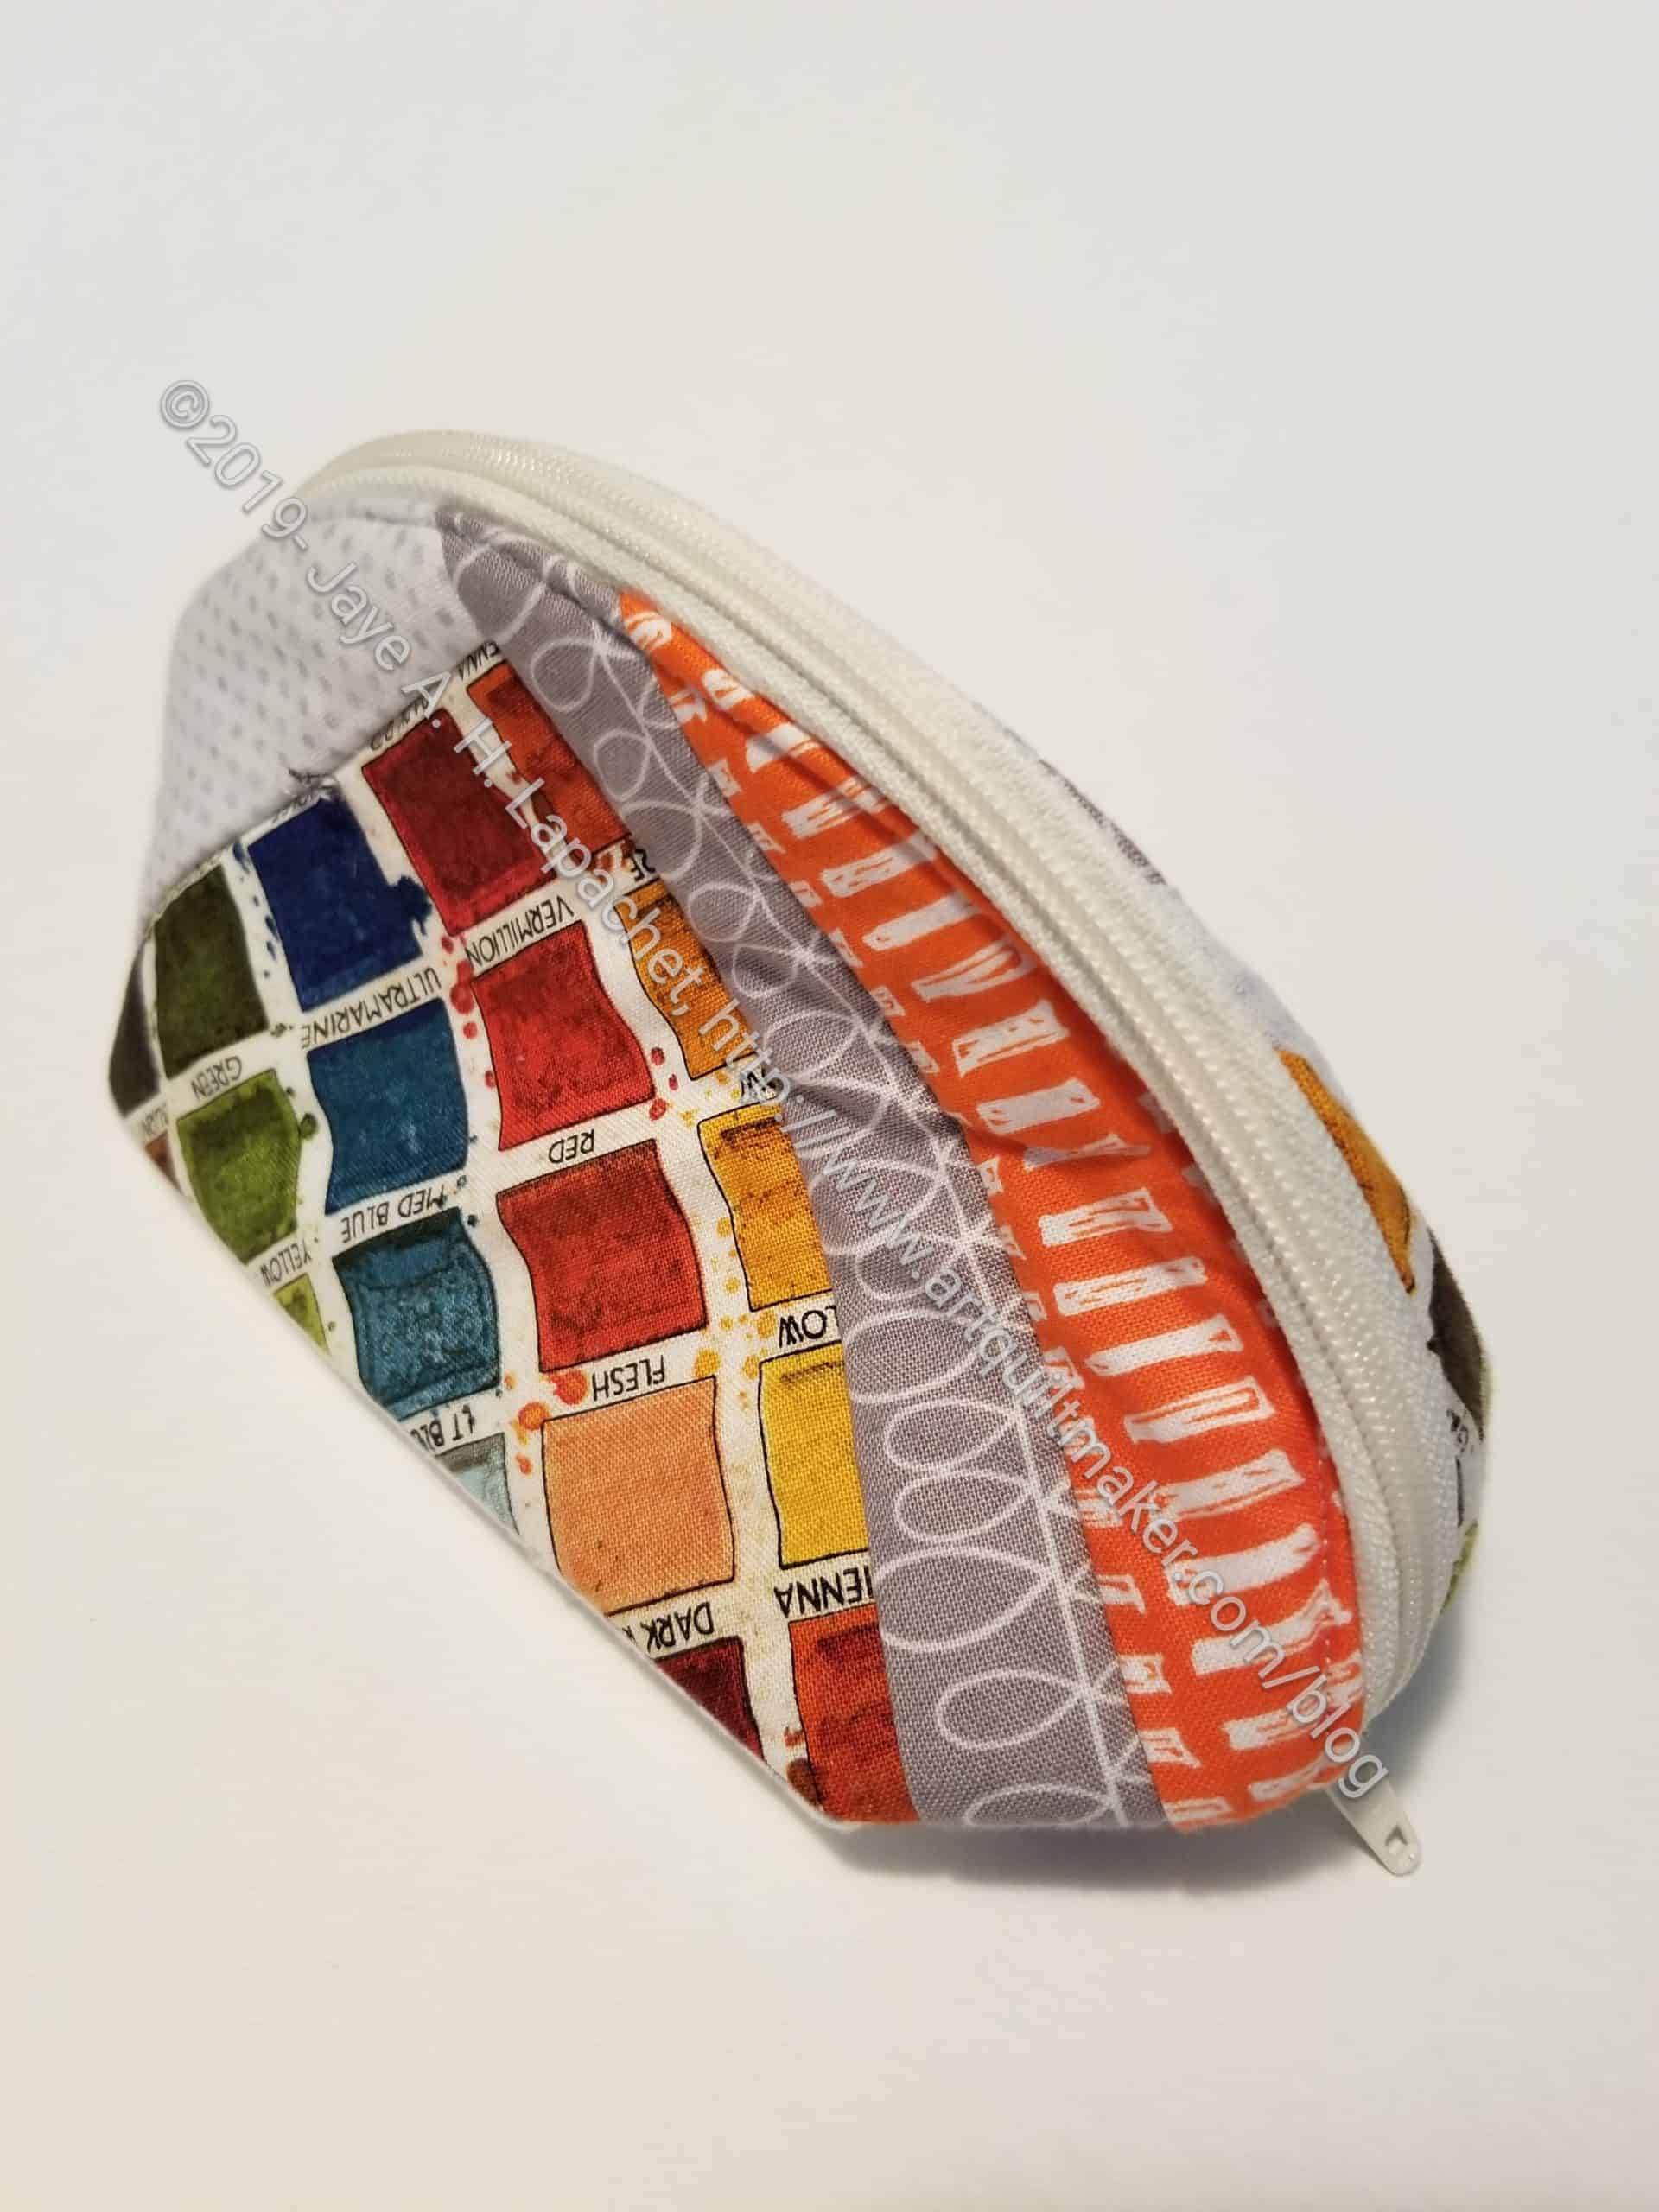
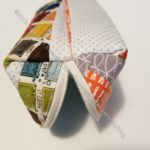
I am in the process of making some of Aneela Hoey‘s pouches. I pulled this pattern out at the last minute to make some gifts that I was woefully behind on making. Although I am not finished, I am pretty pleased on how these are coming out.

The pattern I am using is called Speedy Vinyl Pouches. If I weren’t trying to make 5 at once, they would have been much speedier. 🙂 Still they are fairly quick to make. I bought this pattern on spec after seeing another one of her patterns, the Boxy Clear Pouch that Angela made and looking through the site. Of course, I want all of her patterns, but I am trying to make the patterns that I have, so I limited myself.

Speedy Pouch Gift
Speedy Pouch Gift

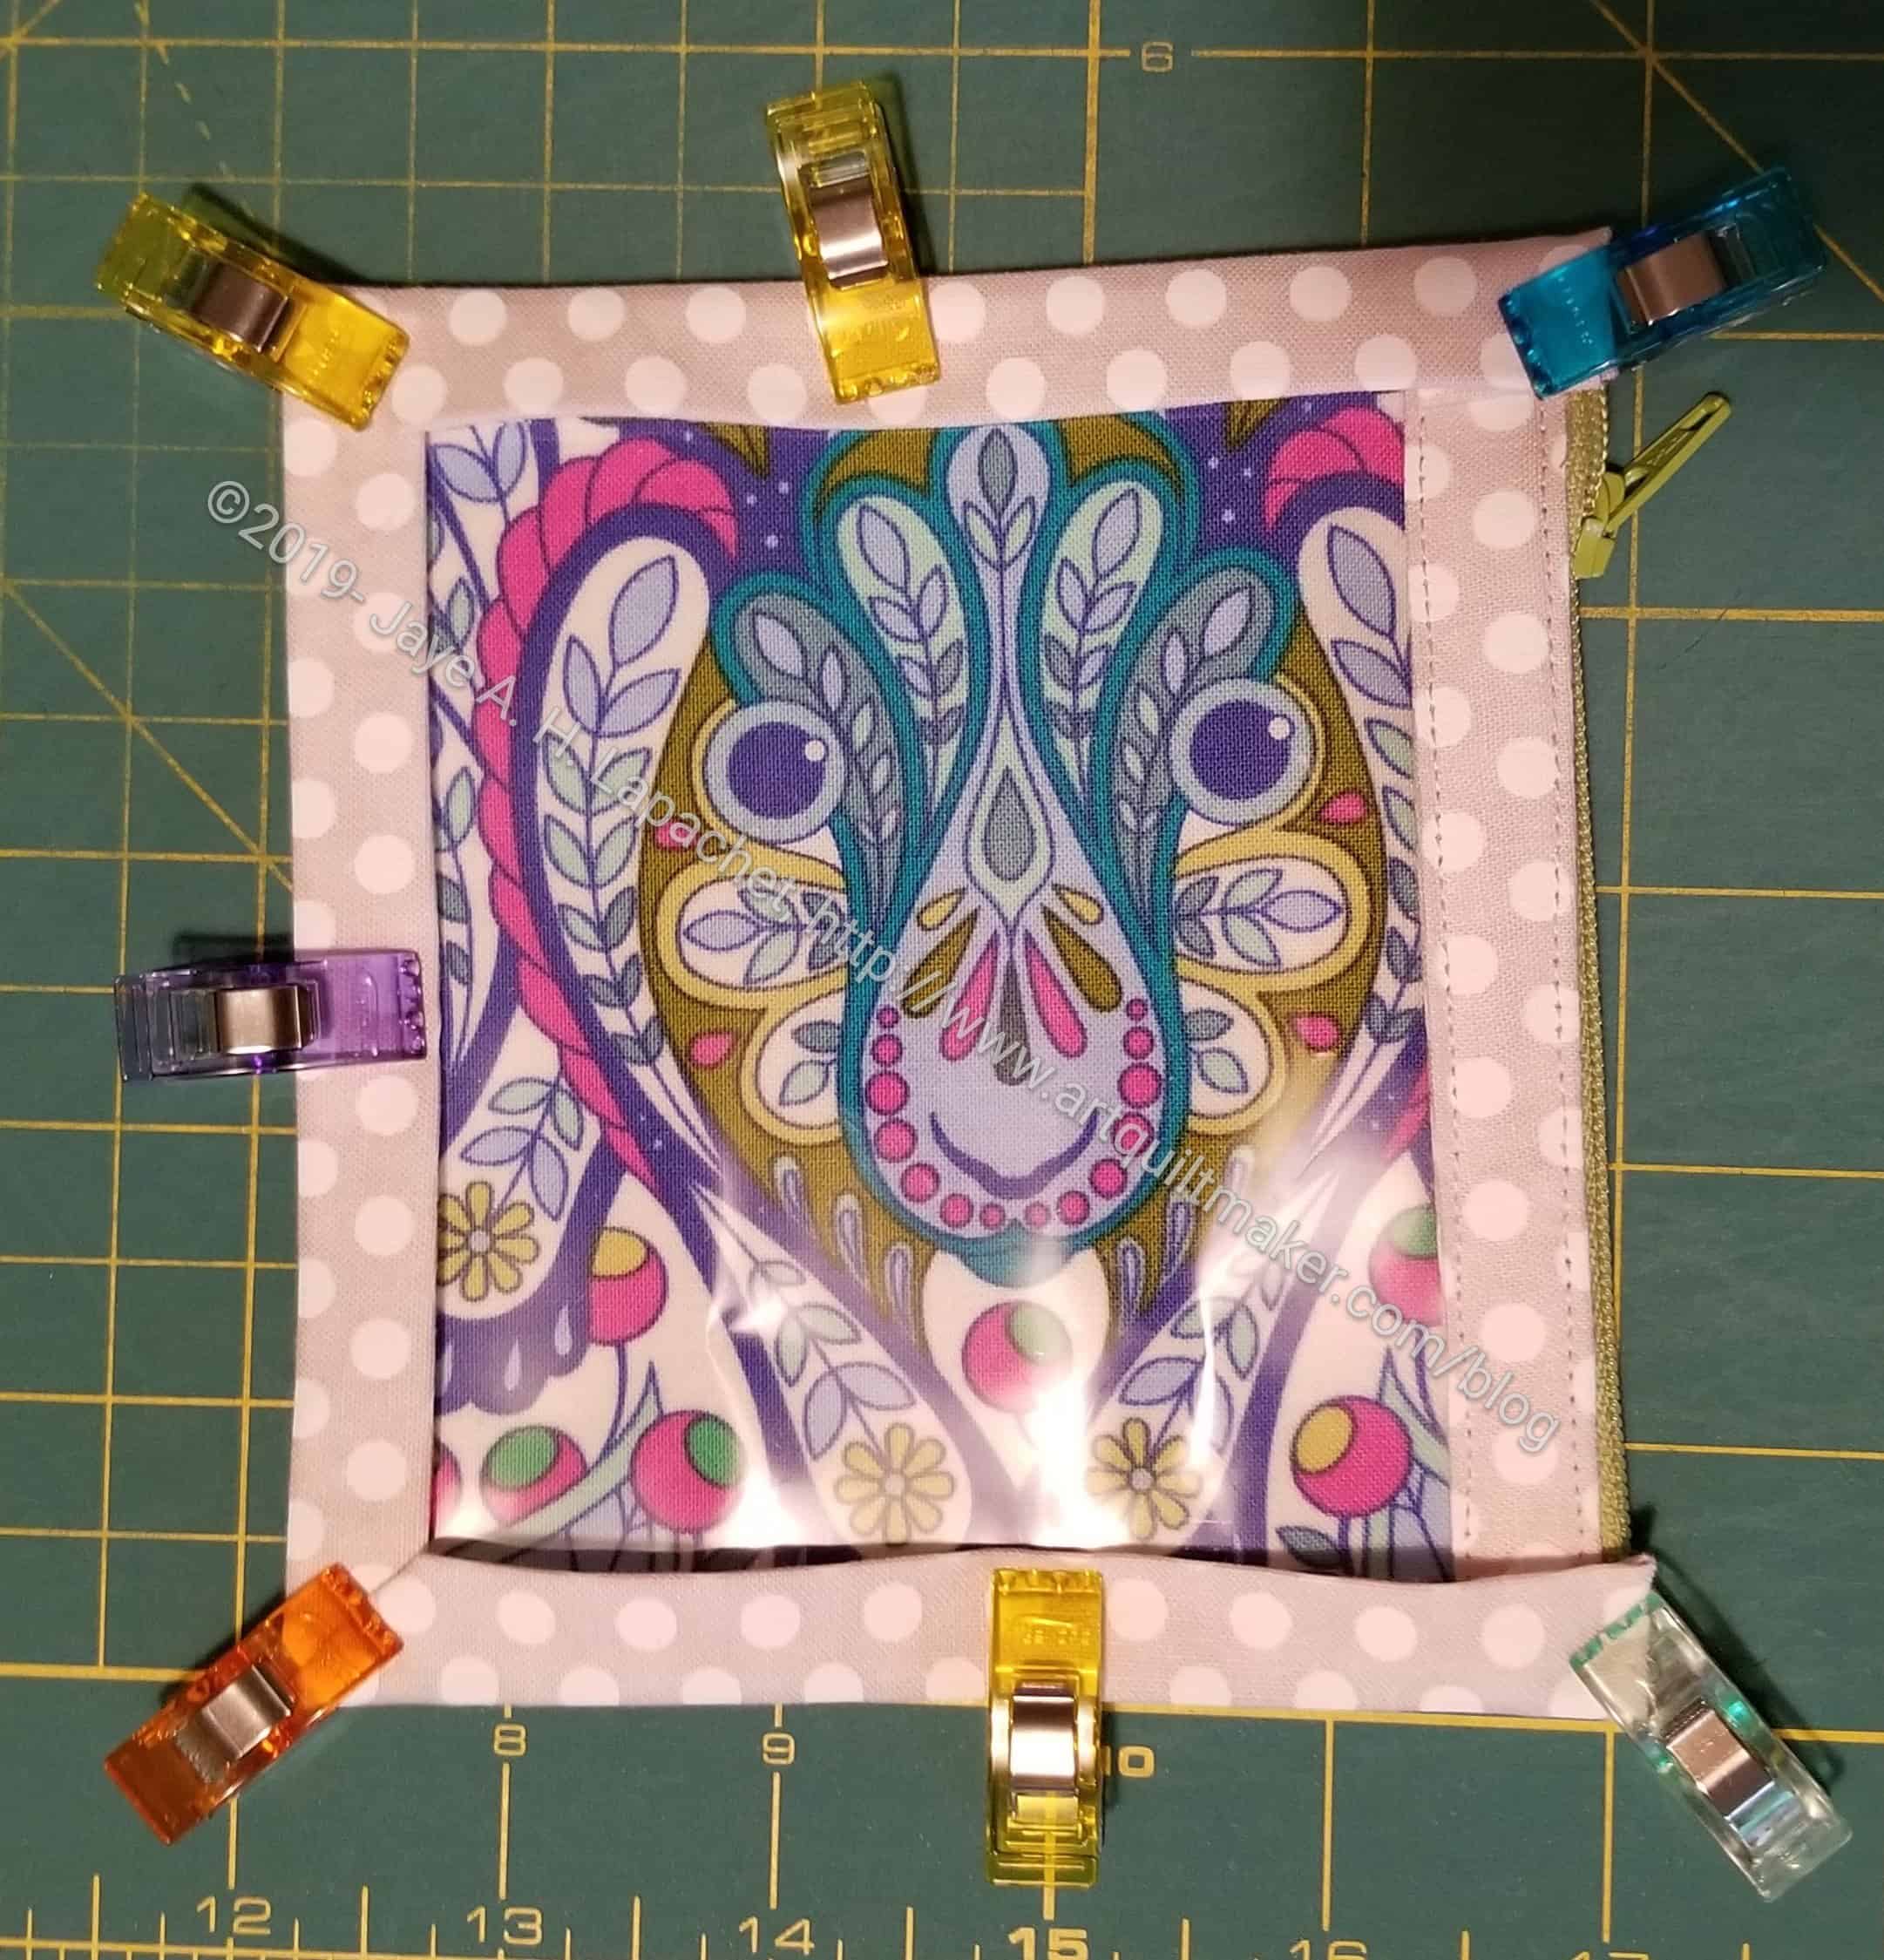
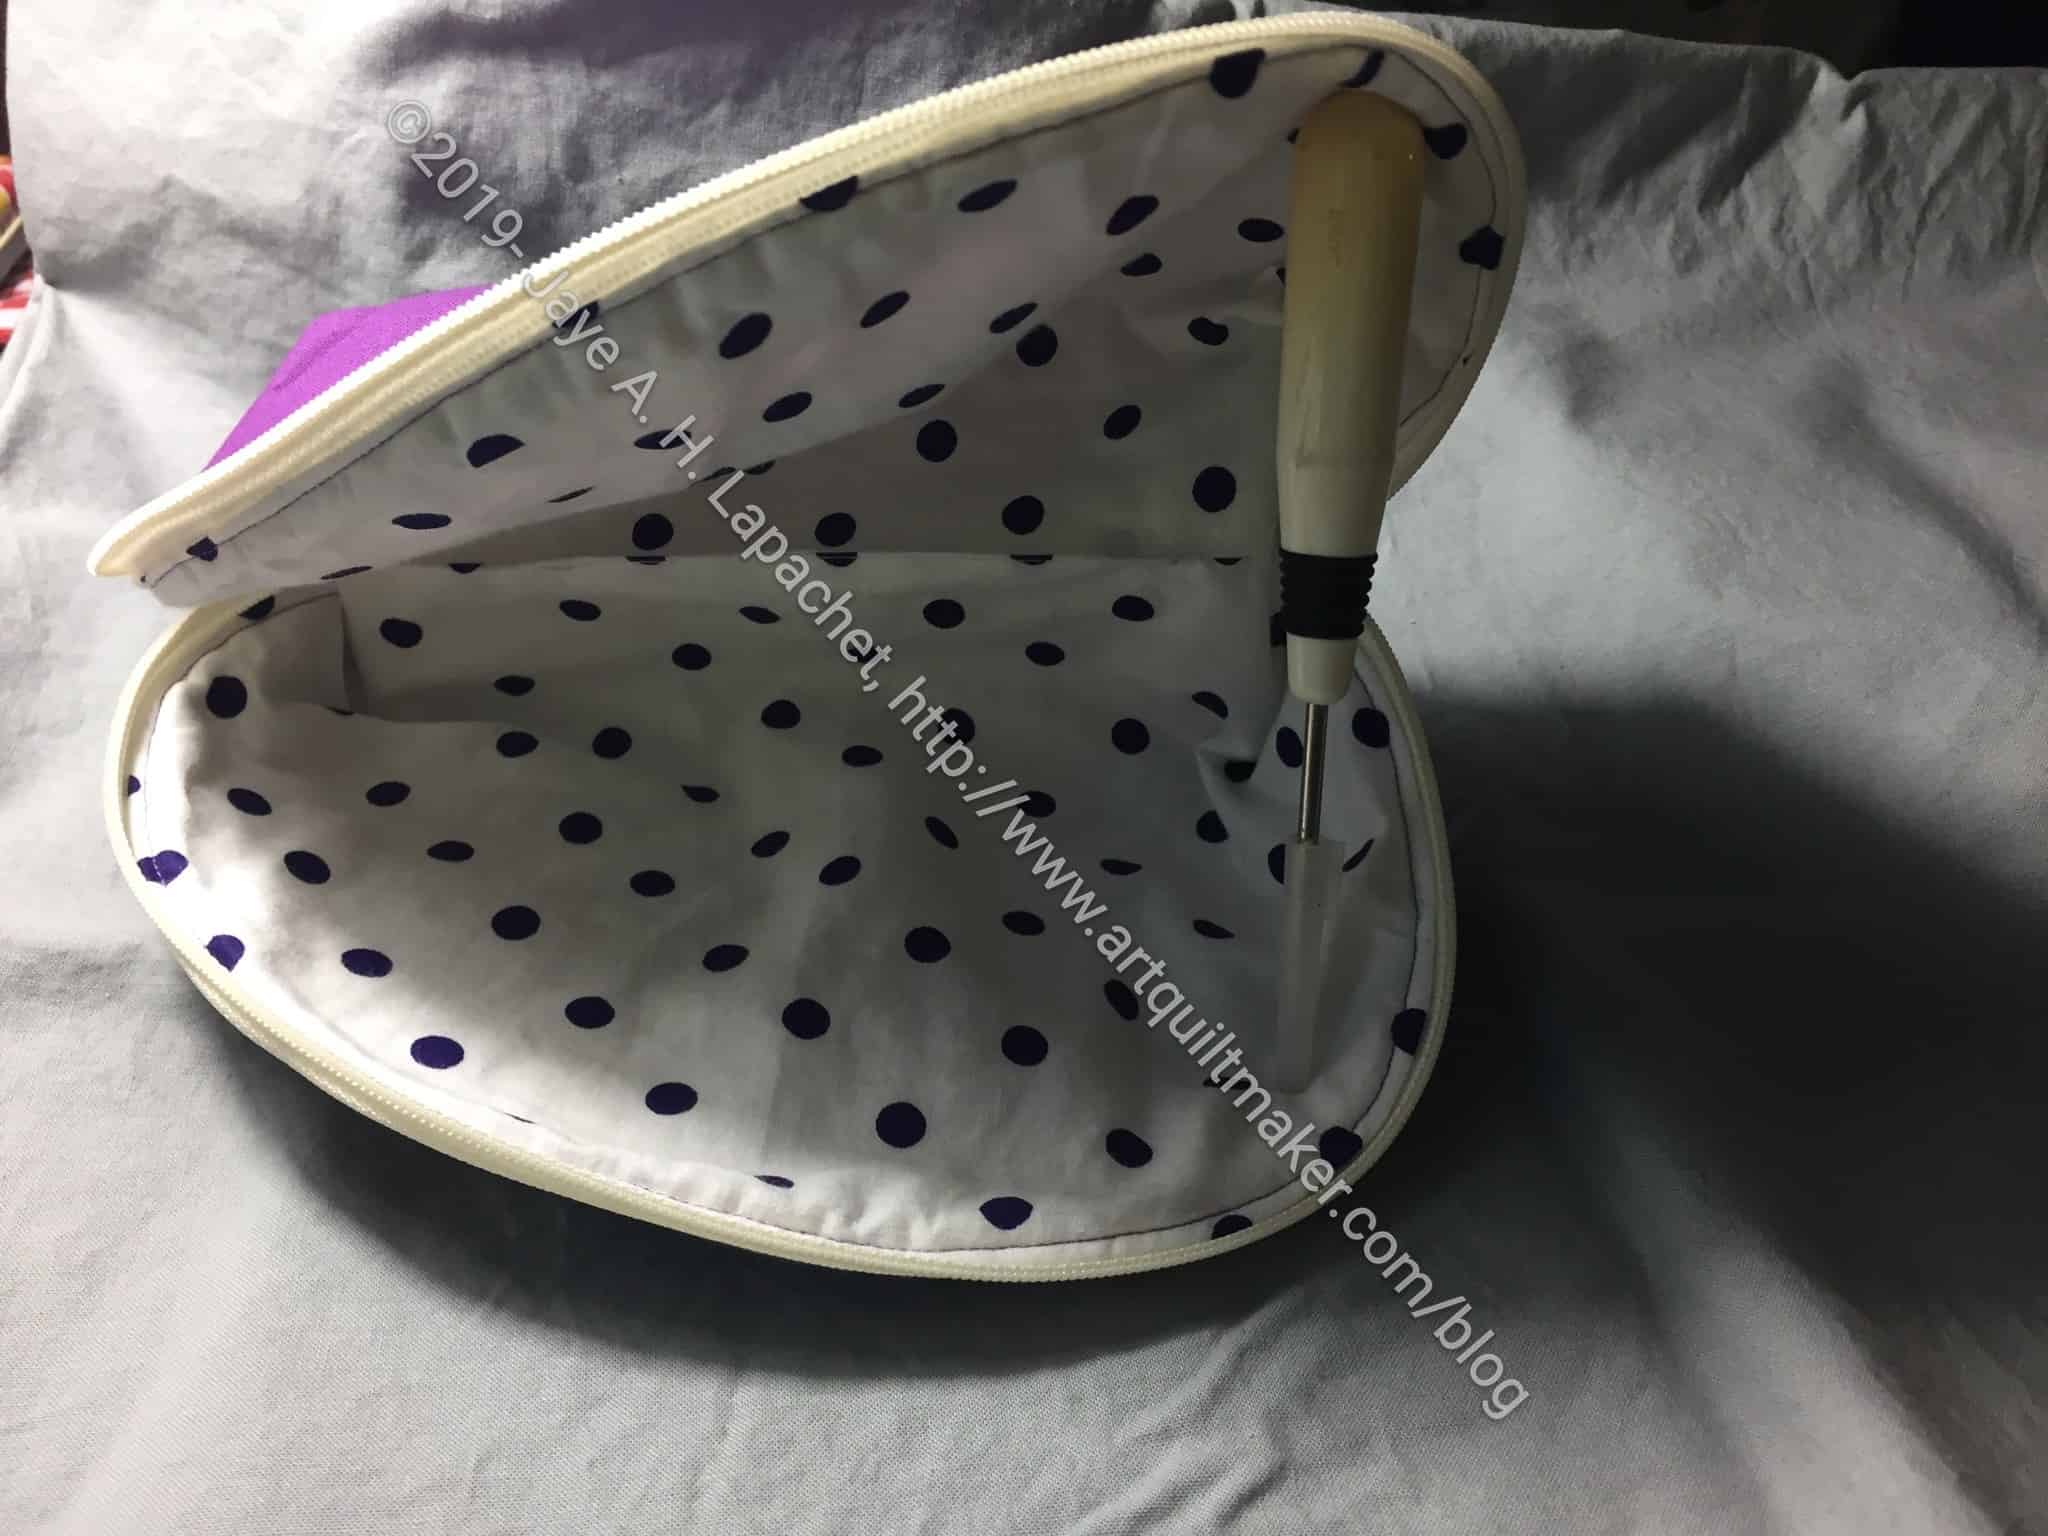
The materials are pretty easy to gather up from what you have around the house, except for the zippers. I didn’t have 4″ zippers, but I did have 5″ or 6″ zippers and I just cut them off. It worked fine. Well, it has worked fine so far. We’ see when the pouches are finished.

The thing I really wanted to tell you is that the pattern is great! It is very clearly written, has a great font and is easy to follow — even for me! There was one line with the binding that I didn’t understand, but I made my own way and it seems to work. I guess we’ll see when I sew the binding down.

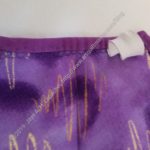
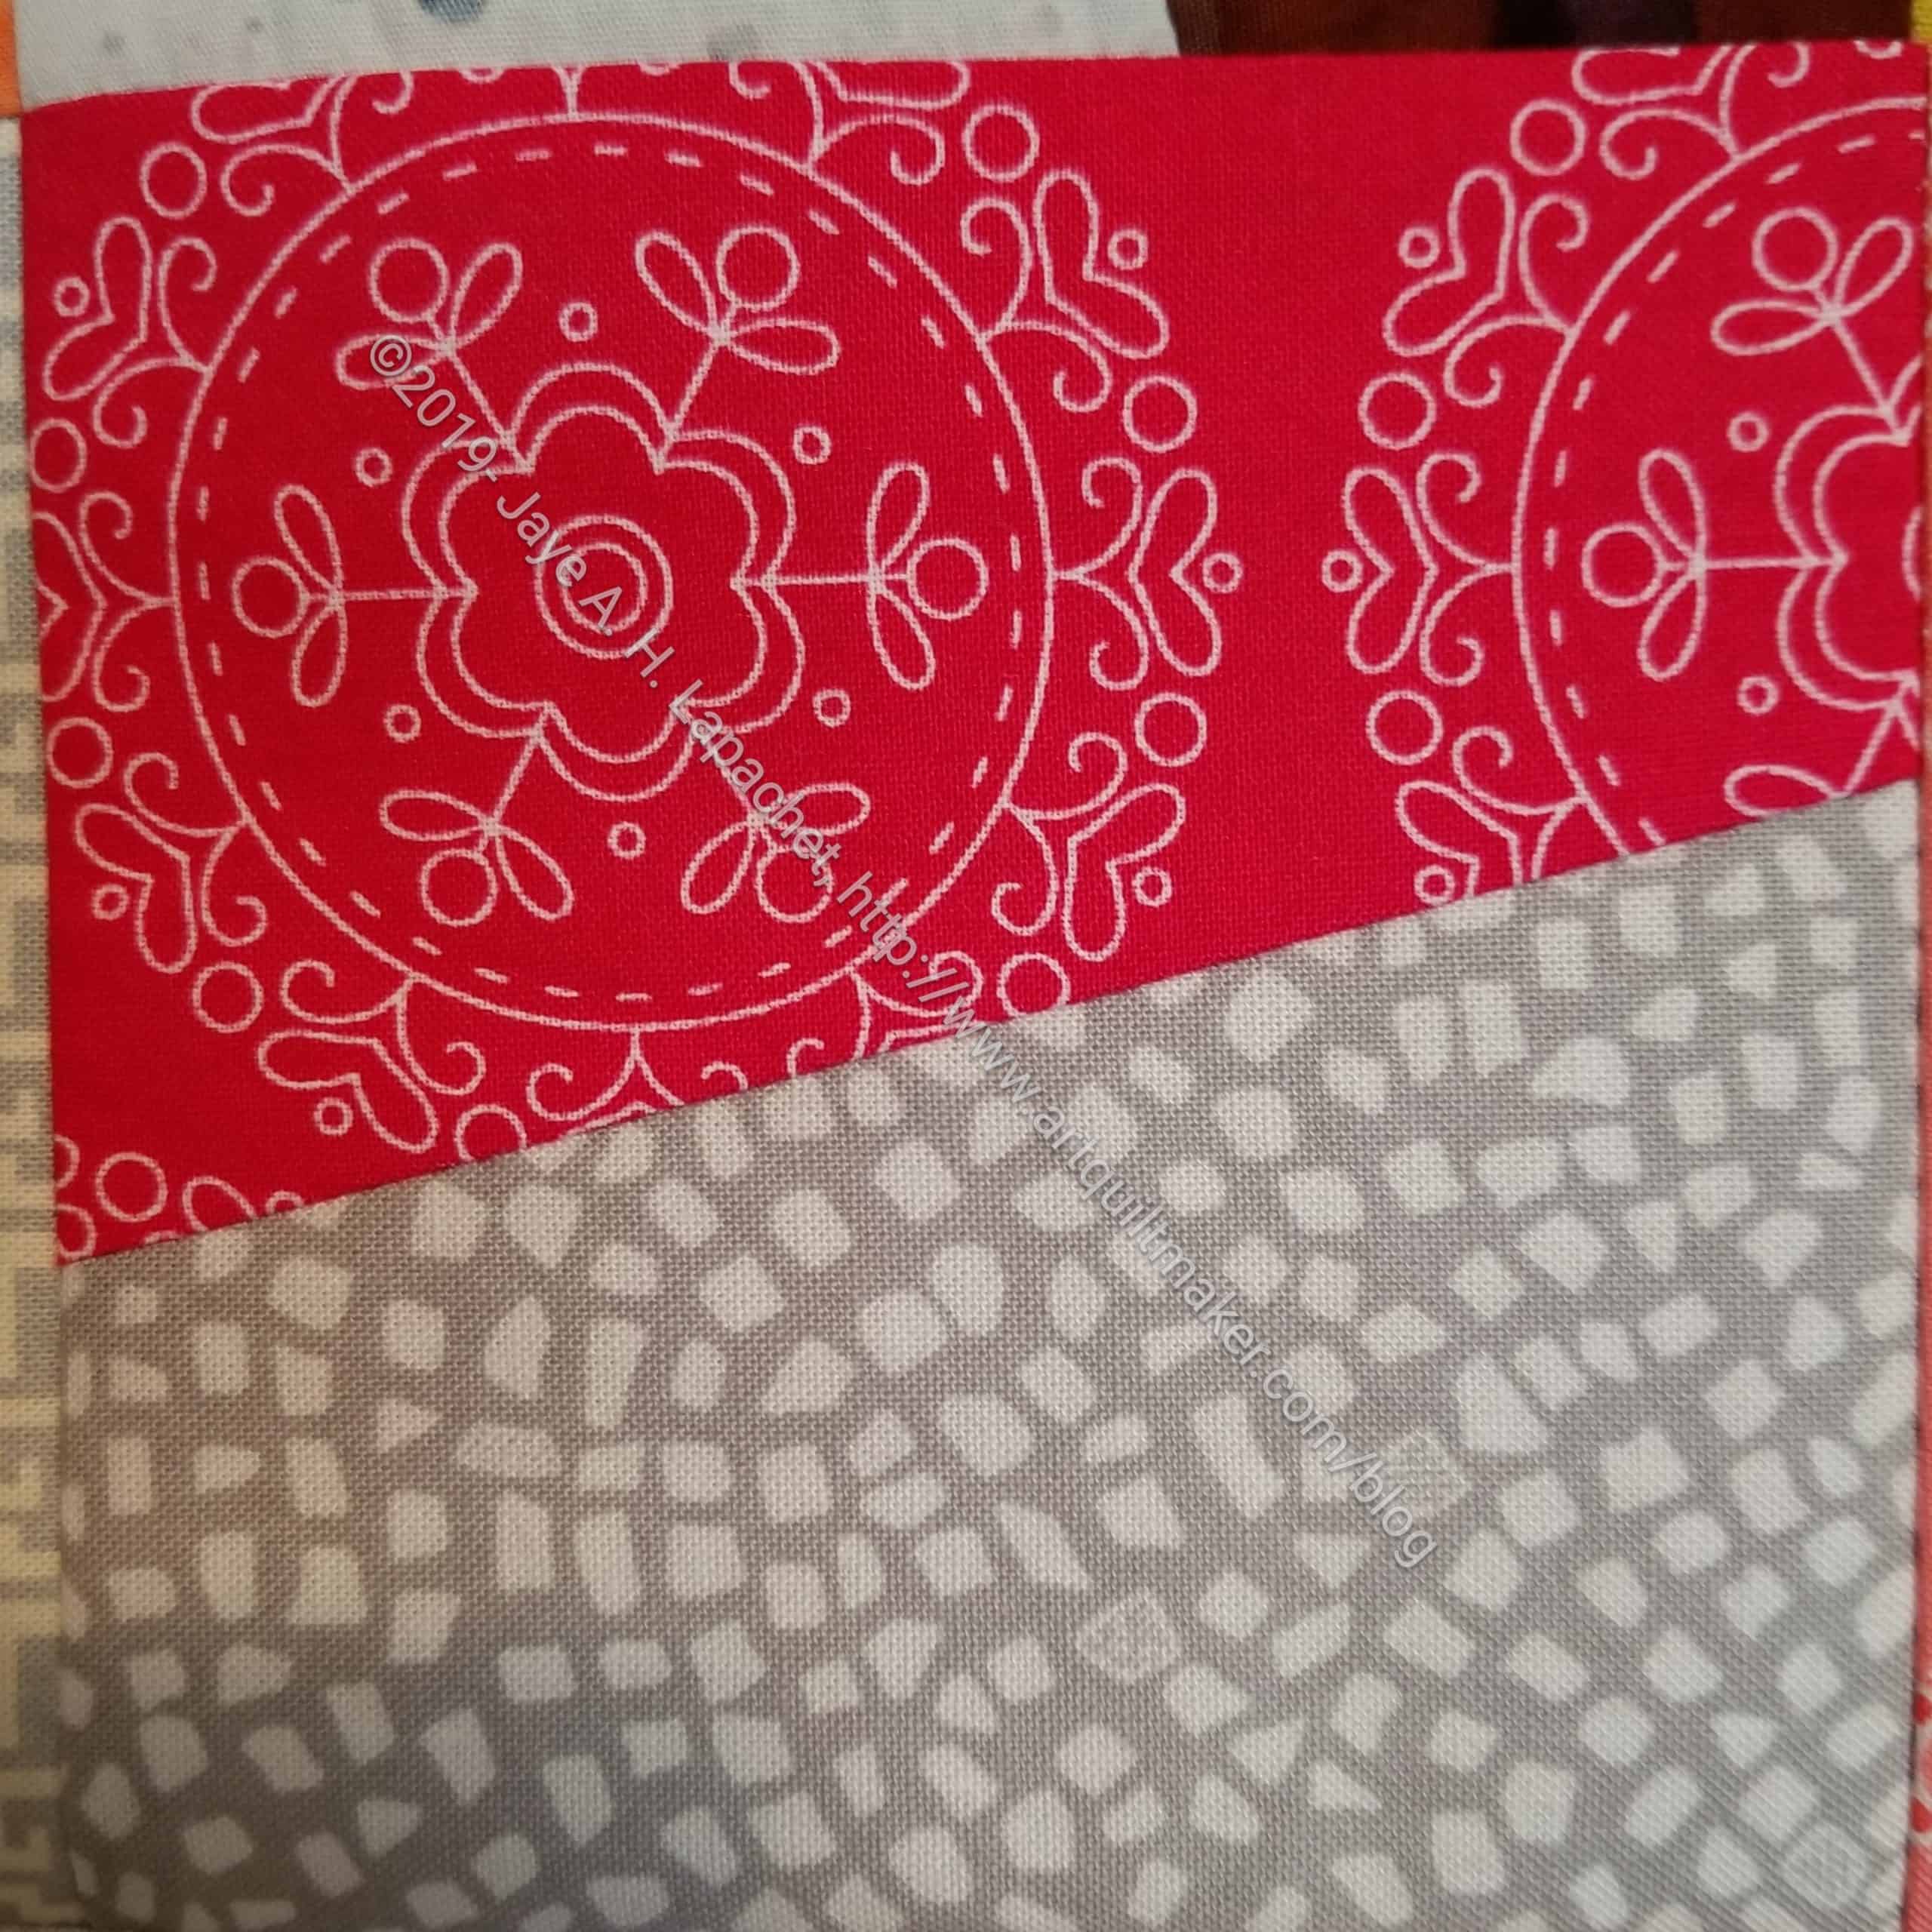
As you can see, I cut the fabric the wrong way, so the zipper is on the side. Oh well! One thing about this pattern is the orientation of the fabric. She is clear about it. I was trying to use scraps and cut the wrong way, then didn’t have more, so I am going with the flow.

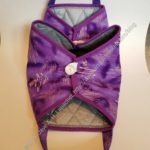
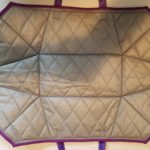
Once I started working on this pattern, I thought I might be able to suggest the pattern to the Bag-a-Long group as an alternative to the ones the designer of the Ultimate Carryall Bag sells. I have nothing against her bags, but I think people might like an alternative to those pouches. I am not sure if this pattern will work as I can’t see a way to add a leash. I could add something as a zipper pull with a lobster clip on the end, but I am not excited about that option. I am going to consult with Lynette on Saturday.
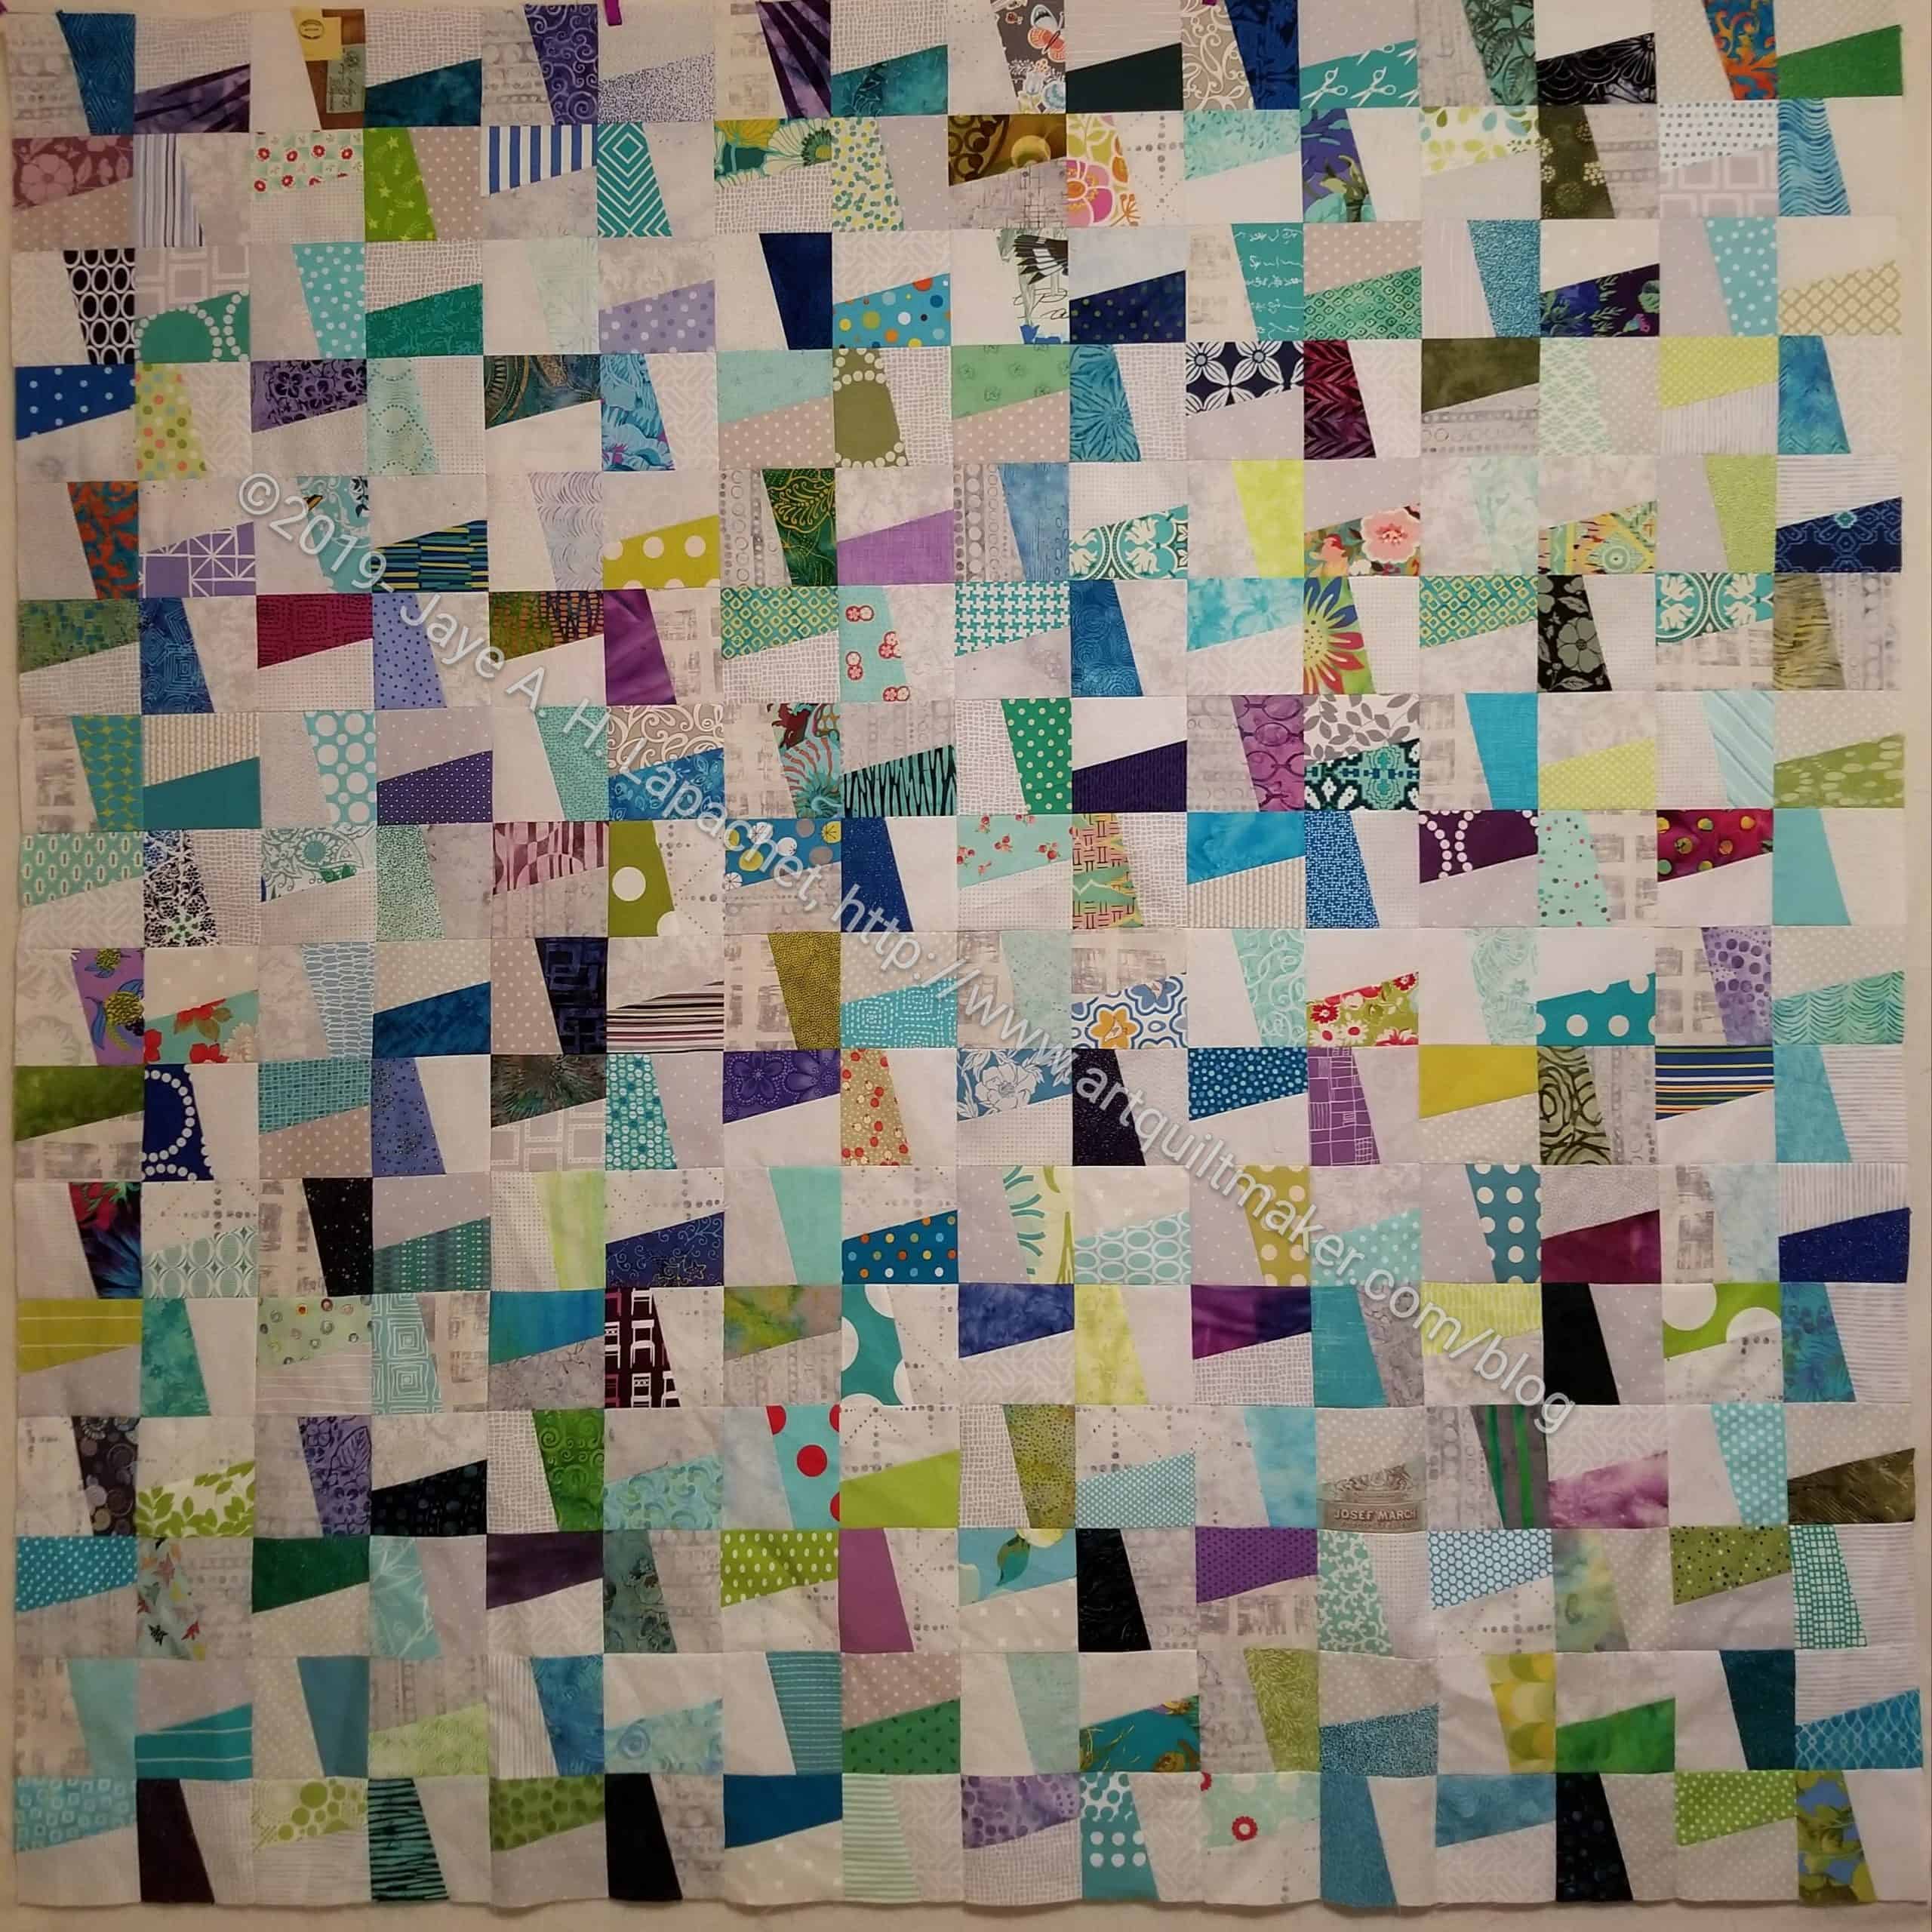
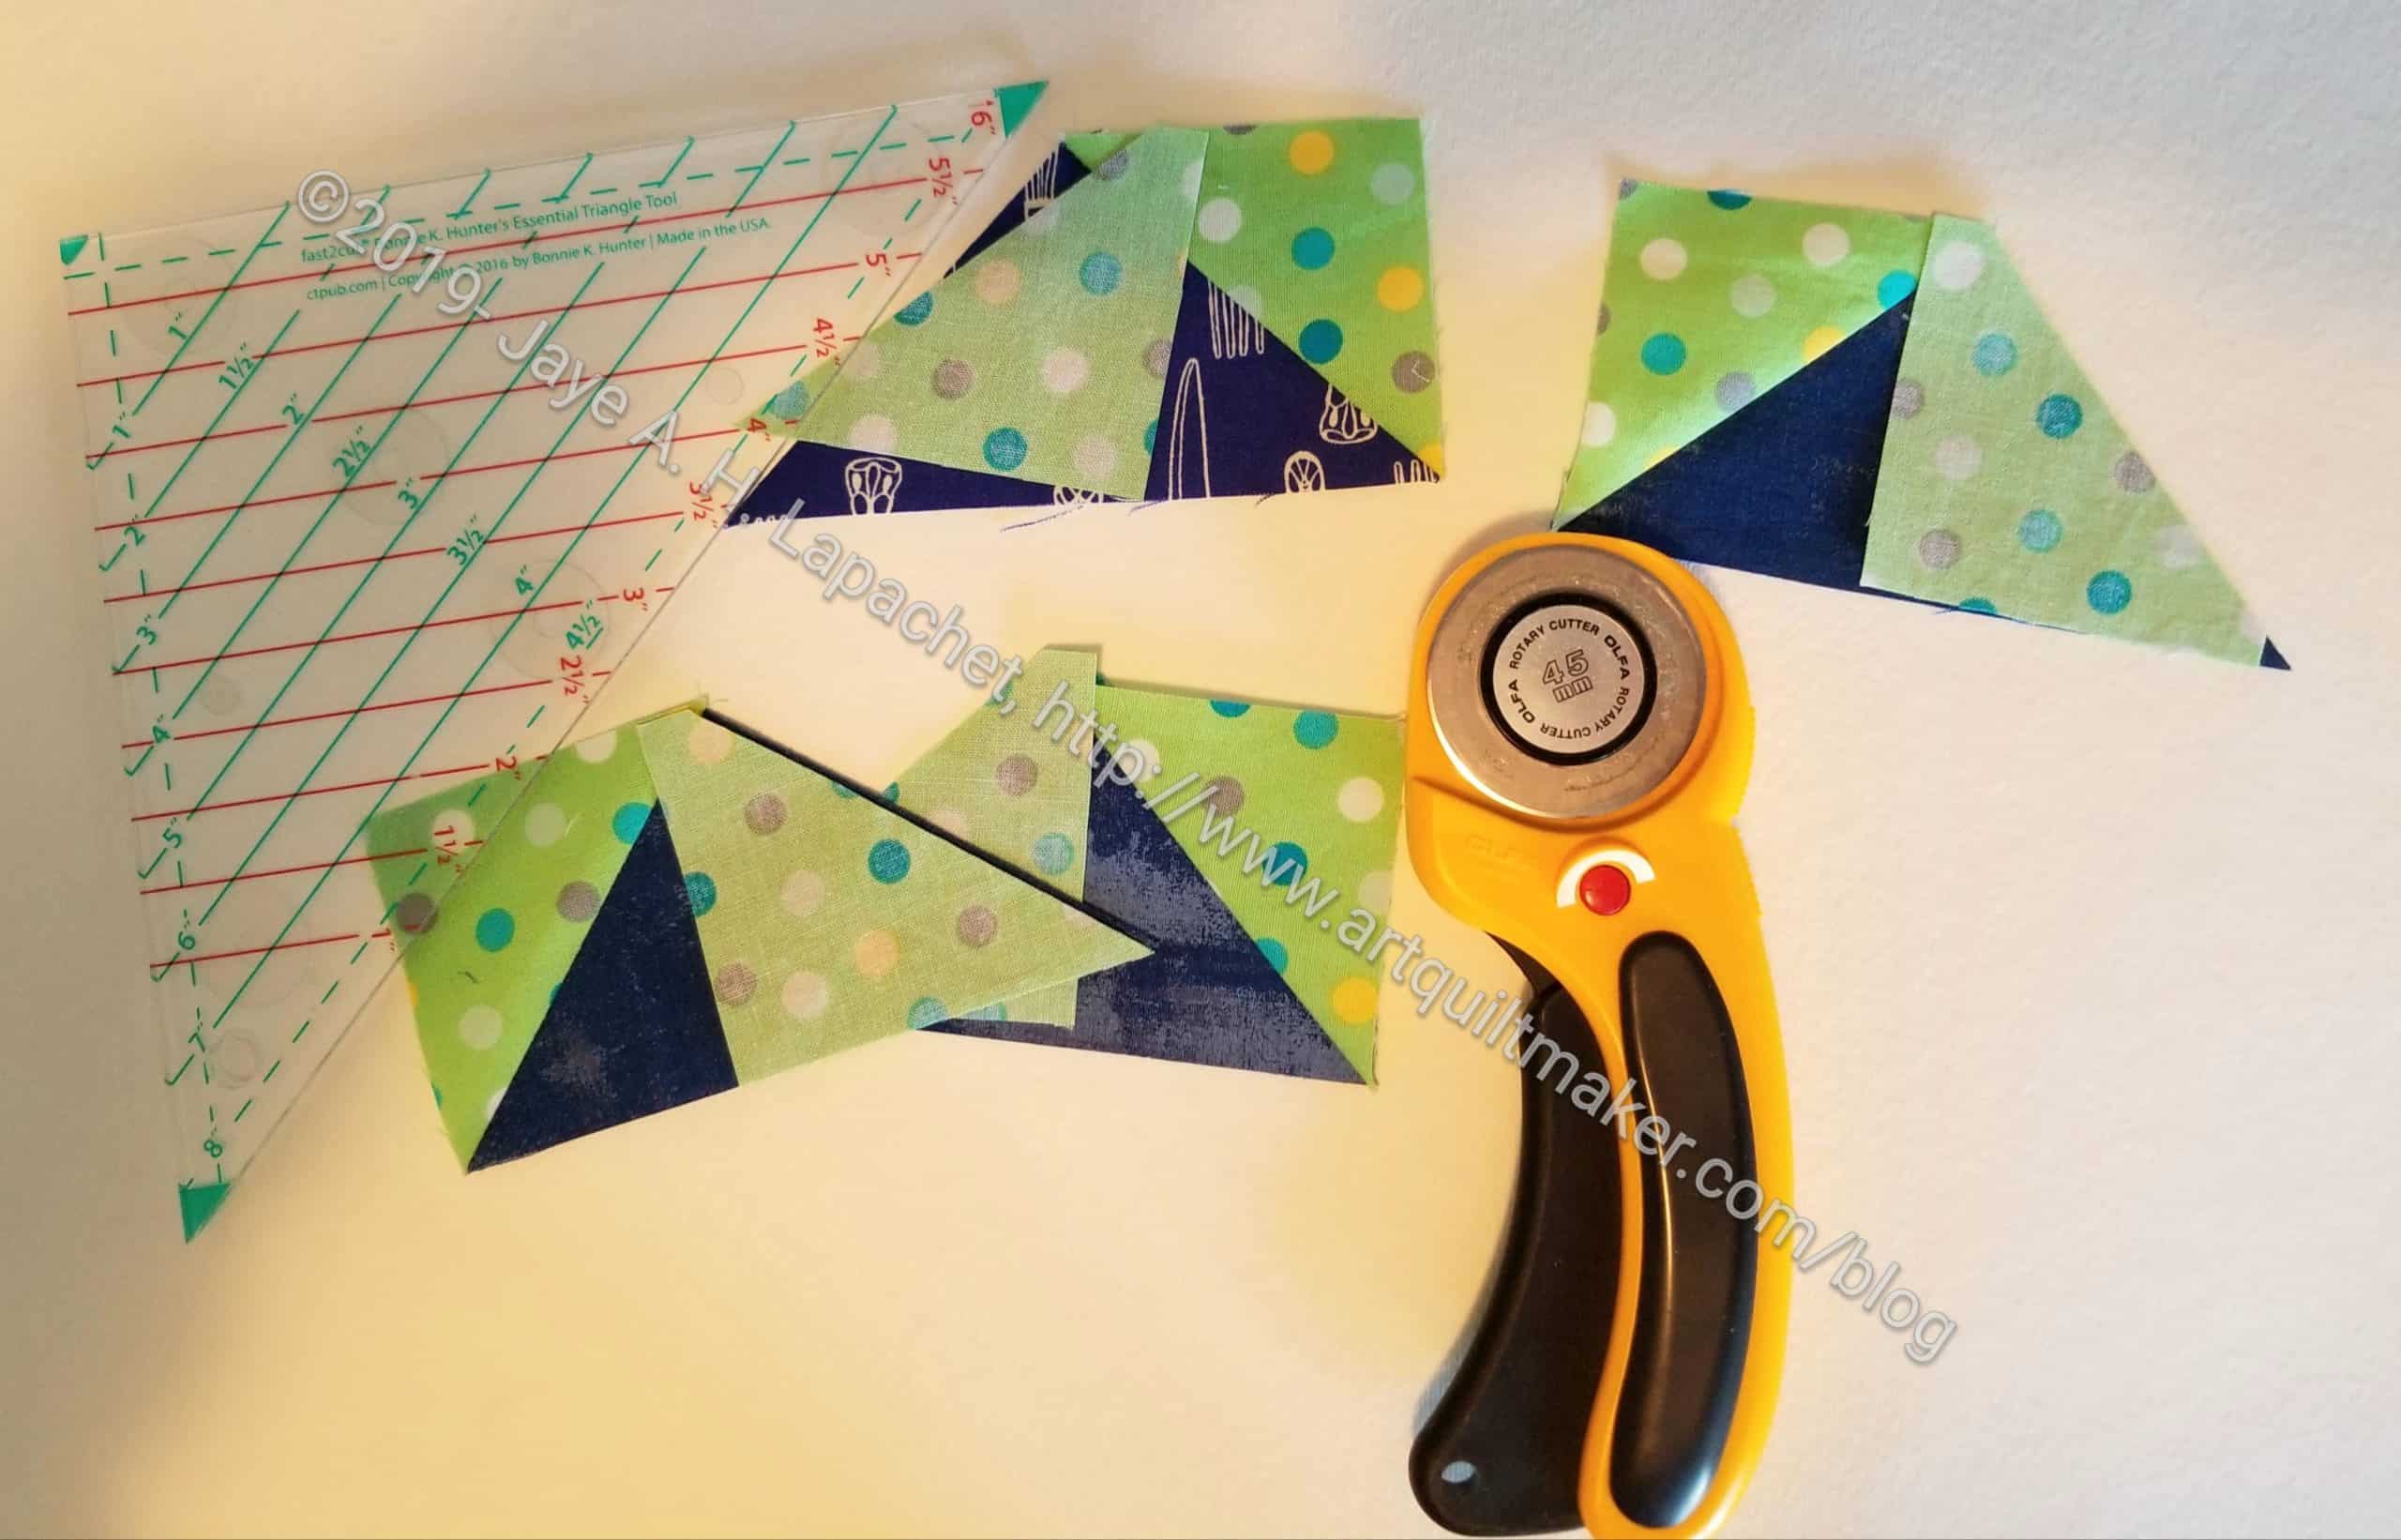
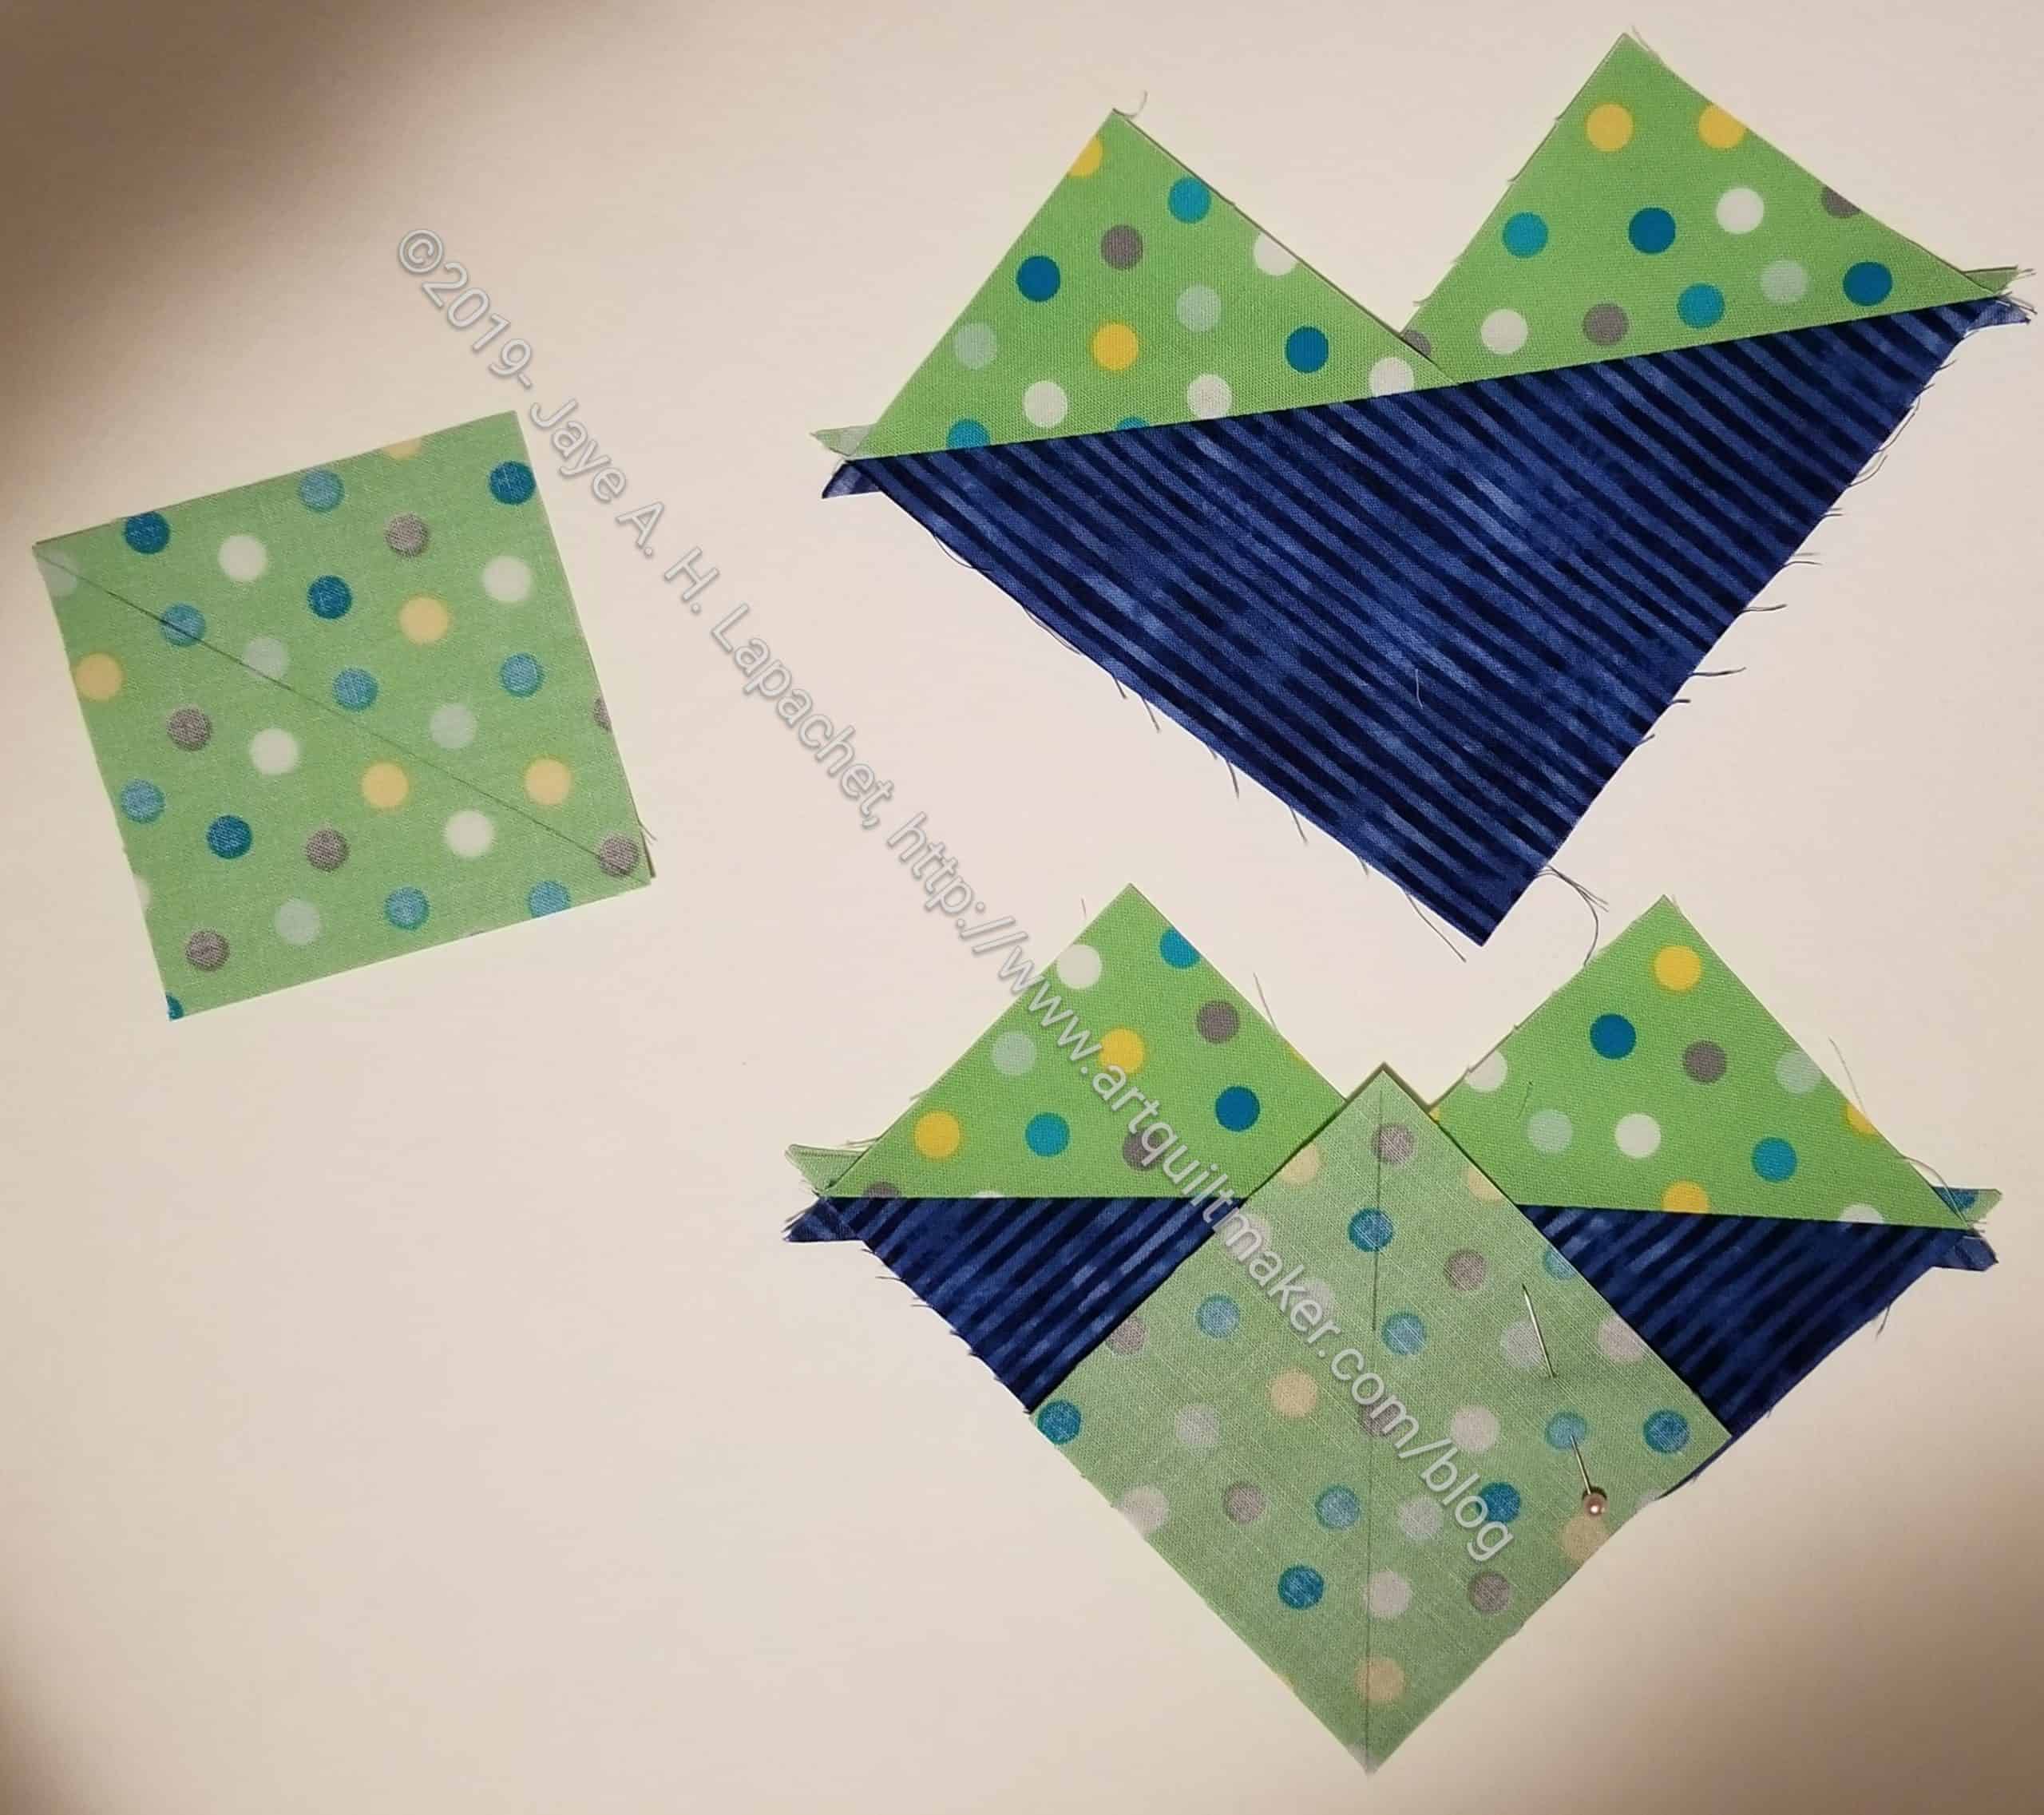
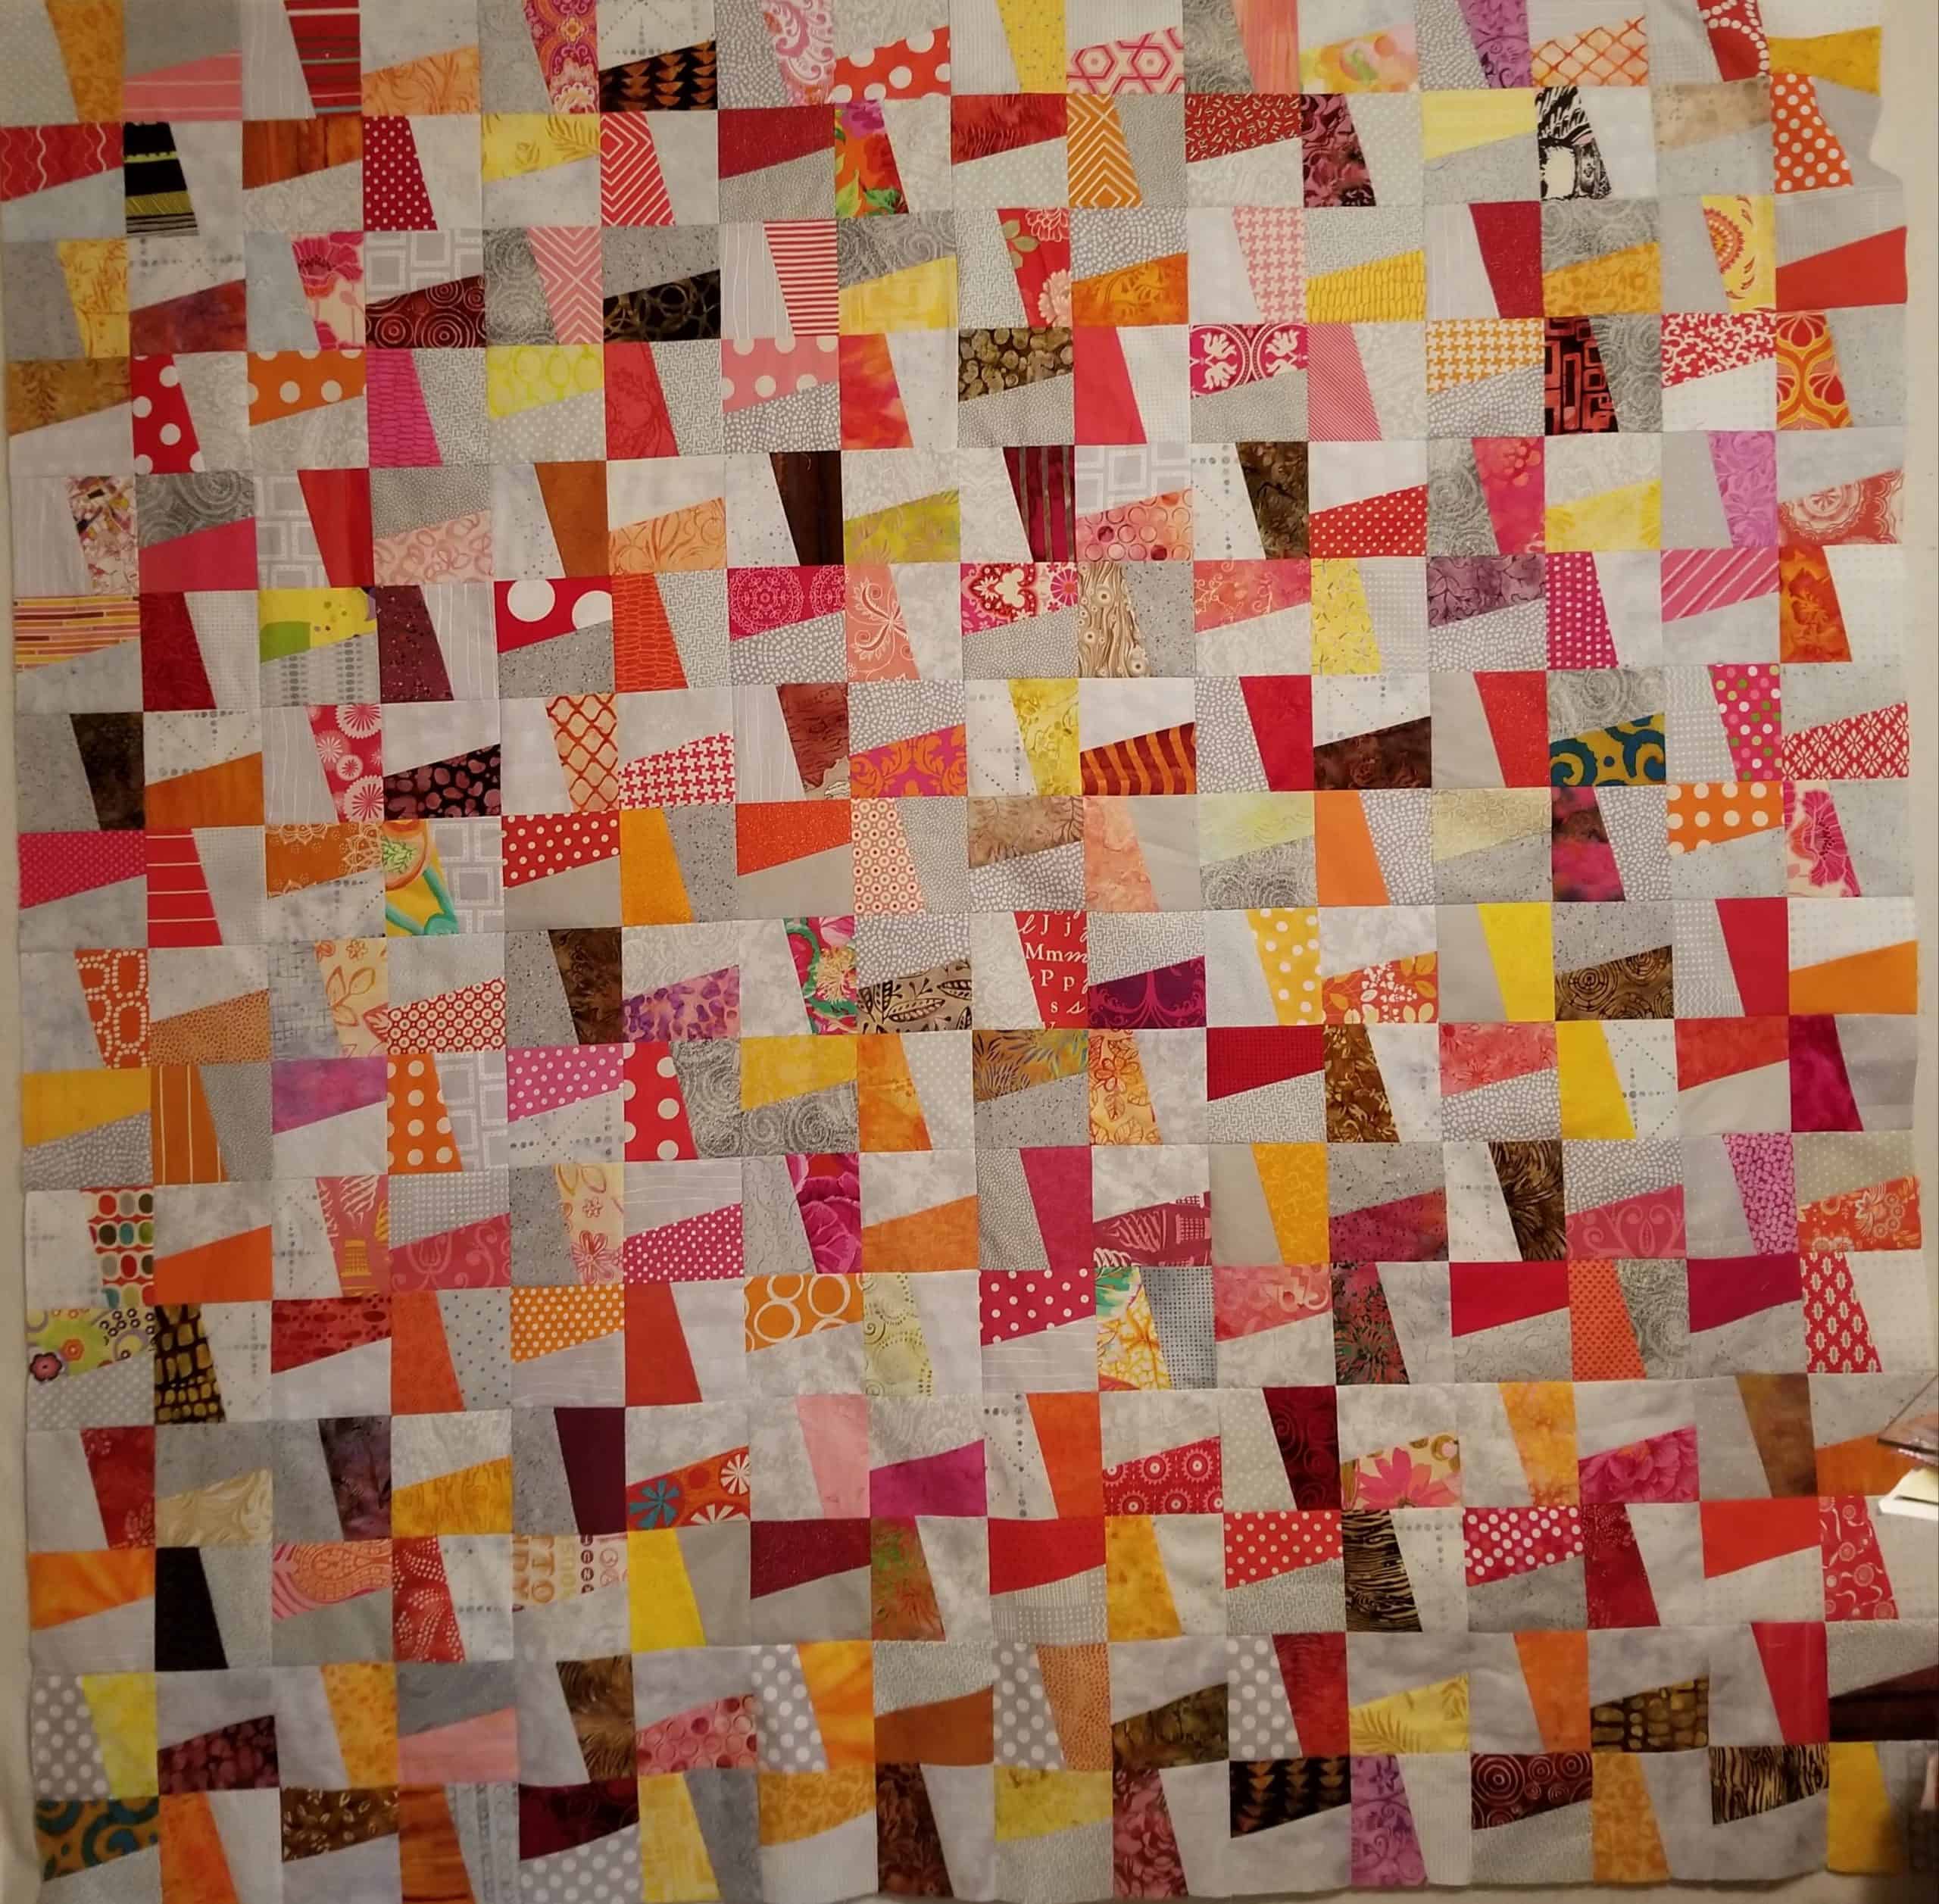
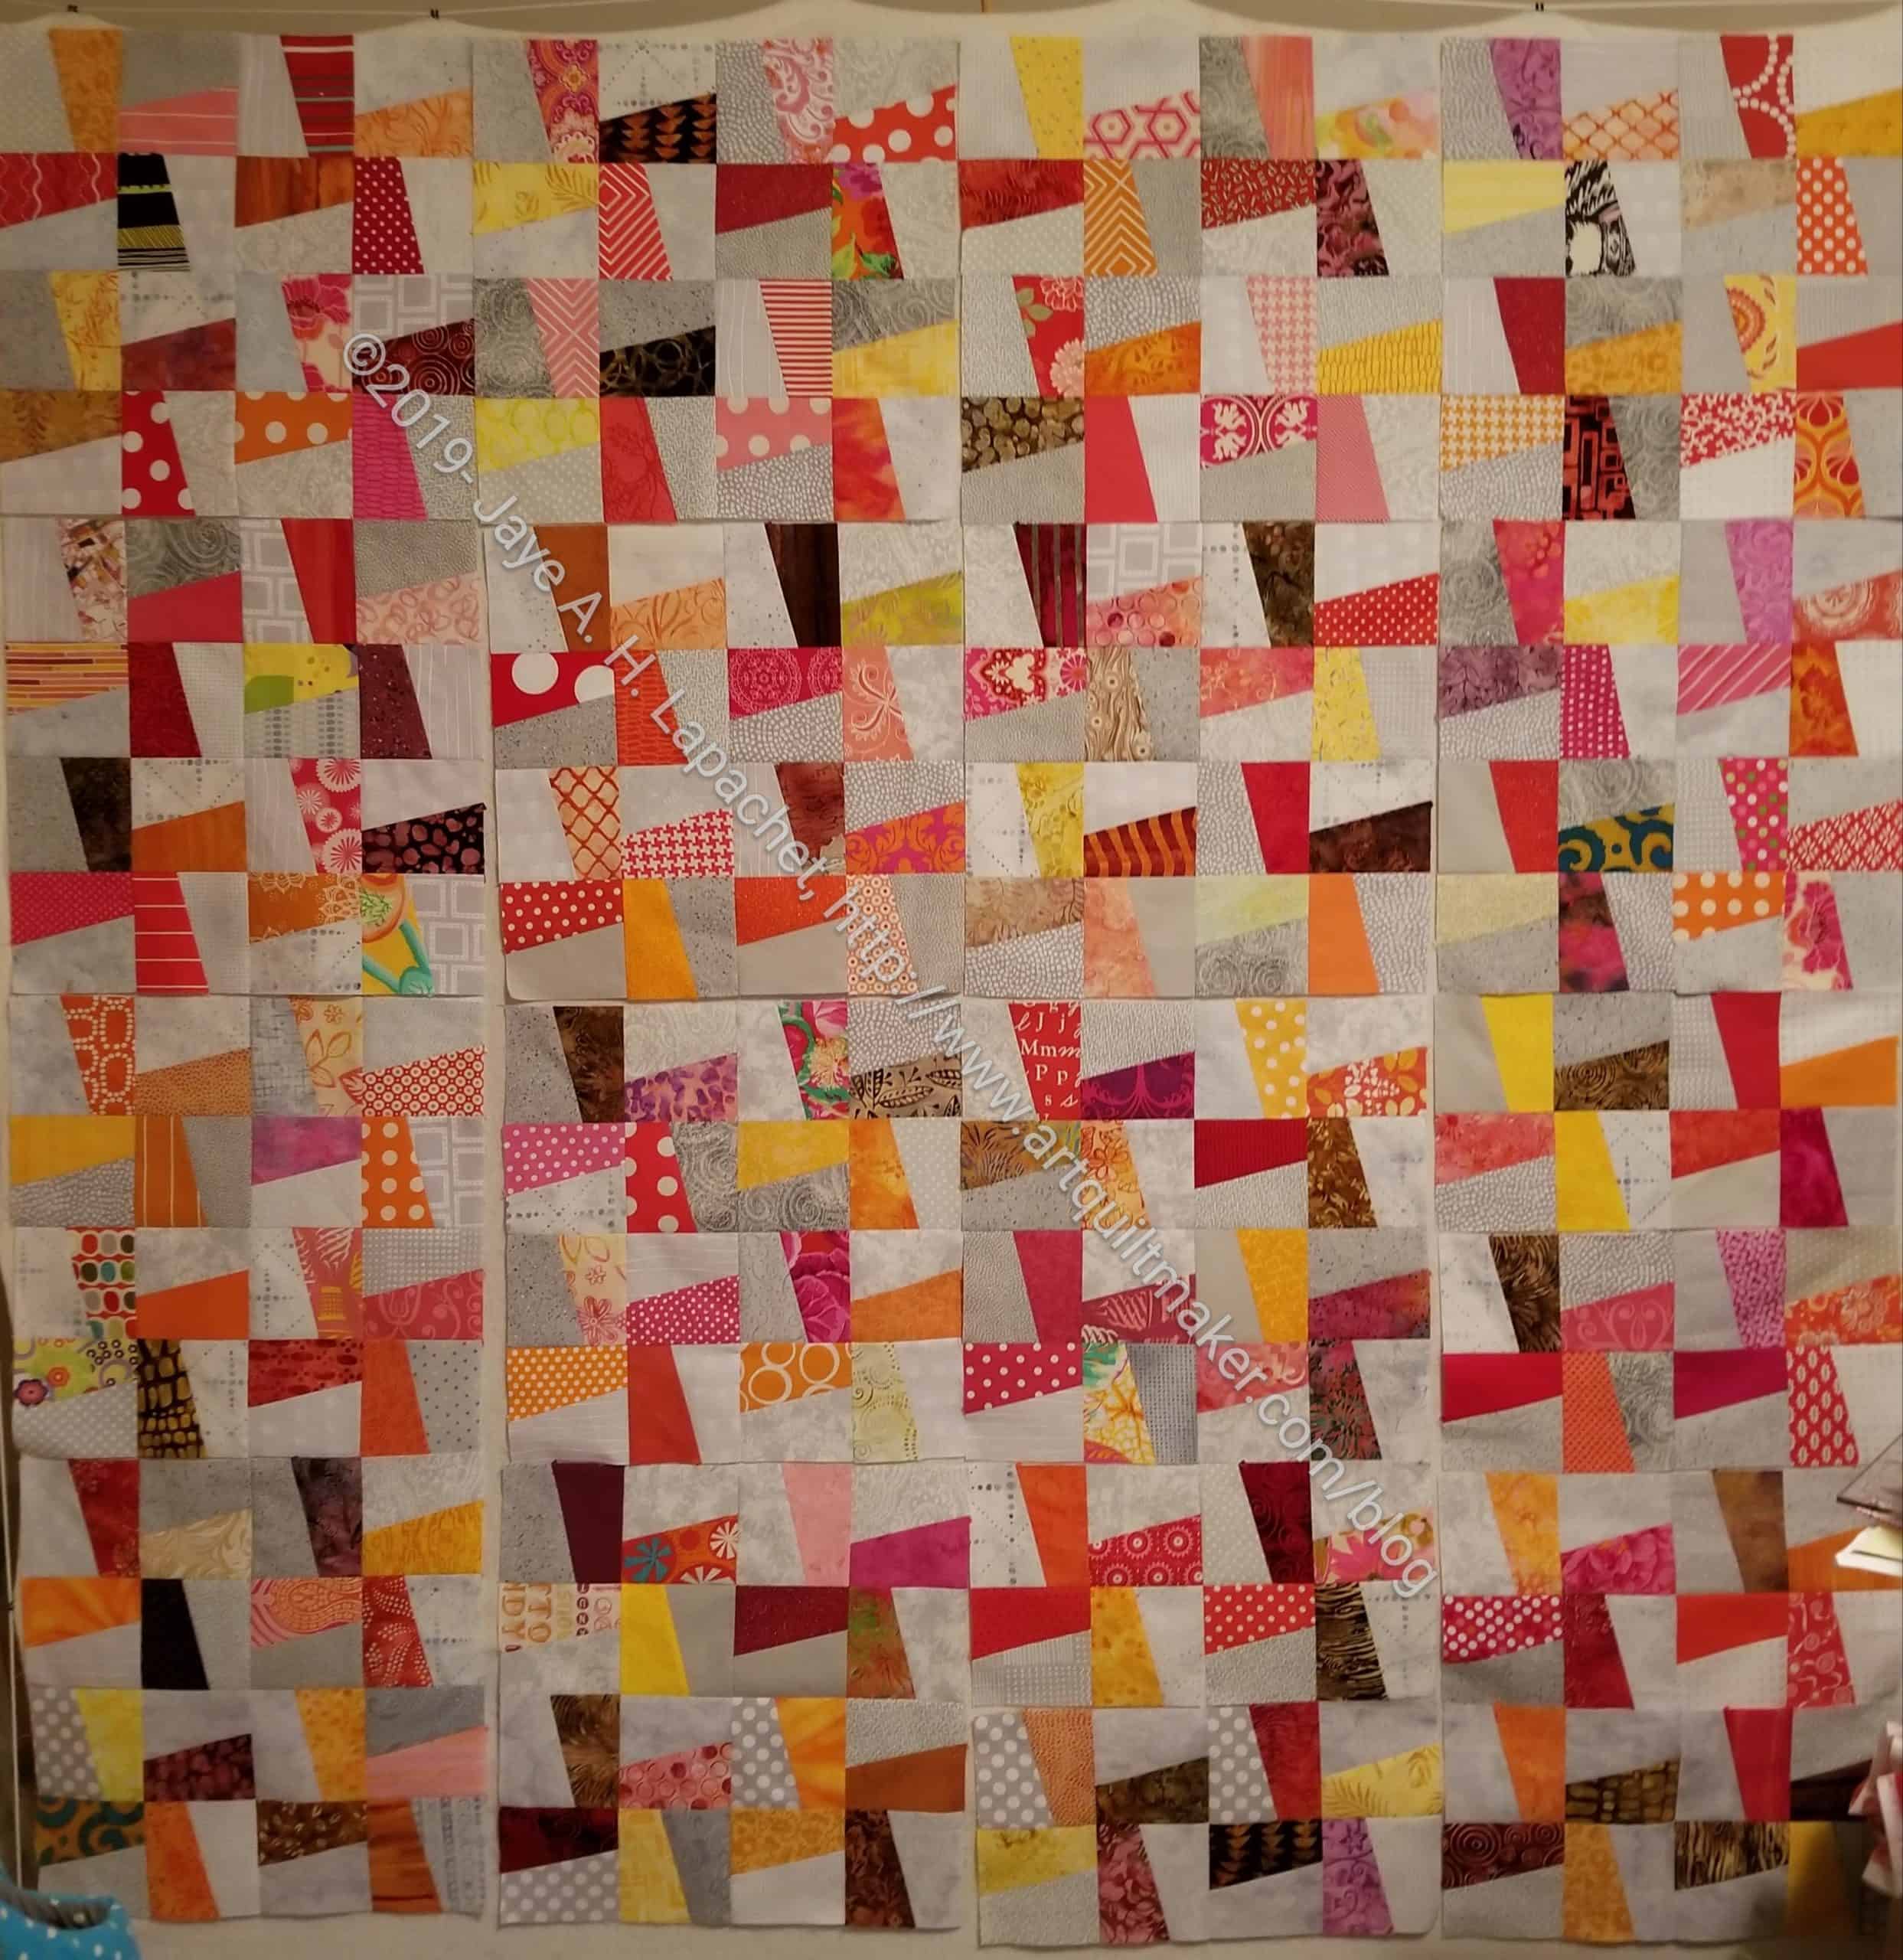
Various & Sundry 2020 #1

2020 already! How are you? How was your New Year?

Admin

The series quilt page was woefully out of date, so I have updated it with some of the more recently finished FOTY quilts and more Niece-phews quilts.

I also updated the Niecephews series page and the FOTY quilts page so they are up to date. Enjoy.

Posts are intermittent as I try to get a new laptop online. Stay tuned.

Media

In December, Barbara Brackman posted about Dresden Plate quilts on her blog. This is a pattern that classic quiltmakers and modern quiltmaker alike love and have used. The green Dresden Plate quilt at the top of the post is a favorite. I love the yellow the maker included.

Pantone has released its new color of the year: Classic Blue. It is described as “PANTONE 19-4052 Classic Blue is a reassuring presence, instilling calm, confidence, and connection.” It makes me wonder if the choice was made around US politics – to exert some kind of subtle calming influence?

Other Artists

In my work, I read about a lot of random stuff, but since my company supports artists, many of the stuff I read include artists. Lately, I came across Mr. Doodle. His work is amazing. slightly obsessive, but amazing. It could be the inspiration for your quilting designs.

Patterns, Projects, & Tutorials

I am obsessed with the Minikins patterns by Sara Lawson. I don’t know why as I have PLENTY of bag patterns. I want to get Season 2 and make the Daytrip Wallet. I found a hack for one of the Minikins Season 1 patterns, I Spy pouch, that I thought was interesting. Makers could make these for their kids to spread the fabric love.

I sincerely dislike it when I hear a quiltmaker say “Oh, I could never do that!” It really makes me crazy! How do you know you can’t do something if you never try? Apparently Weeks Ringle heard this a lot when they showed a curves quilt at the recent Quilt Market. Now they have a Lavish-a-Long, which is a group effort to piece curves. You can do anything you put your mind to, because you are fabulous and smart and determined!

I went to Knot & Thread because I saw a pouch that was half vinyl. It is called the Hello Pouch and is available in the Knot & Thread shop. I am preventing myself from buying it as I just bought another pouch pattern AND the hardware to make it and I haven’t made it. In exploring the site, I also saw some tutorials, including one about installing a new zipper pull. More tutorials, just in case, are always good, right? The Clearly Pouch I mentioned a few weeks ago is a different style, but as you may remember also has vinyl on top.

Other Crafts

I love the Paper Wreath I make on occasion. One day i went looking for similar projects. I went on a paper buying jag some time ago and the paper is languishing. I found the Mette Wreath. it isn’t quite as dramatic as my paper wreath, but it is is also less delicate.

Exhibits

Barbara Brackman talks about an Everyday Luxury at the Smithsonian about silk. It includes a number of awesome sick quilts, especially crazy quilts. If you can make it, go see the exhibit and report back. I really like hte Bates family quilt.

UCAB Clippy Pocket – prelude to a tutorial

We are moving full steam ahead on the Ultimate Carry All Bag. members of the guild who are participating worked on cutting out pieces of the bag on the last Sew Day. Next we will begin working on pockets. To that end, I needed to work on an alternative/hack to the vinyl badge holder pocket.

Clippy Pocket Test
Clippy Pocket Test

I don’t want or need the vinyl badge holder pockets Natalie uses in the pattern. I also don’t like the idea of vinyl being so close to an ironing surface (front of the bag). I do need a place for a few WonderClips, however. To that end, I took the pattern for the Clippy pincushion, which was in Love of Quilting, issue 39 and adjusted it for use instead of the vinyl badge holder.

The photo shows one of the three test pockets I made. If you have the pattern, this is one of the end pieces of the front pocket. The directions for that section start on page 14. I am still working on perfecting the construction. I think I have the sizes down, but I am still tweaking the construction to take bulk into account.

I was absurdly pleased with my work on this pocket. Of course, part of that feeling was that I was relatively successful. If the Clippy/Wonderclip pattern sizes had been off, I might have felt differently. Still, I didn’t resent the time I took working on this piece of the bag.


N.B.: I will not tell you how to make the whole bag. In order to make this bag, you need to purchase the pattern from Quiltessa Natalie. She also has an Etsy shop where you can also purchase it. We would love to have you join us in making this bag.

Cool Windmill Top

Cool Windmill top
Cool Windmill top

After Saturday, I was not feeling like I was accomplishing anything. I had three things on my list Saturday morning and hadn’t finished any of them. However, after yesterday, all three items were marked off my list. I finished the Frolic! flying geese early-ish on Sunday, which was the first task. Next was finishing the Cool Windmill top.

I am fairly pleased with the way this came out. I have used another 512 blades for this piece and still have a lot I can use or give away.  I’ll be making the backa nd binding this week as well.

Frolic pt.6 Finally

Flying Geese - Essential Triangles method
Flying Geese – Essential Triangles method

I finally finished part 6. I am now only 2.5 parts behind in the project. Bonnie published a sneak attack set of directions on New Year’s Eve. I just didn’t have a chance to do it when I finally did notice it, which wasn’t until the Friday.

Flying Geese - Wing Clipper method
Flying Geese – Wing Clipper method

I was vindicated in not finishing part 4 when part 6 was making Flying Geese from the quarter square triangles that were supposed to be cut in part 4. I did use the pieces I had cut to make Flying Geese using Bonnie’s Essential Triangle Tool* method, but I made the rest using the Deb Tucker Wing Clipper ruler* method. If you have the dimensions, you don’t actually need the ruler, but the chart of sizes is one of the benefits of the ruler. I also use this ruler to make Sawtooth Star blocks.


*I use affiliate links and may be paid for your purchase of an item you click on. There is no additional cost to you for clicking or purchasing items I recommend. I appreciate your clicks and purchases as it helps support this blog.

Warm Windmill Top & Back

I kind of feel like I am roaring into 2020 with the finishing of the top and back of this quilt. My office was closed for nearly two weeks over the holidays, so I had some time to work. I did have a lot of holiday stuff to take care of so I worked on this mostly after the Christmas holiday.

Warm Windmill Top
Warm Windmill Top

As I said previously, I really only had to cut backgrounds for this quilt so it went together pretty quickly. I had a lot of Windmill blades from which to choose.

Surprisingly, the back also went together pretty quickly. I made the binding so this piece is ready to go to the quilter.

Warm Windmill Back
Warm Windmill Back

Gift Post #9: Iron Caddy

Julie's Iron Caddy
Julie’s Iron Caddy

 I have had this pattern in my pattern box for a long time. This is one of the things I gave Julie for Christmas last week. Since I gave her a small iron last year, I decided that this travel iron caddy was the perfect accessory.

I used some of the aluminized, quilted fabric I bought at Britex instead of using the aluminized, non-quilted fabric that came with the pattern. I have enough of the quilted version and it saved me from having to quilt anything.

The directions are confusing, because the project is complicated. Once I got the hang of it I sort of blew through the project. I am pleased with the way this project came out. However, I don’t know that I will make one of these again. I suppose making it a second time would be easier.


Warm Windmill Again

Windmill Progress - early January 2020
Windmill Progress – early January 2020

I made a lot of progress over the holiday. I am back at work, so I hope to continue to make progress.

The blocks are mostly sewn together. I am chunking them and it is going quickly, though I have started to pin the intersections so they match.

I added a row to the right and another on the bottom. After I sewed the first group of blocks together, I had space. Since I have a lot of blades, I decided to use them. The piece is now 64 blocks (groups of 4-2 blade blocks). It fits on my design wall, though wouldn’t if it weren’t sewn. I had to cut more backgrounds, which is a little tedious, but I am breaking up the work by sewing.

I hope to have the top finished soon.

Gift Post #10: Julie’s Mega-Pinnie

Mega- Pinnie for Julie

This is the Mega-Pinnie I made for Julie. I am really pleased with the fabrics I used. They were mostly handy, but I did crawl into the ‘attic’ of the fabric closet to make sure I found the most special fabrics to use for her version.

I gave it to her when we went out on New Year’s Eve. I forgot to photocopy tools to put in the pockets, so I had to explain that there were pockets and that always feels awkward to me.

Julie's Mega-Pinnie with lobster clip
Julie’s Mega-Pinnie with lobster clip

It occurred to me when I was explaining that it would be a good caddy if you wanted to carry some stuff to another room and work on a project away from your studio.

I’ll have to make her something to which she can clip the Mega-Pinnie.

I might be done with these Mega-Pinnies for awhile. I have an idea for one more, so we’ll have to see.

Gift Post #8: Julie’s Persimmon Pouch

Persimmon Pouch for Julie

I forgot to take photos of this pouch before I sent it off, but Friend Julie was kind enough to send me some photos. The photos were much better than I would have taken so I was glad I asked her.

This is another version of the Persimmon Dumpling Pouch by Sara Lawson. You can find this free pattern at the Sew Sweetness website. I made a few of these during my fabric gift foray (November 2019) and found it to be a clever design.

Persimmon Pouch for Julie side 2

I made this one, as well as another, with Soft and Stable*. I think the pattern calls for Soft & Stable, so I cut the pieces out, but decided not to use it in the first pouches I made. I just used fabric with SF101/ ShapeFlex* and that worked fine. After making a few of these, I decided I was ready to tackle one with Soft & Stable*. I used the Soft & Stable as a base and piece it using the Quilt as you Go. This prevented me from having to quilt the pieces later. I also got to use up some scraps. I didn’t do anything crazy, though I can see improv possibilities using QAYG.

Persimmon Pouch for Julie bottom

One thing I like about this pattern is the zipper installation. It is very clever and there are no issues with the ends of the zipper. The ends get tucked into the lining out of sight. There is no need for zipper tabs or cutting zippers or anything.

Persimmon Pouch for Julie lining

Turning the pouch was a little tricky because of the Soft & Stable, but not terrible. Normally, I like to make my interfacing a little smaller than the fabric, to reduce layers. When I make this pouch again with Soft & Stable, I will cut the piece larger than the pattern and then trim after I sew fabric pieces to the Soft & Stable. I had a couple of problems with the ends and I think this method would increase accuracy.

I did not hand sew the inside shut. I just wasn’t up for it. Still, I think the piece looks nice and Julie seems to be happy. The only other thing I would change is to get a zipper than matches.


*I use affiliate links and may be paid for your purchase of an item you click on. There is no additional cost to you for clicking or purchasing items I recommend. I appreciate your clicks and purchases as it helps support this blog.

More Frolicking! Around

Frolic! Clue 5 Finished!

I am sort of keeping up. I am still working on Clue 4, but I did finish Clue 5. This was another clue that went pretty quickly and where I used the Triangle Technique for making HSTs.

I find now that I am two clues behind as Bonnie slotted in a clue on New Year’s Eve when I was otherwise occupied. Oh well, one is pretty easy, so I should be able to catch up soon.

Gift Post #7: Mom’s Persimmon Pouch

Mom's Persimmon Pouch
Mom’s Persimmon Pouch

Like the pouch I talked about after Christmas and back in November, this pouch is made using the same Persimmon Pouch pattern, still FREE from Sew Sweetness. I made this one and Julie’s at the same time. I used Soft & Stable* for the lining.

I used the Soft & Stable as a foundation piecing base and sewed scraps to the base. The Soft & Stable* makes for a good base and I liked not having to quilt the sides separately.

I also used some of the artist fabric I had in my scrap pile to keep the idea of the set of items going.


*I use affiliate links and may be paid for your purchase of an item you click on. There is no additional cost to you for clicking or purchasing items I recommend. I appreciate your clicks and purchases as it helps support this blog.

The Things I Need to Do to Get Ready for Quiltmaking in 2020

In no particular order:

  1. New Goodreads shelf
  2. New blog photo folder on my hard drive
  3. Move old blog photo folder to archive folder
  4. Organize projects so I know what to cut in 2020
    1. Once I decide, make a list for my cutting table
    2. Write a post about what I am cutting in 2020
  5. Add a new blog category for 2020
  6. Set up posts I work on all year long.
    1. all donation blocks
    2. Year in Review
    3. All donation quilts
    4. Gift Bags in July
  7. Update my fabric usage spreadsheet
  8. Organize FOTY 2019 units
  9. Decide on a shape for FOTY 2020
  10. Update my fabric/quilting purchases spreadsheet

Warm Windmill

As mentioned, I started working on Windmill blocks. Last time, I talked about this project, I was sewing all the blades together. I realized that I had TONS of blades, so I shifted gears. I have enough blades to make at least two quilts. I decided to make a warm version first. This will consist of red, orange, yellow, pink, brown, beige and any mottle fabric that reads ‘warm’.

Windmill patches
Windmill patches

I wanted something easy to sew together. Despite the angles, my idea worked. I can eyeball how to put the patches together so they sew up into a square.

Since I started cutting greys, I made the background grey so the foreground fabrics stand out.

I think this will be part of the Niece-phews project.