I spent some time over the weekend working on the Sunset Project Bag. As you saw, I was ready for assembly, after getting everything cut and quilted. In my mind, at least, I was ready for assembly. As I found out, I had more prep (prep plus?) to do.
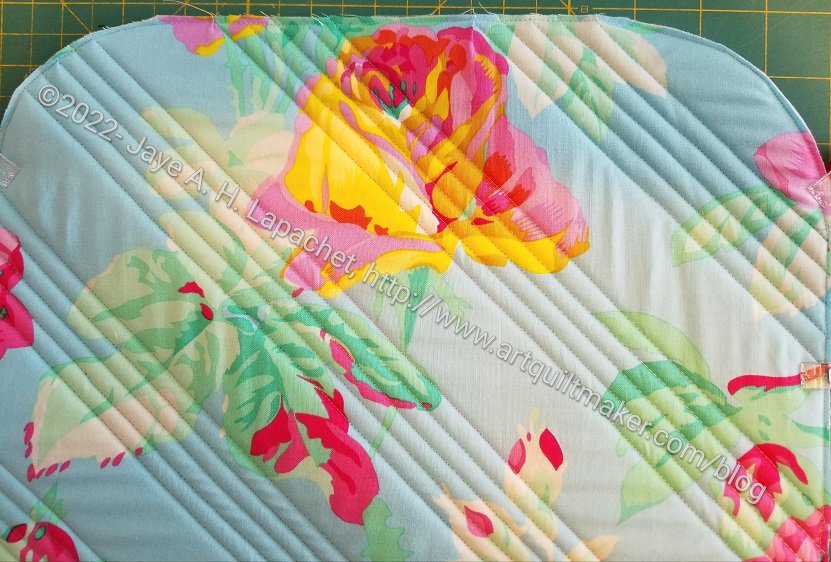
First, I had to add the mesh pocket. Generally, this is no problem, but I immediately found a problem: my beautiful quilting would be ruined. Ok, ruined is a little bit dramatic, but one of the lines of stitching needed to keep the mesh pocket in place would go through and show on the front. That line would not fit in with my previous diagonal lines. 🙁
There was no way out. I had already quilted what I had quilted, so I just had to move on. I know that the Muggles won’t know.
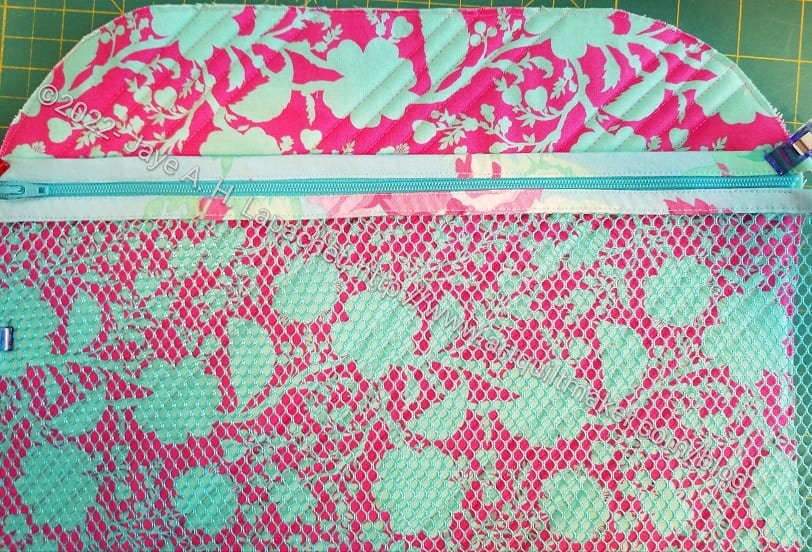
The line of stitching across the top of the mesh pocket is the area that shows through
Note to self: if I make this again, use horizontal lines. I do think the diagonal lines look nice.
I will say that the mesh I chose goes really well with the pink and turquoise True Colors fabric I used on the inside.
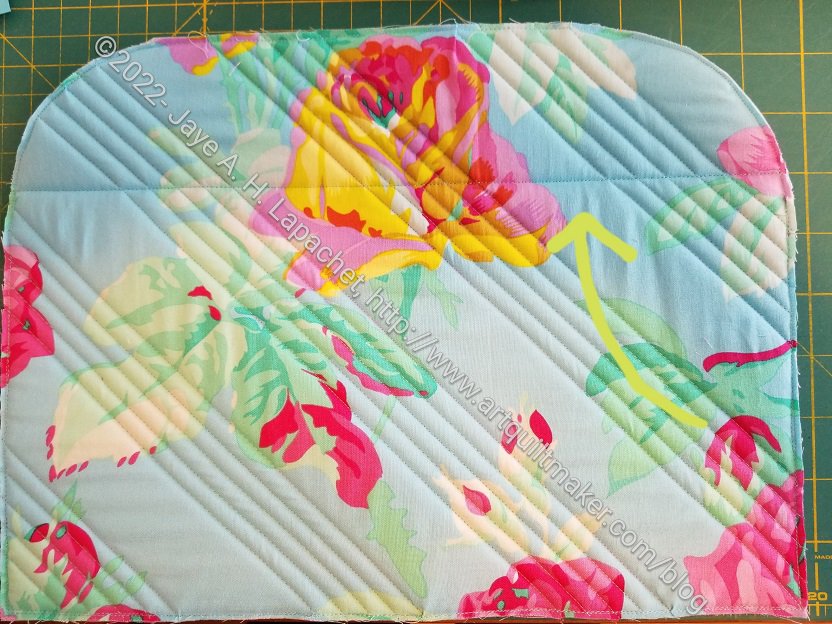
You can see how the top line of stitching now shows through on the front. Sigh.
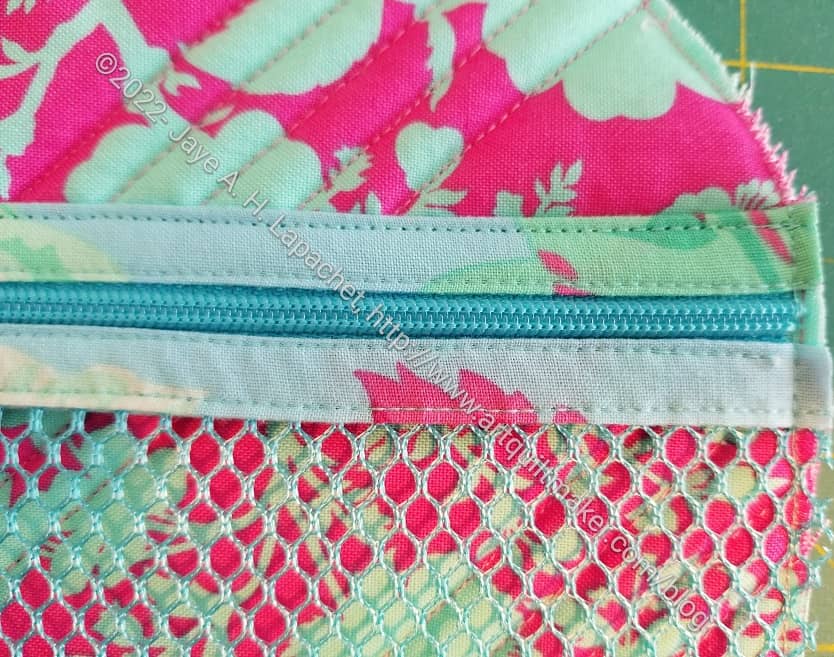
Fortunately, it is only one line not the top stitching for the other parts of the zipper assembly.
I did think about what I could do to hide the line, but I couldn’t think of anything that didn’t require remaking the front panel or unpicking a lot of stitching.

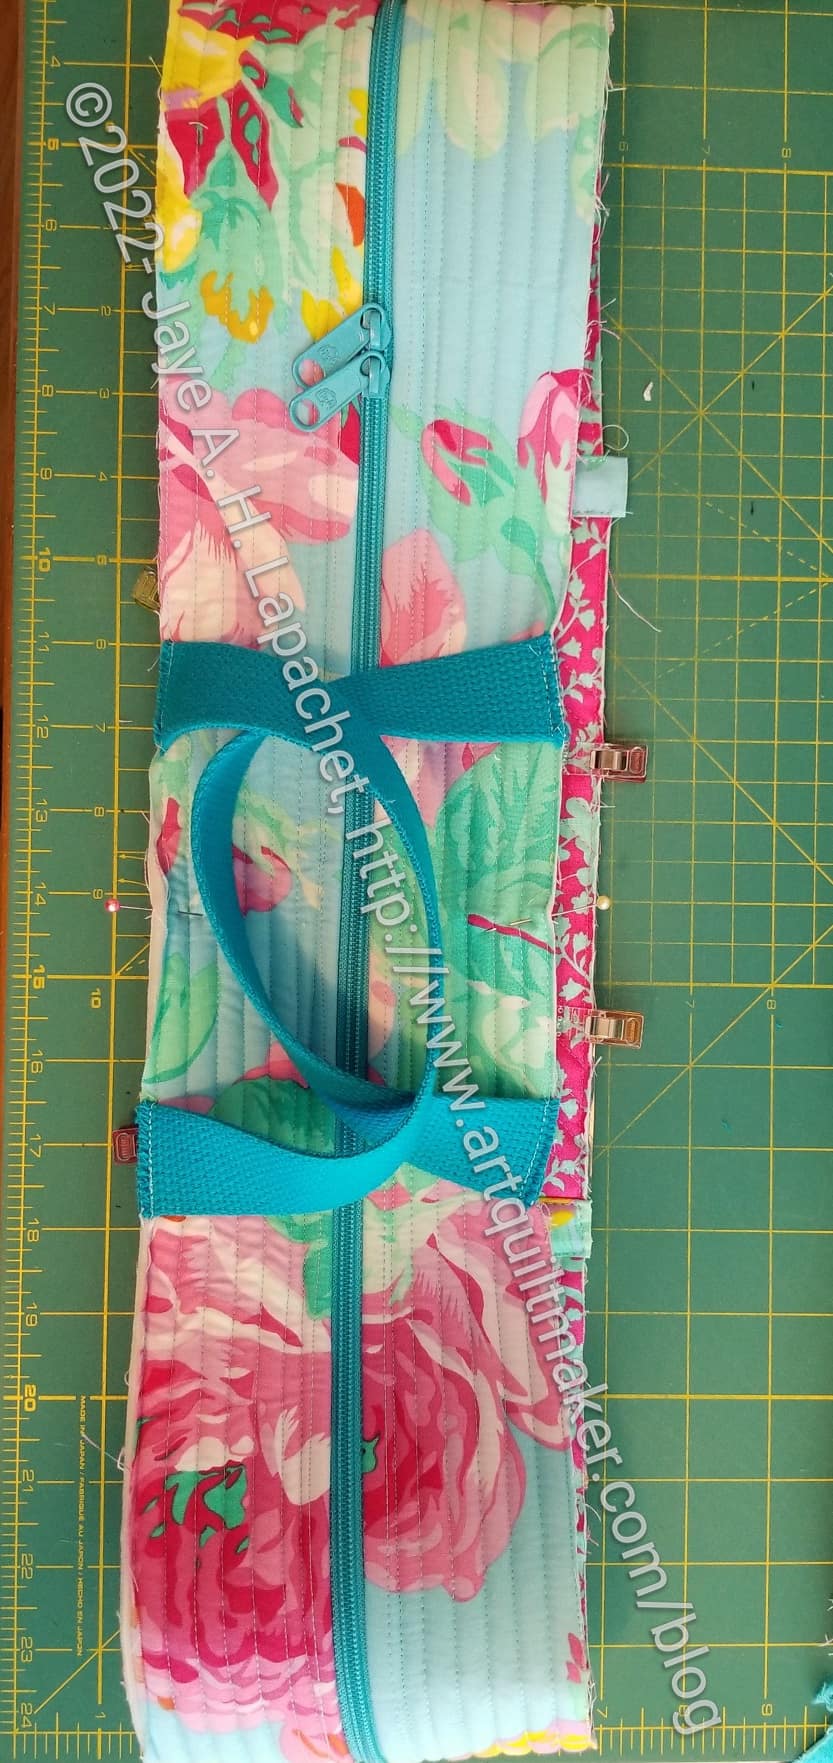
In order to assemble the bag, I had to make the gusset into a loop. I have done that before. It isn’t difficult, though the detail of the zipper end was something I hadn’t done before.
I should have used the True Colors fabric, but I think it looks fine. Also, the way the raw edges are enclosed within the zipper are very clever. I had to watch the video to completely understand it. I don’t always watch all the steps in the video, but I usually go through a few of the steps and the videos are always helpful.
The handles are attached to the gusset, which I thought was a good idea. I had the opportunity to sew over them several times as I completed the bag.
I also added a piece of vinyl to the bottom, now incorporated into the gusset, to keep the bottom clean when I use the bag. I wanted to try that technique after seeing it in a Tula Pink Tuesday video. I only used the vinyl for the bottom, not for the whole bag. It was sticky on the bed of the machine, as is usual for vinyl. I am out of practice with vinyl and needed to reorient myself to sewing with vinyl.
I struggled with final assembly. The bottom corners had a bit too much fabric in them for me. I wonder if I could round the corners to make the assembly easier. I found that to be a real help with the Andalusian pouch, the Andalusian does not have a gusset.
One can barely see the horizontal stitching! Don’t mention it again.