I haven’t been spending time on donation blocks lately, but I have made a couple lately. Mostly, I haven’t been piecing, which means I haven’t been making blocks.
I found my box of squares destined to be donation blocks, which had been buried. When I have needed a leader and ender lately, I have been able to grab a couple of them. Suddenly I have two blocks. It’s not a lot, but every little bit helps.
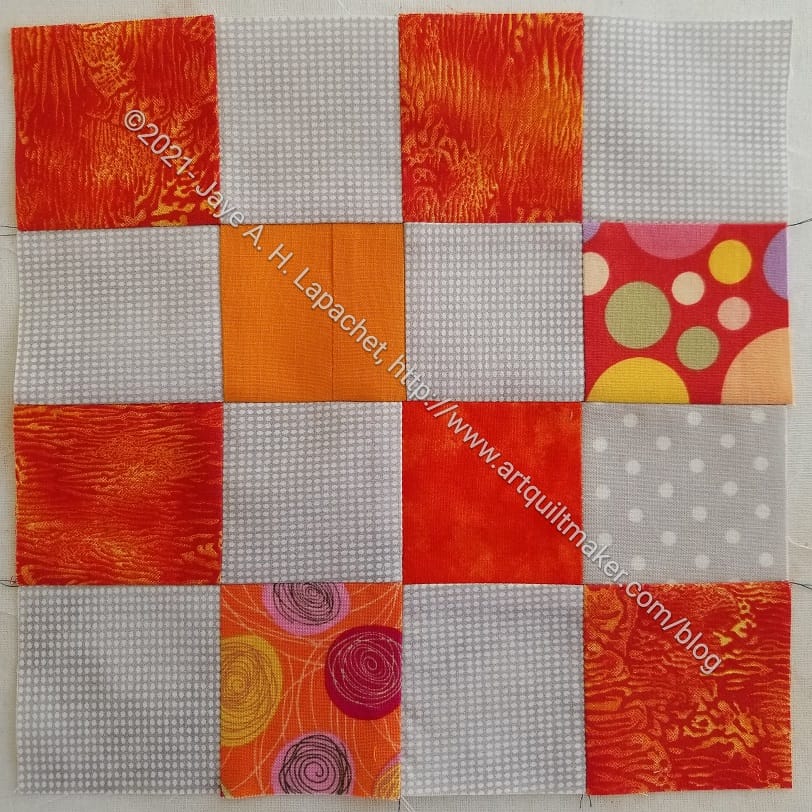
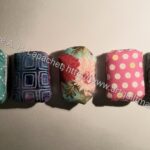
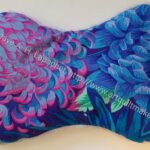
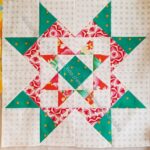
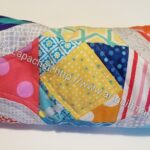
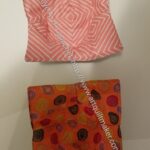
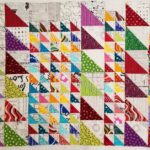
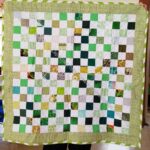
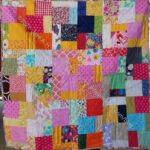
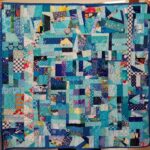
Philip Jacobs Donation block
I forgot how much I enjoy seeing different fabrics put together. Aren’t the blue and pink Philip Jacobs flowers a great combo?
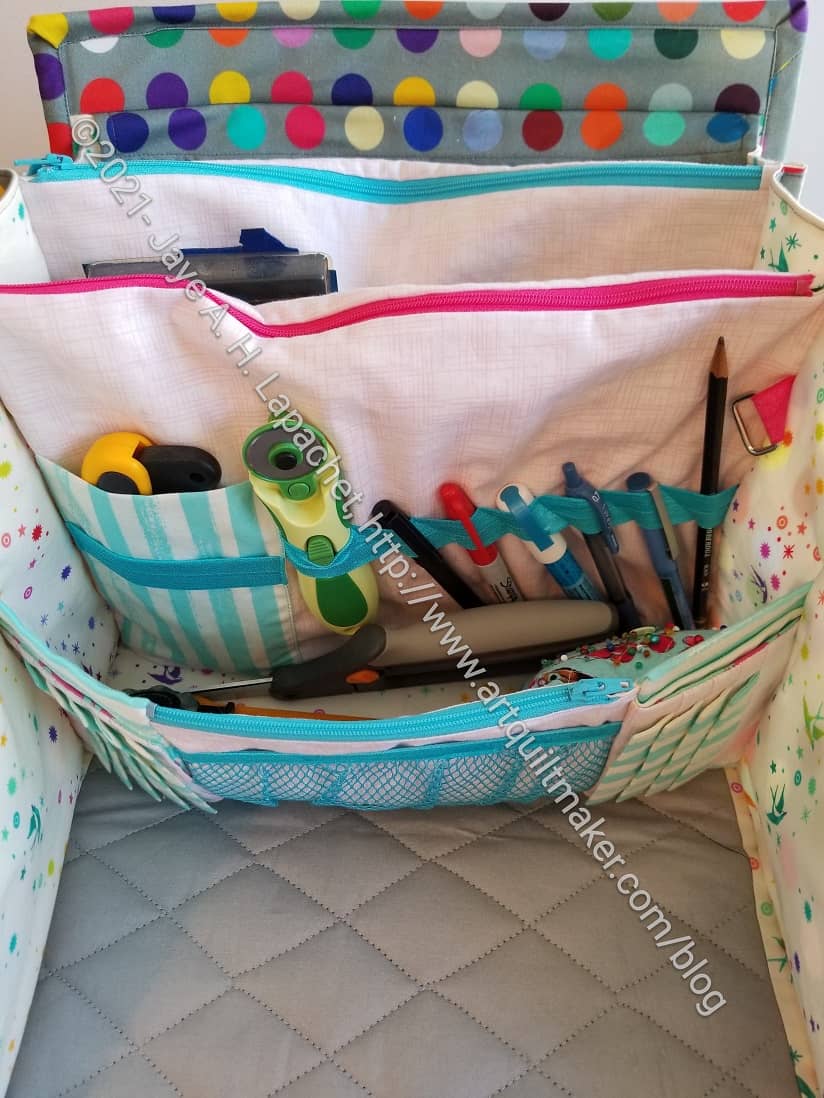
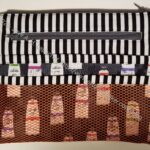
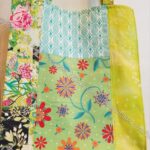
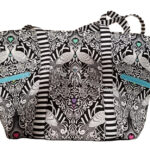
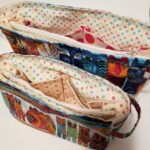
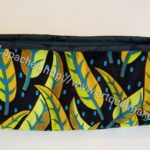
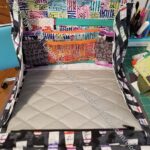
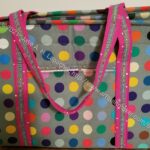
I mentioned some time ago that I needed a travel bag change. In making the UCAB for myself, the goal was that it would work as the new bag. After the fiasco at Sew Day, I knew I needed to get my travel supplies in order. I removed everything I had put in my sewing machine travel bag and replaced it in the UCAB.
Sadly, this isn’t a great bag for what I need. It is a good bag for a lot of stuff, but not for my travel needs. Sigh.
What I need: the bag to be taller so my scissors and HST rulers can stand up. I should have paid more attention to the slots in the elastic in the front, because my rotary cutters don’t fit in them. Also, I am afraid that if I lay my rotary cutters in the bag, they will cut the fabric of the bag. I think more mesh pockets would have been better, because I can see what I have in them. Also, my pink Tupperware supply box, which I have decided I can’t get rid of, doesn’t fit in this bag.
I can make bags for the scissors and rotary cutters, then clip them to the d-rings, but I don’t think that will solve all of my travel problems. I saw a video Tula posted the other day about what she uses for her travel/ sewing elsewhere bags. She uses some ByAnnie patterns. I am sure I have some Sew Sweetness patterns that would work the same way. I do have the Running with Scissors pattern and could make it again.
I don’t know what to think, but I am disappointed. Not that I made the UCAB, but that it isn’t a 1:1 replacement.
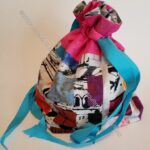
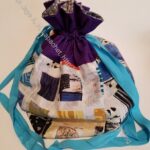
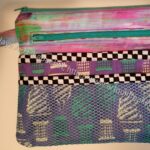
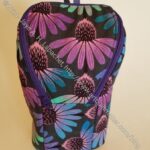
I am using it for various La Pass pieces and boy-oh-boy was I glad I had it! I forgot my La Pass Sew Together Bag when I went to Sew Day the other day and I couldn’t sew. I had nothing except my M5 fabric, my Sue Daly turntable cutting mat and this bag. I borrowed a rotary cutter from Amy, and was able to cut out M5 pieces (and not just sit around) because I had this bag, which had my templates. WHEW!
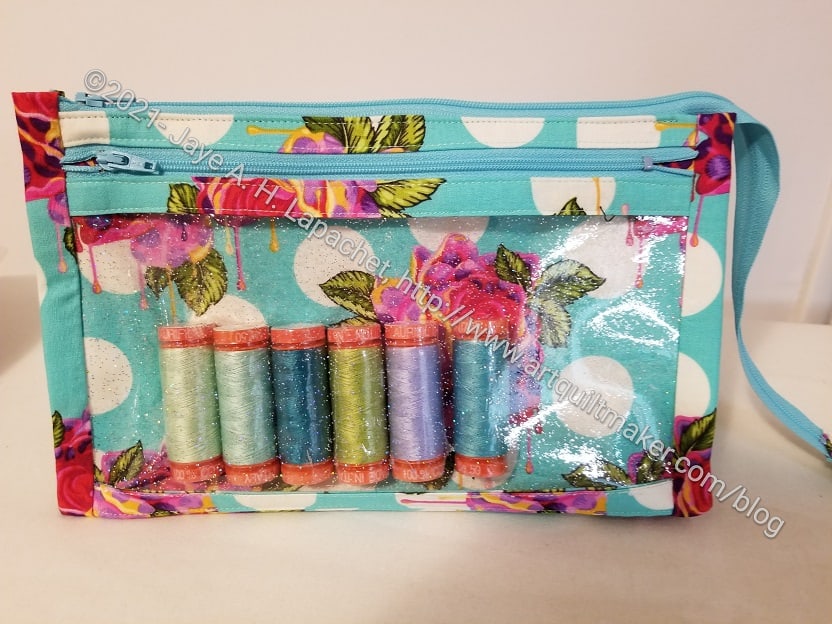
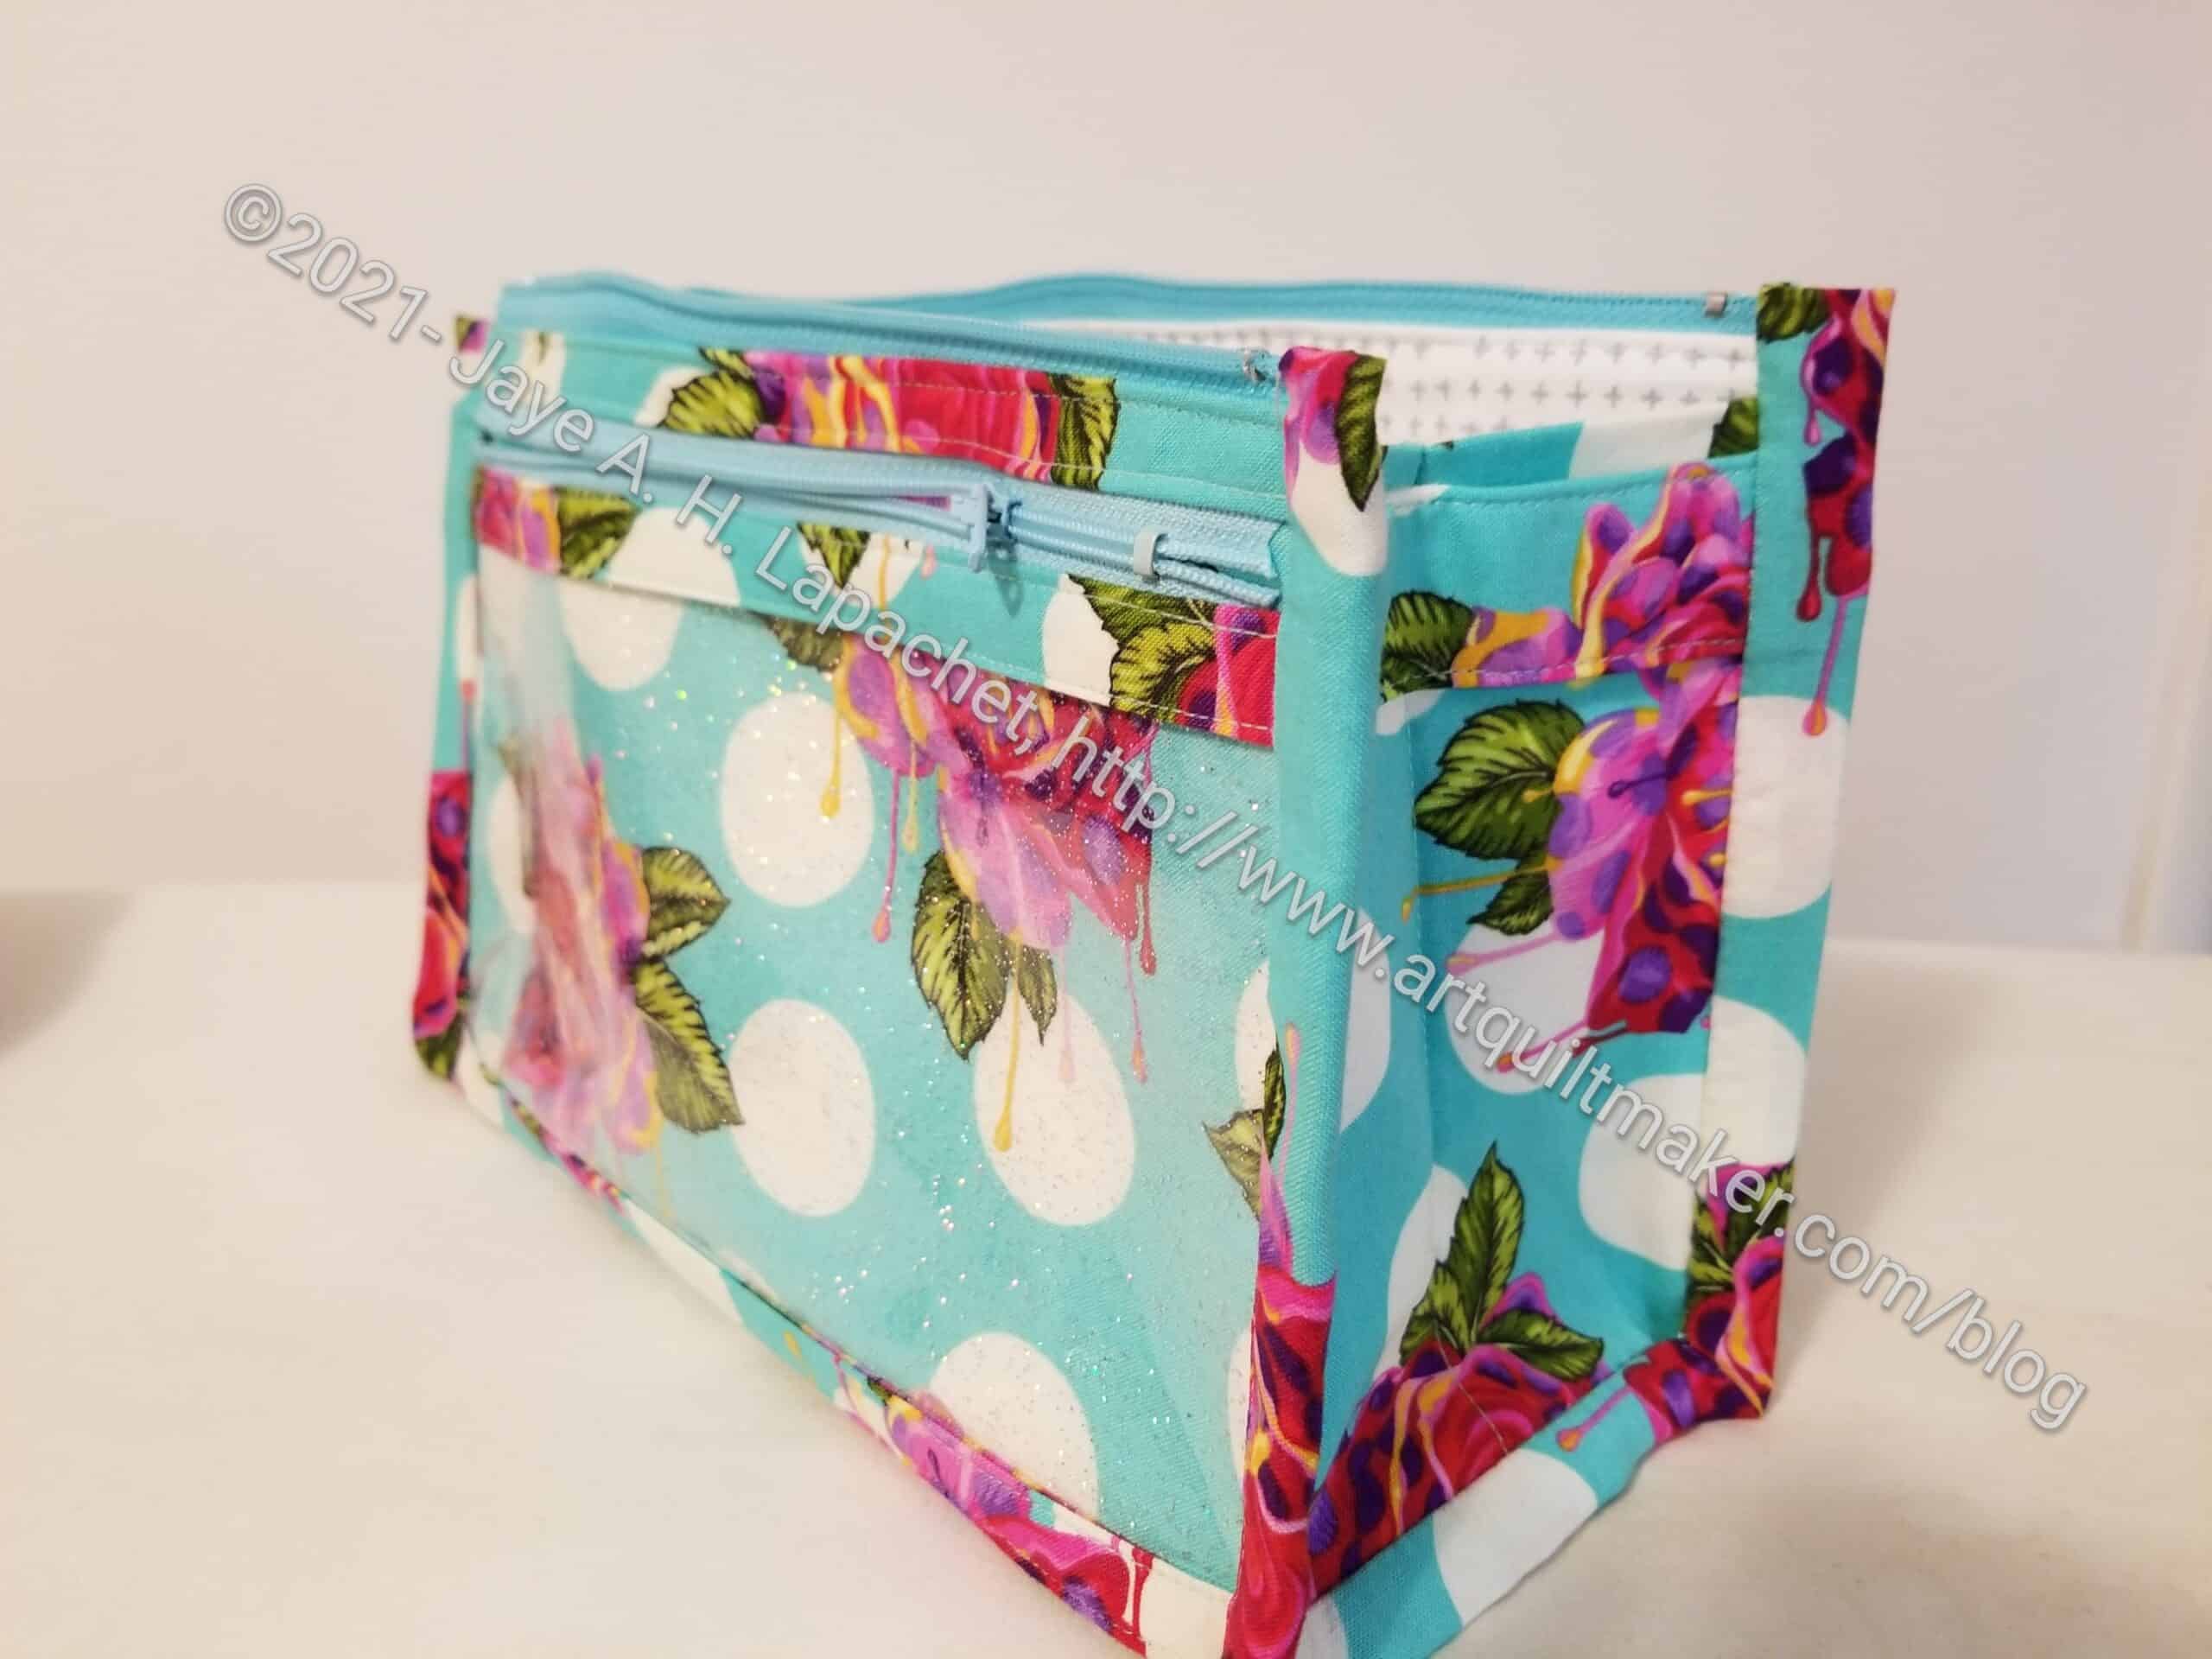
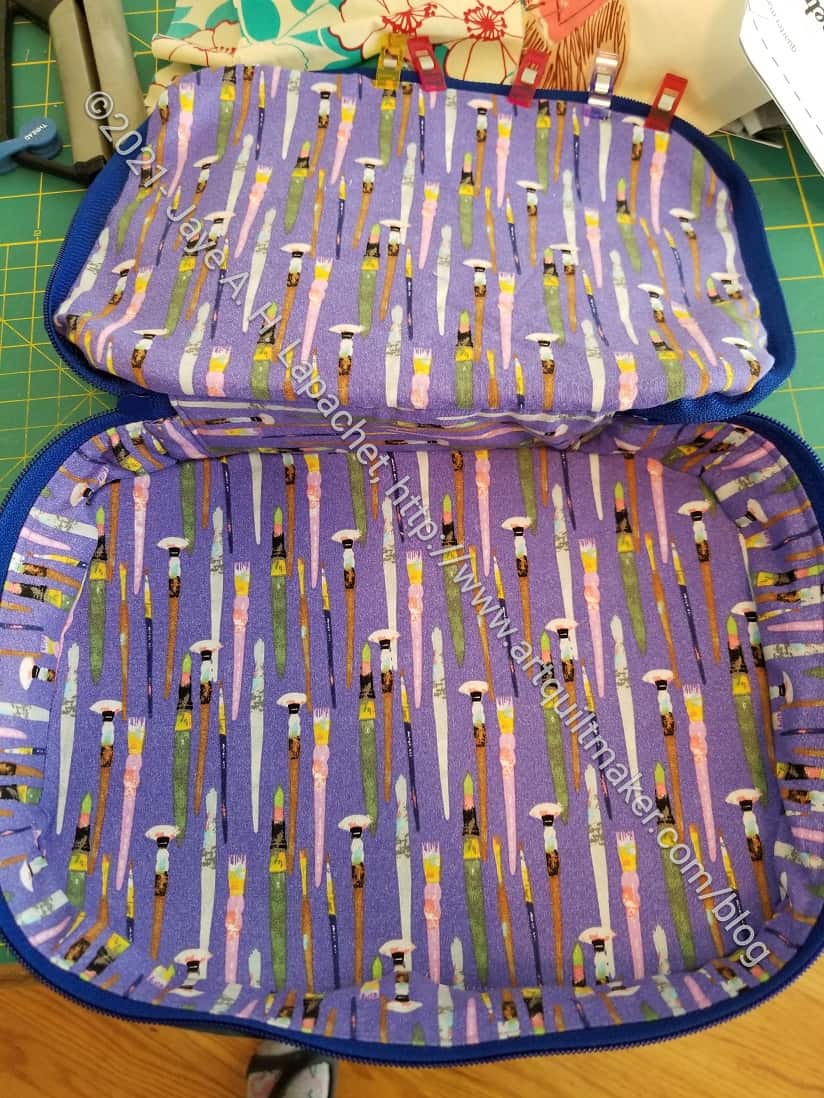
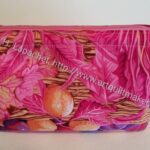
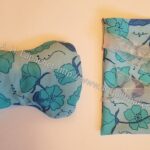
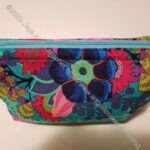
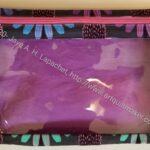
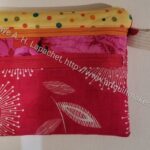
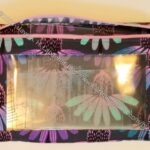
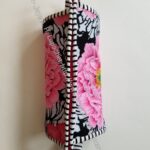
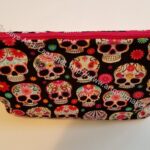
Dripping Roses Inside Outside Pouch open
This bag replaces the thread boxes I got when I ordered the Curiouser line of thread. The thread boxes were cute and well designed, but I can’t keep that kind of stuff around. This is more useful, because I can put other things in it like my templates.
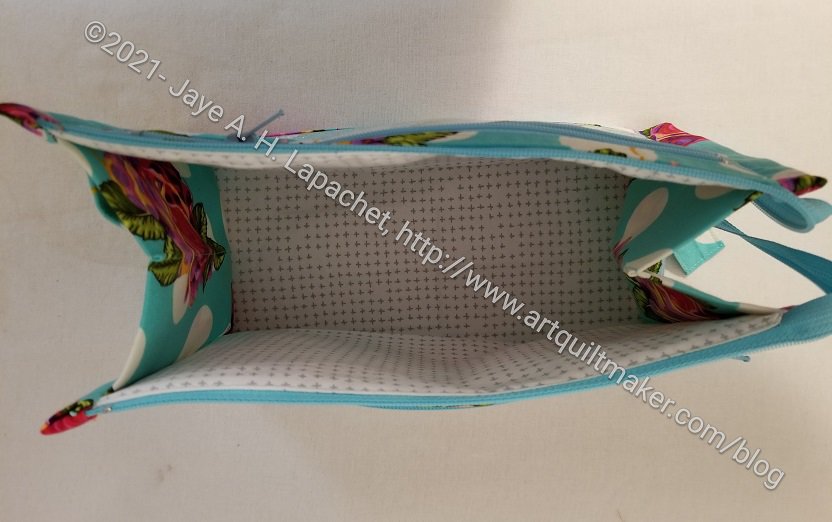
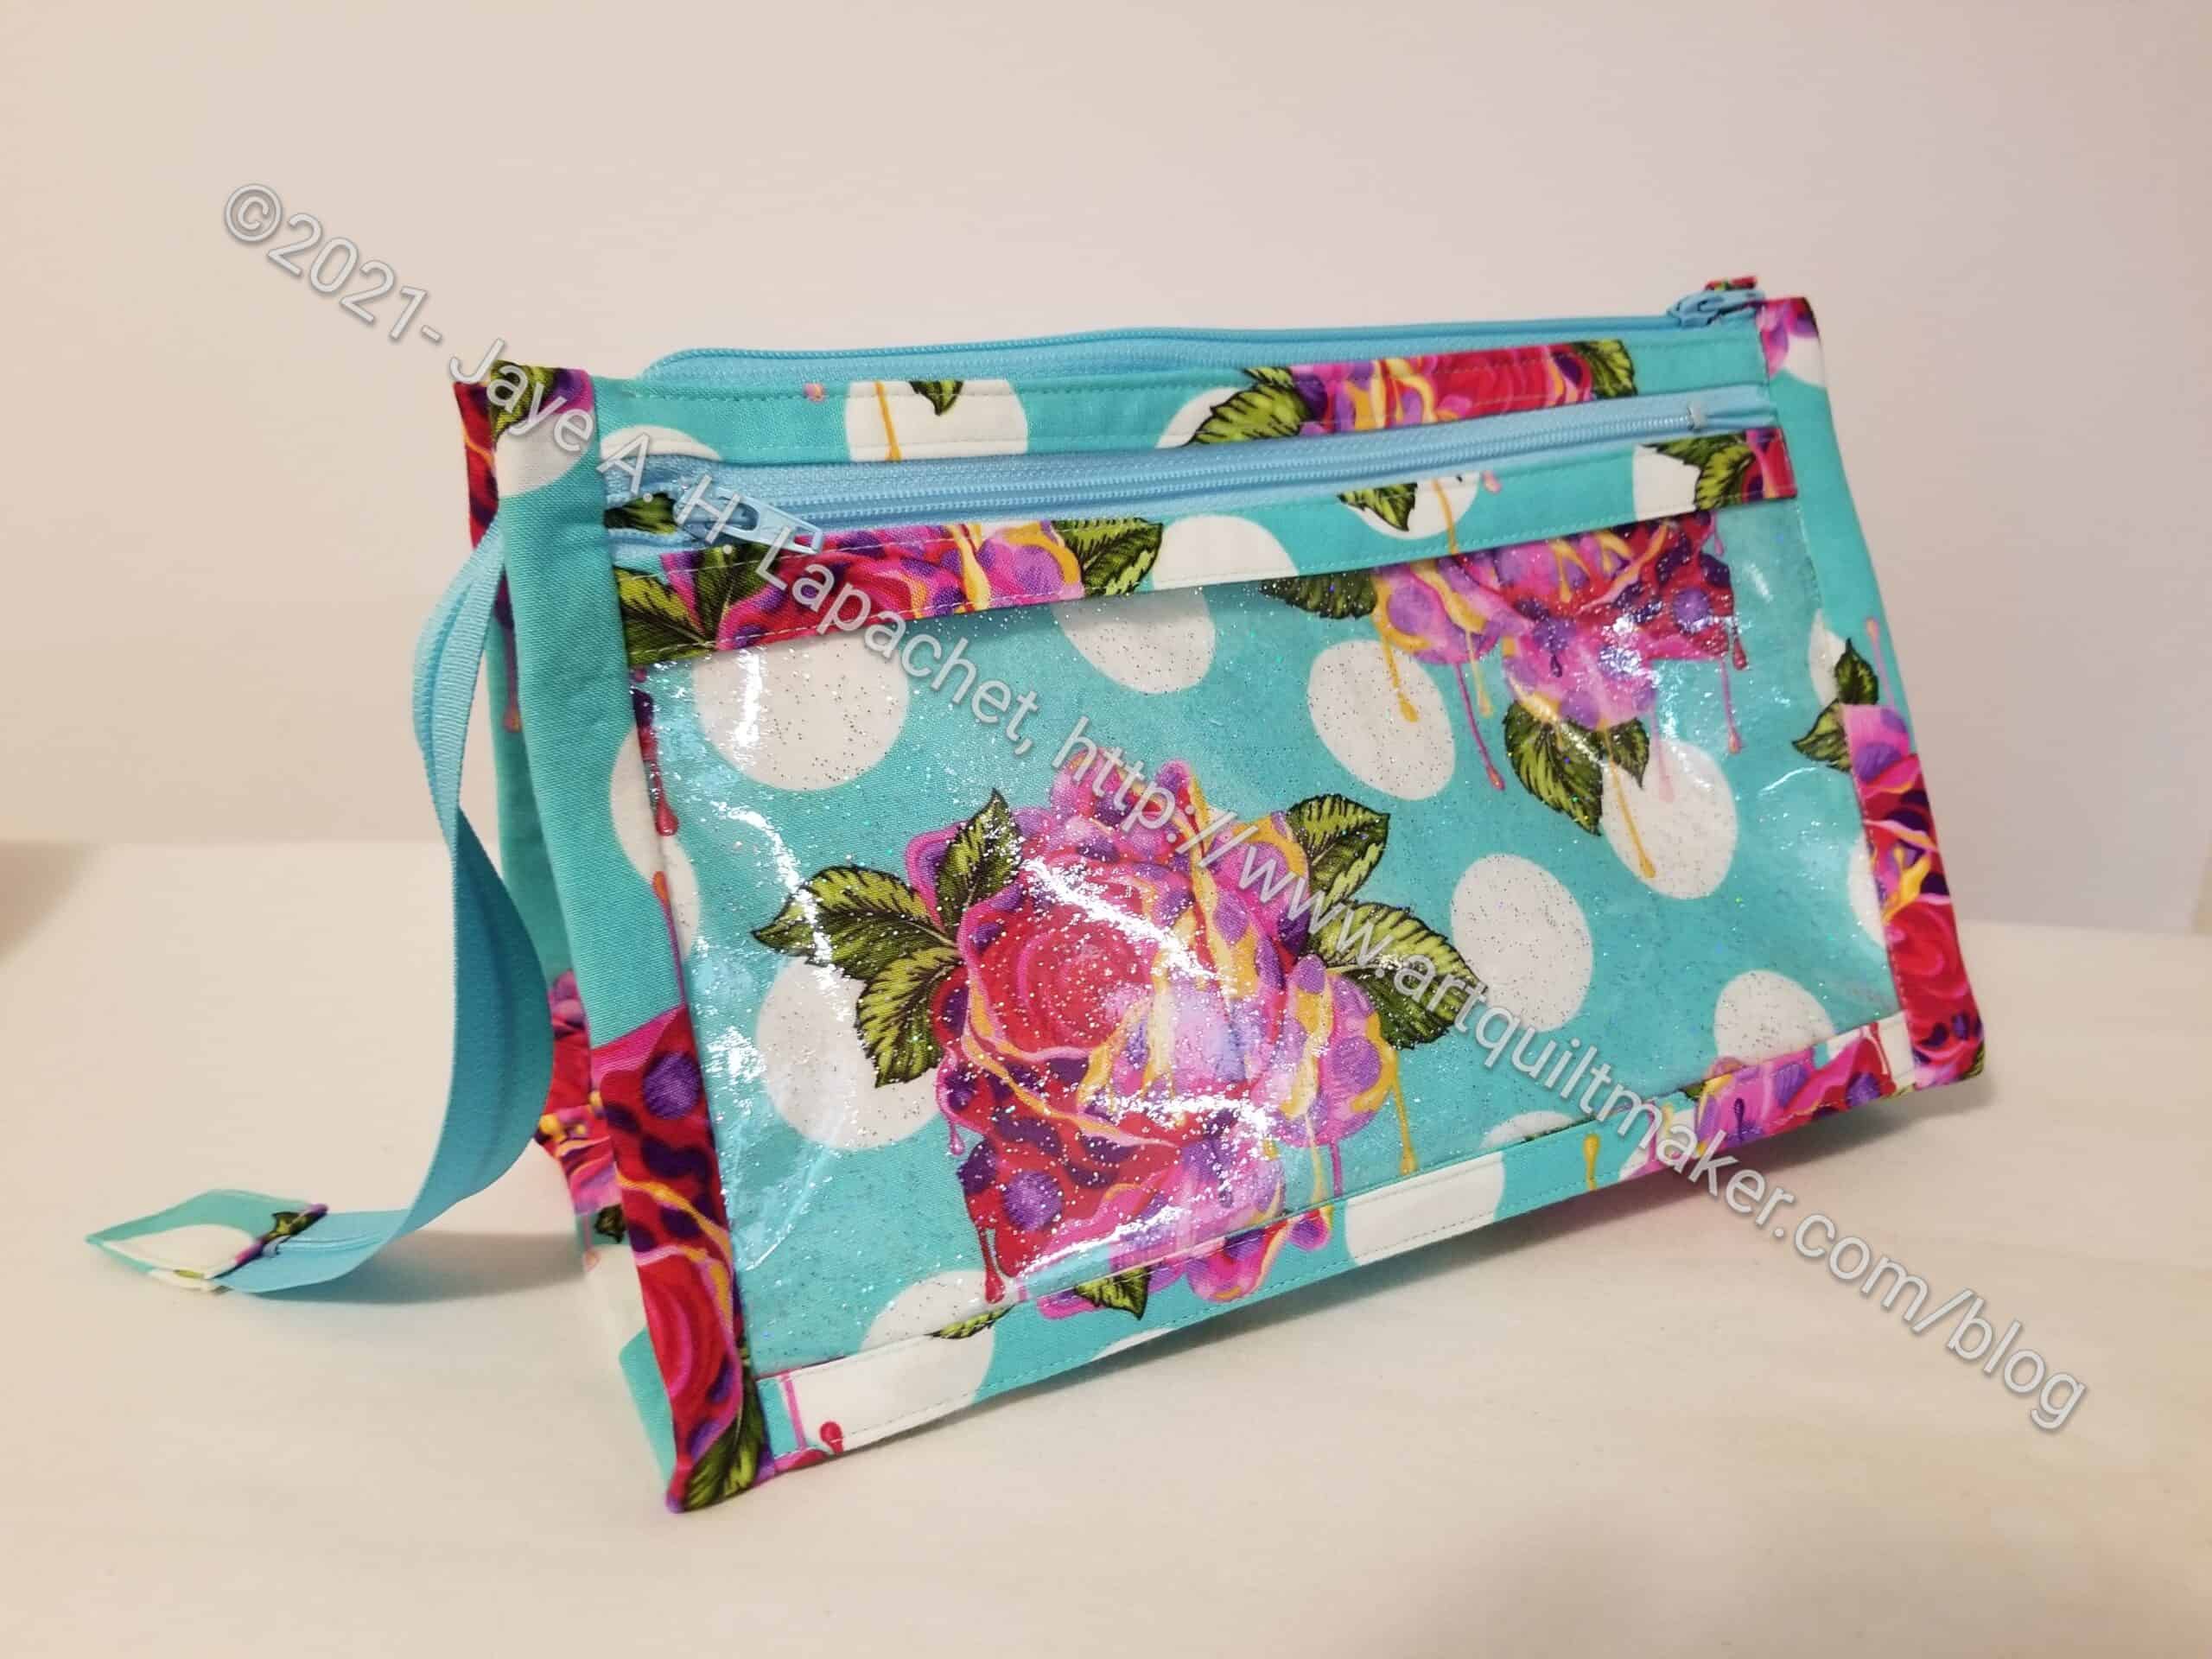
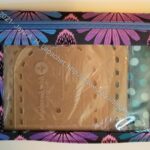
Dripping Roses Inside Outside Pouch -3/4s view
The finished size is 10 x 6 x 4, so not huge, but big enough for the miscellany I need for this project.
I showed this at Sew Day the other day and people went wild for the Sparkle vinyl. It was funny, but also nice that they admired it. People got on their phones and were buying some then and there. Mary pointed out that it was easier to see and cut with the sparkly bits in it. I didn’t think of that, but she is right.
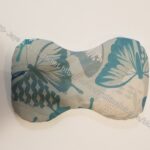
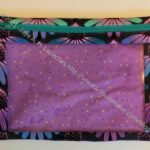
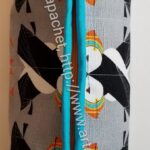
Dripping Roses Inside Outside Pouch
There are two things I might do different. I used a longer zipper than the pattern called for . I wanted to make the pouch then not wait for a zipper order. Also, I have a bunch of zippers, so why not use them? This one is pretty long, so I might sew it into a loop or something so it doesn’t drag or get caught on things. I am tucking it inside the bag and that seems to work.
The long top zipper has a zipper tab on it, but the small side zippers don’t. I think I would add them. I think they would look better with zipper tabs. I would have to sew all the way around them, because the fabric would be fully enclosed once the zipper parts were fully enclosed. I may make a couple more of these and will try it. I could also try a longer zipper,, but I think I used the recommended size.
I have to admit that I didn’t have the original idea to make this pouch this way. I saw someone else in the La Pass BOM group had made one using the Dripping Roses and I really liked it. I remembered that I had the pattern and could also make one. It was the Dripping Roses that really pulled me in.
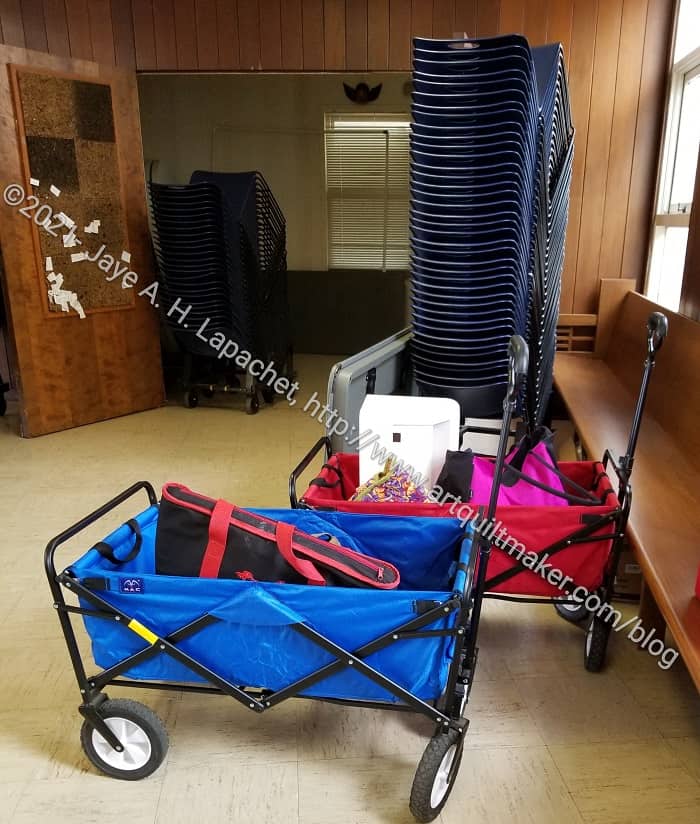
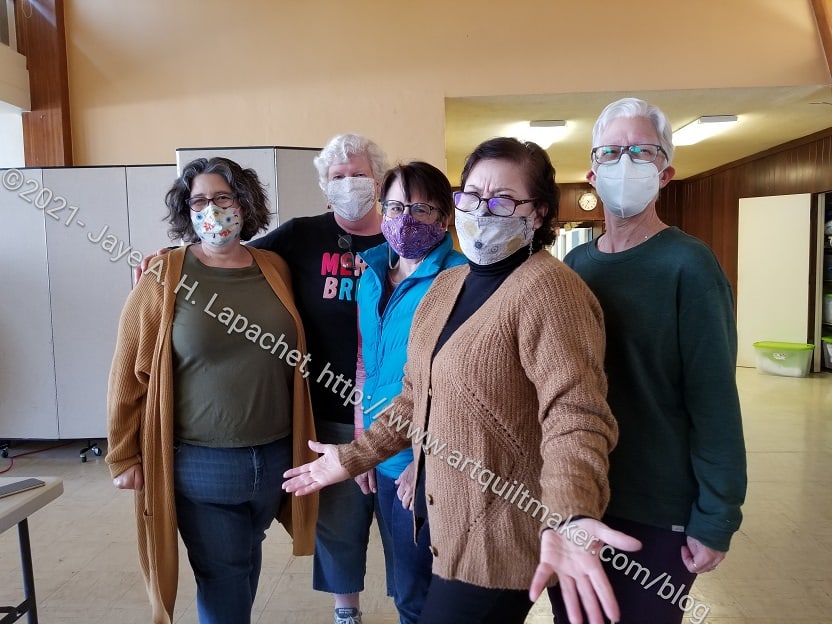
You know its a party when the wagon parking lot appears! This was only, but people had gone off with others to move more items. There is a lot of moving of heavy sewing machines and things for Sew Day.
Yes, we had Sew Day AND a party yesterday. It was such a happy and cheerful time. I think everyone really needed a boost and this was it.
Most of my favorite people were there, though a couple couldn’t make it for various COVID (blech!!) related reasons.
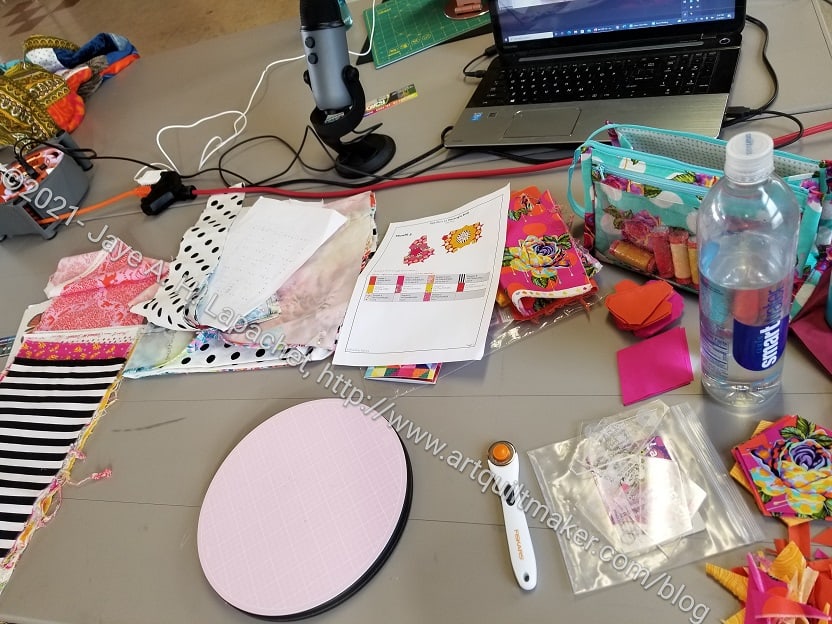
December Sew Day Workspace
My workspace was pretty barren, because I forgot my Brocade Peony STB, which had all of my La Pass sewing supplies in it! I just had to walk over to the couch where I have been working each night, pick it up and toss it in my Go-To-Meeting bag. Did I do it? No.
La Pass M5 shapes cut out
Fortunately, I did have my La Pass Inside Outside pouch, my fabric and my rotating cutting mat. The pouch had my templates so, after borrowing a rotary cutter I was able to do something. Cutting out my shapes for M5 was a good use of my time, too. I was able to get all of the shapes cut out. I thought I would do more sewing on M3, but every little bit helps get the La Pass project done.
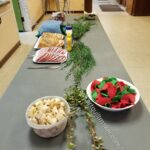
Setting the table
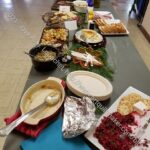
Leftovers
There was a nice table set up. Someone brought a garland and the buffet table felt very festive. We really did a number on the food. It was quite delicious so a lot of it was gone. Bonnie made some fabulous roasted vegetables (vegees at lunch???!!??). People said Gerre’s scalloped potatoes were good. They had flour so I couldn’t try them. They make me want to try making them. I love scalloped potatoes and usually can’t eat them.
Sue brought a baked Brie, for which she bought special gluten free crackers. She realized that I couldn’t eat the baked Brie because of the pastry. We had a good laugh. She is really nice and usually thinks about bringing a GF portion for me.
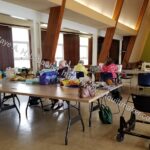
Fun Sewing Mess Before Lunch
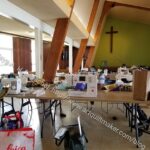
Fun Sewing Mess After Lunch
People did sew quite a bit, so there was a lot of fun sewing mess around. There was a lot of handwork happening, including 3 people doing needlepoint!
2022 BAM Officers
Our new officers were introduced, most of them we know and love.
All in all, it was a lot of fun and I am glad I went.
I never used so much basting glue in my life as I have with M3. To be fair I never used glue for basting until I started La Pass. When I started I used the same refill as I had for M1, M2 and most of M4. I might have refilled once and the sum of those months is around 300 pieces.
So, why did I have to refill at least twice for M3? It kind of scares me, because that means a lot of sewing!
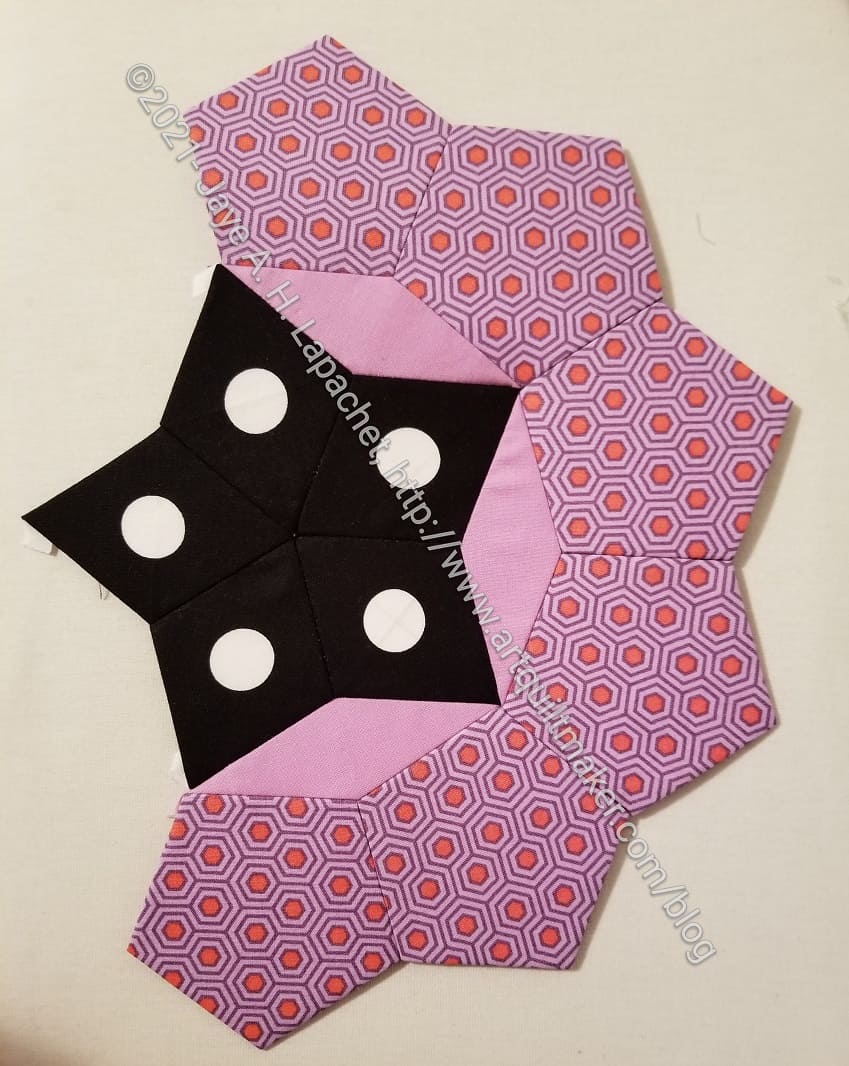
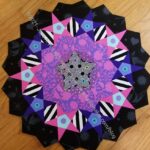
Regardless, M3 is basted (remember I skipped M3 because I had just finished M2 when M4 arrived?) and I have started to sew parts together. There are 3 partial Rosettes that need to be sewn. The first one is above. It is probably the easiest (no damn stars!). I saw someone else line up the polka dots and I liked that idea very much, so I did it, too.
I had a moment of panic when I realized I didn’t have enough of the pentagons to make a ring, then I remembered I was only making partial rings. It is very strange not to be making full circles.
I know it is all about progress right now. I am not finishing a lot except for bags. Stay tuned for a possible apron finish!
I am making slow progress on this pouch (which doesn’t seem like a pouch). The thing finally looks like something, but more of a suitcase than a pouch.
I like the finished look of this project, but I am finding it difficult to understand the directions. I know that is crazy when you look at the other complicated projects I have made, but it is true. This project is all sew, then rip, sew, then rip.
Yes, I am using the video. I just don’t understand it.
Jennifer Marx has a lot of CriCut tutorials and classes as well as a complete guide. she has lots of tutorials on paper and wood, but I also saw one on cutting fabric.
I’ll be making a couple of bowl cozies as gifts. I was given a tutorial to use, which seems ok. Do you have a favorite?
Books, Fabrics, Notions & Supplies
Someone in the Sew Sweetness group turned me on to Hapa Fabrics. They don’t have a lot, but if you like anime or Disney fabrics, take a look.
I also found Stitch Supply Company, which has a great selection of fabrics, but also has a fantastic variety of bagmaking supplies. I am not talking about a few patterns. I am talking about different kinds of hardware, different kinds of interfacing – the whole 9 yards. I haven’t ordered anything from them yet, so I don’t know how their customer service is, but I will definitely order something and check. They have a lot of colors of strapping for handles, lots of ByAnnie products such as zippers, mesh and Soft & Stable.
Ginger subscription boxes are available on their site. Do you need a birthday or holiday gift for someone special?
I have been stuck on small projects. It is because of the workroom redo , but I am also enjoying working on bags and pouches. Don’t worry, I am not giving up quilts.
I also finally made it into the green in fabric usage. WHEW! I’ll never make it to 100 yards unless I give a boatload of fabric away, but at least I have made up for the fabric I have purchased this year.
In Process or To Make
The ‘In Process’ is used to denote projects on which I am actively working or are on the design wall waiting for me to stitch. I am continuing to try not to put away projects. I find putting a project away ensures I never work on them, because I just lose steam.
Quilts
The circle quilt is on the design wall, which is folded up in the YM’s room
Small Projects to Make or in Process
Most of my progress involves thinking or just cutting.
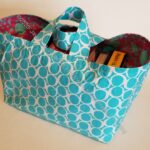
One Hour Basket for my stuff that tends to accumulate on the dining room table. I may switch to one of the Minikins projects or a Catch All Caddy for this purpose.
One Hour Basket for DH’s stuff that tends to accumulate on the dining room table. I may switch the pattern to one of the Minikins projects for this purpose.
Percheron Pouch is cut out, some interfacing is applied and the pouch is ready to sew
Retreat Organizer – another project from the Crafty Gemini Organizer Club, also on my list, but not yet started. Recently, I saw one of these made up and I am not so nervous about it
Superbloom tote using Hindsight fabric – not started
Tessuti Japanese Apron – cut out and ready to sew. I am figuring out how to make it reversible.
Ultimate Project Organizer – another project from the Crafty Gemini Organizer Club, also on my list, but not yet started
Ultimate Carry All Bag for me – I have the inside pockets as well as the front panel made. I am working my way through the exterior and hope to finish soon. FINISHED! See above.
Westchester shirt – this is a Crafty Gemini pattern. I bought the fabric at PIQF in 2018. I have the pattern pieces cut out and ready to sew. I was held up by the supply list which wanted a Jersey needle. SIL #2 and Mary C said that a regular knit needle was fine.
Handwork
I decided that some of my projects are in a different class because they are hand piecing or embroidery or beading. They take longer. Thus I created a new category and have moved some projects here.
La Passacaglia – I am on month 3 (almost month 4) of an 18 month block-of-the-month project with Pink Door. I am more behind, but working hard to not get farther behind.
Still WIPs
I still have WIPs. Who doesn’t, after all? A project in the ‘UFO’ category means I am stalled. A nicer way of saying UFO is a WIP. The list is a lot shorter and the projects are newer, for the most part.
Handbag Sampler – this is still the forgotten project. It should be on the UFO list. The blocks were teaching samples when I taught a sampler class some time before I started writing the quilt class sampler tutorials. I found one block recently, but otherwise I actually don’t know exactly where the blocks are hiding. I crawled up in the far reaches of my fabric closet to see if I could find them and they weren’t where I thought. I am sort of mystified as to where they could be. I haven’t even found a picture of all the blocks. Sad.
Lobster – I think I might make this into a tablerunner for the buffet. I think that will be a good and fun use of the piece even if the colors aren’t quite right for the dining room.
Pies and Points from 2016 Victoria Findlay Wolfe class. The last time I worked on it was when Julie and I had a playdate in April 2018. I brought this piece with me so I could cut more elements (Julie has a Sizzix). I lost my excitement about this piece shortly thereafter, but I am ready to work on it as soon as I get my design walls back up.
Pointillist Palette #4: Fourth is a series of 6 quilts; needs tiny square patches sewn together. No progress.
Serendipity Lady – I am still planning to take this piece to be framed.
Who Am I? – This piece is still languishing. Perhaps having a larger design wall will help me regain momentum. The amount of satin stitching I was facing was a problem until I thought of BIAS TAPE. I am going to make the words with bias tape, perhaps different widths, then I won’t have to sew the satin stitching. Red Scribbles and Friend Julie helped me come up with this solution. Now I just have to do it!
After finishing the first M4 rosette, I moved swiftly on to the second for the month and am making good progress on that one as well.
I am only partially done. The border with the black has about double what you see in the photo, so I have more sewing to do. I may be able to finish it tonight. We’ll see.
The center is not Tula Pink fabric, as you may have noticed. I decided 1) I didn’t want zebra faces on my quilt and 2) I wanted to try combining pieces into a larger piece. I talked about this a little bit before.
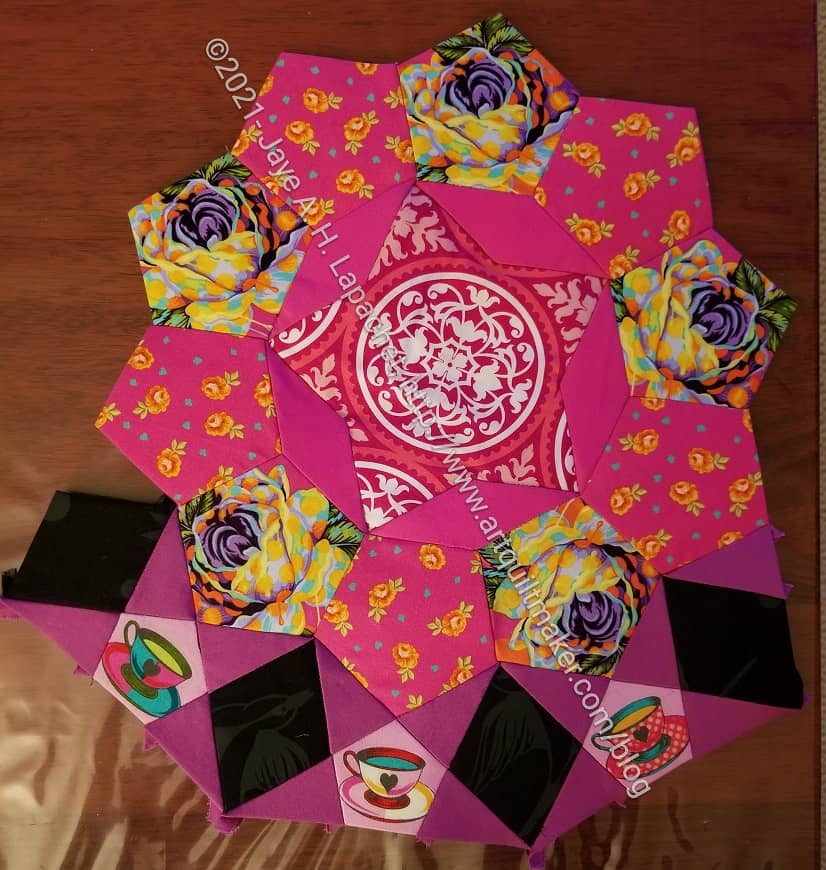
La Passacaglia M4, Rosette #7 – adding the border
One of the things I have to figure out when I sew each rosette is how to add the pieces. Putting them into chunks and then sewing is much better. Sewing as many straight lines as possible is the best.
The yllow lines show you the segment I put together before I sew the piece to the larger segment. I sometimes sew the three pieces with the teacup and then the three pieces with the black diamond. It depends on my mood.
I keep hearing talk about ‘getting your Sew-jo back’. At the moment I have plenty of sew-jo, but there have been times where I have not had any inspiration or motivation. I wanted to sew, but somehow couldn’t.
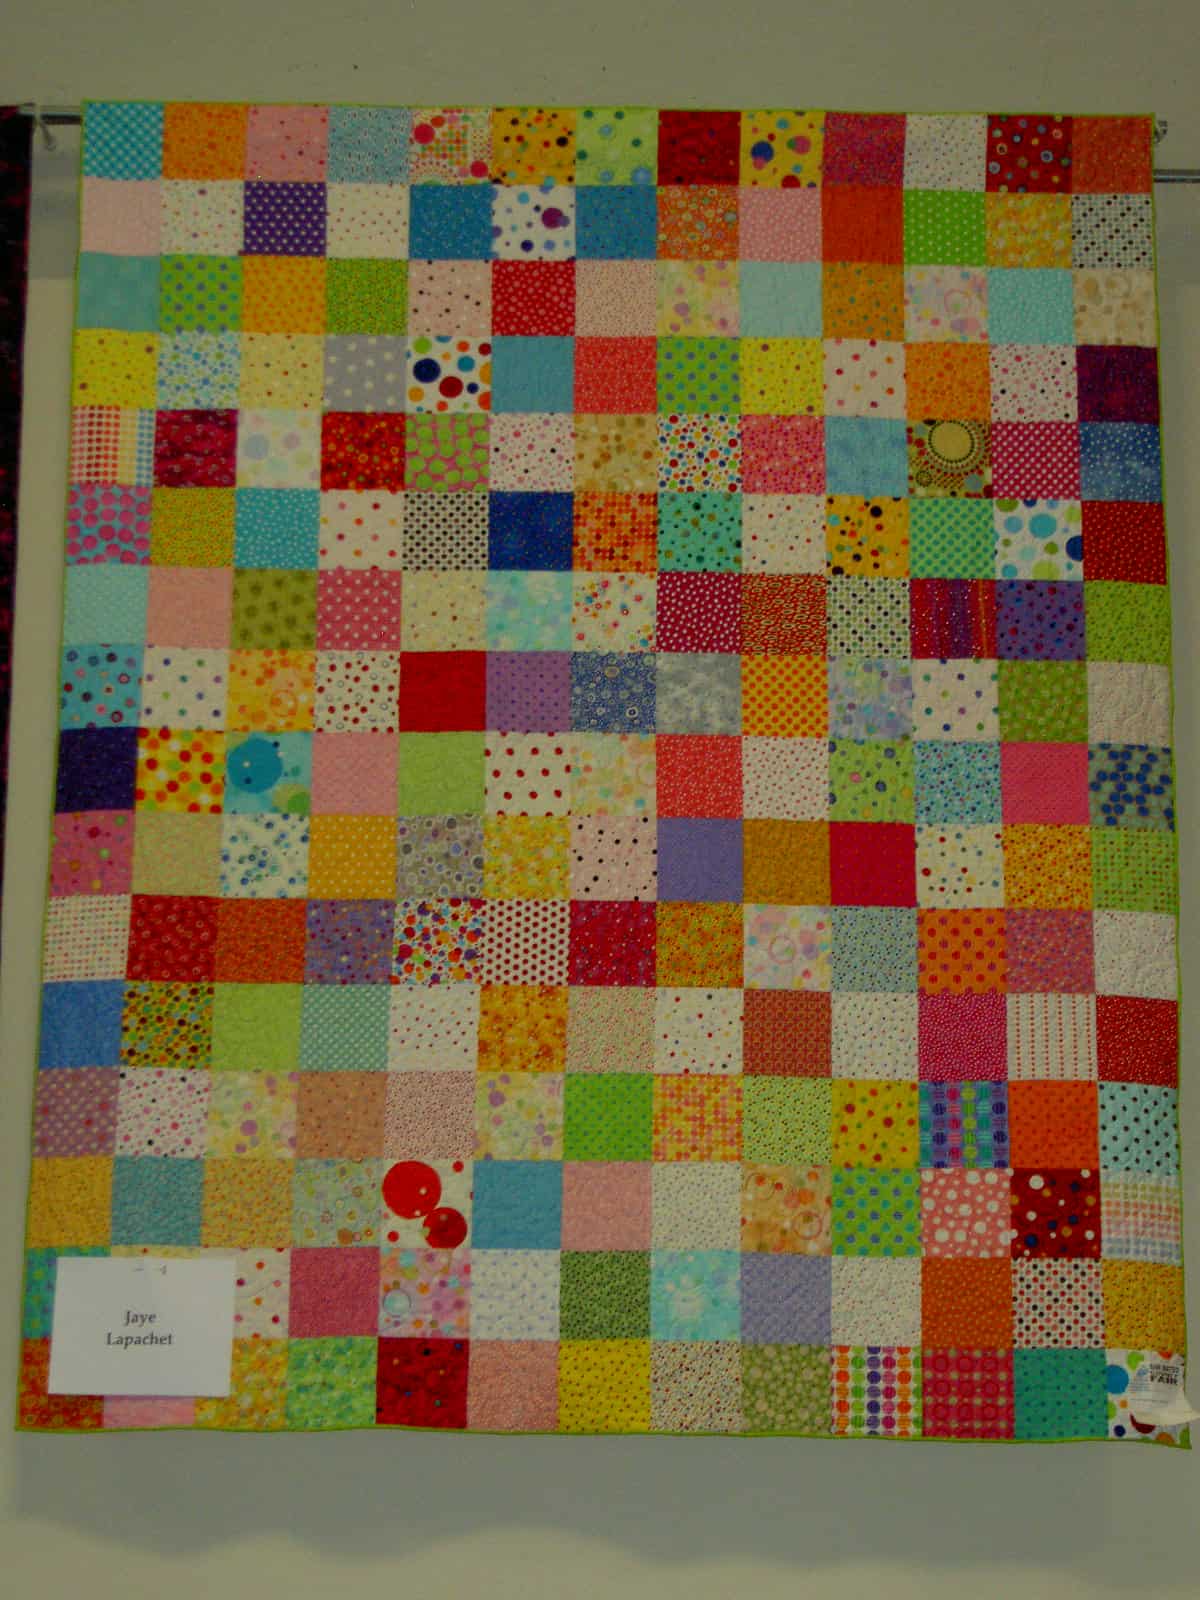
There are a couple of quilts I have made specifically to get me out of a slump. One was Thoughts on Dots. It came to mind over the weekend, because the YM dragged it out to sleep with. It was on the cold side this weekend and his room has a lot of windows.
This quilt is painful to read about. I was definitely struggling with my process and you lovely people got to read about every minute shift in my thinking. The point about this quilt is that it is plain squares that I rearranged and rearranged until it seemed done. It got me back in the groove.
Lesson: cut squares and rearrange them.
Playmat
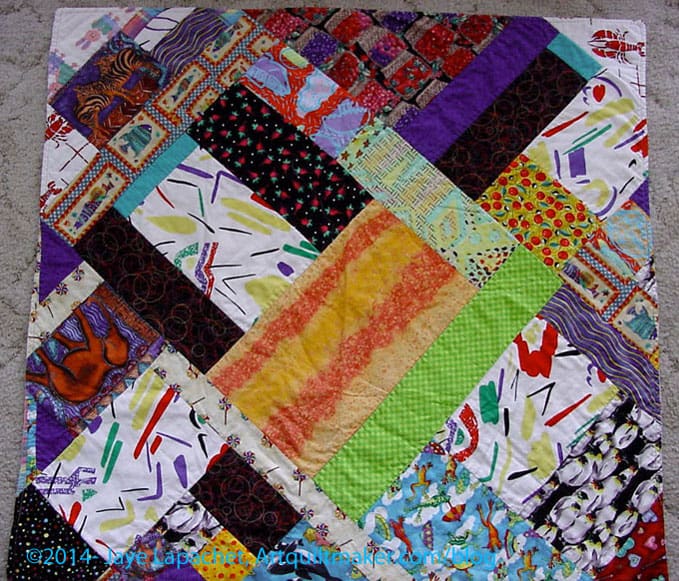
Much earlier than Thoughts on Dots was a little Playmat I made for the YM when he was a baby. According to the information I have, I made this quilt in 1997. I remember making it envelope style. No binding.
I don’t remember why it is all on the bias, but you can tell I was making improv quilts even then. These were scraps of fabric. The lobsters were kitchen curtains we had when the YM was born. The scribbly fabric was purchased in a basement shop downtown on my lunch hour. I am sure that shop is long gone, but I remember the thrill.
I don’t know about the different styles I have employed to get me back in the groove, but here are two of the resulting quilts.
I know you have been wondering if I gave up on La Pass. Short answer: no.
Long answer:
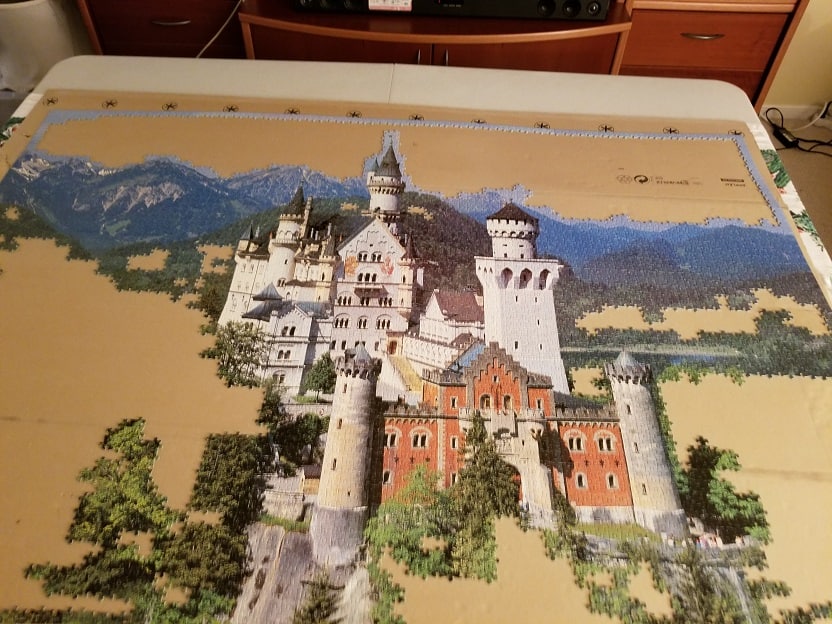
Last year, in September, we started working on a puzzle that DH had bought for me about 15 years ago. We hadn’t done it before last year because we had other things to do (e.g. raising a kid) and the puzzle was 6,000 pieces.
Yes, you read that correctly: SIX THOUSAND.
Clementoni 6,000 piece Neuschwanstein puzzle in progress
I had wanted a Neuschwanstein puzzle and I am pretty good at jigsaw puzzles, but even I was daunted by 6,000 pieces. Additionally, I could see that at least 3000 of the pieces were trees or sky. Not fun. A challenge: yes, but not exactly fun. However, during the pandemic things changed. Also, I tore a ligament in my foot. Sewing not to mention hauling the boot up and down the stairs to my workroom was difficult.
So, we happily started working on the puzzle. The castle part was relatively easy and we finished that in a few months. Then progress slowed to a crawl as we sorted and re-sorted the greens of the trees and the flat blue of the sky. Pretty soon, I felt lucky to put 4-6 pieces in per night. Since we didn’t have anyone over for months, it was no problem that two 6 ft folding tables were taking up space in our living room.
As a result, my normal hand sewing time was usurped by the puzzle. At first this was ok, but now I have two bindings and La Pass to work on. Since I wasn’t making good progress on the puzzle, I was getting annoyed with it. Since we were planning a more normal Thanksgiving this year, we had to decide what to do with the puzzle.
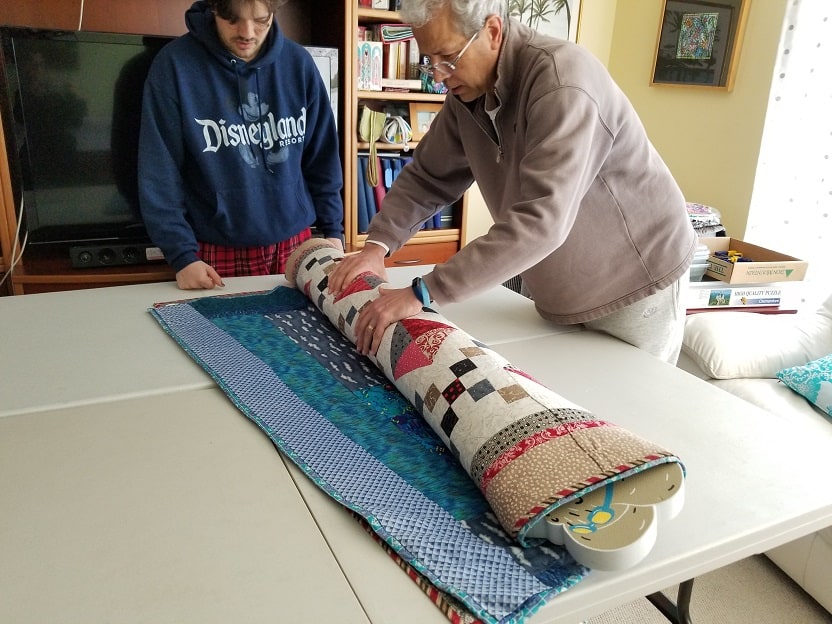
Three person operation (2 shown)
I was all for giving up. I like to finish things as much as the next person, but DH hadn’t worked on the puzzle in a while and I didn’t want it all to fall on me. We debated and I let him win. We transferred the puzzle to a quilt, laid another quilt on top and rolled it up. This was a 3 person operation, not including photography.
Fast forward to post Thanksgiving. Our living room is free. I can see the TV from the couch. I have no puzzle sitting in my living room waiting for me to put locate the one piece I can fit in. YAY!
La Pass M4 Rosette #6
So, I sat down on Friday after Thanksgiving and started sewing EPP pieces like a demon. Leftover chores from hosting still demanded my time and attention. Also, my mom and stepdad came over to see my son, so I had to give them lunch. In between all of this, I sewed and I finished one of the M4 rosettes.
I was kind of shocked at how fast I blew through this. Granted, there is a lot less sewing that the big rosette, but still. Up until the other day, I felt like these took forever.
M5 is in the mail or will be momentarily. I’d love to get M4 done before M5 arrives. I still haven’t done much of M3, but if I can get M4 done soon, then I can work on M3 until M5 arrives and I have some hope of catching up. Fingers crossed!
You can sew 2 or more borders together first then put them on your quilt top and miter them
Blends prints well
Lines up linear designs such as stripes
Add some pizzazz to a block that needs something extra, especially if you have to add coping strips
How to Miter:
Cut borders
Cut top and bottom border strips to the quilt top side lengths, plus an additional 2x the border width plus 1″. The 2x the border width gives you enough space to make the 45 degree angle. The extra 1″ is added for insurance. You can always add more “insurance”.
Formula: quilt top side lengths plus (2x the border width) plus 1“
Example: When the top of the quilt is 45”l and you want the side borders to be 5”w: 45 + (2×5”=10)=55”+ 1” =56
Sew the top border to the quilt top, starting and stopping ¼” away from the ends of the quilt, backstitching at each end.
Repeat for the other 3 borders. The corners will be flapping around.
Fold the quilt top in half diagonally, right sides together, creating a triangle.
Line up two adjacent borders; for example, the top border and the right-side border.
Fold quilt in half diagonally
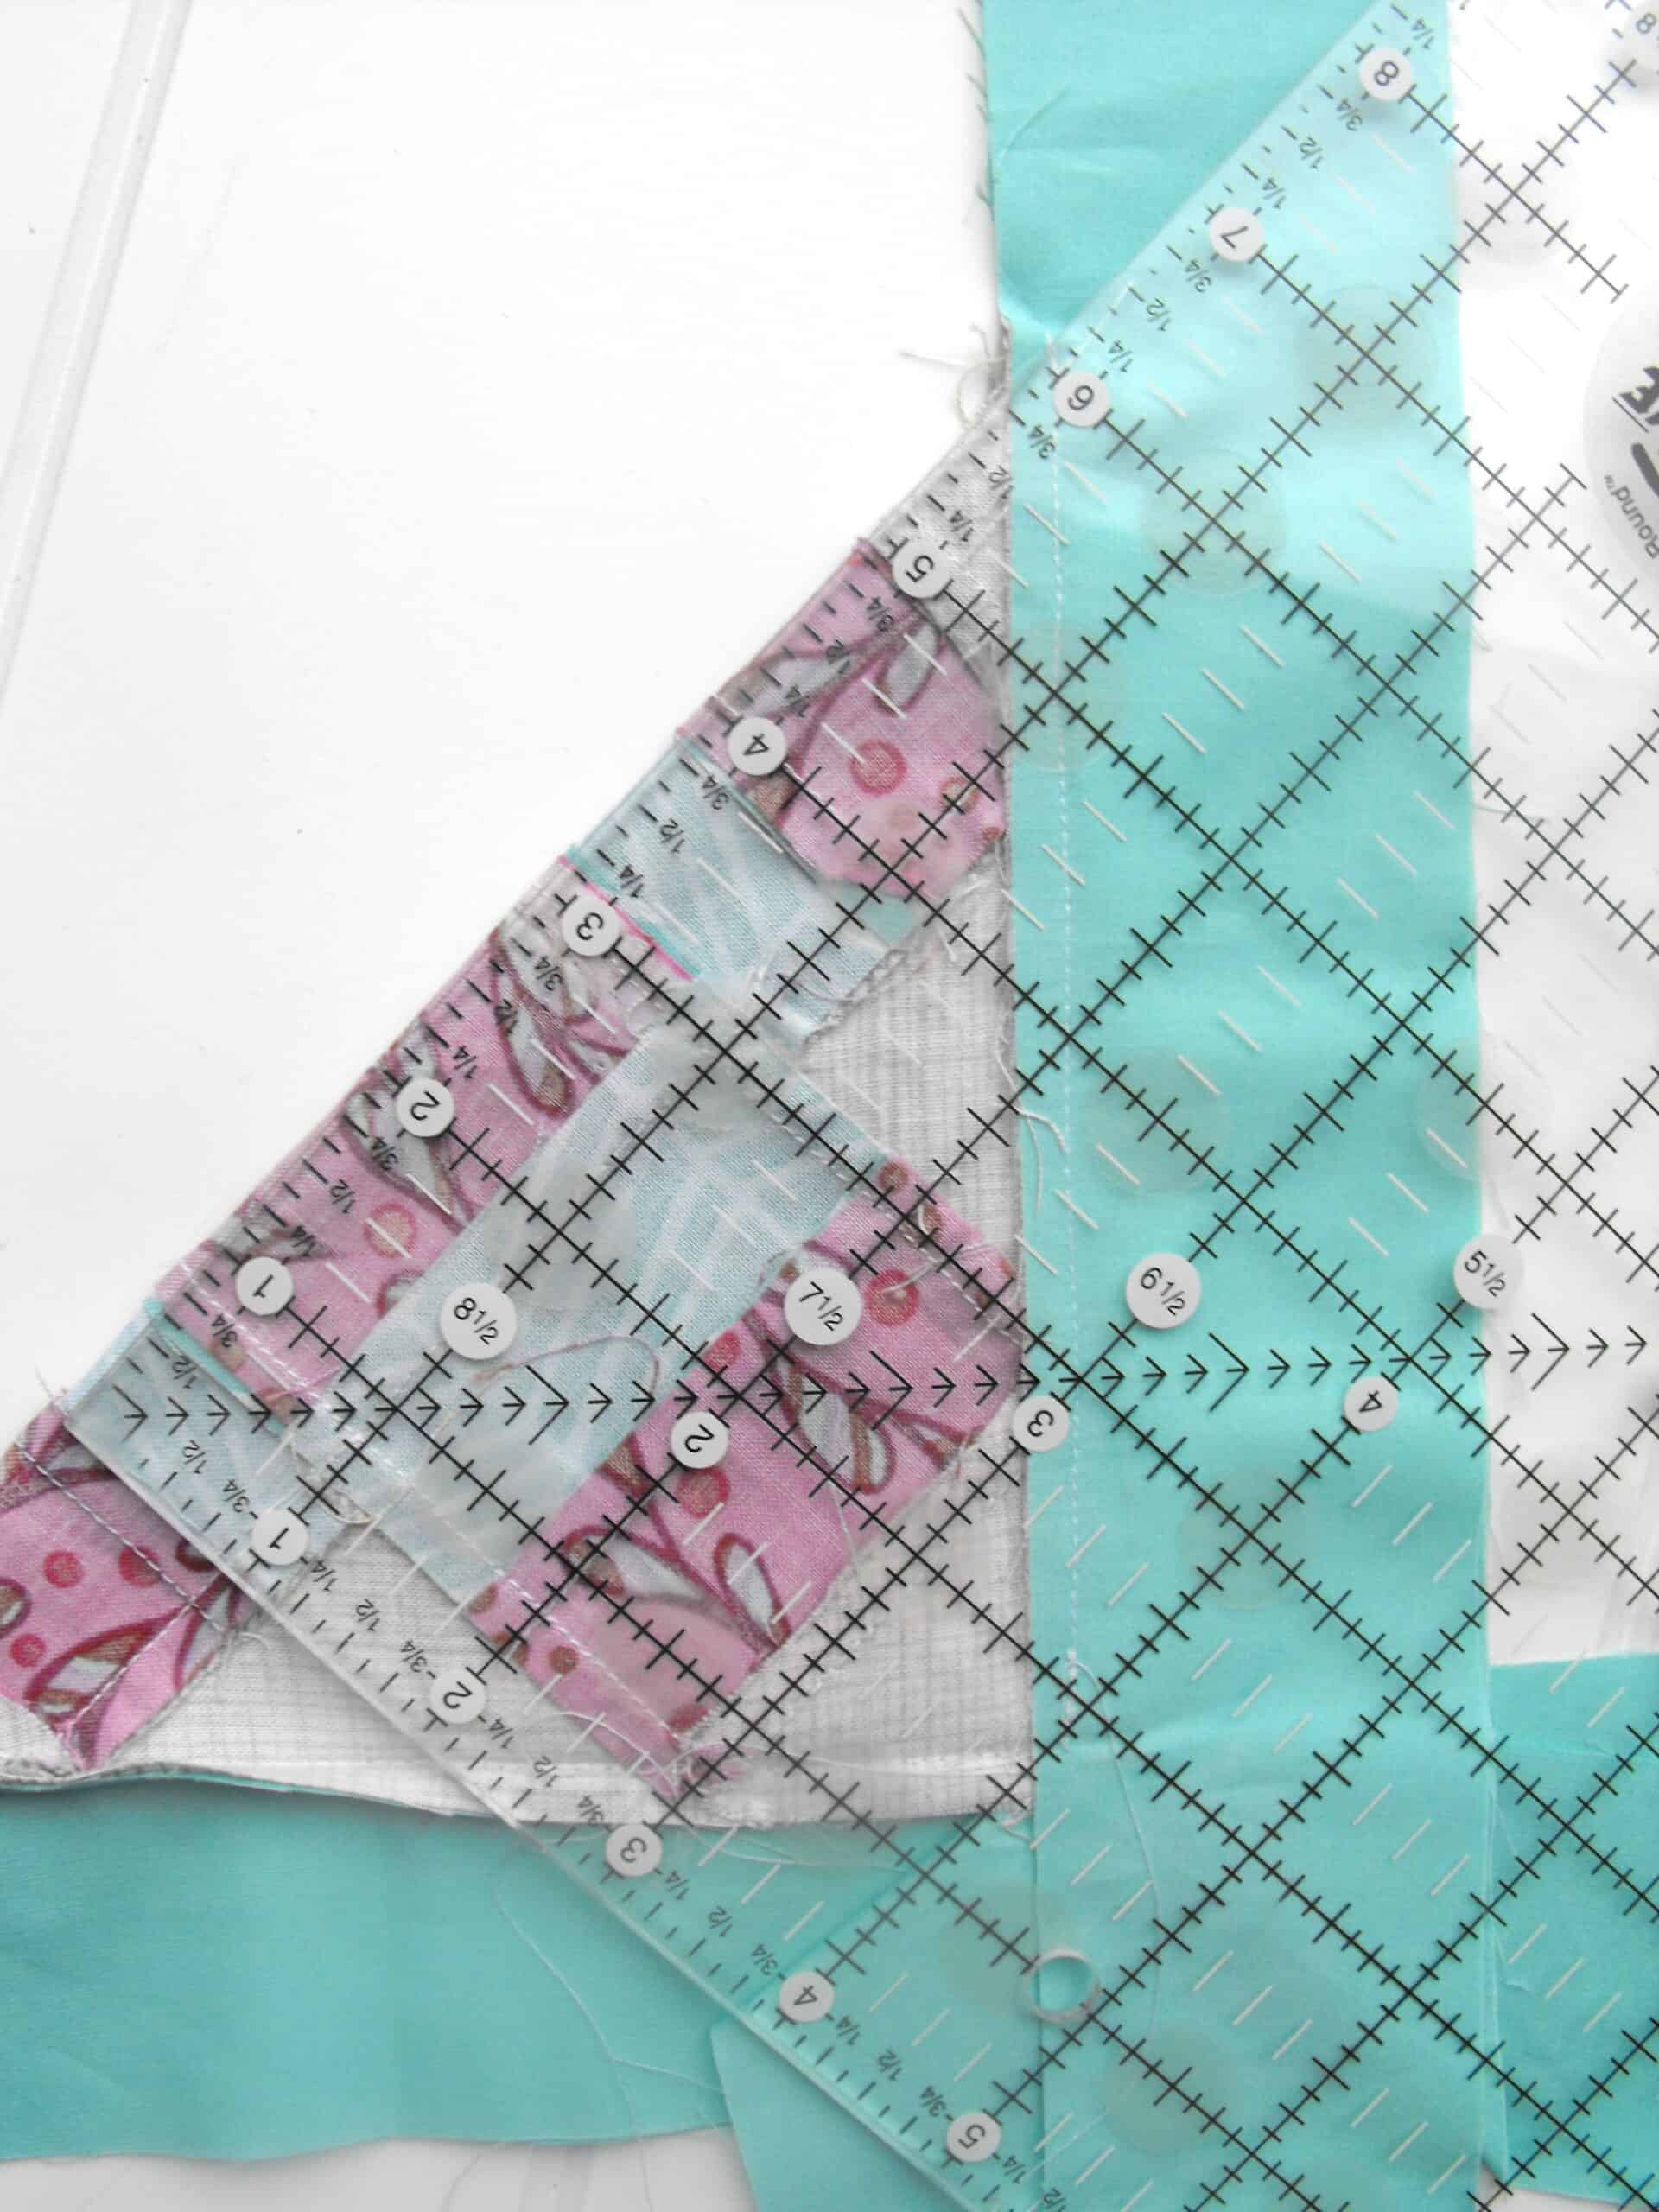
Place the ruler along the 45-degree line.
Draw a line
When lined up, draw a line using a pencil and a ruler along that 45 degree angle and extend it over the borders.
Pin firmly in place.
Locate the stitch line you made when you sewed the border to the quilt top and begin sewing there.
Sew from the stitch line out toward the end of the border, directly on the pencil line.
Backstitch at the beginning and end
Sew and open to reduce bulk
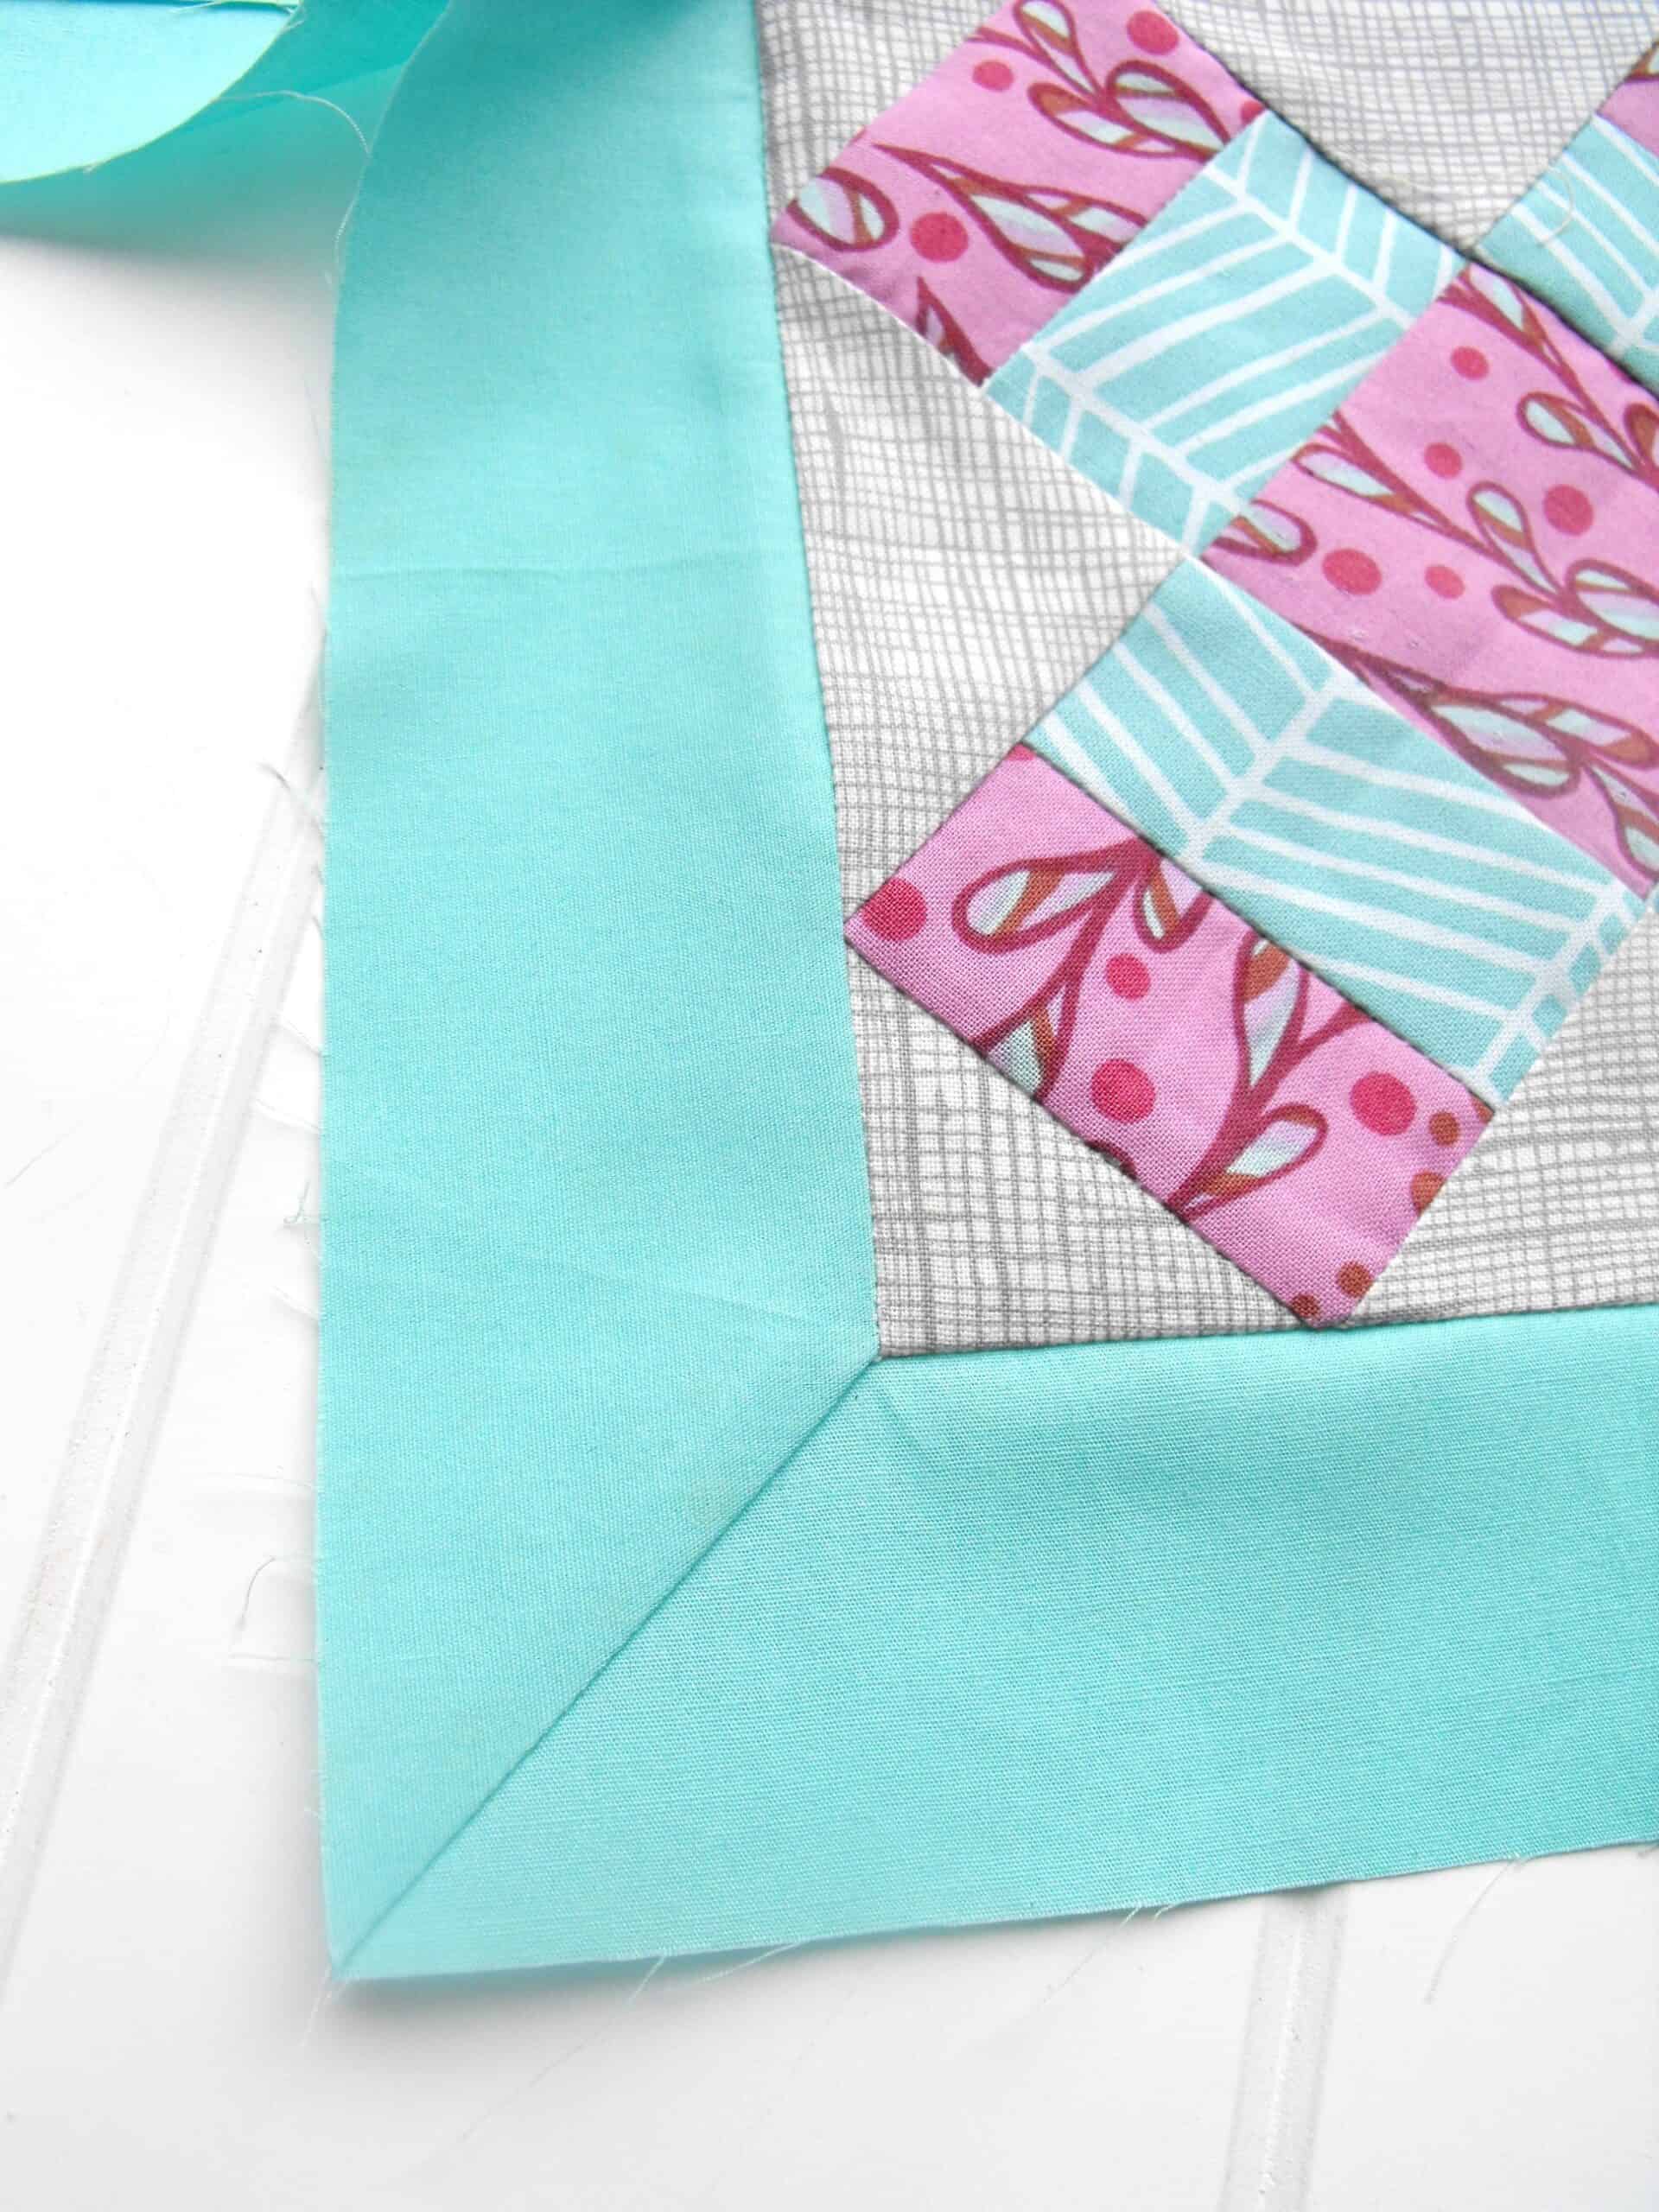
Open up the quilt top to check the miter. The corner where the three seams meet should lie flat when viewed from the front. There should be no tucks or gaps. The borders should also be square.
When the corner is perfect (or at a point that you’re happy with it!), refold the top to reveal that 45 degree stitching
Trim the seam (the extra border length) to 1/4″.
Press open to decrease the bulk of fabric at the seam corner.
I hope all of you who are celebrating Thanksgiving have a wonderful day. For those of you who don’t celebrate, have a wonderful day as well! One thing for which I am grateful are you, my dear readers. Thank you!
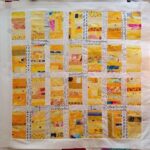
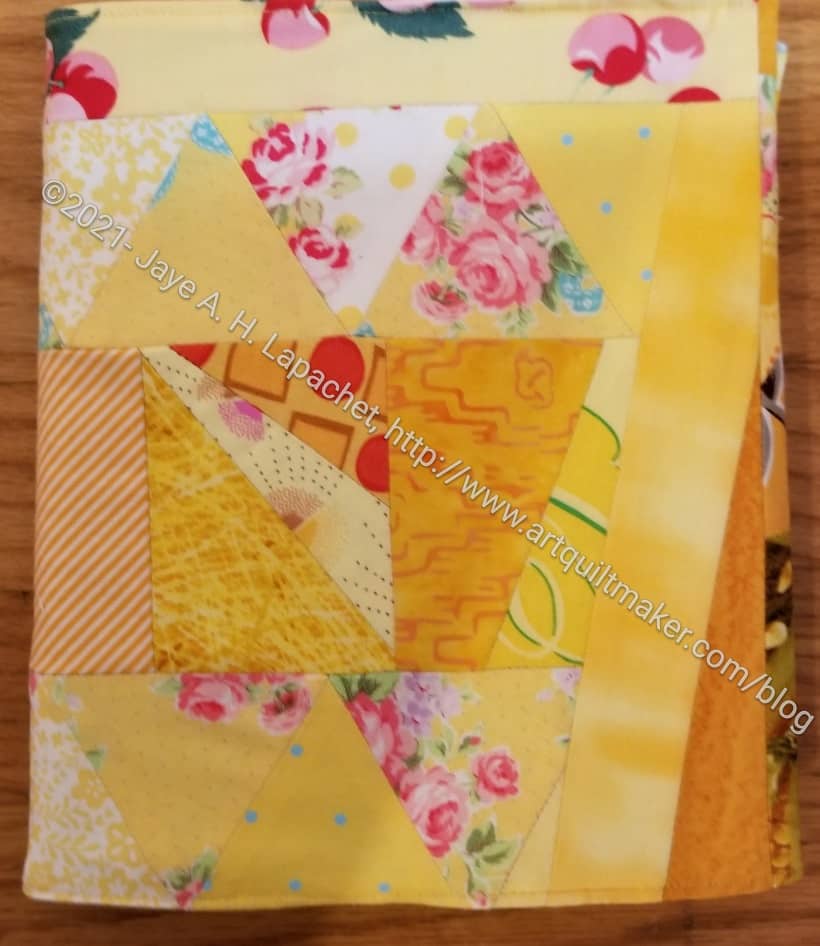
I took some of the made fabric I had assembled for the Yellow Improv donation quilt and made a journal cover.
I felt like I was taking away from the donation quilt, but I’ll be needing a new journal cover soon, so needs must. I figure I have a lot of scraps, so more donation quilts are on the agenda.
This one turned out to be just a smidge small, so I had to stretch it to get it on the journal (Miquelrius 6.5 in. x 8 in**).
Yellow Journal Cover – front and back
I kind of used what I had rather than arranged the scraps because I didn’t think of using the pieces I was working on for a journal cover until I had already made most of the pieces.
I still have quite a few equilateral triangles from the Flower Sugar Hexagon quilt I made a long time ago. I am trying to use them up, but there seems to be a never-ending supply.
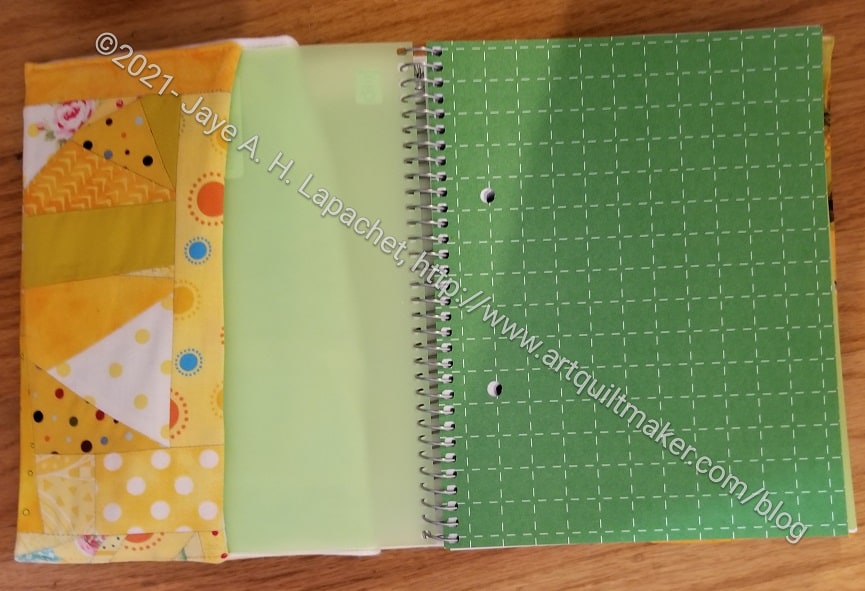
Yellow Journal Cover – inside front cover
I am not very enamored with the inside. That corn fabric doesn’t look great outside of the Food quilts. At least it reminds me of the three food quilts I made and the people who received them.
As I may have mentioned, I have stopped adding fabric to the inside and just let the flannel be the other side of the cover. It makes the project go more quickly and makes the cover flatter. Of course, it doesn’t use as much fabric.
Yellow Journal Cover – inside back cover
I think I have one more Miquelrius journal to use after this one, then I will switch completely to the Leuchtturm journals.
**I use affiliate links and may be paid for your purchase of an item when you click on an item link in my post. There is no additional cost to you for clicking or purchasing items I recommend. I appreciate your clicks and purchases as it helps support this blog.