Finished Triple Zip Pouch

Triple Zip Pouch
Triple Zip Pouch

Friday, I spent some time looking through all the patterns I have collected to see if there was a quick project that would inspire me. I moved some to other places my computer and deleted some in which I was no longer interested. It is always good to do a bit of Spring Cleaning.

Zippers from Kelly O

This Spring Cleaning reminded me of the Triple Zip pattern from A Quilter’s Table. I have had this Triple Zip pouch pattern waiting around for 7 years. I thought it might be a good quick go-to gift pattern I could make over and over. I haven’t found such a thing and hope springs eternal.

Kelly Orr and I talked about this pouch years ago and she gave me the zippers to use before she moved away. I have had them segregated out from my other zippers all this time.

I know I didn’t tell you that I started this project. I started cutting on Saturday and nearly finished it by Saturday evening. I had one more seam to finish sewing on Sunday, then turning it and done!

The pattern doesn’t have a lot of pieces, but they do need to be labelled. I didn’t do that and was somewhat confused. The pattern requires careful attention, especially to the renaming of the zippers part way through the project. Labeling the pieces can reduce this confusion.

If I made this again, I would omit the fusible fleece on the top of the project (where the yellow dot fabric is in my pouch). It made turning the project a little difficult and the top too thick for my taste.

I was also confused about the finishing. I think I did ok, but the top of the inside still has some raw edges. They are less than an inch and don’t show, but I am concerned that there will be unraveling. I am unclear whether I finished the inside correctly. I also wonder if there is a different way to finish the inside. I plan to send the extra pattern I printed to Lynette to see what she thinks.

I also added a leash, which I always like to do for pouches.

A Quilter’s Table had a sew-along for this pouch and the post showed over 70 pouches! She also has a tag in which you can see many other Triple Zips as well as links to others doing classes and other sew-a-longs with the pattern. It is very popular!

Mustang Purse Organizers Finished

Mustang Purse Organizers

I finished these organizers at the end of April, but I couldn’t show you until today. They are gifts for my mom for Mother’s Day. As I mentioned yesterday, she opened her gifts early when I saw her on Friday. Good thing I got them done early!!!

Purse Organizers were a special request. As I said, I was showing her the new Minikins Season 3 patterns and she immediately saw these and loved them. I had already made her a gift, but I have put that item aside for her birthday.

Large Mustang front and top

There are two sizes. She can choose the one that works best for her handbag or tote bag. She already has an idea of how she will use these. Someone said that using these for a tote bag would be a good idea. It never occurred to me, but I have to agree. How often do you scrabble around in your tote bag for whatever it is you need. I’ll need to think about whether one would work in the bag I take to quilt shows.

Small Mustang front
Small Mustang front

For these pouches, I used Laurel Burch fabric that I purchased to make items for Mom. I know it doesn’t go with the Artist Paint tube fabric, but these won’t be with the items I make for her to take to Sew Day. I made an effort to fussy cut well so the cats faces would show. The fabric has two sizes of cats, so I used the small cats on the small pouch and large cats on the large pouch. I am pretty happy with the fussy cutting.

Small Mustang -mesh pocket

One thing I didn’t think about was the outside pockets. I realized that the outside pockets would cover up the cats, so I omitted them. It means fewer pockets. I made a note on my pattern and will use the main fabric for those pockets next time.

Large Mustang -mesh pocket

One side of both pouches already has mesh, which obscures the cats, but doesn’t cover them up completely. In my large version, the cats look like they are peeking over the edge of the mesh. Total luck, but cute, don’t you think?

A lot of people don’t like mesh pockets, because items get caught. I don’t mind them. One has to pick carefully what to put in them.

Large Mustang - interior
Large Mustang – interior

Even without the outer slip pocket, these bags have a lot of pockets. In addition to the mesh pockets, there are two slip pockets, a zipper pocket and two pleated pockets.

I am a little concerned about how much can be put inside as the Organizers look so slim, but I hope Mom can put enough in to make them useful.

I am also ridiculously pleased with the grab handles. Aren’t they cute?

There is no top to this pouch, so everything will fall out if it is tipped over. I hope Mom likes these pouches and they work for her.


Finished: Eye Mask for Mom

3 Eye Masks
3 Eye Masks

Finally, I can show all of the eye masks together. I delivered the last eye mask yesterday to my mom for Mother’s Day.I know Mother’s Day is a week away, but she came over and refused to wait to open her gifts. It was fun to see her open it.

She has a gel mask, but I had already started making her this when I found that out. She said the one I made is much softer and larger, so will work really well for her.

You might remember that I showed my mask in January, which is when I finished all of them. Then, I showed Gerre’s mask in March after International Women’s Day.

You can see that I used Mom’s fabric so this goes with her set of small items. I have used the Dia de los Muertos fabric for Gerre before and this is now the fabric I am designating for her gifts since I ran out of the purple Asbury fabric.

26 Projects 2021 #4

I am not doing well on using up fabric. I seem to be buying a lot more than I am using at the moment, but I am continuing to sew, so I am not complaining.

Finished 2021 Quilt Projects

Finished 2021 Small and Non-Quilt Projects

This category covers bags, toys, aprons and knitting as well as other non-quilt projects.

Doing Good

In Process or To Make
The ‘In Process’ is used to denote projects on which I am actively working or are on the design wall waiting for me to stitch. I am continuing to try not to put away projects. I find putting a project away ensures I never work on them, because I just lose steam.

Quilts

  • Scrap Dash is on the design wall and I am sewing on it every chance I get

Small Projects to Make or in Process

Most of my progress involves thinking or just cutting.

  • One Hour Basket for organizing my decks of cards – Creative Strength, mindfulness, etc. I may switch to one of the Minikins or a Catch All Caddy projects for this purpose.
  • One Hour Basket for my stuff that tends to accumulate on the dining room table. I may switch to one of the Minikins projects or a Catch All Caddy for this purpose.
  • One Hour Basket for DH’s stuff that tends to accumulate on the dining room table. I may switch to one of the Minikins projects for this purpose.
  • Retreat Organizer – another project from the Crafty Gemini Organizer Club, also on my list, but not yet started. I saw one of these made up and I am not so nervous about it
  • Superbloom tote using Hindsight fabric – not started
  • Tessuti Japanese Apron – cut out and ready to sew. I am figuring out how to make it reversible.
  • Ultimate Project Organizer – another project from the Crafty Gemini Organizer Club, also on my list, but not yet started
  • Ultimate Carry All Bag gift – Bag-a-Long for BAM – I have the inside pockets made and am looking forward to the front pocket tutorial.
  • Ultimate Carry All Bag for me – I have the two large pockets made for the second one and am looking forward to the tutorial for the front pocket.
  • Westchester shirt – this is a Crafty Gemini pattern. I bought the fabric at PIQF in 2018. I have the pattern ready and need to start cutting.

Handwork

I decided that some of my projects are in a different class because they are hand piecing or embroidery or beading. They take longer. Thus I created a new category and have moved some projects here.

Ready for Quilting

  • Rings quilt

In the Quilting Process

In the Finishing Process

Still WIPs
I still have WIPs. Who doesn’t, after all? A project in the ‘UFO’ category means I am stalled. A nicer way of saying UFO is a WIP. The list is a lot shorter and the projects are newer, for the most part.

  1. Handbag Sampler – this is still the forgotten project. It should be on the UFO list. The blocks were teaching samples when I taught a sampler class some time before I started writing the quilt class sampler tutorials. I found one block recently, but otherwise I actually don’t know exactly where the blocks are hiding. I crawled up in the far reaches of my fabric closet to see if I could find them and they weren’t where I thought. I am sort of mystified as to where they could be. I haven’t even found a picture of all the blocks. Sad.
  2. Lobster – I think I might make this into a tablerunner for the buffet. I think that will be a good and fun use of the piece even if the colors aren’t quite right for the dining room.
  3. Pies and Points from 2016 Victoria Findlay Wolfe class. The last time I worked on it was when Julie and I had a playdate in April 2018. I brought this piece with me so I could cut more elements (Julie has a Sizzix). I lost my excitement about this piece shortly thereafter and still have to get it back. Thus, I had to move this to the WIPs area.
  4. Pointillist Palette #4: Fourth is a series of 6 quilts; needs tiny square patches sewn together. No progress.
  5. Self Portrait: started in 2006 at a class at Quilting Adventures in Richmond, Virginia. I am still stalled on this again. As one of my oldest (I am pretty sure) UFO, I put it on my blog and out into the Twitterverse and Diane suggested that I not consider this as a self portrait. I think that strategy is a great idea. I am now trying to think of a new persona for her.
  6. Serendipity Lady – I am still planning to take this piece to be framed.
  7. Who Am I? – This piece is still languishing. Perhaps having a larger design wall will help me regain momentum. The amount of satin stitching I was facing was a problem until I thought of BIAS TAPE. I am going to make the words with bias tape, perhaps different widths, then I won’t have to sew the satin stitching. Red Scribbles and Friend Julie helped me come up with this solution. Now I just have to do it!

No Service Lint Blob

My machine was running badly and it was loud. This was well deserved punishment for me, because I didn’t take it for its usual spa service last May.

No service lint blob

When the stitch quality started to deteriorate, I decided it was time to, at least, clean it out. I took off the sole plate and the bobbin case and cleaned out any lint I could find and reach. It was actually quite a lot, I am ashamed to say.

I am planning to take it in. I have to make an appointment. I’ll do the two machines in tandem with my 6600 going while I am on a short trip DH has to take.

Lesson: clean out your machine even if you can’t get it serviced.

More Mustang Purse Organizer

I am making two of these purse organizers because I am not sure of the sizes. I made good progress over the weekend, after I was finished with the Rings top.

Zipper Pocket- Mustang

I am enamored of the way this bag goes together. The photo above shows the center of the pouch. Unlike the Sew Together Bags and the All Rolled Up Tote, this zipper pocket is fully enclosed. The edge of the zipper pocket, however, is not enclosed in the seam allowance so there is less of an issue with layers being too thick to go through the machine.

I haven’t put the whole thing together, but that is the next step.

Many of the Minikins patterns come with multiple sizes. This one comes with two sizes and I am making both at once.

Book Review: Sew & Stow

Sew Stow: 31 Fun Sewing Projects to Carry, Hold, and Organize Your Stuff, Your Home, and Yourself!Sew Stow: 31 Fun Sewing Projects to Carry, Hold, and Organize Your Stuff, Your Home, and Yourself! by Betty Oppenheimer

I borrowed this book from SFPL and it sat around a long time before I read it thoroughly. It is geared towards people who sew and are looking to organize rather than quiltmakers and bagmakers. There is something about the tone that gives me this impression. I also think it might be geared towards beginners, but the sections at the beginning didn’t insult my intelligence. I found the definitions and terms useful. It starts off with ‘the projects in this book are designed to be used.’ (pg.3). That explains my impression.

The projects are arranged in order of complexity (pg.3). The author, Betty Oppenheimer also says that as readers make these projects, we will gain the experience needed to design our own practical projects. Hhmm. I wonder about that, but appreciate her faith. To help, the book concludes with a chapter to get readers thinking about the design process in a practical way.

One of the fabulous things about this book is the beginning (starting on pg.4). Projects are shown, one to a page, in full color with a reference to where readers can find the directions in the book. I love that there is a visual index to all of the projects.

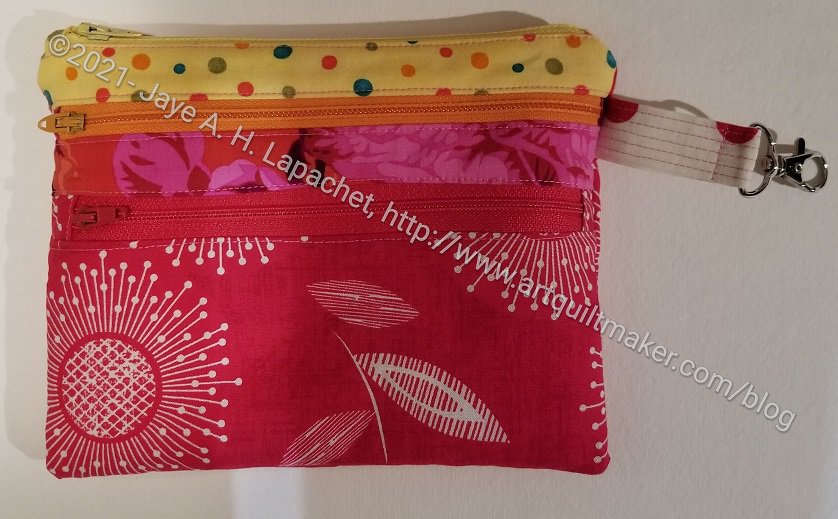
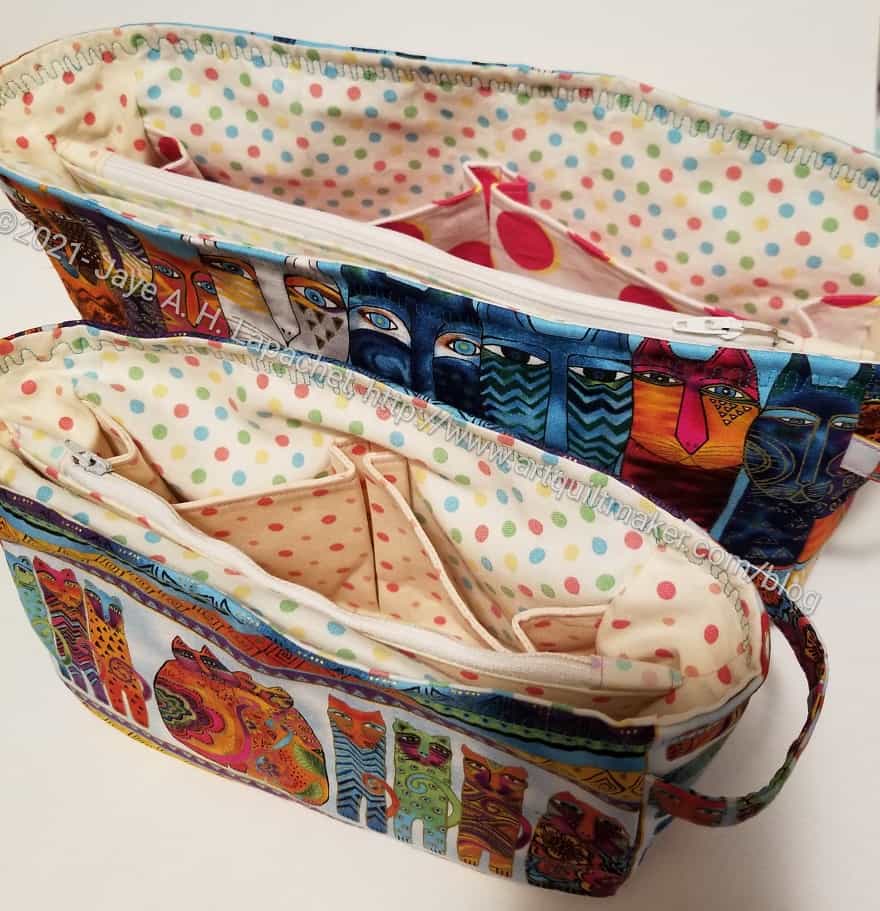
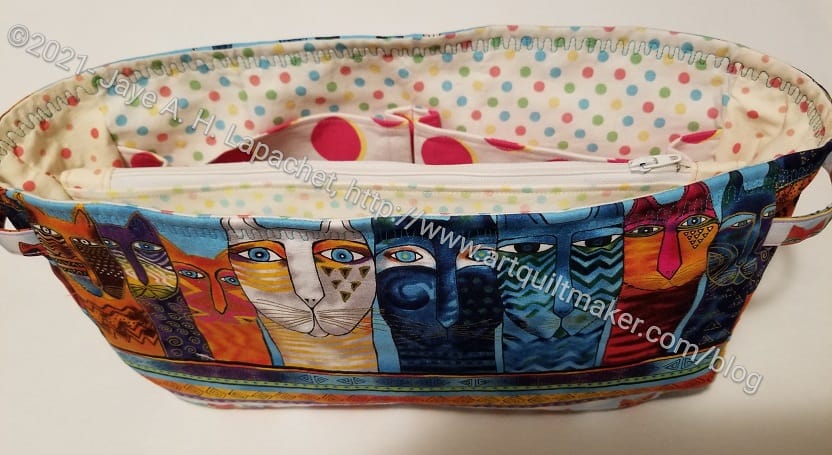
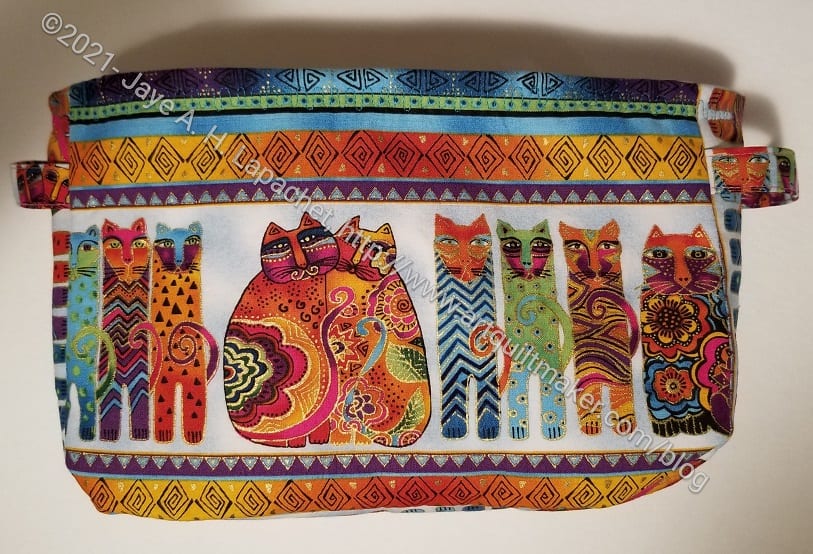
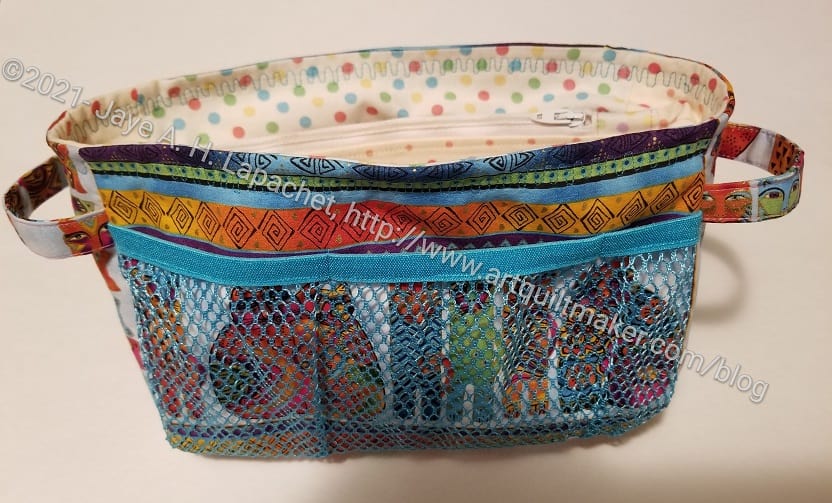
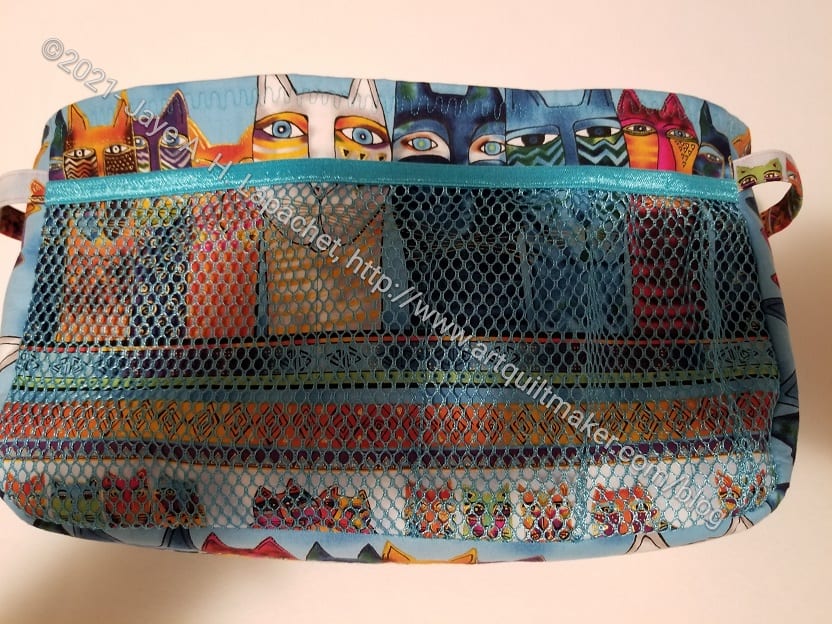
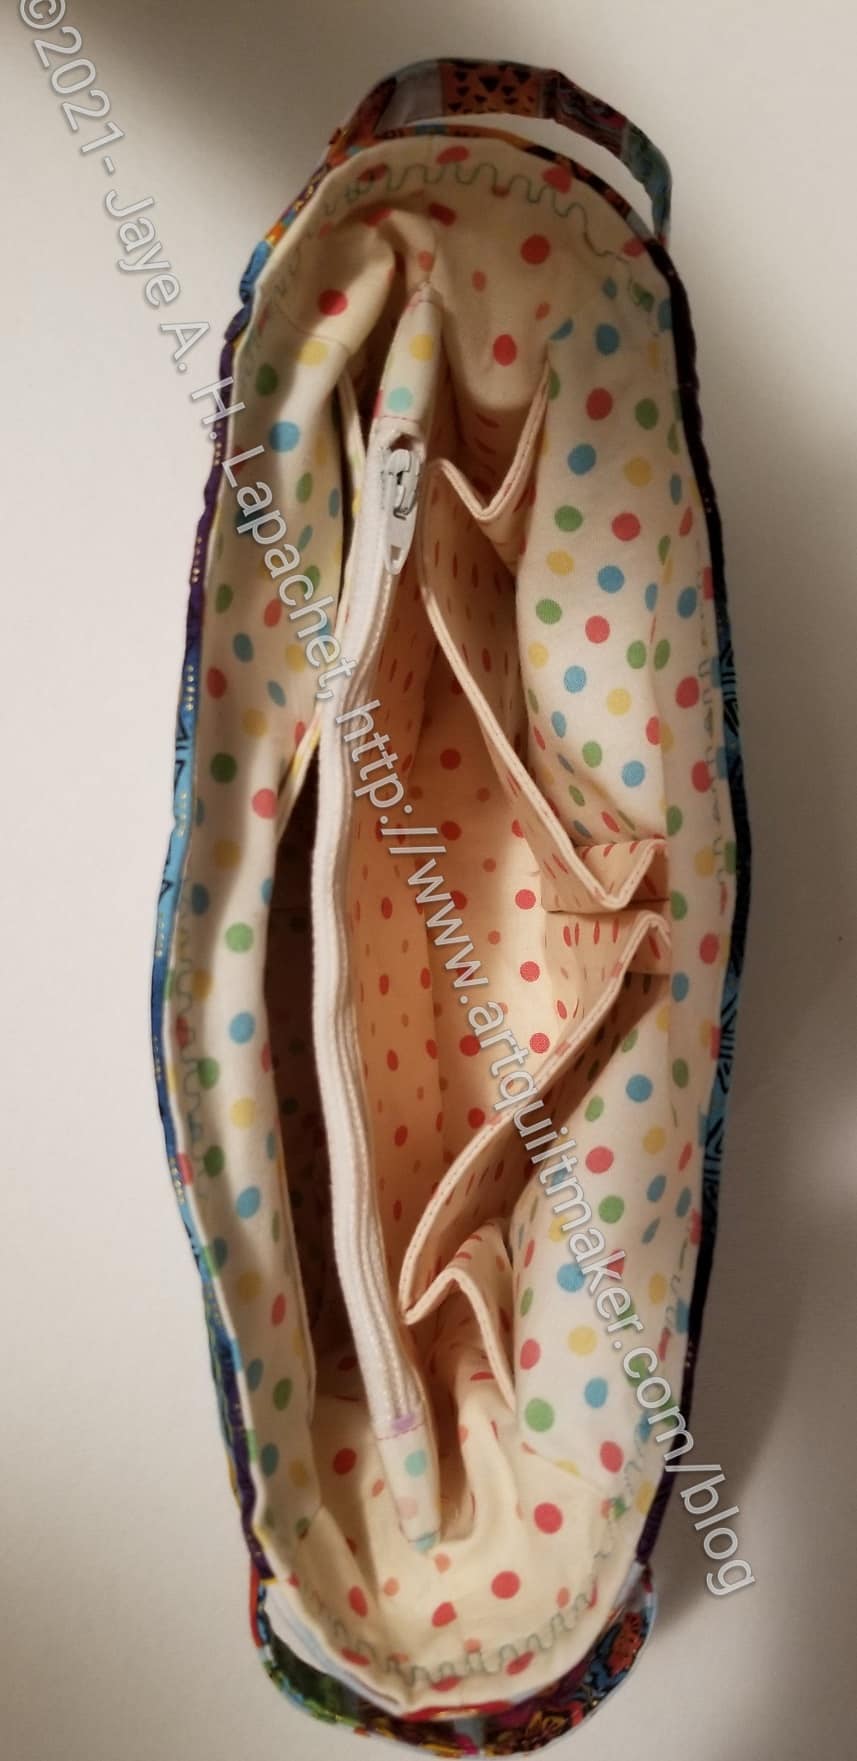
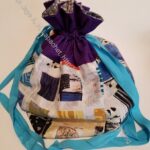
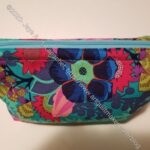
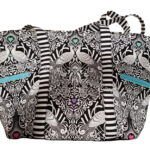
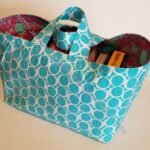
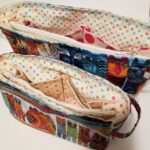
That being said, most of the projects are not items I would make, though if my child were setting up house, I might change my mind. I’d love a hammock (pg.4, 82), but probably wouldn’t use it. Our showers have doors, so the shower curtain (pg.5,86), as cute as it is, is of no use to me. I can see some use for the Pocket Packet Holder (pg.10, 102), but I would make it out of vinyl and, maybe, resize the pockets a little. I can imagine putting this near the front door for masks, keys and other things that need to go with a person who leaves the house. I really want the knitting Needle Tote (pg. 11, 105) to work for me, but I don’t have many straight needles and my circular needles mostly won’t fit in this kind of holder. I do like the Nifty Visor Organizer (pg.13, 112) and think that might make a good gifts for guys. I really like the Over-the-Shoulder Bottle Sling (pg.19, 135). It would be very useful for me. I have a buckle and may make one to use on my walks. It would be nice not to have to hold the bottle all the time and let my arms swing free. Another great gift idea, especially if it isn’t too difficult. I think my favorite project is the Customized Hobby Tote (pg.30, 182). It looks like a wonderful size to keep around the house for hand sewing. The tote also comes with a strap, presumably for carrying.

The pictures of all the items tempt the reader. The table of contents doesn’t show up until after the all the projects on page 33. By this point, readers are well and truly hooked. The table of contents gives you more than the projects. It starts with ‘Selecting the Right Equipment and Fabric’ (pg.37-54) and Techniques & Tools for Cutting, Sewing, and Finishing (pg.55-80). The projects start after the second chapter and are organized into groups such as ‘Sew Simple’ (pg.81-100),’ Bag-a-Thon’ (pg.121-144) and ‘Stow it Your Way’ (pg.179-187). The book also includes an Introduction (pg.34-36), a Resources List (pg.189) and an Index (pg.190-191) YAY!

A couple of lines written in the Introduction (pg.34-36) touched me. The author writes “Sewing is an art and science that can contribute to our material and our spiritual growth. It speaks to the idea of basic human survival on the practical side, and of community and personal growth on the philosophical side.” (pg.35).

The reader is promised “in the ‘Selecting the Right Equipment and Fabric” (pg.37-54) chapter, “you’ll learn everything you need to know to acquire the right materials and get set up” (pg.37), which I think is a tall order. Oppenheimer starts out by talking about what a maker needs in a sewing machine, followed quickly by what you need to know about your machine. There are sections about tuning up your machine, cleaning, and tension. Other tools such as needles and pins, thread (pg.40), Scissors and other Cutting Tools (pg.41) as well as measuring and marking tools (pg.4-42) and irons (pg.42) are all discussed.

The rest of the chapter is all about fabrics (pg.42-54). Selection, fiber content, weight, weave, attributes, absorbency and breathability, thickness, hand, yarn size and thread count are all discussed. I haven’t seen such a comprehensive guide in many, if any other books.

The ‘Techniques & Tools for Cutting, Sewing and Finishing’ (pg.55-80) is advertised as “helpful for you to know how the patterns are designed and best to use them. (pg.55). This section basically covers general sewing techniques and finishing touches. There are tips for laying out pattern pieces (pg.56), transferring the pattern layout (pg.57), marking rounded corners (pg.59), more on tension (pg.60), hand stitching (pg.61), forming a felled seam (pg.63), types of pleats (pg.66) and much, much more. This might be a very good reason to buy this book**. There is so much here that is useful, including basic, but not used very often terminology.

After the basic chapters (and 80+ pages!), the patterns start. All the tips and tricks, math as well as details about supplies are included. Each pattern is 3-5 pages in 3 or so colors, but not including photos. The step-outs are all drawings. The reader gets different views of the projects by looking at each pattern. In some cases, variations are included. For example, the Knitting Needle Tote pattern (pg.105-107), with a few changes, can be used for a cosmetic case.

The last chapter, ‘Stow It Your Way’ (pg. 179-188) has patterns, but they are all used as tools to teach the reader how to customize projects to suit his/her individual needs. The author talks about questions to ask yourself when designing or modifying a pattern (pg.179). She goes through the steps required to create your own pattern, such as adding seam allowances and the order the project should be sewn (pg.181).

The Index (pg.190-191) is pretty comprehensive. It includes techniques as well as projects. Bags are listed by their name as well as under the ‘bag’ heading.

All in all, I think, looking at this book in much more detail has made me more excited and interested in it than I was during my first cursory glance. I think you would like it and find it useful.

View all my reviews


**I use affiliate links and may be paid for your purchase of an item when you click on an item link in my post. There is no additional cost to you for clicking or purchasing items I recommend. I appreciate your clicks and purchases as it helps support this blog.

Mustang Purse Organizer

Cutting out the Mustang Purse Organizer

The Mustang Purse Organizer is another project from Minikins Season 3. I decided to try out the pattern to give as a gift. I am making both sizes so the recipient can choose which works best in her handbag.

I started cutting them out at Craft Night earlier this week. I had other things to do, so didn’t get to spend the whole time on this pattern. I was able to cut out and interface the main exterior panels. I also cut out grab handles for both sizes.

There are so many great patterns in Season 3 (no affiliation!). There are really interesting shapes. It is also interesting to see how the different sizes of each pattern sew up.

Putting the Rings Together

Sewing the Rings together

I have started to put the quilt together. This one I have to put together in rows despite preferring the chunking method as I am not as familiar with the construction.

I did have a little trouble cutting the edge pieces, but I think it will work out.

I am leaving the corners round. Why not? I think it will look nice. It will also be very easy to bind.

More Scrap Dash

Scrap Dash Progress - mid-April 2021
Scrap Dash Progress – mid-April 2021

While I was making progress on the Rings quilt, I was also making progress on Scrap Dash. As I said before, I am using the Scrap Dash blocks as leaders and enders for the Rings quilt. I get more done, which is great.

I started in the middle, because I couldn’t really reach the top row without a stool. You can see that the middle has shrunk up quite a bit.

I plan to put another column of blocks along the right hand side. The quilt is supposed to have the Churn Dash blocks around the whole exterior of the quilt and I plan to follow that advice.

Scrap Dash Progress - mid-April 2021 (detail)
Scrap Dash Progress – mid-April 2021 (detail)

I think the section where I have sewn the blocks looks nice. I like how the 1.5×2.5 strips create a path through the quilt.

UCAB Large Pocket #2 Tutorial – pt.2

Recently, I posted the first part of the tutorial for the Large Pocket #2. That tutorial included a pocket that would help you organize your WonderClips.

In order to sew along, you will need:

You can find more information at the following links:

Additional Supplies**

UCAB: Large Pocket #2

Today we will finish putting together the second large pocket. As I said in the previous tutorial, the Clippy pocket is not part of the original pattern, but using that tutorial, you can easily add it to P1 and still have enough space for other tools.

The pattern calls for a mesh pocket on the back of P1. You can add slip pockets instead, if you want. Follow the general directions in the tutorial for the first large pocket. To add the mesh pocket, follow these directions:

Seal the edges of the mesh

Seal the edges of the mesh with doublefold elastic like you did on Large Pocket #1.

UCAB Bind Mesh Pocket

The first step is to bind the top of the mesh pocket. Take the fold over elastic and fold it in half. Use WonderClips to hold the elastic in place.

Using matching thread, sew along the edge of the binding closest to the mesh. I used a straight stitch.

Add Mesh pocket
Add Mesh pocket

Mark 3” down from the other side of the right side of P1.

Tip: Make sure, before sewing that both pockets (Clippy & Mesh) have their openings in the same direction up. When the two raw edges are held WST, both pockets should have their openings up, closest to where the zipper will be sewed.

Line up top of mesh with 3” line.

Sew bottom of mesh pocket to P1.

Mark with blue tape
Mark with blue tape

Mark your pocket divisions with blue tape – make however many you want. I have two, separated by one line of stitching

Sew NEXT to blue tape.

Add Zipper

You can also look at the zipper instructions from the first large pocket tutorial.

Lay L1 down face up/right side up.

Lay zipper on top of L1 with zipper pull facing up.

Line up P1 with Clippy Pocket on top of zipper right side down.

Natalie Patton does something really clever with her zipper. She folds the ends of the zipper tape at a 45 degree angle and pins it. This makes it look really neat and tidy once the zipper is sewn in.

Zipper's 45 degree angle
Zipper’s 45 degree angle

In the pattern (pg.10), she talks a lot about pinning, horizontal pins, etc. I found it to be kind of confusing.

The photo (left) shows how I interpret her instructions. I tried it and it worked for me. Sotak Handmade has a video where she adds the zipper using a similar method.

Once you have the zipper tape folded and pinned, continuing layering the last piece of fabric on top.

Three layers waiting to sew in zipper

The edges of the folded zipper tabs stick out a little bit from the side of the piece where you will be sewing. This is ok and how it is supposed to look.

Sew along clipped edge to secure zipper. I use my quarter inch foot, but you can use your zipper foot, if it works for you. Make sure you move the zipper out of the way as you sew so it doesn’t interfere with your seam.

Layer second side of zipper

Open up three layers.

Top stitch near zipper. Follow the same directions for the second side of the zipper.

Measure pleat on the bottom

Pleat the bottom.

I use the ½” marking on a ruler to mark the ½”. Push it into the bottom.

Clip to keep it in place and sew along the edges using the seam allowance noted in the pattern.

UCAB: Large Pocket #2

Your pocket will look something like this.

Previous Tutorials:/


**I use affiliate links and may be paid for your purchase of an item when you click on an item link in my post. There is no additional cost to you for clicking or purchasing items I recommend. I appreciate your clicks and purchases as it helps support this blog.