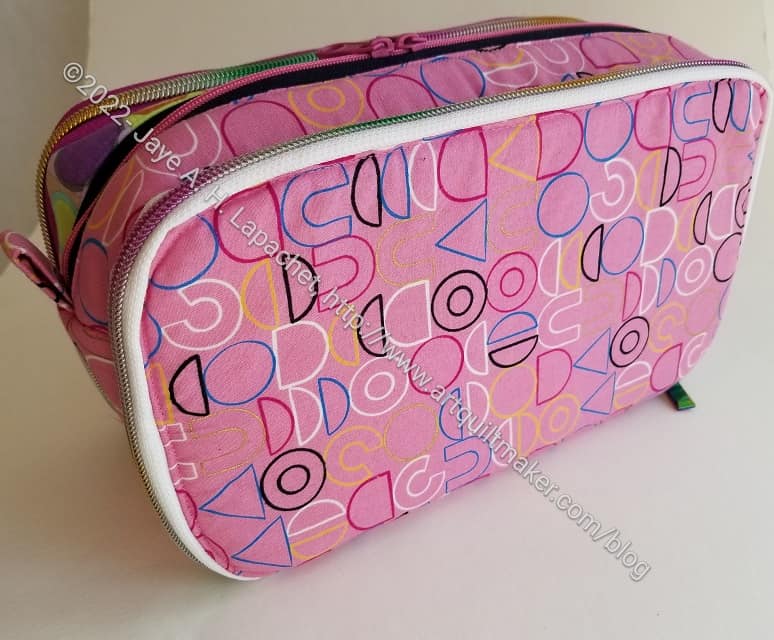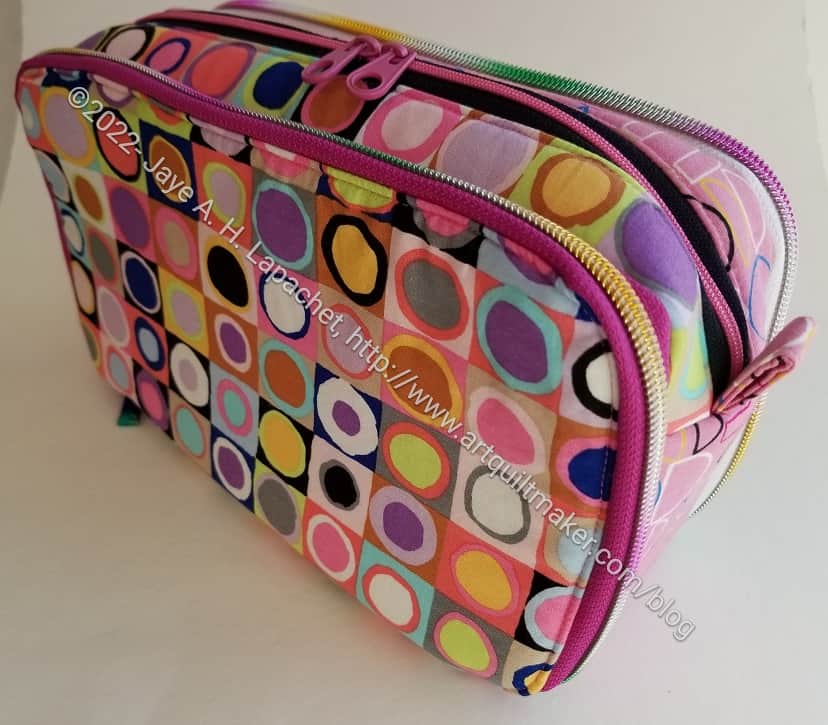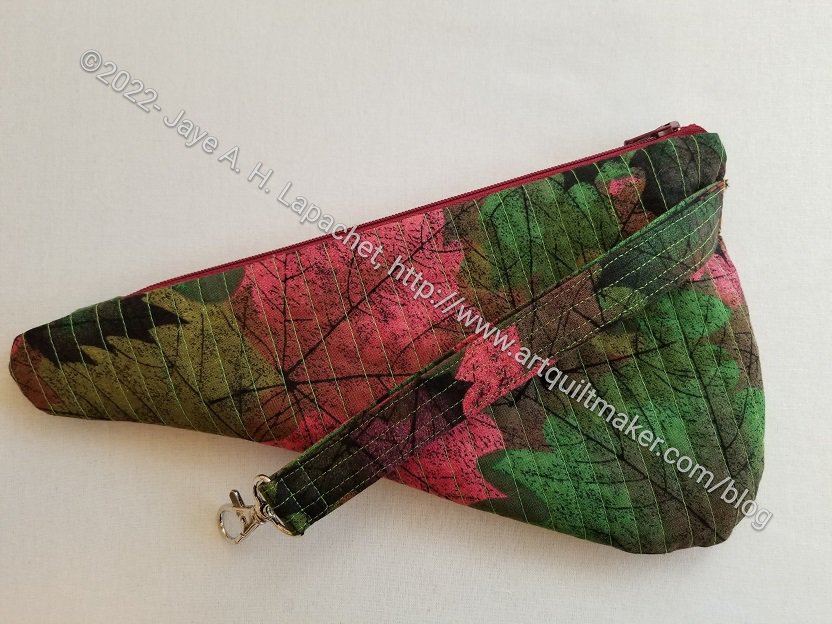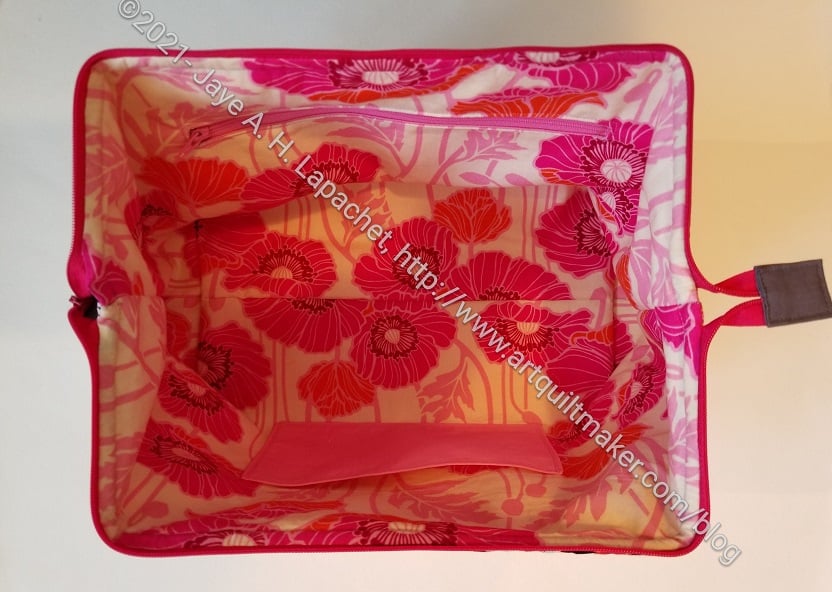
I was able to finish the Andalusian Pouch over the weekend.
It went together amazingly well. I barely used my seam ripper at all.

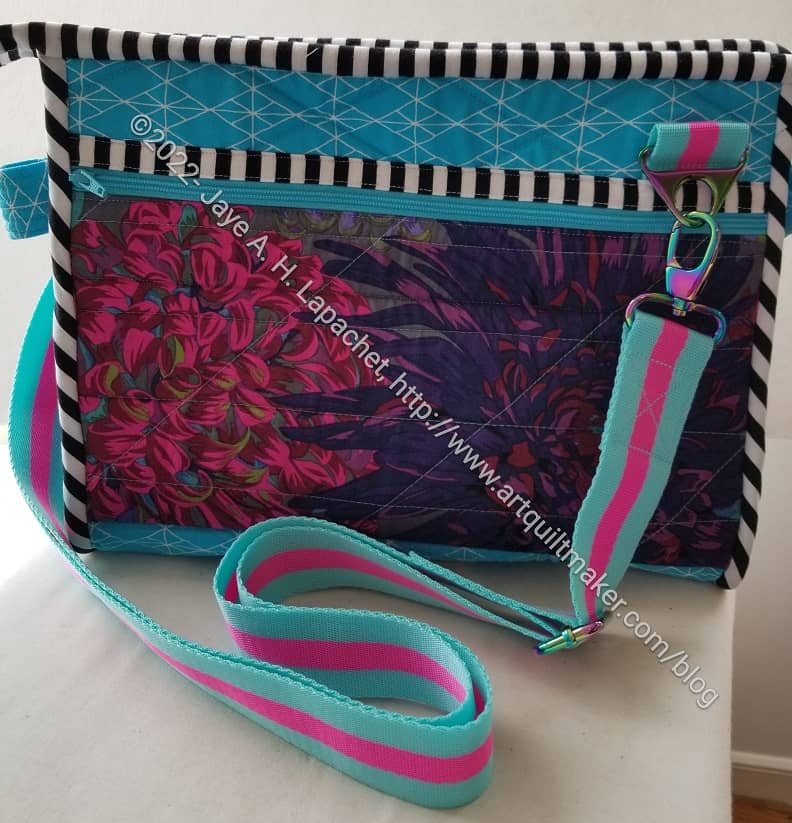
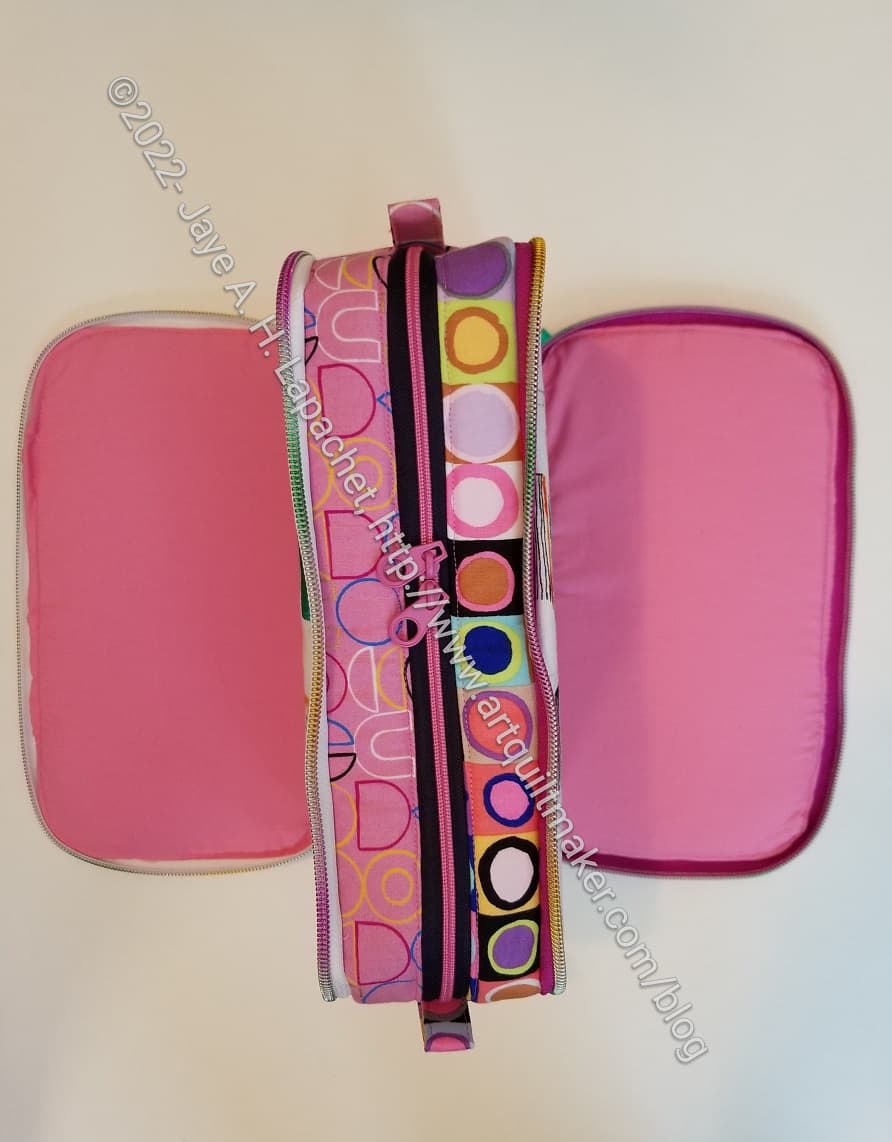
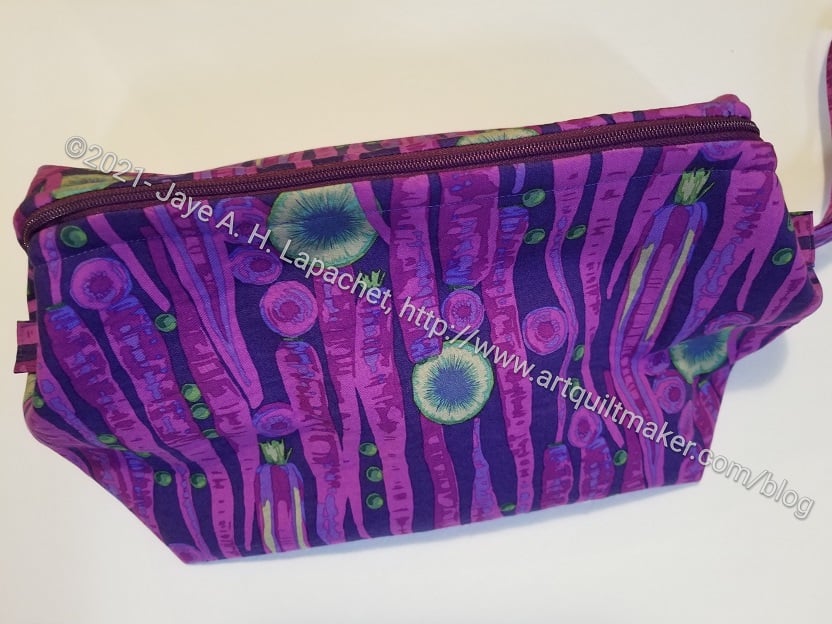
This pouch started because I had a fat quarter, cut a few pieces then put them away for later. I got more of the Anna Maria poppy fabric and decided to make the pouch for a friend who has been super helpful at work. I used one of the new True Colors fabrics for the accent fabric.
This pouch has rounded corners and those rounded corners made it so easy to put together! It was really a dream, which makes me want to make another one TODAY.
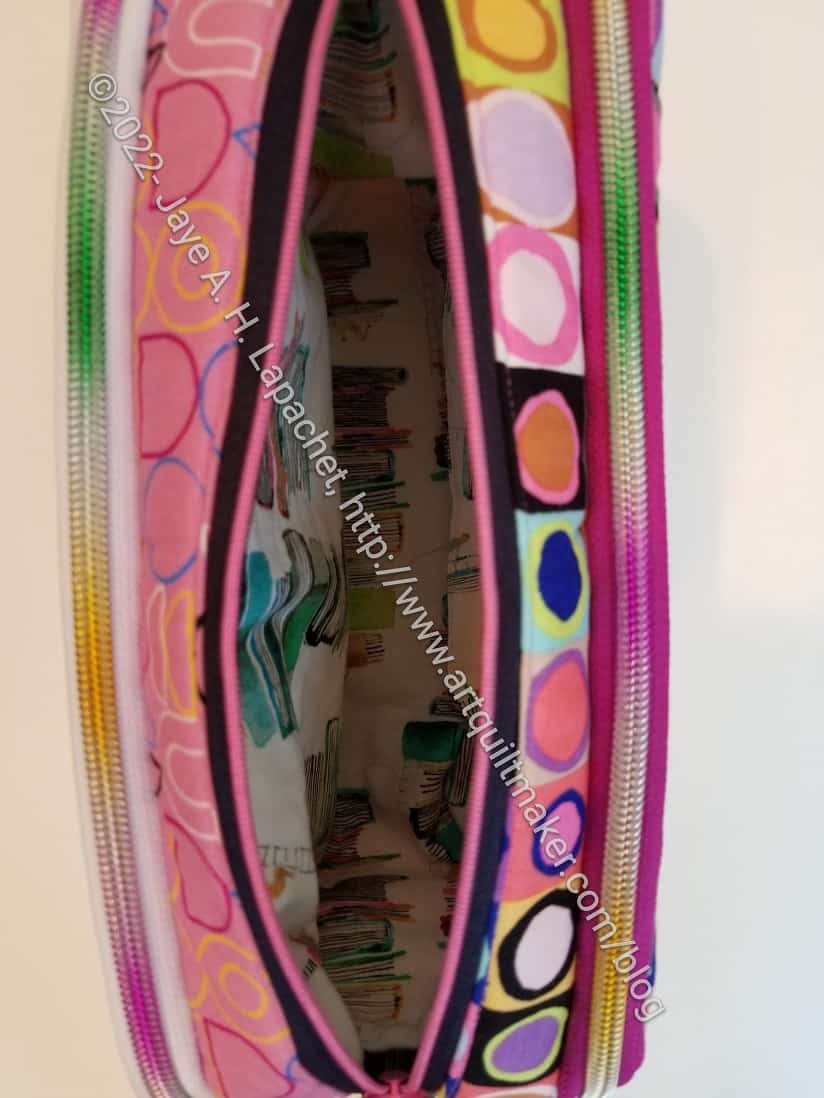
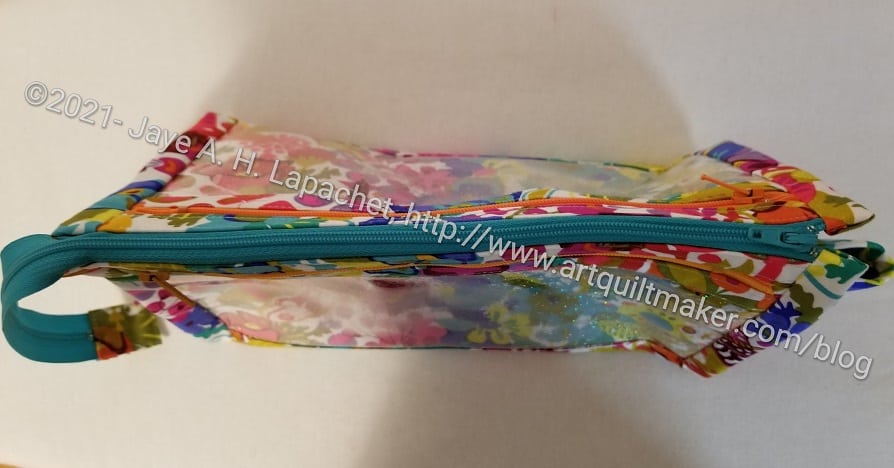
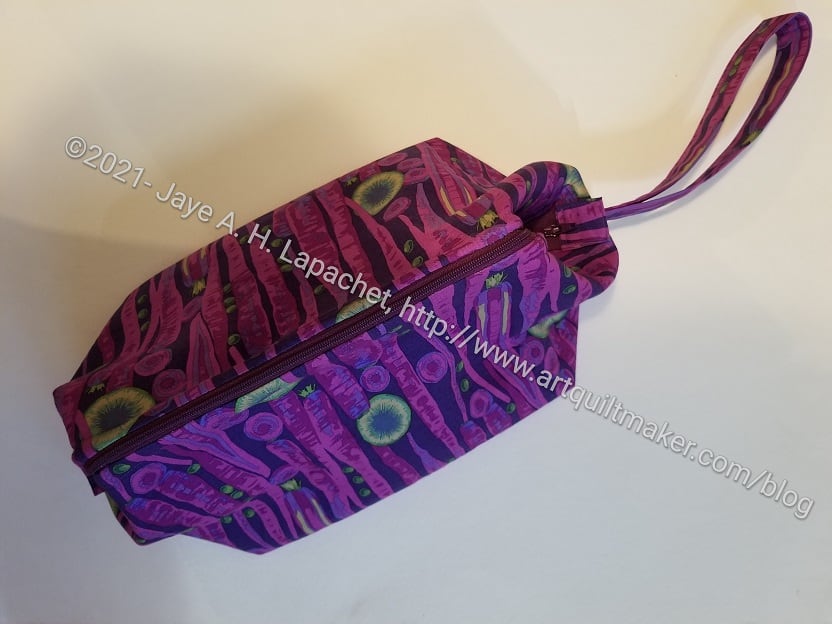
The pattern is from the Minikins 3 series by Sara Lawson of Sew Sweetness. It comes out looking more like a man’s shaving kit when closed, but when open, it would be great to carry sewing supplies (one track mind, I know, I know!) to Sew Day.
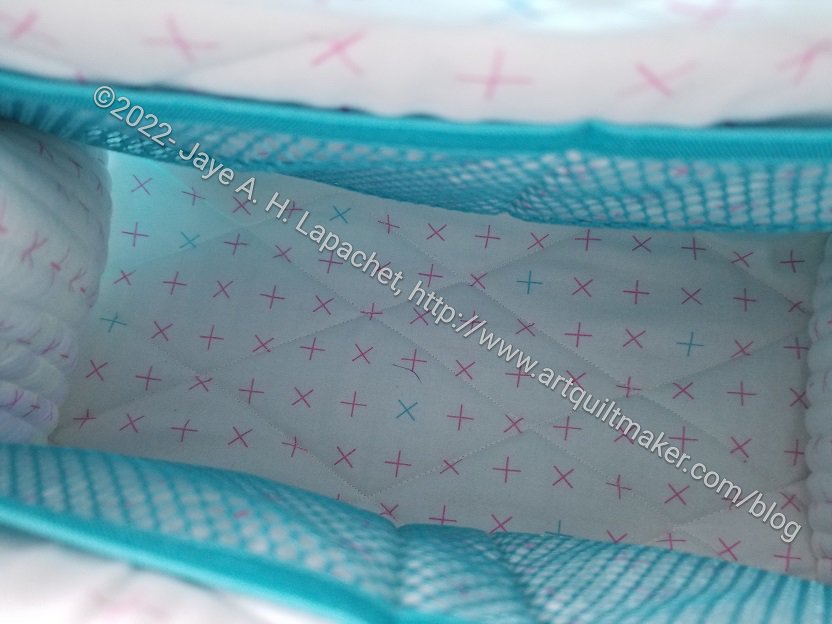
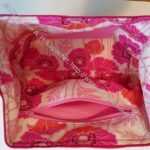
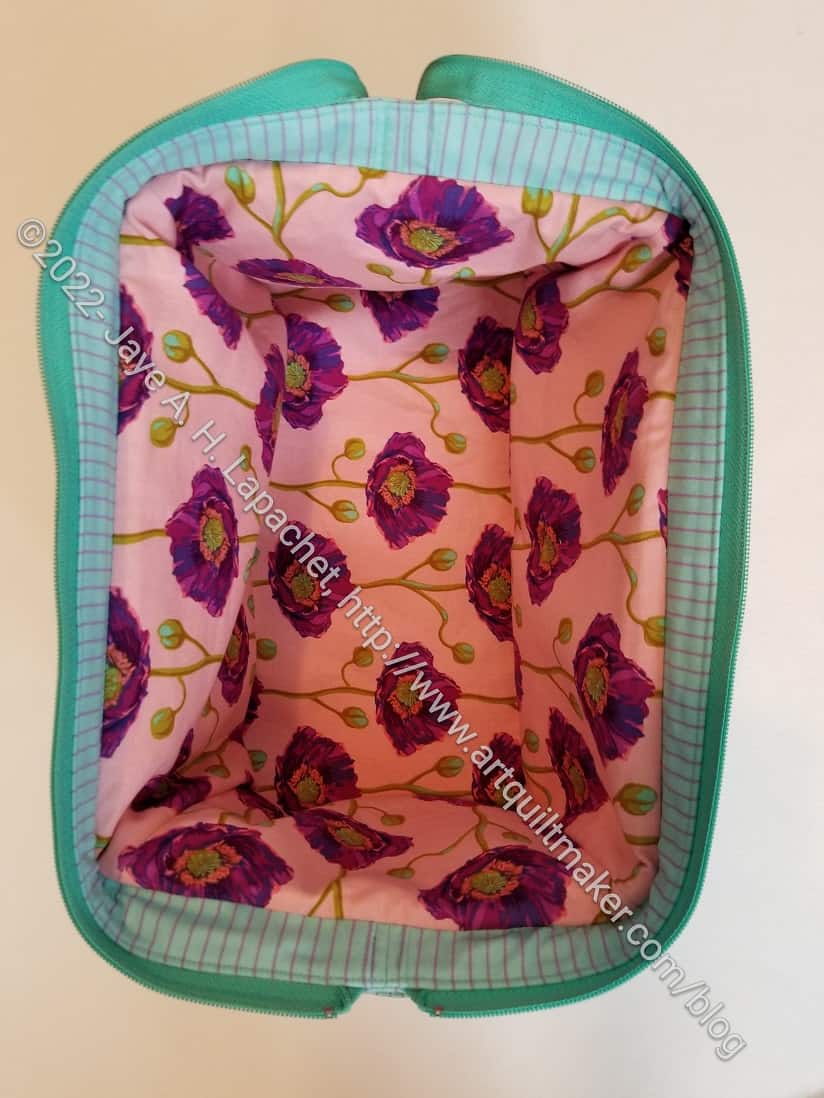
The man’s shaving kit shape is a little weird, but I really like the open wide mouth that the frame provides. I like being able to see all of my stuff.
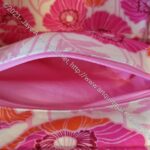
I am super proud of the way the zipper came out. Both ends of the zipper look like they are supposed to look.
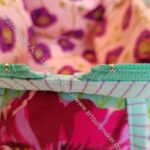
The start of the zipper had the ends sewn at 90 degrees and it looks so finished. I really like it.
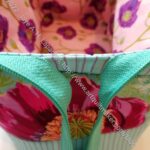
The end of the zipper required veering at the end. I think, after much practicing, I have finally gotten the hang of veering the zipper. I have to admit that I did watch that part of the video and followed the directions multiple times. I am still a little unclear on the exact purpose of veering the zipper. I plan to keep practicing so it will become second nature.
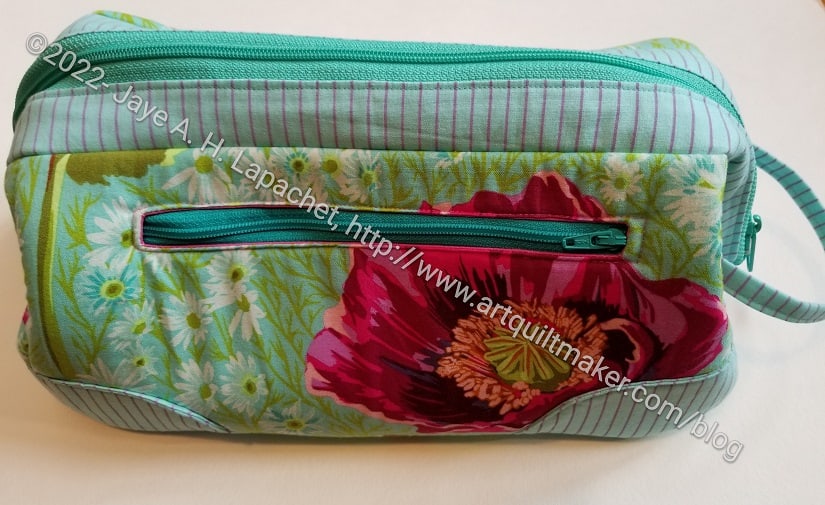
My careful fussy cutting didn’t work 100%. I have never made this bag before so that was part of the problem/issue. The accents covered up some of the flowers. I knew there were accents were part of the bag; I just couldn’t judge where the flowers would end up. Still, I think it looks nice. I hope that my friend likes it.
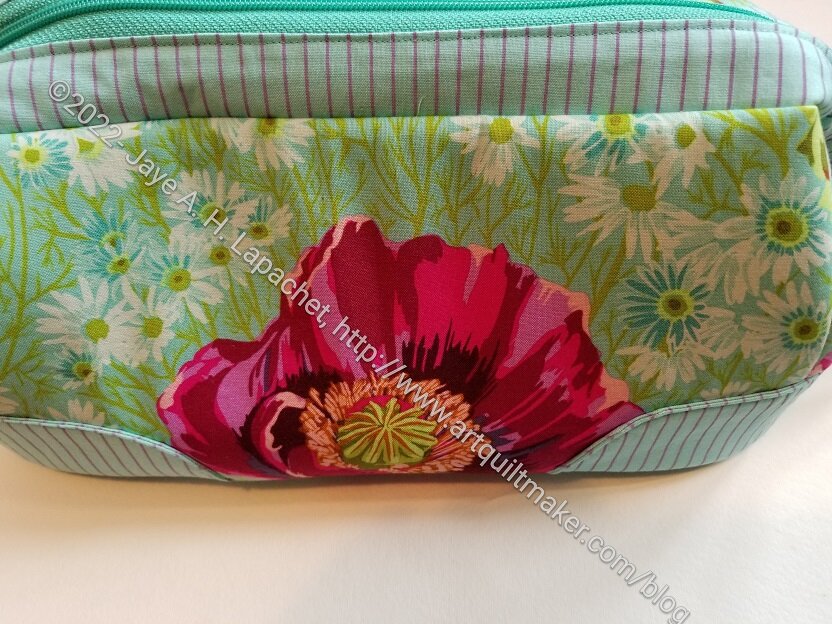
I think if I make this again (and I do have another frame) I would use a fabric with an all over pattern, then use cork or vinyl for the bottom accents and the bottom of the bag. Sara has some turquoise cork that I have had my eye on.