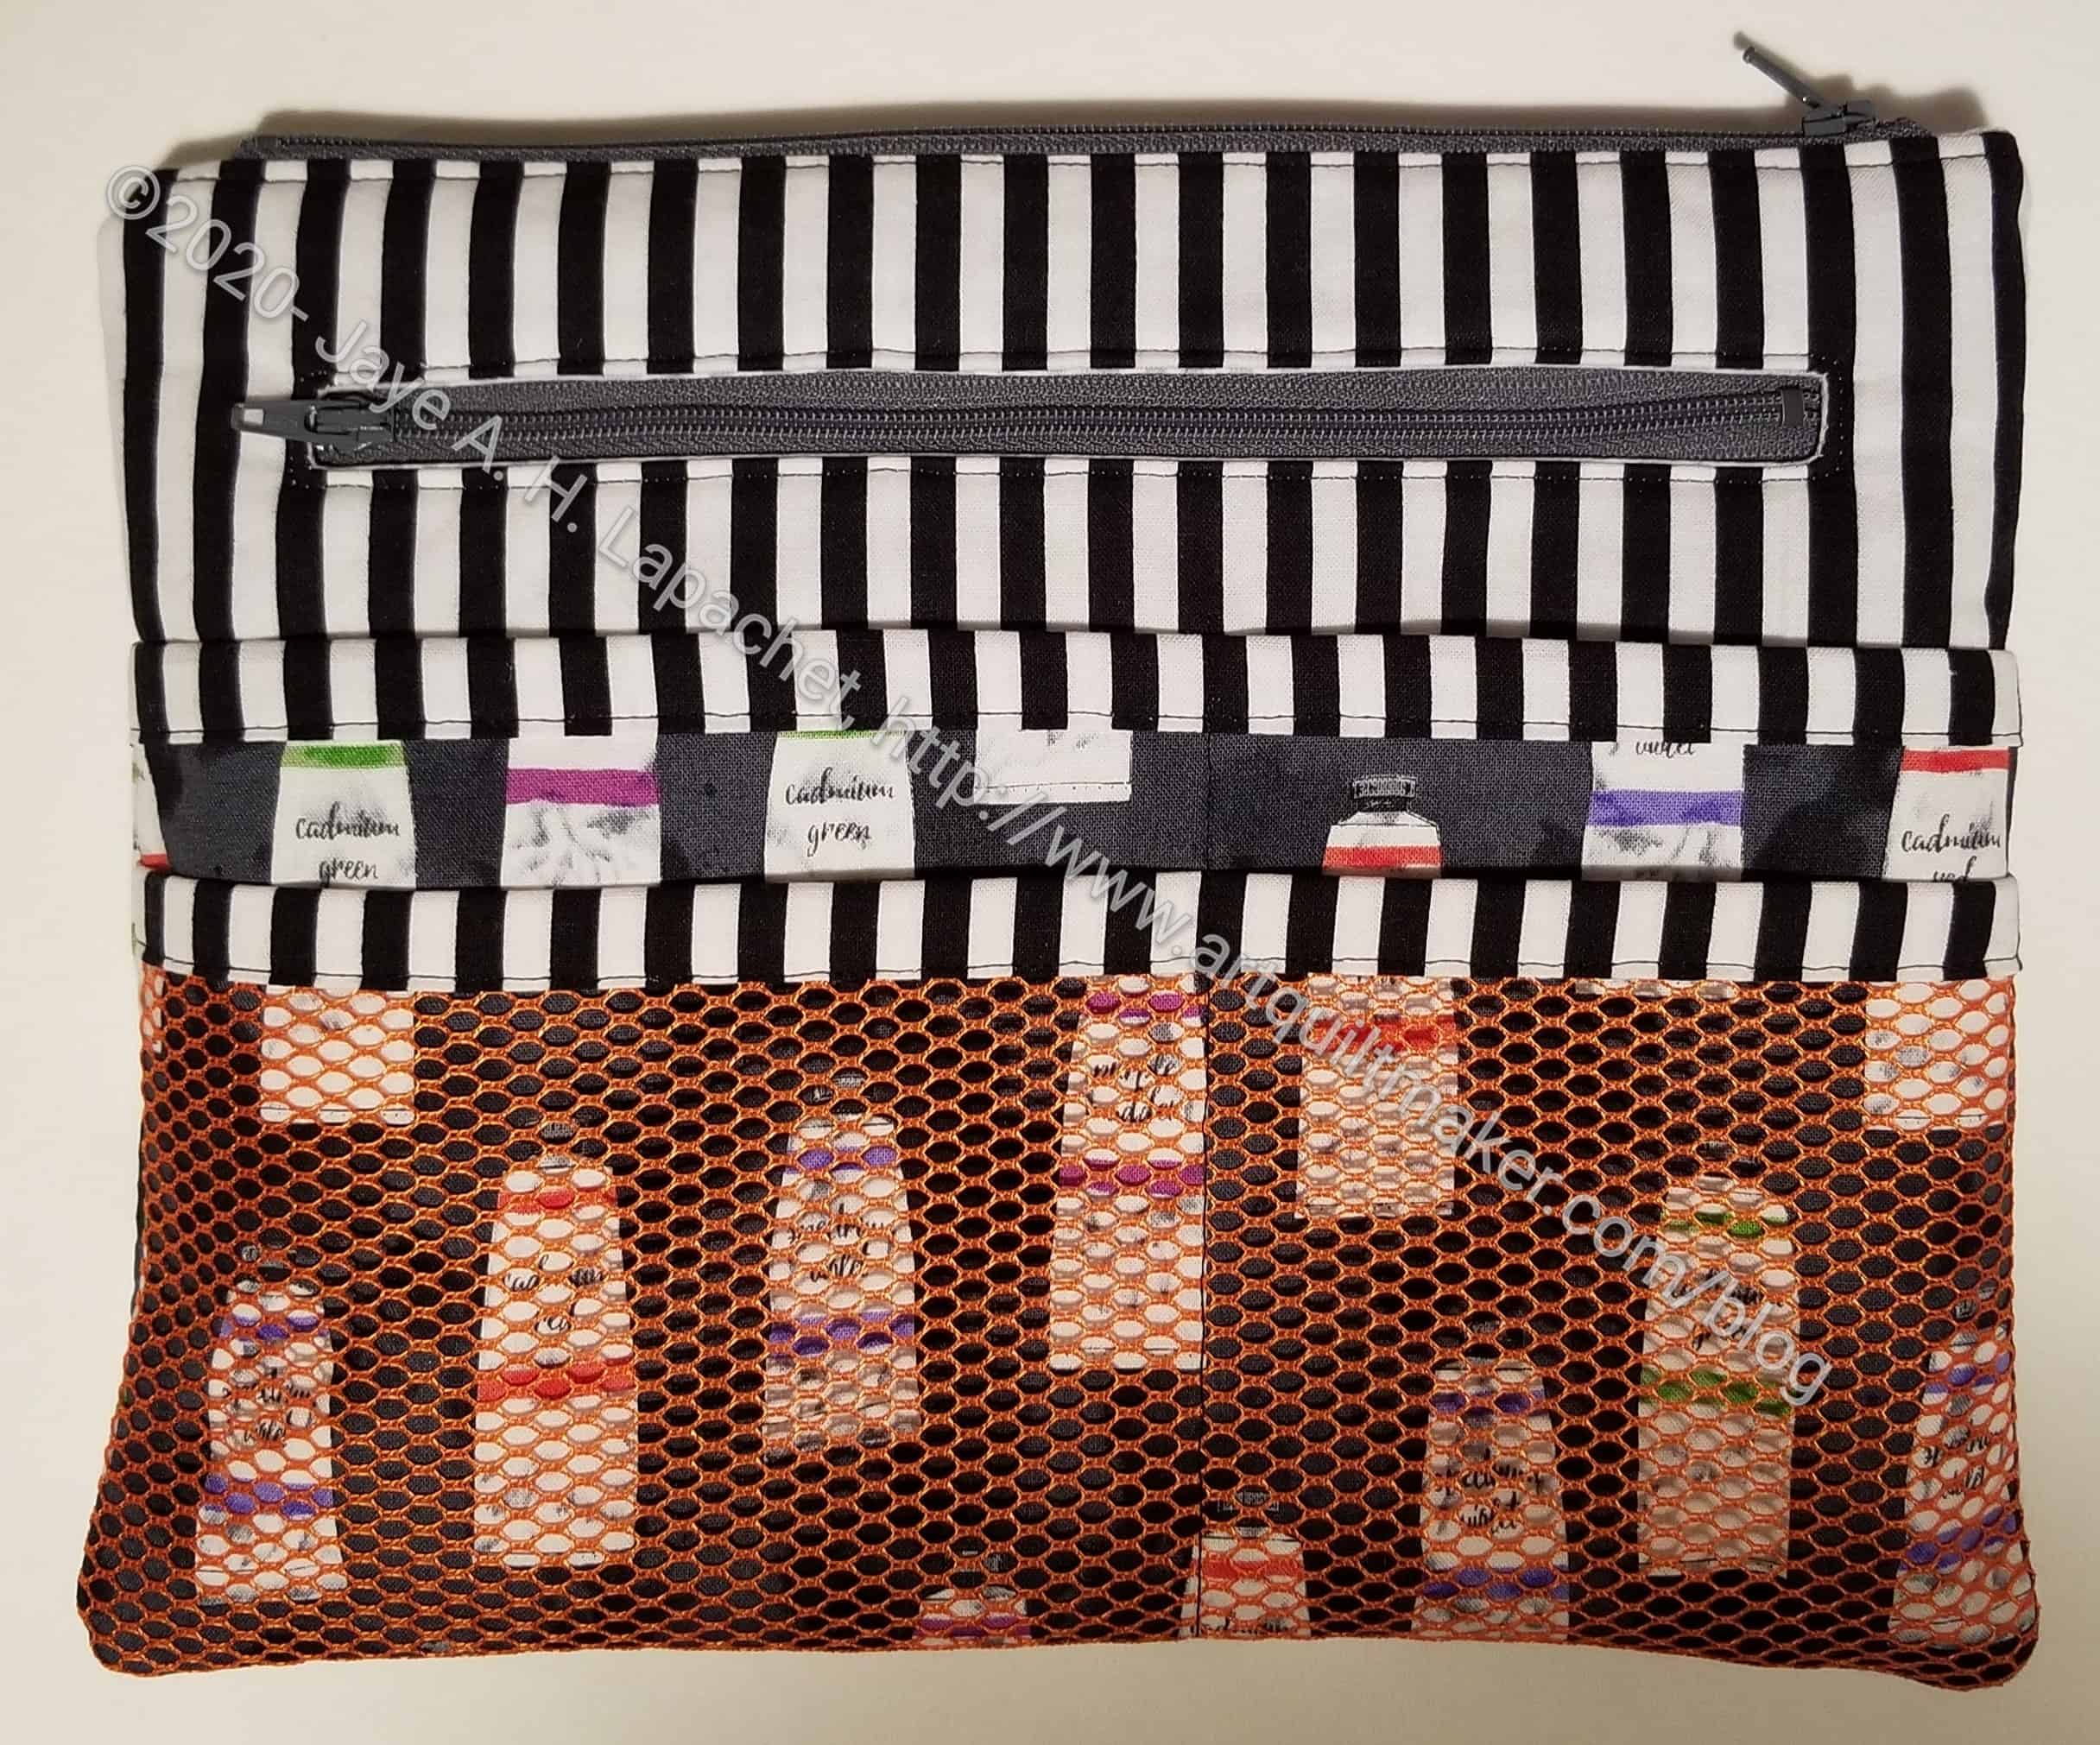
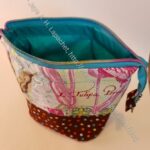
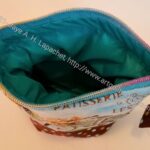
I bought this Purse Organizer pattern from Sotak Handmade sometime in December 2020 when she was having a sale. It was an impulse buy. I thought that the bag would be useful in my work laptop bag for carrying my wallet and some items I would normally put in my purse. When you don’t have a desk, everything has to be portable and carrying a purse in addition to a laptop bag and a lunch bag makes me feel like a small pack animal.
I cut out this pouch on New Year’s Eve eve 2020 and sewed it together on New Year’s Day 2021. Once cut out, it was an easy project.
The excellent thing is that I was reminded how easy Zipper slip pockets are to add! Tim and I have talked about these types of pockets, but I was reluctant despite the cool zipper ruler I bought. This pattern got me back into the swing of those zipper slip pockets and I feel more confident that I can put them into any bag. I did have trouble keeping the zipper straight as I sewed it, so that is something to work on.
I also should have clipped the corners of the bag before turning it as I couldn’t poke the corners out and make them look sharp.
I decided to make this as a gift for my mom for Mother’s Day, but ended up giving her something else, so it was a Christmas gift.
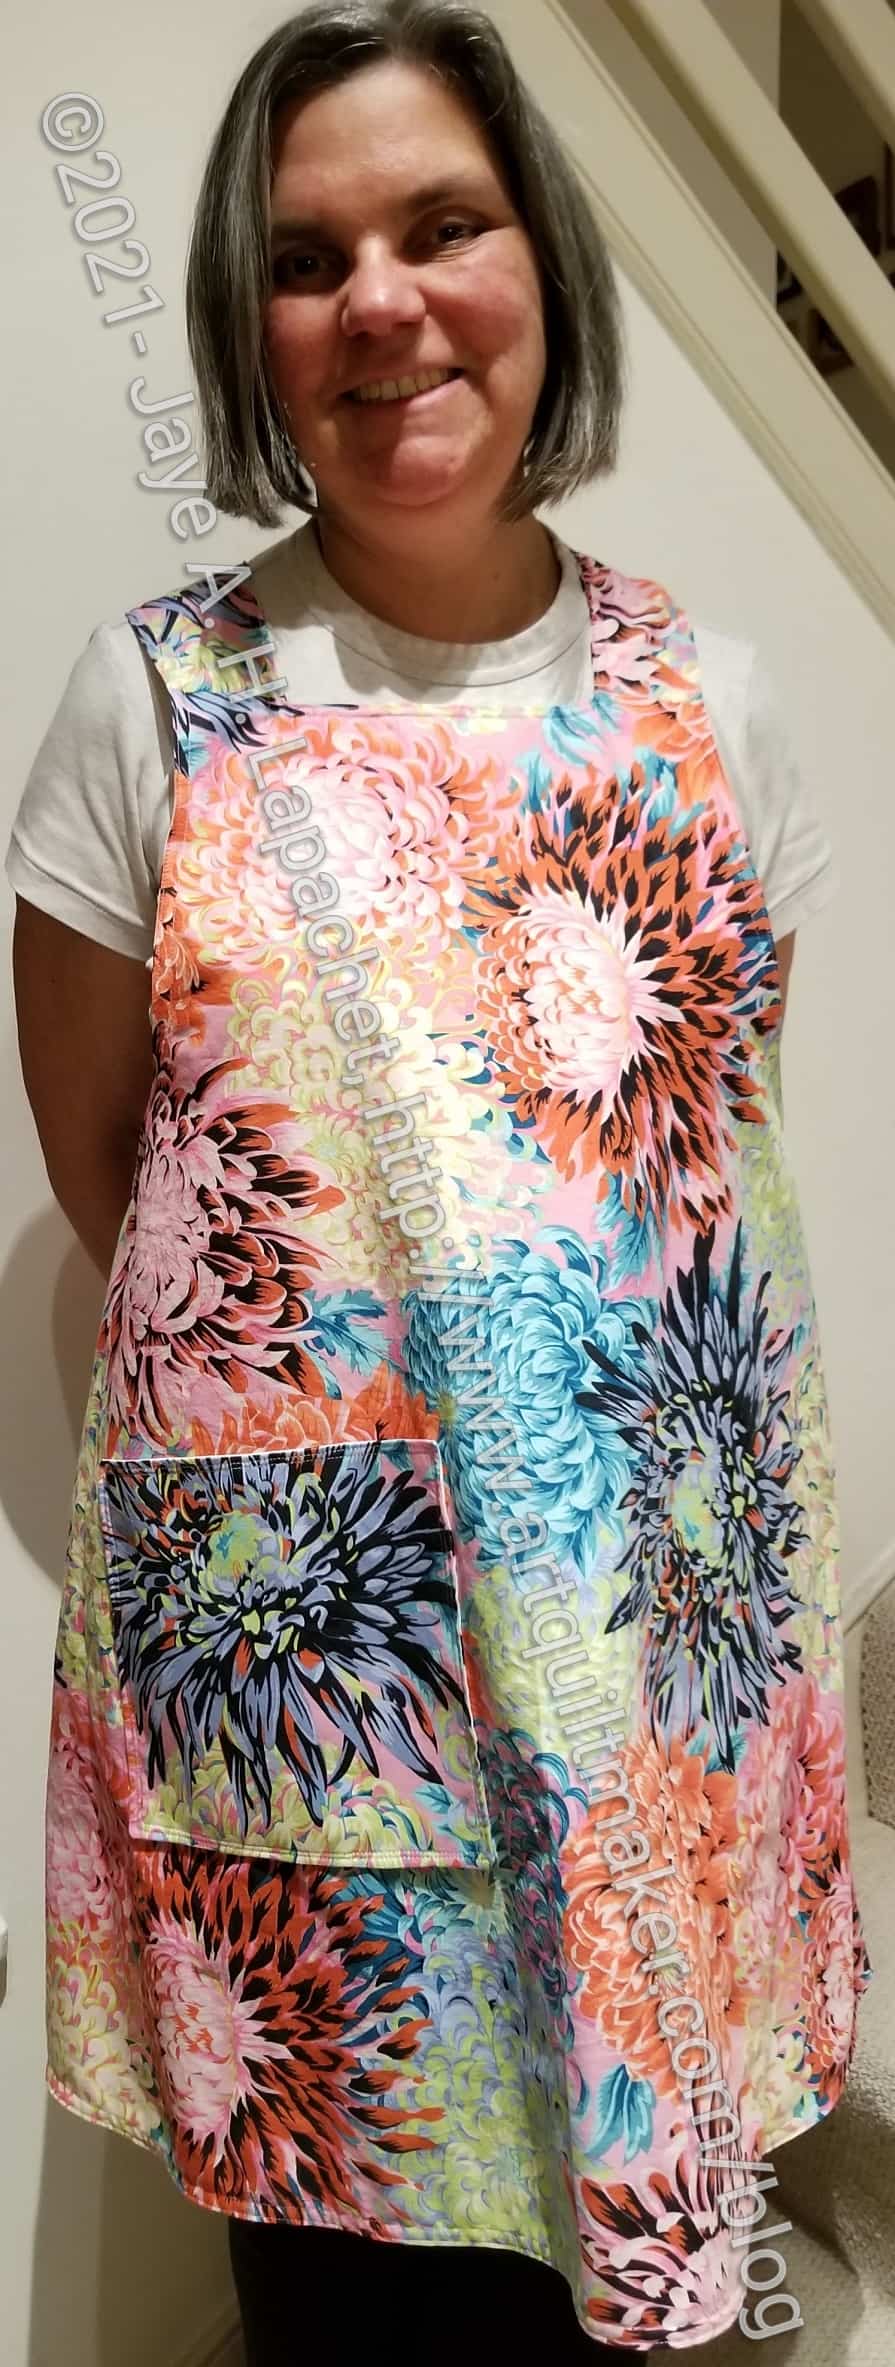
I started this apron in March when Maria set a challenge of everyone in the guild making an apron. She got everyone interested in Japanese apron.
I chose the Tessuti pattern, which is free. The pattern is designed so that the apron is single sided and uses linen or heavier fabrics.
I like my aprons to be reversible. I don’t really ever reverse the aprons, but I don’t like folding over and ironing hems. Also, I can use more fabric if I make them reversible. I have a lot of quilting cotton, so that is what I used.
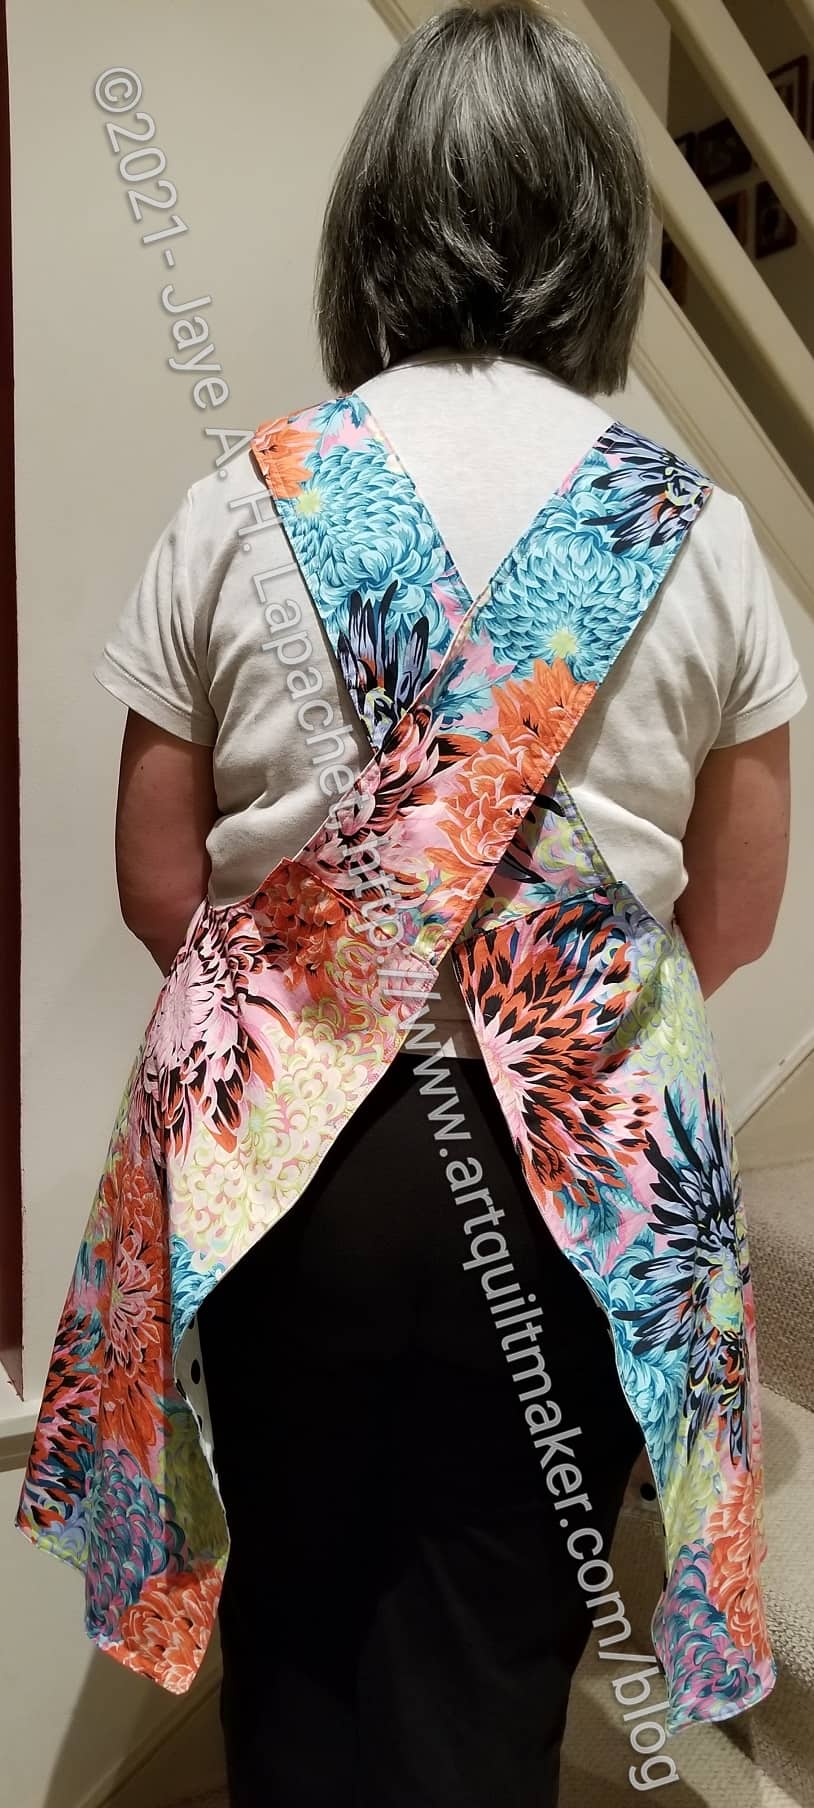
Finished: Tessuti Apron – back
My problem was that I couldn’t imagine how I would put the apron together and the pattern didn’t help, because I was doing something completely different. One of the good things about being in a guild is that there are a lot of people with a lot of different experiences. We are fortunate to have Mary C for a lot of reasons. She has an encyclopedic knowledge of garment sewing. I brought my pieces and talked to her about the project. She could immediately conceive of how to put the apron together. She talked me through it, so I was able to finish it at home the next day.
I haven’t used one of these types of aprons as an apron. I wear aprons while cooking and baking all the time. Mostly I wear the Flapper apron I made a few years ago. The big difference is Japanese aprons don’t have ties. My new headphones don’t fit very well through my Flapper apron opening, so the new Japanese apron will help me slip the apron on and off as I move between my cooking chores and other tasks.
For the moment I am not using it. I want to show it at the guild meeting in its pristine condition before I start wiping flour on it.
I am using it for various La Pass pieces and boy-oh-boy was I glad I had it! I forgot my La Pass Sew Together Bag when I went to Sew Day the other day and I couldn’t sew. I had nothing except my M5 fabric, my Sue Daly turntable cutting mat and this bag. I borrowed a rotary cutter from Amy, and was able to cut out M5 pieces (and not just sit around) because I had this bag, which had my templates. WHEW!
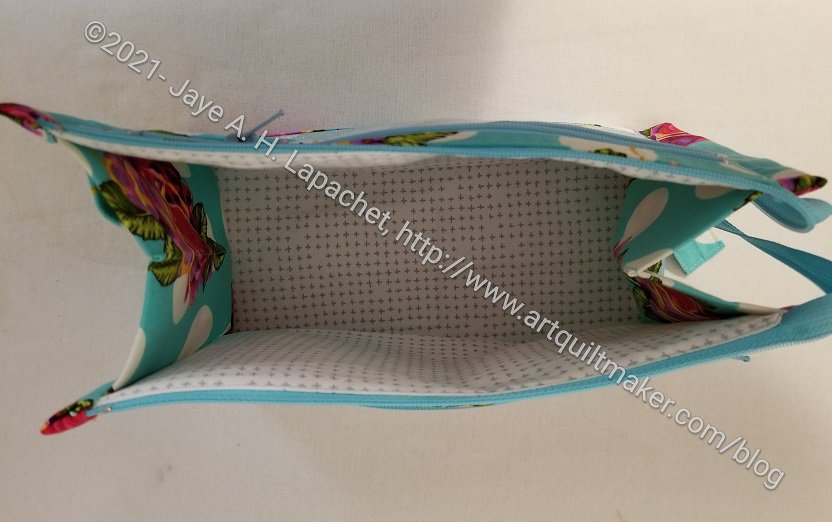
Dripping Roses Inside Outside Pouch open
This bag replaces the thread boxes I got when I ordered the Curiouser line of thread. The thread boxes were cute and well designed, but I can’t keep that kind of stuff around. This is more useful, because I can put other things in it like my templates.
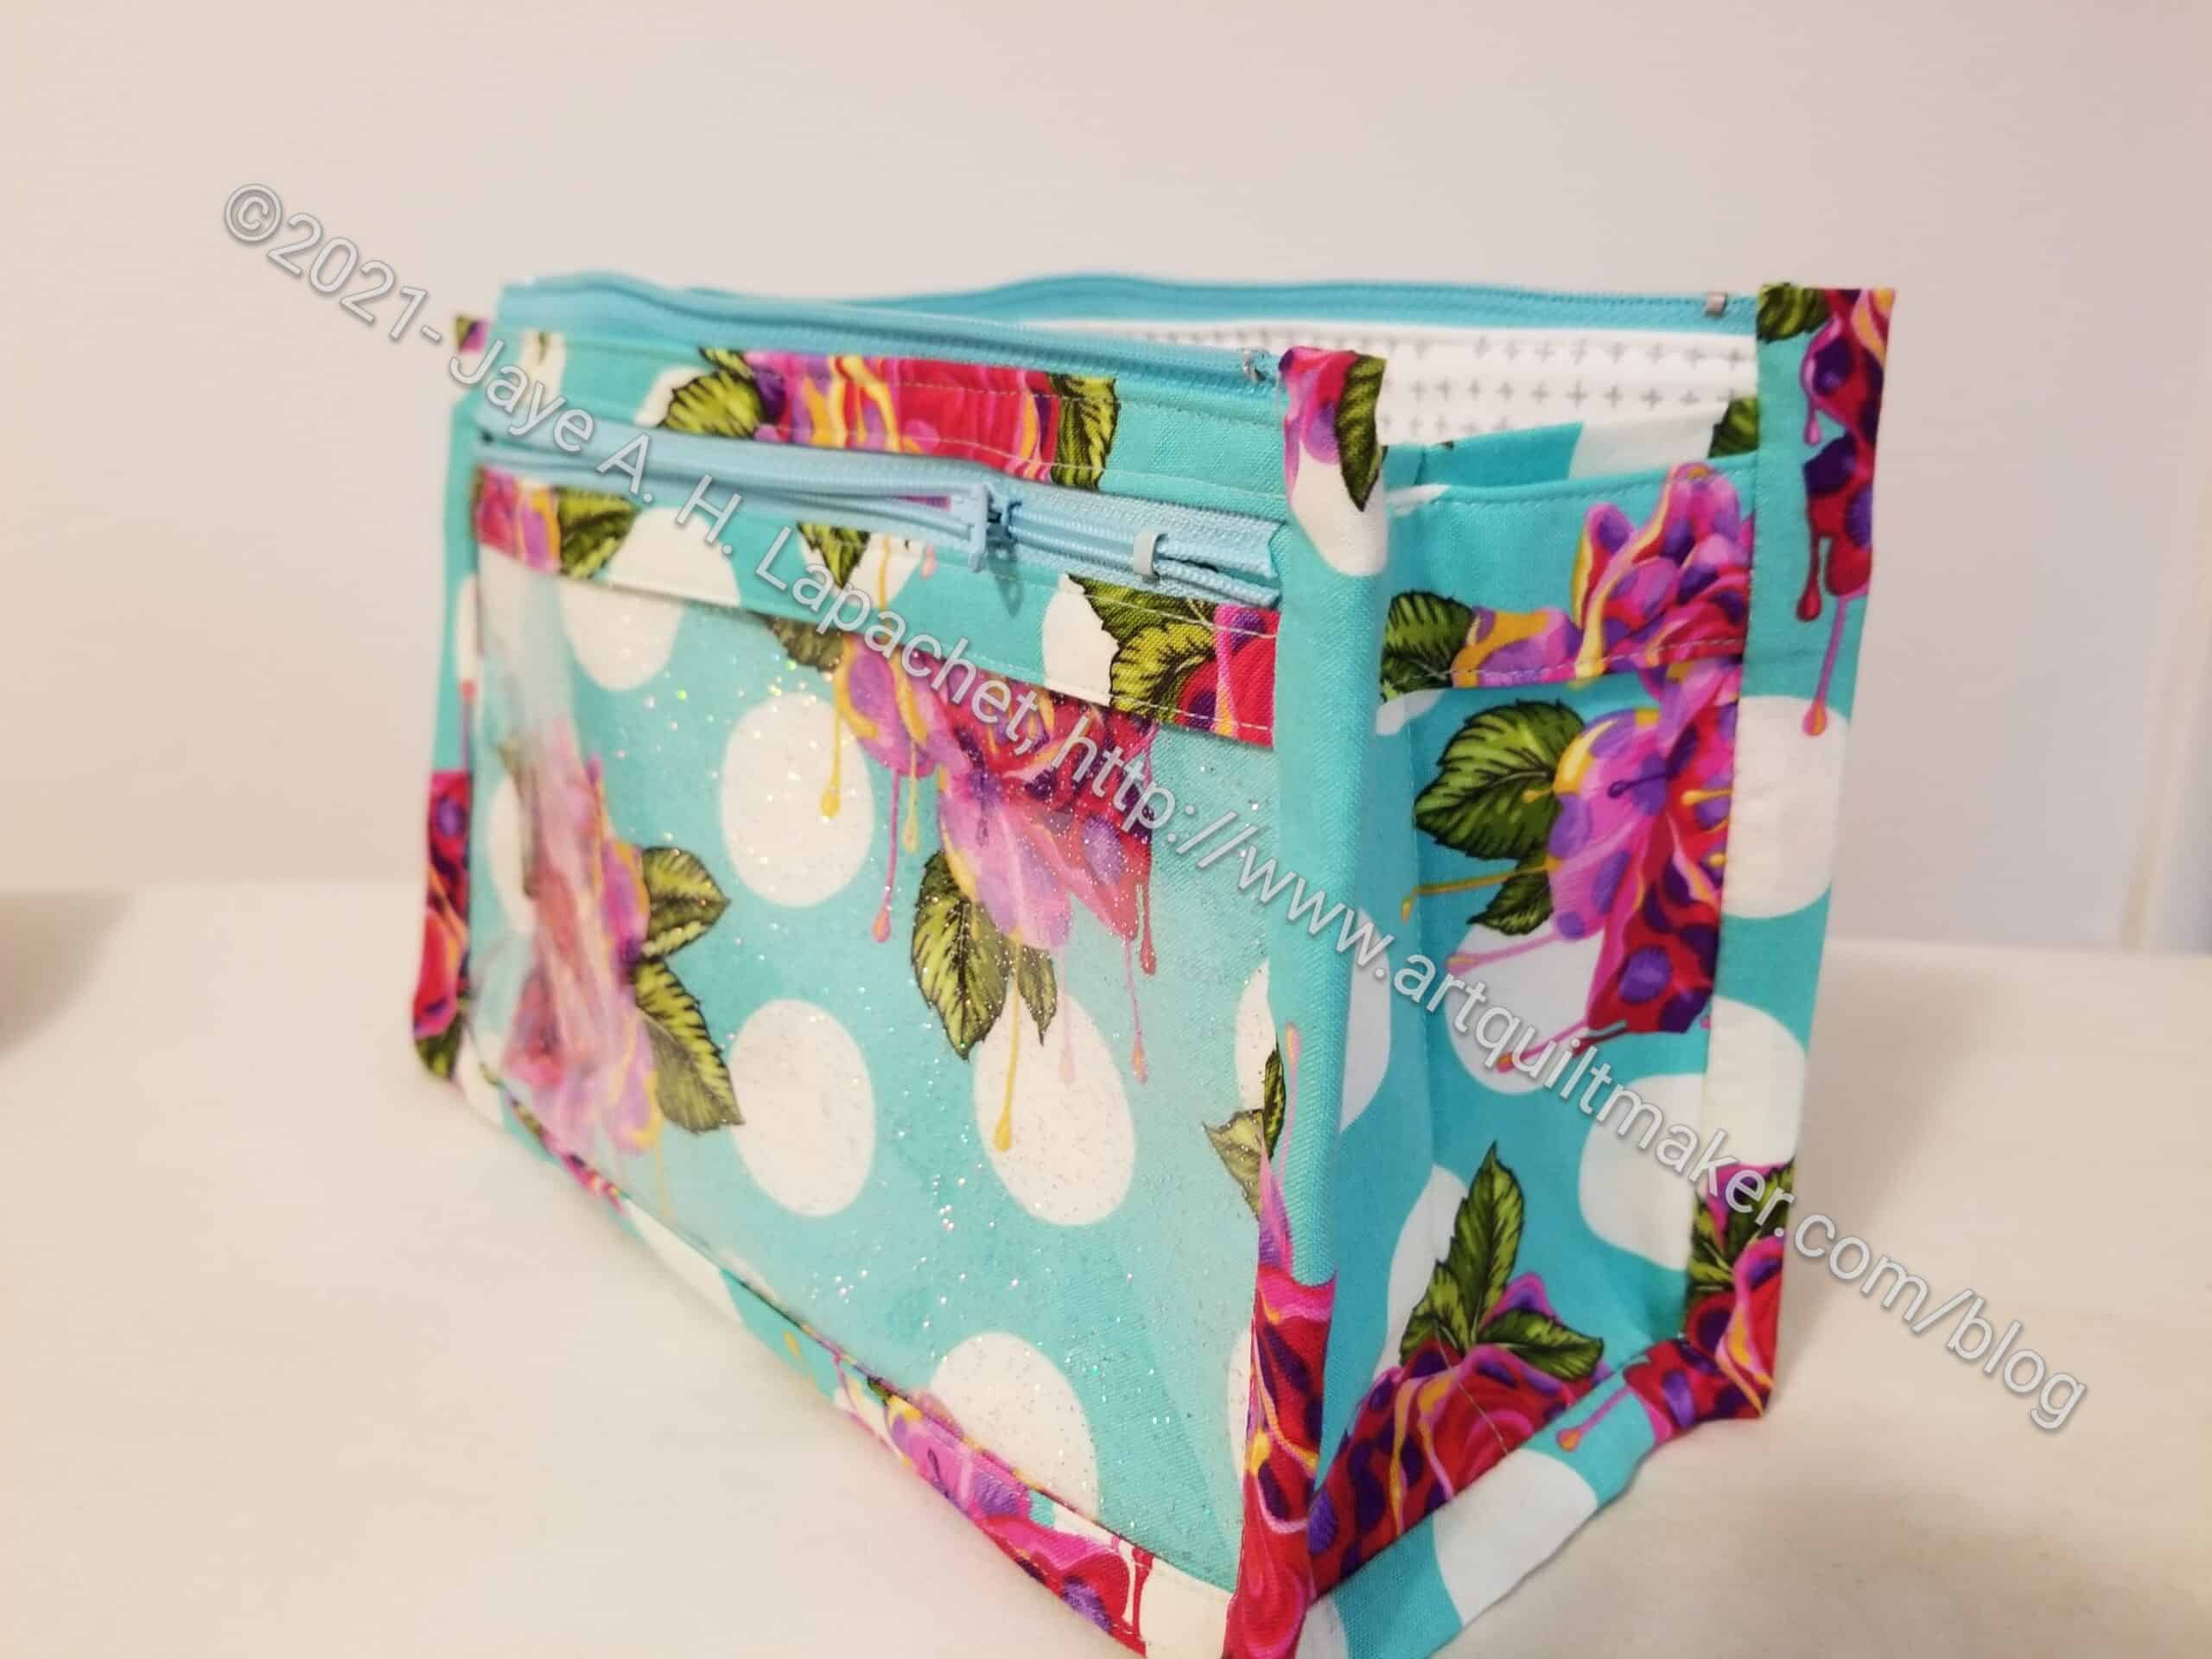
Dripping Roses Inside Outside Pouch -3/4s view
The finished size is 10 x 6 x 4, so not huge, but big enough for the miscellany I need for this project.
I showed this at Sew Day the other day and people went wild for the Sparkle vinyl. It was funny, but also nice that they admired it. People got on their phones and were buying some then and there. Mary pointed out that it was easier to see and cut with the sparkly bits in it. I didn’t think of that, but she is right.
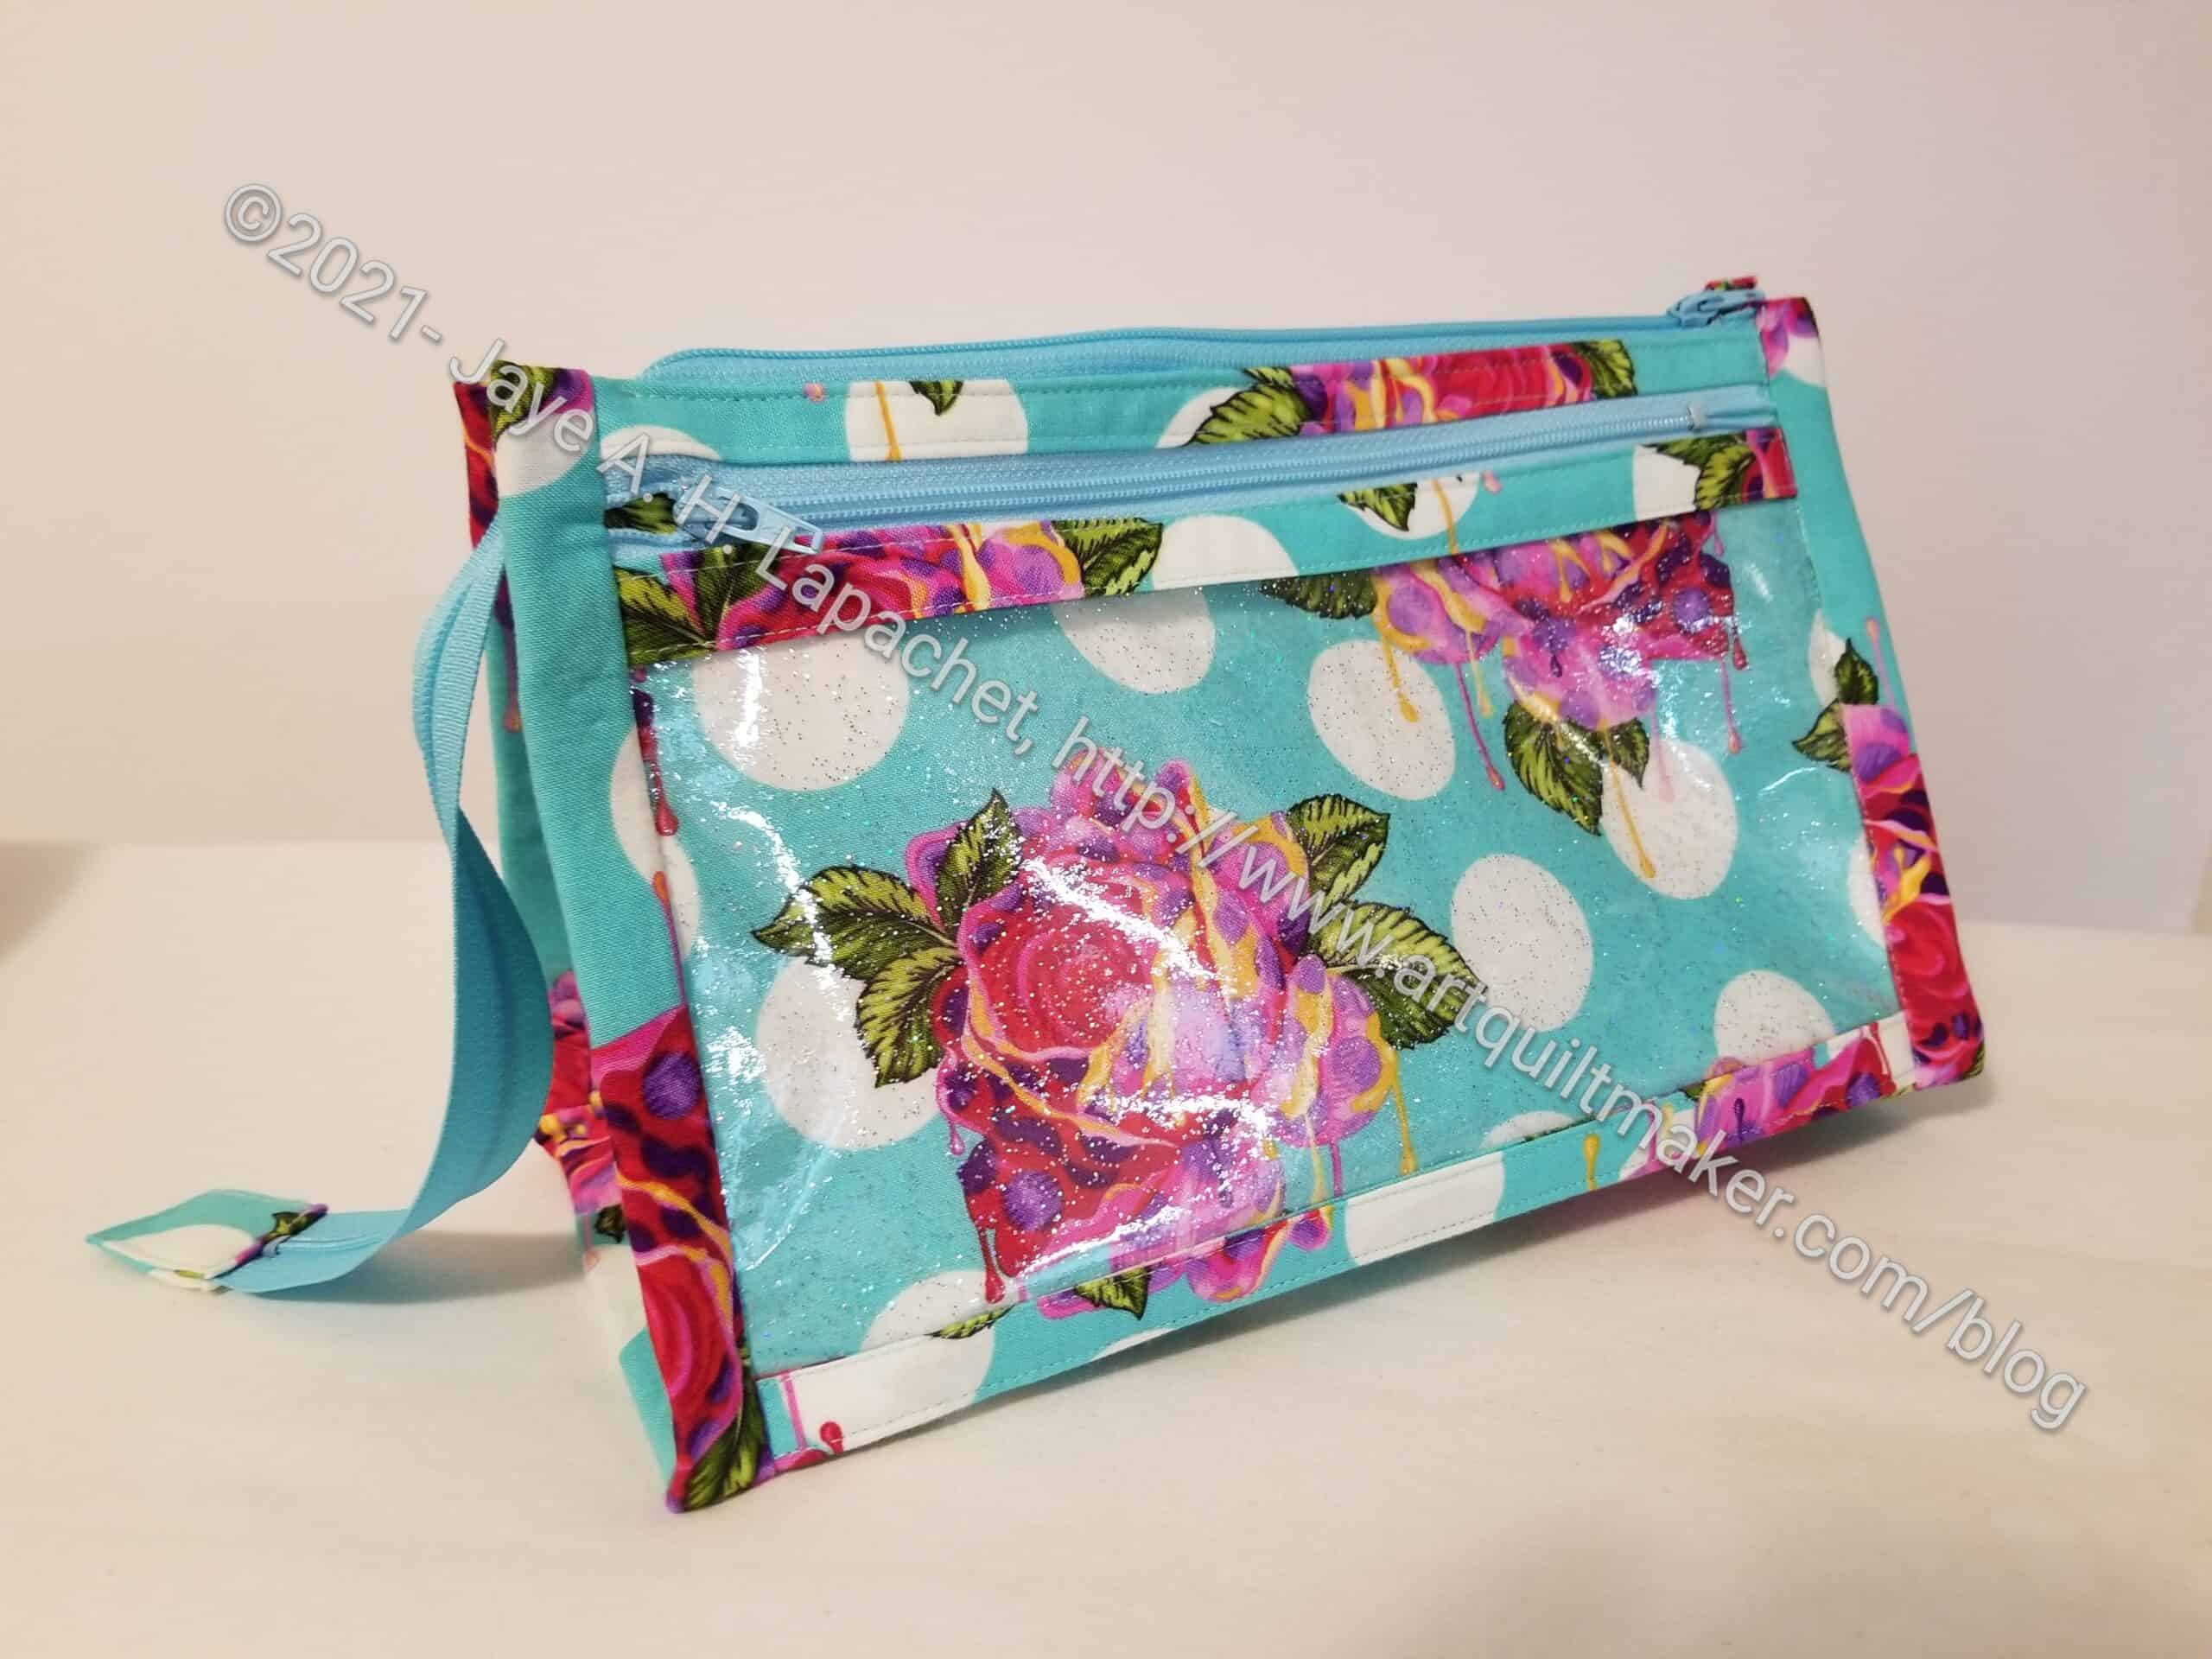
Dripping Roses Inside Outside Pouch
There are two things I might do different. I used a longer zipper than the pattern called for . I wanted to make the pouch then not wait for a zipper order. Also, I have a bunch of zippers, so why not use them? This one is pretty long, so I might sew it into a loop or something so it doesn’t drag or get caught on things. I am tucking it inside the bag and that seems to work.
The long top zipper has a zipper tab on it, but the small side zippers don’t. I think I would add them. I think they would look better with zipper tabs. I would have to sew all the way around them, because the fabric would be fully enclosed once the zipper parts were fully enclosed. I may make a couple more of these and will try it. I could also try a longer zipper,, but I think I used the recommended size.
I have to admit that I didn’t have the original idea to make this pouch this way. I saw someone else in the La Pass BOM group had made one using the Dripping Roses and I really liked it. I remembered that I had the pattern and could also make one. It was the Dripping Roses that really pulled me in.
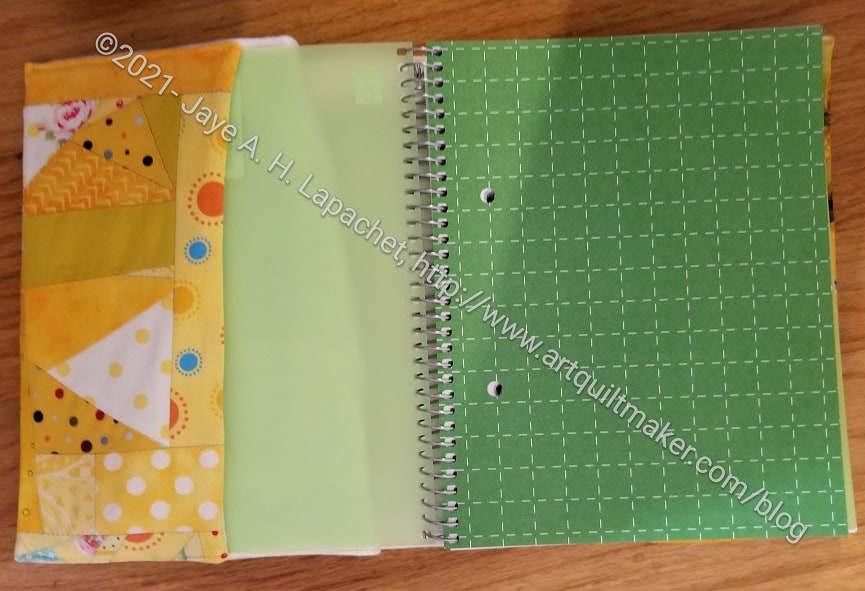
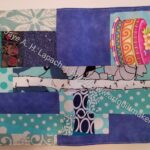
I took some of the made fabric I had assembled for the Yellow Improv donation quilt and made a journal cover.
I felt like I was taking away from the donation quilt, but I’ll be needing a new journal cover soon, so needs must. I figure I have a lot of scraps, so more donation quilts are on the agenda.
This one turned out to be just a smidge small, so I had to stretch it to get it on the journal (Miquelrius 6.5 in. x 8 in**).
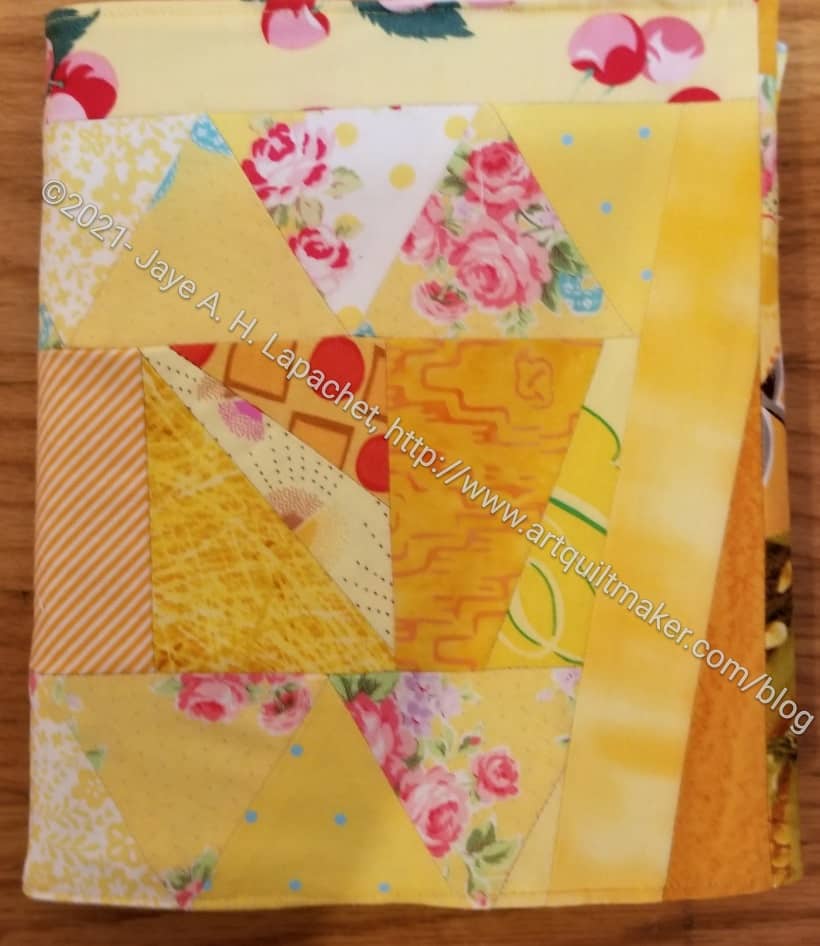
Yellow Journal Cover – front and back
I kind of used what I had rather than arranged the scraps because I didn’t think of using the pieces I was working on for a journal cover until I had already made most of the pieces.
I still have quite a few equilateral triangles from the Flower Sugar Hexagon quilt I made a long time ago. I am trying to use them up, but there seems to be a never-ending supply.
Yellow Journal Cover – inside front cover
I am not very enamored with the inside. That corn fabric doesn’t look great outside of the Food quilts. At least it reminds me of the three food quilts I made and the people who received them.
As I may have mentioned, I have stopped adding fabric to the inside and just let the flannel be the other side of the cover. It makes the project go more quickly and makes the cover flatter. Of course, it doesn’t use as much fabric.
Yellow Journal Cover – inside back cover
I think I have one more Miquelrius journal to use after this one, then I will switch completely to the Leuchtturm journals.
**I use affiliate links and may be paid for your purchase of an item when you click on an item link in my post. There is no additional cost to you for clicking or purchasing items I recommend. I appreciate your clicks and purchases as it helps support this blog.
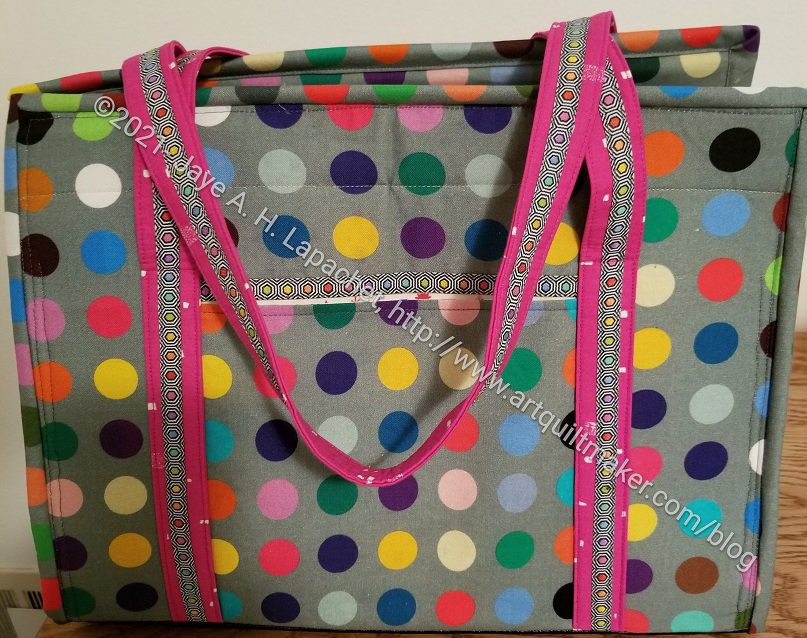
My UCAB is finally finished. This will replace part of my travel bag and it will fit nicely on the handle of my sewing machine travel bag.
I am happy with how it turned out and I am glad I feel comfortable putting the project together as I think it will make a great gift if and when I decide I have time to make more of them.
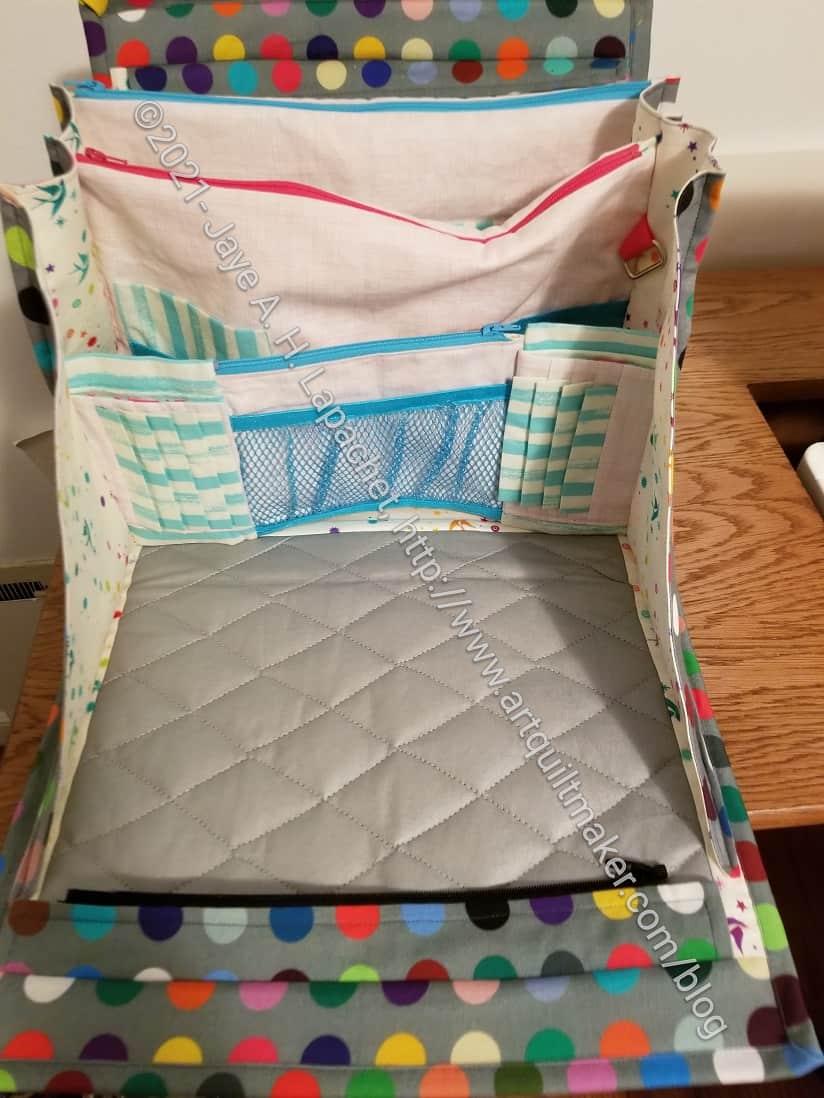
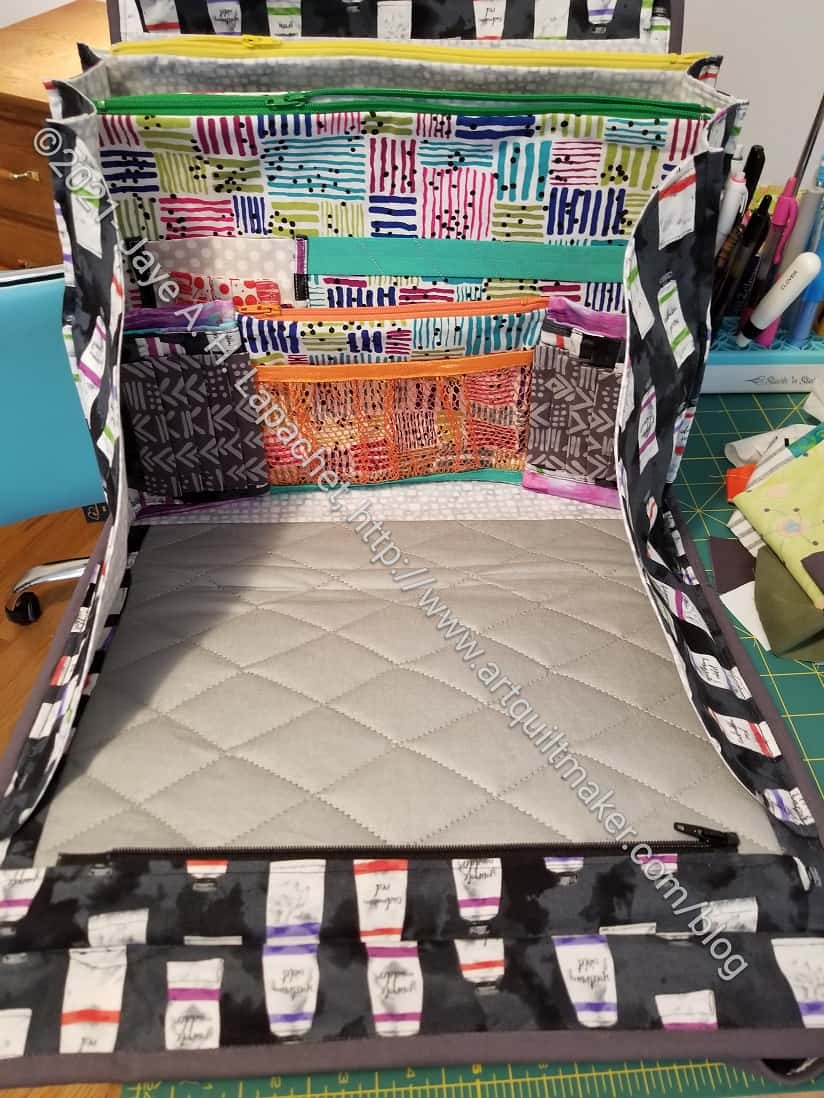
UCAB: inside pockets from top
I am not 100% happy with the project, but I think that is true for all of my projects. I get to like them better after I have lived with them for awhile. 🙂
One thing I think I forgot to do was put Shapeflex** on the inside of the pockets. Some of them are a little floopy. They will be fine once I get some stuff inside them.
I still haven’t decided how to marry the use of this bag with the use of my Pink Tupperware box. I am not sure I am ready to give it up, though it is clearly not big enough for the stuff I need at Sew Day or when I travel.
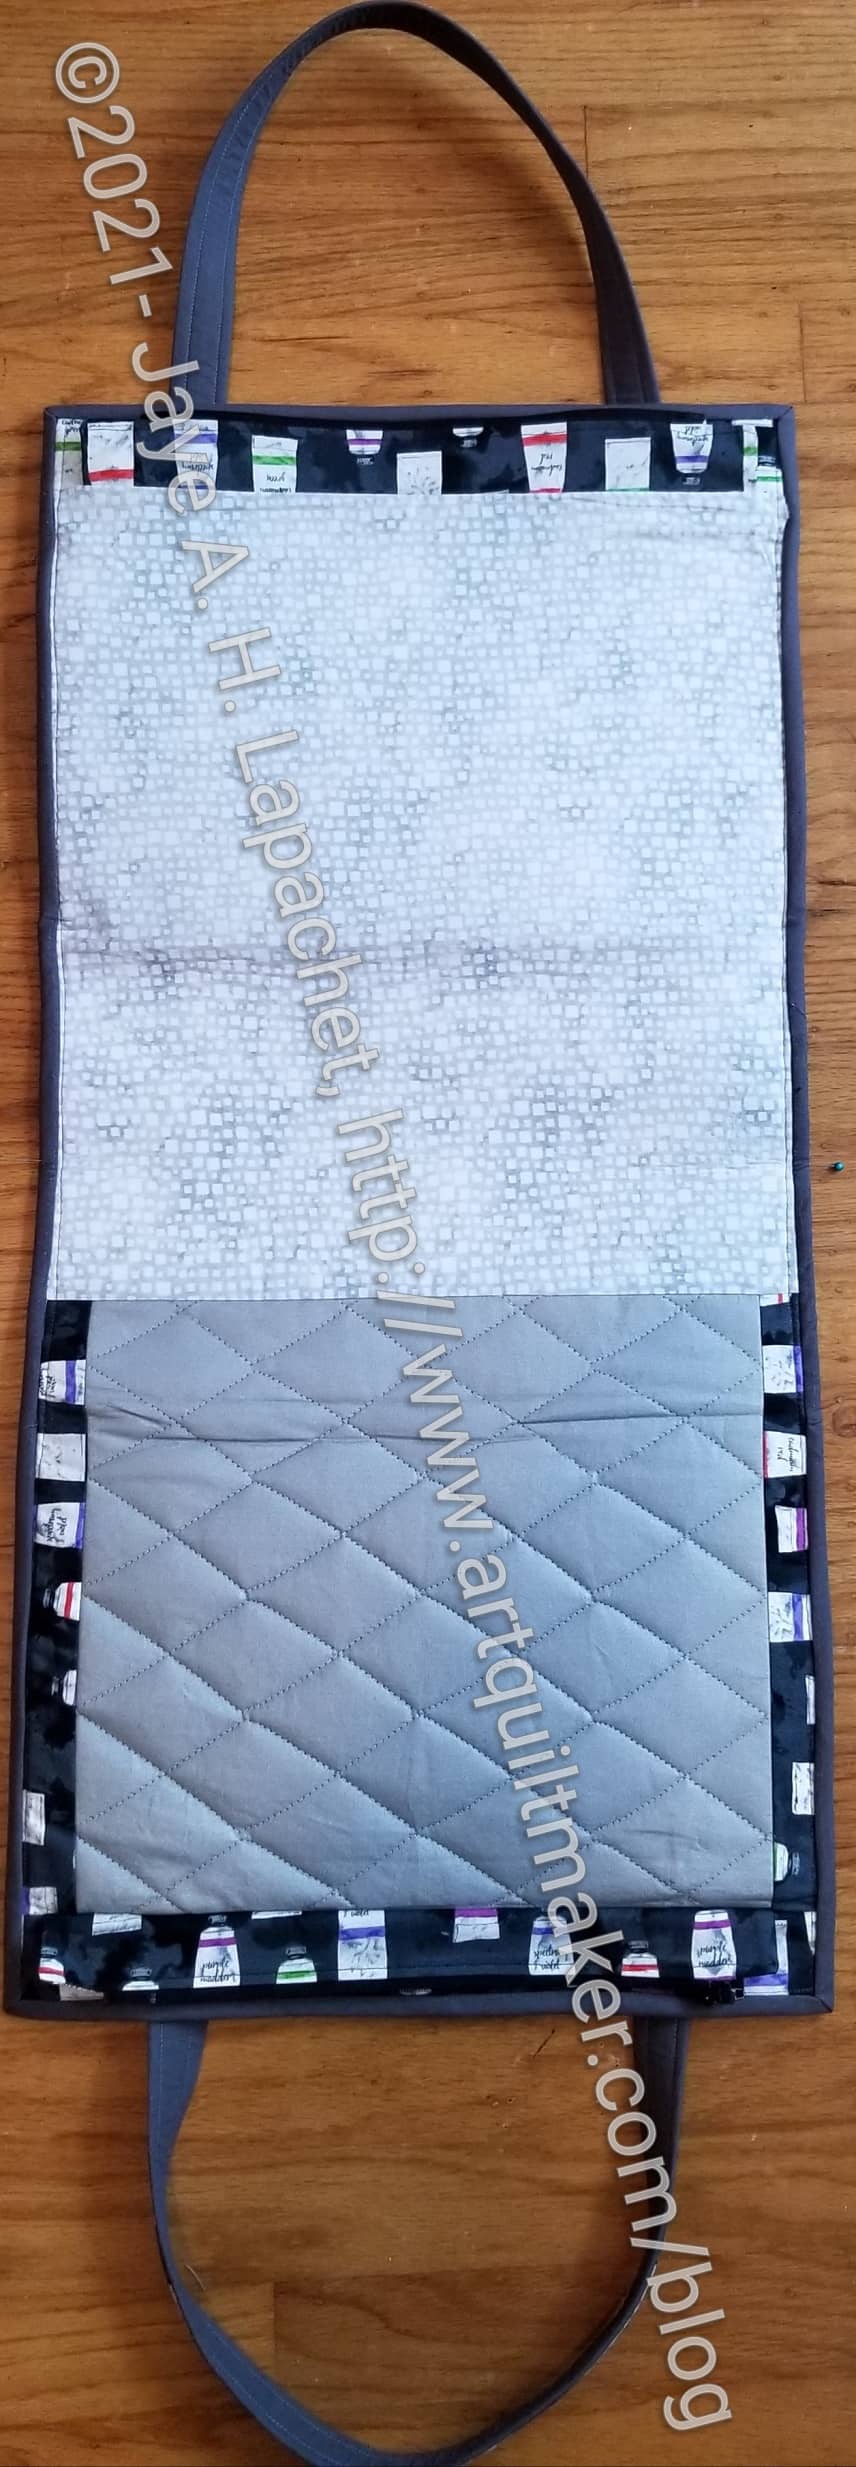
UCAB: front, open
As I may have mentioned, I didn’t install the front zipper. I wanted the front to be the front. In the pattern, the designers put the ironing pad in the back because she, rightly, doesn’t want you sewing over a zipper. I just omitted the zipper and made an open pocket. I think it will be much more useful and I think having the front (with the ironing pad) open to the front is much better. I didn’t want the front of the inside opening from the back. Also, I will be able to slip things, like my phone, into that front pocket easily without unzipping.
I haven’t made any pouches to use with this bag, like I talked about back in March of last year. I put some square ‘rings’ in the seam of the pockets, so if I have one to attach to the inside of the bag, I will be ready. I wasn’t careful about the way I placed the pockets and both ‘rings’ ended up on the same side of the bag. I don’t think it will make much difference, but we will see.
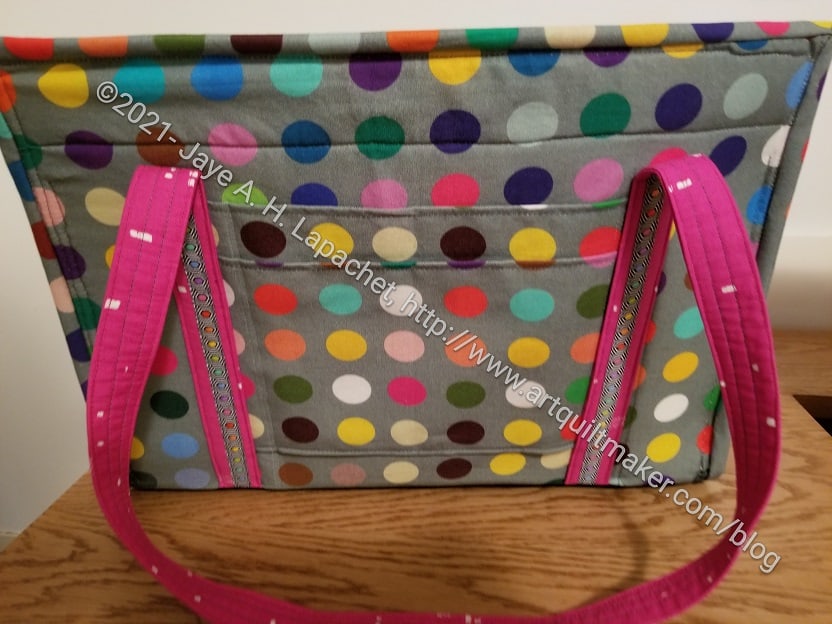
UCAB: Back
The back is a tight fit over the handle of my sewing machine rolly bag, but it does fit. There is another open pocket, for which I am sure I will find a use.
One thing I did was use Renaissance Ribbon as a trim on the handles, over the pink, and on the front pocket. I want to do more of that type of trim. I think it looks nice.
Stay tuned for some ‘in use’ pictures.
**I use affiliate links and may be paid for your purchase of an item when you click on an item link in my post. There is no additional cost to you for clicking or purchasing items I recommend. I appreciate your clicks and purchases as it helps support this blog.
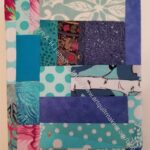
I am still tidying up after all the work in my workroom. One of the things I found was a piece of ‘made’ fabric (improv piecing) that was just the right size for a journal cover. I sat down and made one!
I am still not completely up and running, so it was good to make something that involved, at least, a little piecing.
I just used flannel for the inside. I didn’t add an inside cover. I did that once before and it seems to work fine.
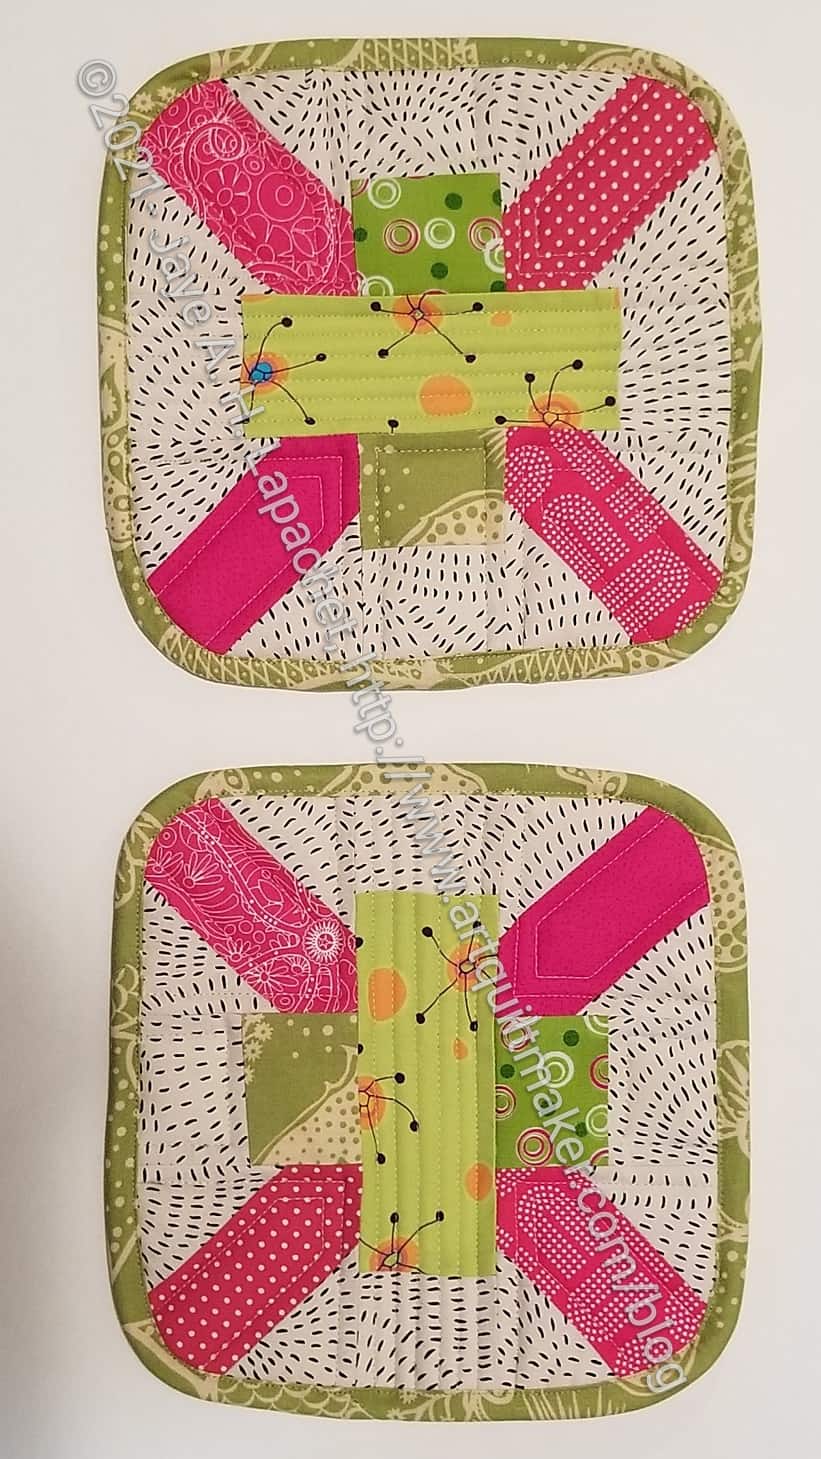
My guild had their first in person meeting over the weekend. Maria organized a swap as a fun thing to welcome everyone back. I joined and was assigned Maria who wanted potholders.
Maria’s potholders
Potholders are almost the last thing I would consider making. When I use potholders I want them to protect my hands from the heat and I have not found that homemade potholders do that. Still, Maria wanted potholders, so I made potholders.
I had some Insulbright on hand, so I used that in addition to two layers of batting. The sandwich was super fat. I didn’t want to do very much thread sinking, so I didn’t quilt it as much as I could have, but they turned out pretty thin in the end. I hope all the layers will protect Maria’s hands.
She also wanted lime green. Since I made her a pillow before, I decided to stick with that theme and use the same block. I had to redraw the block in EQ8, because I couldn’t find my block from the swap. The proportions came out a little different in this piece, but I think they still look good.
I didn’t think about a hanging loop until it was too late to put one on. Oh well.
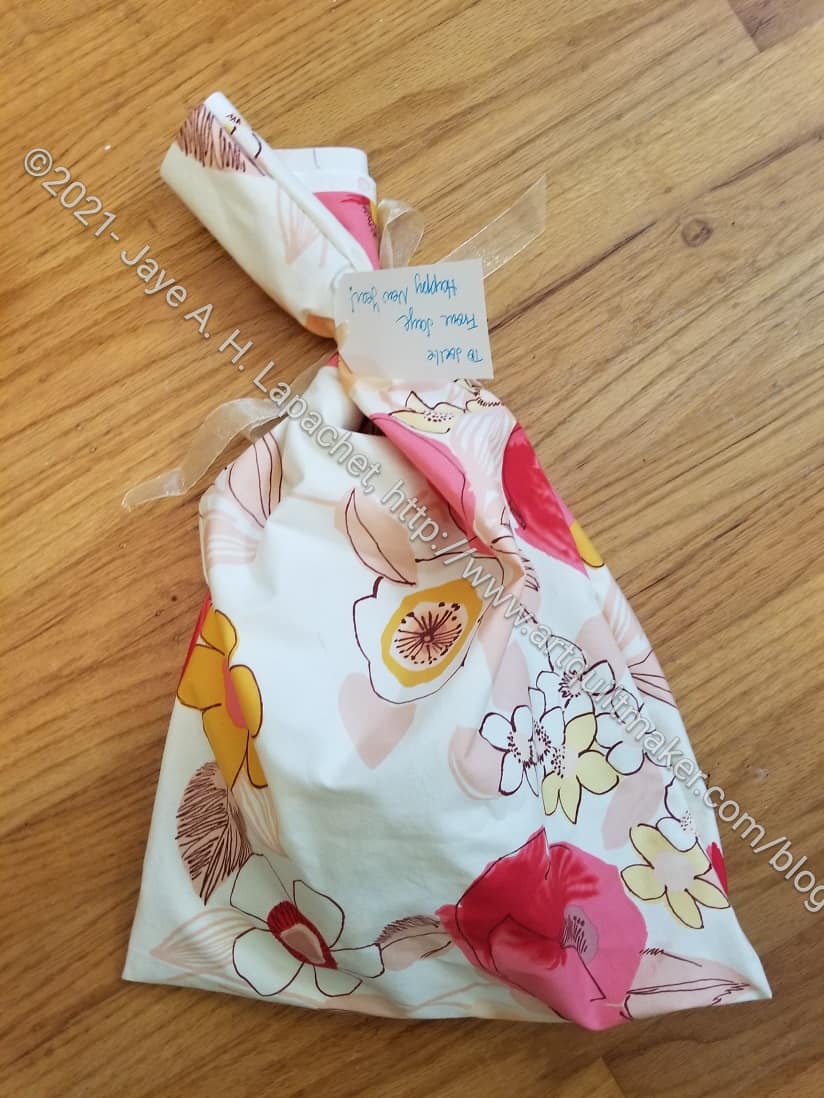
I added in pink because I like pink and it made the potholders look cheerful and celebratory. The theme of the swap is Celebration! so the colors fit. I made a gift bag in the same fabric as the binding. The gift is ready to go.
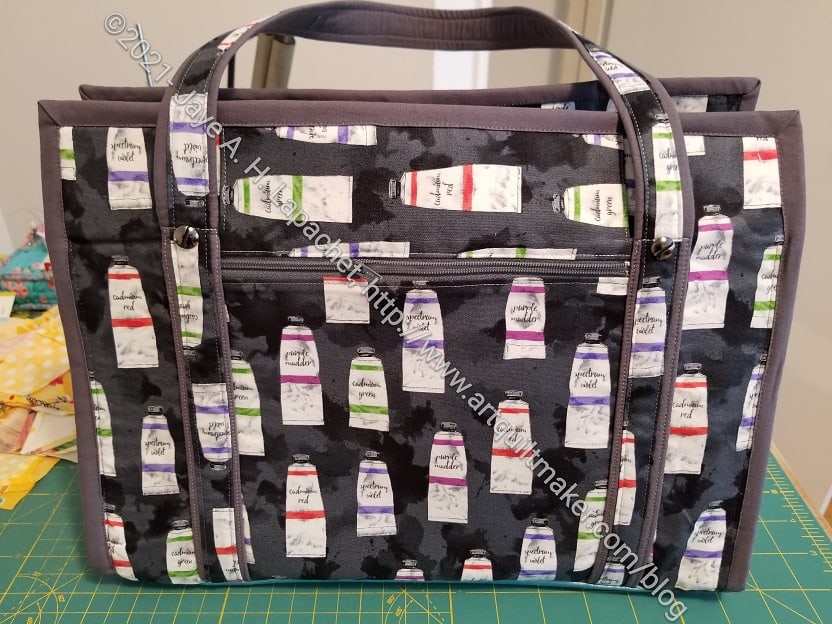
I can’t tell you how excited I am to be saying that I finished the UCAB for my mom and gave it to her for her birthday! This bag goes with the set of items I am making from the Paint Tube fabric.
I am so excited because I spent a lot of time on this bag and got everyone excited about it, then the pandemic hit and all the excitement died.
I finished the bag on September 12, 2021 after spending September 11 ripping out a lot of what I had sewn the prior week. I spent the Sunday morning of the 12th thinking about construction and how I could avoid putting the bag together the way Natalie does. I know she has had success putting together a million of these bags, but the construction did not work for me. I can’t believe how flat she gets her binding.
Ultimate Carry All Bag – binding applied
What I ended up doing is putting the binding on before I constructed the whole bag. I know the binding is supposed to cover the edges of the sides. This made no sense since the sides were finished.
After thinking about how I could construct the bag without killing myself, I decided that I would put the binding on the exterior, then sew the side section to the exterior. The sides were already finished and the process worked very well. I lined up the bottom of the sides right next to the binding and clipped the living daylights out of it, then sewed that section to the exterior. It looked a lot better than my previous effort, which was a big mess. My effort is not as neat as Natalie’s, but I am happy with what I did. I am not embarrassed to give this bag as a gift.
Ultimate Carry All Bag – interior
The other thing I thought about is not finishing the bottom of the side panels. This would mean that only two layers of fabric along with the thickness of the exterior would need to be under the binding. I might try it that way on the other version of the bag.
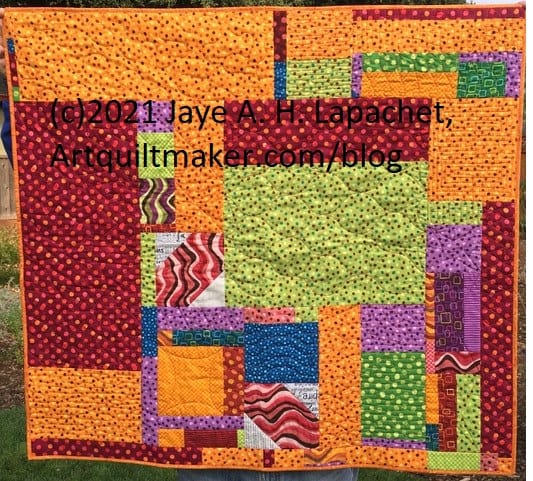
Joelle quilted and bound this second of the Pop Parade donation quilts. I finished it in July, so the finish was relatively quick. Thanks, Joelle!!!
As you may remember, I added the large dark red batik fabric (left) with the yellow dots to round the variety of fabrics I had for the X Quilt. I am pleased the quilt is done, but I am also pleased that I finally used this bundle of fabrics. This is a great example of why a person should use the fabrics when they buy them. I loved these fabrics when I bought them and loved them a lot less when I finally used them. I don’t dislike them and I am very pleased with the quilts I finished.
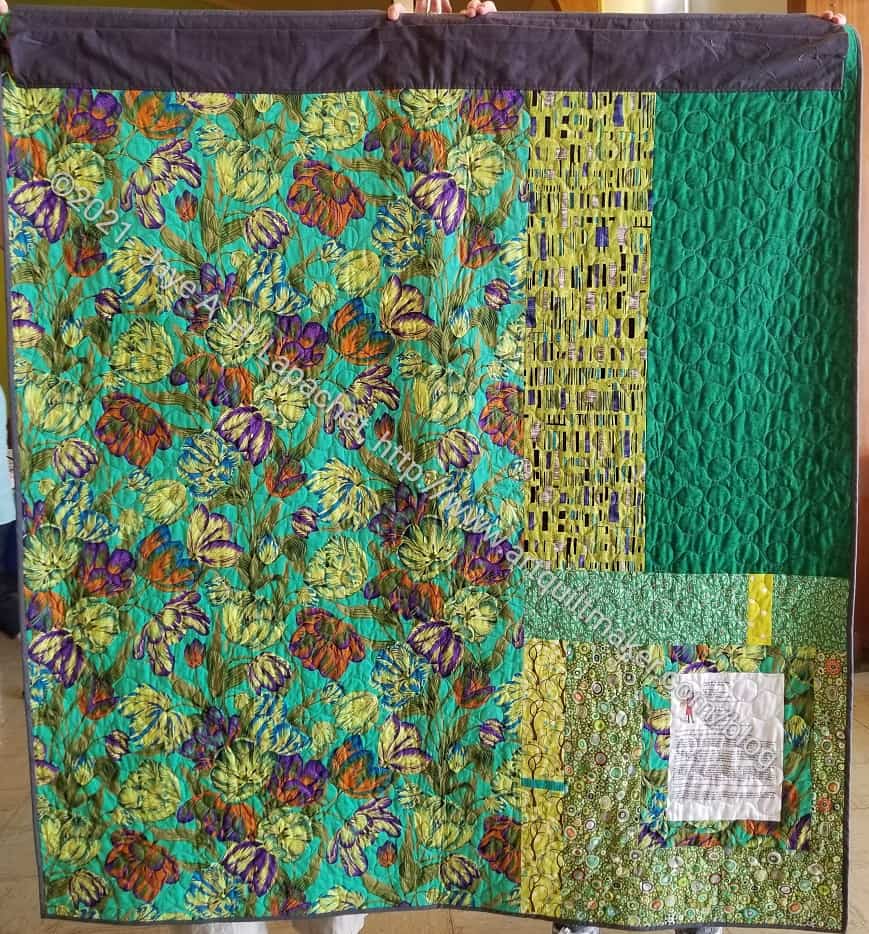
I finally finished FOTY 2019 in June, but I couldn’t get a picture taken because of everything going on here.
My pals helped me hold up the quilt at Sew Day. I am thrilled with how it came out. Adding the grey is definitely a different look than Fabric of the Year 2018 with the black squares. It also, obviously, has a different look than the previous years with no constant color.
Fabric of the Year 2019 back
I really like the tulip fabric on the back. I don’t use a lot of green, but that emerald – or near emerald color is very appealing. I also really like that print and would like to see the Kaffe Fassett Collective release it in different colorways.
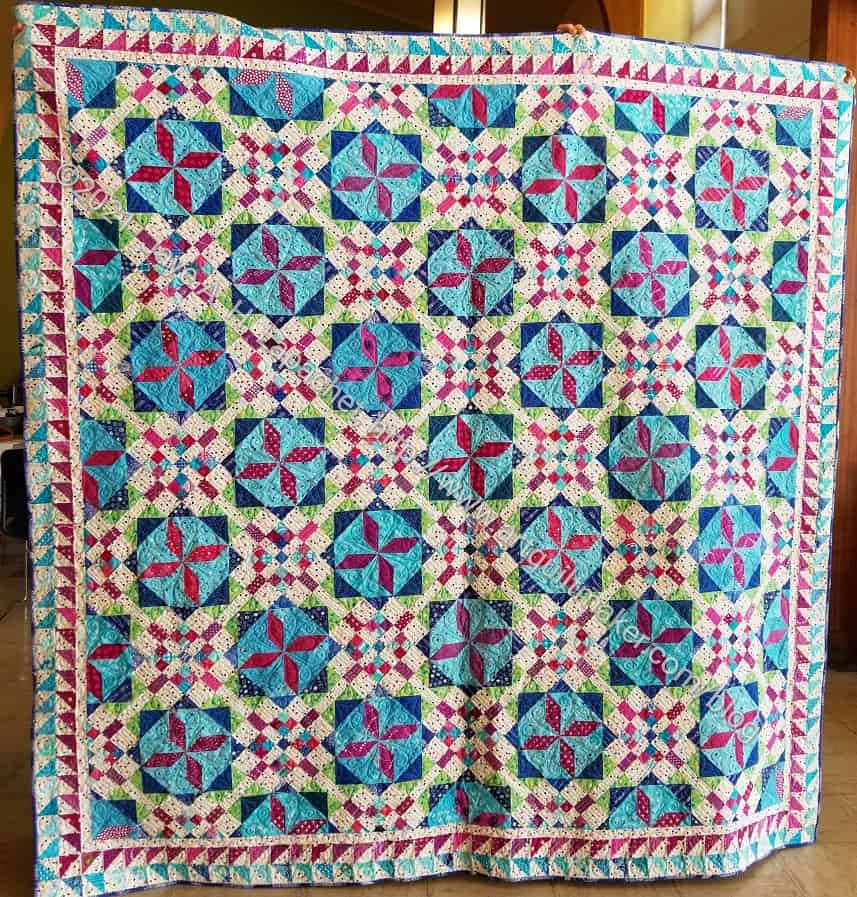
I finally got a picture of the finished Frolic! Some guild friends helped me hold up all the large quilts. Thanks to Tim, Mary, Amy, Marty and everyone who helped.
Colleen did a great job quilting it, as usual. She didn’t quilt it for a long time to help me manage my cash flow, which is part of the reason it took so long to finish. I think the part I like best is the border. It went together so easily and I still marvel at that. The quilt is great and I do like the colors, but those half blocks bug me.
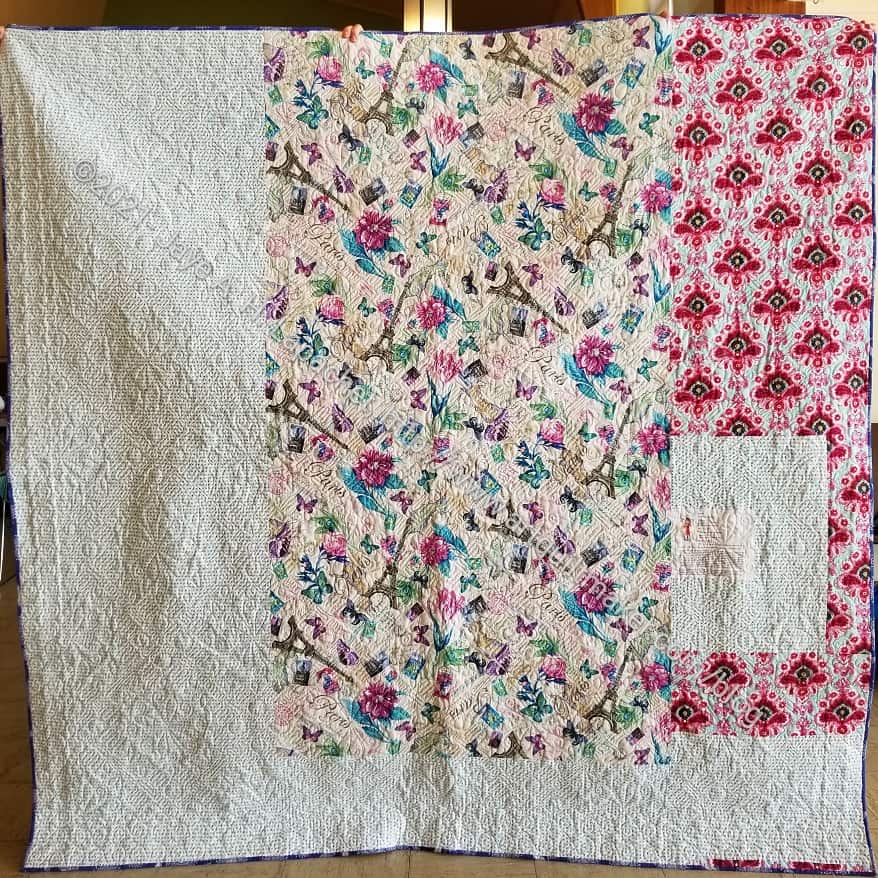
Frolic! Finished back
I used some big background prints on the back, as usual. I added a white background print to fill out the rest of the back. I had it laying around and it worked. No Philip Jacobs on this back.
It might seem ridiculous to make another Sew Together bag for my latest project. I have plenty of fabric and I know how to make these bags, so that is not the issue. The issue is that have been using the area under my computer stand to store various supplies and tools. This does not make the project very portable. It does make it convenient to grab some pieces and sew when I have a work meeting.
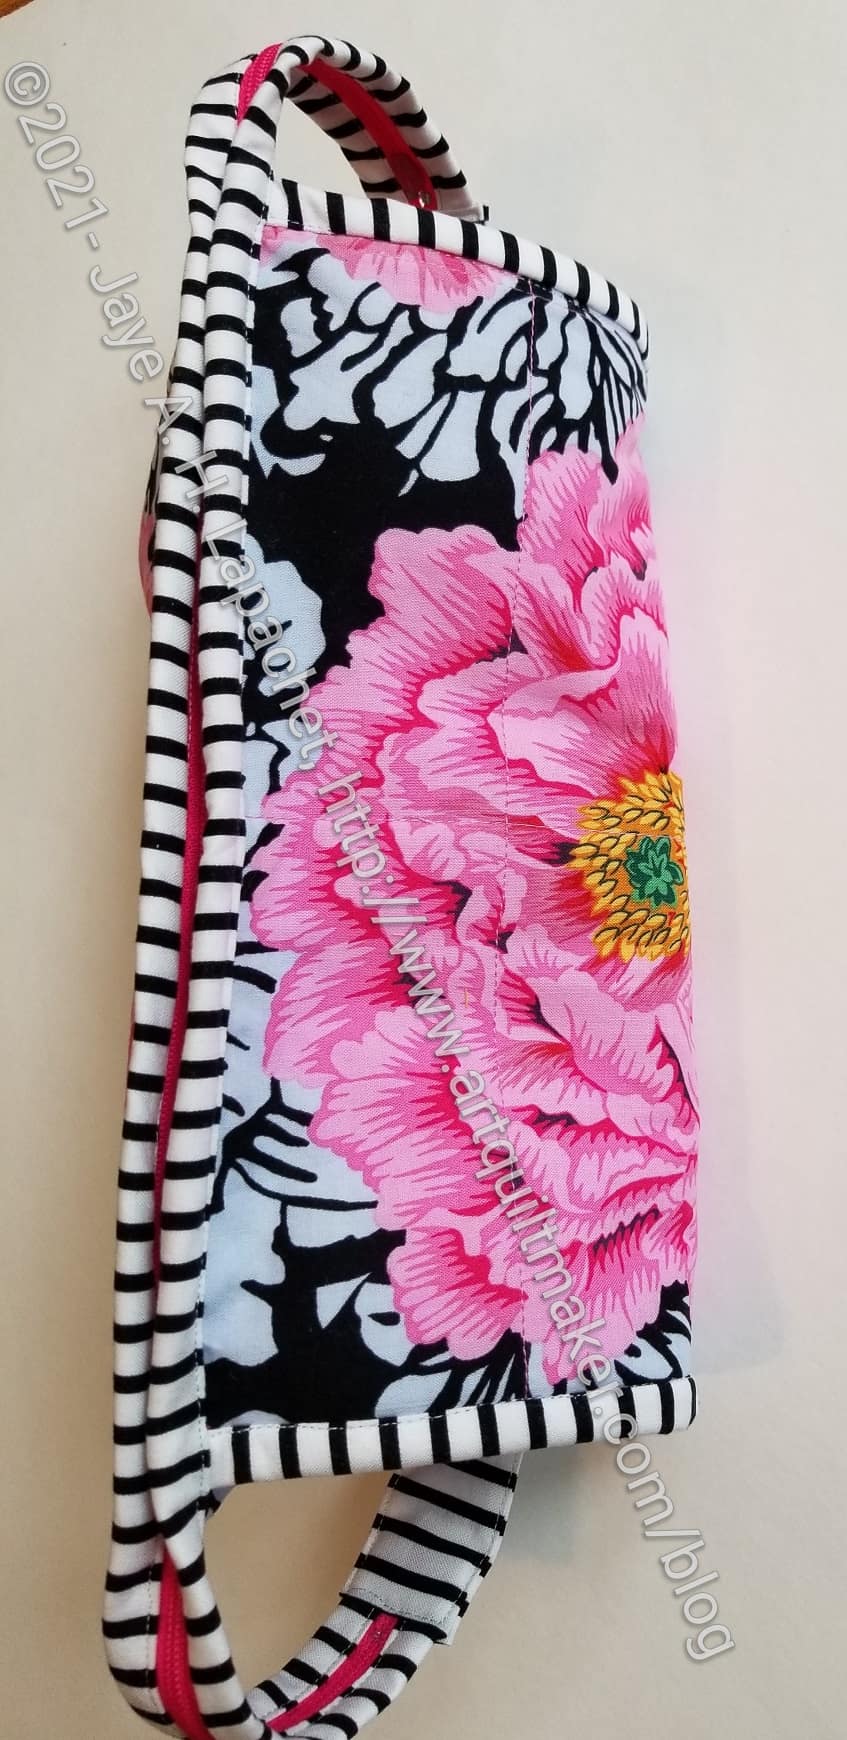
Brocade Peony (La Pass) Sew Together Bag
I have been using my embroidery Sew Together Bag for this project, but I want to be able to take the pieces around and I need my embroidery STB to stay with my embroidery. I was also making some gift STBs so I thought I might as well make one for myself.
This might be a stopgap until I can make the A Place for Everything Bag that will be really useful for this project. I talked about it briefly in a Various & Sundry post. I have been collecting supplies and I think I would rather just toss the Sew Together Bag in the A Place for Everything Bag when I go somewhere. I am used to using Sew Together Bags for handwork and don’t want to try to learn new habits. At the moment. I just want to sew.
Brocade Peony (La Pass) Sew Together Bag – exterior
As you can see, this bag uses one Philip Jacobs recent prints. He recolored the Brocade Peony print and I thought it would be good to showcase a couple of the blooms on this bag.
I also used the striped binding, which is a favorite trick for adding interest to a bag. If I were making this bag again, I might use pink on the side bindings and reserve the stripe for the top zipper only. I don’t think the stripes as I have used them are too much, but they are verging on too much. I keep thinking of the striped stockings the witch wore in the Wizard of Oz movie. In general, I am happy with the exterior of this bag.
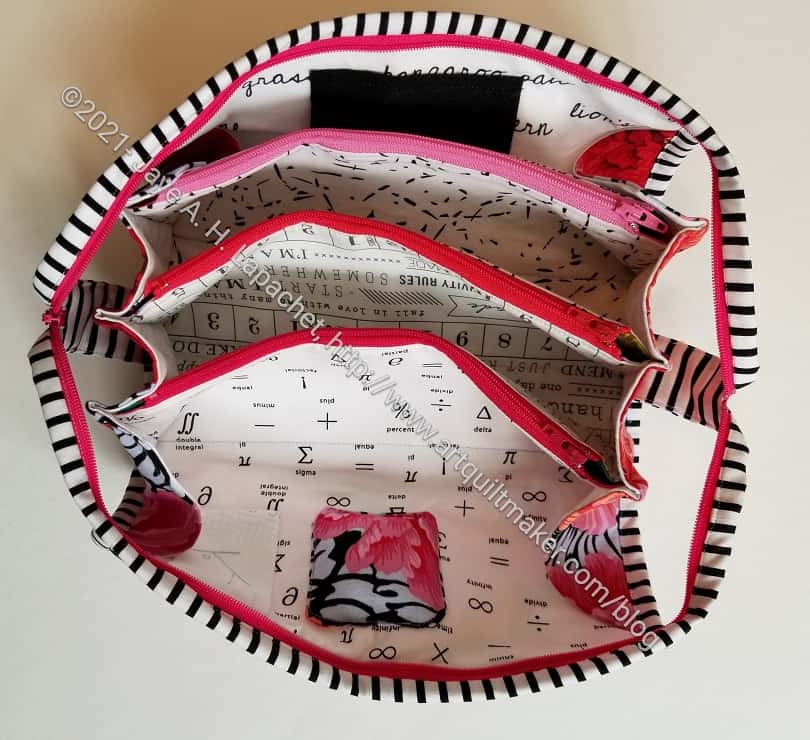
Brocade Peony / La Pass STB – interior 1
As you saw in another post, the white insides are mostly the same for the four most recent bags. It was easy to cut the whites all at once. I did put the whites in different places on the different bags, but I used, mostly, the same prints. I did run out of a few, so there are a few differences.
As I have said before, I like light interiors so I can see my tools and supplies.
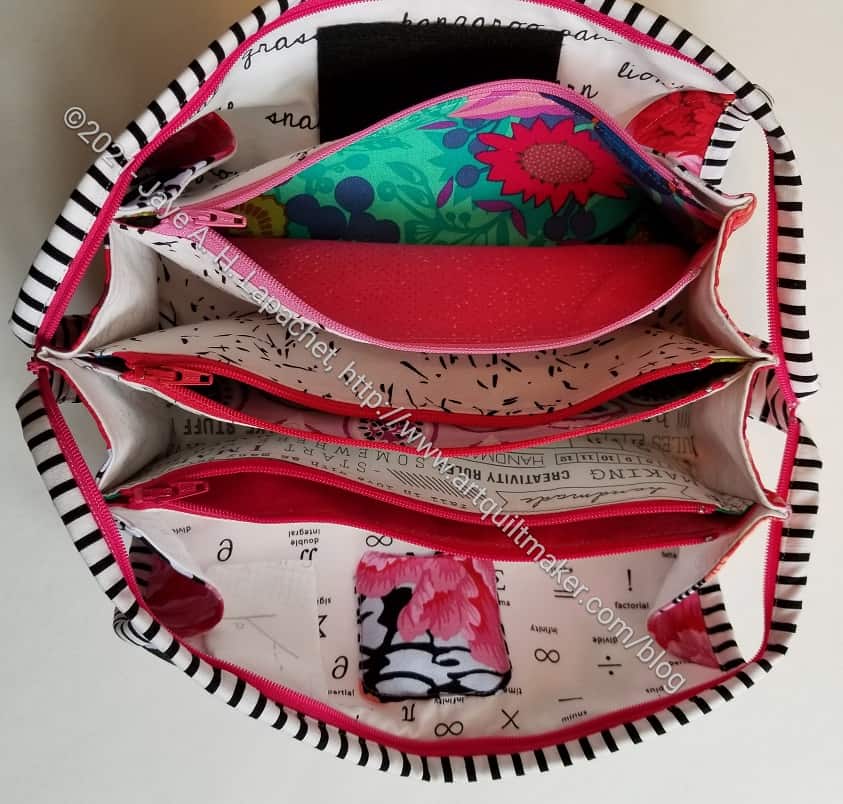
Brocade Peony / La Pass STB – interior 2
I did vary the fabric in some of the pockets according to tastes of the recipient.
For mine I used a lot of pink and that great Anna Maria Horner print with the emerald green that I got in the Modern Quilter’s Box from Modern Handmade last year. I am not a huge fan of green, but something about that fabric is perfect. I also used it for a Retreat Pouch.
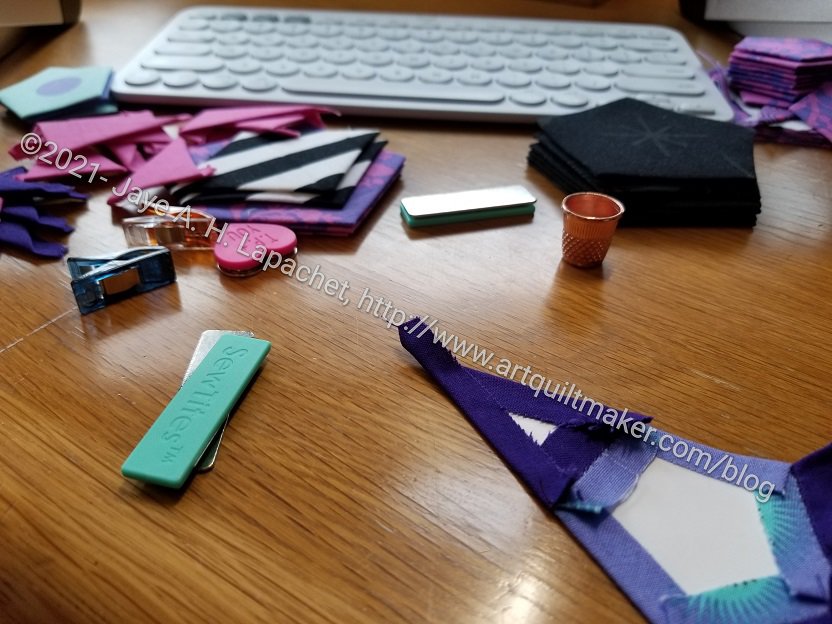
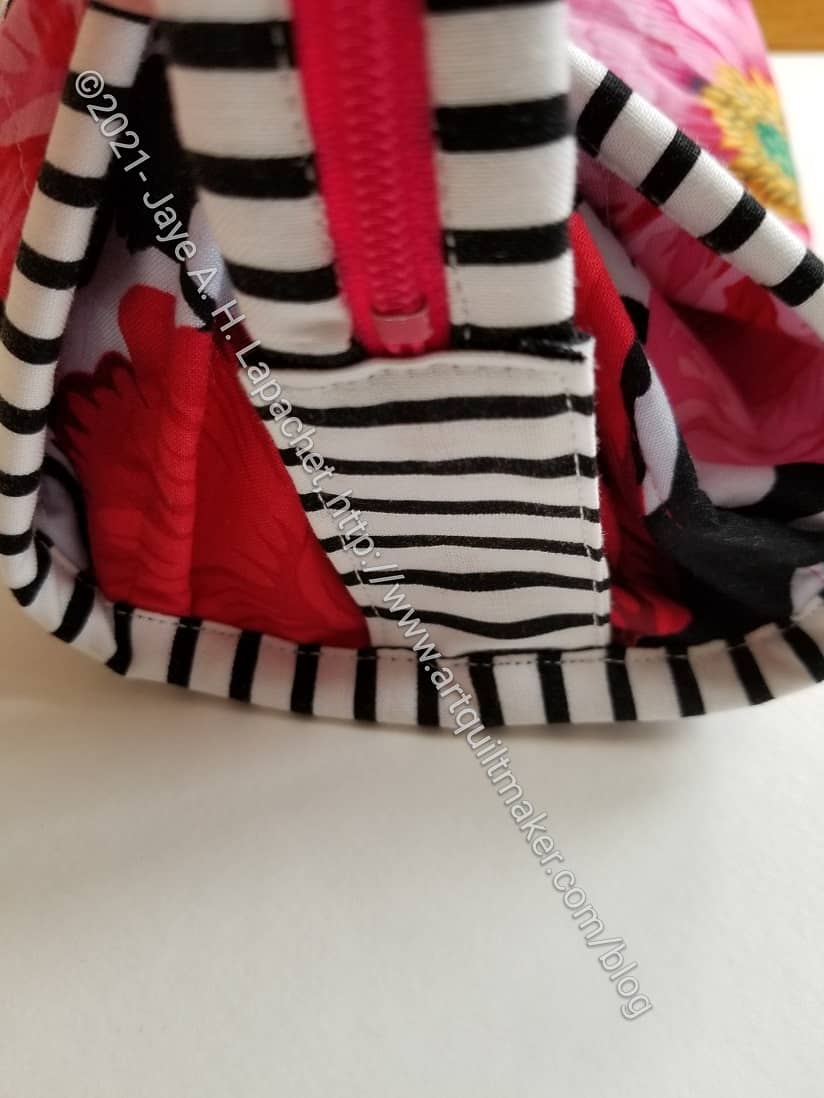
Brocade Peony / La Pass STB zipper tab detail
And look at this fantastic zipper tab. I carefully cut the fabric to match and used the directions I posted the other day for securing the zipper tab. I am really pleased with how it came out.
Now I just have to fill it with my supplies and tools for my La Pass project.
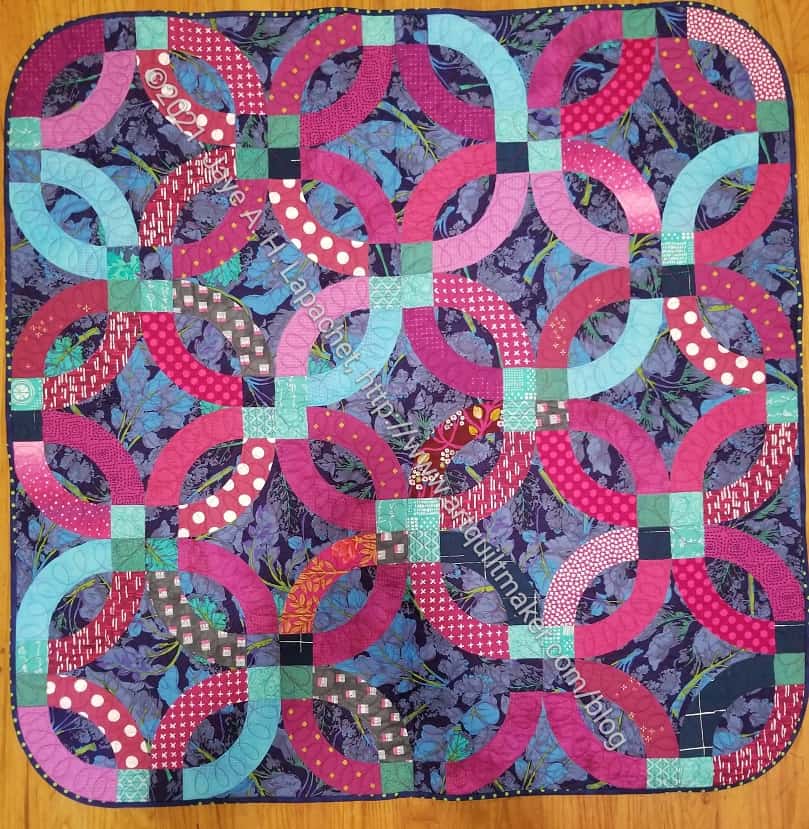
Yes, Put A Ring On It is finished. I have been slowly stitching the binding down. I was able to finish it on July 30, just in time to cross it off my list so I could start La Passacaglia. Hand sewing is about all I can do right now with my workroom still in disarray.
Put a Ring on It corner
This is the first quilt I have made than has round corners…that I can remember. I have a vague memory of using that Katie’s Corner ruler on something, but I don’t remember what. I found it to be great not to have to miter corners. I did have to stretch the binding a bit to get it in the right place, but bias binding works great for that.
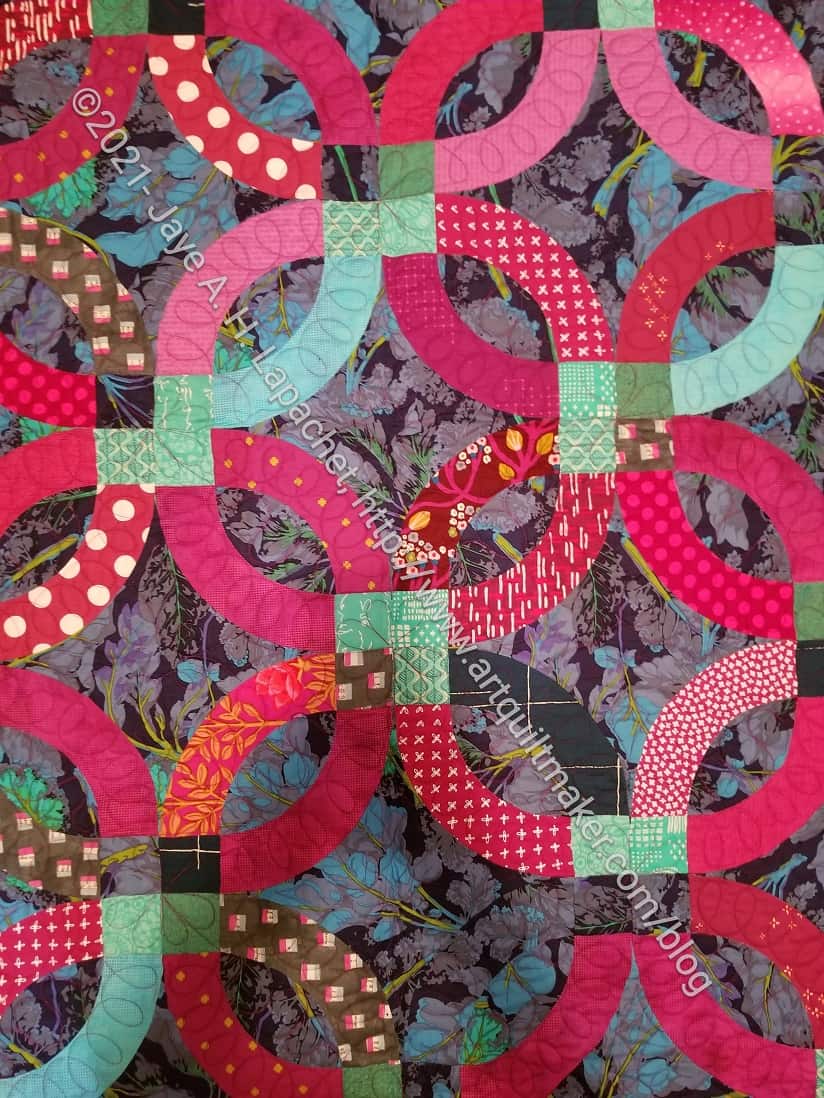
Put a Ring on It detail
Colleen did a great job on the quilting! I like the way she highlighted the arcs.
A month or so ago, as I waited to start my new contract job, I finished these Falabella Pouches. I didn’t write about them sooner, because they are gifts for my younger (middle) sister and her birthday is today.
She is an artist and has no qualms about asking for what she wants. She wanted something to hold her pens, etc.
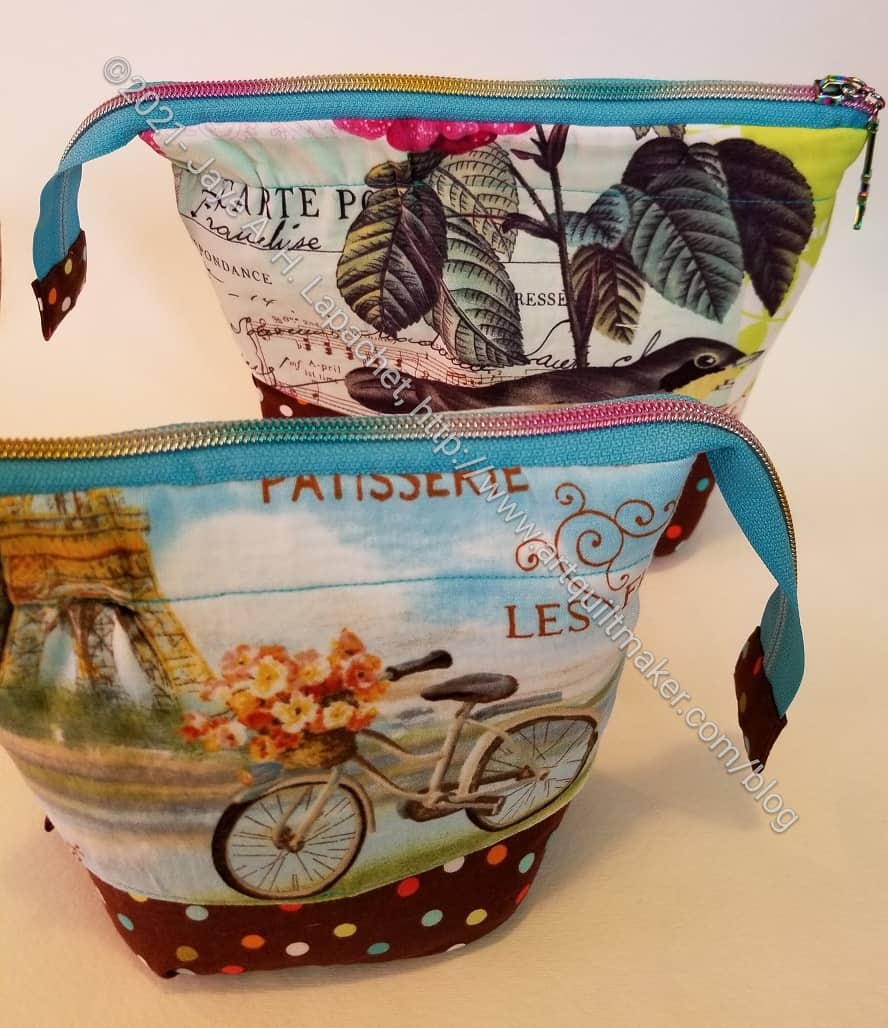
The Falabella Pouch is part of Sara Lawson/Sew Sweetness’ Minikins 3 set of patterns. I want to make more of the various Minikins patterns since I bought all three ‘seasons’. Her request helps me with that goal.
Falabella – back of medium pouch (down
Falabella – back of medium pouch (up)
This is a pouch that gets taller if you pull up on the zipper or smaller if you pull down on the zipper tabs (shown vaguely in photos above).
Falabella – medium pouch open
Falabella – large pouch open
I used ripstop nylon for the inside. If Lil Sissy’s pens open, I wanted some kind of fabric that was marginally cleanable. This was a difficult fabric with which to work. It frayed a lot. Some people said to burn the edges, but I was too chicken to do that.
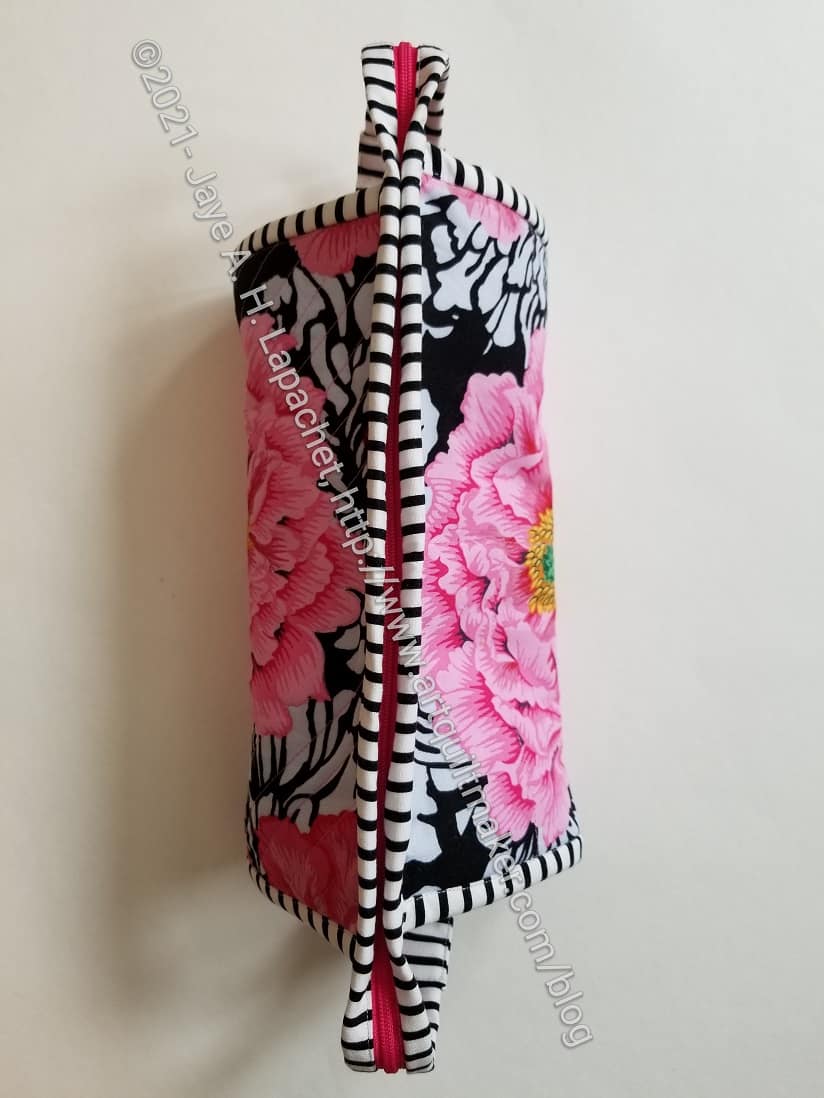
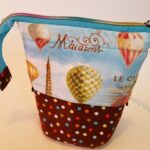
Large Falabella Pouch
This was the first time I used Zipper-by-the-Yard for a project. I bought it specifically for this project, because I found some zipper pulls with the Eiffel Tower on them. Lil Sissy loves Paris, so these are perfect. I used Sara Lawson/Sew Sweetness’ video on adding a zipper head to zipper tape.
I have tried this activity before and never been successful. The video has one trick in particular that makes the activity work. I couldn’t believe how successful I was! I also did not use a fork, which is what Sara demonstrates. I used the self adhesive towel holders** I bought from Amazon. I can see how a fork would work just as well.
I bought the zippers from the Sew Sweetness site and can’t wait to try them again. I want to make another Piebald with a double zipper and now I know I will use this zipper head technique to do it. I know I must sound like an idiot, but I can’t tell you how gleeful I feel about this zipper!
Anyway, I sent these off last week, after admiring them for a few weeks. I hope Lil Sissy likes them.
**I use affiliate links and may be paid for your purchase of an item when you click on an item link in my post. There is no additional cost to you for clicking or purchasing items I recommend. I appreciate your clicks and purchases as it helps support this blog.