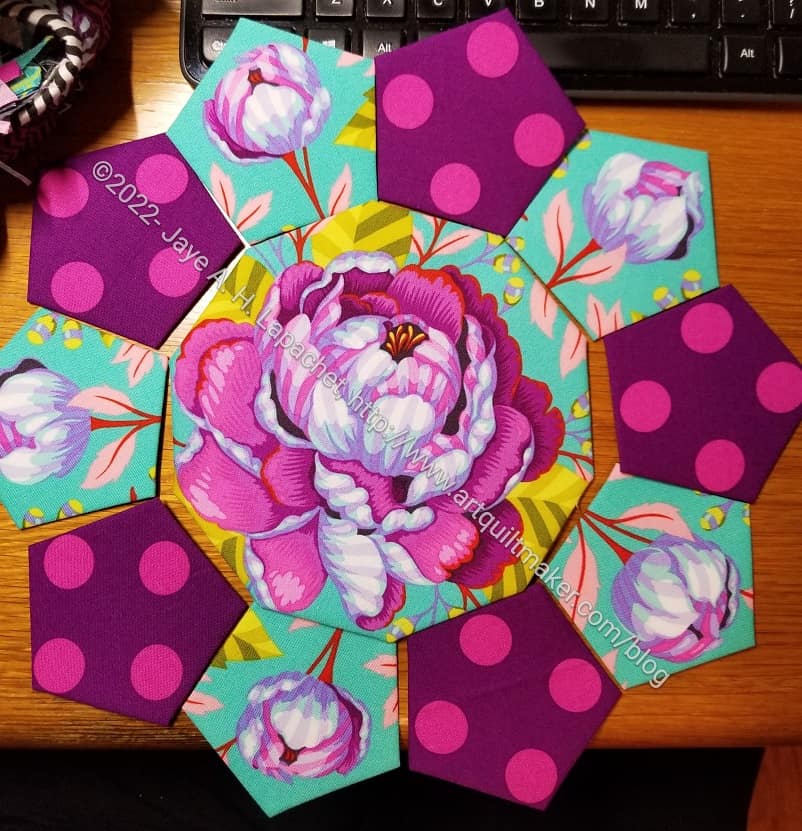
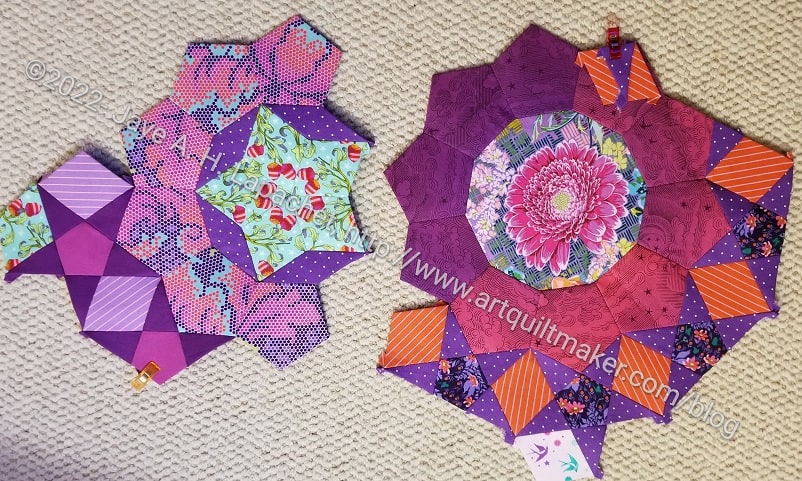
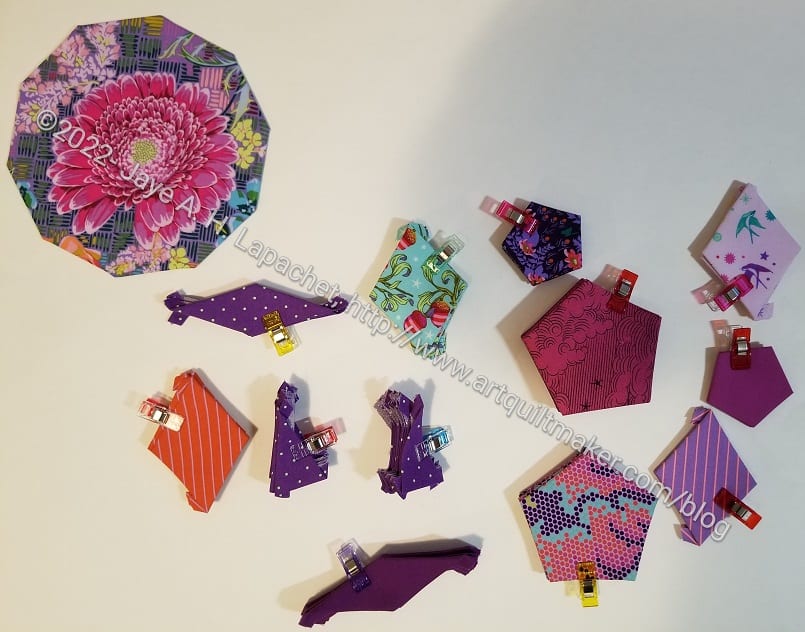
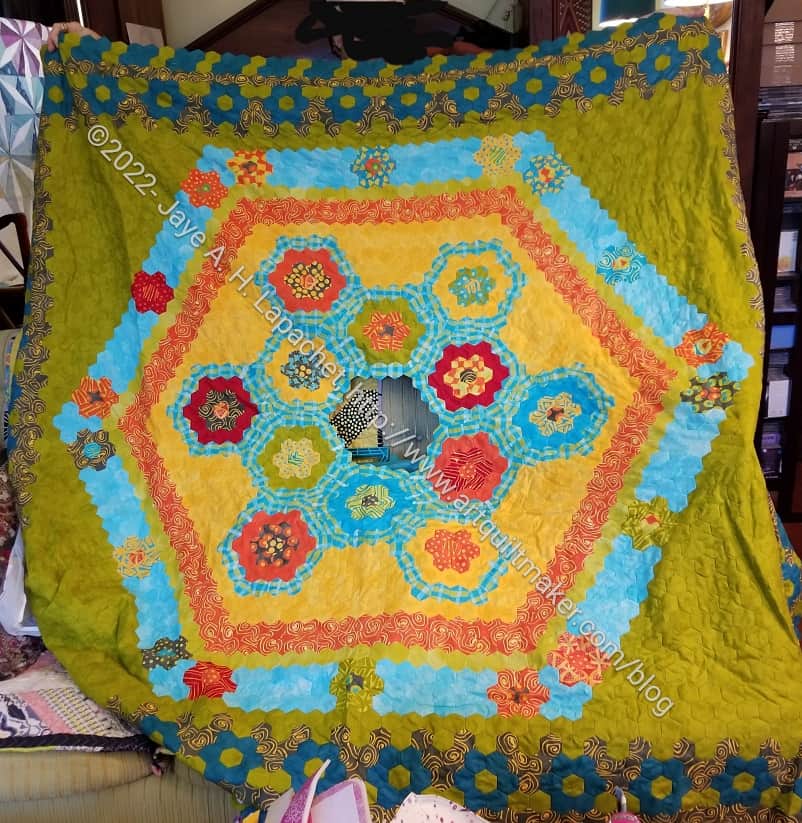
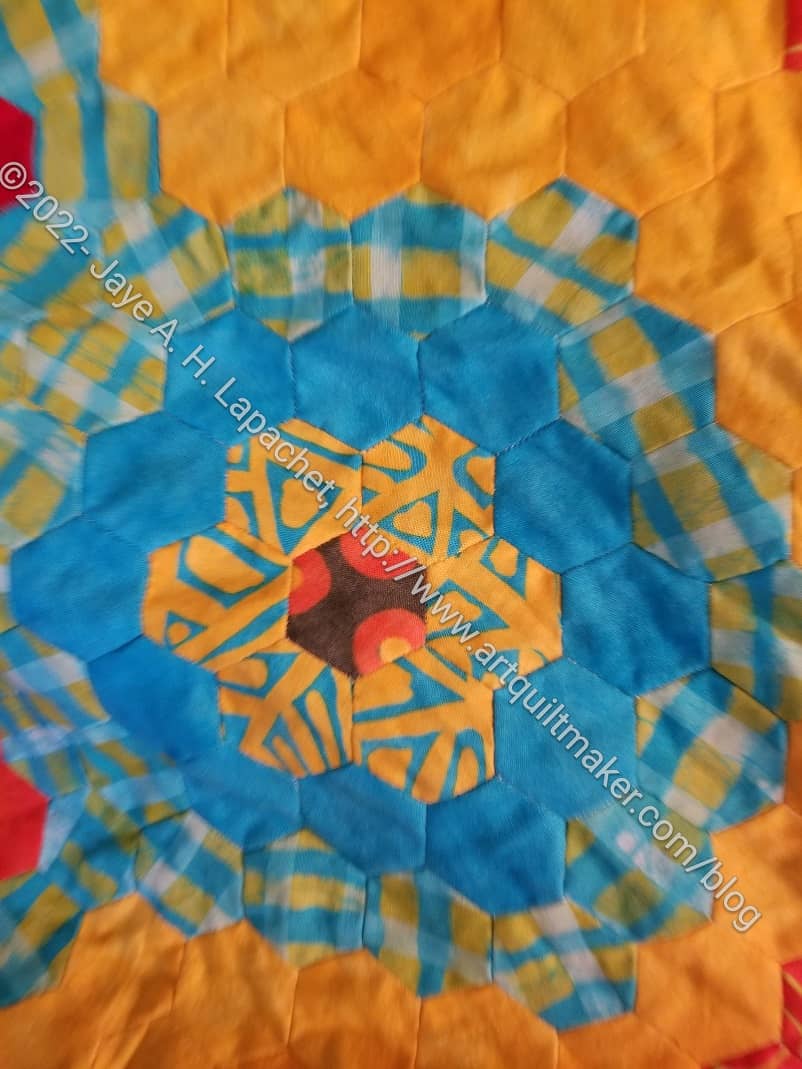
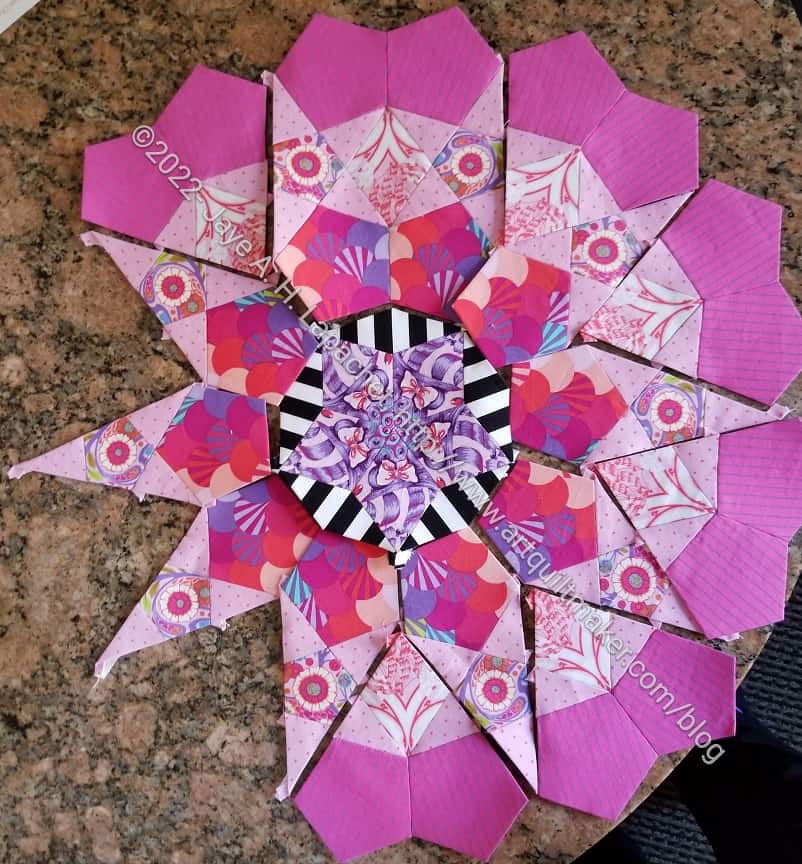
The Month 17 fabrics were pretty green, but, as I said before a blue-y green not an icky green like the other months. Those large and gorgeous peonies were part of the fabric packet and I wanted to use a whole flower, not cut them into unrecognizable blobs. Thus, I decided to use Kelly Pena’s instructions for creating a large center medallion.
Then I decided to use some red-violet to highlight some of the other colors in the flower. I love those dots and should probably buy more to make sure I don’t run out (famous last words, right?) I used some of the yardage I bought to have enough buds to cut for the alternating pentagons and am pleased with the look so far.
I am so pleased with what I cut and how it looks. I can’t wait to see it finished.
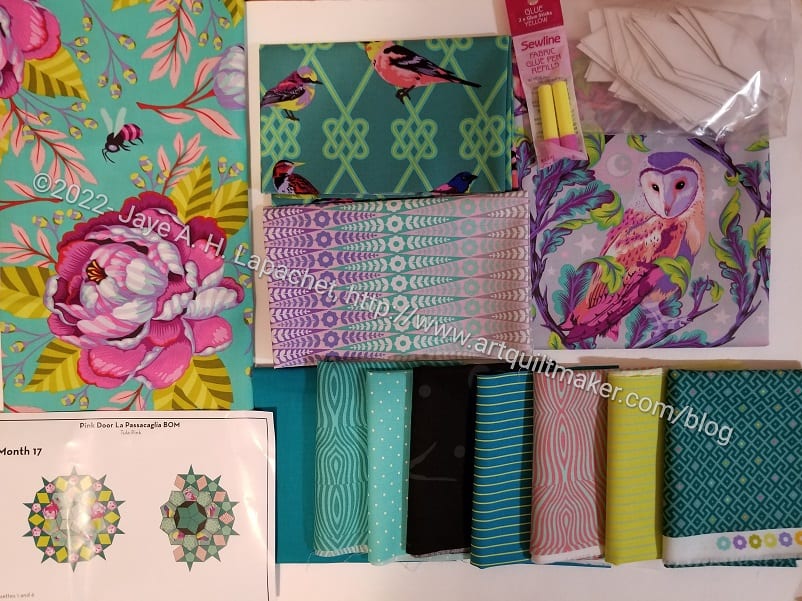
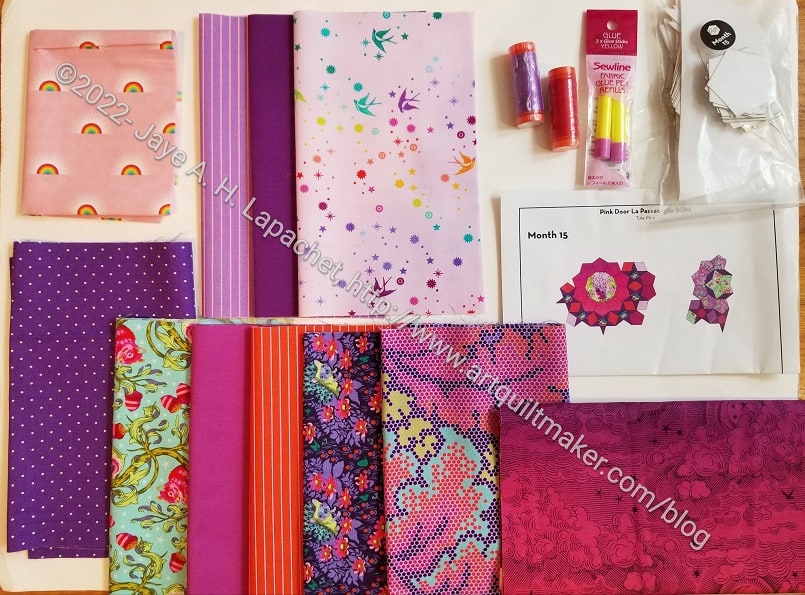
My fabric and supplies for Month 17 arrived. I like the colors even though it includes more green. This particular green is more appealing to me than the previous groupings, such as Month 7, Month 8 and Month 10. It is more of a blue-green than a yellow-green.
Note: I don’t sincerely dislike any of them; I just prefer more green in nature and less green in fabric.
For those of you keeping track, you might be wondering what happened to Month 16. Month 16 will be coming at the beginning of December. Pink Door did not receive all of the fabric for Month 16 so they switched the months. No problem for me and a quick creative solution IMO. We have to make all the rosettes anyway.
I thought that Month 17 was the last large rosette so I was disappointed that I needed to change out all of the green. I moped around for a few days, then looked at the plan and realized that (duh!) there were two rosettes and they belonged in the middle of the quilt. When there are two rosettes, they are usually on the smaller side.
Tula Pink’s Moon Garden pre-order
Tula’s Moon Garden fabric is included in this month’s fabric grouping. I bought some extra yardage when Pink Door offered pre-orders and that arrived this week, too. Glad it did! I wanted one particular bird from the “In a Finch” Dusk colorway (the darker green) that just wouldn’t fit. I used a bit of what I bought and everyone (me) was happy. I won’t use the owl faces as indicated. I don’t want eyes looking at me (sorry, Tula!). I may use another part of that fabric. I’ll need to look at it and see.
I like what Pink Door has planned for the centers, but I really would like to use that large flower. I am still thinking about that. Stay tuned.
I was still recovering from my oral surgery last Friday as I prepared for Sew Day after work. With a full week of work and the aftereffects of the surgery under my belt, I was tired. I thought hard about staying home, but decided to go. I wanted to see my friends and participate in the Destash party.
In order not to completely exhaust myself, I decided to bring as little as possible with me. I needed a small project without a lot of pieces and parts. For example, I did not want to bring a sewing machine. The La Pass BOM would have been the perfect project, but it is delayed again.
It occurred to me that I could bring the Half Hexie Star quilt, put it up on the design wall and make a plan to get it finished. Looking at it and making a plan had been on my list for a long time and Sew Day provided the perfect opportunity.
I did it! And it worked!
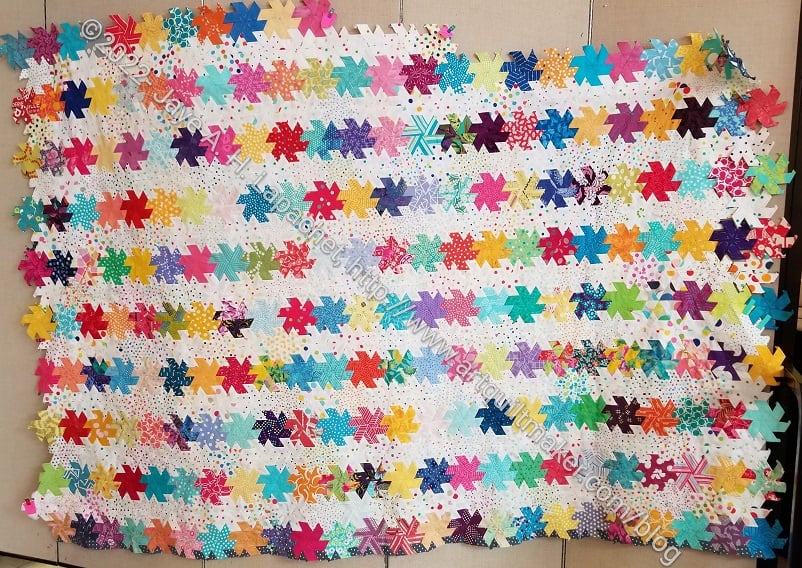
I now have a plan to finish this quilt. I can see the light at the end of the Half Hexie tunnel, which is a finished quilt. This is very exciting. I thought this would be one of those quilts I would finish in 10 years.
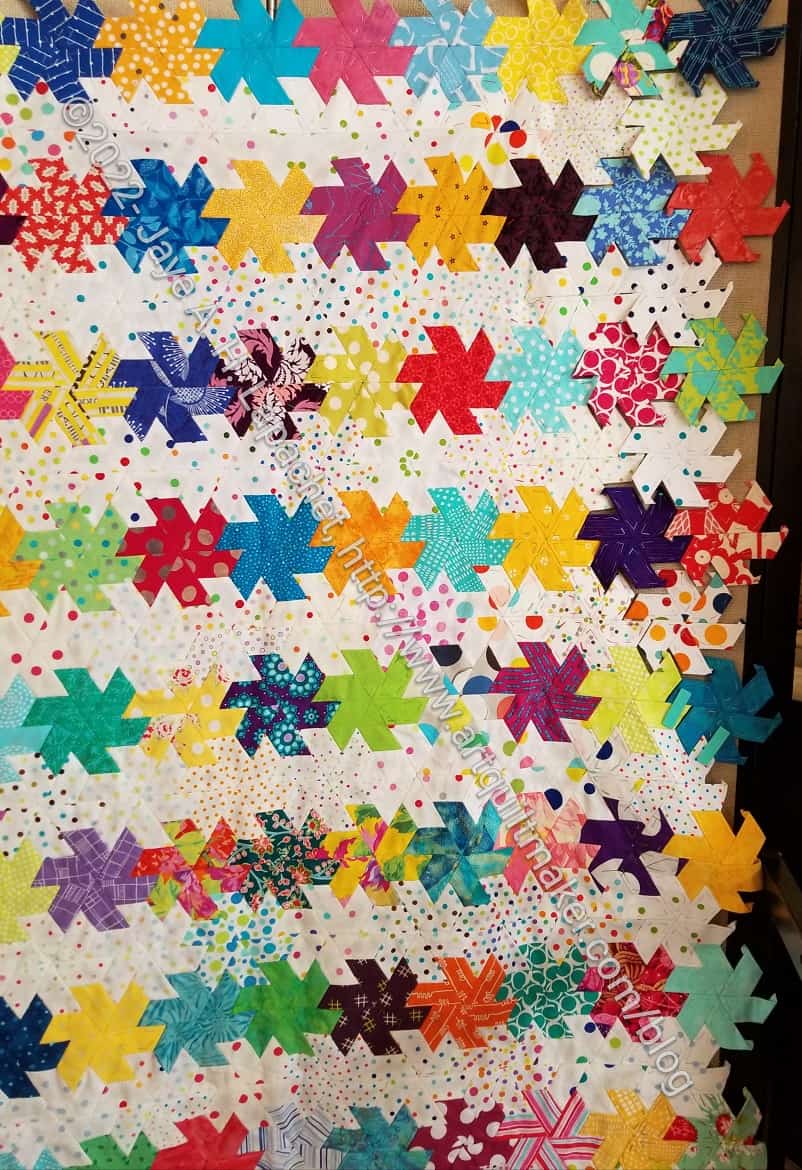
Half Hexie Star: top two rows
First, this may be the first time I have ever put this quilt up on the design wall and looked at it vertically. I have laid it out on the floor, but seeing it on the design wall is better.
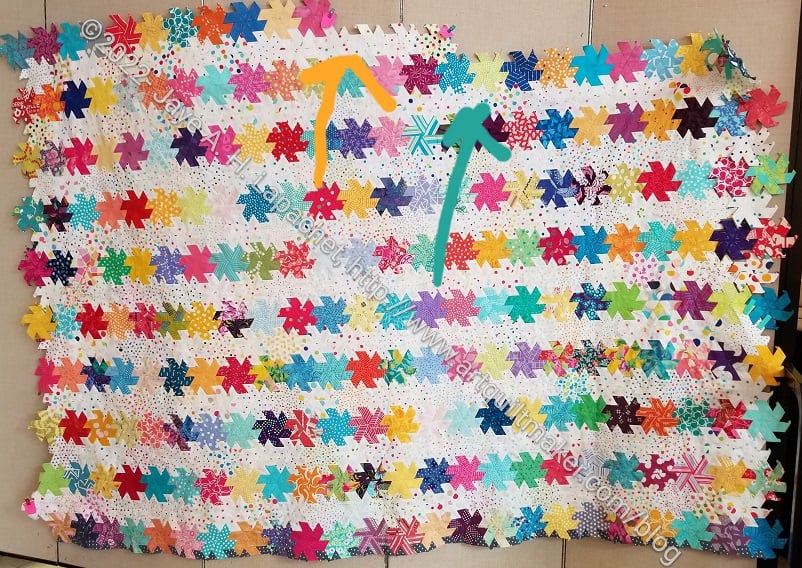
Second, I figured out what I needed to do to even up the sides. I plan to finish the two rows I have started on the top (see arrows) and call it done. I am not going to add more rows to make it bigger.
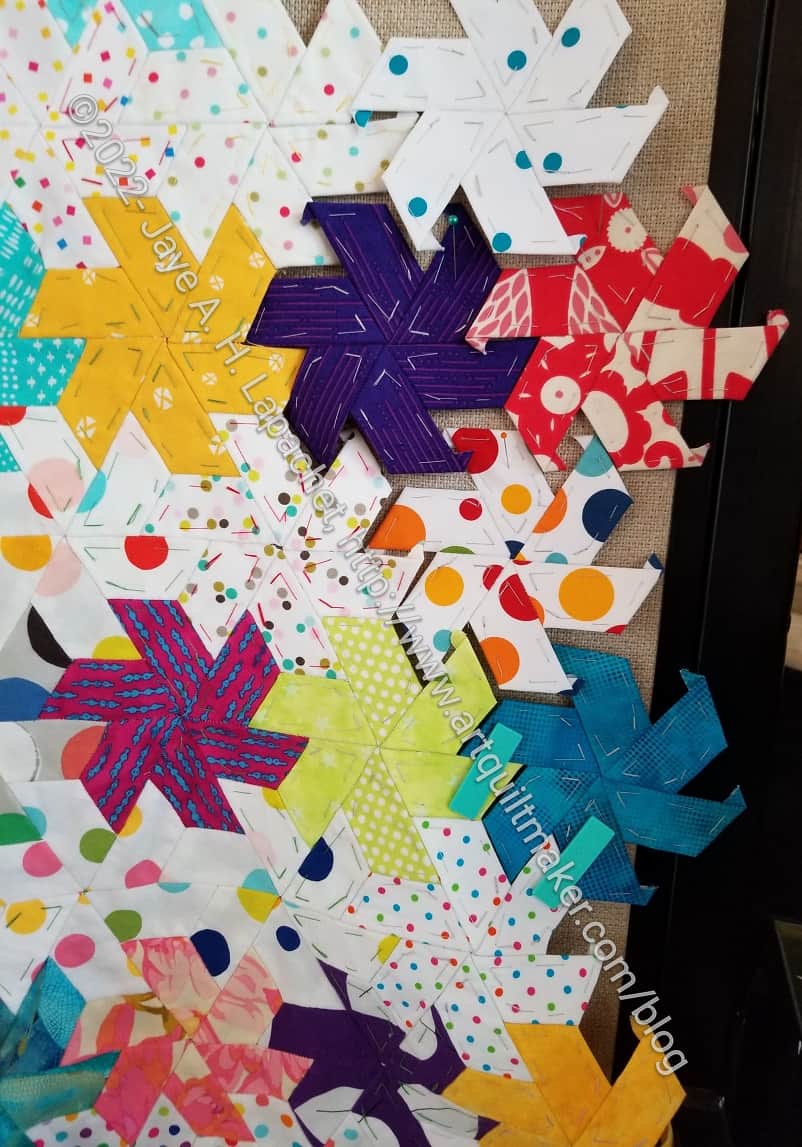
Half Hexie Star: side
A lot of people came and talked to me about the quilt. One of my guild mates asked what the final size would be. I looked at her, confused. She clarified that she wanted to know whether the pattern said it would be a twin or another size. She also wanted to know if I made enough stars to complete the pattern. Clearly she doesn’t know me that well. I laughed and said I wasn’t using a pattern. I said it would be as big as I felt like making it. This was a foreign concept to my guild mate.
At that point, I decided that it would be pretty much as big as we could see on the design wall right then.
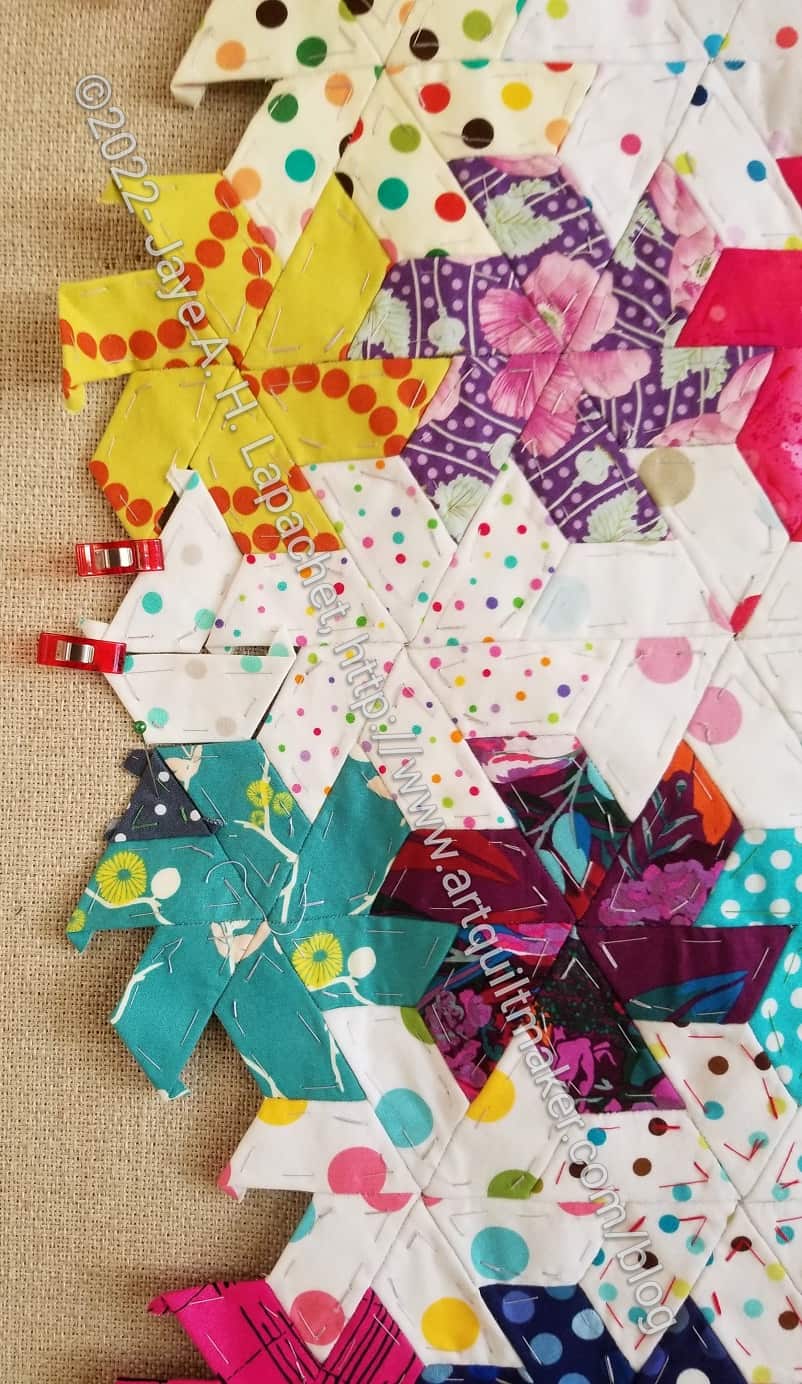
Half Hexie Stars: right side detail (to do)
I haven’t measured it, though it would have been a good time to do it.
Next, I tried to think of ways to square up the sides. I pinned stars to the sides to make each side as even as possible, so I could see what I had.
The top and bottom just need some diamonds and triangles fitted into the open spaces in the stars. The top and bottom will be easy.
Half Hexie Stars: Trying to add background
For the sides, I thought about putting a couple of the half hexie pieces using background fabric in to the sides as a way of getting the sides to be more square. I even sewed some as a test. I was going to go with that solution, which would have made a gentle zig zag edge. I didn’t feel it was an ideal solution.
Half Hexie Star: Lindsay’s idea
Then Lindsay arrived and we discussed it further. She thought I could add in the triangles and diamonds without the background pieces. It wouldn’t make the edge square, but there would still be a gentle zigzag. The triangles and diamond pieces would match the look of the bottom better. I like this idea much better and will work on it.
Finally Mary C said that I could use the edge as is – already folded under – and fold the backing under, then whip stitch the top and bottom together rather than applying a standard binding. I think this is a really good idea. If I can work with Colleen to make it happen, I will.
I am pleased with the various solutions. I am also glad that I will be done with this top soon.
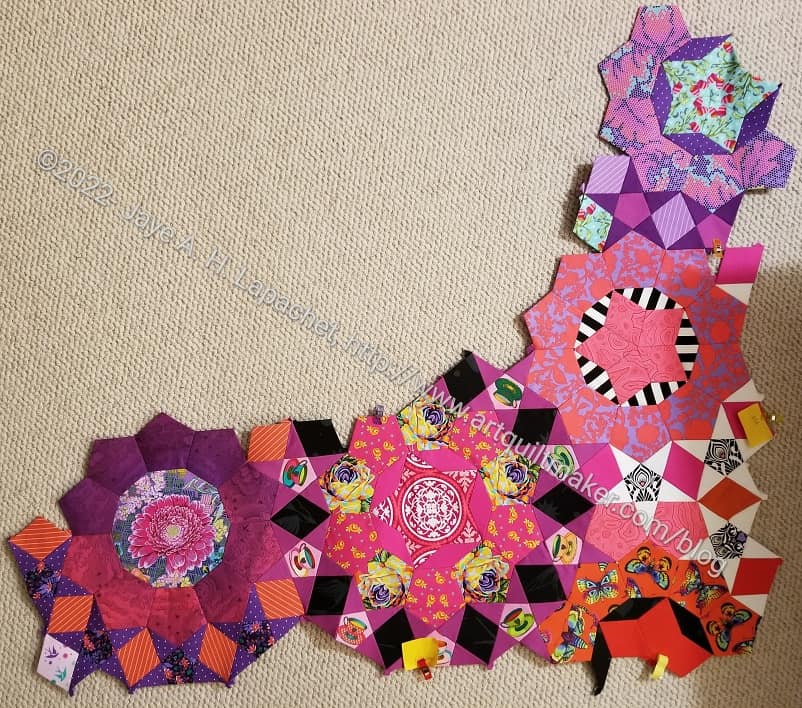
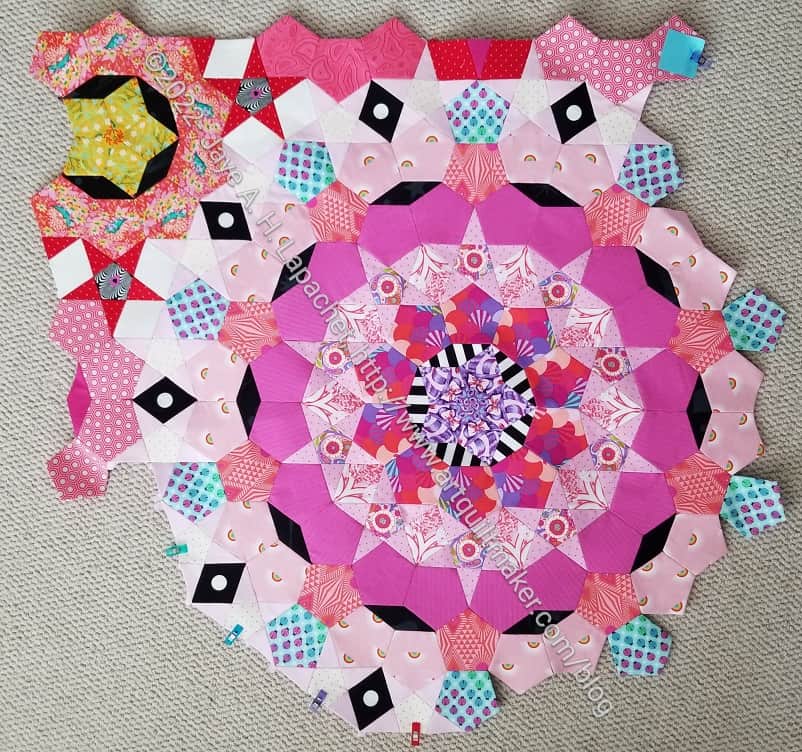
The other day I talked about sewing rosettes together. I finally finished what I was doing and I think the section looks nice.
Sewing this corner together really makes me think about how to finish the edge.
I really don’t want to cut off any of the piecing I have done, though I know that will be part of the directions. In the photo above, I can see how finishing that red butterfly rosette would look a lot better. Then what do I do with the part right above it with the white star points?
I am still working on assembling smaller sections of La Passacaglia. I sewed some Month 13/14 together with some Month 11 rosettes that will end up in the upper left hand corner. In May and June I sewed Month 7 to M6 and 10, so this isn’t a new phenomenon. I tend to sew various rosettes together when I am waiting for the next BOM packet to arrive. I am trying to keep the sections small, so they fit in my giant box, but it isn’t working.
Matching up rosettes
When I sew the rosettes together, I have make sure I am matching up the rosettes properly. This picture shows that some of the star points (see the purple with the small dots?) don’t work. At a point like this, I have to decide if I am going to change out a piece or live with it.
I followed the directions, and checked back to make sure. The purple dotted star point does not properly complete the teacup star. I changed it out.
In a way, this is part of the fun even though picking out stitches isn’t that fun.
I was able to finish the rosettes for Month 15 before the fabric for Month 16 arrived. These were not difficult and they didn’t take a long time. I am looking forward to receiving Month 16.
I am starting to think about putting the whole piece together and am considering the edges. I don’t want to cut off any of the piecing, but the rosettes on the edges are not complete. I am going to see whether I have enough fabric to complete the rosettes on the edges.
Friend Julie suggested I put solids on the edges. I could complete the rosettes using solids
While I waited for Month 15 to arrive, I sewed some smaller rosettes to Month 13/14, which will be in the upper left hand corner of the piece.
The pieces I sewed on to the M 13/14 are the smaller sections from Month 11. Since they were so small, I thought it would be a good idea to contain them.
I am now wondering whether I really want to cut off any piecing at all. That rosette in the corner with the chartreuse center might be better off being finished.Not sure I have enough fabric to finish all the pieces that are suppose to be cut off.
Nobody, including Pink Door has said anything about finishing. My book, All Points Patchwork**, doesn’t say anything either. Tula went over it briefly in one of her videos. Otherwise, I haven’t done a lot of research, but will need to do some. We are nearing the end of the project and some decisions will have to be made.
**Obviously, you should shop at local quilt shops. However, if you are too busy or can’t find what you need at quilt shops, I use affiliate links and may be paid for your purchase of an item when you click on an item’s link in my post. There is no additional cost to you for clicking or purchasing items I recommend. I appreciate your clicks and purchases as it helps support this blog.
The other day I mentioned that I had finally received the Month 15 kit. At the guild meeting the other day I cut out all of the pieces for Month 16. After the meeting, I basted them all as well. Fortunately, it is a light month.
We were supposed to use a piece of the cameo for a medallion in this month’s rosette, but I decided to use a flower instead.
Gerre and I finally arranged a sewing day, which consists a lot of talking and eating with a little sewing thrown in. I worked on cutting out pouches for upcoming holidays and birthdays. I decided to make some small Moto Pouches, from Sew Sweetness Minikins Season 1, for the nieces as well as a large Hackney pouch Minikins Season 3.
Gerre worked on her Harmony & Light Quilt-a-long quilt. She bought the fabric bundle and her quilt is coming a long very nicely.
Gerre’s EPP project
One of the things we talked about was her needing some handwork for some upcoming recovery time on the couch. I asked her if she had any UFOs. She does some hand quilting and I was thinking of big stitch. Instead she talked about an EPP project on which she was stalled. It was made with Malka Dubrowsky fabric. She brought it out and I was gobsmacked by the amazing design, the beautiful colors, her amazing stitching and how far along she was. Those hexies are 3/4 inch!
Gerre’s EPP project- detail
She said she got stalled at some point and put it away. I gushed about it, because I really like it and we talked about design. After I was done gushing, we talked about what she needed to do to finish it. She needs to make a center and finish the edges.
She said I gave her the All Points Patchwork book. She brought it out and we looked through to see if we could get some ideas for finishing the edges. In looking through it we found a hexie design that would be perfect for the center. We discussed different ways of finishing the quilt, like adding pieces to make the edges straight, cutting off the edges and appliqueing the edges to another piece of fabric.
I got really excited about this project and she did, too. It will give her something to work on and she will get a UFO completed. I can’t wait to see it finished.
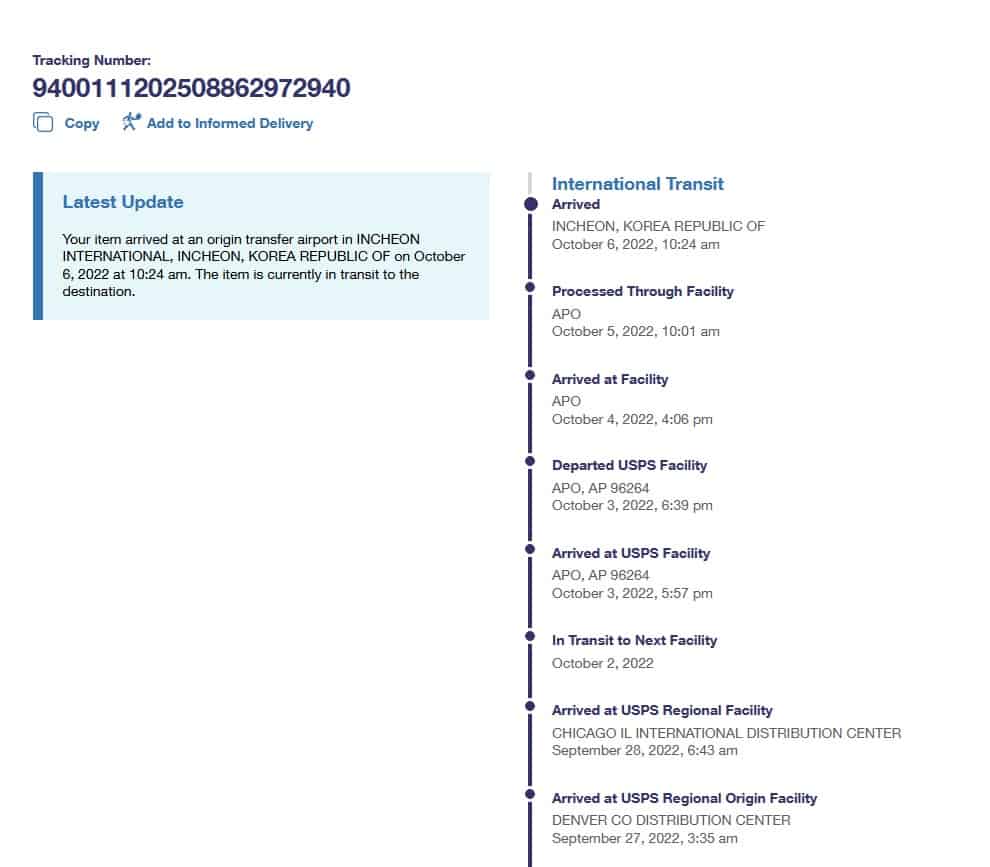
My La Pass package, which caused me so much drama for Sew Day is in Inchen Korea heading towards a military base.
Why?
Who knows. Pink Door has sent me a second package after a couple of inquiries. They also told me to go to the Post Office and ask them to help me. My local post office knows me and knows I am not a lunatic, usually. The helper, however, wasn’t very helpful and I got the boss. He said that they can’t do anything, because they don’t own the package. He suggested I tell Pink Door to issue an ‘intercept’ on the website and get the package sent back to them.
I told Pink Door, but haven’t heard back, so for now I am still waiting. I think I will start sewing the rosettes to each other. I have to do something and I am sick of knitting.
I finally finished the combined Month 13 and 14. This is a large Rosette, like Month 1/2. I did not finish Month 13 before Month 14 arrived, but since they ended up as one rosette, it was ok.
I started out putting Month 13 together using the Hearts & Cones method, as mentioned, that I learned early on in the process. I wasn’t able to sustain that technique with the Month 14 pieces, but having any straight lines is a good thing.
La Pass: Rosette M13/14 center detailParisville Deja Vu Cameo detail
I really like the center, which is cut from the main Parisville Deja Vu print. I did not use the faces as Pink Door suggested. I used the bows, because I love that motif. I wanted the bows to be the stars. The curls and some of the ship hairdo came along for the ride, creating a really pleasing, fussy cut center.
I have a few days before Month 15 arrives, so I am catching up on some binding and may be able to finish the foot part of my sock.
Some time ago I wrote a post about the Flatback Stitch. I read it over the other day and I think everything is still true. My techniques have evolved since then, however.
Flatback Stitch again
One thing I do now is anchor the joins before I stitch the whole seam. This lines up the corners so patterns match and corners are smooth.
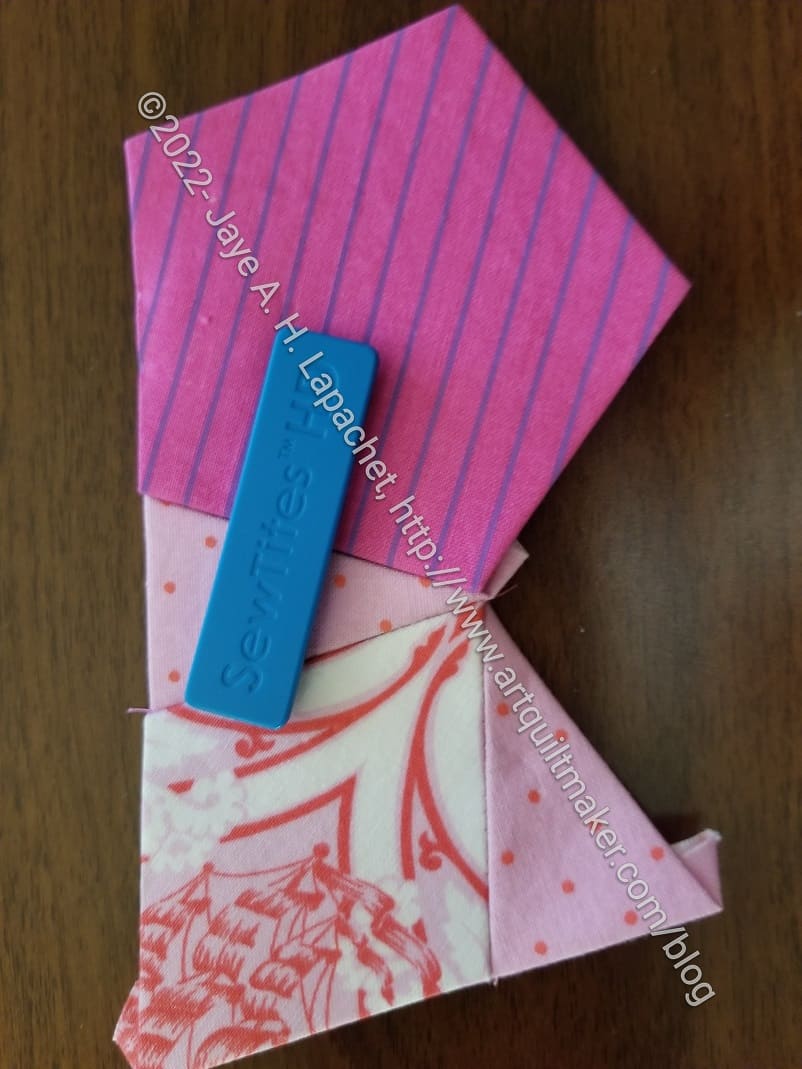
I still hold the pieces together with either Sew Tites** or WonderClips**. My favorite SewTites at the moment are Sew Tites HD**. They are stronger and easier to use with multiple layers. The magnets are strong so I have to be careful not to catch my fingers in between the two magnets. Otherwise they work really well.
Flatback Stitch again – back
Next, I take a few stitches where the corners of two different pieces line up. As I do this, I keep turning the piece over so I can make sure the corners are still in place. Then I go back and stitch the seams between the two pieces together.
This can be a bit challenging when sewing a giant rosette together! Still securing the joins helps keep long seams in place until the whole thing can be sewn together.
My seams are lining up really well using this method. I feel like my pieces are lined up more precisely.
**Obviously, you should shop at a local quilt shop. However, I use affiliate links and may be paid for your purchase of an item when you click on an item’s link in my post. There is no additional cost to you for clicking or purchasing items I recommend. I appreciate your clicks and purchases as it helps support this blog.
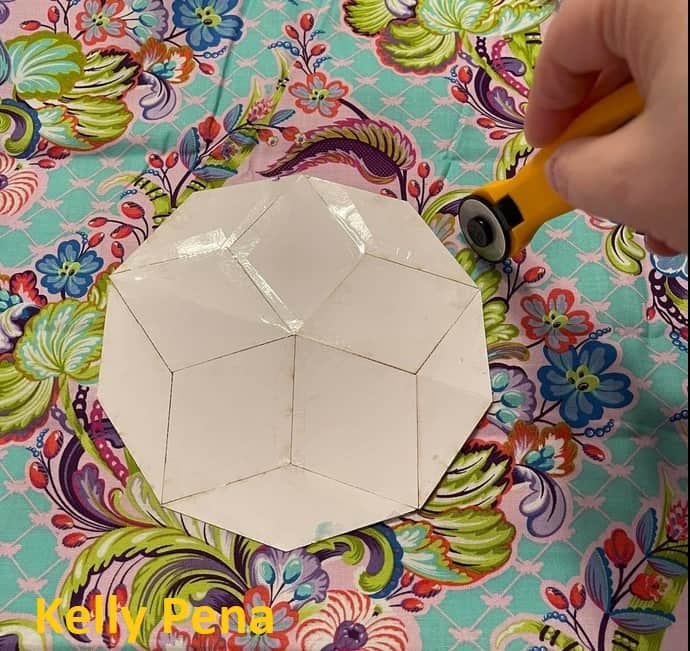
Kelly Pena, a quiltmaker/sewist also working on La Pass and in the private La Pass FB group, creating a basic and an easy to understand tutorial for making center medallions. She has kindly allowed me to use her photos for this English Paper Piecing technique. This question has come up a few times in our La Pass group. I consulted with Kelly and said that I would write a blog post using her photos so there would be a permanent link to the information. I have added a little bit of additional explanation to Kelly’s already excellent tutorial.
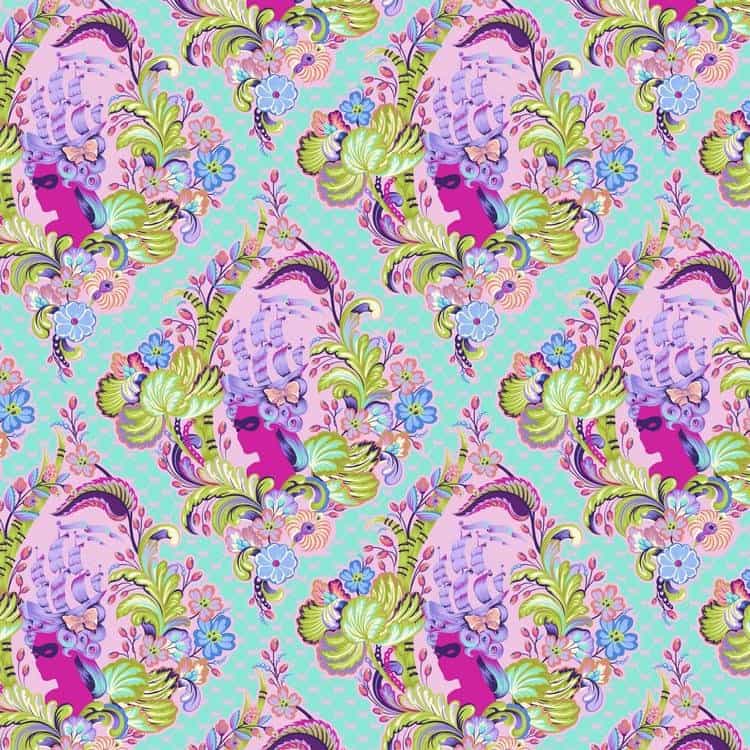
Tula Pink’s Parisville Cameo
Our La Pass rosettes require certain sized fabric pieces that correspond to the paper we are using to create various rosettes. We fussy cut the fabrics and make cool designs. Sometimes people want to use a larger motif, such as Tula Pink’s Marie Antoinette from Parisville Deja Vu. This motif would be difficult to put together using the various shapes and pieces. Not impossible, but very difficult.
In order to use up, in this case, the entire cameo and not make ourselves completely crazy, we need more ‘paper space’.
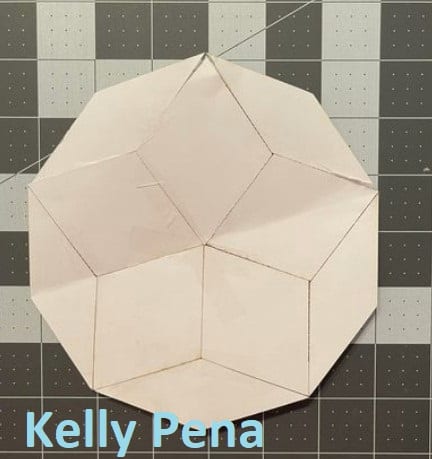
Combine papers
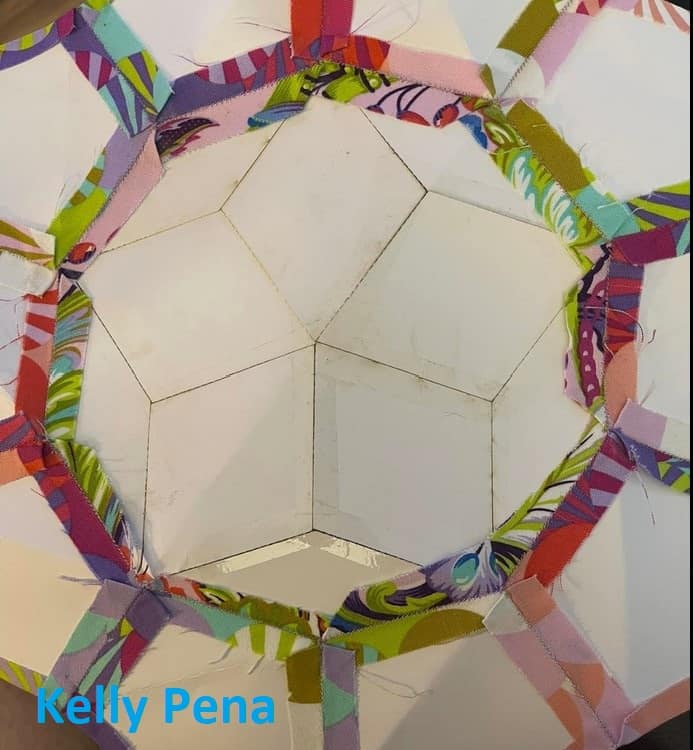
1. Find all of the paper pieces you need (want to use) to make the center medallion. Tape the paper pieces together for the final shape. This can vary depending on the shapes making up the rosette and you can adjust the shape by adding or deleting papers until you are satisfied. You can create quite a large shape.
As far as I know, there is no size limit as the paper will be removed at some point anyway. My gut tells me that you may have some issues with the bias if the pieces are too large. As a result, and, as usual, be careful with the bias.
You can configure the papers into any shape that will work for the fabric you have. I tried this technique on one of the Month 4 rosettes and found it moderately successful. In looking at Kelly’s example above, I should have added the long, thin diamonds to my center in my attempt. I think it would have made the process easier. The concave edges around the center diamonds are difficult and the long, thin diamonds make the edge easier to deal with.
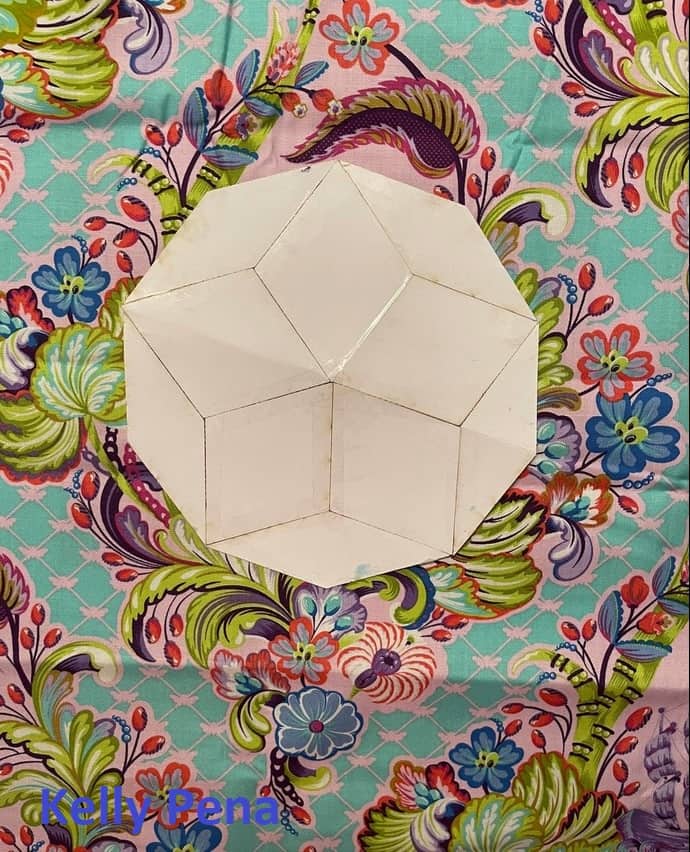
Lay combined papers on fabric
2. Lay the combined and taped papers on the fabric. Adjust the placement until you have the fabric motif you want centered on your papers.
Remember to take seam allowance into account.
You can use a light board or light box** here for more accuracy.
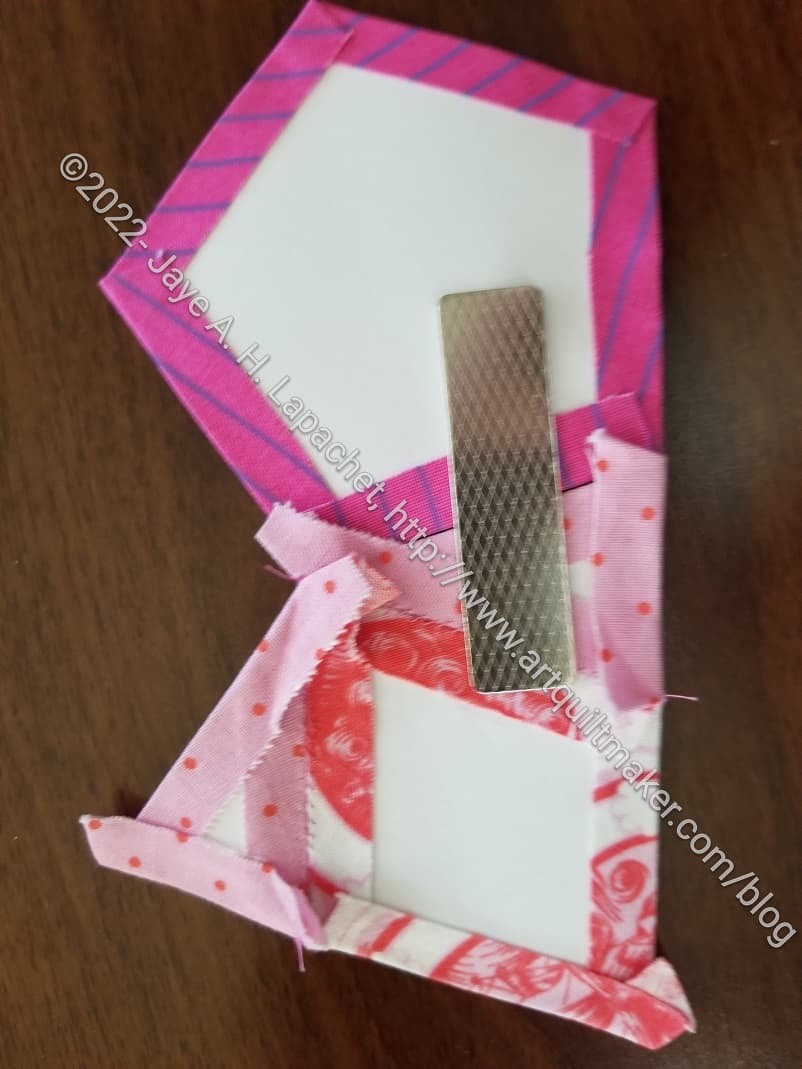
Cut around paper leaving seam allowance
3. Cut around the template allowing for seam allowance.
N.B.: In the image (left), Kelly is cutting freehand. If you are not confident, you can also use a small rotary cutting ruler**. If you use a ruler, you will need to keep moving it around the piece. In this case, a rotating cutting mat** might be helpful.
Cameo/Center Medallion basted
4. Baste as usual. Kelly and I are both using glue for La Pass. I am using thread basting for my Half Hexie Star project. Either method will work with this center medallion technique.
You may find it helpful for circular shapes to cut notches into the seam allowance when basting.
5. Stitch up your new larger piece. The paper shapes used will allow you to sew as if you were stitching all the shapes separately.
Thanks, again, to Kelly for allowing me to use her words and photos.
**Obviously, you should shop at local quilt shops, knitting shops or art stores. However, I use Amazon affiliate links. I may be paid for your purchase of an item when you click on that item’s link in my post. There is no additional cost to you for clicking or purchasing items I recommend. I only link to items I like. I appreciate your clicks and purchases as it helps support the costs related to maintaining this blog.
Progress on Month 13 continues. Aside from continually having to go back and cut more pieces, this month seems easy.
I think using the Hearts & Cones method makes the process seem easier.
I keep having to go back and cut more pieces because of the shift in the BOM shipping schedule for Month 13. Because this month included Parisville, Pink Door could not ship as normal. My practice is to wash all the fabric, then cut and baste at Sew Day (first Saturday of the month). I couldn’t do that this time, so I cut and basted some pieces so I could be ready to sew in the evening while hanging out with DH, then I would go back and cut more for the next night. I got off track and, apparently forgot to cut the rest of the star points.