It is good to have a small hand project to work on in the evenings. It is keeping me from playing too many games on my phone, which I think was making my hand hurt. I have a few more seams before I can pull out the paper and stuff it.
Commentary about works in progress, design & creativity
It is good to have a small hand project to work on in the evenings. It is keeping me from playing too many games on my phone, which I think was making my hand hurt. I have a few more seams before I can pull out the paper and stuff it.

I have been playing too many games on my phone at night. La Passacaglia is languishing. My needlepoint project is languishing and my hands are hurting.
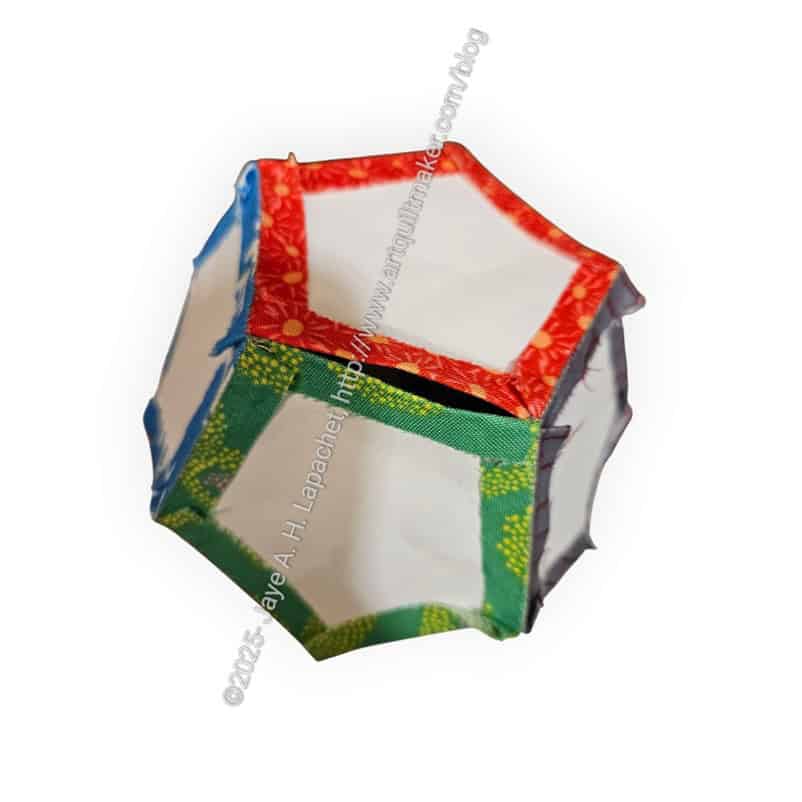
It has been awhile since I made an EPP ball. I have two babies that would enjoy them, so I started two new ones. I thought it would be a good way to ease back into EPP and, possibly, La Passacaglia.
I found a few more charm packs while I was searching for the Handbag Sampler last week and decided to use one, Victoria Findlay Wolf’s Play fabric for the two balls. One of the reasons I chose that charm pack is that it included 24 squares, which is how many I need for two of the EPP balls. I didn’t want any leftover charm squares.
I was able to baste all of the pentagons I need for the two projects last night. I can start sewing tonight.

A long time ago, the Angel Family Mom mentioned an apron she used to wear at school (she’s a teacher), but lost. What she described sounded a lot like the Cafe Apron I made for my sister some time ago.
After looking up that project, I realized I bought the same pattern again. 🙁 I thought it was a different pattern and should have looked it up. Oh well. At least it wasn’t an expensive pattern.

I bought the fabric and the pattern at Moonlight Quilters. I think I was inspired by the fabric, which doesn’t scream school teacher, but is school oriented. The motifs are subtle.
The apron didn’t take me very long to make. I estimate it took about 4 hours total. This time I used all the same fabric instead of different fabrics for the pockets, etc.
I got a call from the Angel Mama and she LOVES the apron. She said that she was wearing it around the house and it was just like the apron she lost. I was thrilled that she liked it. I threatened to make her one for home, but she said she had some Starbuck’s versions she used for around the house.
I am pleased that I was able to finish this in time for the new school year.

I am not mailing this pillowcase to my nephew. His parents are coming over for dinner tonight and I will just hand it over. I know it’s less exciting than getting mail, but I am saving myself a few cents.
He hasn’t really gone on any travel adventures despite his plans. I find that sad. He will be starting community college in the fall, which makes me happy. I hope he enjoys it.


I am probably ridiculous, but I love the concept of using chocolate fabric to make Sweet Dreams pillowcases.
I bought this fabric on a whim at Quilts & Things. Last week I made the pillowcases so I could bring the to my Mom. These were not for my Mom, but for the Angel Family parents. The Angel Family was on vacation for about 3 weeks and I wasn’t going to see them, but I was going to see my Mom. She agreed to bring a plethora of gifts to the family.
These kind of round out the pillowcases for the whole family. The kids already got their pillowcases a few months ago.

Somehow the Zeppelin pattern from Minikins Season 1 got lodged in my mind. I decided to make it as a birthday gift. July is a birthday extravaganza! There is one almost every day.
Once I decided to make it, I got a little nervous, because I could remember what the pouch looked like, but not how many pieces it had or how difficult it would be to make.

I went looking for templates, thinking that I had some. When I couldn’t find them I looked at the pattern and realized there was no way an acrylic template could be made in that shape, which was weird!
I couldn’t imagine how the pouch would go together from looking at the pieces, but I did once I went through the pattern and was impressed with the design. I cut everything out so I could take it to a Sew Day I was having with Tim. There weren’t very many pieces, so this might be a good pattern to have as a quick make when I need a project.

I was pleased that I was able to start and finish this pouch very quickly. This was destined for Tim’s birthday and I wanted to take over to him before he left on his trip.
This is another Retreat Pouch, which is pretty easy to make and comes out very well. I have made both sizes, which come in the pattern. I still want to make the handbag version I talked about last summer, mostly to use the border print. In general, I prefer the small size. The large size is hard to carry.
I also like it that it has a frame (not free). I like the open wide aspect that frames create. They sometimes have the required type of frame on Amazon, but I don’t see it today.

The interior fabric was printed by Sonja about a million years ago and gifted to me. I thought Tim would really appreciate her artistry and he did.
The high quality of the greige goods she used is another pleasure.

I consulted with Lynette to confirm my anchoring of the lining to the exterior. I am working on that technique and trying to do it with every bag. It worked well with this one using the same technique as I used on the Open Wide pouches. It is a difficult technique to explain in a pattern, which I why I want to do it over and over with different pouches and bags so it becomes second nature. You can see a little bit that the seams are tight against the bottom of the pouch.

Tim said he would probably use it for travel. I thought he might and would have added Odicoat** to the pouch if I had planned ahead. He is going on a trip so I said I would do it after, if he wanted. He wasn’t sure how he would use it for traveling, but pouches are super useful for organizing stuff in your suitcase, so I am sure he will find a use.
Anyway, the pouch was a success!
**N. B. : Obviously, you should shop at local quilt shops and small businesses. However, if you are too busy or can’t find what you need there, I use Amazon affiliate links and may be paid for your purchase of an item when you click on an item’s link in my post. There is no additional cost to you for clicking or purchasing items I recommend. I appreciate your clicks and purchases as it helps support this website.

As mentioned the other day, I worked on my Open Wide Pouches at Sew Day. They went from flat to 3D.
They are not yet finished, but I have only a few steps left: finishing the zipper tabs and sewing up the lining where I turned the pouches. I’ll definitely be able to finish these to take to my mom next week.
The other day, I talked about making some Open Wide Zipper pouches for my mom to give to friends who have been helping her. I also talked about using the Sweet Cinnamon Roses technique to make the Zipper tabs. After my chores and stuff were done, I set about the pouch task. One of the steps was making Zipper tabs.

I followed the Sweet Cinnamon Roses IG “tutorial” and had mixed results. I was making 4 at once. Two were ok and I could use them. The other two needed unsewing. I sewed too close to the zipper tape and couldn’t turn them right side out. After unsewing and sewing the two again, everything was fine. Once I gave the zipper tape some space, the technique worked pretty well.
What I learned is that you don’t need to sew right next to the zipper tape. It is actually better to sew farther away so there is less bulk to sew over when inserting the zipper into the pouch later.
I suspect that I don’t even need to sew up the sides next to the zipper. I suspect that is just for convenience, or because it looks better/ easier on the video. I haven’t tried that, so stay tuned for further results.
Definitely watch the Sweet Cinnamon Roses IG “tutorial”. Below are the steps I took:
1. Find and lay out the zippers you want to use
2. Cut some squares or rectangles of fabric about 2.5 in. by 3.5 in. I made sure I had at least .75 in. on each side of the zipper tape. This is not exact and you’ll be cutting off much of it anyway, so use scraps. These will be your zipper tabs. The longer you make your zipper tabs the more options you will have for positioning the head of the zipper. I found that a solid would have worked better for the pizza print. Having part of the print show just looked a bit weird to me. YMMV.
3. Lay two zipper tab squares / rectangles on top of and under your zipper. You will be able to see the end of the zipper and the stop after you lay them out. The squares will have the zipper sandwiched in between. The zipper stop and 1- 1.5 ish in. of zipper tape will be sticking out. You are going to cut off the zipper stop, so make sure you have enough space so your needle does not hit the stops.

4. Move the zipper pull out of the way
5. Sew in a U shape from the side where the zipper pull lives towards the zipper stops and back towards the pull. Make sure the top of the zipper tab fabric, by the zipper stops, is sewn a quarter inch away from the top. Sew far enough away from the zipper tape (on the uprights of the U) so you don’t catch it in the stitches
6. Make sure you haven’t caught any zipper tape in your stitching
7. Cut off the stops at the top. Use the edge of the fabric as a guide
8. Turn the zipper tab right side out.
9. Press

10. Insert your zipper into your pouch or bag. In the photo of the stingray view of the pouch, you can see that I have at least 1.5 inches of extra zipper tab. I could have lined the end of the zipper tab up with the edge of the exterior pouch pieces in order to lengthen the zipper. This is a good way to eek out a little more space if your zipper is not quite long enough.
In my case, I positioned the zipper head where I wanted it and sewed it into the pouch pieces.

Once I turned the zip pouches right side out, I was happy and unhappy with the results.
I think the technique looks good. It is a useful finish for a zipper end. It came out as expected.
What I don’t like about it is that it isn’t great for an Open Wide pouch like the Noodlehead Open Wide Pouch. It doesn’t allow the part by the zipper to open wide.
Lynette gave me some tips for finishing the zipper ends, so I’ll try those and see what happens. For certain types of pouches, like the Triple Zipper pouch I sewed awhile ago.

I spent all day Sunday finishing this top. I tried to focus on putting the blocks into chunks and then the chunks together as a top.
In photos the piece looks like it is vibrating. In person it doesn’t look like that at all.
I am really excited that this top is done.

The next pillowcase for my nephew is not yet sent, but will be soon.
I really like the colors in this fabric. I don’t think he is taking the traveling theme to heart. Oh well.

Putting Chain Link up on the design wall the other day made a huge difference. I could finally see what was going on with this quilt. I made good progress over the past couple of days and am pleased that this quilt is finally going in the right direction.
In the photo, the fabrics look plaid. Except for a couple of gingham charms, there isn’t any plaid. The rainbow stripes contribute to the effect, I think.
I worked really hard on putting the strip sets together. It is a tedious task, but had to be done, so I just got on with it. Once all the blocks were in place, I could see what was going on with this quilt. I could see how to put it together and the way the design was supposed to work. I don’t know why I couldn’t see that before.
Now on to chunking.

I finally took Sidewalk off the design wall and replaced it with Chain Link. No, Triumphant gets no time on the design wall. LOL! I have a lot of quilt projects happening at the moment. This is the result of starting so much.
This isn’t actually all of the blocks. I have to find a step stool and put the last two rows up at the top. It is enough for me now to see what is happening with this quilt top.
As you can see, I have a lot of the strips sets to make. I think this quilt will go together quickly once those are done.
It is so much easier to get a grip on this design when I can see it.

I sent off the next pillowcase for my youngest nephew the other day. He should have received it by now.
I was able to see him on Mother’s Day, but didn’t really get a chance to talk. I do know that his next big adventure is heading down to Santa Barbara to attend SB Community College. I wonder if he will take these pillowcases with him?

I spoke about the pillowcases I wanted to make for ‘new’ family members that have joined since the last time I made pillowcases for the nieces and nephews. I gathered the fabric and was planning on slowly working through the 8 I needed to make when I had time.
Well, I had time at work when I had to listen to a meeting, but didn’t need to participate. I was able to cut and trim. It is really good, because my hands are busy which helps me pay attention.
Then, while I was sewing the endless bits for the Old Town borders, I used the pillowcases as leaders and enders. Suddenly, the pillowcases were done! More than 6 months early! WTH?
Now they get to hang around waiting for November. I plan to write cards and package them up now so they are ready to go.